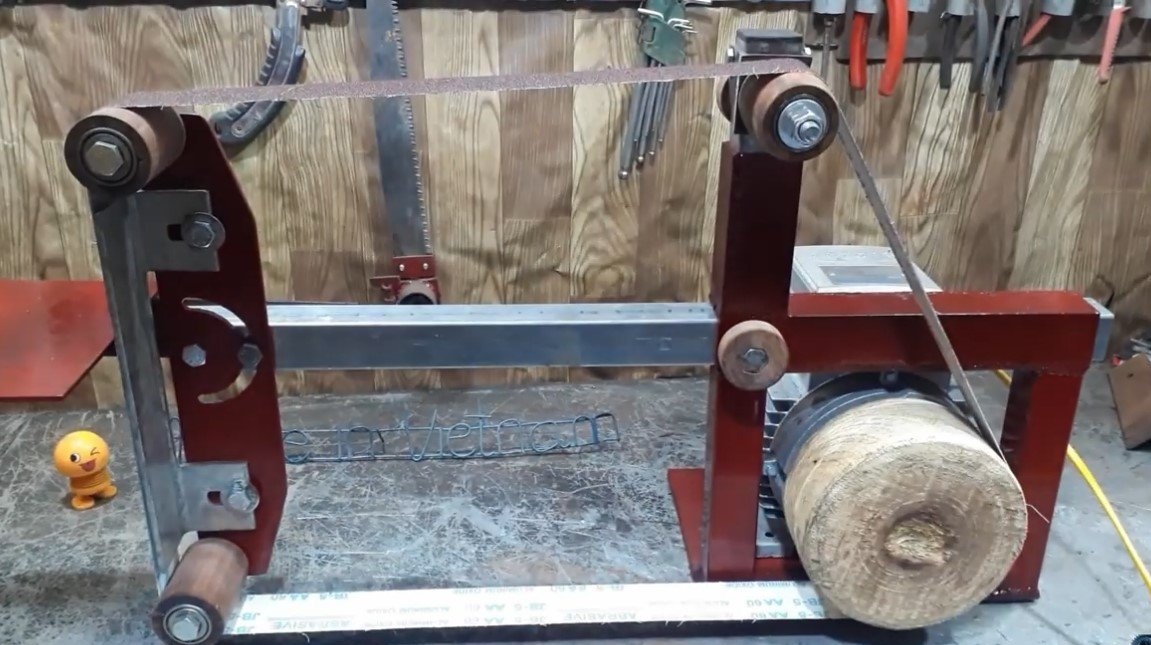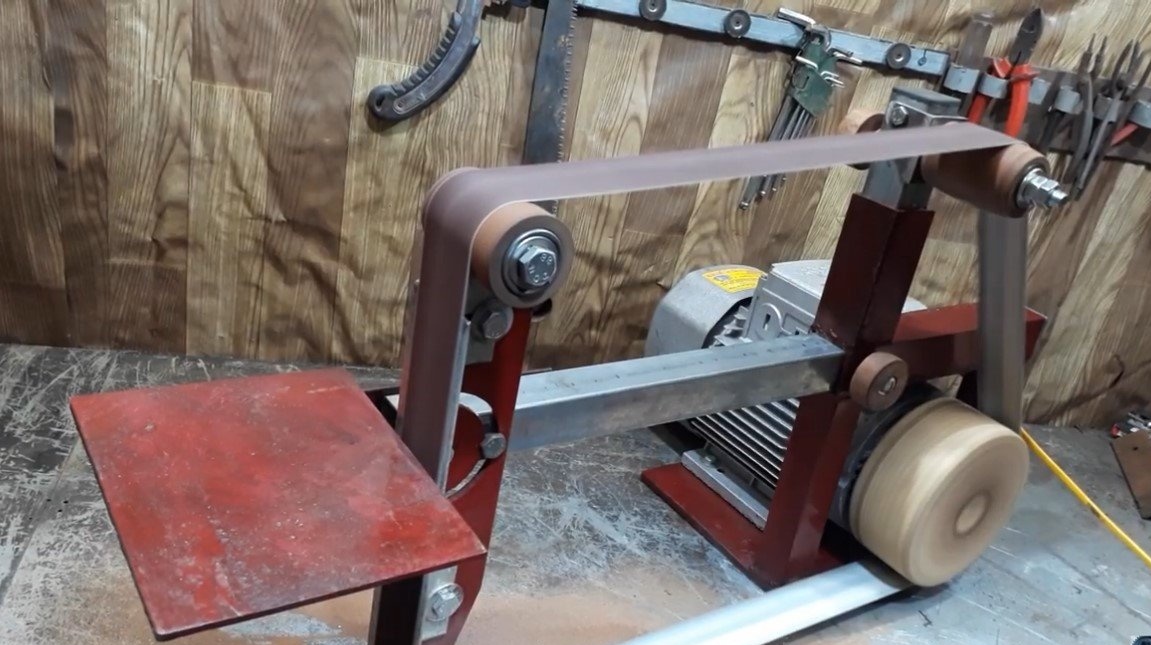
I welcome fans to craft, this time we will consider how to make a belt sander do it yourself. With the help of such a machine, you can make high-quality knives, as well as perform various other grinding work. The most expensive part of a machine is an induction motor, but no machine can be assembled without it. The author made the impellers of the machine made of wood, this is the cheapest option and is available to everyone. The frame of the machine is made of profile pipes and sheet steel. Works homemade excellent, you yourself can choose an engine of suitable power for your needs. If the project interests you, I propose to study it in more detail!
Materials and tools used by the author:
Material List:
- asynchronous motor (preferably at least 1.5 kW);
- Sheet steel;
- square shaped pipes;
- corner;
- bolts and nuts;
- bearings and tree for wheels;
- spring for the tensioning mechanism;
- paint for metal;
- a good convenient switch.
Tool List:
- ;
- ;
- ;
- ;
- drill;
- spanners.
Machine manufacturing process:
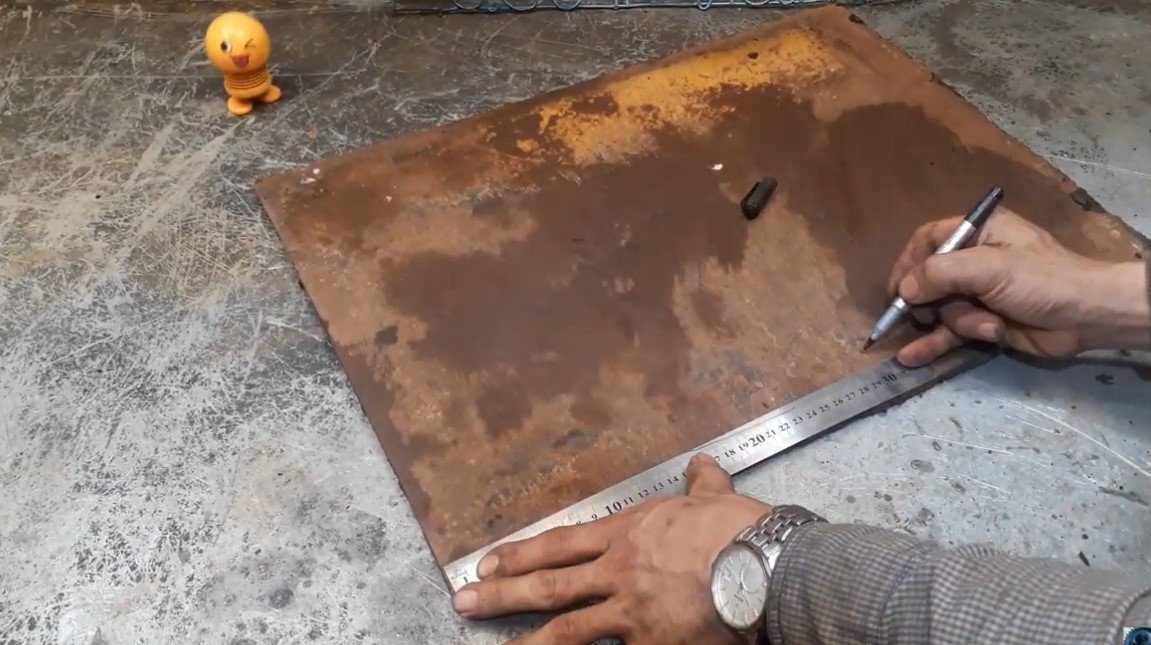
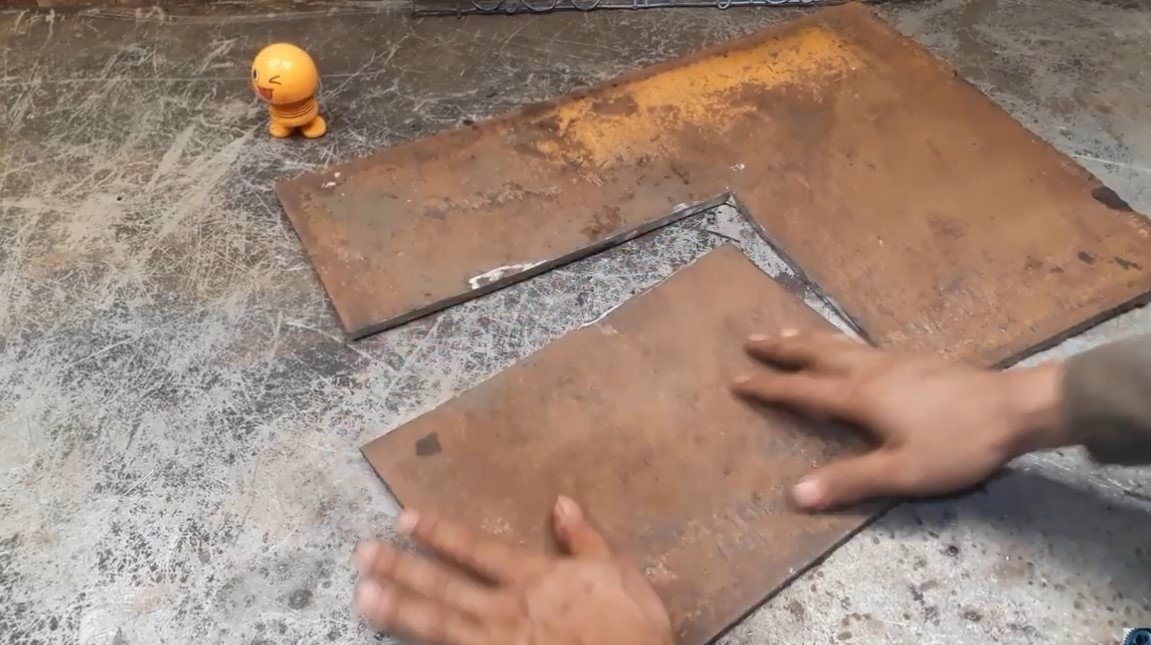
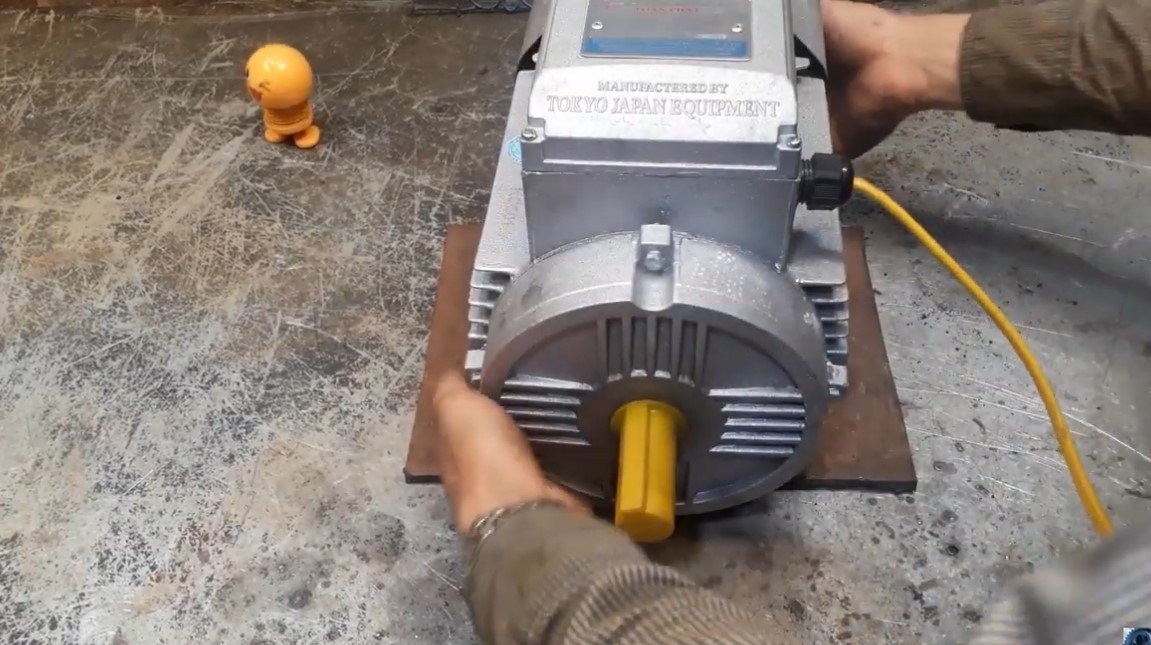
Step one. Bed for motor
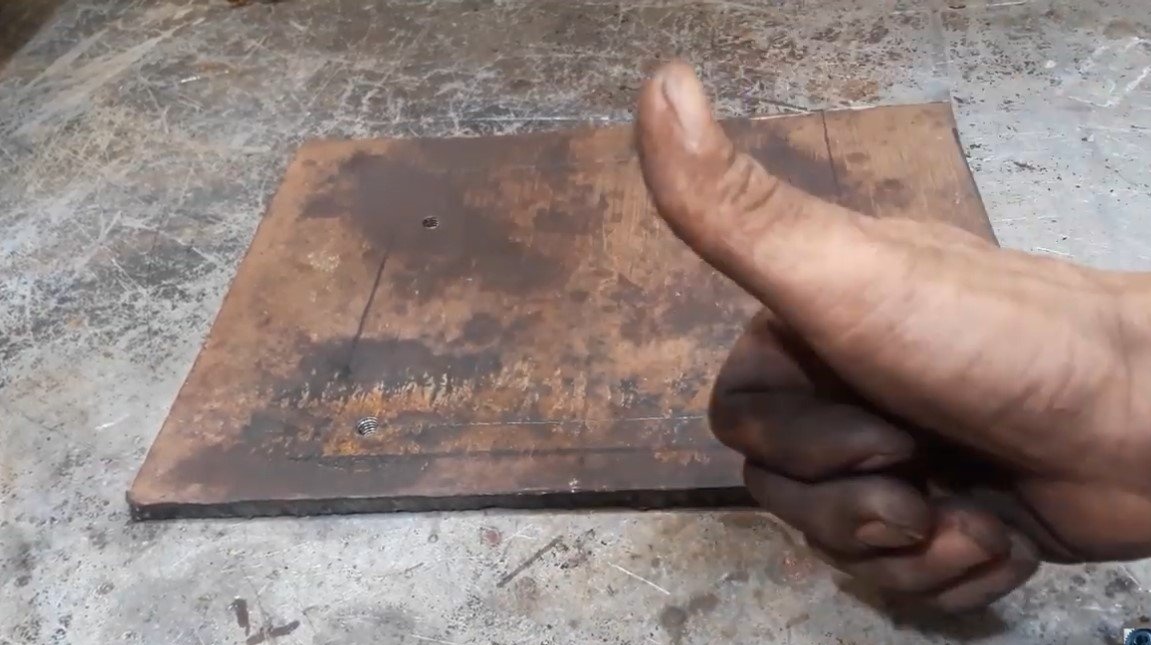
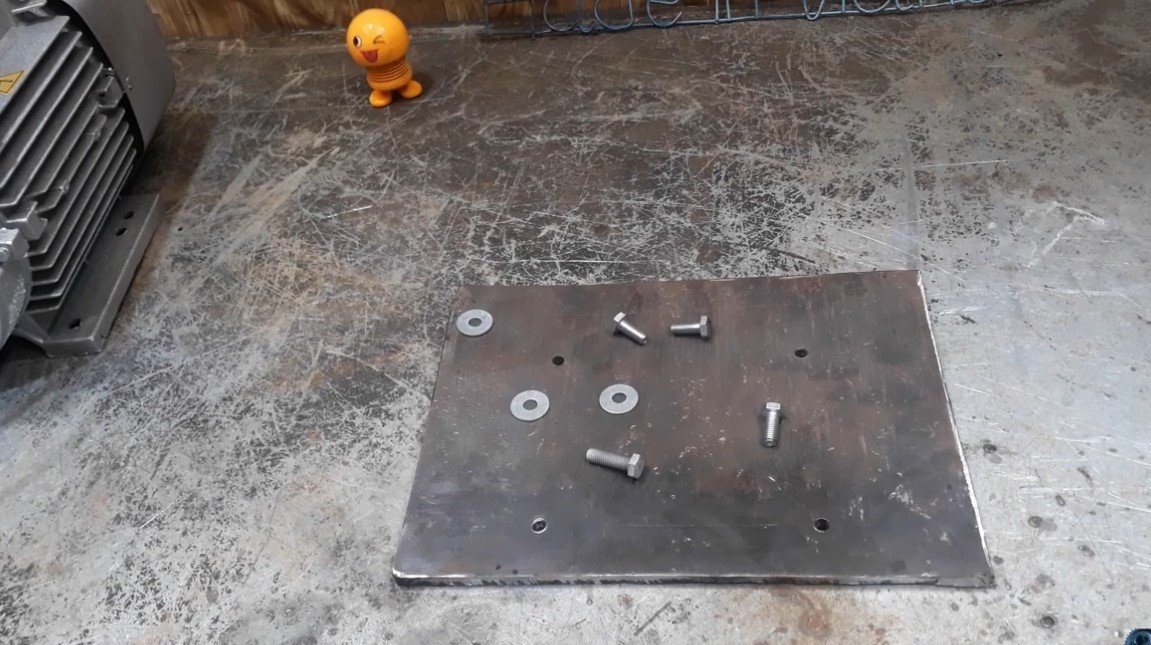
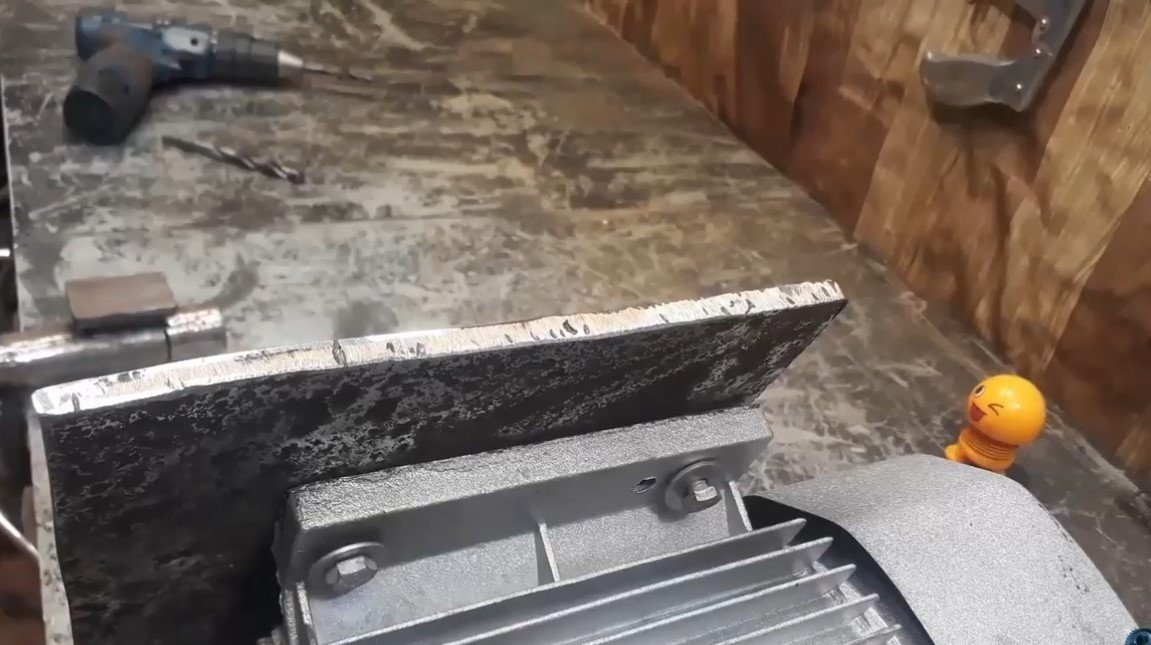
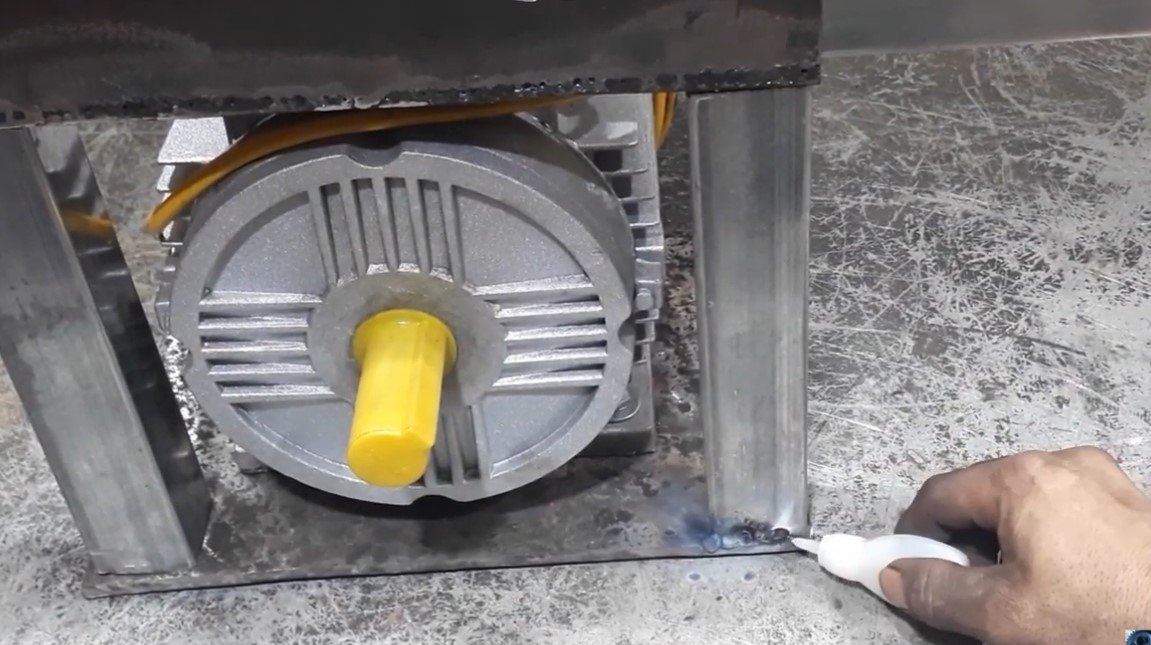
We make a strong bed for the engine so that it does not vomit under load. The author used thick sheet steel for such purposes. We cut out the necessary part with a grinder, drill holes and now the motor can be reliably fastened with four bolts and nuts.
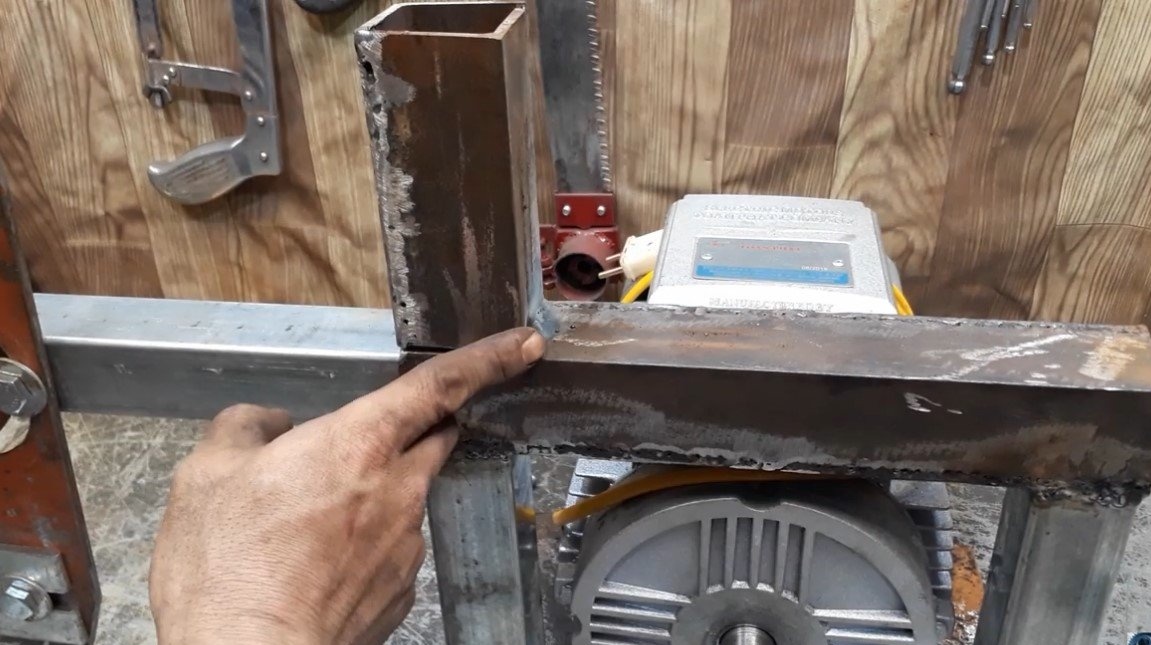
Step Two We assemble the main part of the frame
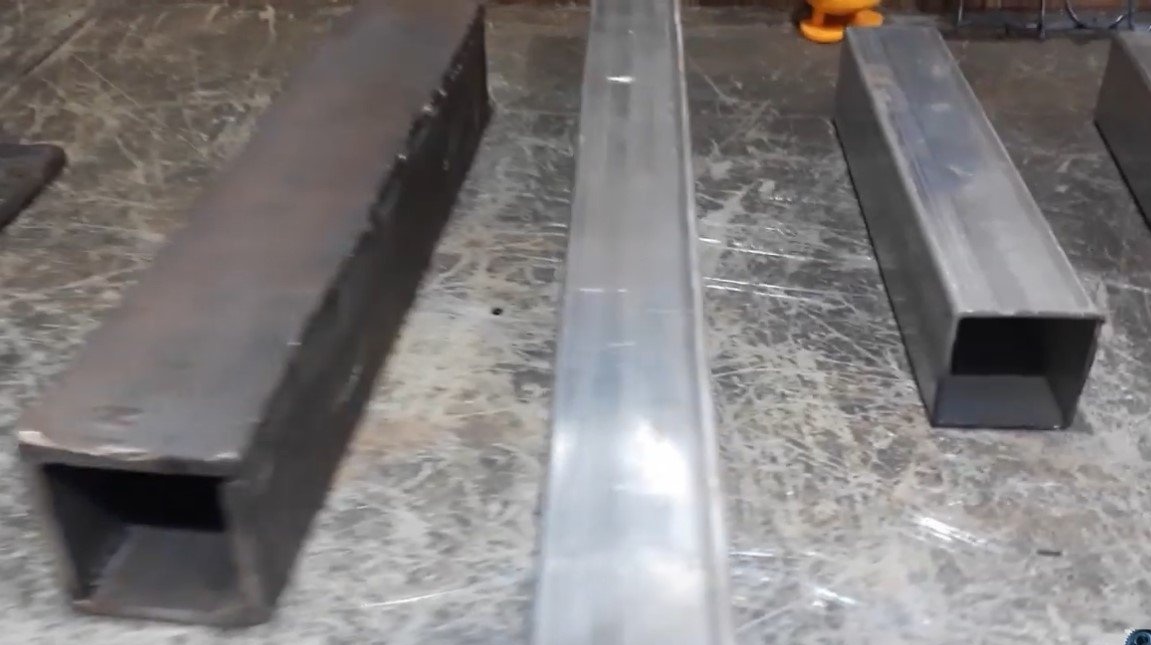
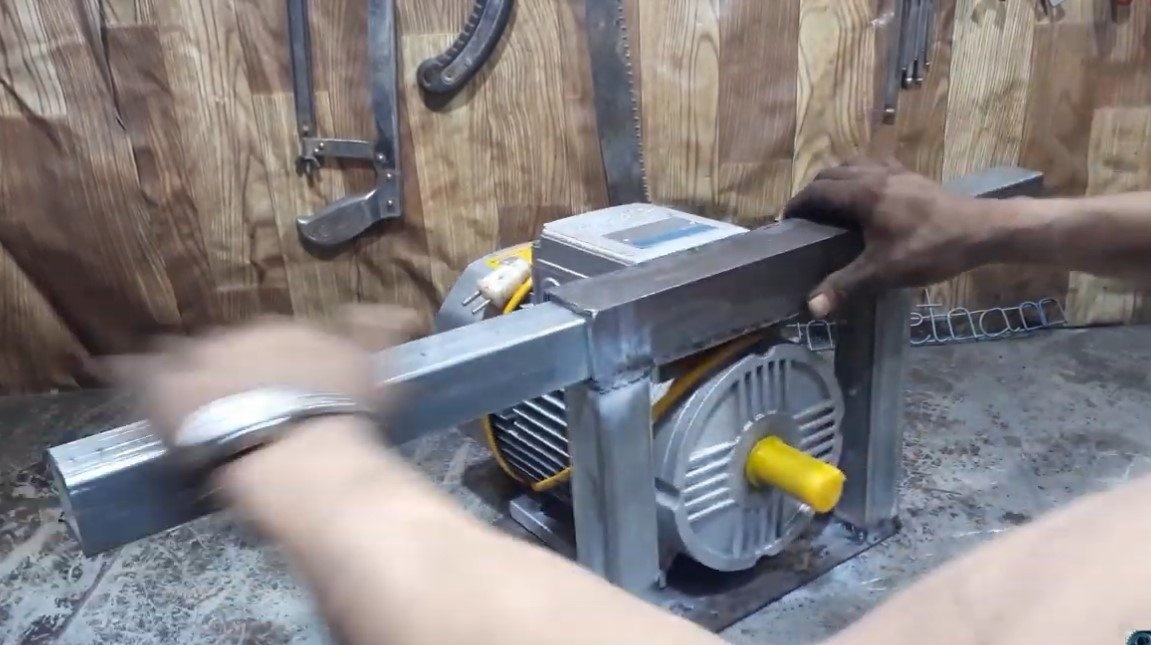
We assemble the main part of the frame, for this we vertically weld two racks from a square profile pipe to the base.
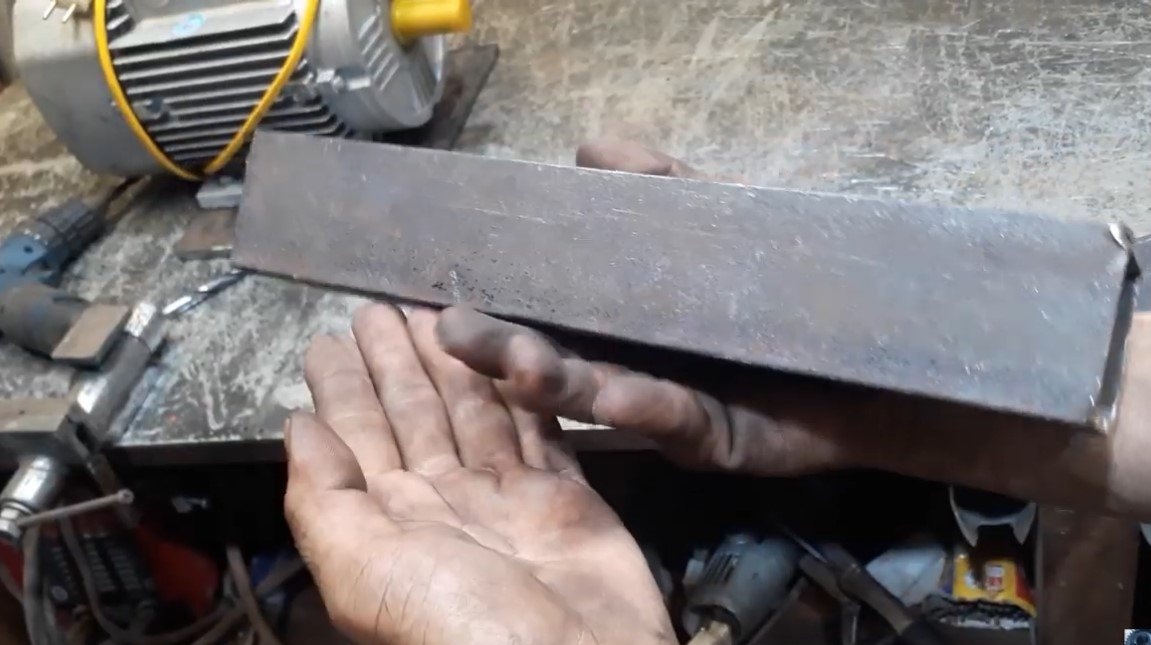
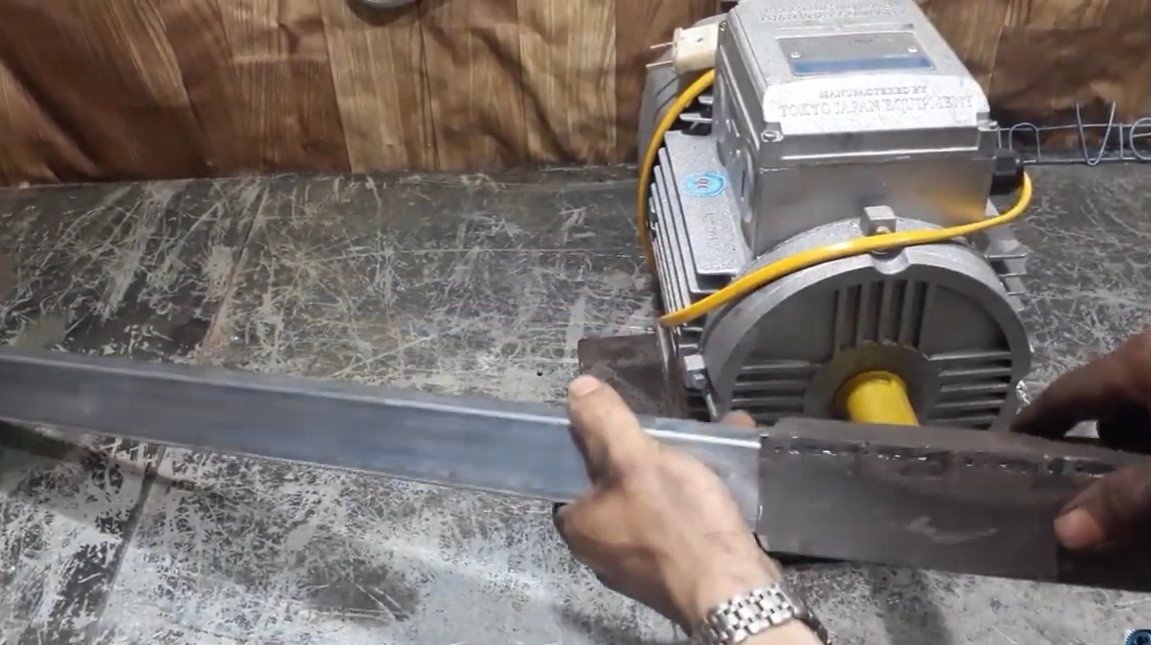
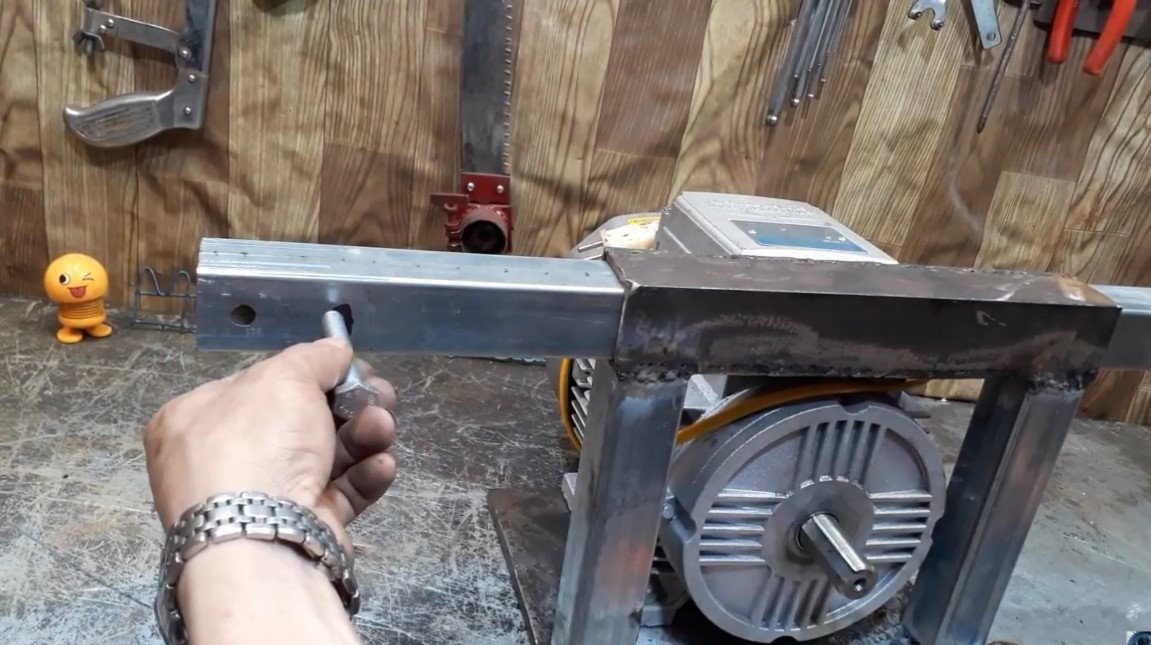
At the top, to two racks, another piece of pipe is horizontally welded, the author already made this pipe by welding two corners. A smaller pipe will be inserted into this welded pipe, as a result, the machine will be able to adjust to the desired length of belt. We make all welds as tight as possible, this is a key element of the frame, everything should be done very firmly here.

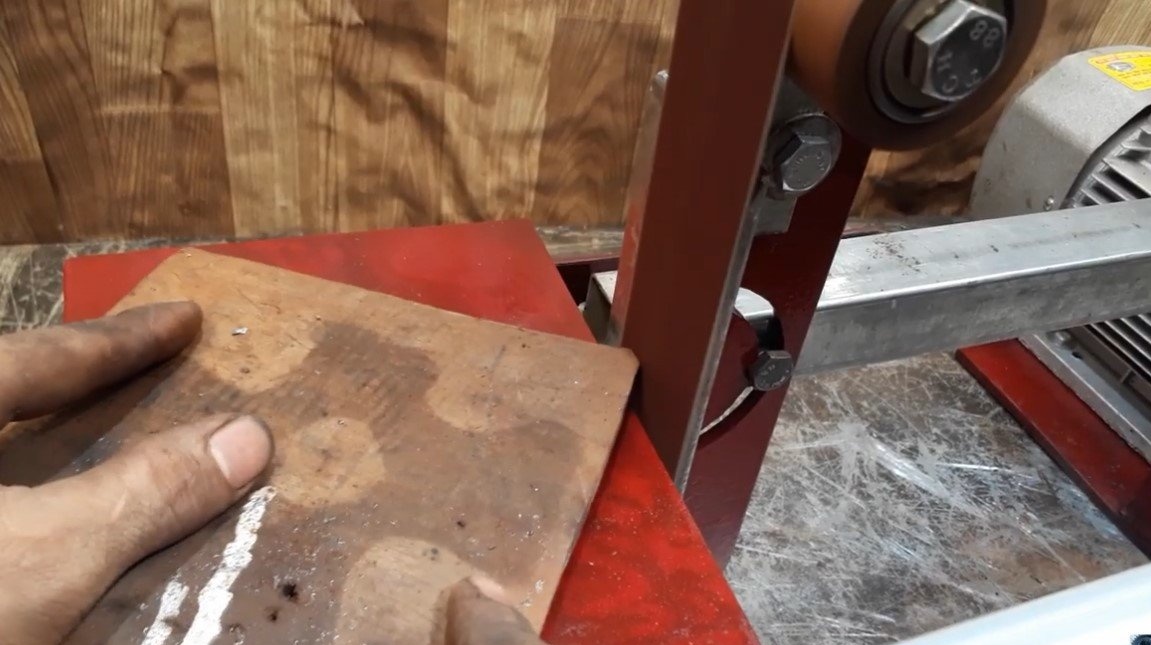
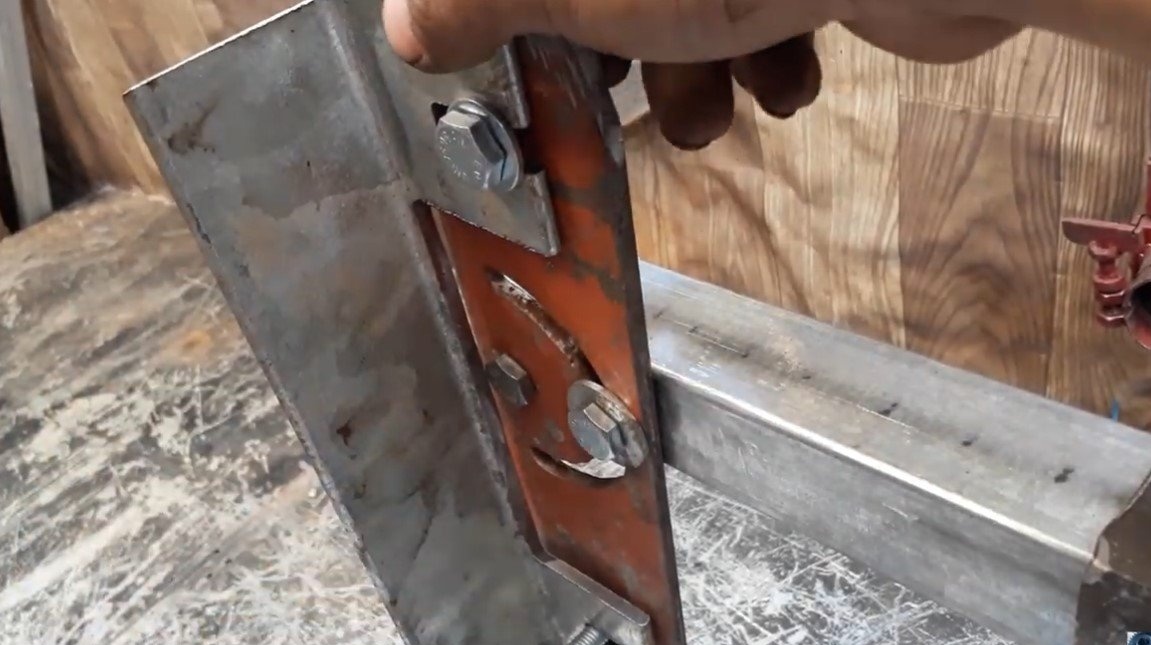
Step Three Emphasis and base under it
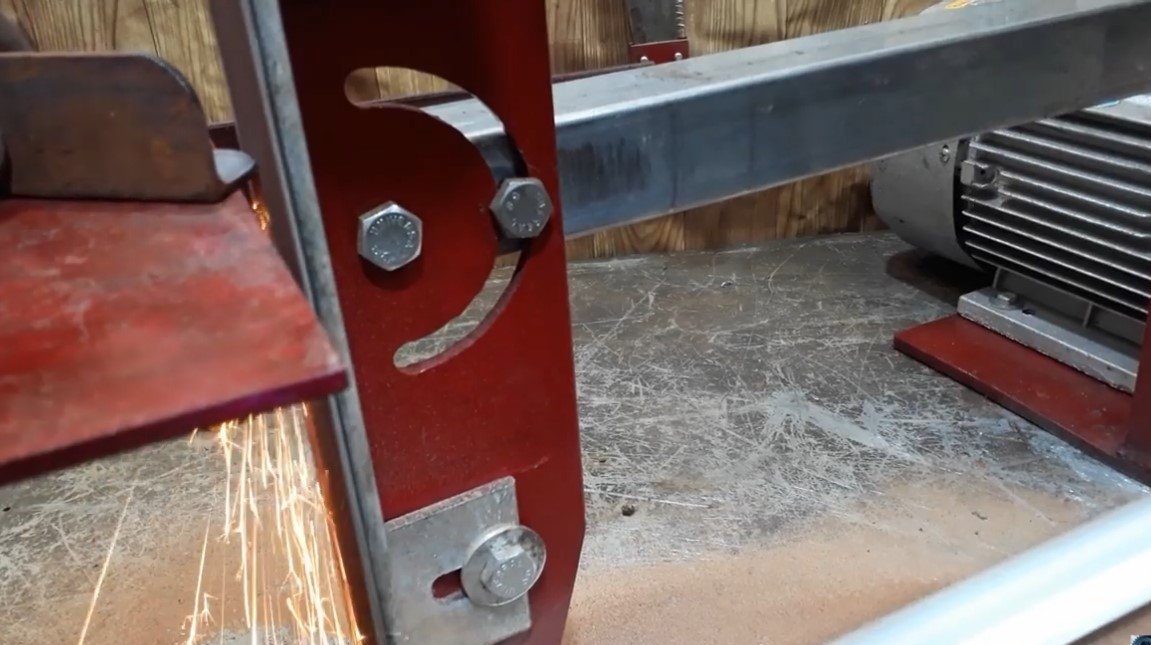
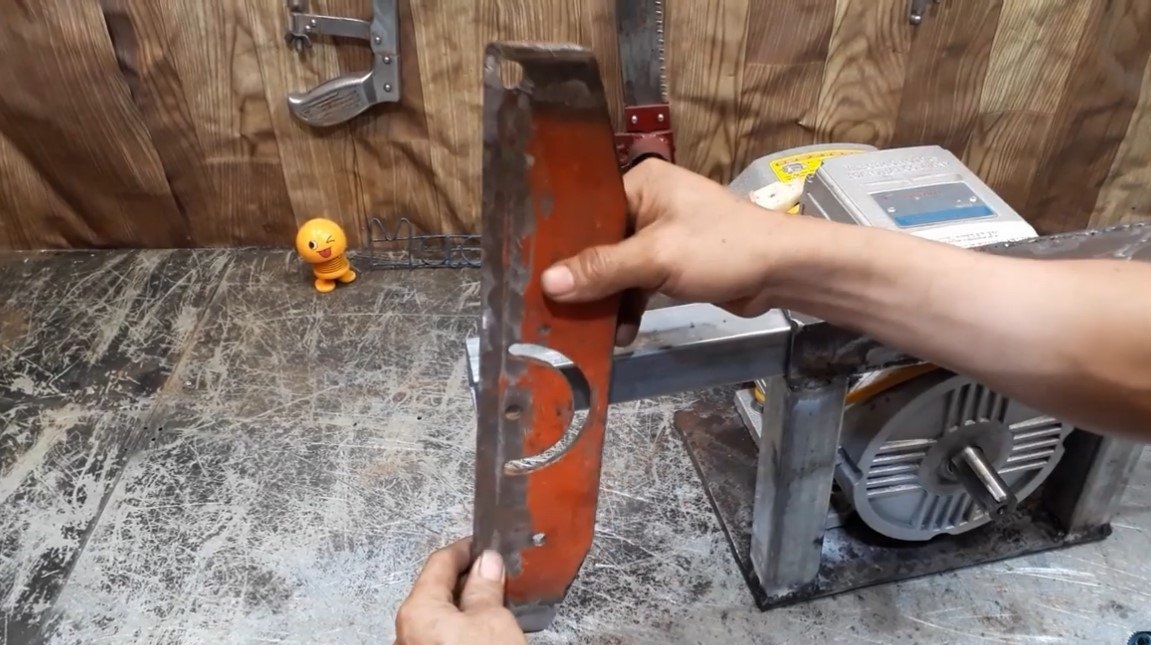
From thick sheet steel, we cut out a part that will be pivotally attached to a horizontal profile pipe.On this part there will be two driven rollers, as well as an emphasis, which we will abut when grinding.
Due to the fact that this part of the frame rotates, we can adjust the stop at the angle we need for grinding, which is very convenient and important. The emphasis itself is made of thick sheet steel, we attach fixing ears to it.
A bolt with a nut is used as a hinge, and another bolt with a nut fixes the structure to the frame.


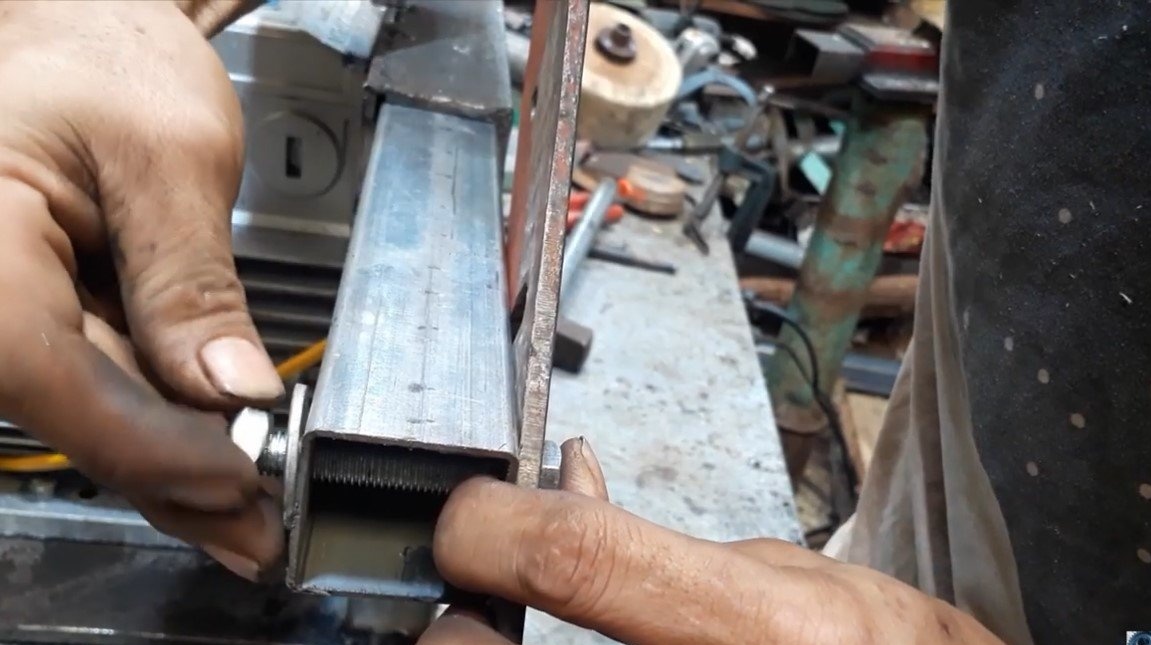
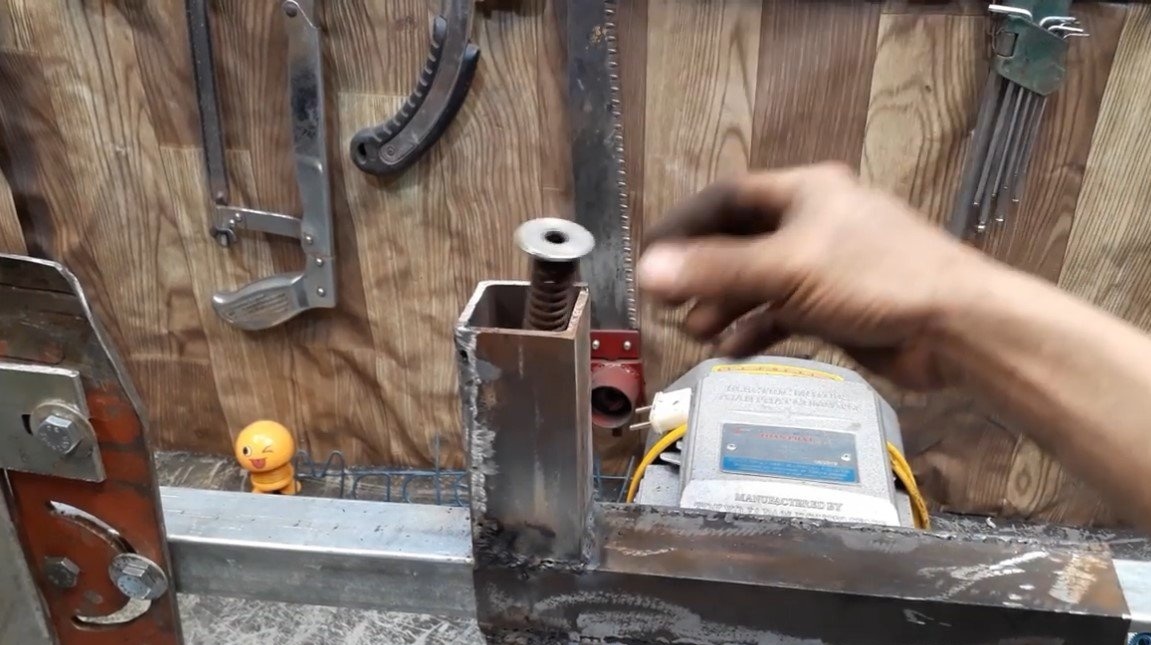
Step Four Adjusting unit
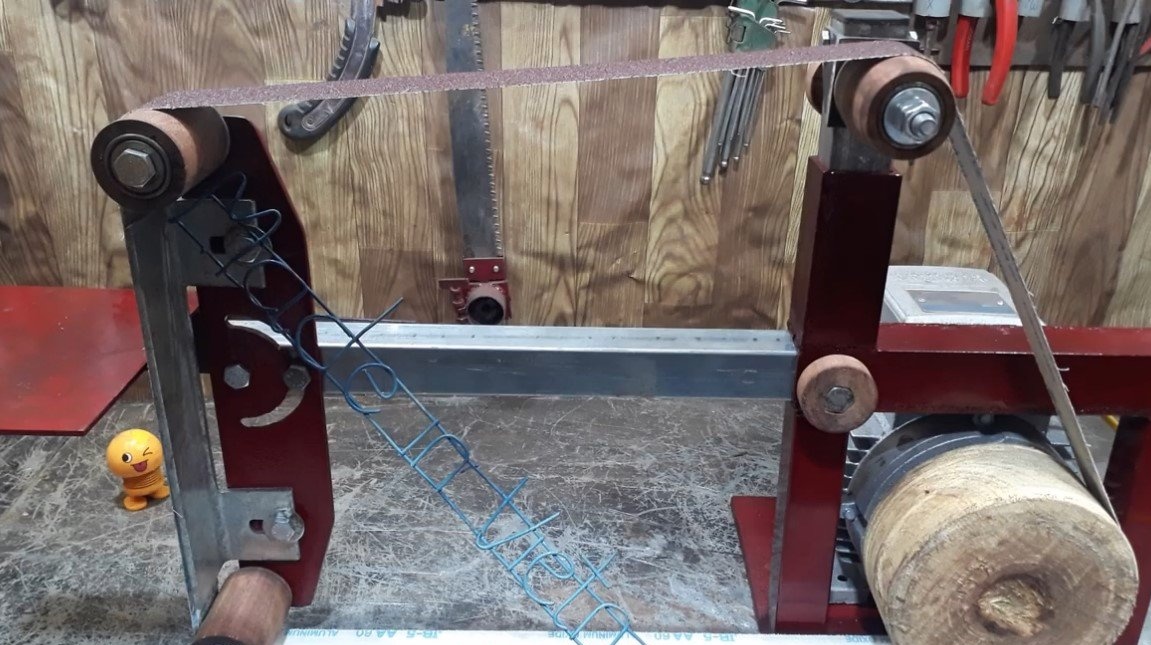
We weld a piece of the profile pipe vertically to the main frame, the author installed a spring in it, which will push the second piece of pipe smaller upward, thus pulling the belt.
We also make an adjustment hinge that allows you to center the belt. Such a hinge can be made of a channel, a corner, or sheet steel, if there is no material said above.

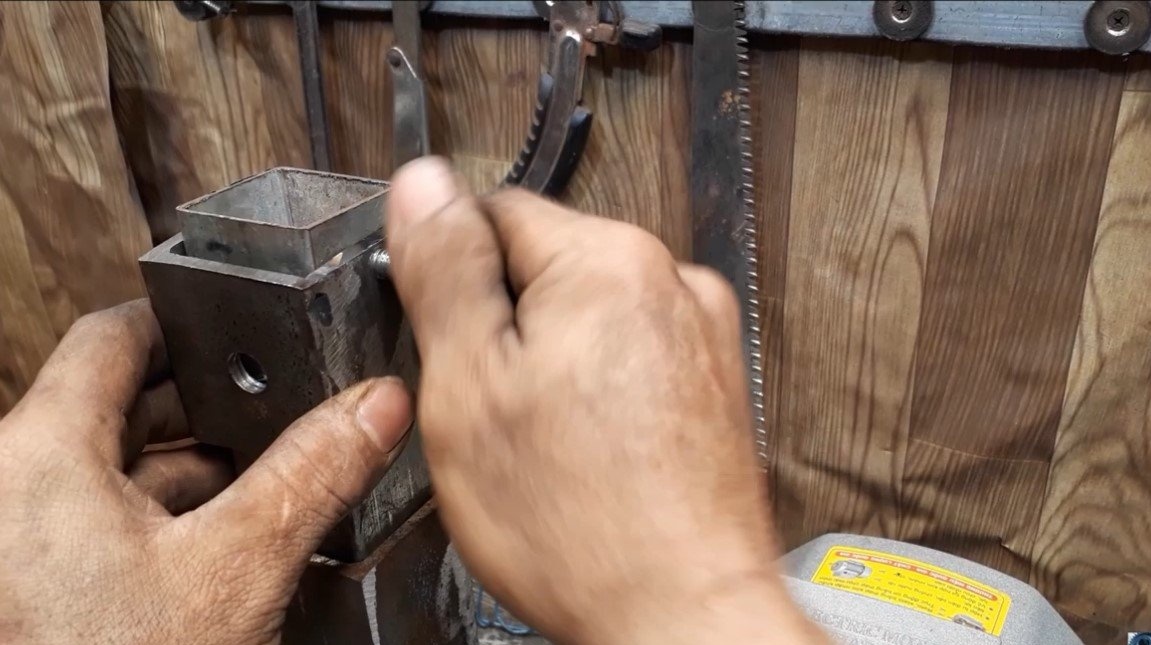
Step Five Wheels
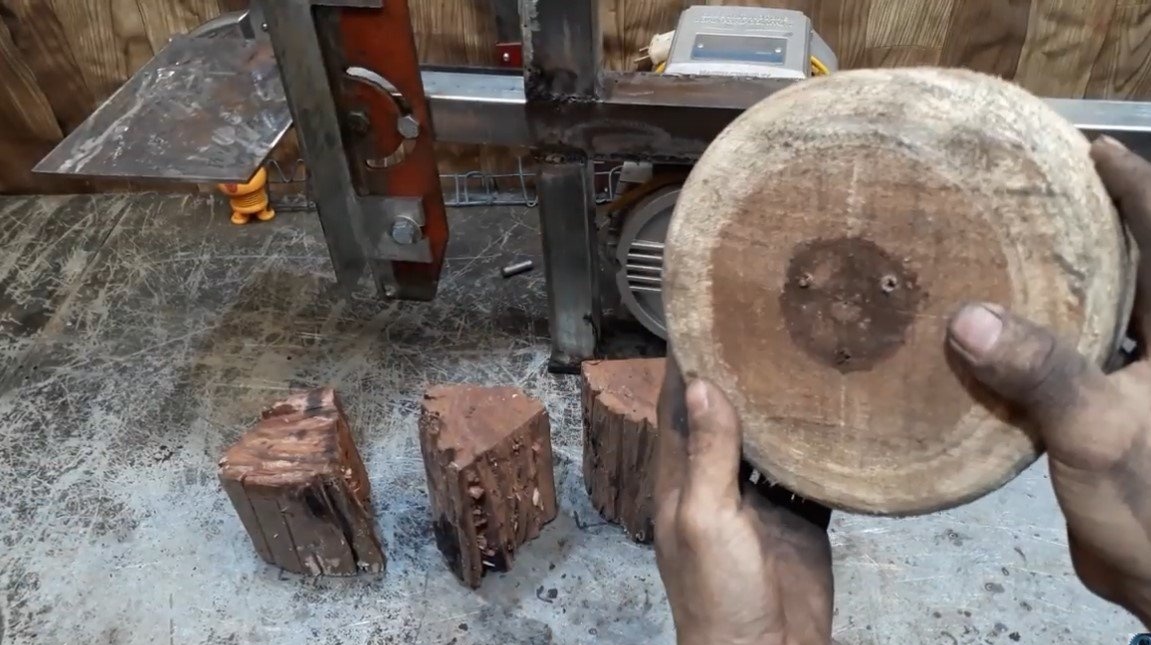
We make wheels (rollers) for the machine, the author decided to make them out of wood. The selected material is available, but in this form, the rollers will quickly fail. Reliable rollers can be made of plywood by gluing it. Or you can glue boards, the fibers need to be arranged perpendicularly, this material is strong.
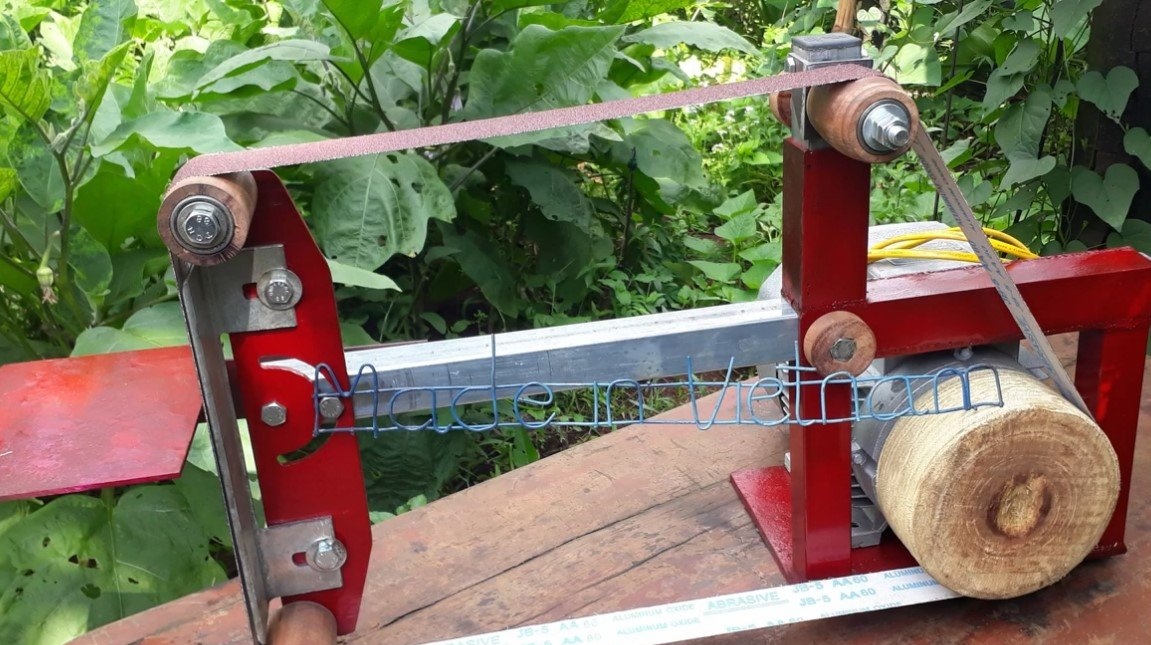
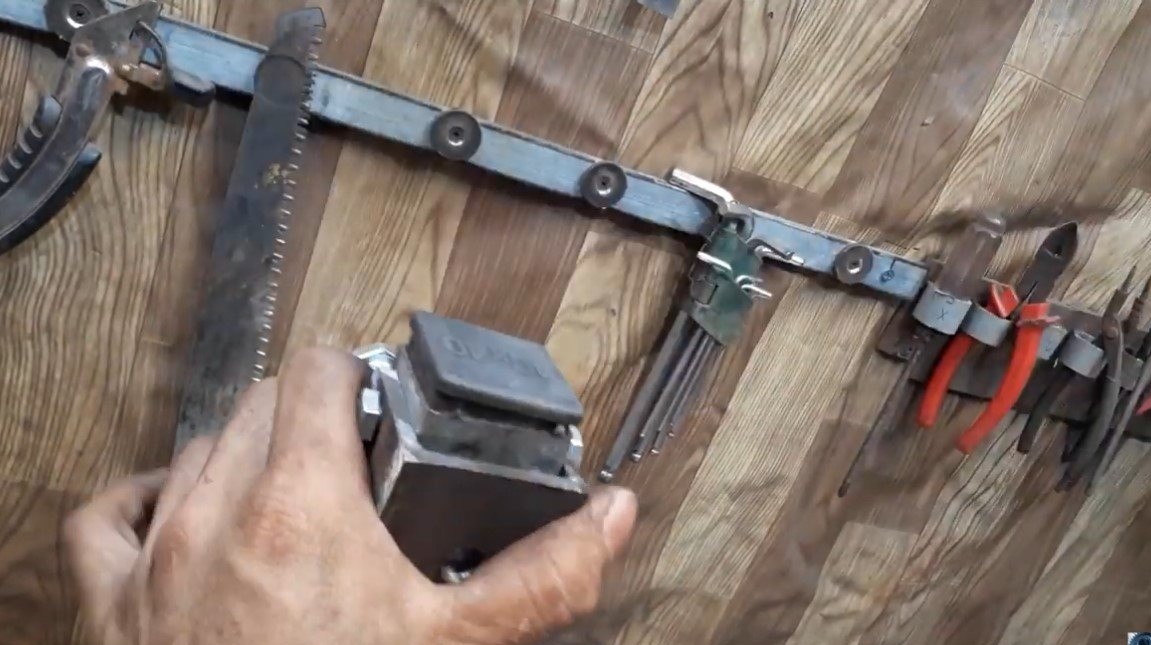
The author turned the wheels with the help of a motor, which is installed on the machine, we work on it like on a lathe.
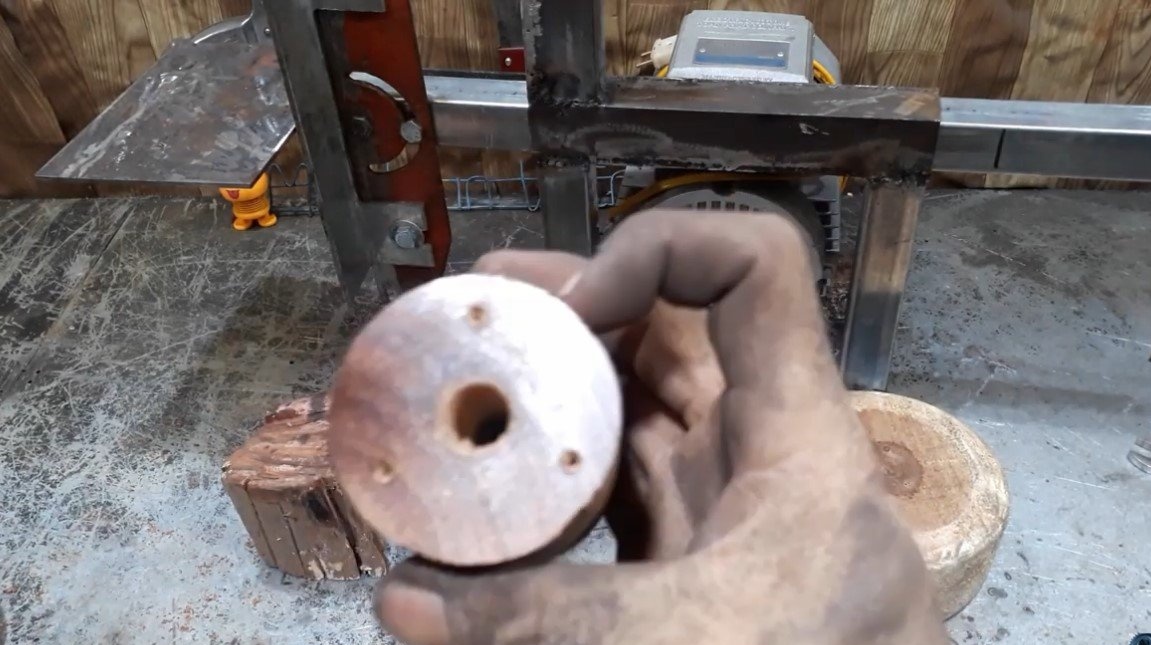
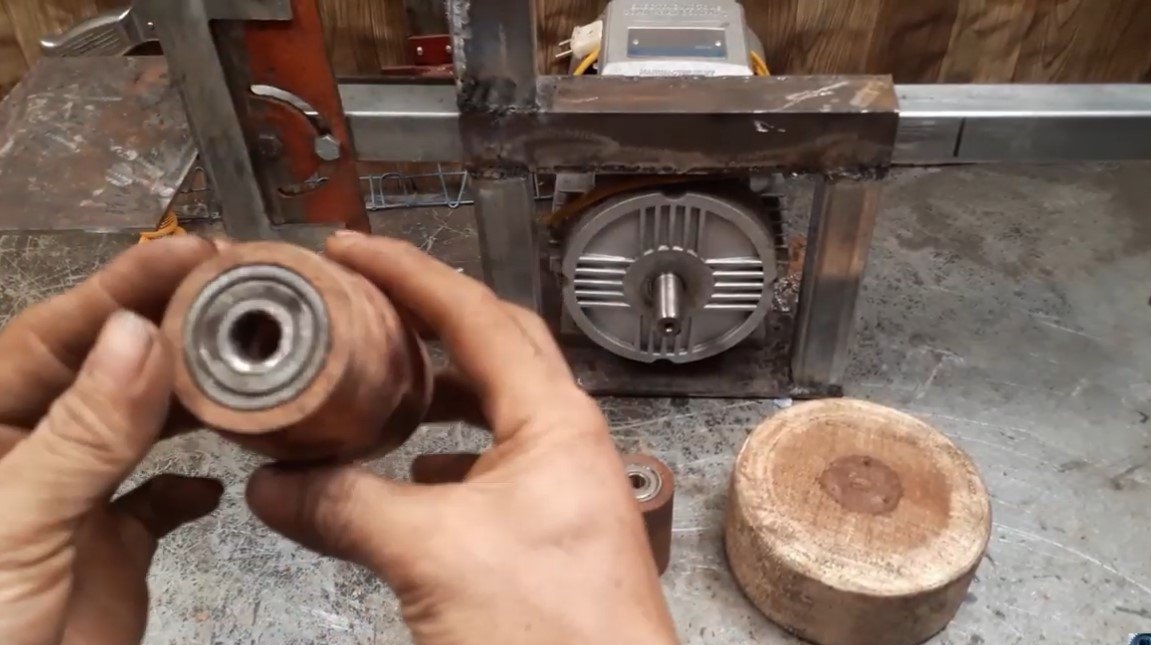
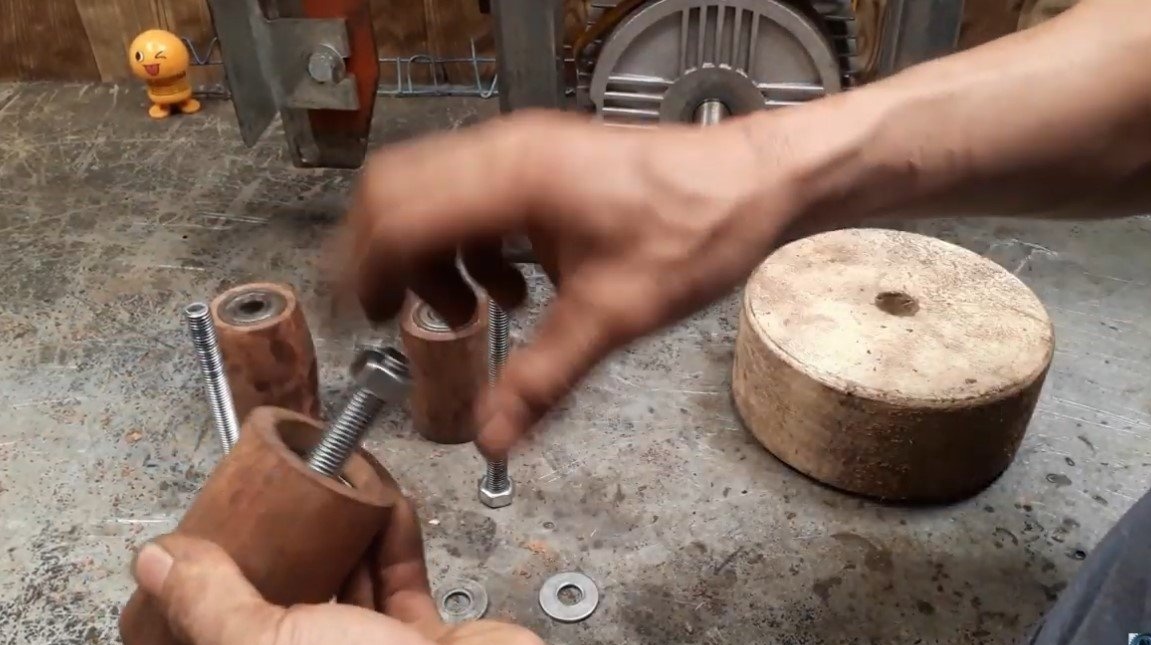
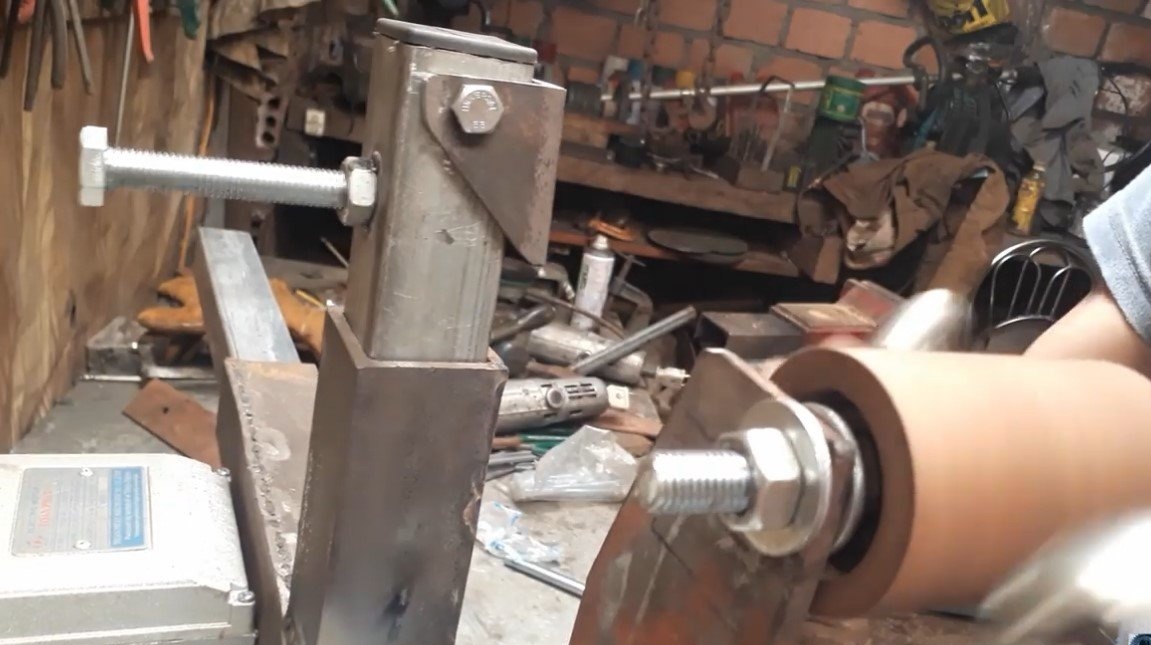
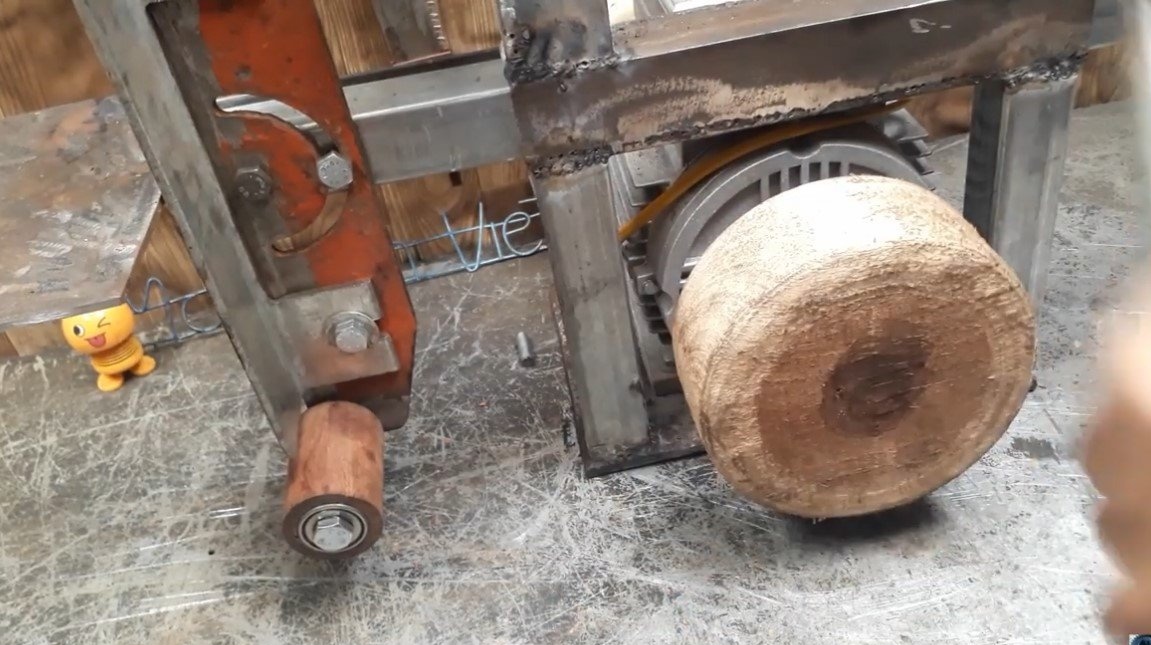
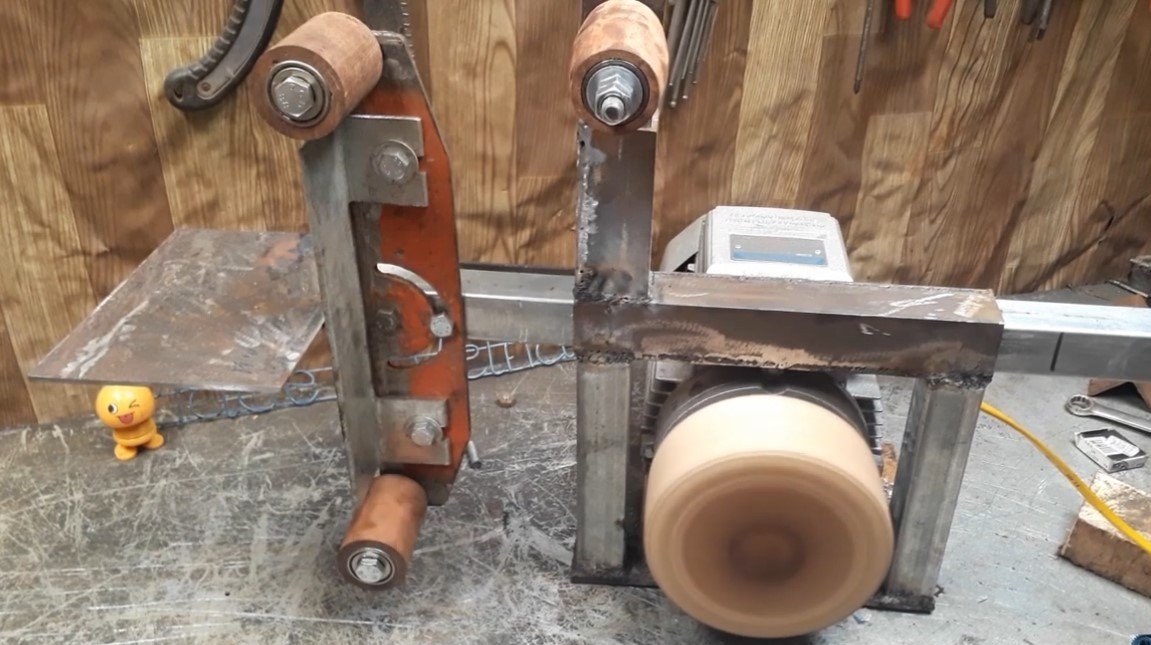
In total, you need 3 driven small rollers and one large drive wheel, which is placed on the motor shaft. It is important to understand that the speed of the grinding belt will depend on the diameter of the drive wheel. Here already everything needs to be selected experimentally, high speeds will be needed when working with steel, sparks should pour in during grinding.
In addition, one of the small rollers is sewn to the edges, and the central part of the roller is the widest. This roller is placed on the adjustment bracket and with it the centering of the grinding belt.
Step Six Painting and testing
We paint the nodes of the machine, now the machine looks great, and will not rust. The machine is assembled as simple and reliable as possible, except for weak wheels.
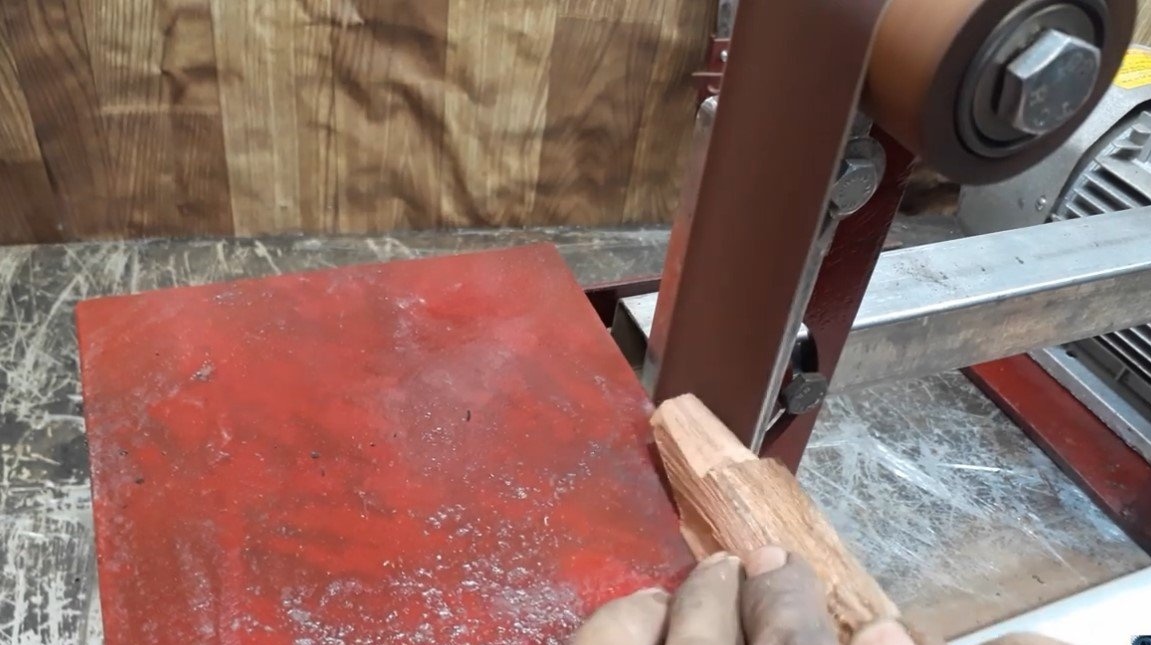
We install a switch in an easily accessible place and proceed to the tests. The machine miraculously polishes both wood and steel; the machine turned out to be successful and durable. This is the end of the project, I hope you liked the homemade work, and you found useful thoughts for yourself. Good luck and creative inspiration, if you decide to repeat this, do not forget to share your ideas and homemade things with us!