Today, an increasing number of people want to have a bathhouse on their site, because there are a lot of building materials, for any choice and pocket. One of the indisputable advantages of modern construction of baths is their quick construction and accessibility of technologies, as well as many examples on the Internet, looking at the experience of people who built on their own, you can take into account their mistakes and build better. And so let's look at what the author needed to build a frame bath.
Materials
- OSB
- lining
- brick
- insulation
- vapor barrier
- a corner
- channel
- fittings
- asbestos pipe
- cement
- sand
- crushed stone
- roofing material
- foil
- ceramic tile
Instruments
- shovel
- Bulgarian
- welding machine
- hacksaw
- drill
- jigsaw
- hammer
- Master OK
- level
- concrete mixer
- roulette
The process of building a frame bath.
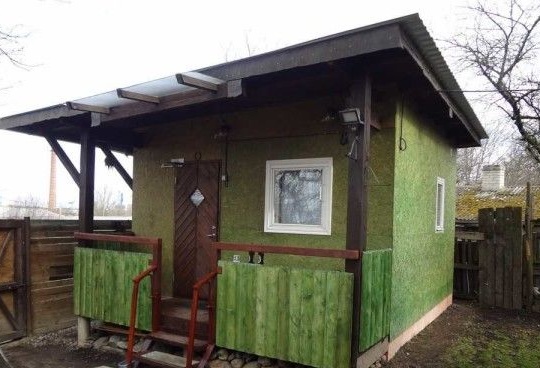
And so it’s necessary to make out a little what all the same is a frame bath and what is the point of construction, for starters it’s the simplicity of construction and of course the short time for the entire construction, because the walls are made of OSB boards and are built very quickly. Having poured the foundation, a frame is made of timber or metal, sheathed with plates or a board, insulated and interior decoration is made. For the simplicity of the design, many have already managed to fall in love with this type of construction.
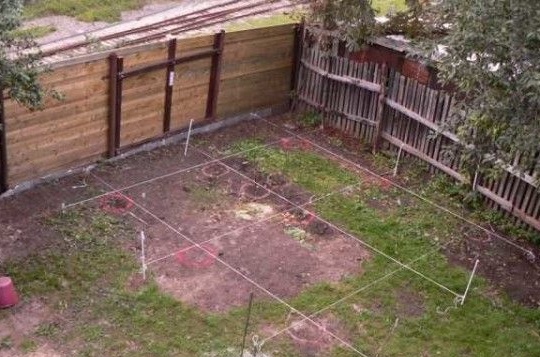
First of all, the author makes a marking of his site, the bath will be placed near the fence.
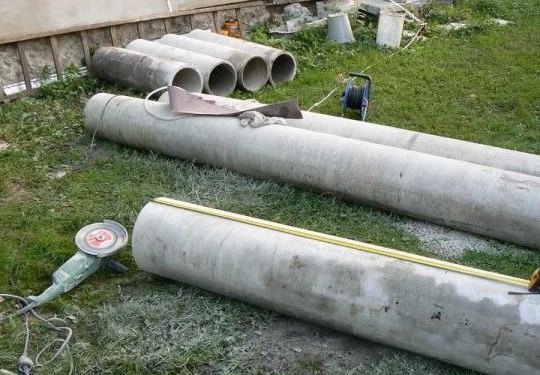
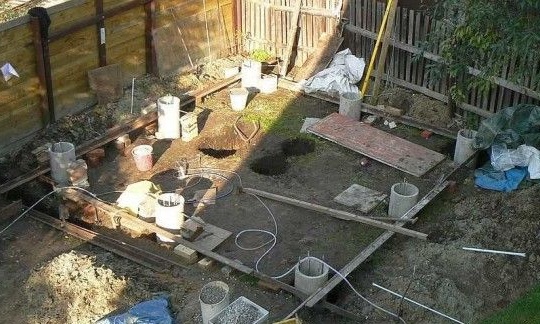
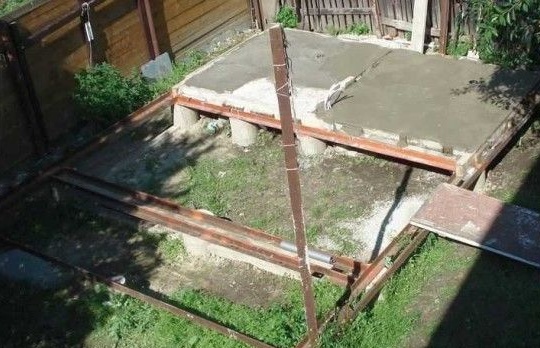
Due to the fact that the author’s area of residence is in an earthquake-resistant zone, it was decided to use a foundation columnar. For this purpose, asbestos pipes with a diameter of 30 cm and a length of at least 1.5 meters were taken, with the condition that 20 cm should be located above the surface of the earth.
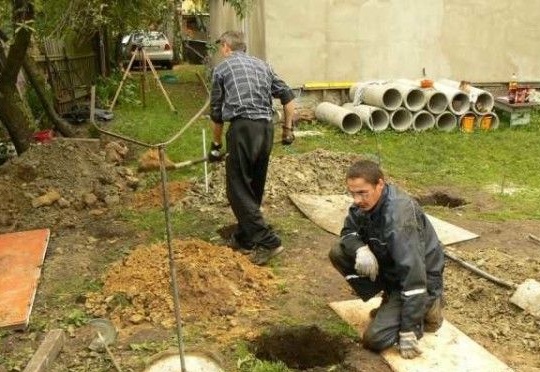
After the pipes are sawn and prepared, the author proceeds to dig holes to install the posts. As you can see in the photo, the author has a special drill.
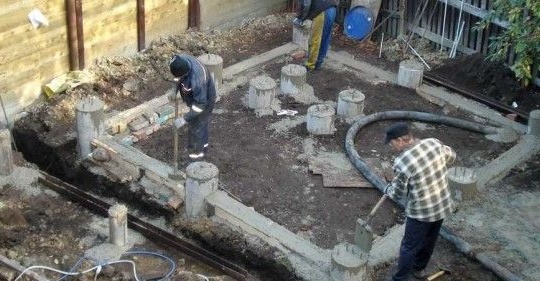
Then, in the prepared holes, the author puts a little gravel on the bottom and rams it, only then he sets up the posts.Also, for greater strength, fittings tied with knitting wire are placed inside the pipe, the pins should extend 10 cm beyond the edges of the pipe so that you can then weld everything.
A columnar foundation was also made under the furnace; for a better fortress, the sides were also flooded. As you understand, the pipes are filled with solution.
The foundation is allowed to dry for a week and then proceed to
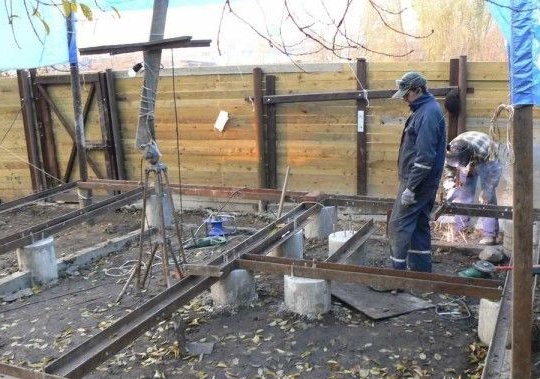
building frame, its lower part will be made of a channel and a corner, because you need increased stability.
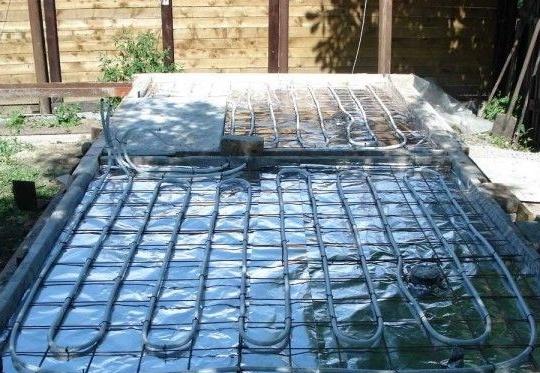
After everything is ready, the author puts warm floors in the area where the shower room and rest room will be located.
Then everything is poured with cement mortar and left alone until completely dry.
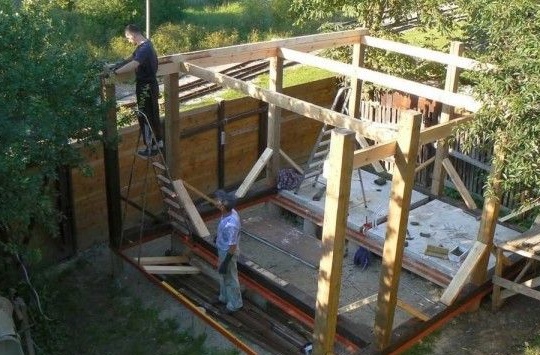
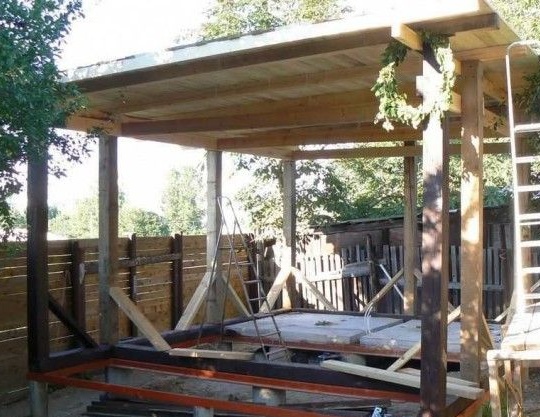
Next begins the construction of the frame of the bath from a wooden beam.
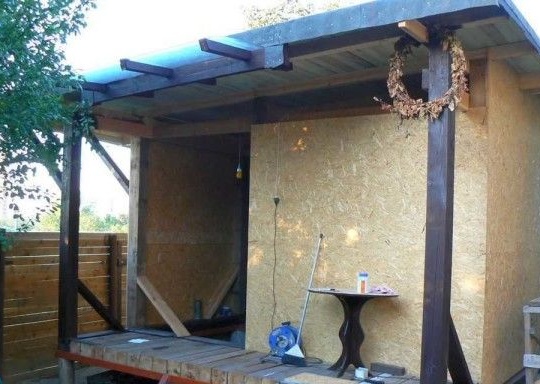
Pay your attention! The roof is mounted immediately after the support poles are installed, this is necessary so that during the construction of the walls and their insulation, the material is not wet and does not accumulate moisture.
Walls are easily sewn up quickly, one hefty sheet of OSB and the wall is ready.
Inside was a beautiful brick stove-stove.
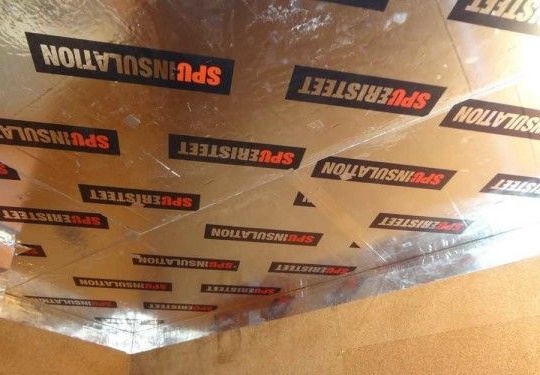
The walls were respectively insulated with a layer of insulation, in the steam room the thickness is 150 mm in the relaxation room 100 mm, vapor insulation and foil are on top of the insulation.
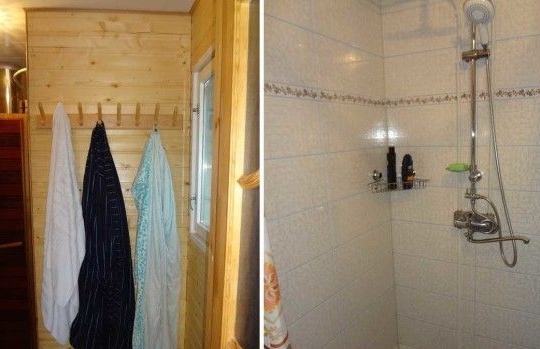
The shower room is tiled.
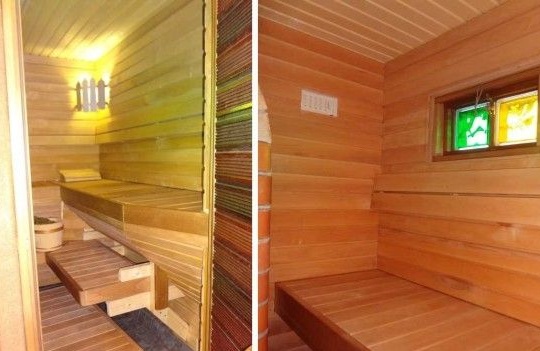
The steam room is trimmed with linden clapboard.
So the bathhouse is ready! You can go soar! Now the author can go to the steam room, the soul will be pleased that it can be the best of his bath.
This concludes my story. Thanks for attention! Come visit often, do not miss the latest in the world
homemade!
This article is for informational purposes only!
