This summer I decided to put myself in the gates, the choice fell on the withdrawable option. After reviewing and scrolling through an nth amount of information, I opted for a mechanism with an average beam, since the upper one limits the height, and the lower one, we must constantly clean it in our winters. There is a lot of information on this topic on the Internet, but it is increasingly advertising this type of gate, but there are no separate sites. I decided to fill this gap, using the example of video shooting my gates. If it helps anyone, I will be glad.
Used tools:
Shovel, rotary hammer, angle grinder, welding machine, screwdriver.
Materials: Professional pipe 40 * 20-24m, 60 * 40-6m, pipe diameter 20mm-14m, channel 120mm-4m, 4 rollers with a forged bearing, bearing diameter 30mm-6pcs, bolt with nut 100 * 12mm-6pcs, 2 eyes under the bottom. clamps.
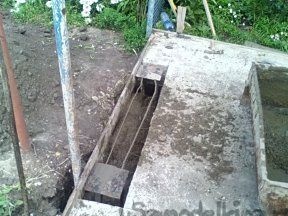
The first step was to dig a trench 1.5 * 0.3 m and a depth of 1.2 m under the mortgages made of 5 mm iron, in the form of two squares 0.2 * 0.2 m. Welded four reinforcement corners to the mortgages, and paired them with longitudinal trim so that the size at the outer edges of the squares was 1.4 m.
Filled with concrete and left to set for two weeks

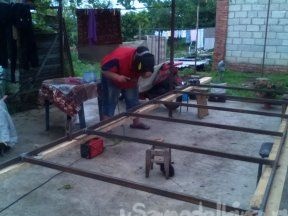
Meanwhile, from prof. 40 * 20mm pipe, the section of the gate was welded 4.5 * 1.7m. The middle beam is made of profiled pipe 60 * 40mm and 4.5m long, guides from 20mm pipes welded on each side

After making sure that the middle beam walks perfectly along the guides, I welded the prepared section to it, setting the lower gap to 50mm.
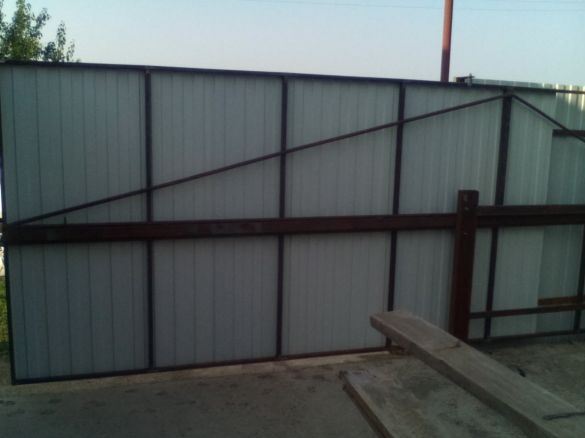
For cantilever stiffness of the gate, I added two diagonal extensions from a 20mm pipe. I assembled the upper and lower stops from 30 mm bearings, of which I also assembled the lower retainer on the reciprocal 120 mm channel (I just stayed).
At the end of welding, he opened the structure with soil and sewed it with corrugated board. In principle, everything, if anyone doesn’t understand what, write in comments.

