
Fishing rods with an automatic hooking device are tacitly considered poachers, but in reality this is not true. The auto-guard is often used in winter fishing by both beginners and experienced anglers. By following the step-by-step instructions, the self-guide can be made do it yourself.
Materials and tools for homemade:
• plywood or chipboard;
• self-tapping screws;
• thin and thick metal wire;
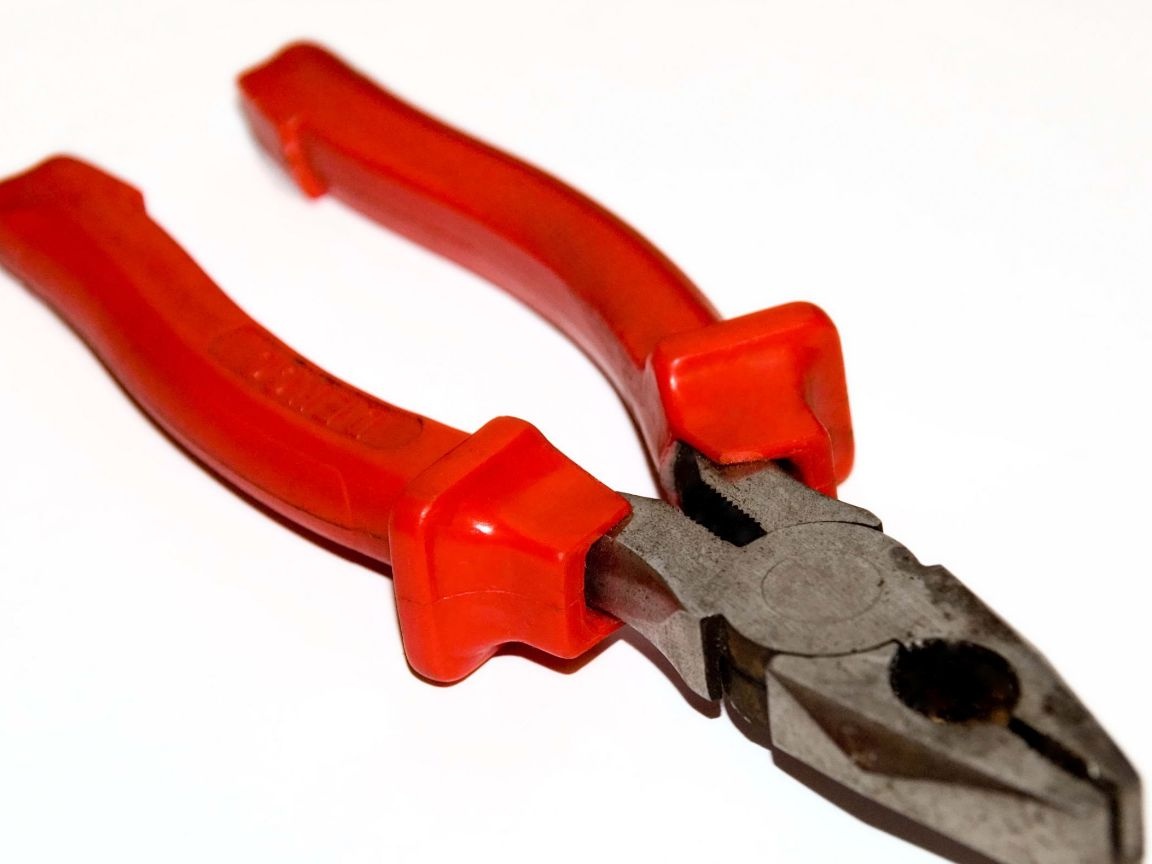
• pliers;
• drill;
• reel with fishing line.
The process of manufacturing auto-detectors
By doing this device, the fishing process becomes even more interesting, because almost the fishing rod itself will catch fish.
Step 1. Fishing Rod Base
It is necessary to take a piece of plywood or chipboard and cut it with a size of about 22x8 cm - this is the optimal size. It makes no sense to make a larger base, as it will be cumbersome, and if you make it smaller, all the necessary elements will not fit.

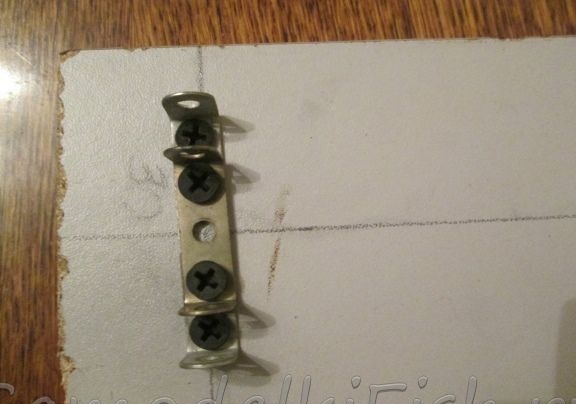
Step 2. Lever bracket
We take the narrow side of the plywood and measure out three centimeters, then we fasten two levers of the undercutter to small self-tapping screws. The levers can be made of old metal parts of the designer or sheet metal.
Step 3. Spring
To make a spring, you need to get two wires, thin and thick. Thin wire can be taken from an old cornice of the “string” type. Thick wire can be taken from the design of suspended ceilings.

A thin wire is wound around a thick wire with the help of pliers, making coil by coil. It is necessary to make from 10 to 15 turns (so that the spring fits between two brackets).
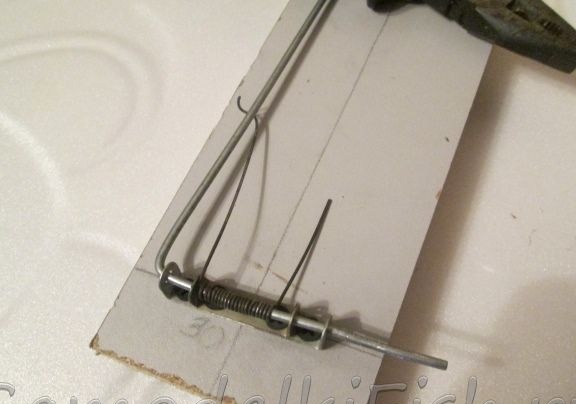
Step 4. Mounting the lever
The future lever must be bent and inserted at the beginning of one of the brackets. Next, a pre-made spring is put on the wire, the lever is pushed into the second bracket. The spring is between the brackets. The long end of the spring bends at the bottom of the lever. It is necessary to make sure that a makeshift spring pulls the entire lever.
Step 5. Impact
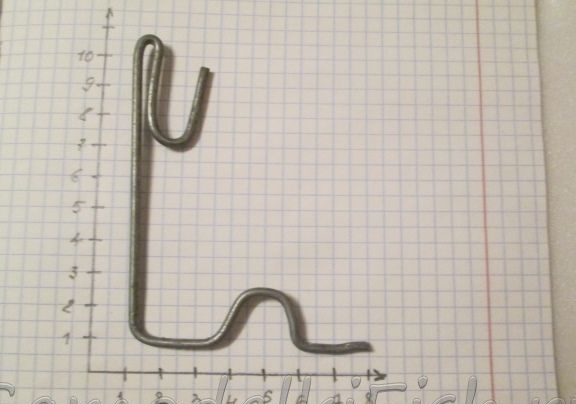
The end of the thick wire must be bent at the end of the plywood, so that the shock part is obtained, all that remains unnecessary is cut off.

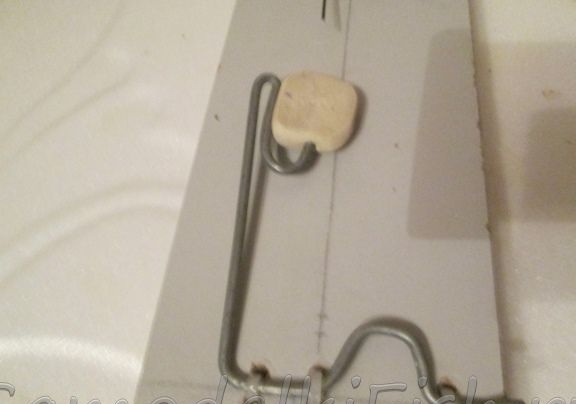
Step 6. Making the retainer
For the clamp, you need to take another thick wire and bend it in a shape similar to a hook.
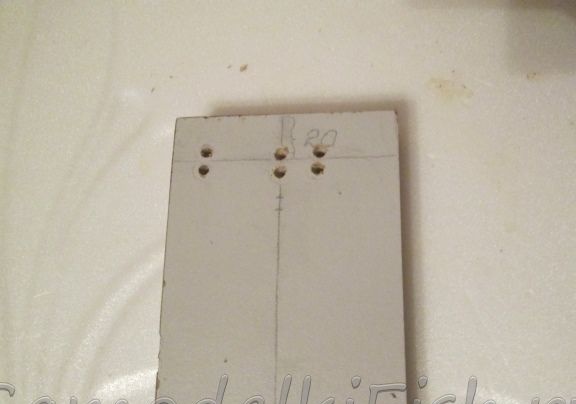
Step 7. Drilling holes for securing the lock
On the other narrow side of the plywood, measure two centimeters from the edge and make six holes.Using plastic ties, the thick wire retainer must be attached to the holes made. At the end of the latch, hang a regular eraser stationery gum.
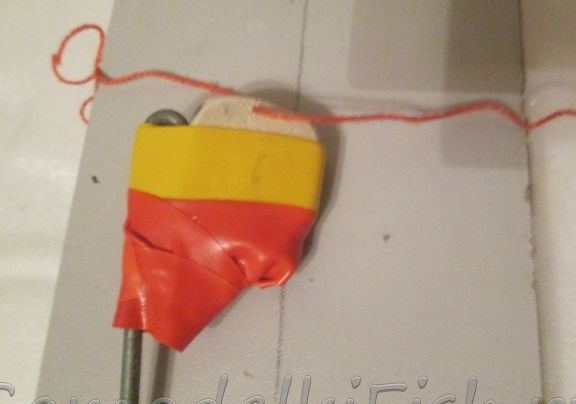
Step 8. Finalizing the gum
To keep the gum better, it is necessary to rewind it with electrical tape and cut a small hole so that it can let the fishing line through.
Step 9. Installing the line tensioner
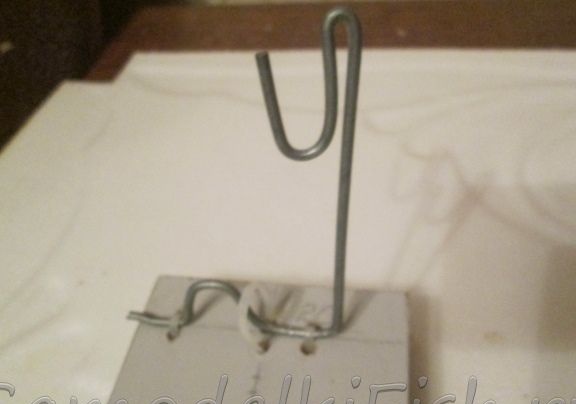
A little lower from the bottom of the bend of the lever, you need to drill a hole for the future tensioner for the fishing line, it will be the hook on which the chandeliers are hung.
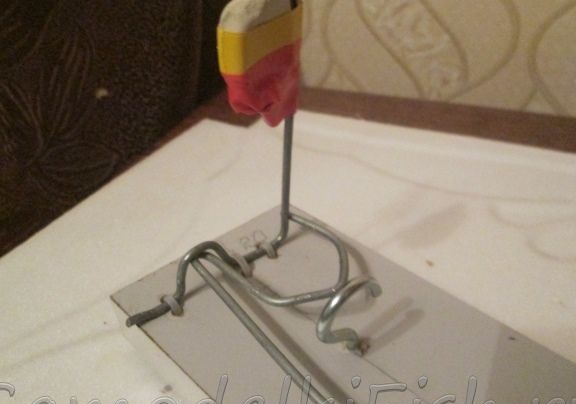
Step 10. Attaching the Coil
The coil leg must be attached to the base with two self-tapping screws. The line should pass between the tensioner and the hole in the elastic. Bend the latch so that the edge of the fishing line goes straight into the hole and does not cling to the wooden base.
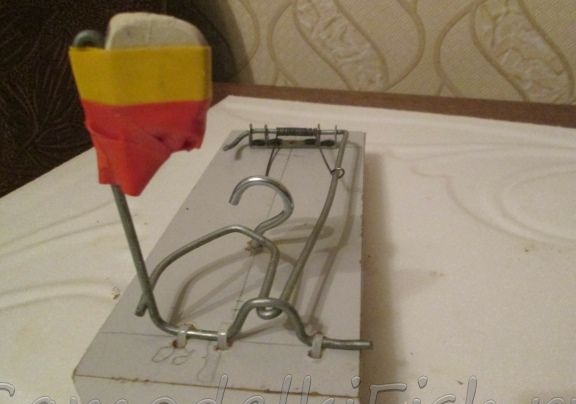


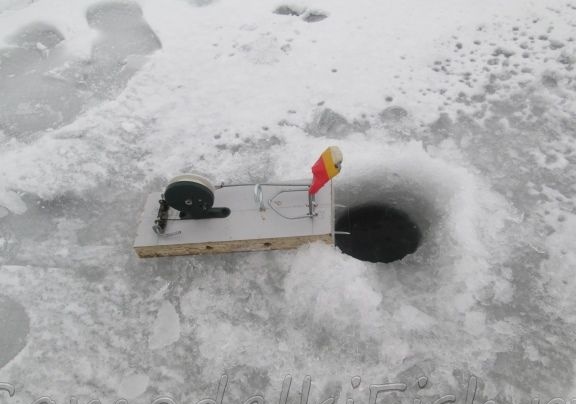
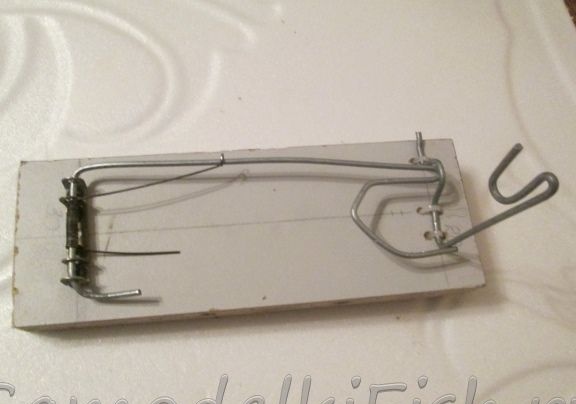
Conclusion
When the fishing line is in the water and pulled, the latch goes forward, while the lever is released and with the help of a spring bends on the fishing line with a bend - there is a hook. When testing the device in air, everything happens quite quickly, in water everything is much slower. Depending on the number of turns of the spring, traction can be changed.