
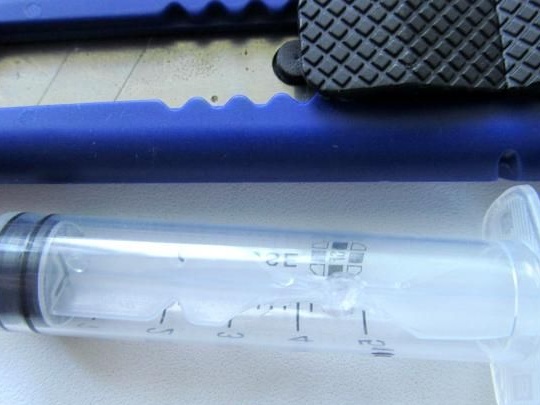
By the way, the syringe is used with a rubber piston, this allows you to fix the coil.
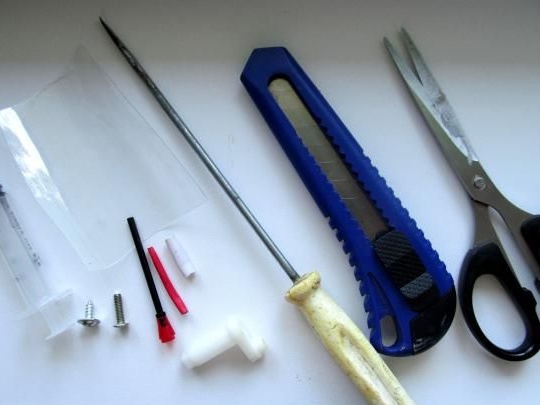
Materials and tools for the manufacture of fishing rods:
- a syringe (the author uses a small 5 cubic meter);
- screwdriver;
- a bolt and a self-tapping screw;
- Super glue;
- stationery knife;
- plastic bottle;
- some elements from the constructor lego;
- red and white cambric.
The process of manufacturing a pocket fishing rod:
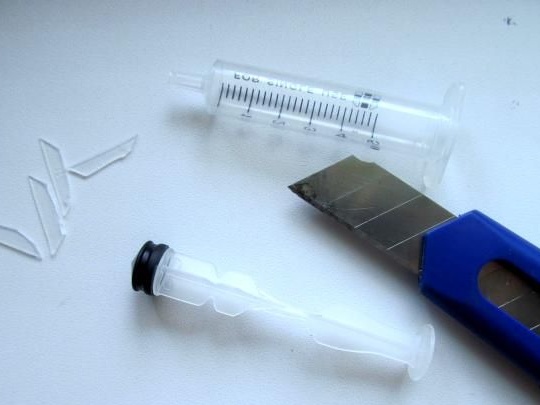
Step one. We make a coil
The fishing line in the fishing rod will be wound on the piston, for this it needs to be finalized. An office knife is taken and with it a groove under the fishing line is cut out in the piston body. Then a syringe is taken and a hole is made in it, through which the syringe will enter the line. It can be made with a hot needle, but it is better to pierce with something, otherwise a bulge will form on the other side of the hole, which may interfere with the operation of the coil.
Now, to twist the handle was convenient, on the other side you need to make a handle. For these purposes, the author uses an element from the lego constructor. He simply fastens the spare part to the piston using a self-tapping screw. Still need to screw a bolt, it will be the handle itself. If there is no such element from Lego, then the handle can be made from another material, for example, from a copper wire.
Step Two We make a nod holder
For the manufacture of this element, components from the designer are also used. The top is glued to the syringe using superglue. Now you need to wait until the glue has completely dried and you can proceed to the next stage.

Step Three Making a nod for fishing rod
The nod is also done independently; PET is a great material for it.For these purposes, a plastic bottle is taken and a thin strip is cut from it with scissors. Such a nod will be very sensitive to any bites, to achieve this you need sensitivity, you need to experiment with long and wide.
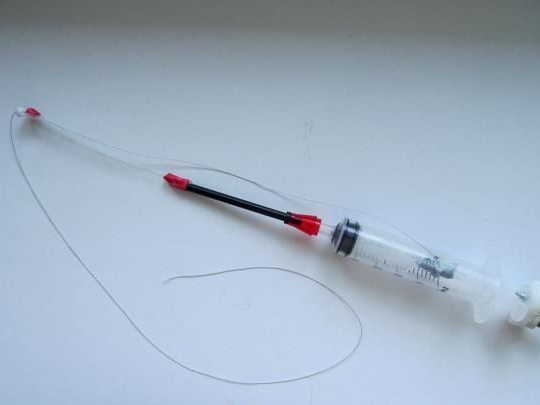
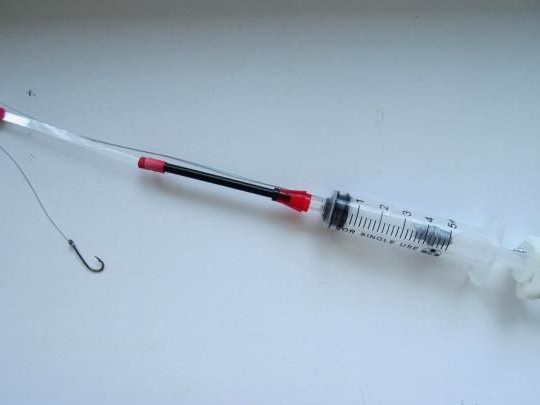
In order to fix the nod, cambrics are used. In order to make the nod better visible, red cambric is put on the tip of the nod. In order to skip the fishing line, the end of the nod must be bent and then put on the cambric, as indicated in the pictures. The second end of the nod is also fastened with cambric; if desired, it can be glued.
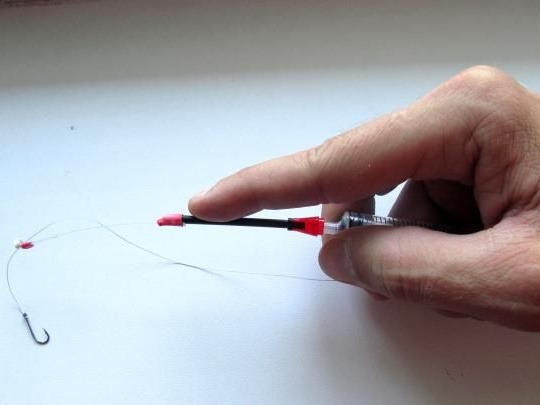
That's all, the homemade product is ready. Now you can tie a mormyshka or a hook, attach a bait and fish wherever it is.