
Hello!
Many of us who ride on skateboards have old unnecessary items at home, which have been replaced by newer ones, they simply lie and gather dust. The author of this article suggests that you and I use one of these unnecessary boards in your home interior, namely, turn it into a very original lighting element for the room. Further, the article will describe the manufacturing process itself and include a list of materials used.
Let's get started!
For the manufacture of this work we need.
Materials:
- skateboard;
- T-shaped PVC fittings, 2 pcs.;
- PVC bushings 2 pcs;
- lampholders, 4 pcs .;
- paint in spray cans of different colors and shades;
- primer;
- epoxy resin
- light bulbs;
- wires;
- masking tape;
- electrical tape.
Instruments:
- nippers;
- wrench;
- sandpaper;
- screwdriver;
- screwdriver;
- drill ring.
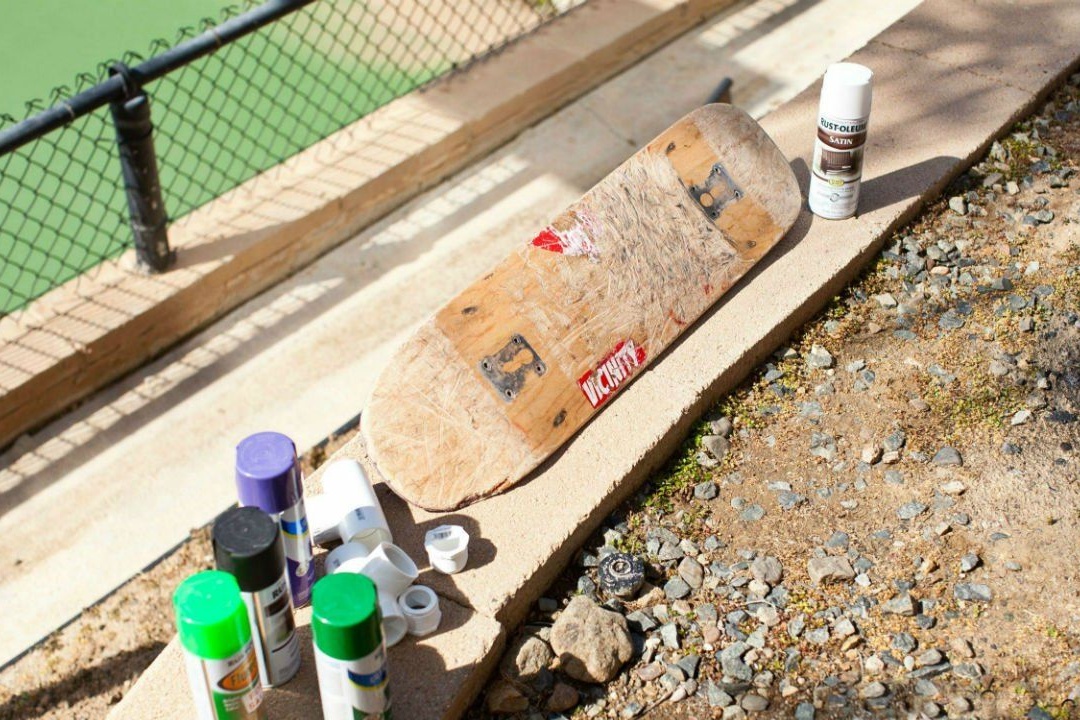
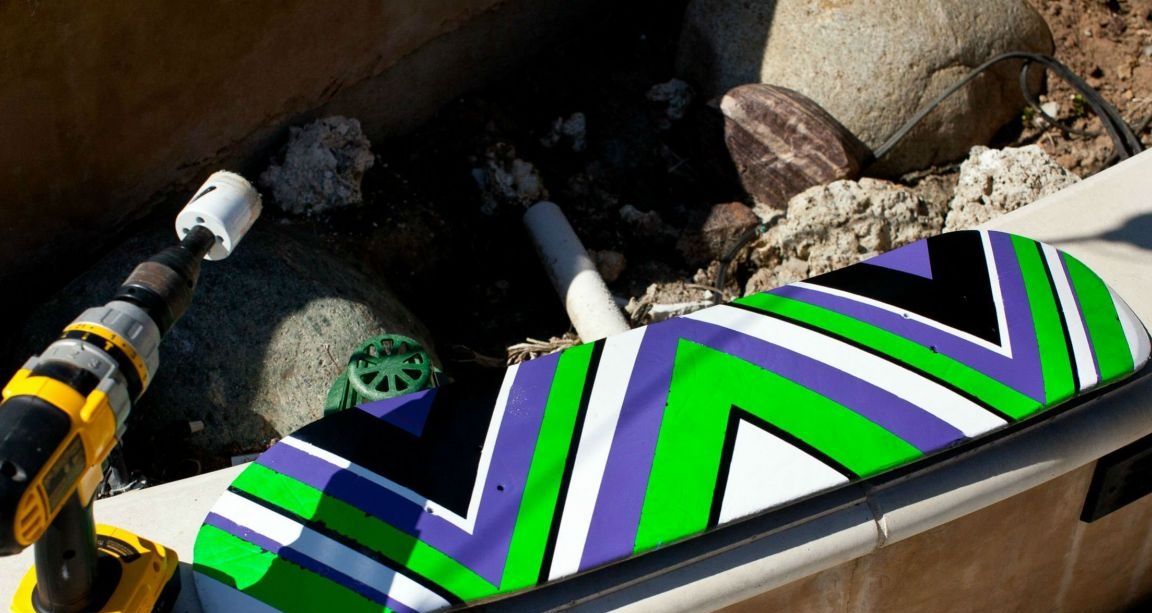
To begin with, we will disassemble the board, remove the wheels and all the fasteners. We only need a board, and since the board is old and the picture is worn out, we need to erase it completely, we grind the surface with sandpaper.

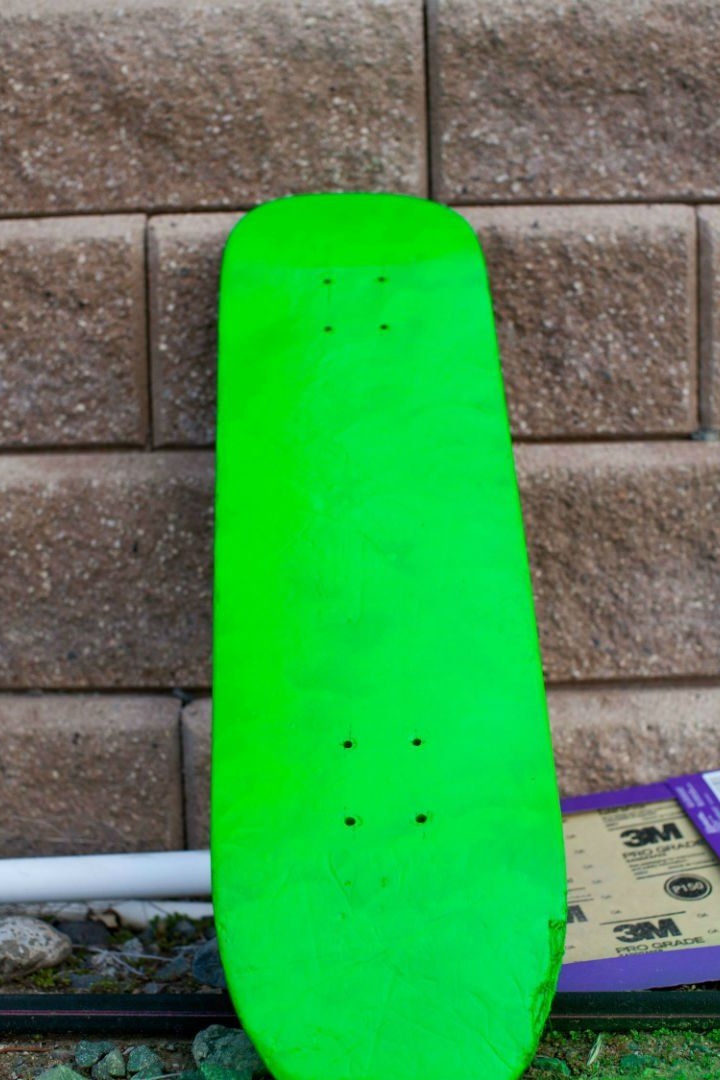
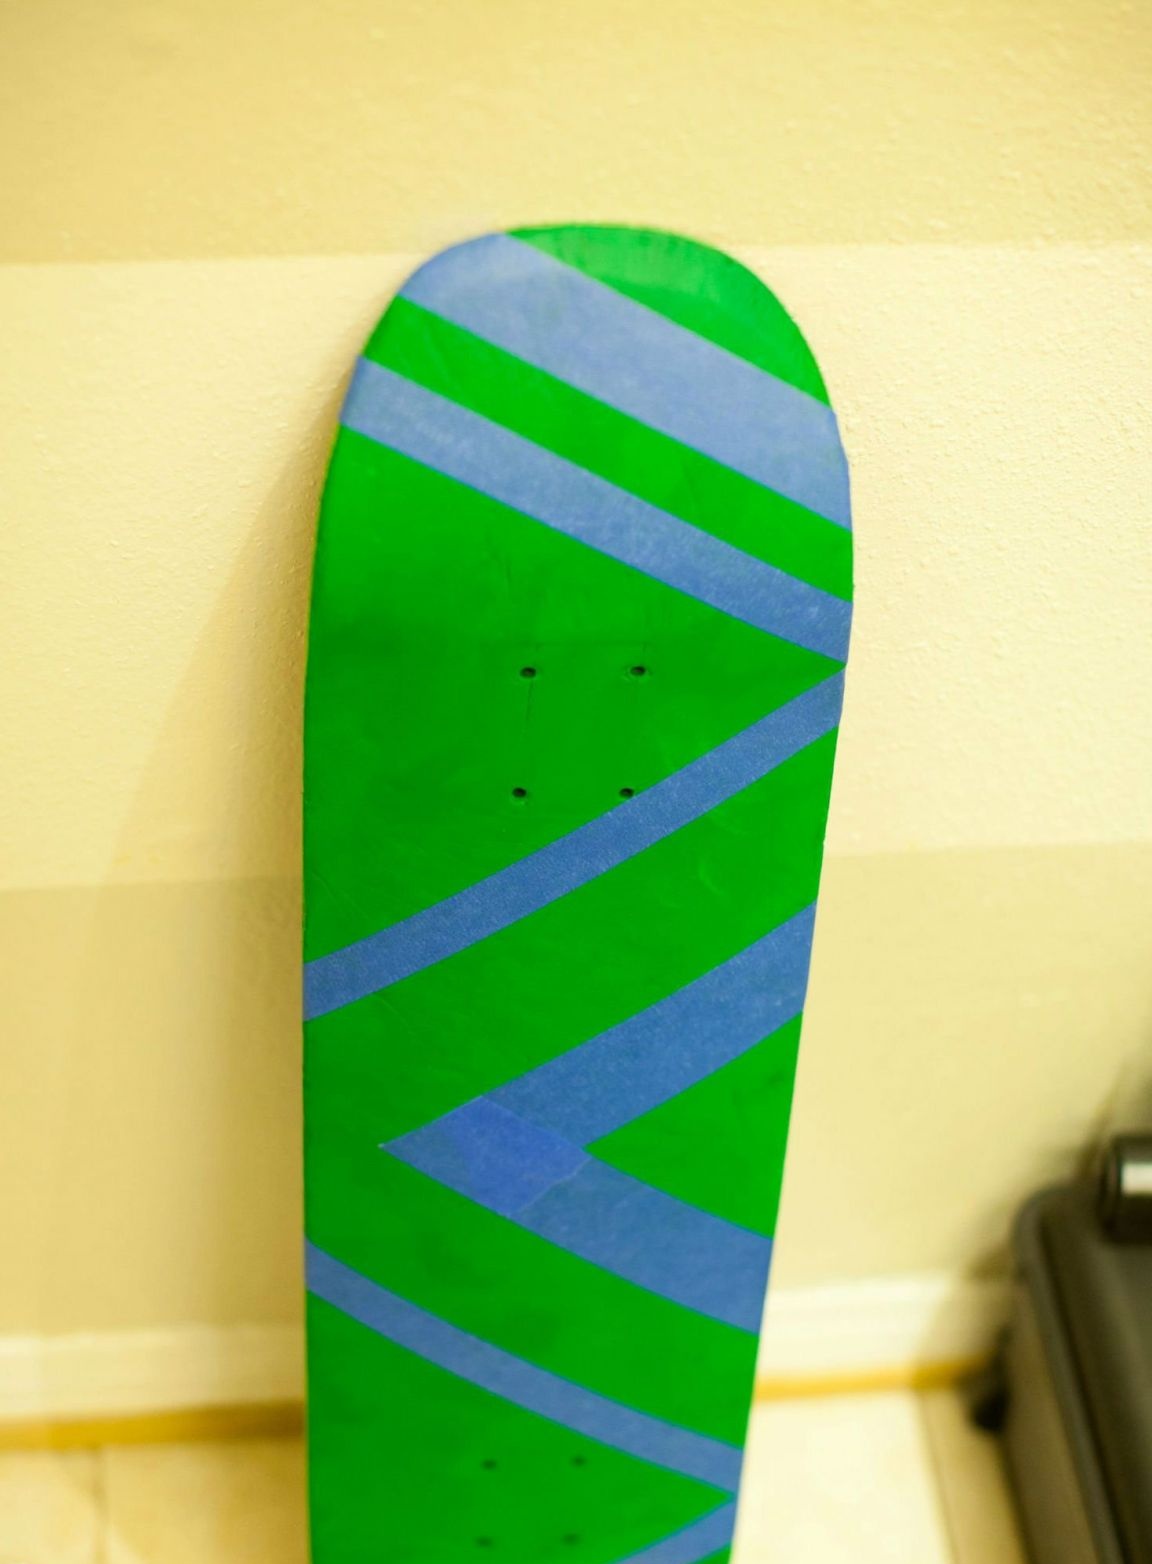
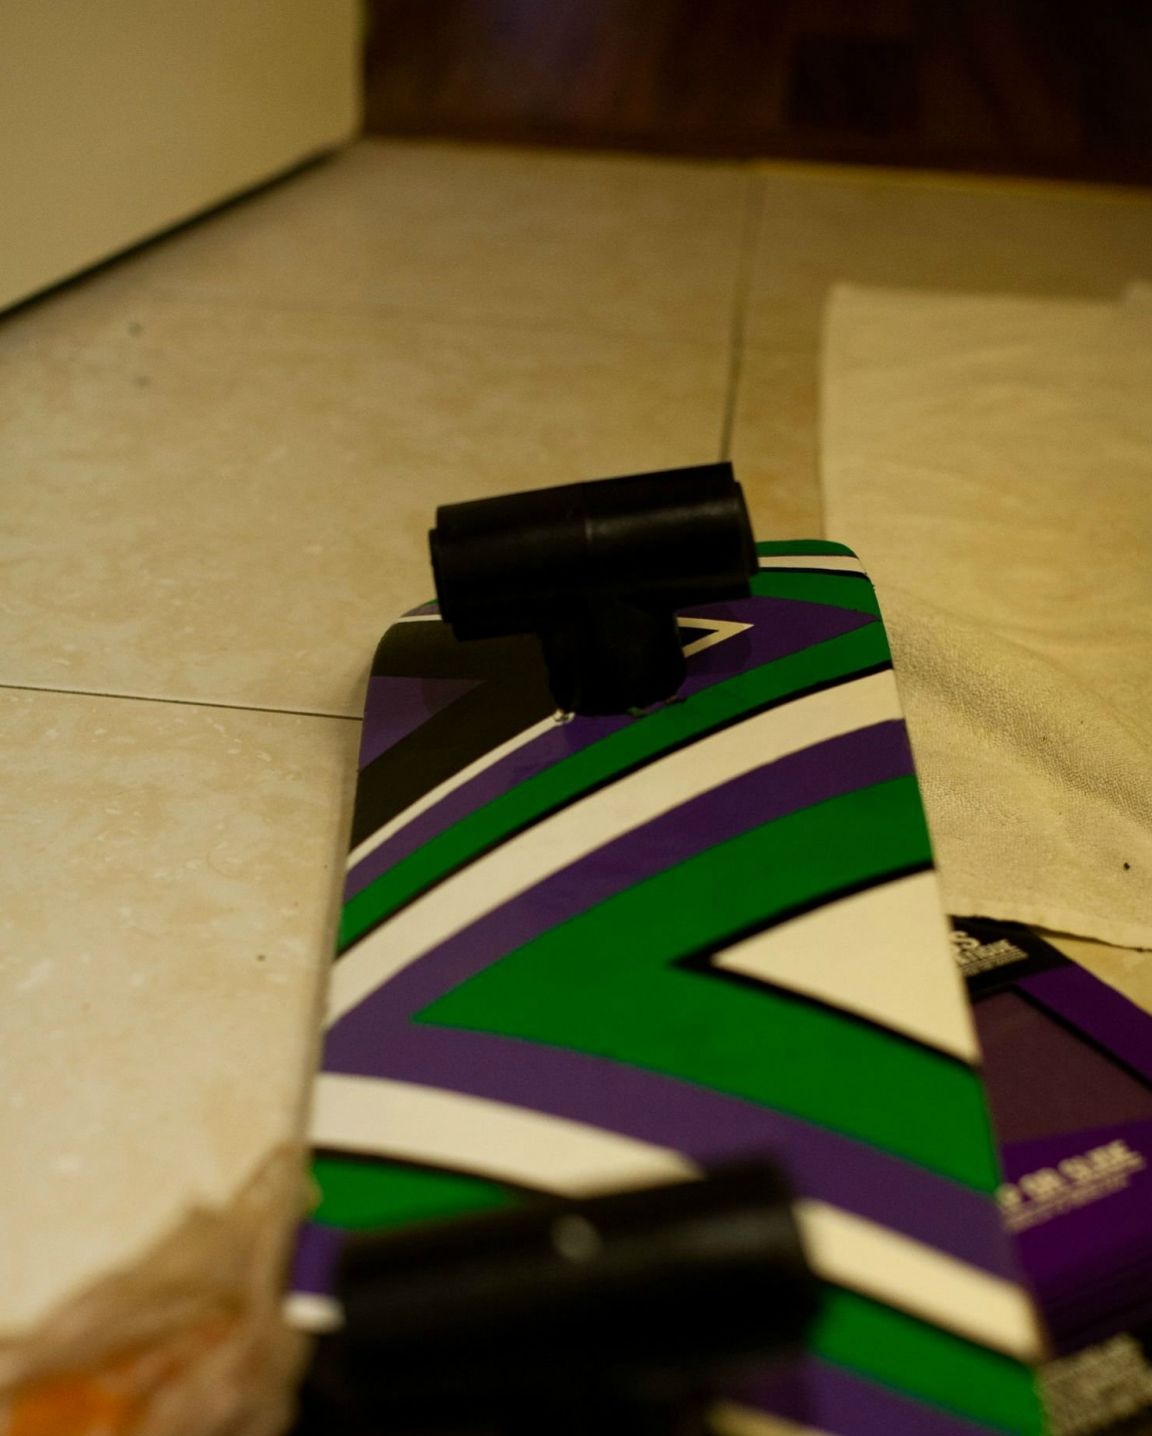
Next, we will paint from the side where the wheels were originally located. First, primer, then apply the first coat of paint, let it dry. Next, with the help of masking tape or a template, we make an original pattern, an example in the photo.
Now you need to prepare the fittings a little.
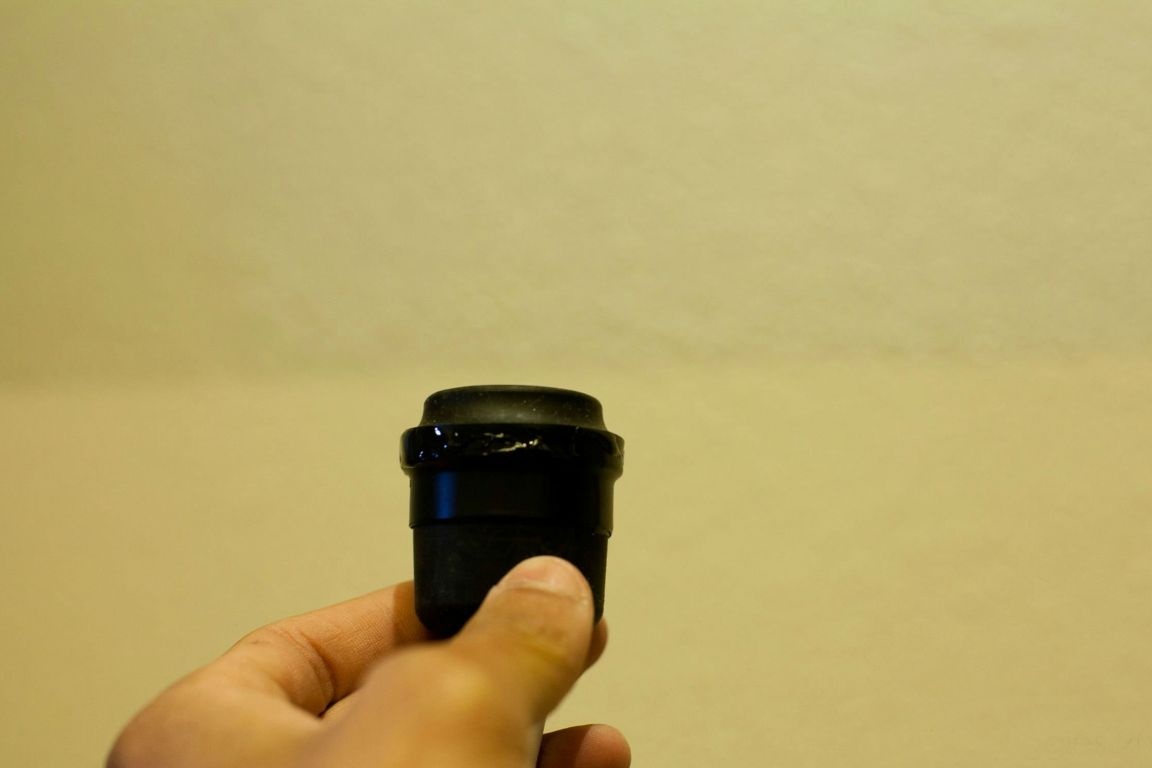
We take two tee fittings and two bushings, their inner size must be selected under the bulb holder, as it will be inserted inside. The color of the fittings did not quite match the overall tone, and it was decided to paint them. We insert the bushings inside the fittings, and paint them black.


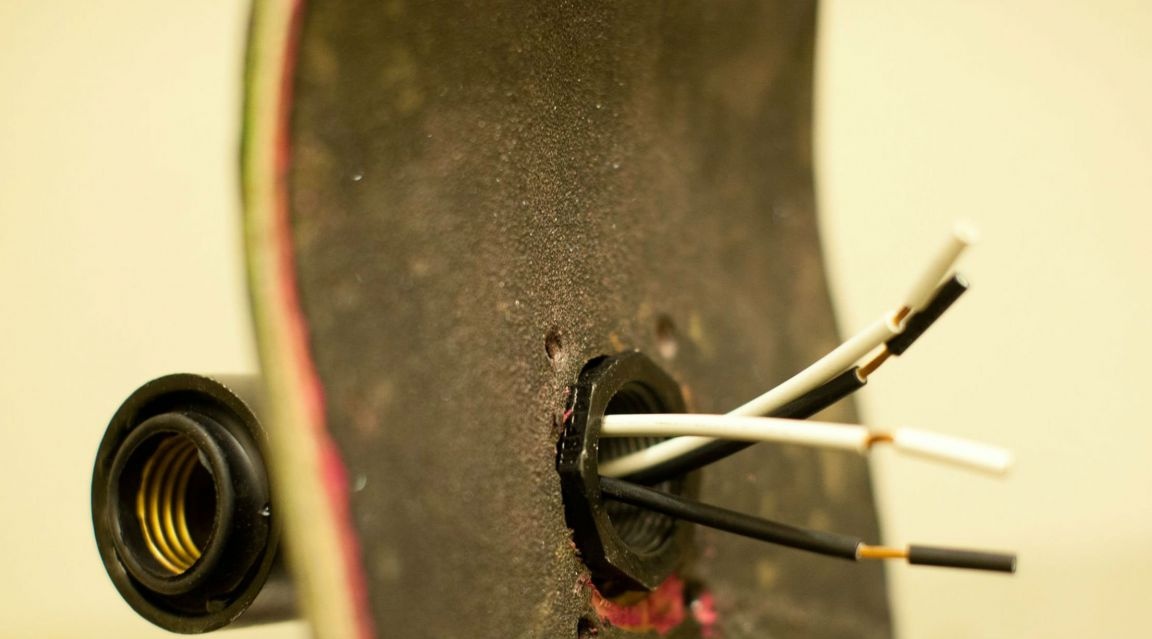
After the painting work has been completed and all the parts have dried, we take a screwdriver and drill two holes in the lower and upper parts of the board, use a core drill, the diameter of the hole should correspond to the size of the fittings used.

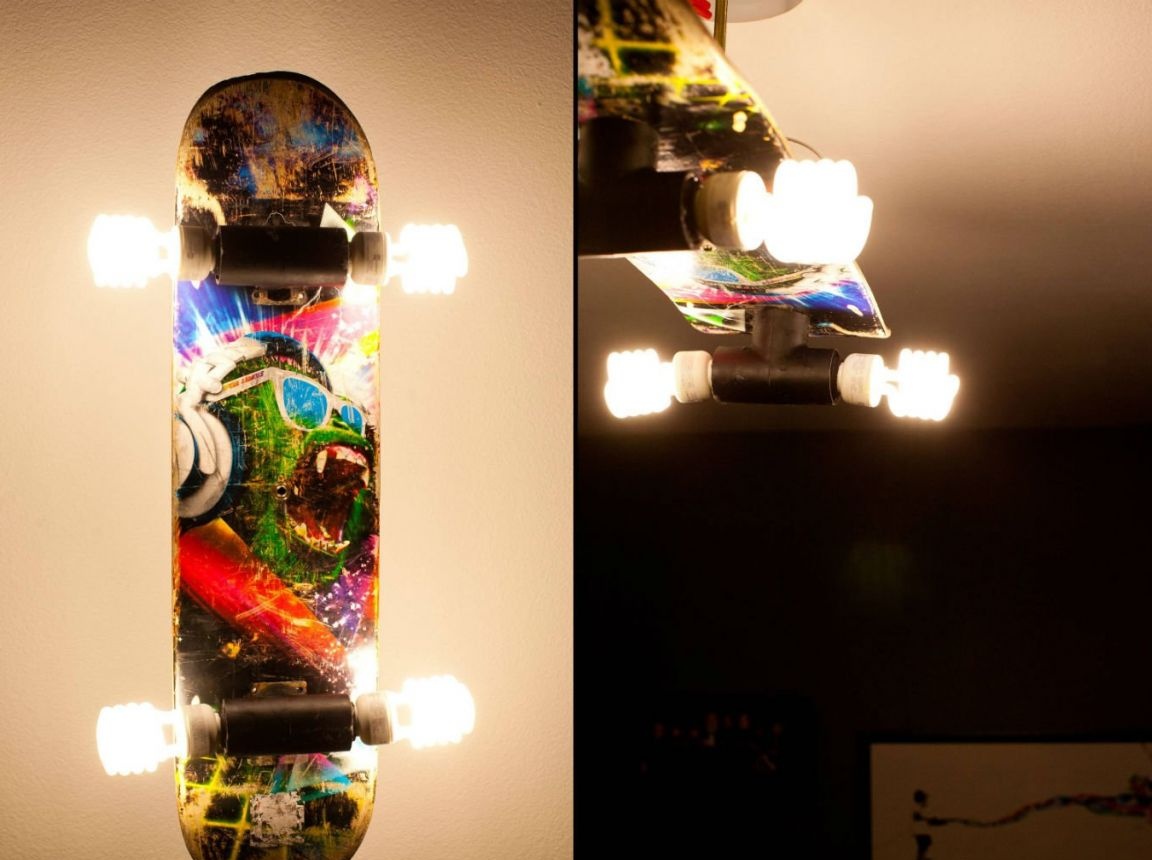
Let's start assembling the design. We take fittings, put in a previously made hole and fix them with bushings. Next, we place the cartridge on each side of the fitting, with wires already connected, and fix the cartridge with epoxy glue.
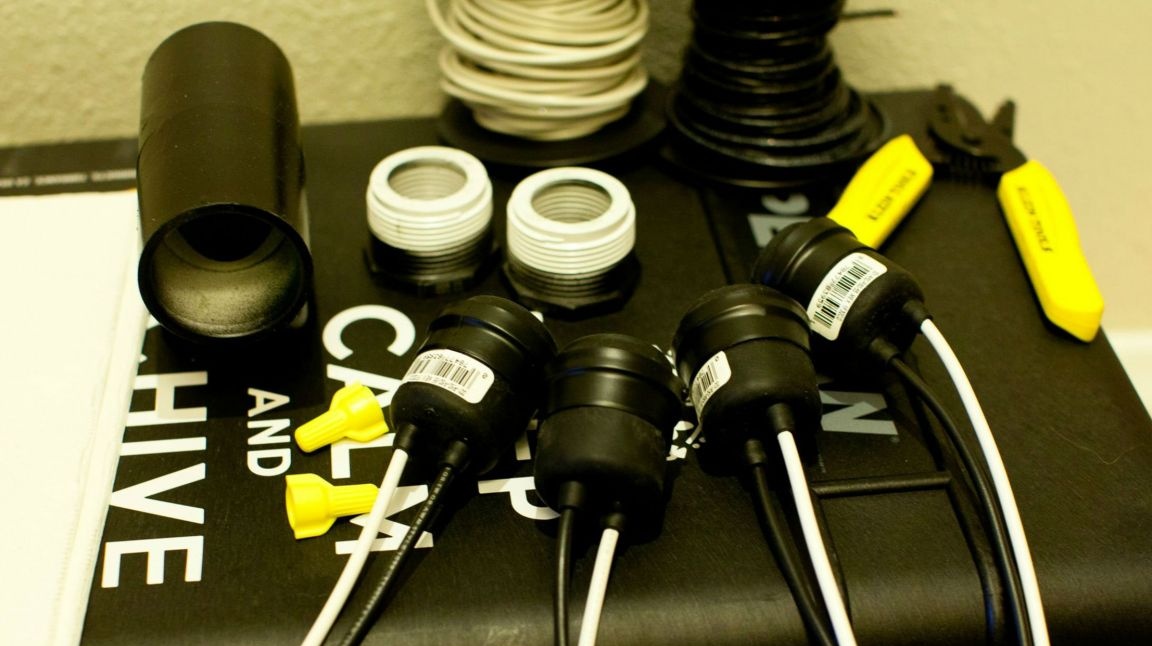
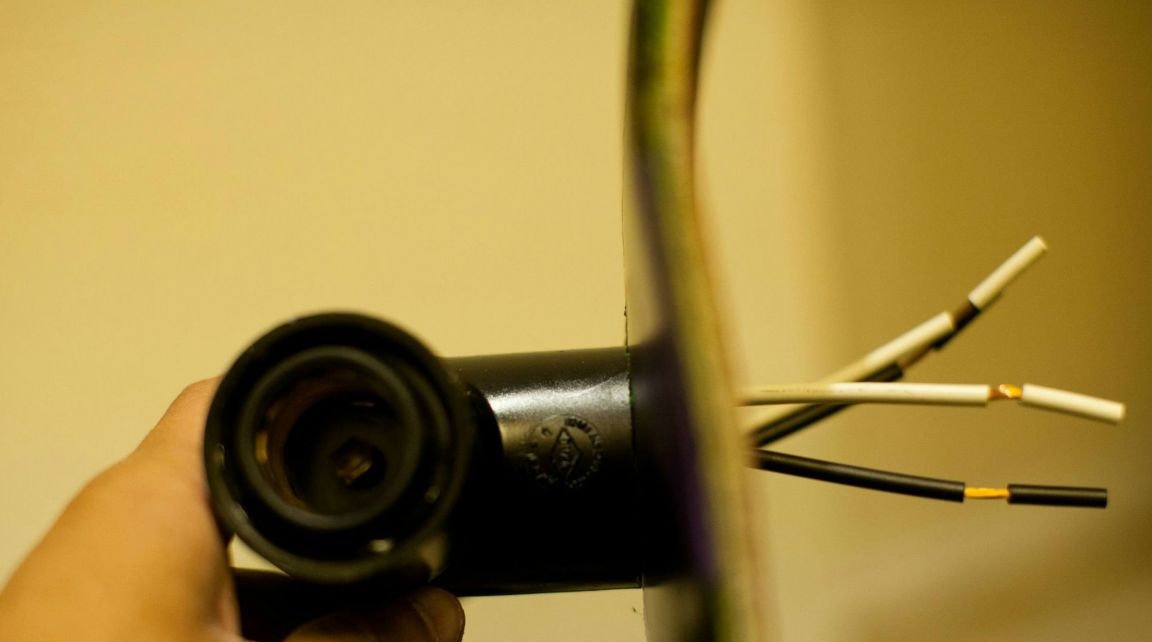
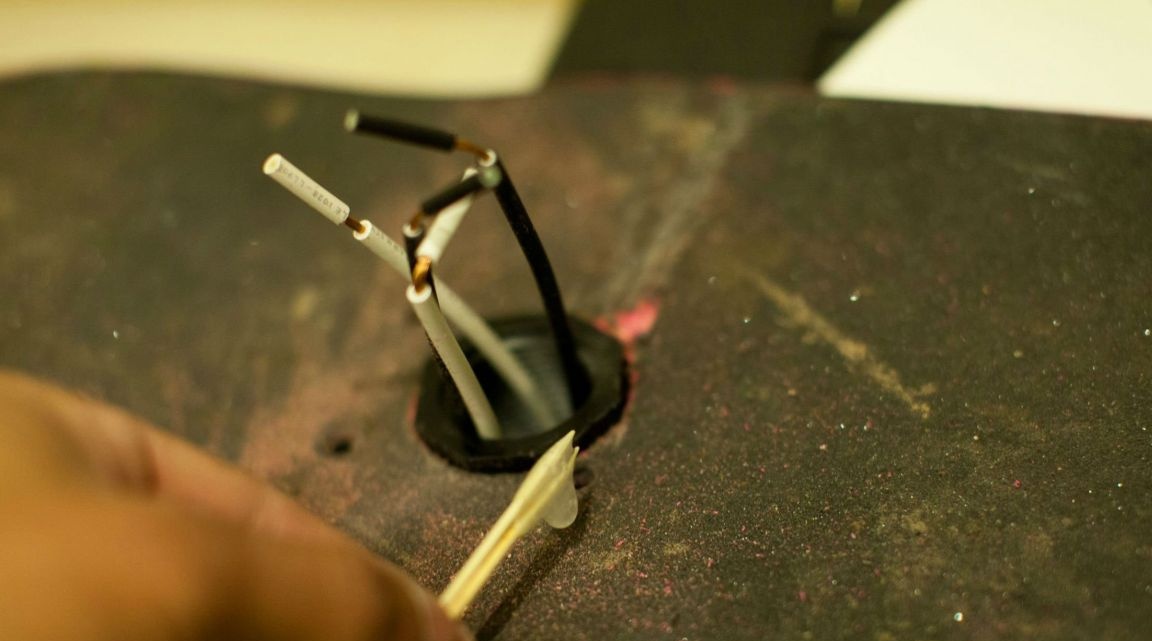

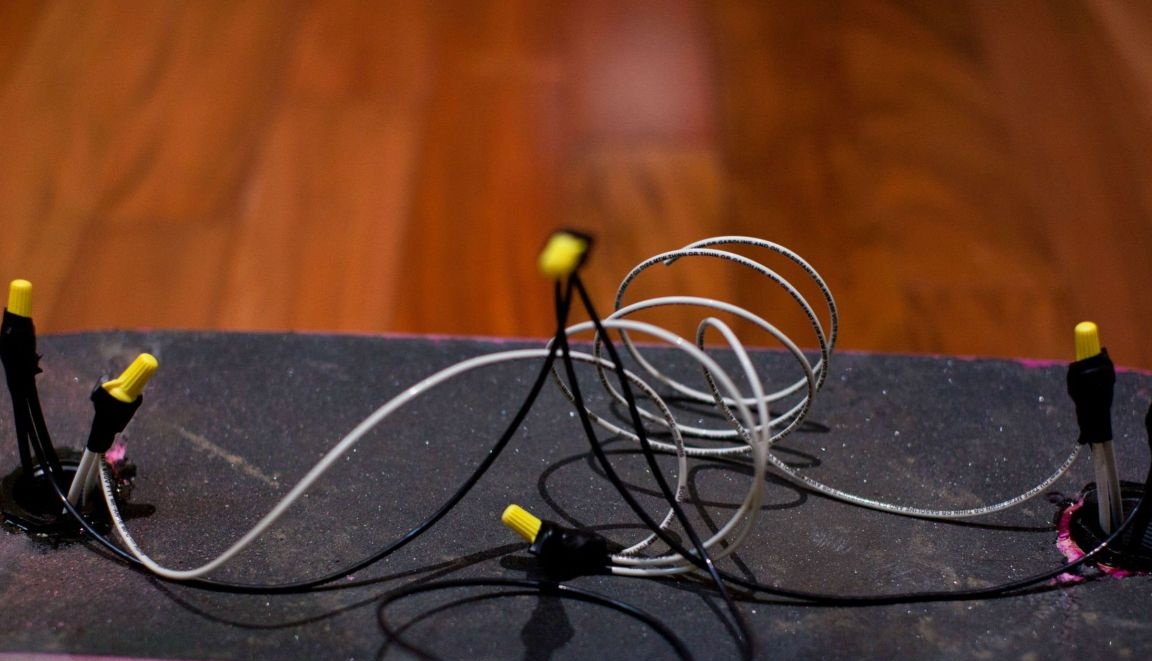
Next, we connect the wires from the four cartridges to each other, we use parallel or serial connection. We must not forget about the insulation on the joints, for this we use heat shrink or electrical tape. It is advisable to hide all the wires in a small protected box.
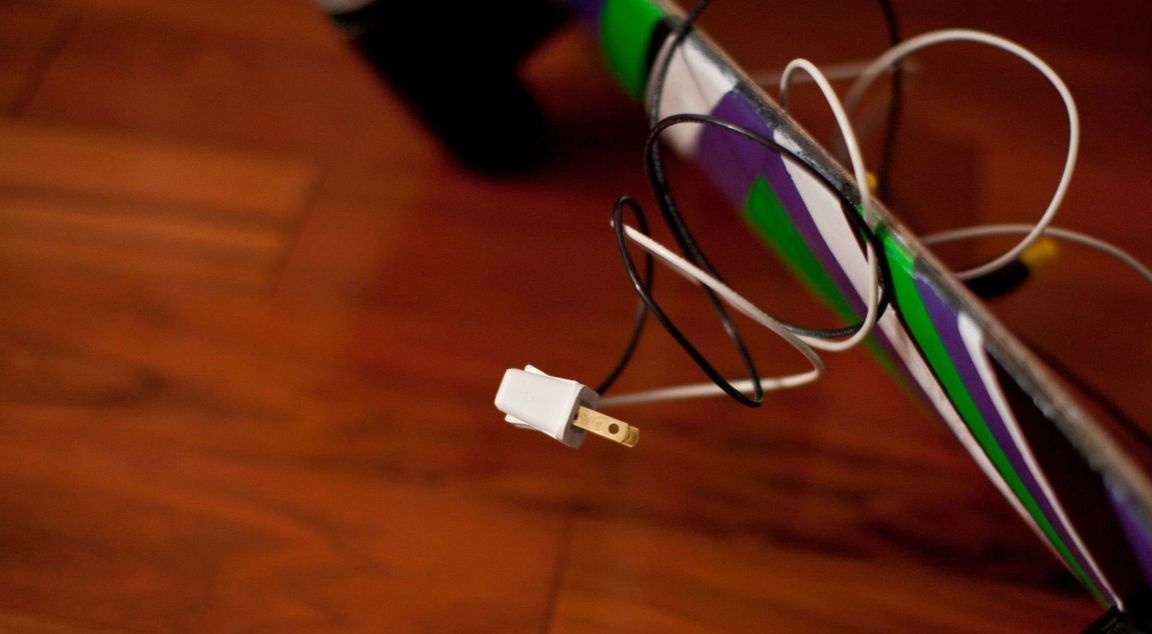
Then check if the design works. We take the lamps and screw them into the cartridges, if the lamps are lit, then everything is in order, you can connect the main wire to the plug.
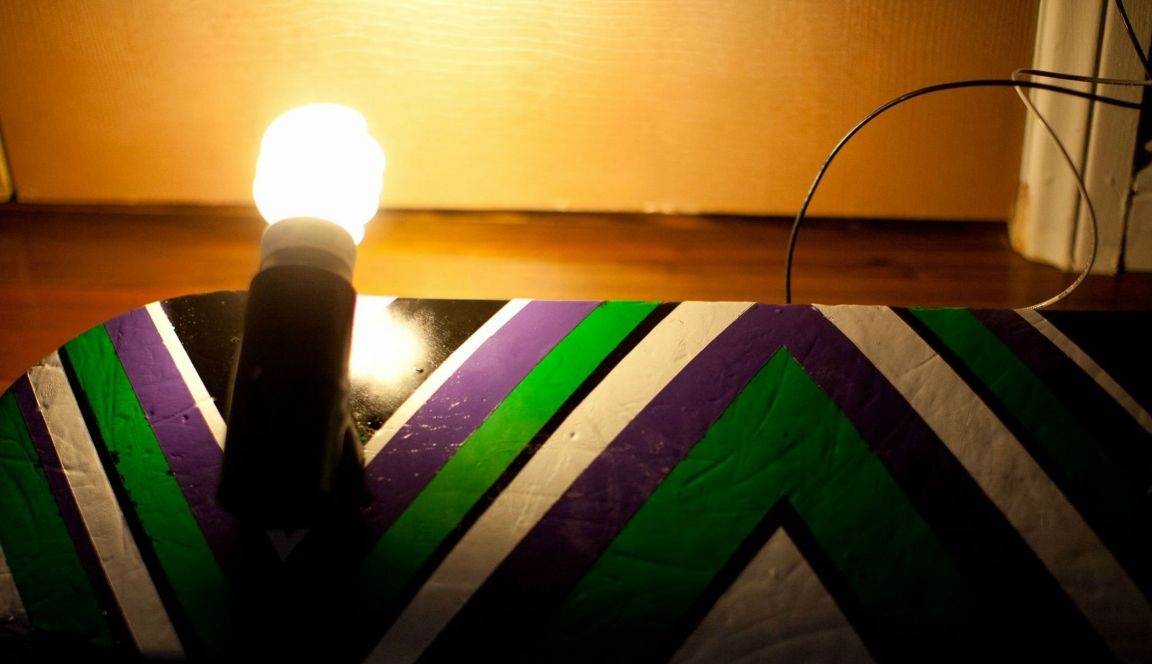
The lamp is ready. You only need to determine which mount will be used. The lamp can be hung on the wall, put on the floor, or used as a chandelier.
Thank you all for your attention!