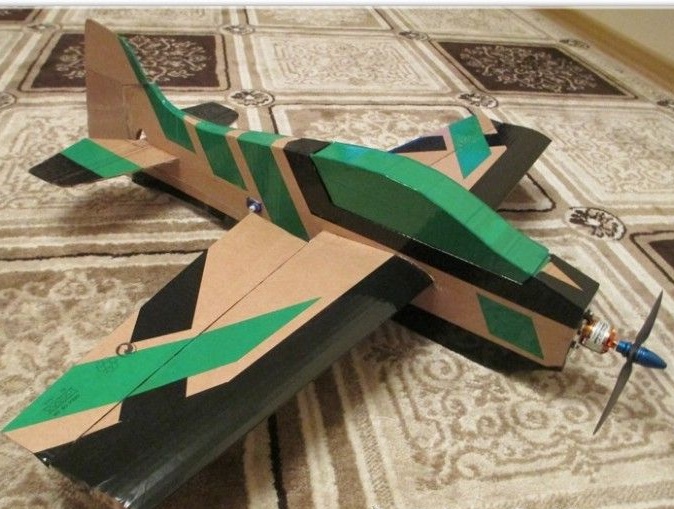
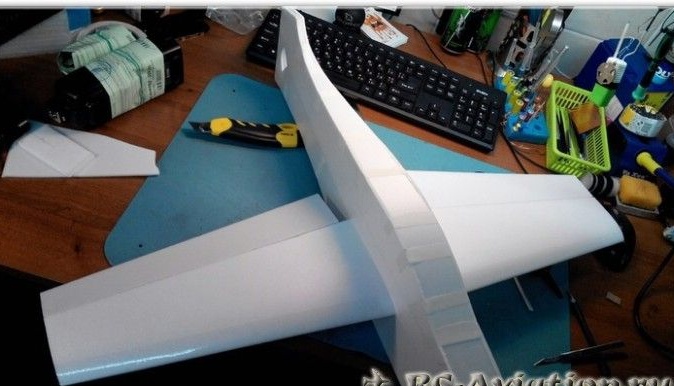
Making a model of the Mini Flash aircraft will not take much time, you will need a minimal set of tools. You just need to get a drawing and the desire to do something do it yourself.
Materials and tools for homemade:
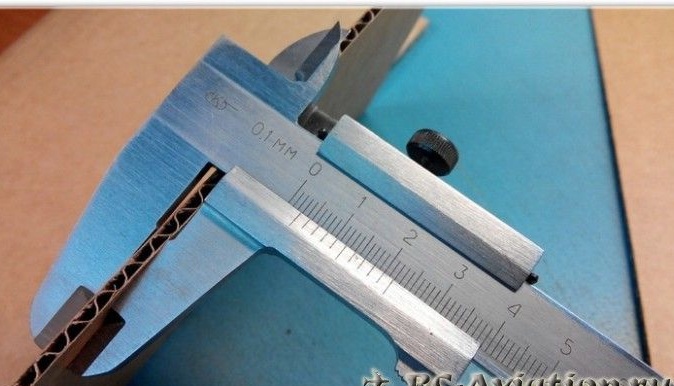
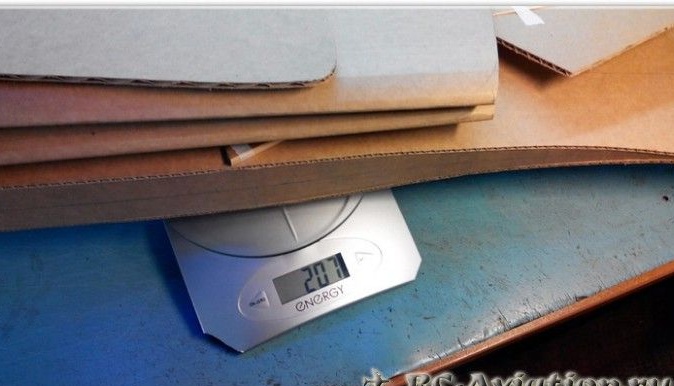
• cardboard 3 mm thick;
• stationery knife;
• glue.
The manufacturing process of the Mini Flash aircraft model
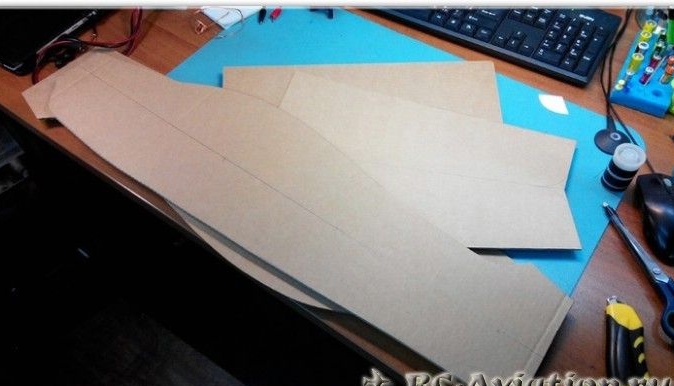
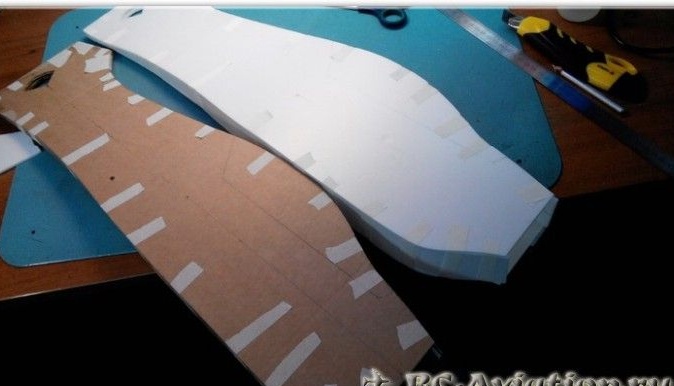
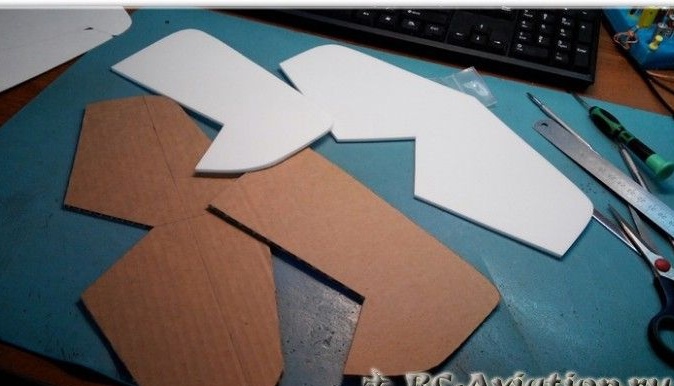
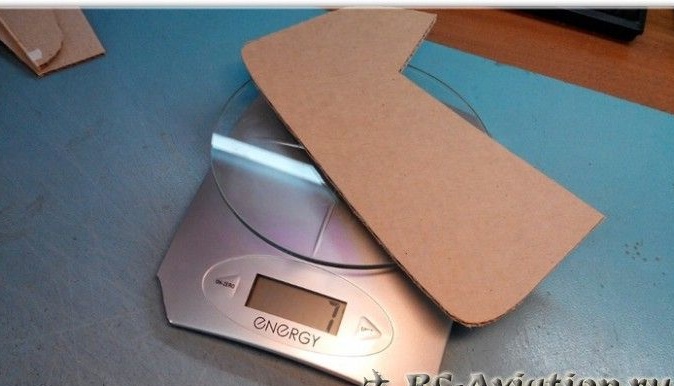
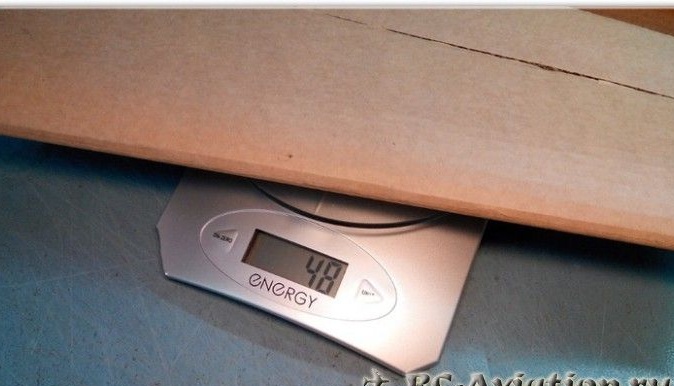
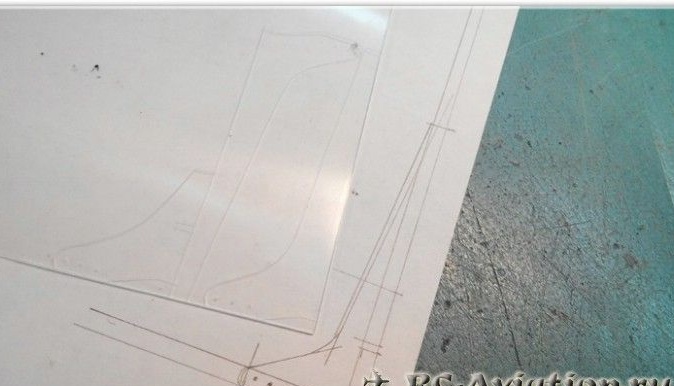
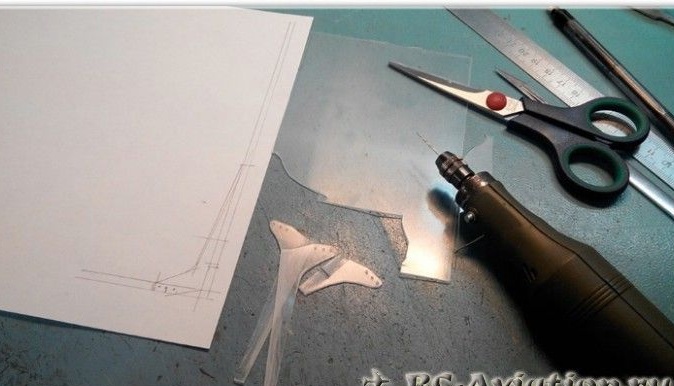
Step 1. Cutting parts
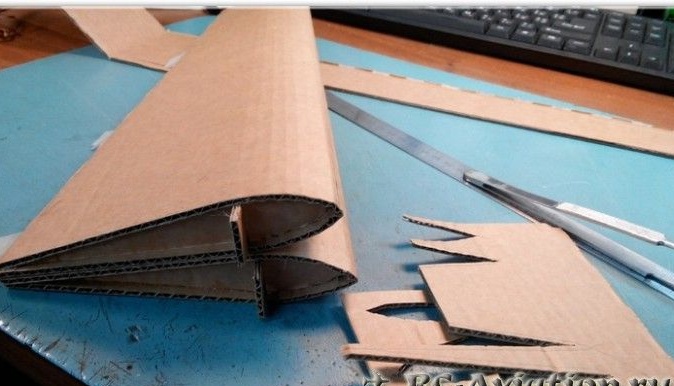
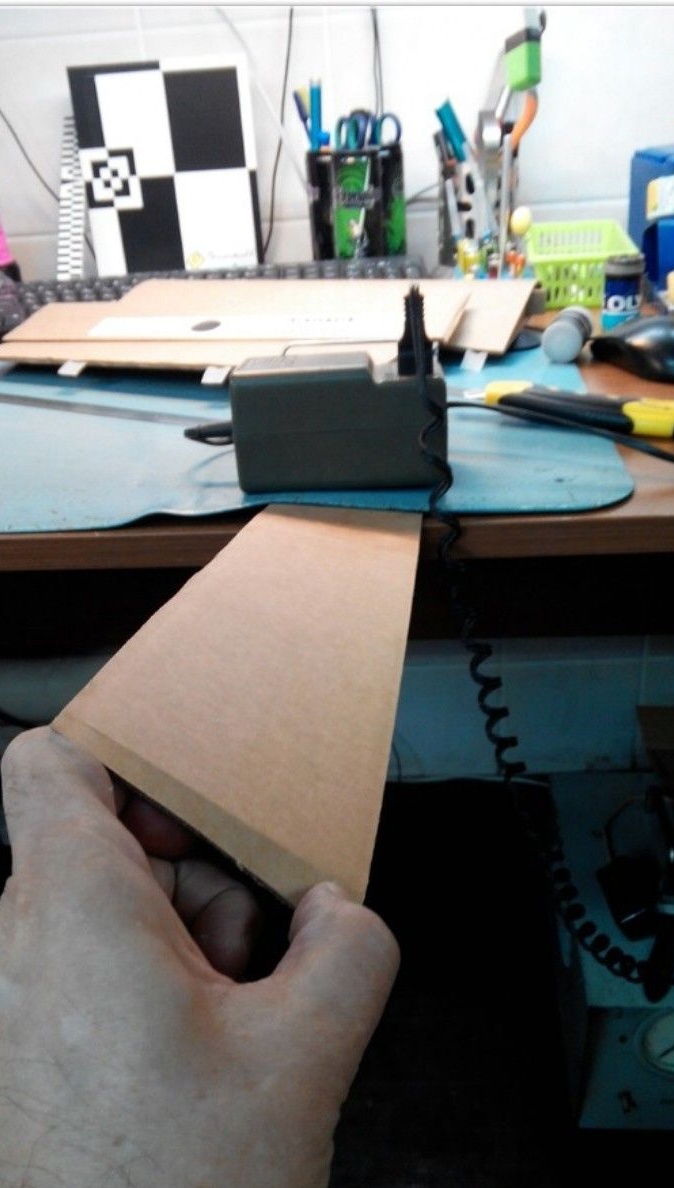
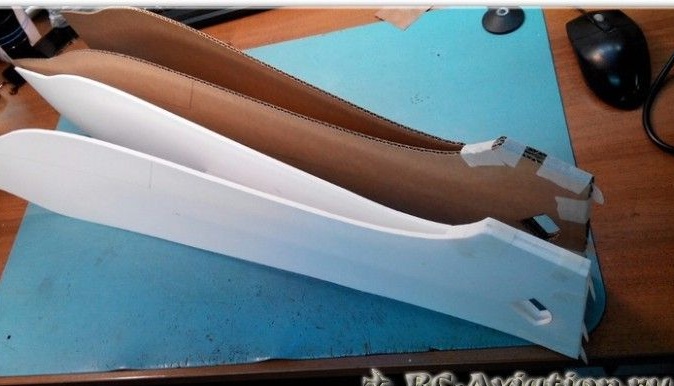
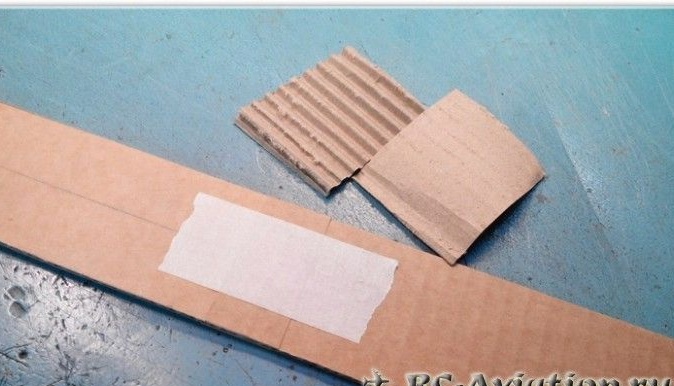
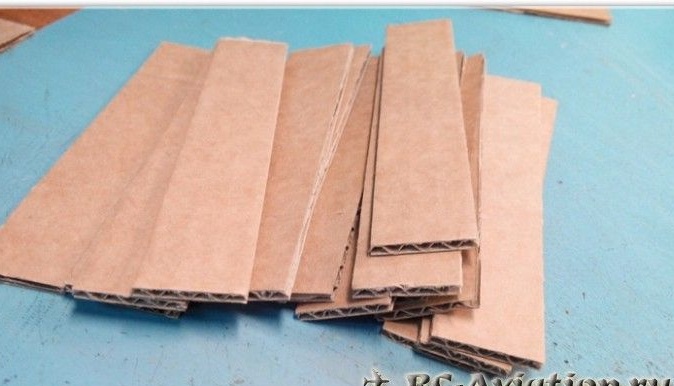
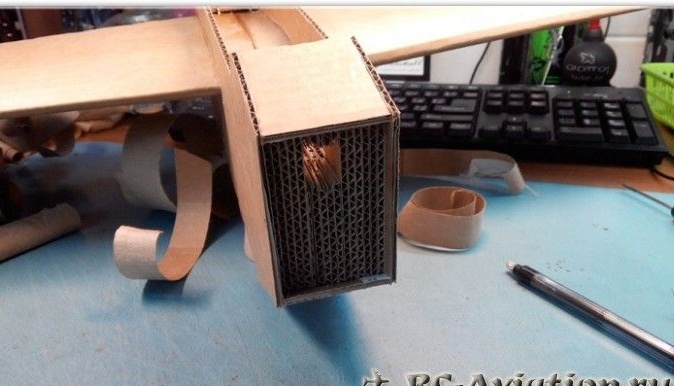
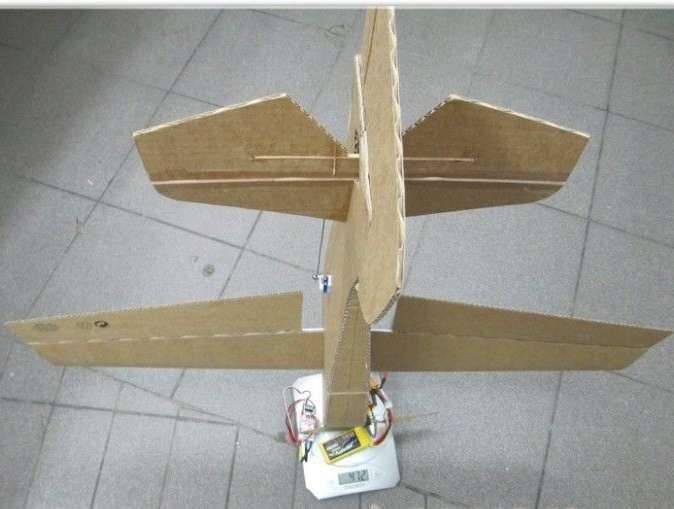
First of all, the aircraft fuselage is cut strictly in accordance with the drawing. Then with a stationery knife from cardboard you need to cut out the wings. To bend the wing, you can use the sharp edge of the table. In this case, the cardboard has a corrugation, the fold is done in 7 strips on each side.

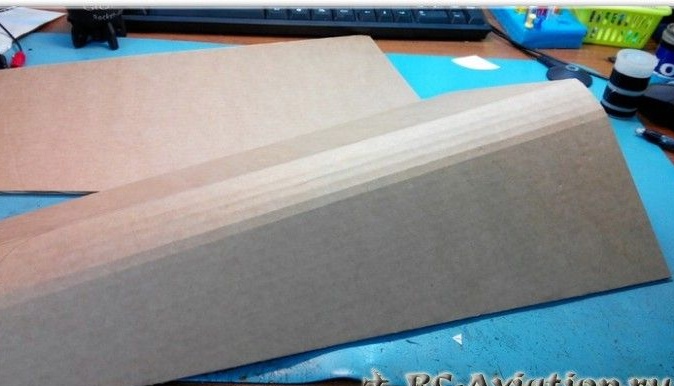
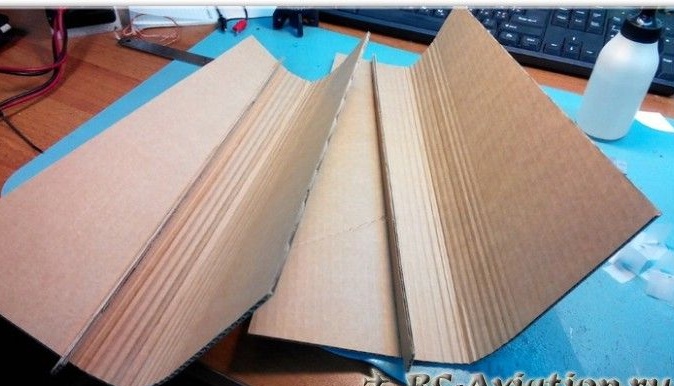
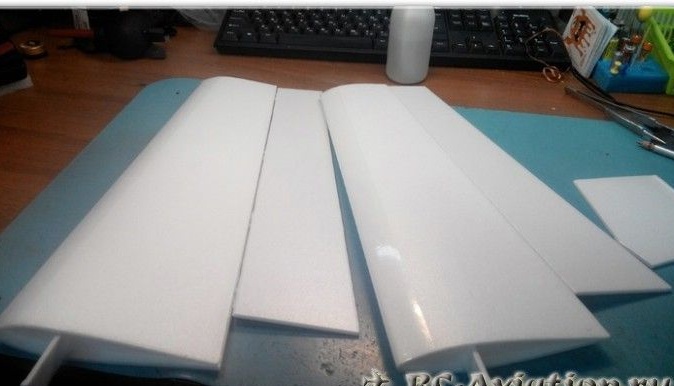
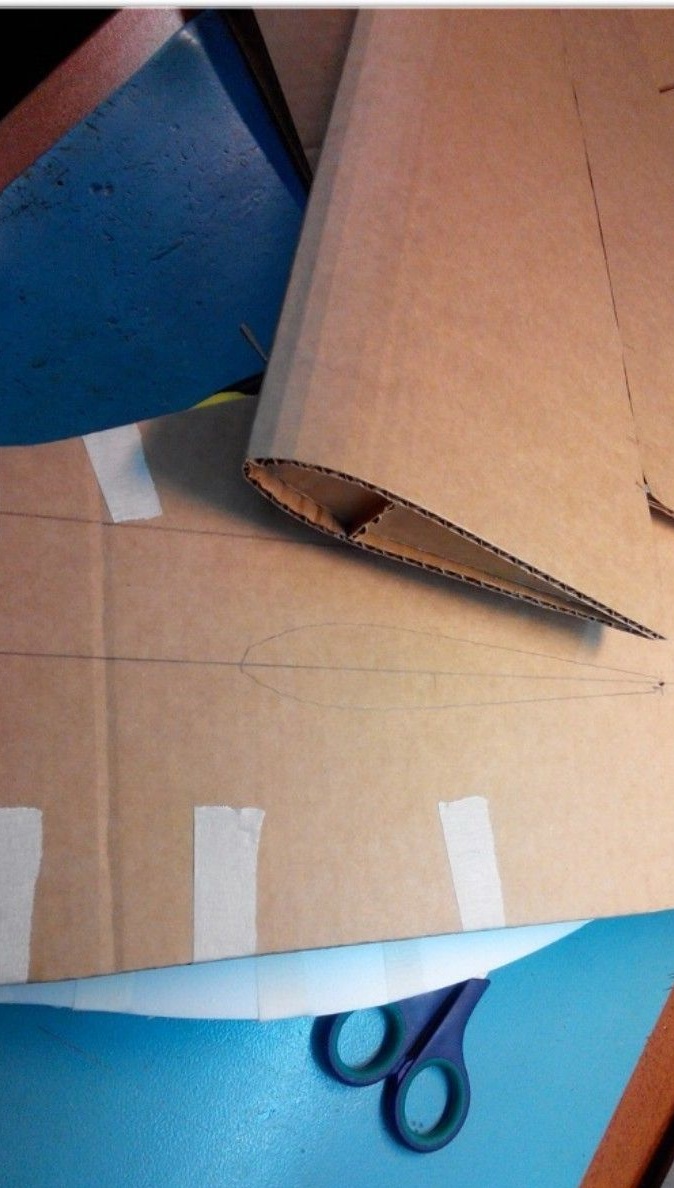
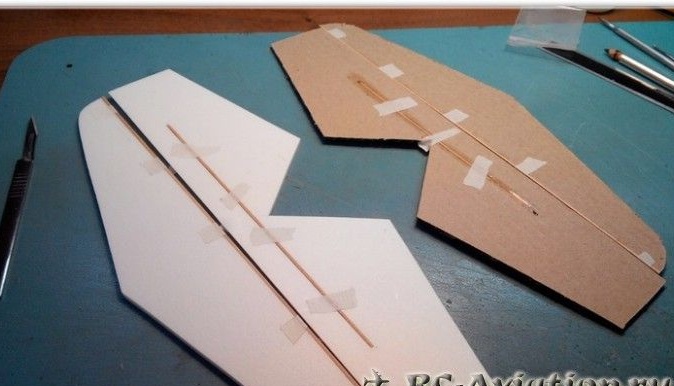
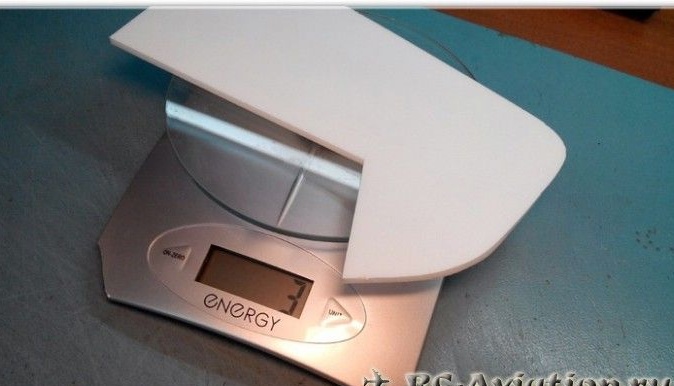
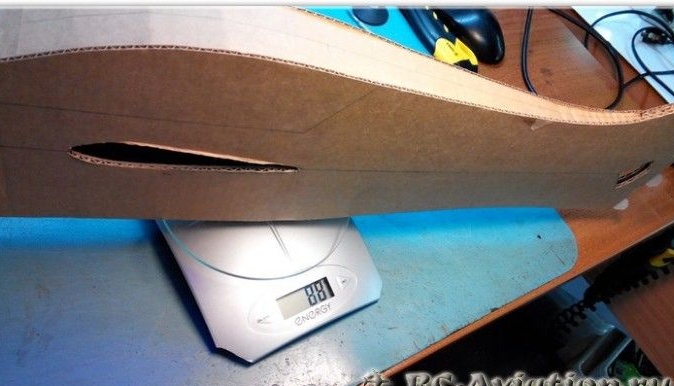
Step 2. Making wings
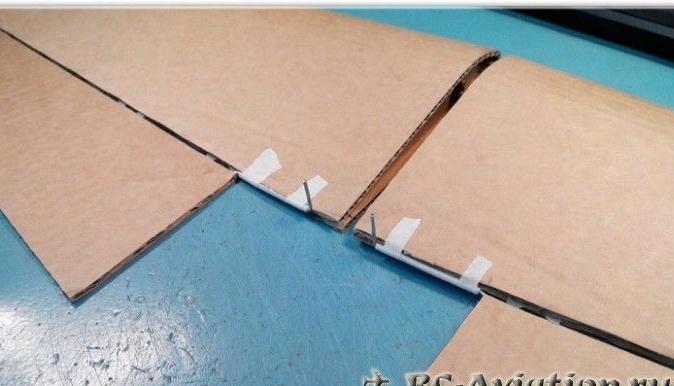
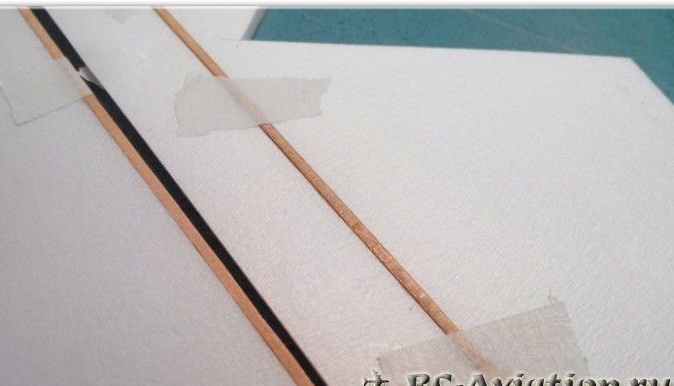
After bending, you need to glue the spar. On the trailing edge of the wing hinges are installed under the ailerons. Ailerons can be made from a double layer of cardboard, but to make the aircraft lighter, it is better to make single.

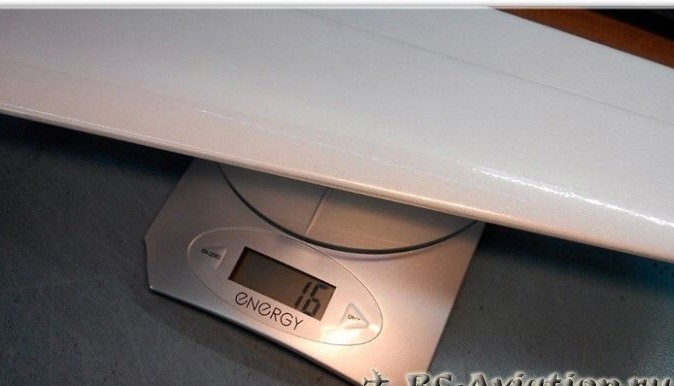
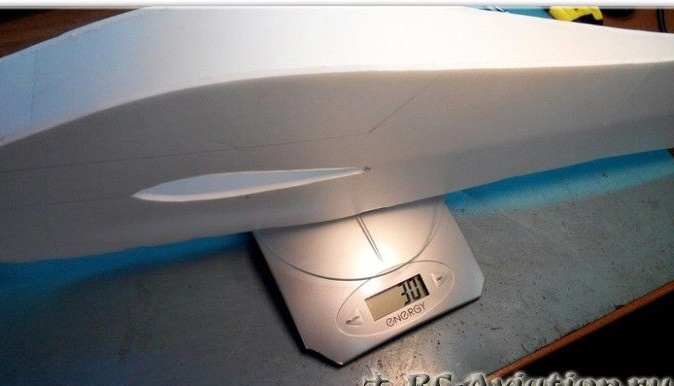
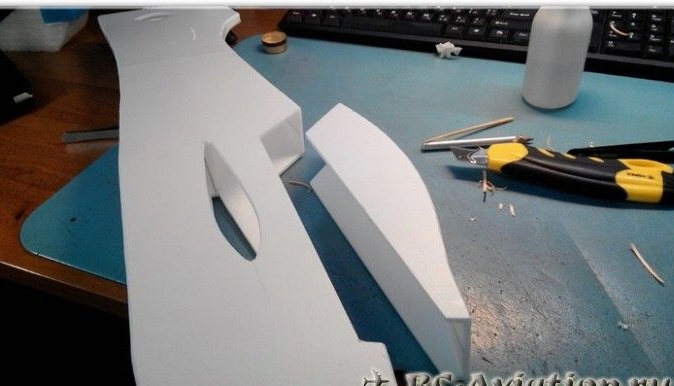
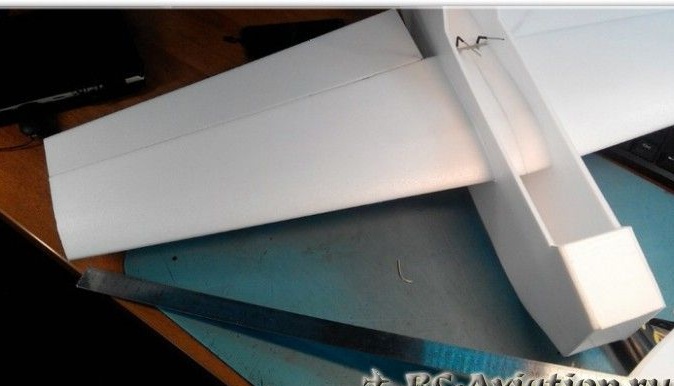
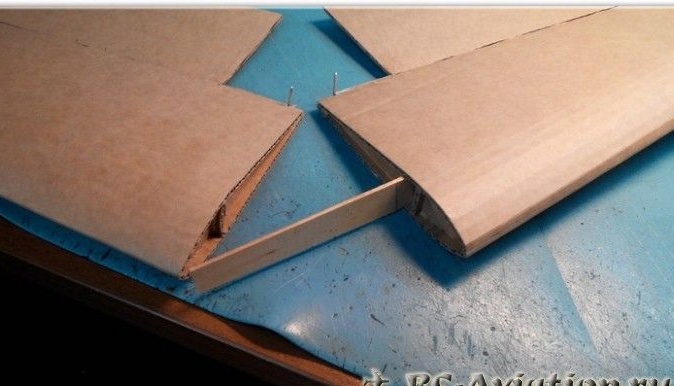
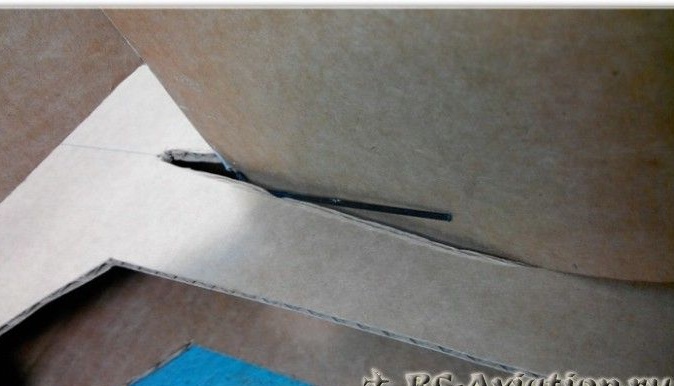
Step 3. The fuselage
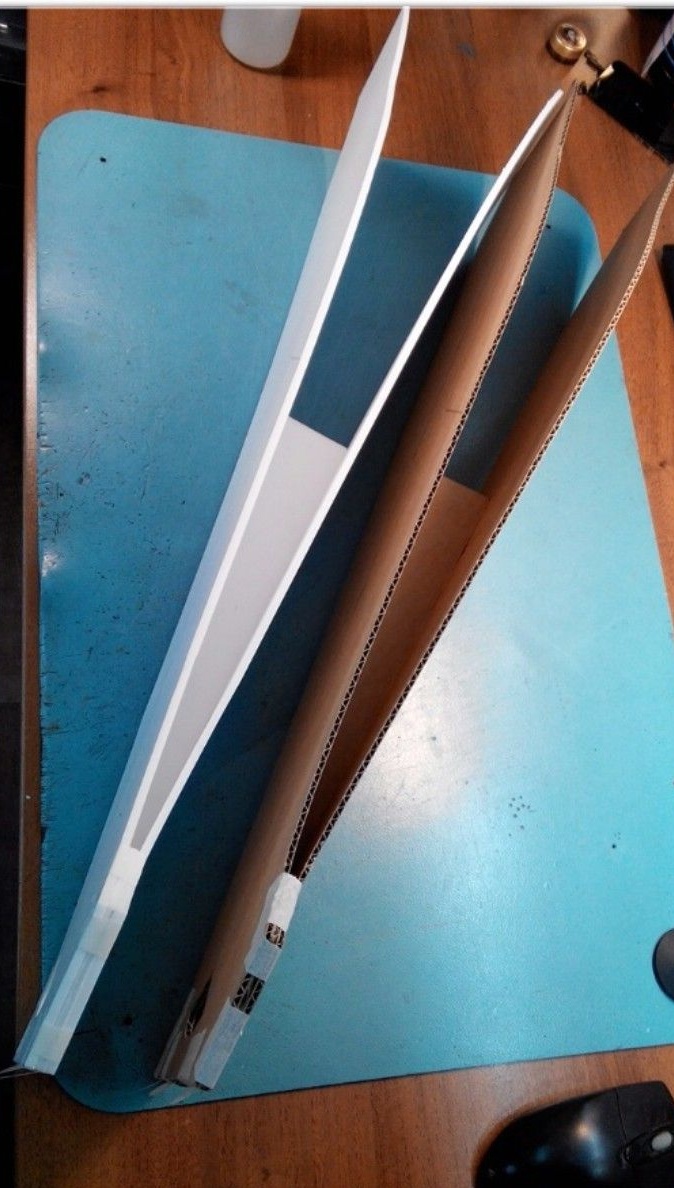
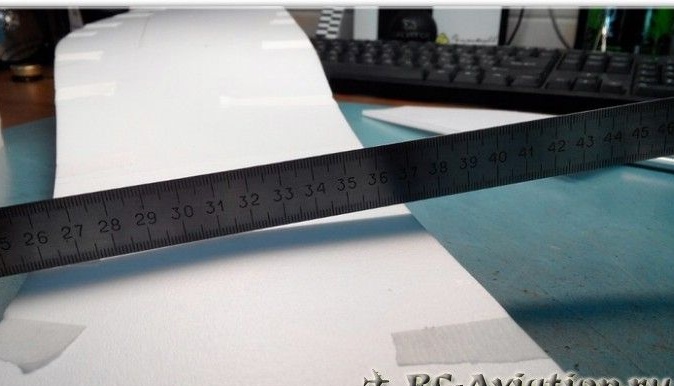
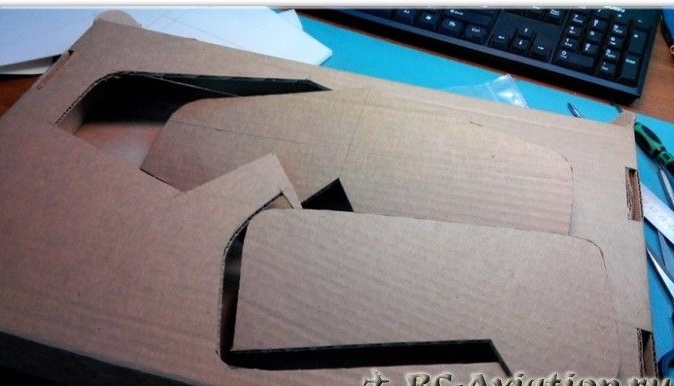
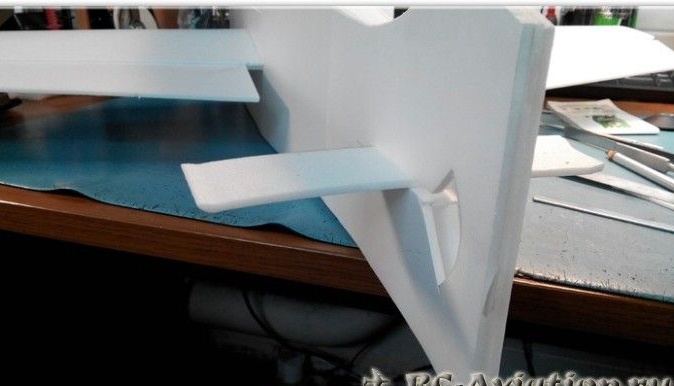
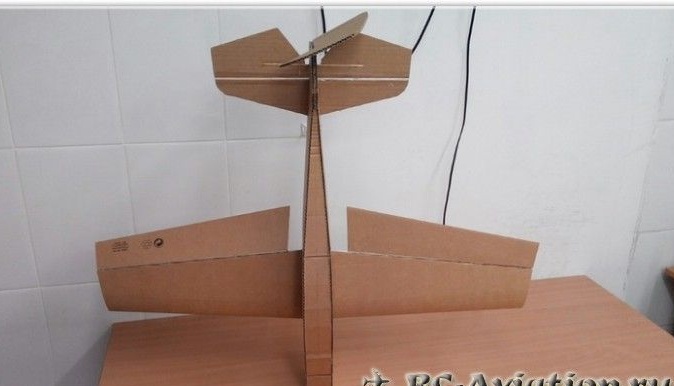
It is necessary to cut the reinforcement of the tail section, on the one hand, 3 mm wide, and on the other 45 mm. In the reinforcement, you can immediately paste the loops for the ruder. For better strength, the side of the fuselage needs to be slightly bent. Then mark the place for installing the wings. Part of the base is cut out and wings can already be installed in this place. The wingspan should be approximately 1300 mm.


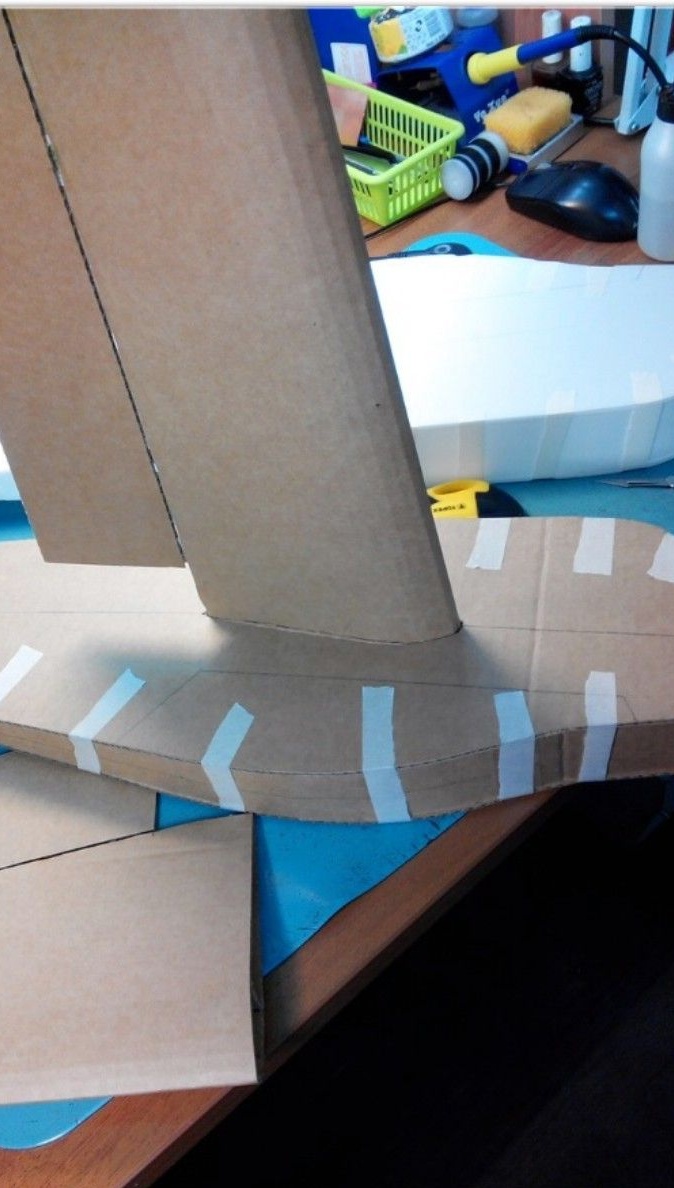
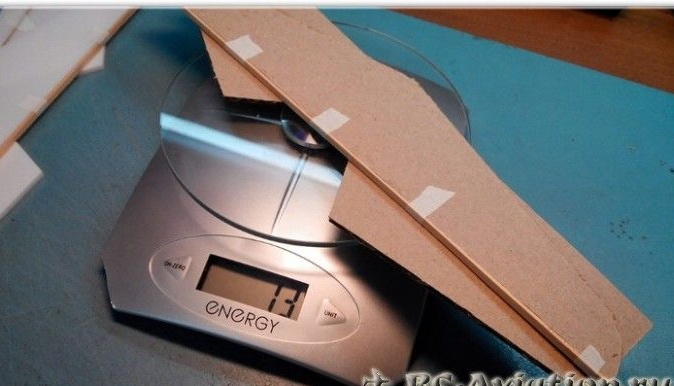
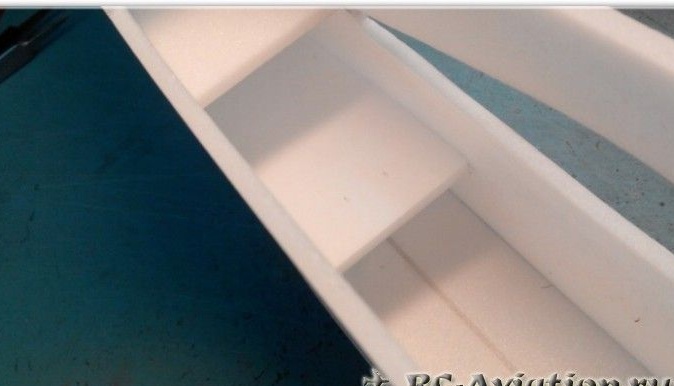
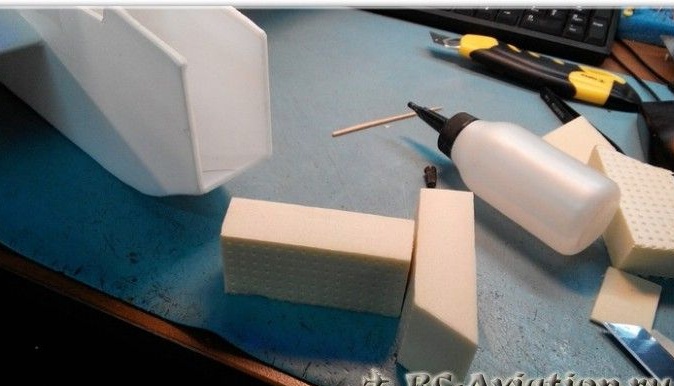
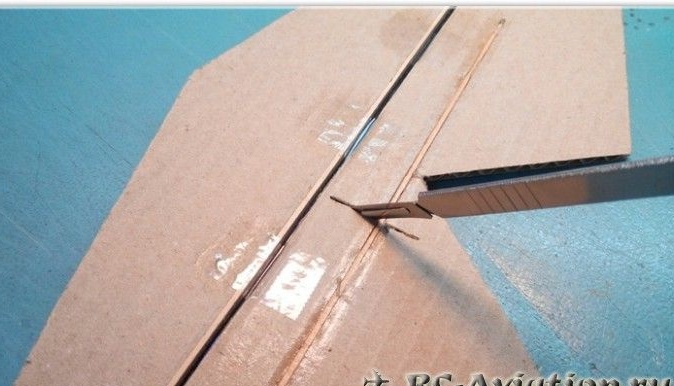
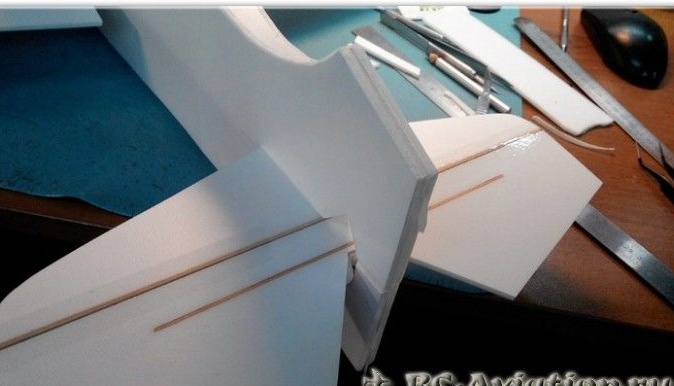
Step 4. Amplification
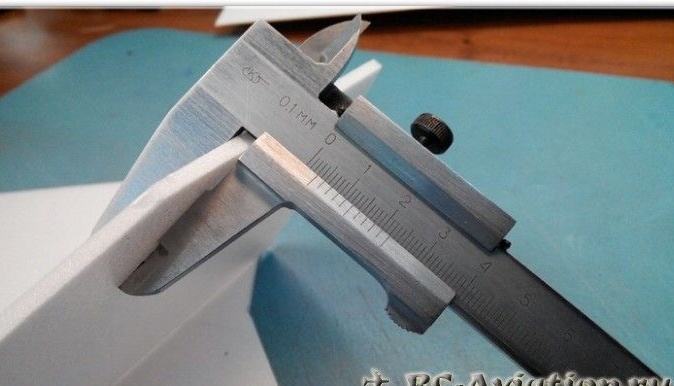
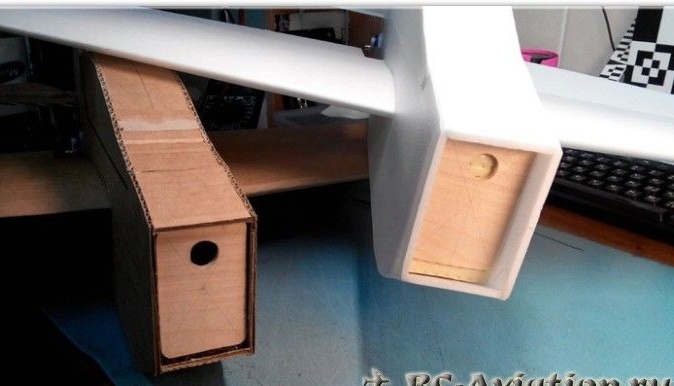
Tail reinforcements need to be made from a pine lath. The cabin is cut off and the transition from the tail to the wing is strengthened.
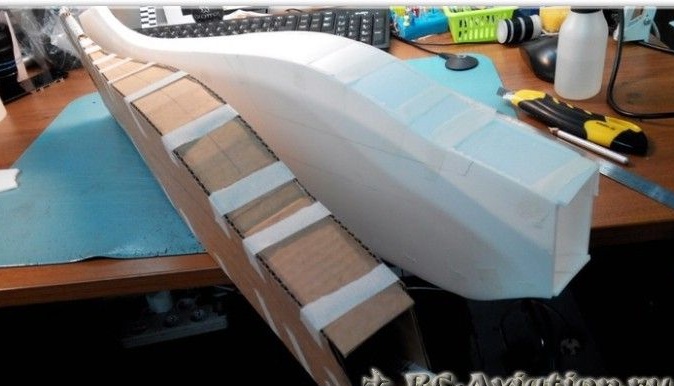
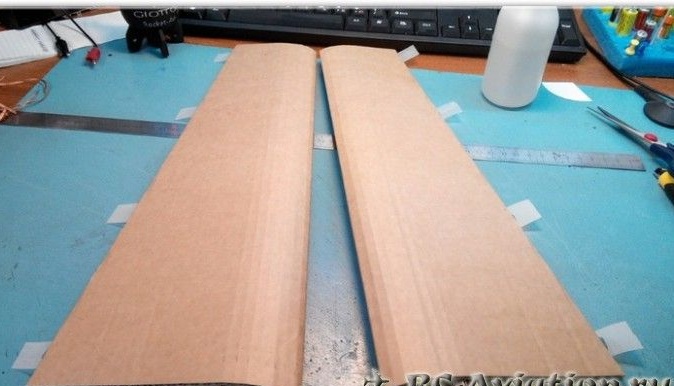
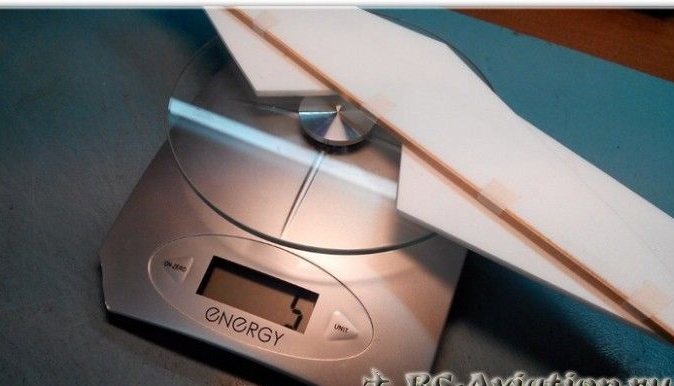
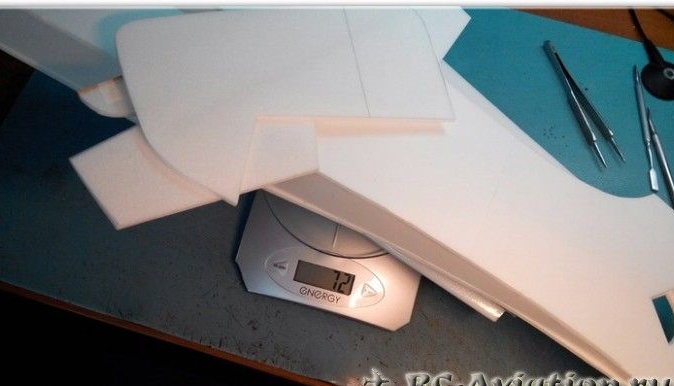
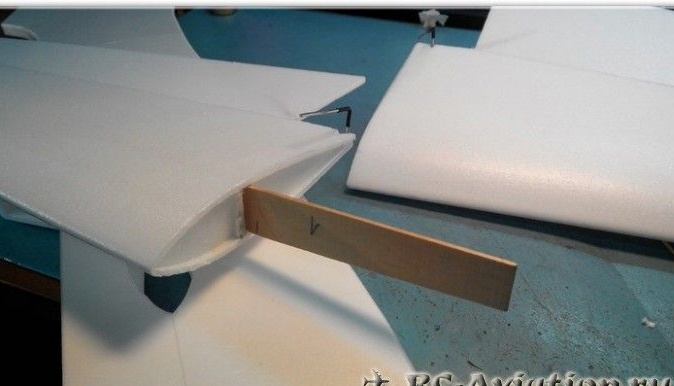
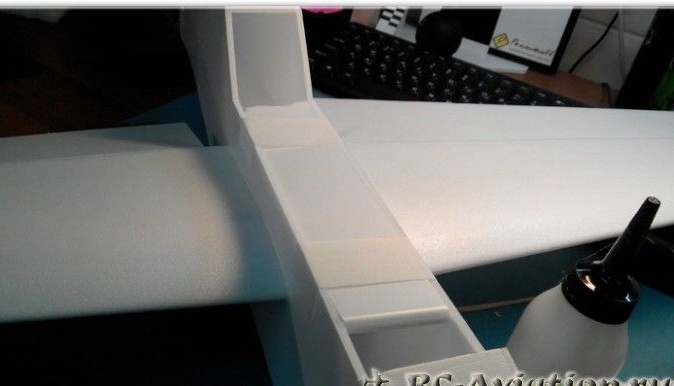
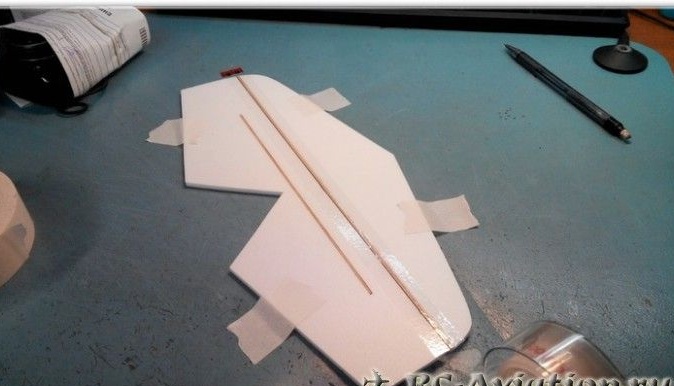
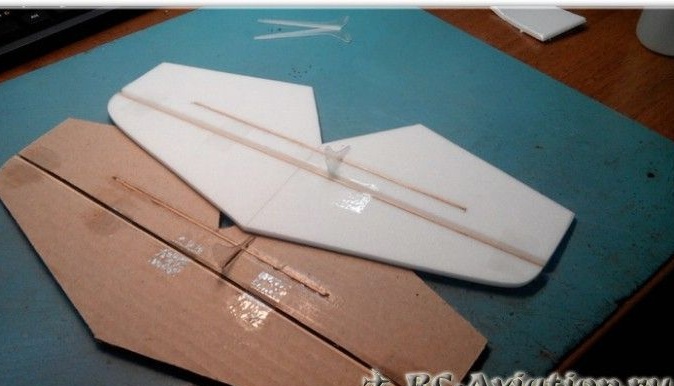
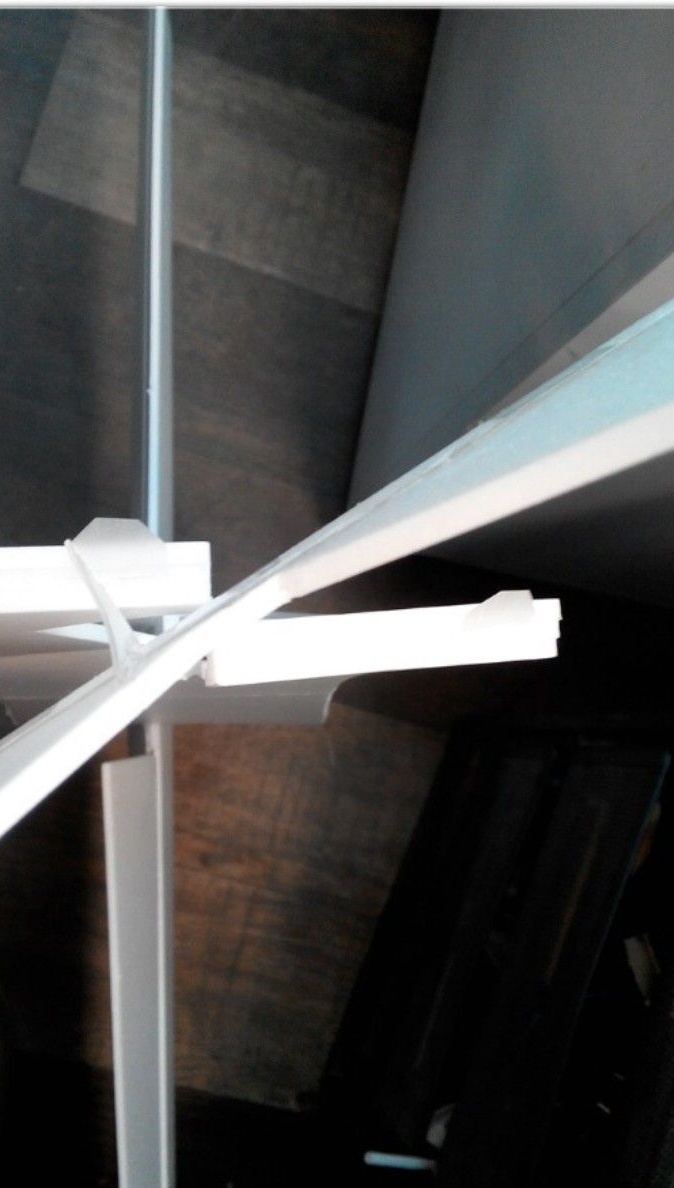
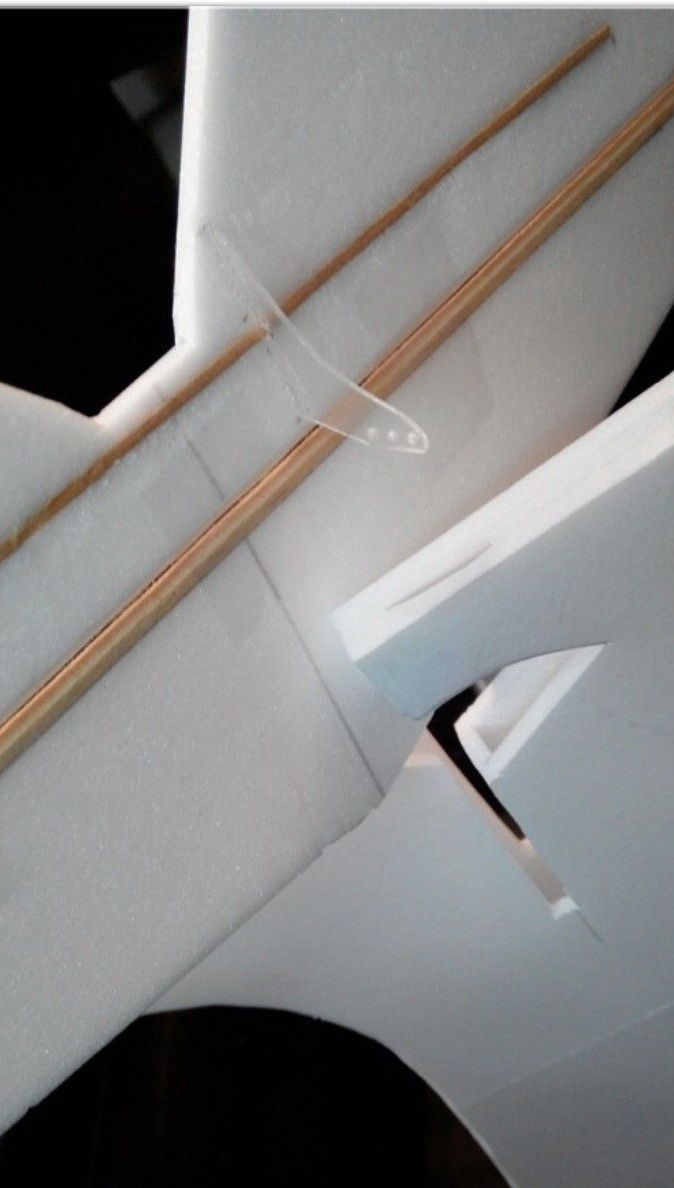
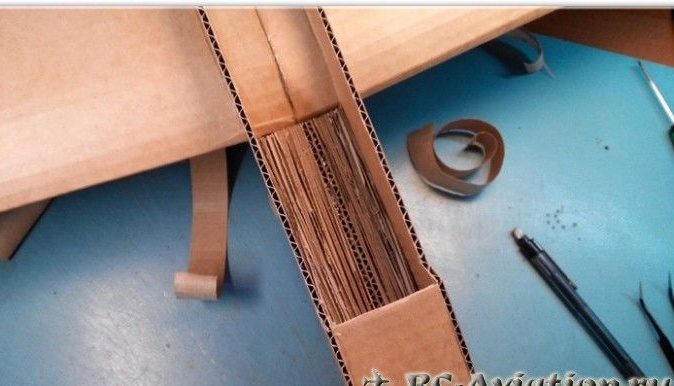
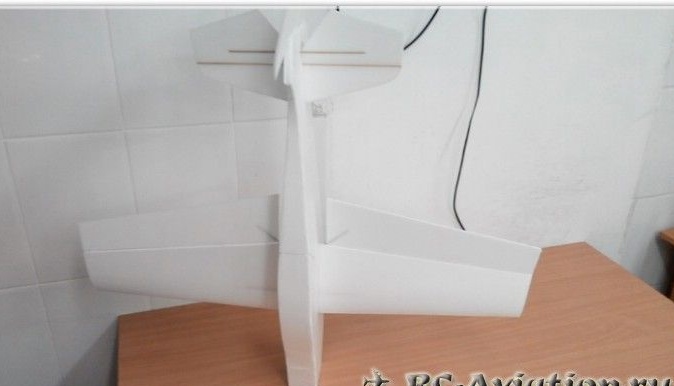
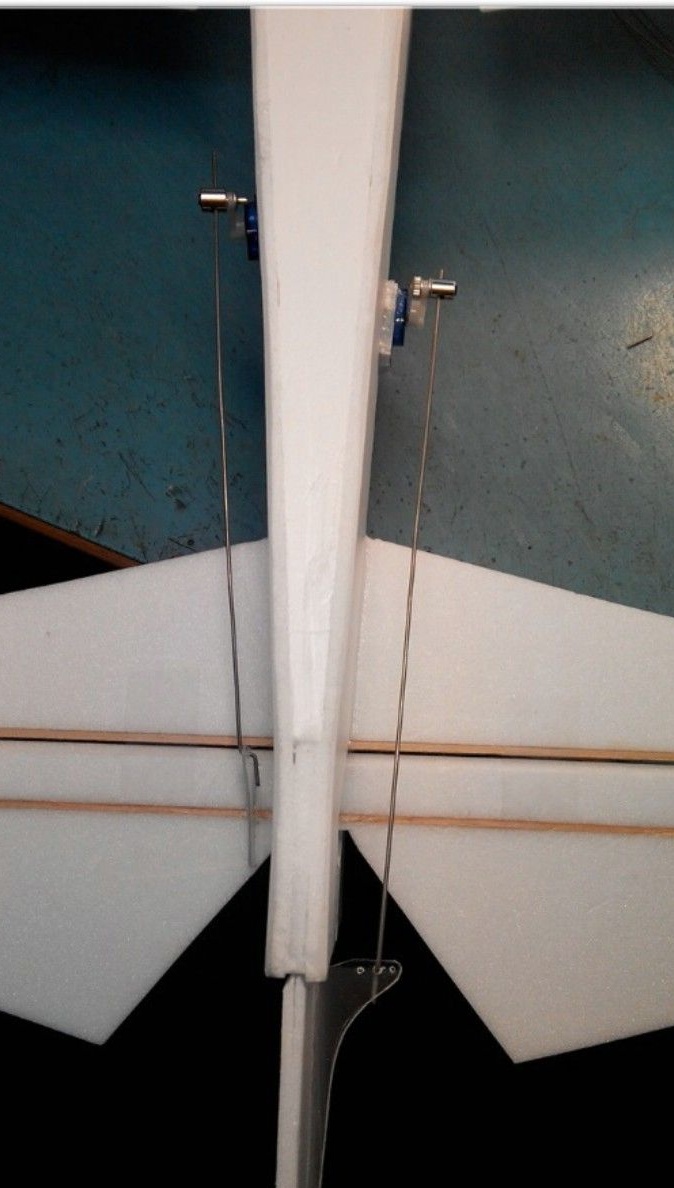
Step 5. Install the wings
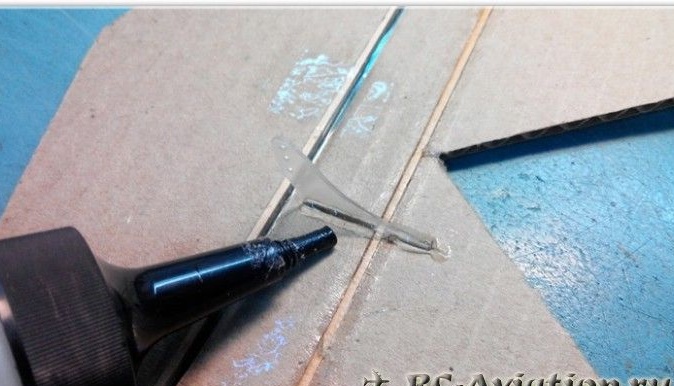
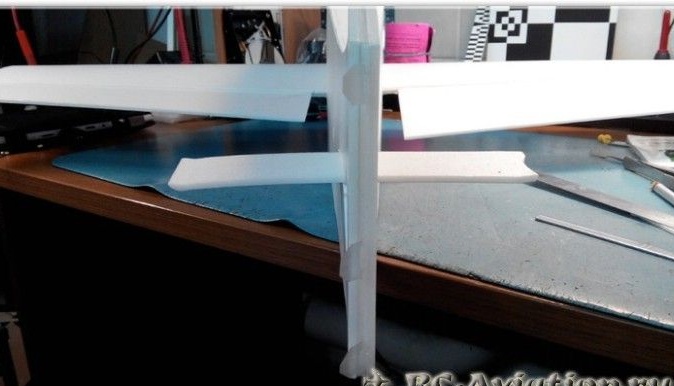
The wing stick is measured and adjusted and glued to one side of the wing. So that there is no divergence of the side wings, they need to be fixed with a temporary gasket, and then the connecting stick is glued on the other side.
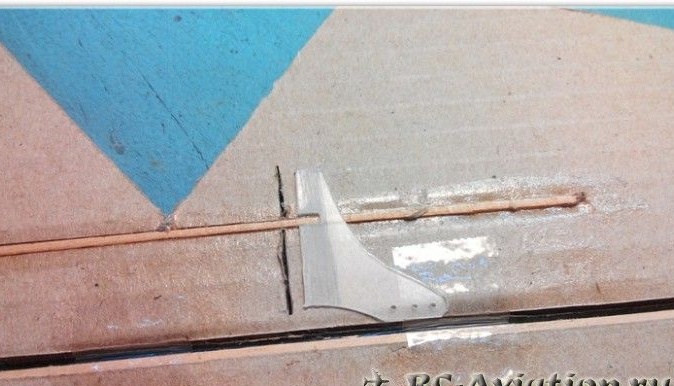
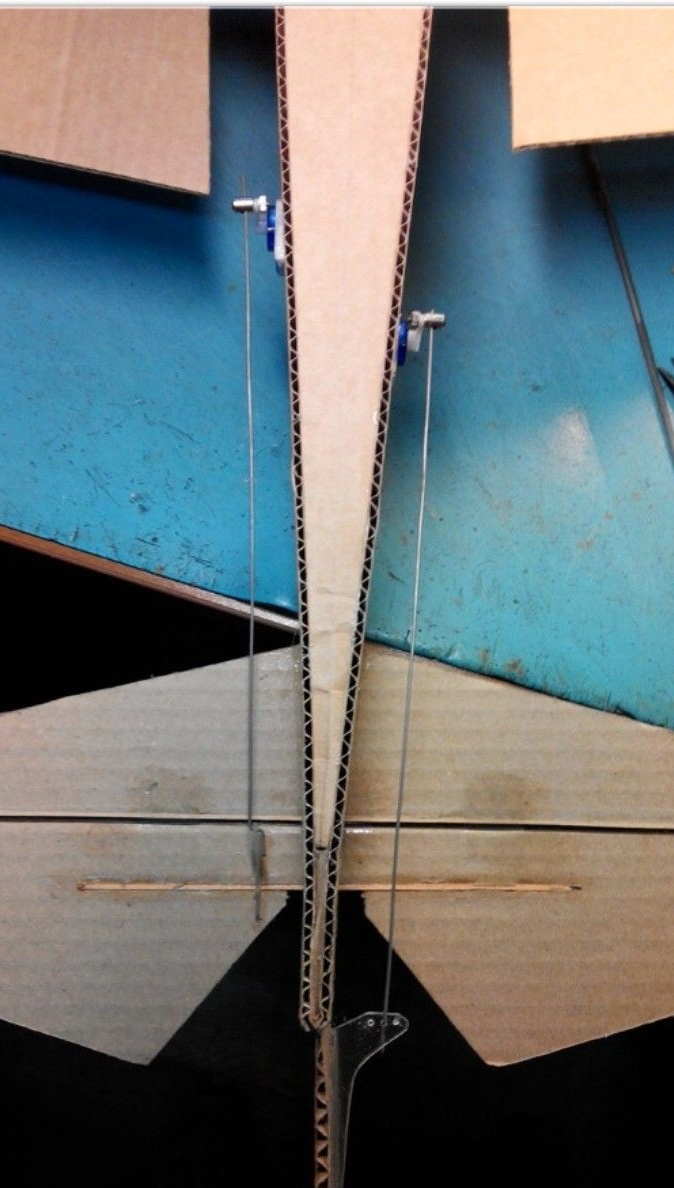
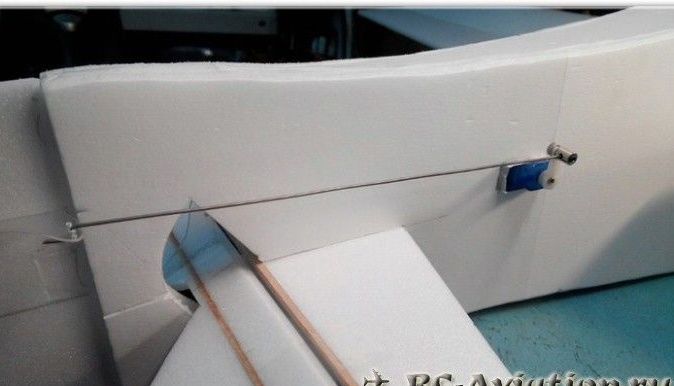
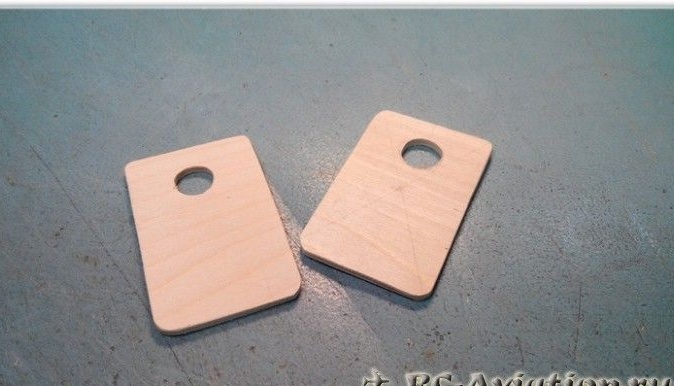
The markings are made under the hogs and then cut out. The hole in the boar clearly coincides with the reinforcement stick, it must additionally be lubricated with glue.
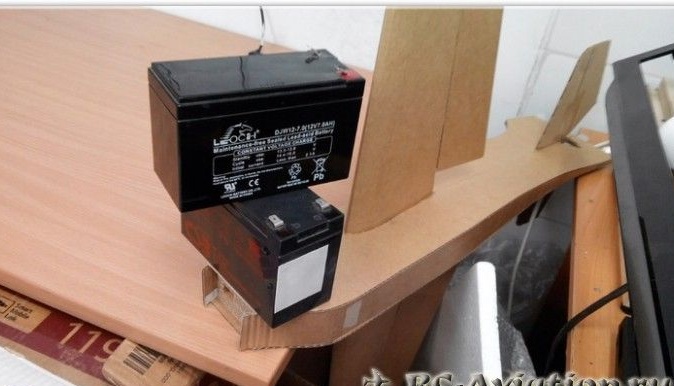
Step 6. The final stage
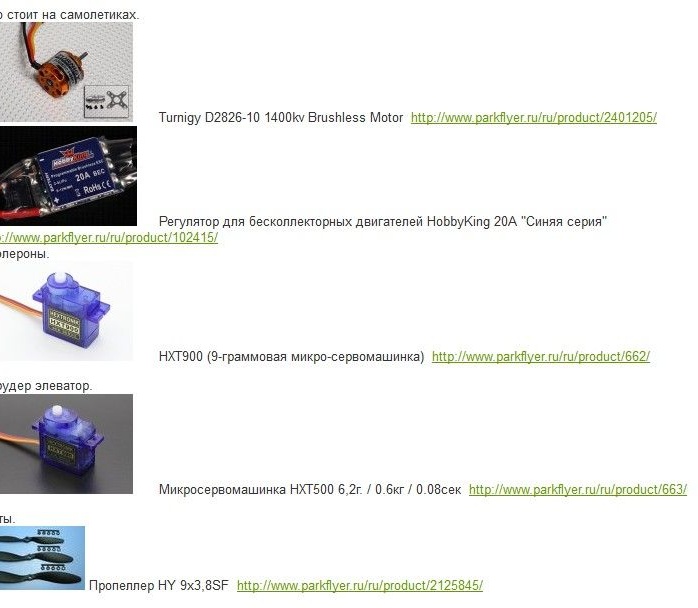
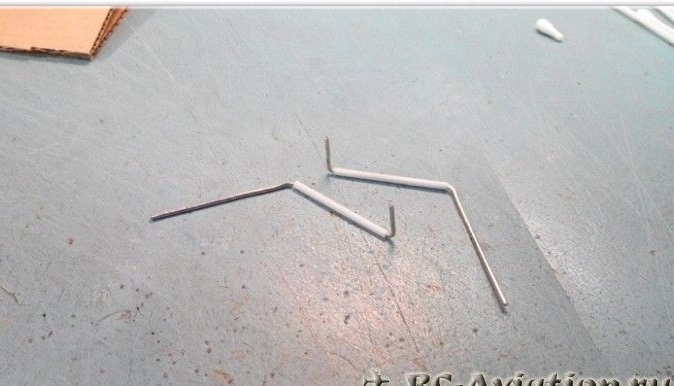
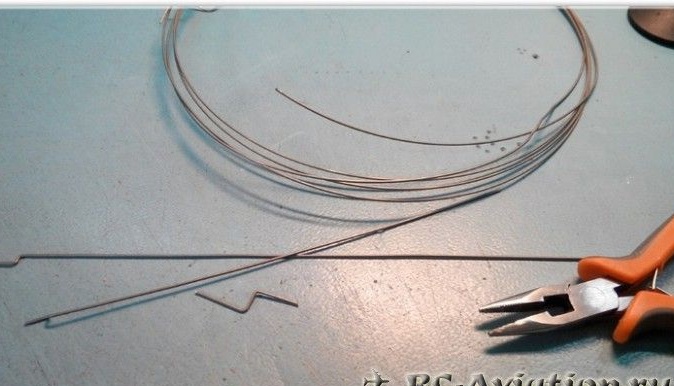
A torsion motor, batteries, etc. are installed. Control rods are fastened; for this, a wire 1 mm thick is used. An engine mount is made from plywood. The motor needs to be pulled forward slightly to maintain alignment.


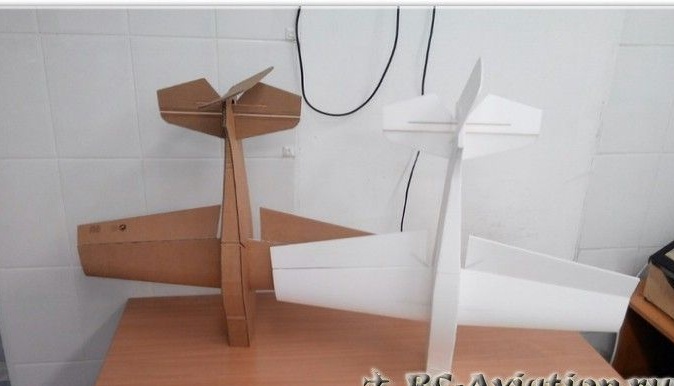
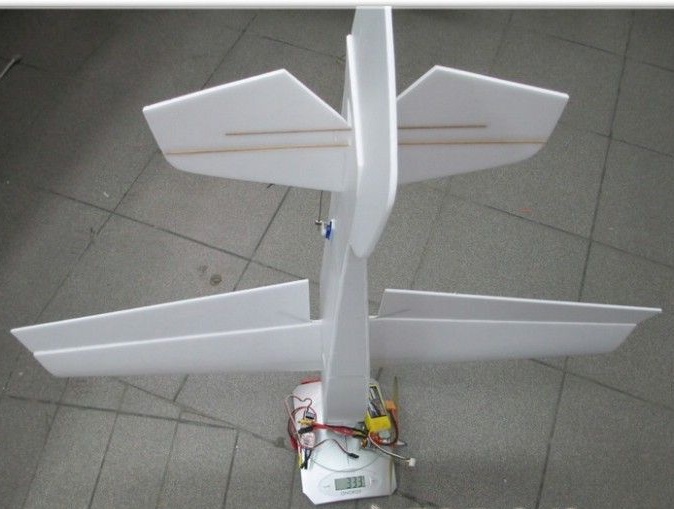
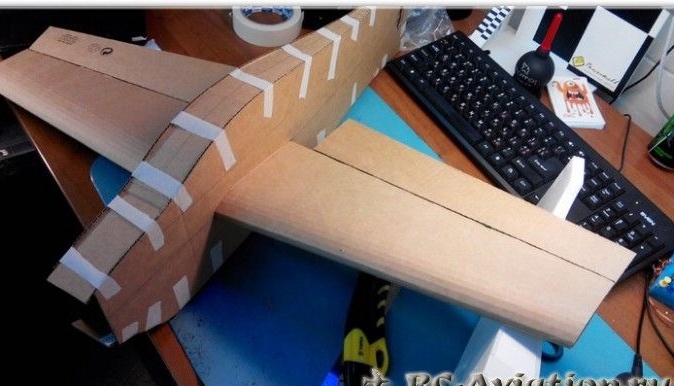
Conclusion
To make model Mini Flash, you’ll have to work a little, you can also decorate it a bit, and forward to the homemade tests.
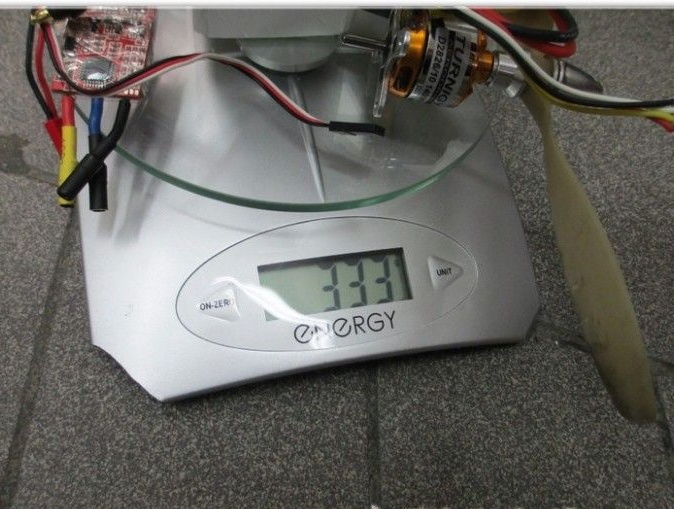
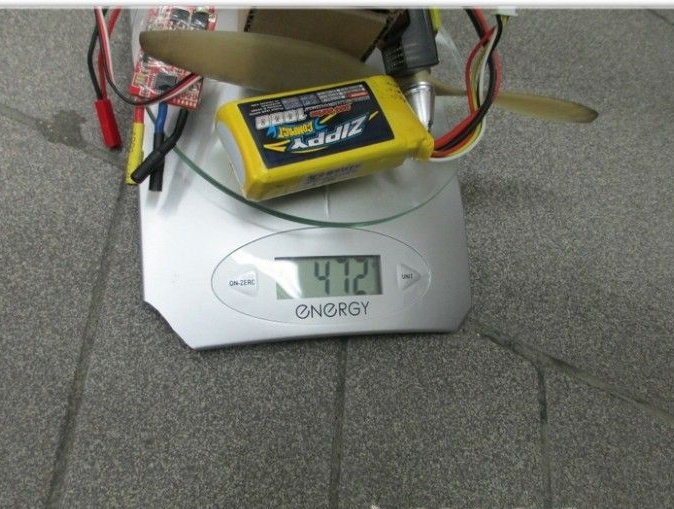
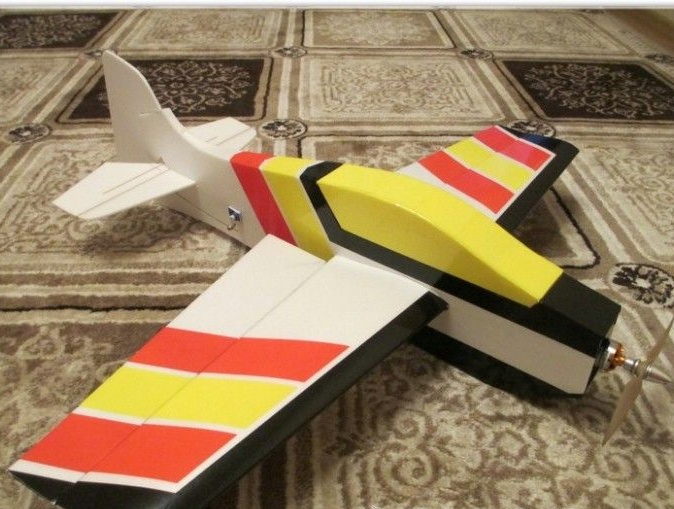

Installed on the model electronics