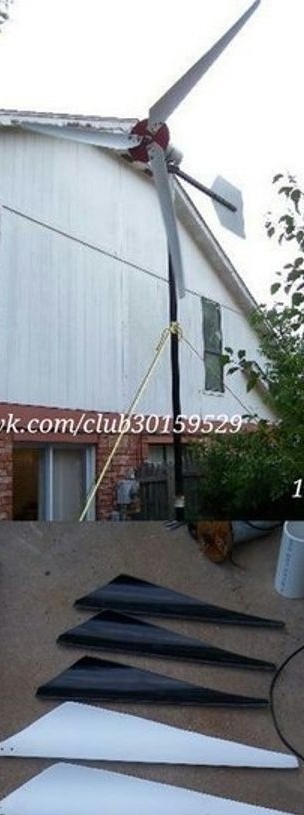
Completely not difficult do it yourself make a small windmill, producing up to 250 watts of power. Its cost is about $ 200 - much cheaper than using a fairly expensive solar panel.
Materials and tools for homemade:
• hacksaw;
• drill;
• roulette;
• adjustable wrench;
• sandpaper;
• protractor;
• Metal sheet;
• pipes;
• pin;
• car clamps;
• self-tapping screws;
• current diodes;
• PVC pipes;
• bolts, nuts.
Windmill manufacturing process
Step 1. Making the blades
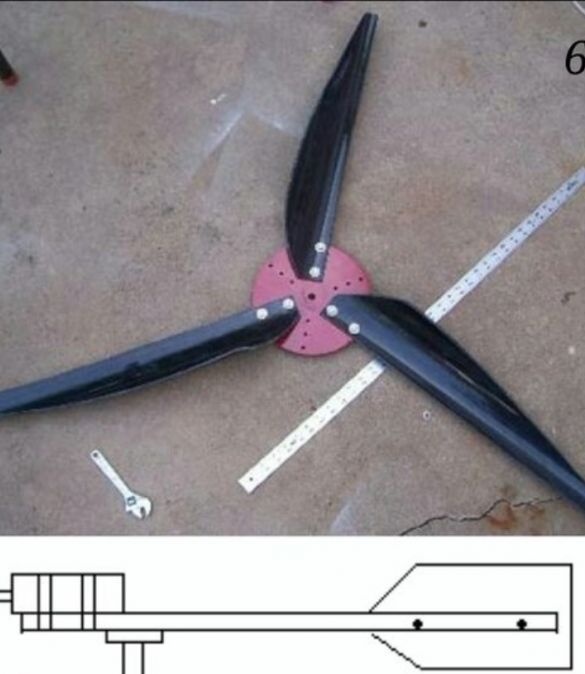
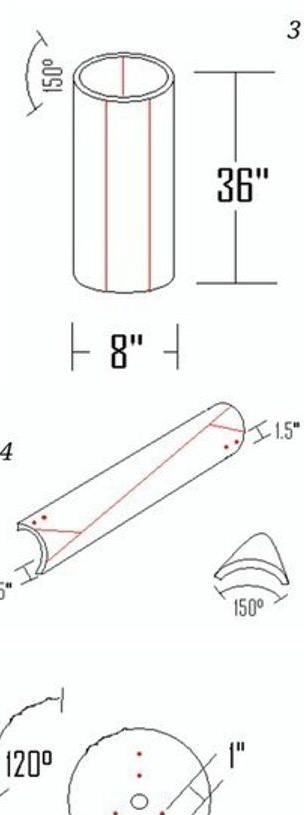
A sufficiently large number of craftsmen make blades of wood or fiberglass with epoxy. In this case, the blades will be from a PVC pipe. The pipe must be cut into three sections, two parts must be 150 degrees, and one 60 degrees. For the correct measurement of degrees, a protractor must be used. To make it more convenient to cut, you need to make a clear cut line, it can be outlined by sticking tape.
The blades of 150 degrees are wide, even in light wind they will spin. You can independently choose the optimal angle between 75 and 150 degrees. Initially, you need to cut wide blades, then they can be made narrower. After the blades are cut, it is necessary to round their edges.
Step 2. The node for mounting the blades
Given device can be made of different materials, in the case of this homemade product the most ordinary saw blade is used, it lends itself well to drilling. Need to make 6 holes with a drill. It should turn out like this: two holes are made at a distance of 2.5 cm, then a distance of 120 degrees is made and two more holes two times each.
We must not forget to grind the teeth of the saw, otherwise they can harm a person. When the hub is ready, you can screw the blades to it with bolts and nuts.
Step 3. Making the hinge and weather vane
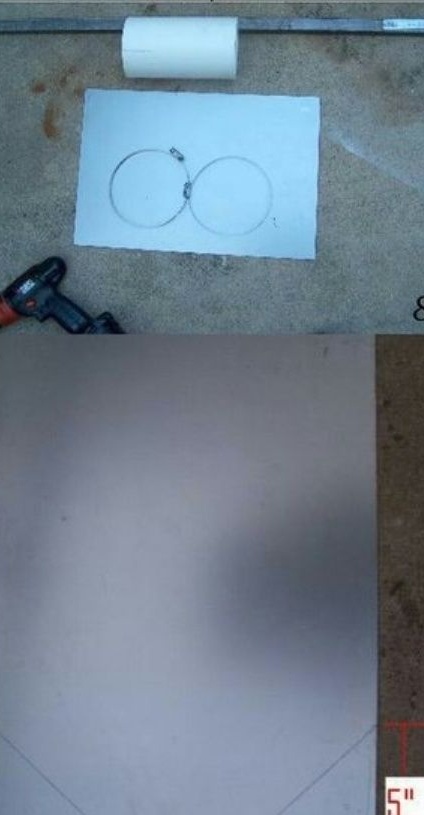
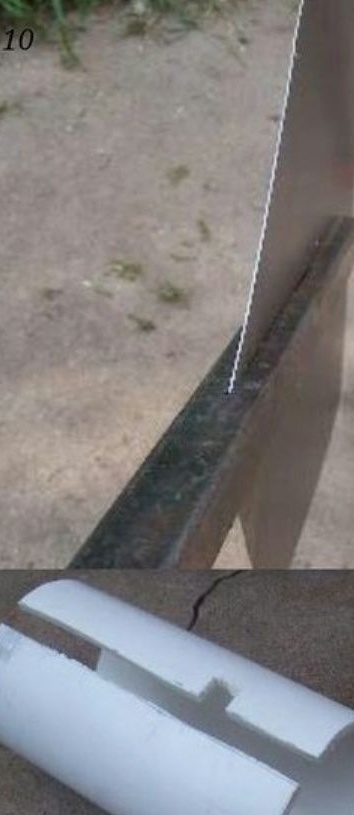
The next stage is the manufacture of a rotation platform; a generator will be installed on it. You will need to take a square pipe, PVC pipe, flange and sheet of metal. A weather vane is cut out of the iron sheet, it does not affect the principle of operation, its function is an aesthetic appearance.
On a square pipe, you need to make a cut with a grinder, 20-25 long. A weather vane is inserted into this slot, and through holes in the metal and pipe are drilled. Everything is bolted together.
We must not forget to make a cover for the generator, since the windmill is on the street and water and snow can get on it.
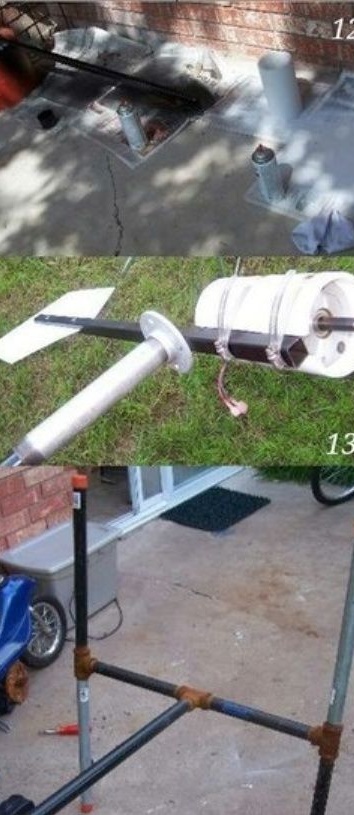
Everything is assembled in one piece, the motor and the cover are attached to the pipe using car clamps.Closer to the motor, you need to install the flange and attach it well with self-tapping screws.
Step 4. Making the mast
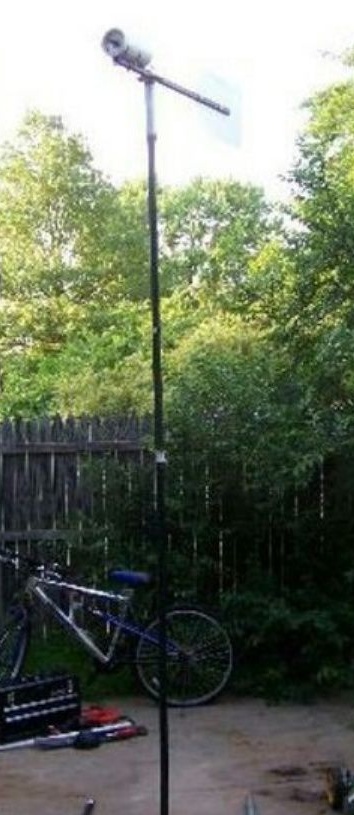
To create a tower, a PVC pipe and accessories for it are used. In this case, the following were used: PVC pipe, 3 T-branches and a coupling. After completing the construction of the mast, you need to attach the entire structure of the windmill to it.
Step 5. The final stage
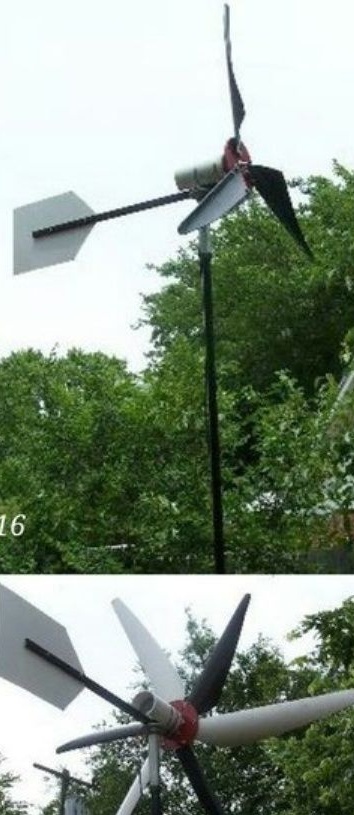
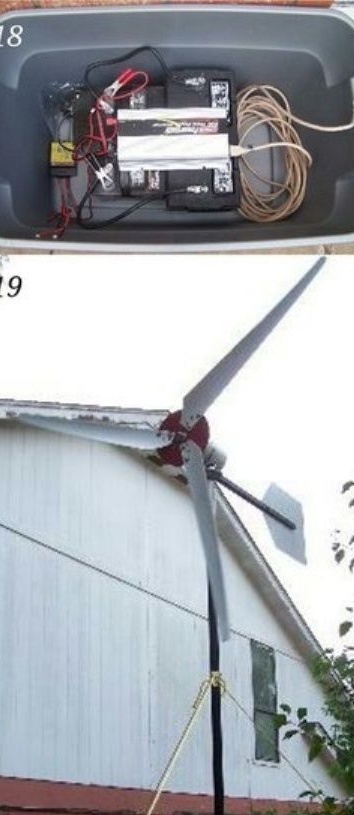
Ready hub with blades sits on the motor shaft. The result was a design with six blades, its main advantage is that it rotates even in the weakest wind. Two batteries are used, power is supplied in parallel with the solar battery. It is also possible to use ordinary batteries.
It is important not to forget to solder the diodes between the generator and the battery, otherwise the current from the batteries will go to the generator.
Conclusion
After spending a little time on making homemade products, the result is a fairly high quality windmill that can work even with minimal wind. Depending on the location of the windmill and wind conditions, the blades can be made thinner.

