

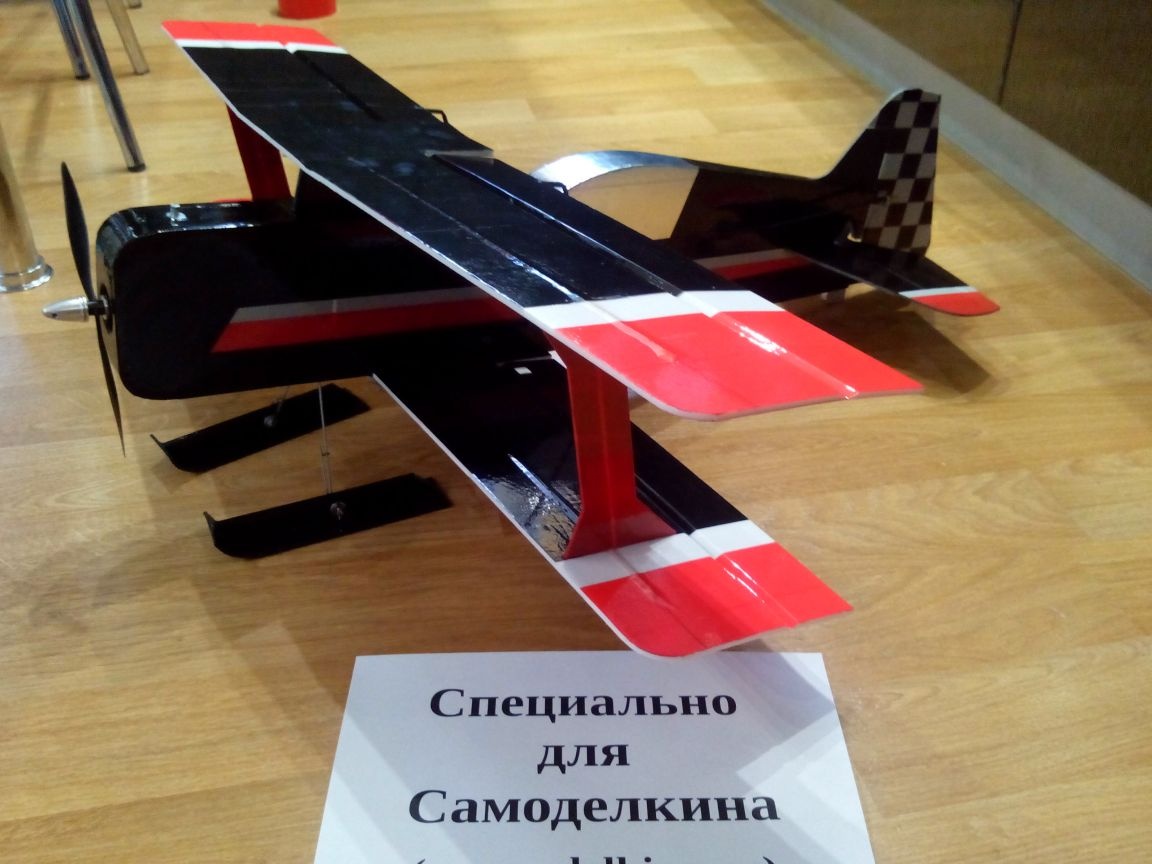
This article will be a detailed description of the construction of a small and light biplane from available materials. This model ideal for small areas and for pilots with little experience - both in building the model and in managing it.
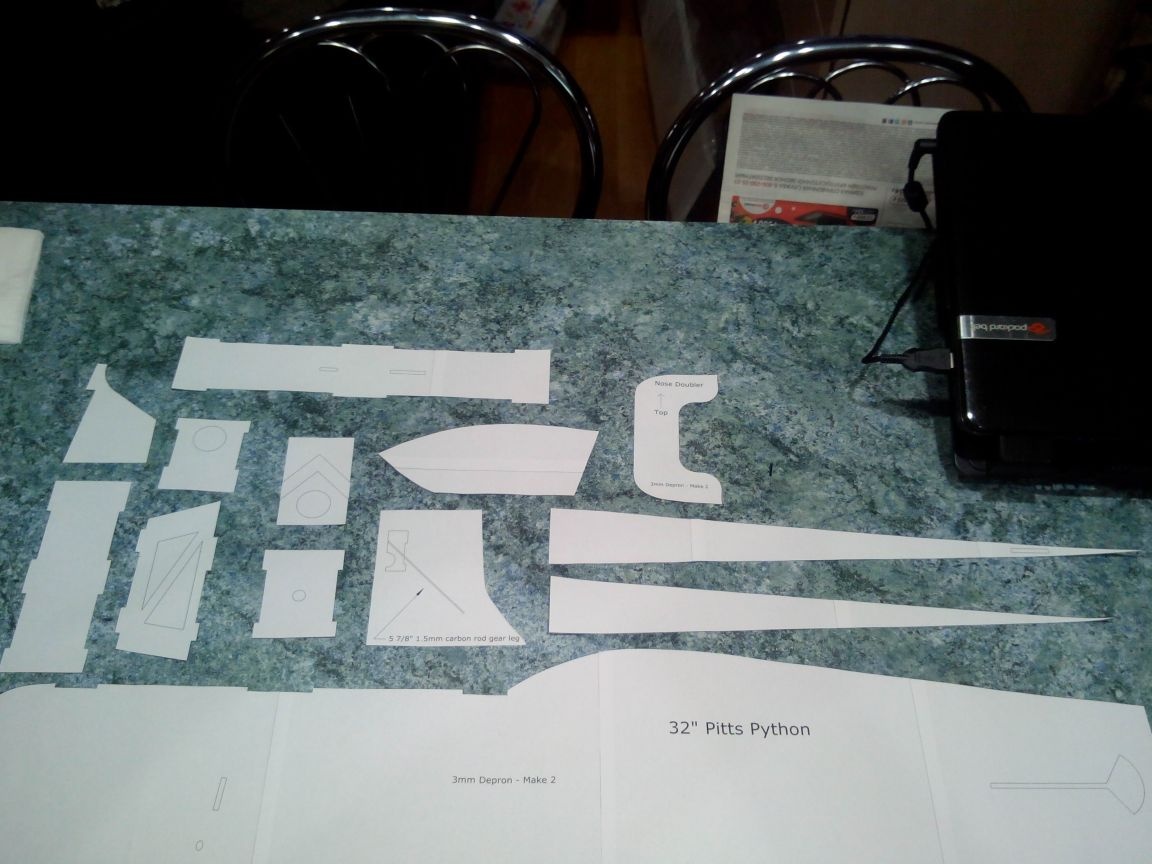
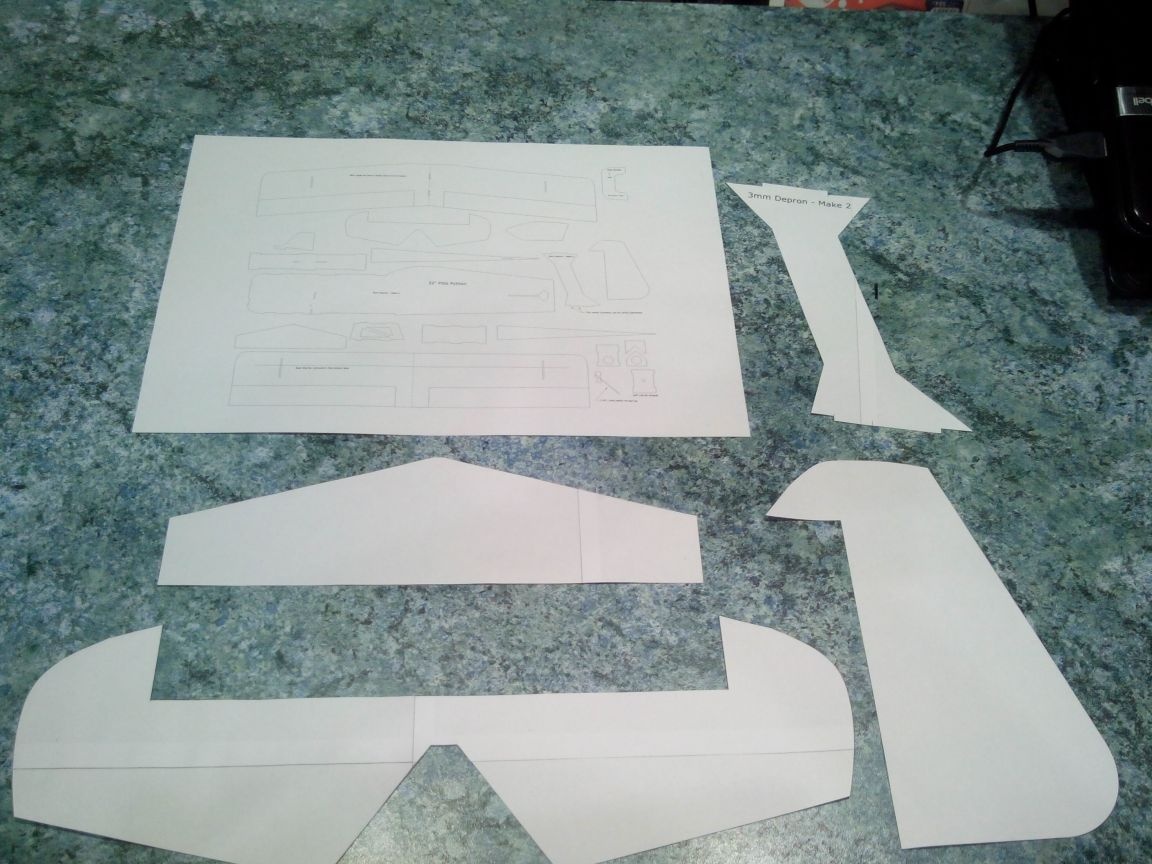
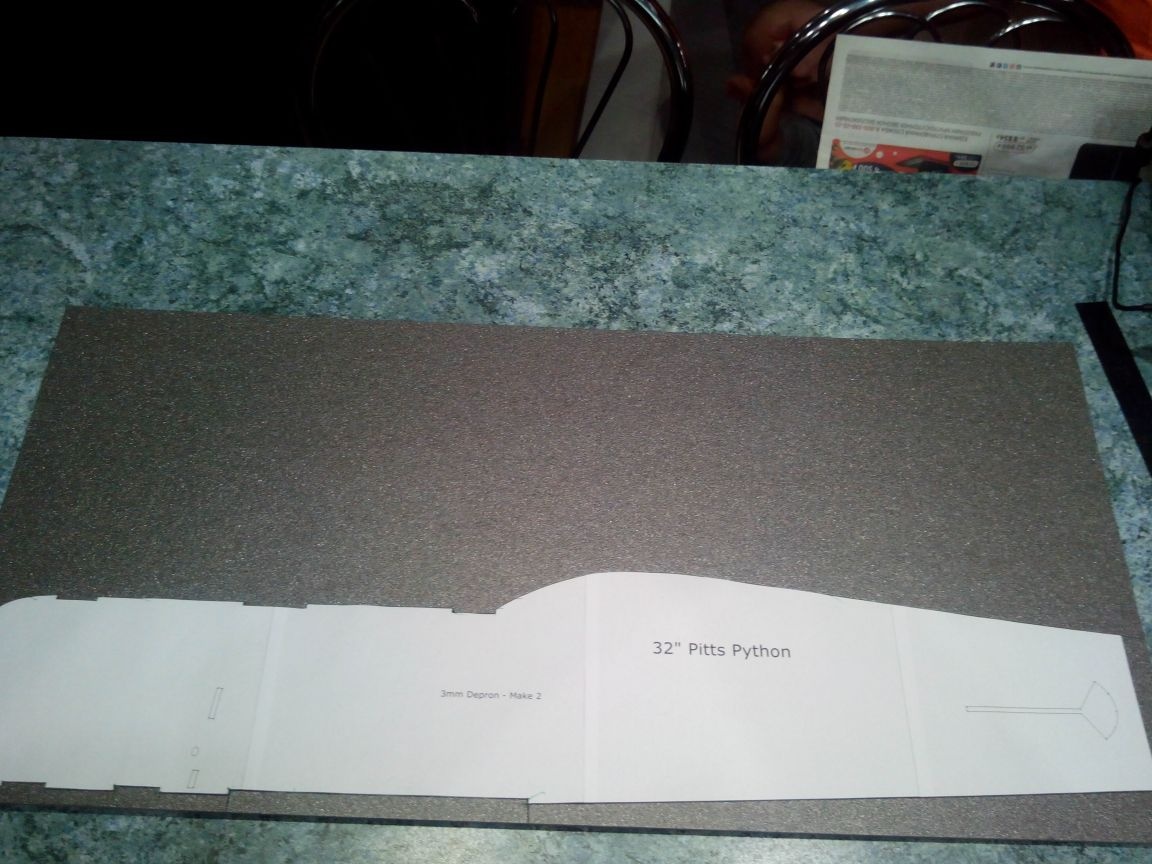
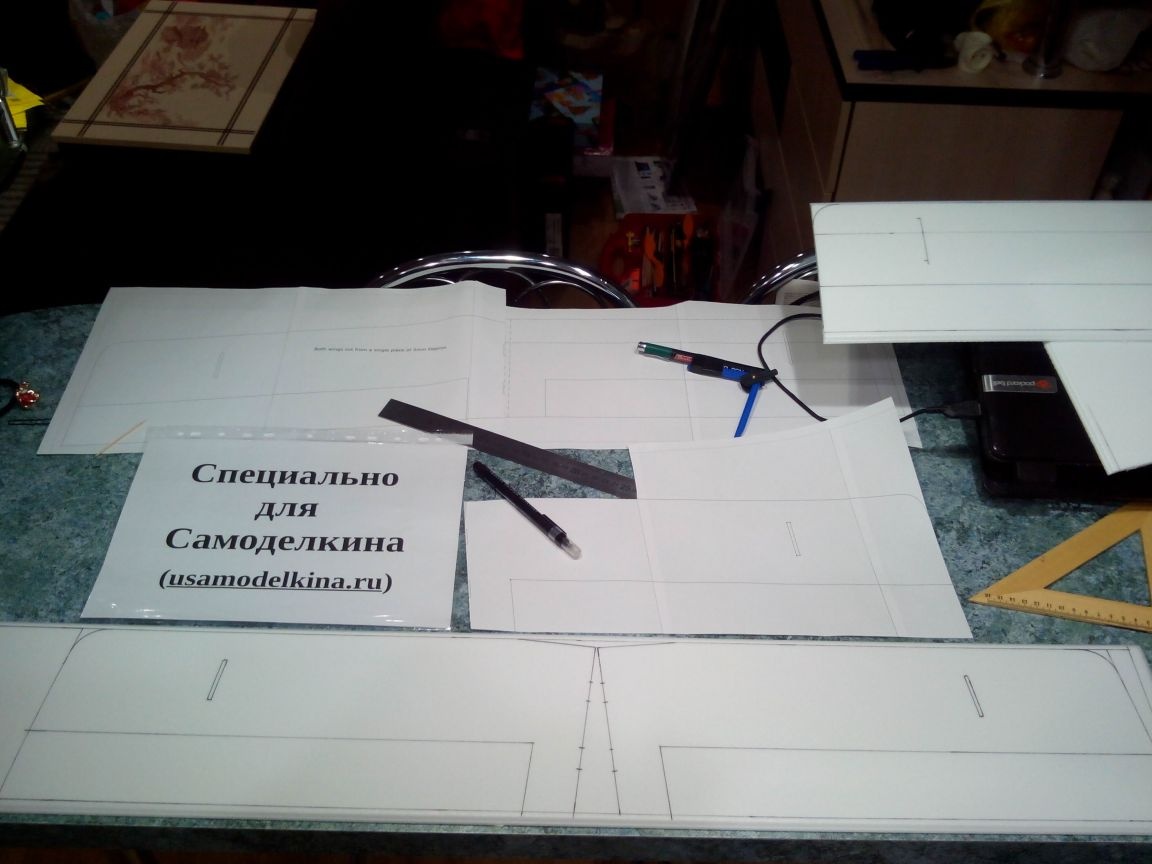
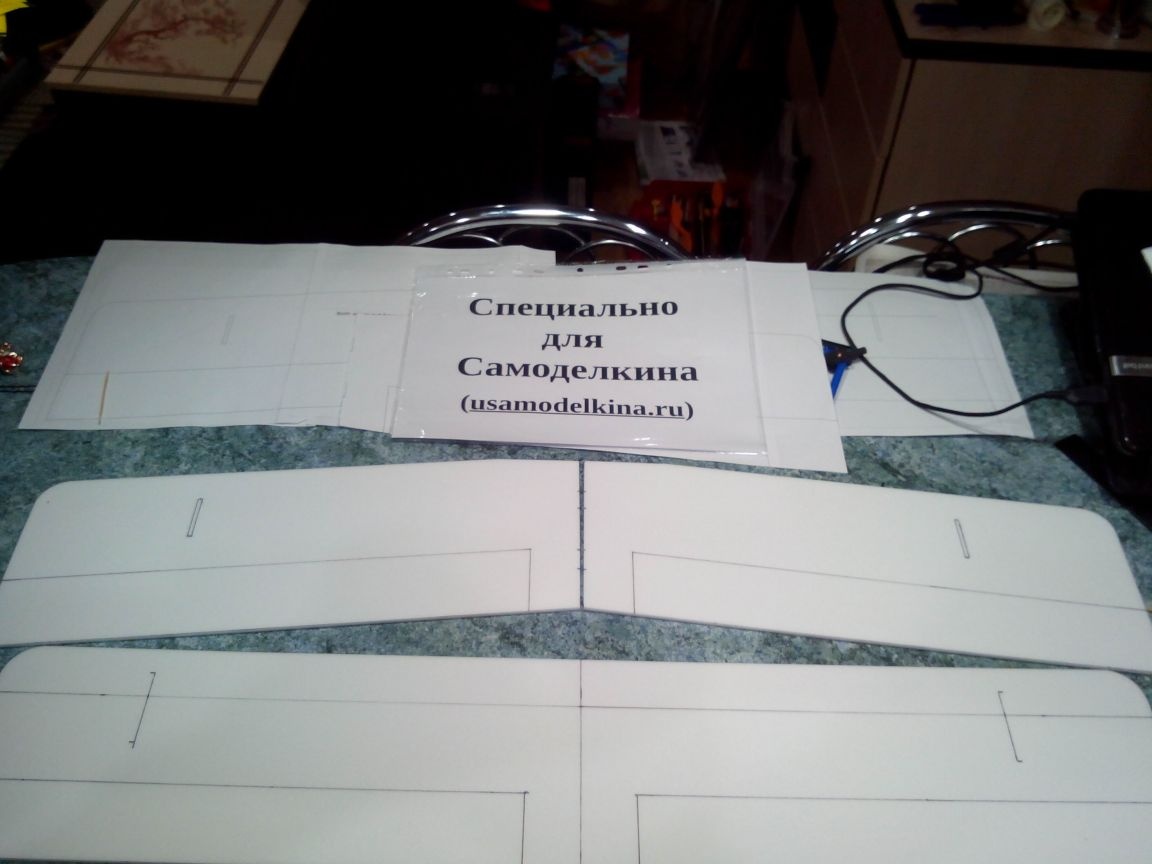
Based on these drawings in PDF format. They must be printed on A4 sheets and glued together along the lines.
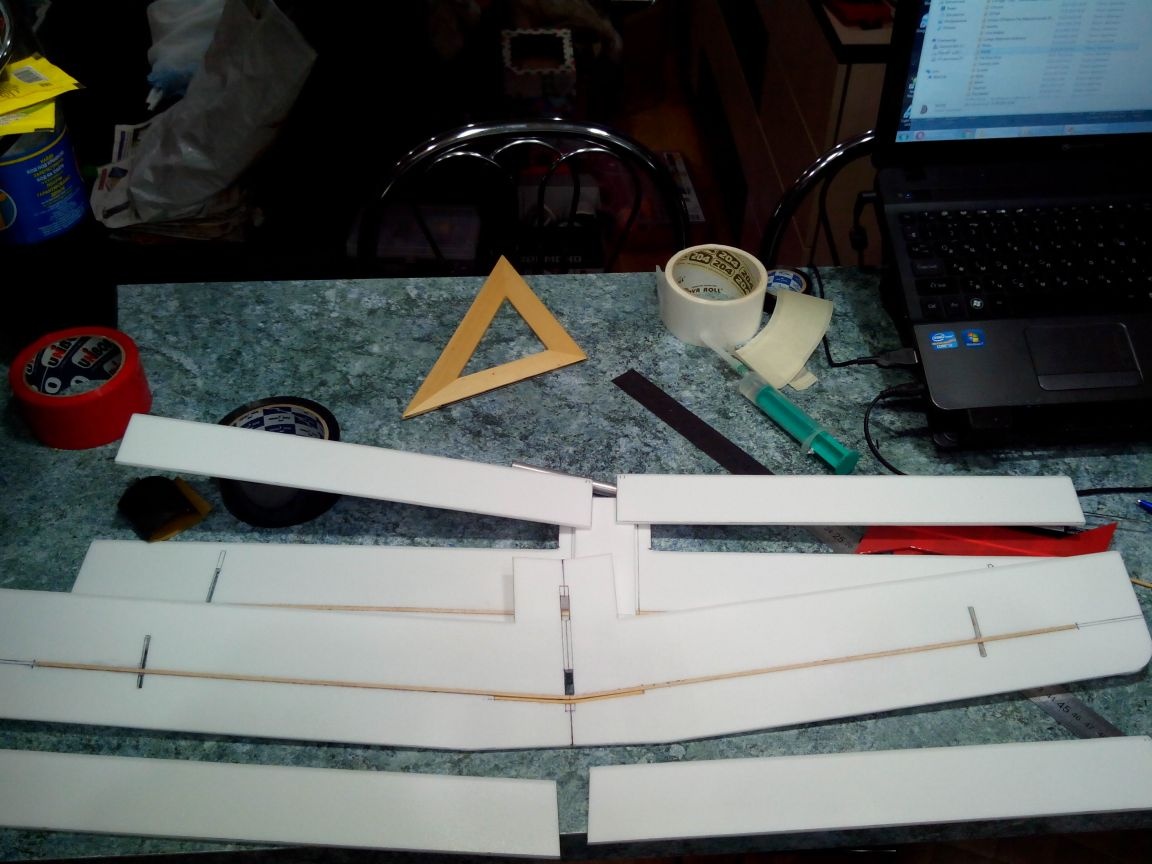
Materials:
- Laminate flooring
- Ceiling tile
- Wooden rulers
- steel wire
- Bicycle knitting needles
- Thin plywood
- Bamboo skewers
- Threads
- Shrink
Instruments:
- Cutter
- scissors
- Metal ruler
- Square
- Jigsaw
- Marker for disks
- PVA glue
- Ceiling glue
- Five-minute epoxy
- Scotch multi-colored
Electronics:
(or 8 inches)
(for slow flights you can 2S)
(or any other from 4 channels and above)
Step 1. Cutting parts.
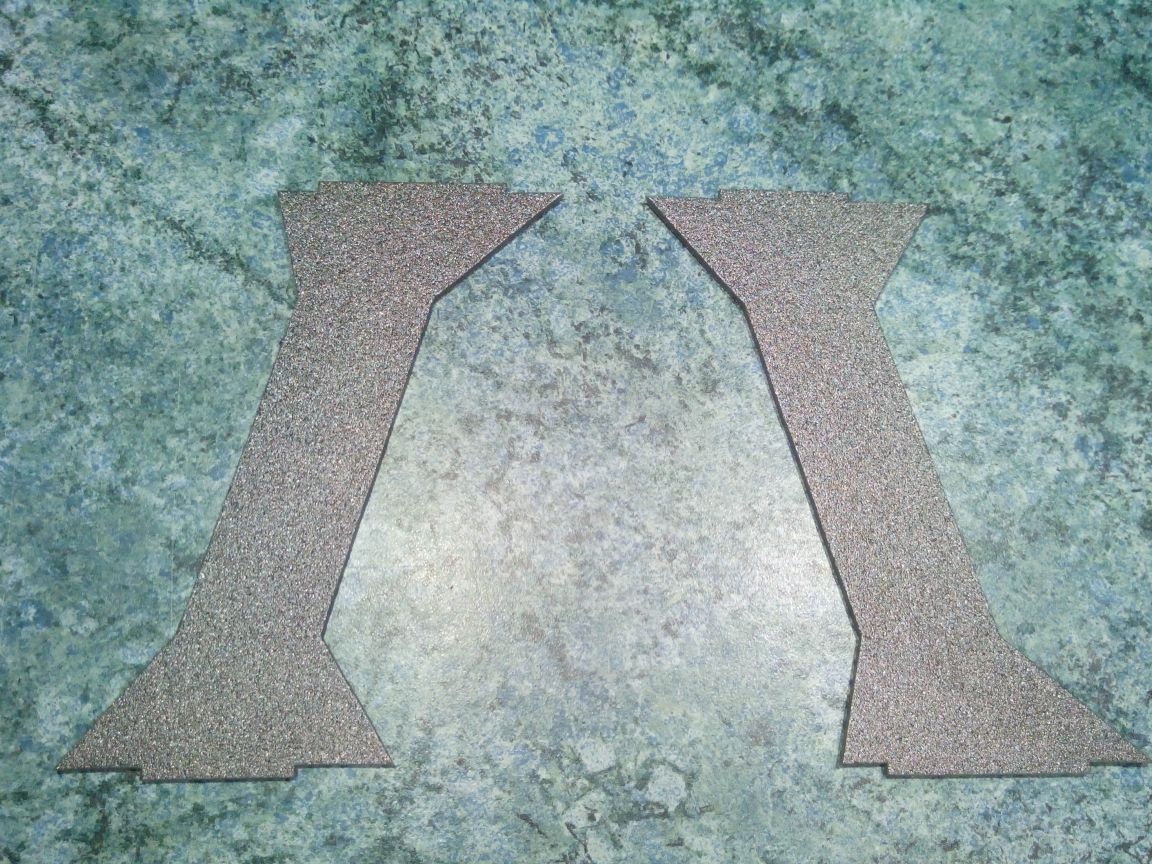
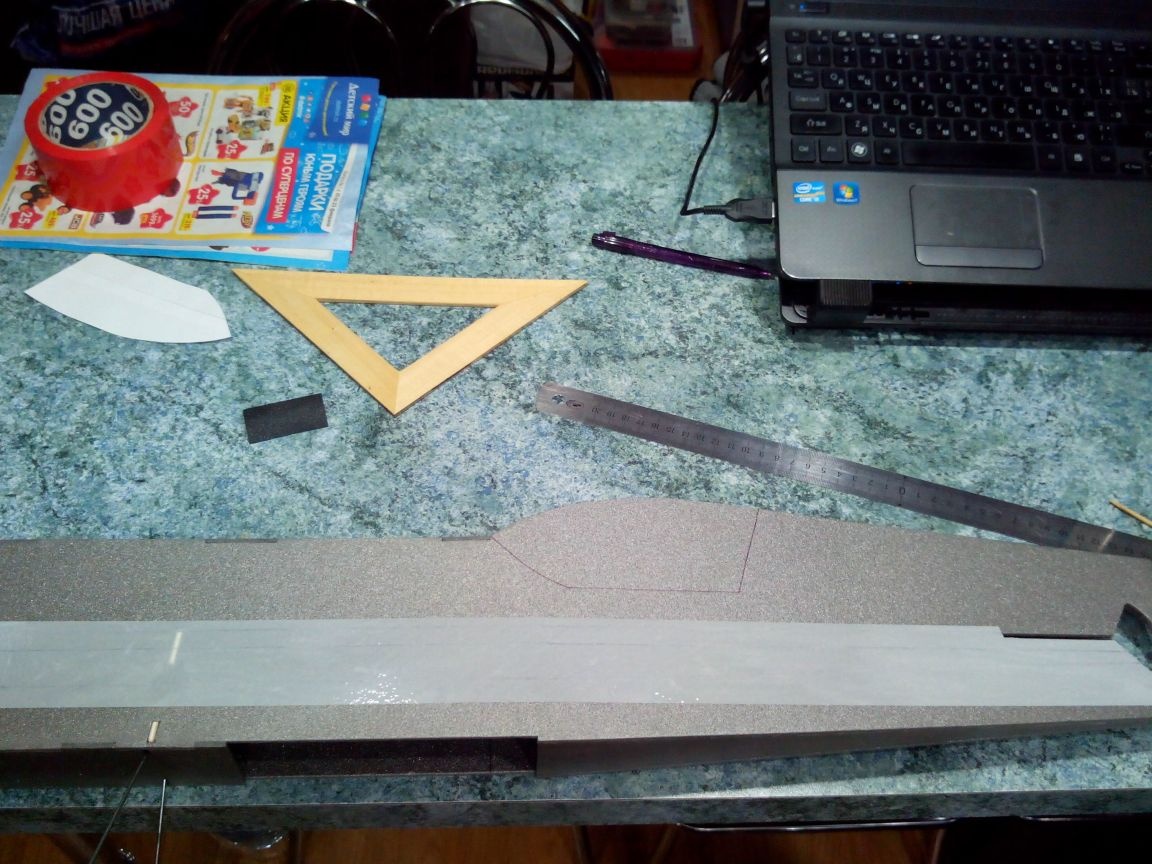
We cut out the patterns of the parts of the fuselage and the tail unit from the glued drawing.
Transfer it all to the substrate under the laminate. In its absence, you can use the ceiling, but you will need to make small changes to the drawings (make the grooves wider, for example).

To paper templates are less displaced, they can be smeared on the back with glue and pencil - it leaves no residue after removing the template.
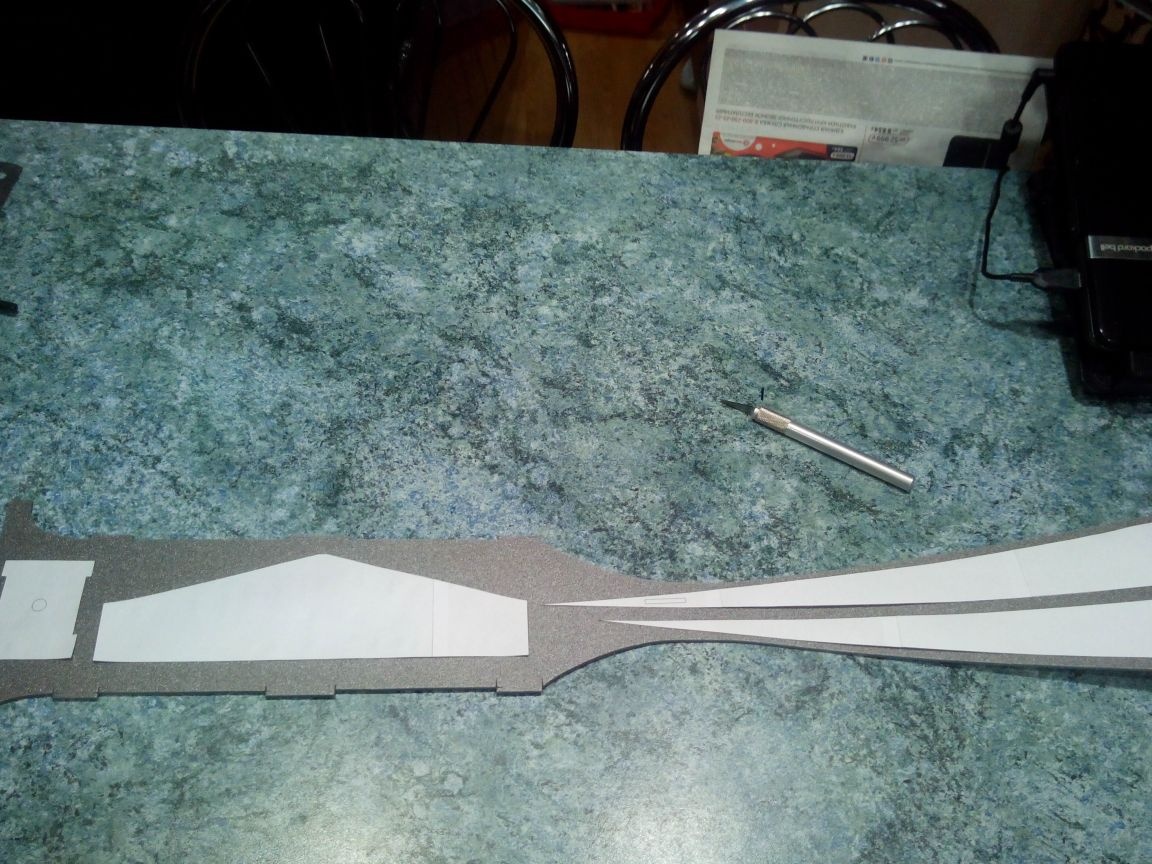
The grooves for the details are most conveniently marked with an awl directly through the drawing.
We put all paired parts (nose reinforcements, fuselage sides, struts) together in pairs and process them with sandpaper for complete symmetry.
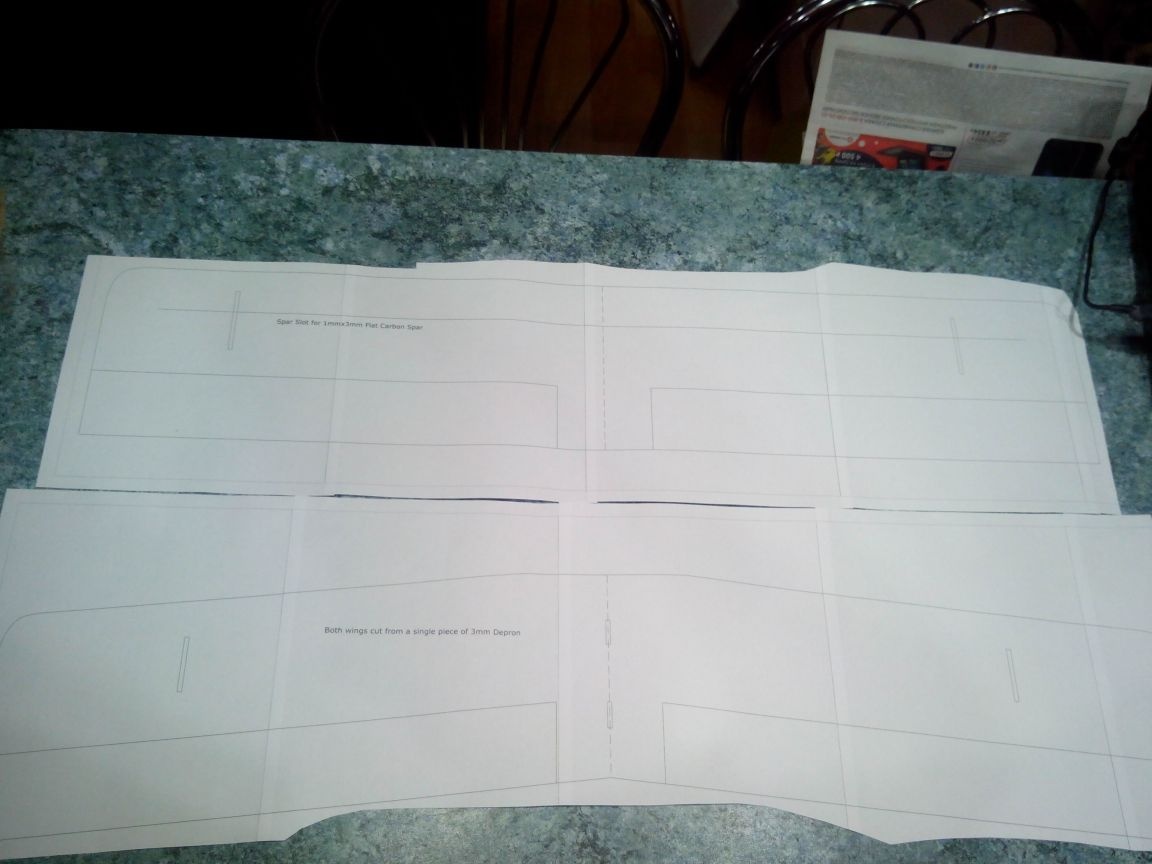
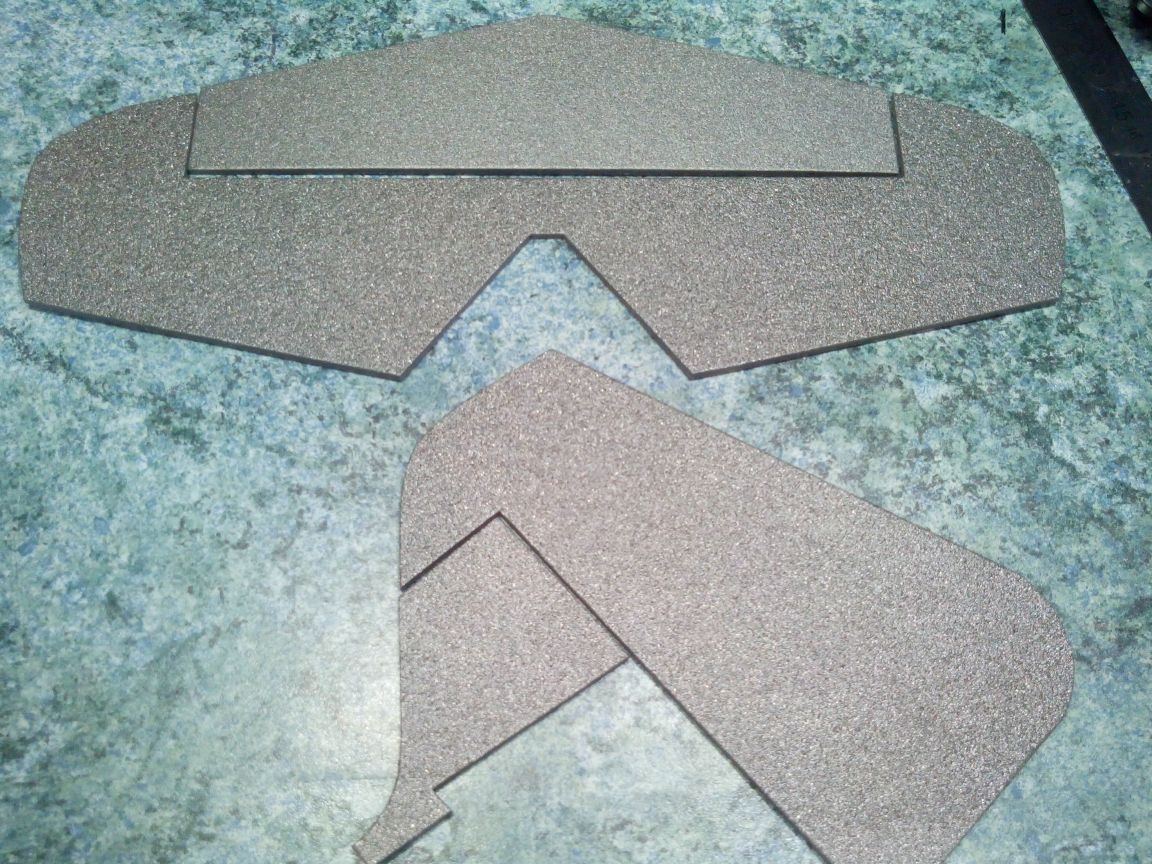
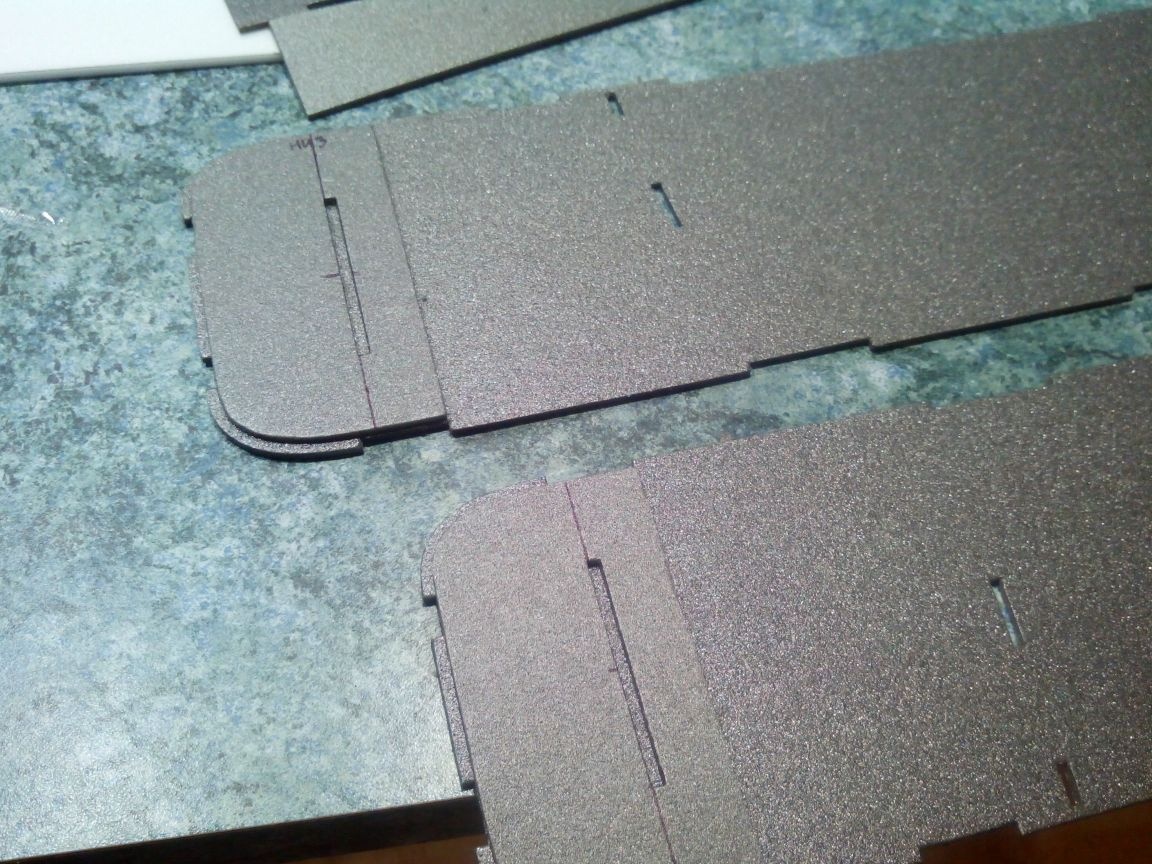
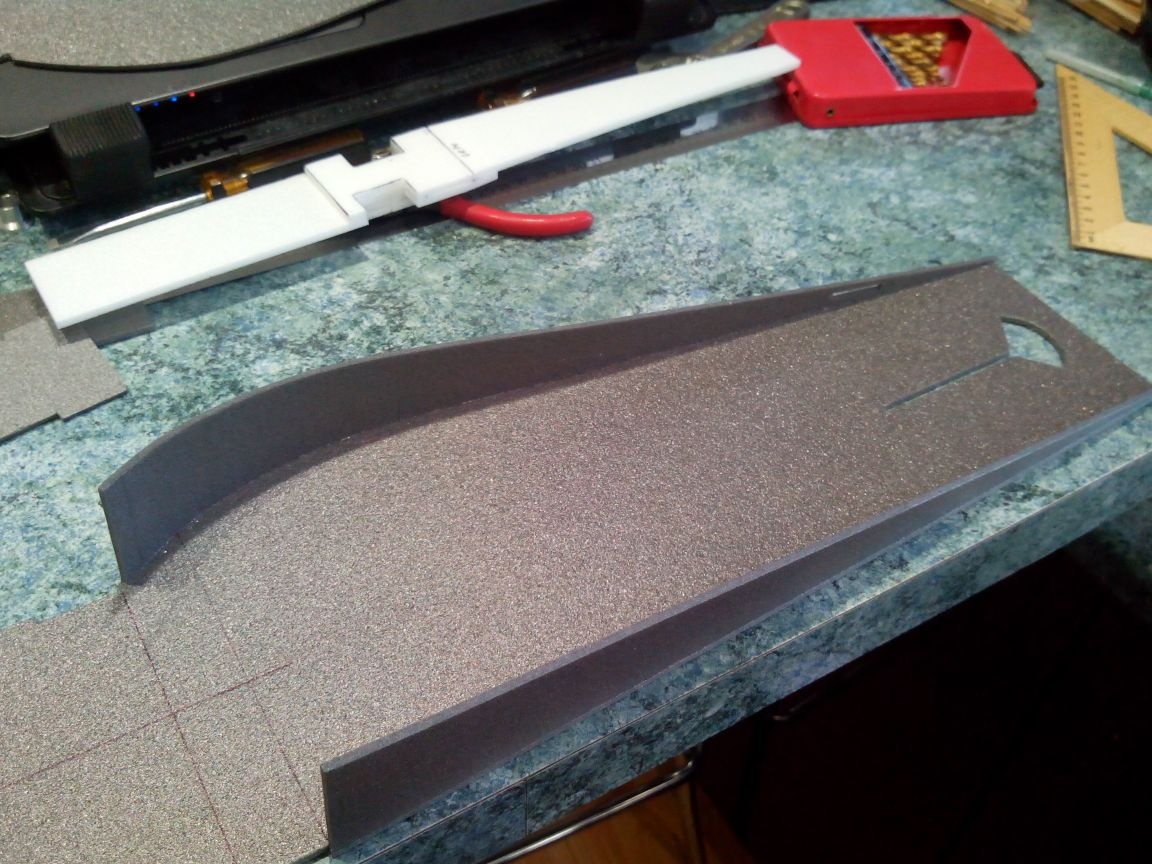
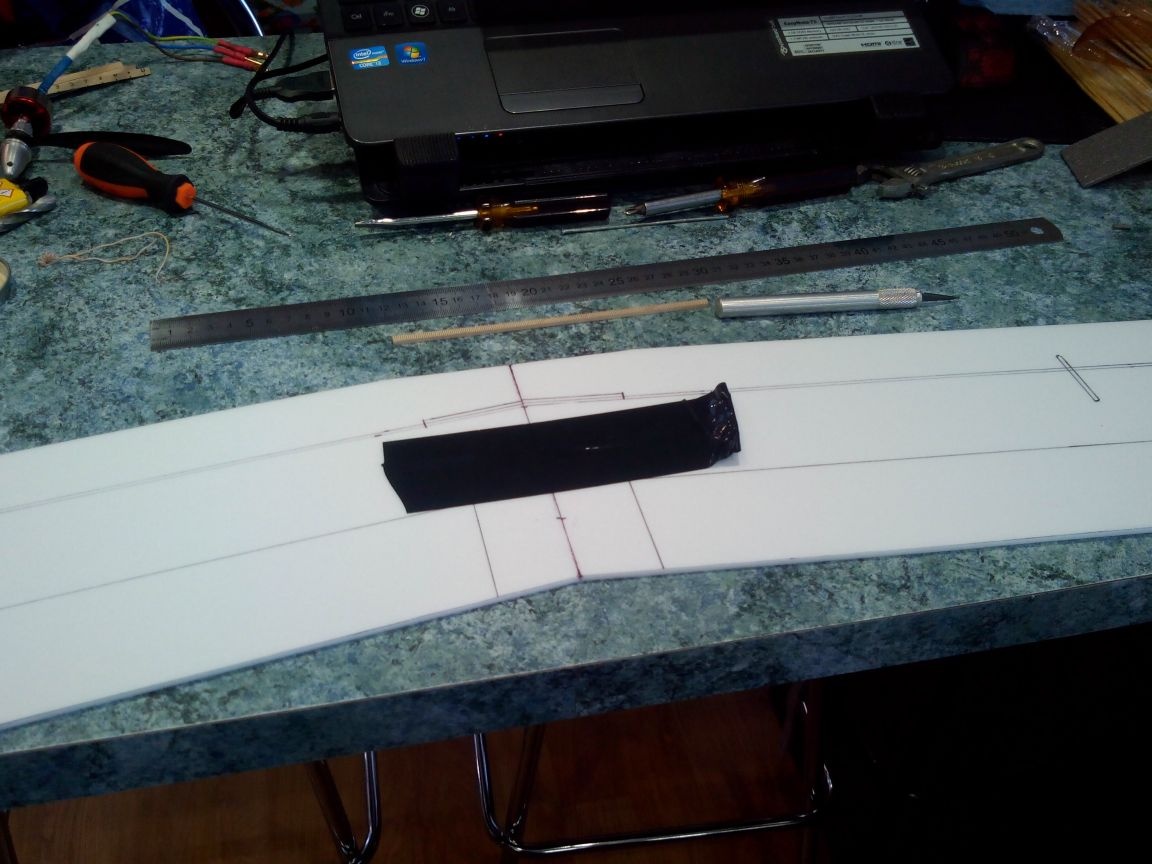
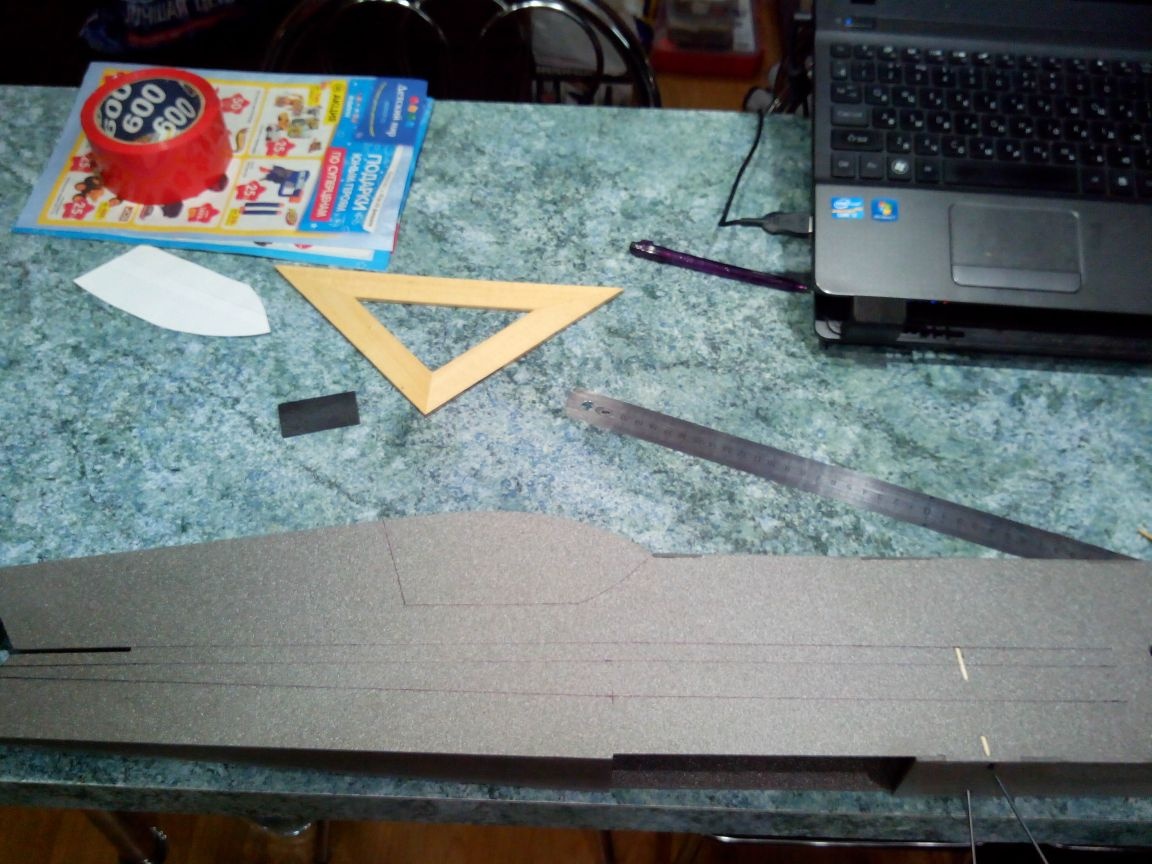
We draw the wings directly on the sheet of the ceiling using a square and a ruler, using the dimensions from the drawing - this will be more accurate.

Cut out the wings. Rounded corners are conveniently done on a small glass or lid.
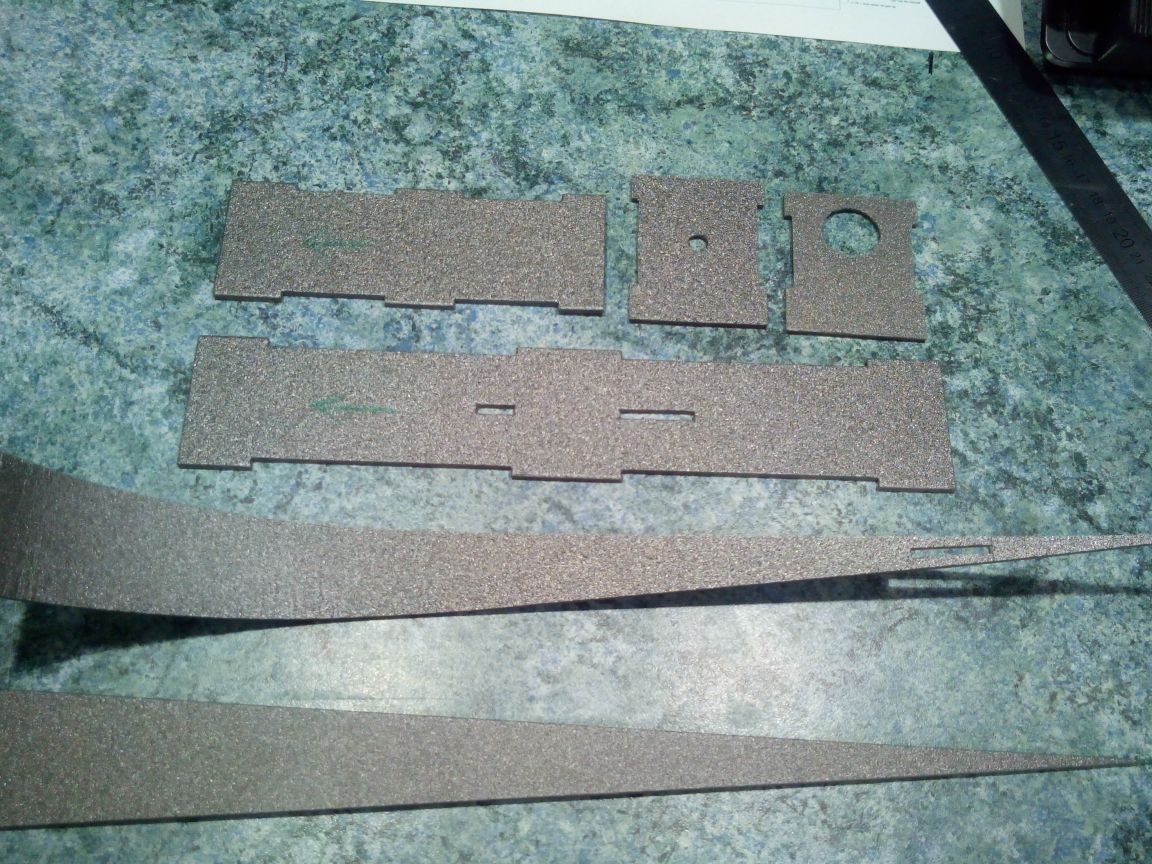
We cut the engine mount and the frame under the chassis from plywood.
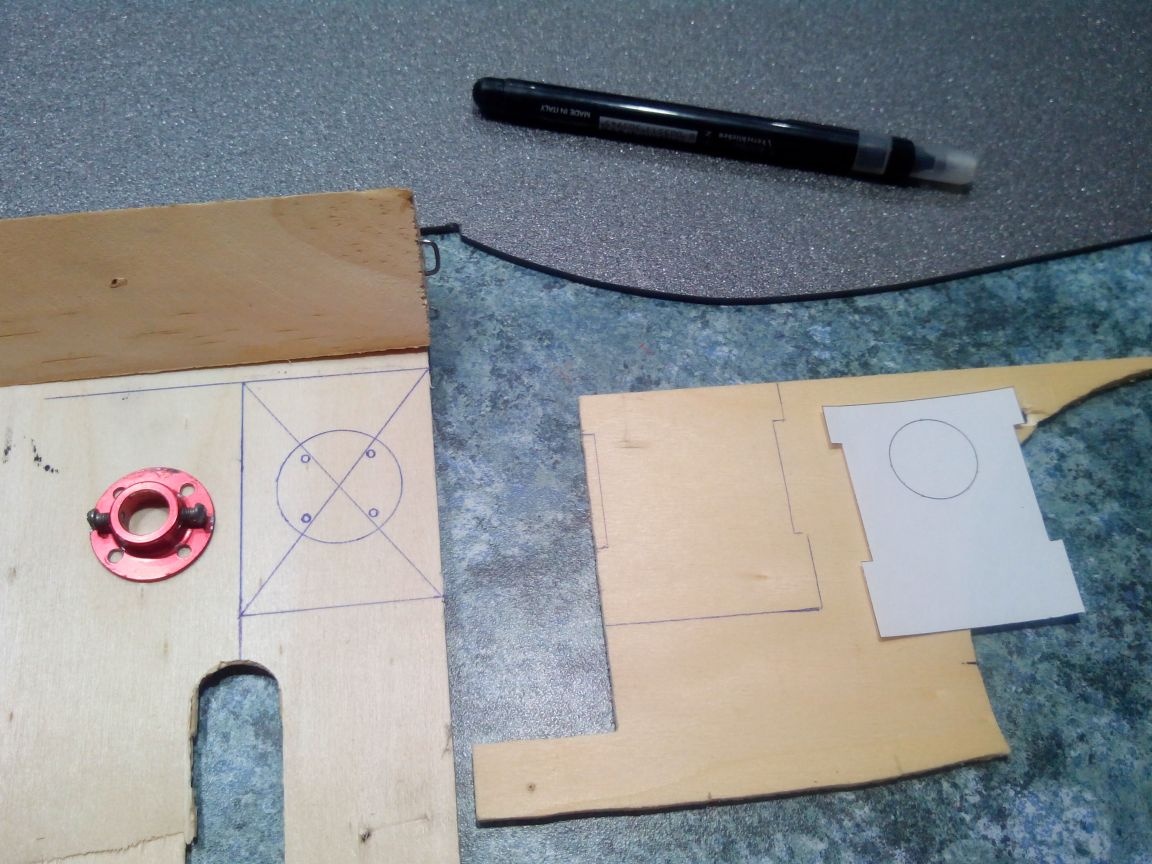
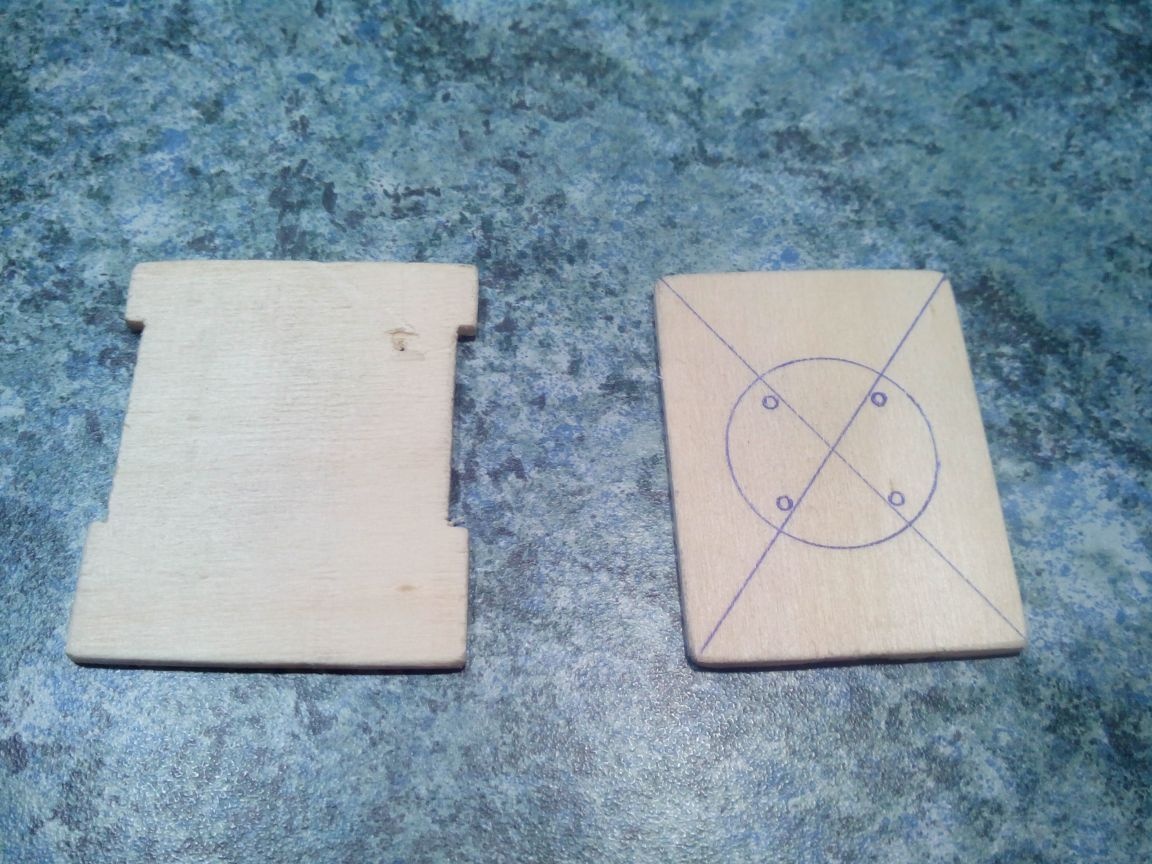
In the overlay-reinforcements of the bow, we cut out cracks for the engine mount.
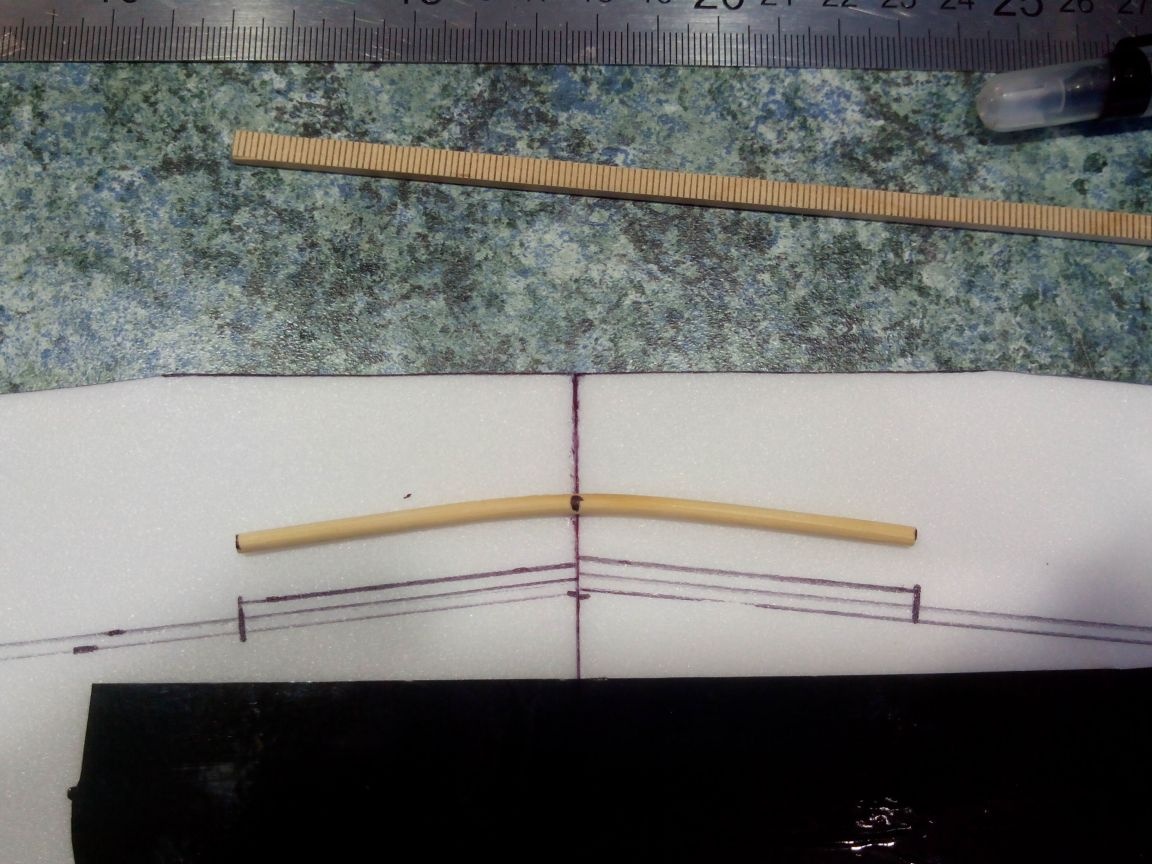
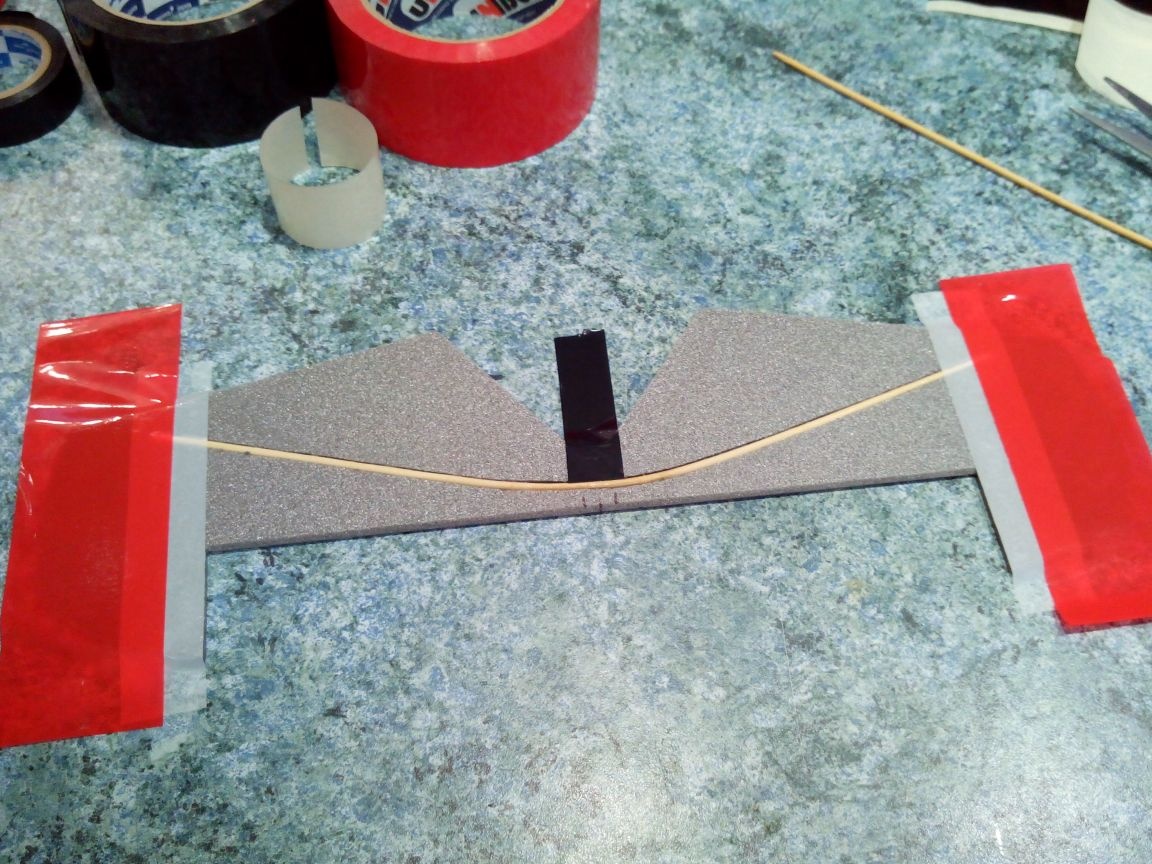
From the wing struts, cut a small strip in the middle part and glue the bamboo skewer with ceiling glue
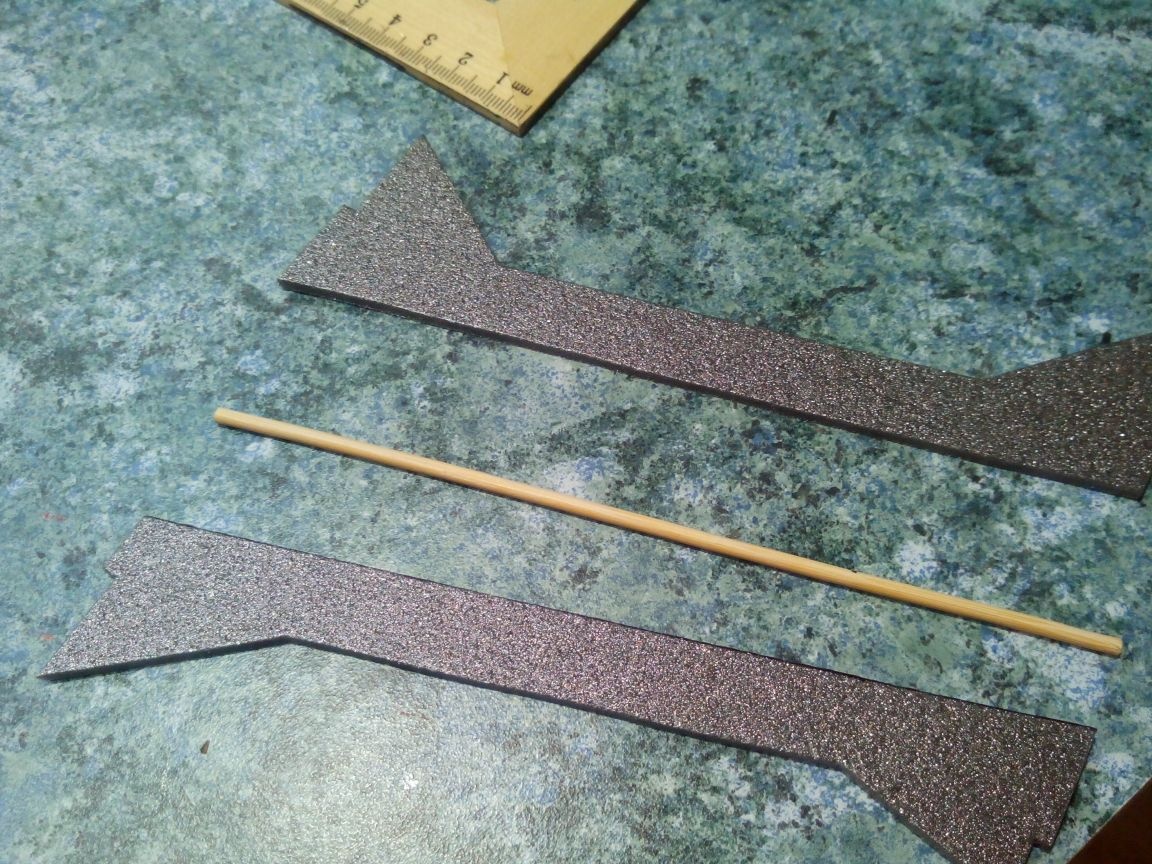
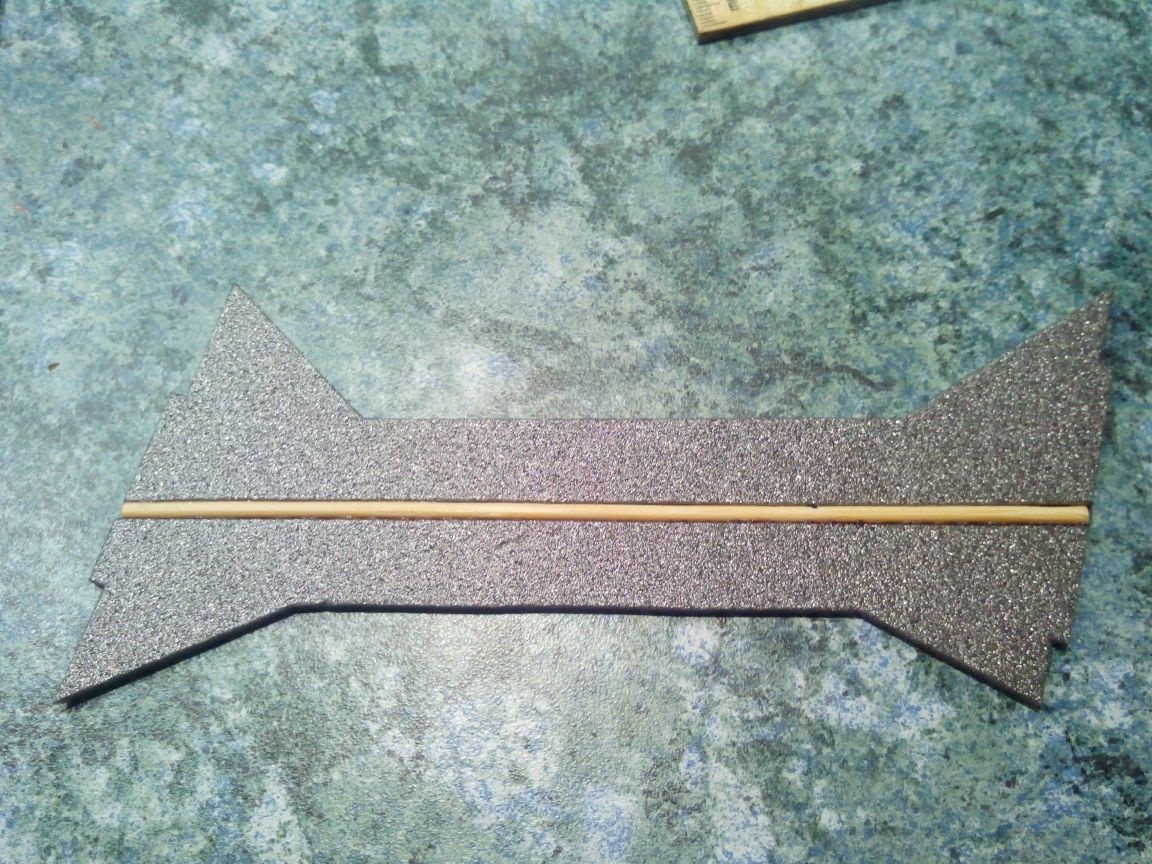
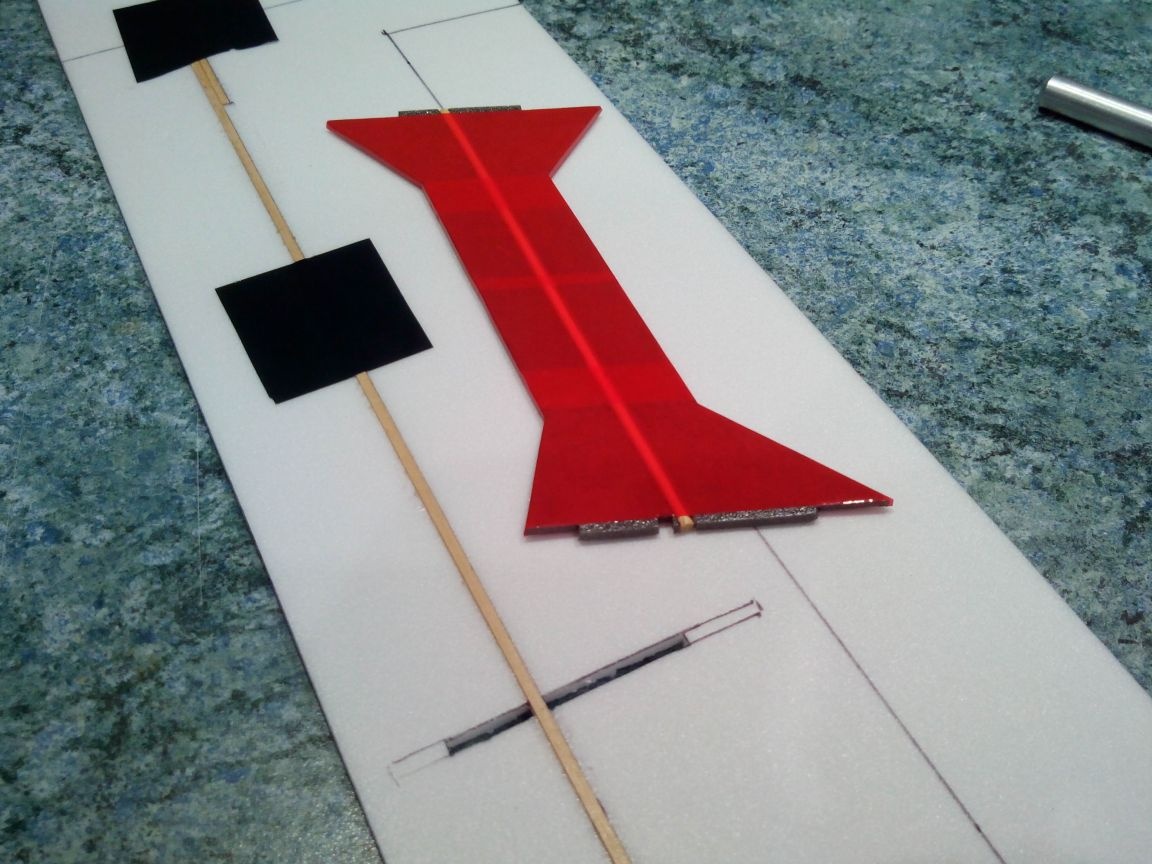
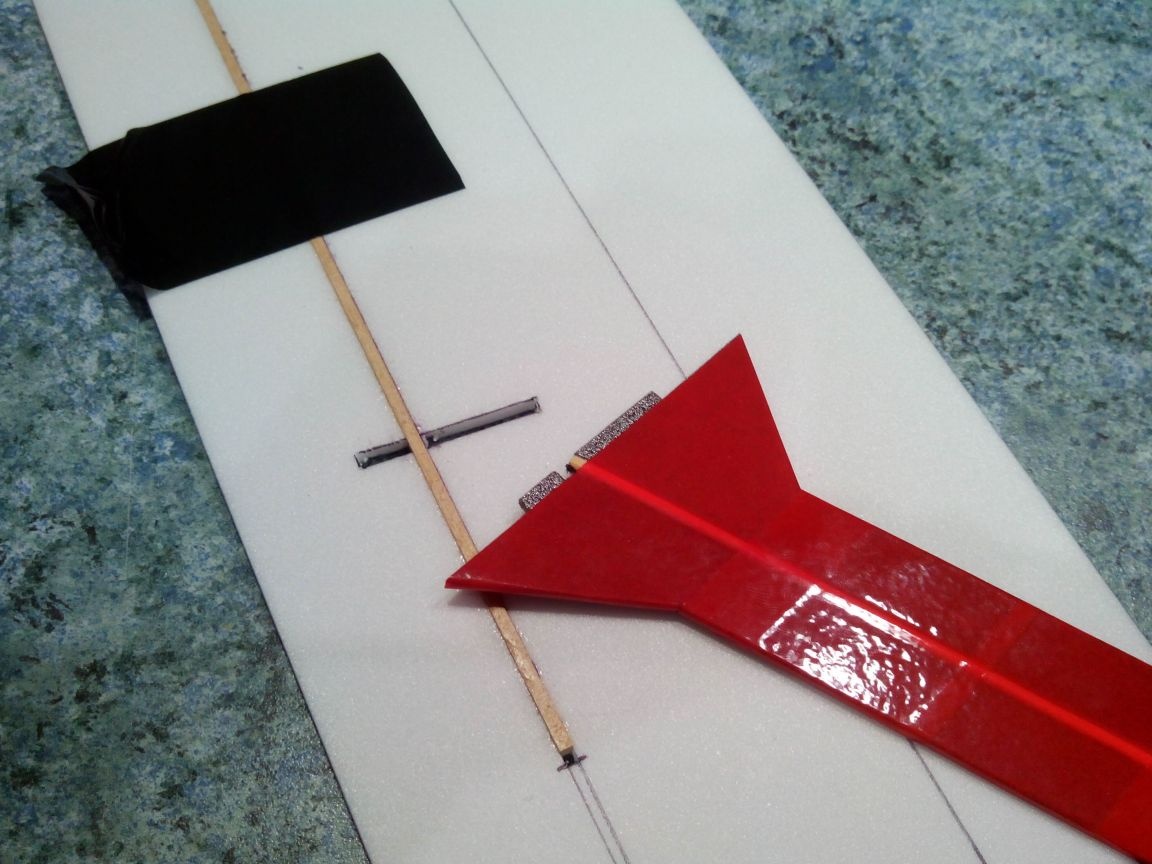
In the stabilizer, we also cut a gap and paste a bamboo skewer into it.
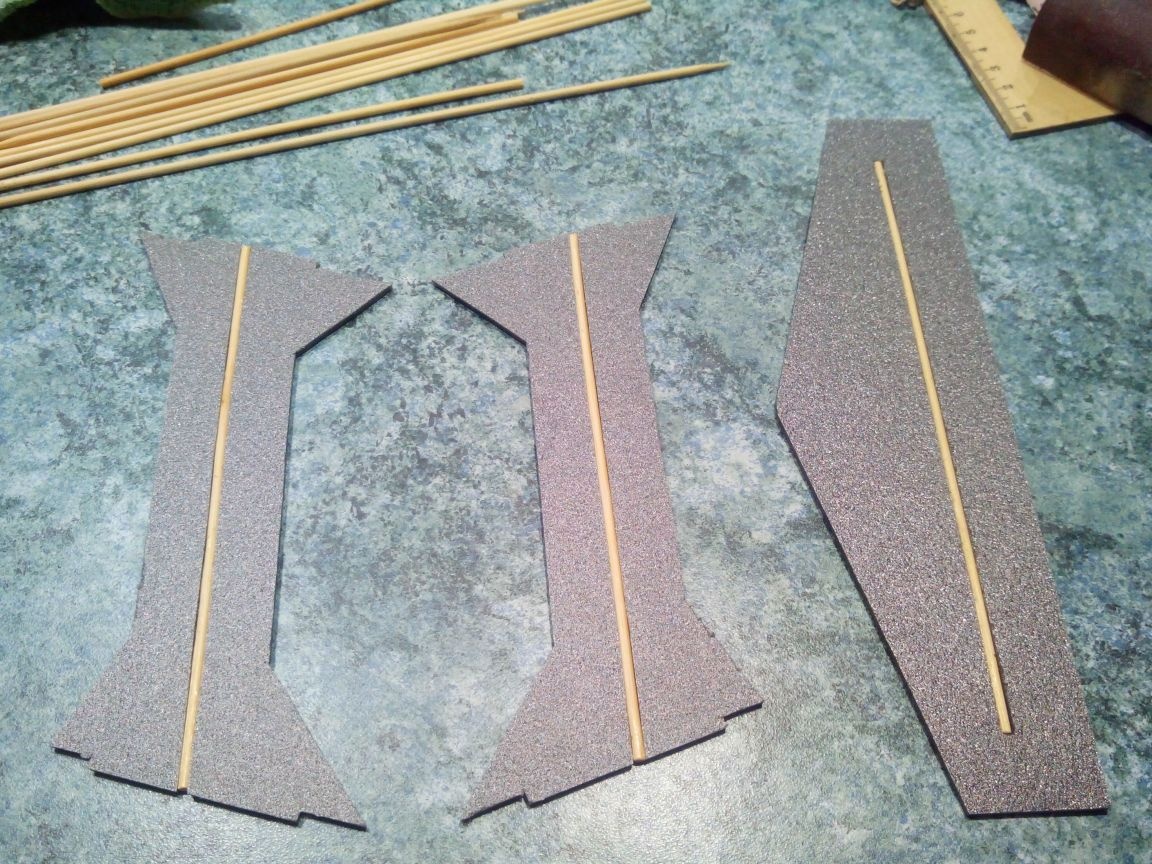
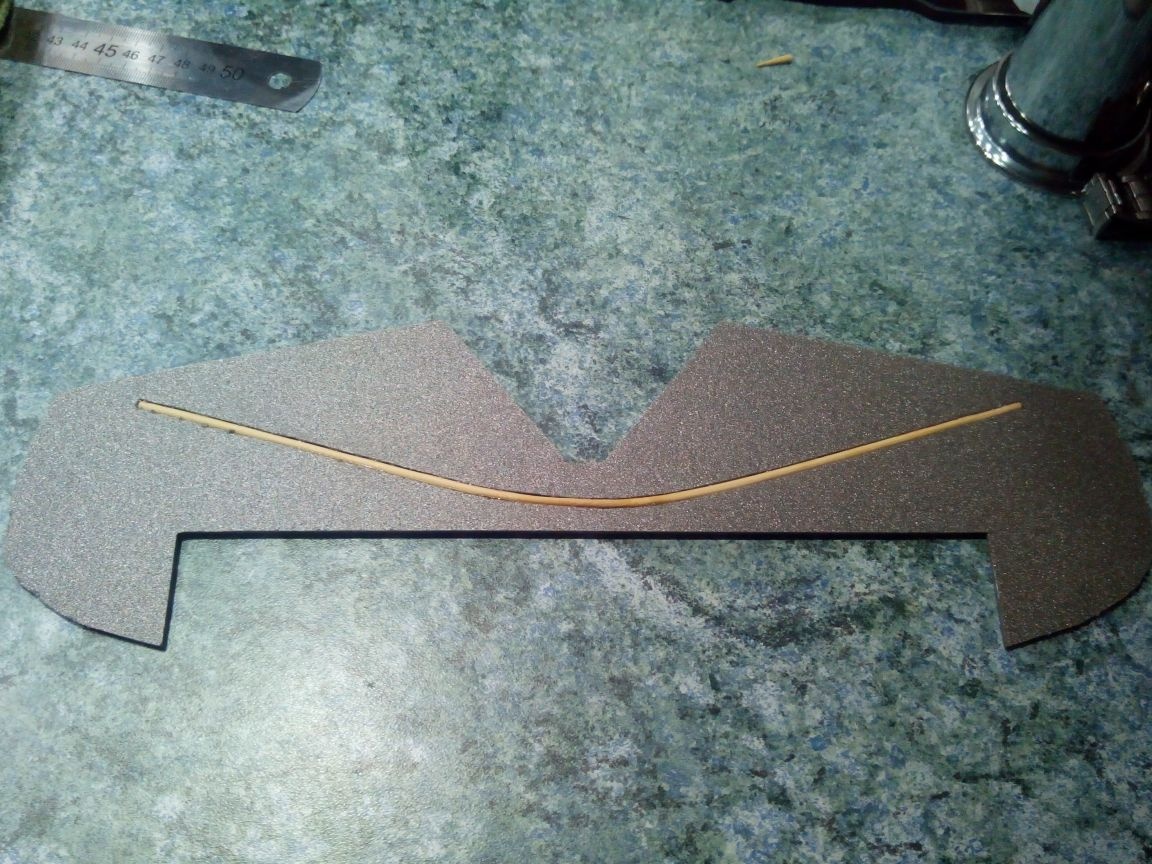
We bend one more bamboo over an iron or a lighter, draw it on it and cut a slot in the elevator and glue it.
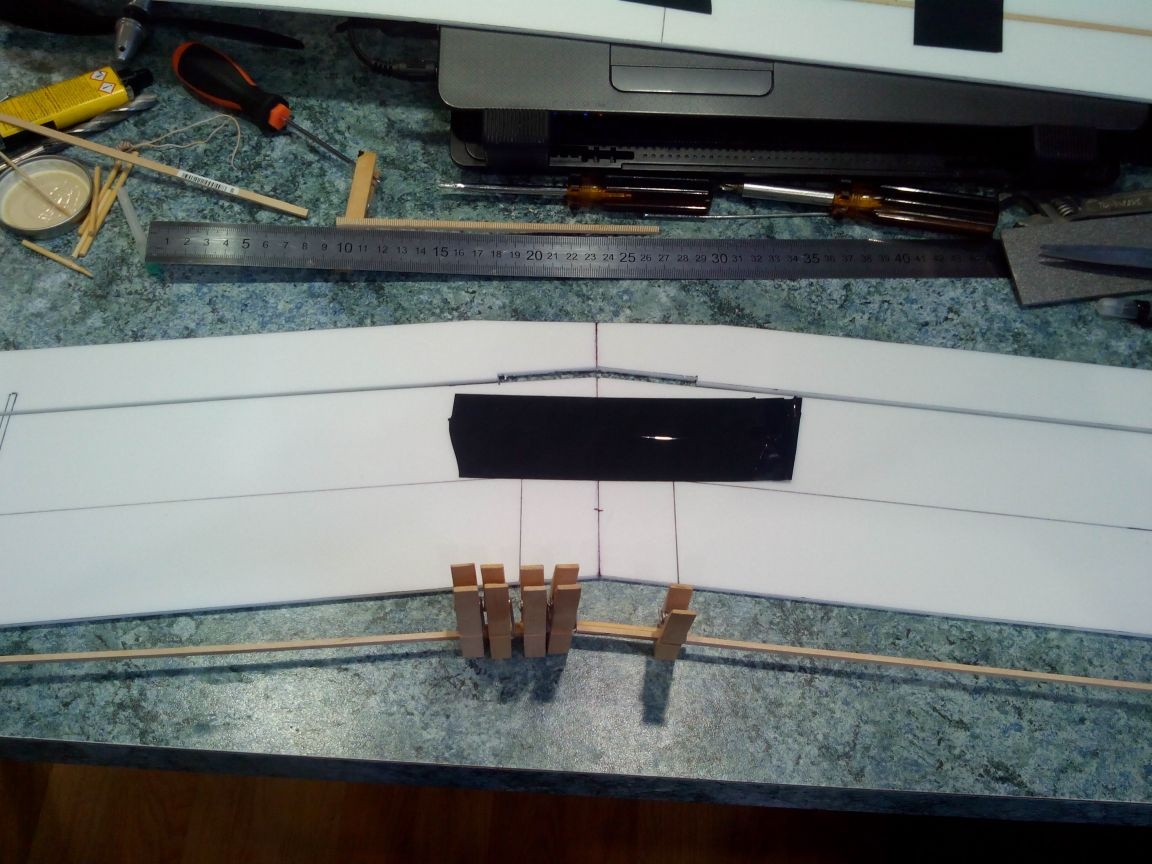
We glue the pylon under the upper wing from two layers of the substrate.

And glue it with tape
You can also glue tape and spacers immediately
Step 2. Bonding the fuselage.
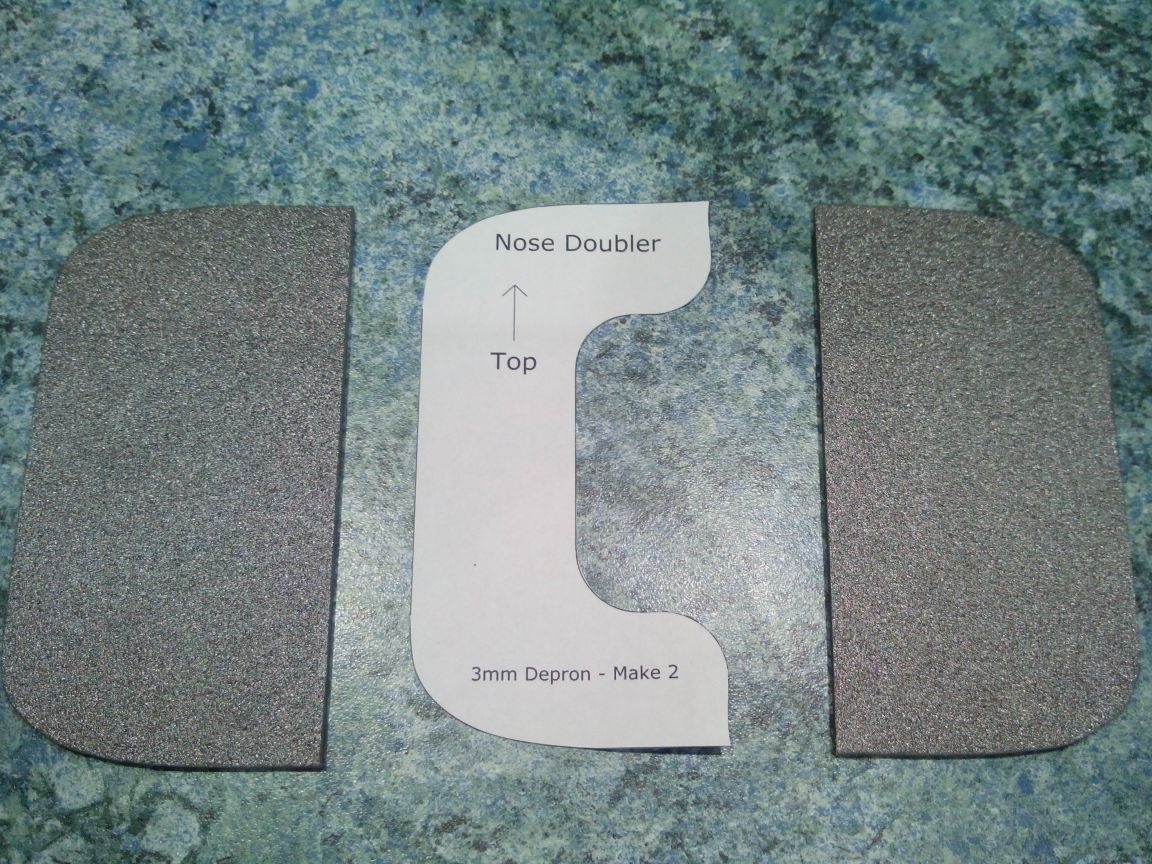
Glue the bow to the sides of the fuselage (inside)
We cut out an additional part for attaching the tail servos (it is not in the drawings, and therefore we figure it in place).
We mark the location of the servos.

We cut out the holes, and glue the cut parts between them so that the servos are more tightly clamped.

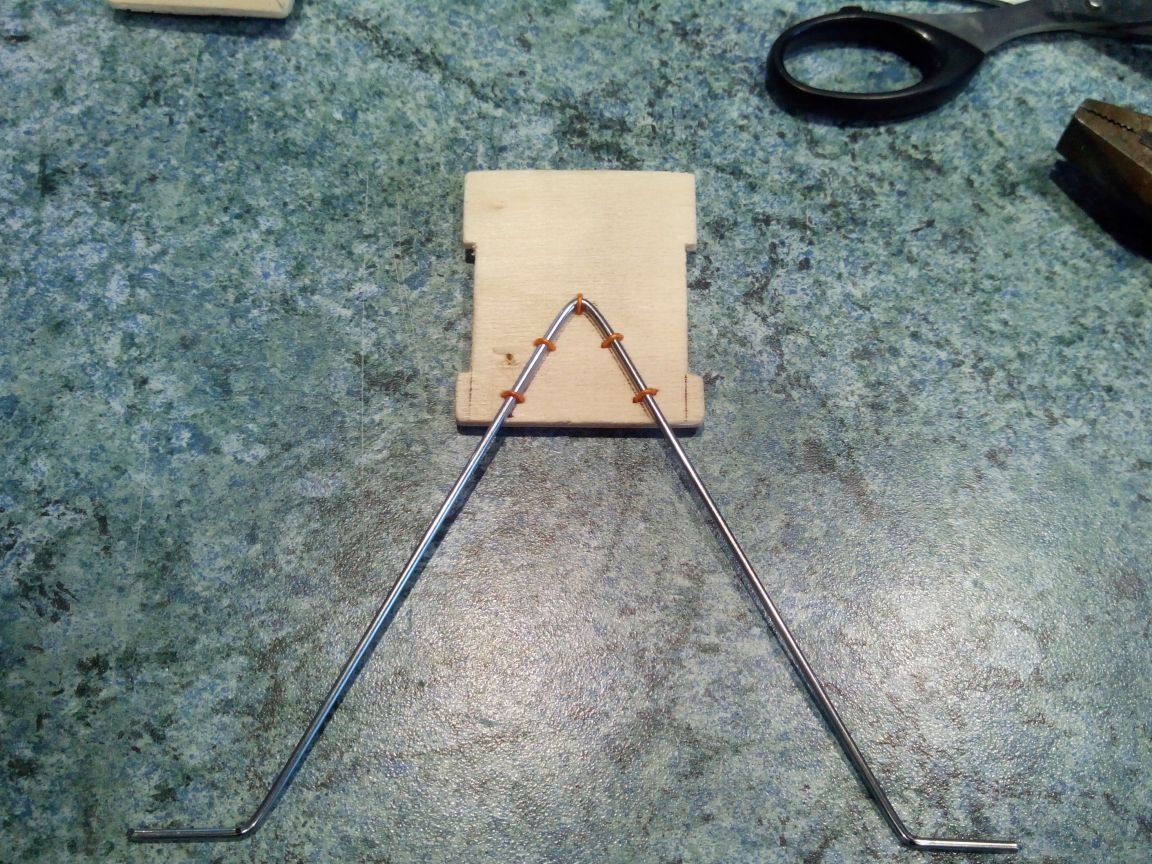
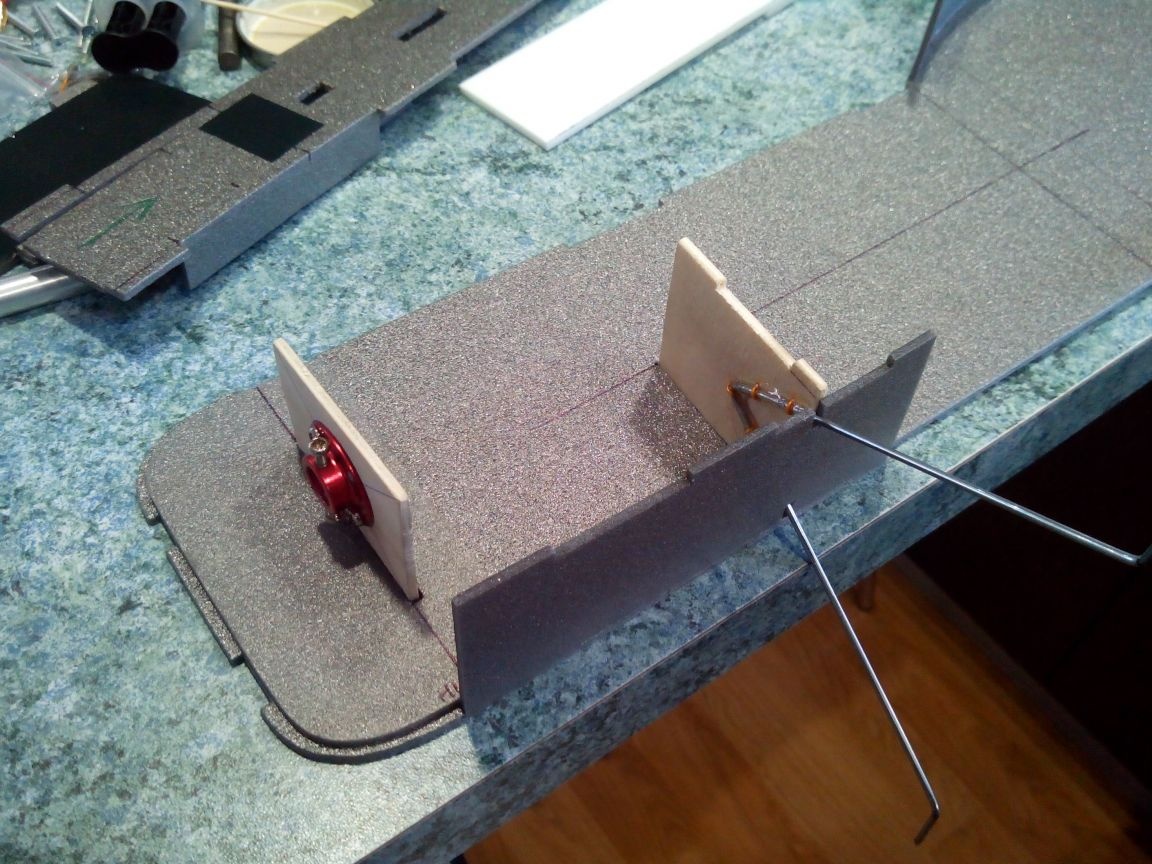
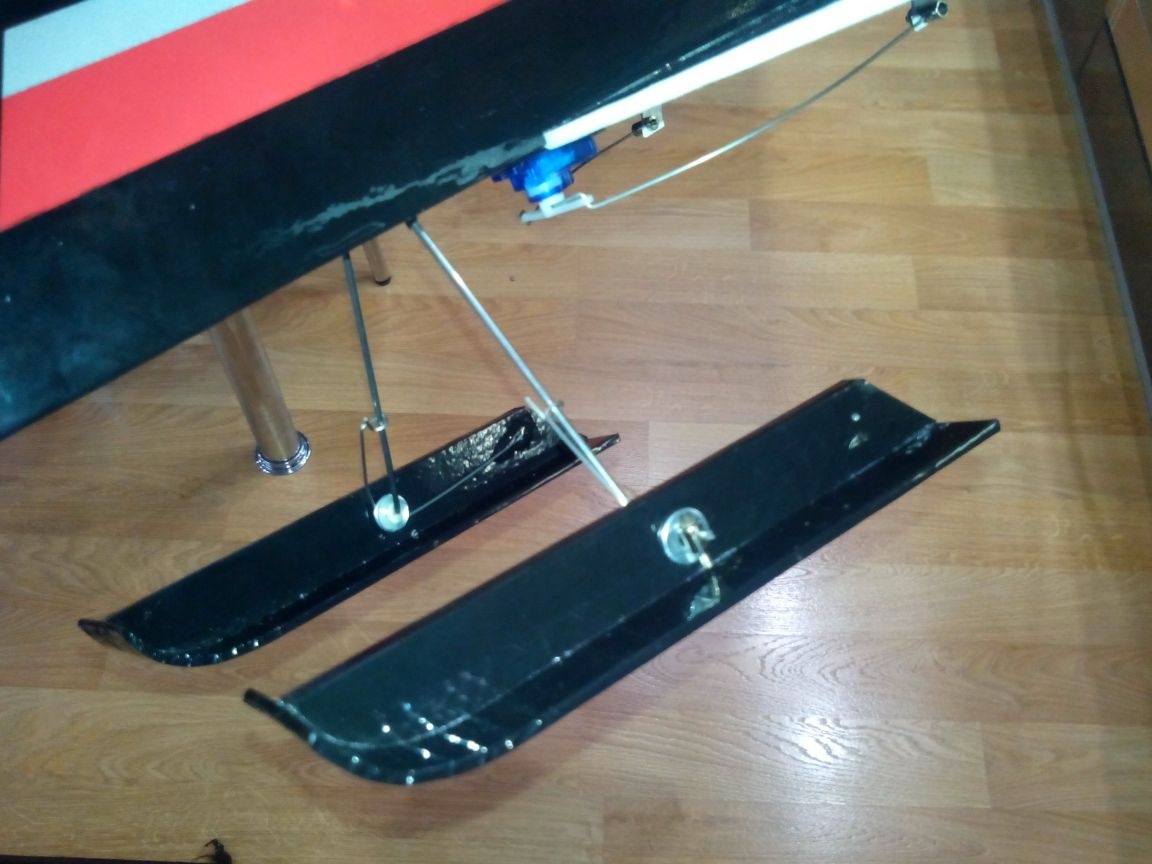
From the bicycle spoke we bend the landing gear and mark its location on the frame.

We fasten the rack to the frame with a thin wire through pre-drilled holes and fill it with epoxy.
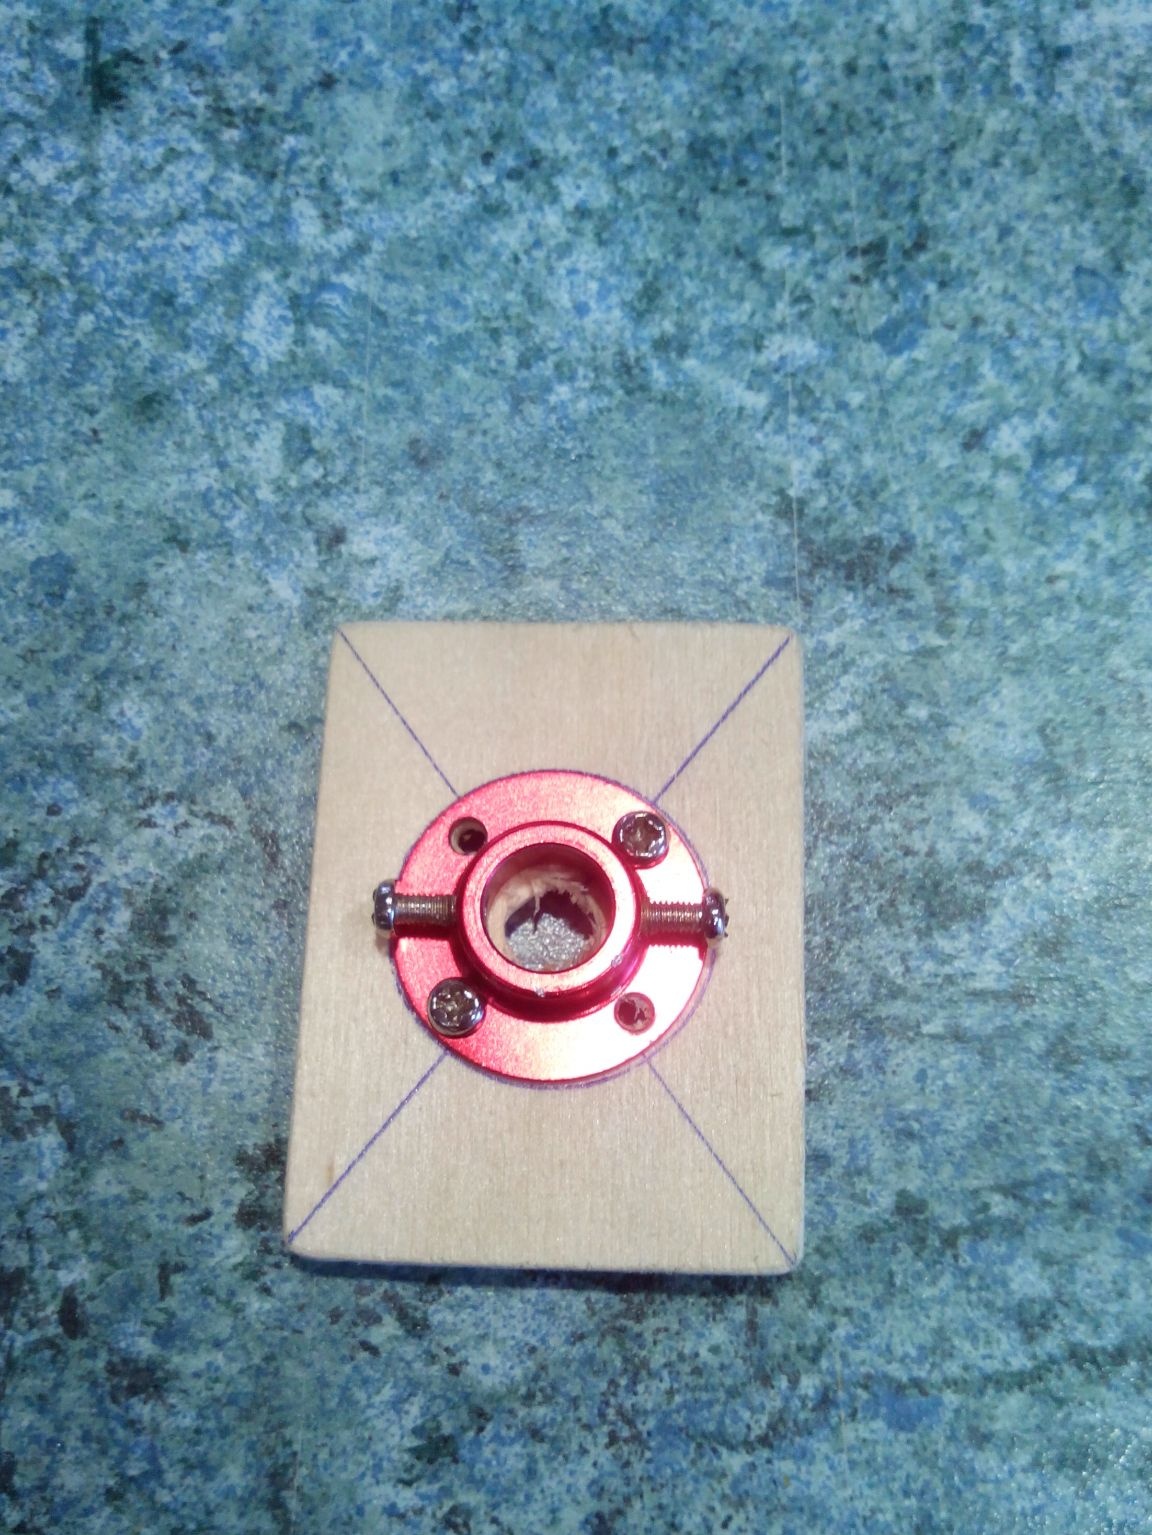
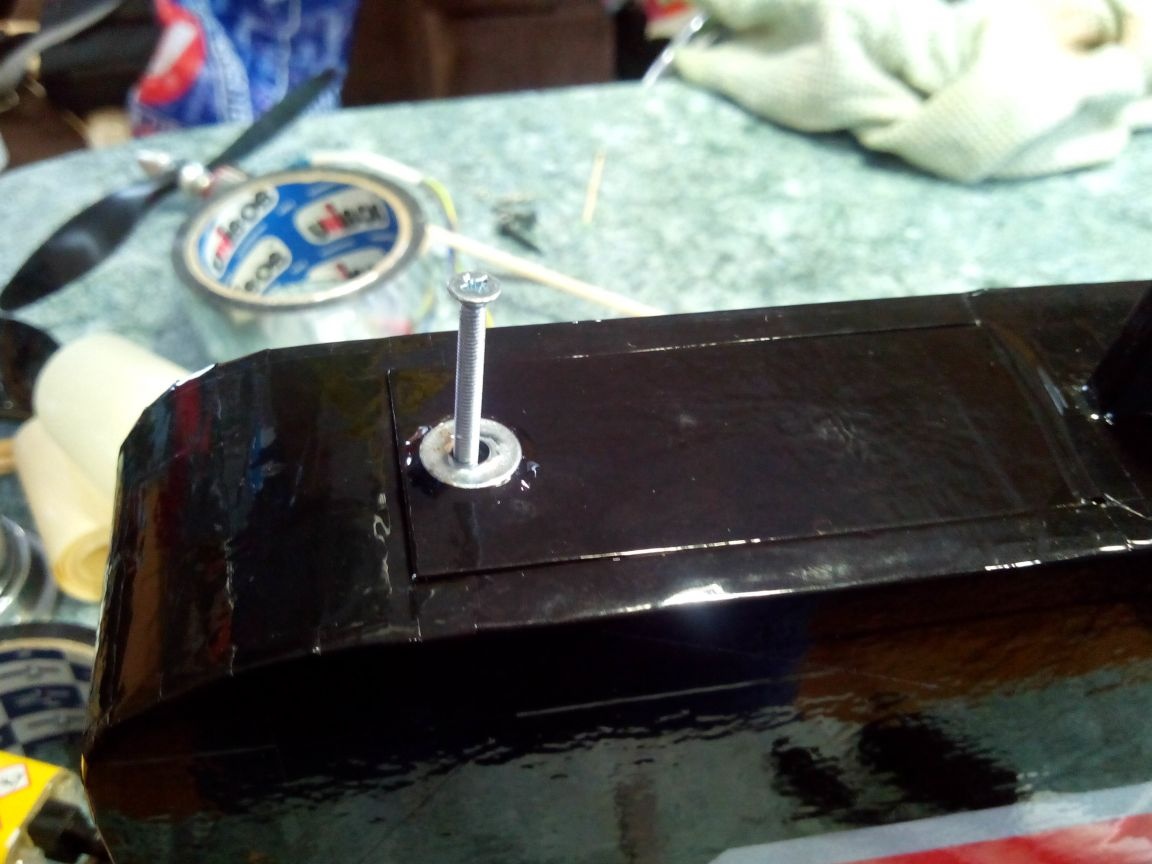
We fasten the base of the engine to the engine mount with two bolts, and nuts on the reverse side are also filled with epoxy.
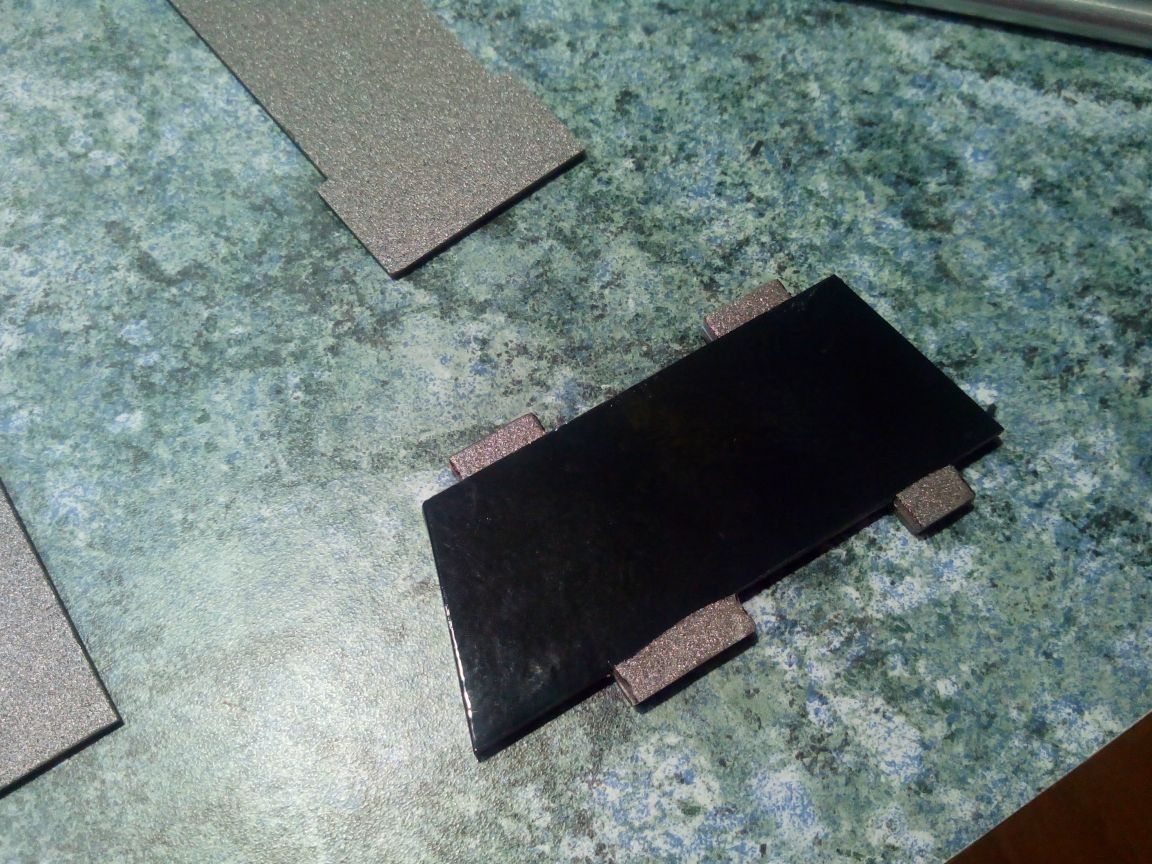
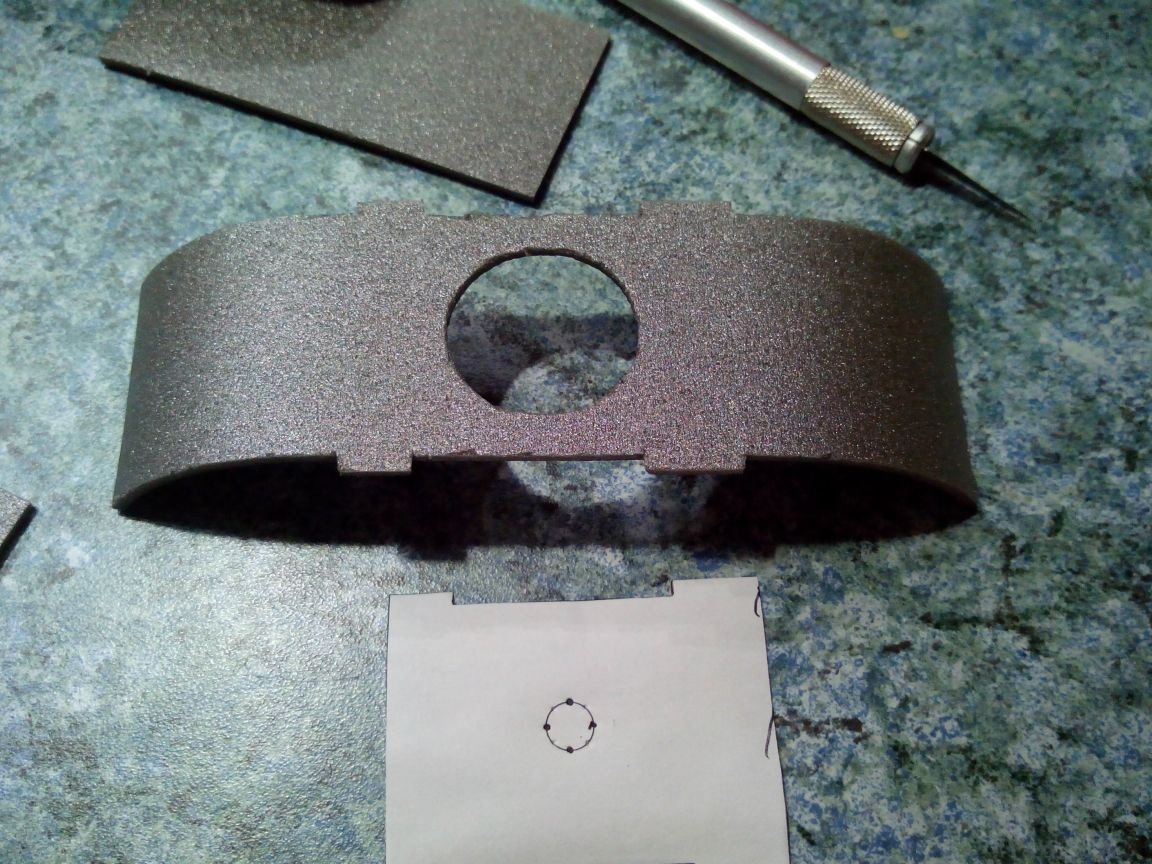
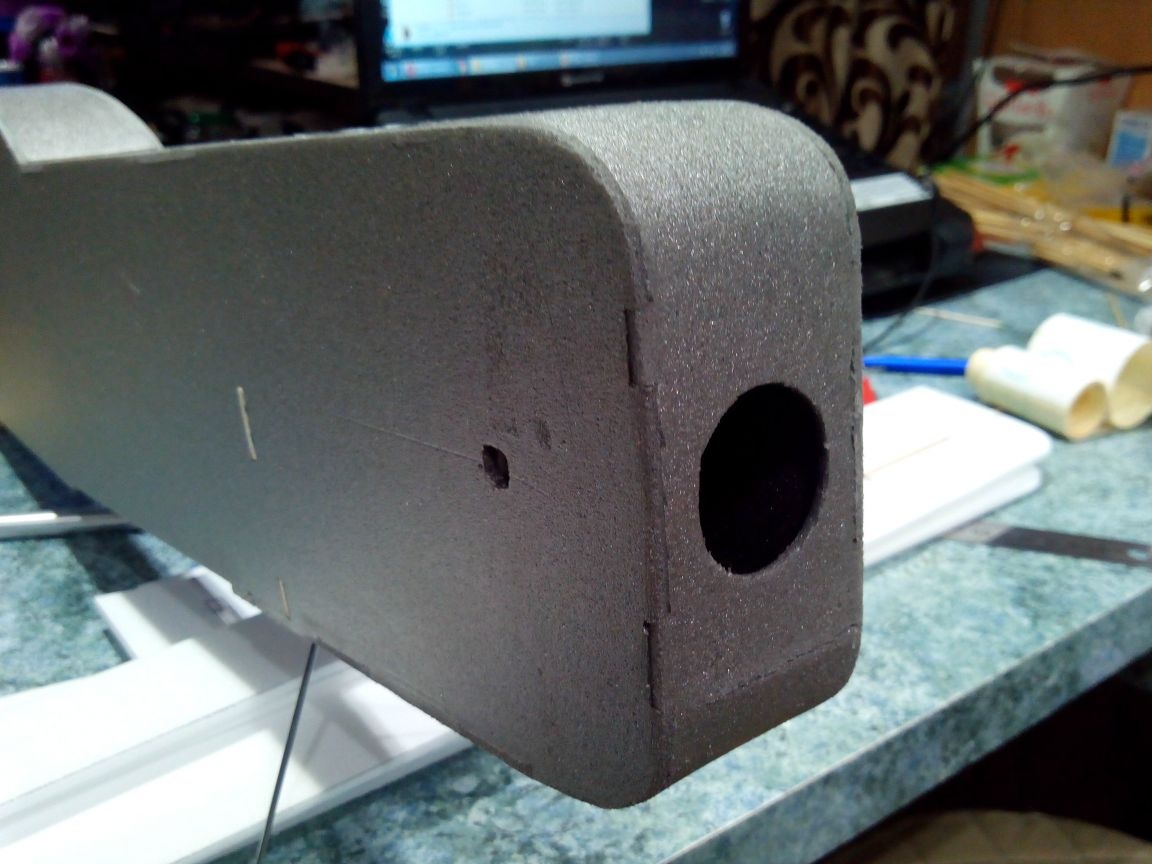
In the upper nose of the fuselage, cut out the hatch cover and glue reinforcement strips from the substrate.

Glue the top and bottom of the tail to one half of the fuselage.
We attach the engine mount, the frame from the chassis and the bottom of the bow.
We glue an additional part under the tail servos and the upper nose.
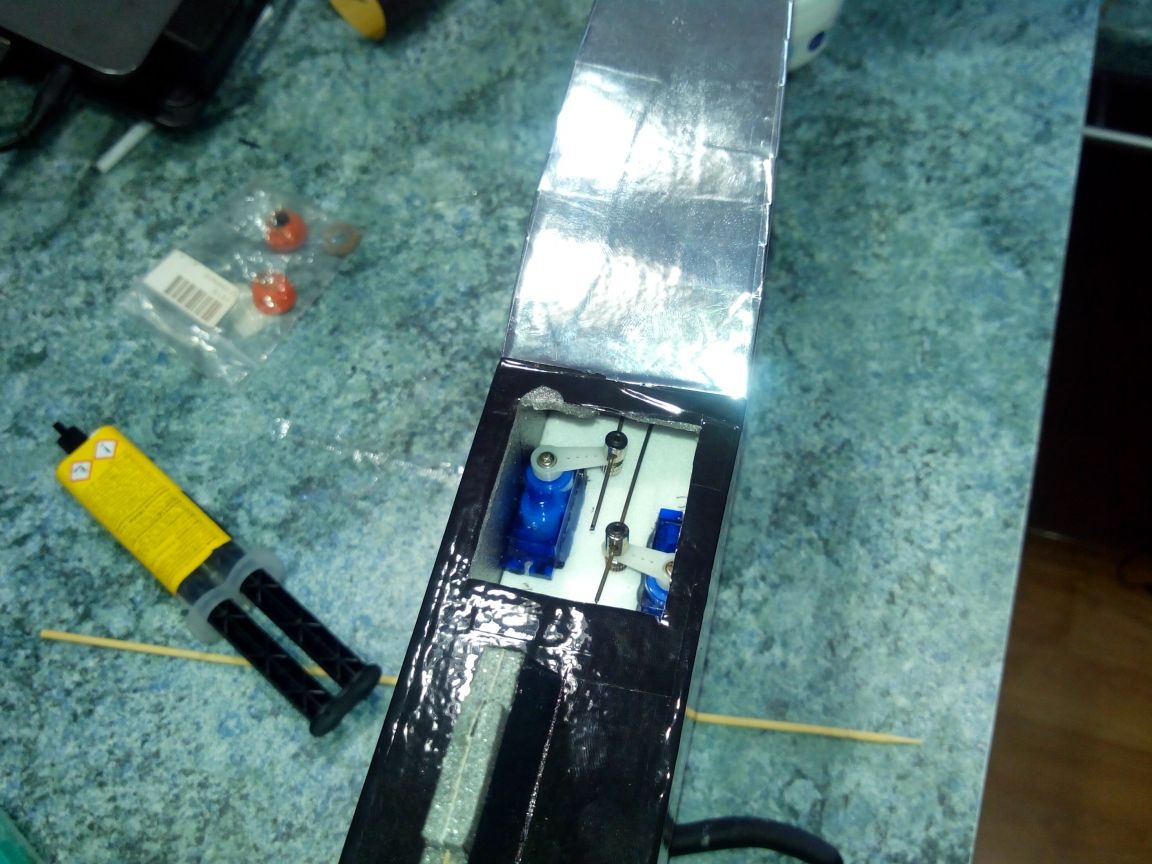
Glue the tail servos on the hot-melt adhesive, cut a small hole for the wires and pull them into the bow. It is better to grab the wires themselves with a drop of hot melt glue so that they do not jump inside. In addition, I highly recommend at this stage to glue a vertical partition that will separate the servos from the nose compartment. This is necessary so that the battery in flight does not move to the servos.
Glue the second side of the fuselage.
One of the details of the bow is slightly redone, lengthening it, and at the same time increasing the hole for the engine.
Glue it to the bow.
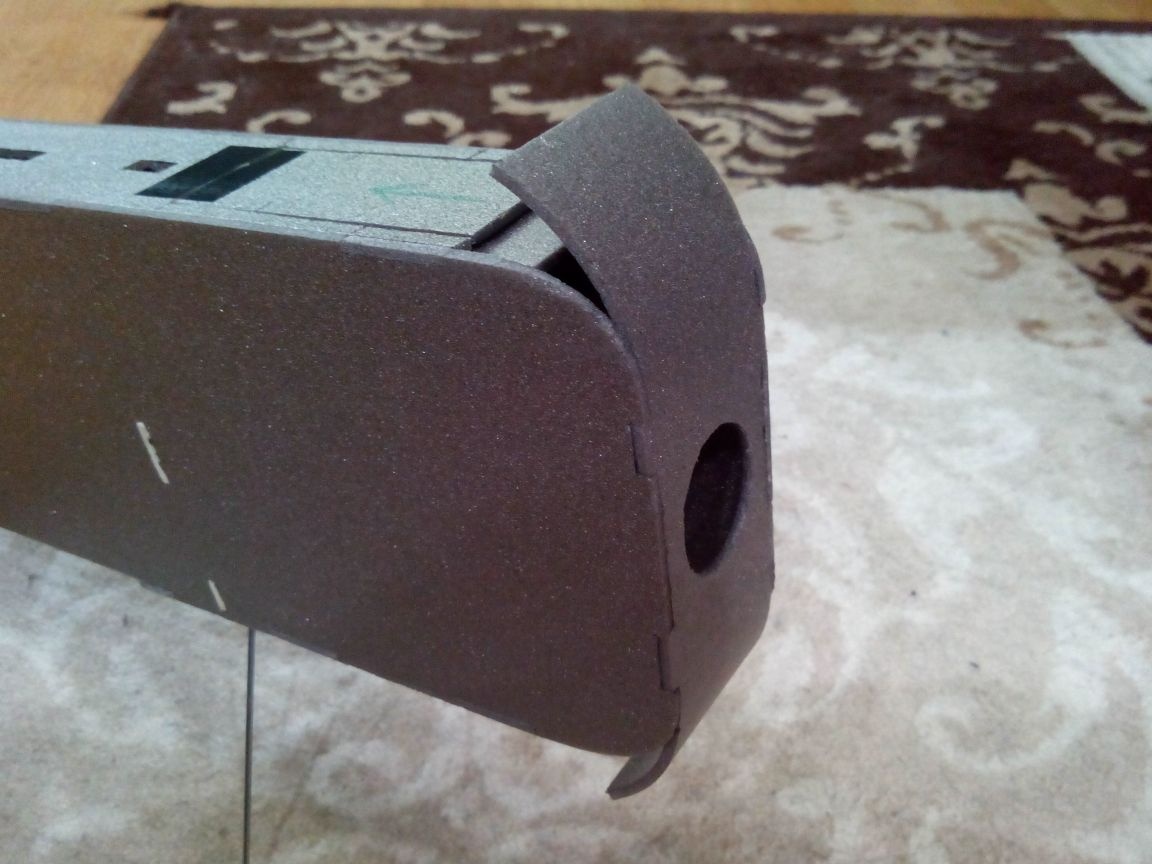
And fix the tape. While the glue dries, we cut out the technical holes through which the engine will be screwed to the base with a screwdriver.
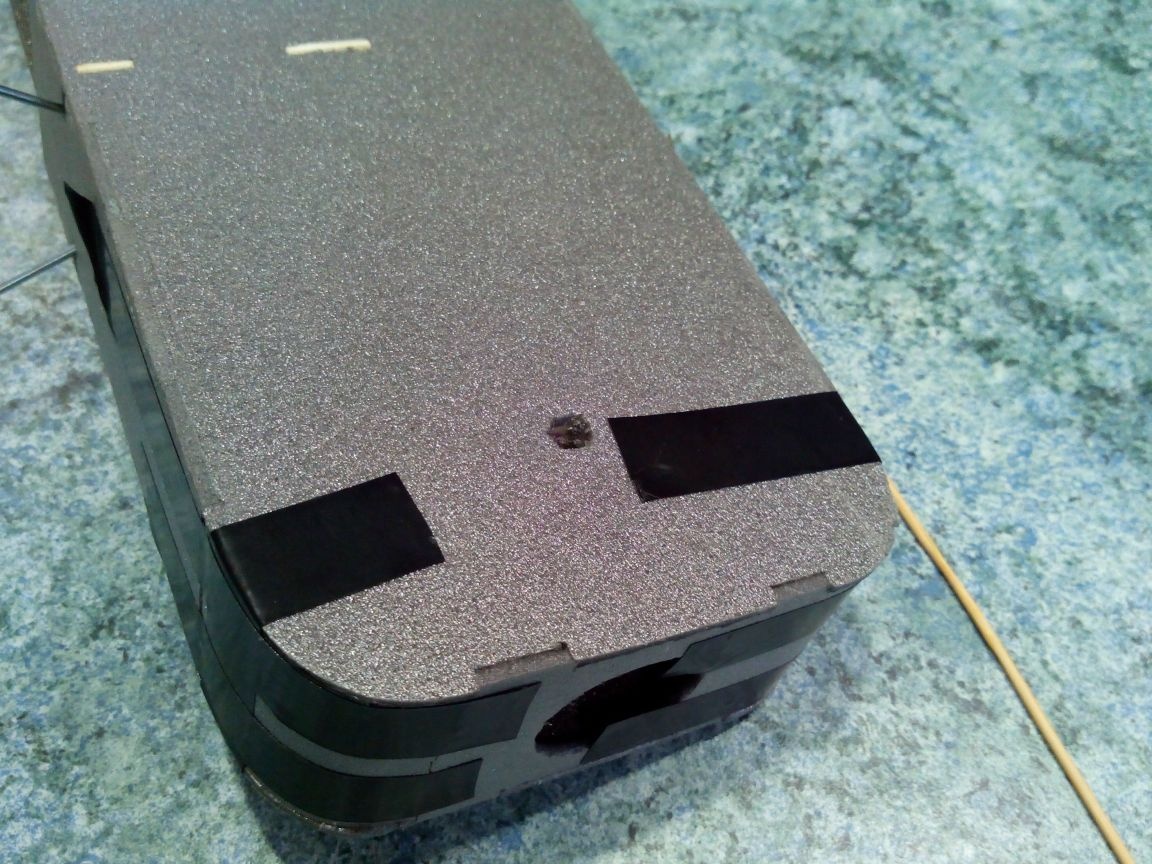
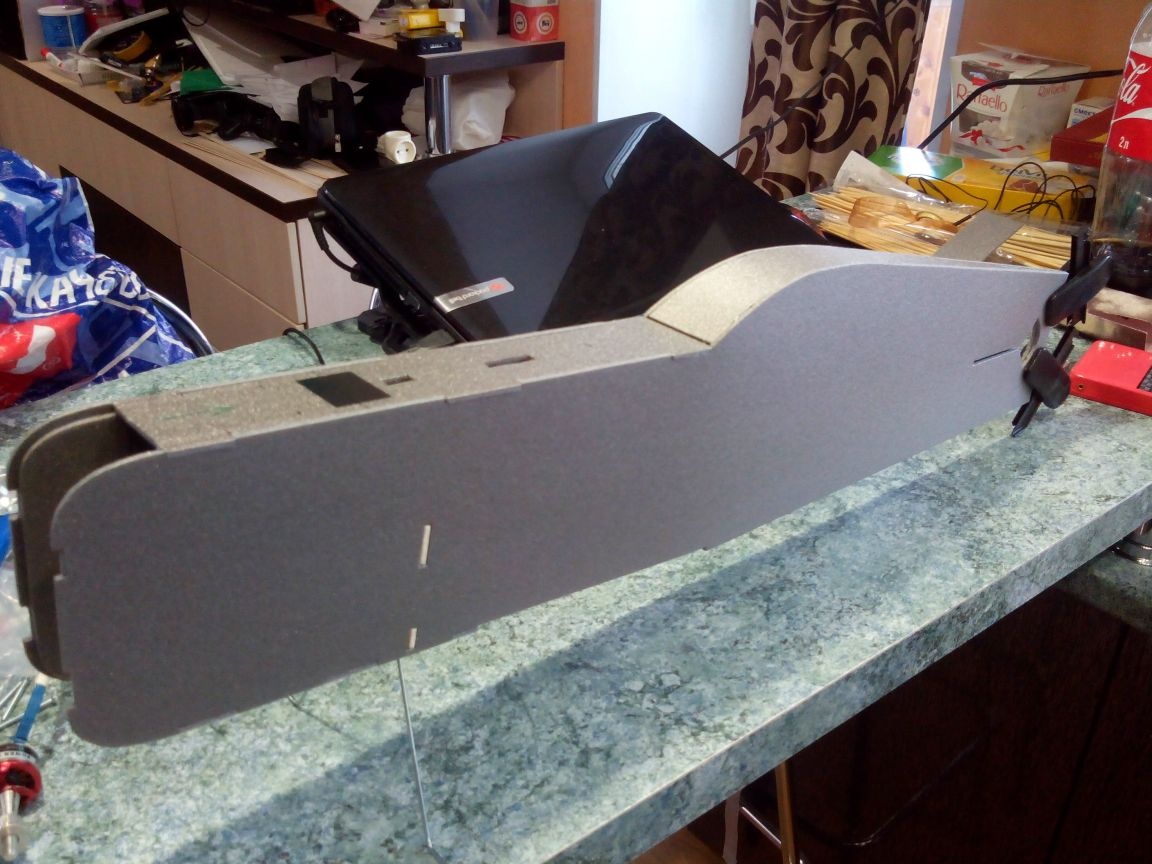
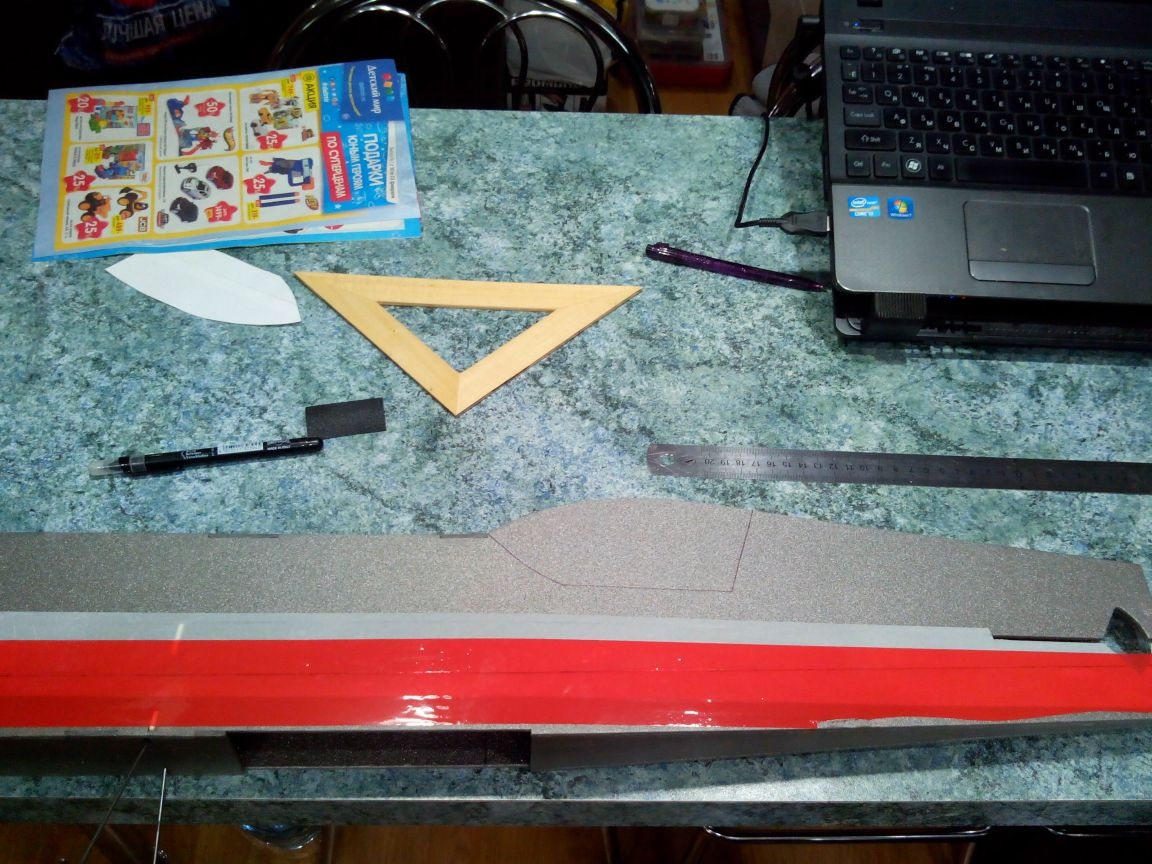
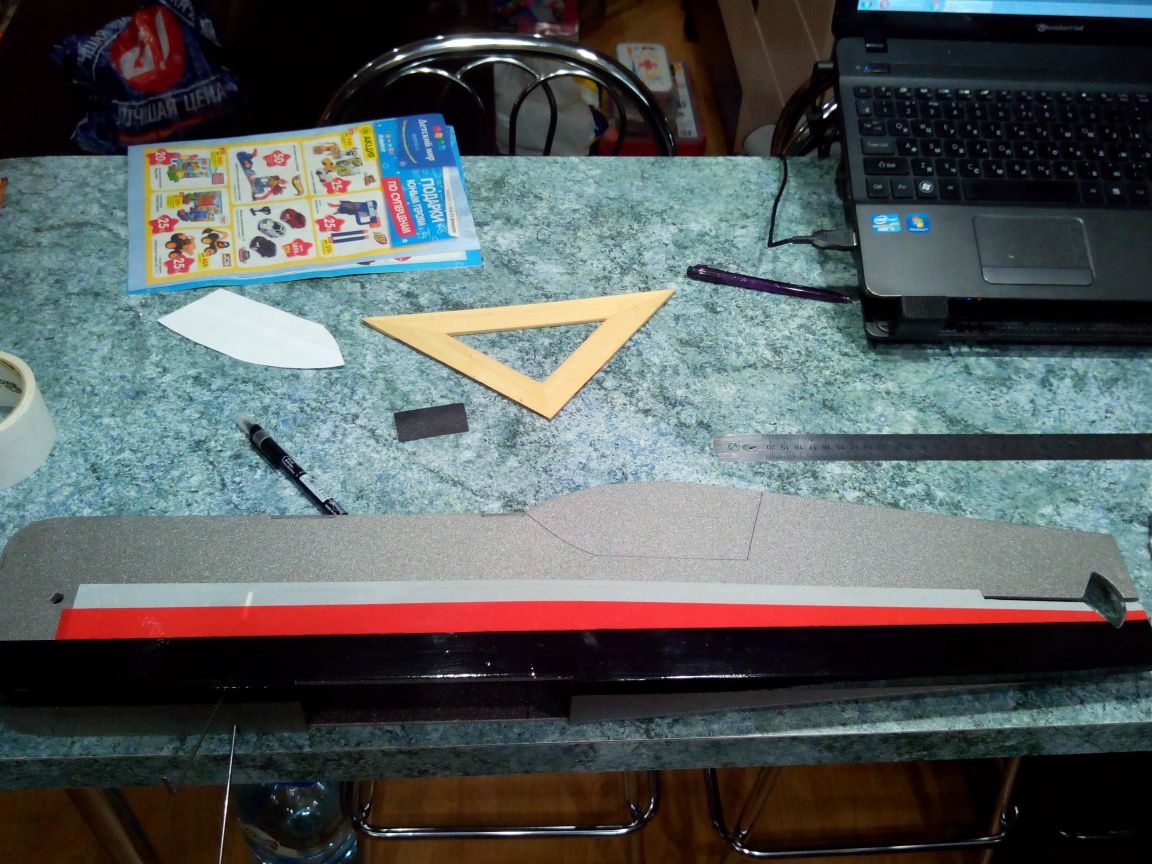
After the glue dries, we skin the finished fuselage.
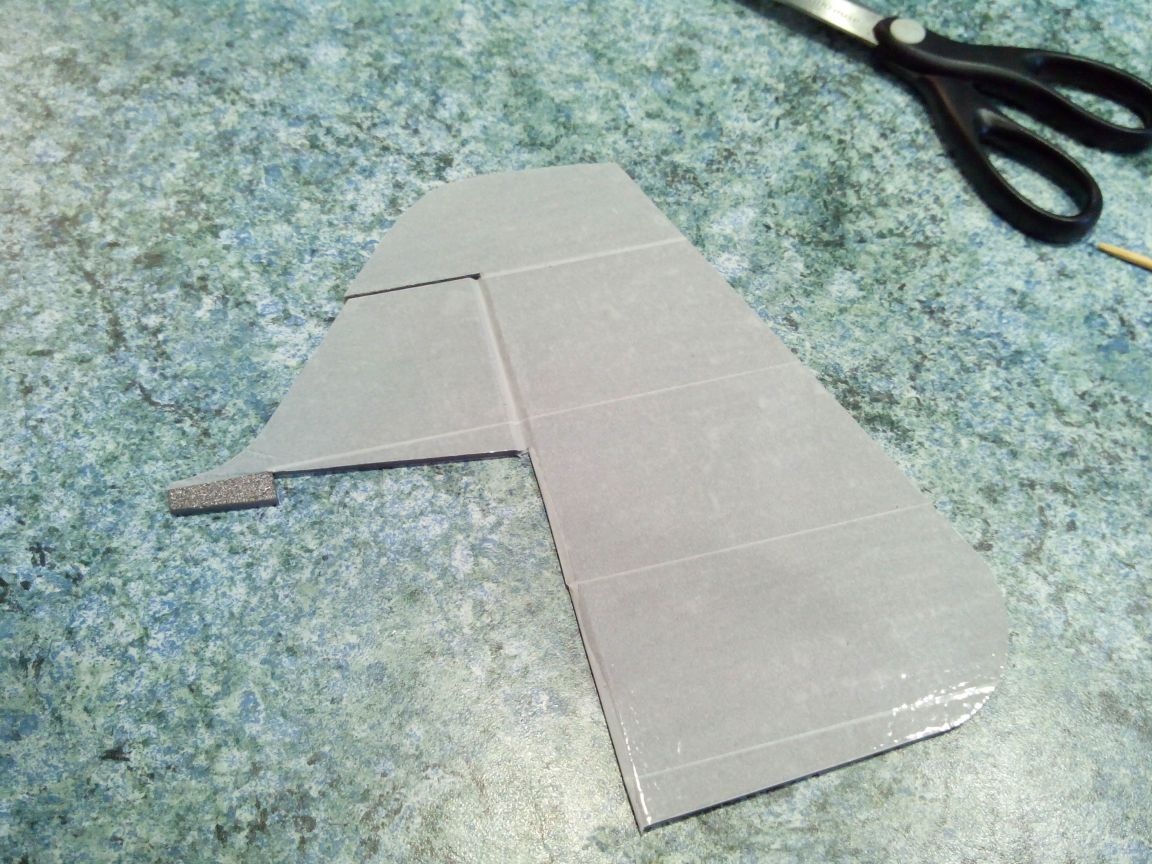
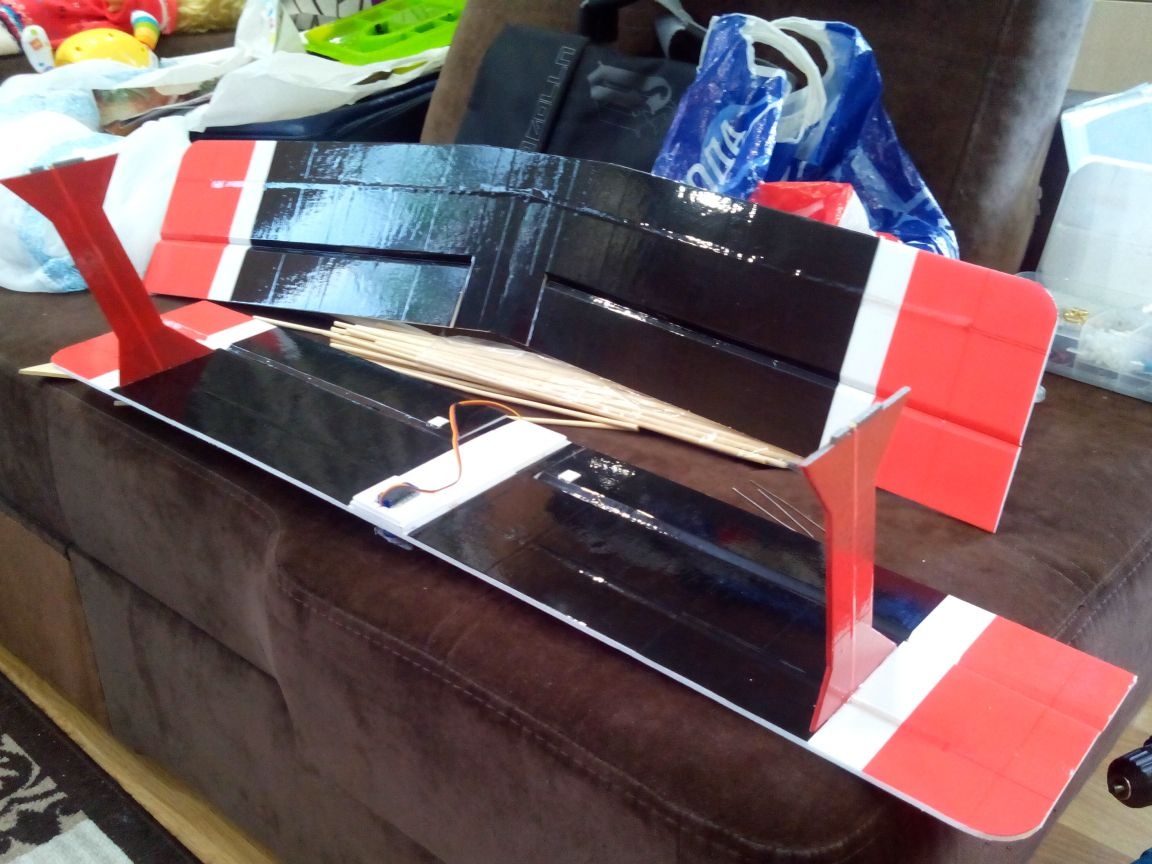
Step 3. Bonding the wings.
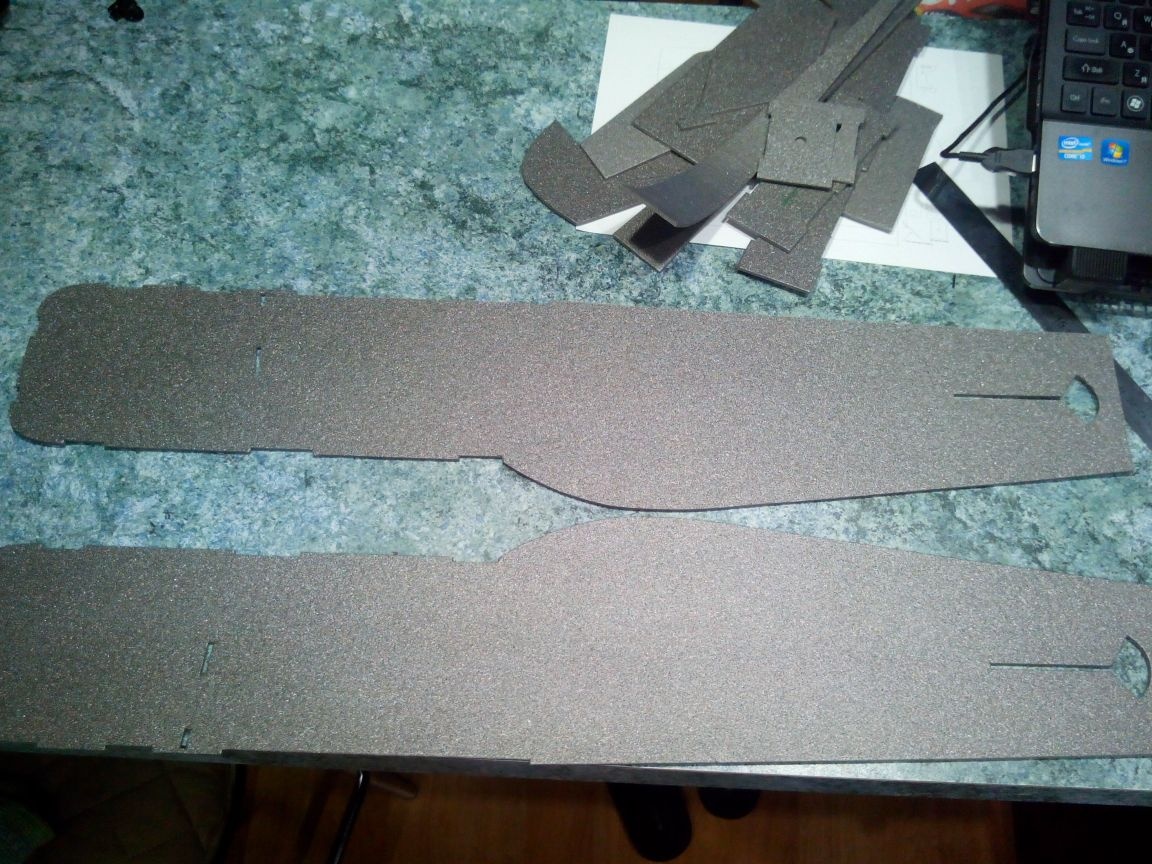
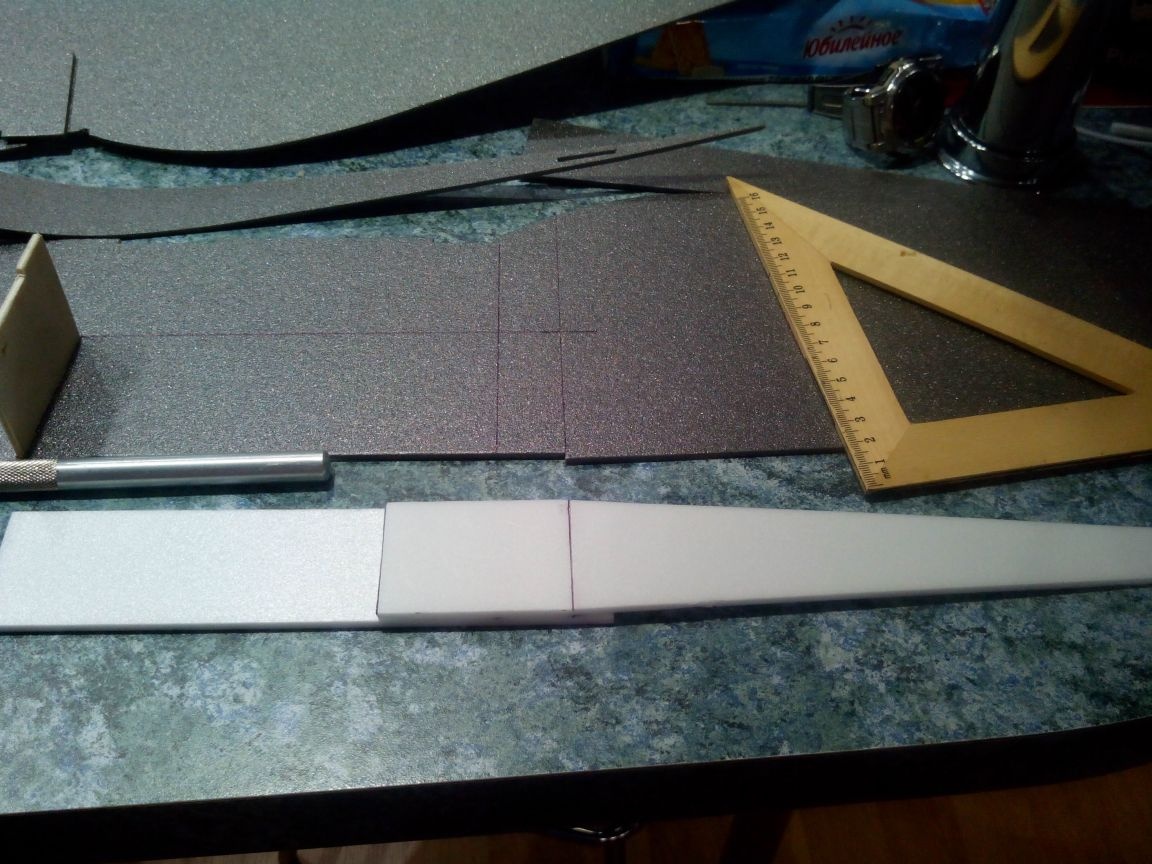
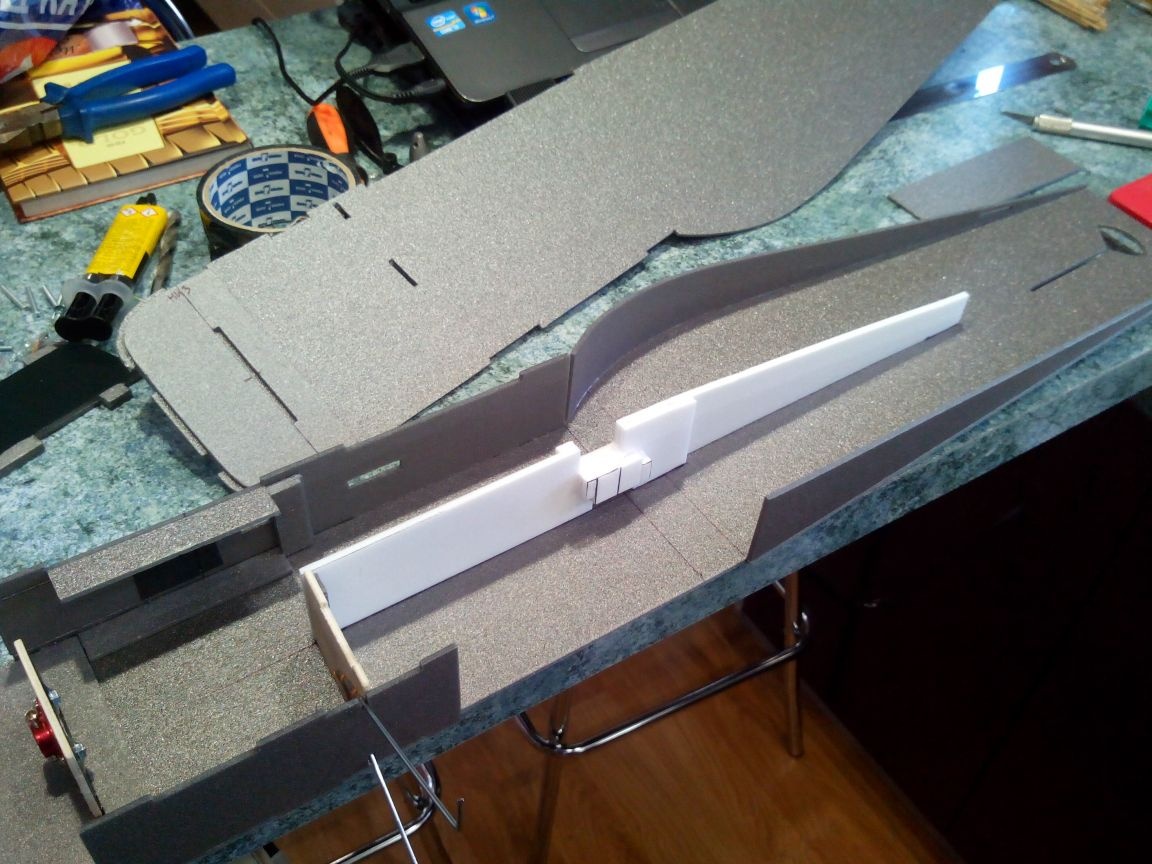
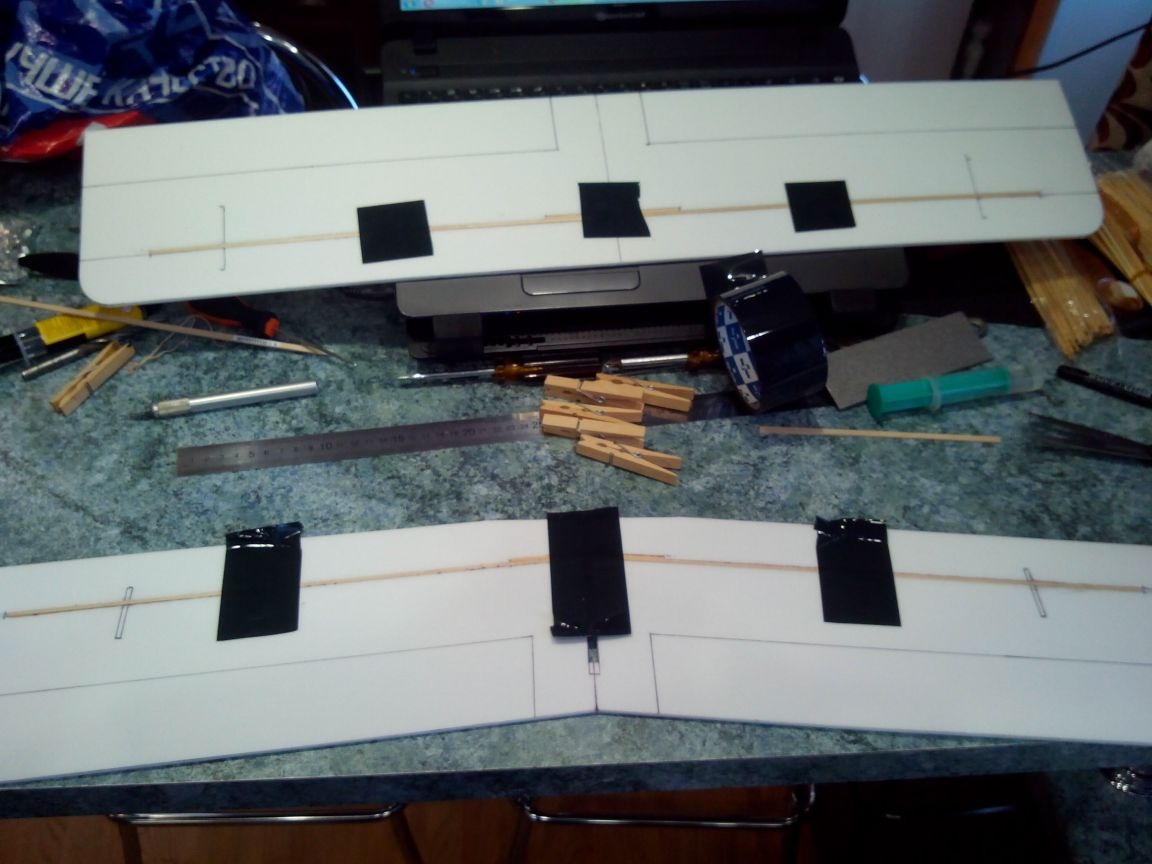
Cut a gap under the spar in the lower wing. The spar itself is glued from two rails with a section of 4x2 mm (it is enough to dissolve one wooden ruler 50 cm into two wings).
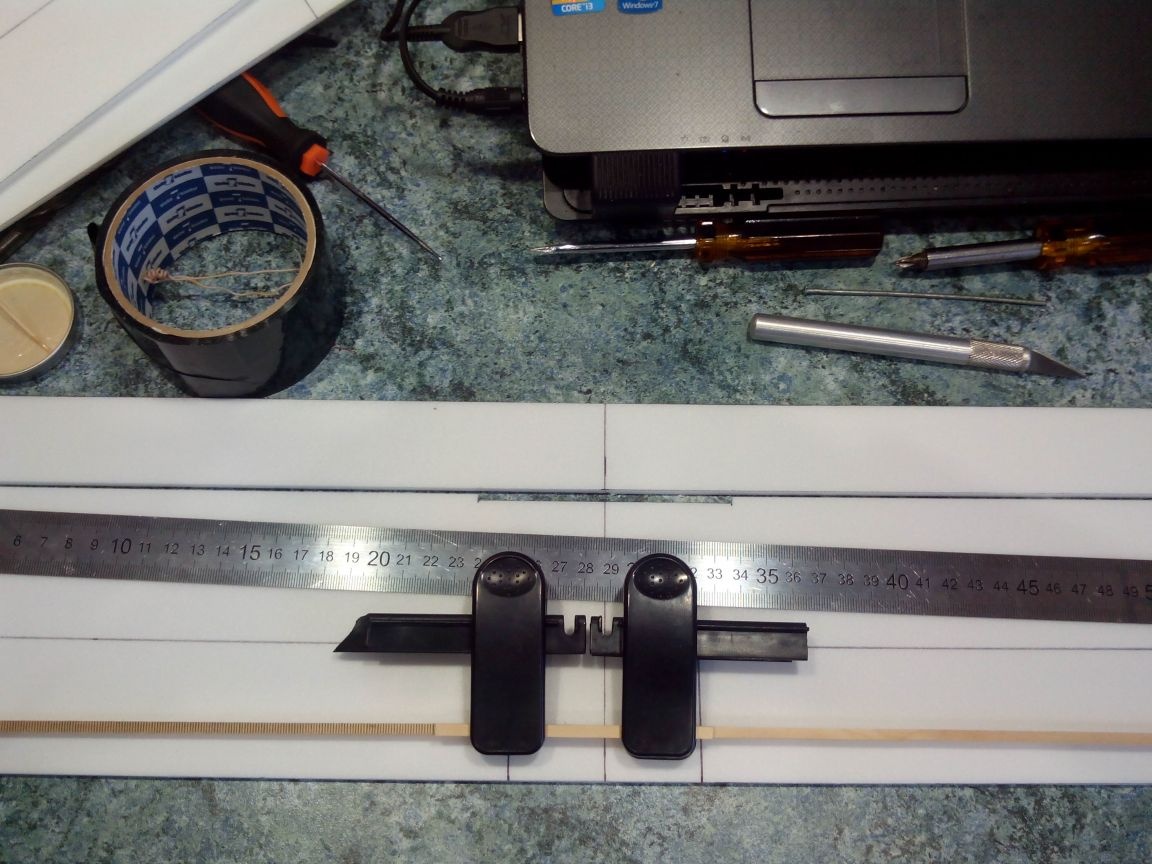
We glue the spar on the ceiling glue.

Glue the halves of the upper wing.
Bend the bamboo skewer over the iron.
We glue the spar of the upper wing and cut a gap under it.
We fix the side members with adhesive tape strips on both sides, so that the wings bend less.
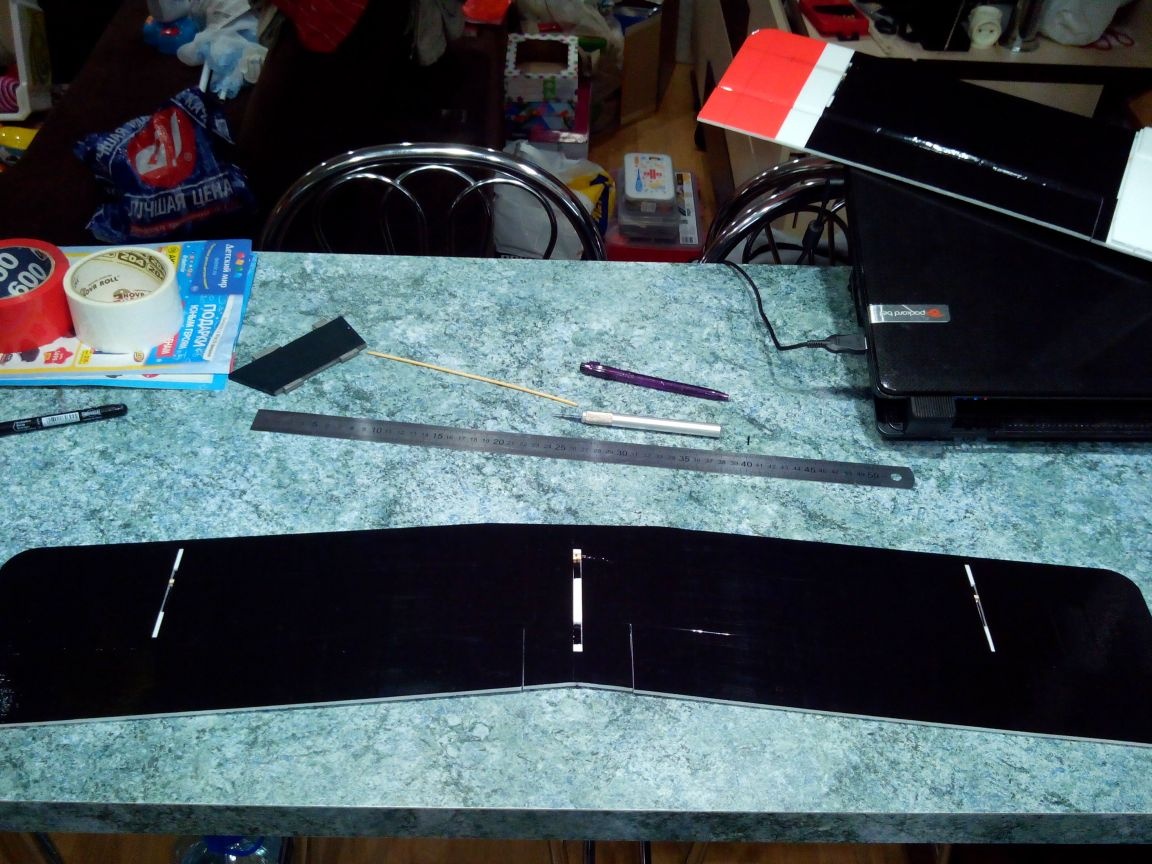
After the glue dries, we cut out slits for vertical struts in the wings.
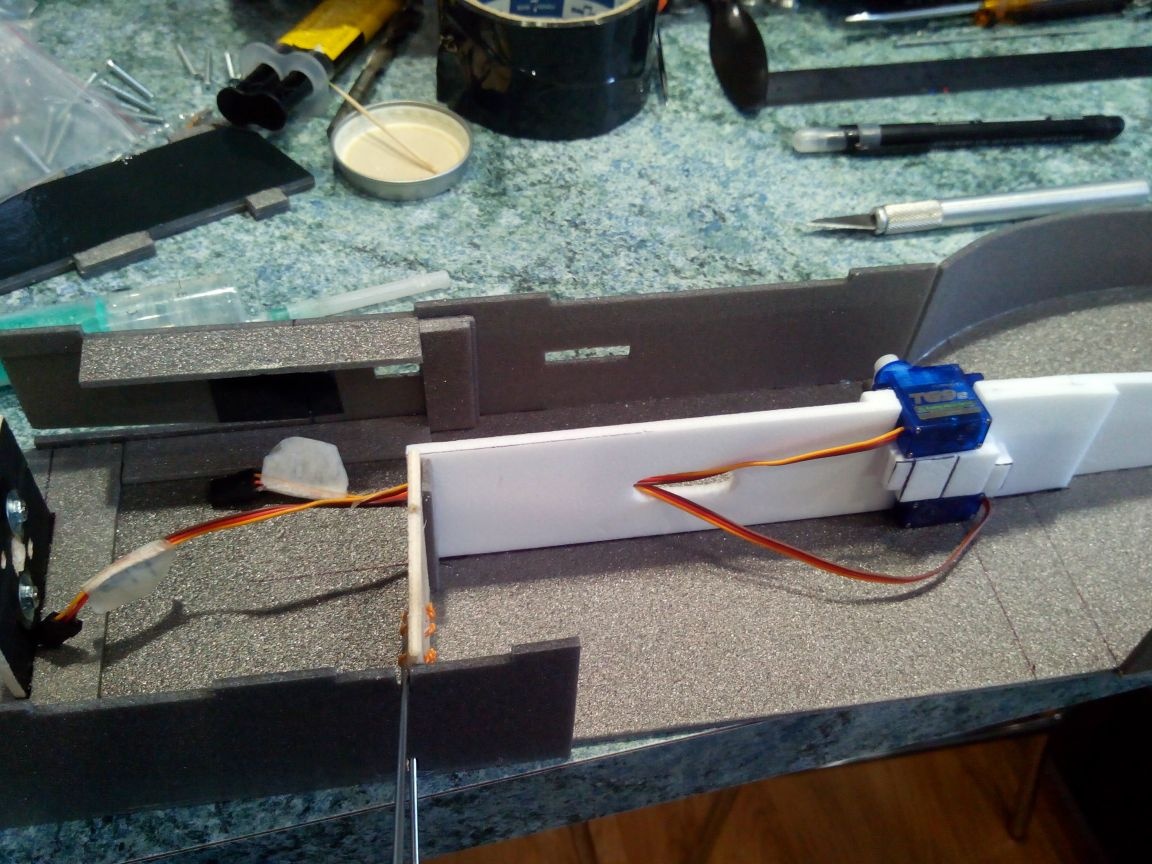
We reinforce the lower wing in the central part of the ceiling strip and add one more piece in the bow - the gain for the servo ailerons.
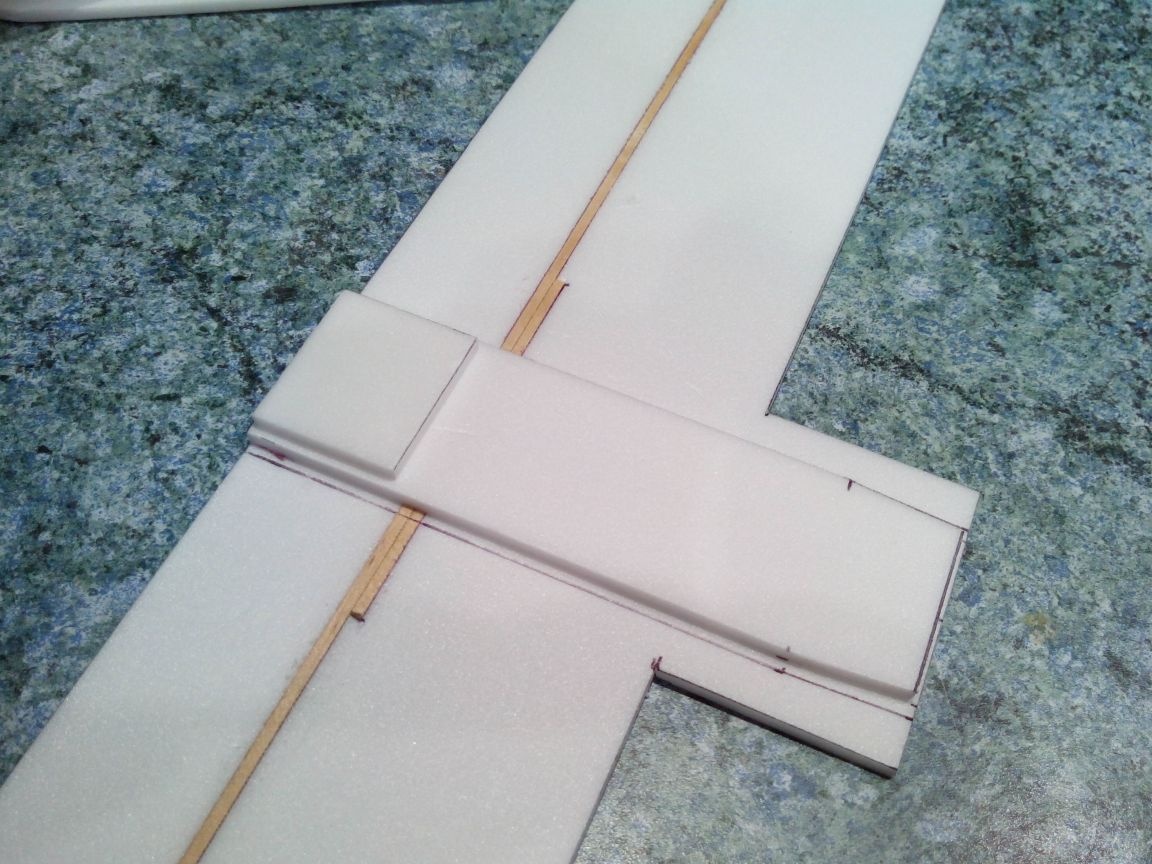
Try on a servo.
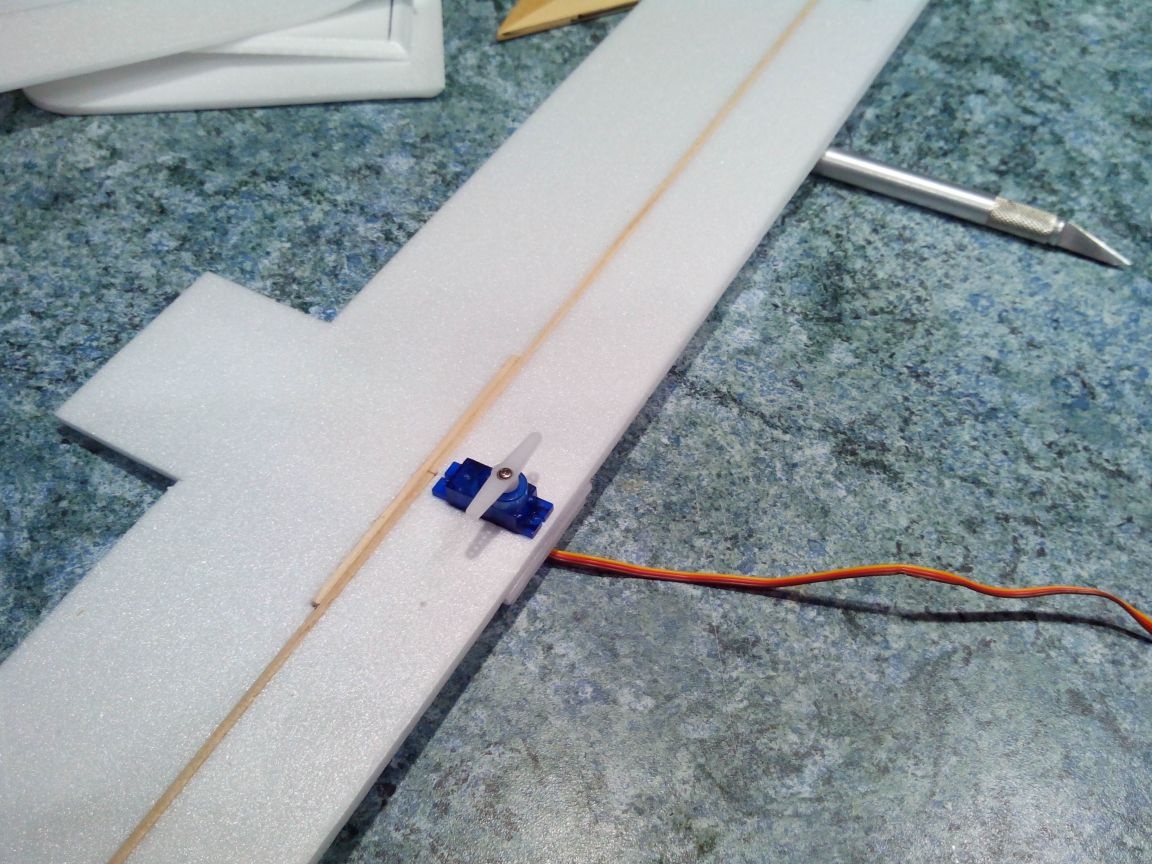
Cut the ailerons and sand the joints of the ailerons and wings at an angle of 45 degrees.
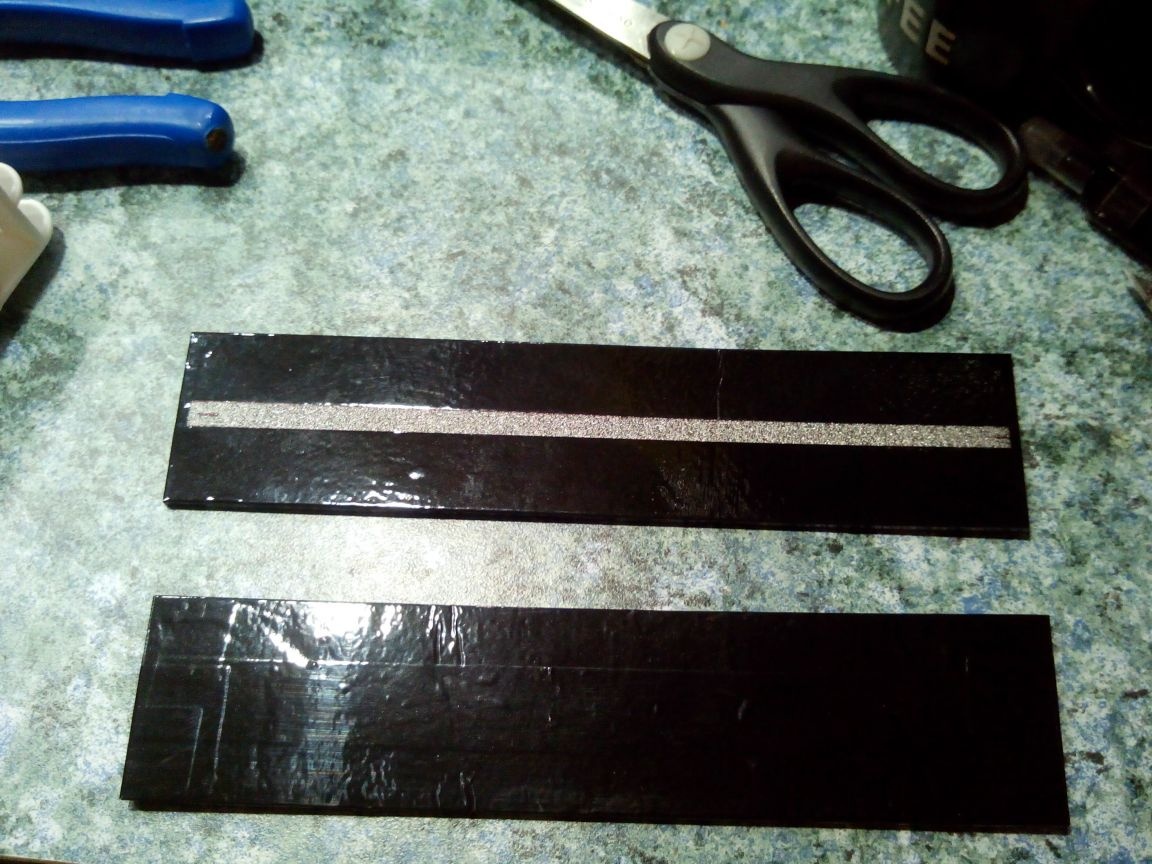
Step 4. Pasting with adhesive tape.
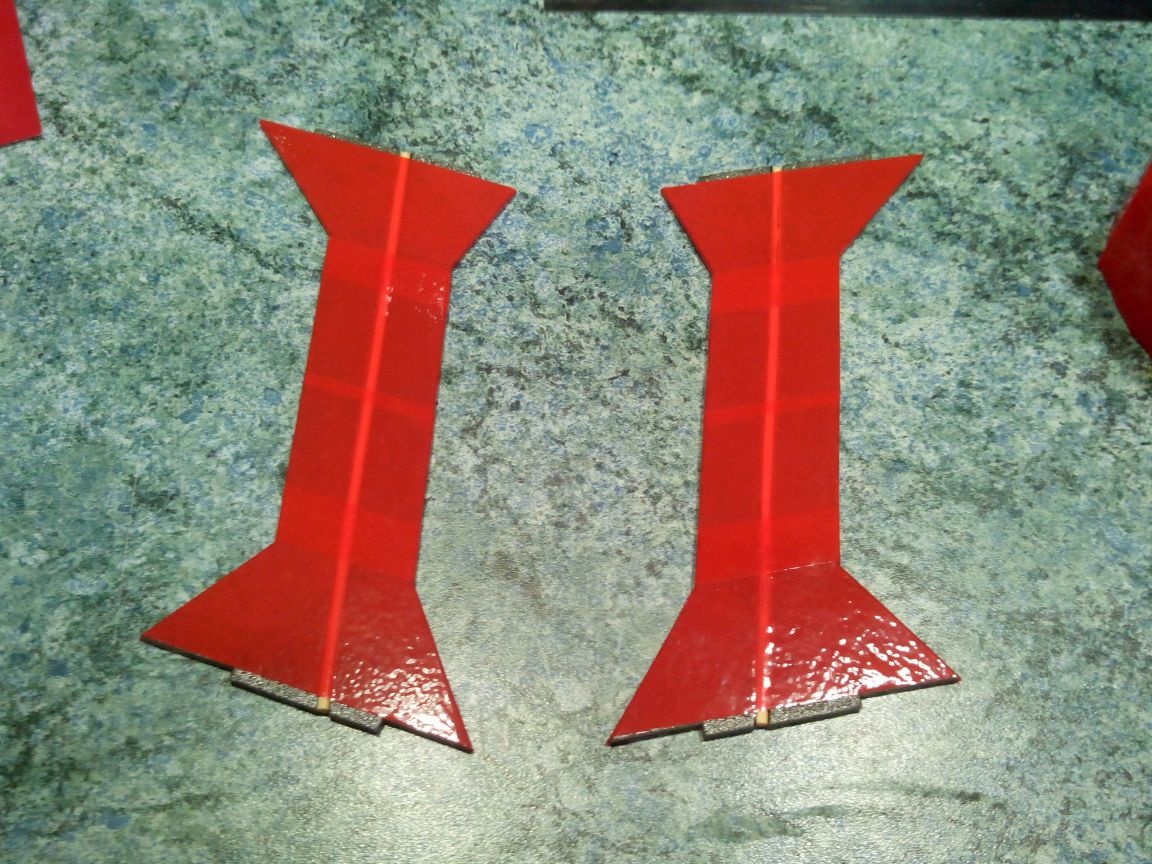
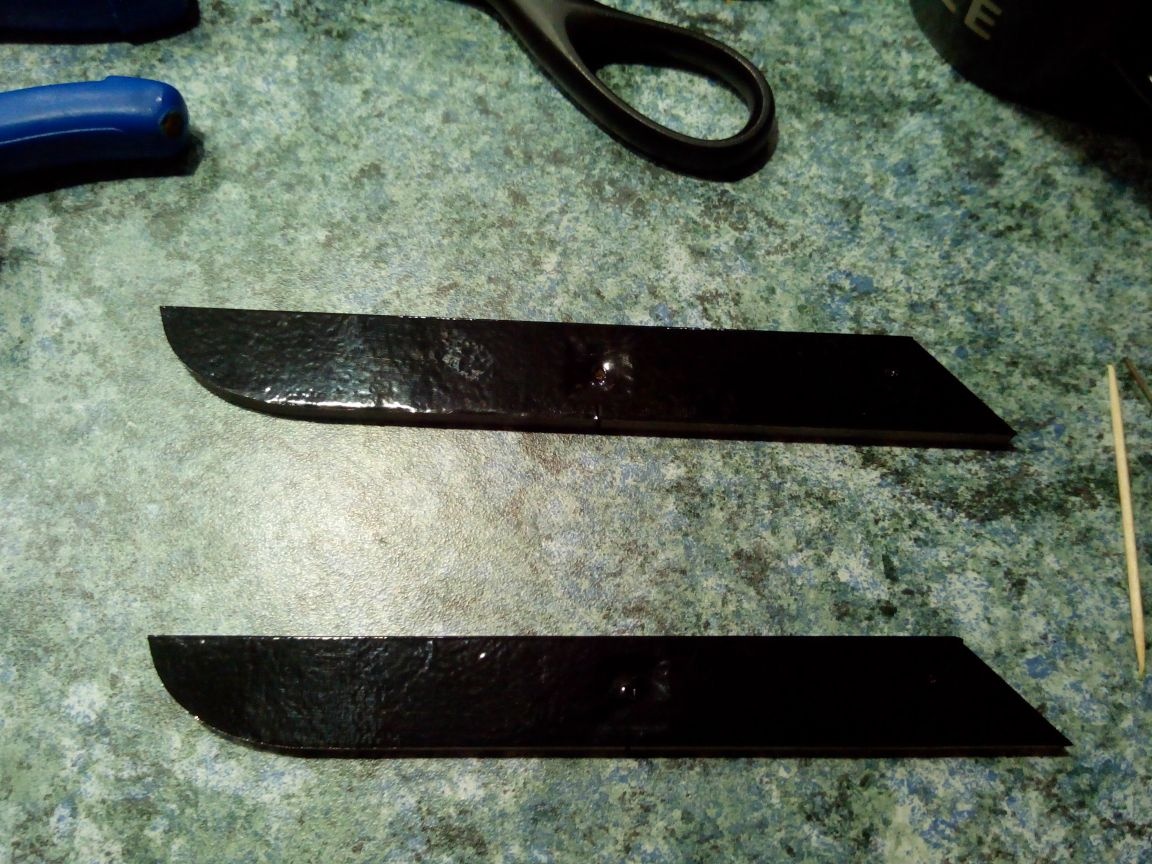
Let's start with the tail. We glue the keel and rudder with white tape. It will be a rudder loop.
On special paper (for example, from self-adhesive price tags), we draw and cut out squares from black adhesive tape.
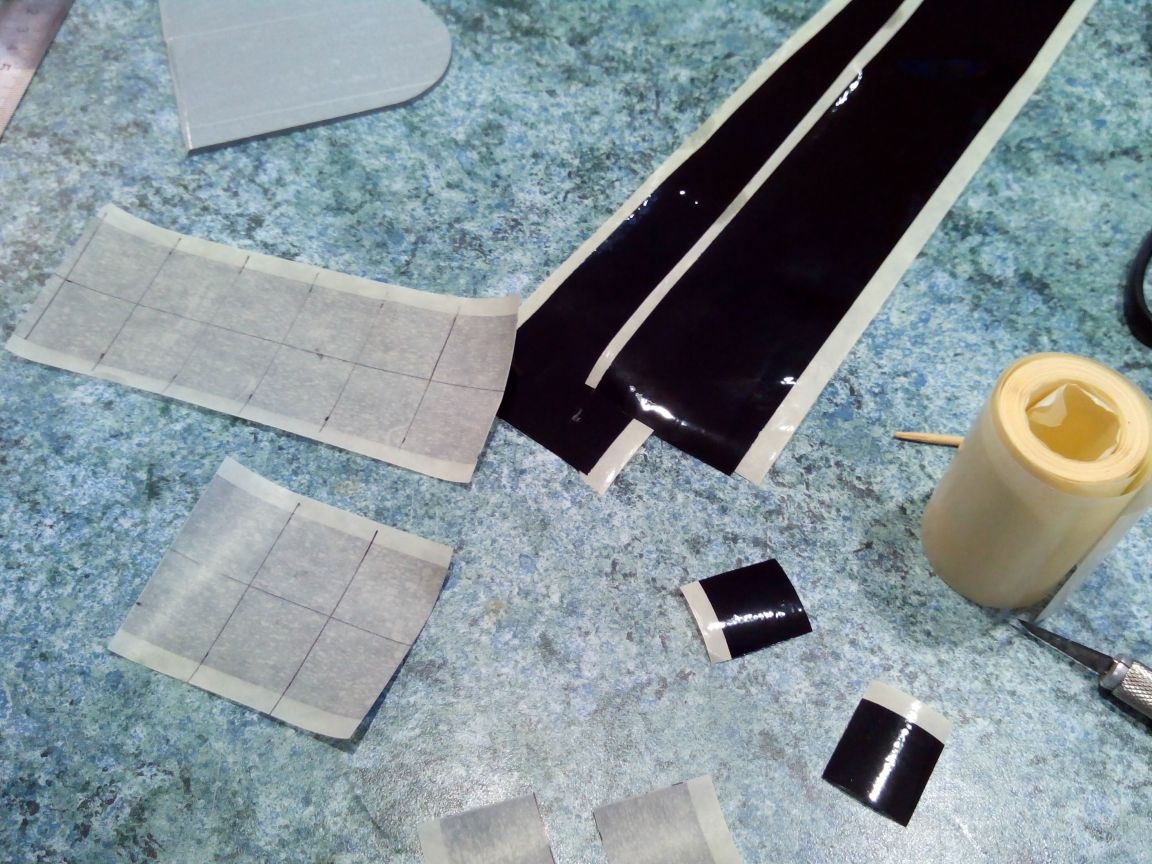
We draw a grid on the steering wheel with a marker and paste the squares of black tape.
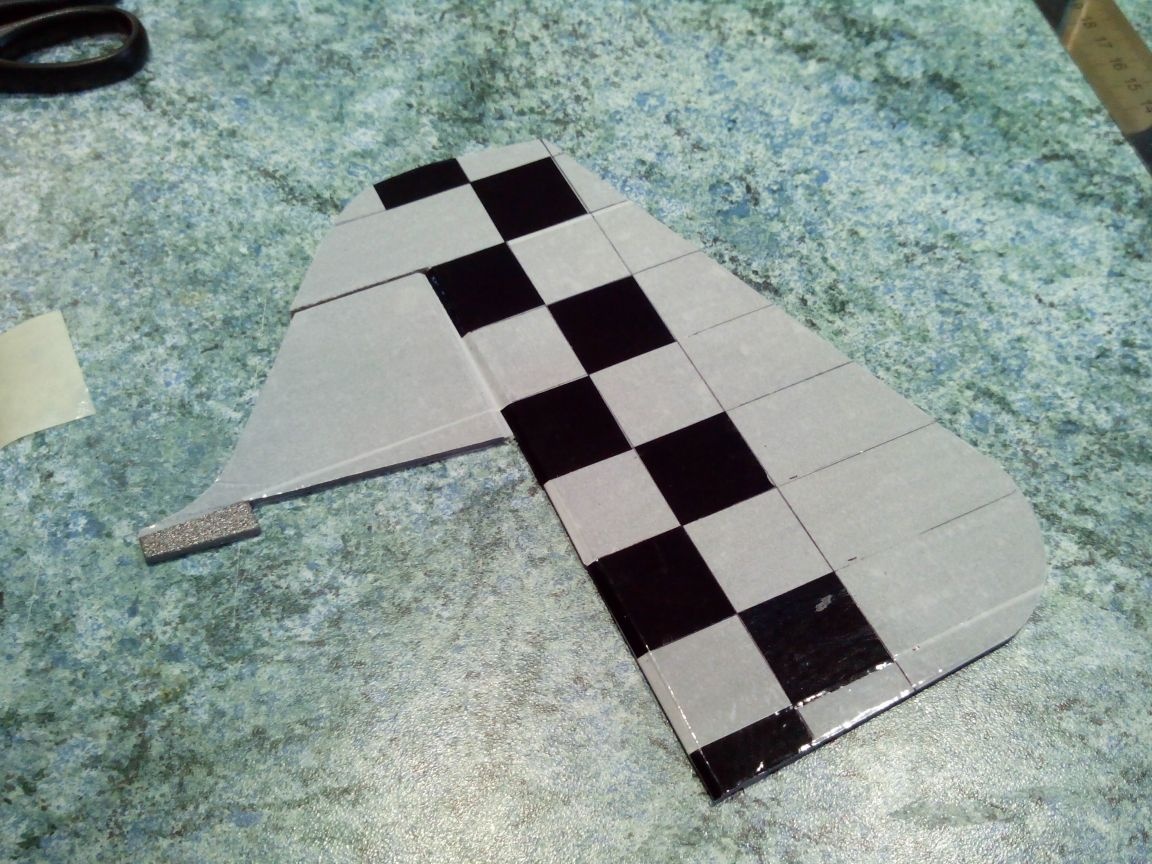
The keel is glued with black tape (the color of the fuselage).

The elevator is glued with white and red tape.
Then glue it with black tape. Scotch also acts as a loop, and therefore we help ourselves with a bamboo stick.
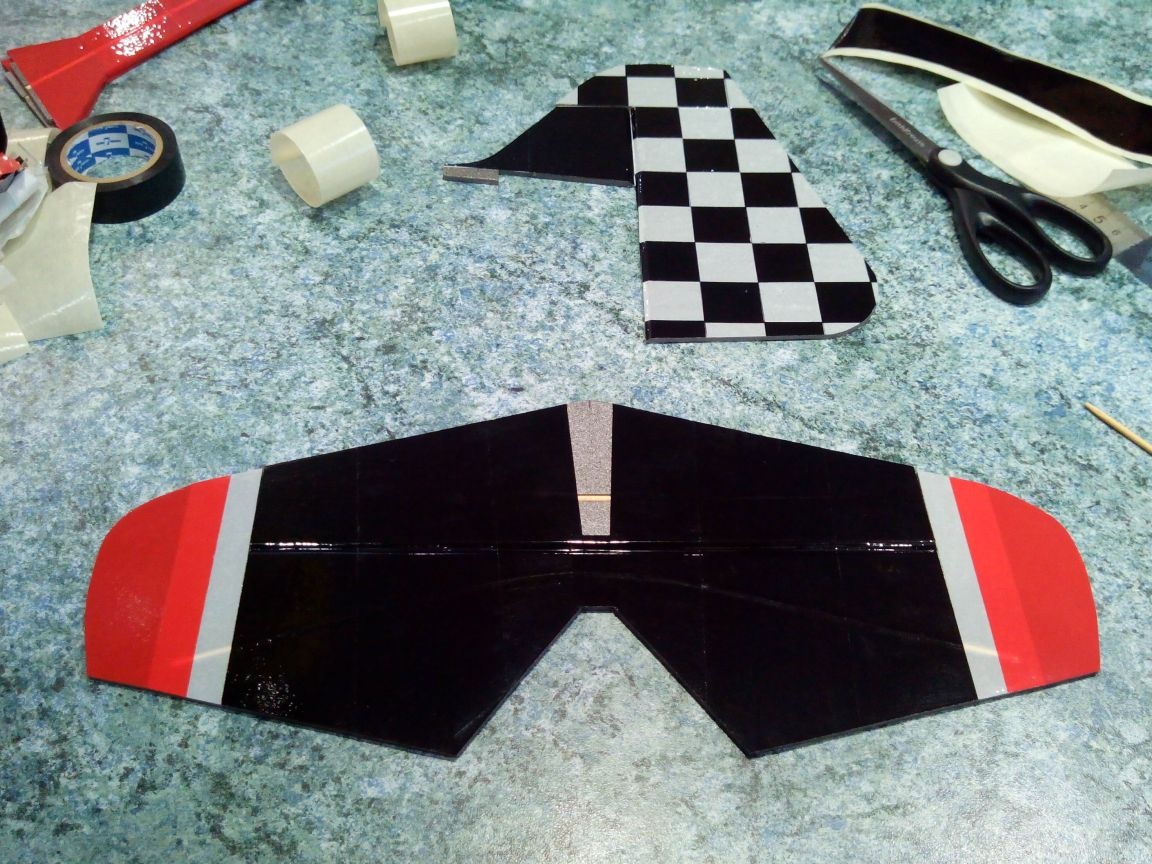
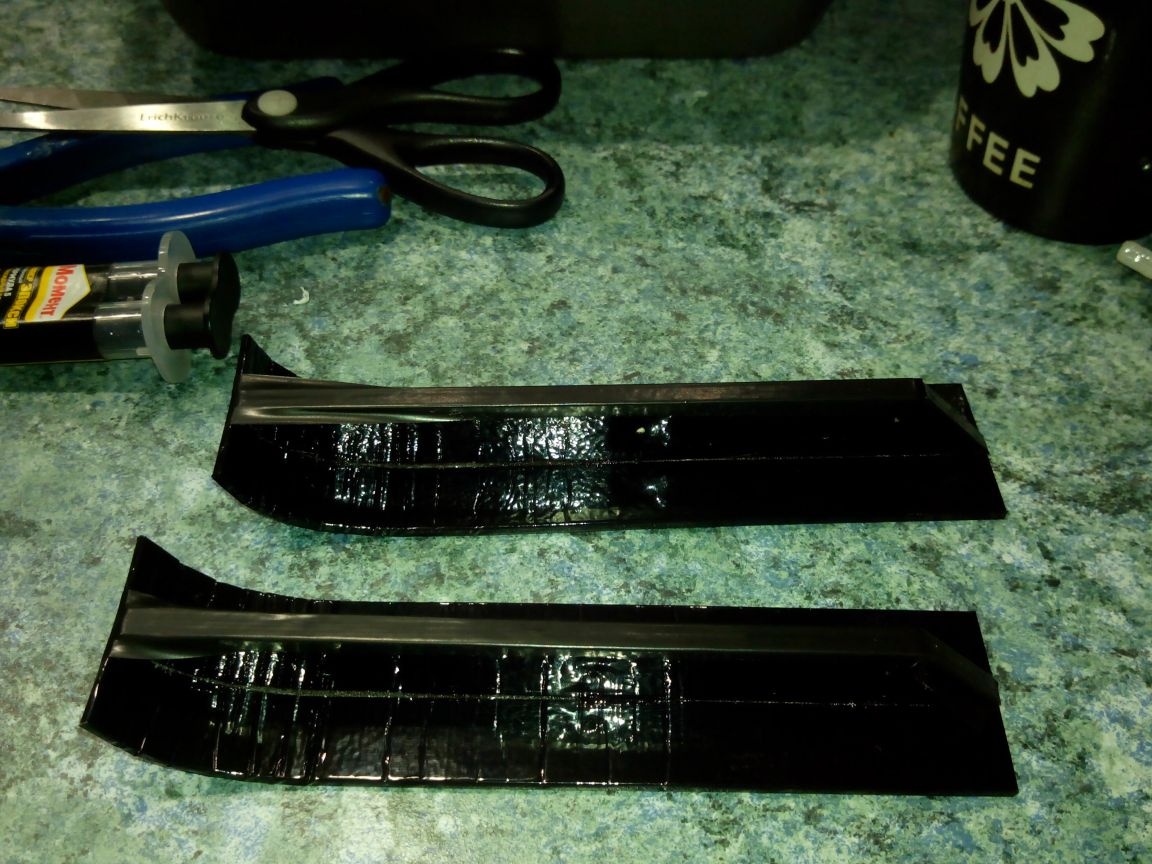
From below, the elevator and stabilizer are glued into a black and white strip.
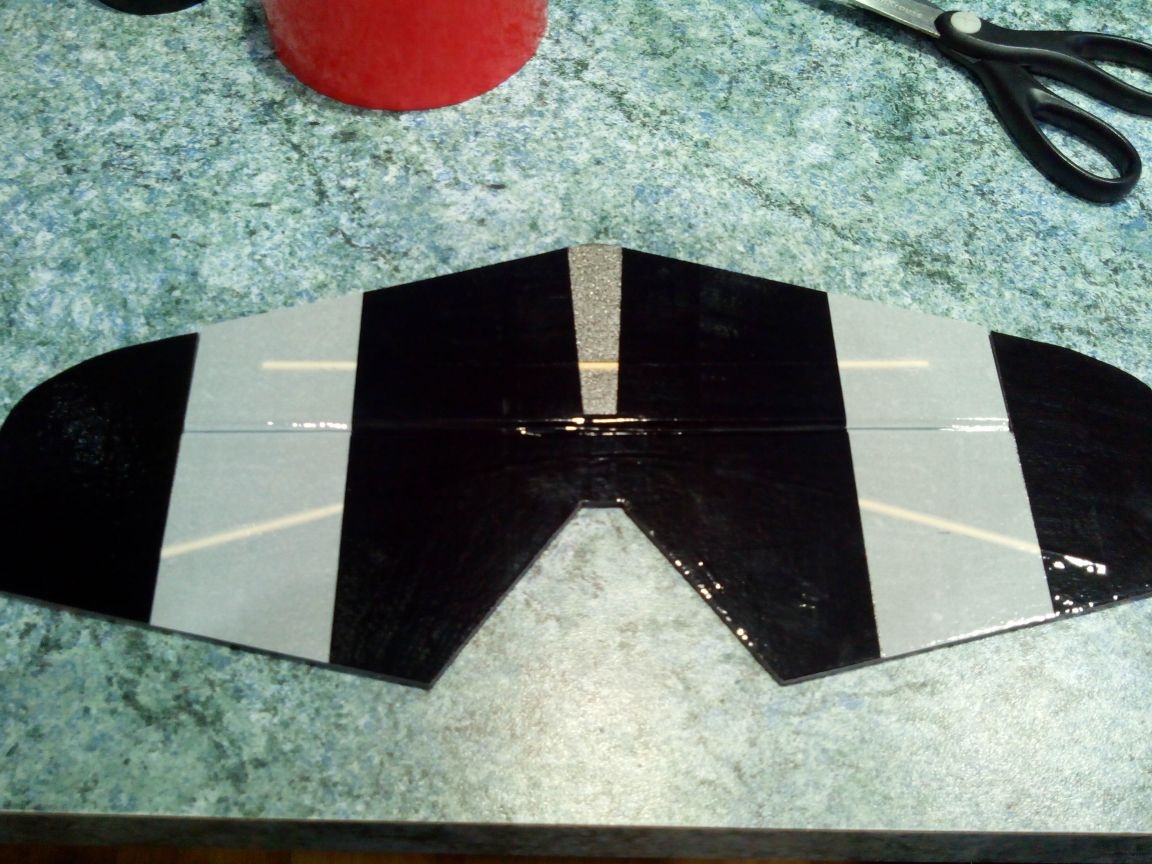
We glue the lower wing in the same color scheme as the tail - red and white tips and black main. Ailerons similarly keep on loops from an adhesive tape.
The bottom of the lower wing is in black and white stripes for better readability of the model in the air.

The upper wing is almost identical to the lower, only the strips of tape will be at a slight angle.
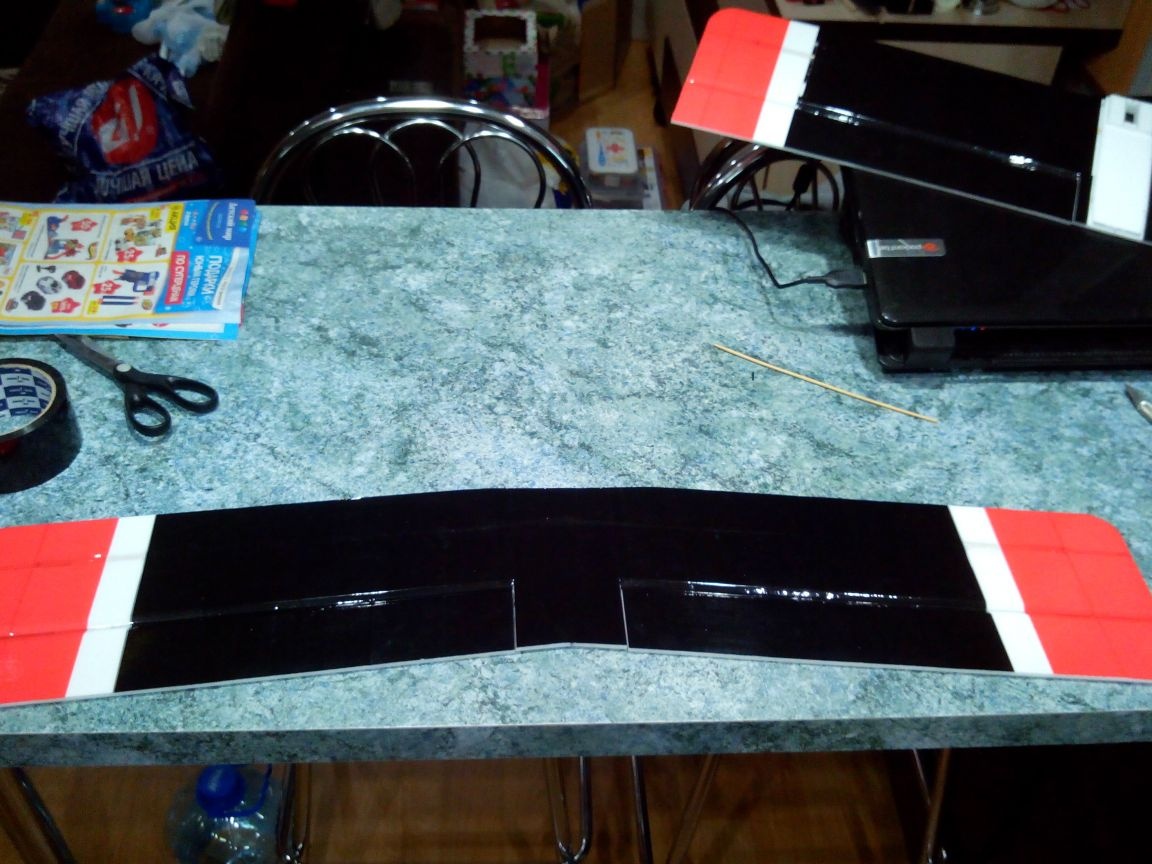
The bottom of the upper wing is completely black.
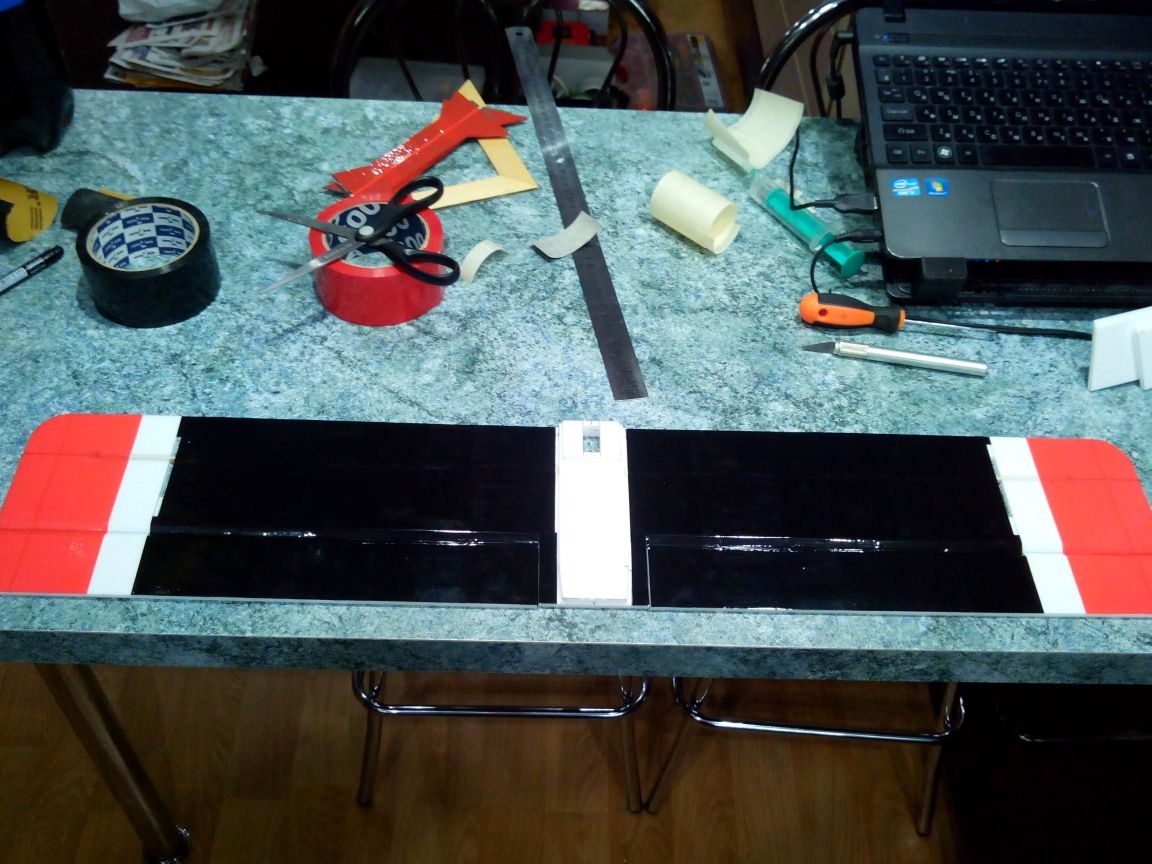
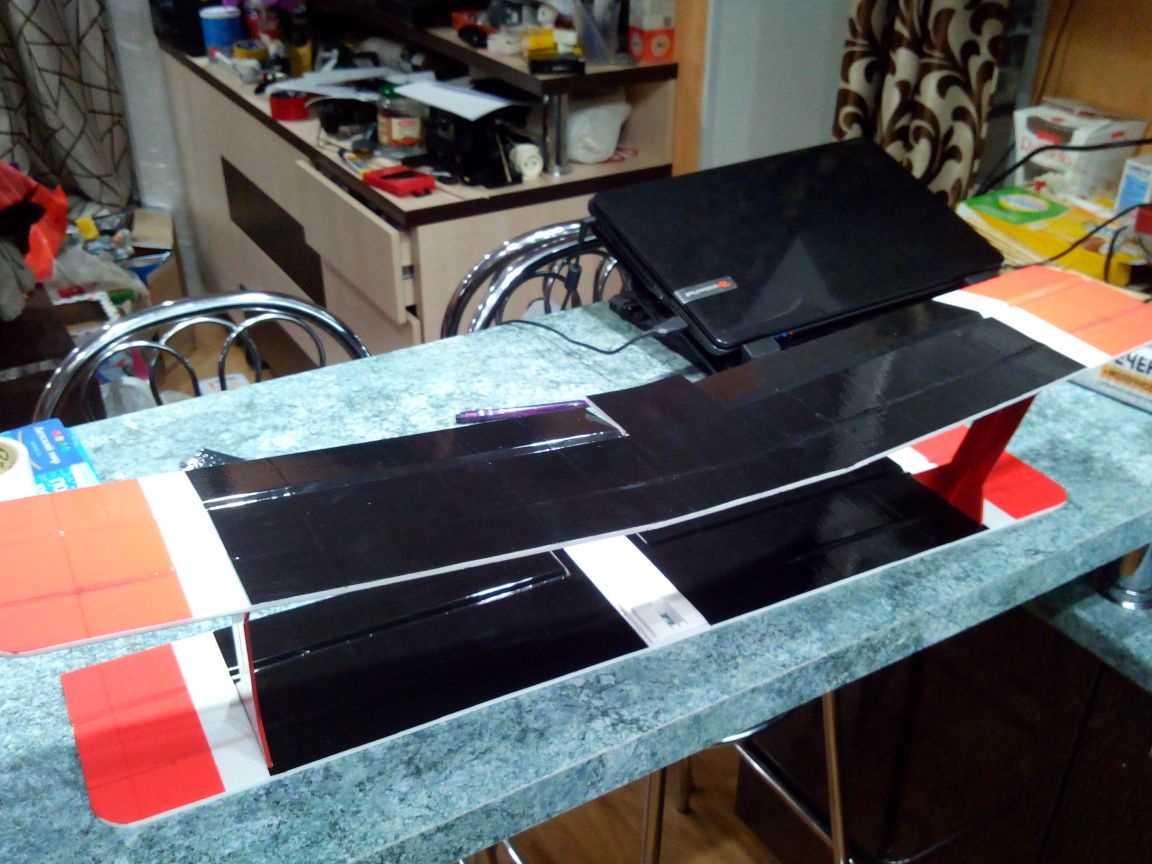
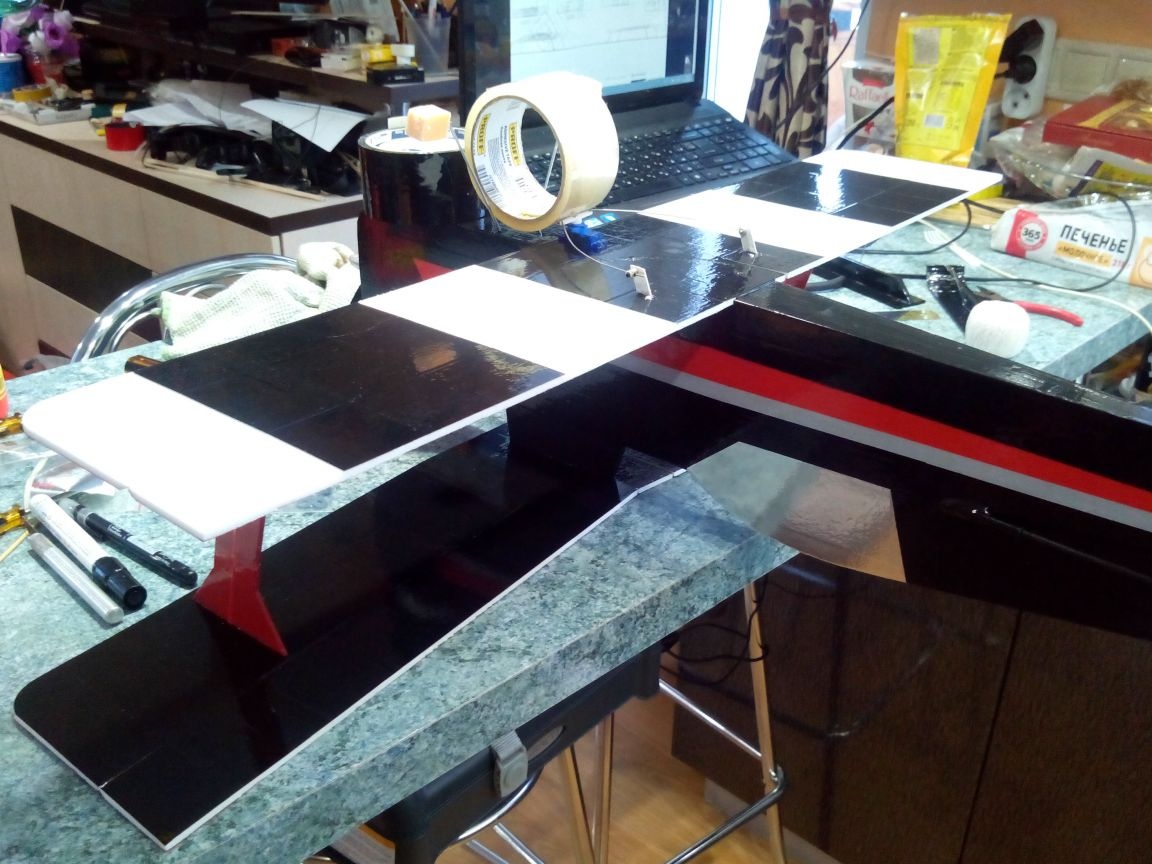
We try on wings and struts.
On the fuselage with a marker, mark the color borders and the borders of the cockpit.
We begin gluing with white tape.
Then red.
And only then black, as it best covers other colors.
We glue the bottom of the fuselage.
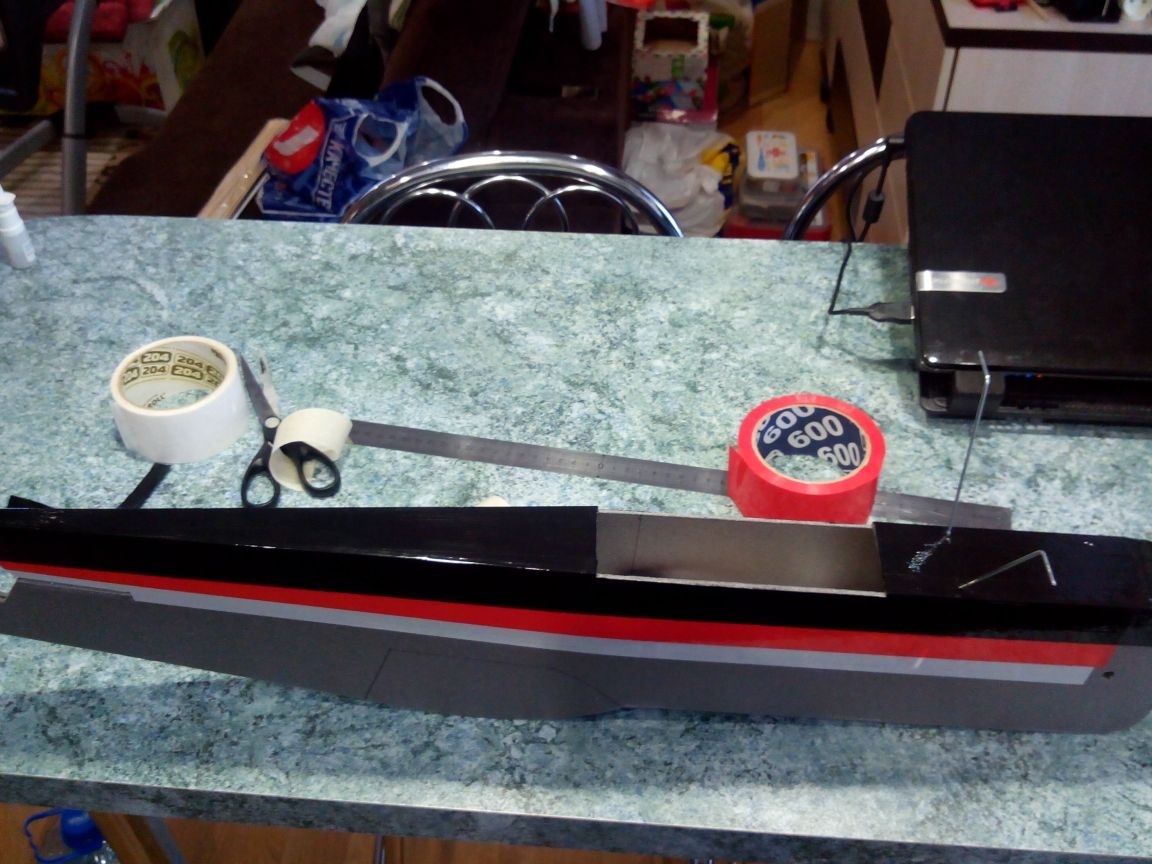
Metal tape (if it is not - blue) glue the cabin.
We glue the remaining parts of the fuselage with black.

Step 5. Build the model.
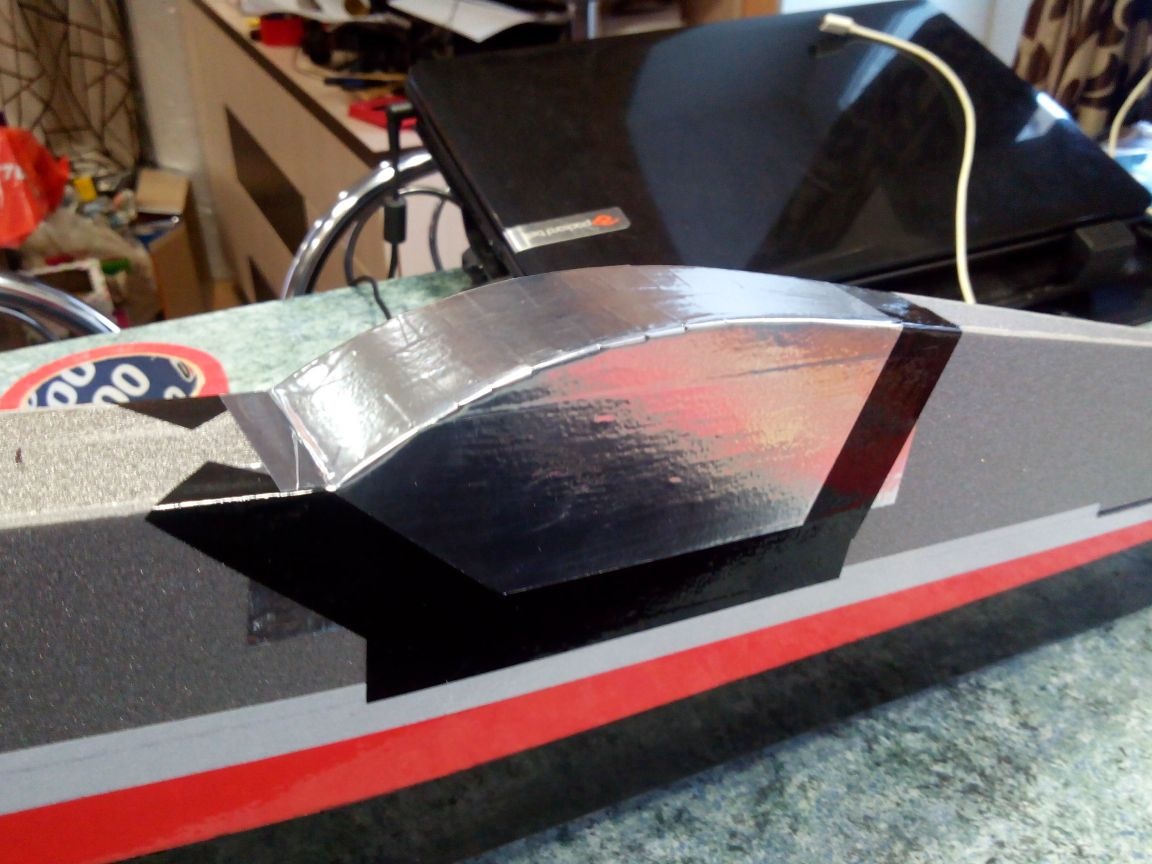
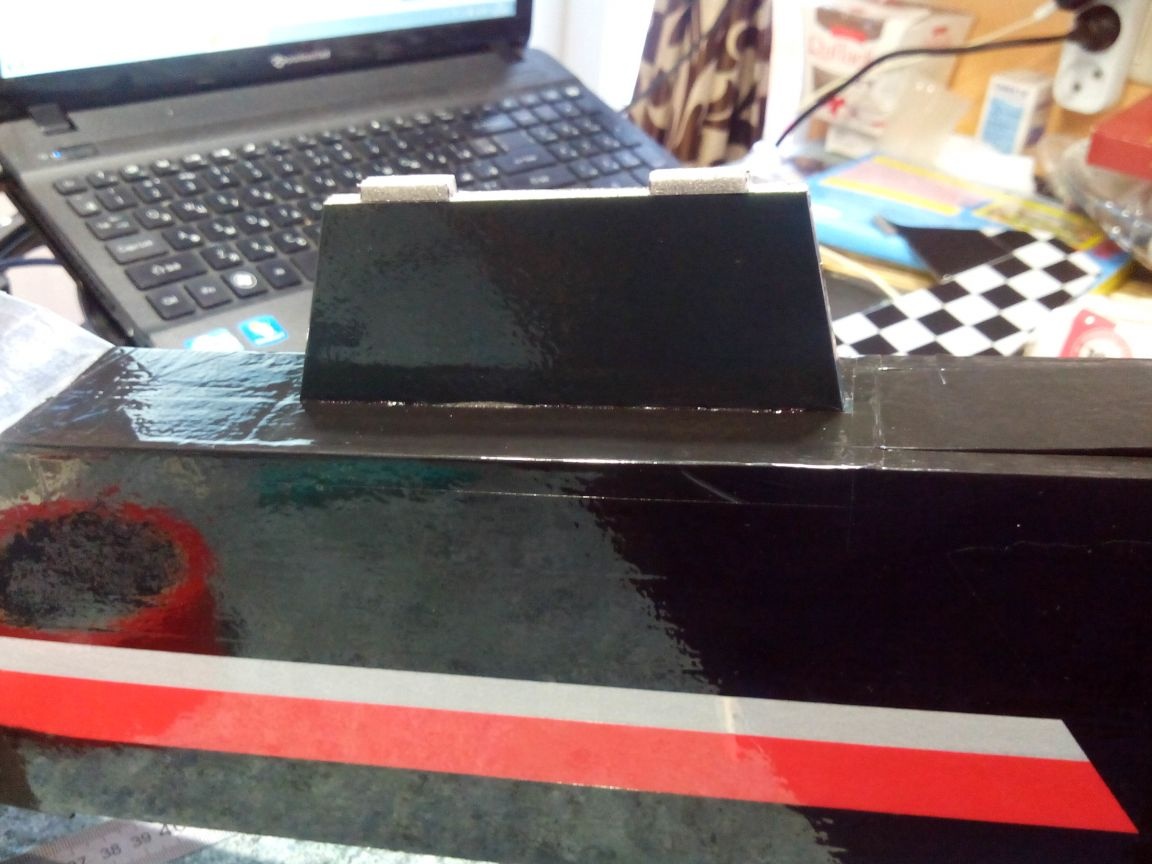
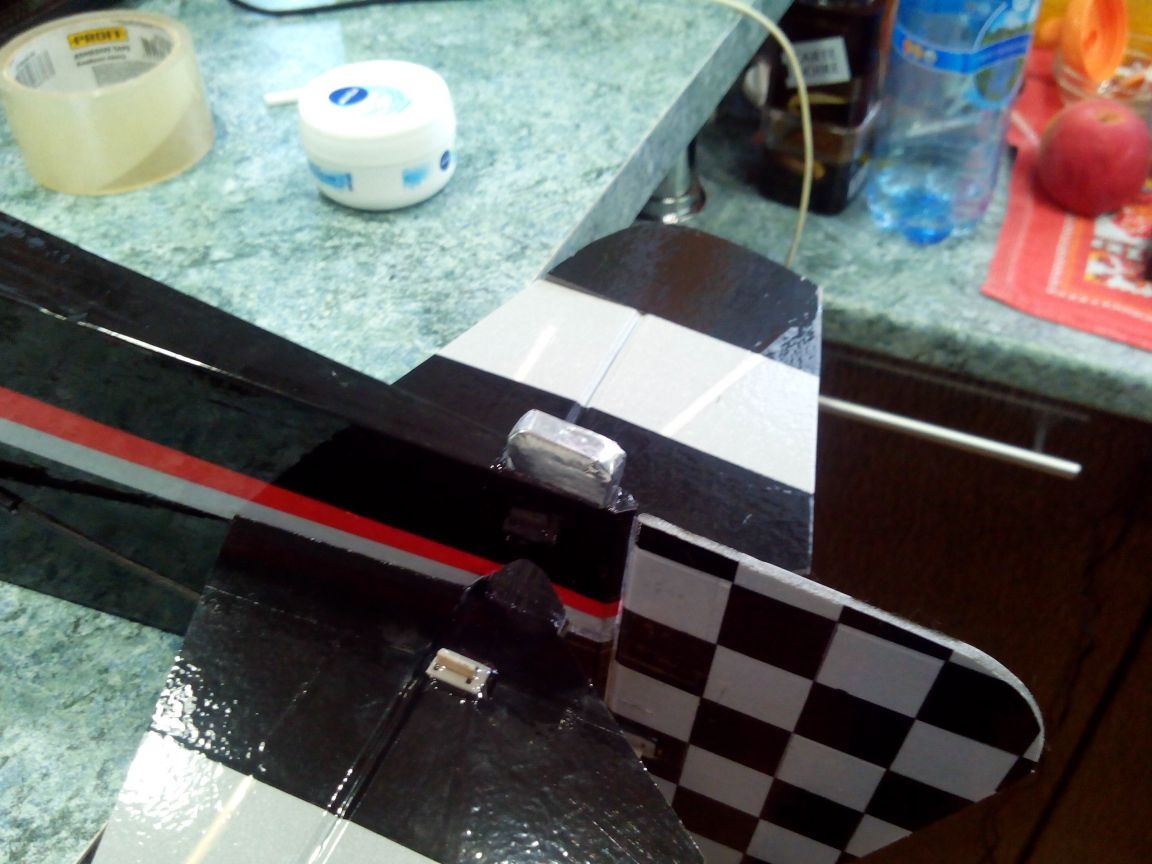
Glue the pylon to the top of the fuselage.
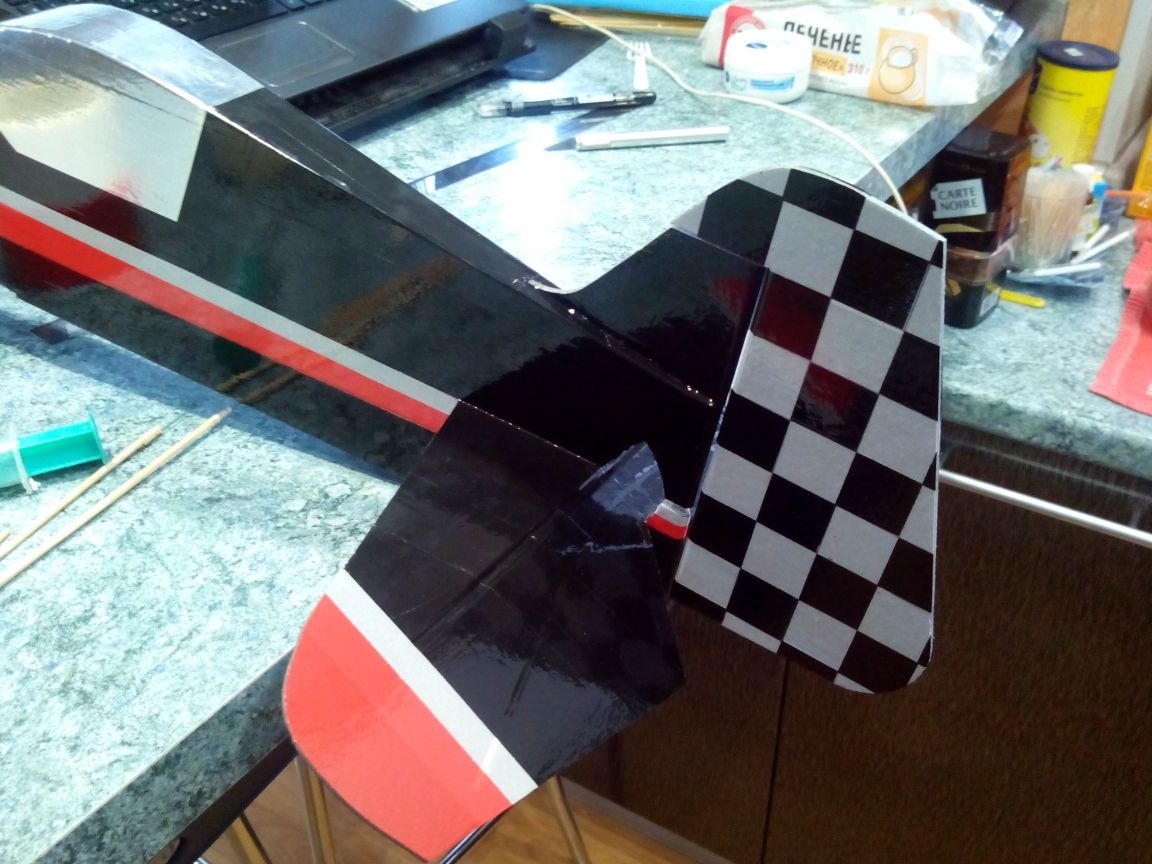
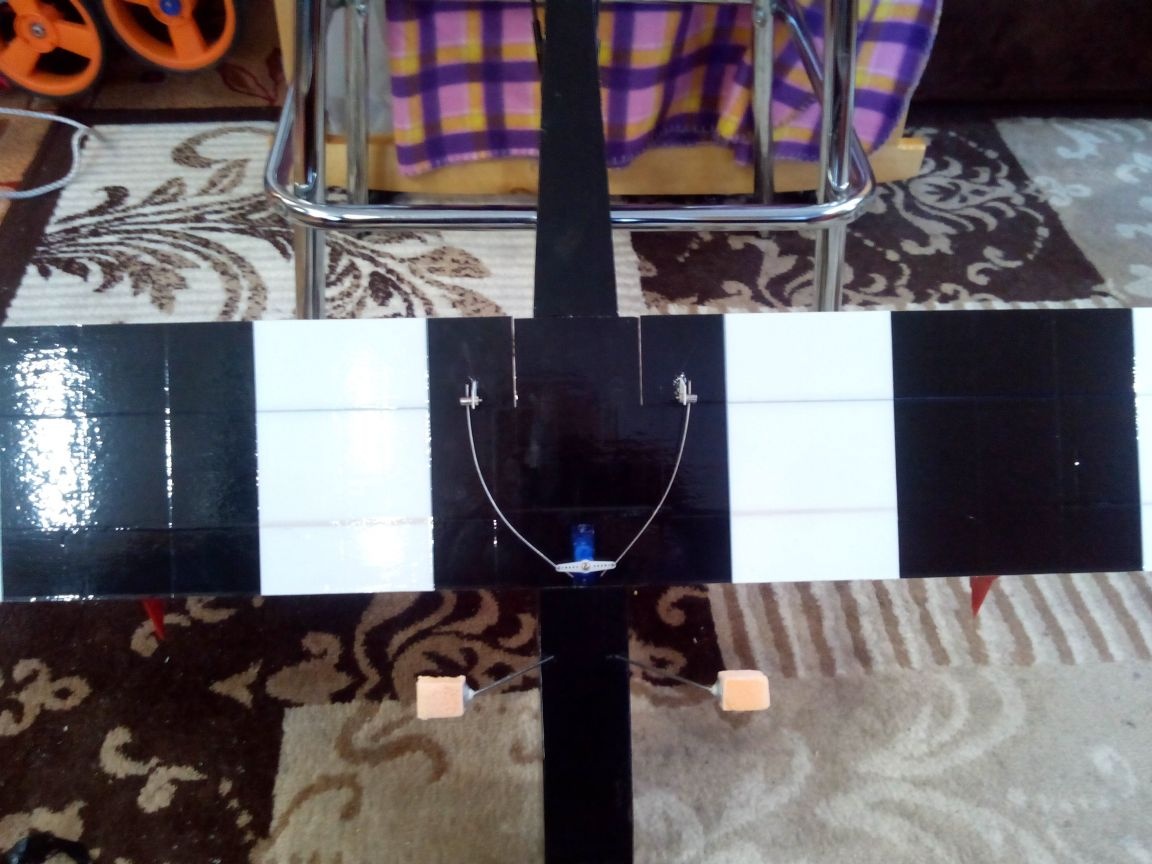
Glue tail feathering on epoxy.
From a transparent tape we make a loop on the rudder.
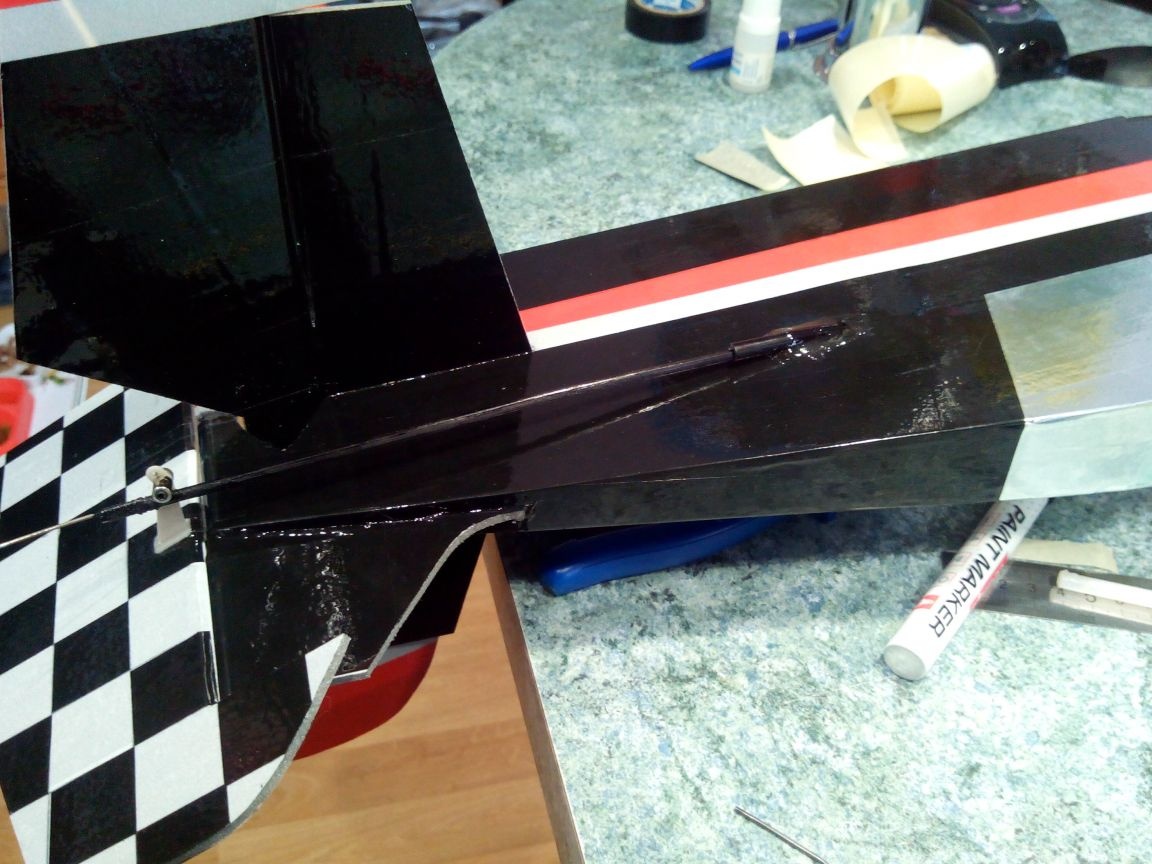
While the glue dries, we make traction for tail feathers from bamboo skewers. To do this, we attach pieces of steel wire to the ends of the skewers with glue on the glue.
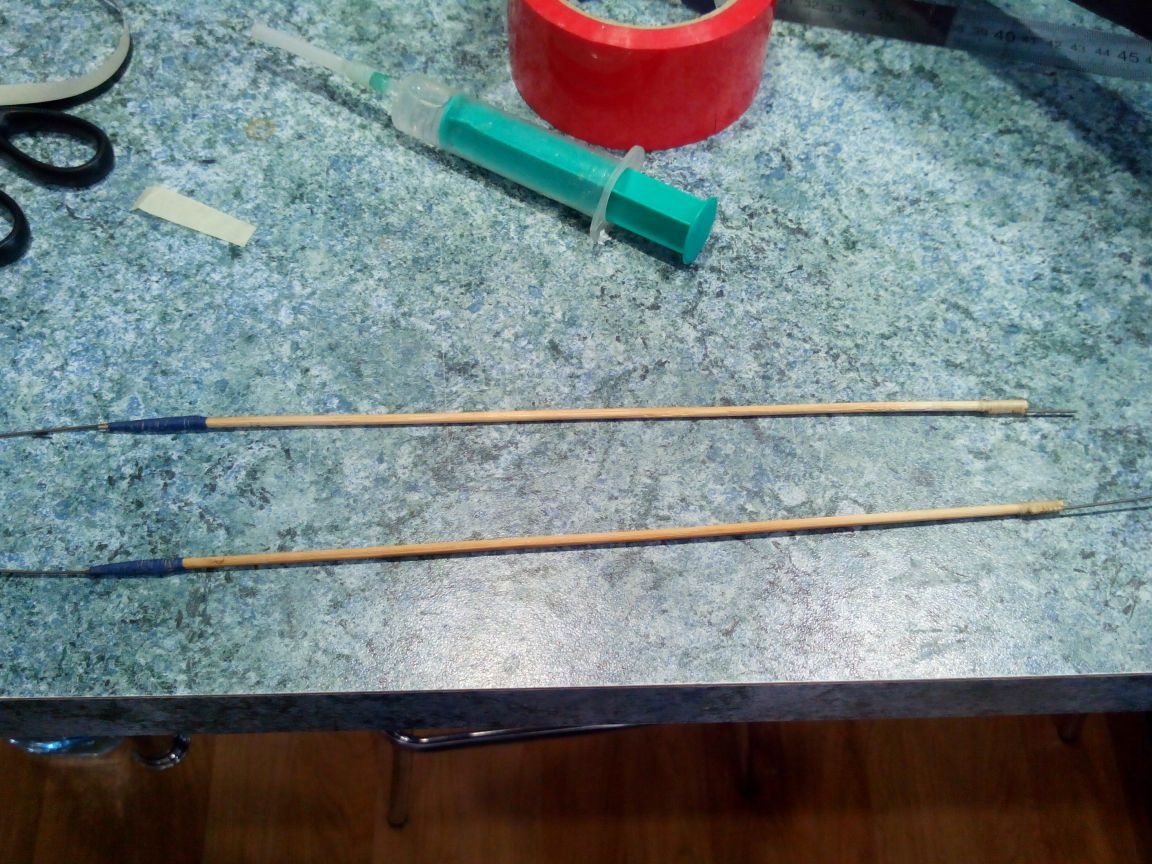
Paint traction marker in the color of the fuselage.
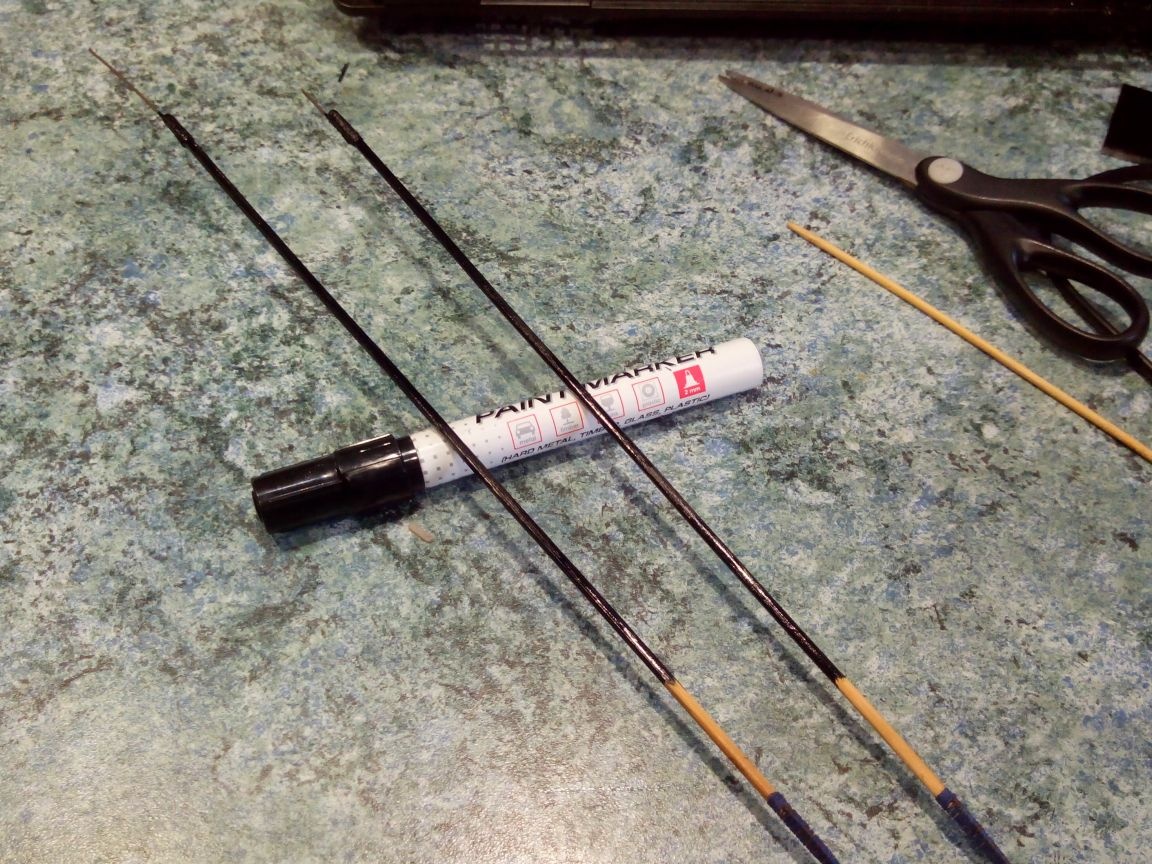
If necessary (it turned out to be necessary for the rudder traction), we bend over the traction lighter.

We make bowden from a stick from a balloon, we skin the central part and paint with a marker.
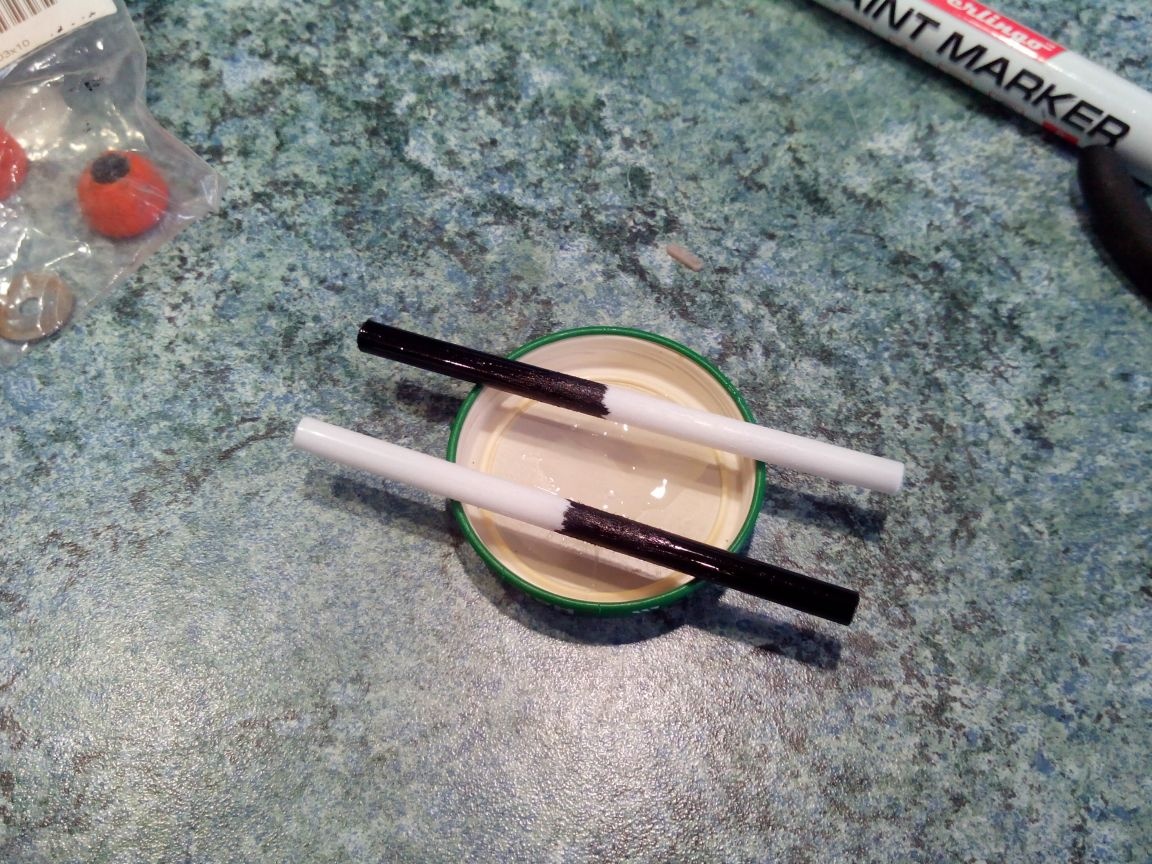
We glue the bowden traction elevator on epoxy.
Similarly, we glue the bowden traction rudder.
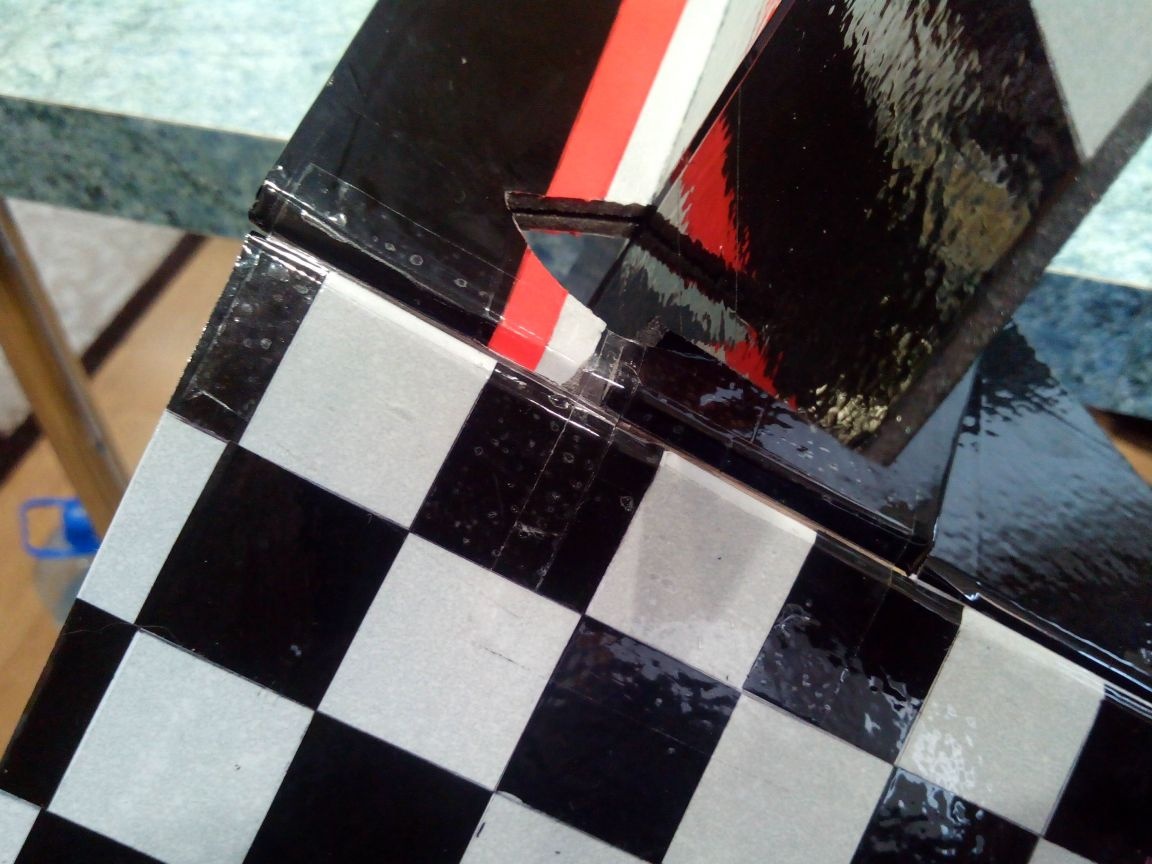
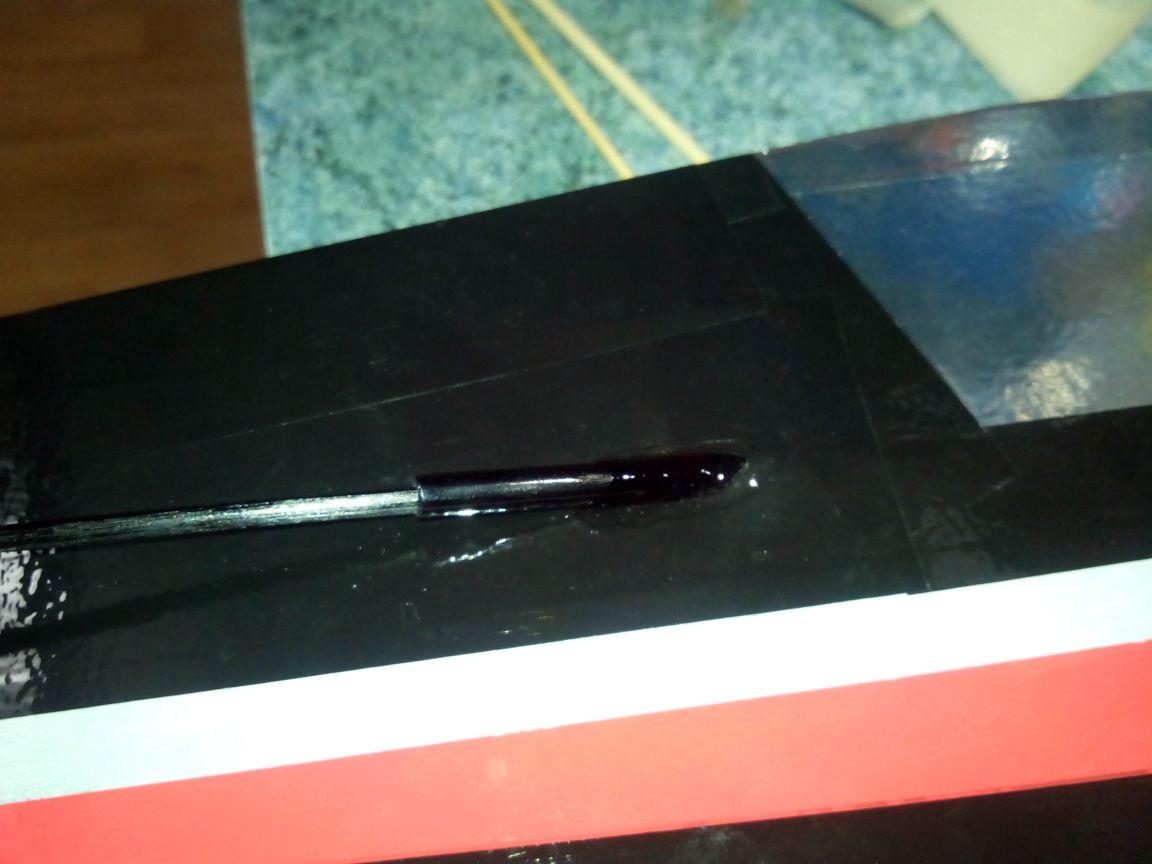
Boars in the tail plumage glued to the epoxy. With a knife, we cut a technical hatch between the pylon and the cabin to gain access to the servos. In the future, the lid of this hatch is simply sealed with a strip of adhesive tape to match the color of the fuselage. We fix the traction in the rocking chairs and boars.
Instead of a wheel or ski, we glue a small elevation from the pieces of the ceiling in the lower part of the tail (pasted it with metal tape to match the color of the struts of the front chassis).
We glue the aileron servo into the lower wing with hot melt. We make home-made boars from a building corner on an epoxy. We bend the rods from steel wire and fix with clamps in the boars.
Glue vertical struts into the lower wing.
I decided to fix the engine compartment cover not with an elastic band (not the best in winter), but with a small bolt. Glue the nut inside on the epoxy. In addition, glue the epoxy onto the hatch.
Glue the lower wing to the fuselage.
Glue the upper wing.
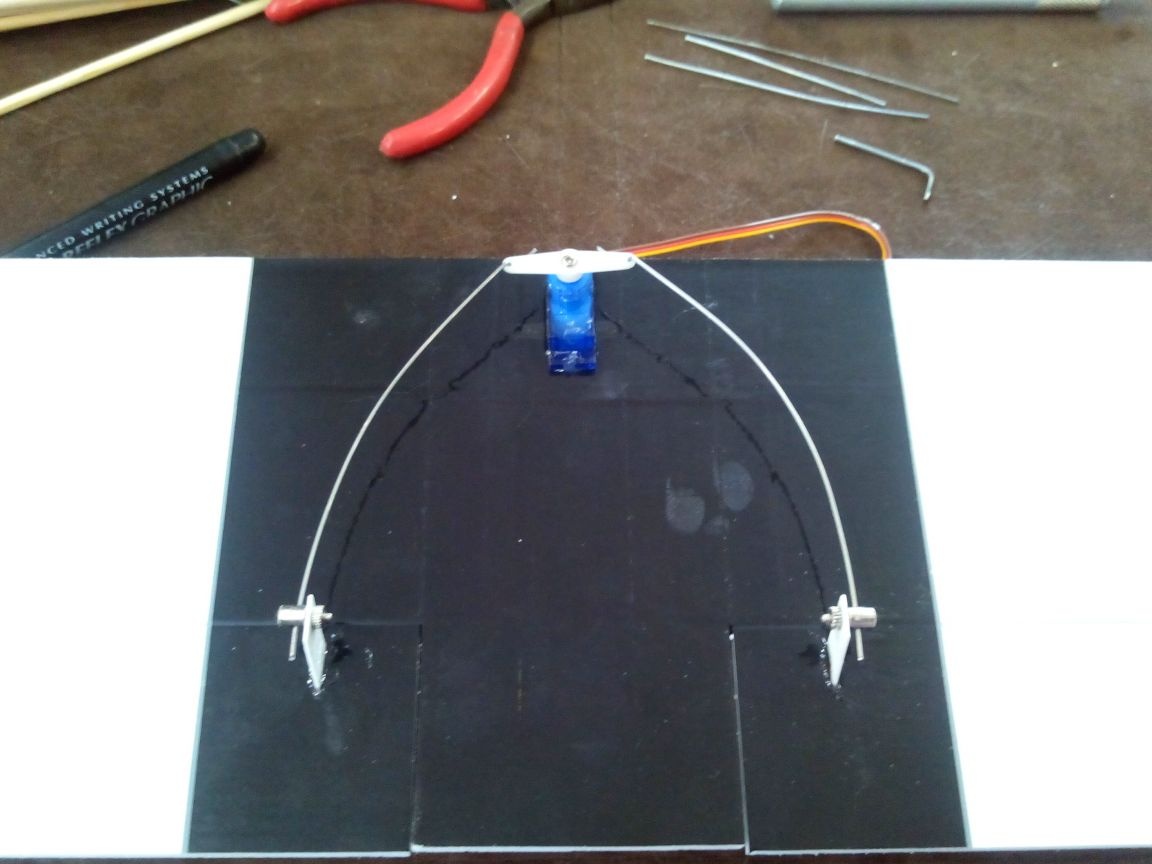
Now you need to connect the ailerons. To do this, we make synchronizers from bamboo skewers and heat shrinks.
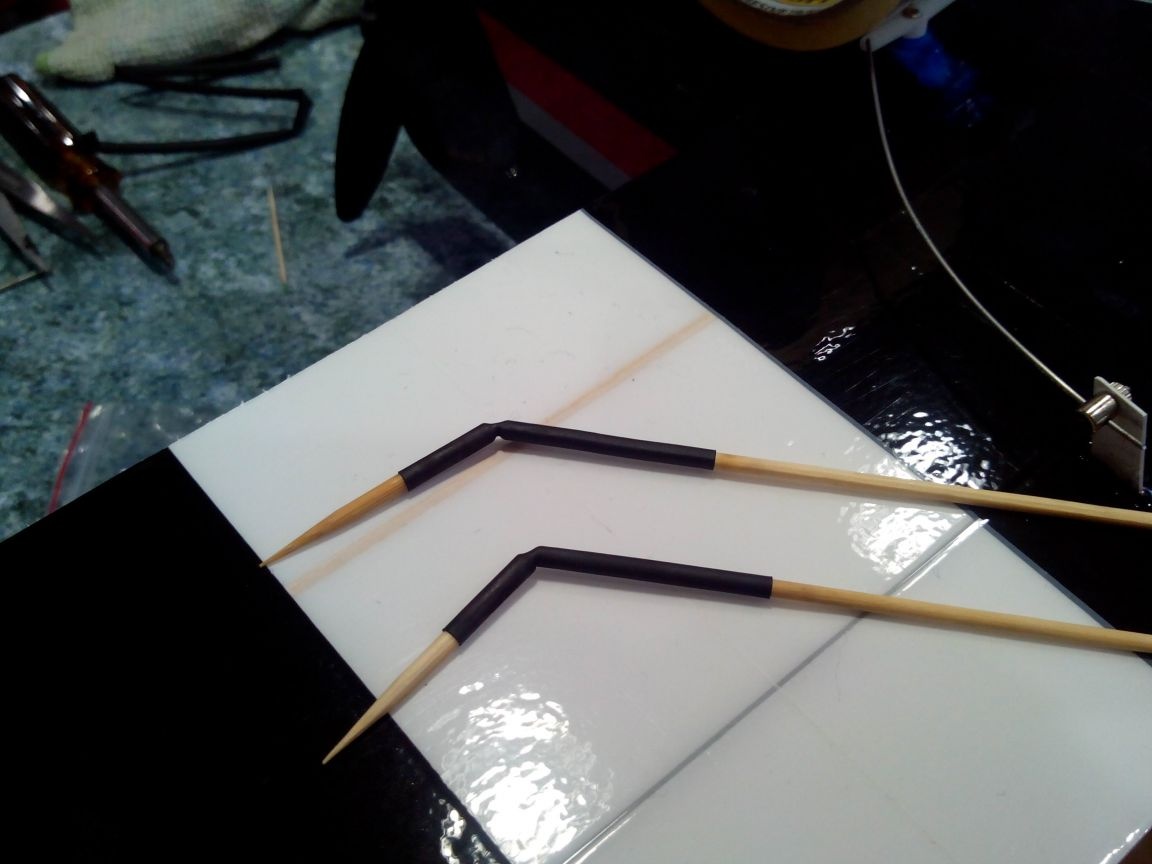
We carefully select the length of synchronizers so that the ailerons do not look in different directions.
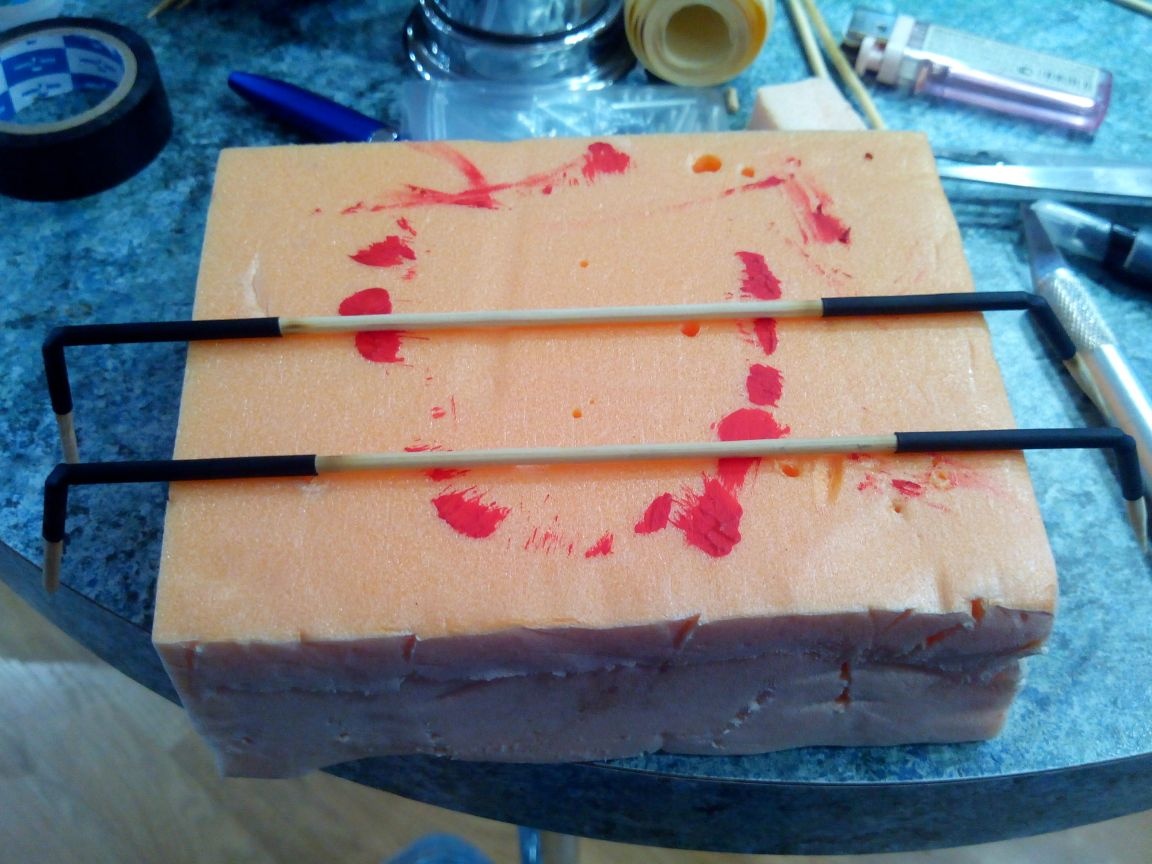
We paint synchronizers with a marker and paste them into ailerons onto epoxide.

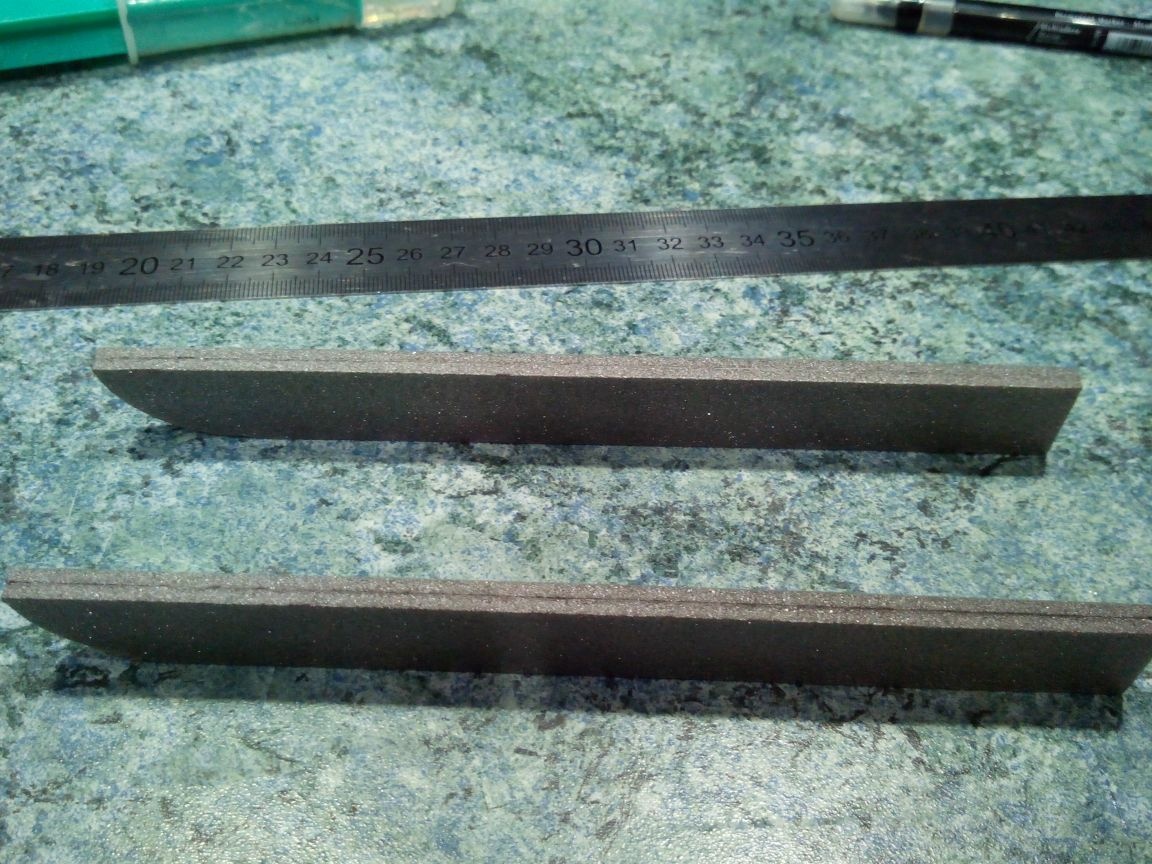
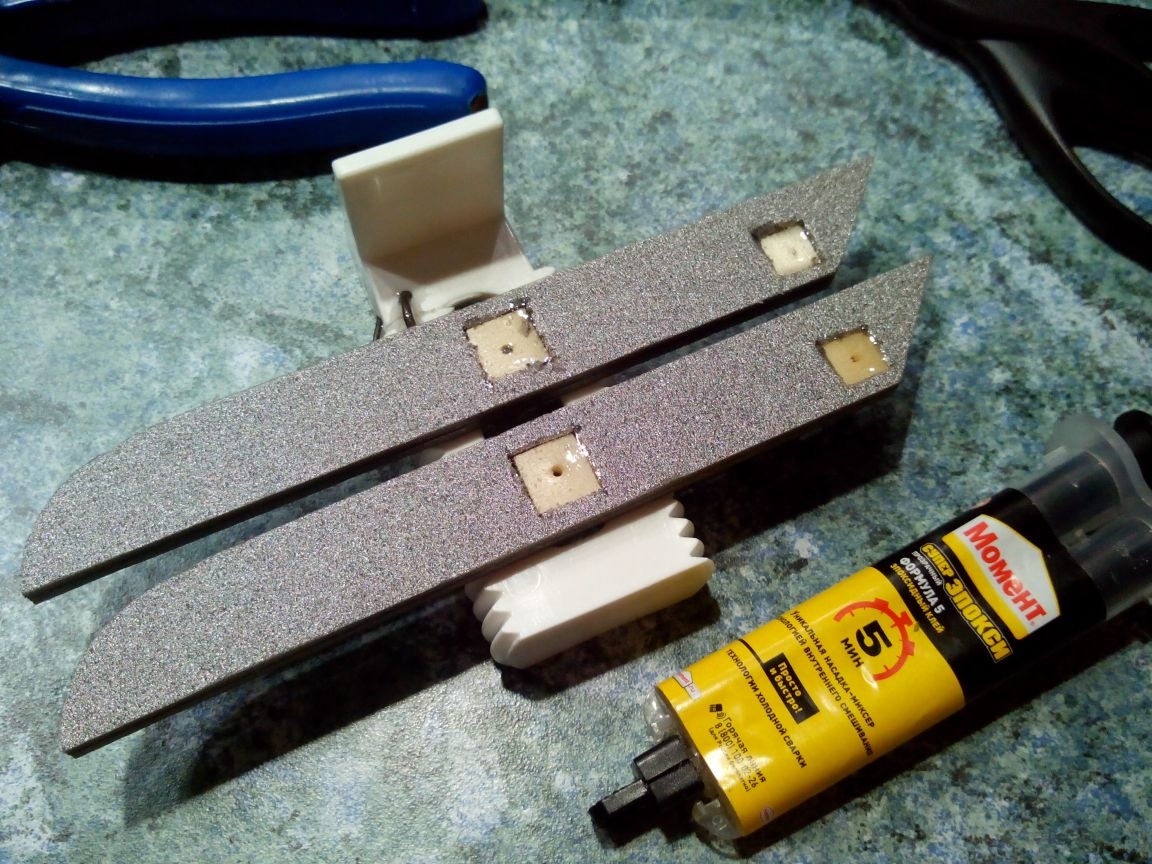
Step 6. Making skis.
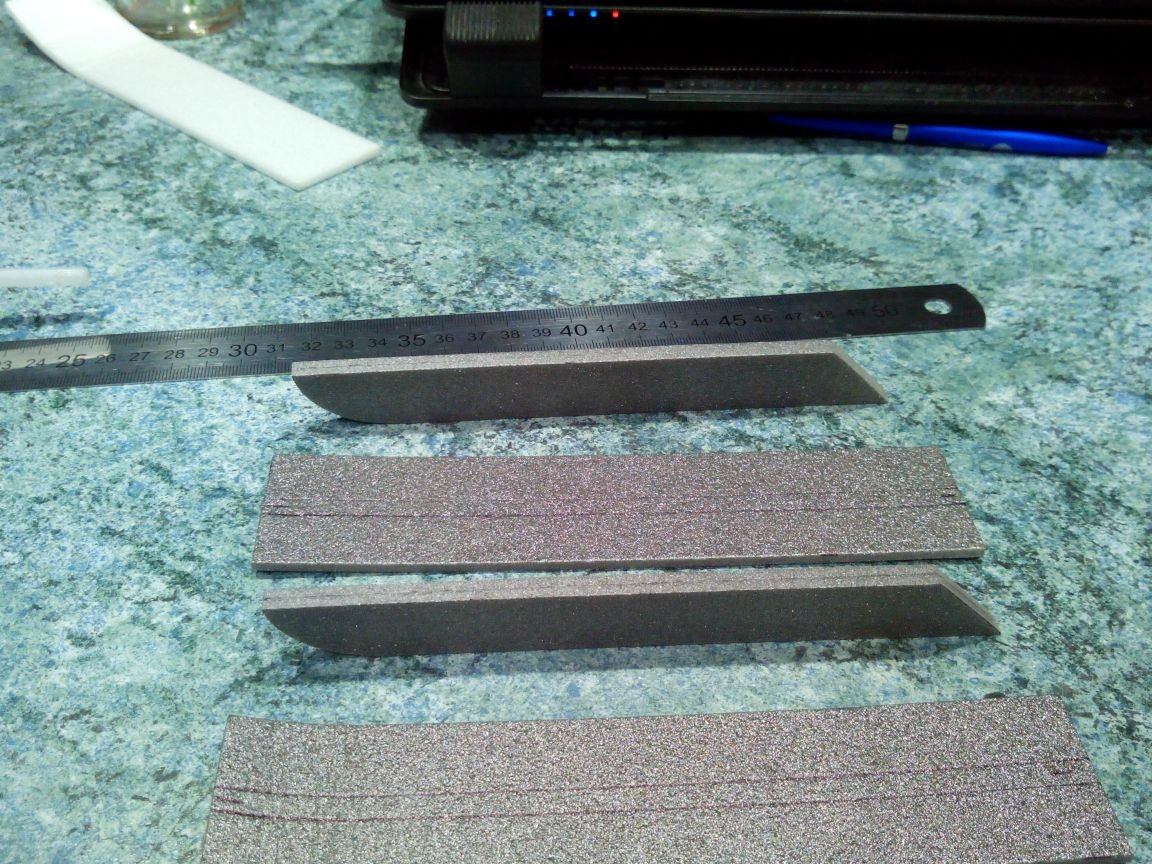
Skids of skis are cut from the substrate.
Vertical overlays from two layers of a substrate.
We glue the vertical lining and process it with sandpaper.
We draw on the runners the places for gluing the linings, and the linings themselves are adjusted in length.
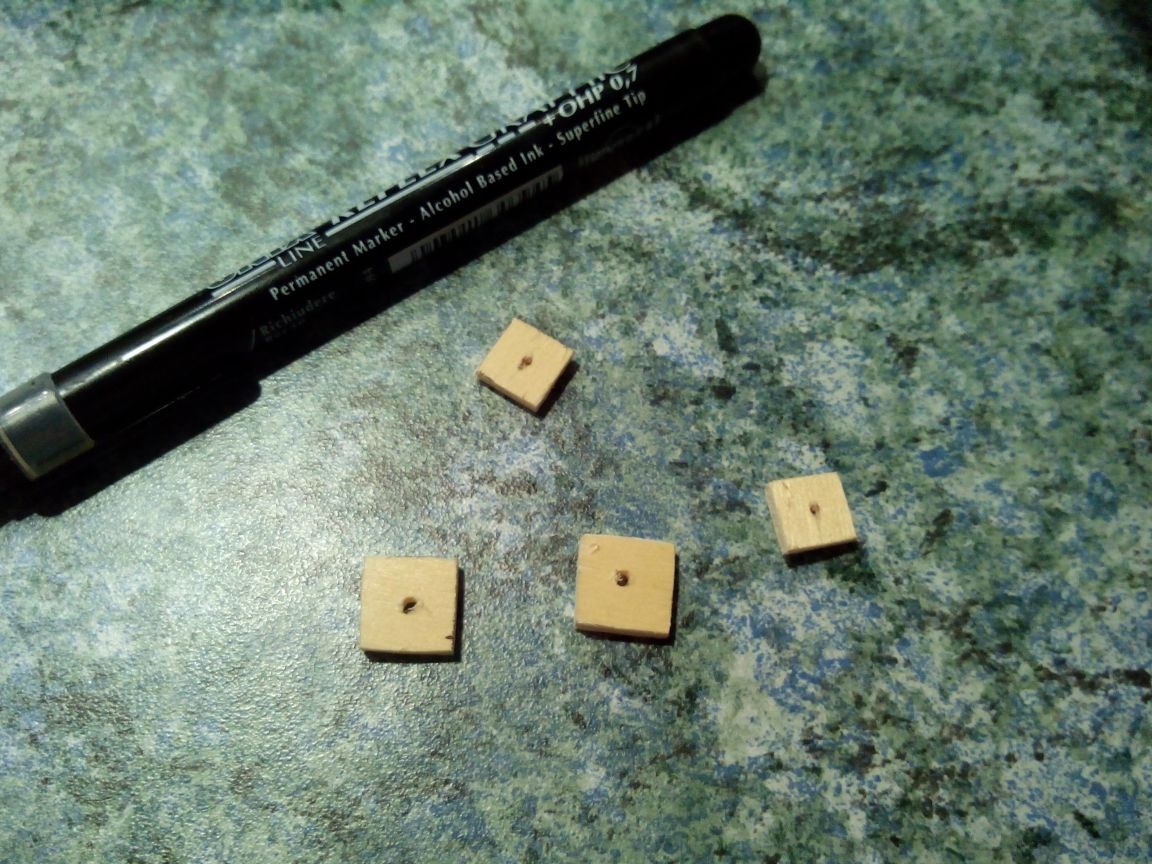
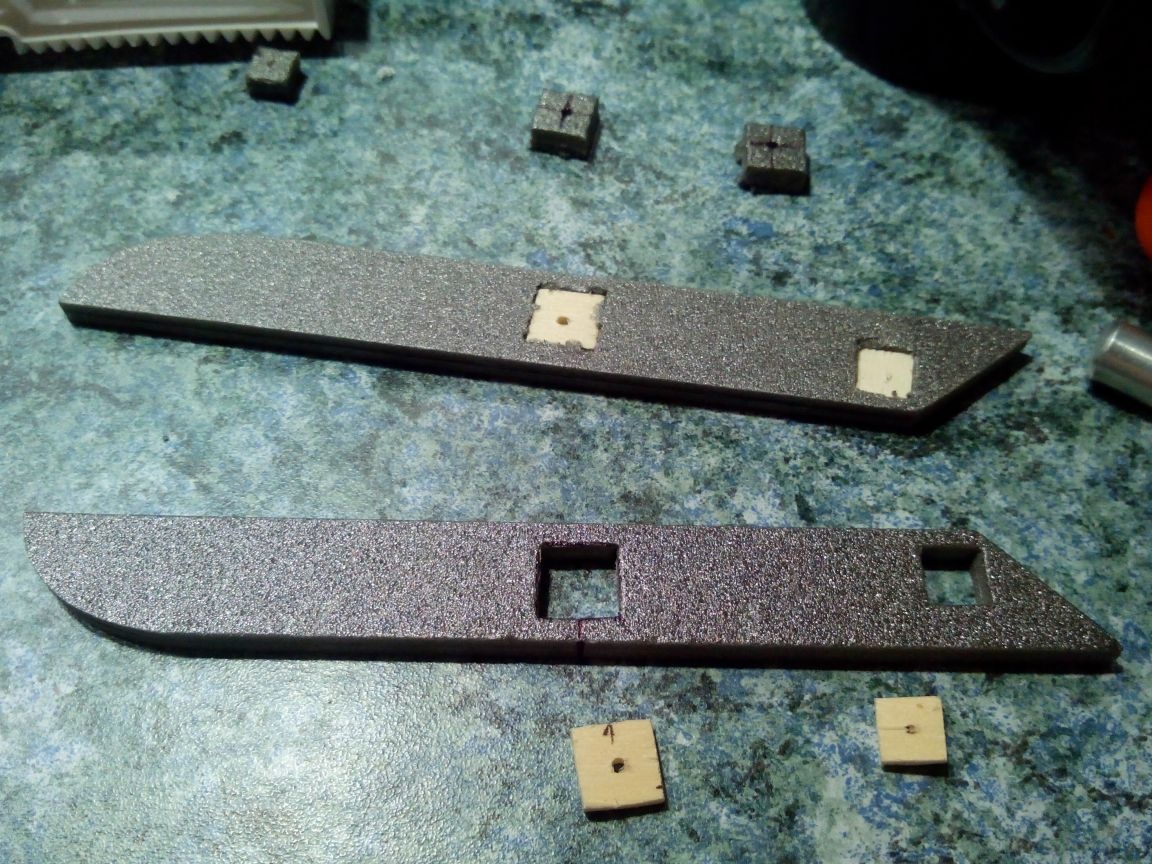
From plywood we cut the bosses under the axle and spring and drill holes in them.
We glue the lugs on an epoxy.
We glue the skids with tape.
Glue the pads.
Glue the linings to the runners.
We bend the springs out of steel wire and fix them on skis with epoxy.
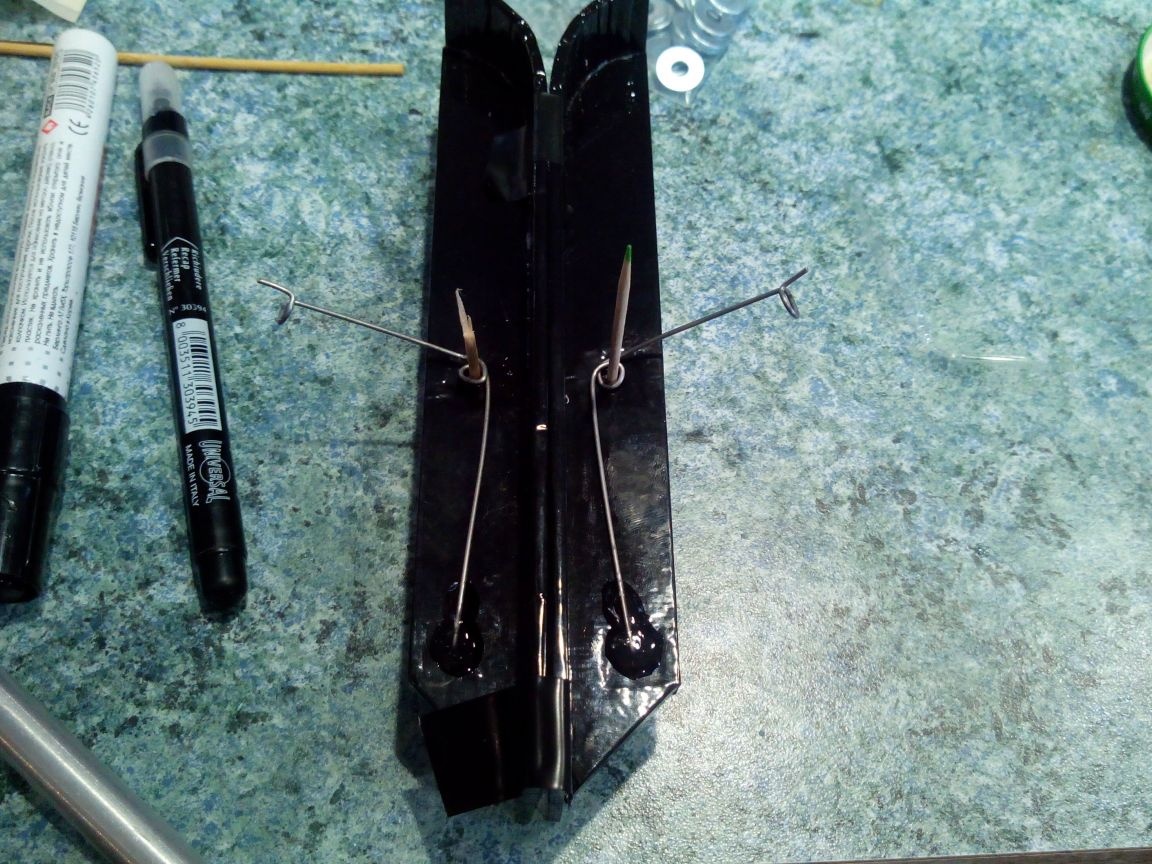
We fix the washers on the chassis strut with epoxy thread. For convenience, we put a piece of foam on the axis.

We fix ready skis with tie rods. We hook the springs to the landing gear and press them with pliers so that they do not come off.
That's it, the biplane is ready!
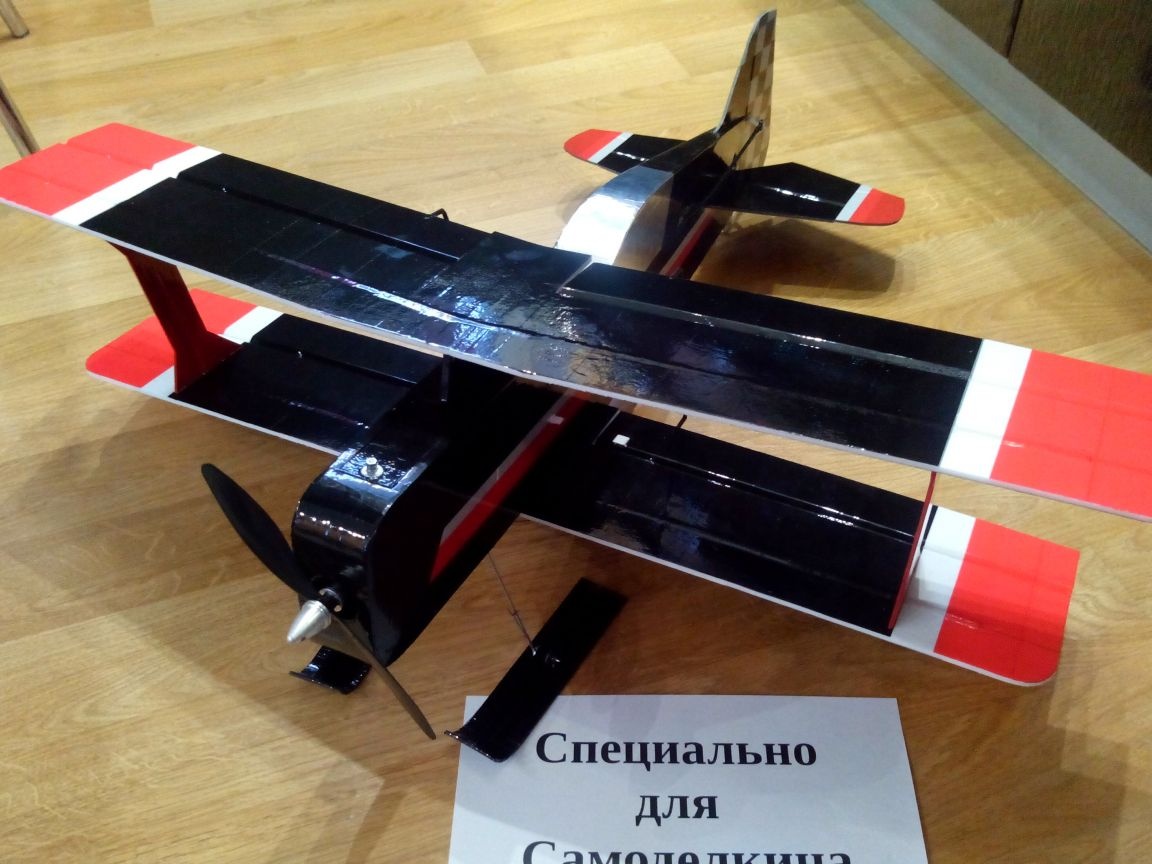
The weight of the model is 365 grams + batteries (88 and 105 grams each).
Flight weight = 453-470 grams.
The flight video is small, because there was a very uncomfortable wind on the street - the model was hurled back and forth.