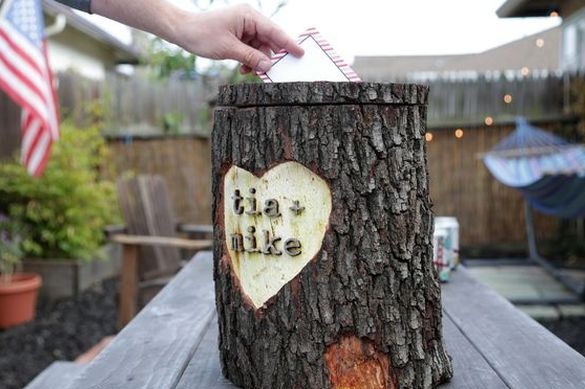
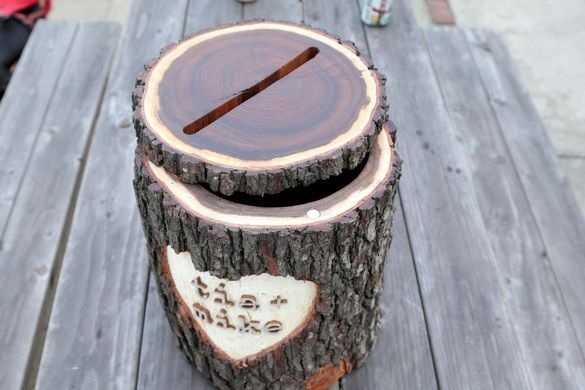
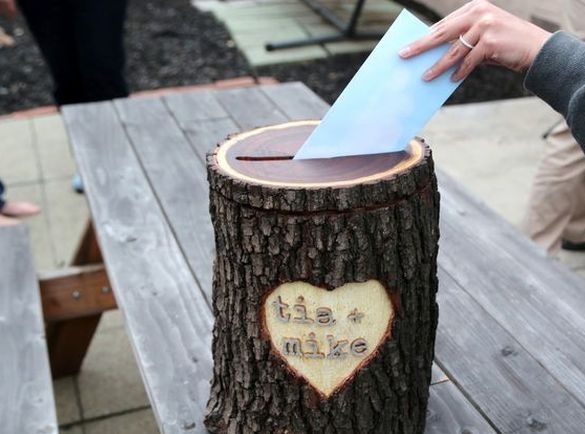
This article will discuss how to make a letterbox out of chocks. The author made a box for gift envelopes, but by the same principle it is possible to make a piggy bank, box and even a birdhouse.
Tools and materials:
-Chock;
-Level;
-A piece of plywood;
-Drill;
-Band-saw;
-Roulette;
-Compass;
-Wedges wooden;
-Strkbtsina;
-Screed;
-Glue;
Milling cutter;
-Sander;
-Wood dowel;
-Thorn dowel;
-Neodymium magnets;
Epoxy resin;
- Danish oil;
-A printer;
-Chisel;
Step One: Harvesting
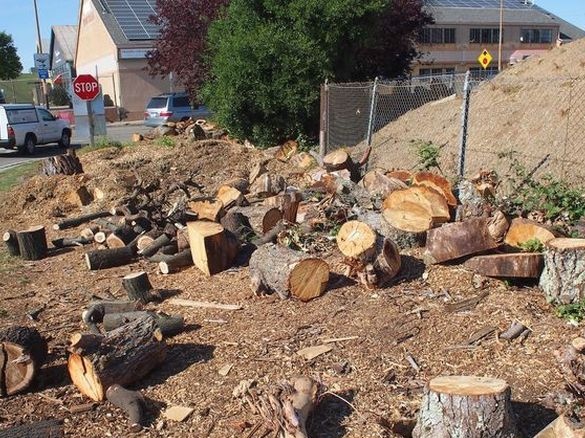
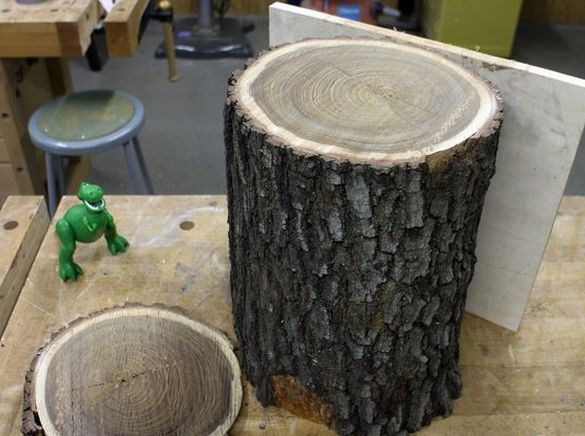
First you need to choose a flat dry chock. According to the author, wood moisture should not exceed 12 percent. Although it is difficult to check the humidity without sawing the chock. Chock height 46 cm, diameter 33 cm.
Step Two: Cutting
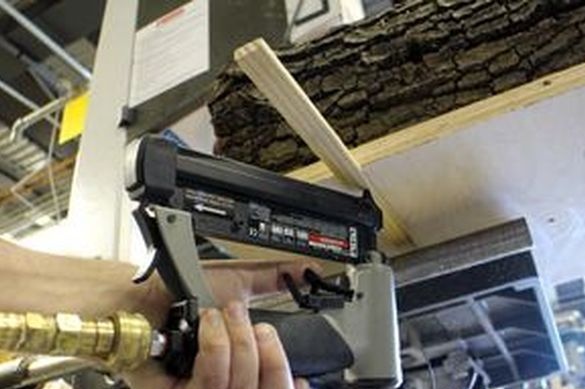
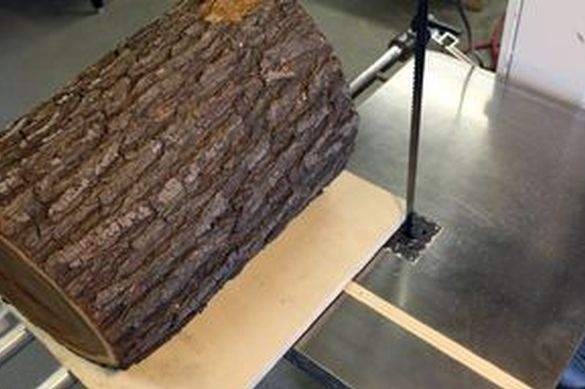
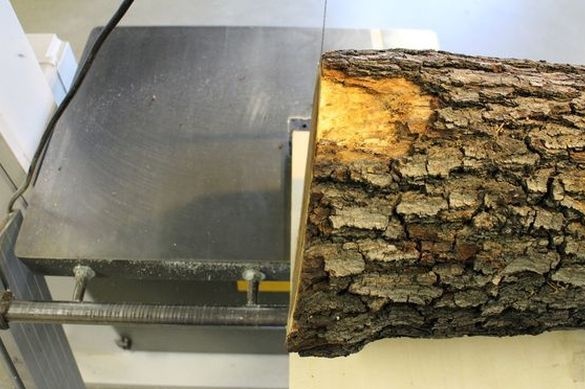
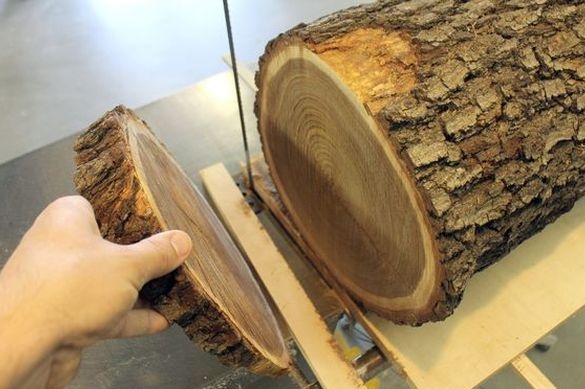
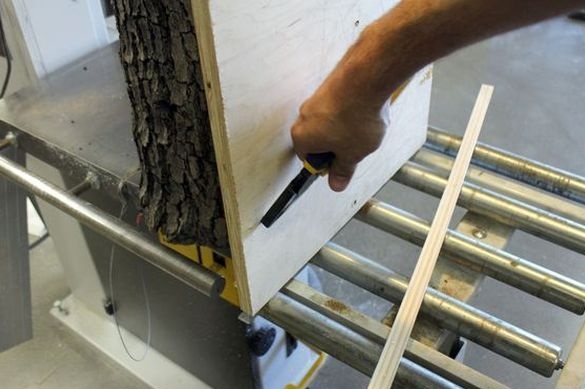
The chocks need to align the ends. For this, the author finds the most even side.
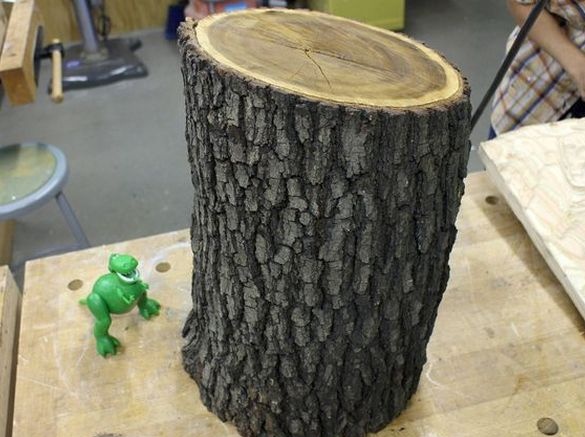
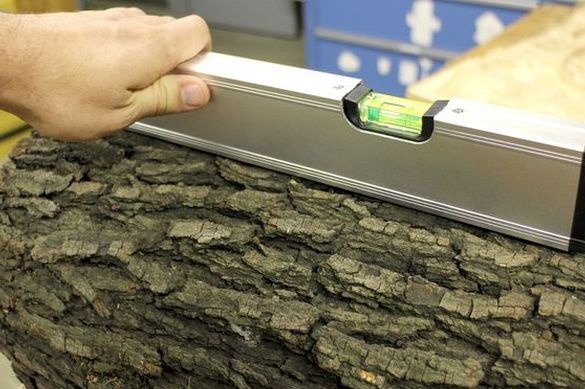
Screws a piece of plywood to it.
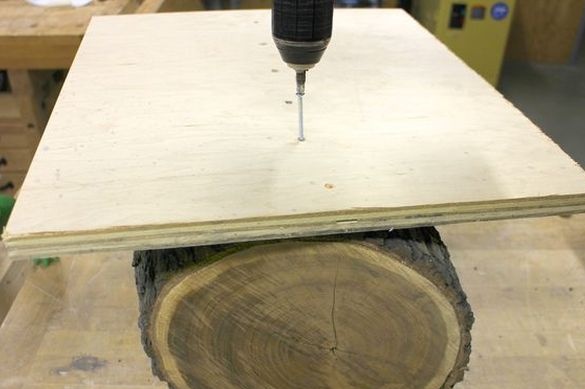
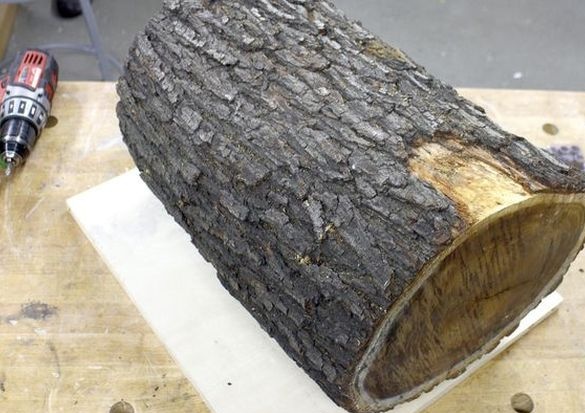
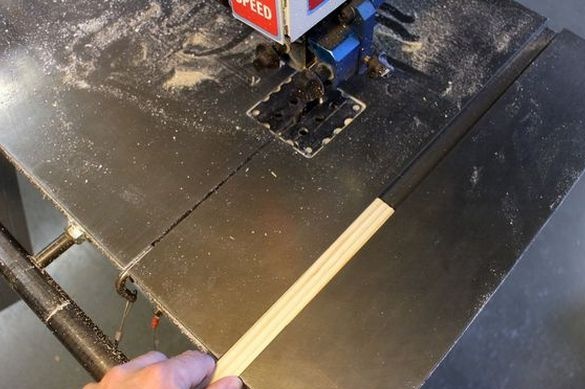
I cut the edges with a band saw. On either side cuts an even saw cut, it will be needed for the lid of the box.
Step Three: Cutout Inside
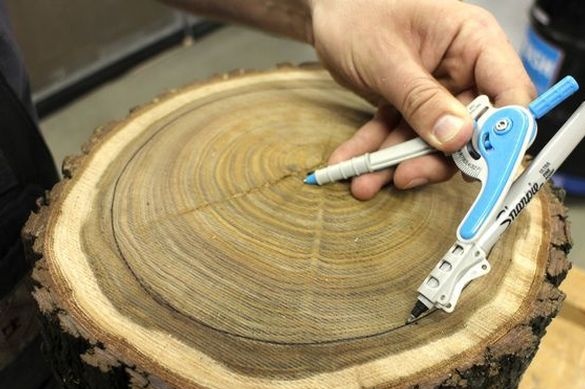
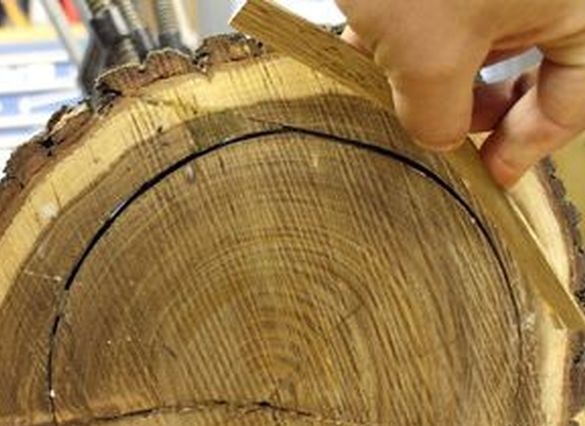
Next, you need to remove the core chocks. A compass draws a circle, stepping back from the edge of 2.5 cm.
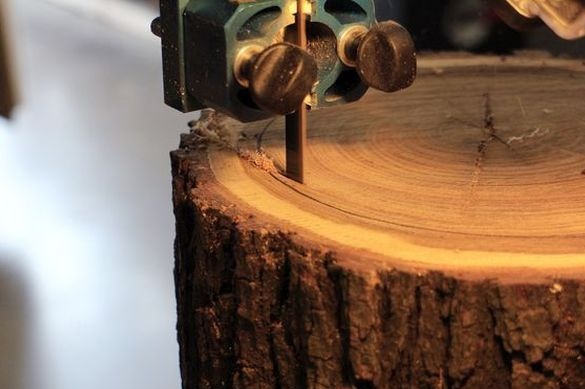
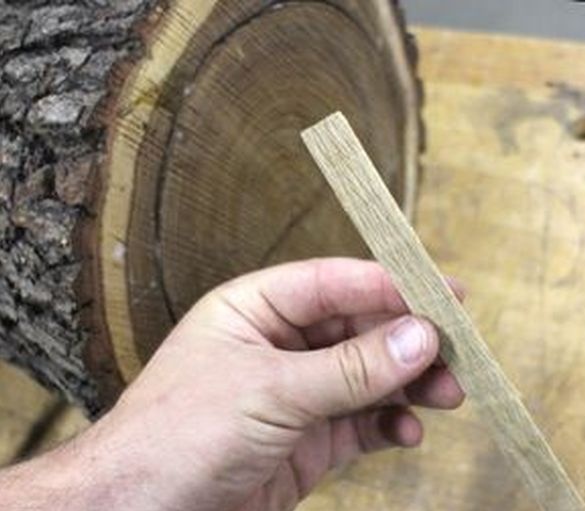
A band saw cuts a core. Whatever the saw does not clamp, inserts wedges.
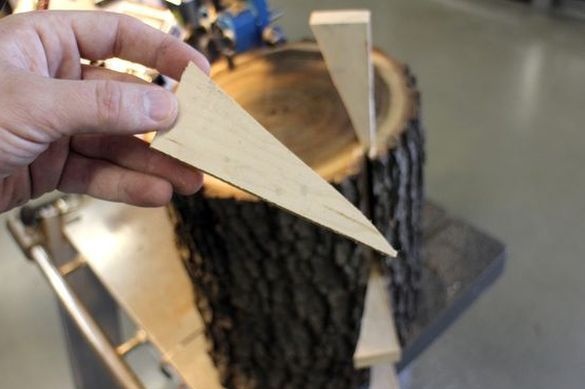
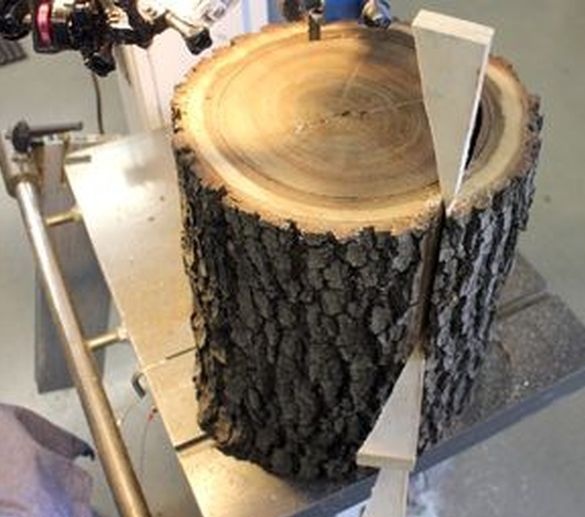
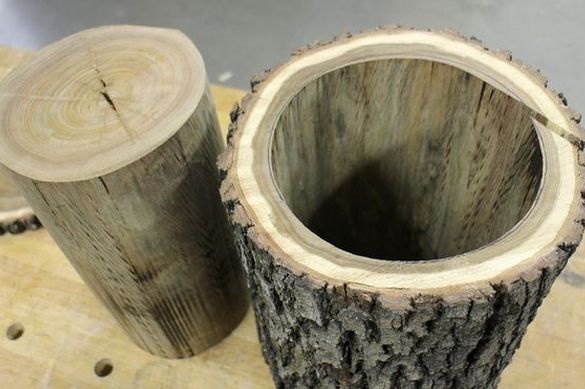
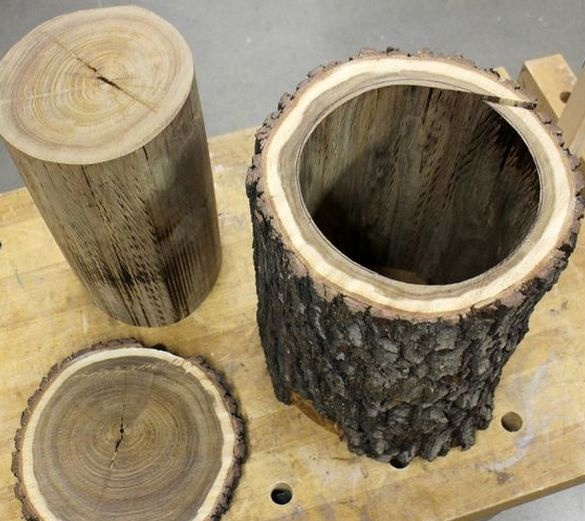
Step Four: Gluing
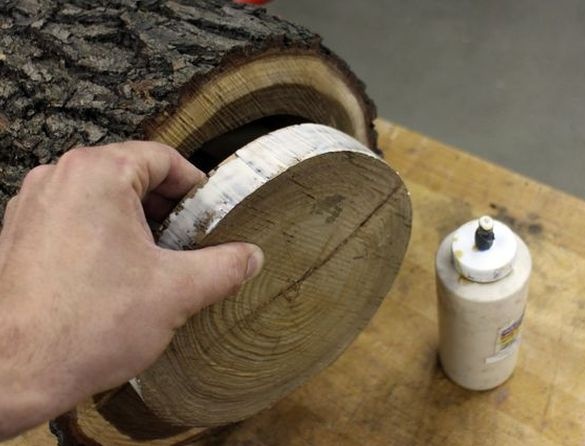
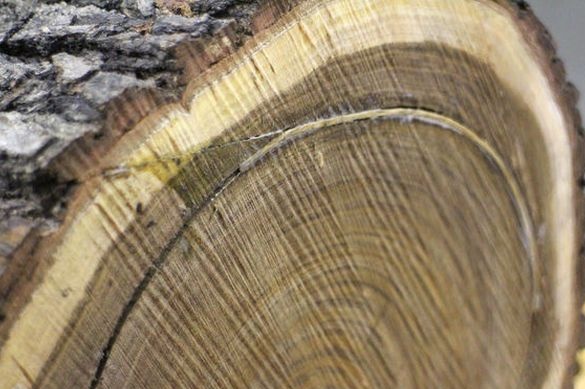
After removal of the core, glues the edges of the incision. Apply glue to the edges, tighten with straps and a clamp. Leaves to dry for a day.
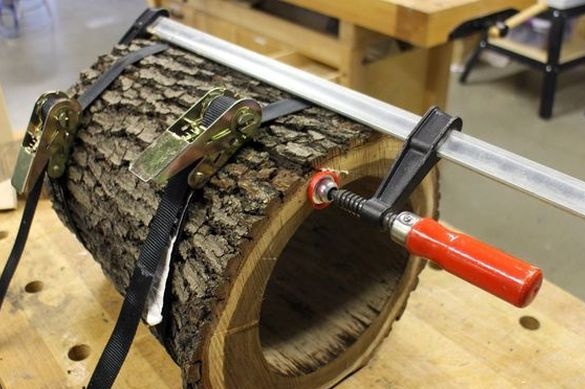
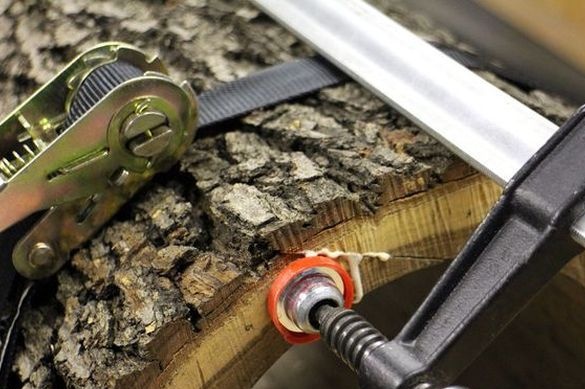
Step Five: Bottom
Makes a cut from the core.
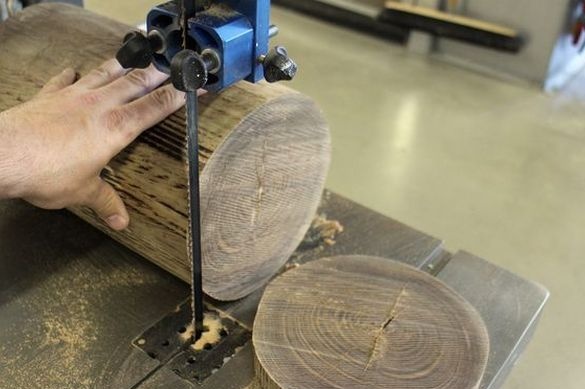
Glues a cut into the bottom of the drawer.
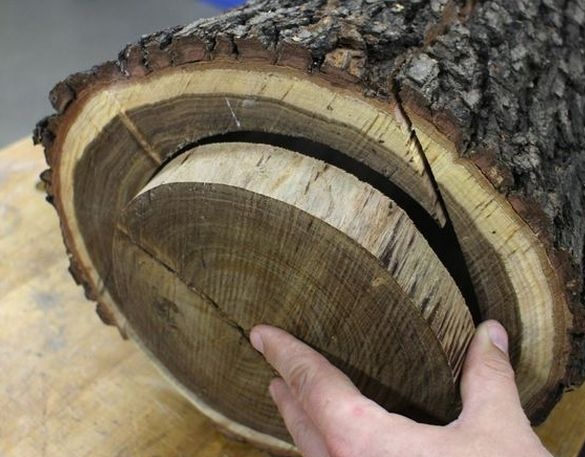
Step Six: Grinding
The next step is polishing the inside of the box.
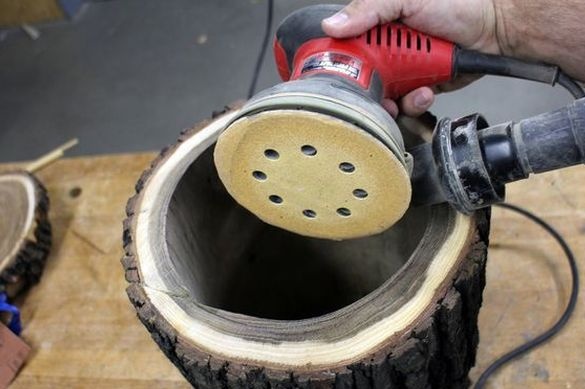
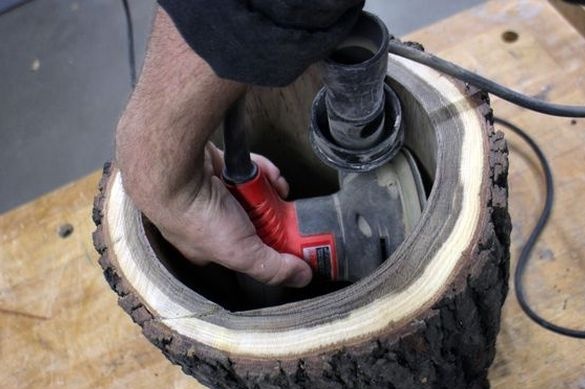
Seventh step: cover
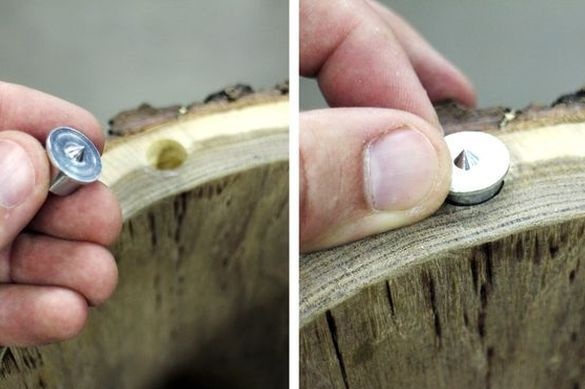
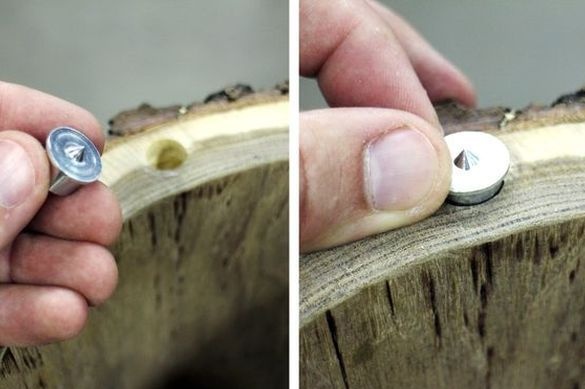
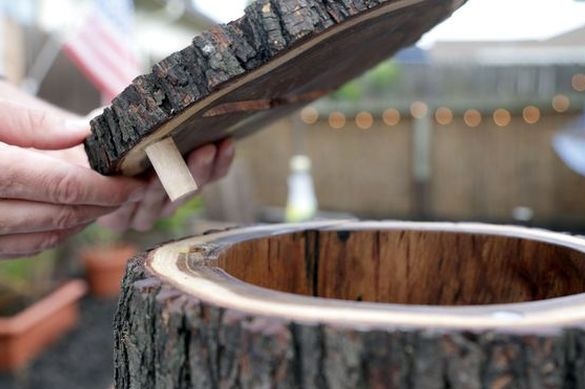
Next, you need to install the cover. Attaches a wooden dowel to the end part and encircles it.
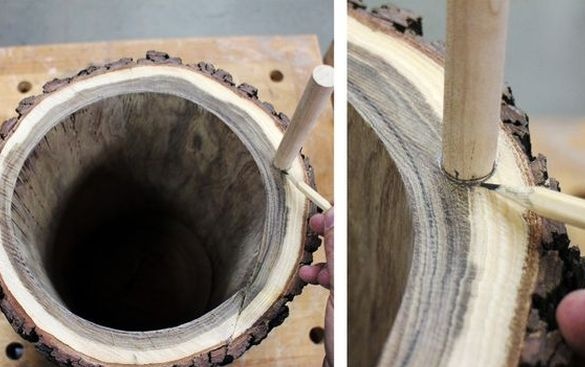
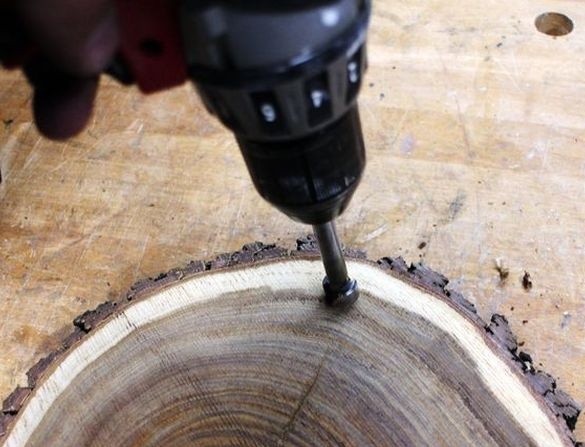
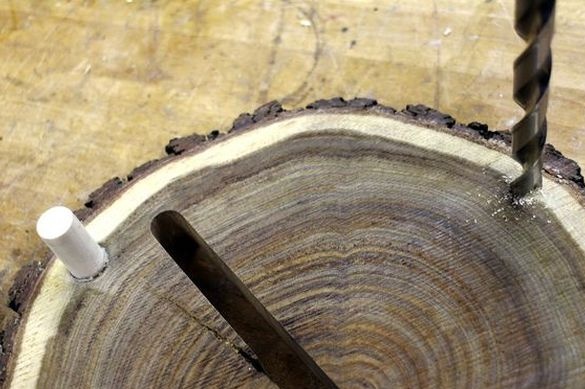
Drills a hole.
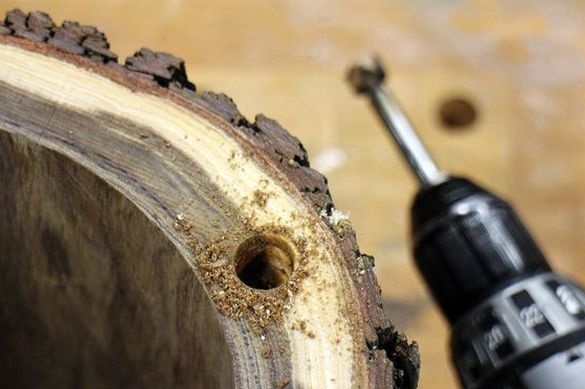
Now you need to outline where to make a hole in the lid. Installs the dowel-thorn, spike up, into the hole and from above installs the cover. Now the lid should be pricked from the spike.
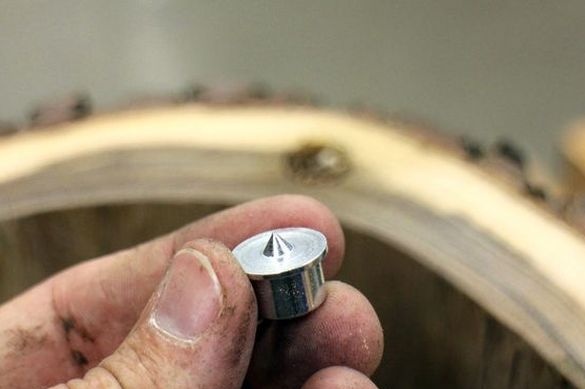
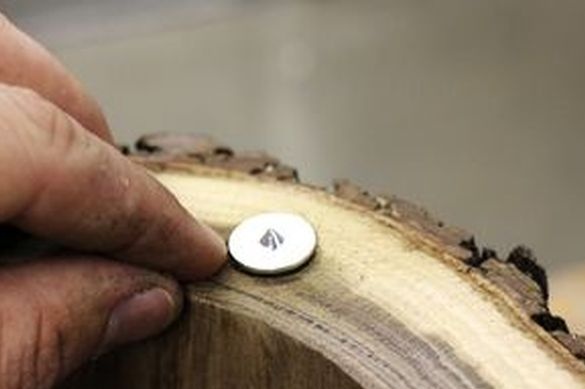
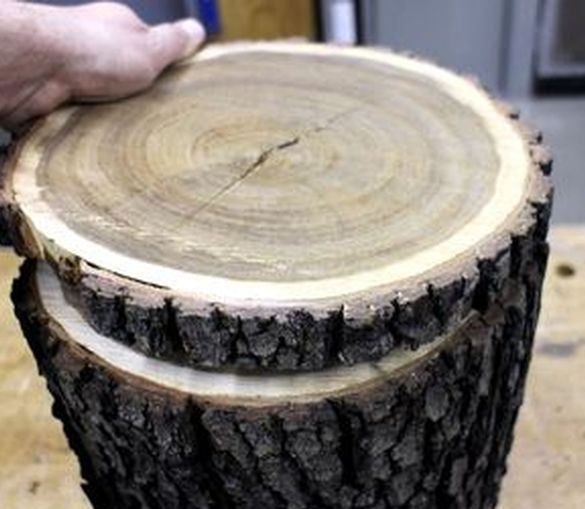
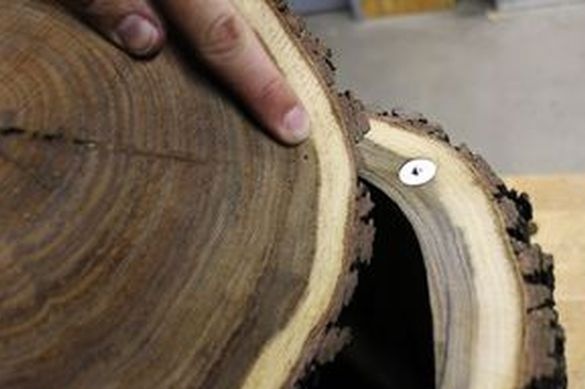
Drills a hole in the lid.
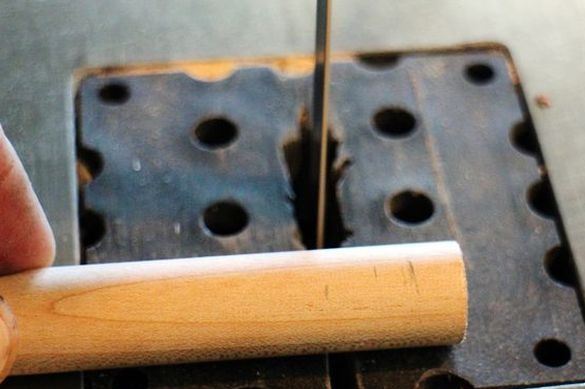
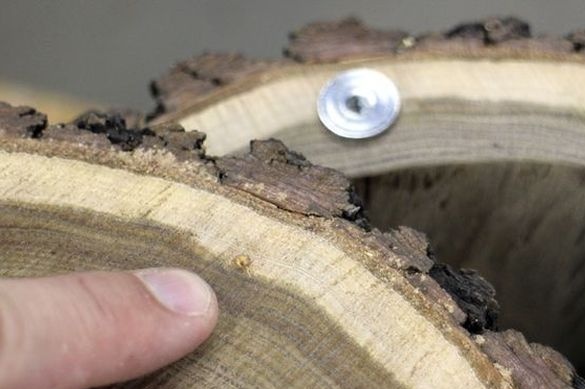
Slices a piece of the dowel. Inserts it into the hole.
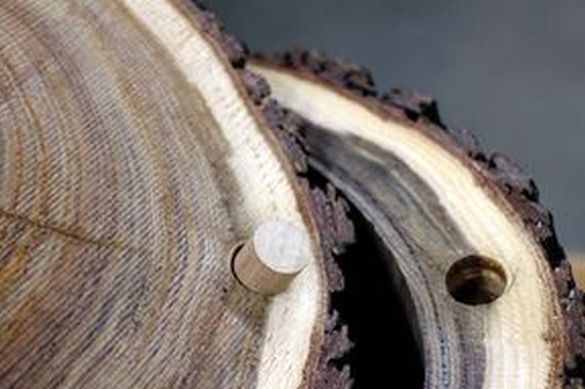
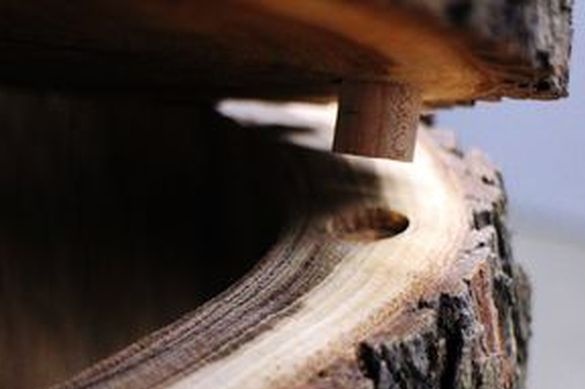
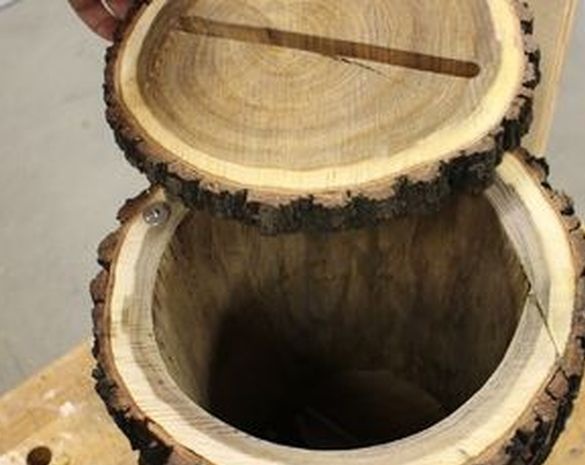
Now the lid is easy to open.
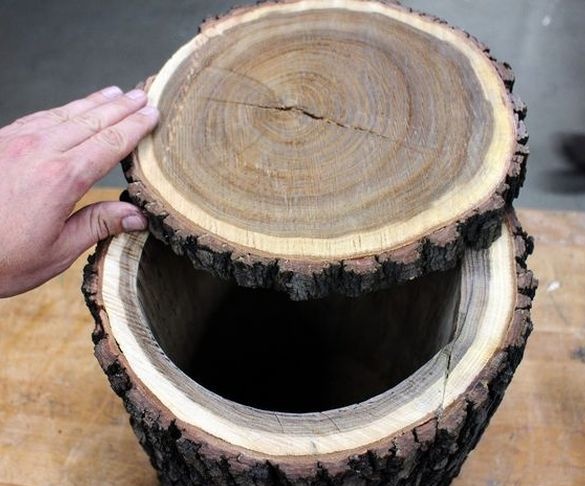
Step Eight: Slot
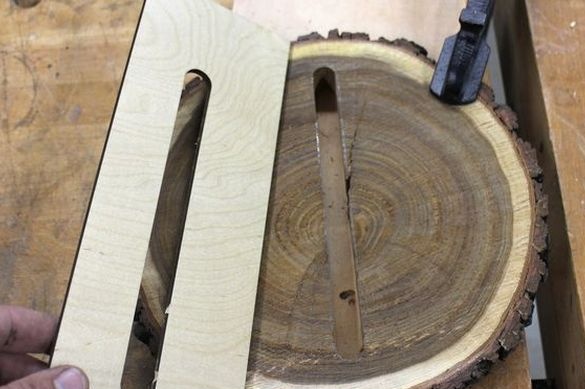
It makes a slot pattern from plywood.
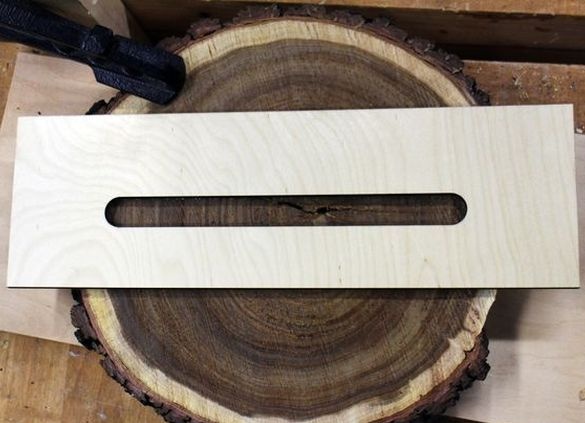
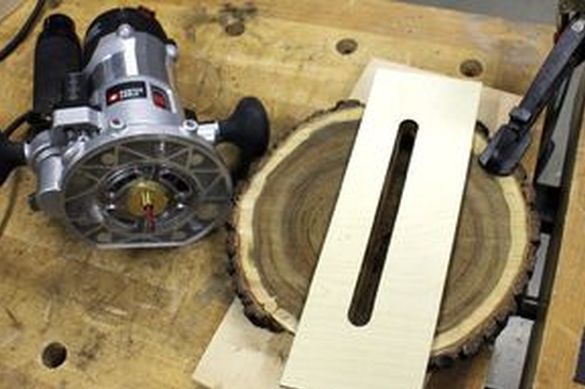
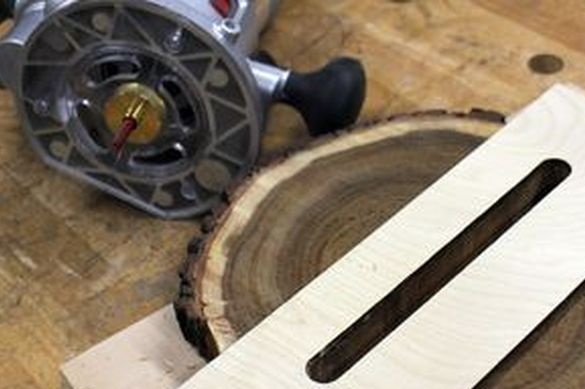
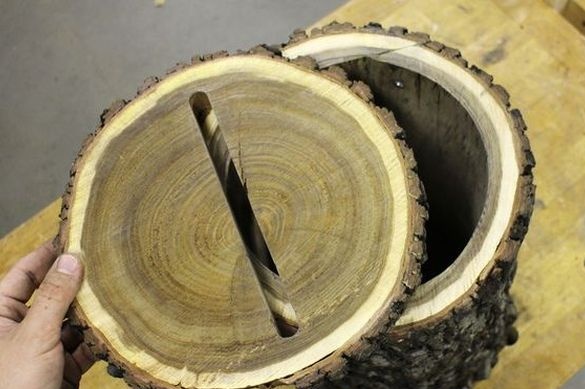
According to the template makes a slot in the lid.
Step Nine: Magnet
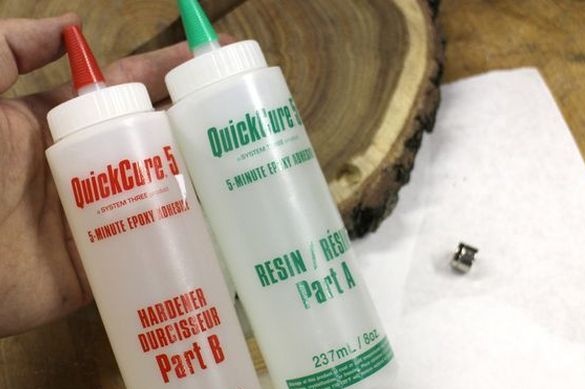
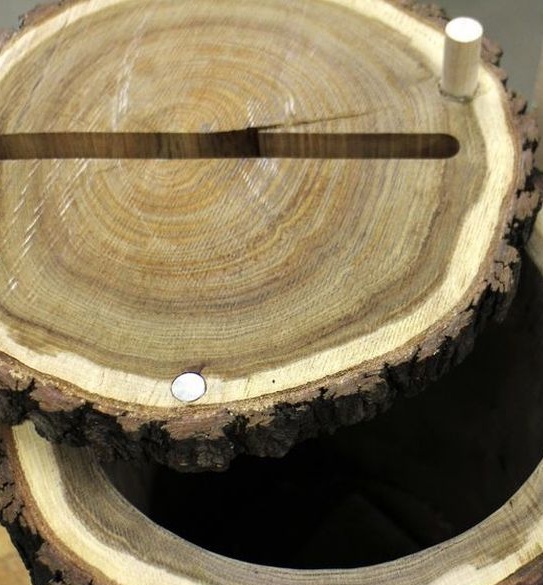
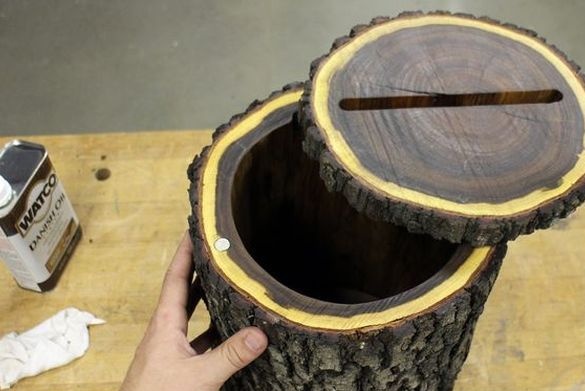
Adds a lock to the cover.The role of the castle will be played by two neodymium magnets. One magnet installs another in the housing cover.
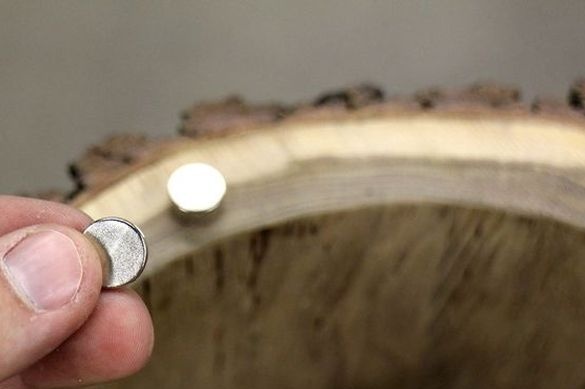
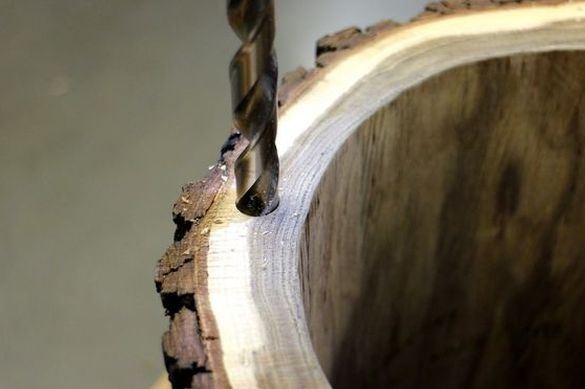
Fixes magnets with glue.
Step Ten: Oil Coating
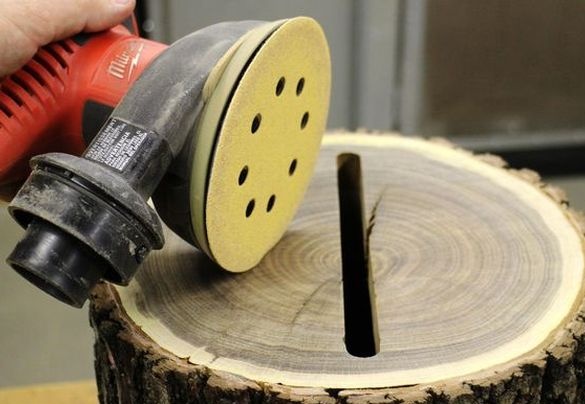
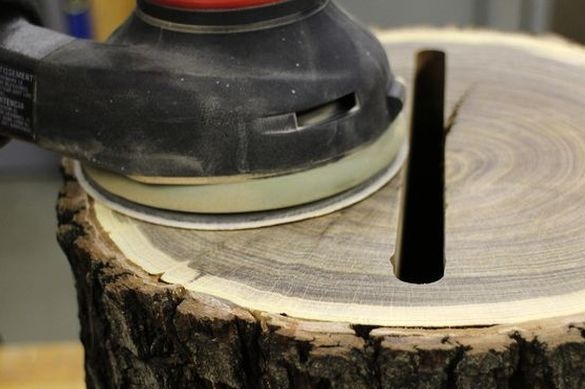
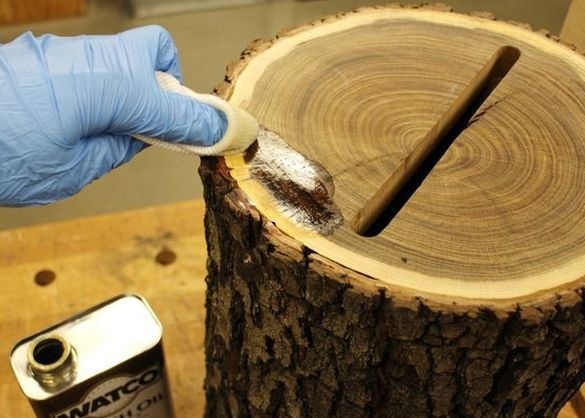
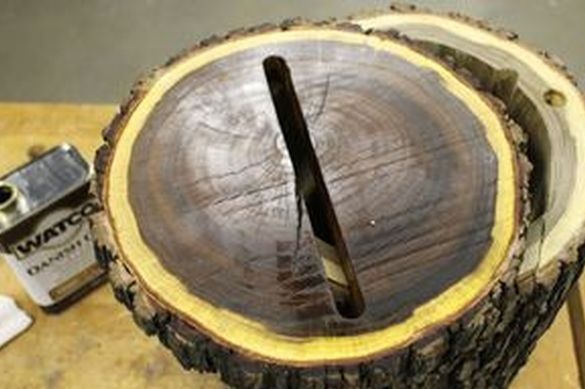
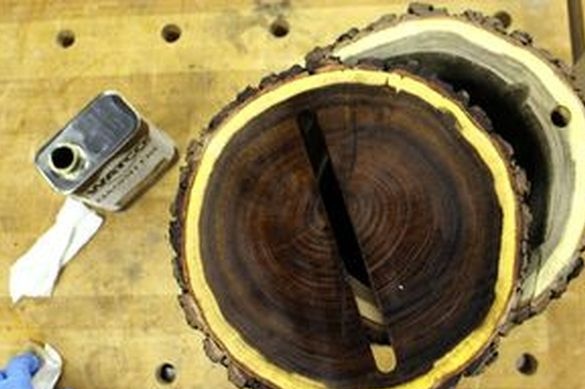
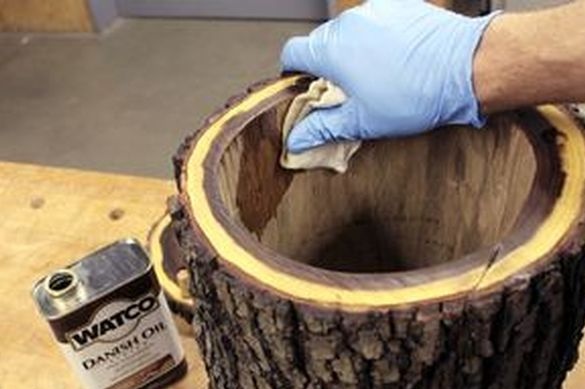
Grinds the lid and covers with Danish oil.
Step eleven: the inscription
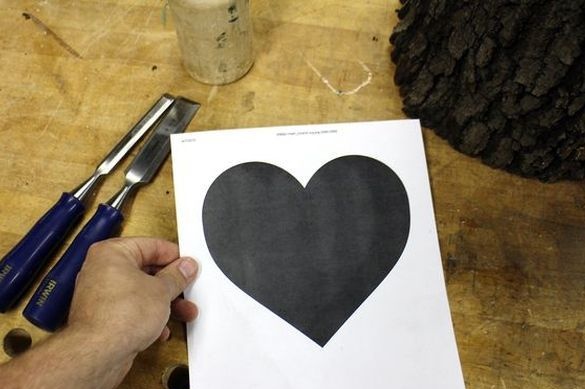
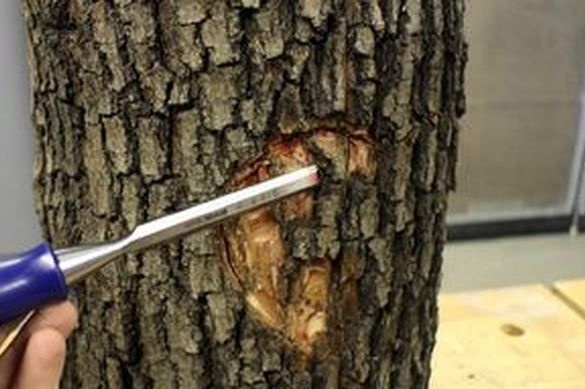
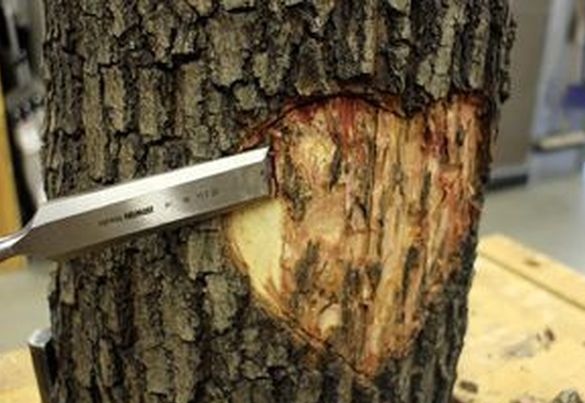
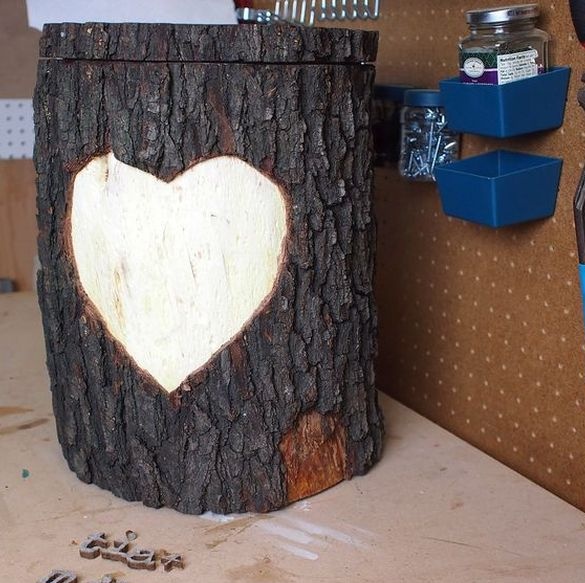
The printer prints a drawing of the heart. Glues it to the drawer. A chisel cuts through the contour. It removes the bark according to the drawing.
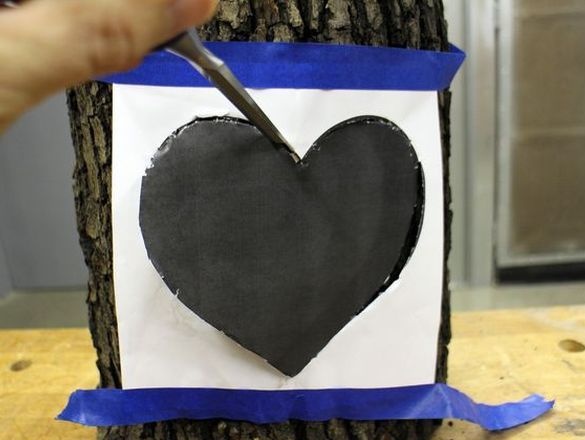
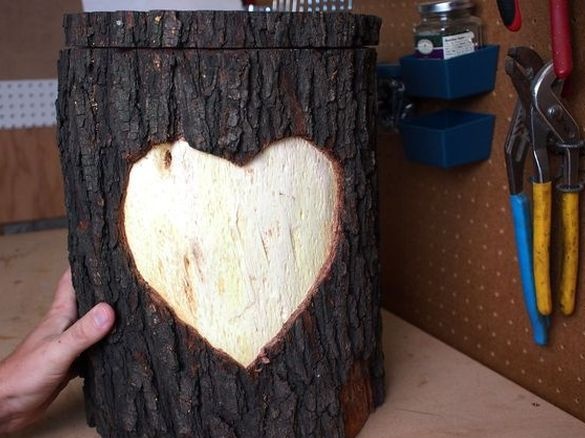
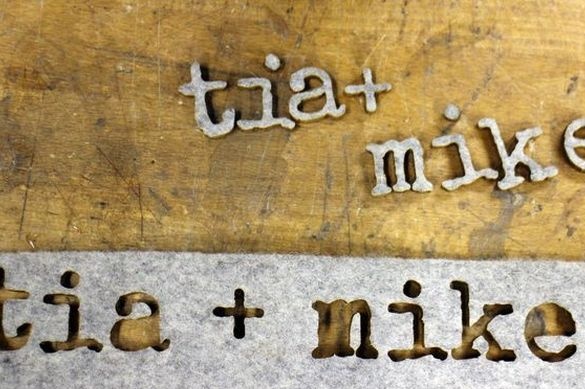
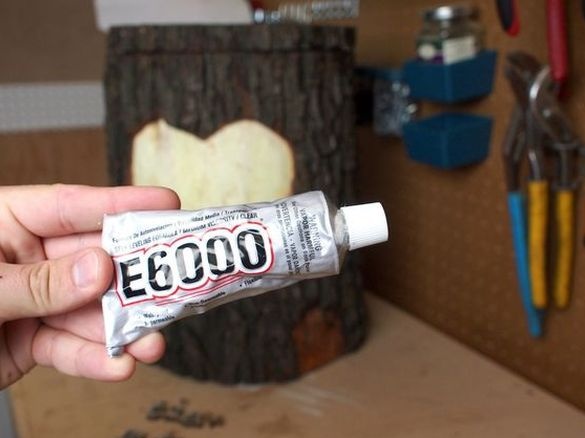
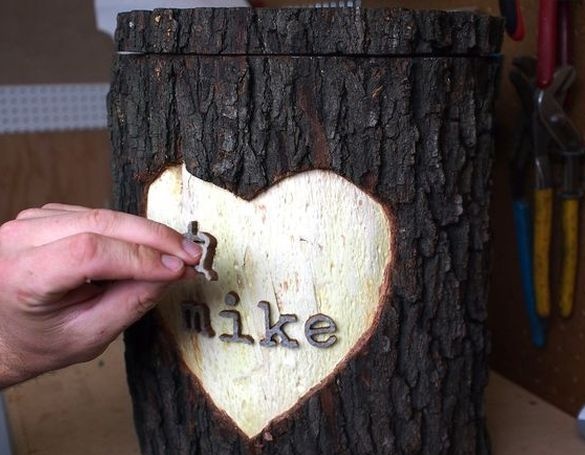
The author cut out the letters on a CNC machine. Glues them into the contour of the heart.
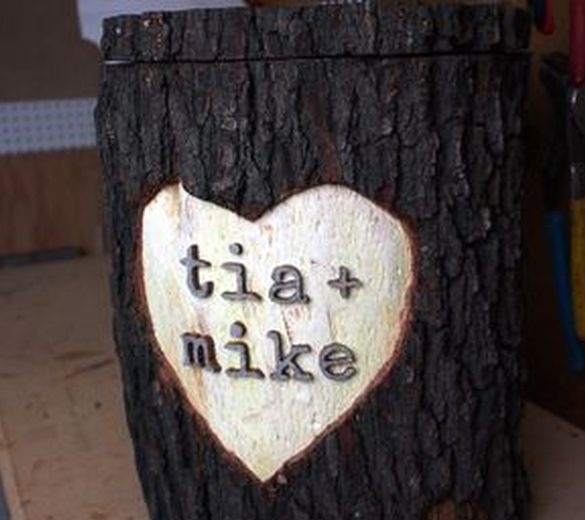
The letterbox is ready.
Also the weight manufacturing process can be seen in the video.
