
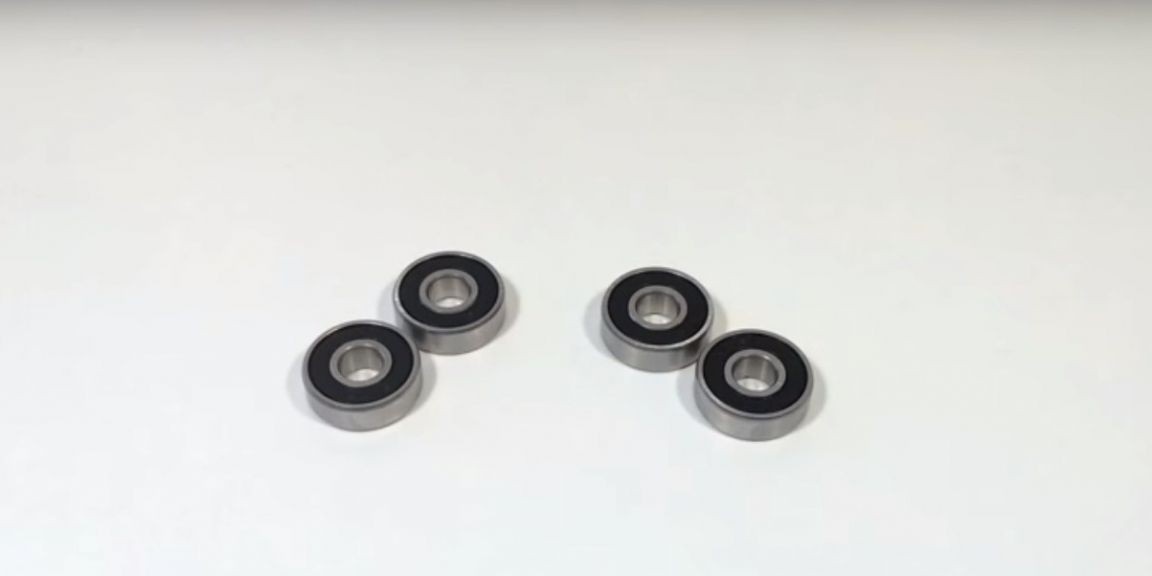
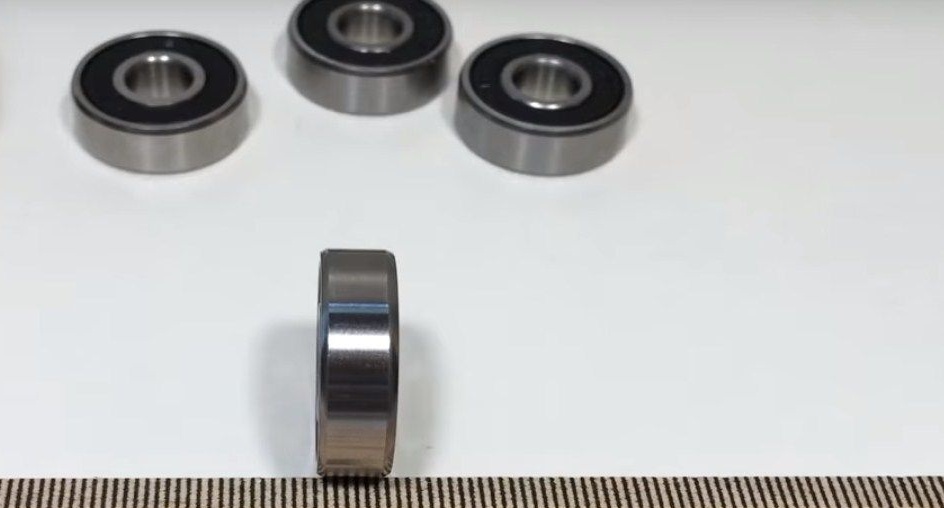
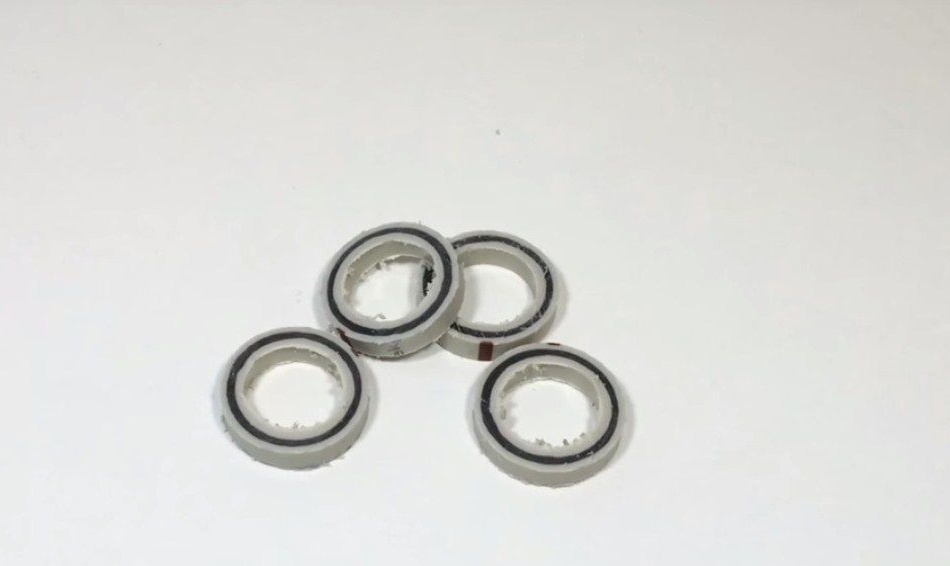
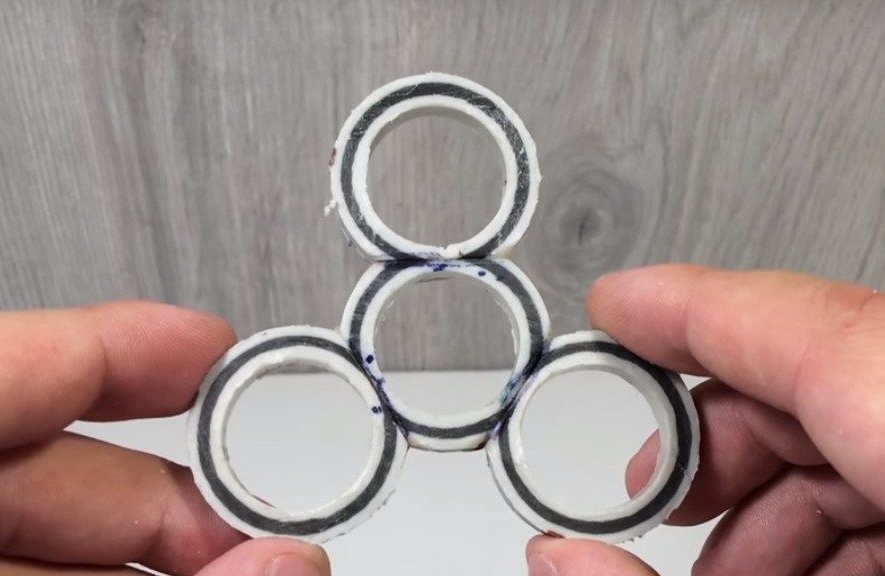
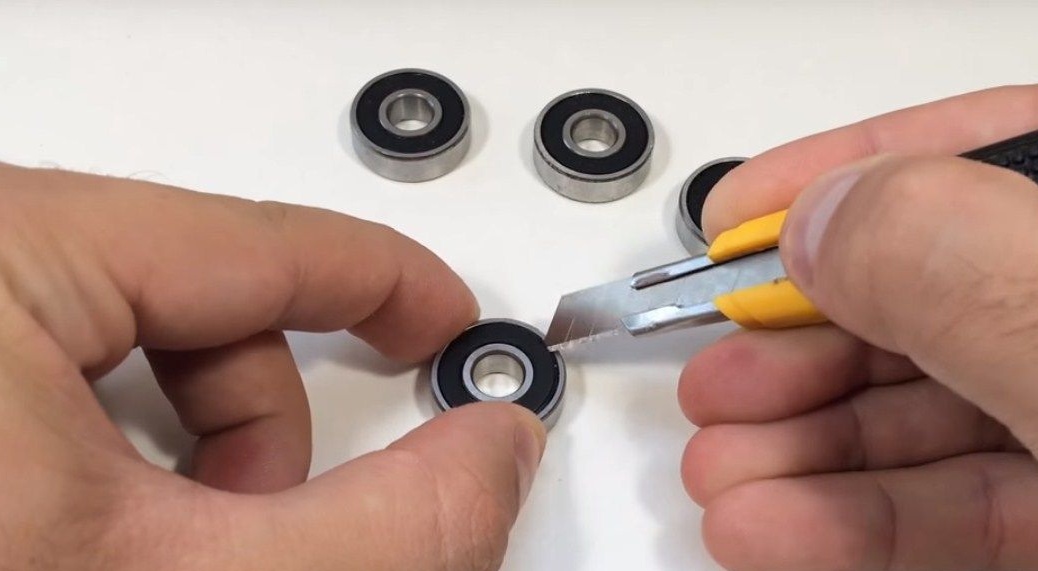
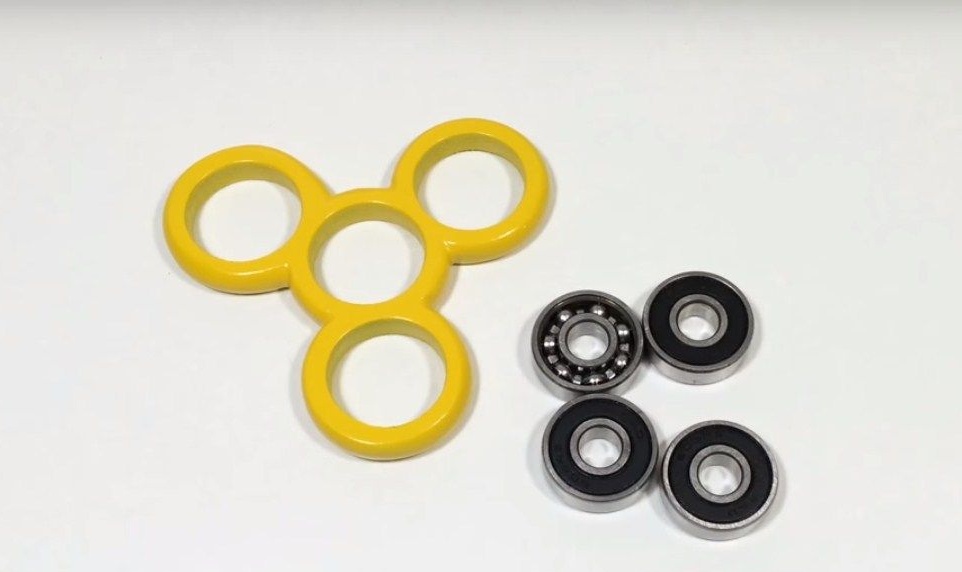
Good time to all. Today, the author of this video will show how you can make a spinner almost for free. To do this, he will need four bearings. (They can be taken from a non-working power tool such as a angle grinder, jigsaw, or drill.) One will be in the center as expected, and three will simply serve to weight the spinner and they can be replaced with nuts of the same outer diameter of 32 mm)
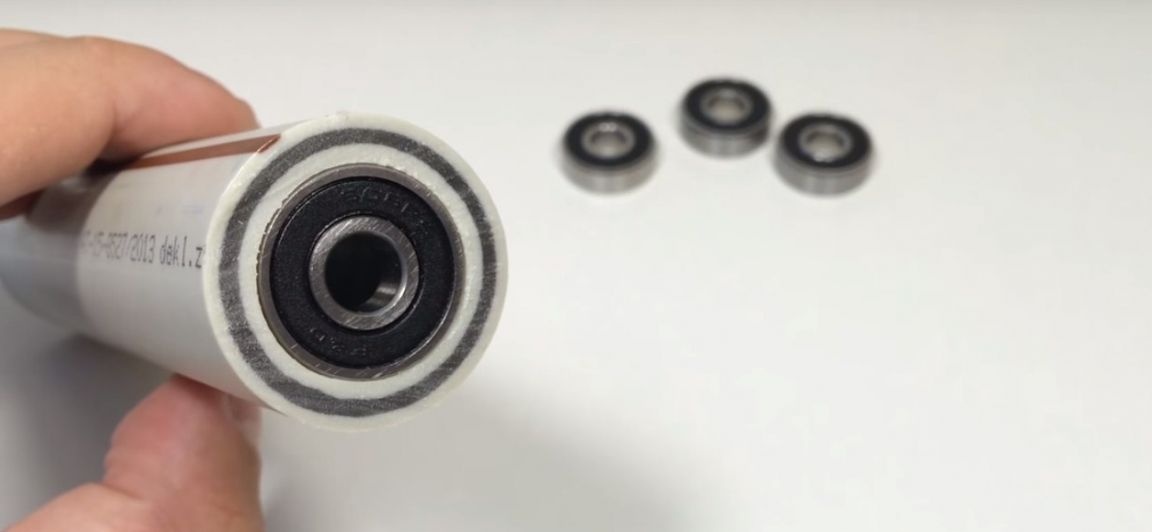
The author will make the case for the spinner from a piece of PVC pipe
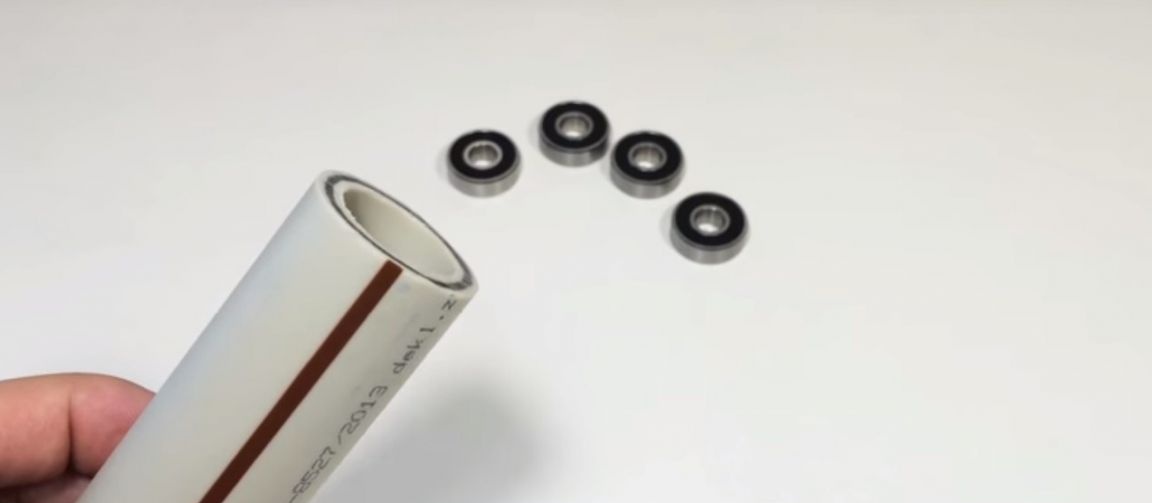
with an inner diameter of 22 mm.
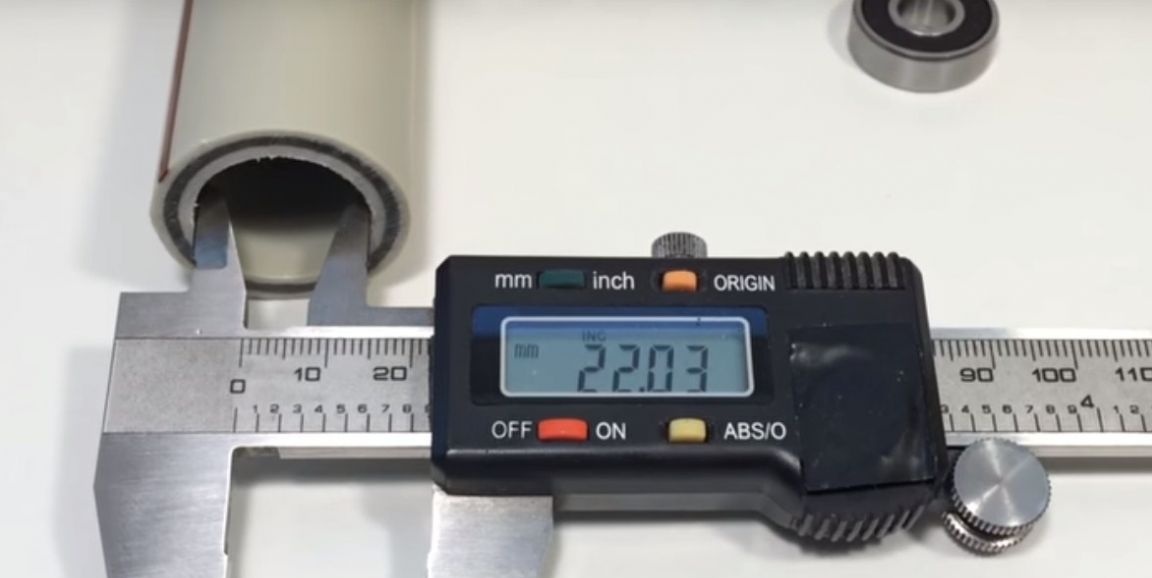
Bearings fit perfectly.
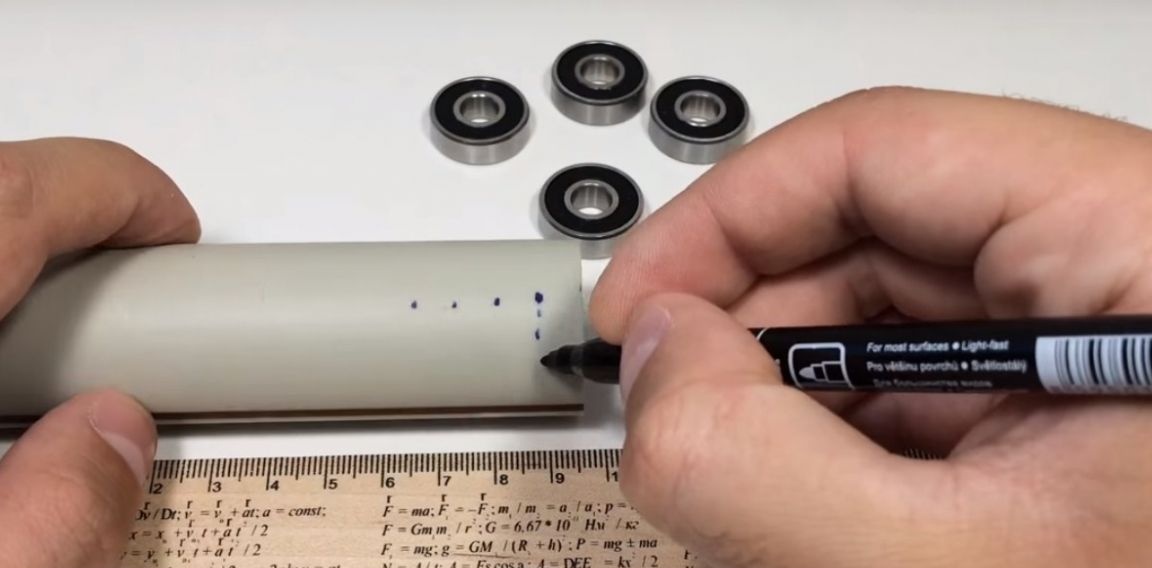
From the beginning, the author measured the width of the bearing,
then he transferred the dimensions to the PVC pipe.
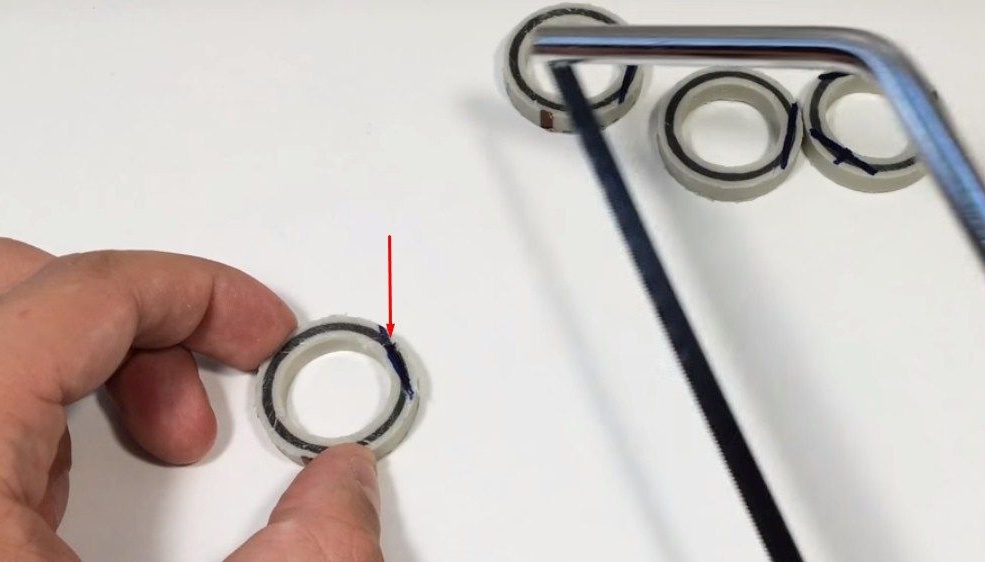
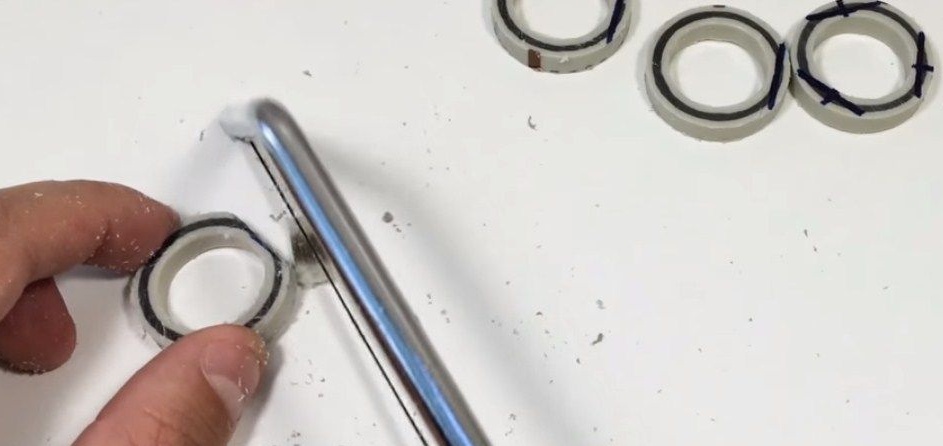
And by marks with a metal file,
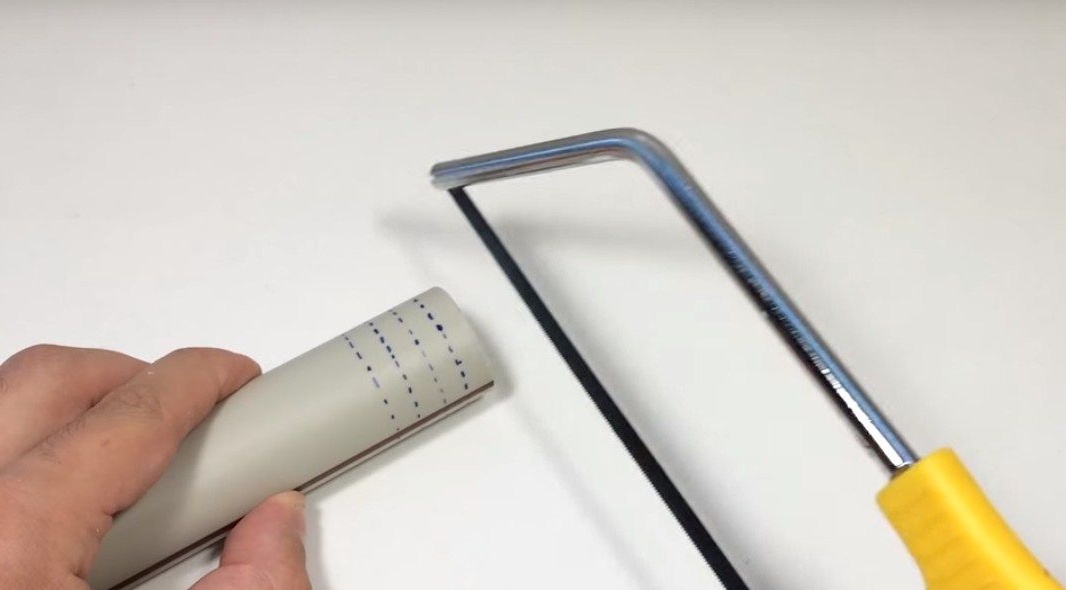
cut off four rings from the pipe.
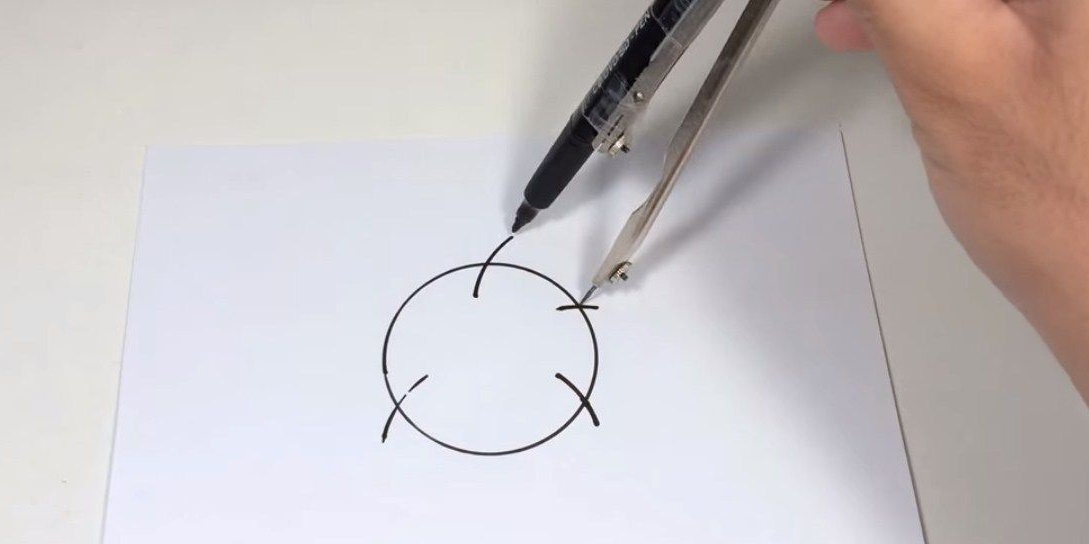
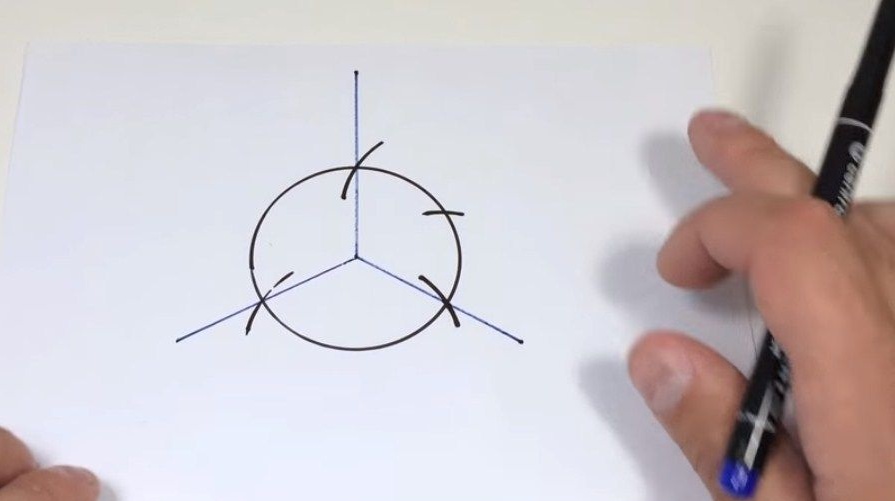
Then, on a piece of plain paper, the author, using a compass, drew a circle, and divided it into three equal parts.
Then he took one of the rings cut off from the pipe, put it in the center of the drawn circle and made marks on the ring.
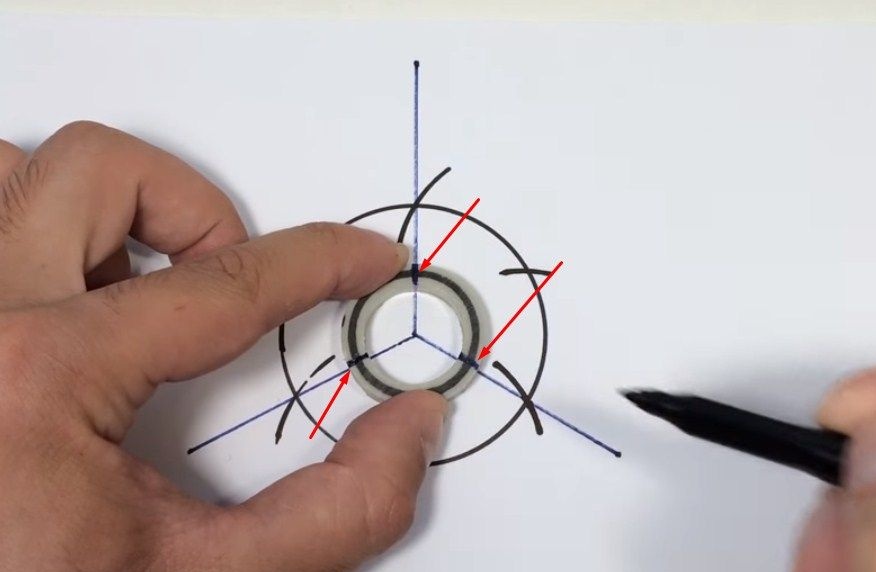
According to these marks, the author will not make big flats, there will be three on one ring,
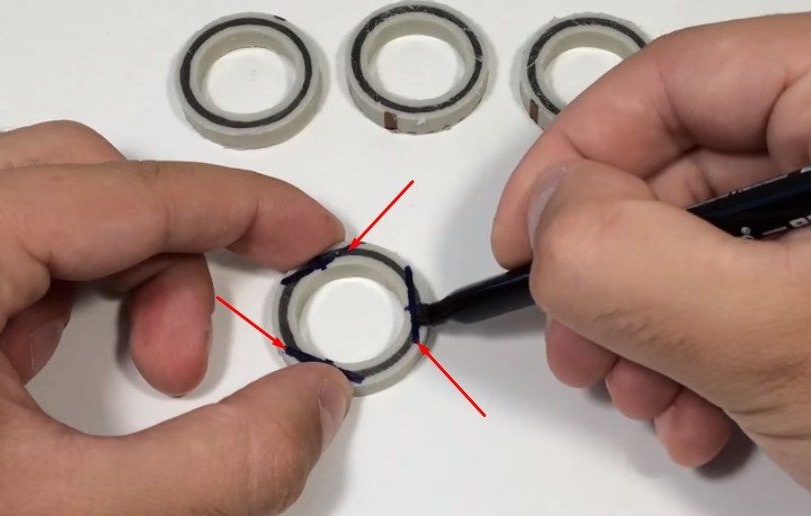
and the rest one at a time.
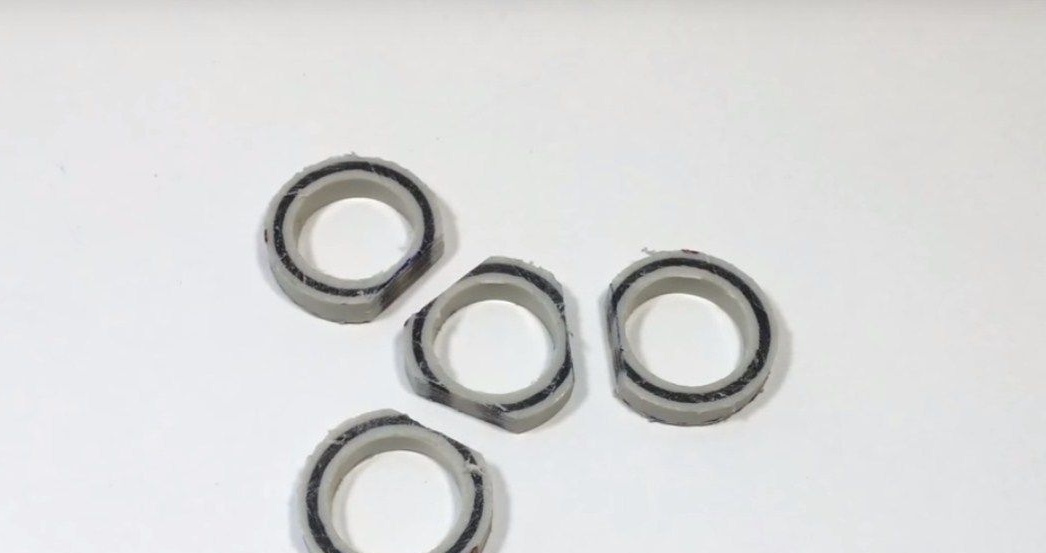
This is how the flats look.
Then the author with a lighter heated the places where he was doing flats on the rings,
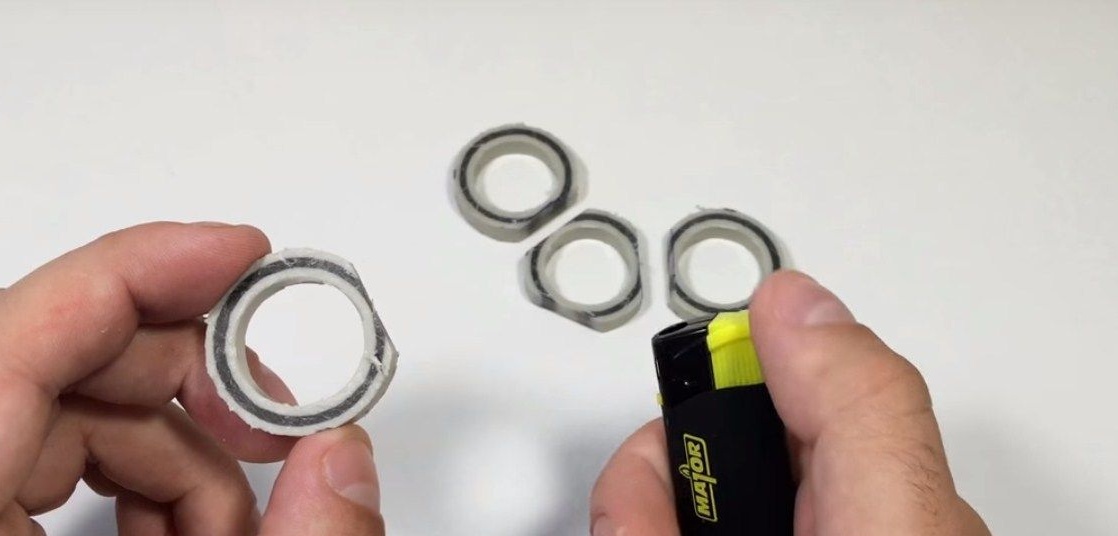
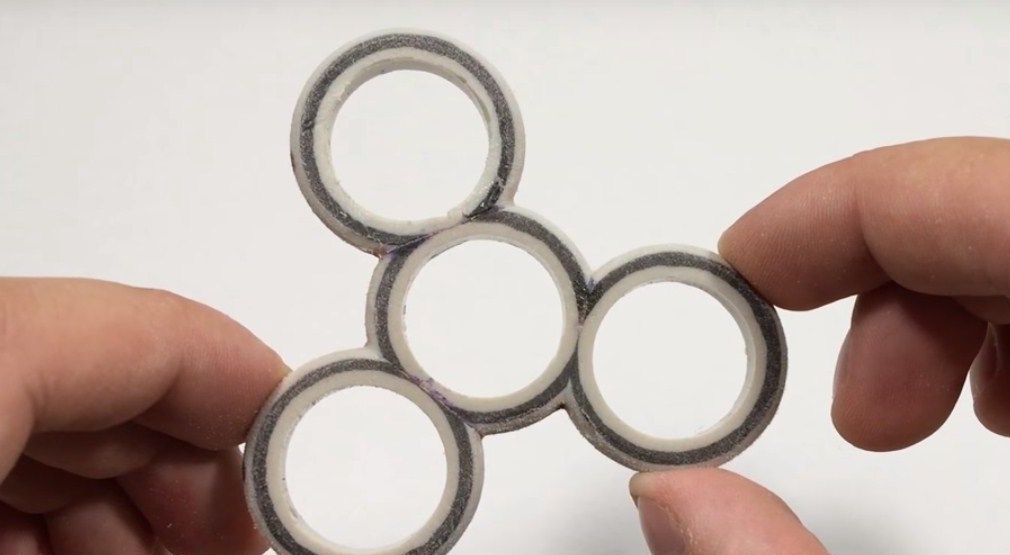
and soldered them together, a ring with three flats should be in the center.
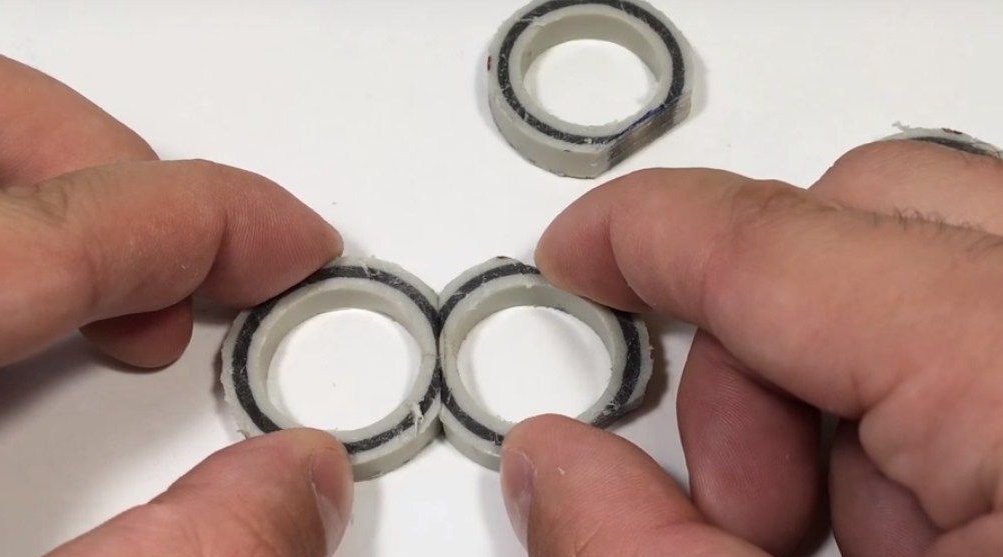
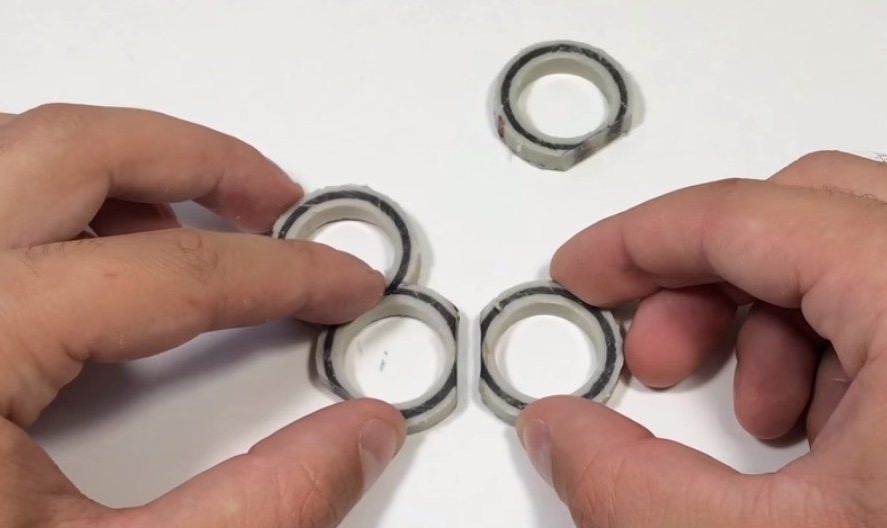
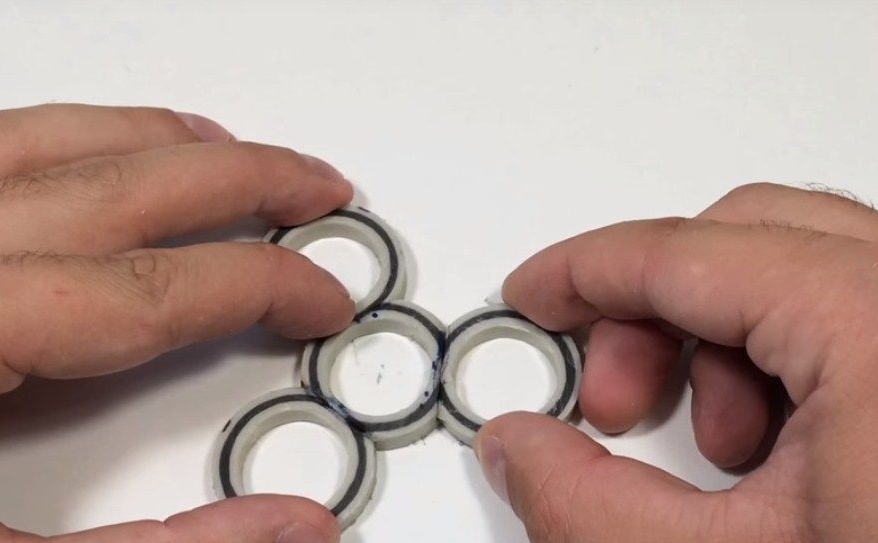
This is how it happened with the author.
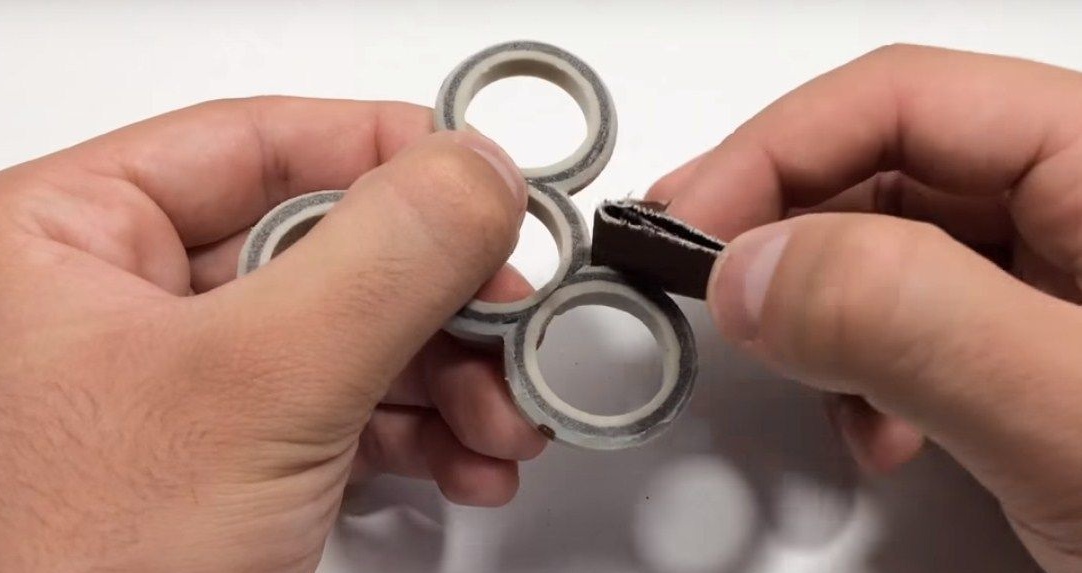
Then he took sandpaper,
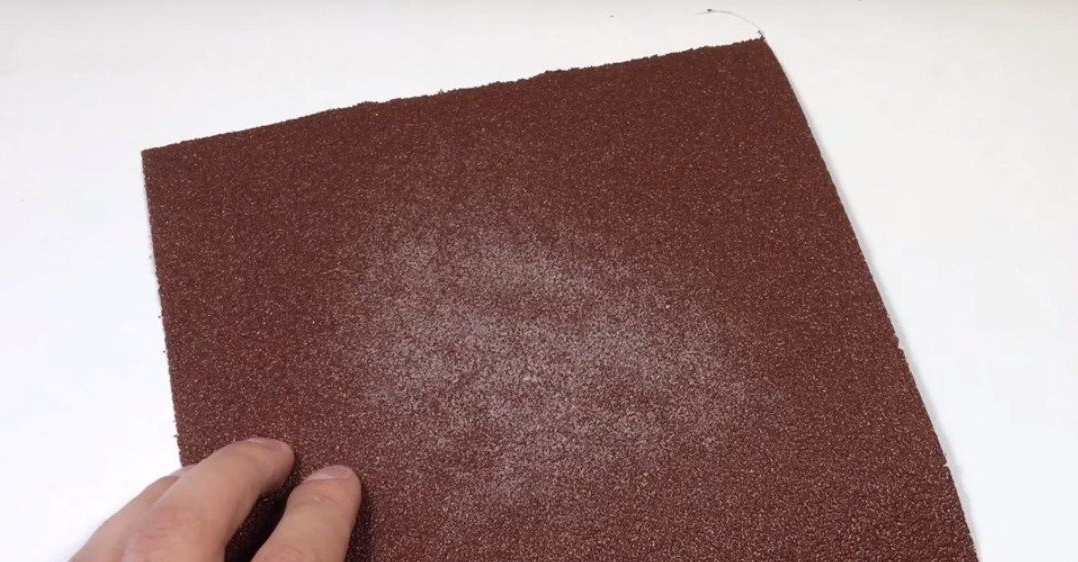
and grinded out all the bumps and roughness on the spinner body.
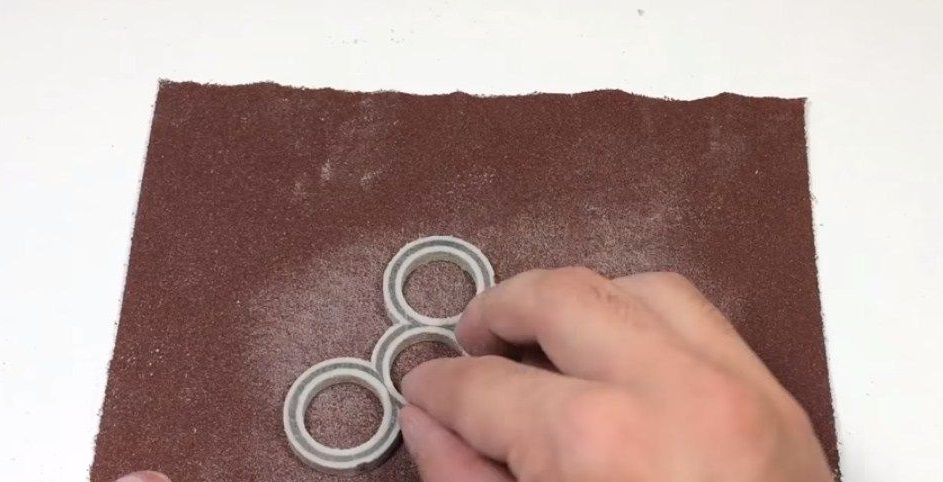
This is how the spinner body looks after processing.
Then the author took the paint,
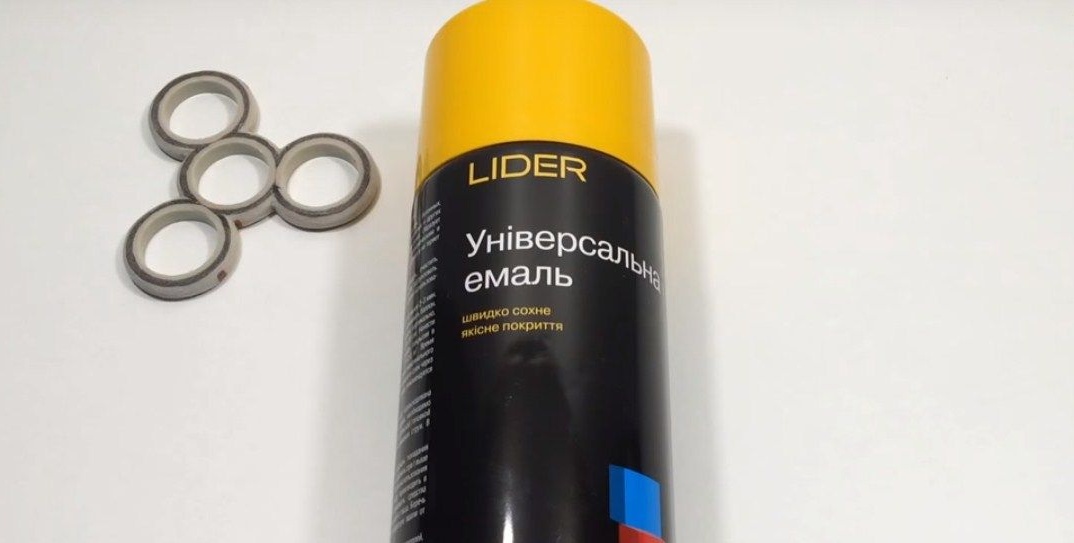
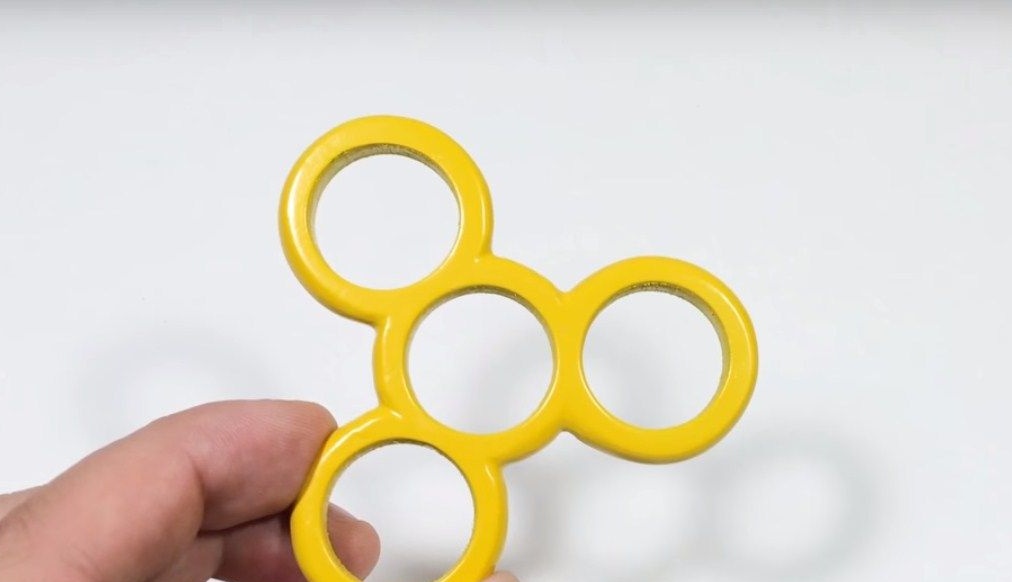
and painted the body.
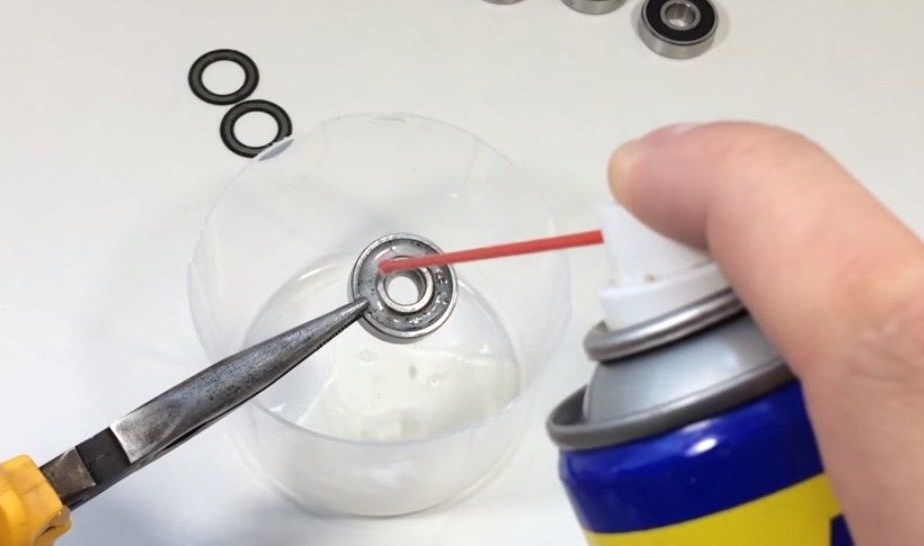
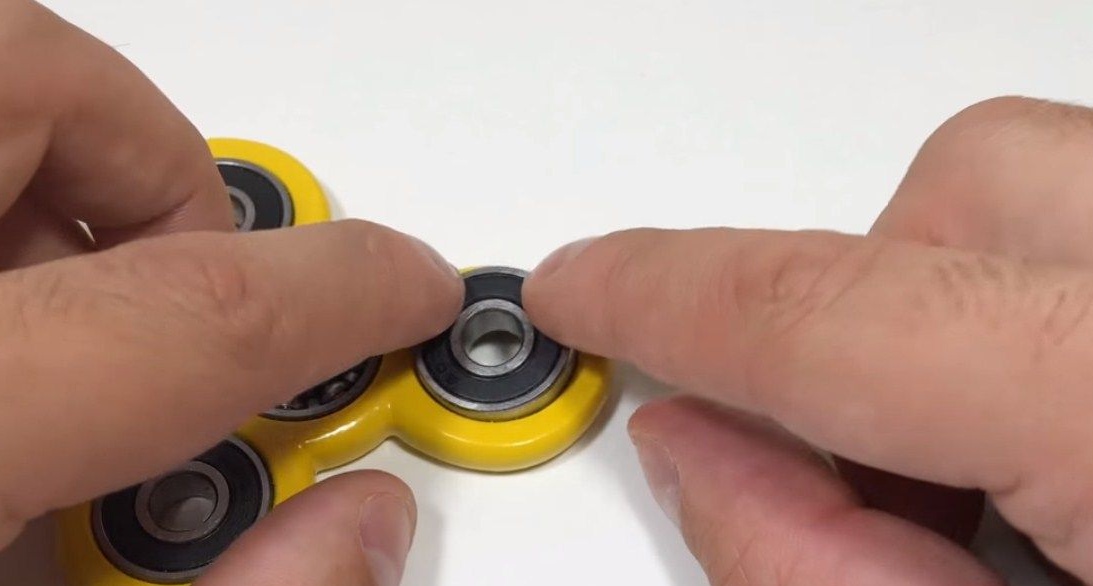
Then he removed the anthers from one bearing

and washed it well with grease using the WD-40. (He did this for a longer rotation.)
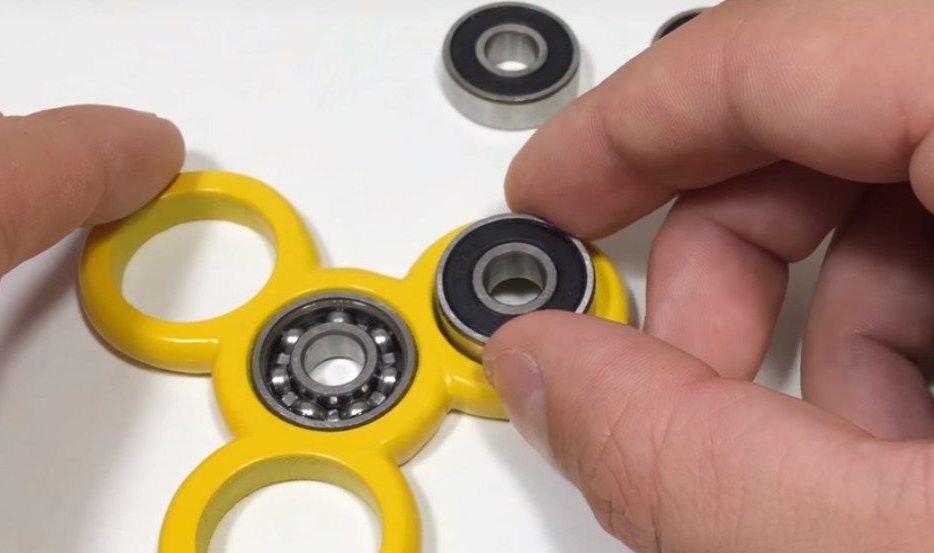
Then the author installed the washed bearing in the center ring of the housing,
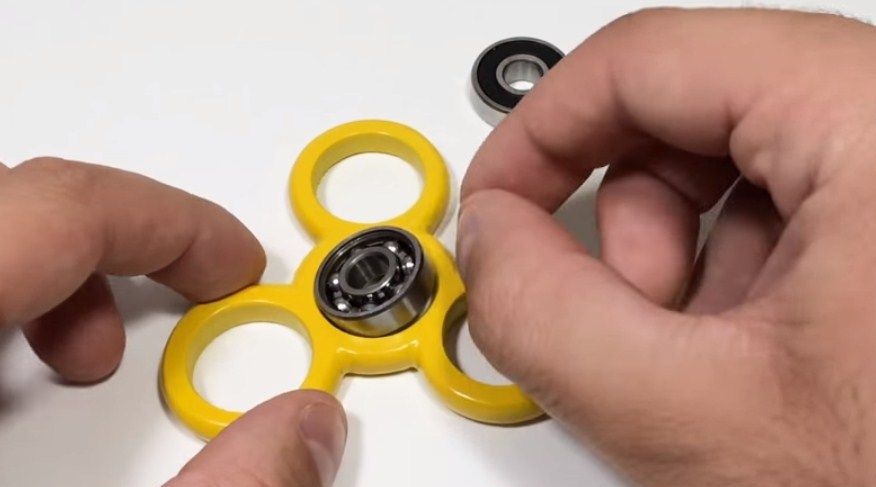
and the rest in the outer rings of the body.
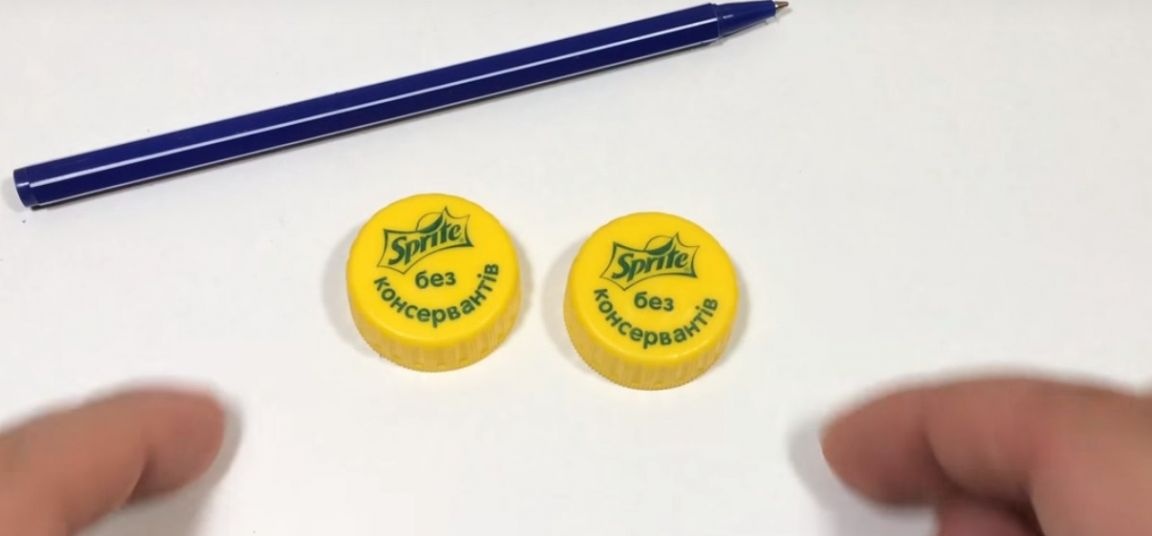
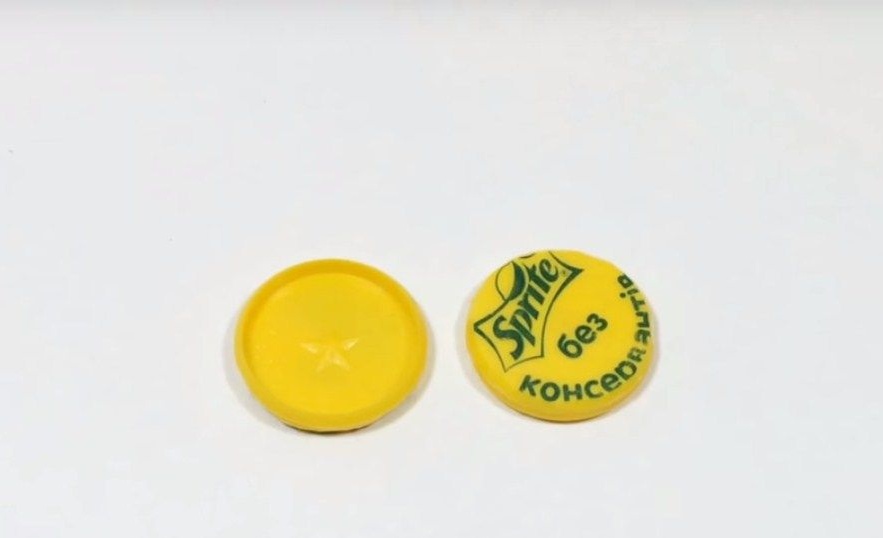
Further, the author proceeded to the manufacture of central bearing plugs. (They will serve as a convenient holding of the spinner in the hand, and with them it looks much more neat and prettier.) To do this, he took two corks from plastic bottles and a casing from an old ballpoint pen (the thickness of the casing should fit tightly into the central bearing) .
From the handle he cut off two little rings approximately 2.5 mm wide each.
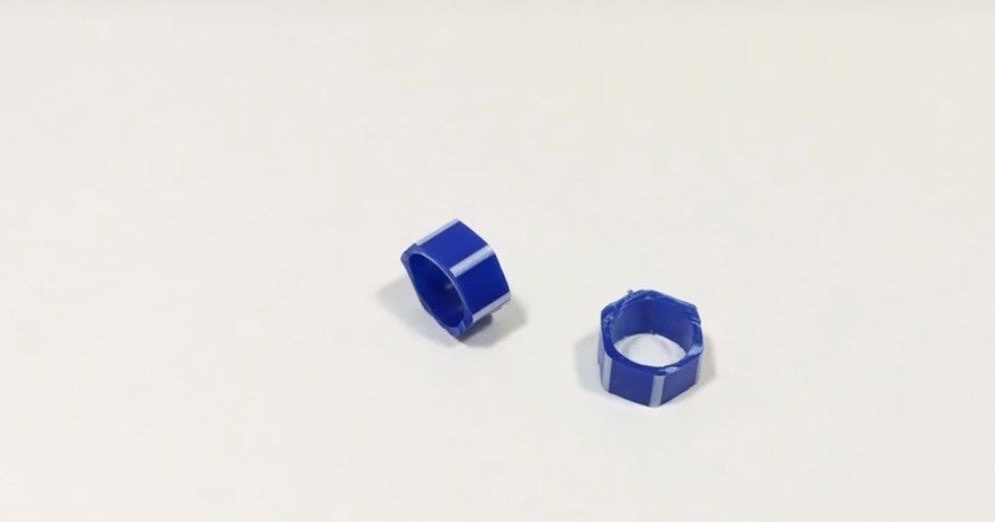
From traffic jams, he took and cut off the upper part along the side.
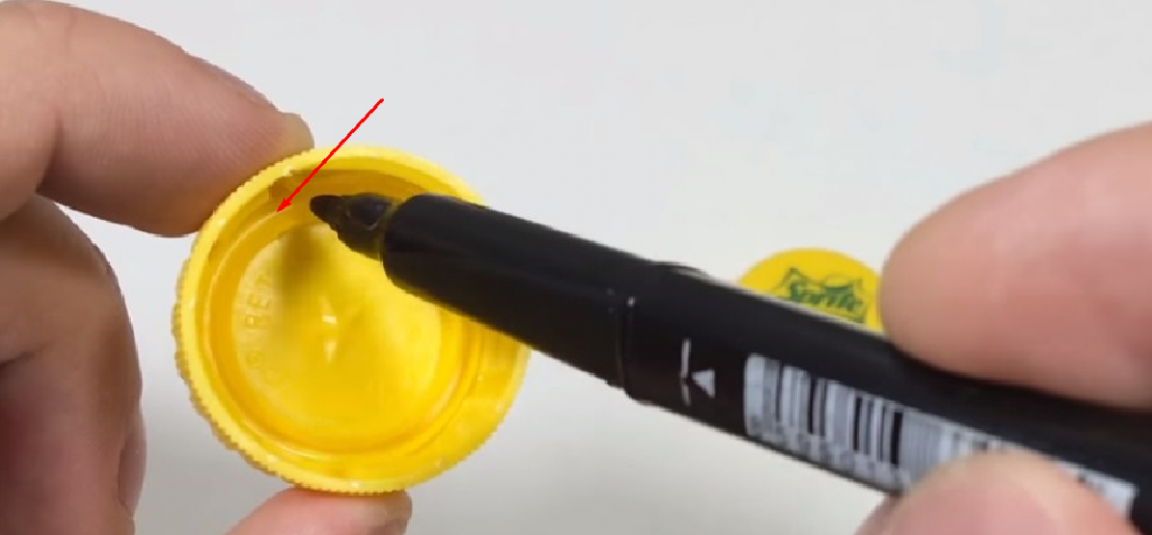
These are the pieces he got.
Then I glued the rings from the handle with super glue to the blanks from traffic jams.
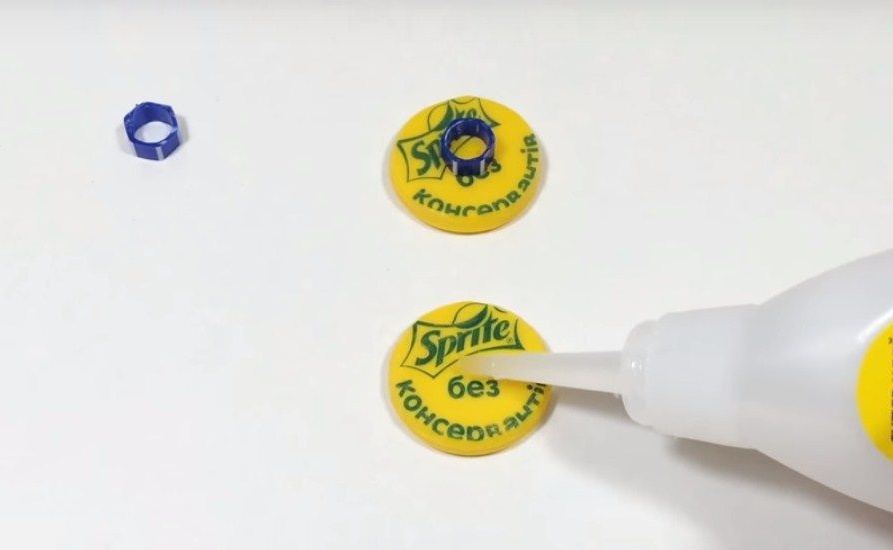

Next, put these plugs in the bearing.
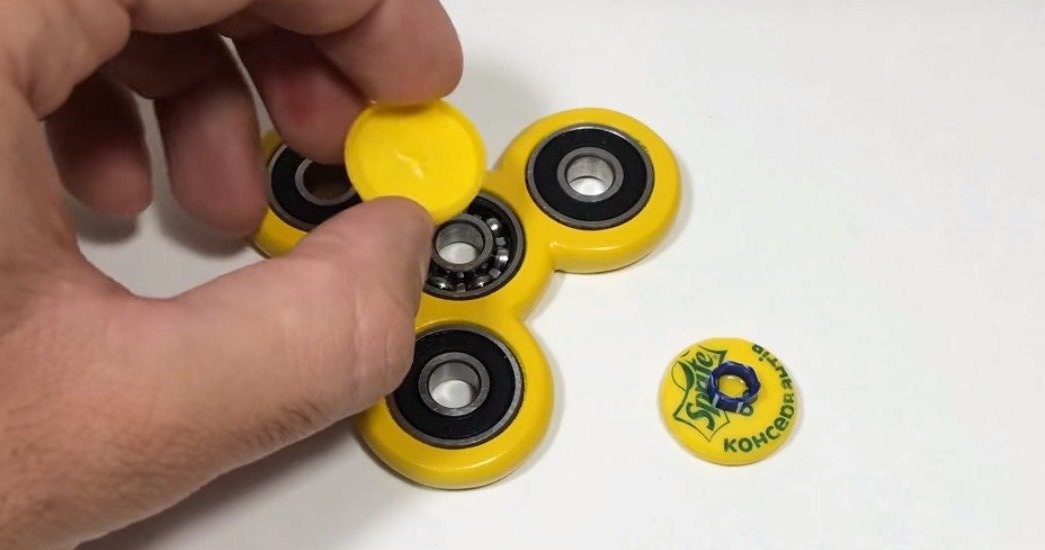
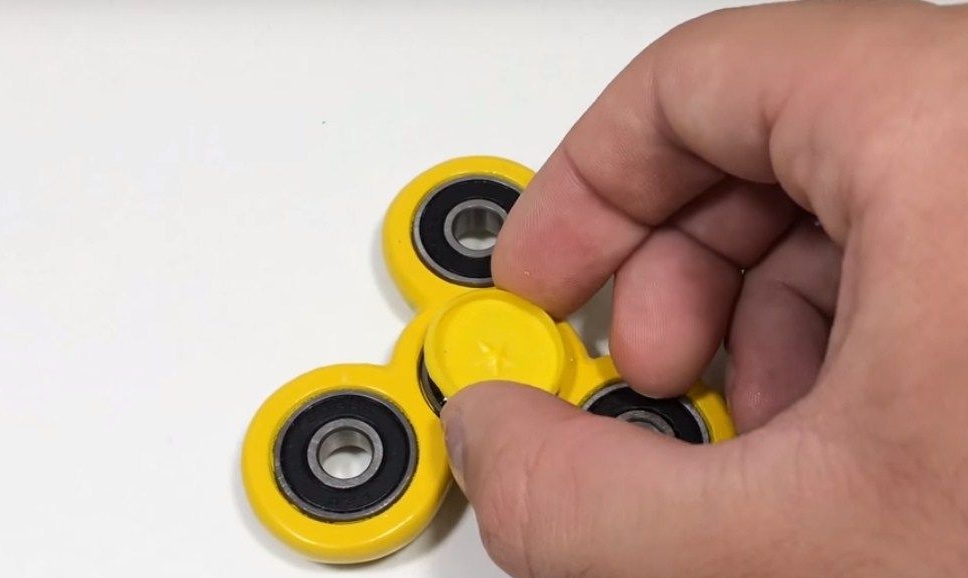
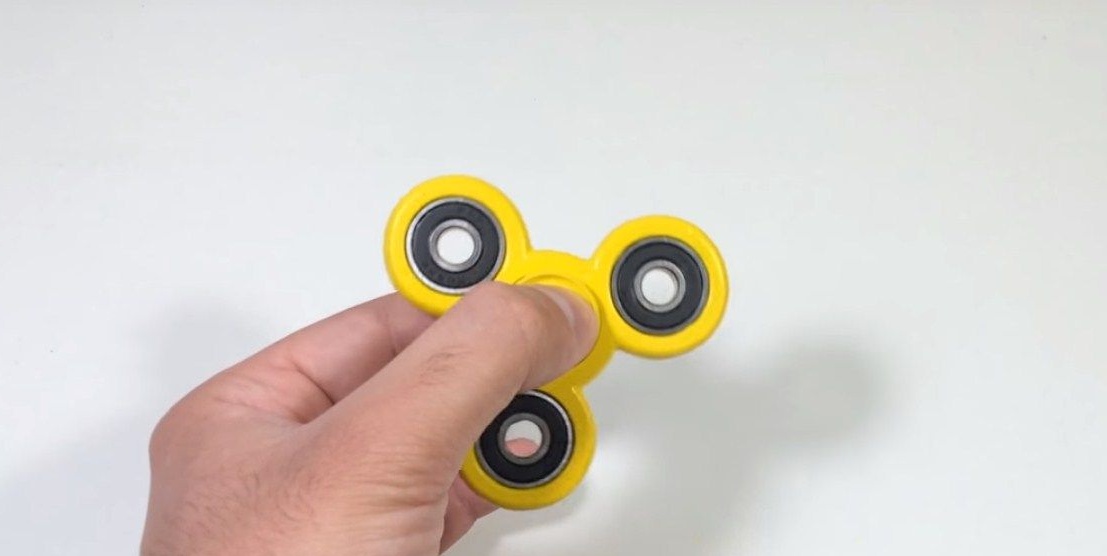
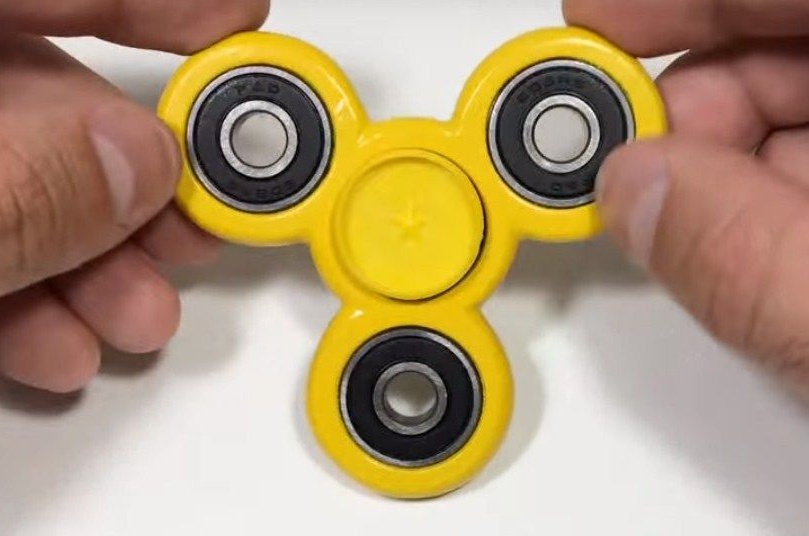
Well, the author has a spinner and is ready, in appearance and rotation it doesn’t differ much from the factory ones, but in cost such a spinner is certainly cheaper.
Instruction in the form of a roller: