
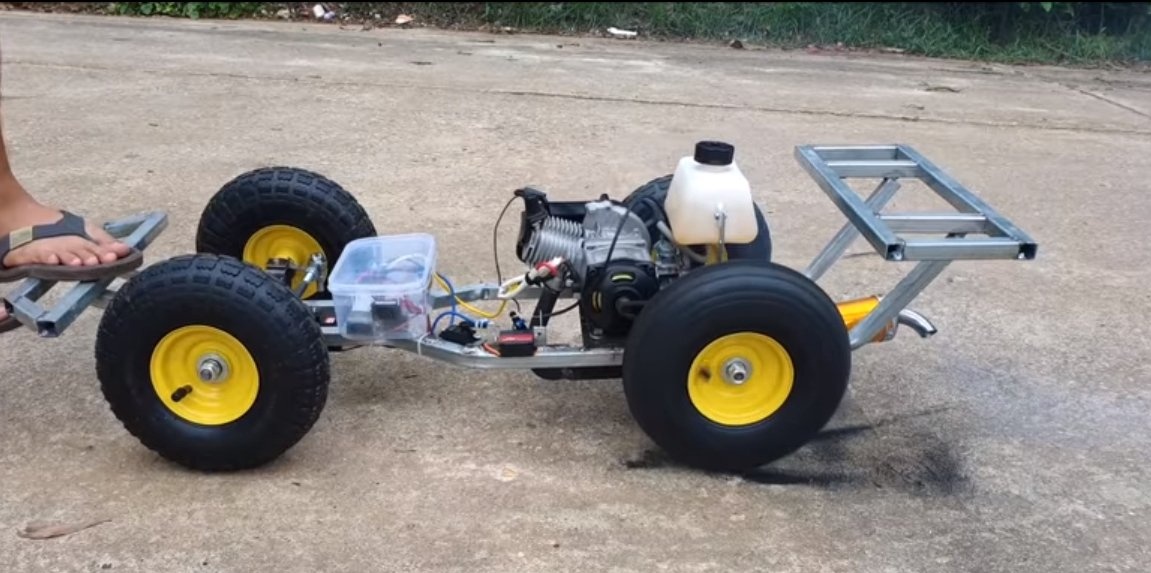
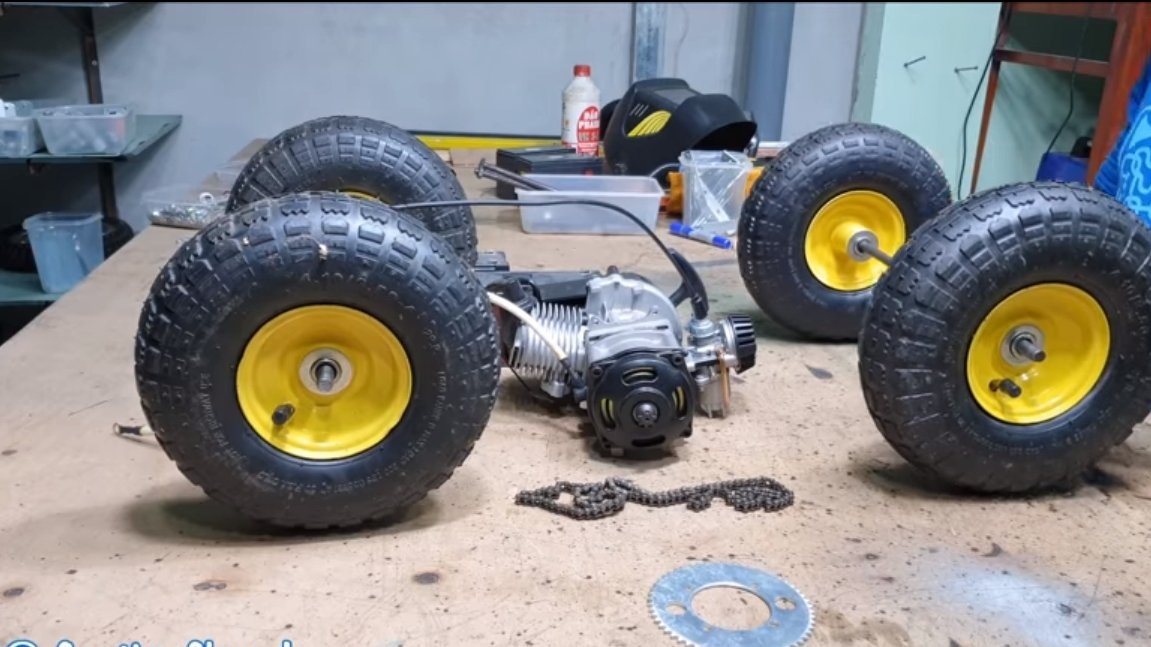
Hello to all fans of craftsmen, today we will consider how to make a machine on the control panel. Feature homemade in that the car drives a 49 cubic petrol two-stroke engine. The motor starts and is controlled completely remotely. The car turned out to be quite powerful, since its weight in comparison with the engine power is ridiculous. Homemade will be interesting to children, you can install a camera on the car. It will be especially interesting if there are several such machines, then it will be possible to arrange competitions. If you are interested in the project, I propose to study it in more detail!
Materials and tools used by the author:
Material List:
- profile pipes;
- sheet metal;
- engine from a 49 cubic meter scooter or similar;
- ;
- ;
- 4 wheels for garden carts;
- chain transmission;
- gas tank;
- silencer;
- channel;
- bolts, nuts, washers and more.
Tool List:
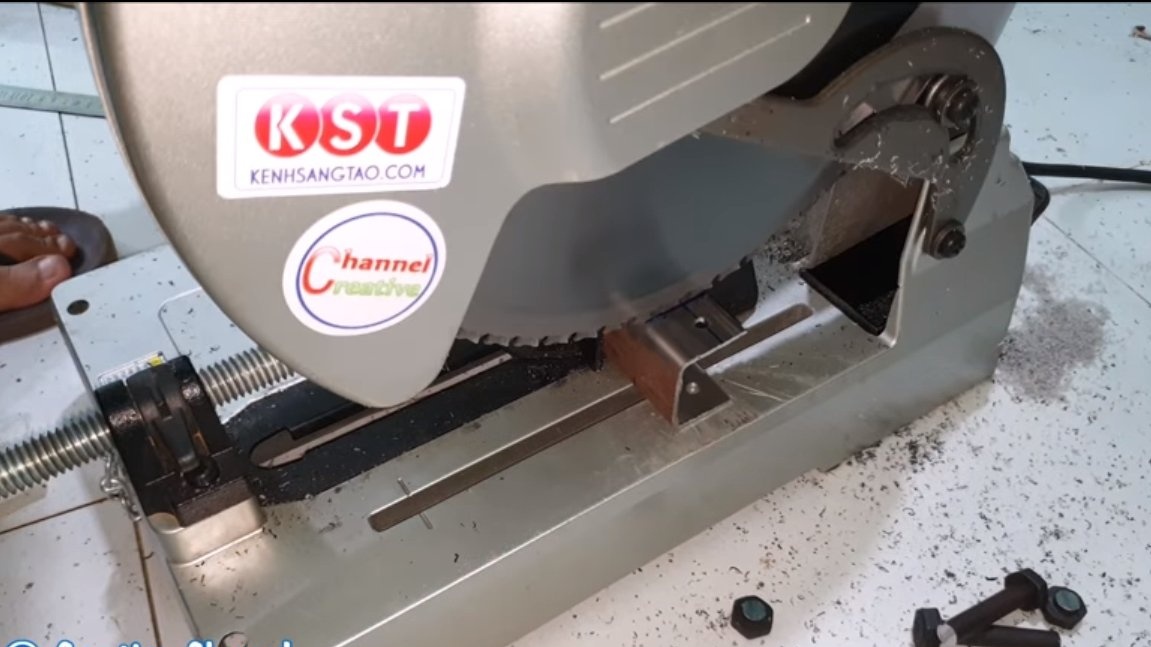
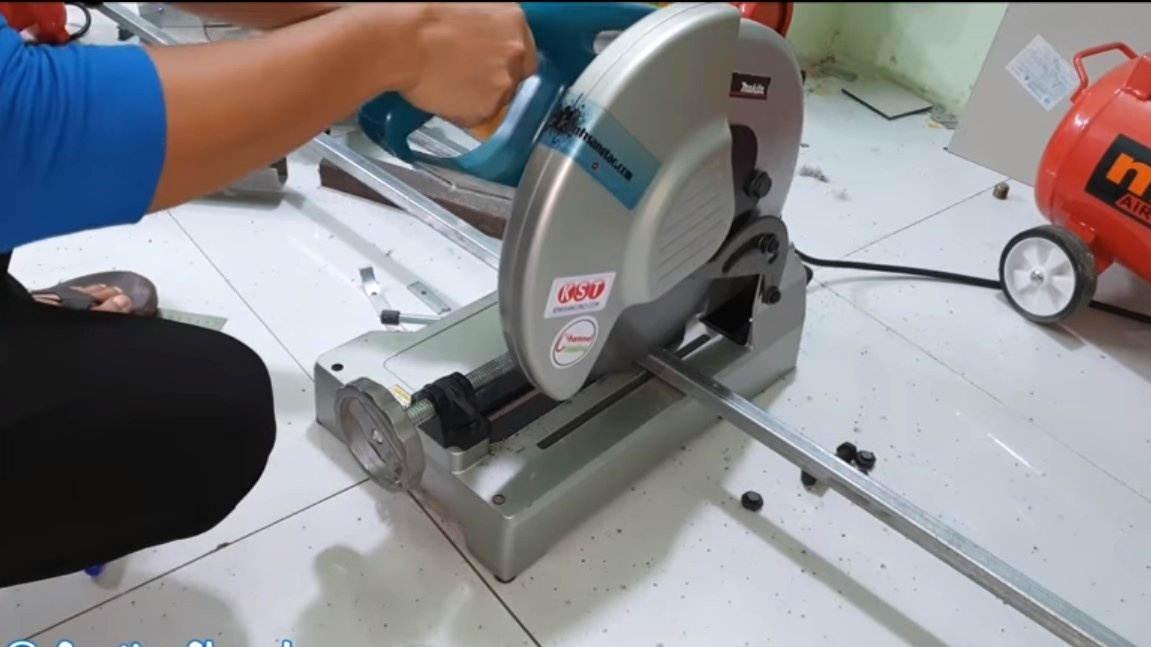
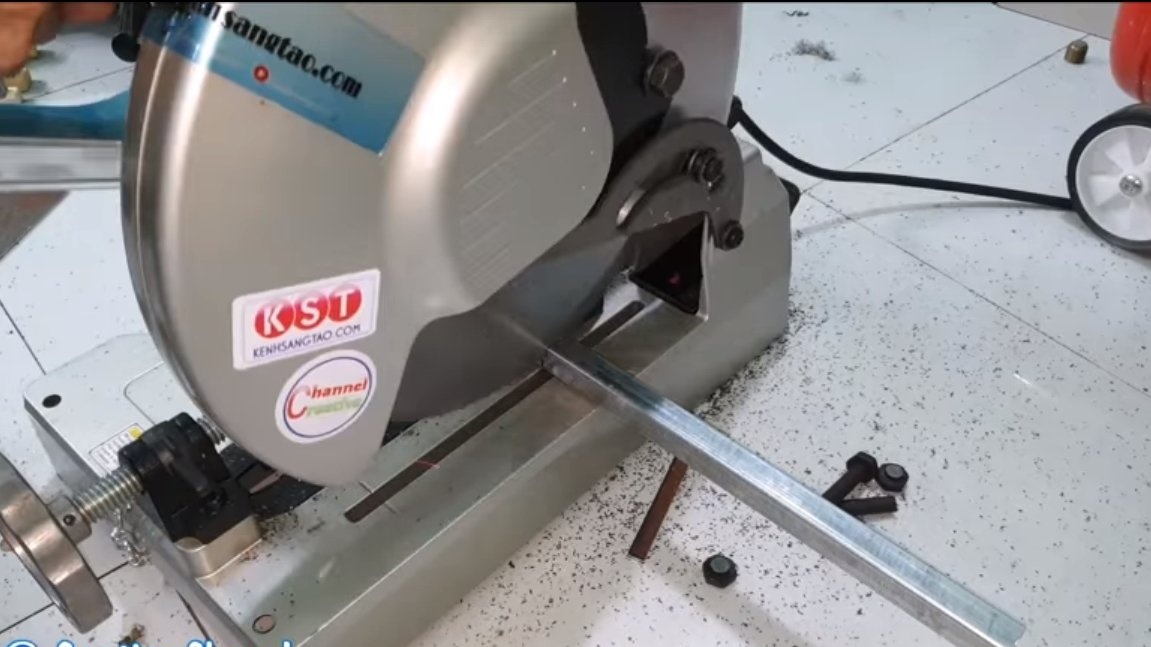
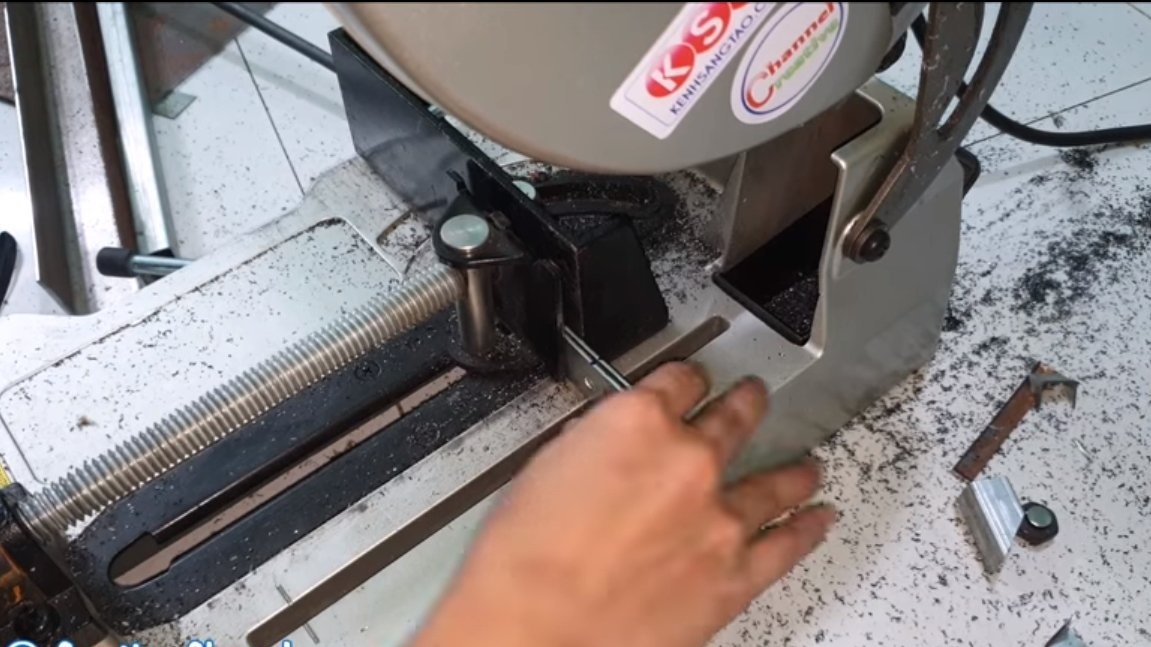
- Miter saw;
- drill;
- welding machine;
- grinder;
- spanners;
- tape measure, marker;
- drilling machine.
Homemade manufacturing process:
Step one. Front and rear axle
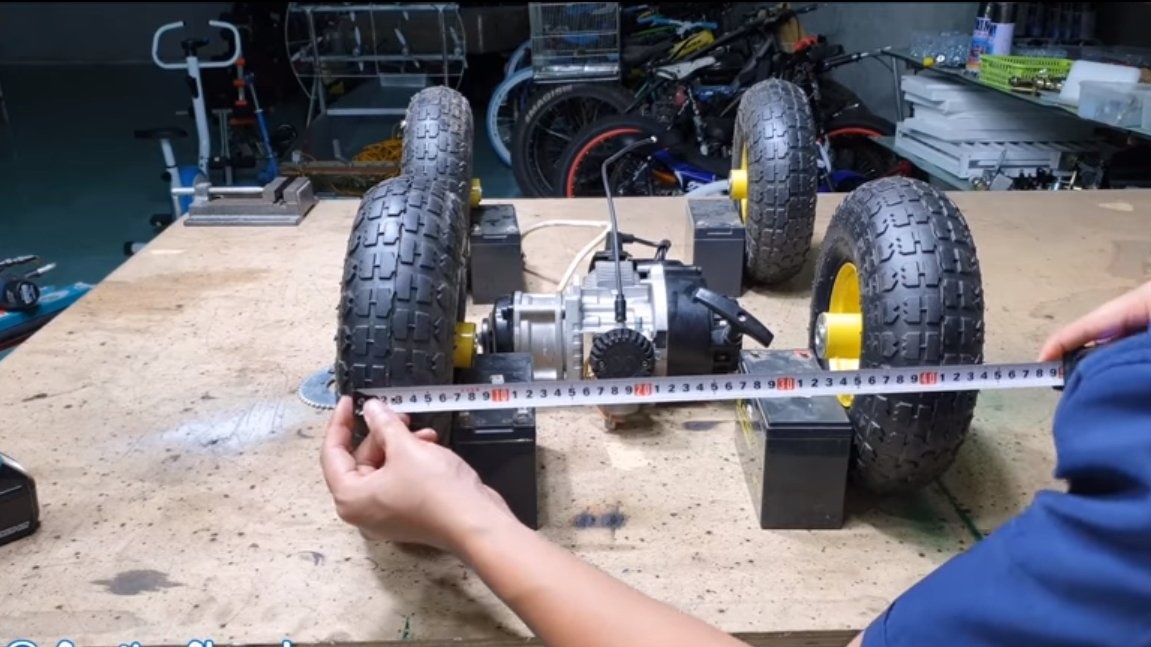
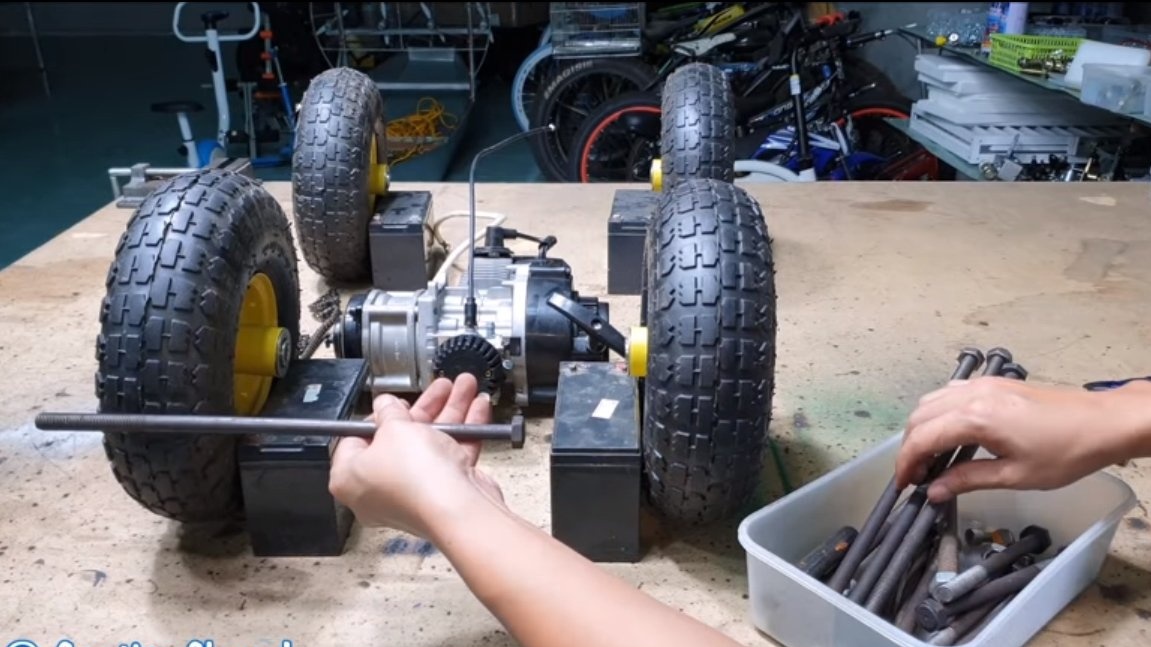
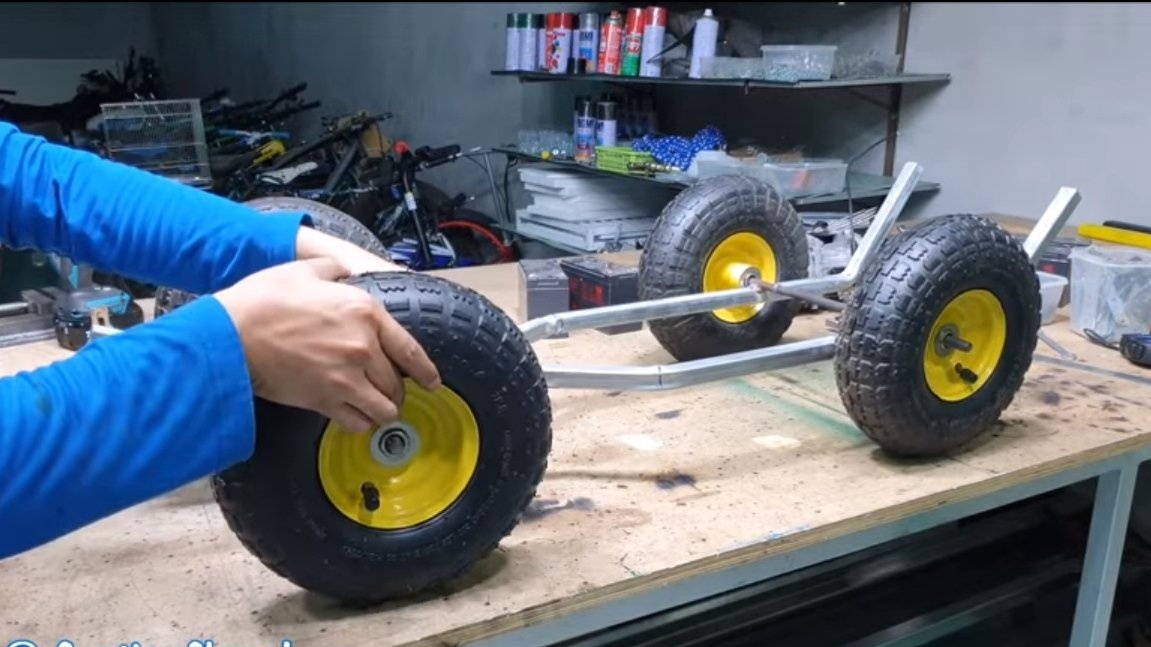
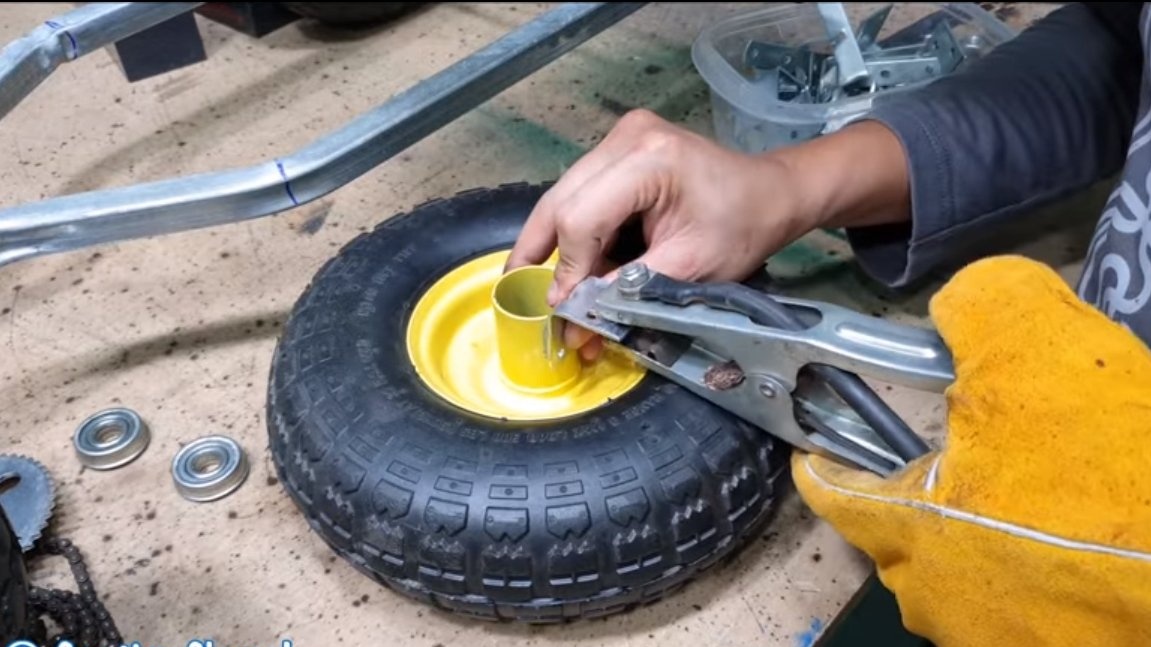
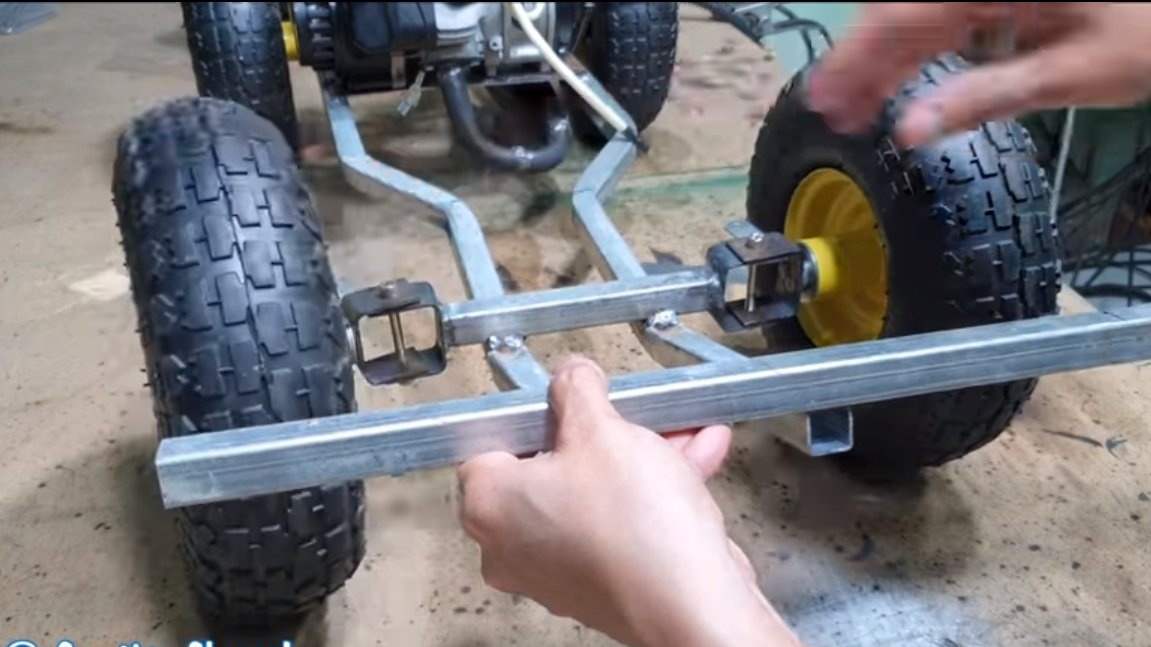
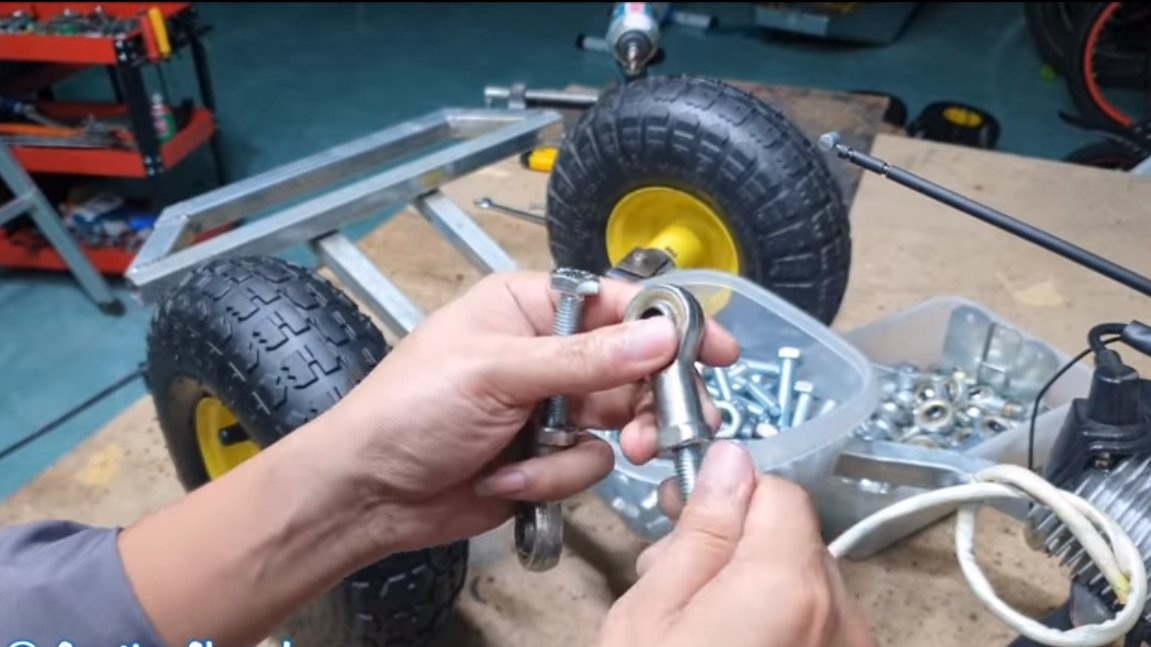
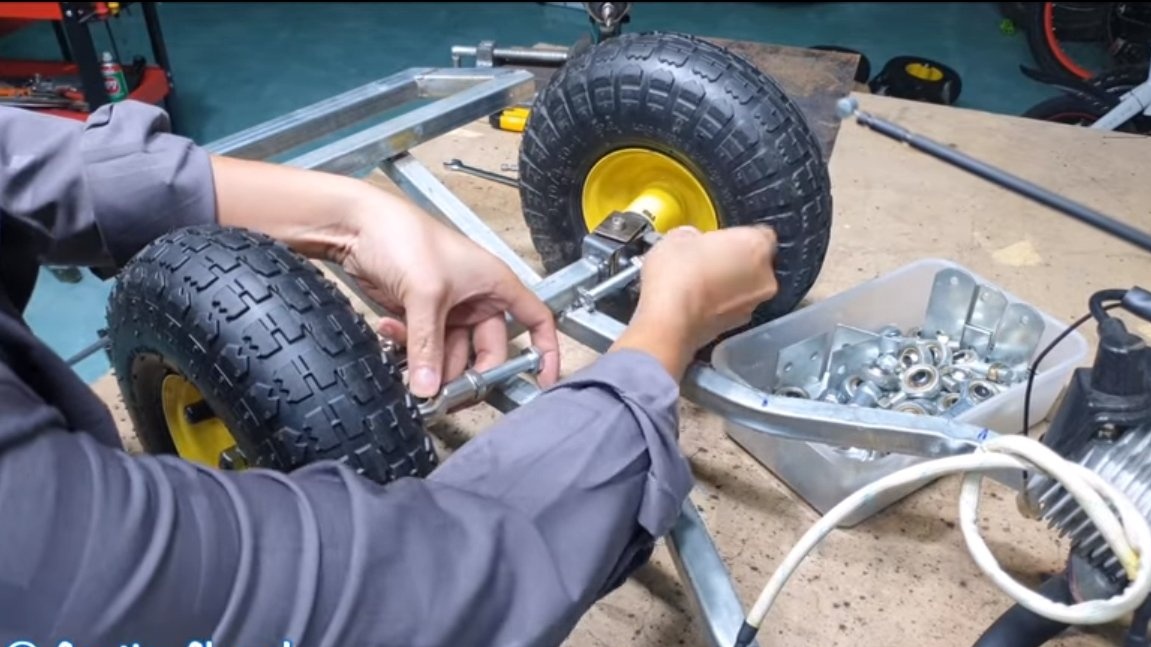
First, we’ll make the axles for the wheels, the rear axle is solid, we can use a threaded rod, a long bolt, and so on.
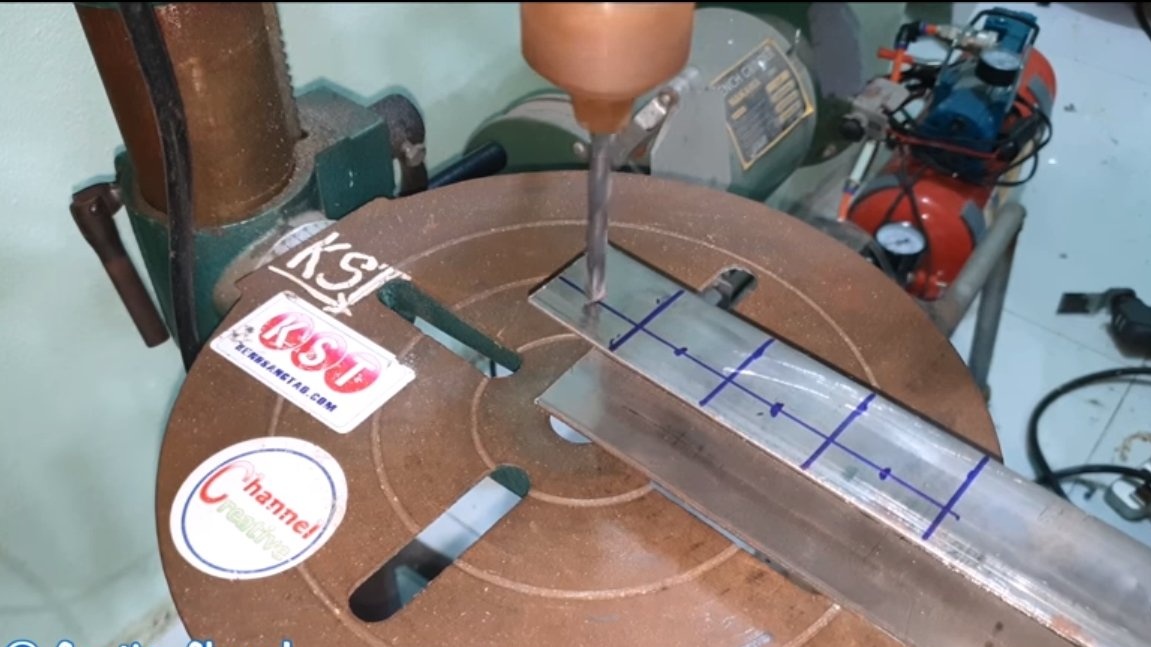
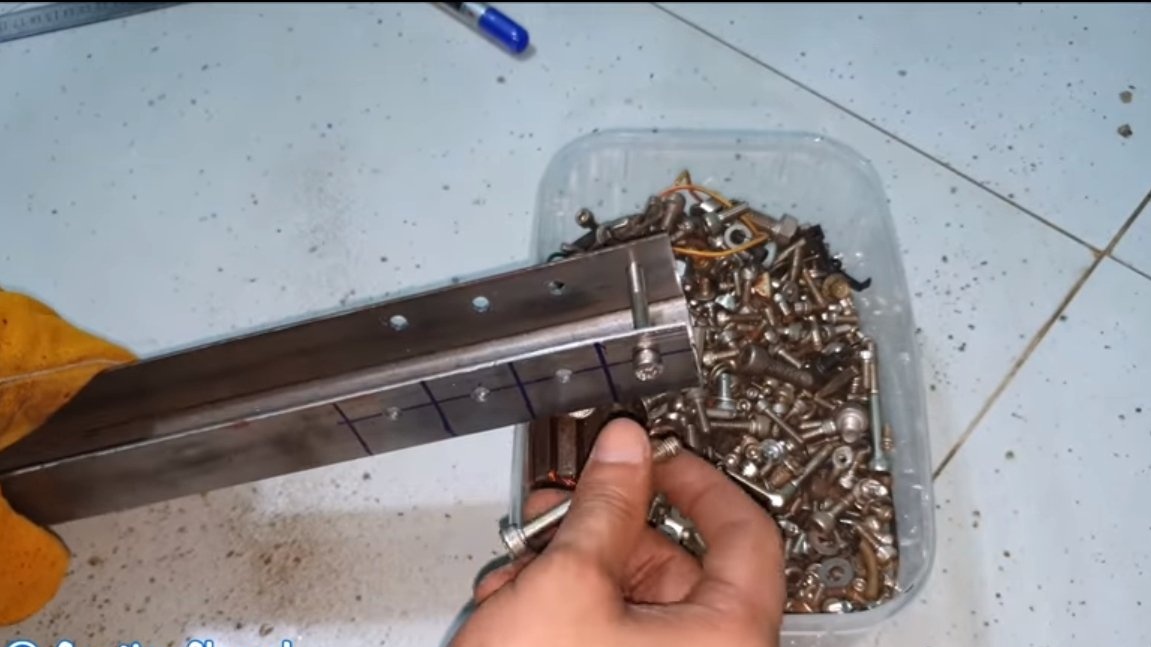
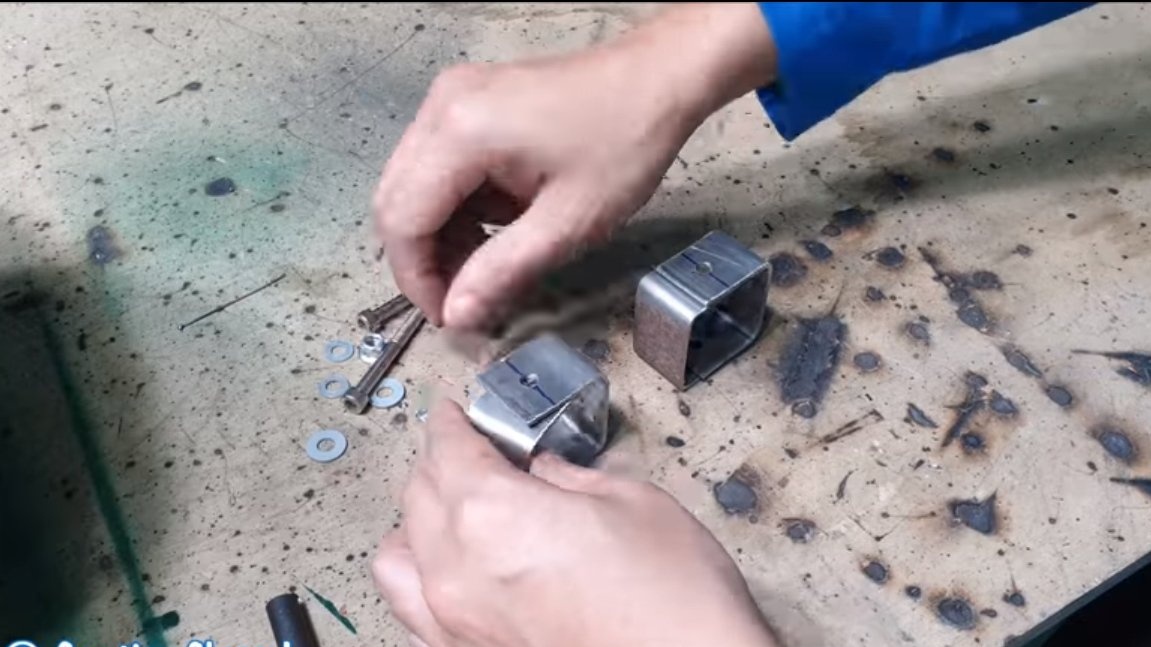
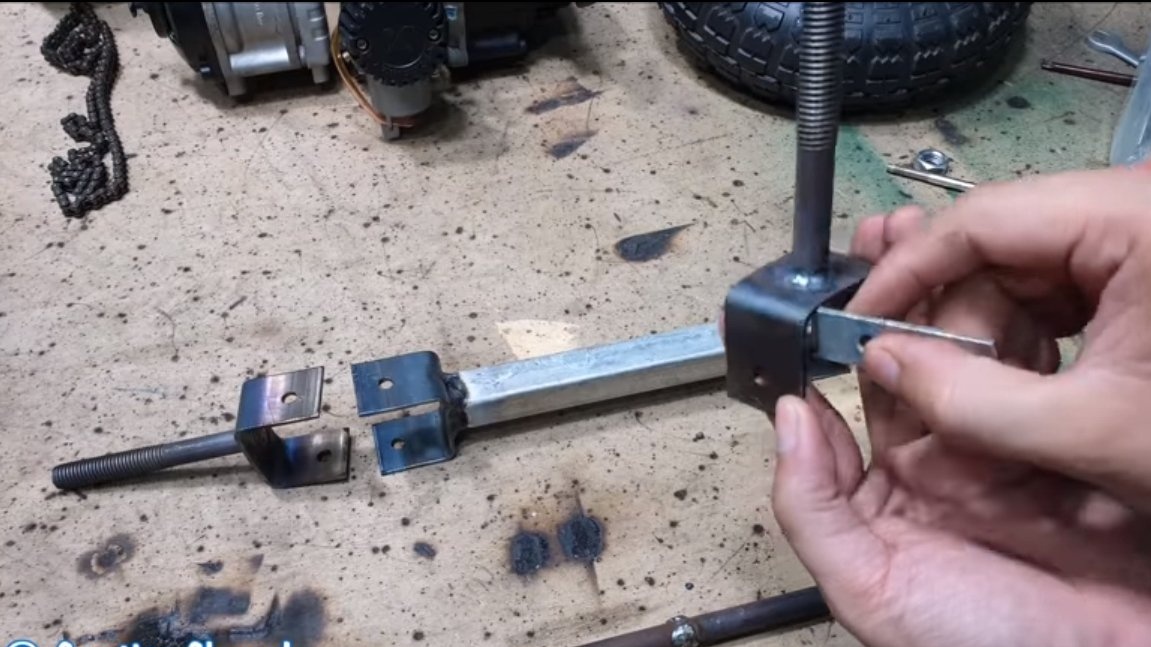
The front wheels must be mounted on the steering knuckles, the first thing you need to do these fists. Everything is simple here, we need a channel, you don’t need to choose too thick metal. We cut the workpieces and twist them with screws and nuts. We weld the finished parts to a piece of the profile pipe, which will serve as a beam.
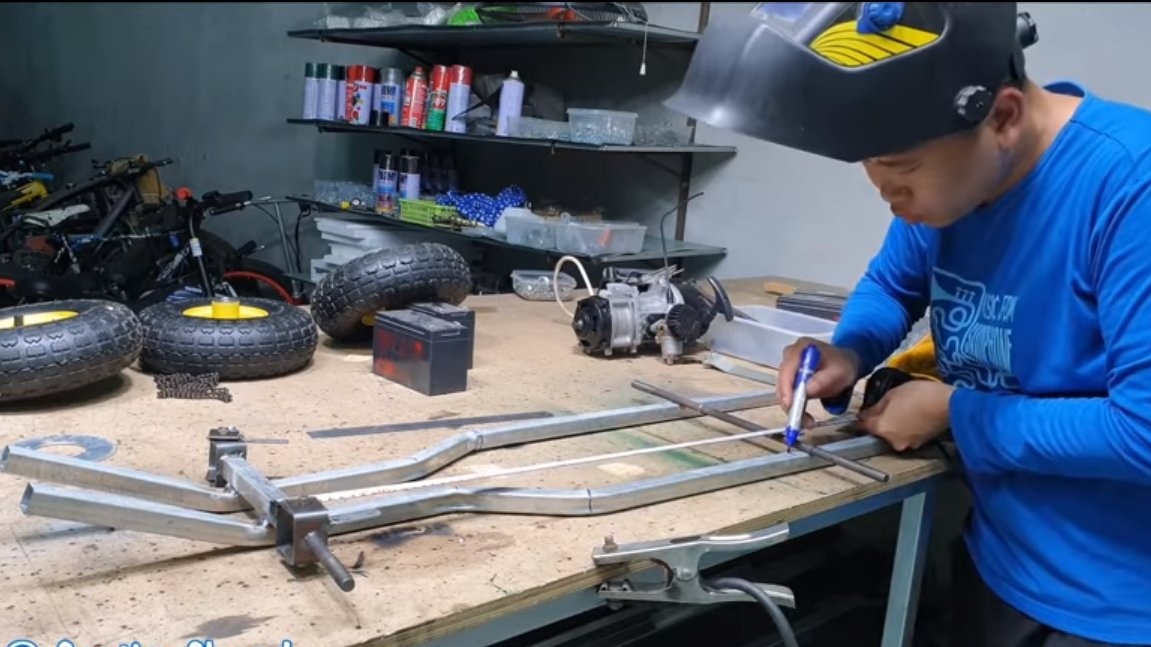
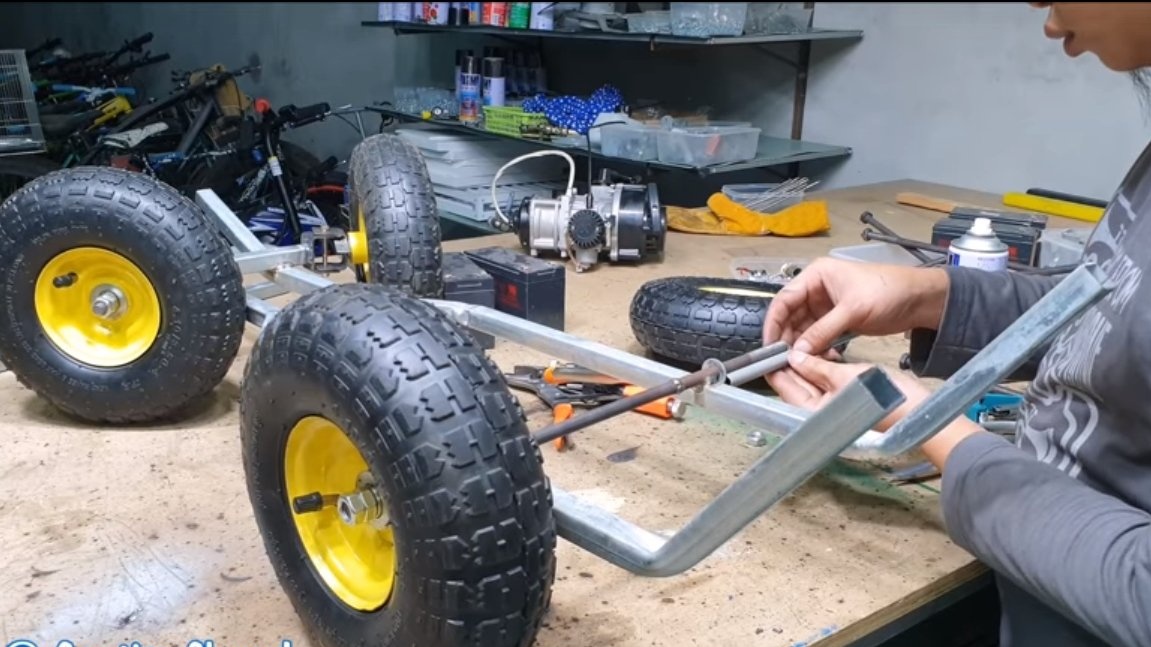
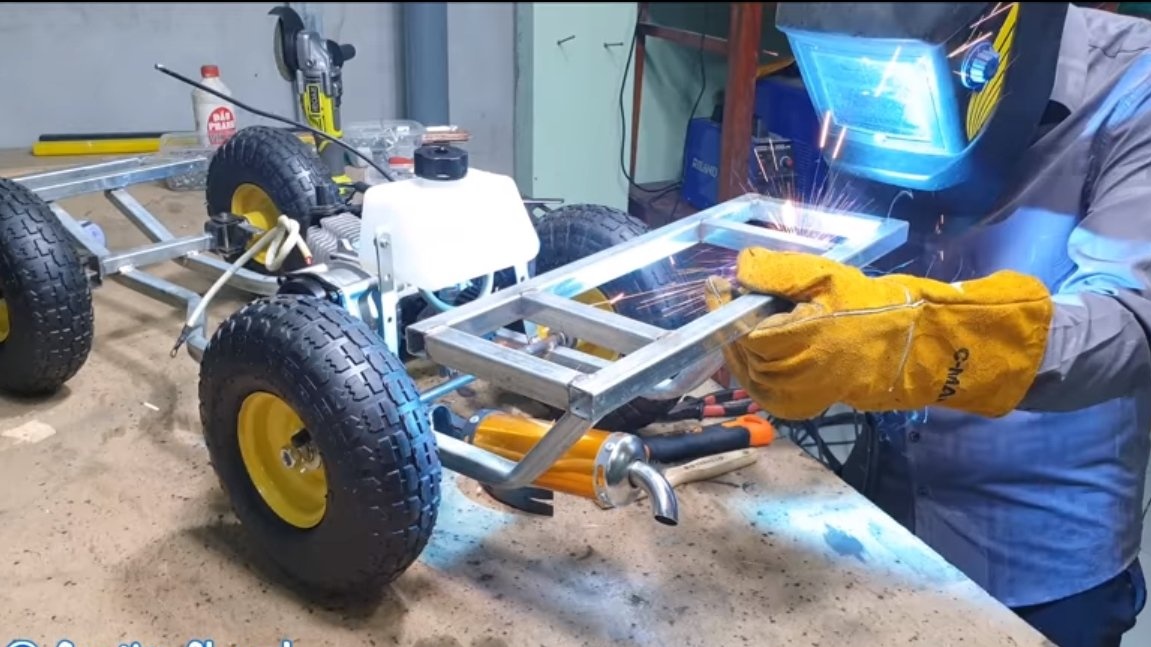
Step Two Assemble the frame
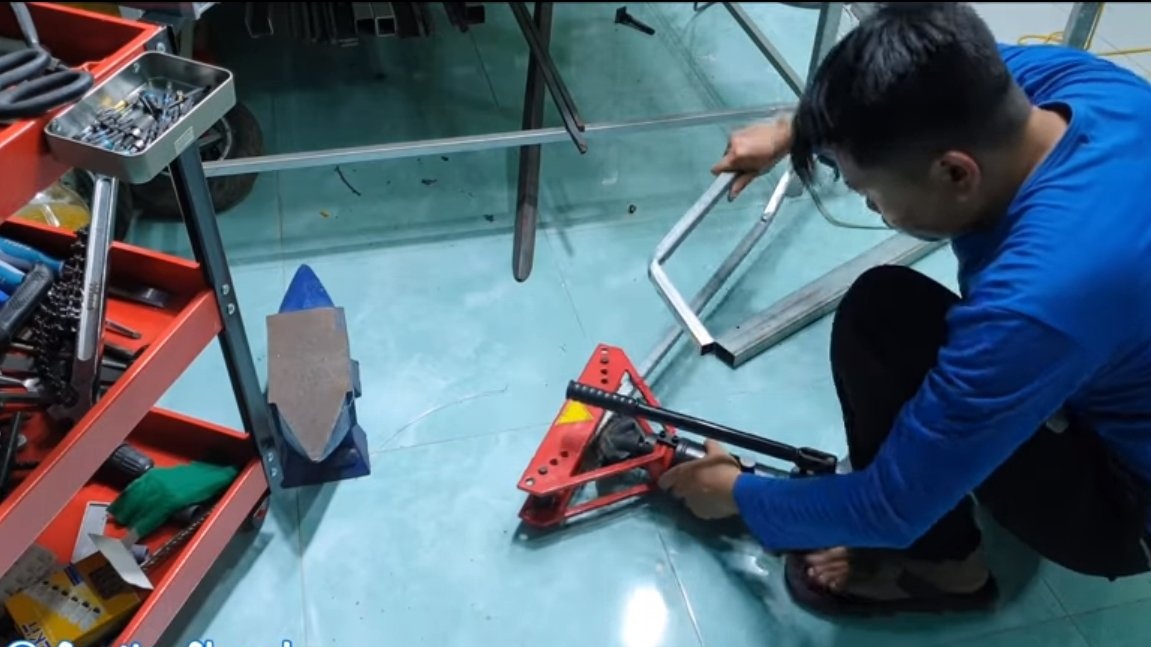
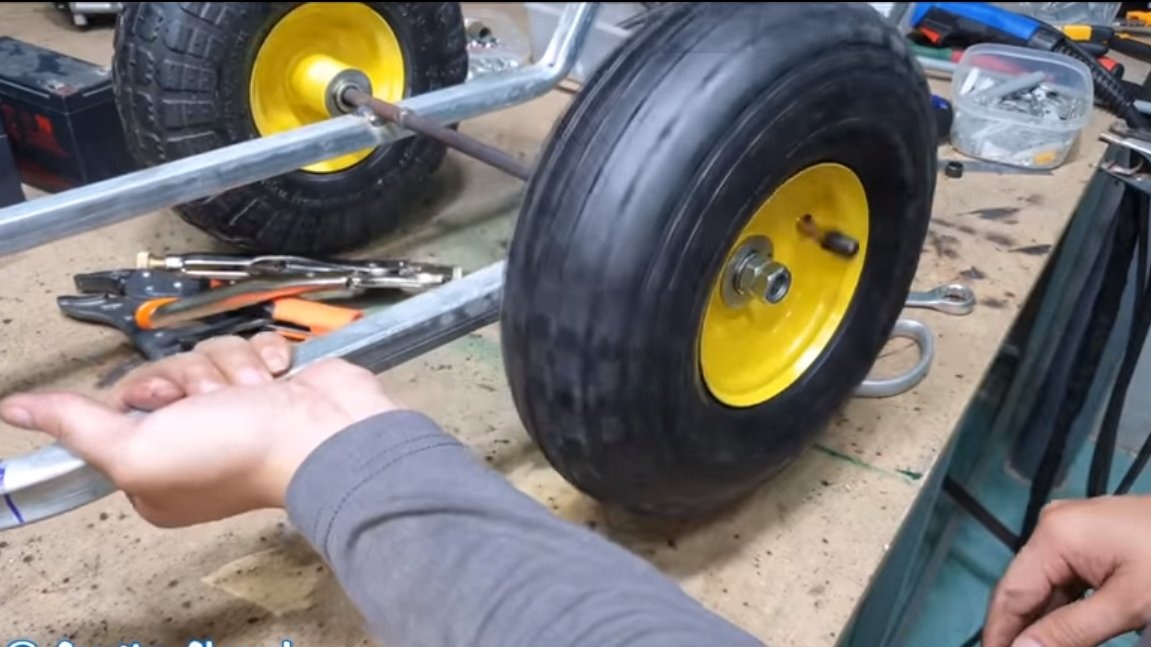
Next, we make a frame for the car, here we need profile pipes. We cut the materials in accordance with the plan and weld. If necessary, the pipe can be bent, for this the author has a pipe bending machine based on a hydraulic jack. We weld the rear axle and front beam with knuckles to the frame.
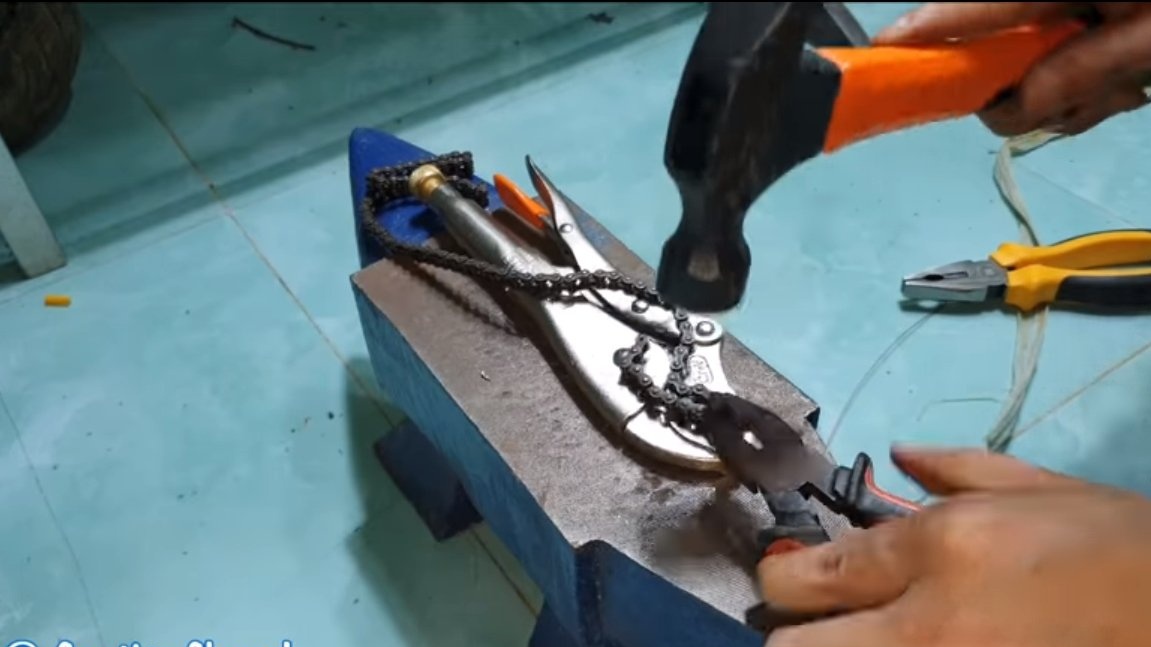
Step Three Driven sprocket and engine
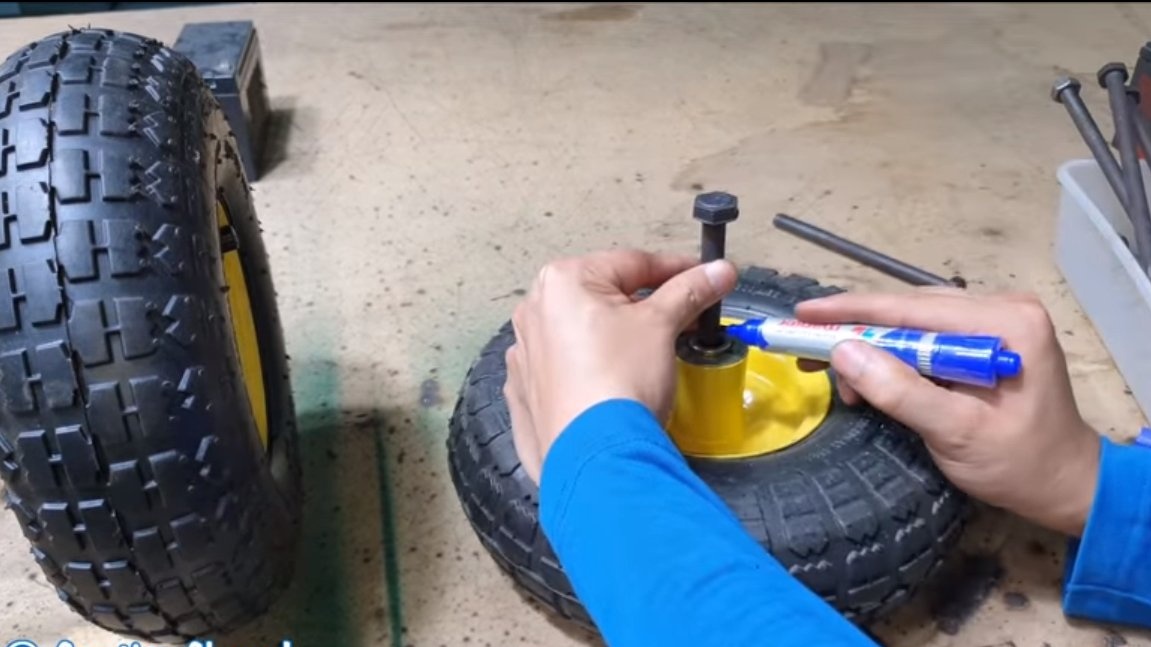
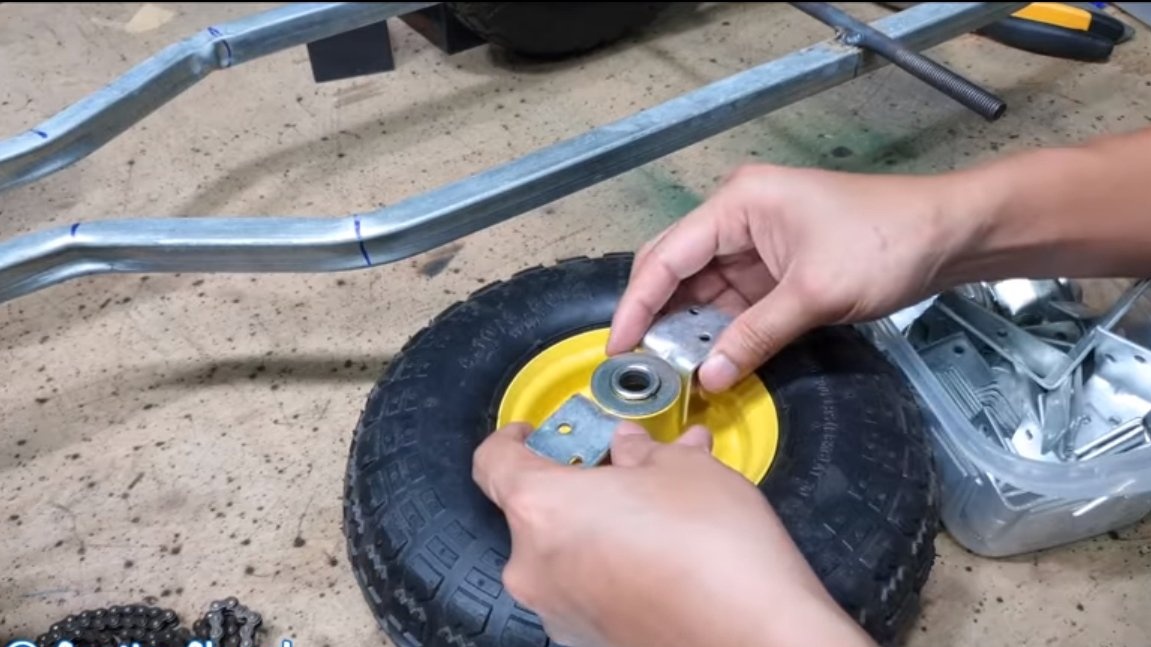
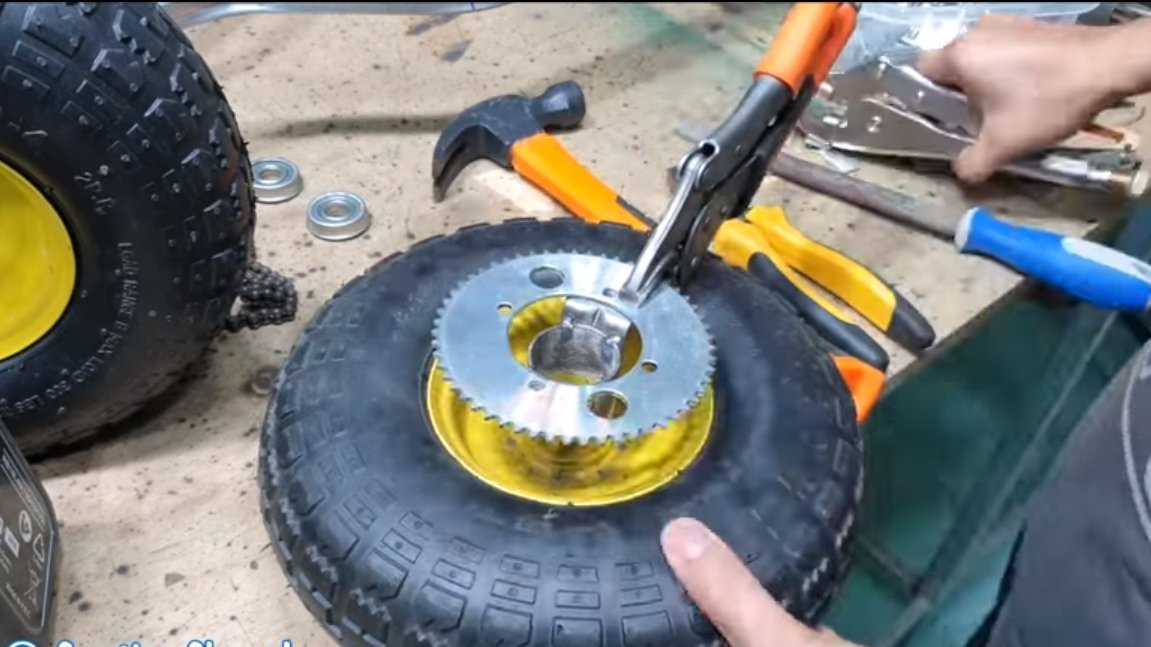
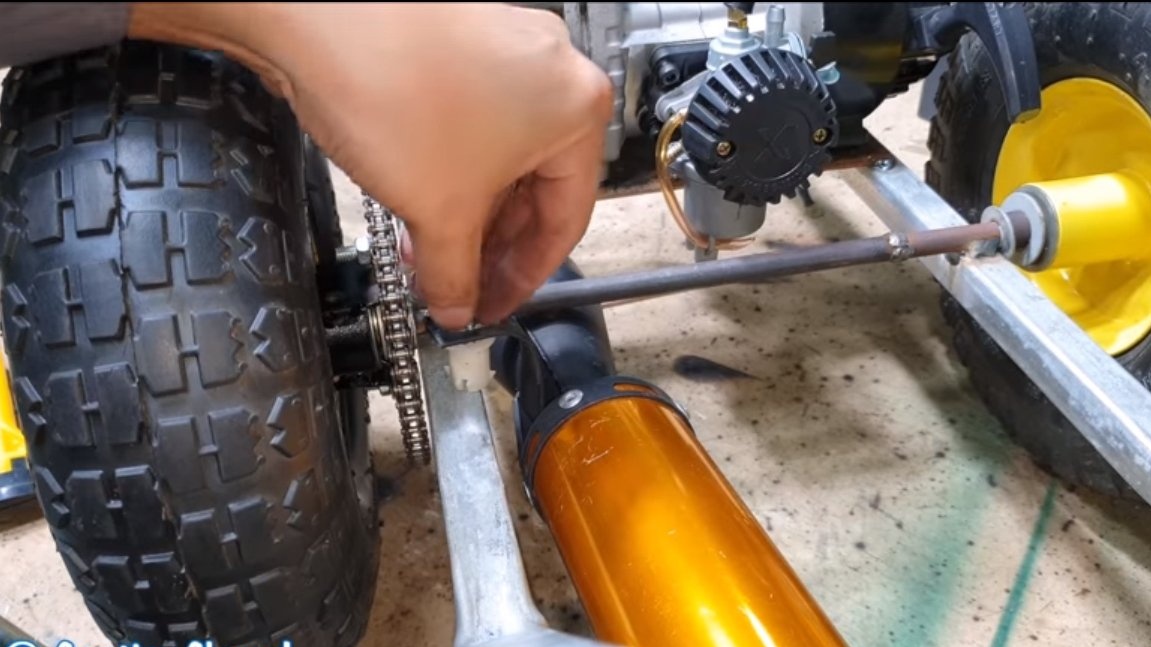
We drive on one rear wheel, first you need to install an asterisk on it. To install the sprocket, you will need two mounting corners, we weld them to the wheel as the author. Well, then the sprocket can be screwed to the wheel with screws or bolts with nuts.
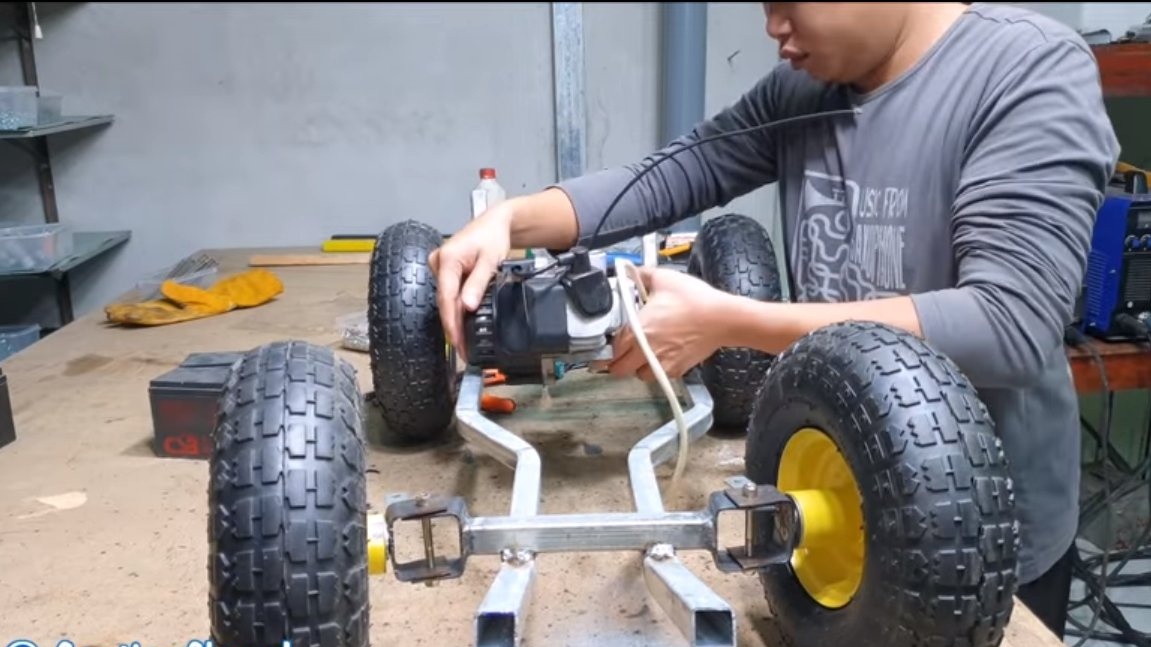
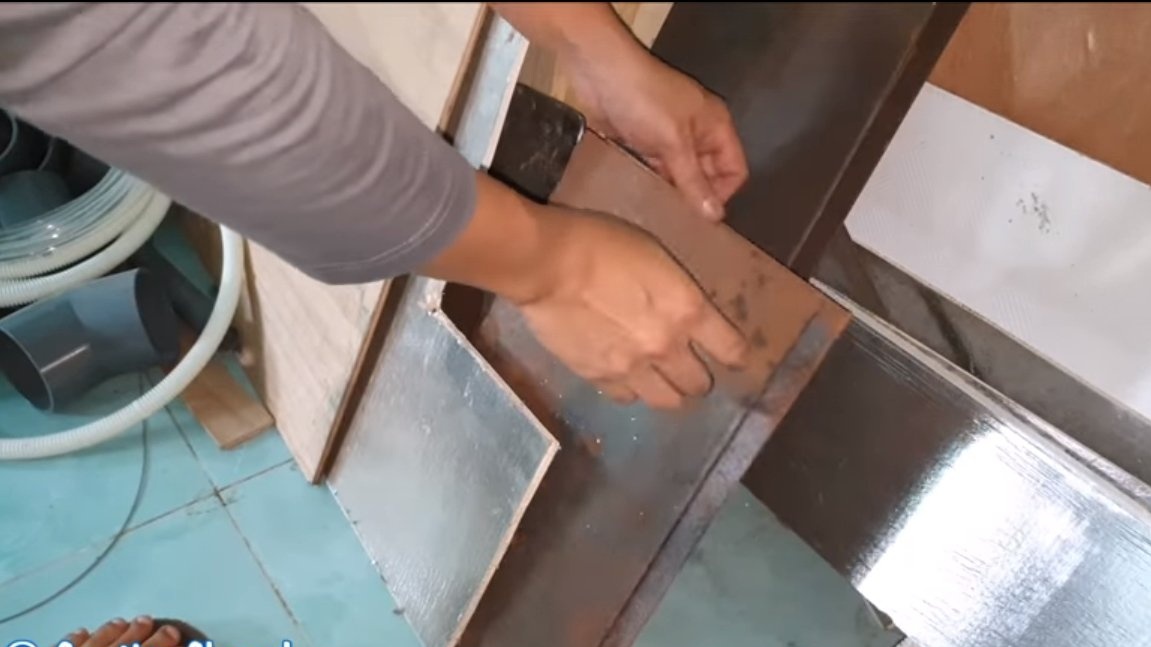

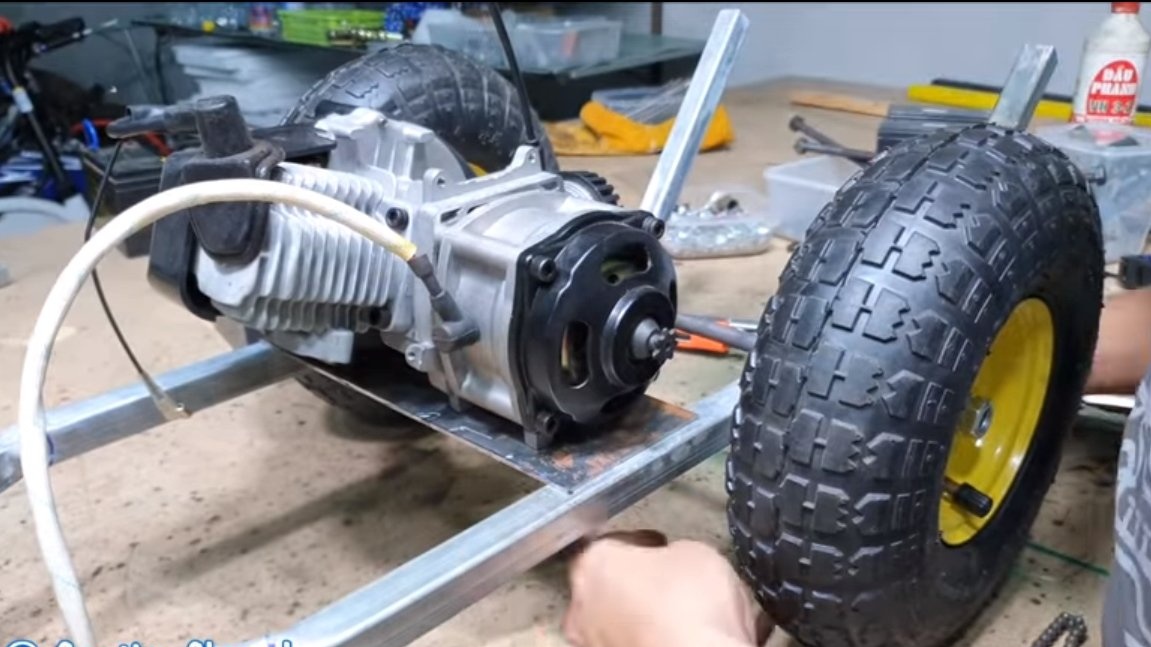
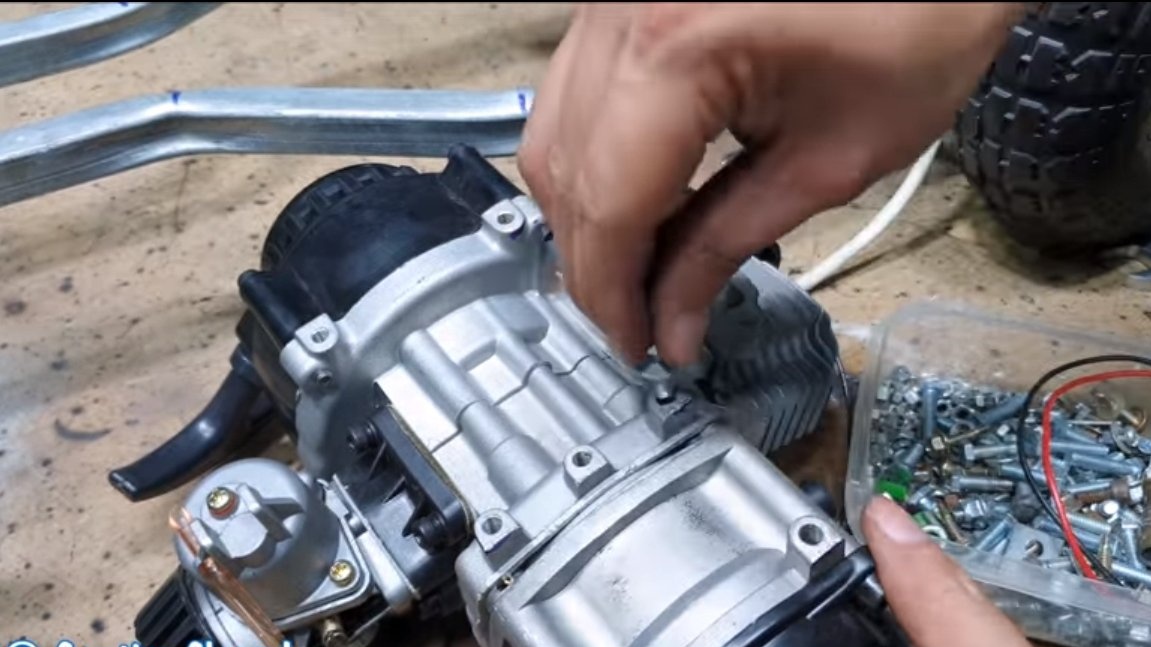
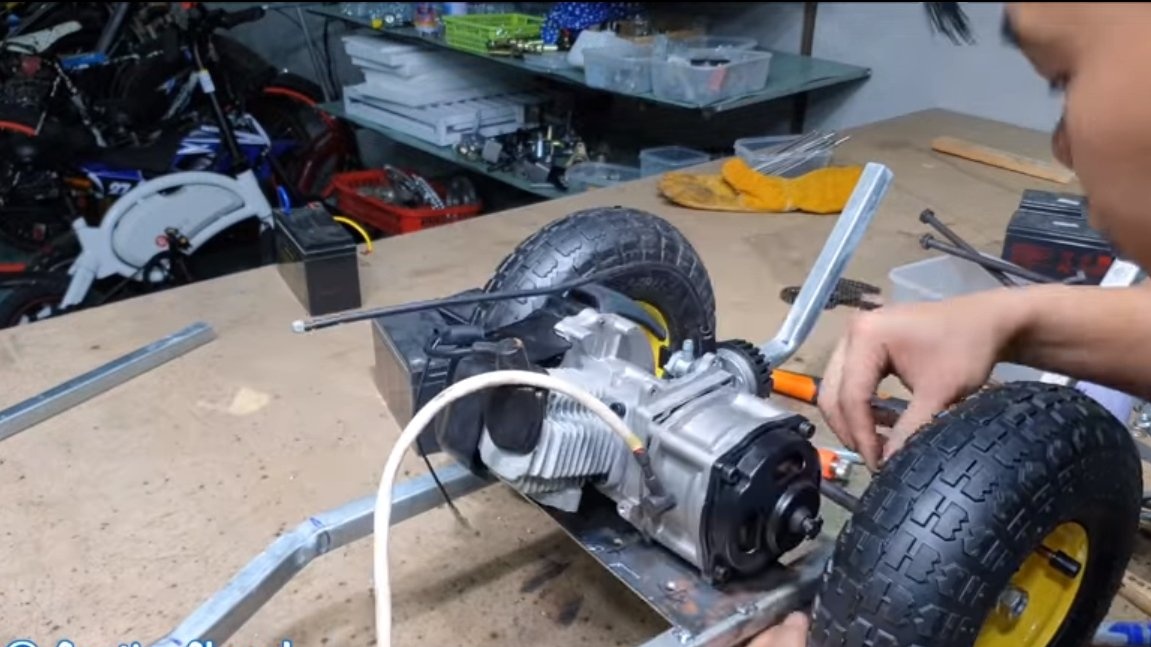
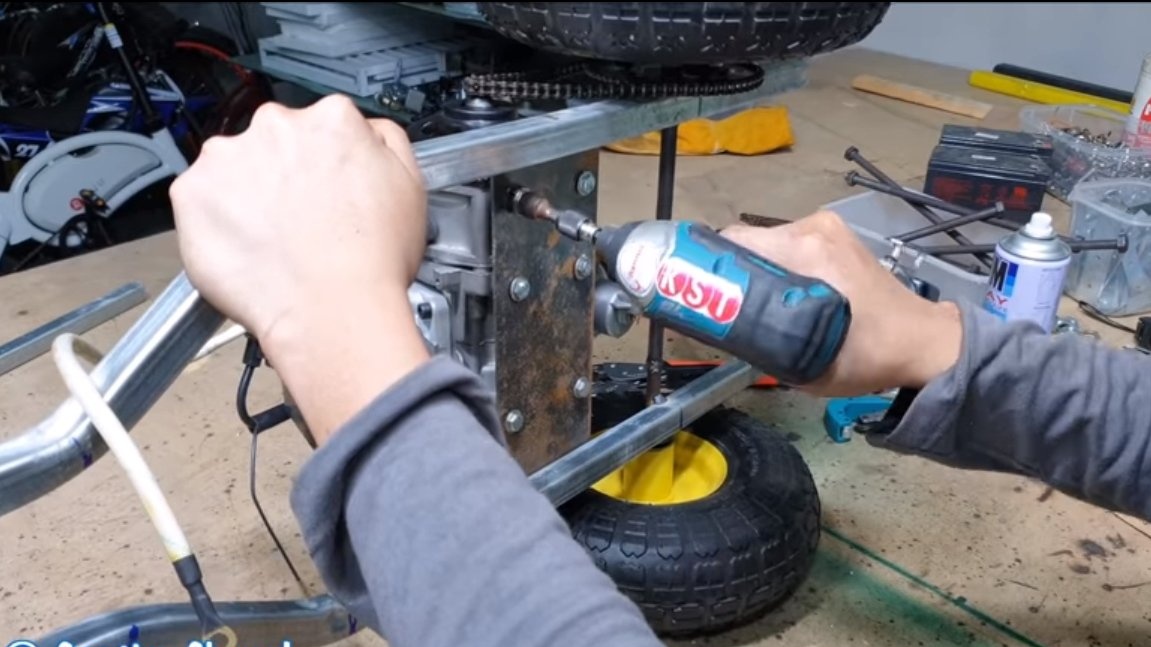
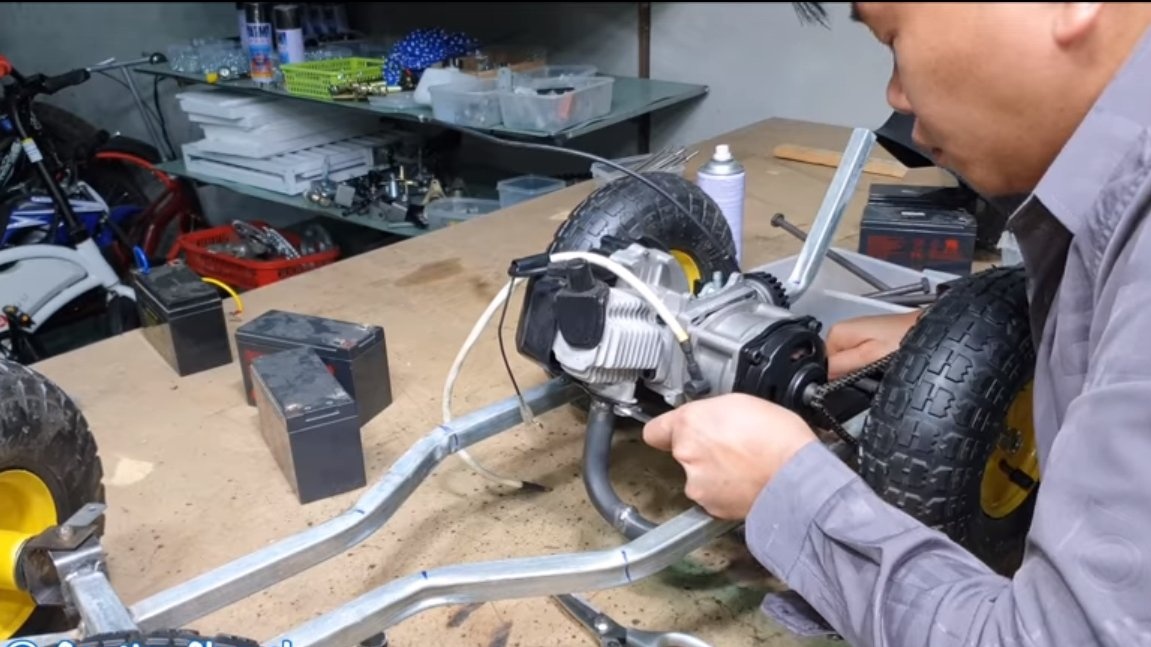
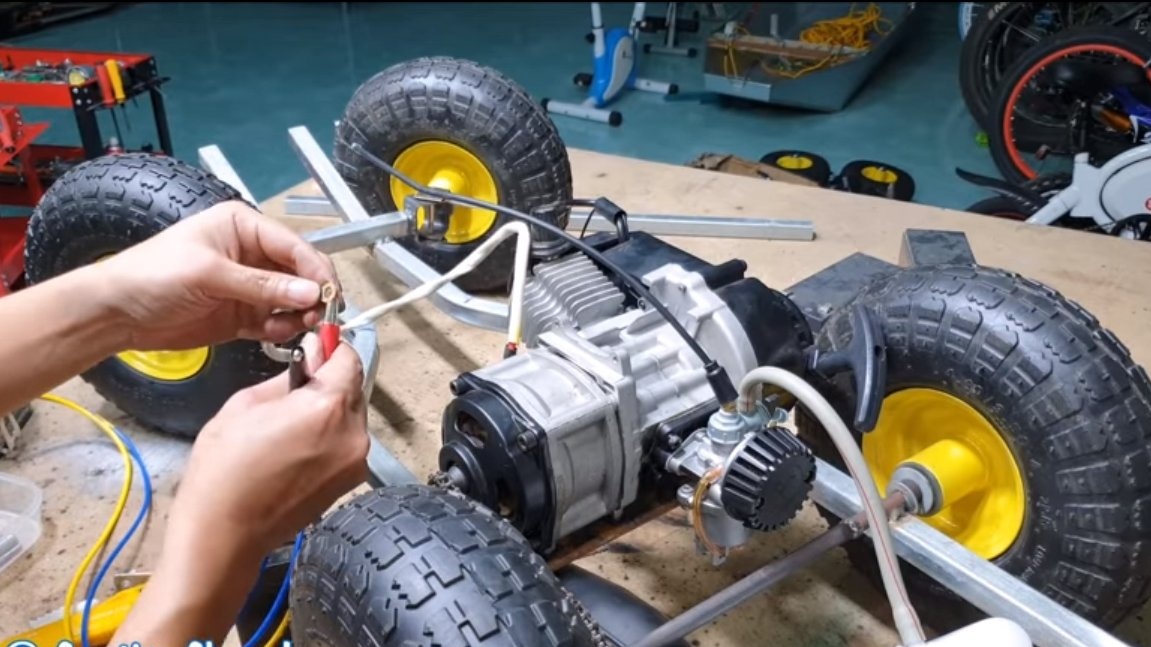
After that, you can become the engine, we make for him a bed of iron sheet.We cut the sheet and weld to the frame, we fasten the engine to the bed with bolts. That's all, it remains to shorten and install the chain. The drive sprocket is used in small sizes for high torque and lower revs.
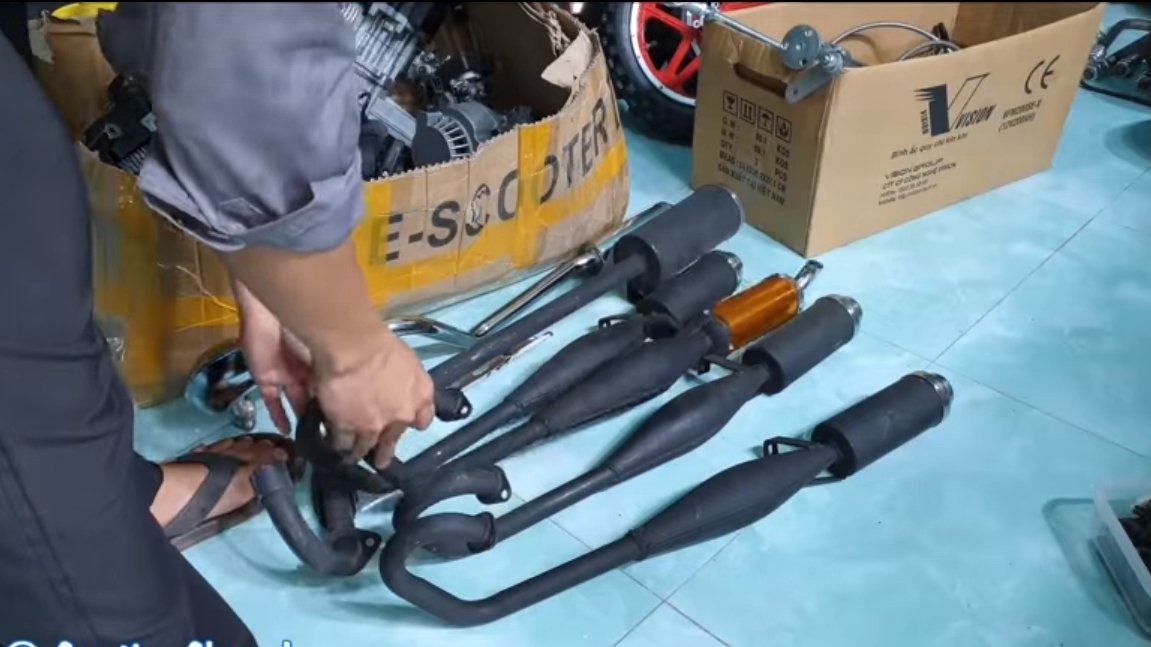
Step Four Exhaust
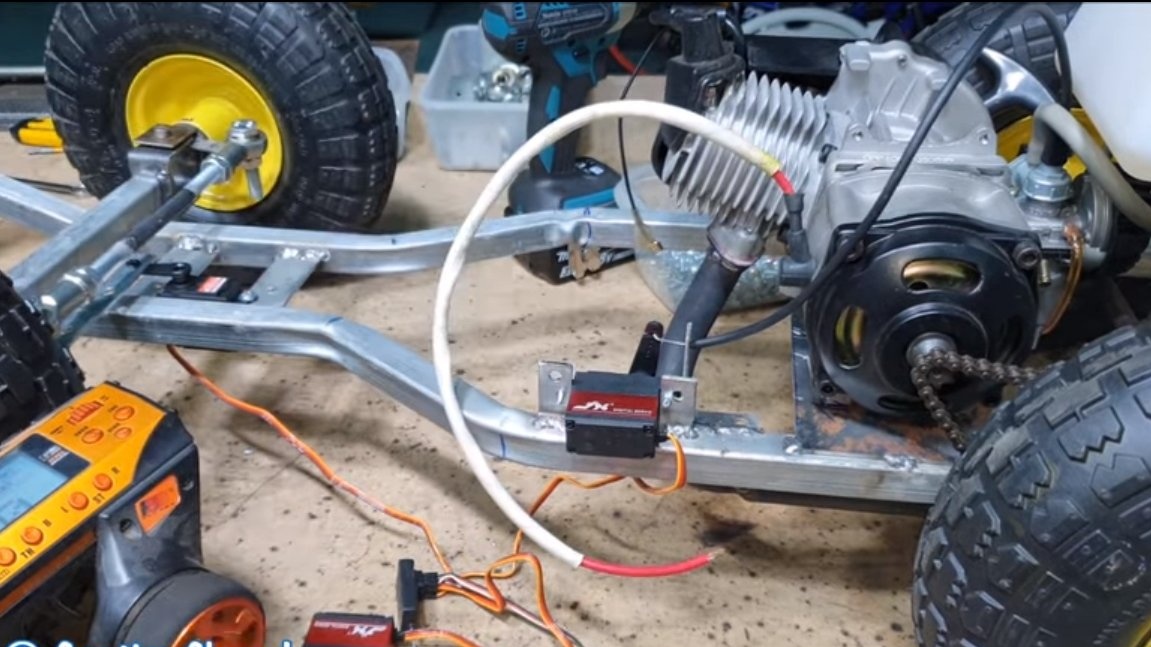
We select a silencer for the engine, and if you don’t feel sorry for the neighbors, you can also put forward flow. It is possible that the exhaust pipe will need to be digested, and we also securely attach the muffler to the frame so that it does not break. After installing the gas tank, you can make the first start of the engine, it starts with a starter. The gas tank should be slightly above the carburetor level so that gas can flow.

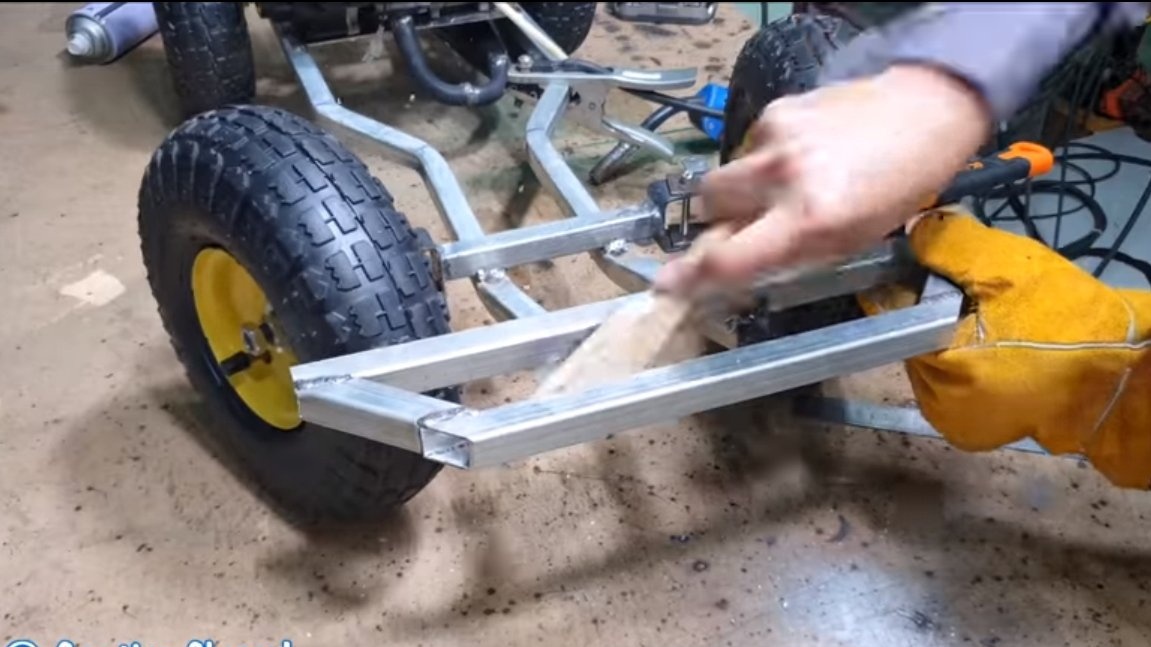
Step Five Bumpers
We weld from the profile pipes of the bumper, weld to the front and back. The design already depends on your tastes, the main thing is that bumpers protect important components of the car.

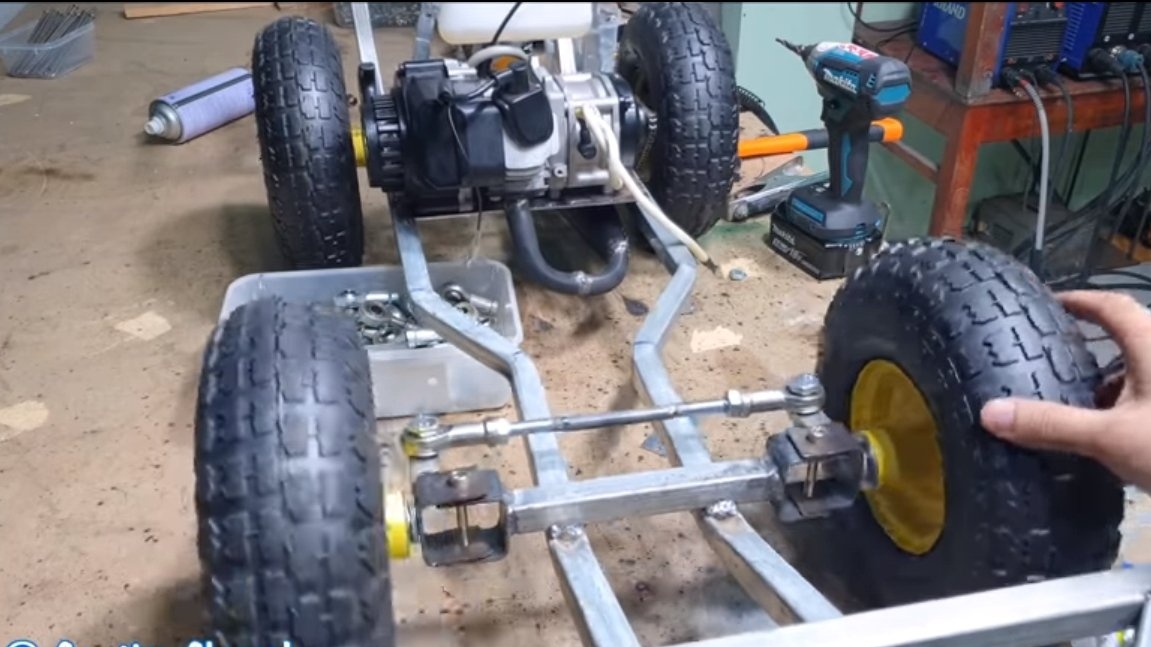
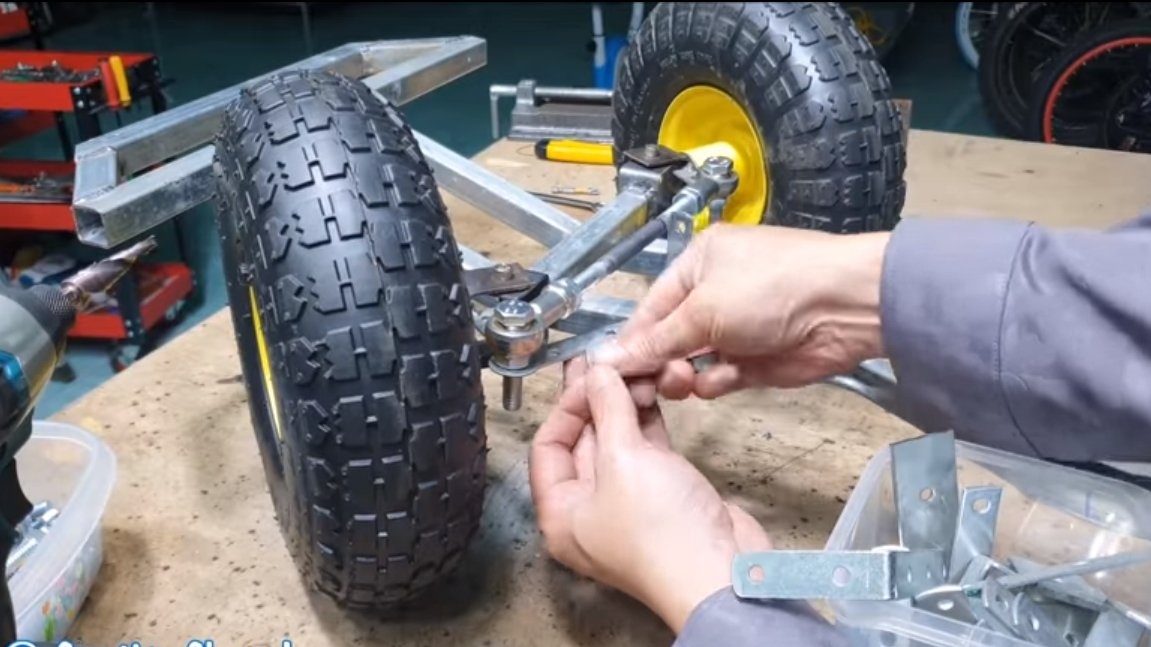
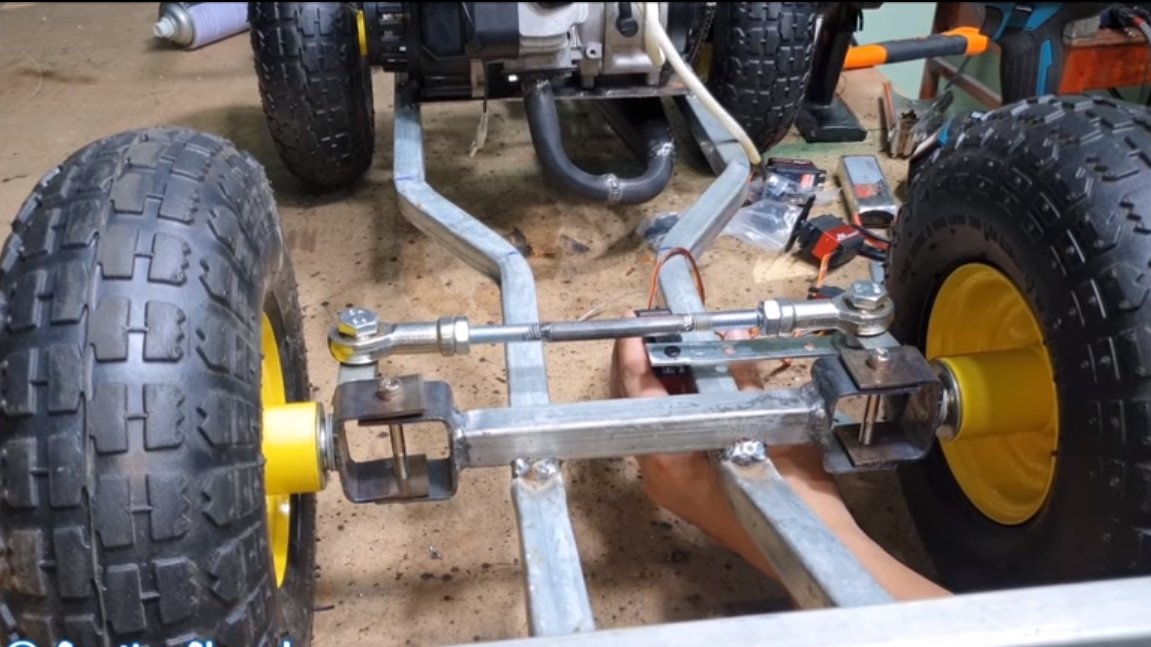
Step Six Steering
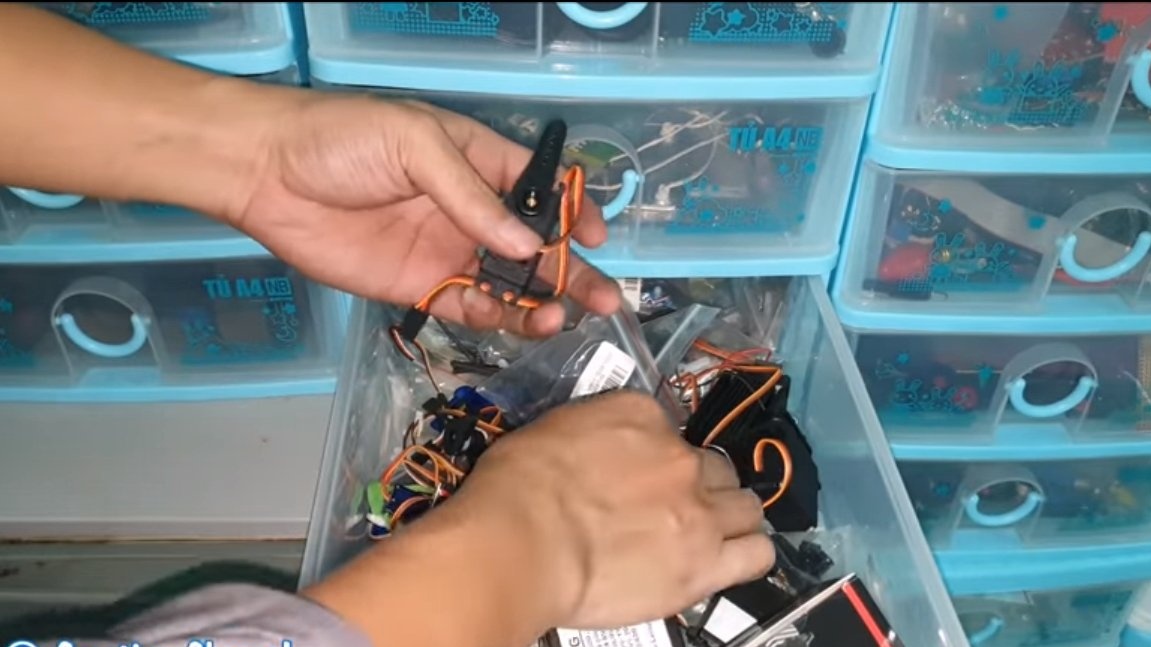
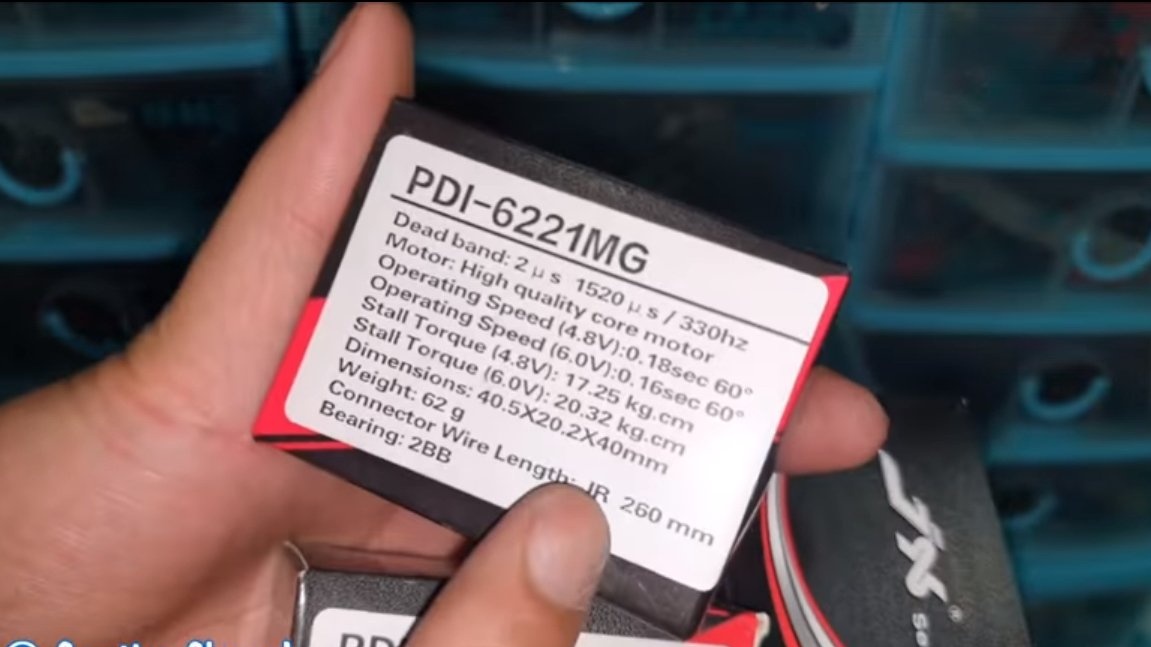
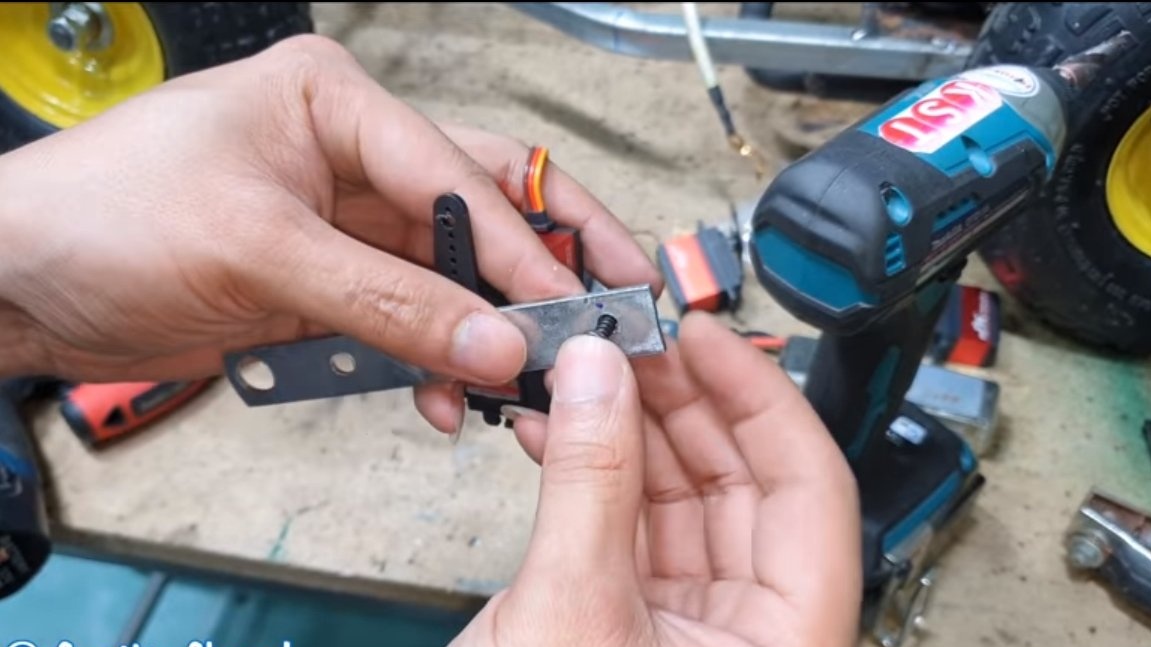
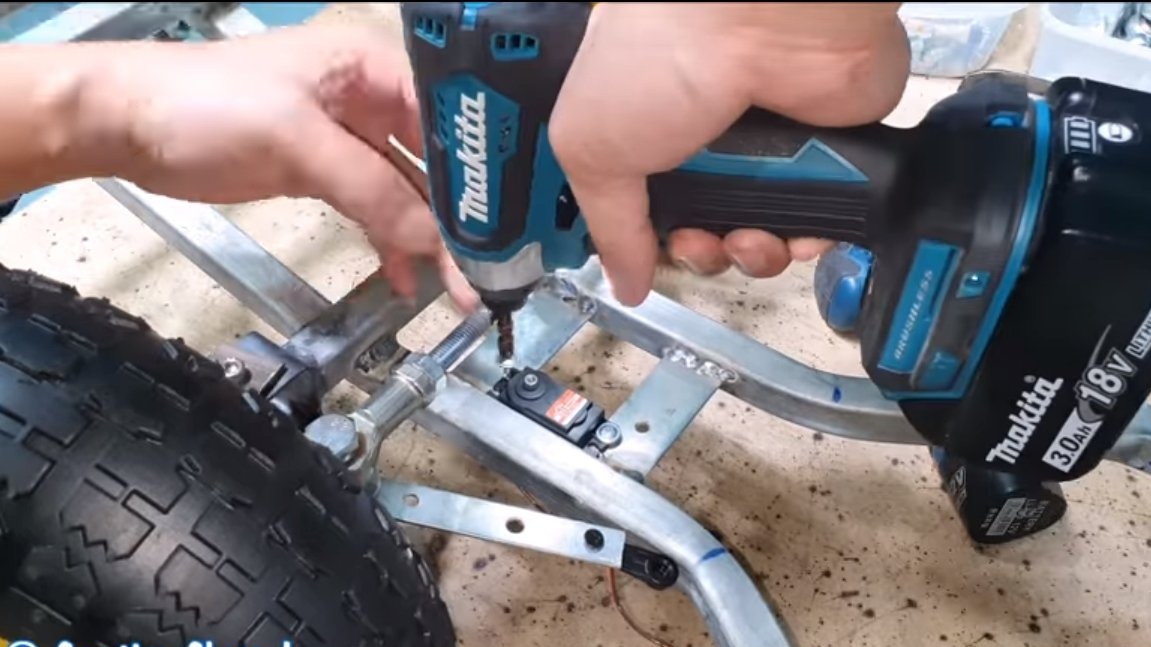
We set the traction on the front wheels so that they rotate synchronously. We also make traction for the servomotor, select the most powerful servomotor. Securely fasten the servomotor to the frame. For mounting the servo drive, mounting corners and self-tapping screws are quite suitable.

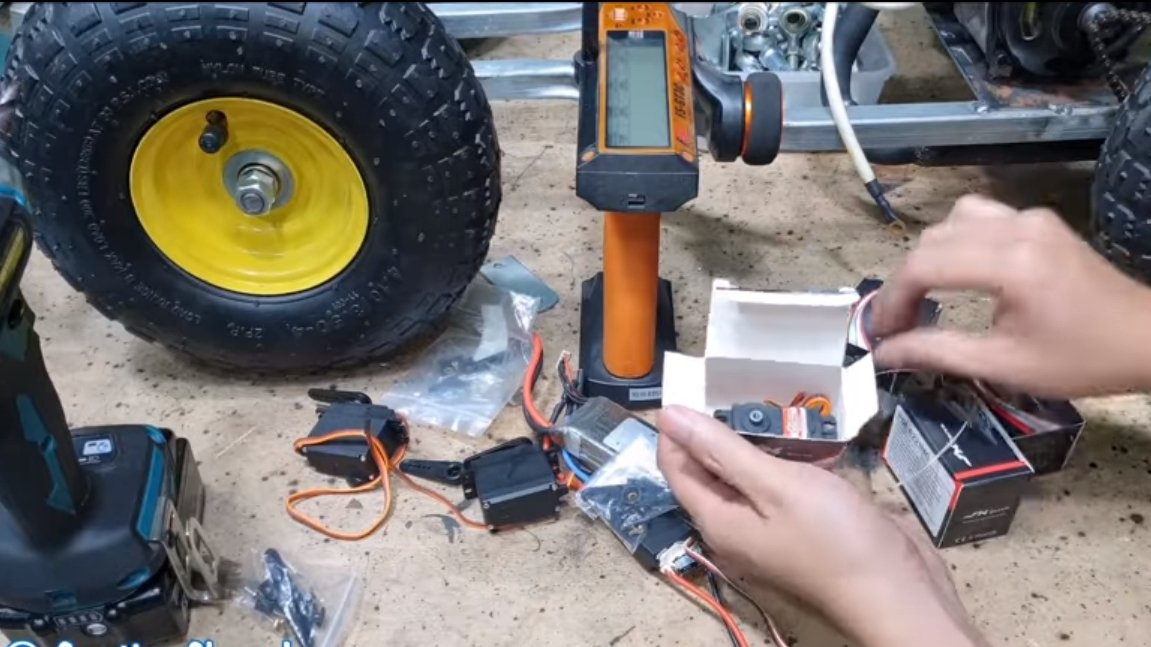
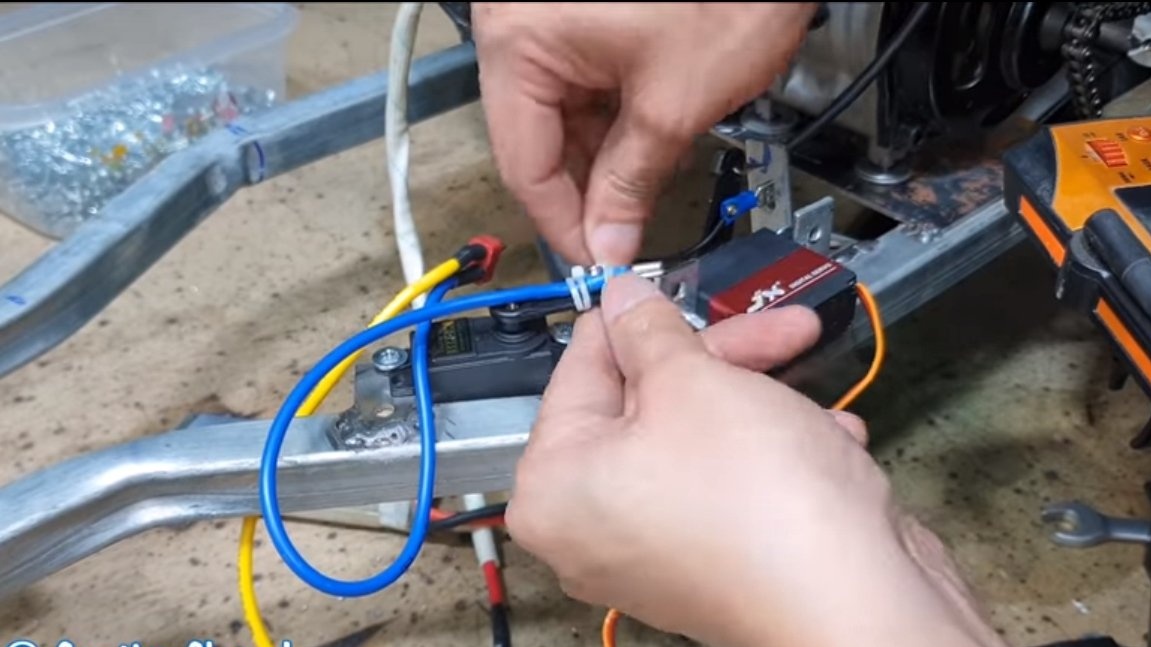
Seventh step. Engine control
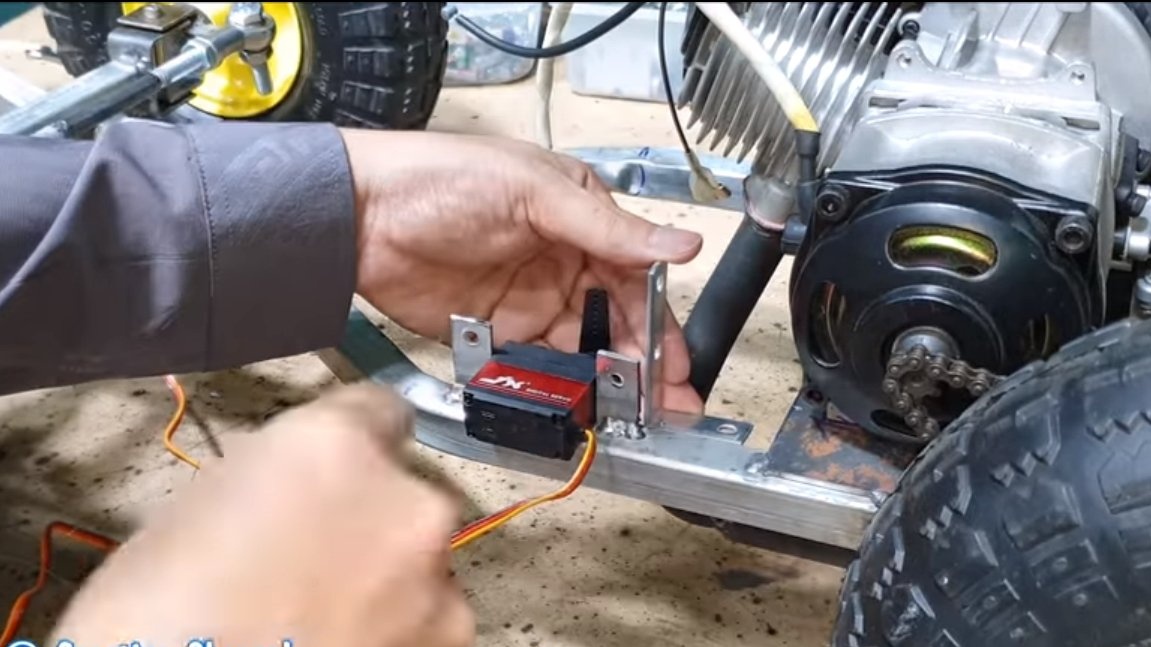
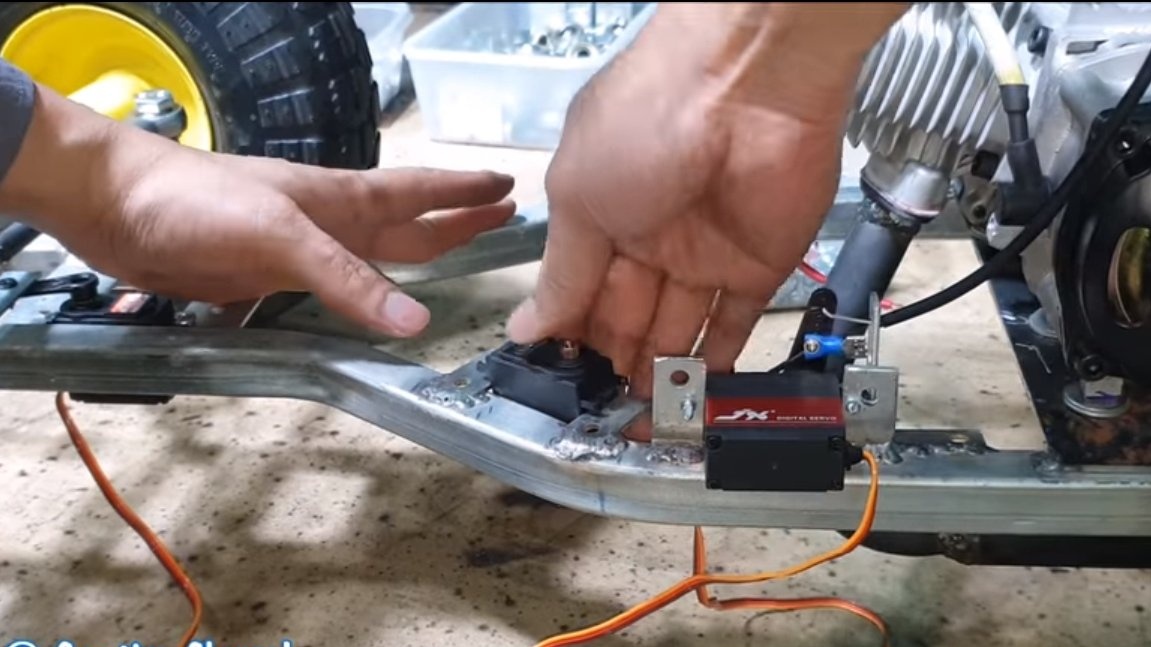
Two servo motors are responsible for motor control. First, put the first servomotor and connect the throttle cable to it. In addition, the author sets the ignition contact here. When we press on the gas, the contact opens and the ignition turns on.
The second servomotor already works as a relay, it turns on the starter. Here, the author also adapted a contact, which closes to ground when the servo is triggered. Of course, all wiring is securely attached to the frame so that nothing hangs.
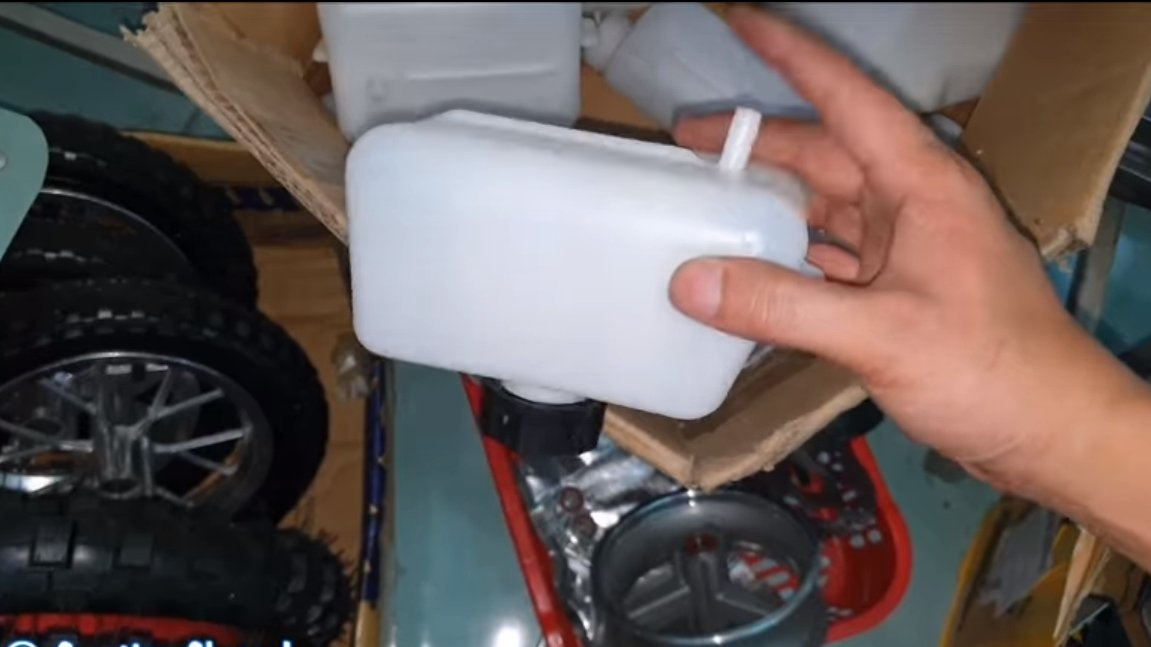
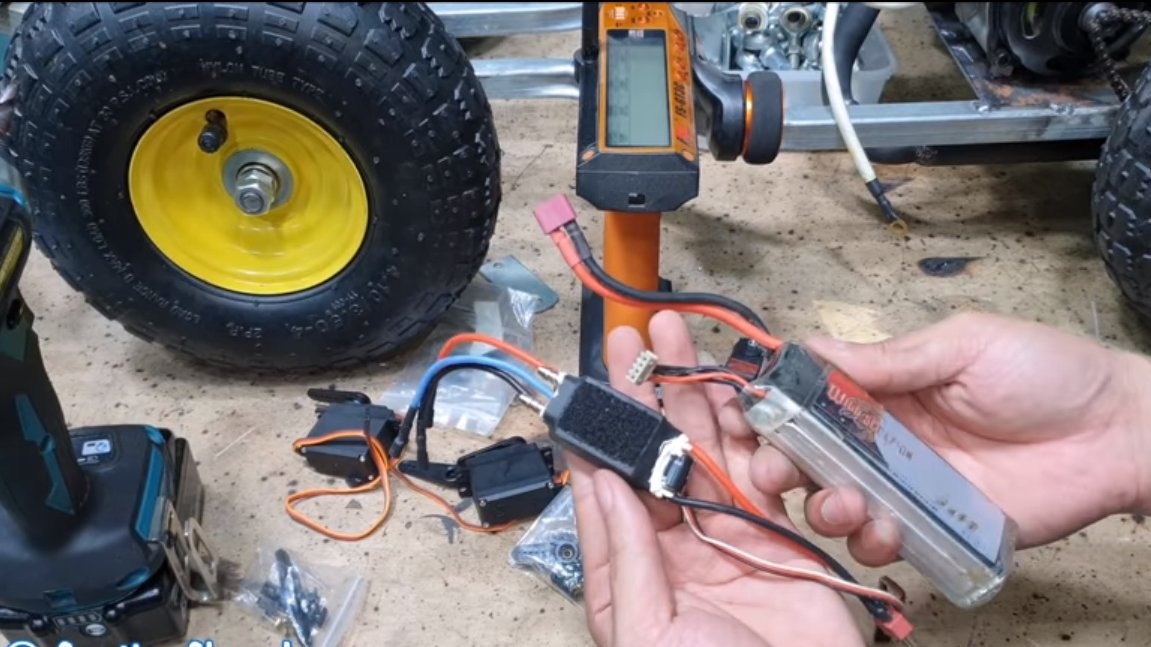
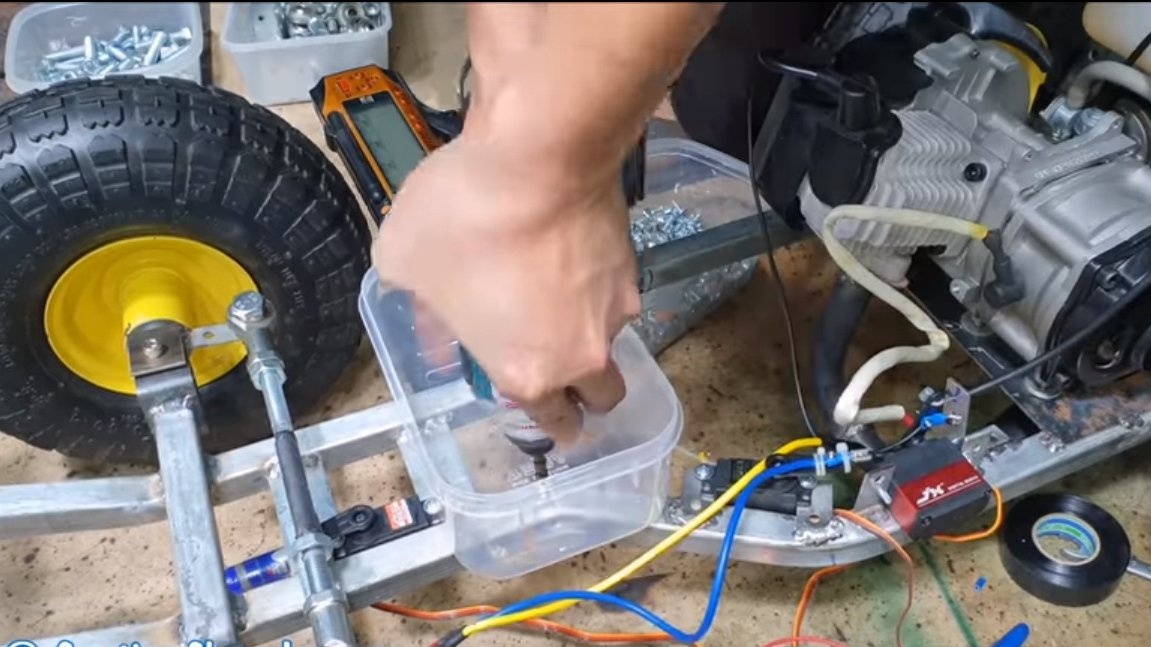
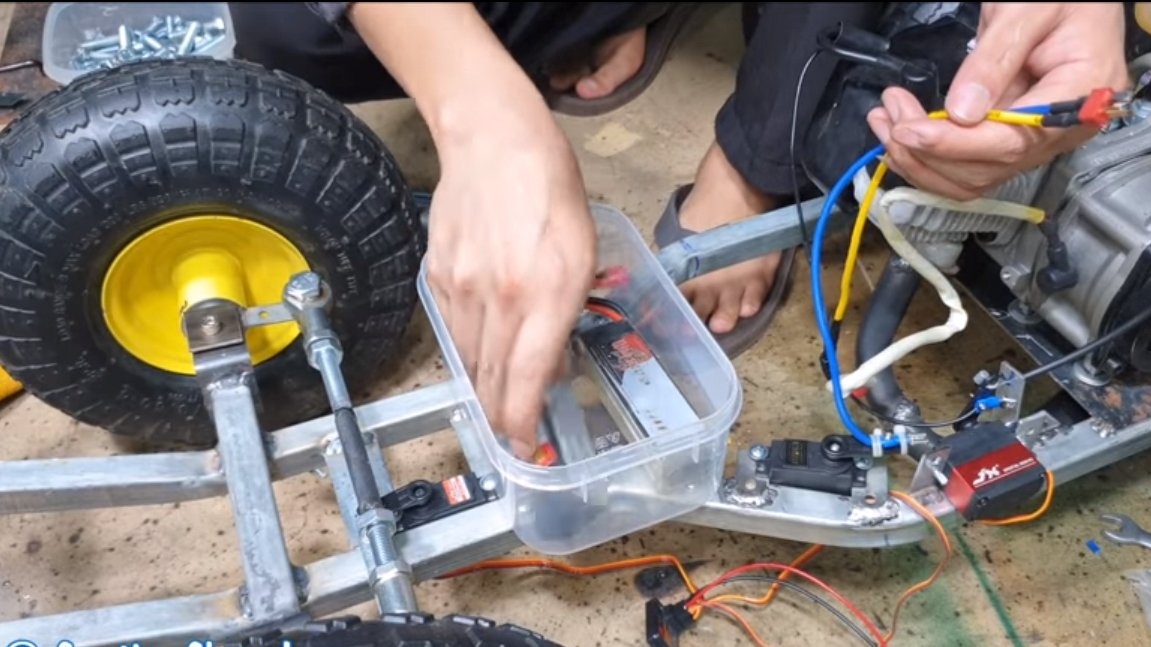
Step Eight. Installation and connection of electronics
We fasten the plastic container to the frame, put batteries and a radio in it. As a result, the container can be closed, electronics will be protected from dust and water. Batteries on board are needed to power the servomotors as well as the receiver. In general, the internal combustion engine should be equipped with a generator that can be used to recharge the batteries.
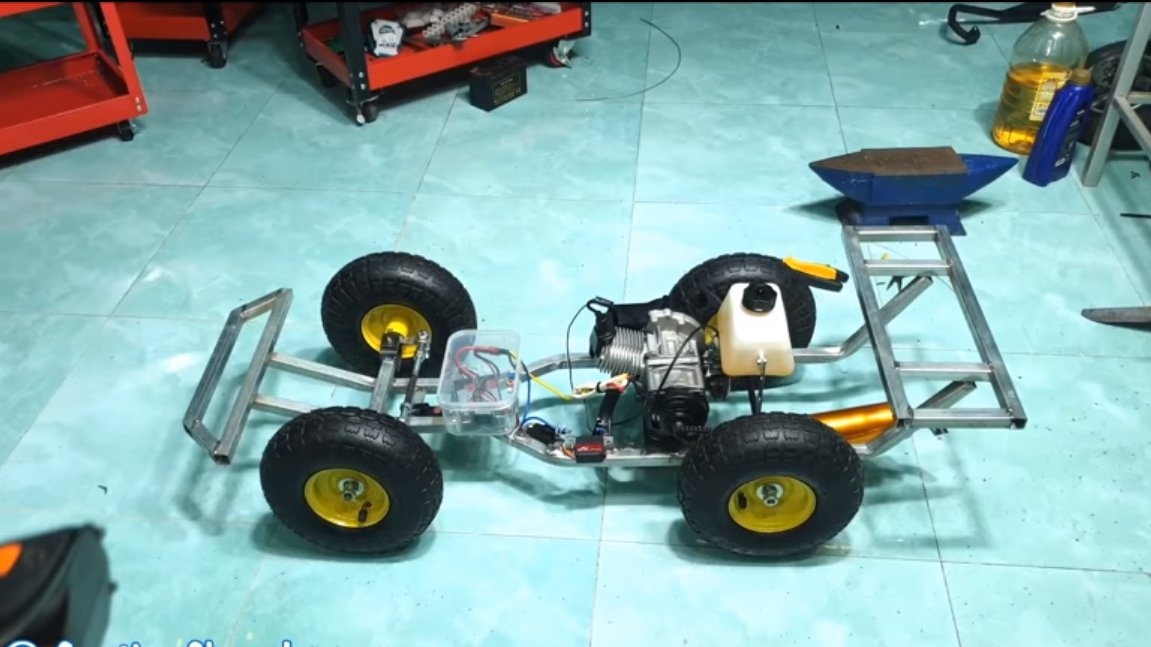
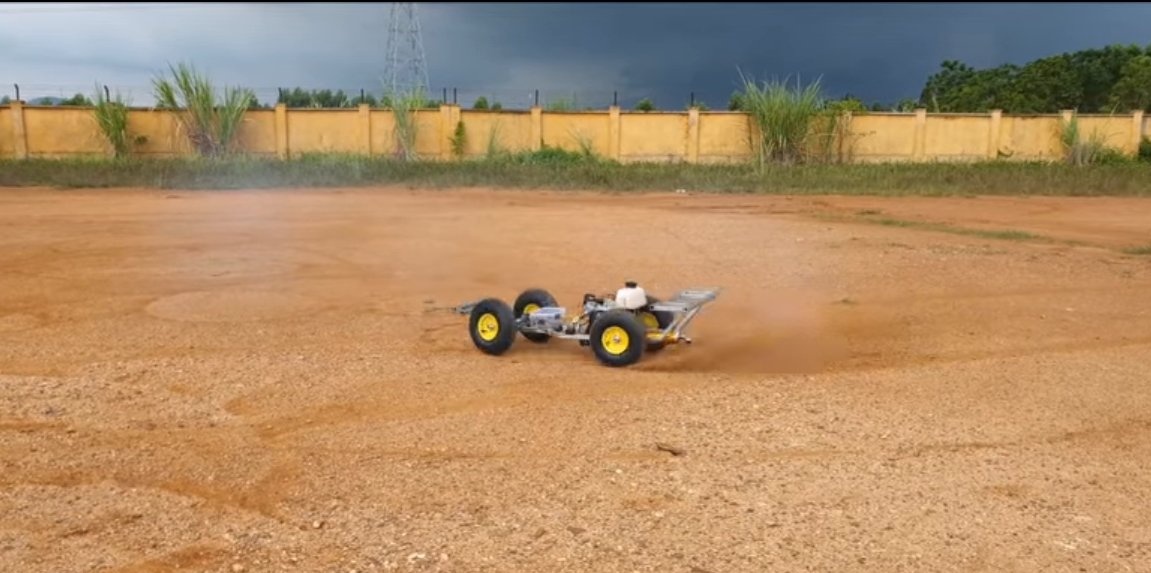
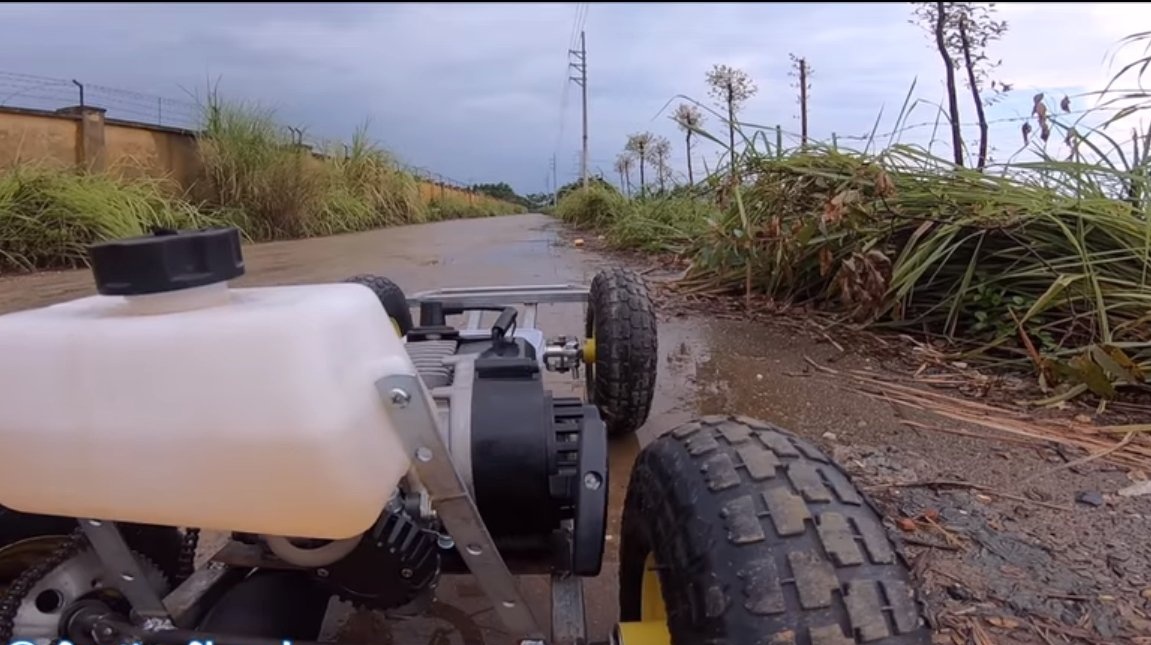
That's all, after that our car is completely ready, you can experience it. The car starts up perfectly and is quite easy to operate. The car has enough power, the car for such a motor is almost weightless. I hope you enjoyed the homemade work and found useful ideas and thoughts for yourself. Good luck and creative inspiration, if you decide to repeat this. Do not forget to share your ideas and homemade things with us!