
Hello to all lovers homemade. Most of the things that the manufacturer offers us can be done if desired. do it yourself, and if you have experience gained over the years, you can invent something better than the factory. This homemade product was made by the author, as it had a place to be, because it was intended for a child, and its creation was the first experience, which is also interesting in such endeavors.
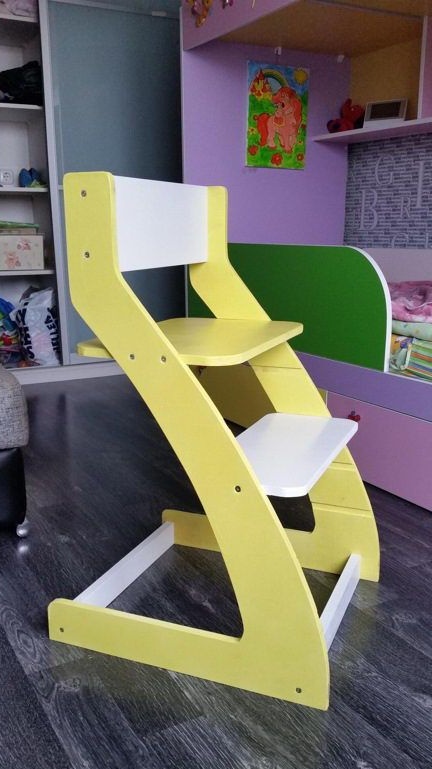
In this article, we will talk about the "vyrastayka" chair, the creation of which I will now discuss.
In order to make a homemade chair, you will need:
* Fiberboard sheet
* Ruler, pencil
* Electric fret saw
* Wood screws
* Screwdriver or screwdriver
* 15 mm plywood sheet
* Paint of any color
* Manual router with a mill of 16 mm
As can be seen from the above for this chair, many details are not needed, and such a tool should be found in almost everyone.
Step one.
For an exact product, it is better to make a template, and then make details on it. We put the pattern of the template on the fiberboard sheet with a pencil and a ruler, outwardly it should turn out approximately as in the photo.
All dimensions of the parts, as well as the dimensions of the chair are indicated on the drawing, which is convenient when creating components.

Step Two
We saw out a template from fiberboard using an electric jigsaw. When operating a power tool, be careful not to forget to wear safety glasses and gloves.
Step Three
According to the template, we cut out two side parts with the same jigsaw from a plywood sheet.

Details should be identical to each other. On each of them, on the inside, we make several grooves with a manual mill with a mill of 16 mm, in order to adjust the height of the seat. After that, according to the previously submitted drawing, we cut out the remaining components of the chair, this is the back, two rectangles in the role of a seat and footrest, as well as two cross beams for structural strength.
Step Four
Each of the details must be painted in the color you like, if the child chooses the color of his chair, it will be even better. After the paint dries, you can go from the finish line, namely the assembly of all parts into one whole. Armed with a screwdriver and a small number of screws, we assemble the chair from the finished parts, in order to prevent the seat and legs from turning, it is necessary to twist them into two screws.
On this, the homemade "vyrastayka" chair is ready, now you can try it in practice, and as the child grows up, you can unscrew the screws and move the seat to the desired, and most importantly convenient level.
Thank you all for your attention and more useful ideas for homemade products.