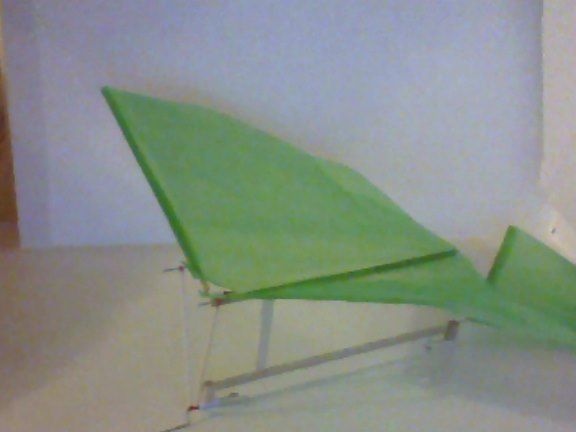
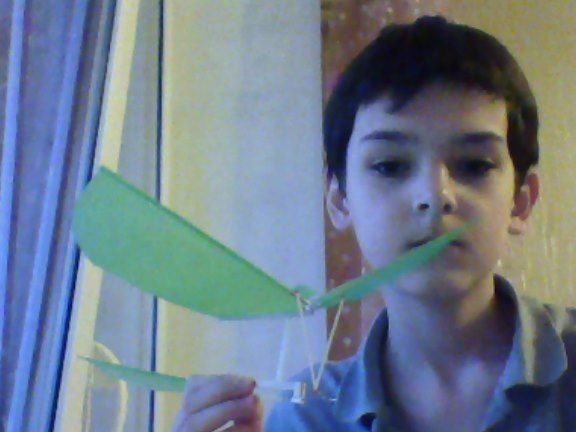
Recently, I became interested in aircraft modeling. I am a beginner, so do not judge strictly. Today I want to show how to make an ornithopter or a "flywheel" on a rubber motor
We will need:
1. coffee sticks
2. superglue
3. cutter
4. sandpaper
5. paper
6. ruler
7. pencil
I did according to this scheme:
So, let's begin!
I started work with the main rails. After cutting, we sand each rail with sandpaper.
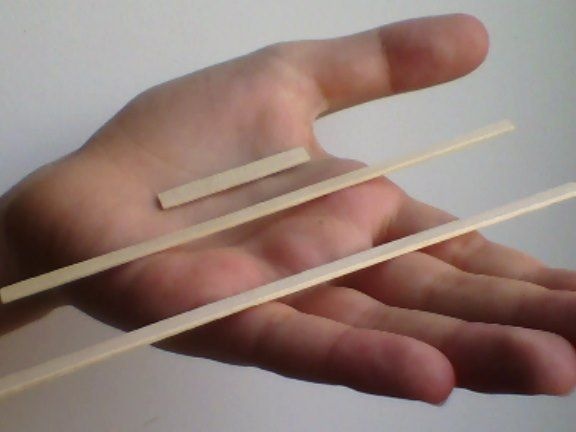
We attach a 40 mm rail to a 140 mm rail at a distance of 25 mm from the edge. With a 127 cm rail, we do the same.
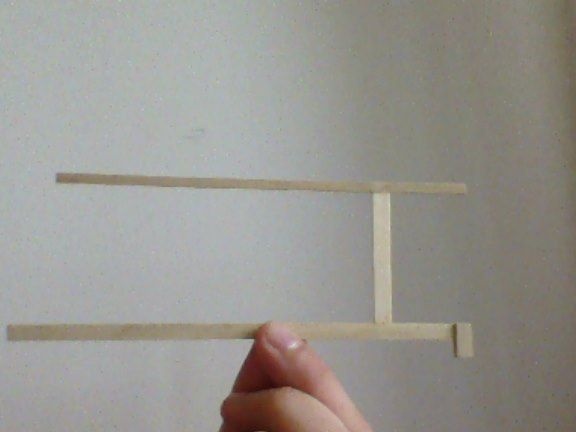
Glue two 15mm rails on the edge. The ends are cut at an angle of 45 degrees.
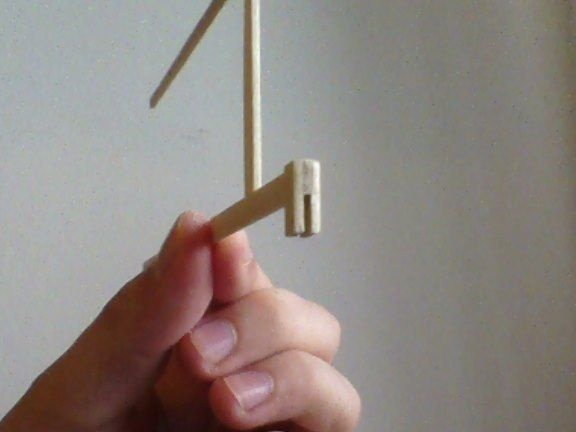
We make a tail of 100 mm slats.
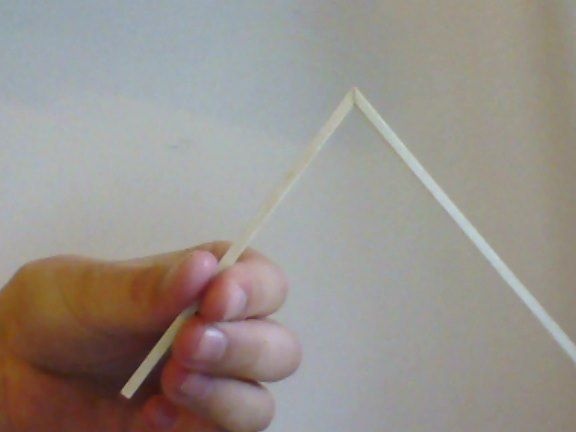
To attach a clip to the tail, bend its tip
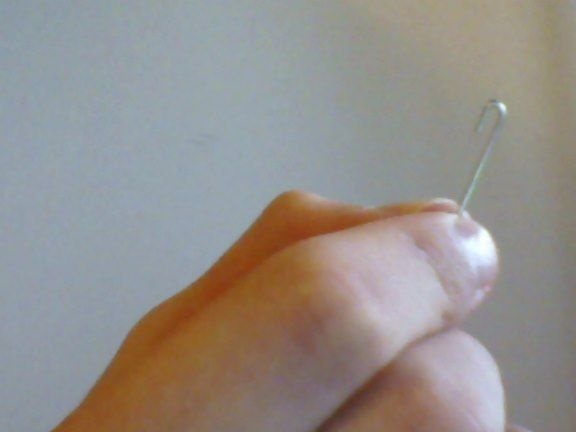
And "cling" to the tail.
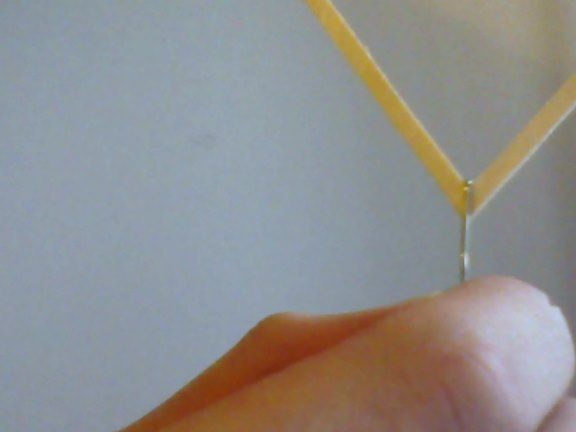
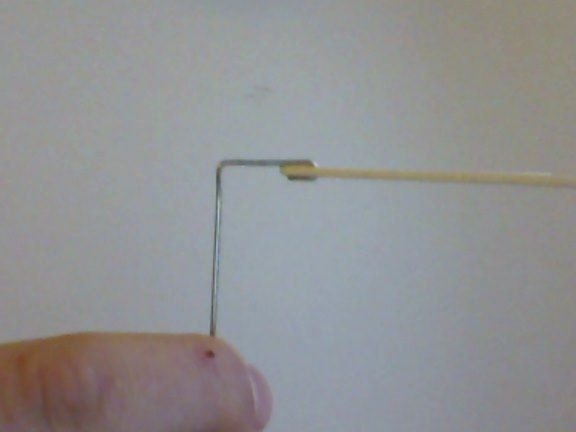
glue two more 10 mm rails to the other end of the main rail. This is necessary to attach the tail to the fuselage.
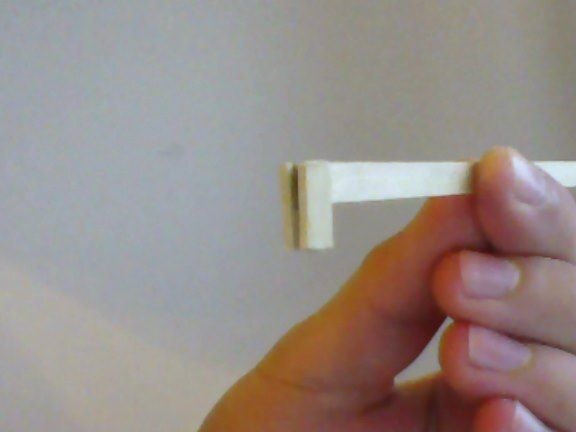
Fasten the tail.
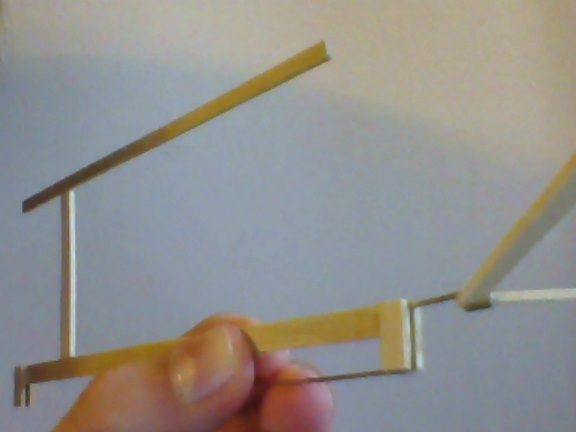
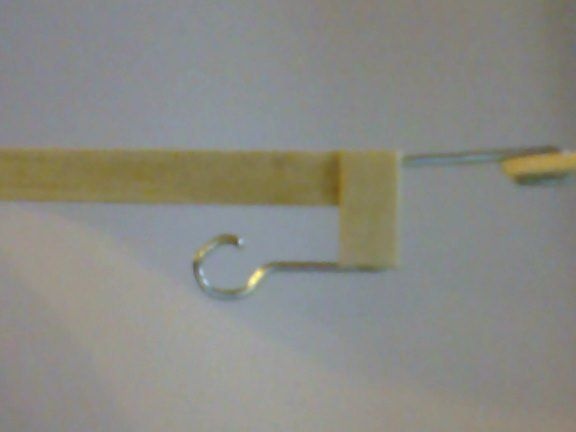
We make one more "ear" for the gum.
Glue two paper tubes 60 mm to 5 mm. Grease the bottom with glue for strength.
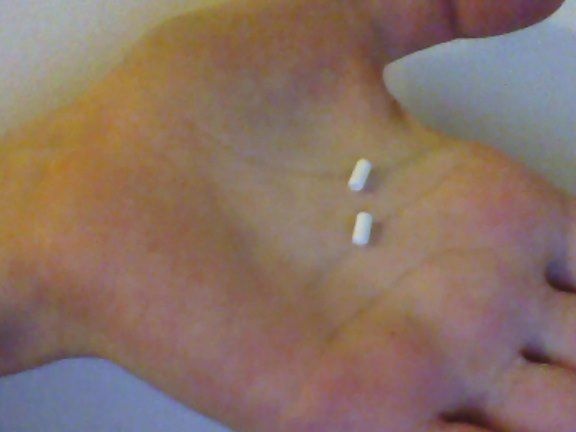
Glue them to the edge of the 127mm rail.
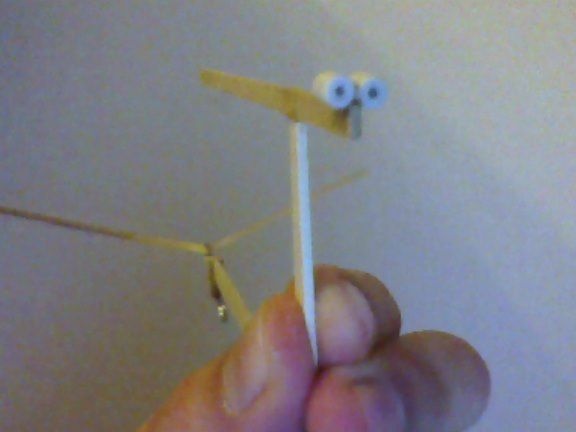
We make another tube 60 mm by 10 mm.
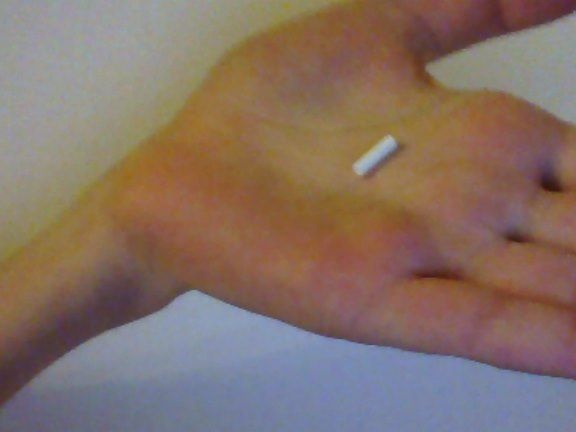
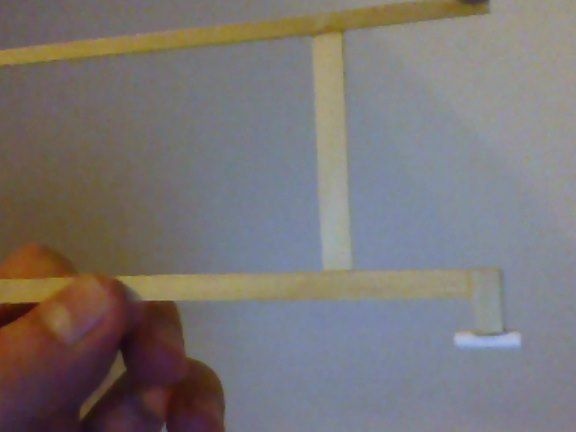
Glue it between the front rails of 10 mm.
We take sticks for wings of 150 mm.
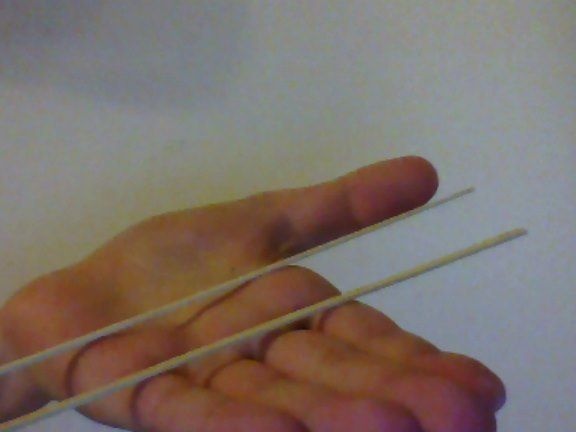
Mounts on which wings are held.
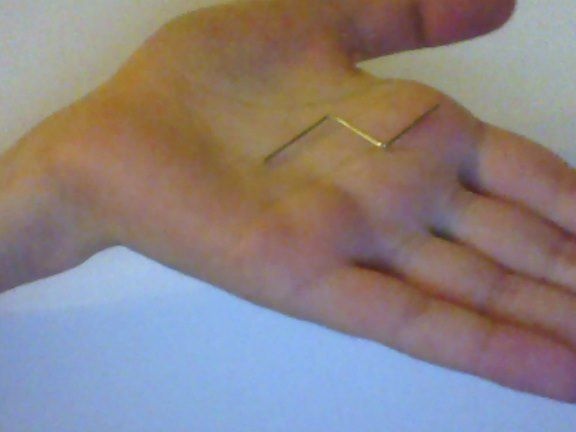
Glue them to the rail.

We make the crankshaft, as shown in the drawing.
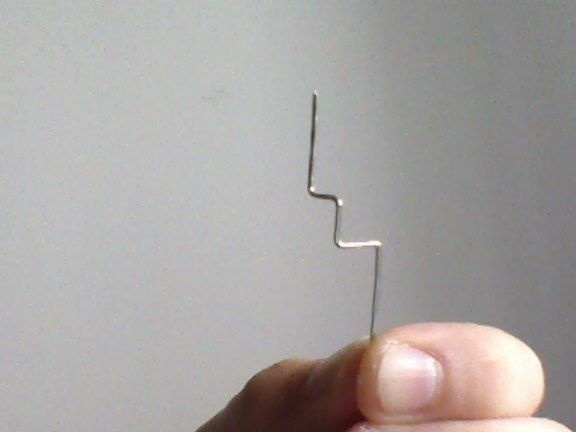
Insert it with one end into a paper tube.
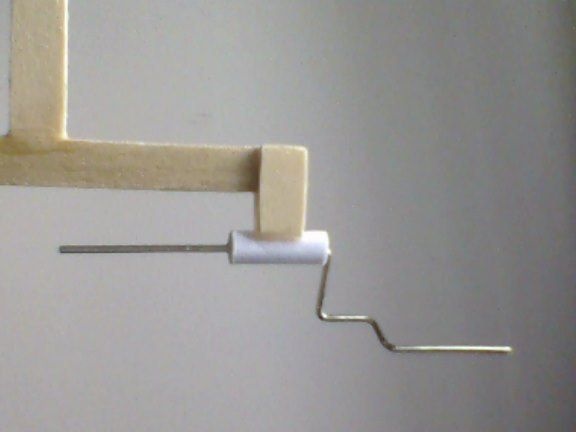
We make one more "ear".
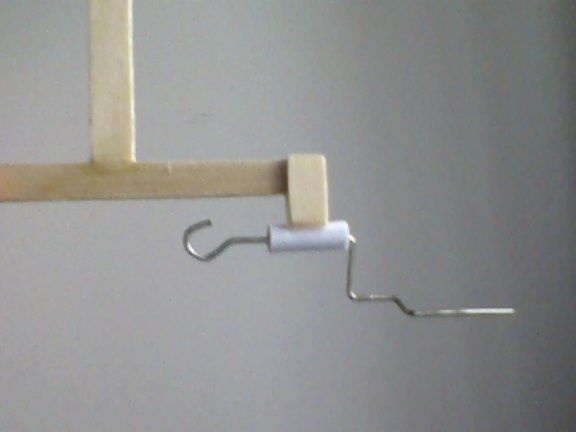
We fix the wings using plugs (plugs are made of braid from the wire).

We make traction from a thin rack 58 mm. At the end we attach a piece of braid.
Put on the traction.
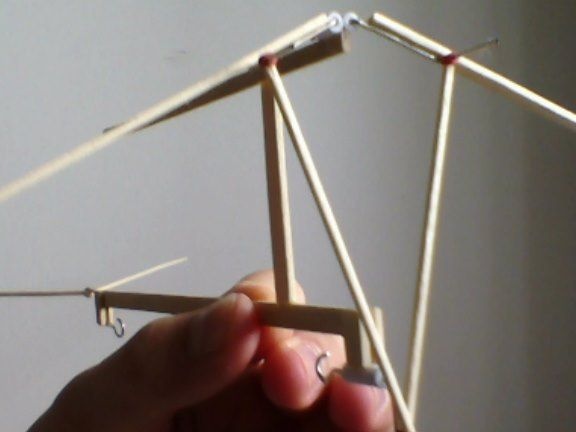
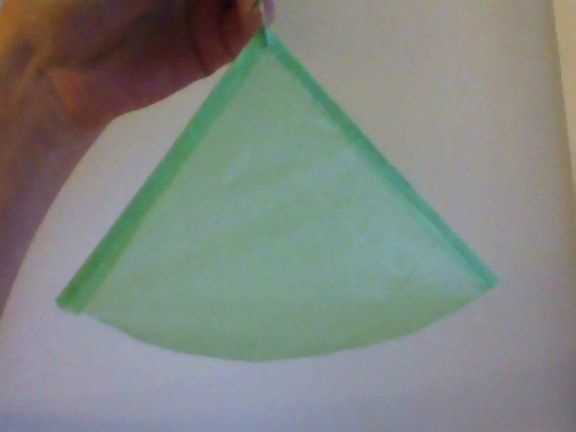
Glue cellophane to the battens of the wings and tail.
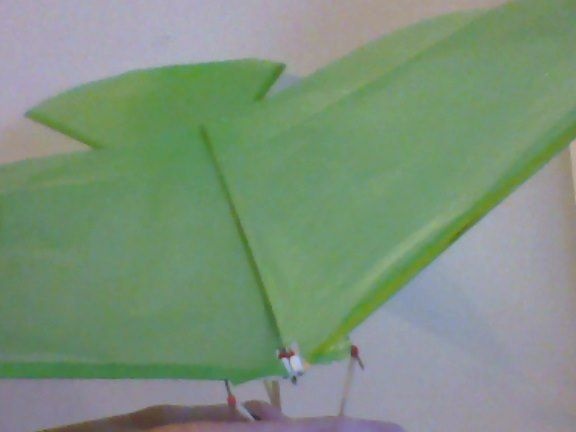
Ornithopter is ready! We put on an elastic band to the sky! All successful flights!
