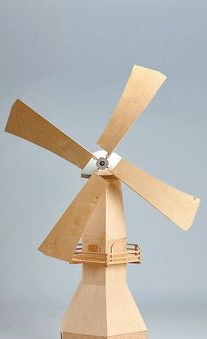
Dear visitors of the site, from the material presented by the author, you will learn how to independently make a decorative mill with blades rotating from the wind blowing for your summer cottage. Such a decorating item will bring a touch of fabulousness and antiquity to the design of your allotment)
Today it has become very fashionable to decorate their summer cottages with various figures of gnomes, animals, etc., all this is done so that the space is filled with kindness and comfort.
Wooden houses, wells and mills also do it, it all looks very cool. And to make for example a mill is quite possible
do it yourself, which will require thick plywood, timber, rail.
The mill building was mainly trapezoidal hexagonal with blades and the mechanism was driven by the force of the wind acting on the wings of the blades, and then the torque was transmitted through wooden gears to the millstones, which grind the grain into flour.
Based on this information, the author set to work, for which he needed the following ..
Materials1. thick plywood
2. rail
4. beam 40x40
5. bearing 2 pcs
6. expanded polystyrene
7. screws
8. paint
9. threaded rod
10. nut
11. washer
12. wood glue
13. adhesive tape
14. wood impregnation
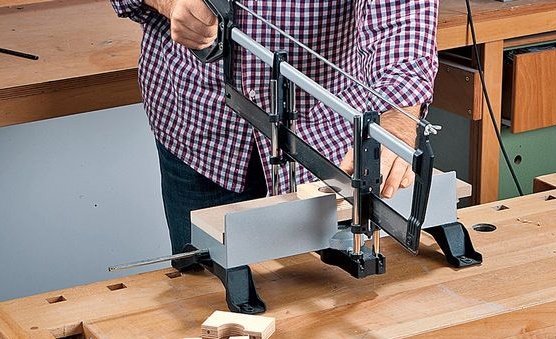
Instruments1. hacksaw
2. screwdriver
3. drill
4. sandpaper
5. mounting gun
6. hammer
7. screwdriver
8. chisel
9. jigsaw
10. clamp
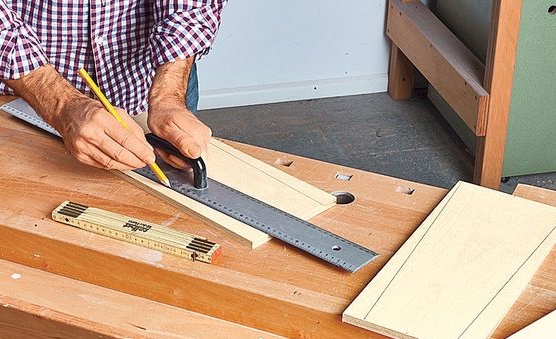
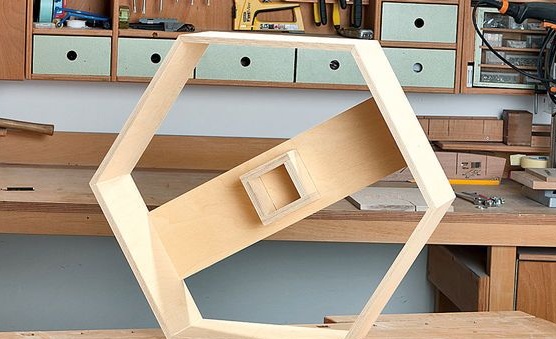
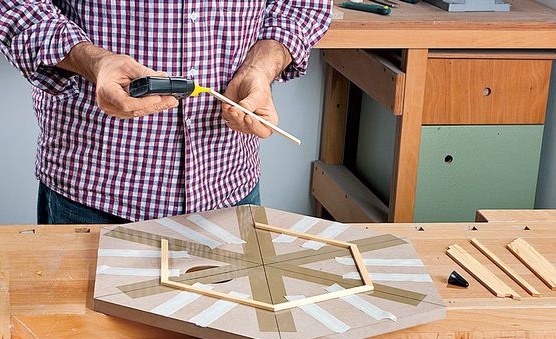
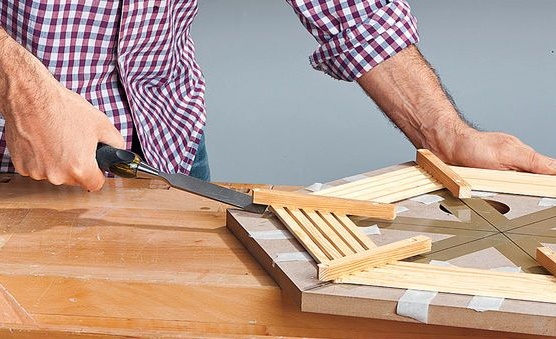
Step-by-step instructions for assembling a decorative mill with your own hands.And so, for starters, the author cuts 6 identical parts in the form of a trapezoid, at the edges he makes a saw cut at an angle of 45
0.
Such a degree of angle is necessary in order to end up with a trapezoid hexagon.
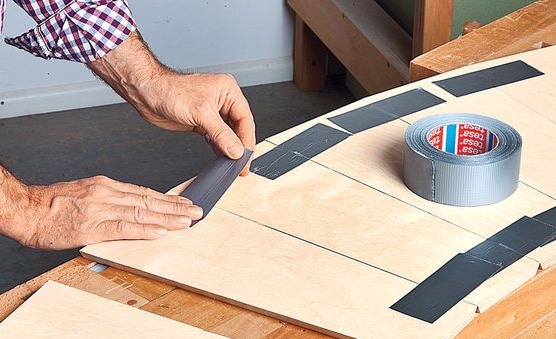
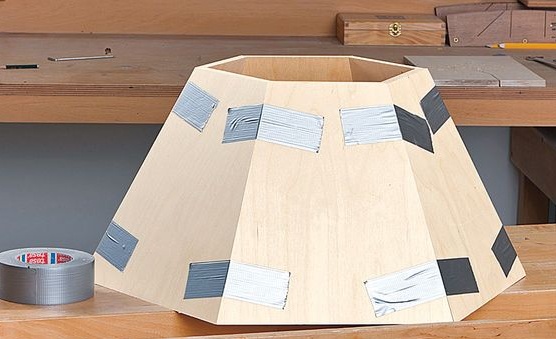
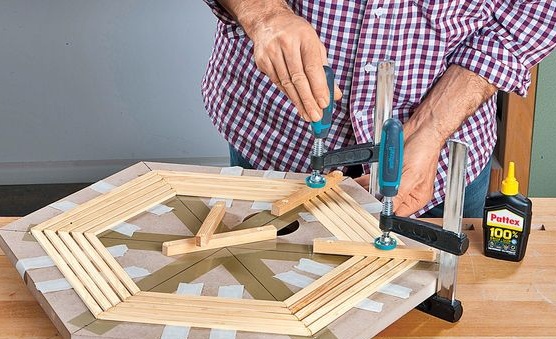
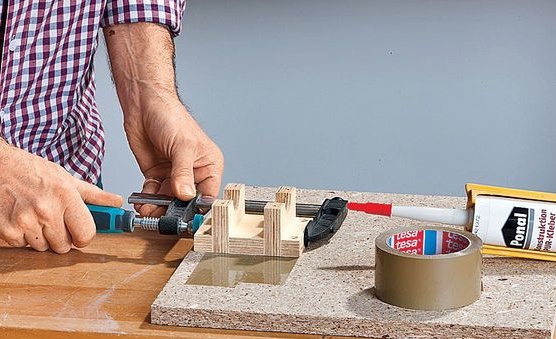
All 6 blanks are glued together with tape.
And now that same corner is filled with wood glue.
Then it neatly folds and you get such a trapeze.
After the glue dries, its excess is cut off with a chisel or knife.
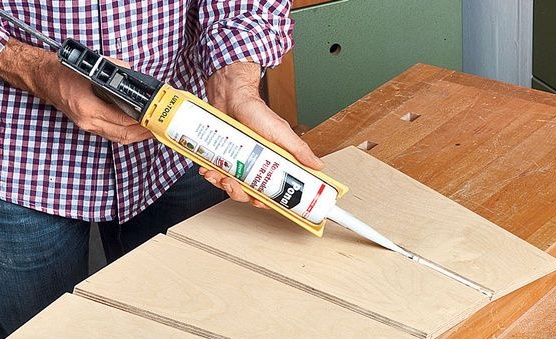
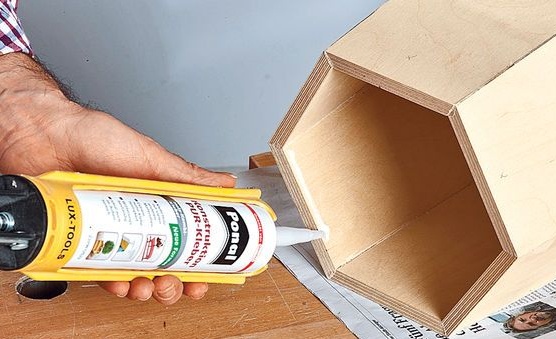
Glue is again applied to the front.
And the hexagonal workpiece is glued.
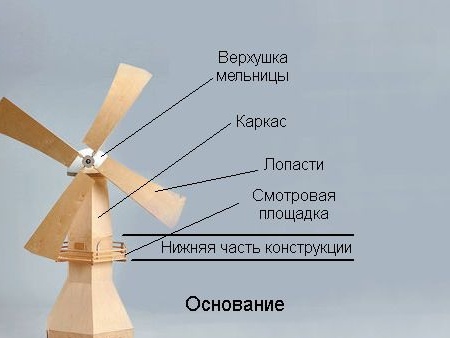
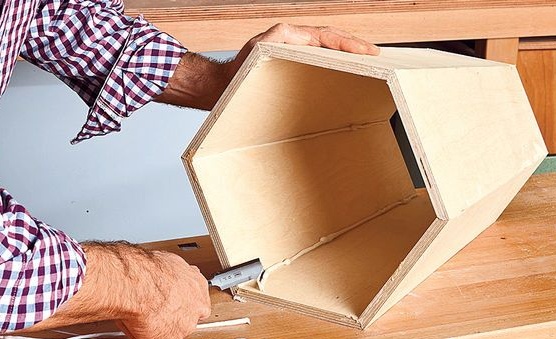
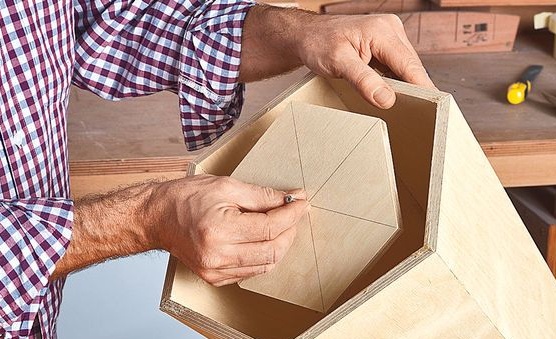
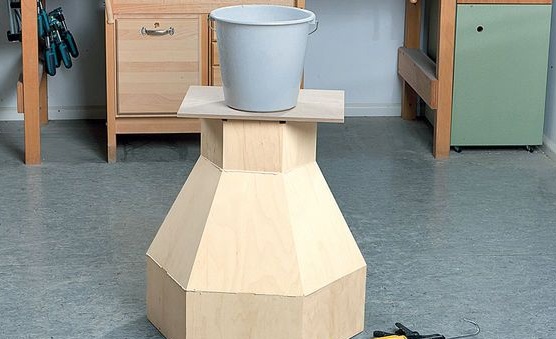
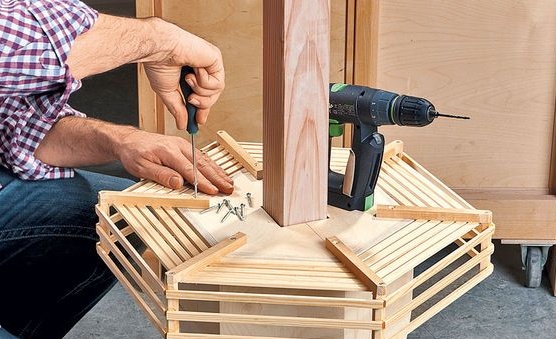
Then the master makes the foundation.
Glues in the same way with wood glue.
A 40x40 beam is installed in the middle.
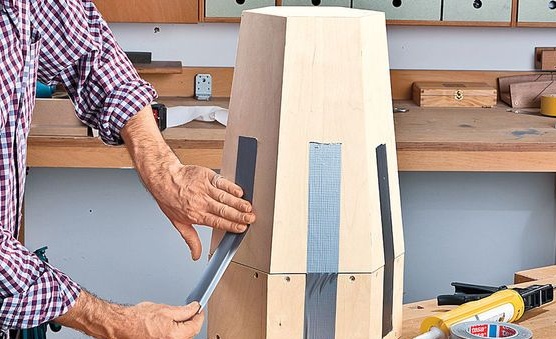
The trapezoid is connected to the base with tape and glue.
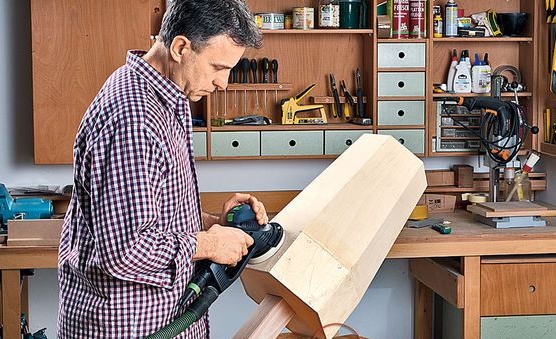
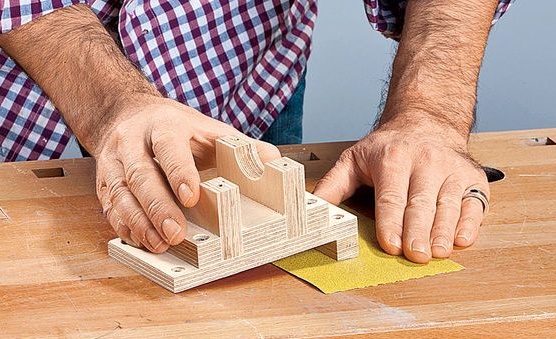
The junction is carefully sanded.
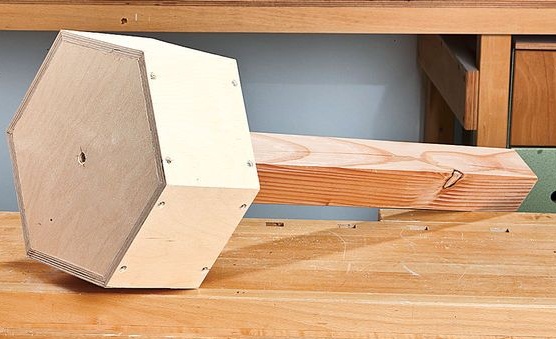
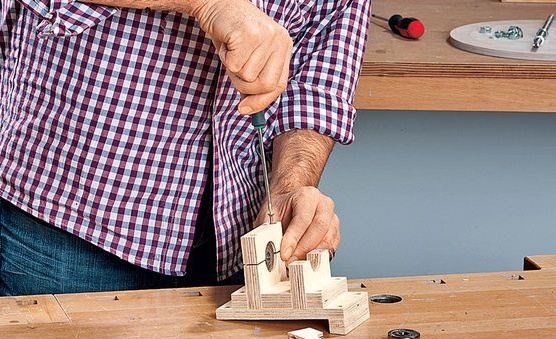
A square is made under the fastening of the beam.
Mounted at the base.
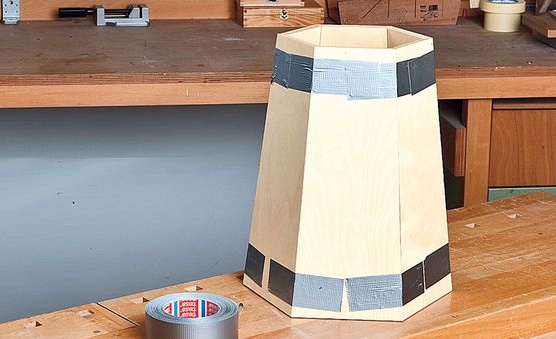
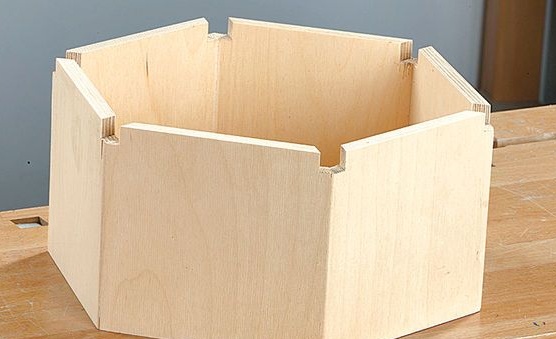
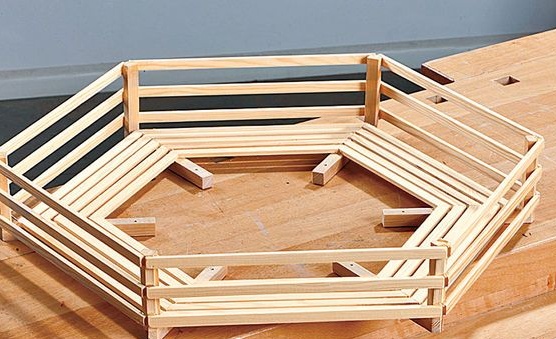
Another trapezoid is made according to the same principle.
And one more hexagon.
Everything is assembled and glued together in a single design.
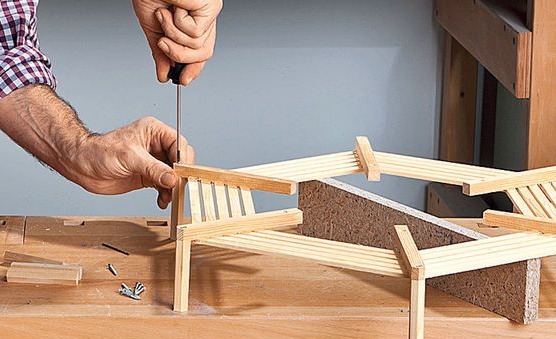
Then the author proceeds to create a viewing platform of the mill.
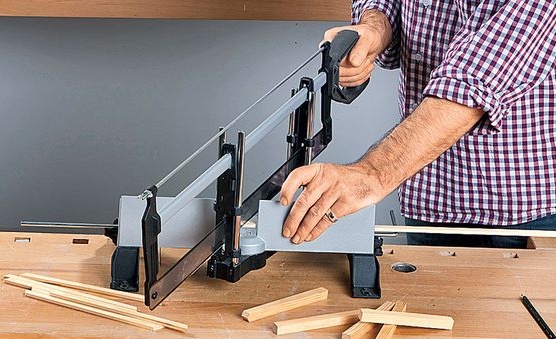
Sawing the rail into equal parts, making ends at an angle of 45
0Drill a hole.
Begins assembly.
Glues and tightens with clamps.
Removes from the podium.
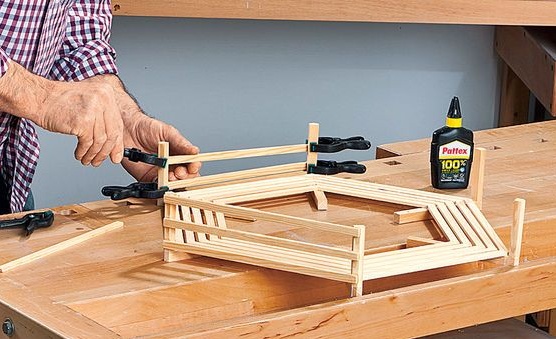
Next, it makes a railing of the observation deck.
Glues in the same way with glue and fixes with clamps.
Here is the result.
Fastens directly into place.
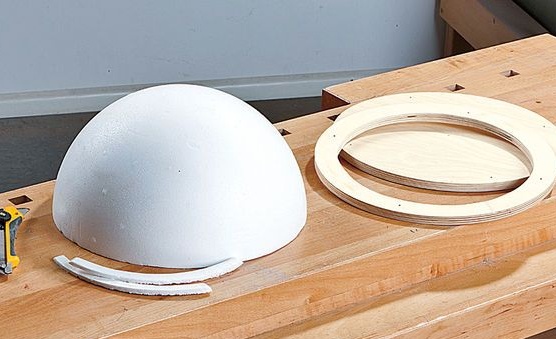
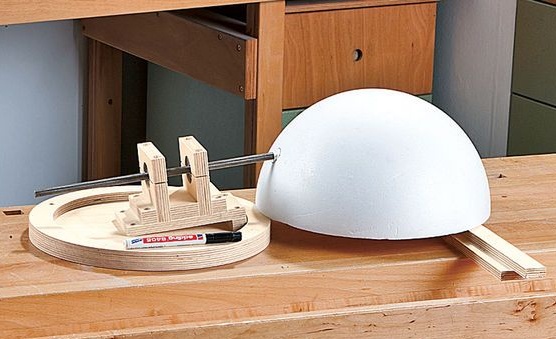
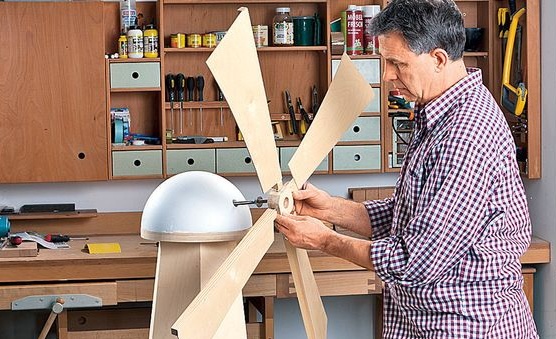
The upper part of the mill will be made of polystyrene.
The author makes the base of plywood for the installation of the roof.
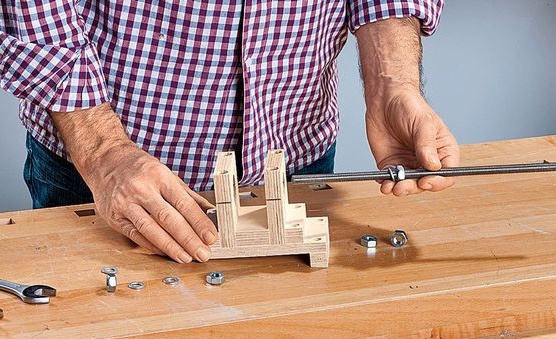
Then he makes a mount for the shaft with bearings.
Drills a hole for mounting ..
Saws the workpiece into 2 parts.
Glues the base.
Processes the bottom with sandpaper.
Places the bearing and pulls together the second half.
The shaft is inserted.
Fitting in place.
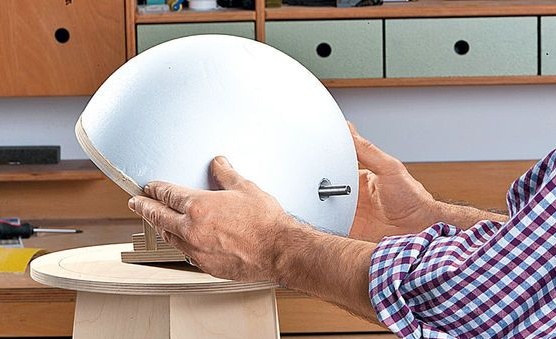
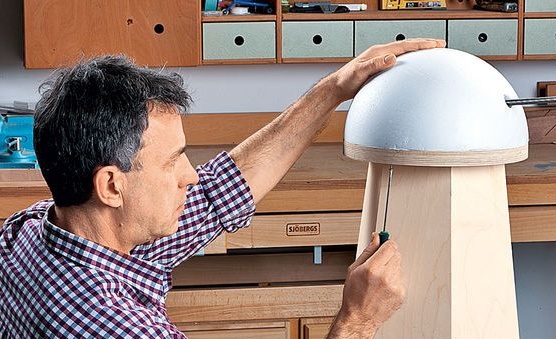
Drawing a marking on a hemisphere for the subsequent drilling.
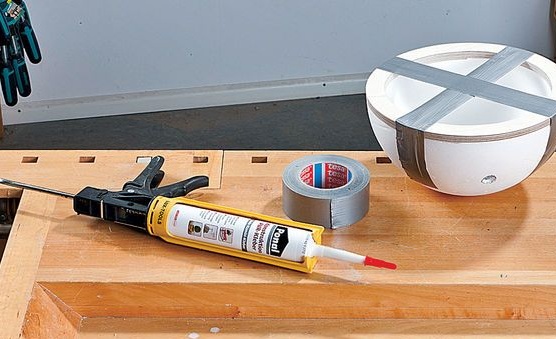
A plywood ring is glued to the lid.
Installation
It is fastened with screws on the face.
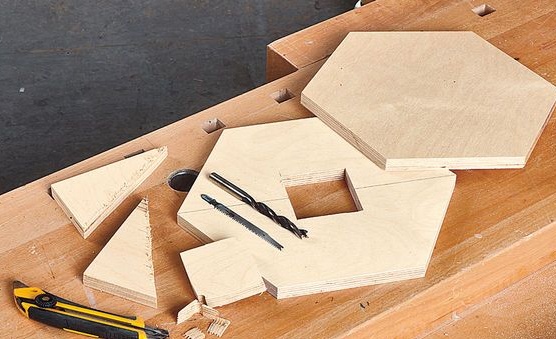
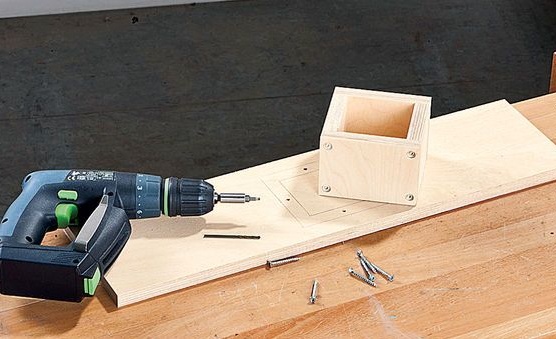
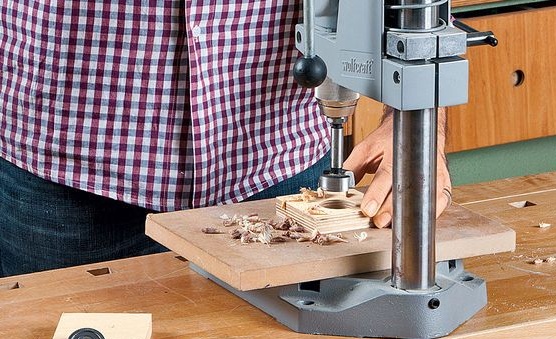
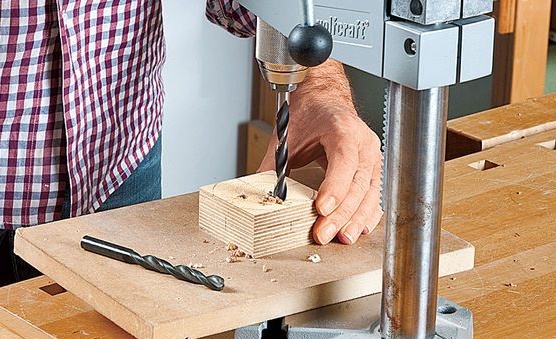
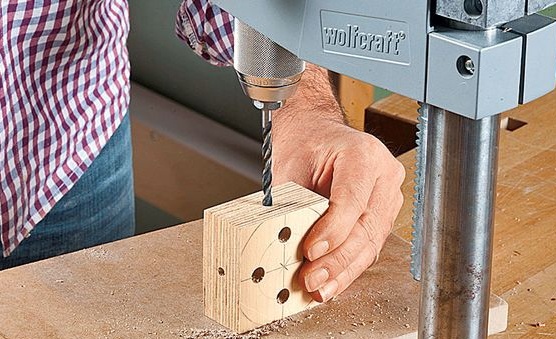
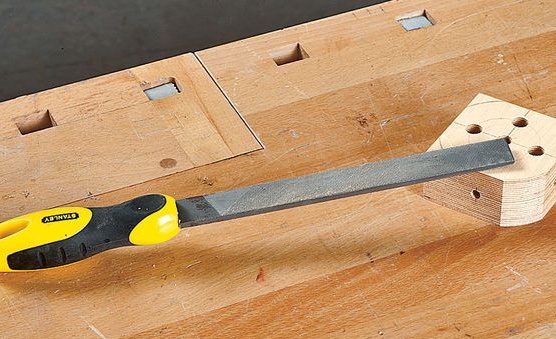
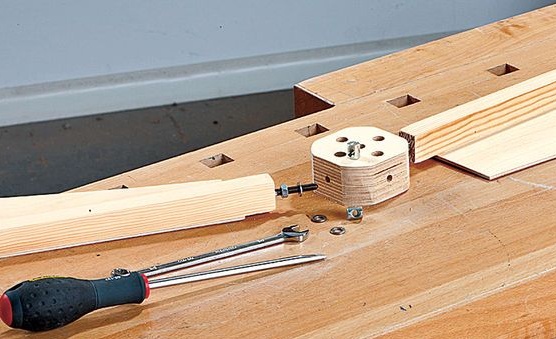
After that, the master proceeds to the core, for which he takes a piece of plywood glued together, marks the center and circumference, drills holes.
Holes for installing blades are also needed.
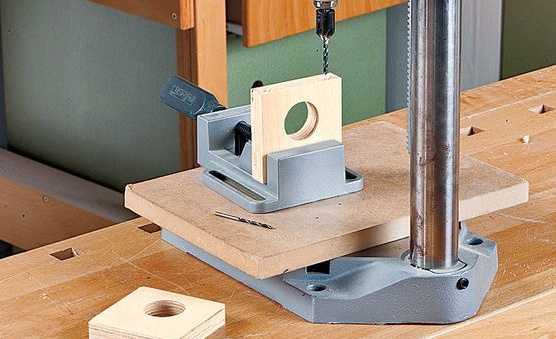
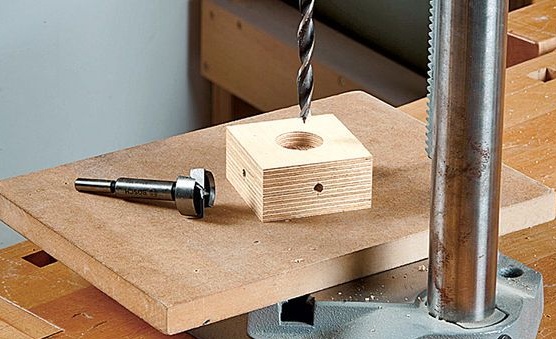
Drills under the bearing.
Files and rounds off corners with a file.
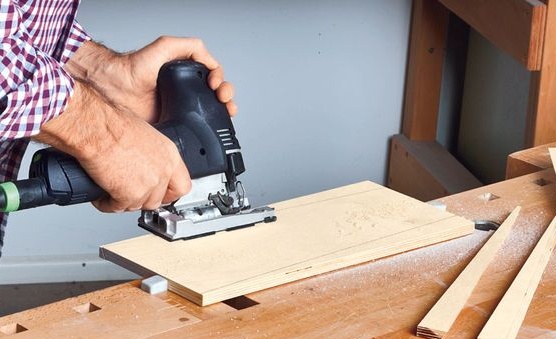
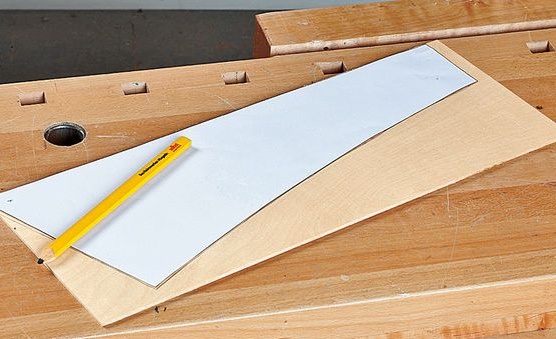
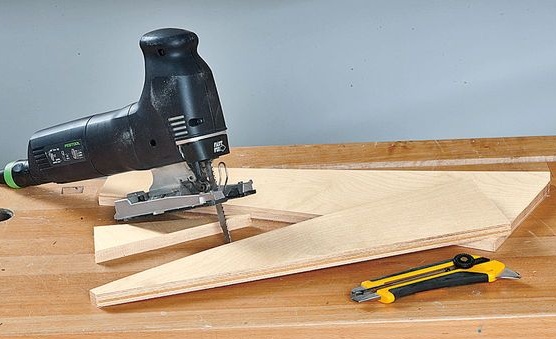
With the help of an electric jigsaw, it cuts out the blades.
This way.
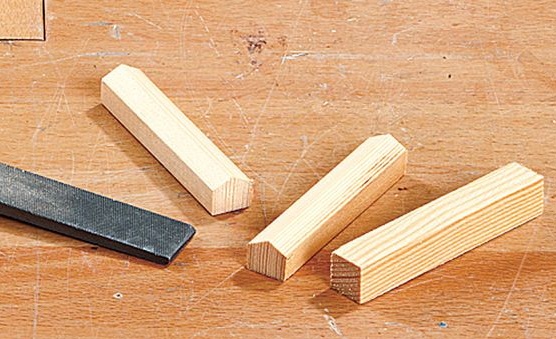
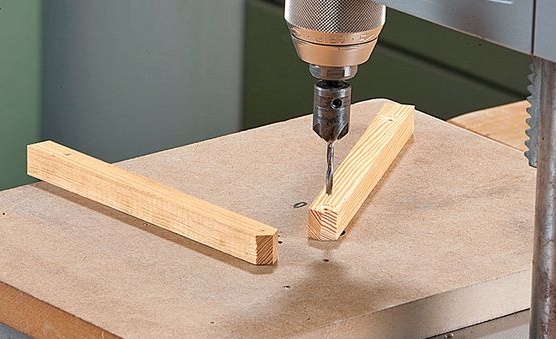
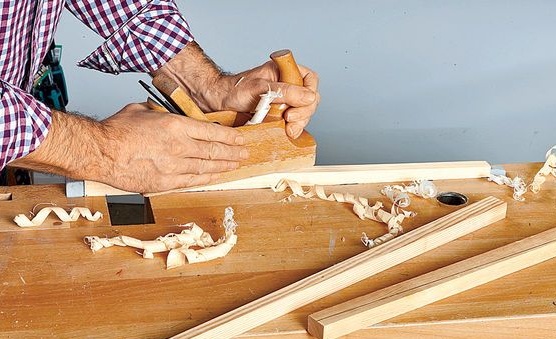
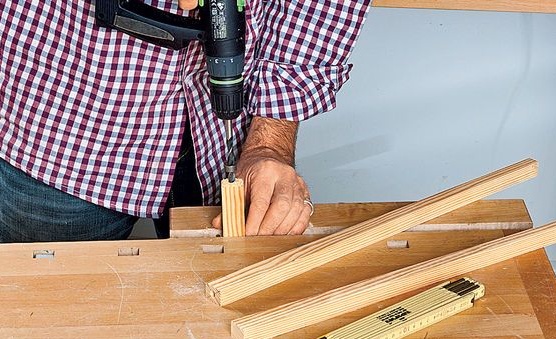
Reiki should be worn.
A hole is drilled at the end of each rail.
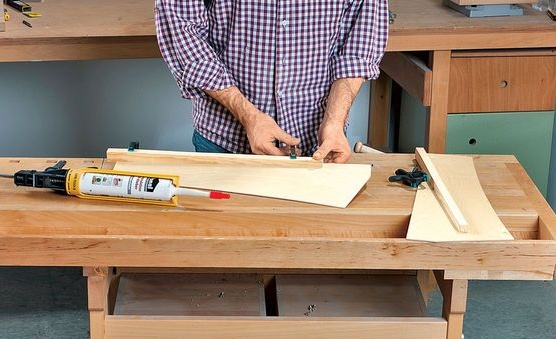
The blades are attached to the bar with glue and fixed with clamps.
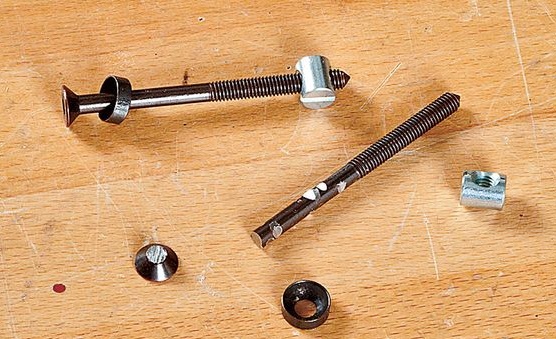
Then a furniture bolt is taken and the hat is sawn off.
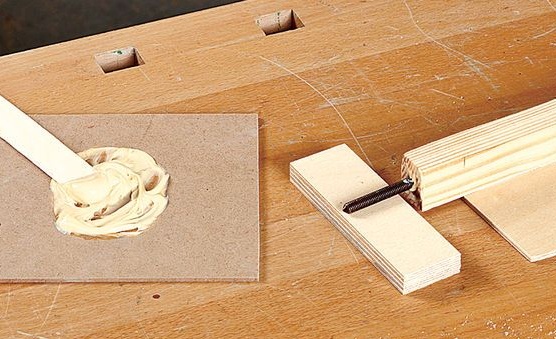
Coated with carpentry glue and immersed in the end hole of the bar.
Finished blades are assembled in a single design. The stud is inserted into the hole in the core and the nut is screwed onto the other side.
Finished blades are mounted on the shaft.
To protect the wood from the negative effects of the environment, it should be coated with a special composition, and then painted with several layers of paint.
Thus, the author made a wonderful handmade mill and now it will show off on the site near the house, attracting the attention of people passing by. The work was not easy, but it was worth it, it turned out very cool.
This concludes the article. Thank you very much for your attention!
Come visit often, do not miss the latest in the world of homemade goods!