In this article, we will look at how the author made a desktop disk grinder. A feature of this design is the ability to change the slope of the handle. For the manufacture of a grinding machine, the author needed the following
Tools and materials:
-Circular Saw;
-Band-saw;
-Awl;
Cutter;
-Sandpaper;
-Indicator (for balancing);
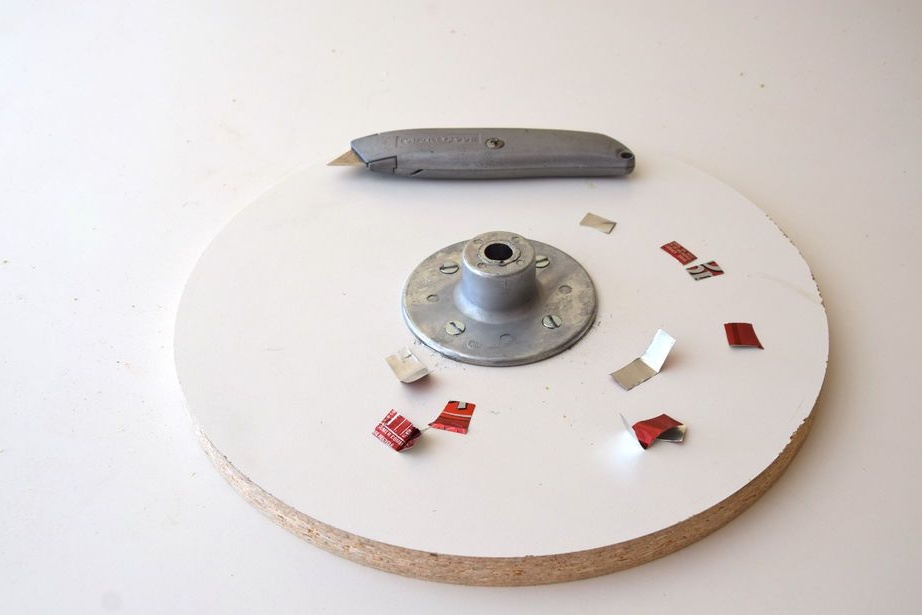
-Stationery knife;
-Compass;
-Drilling machine;
- Clamps;
- Electric jigsaw;
-USHM;
-Protractor;
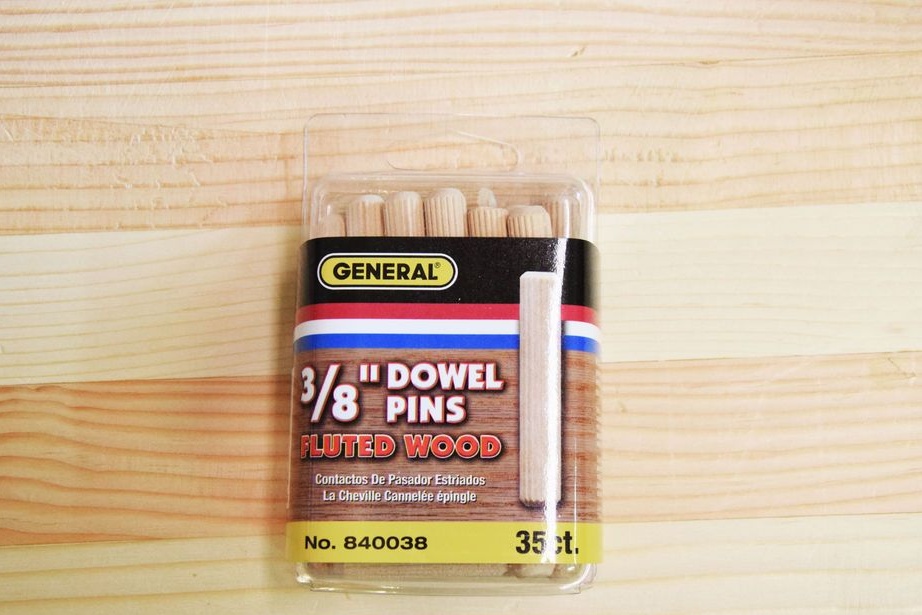
- dowels;
-Chip set;
-Manual clamp;
-Flange;
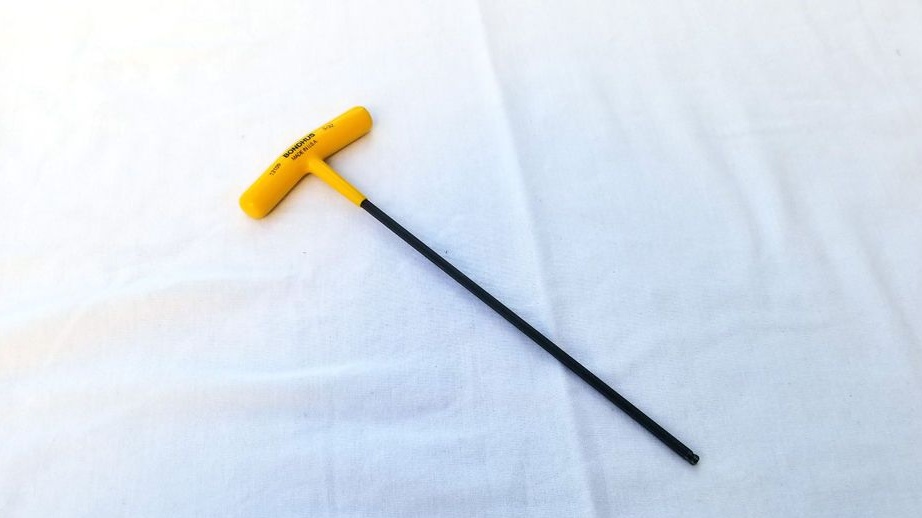
- Hex wrench;
-Tumbler;
-Electro cable;
-Plywood;
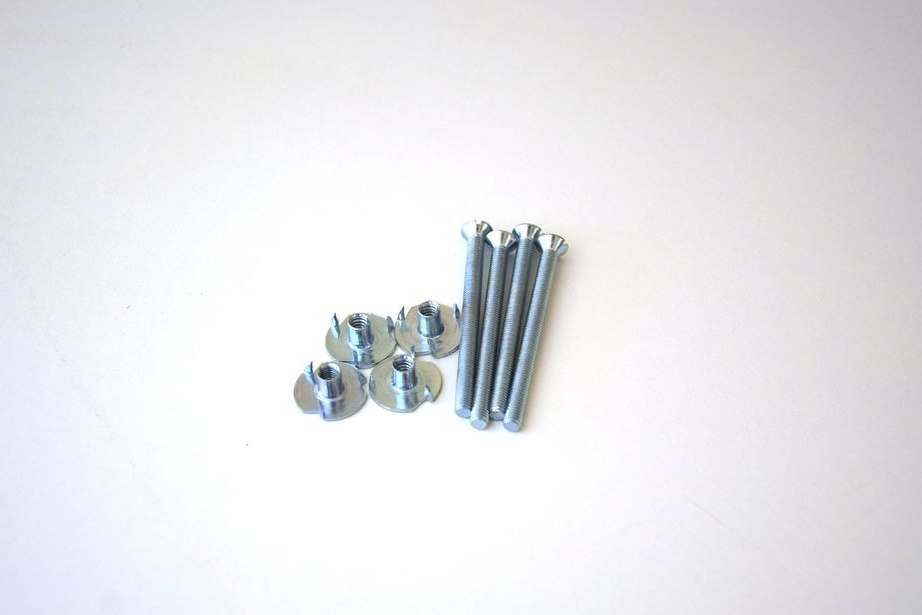
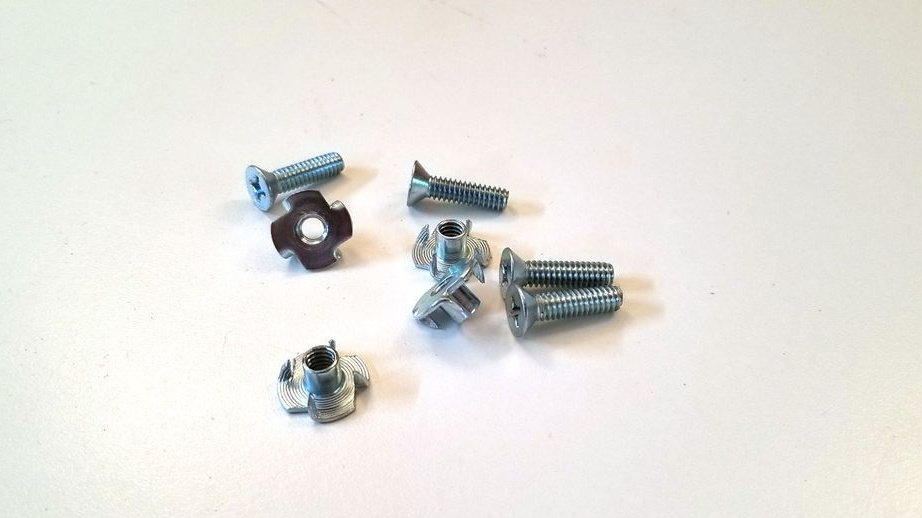
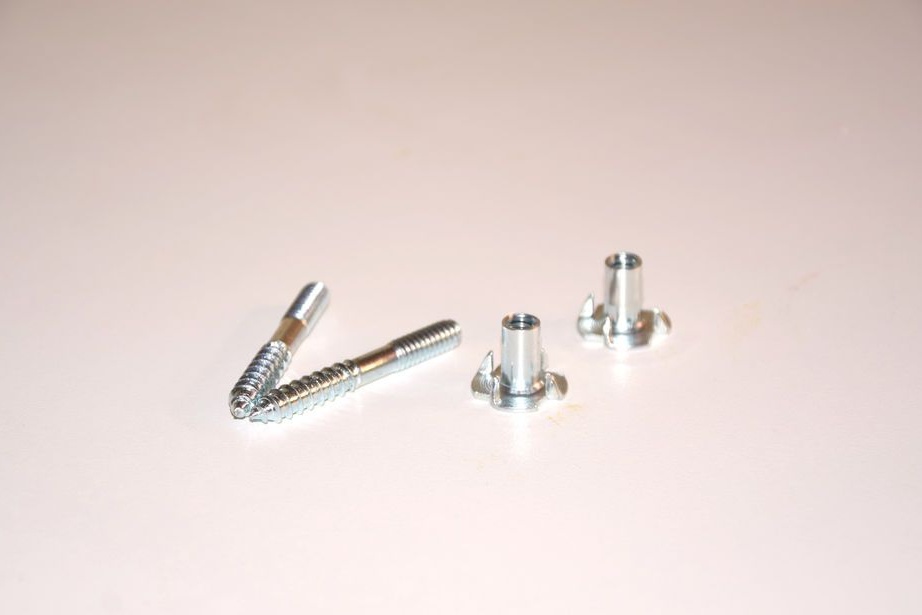
-Fasteners;
-Electric motor;
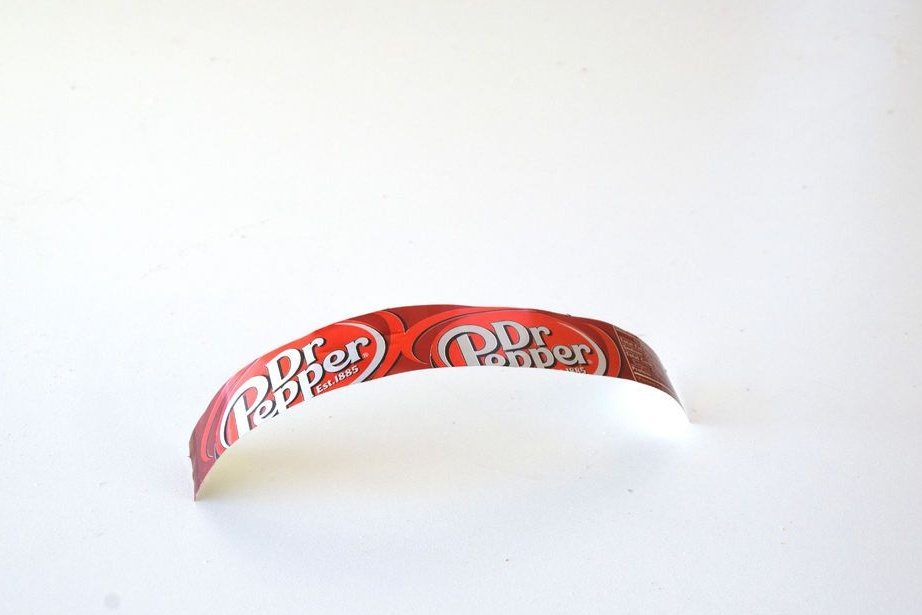
-Aluminium can (from under the juice);
-Glue;
-Various wooden blocks, boards;
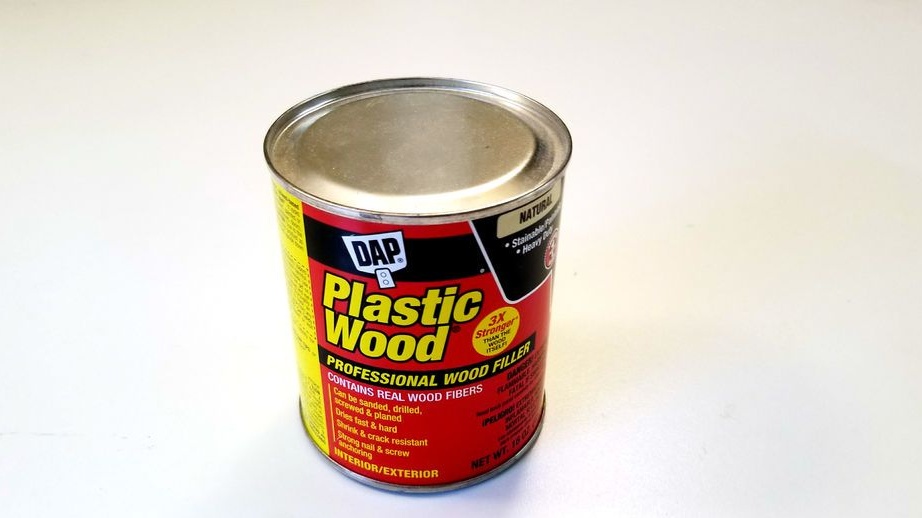
- Putty;
-Metal rod;
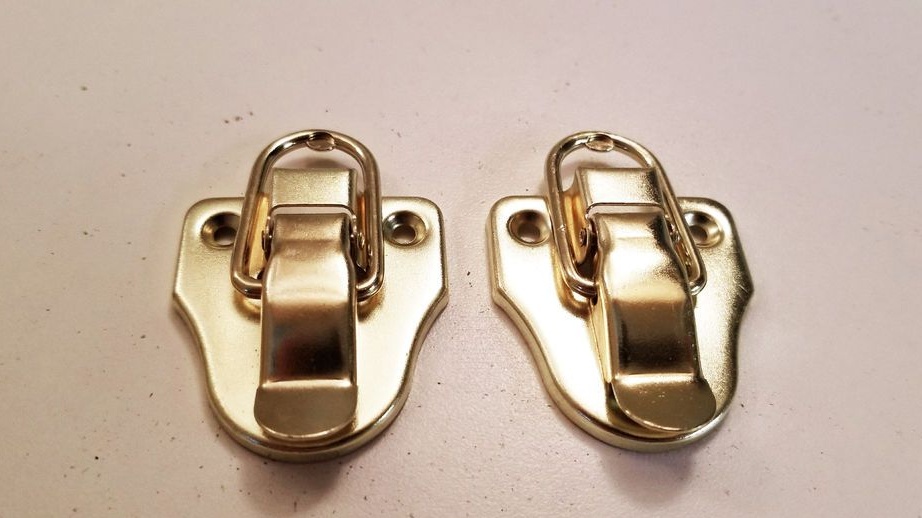
-Latch;
- Spray can with paint;
-Rubber legs;
-A metal sheet;
- Melamine;


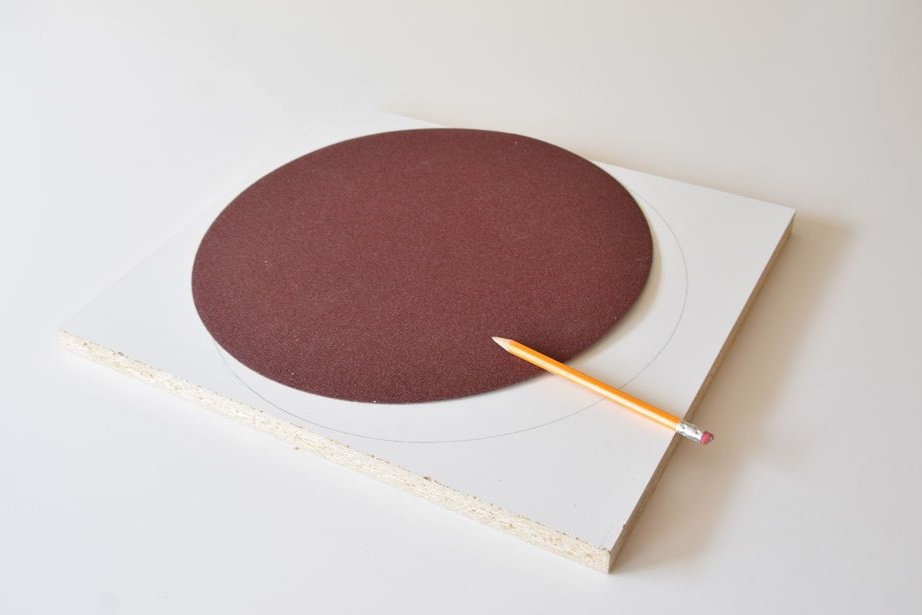
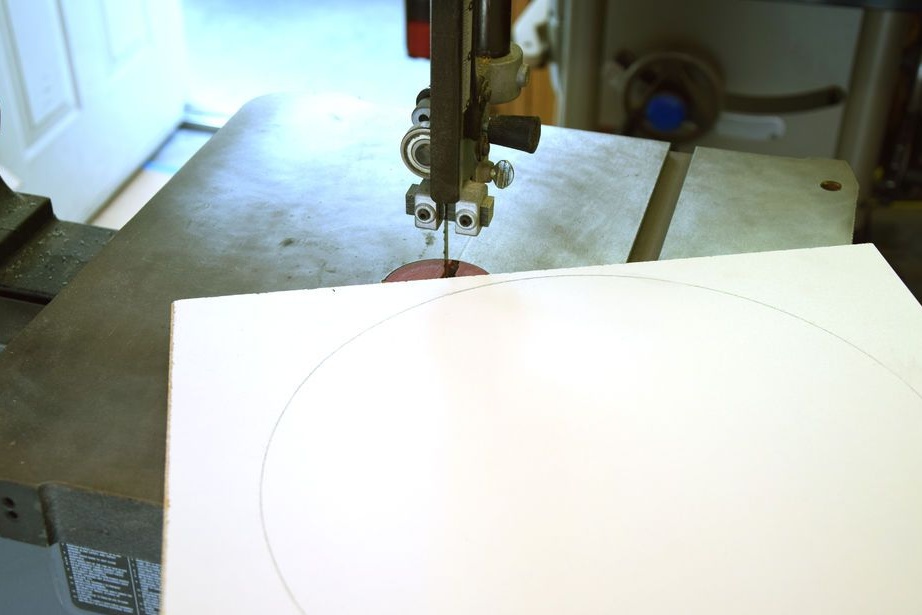
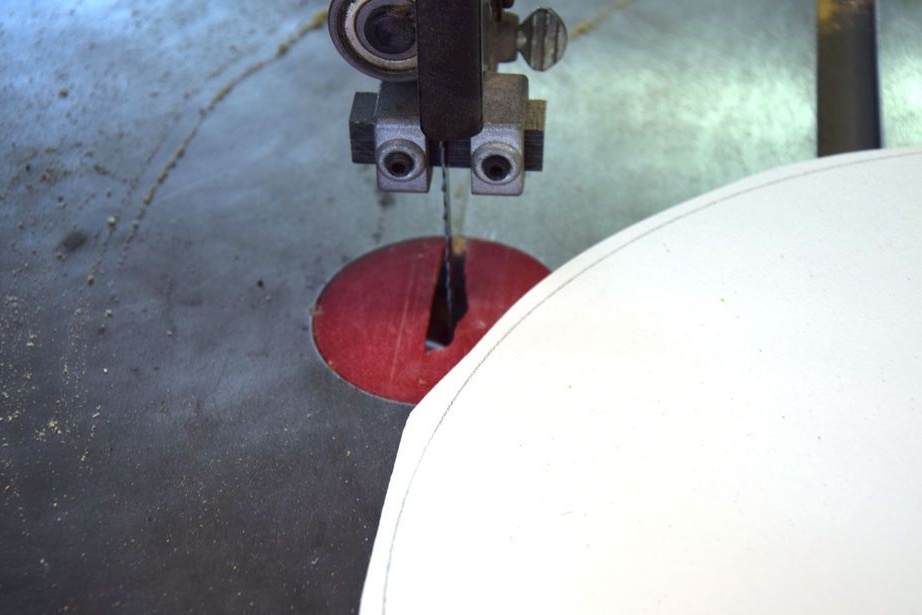
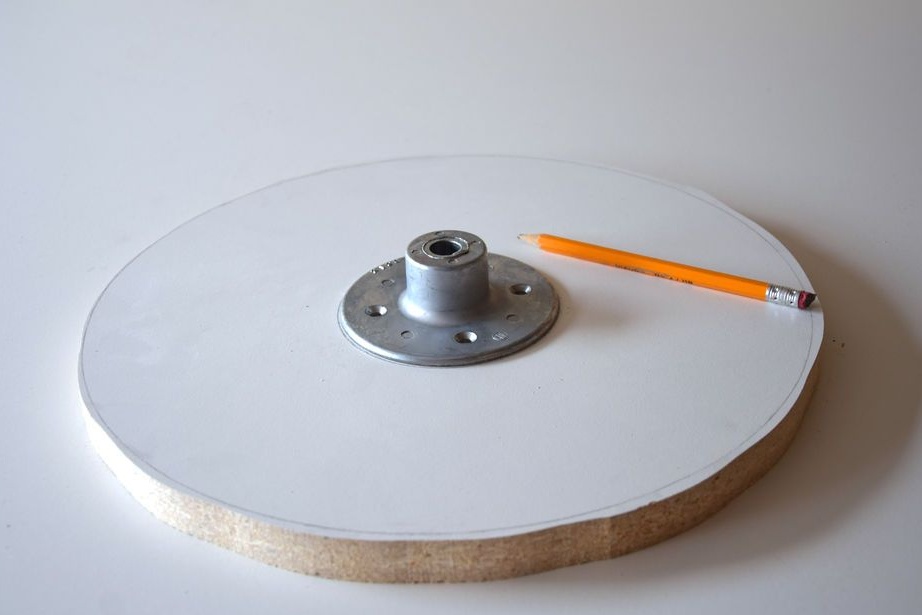
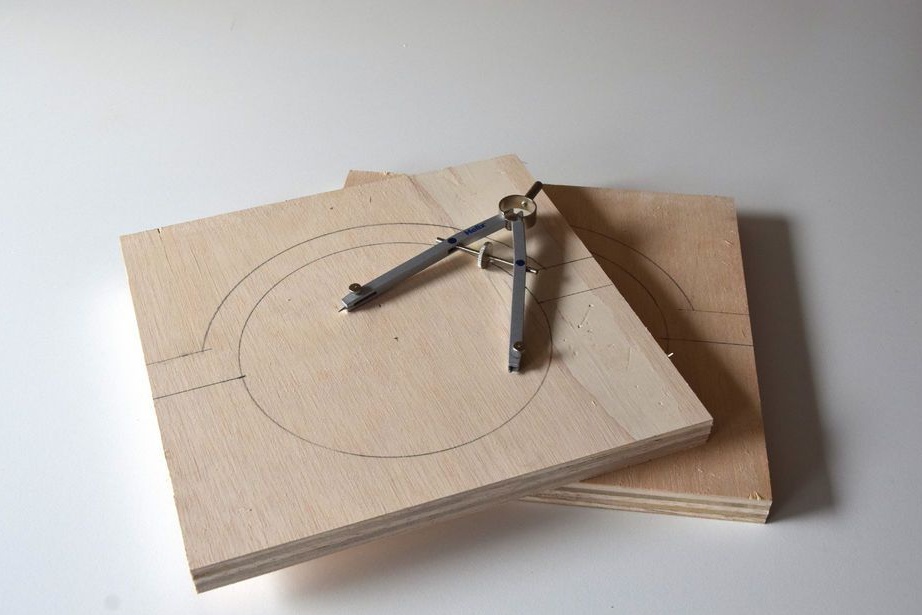
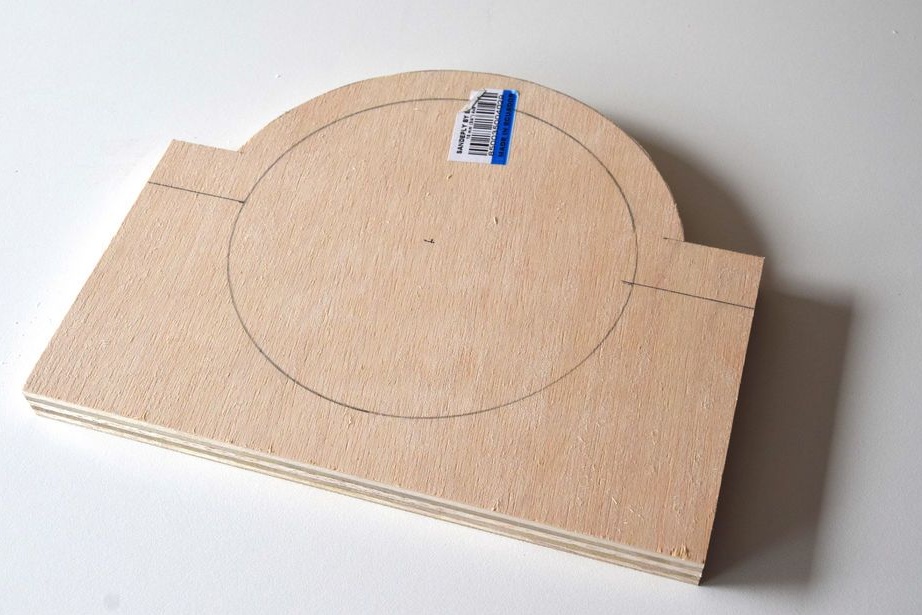
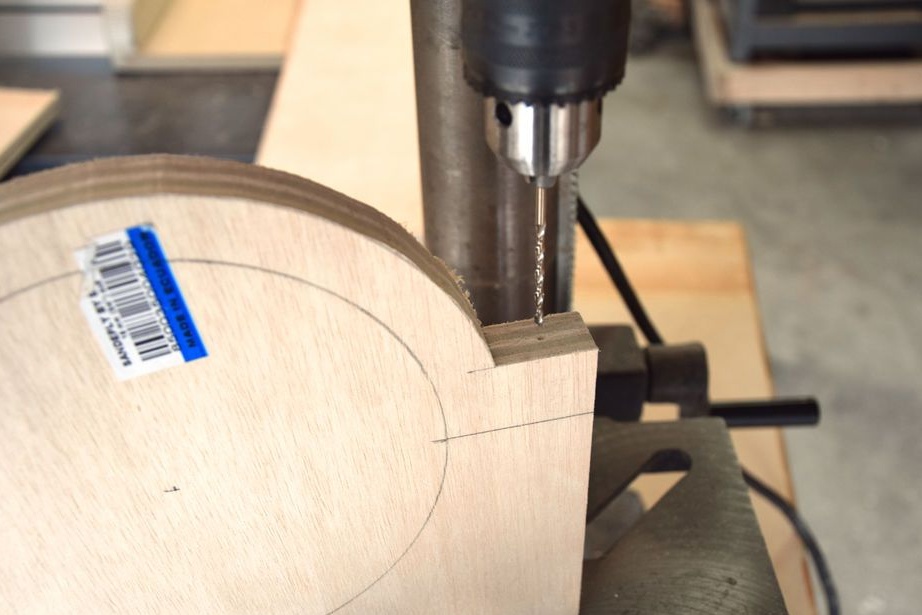
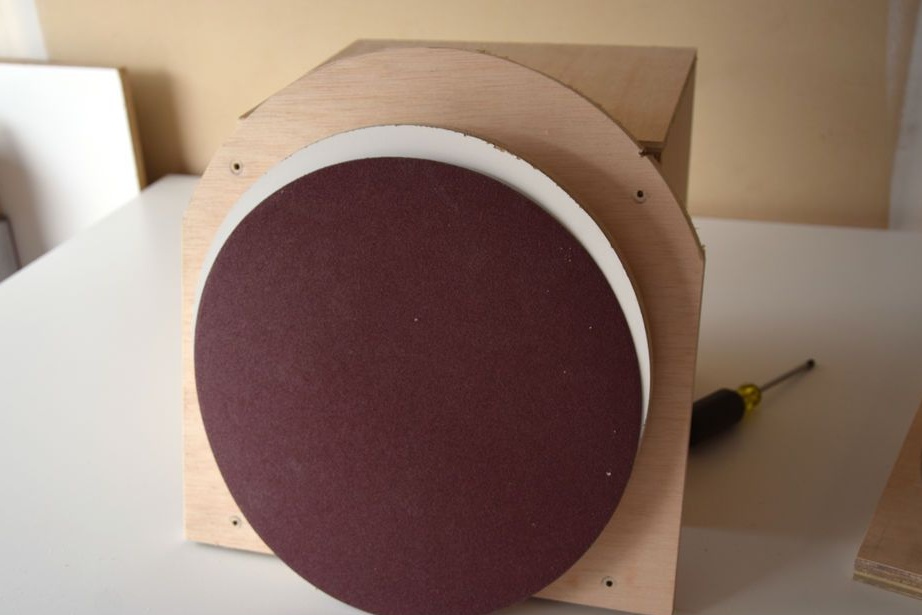
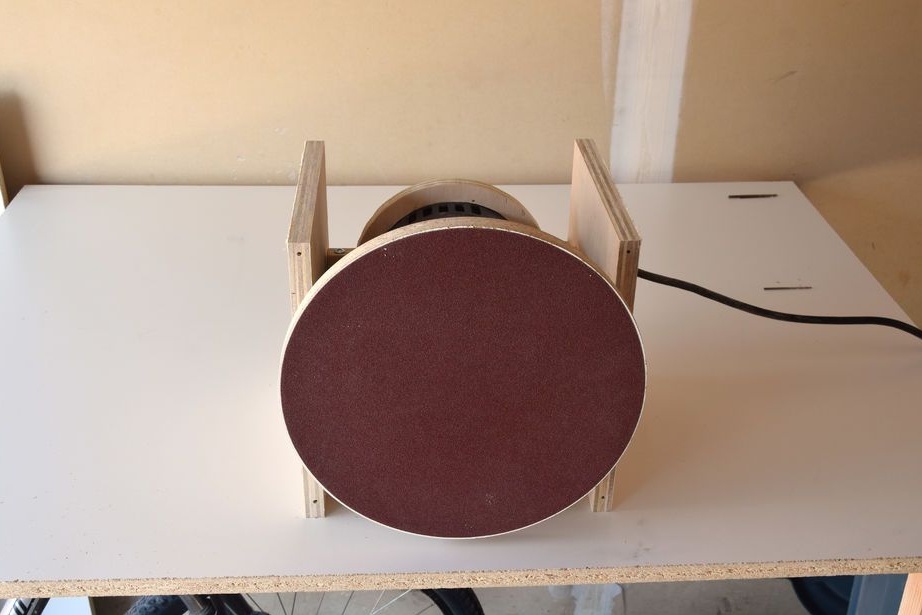
Step One: Making a Disc
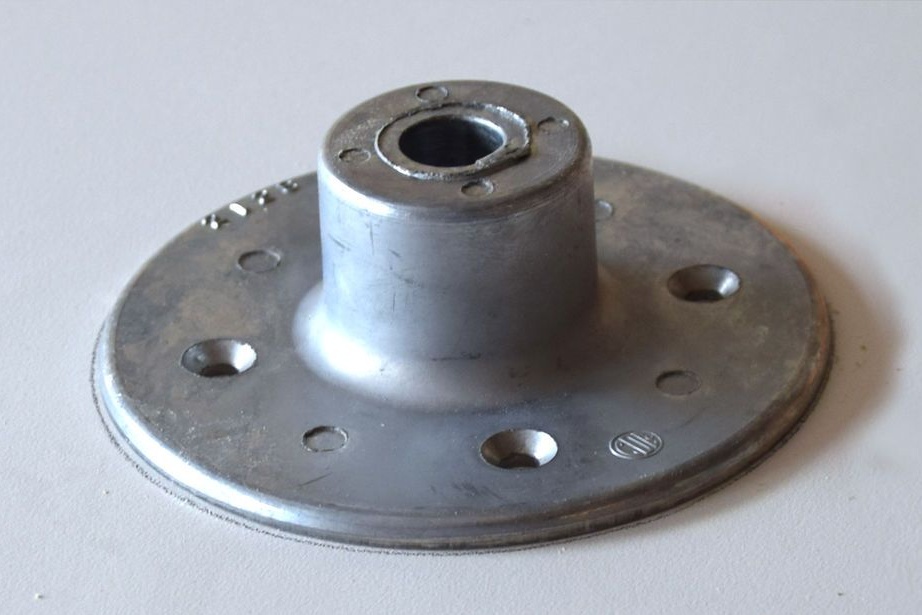
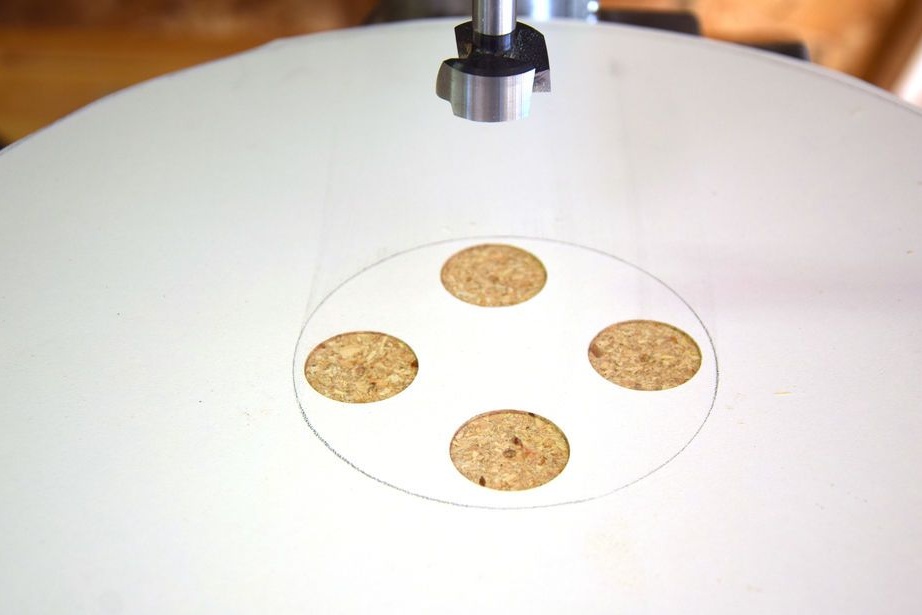
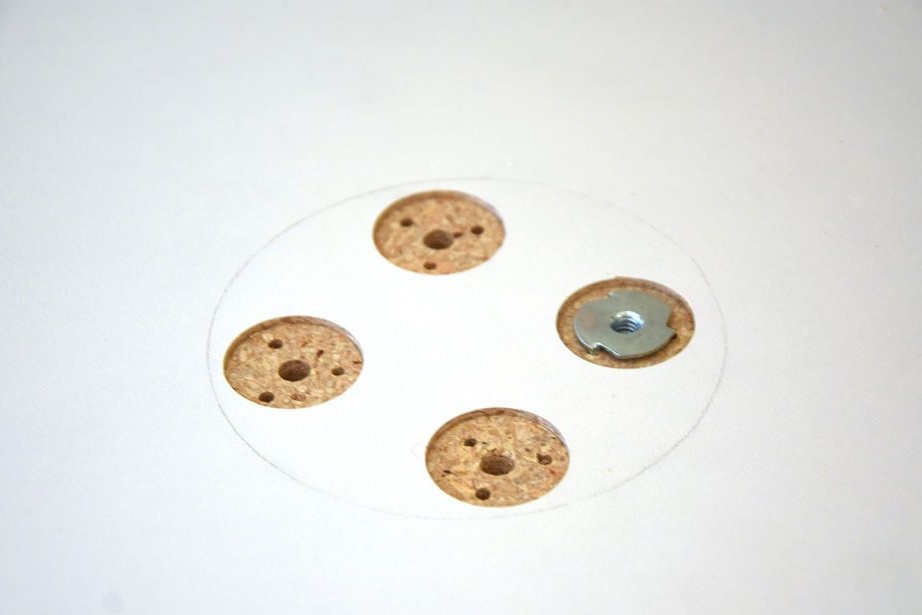
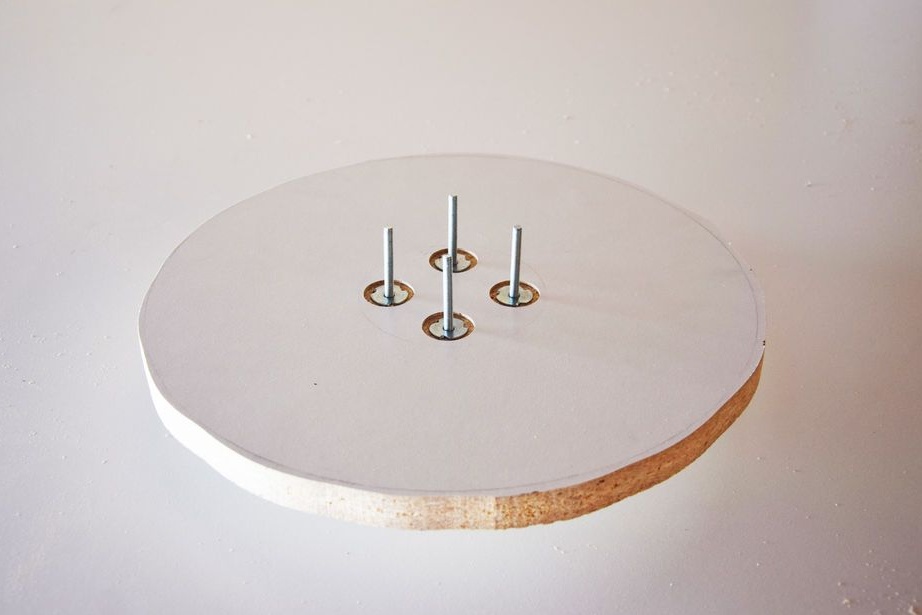
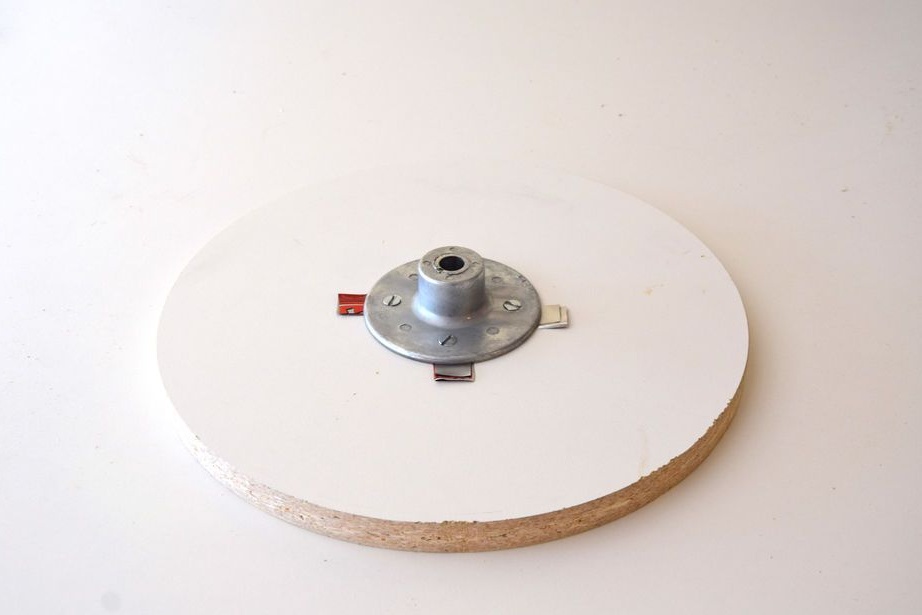
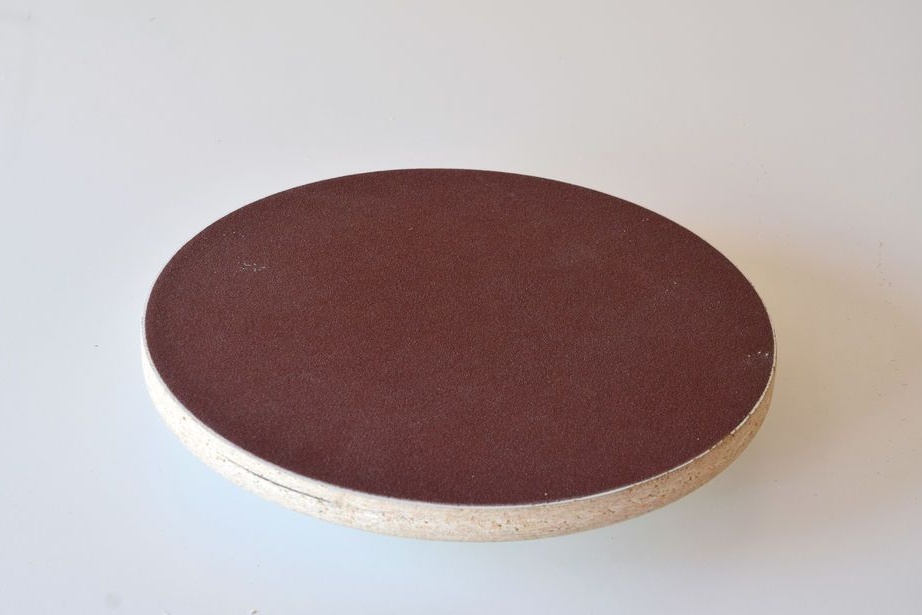
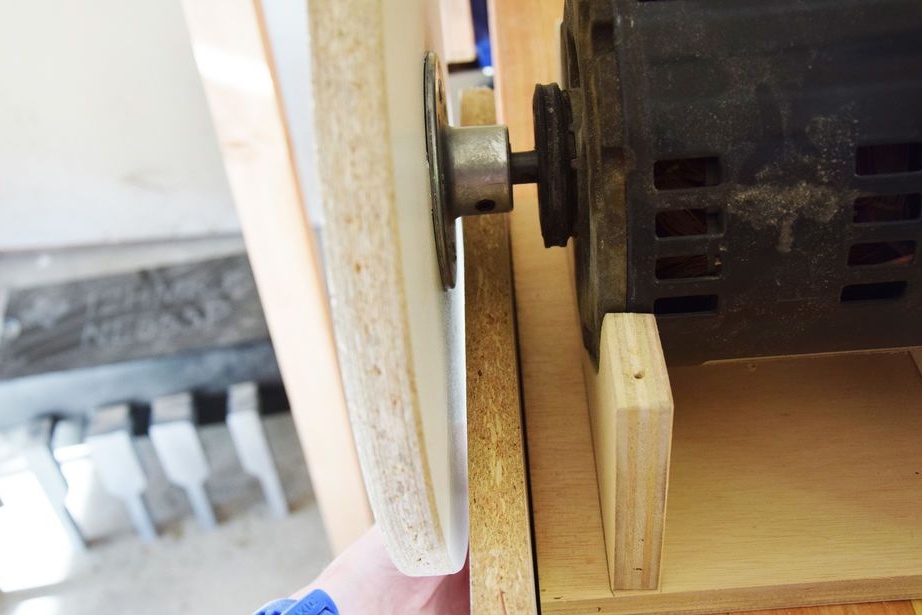
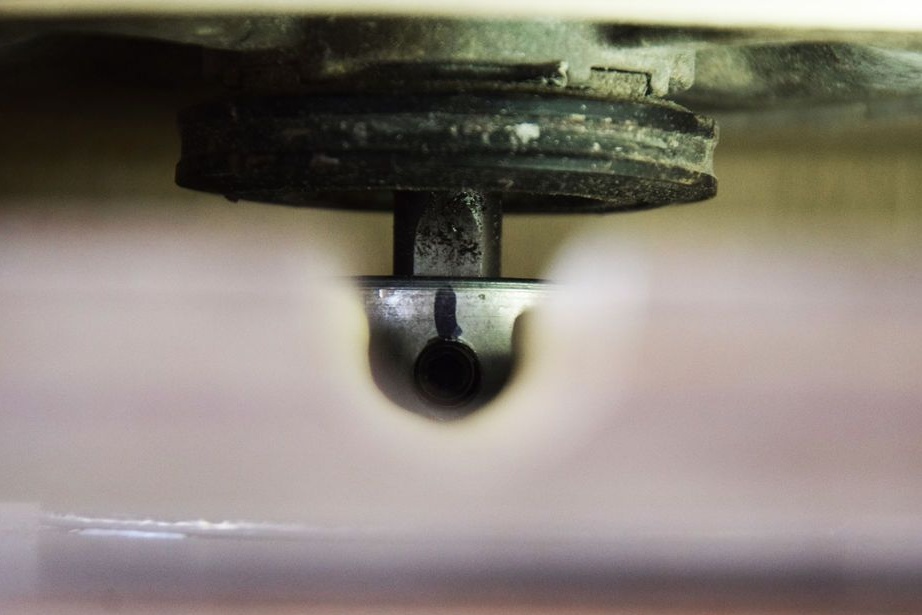
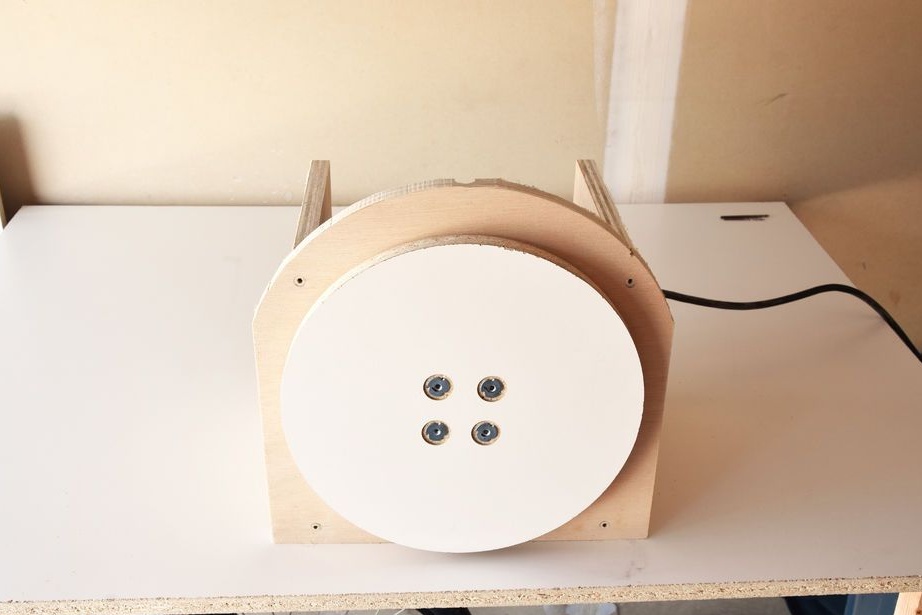
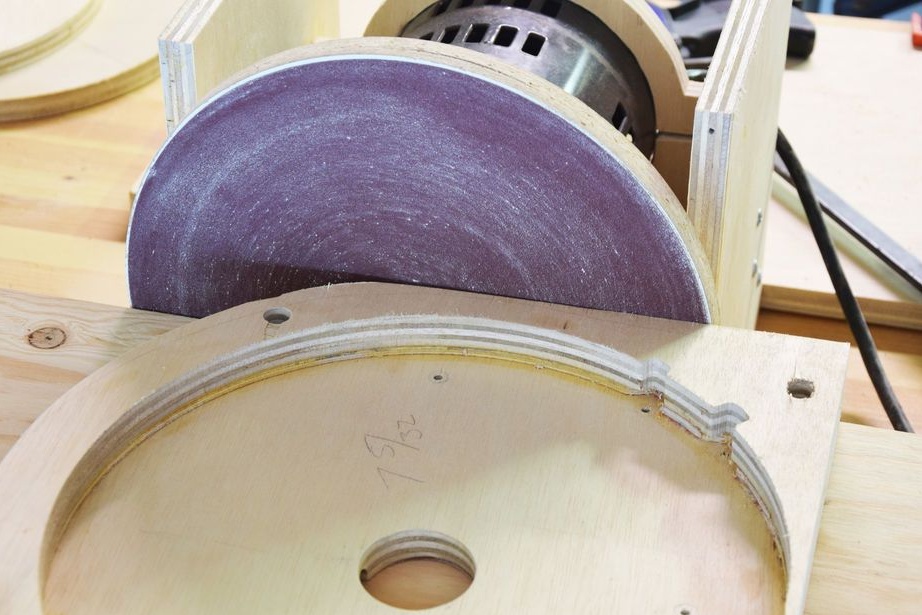
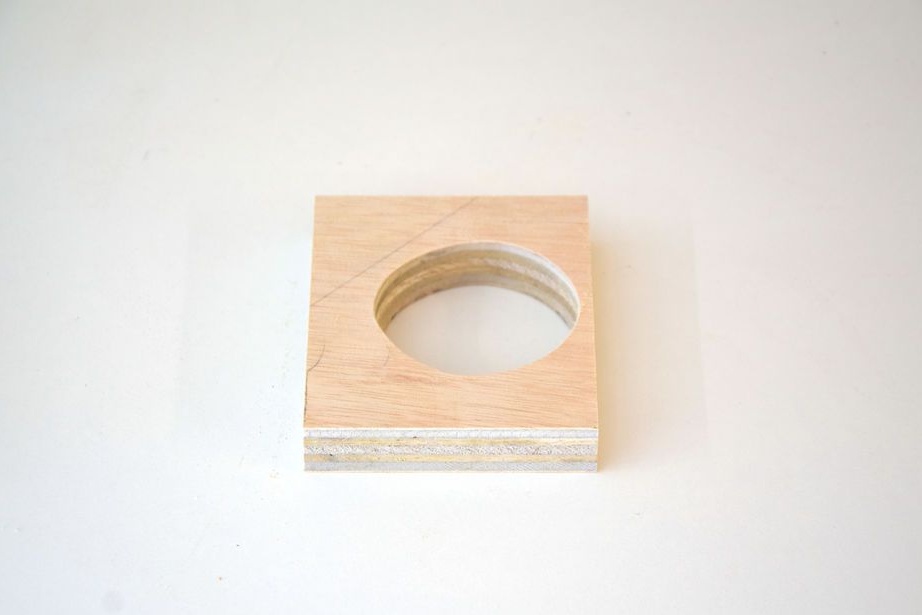
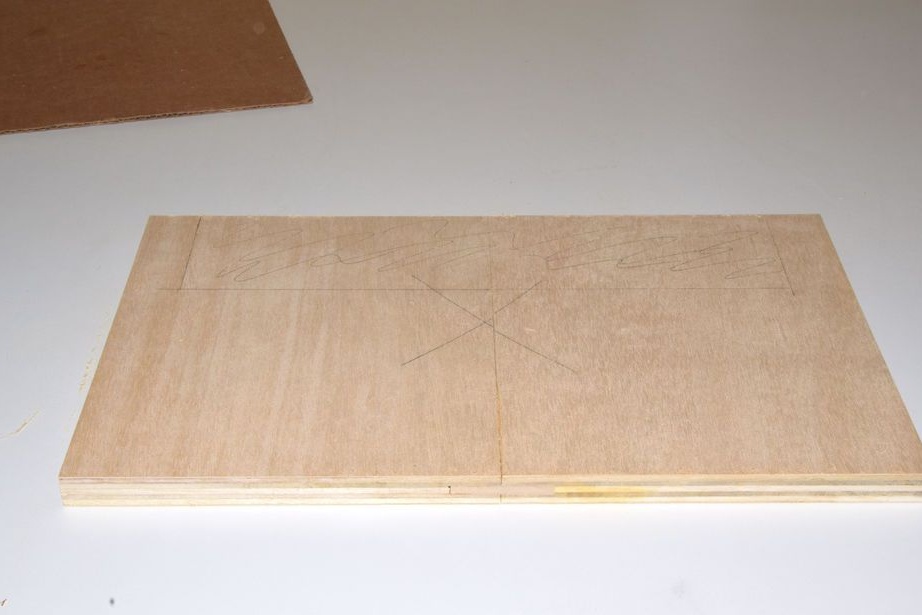
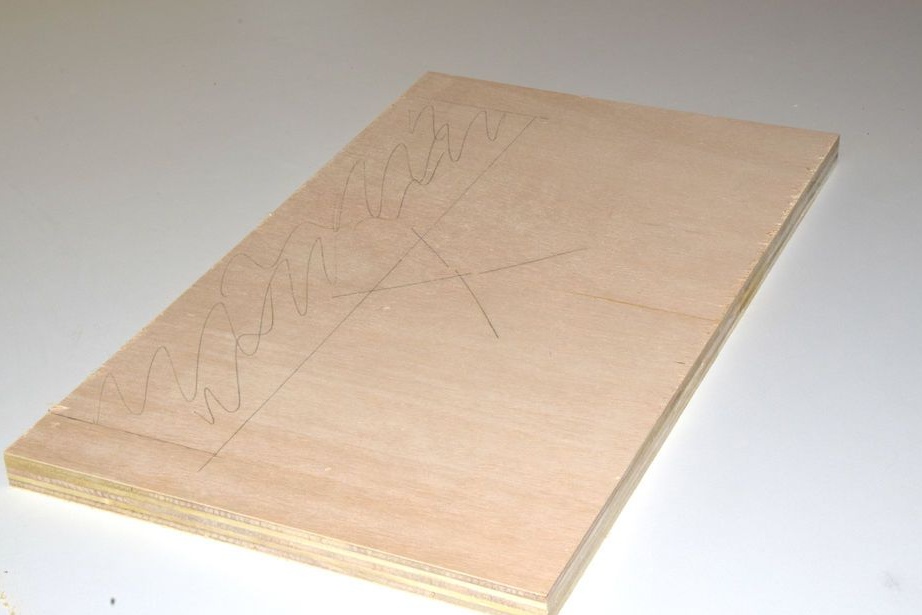
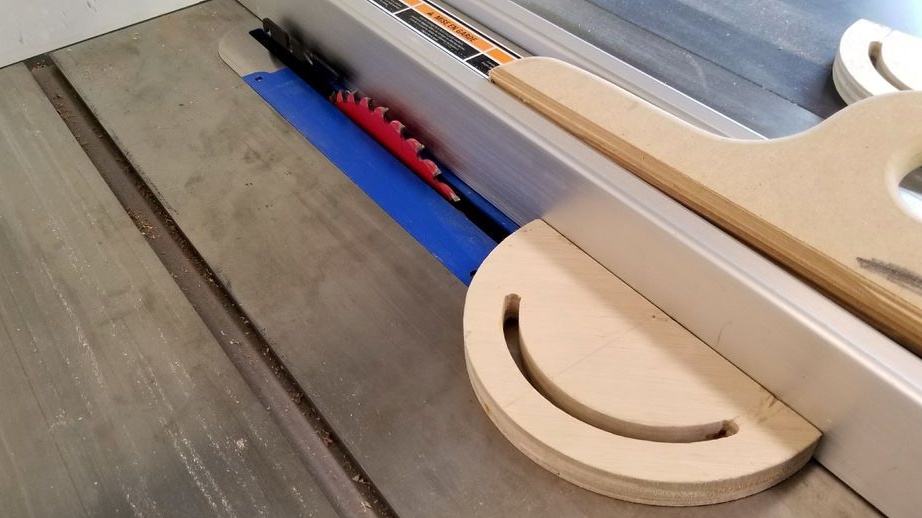
The author made a disk from melamine. The diameter of the disc is equal to the diameter of the grinding wheel. You can cut the disc with a jigsaw or band saw. Then, in the center of the disk, he made holes, with a sweat on one side, for fastening the flange. Screwed the disc to the flange. Cut off the extra length of the bolts.
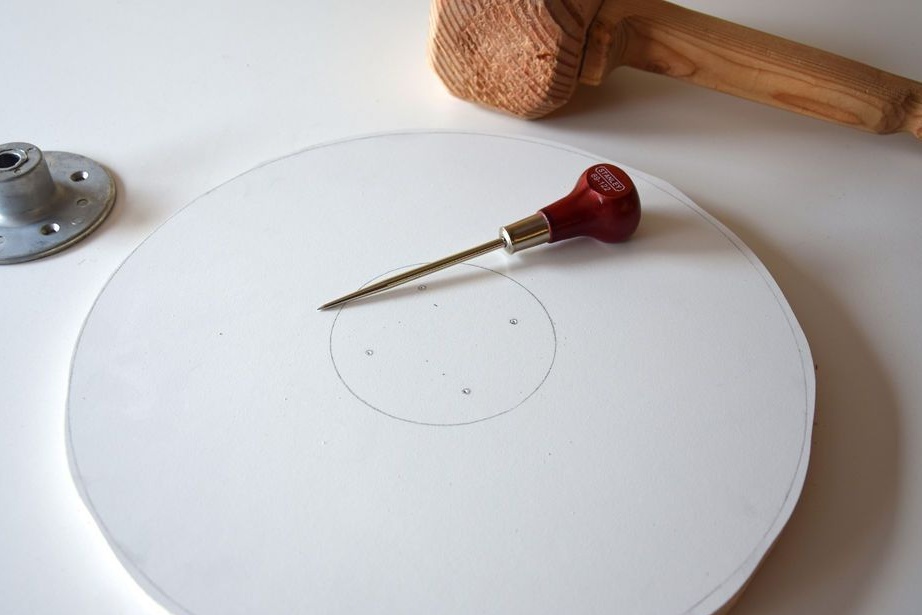

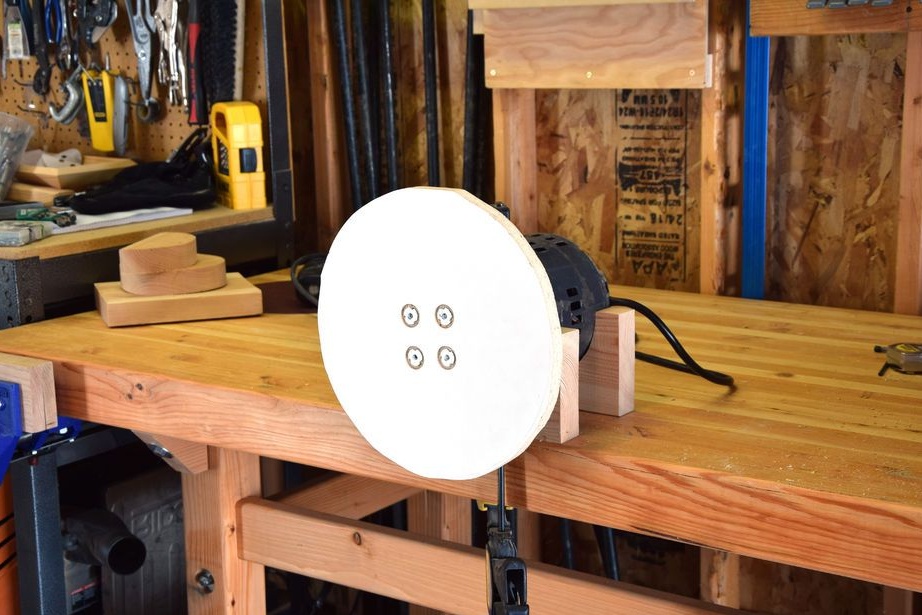
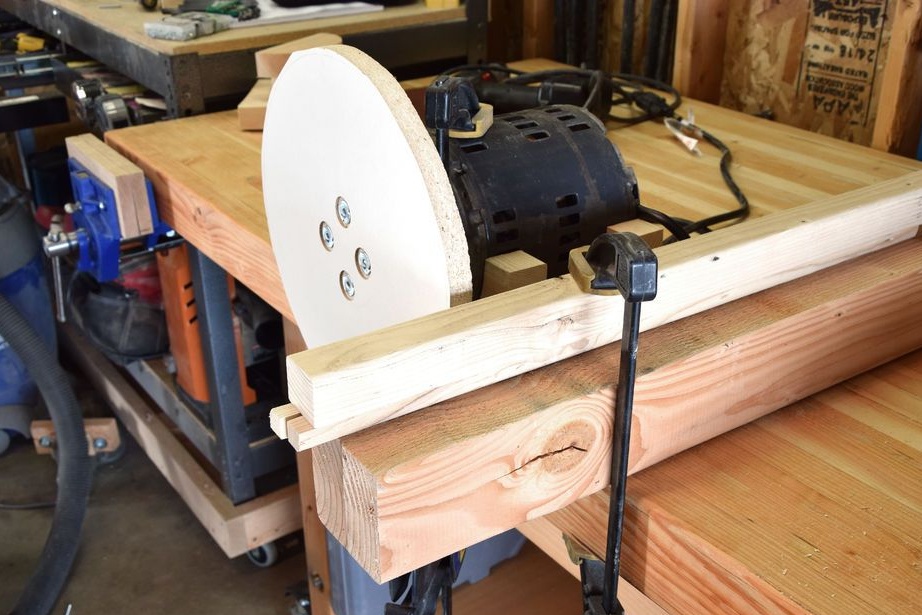
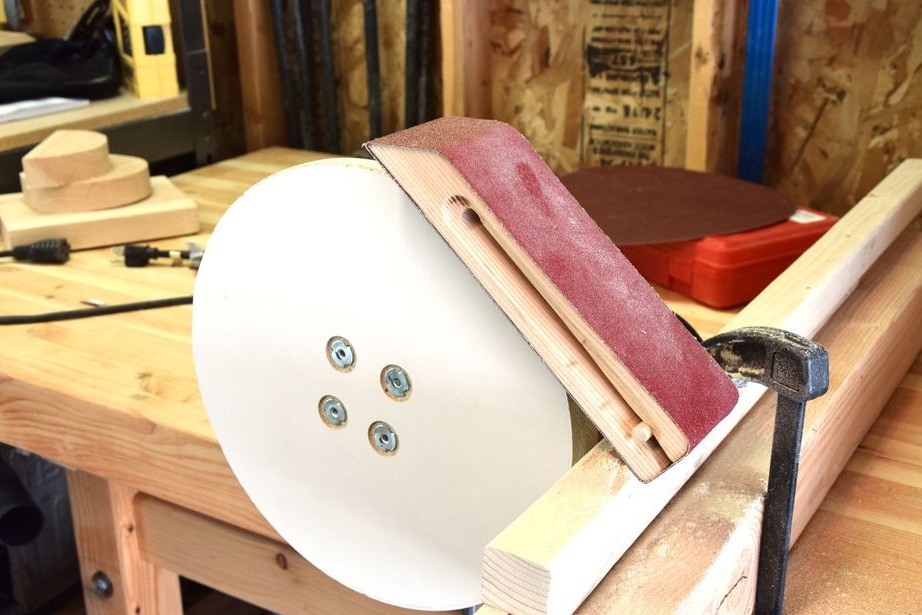
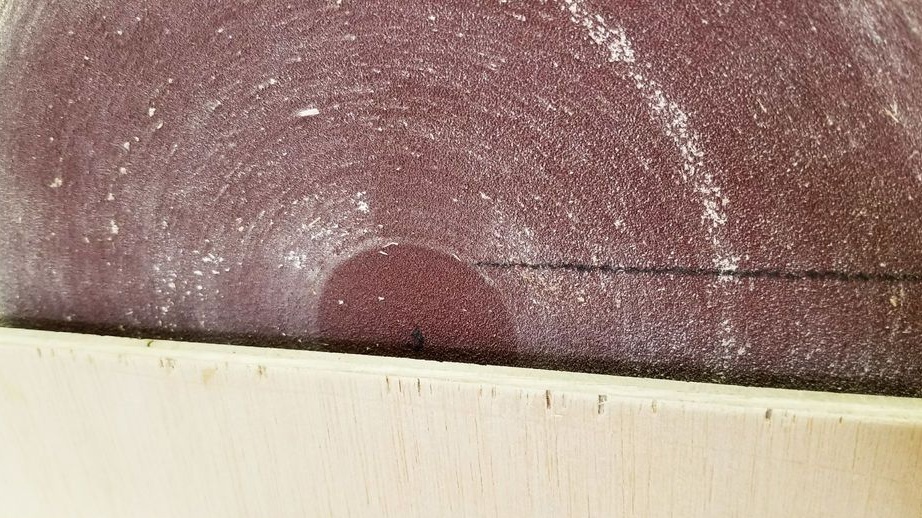
Further, the author mounted the disk on an electric motor and mounted it on a table. He turned on the engine and, using sandpaper mounted on a bar, worked on the edge of the disk.
Then he balanced the disk. As spacers, between the disk and the flange, I used aluminum strips.

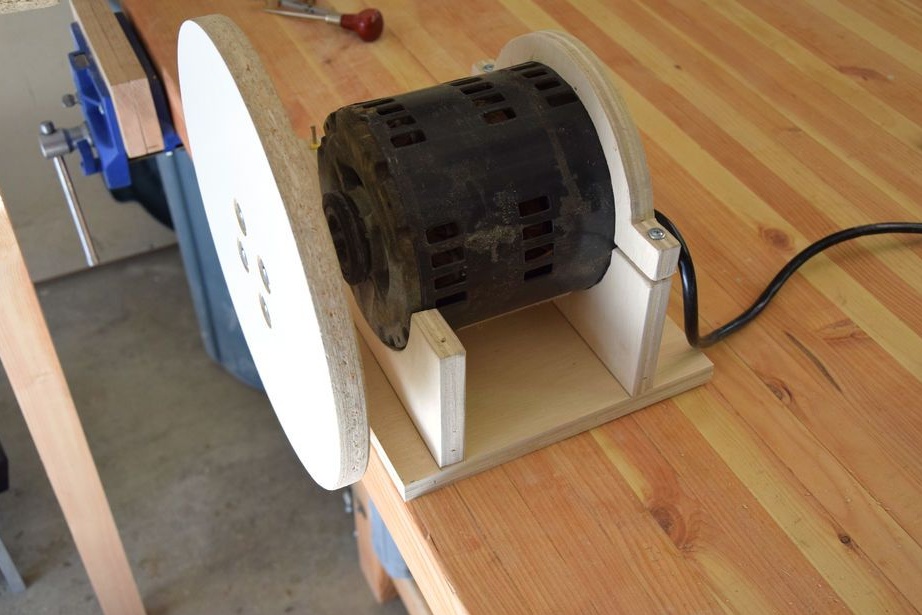
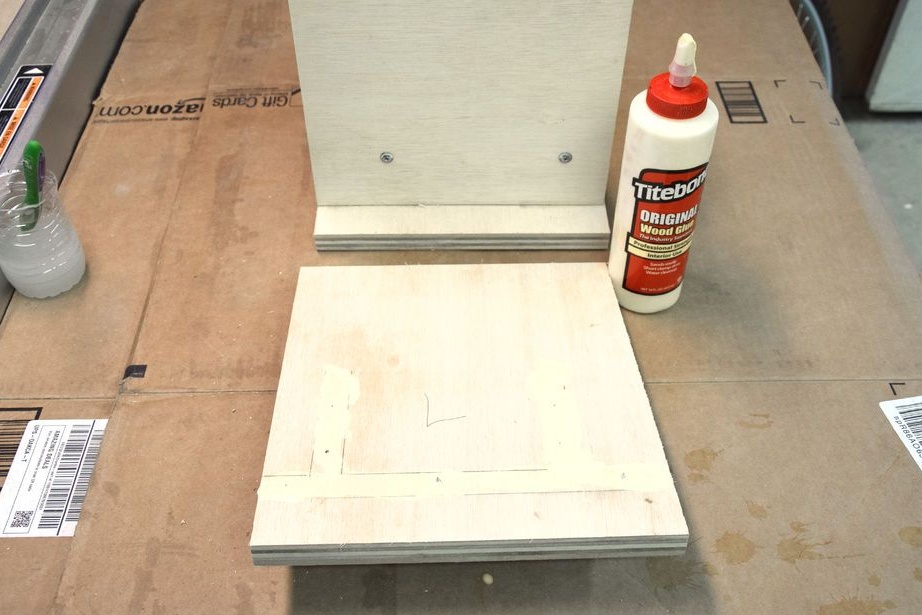
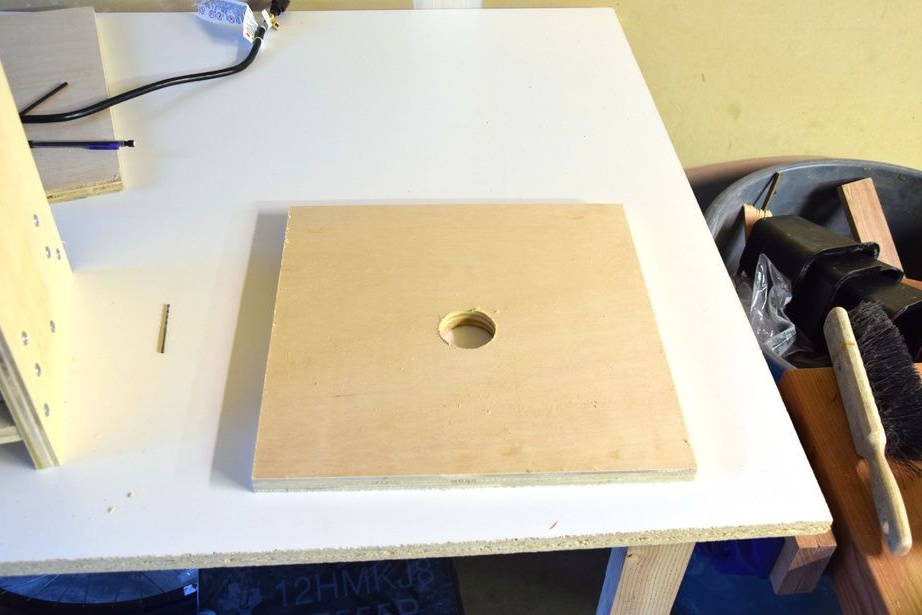
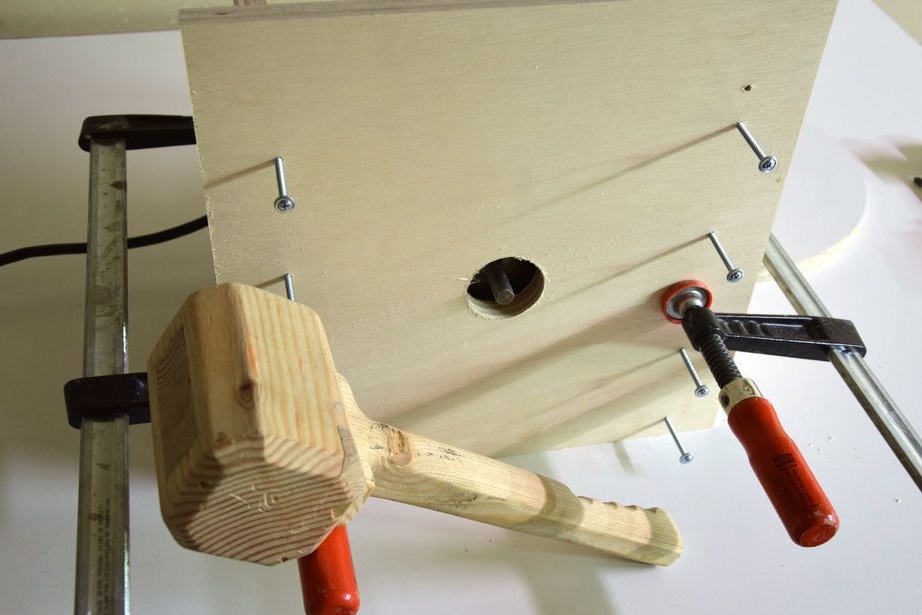
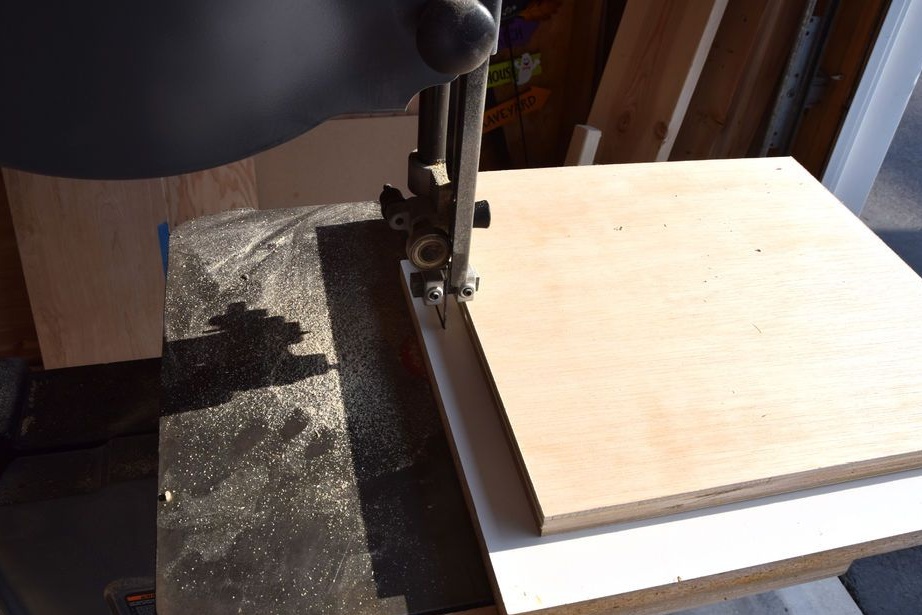
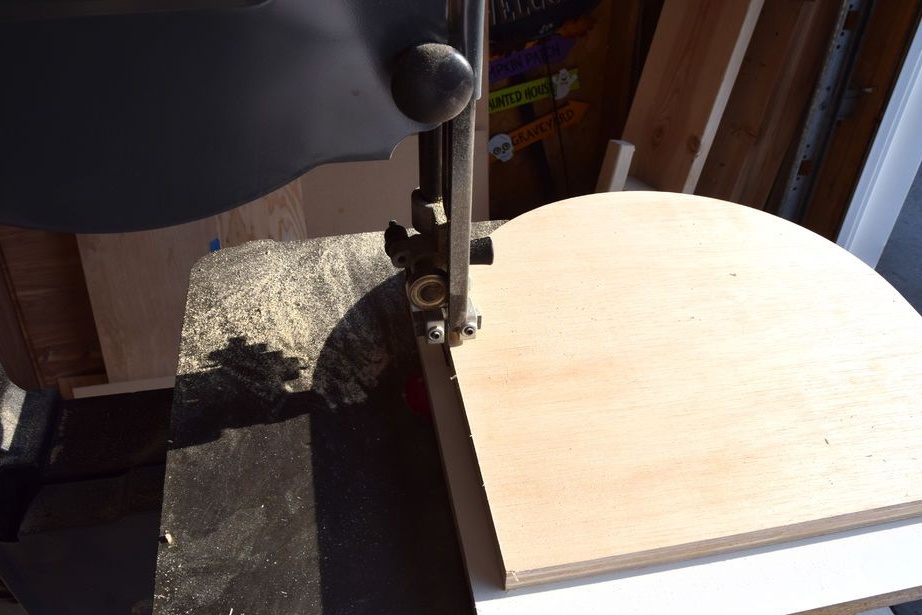
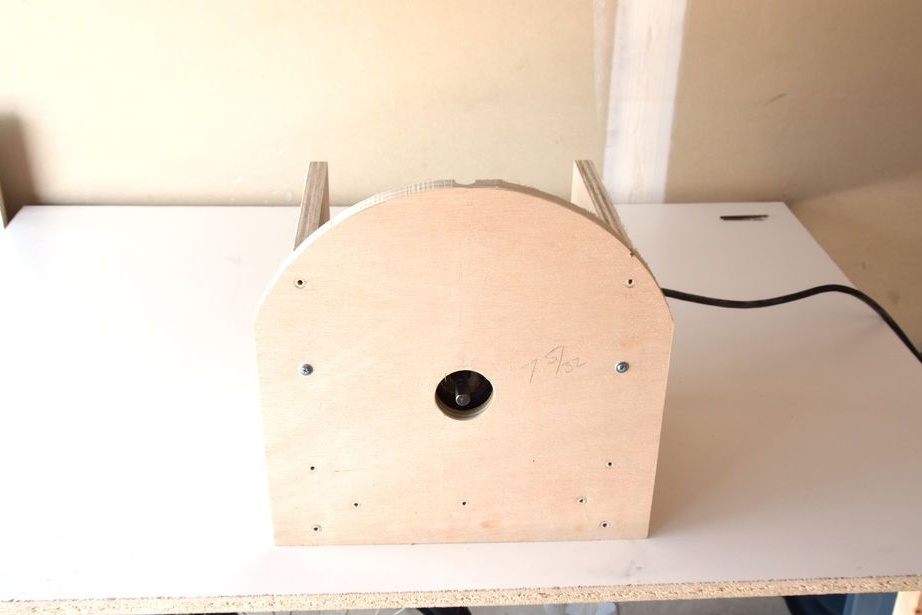
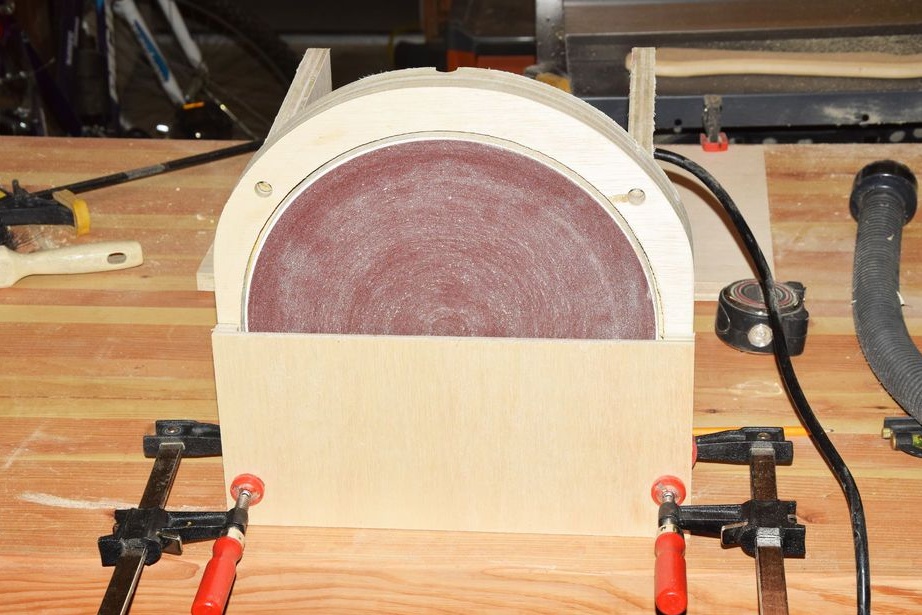
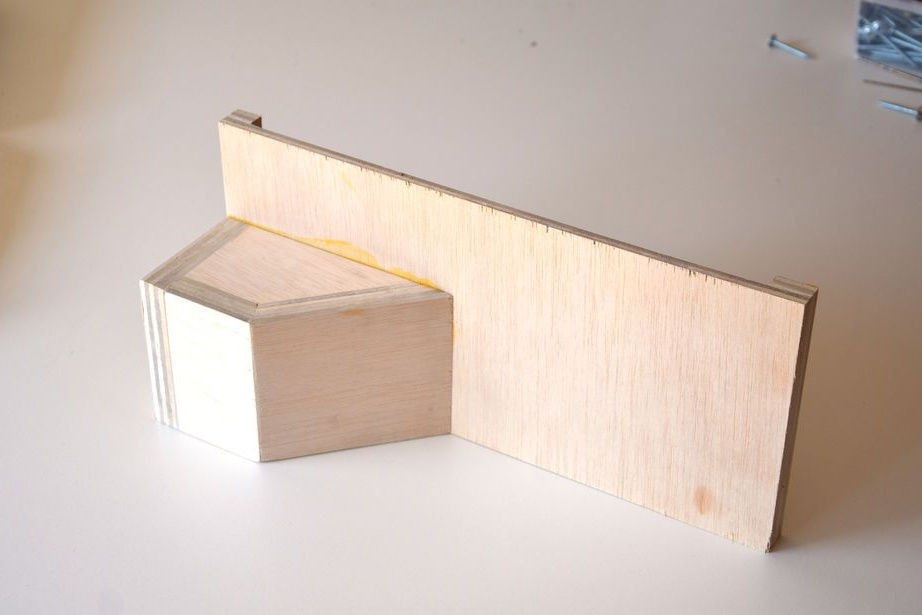
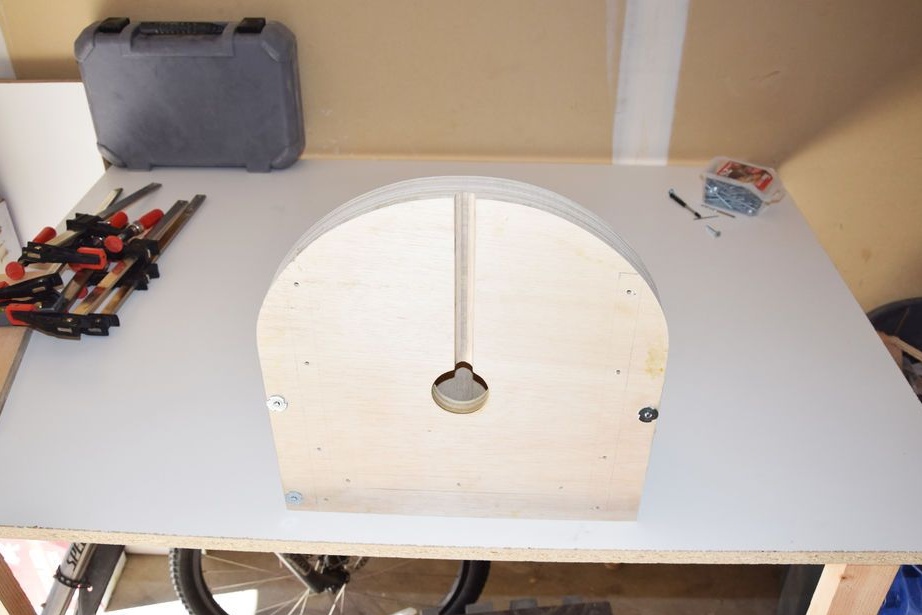
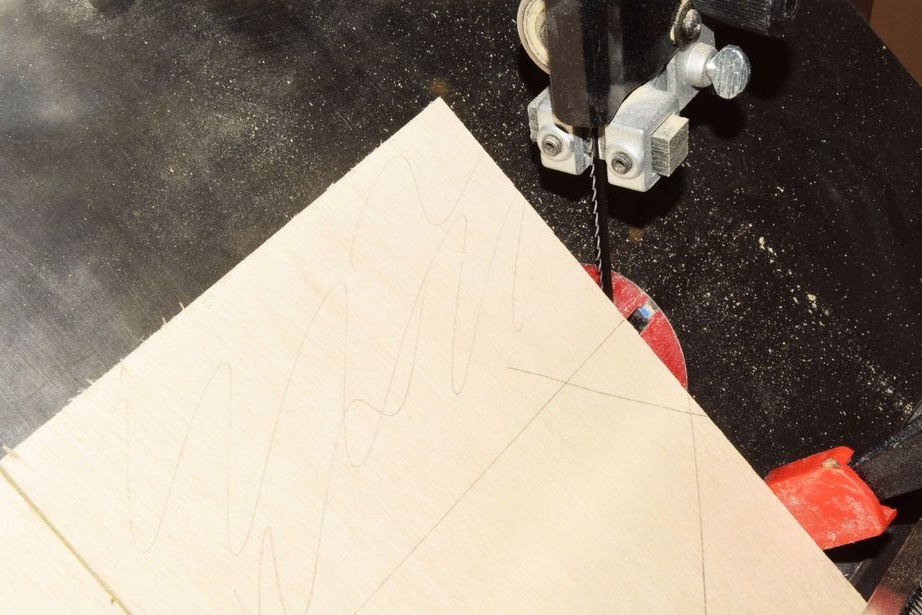
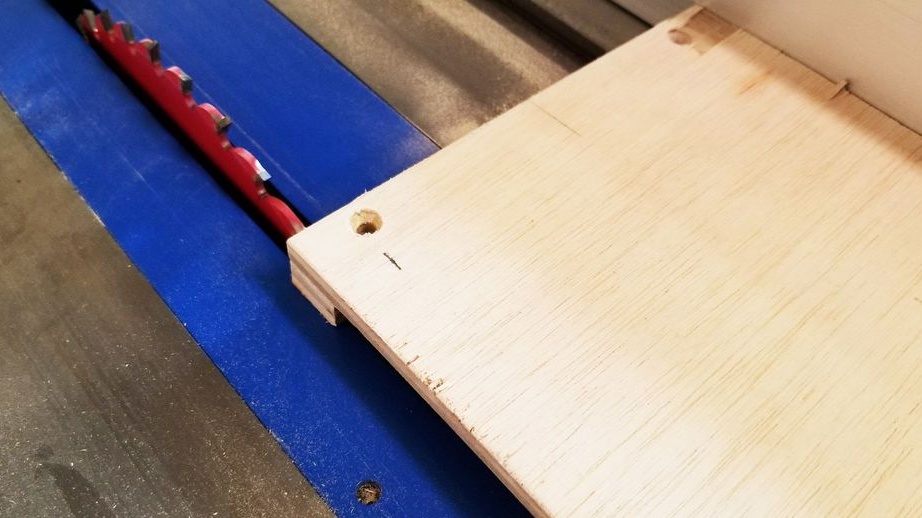
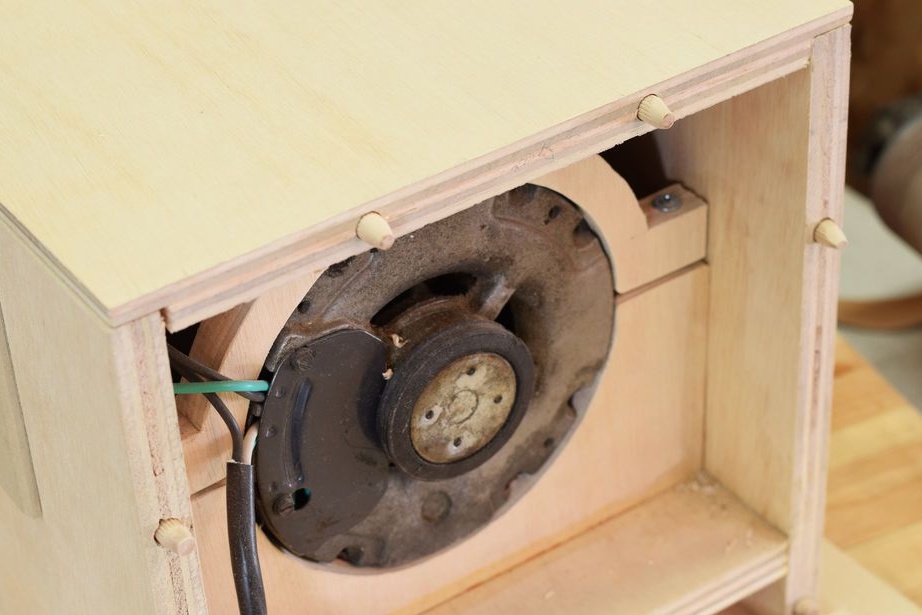
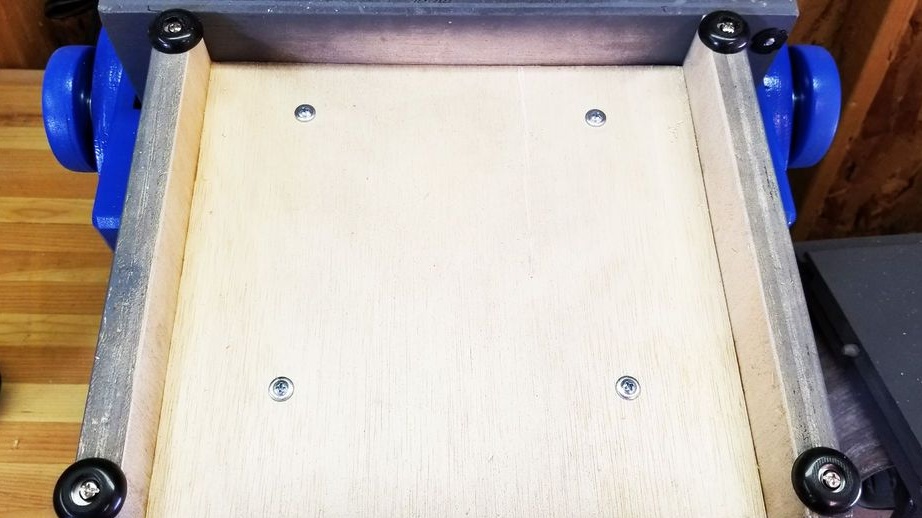
Step Two: Making the Case
It makes front and rear engine mounts from plywood.

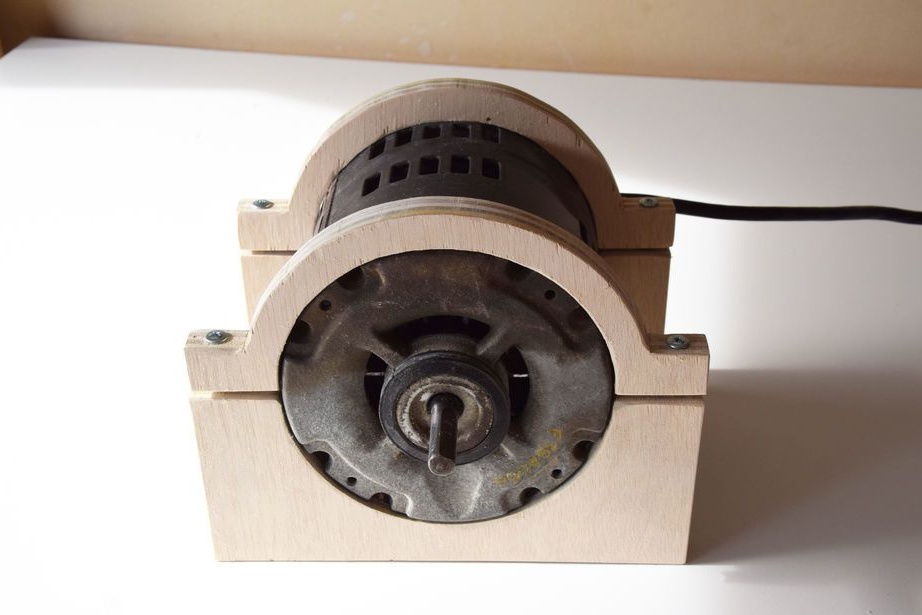
Supports fastens on the lower part of the body.
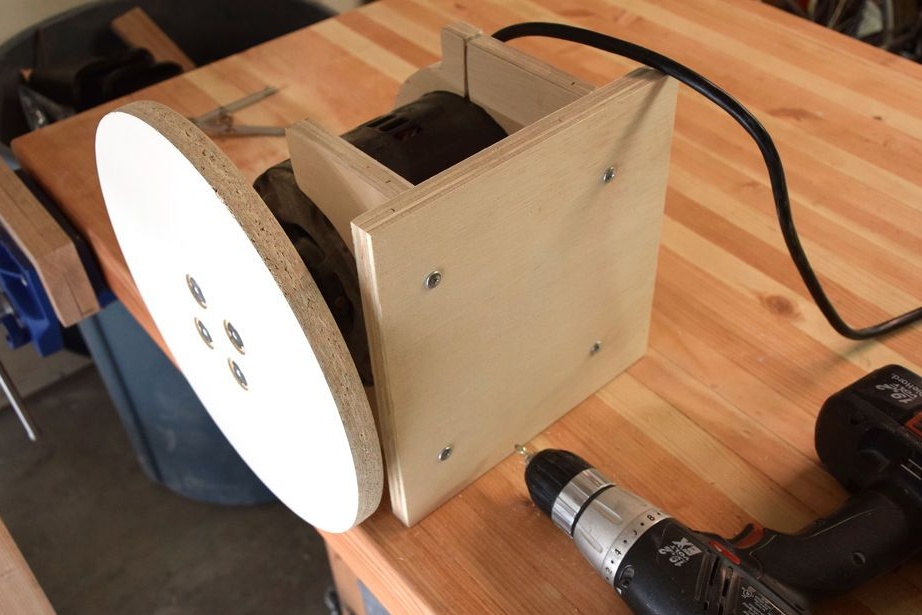
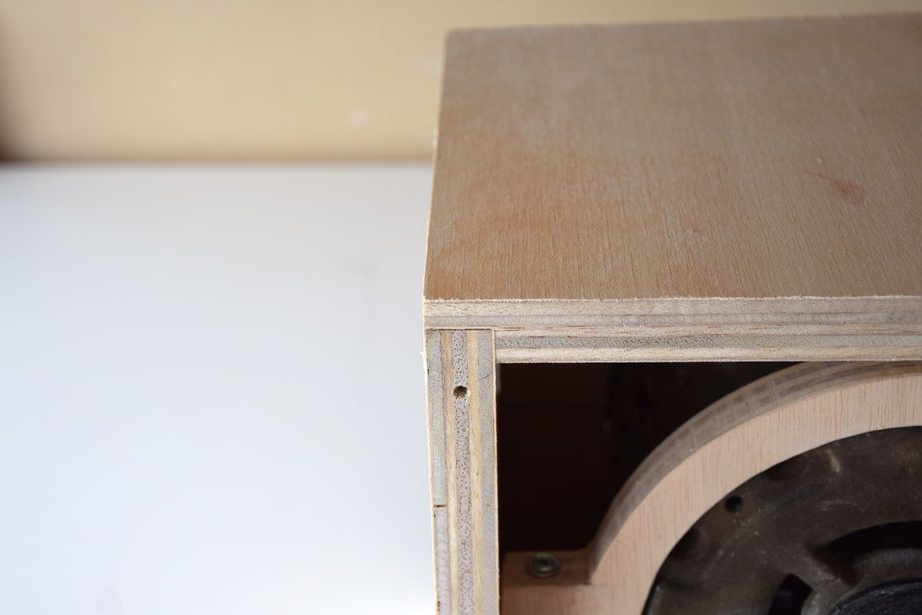
Makes and glues the side walls of the body.

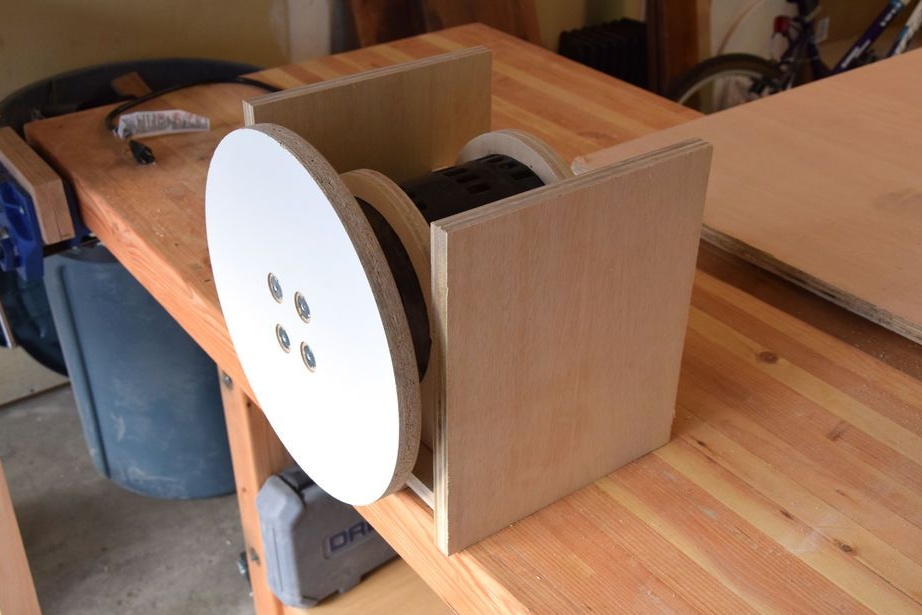
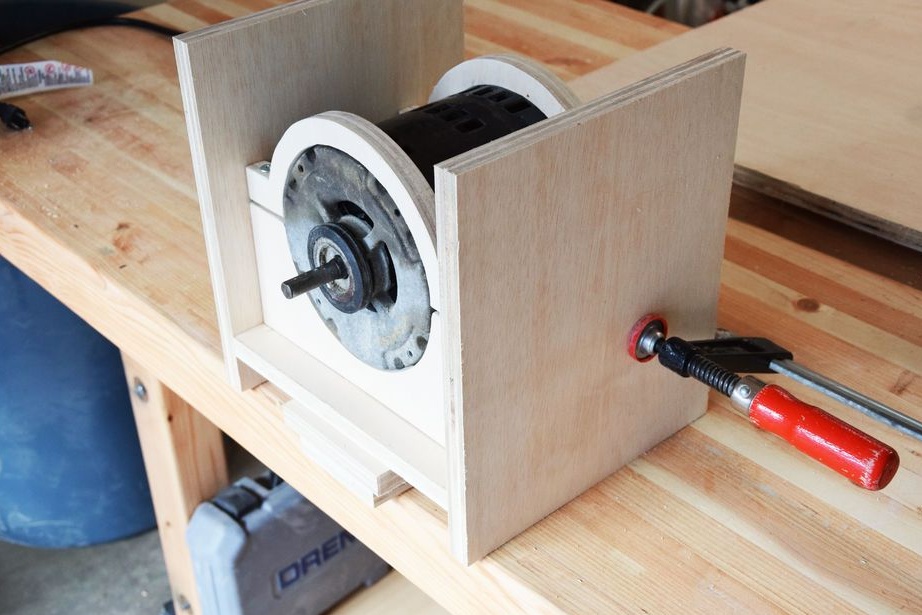
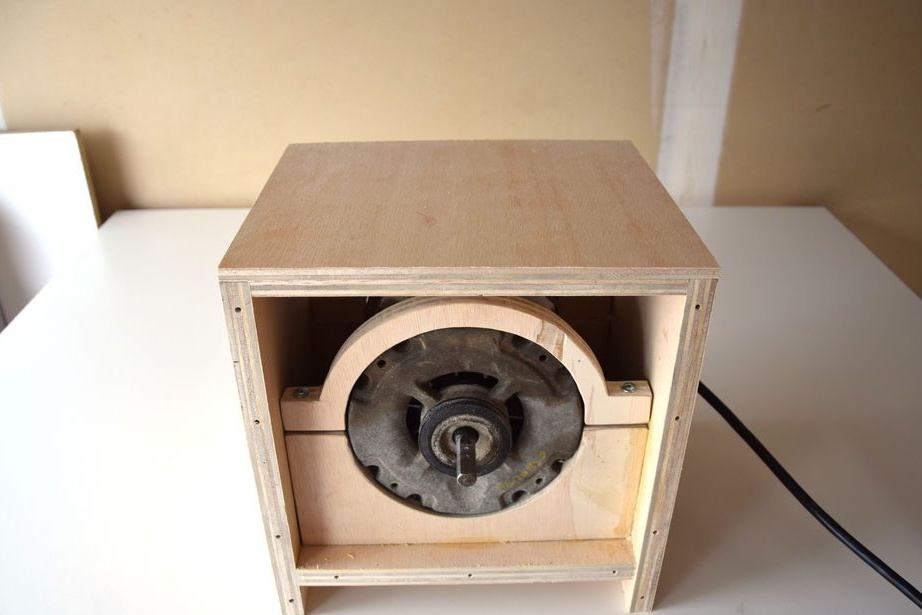
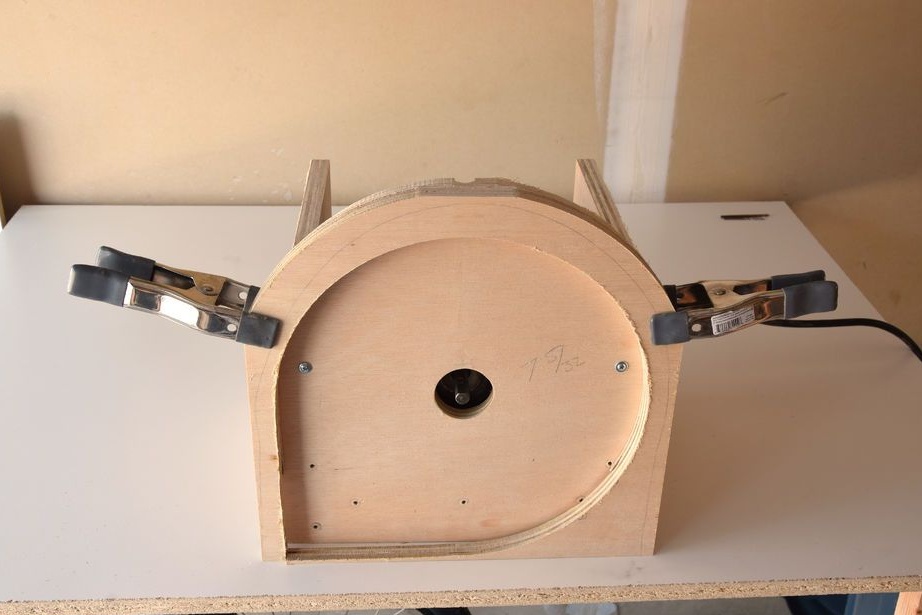
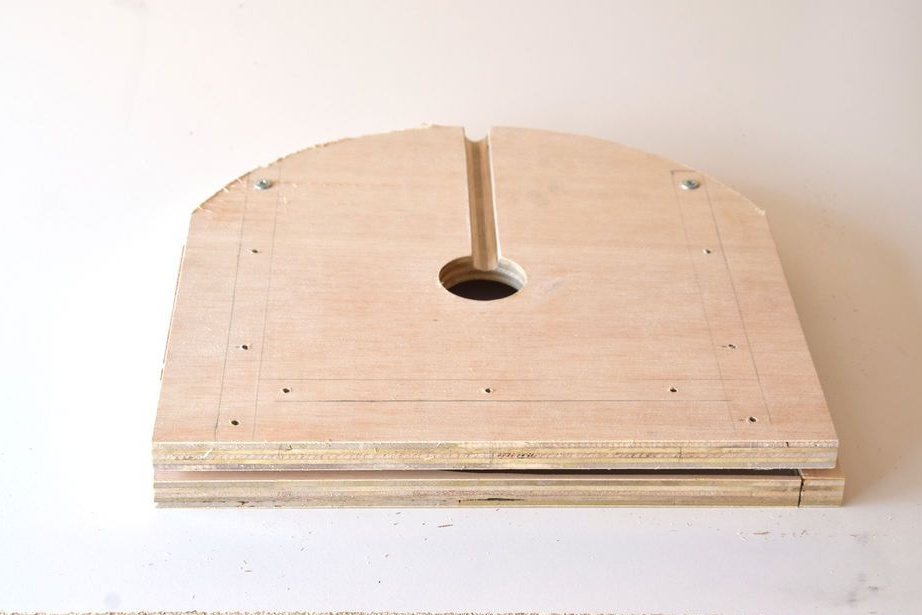
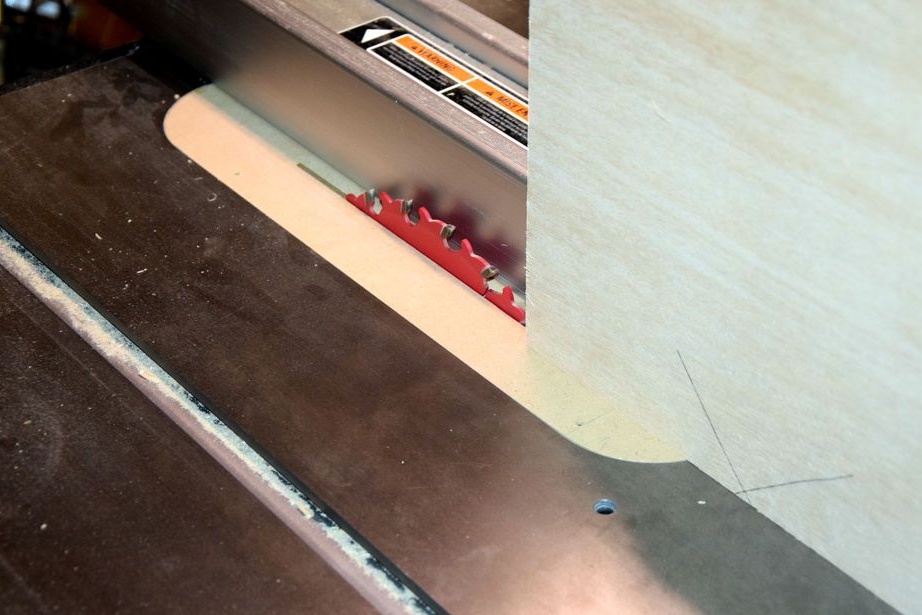
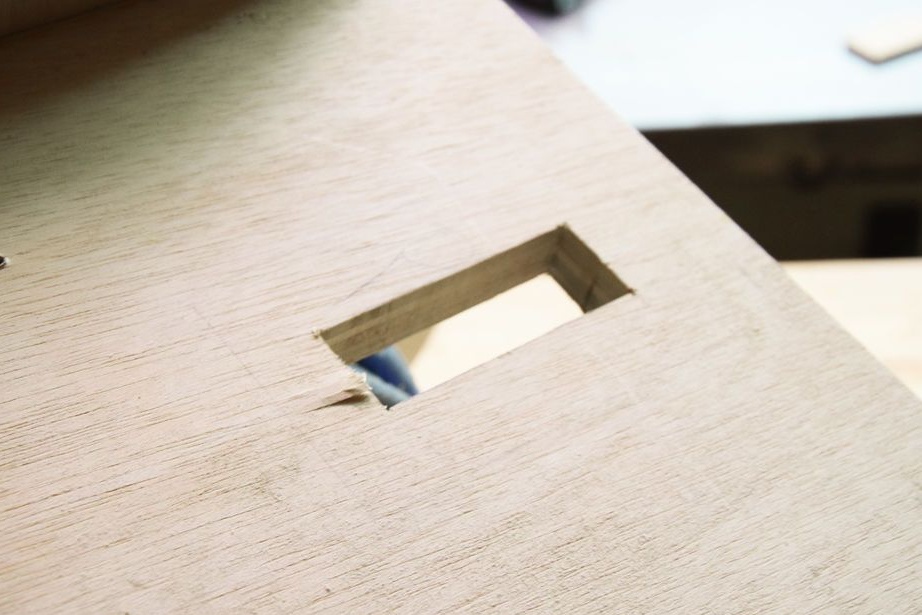
Installs the front cover of the housing, after having previously drilled a hole in it for the motor shaft and making a groove for access to the flange screw.
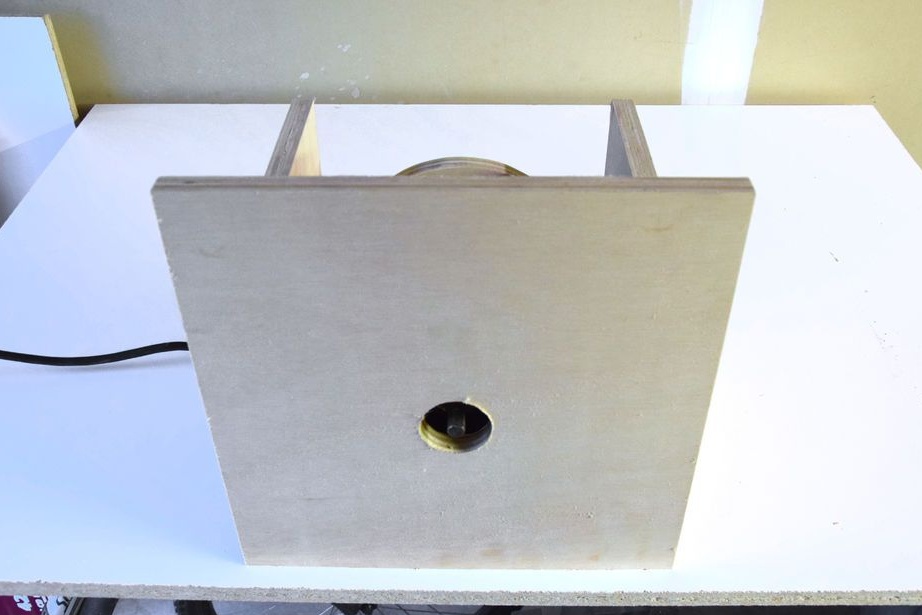

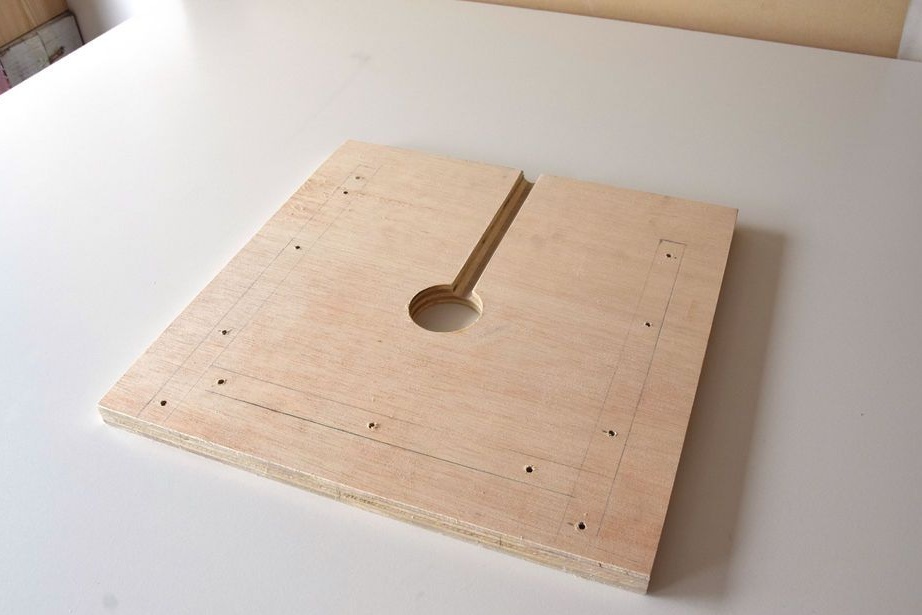
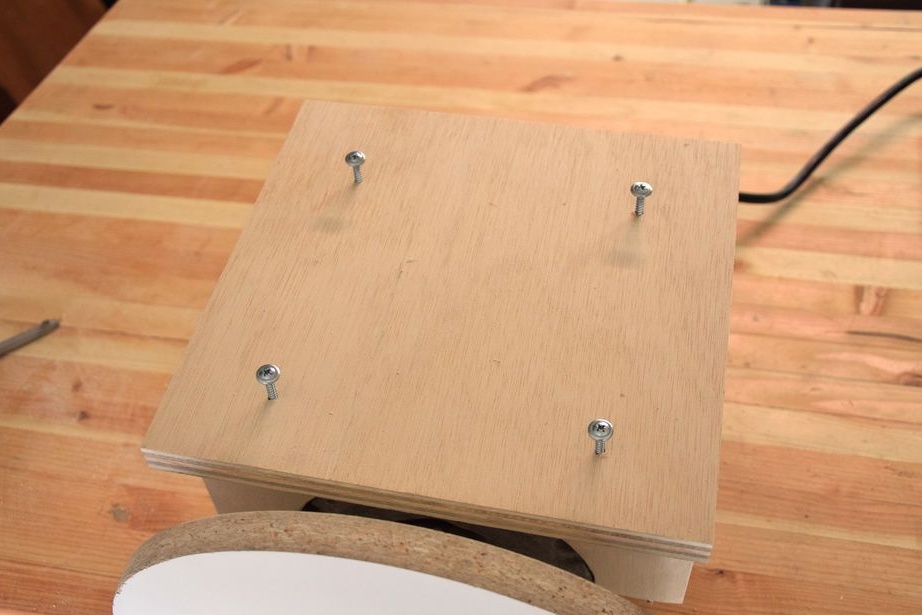
Installs the top cover.
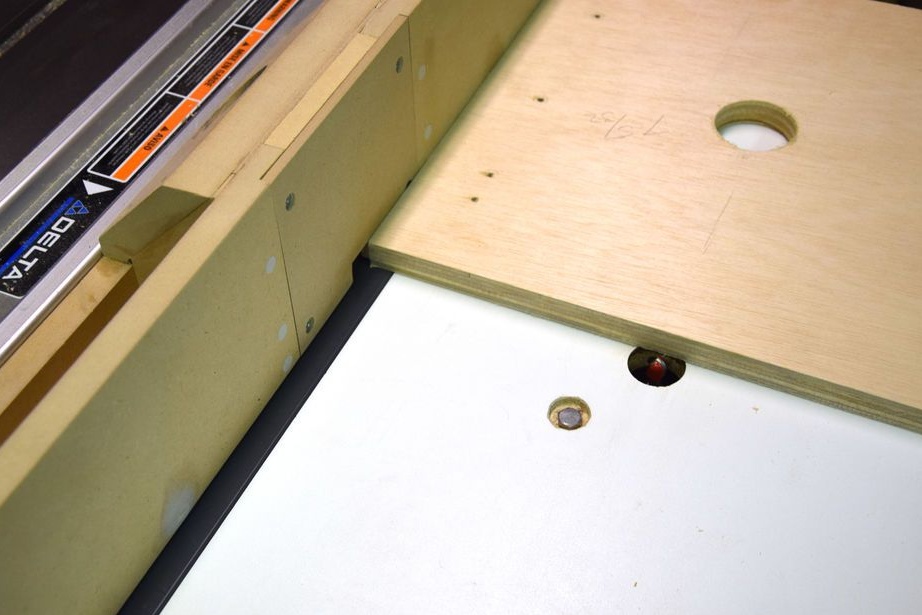
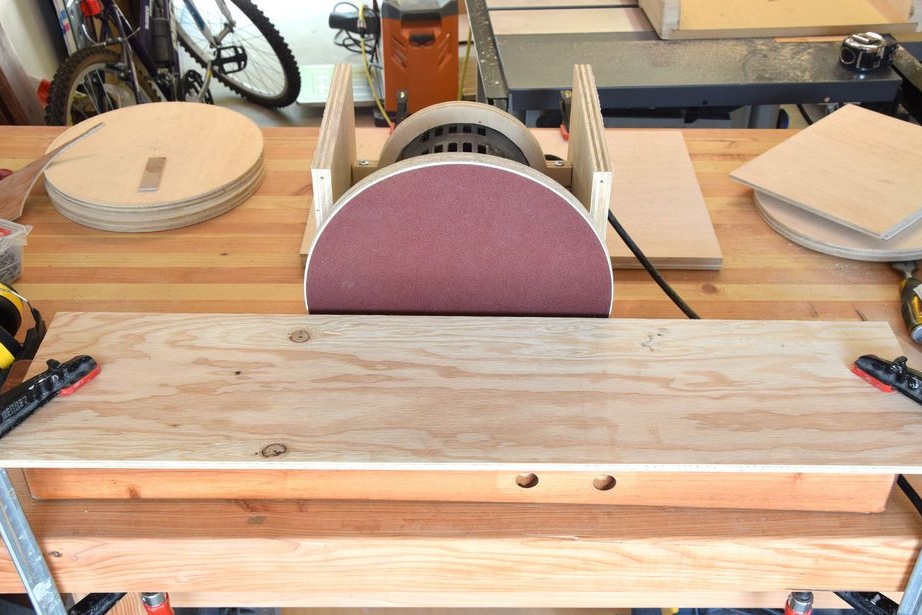
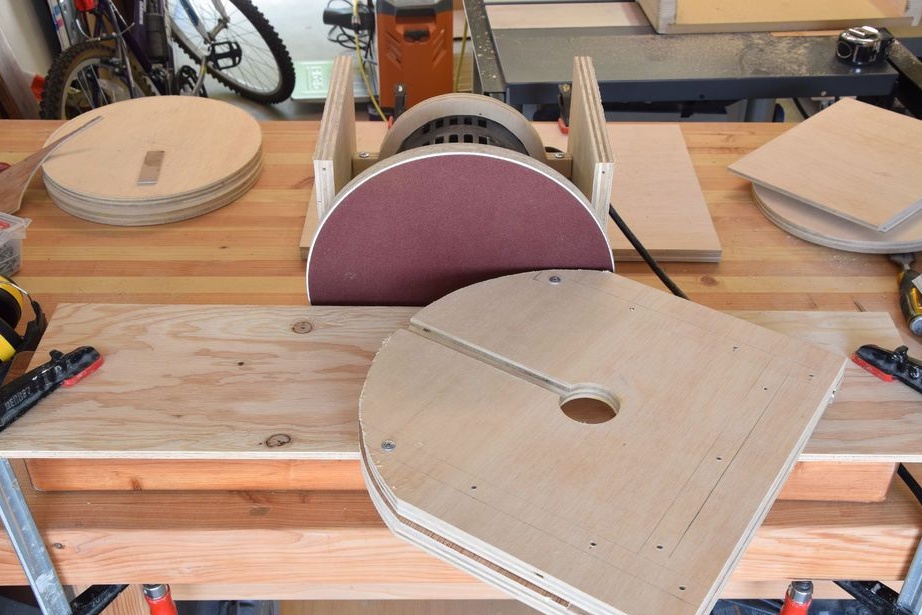
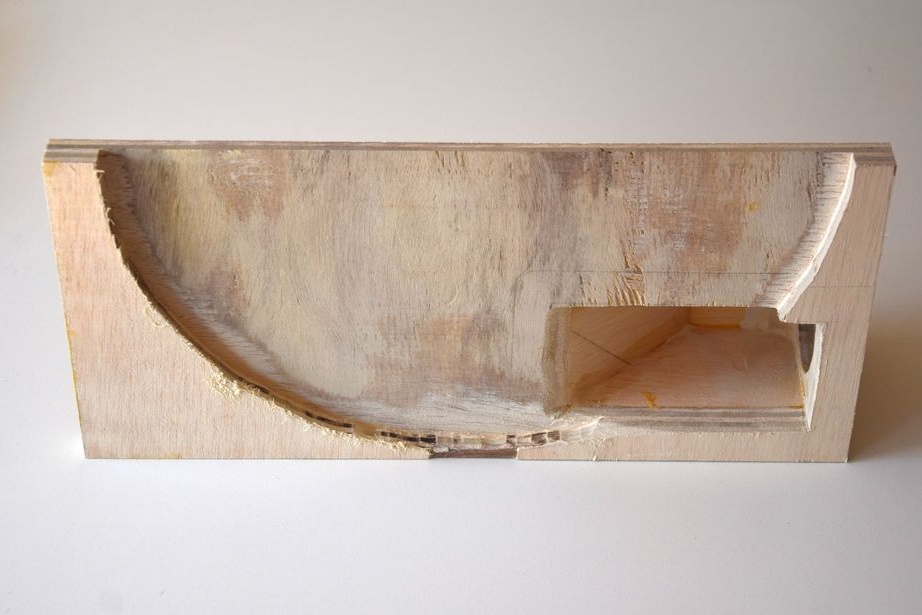
Step Three: Dust Removal System
So that the dust would not scatter throughout the workshop, the author made a dust removal system.
I cut the trim on the front cover as in the photo. Please note: the author cut the bottom right corner.


Temporarily secured the pad to the front cover.

Treated edge.
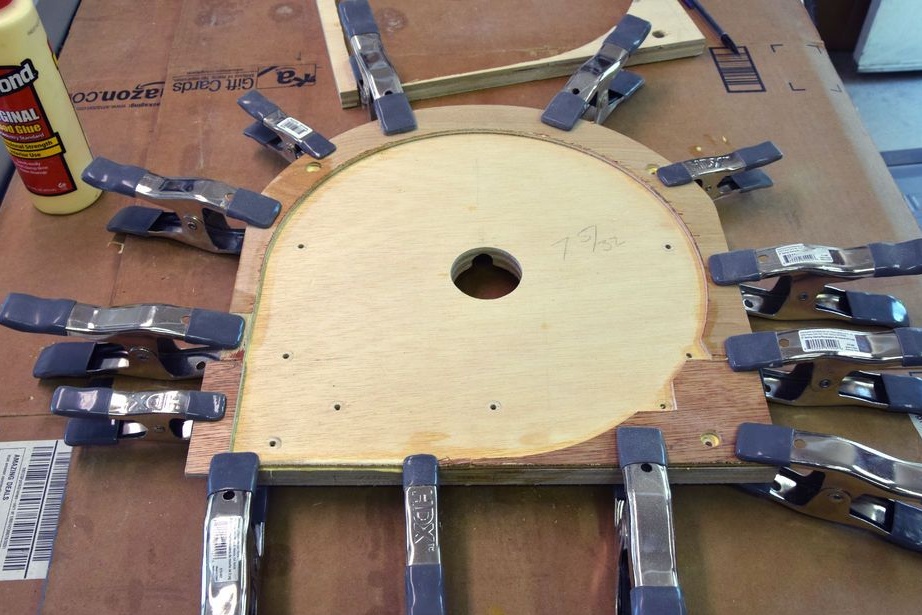
I glued the pad to the cover.

Makes the front cover of the dust extraction system.
Of the pieces of plywood, a chamber is made for connection to a vacuum cleaner pipe.
The front cover cuts a hole for the camera. With the help of glue, it collects a dust removal system. Fixes it with bolts to the body (this will allow you to dismantle the dust removal system to replace the disk).

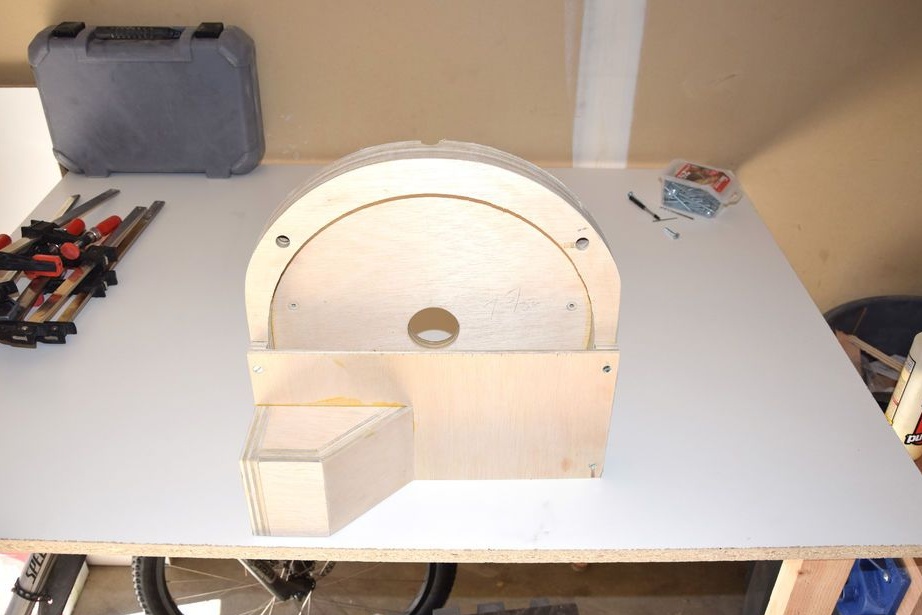
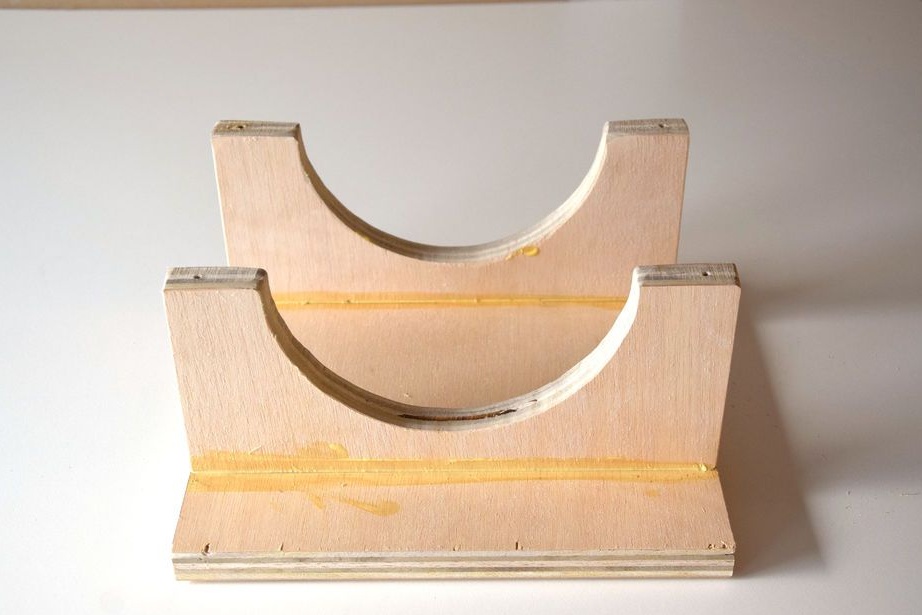
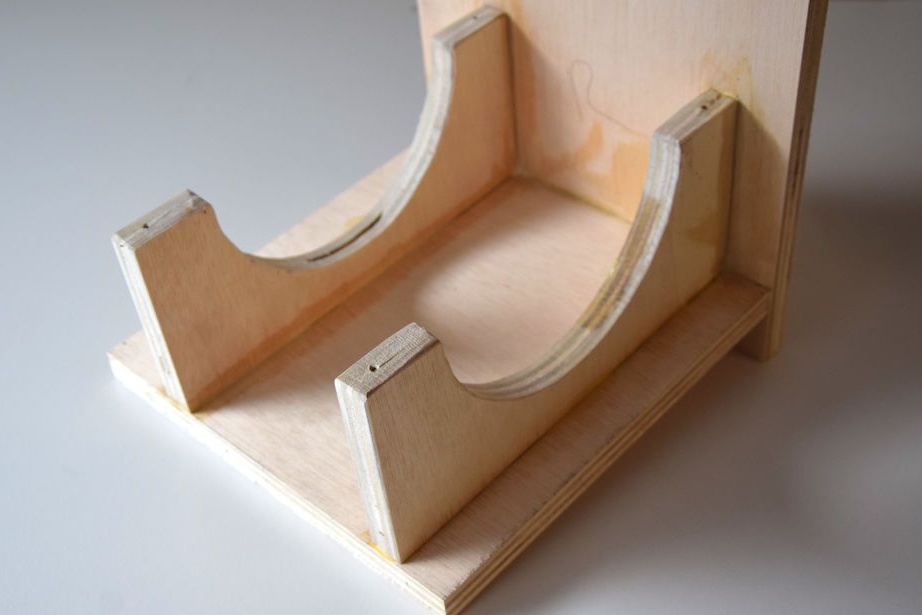
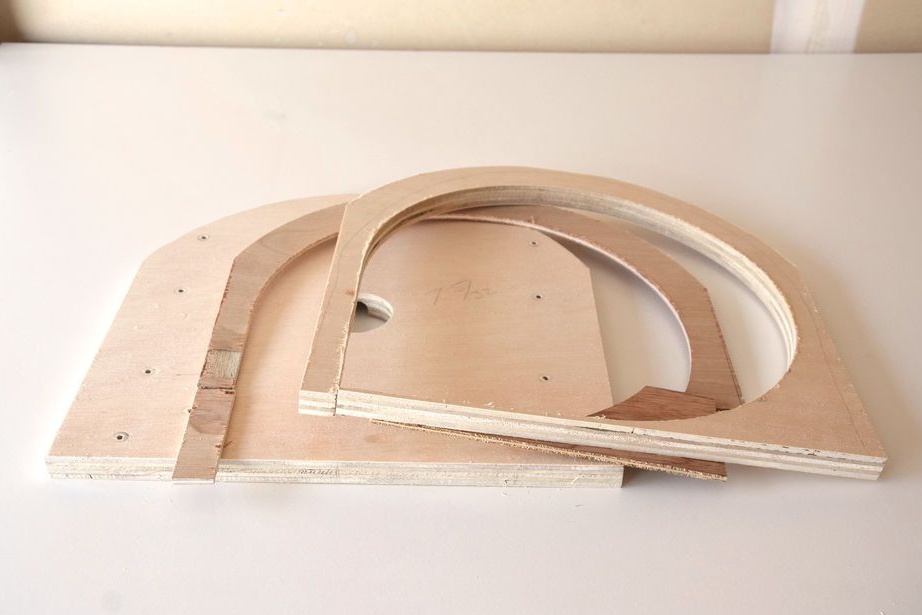
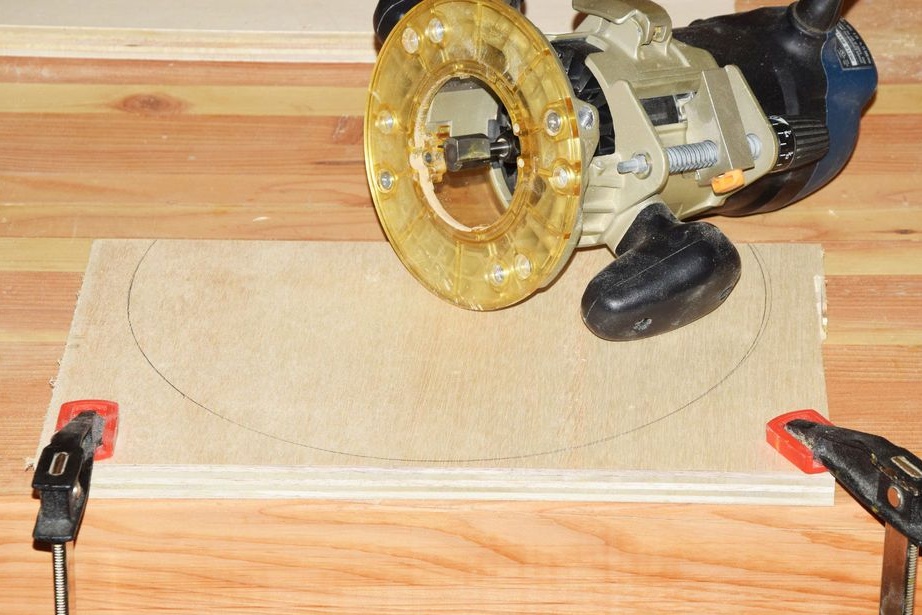
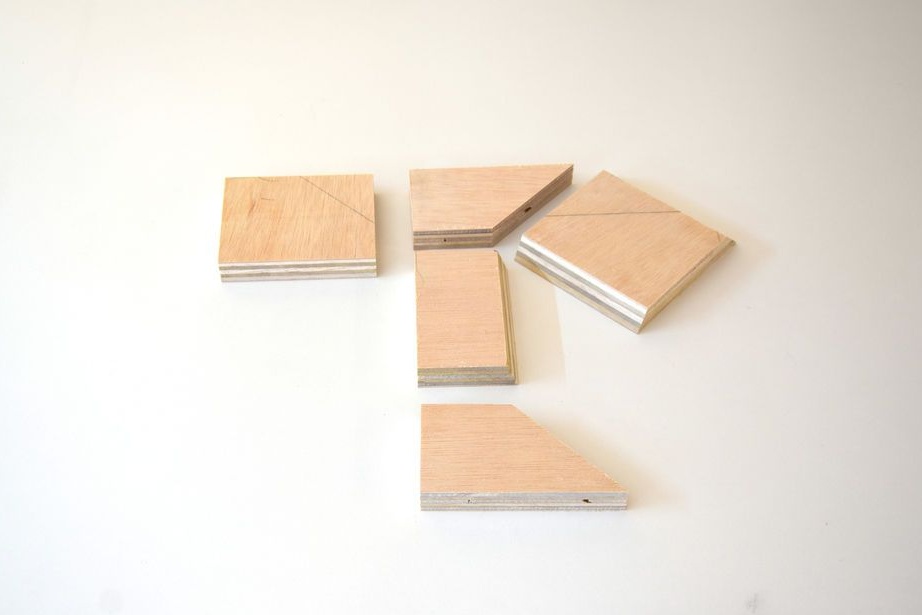
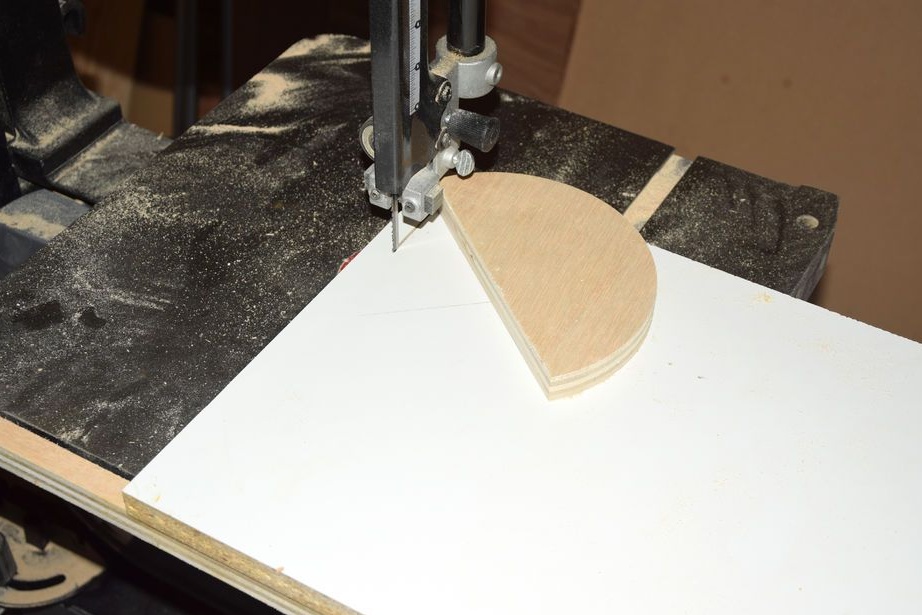
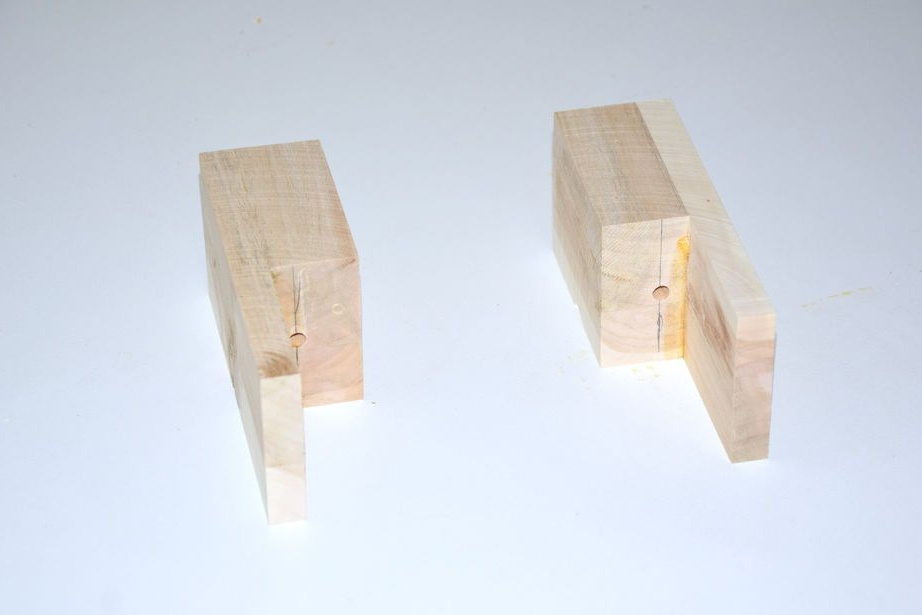
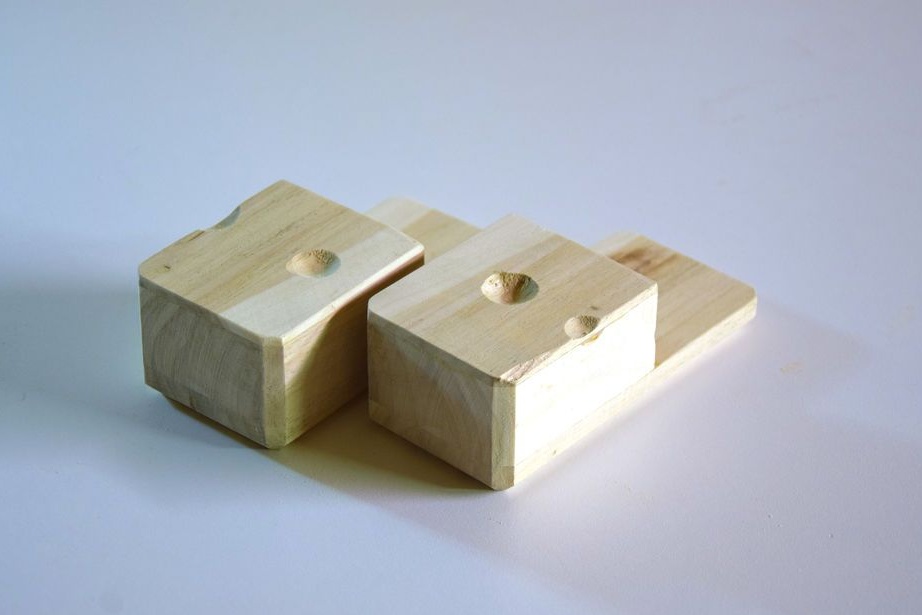
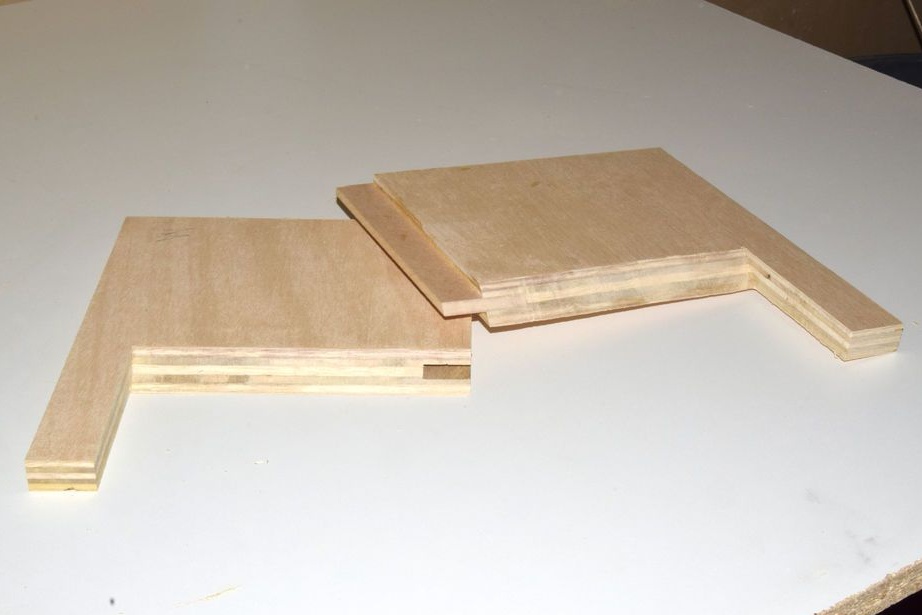
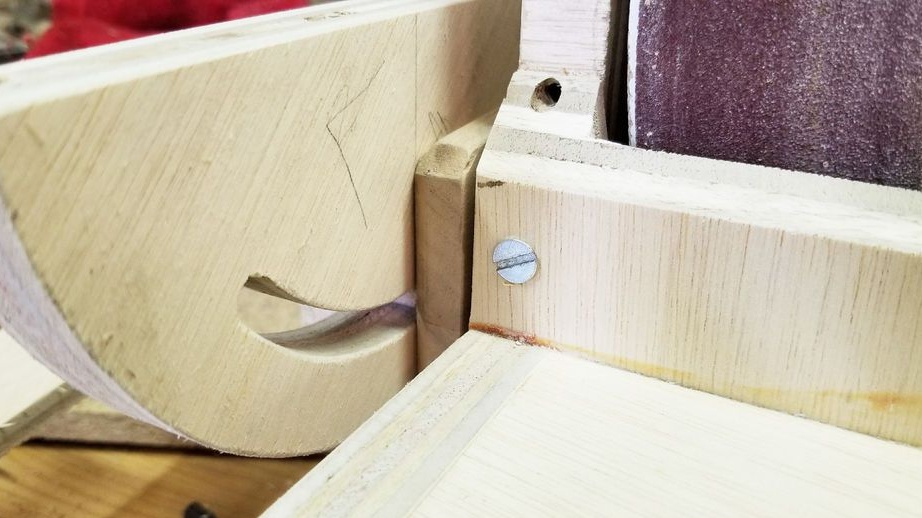
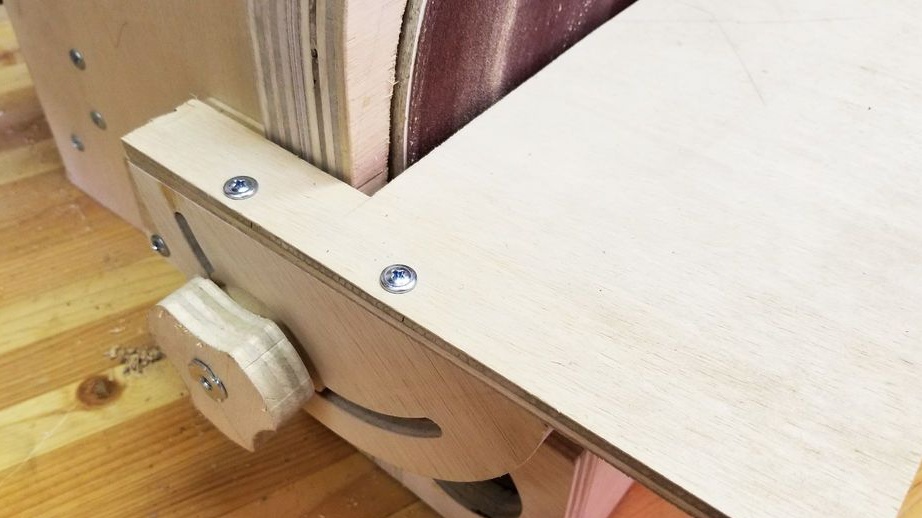
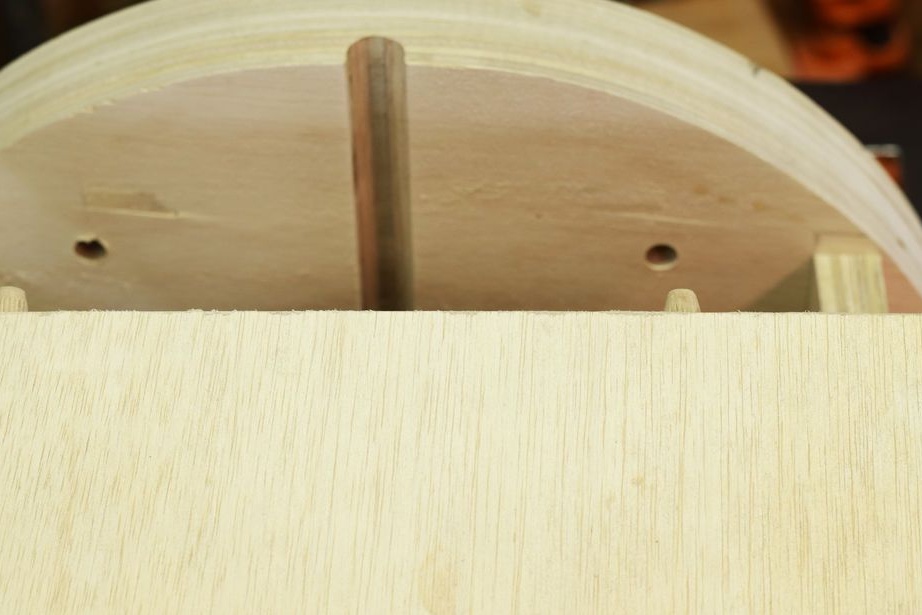
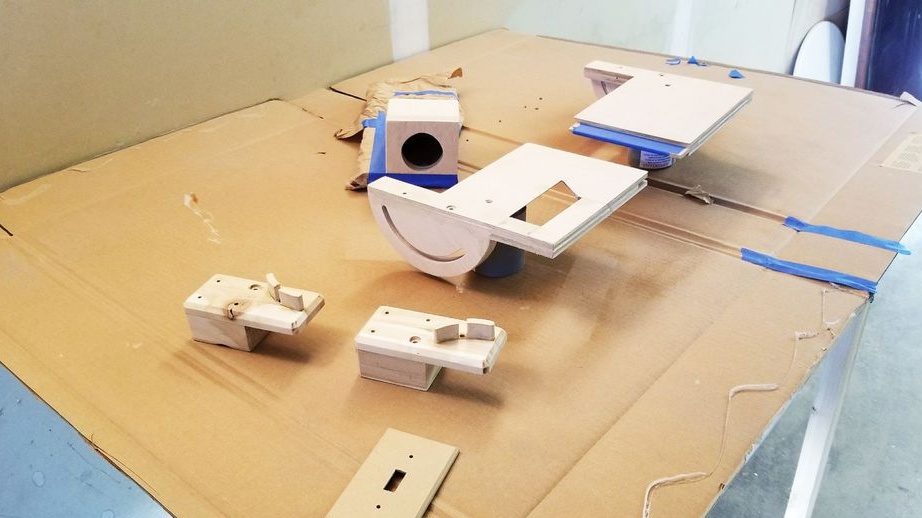
Step Four: Making the Swivel Assembly
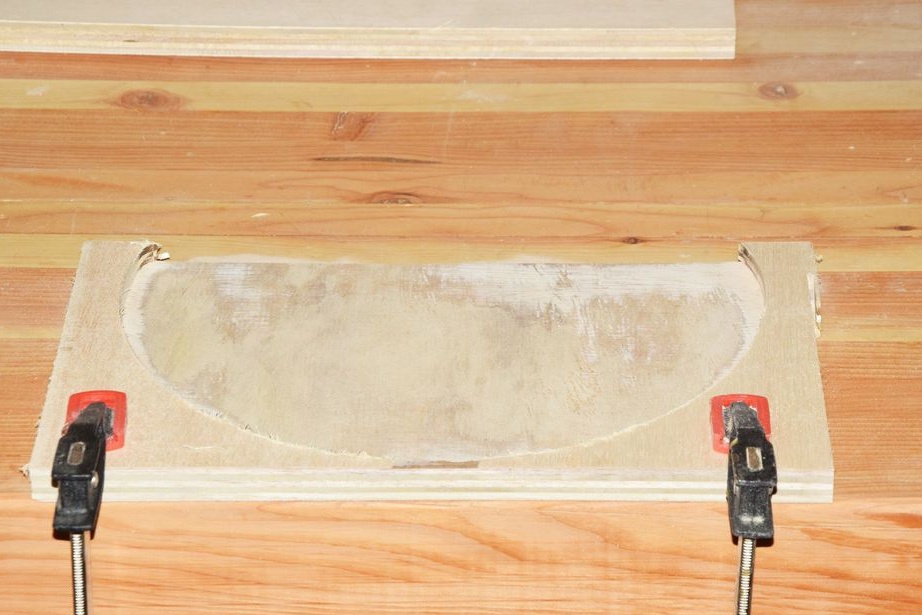
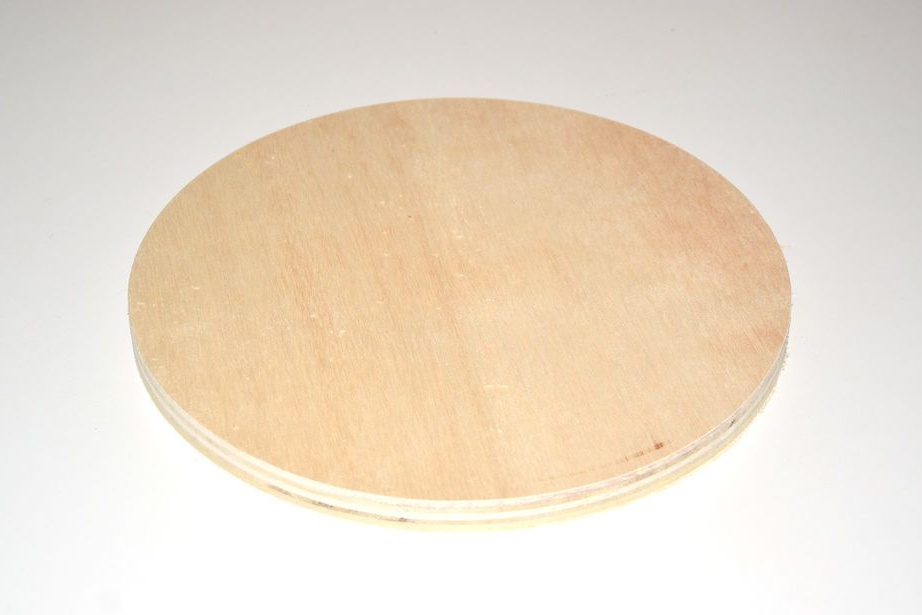
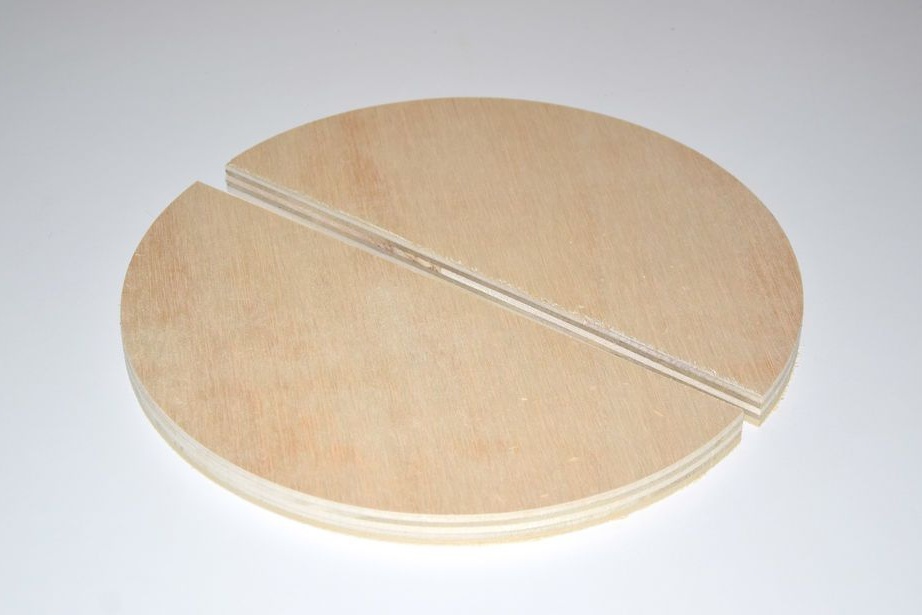
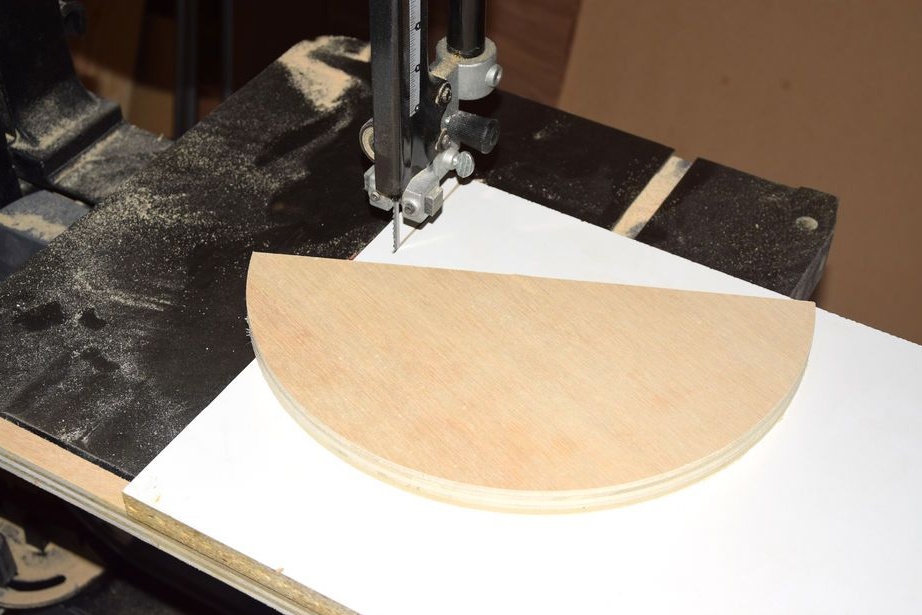
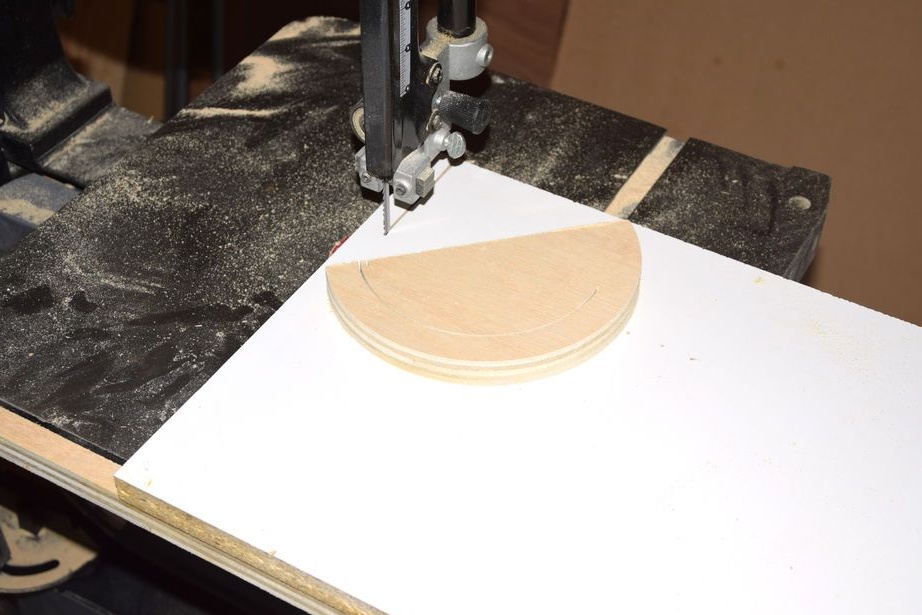
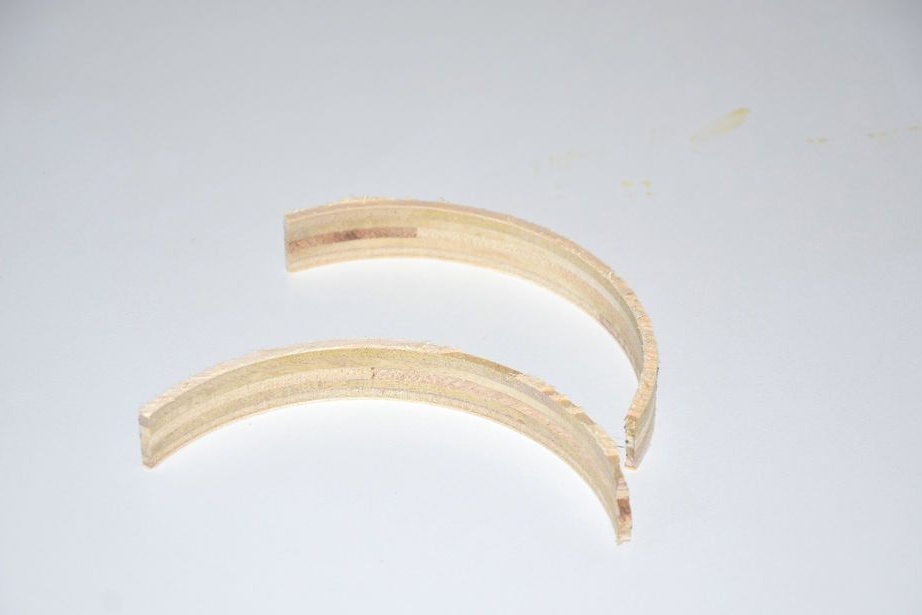
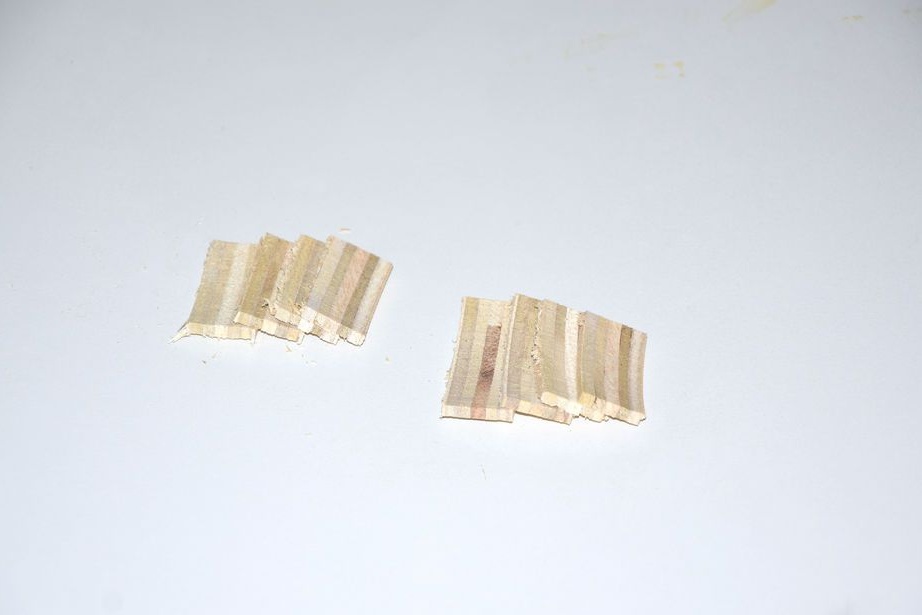
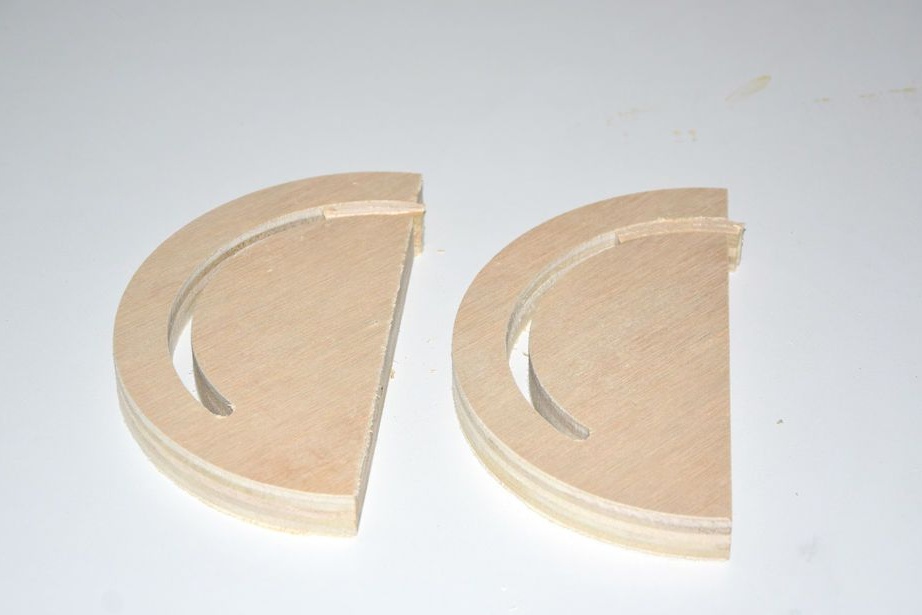
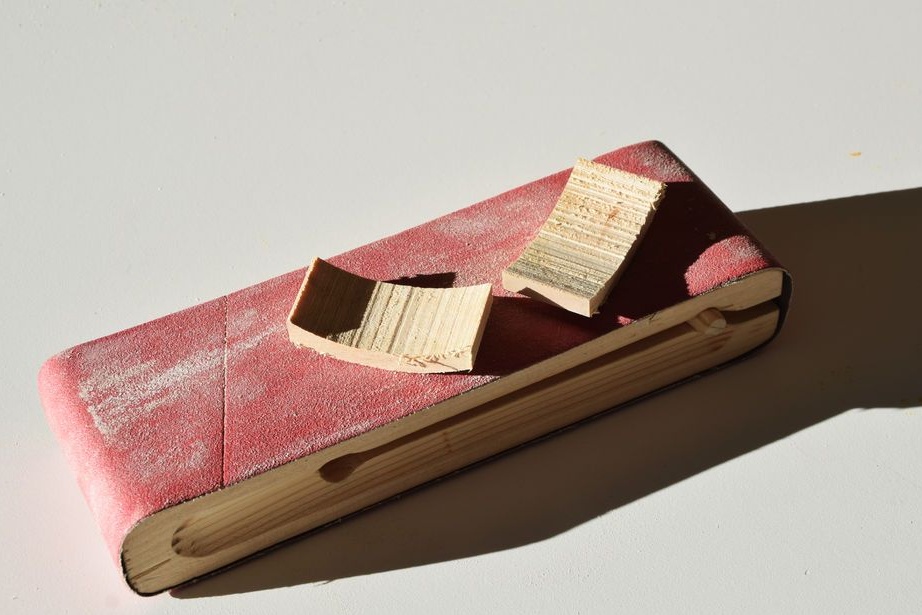
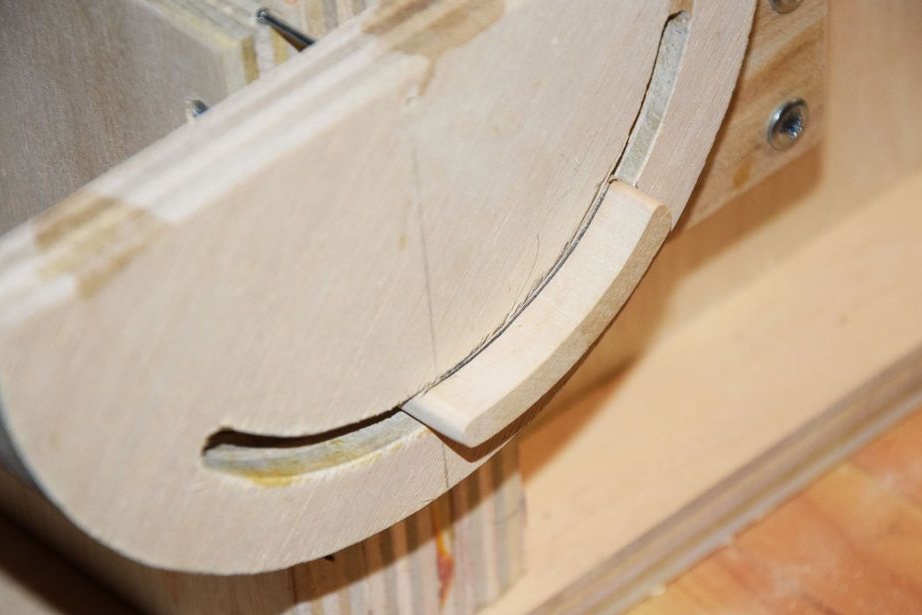
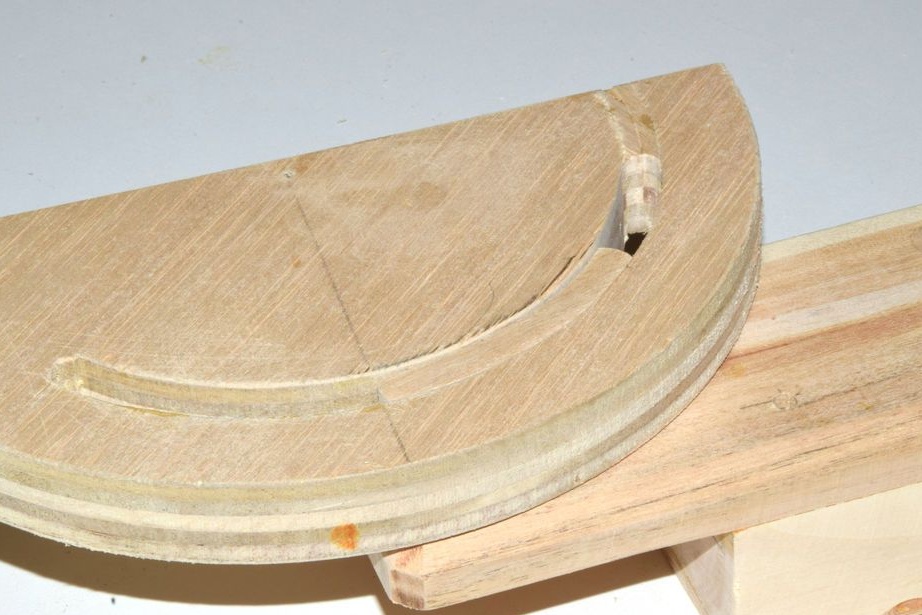
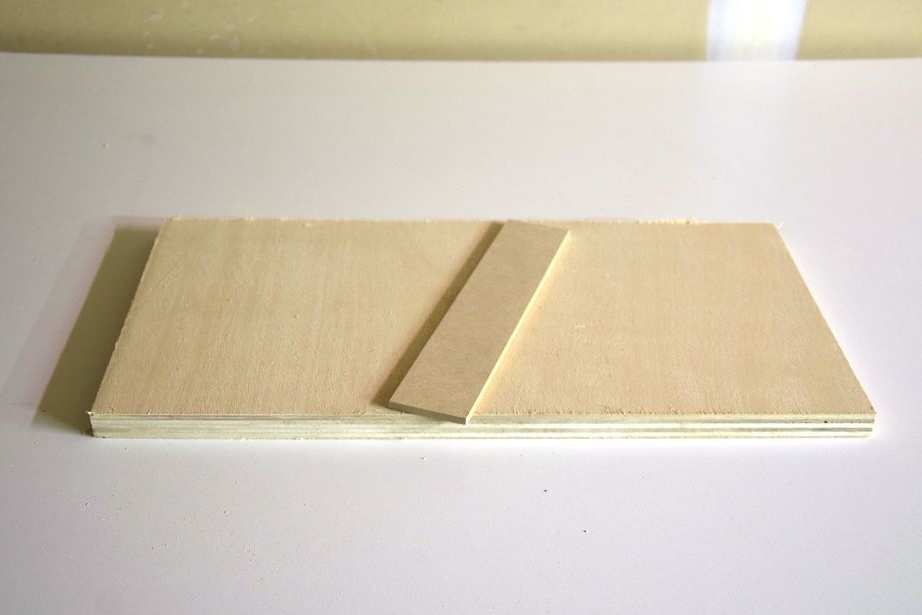
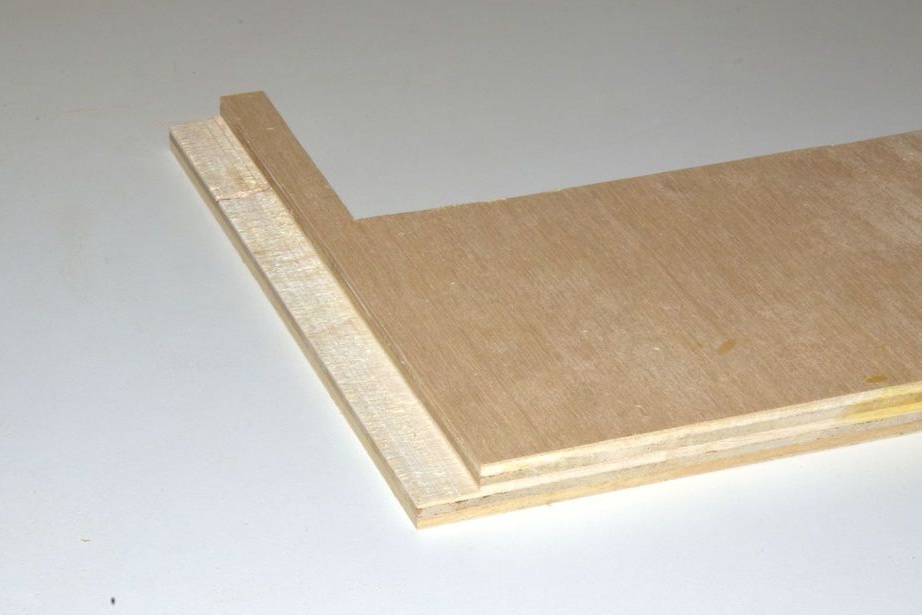
Further, the author makes two rotary nodes for the handicraft. It cuts into two equal halves the plywood disk remaining after the manufacture of the dust extraction system.
Cut out halves in halves.
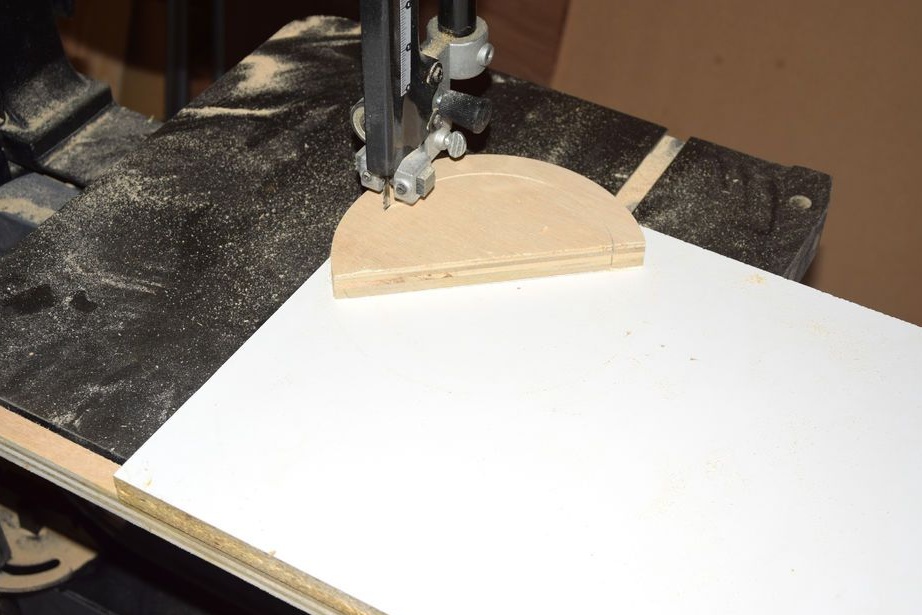
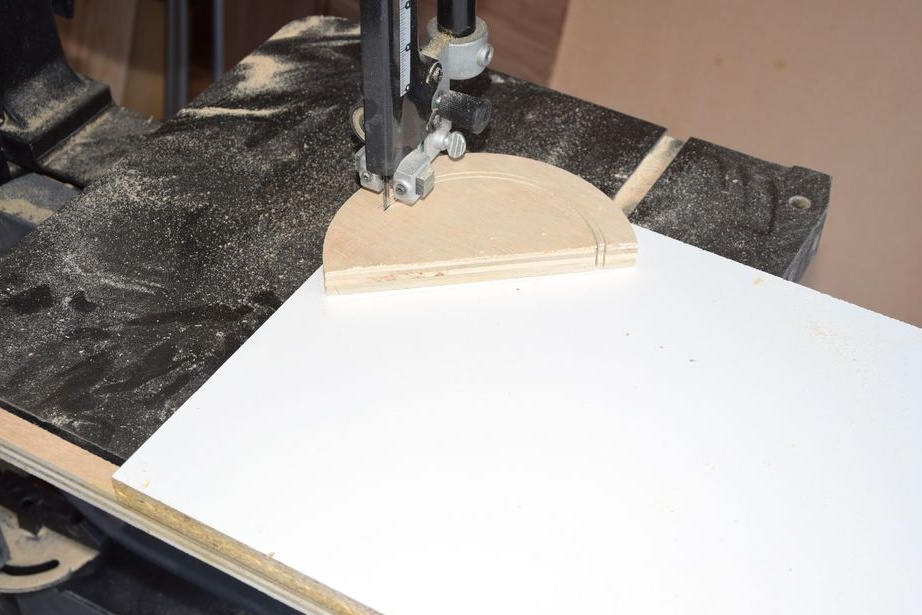
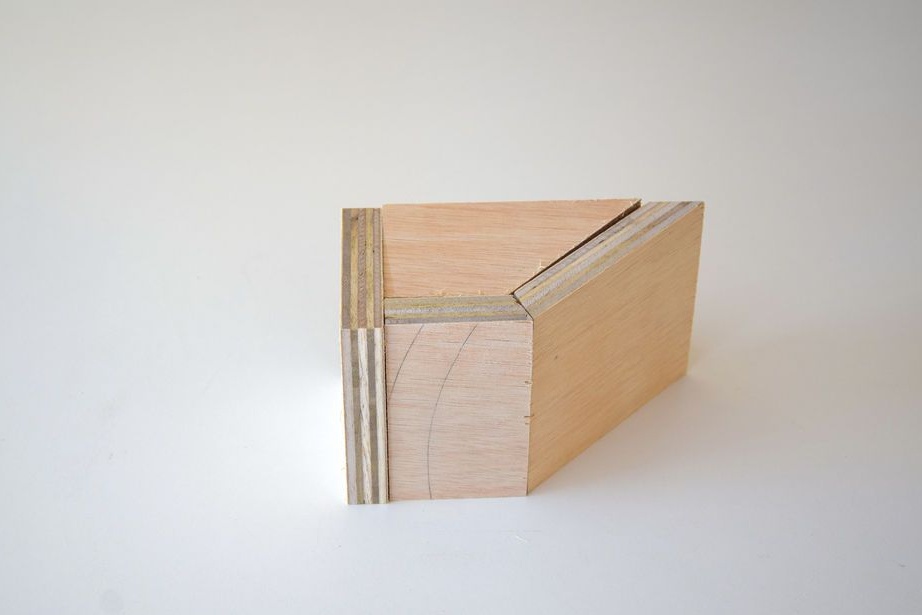
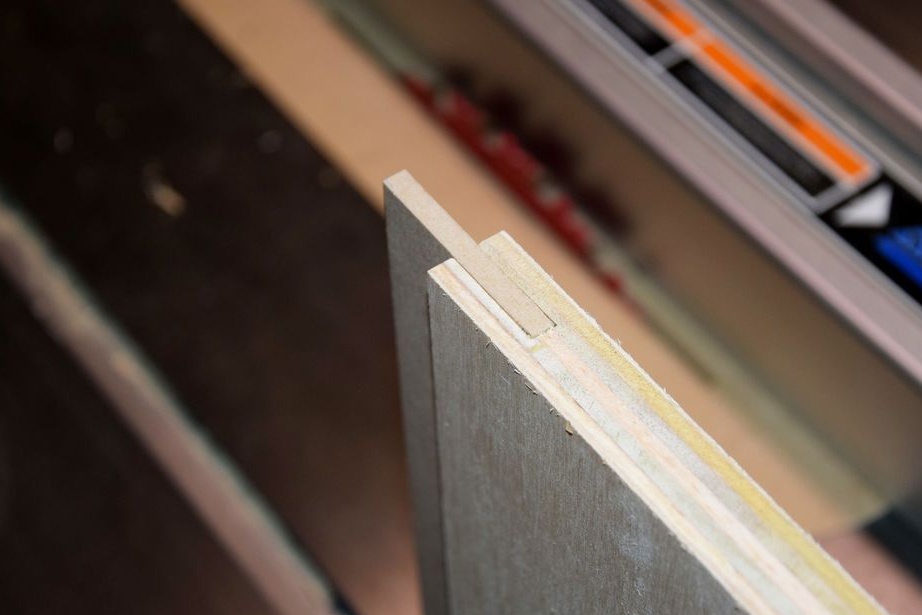
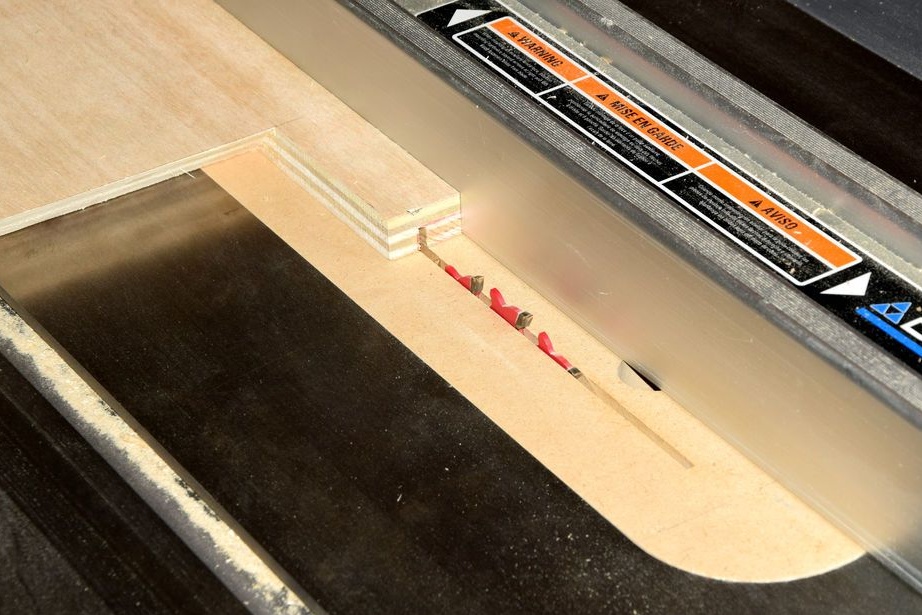
Glues pieces of wood with the edge of the groove.
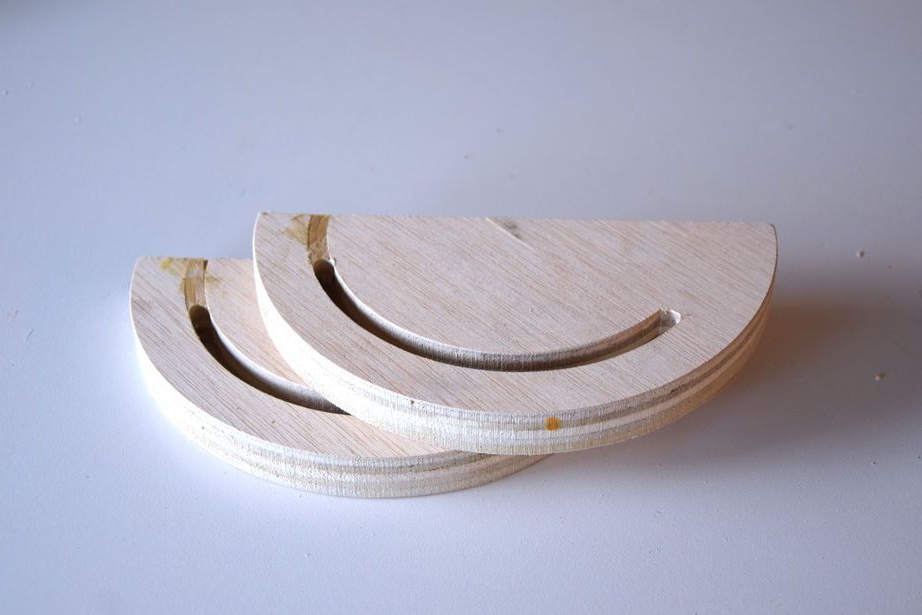
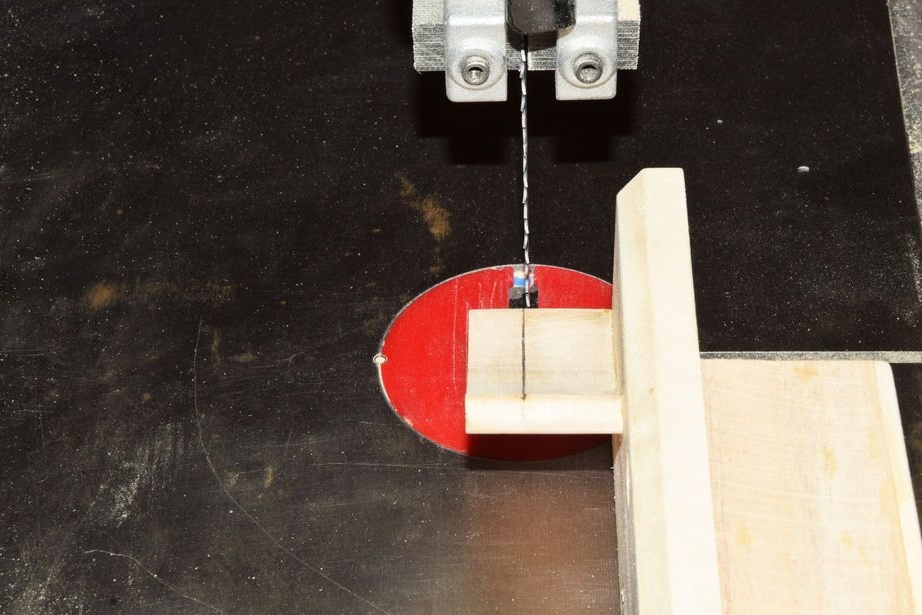
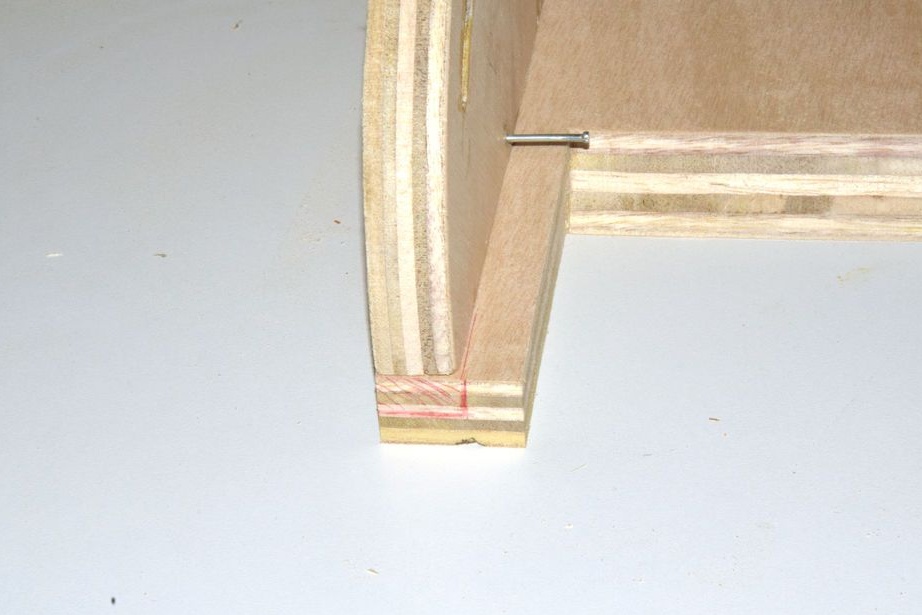
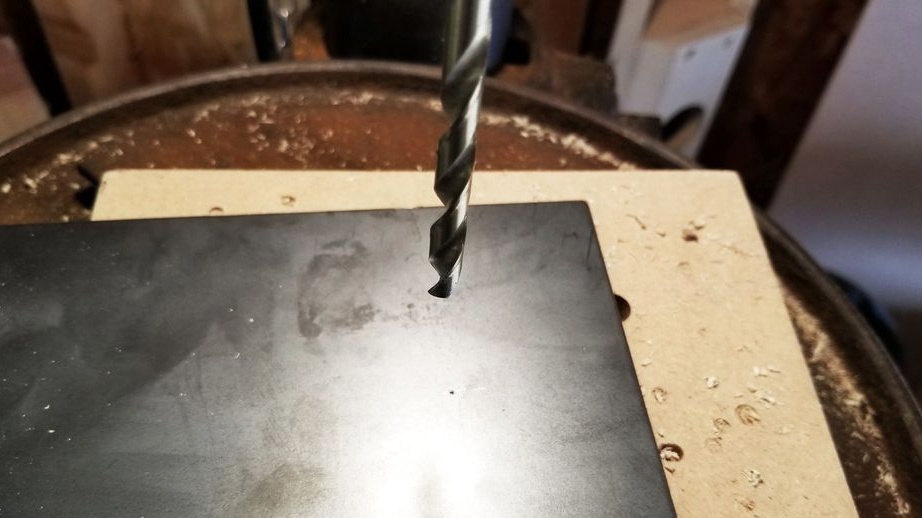
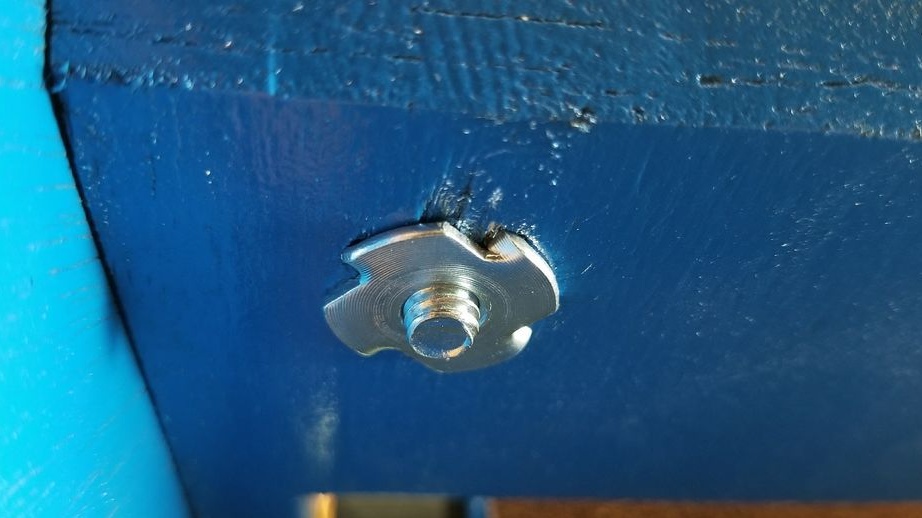
Makes a mount from the board. In the mount, drills holes for screws and a clamp bolt.
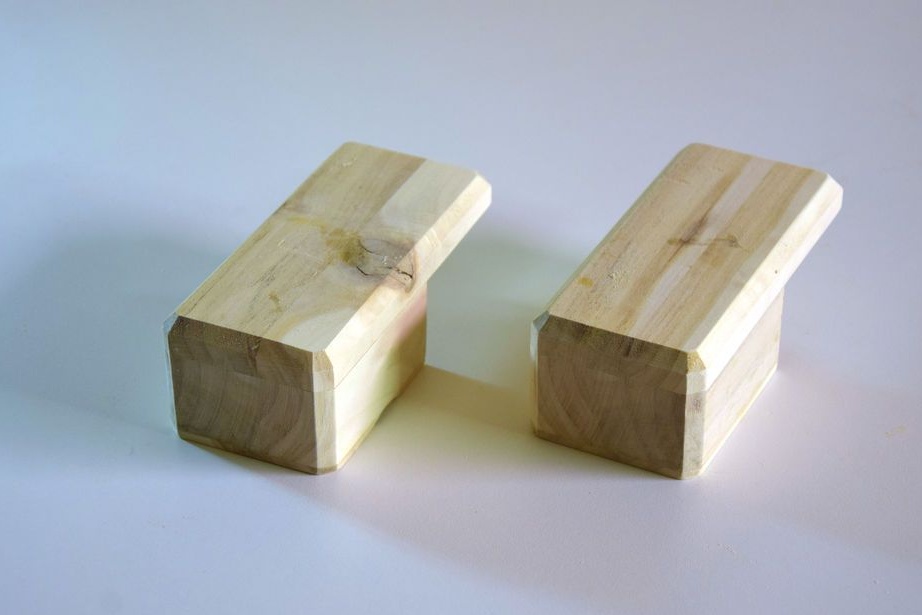
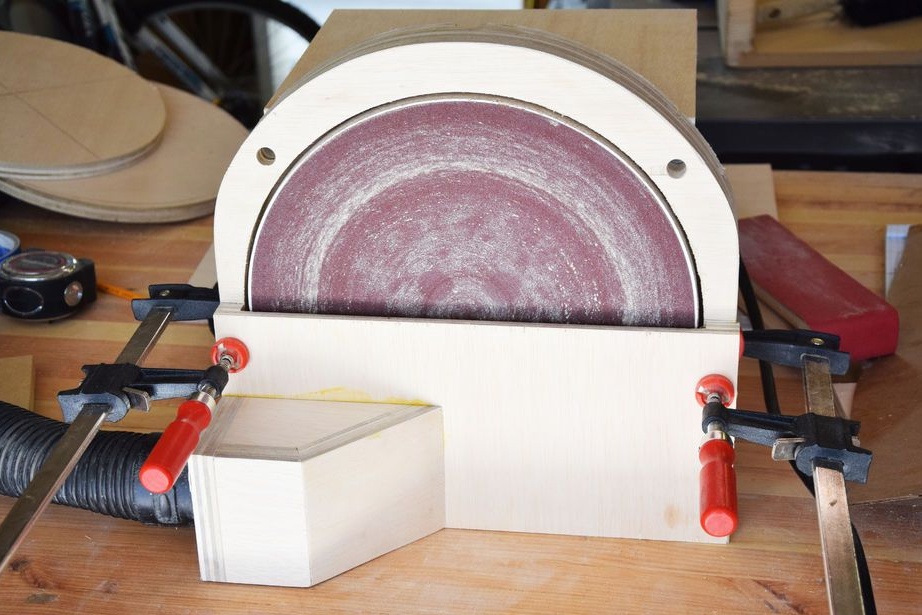
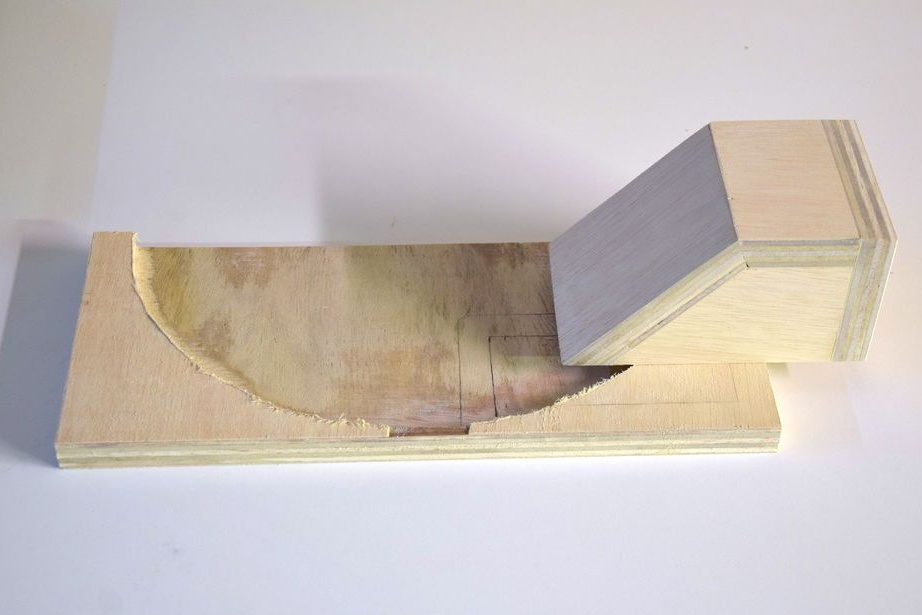
Cuts two guides. By grinding adjusts the guides to the grooves.

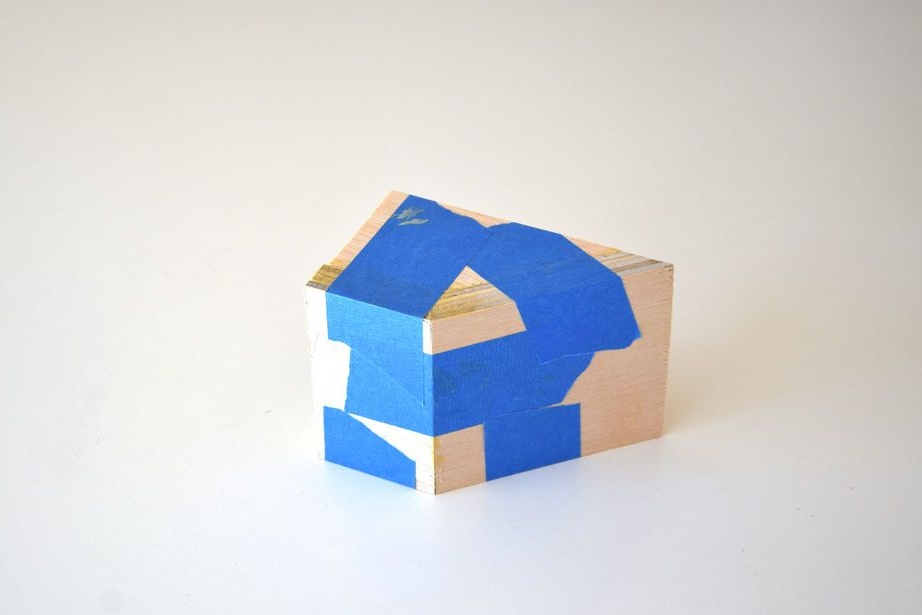
Trying on a knot. Cuts off the excess part of the guide.
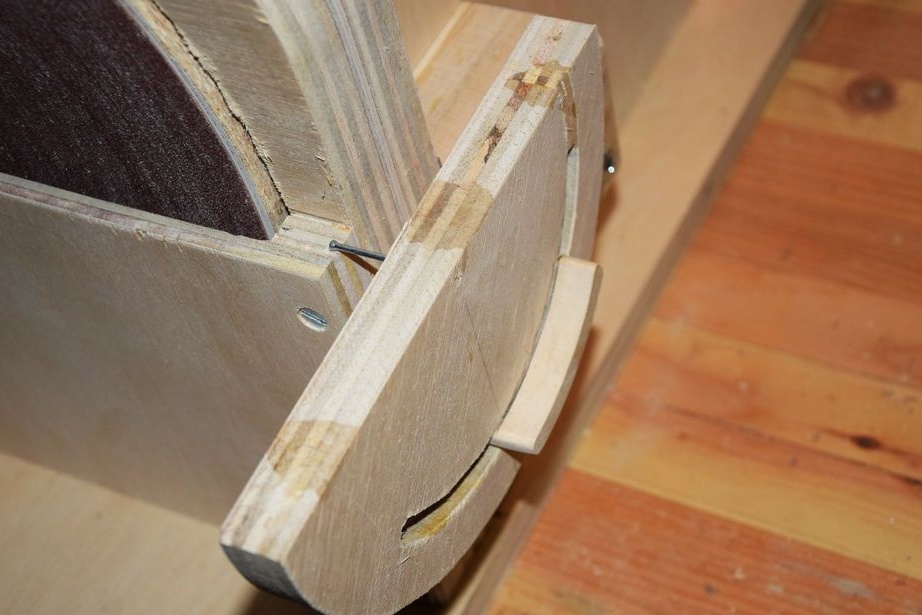
Fastens the guide.
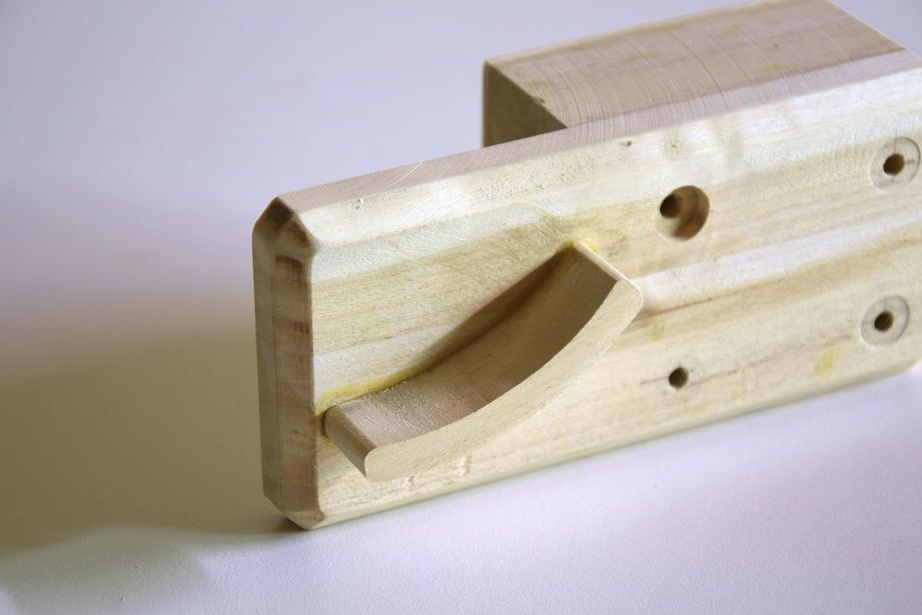
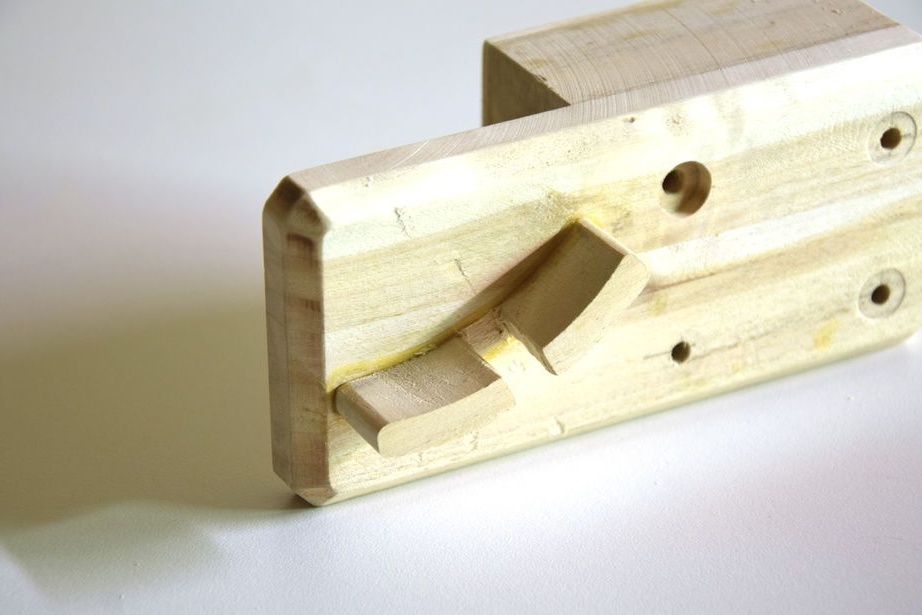
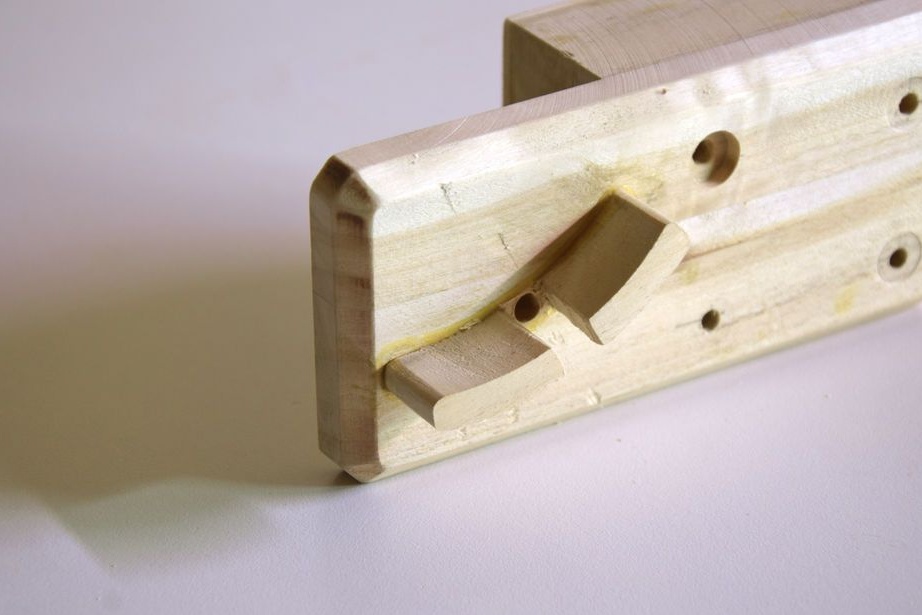

Makes clamps.

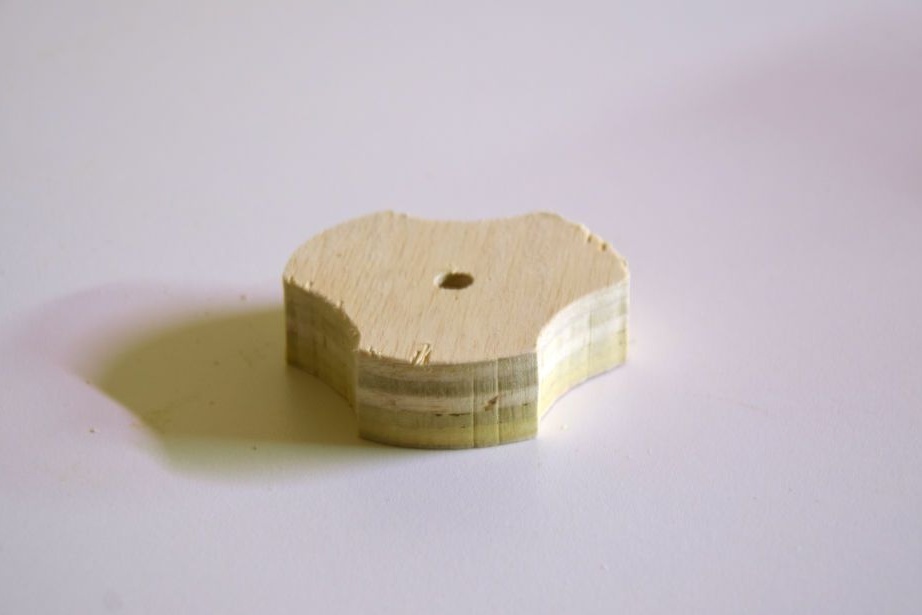
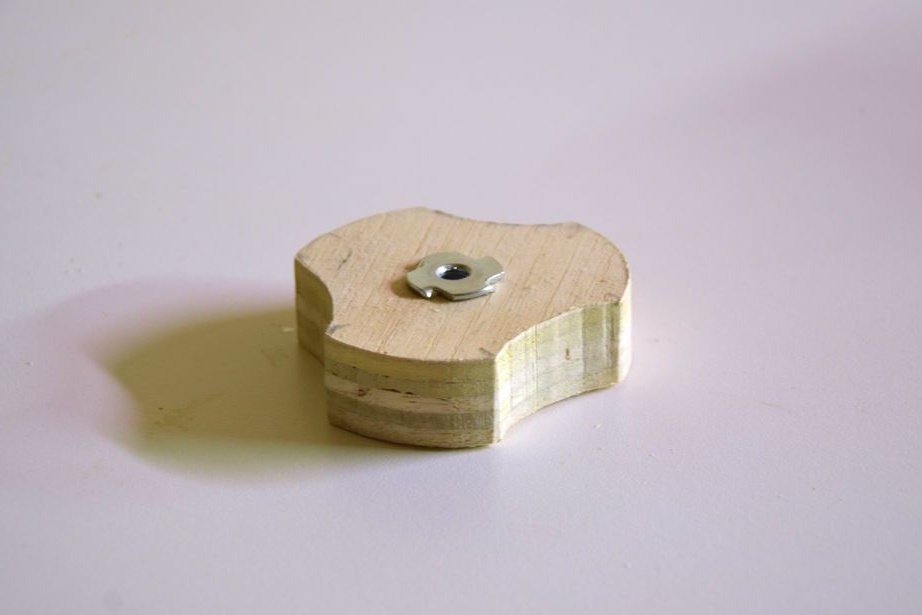
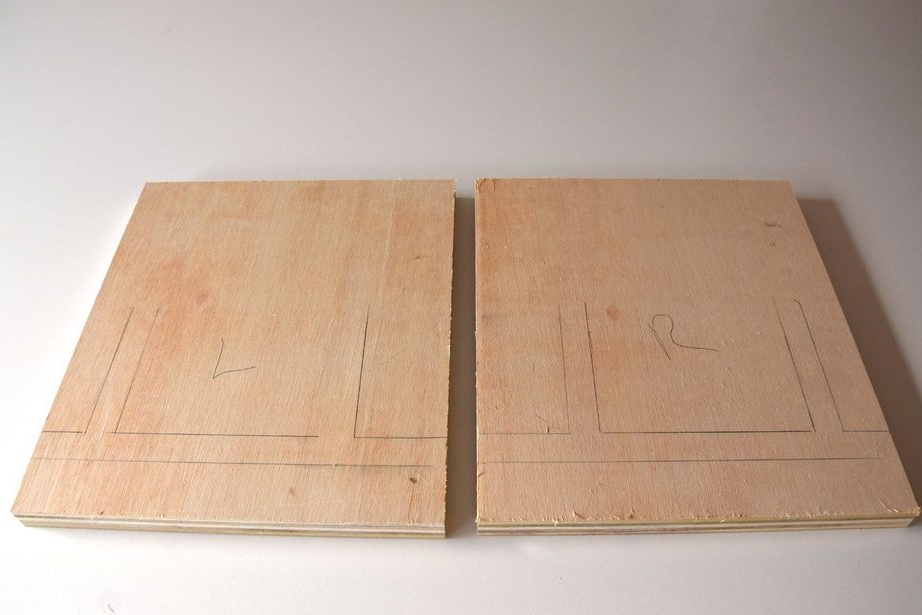
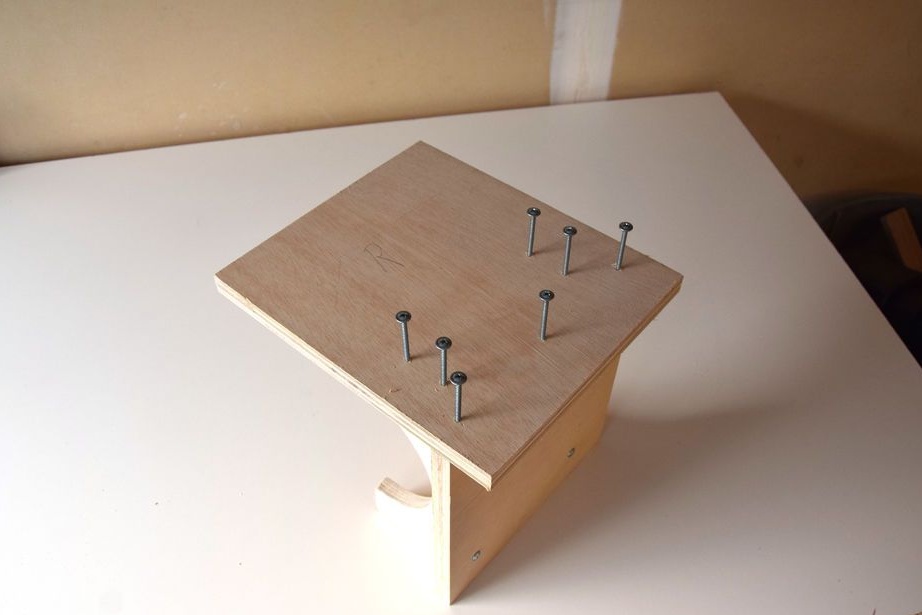
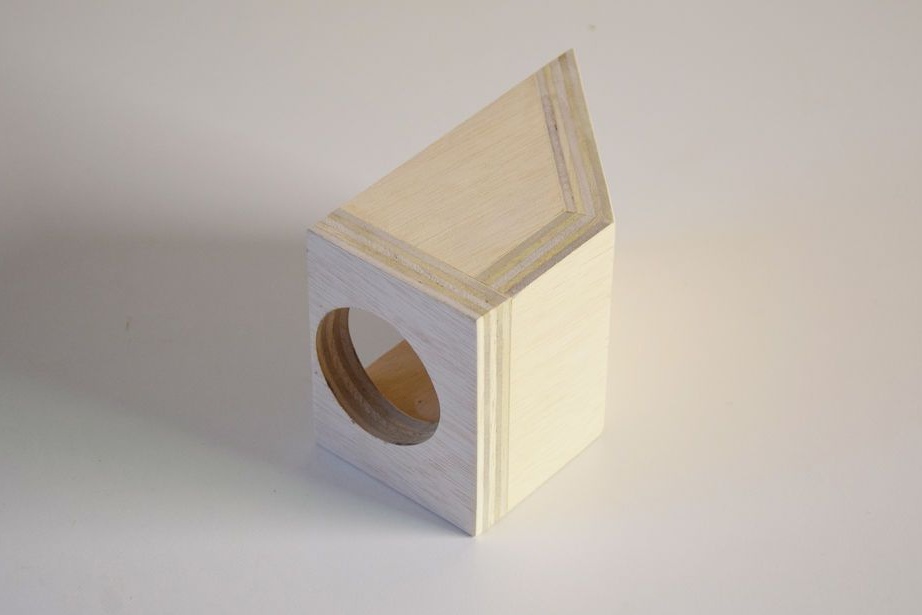
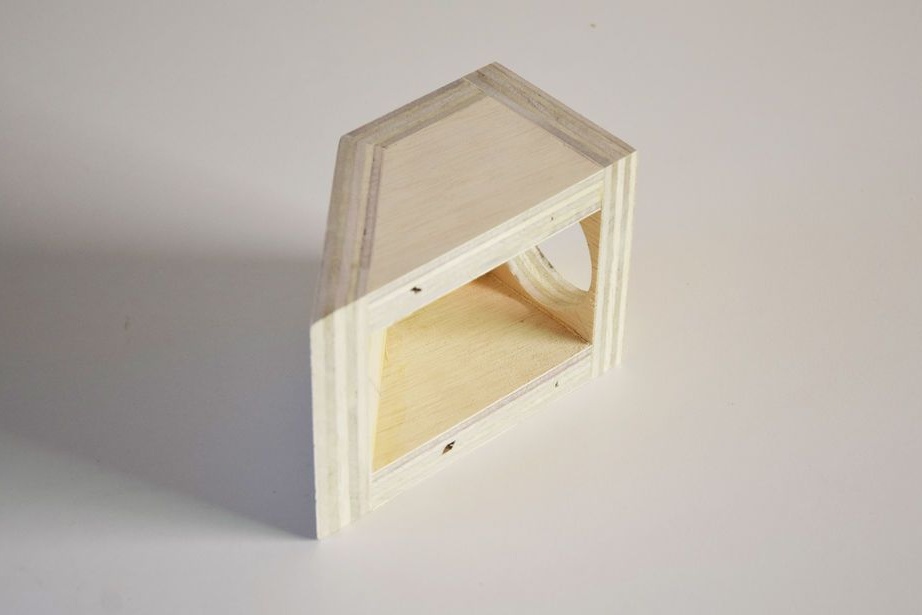
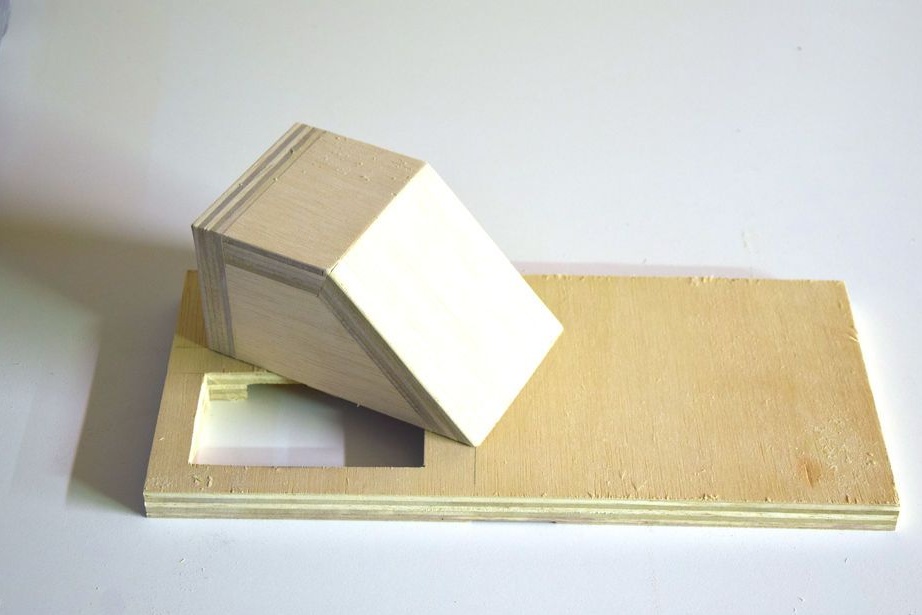
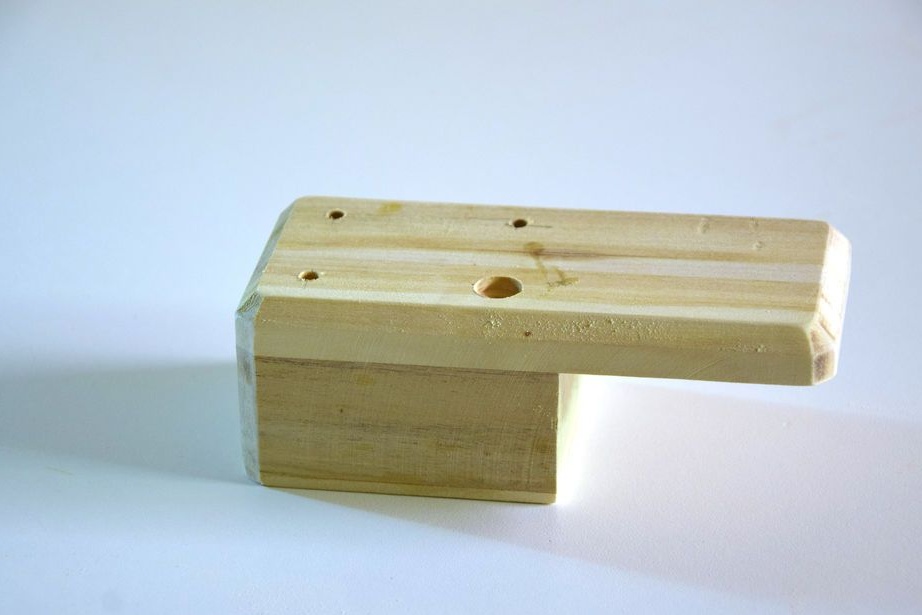
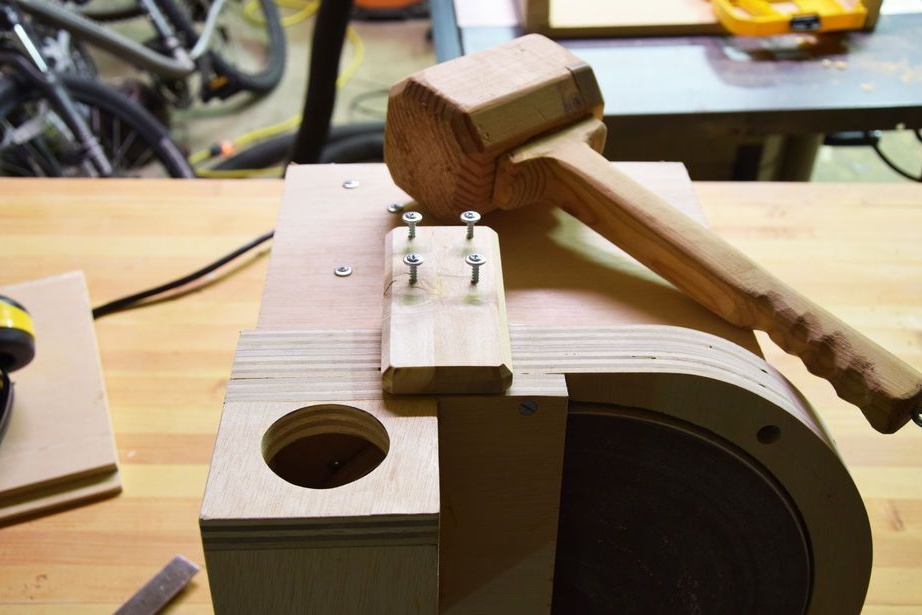
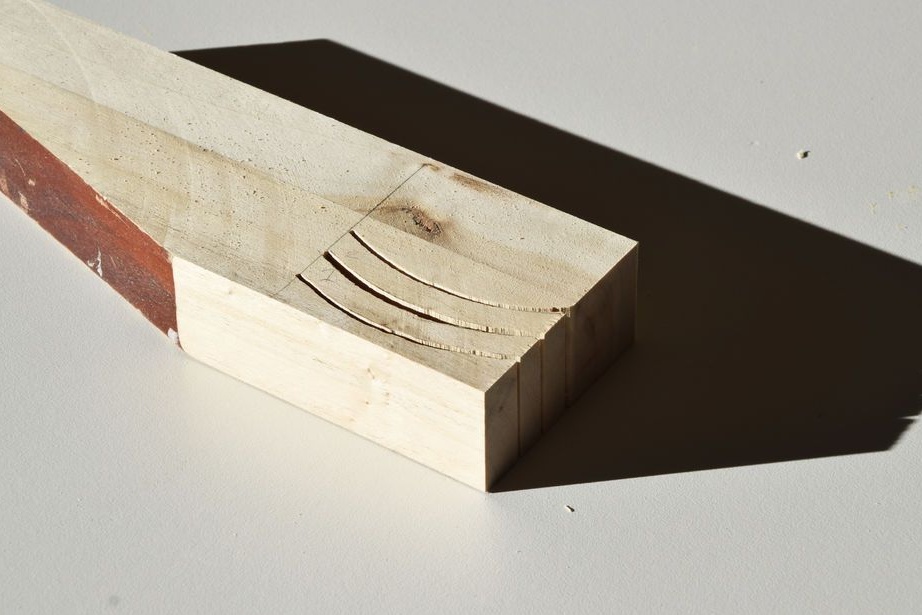
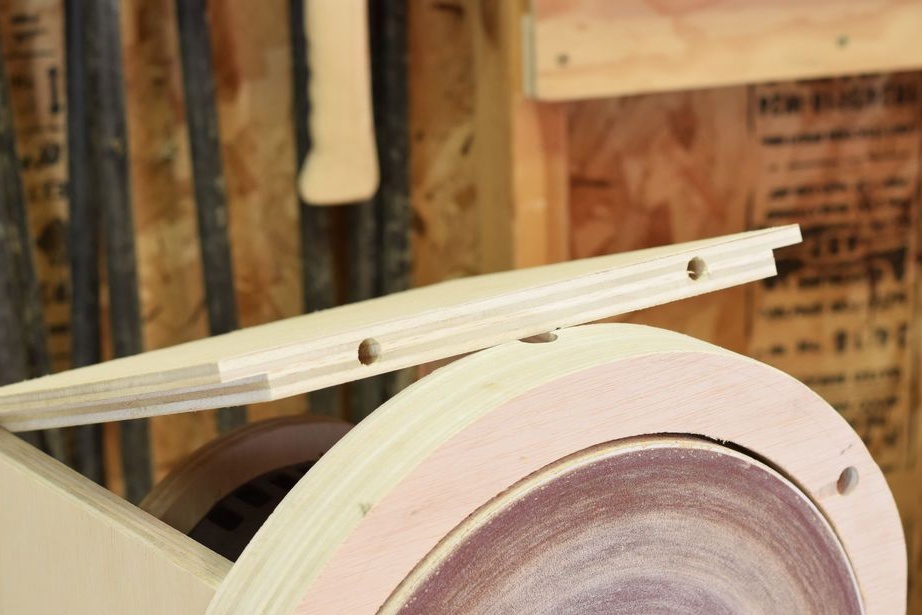
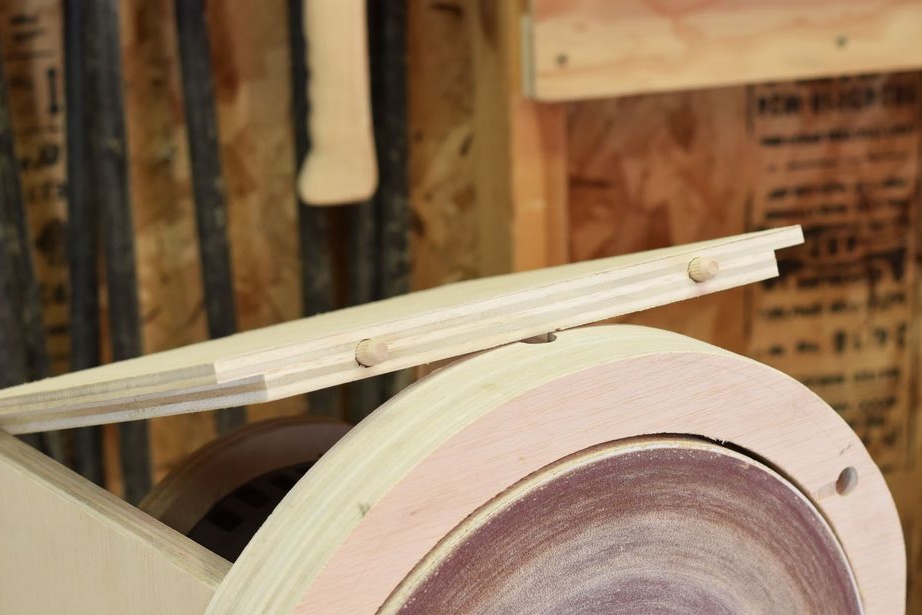
Step Five: Handicraft Production
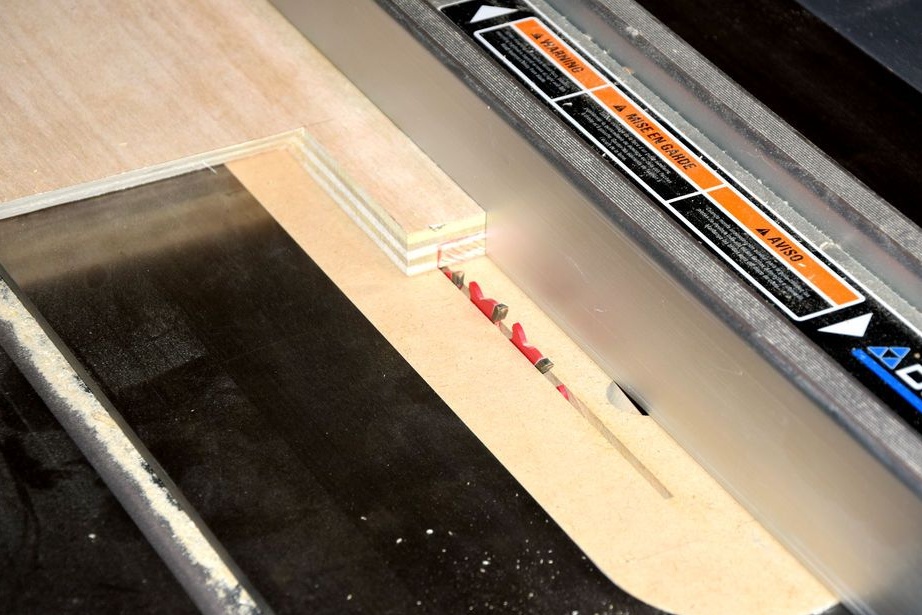
The author made a handicraft of plywood with a metal plate. The plywood part of the handicraft consists of two halves, interconnected by a tenon groove technology.
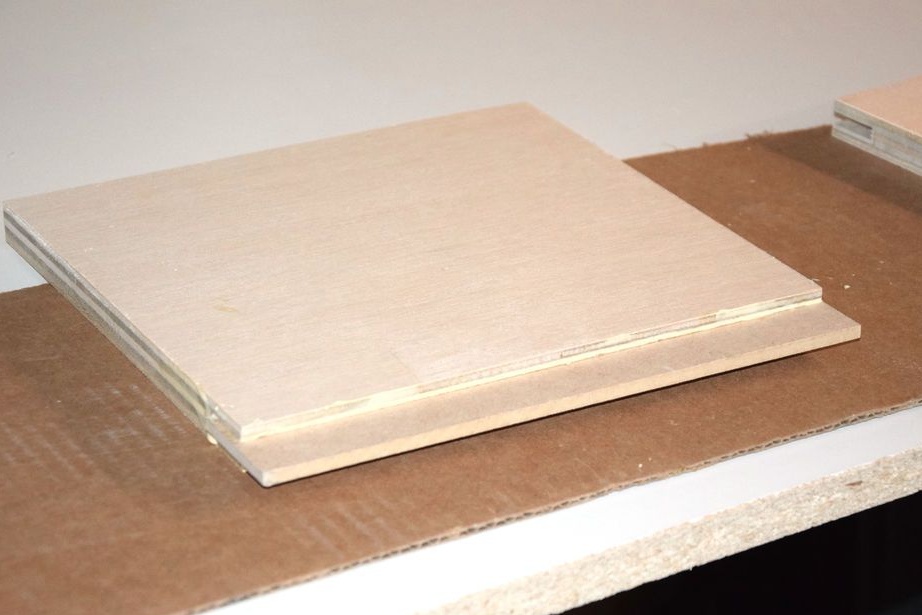
Gives the handyman the desired shape.

Makes a selection along the edge for the installation of the rotary assembly.
Step six: electric motor and its connection
The engine for grinding should be, according to the author, with a power of at least 370 W (the author has 1/2 hp) and a rotation speed of 1600-1800 rpm. The author used an engine with a power of 560 W, a rotation speed of 1725 rpm and 1140 rpm.
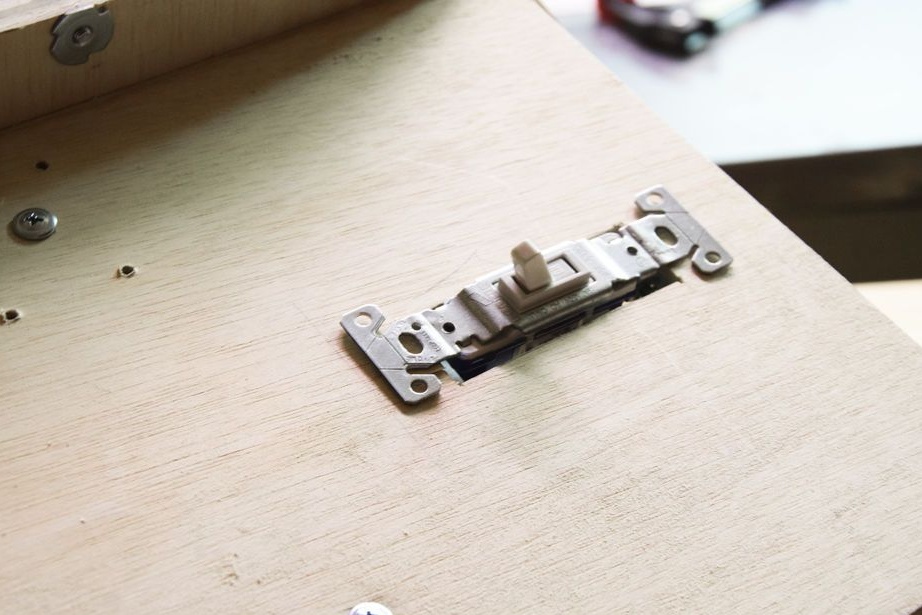
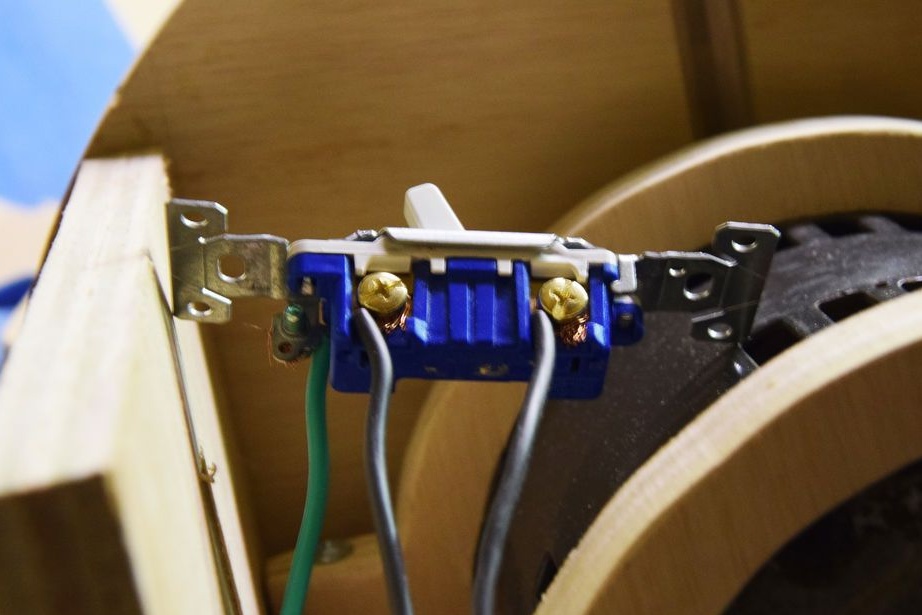
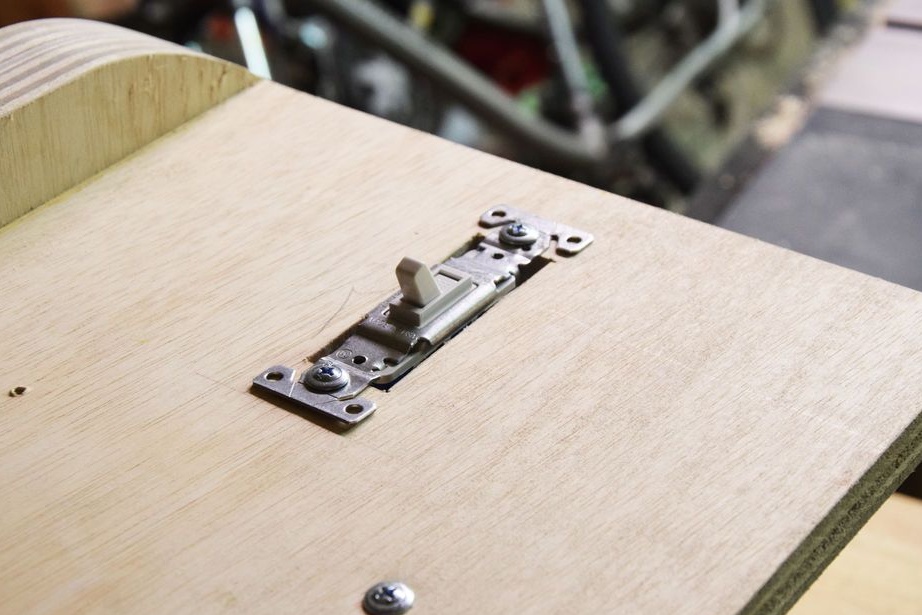
I cut a hole on the side cover for installing the switch. The switch cover was made of plywood. Secured the switch.
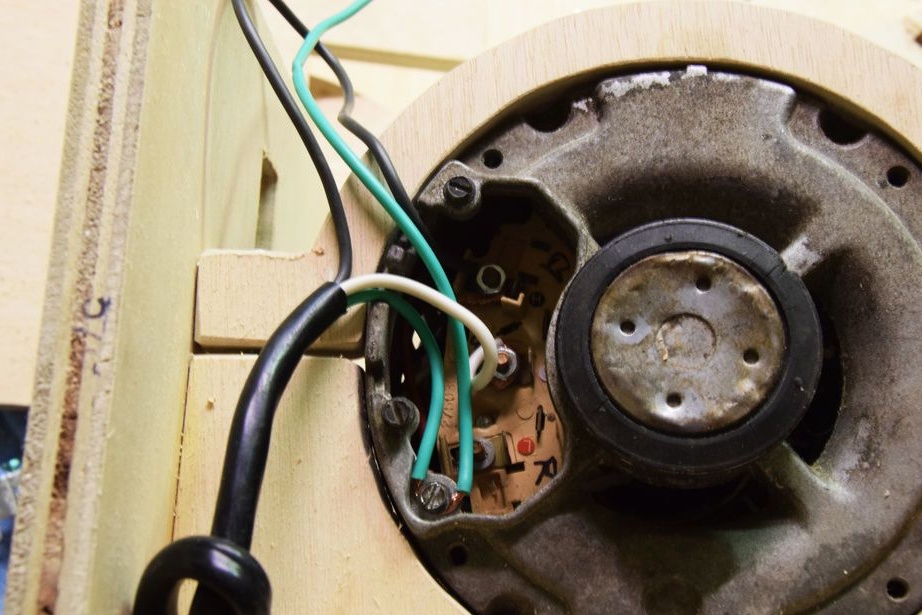
I drilled a hole for the power cord. Connected an electric motor.
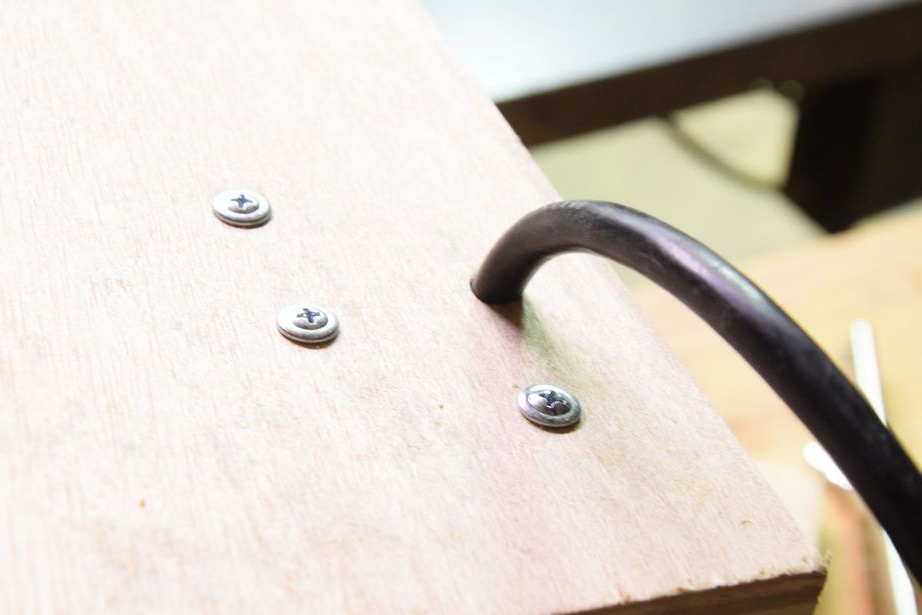
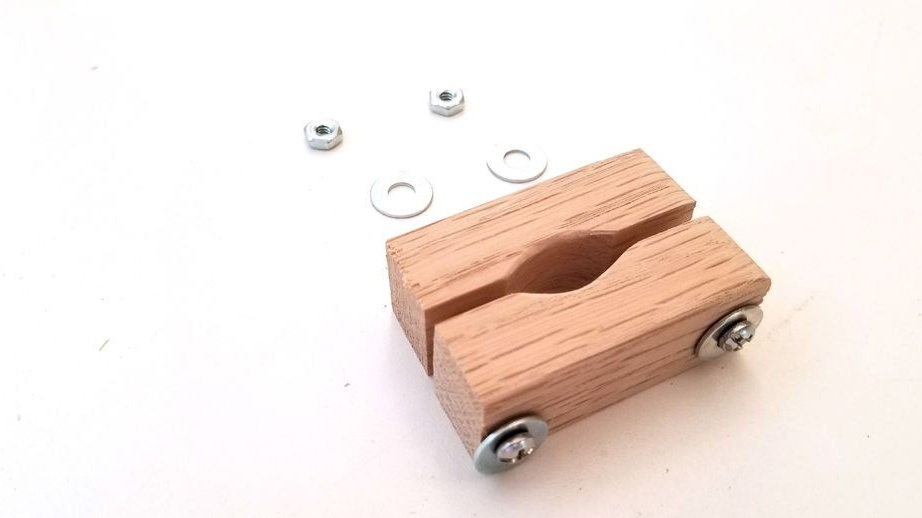
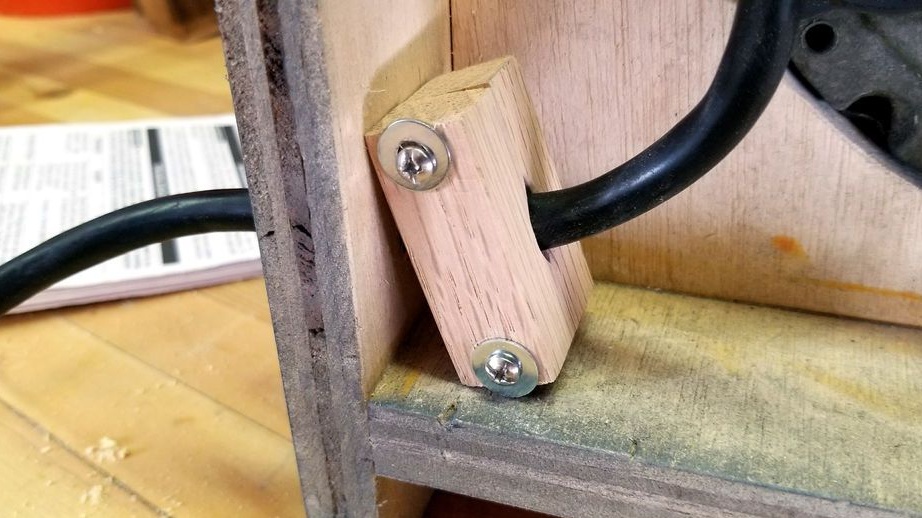
Made and installed the cable holder.
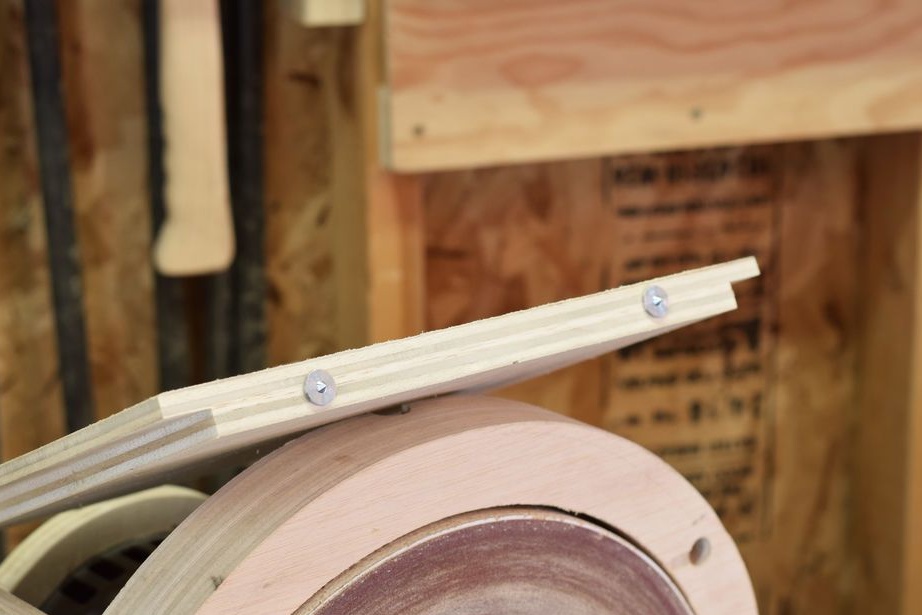
Seventh step: fitting the handcuff and dust collector
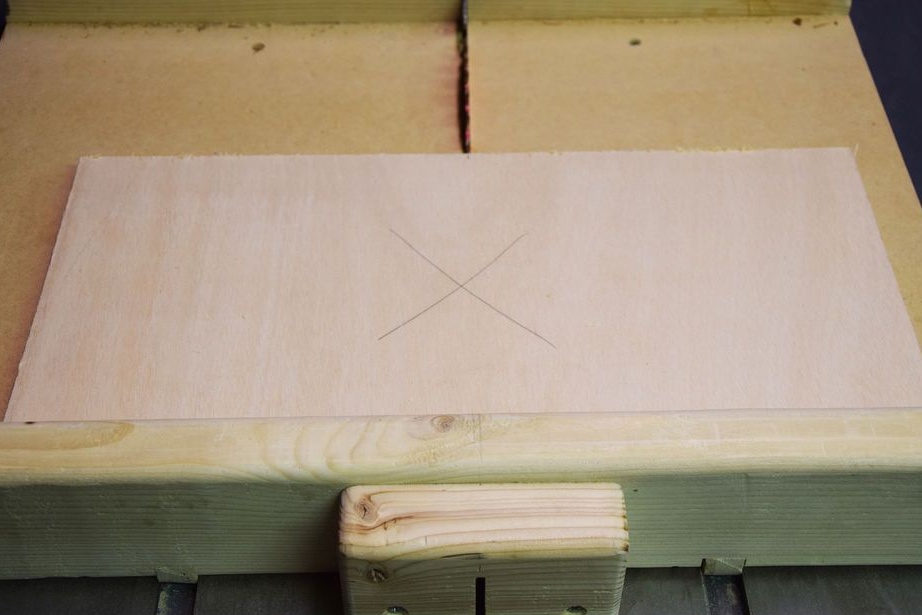
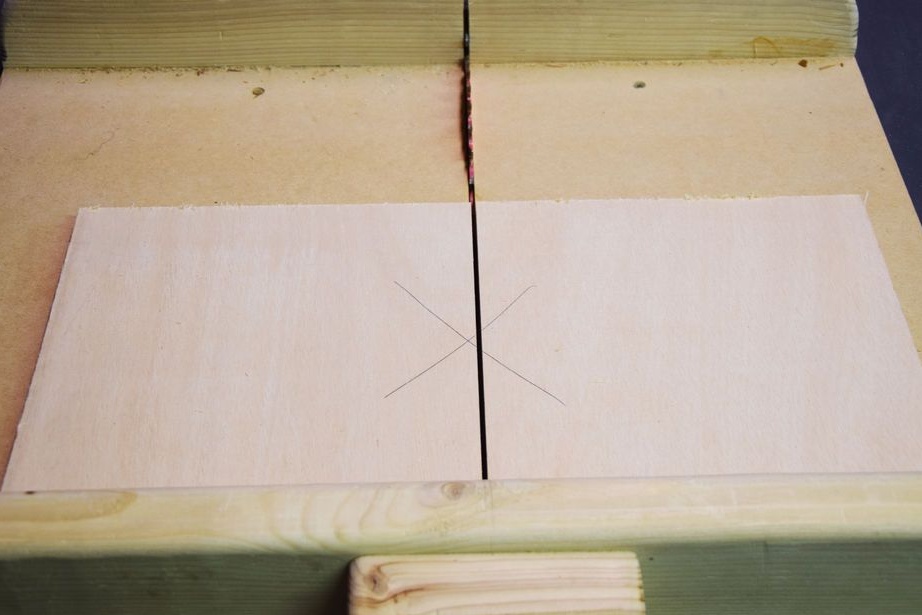
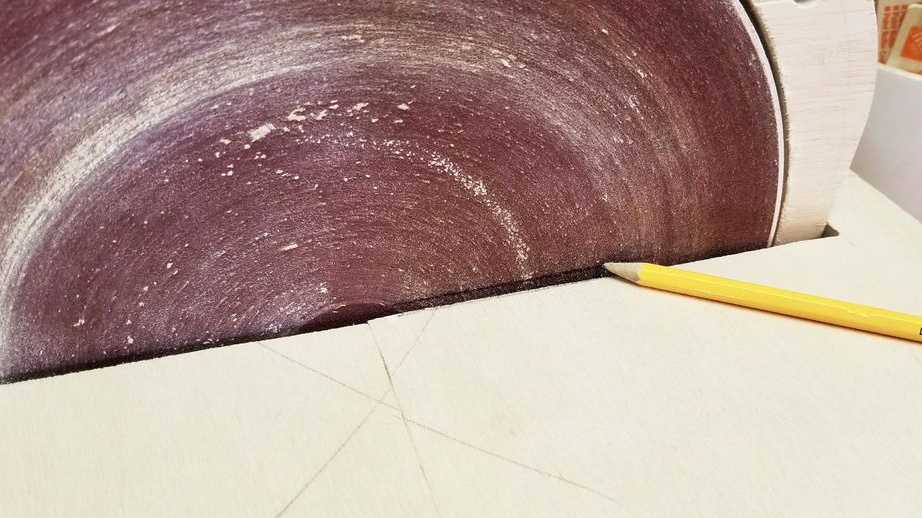
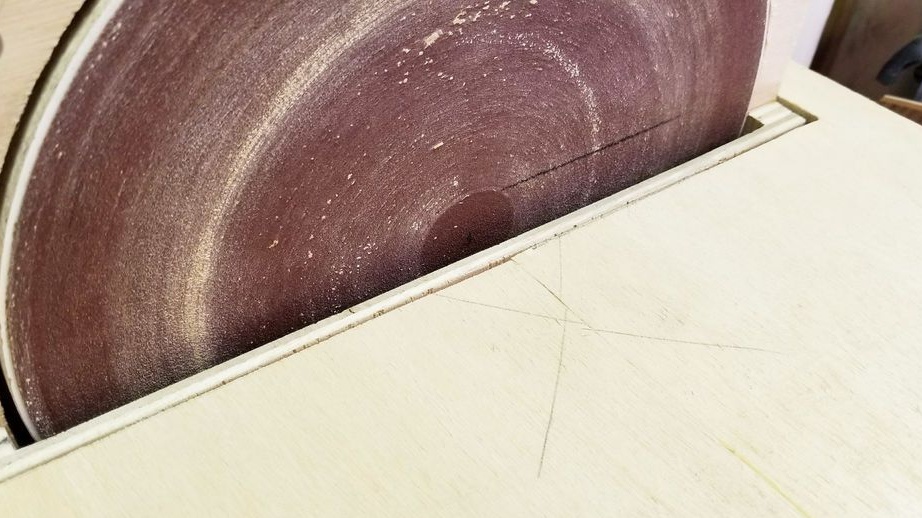
Established a handy assembly. On the disk drew a line. Dismantled the handyman. Measured the distance between the drawn line and the axis. Cut off the difference from the rotary semicircles. Now the assistant will "divide" the circle in half.
I sawed the top of the front cover of the dust collector at an angle of 45 degrees. This will tilt the handheld.
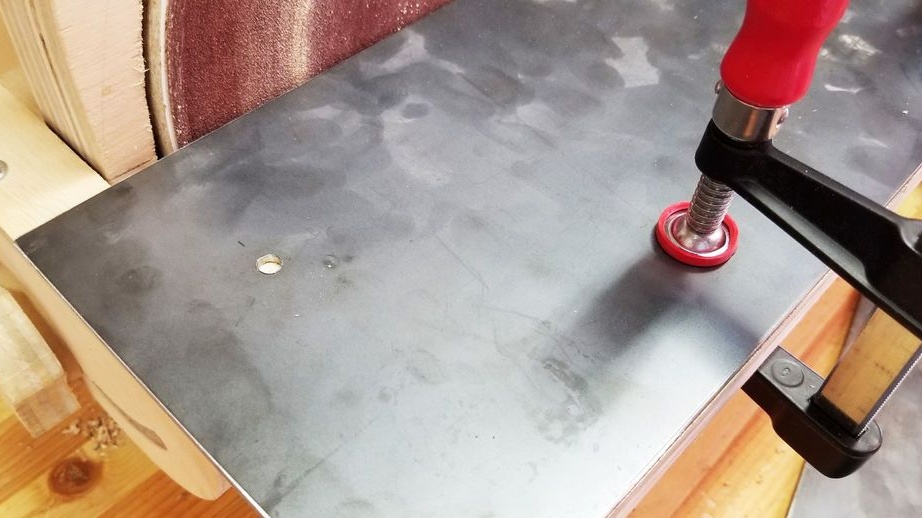
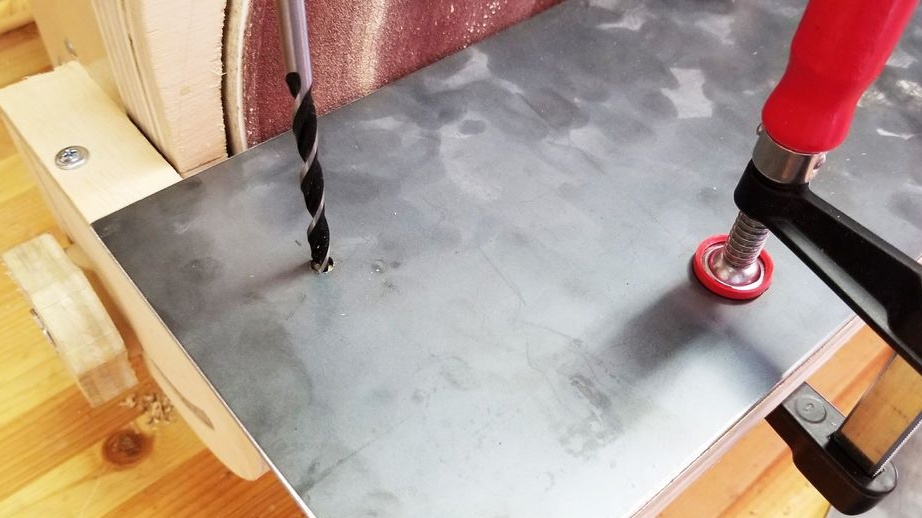
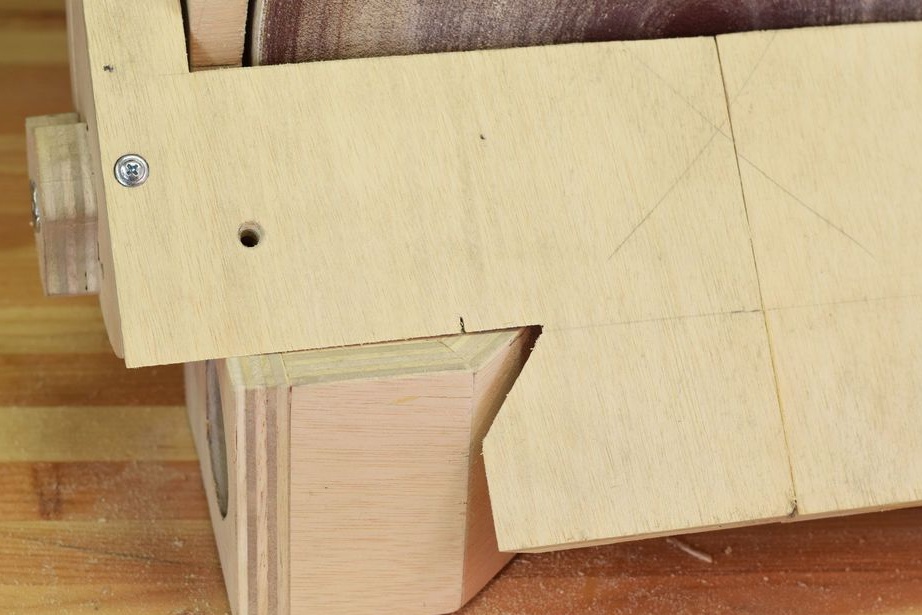
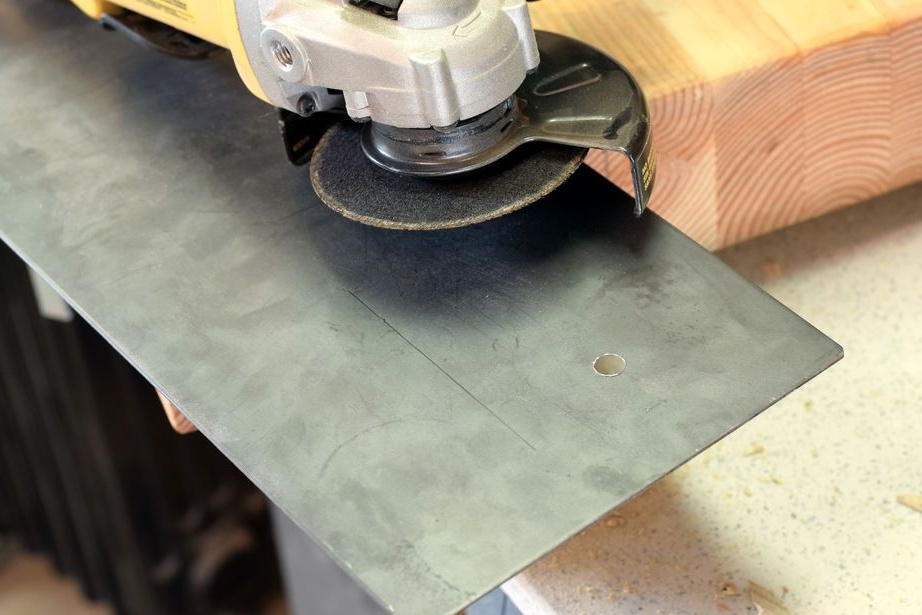
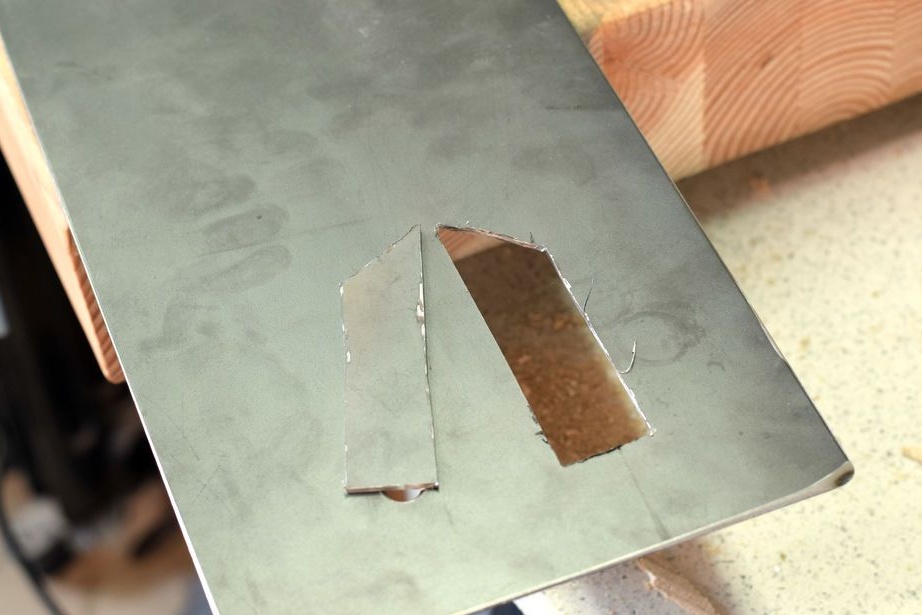
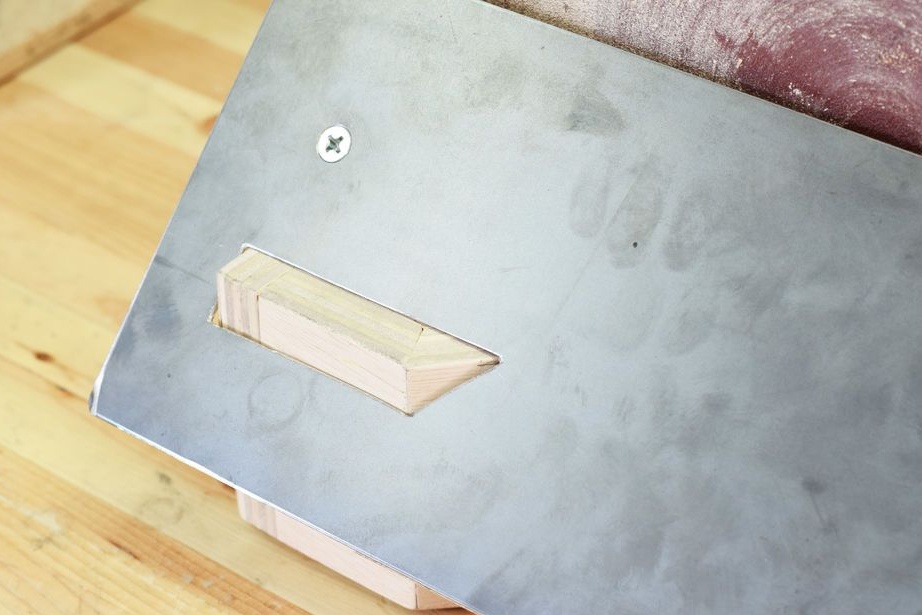
Step Eight: Pad
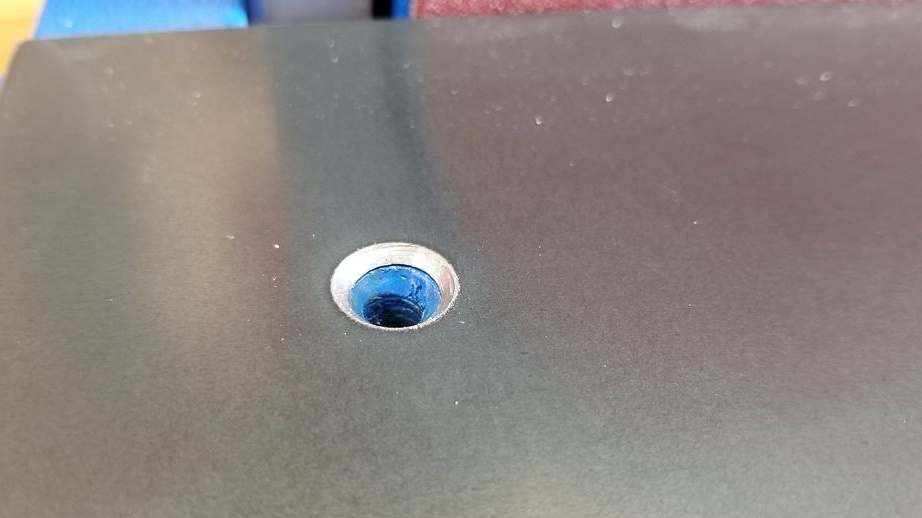
Made of a metal sheet overlay for the handcuff. To fasten the plate to the plywood, I used flat head screws.
Whatever the plate, when tilted, does not rest against the dust extraction chamber, makes a cutout in it.

Step Nine: Back Cover
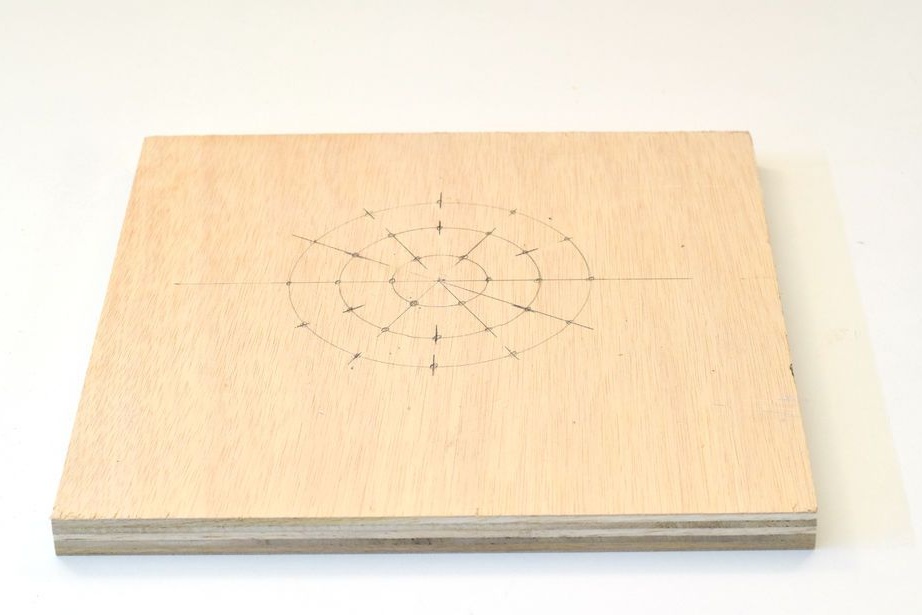
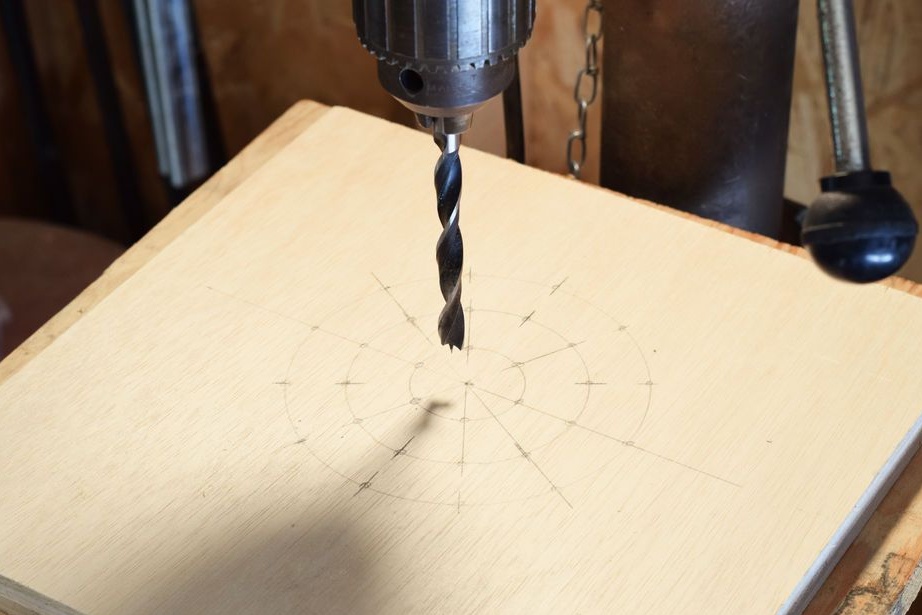
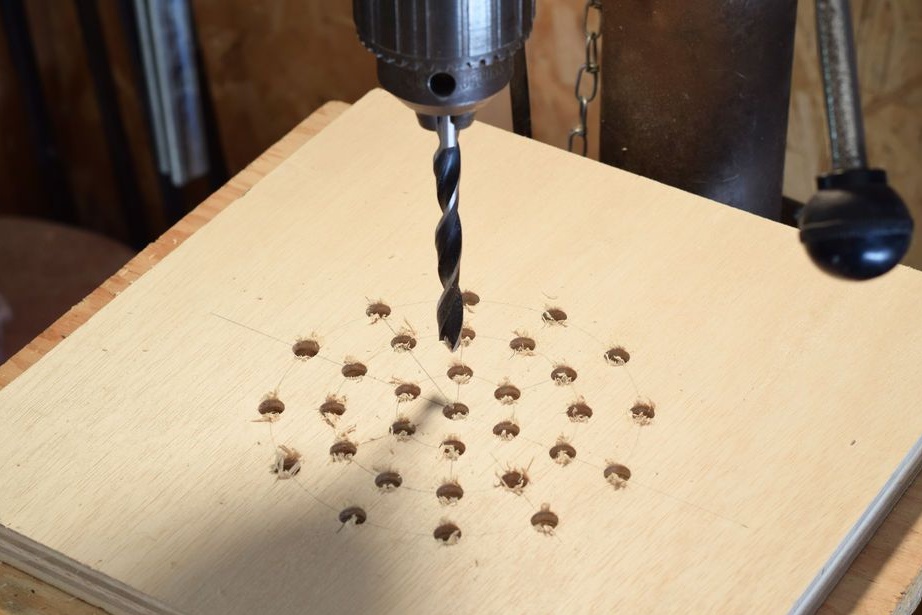
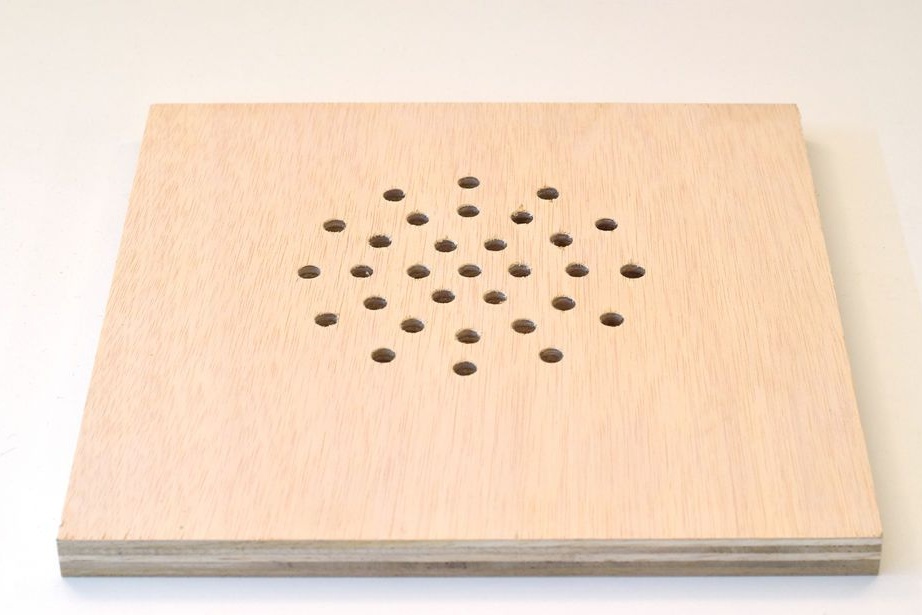
Cut the back of the case. For ventilation, I drilled holes in it.
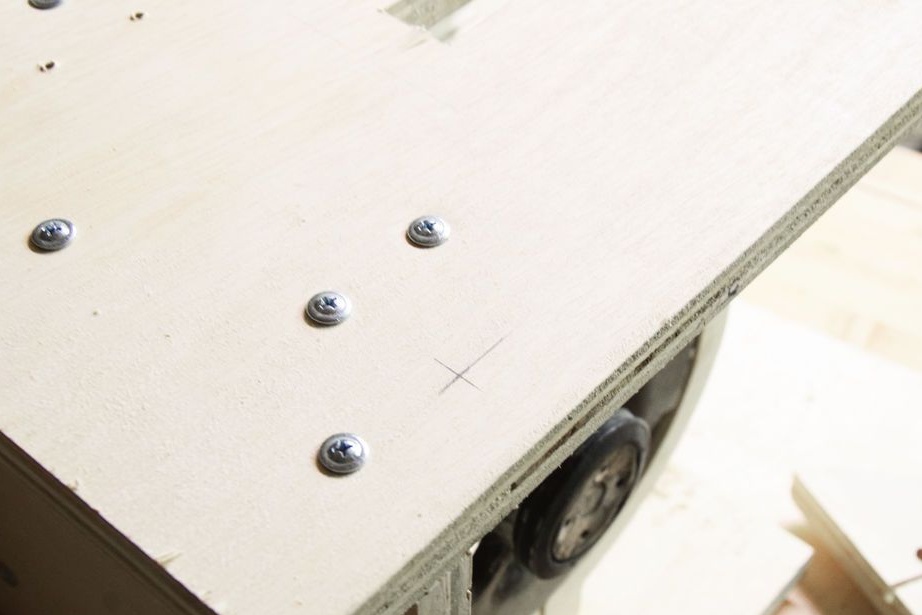
Secured the top and back covers with pins.
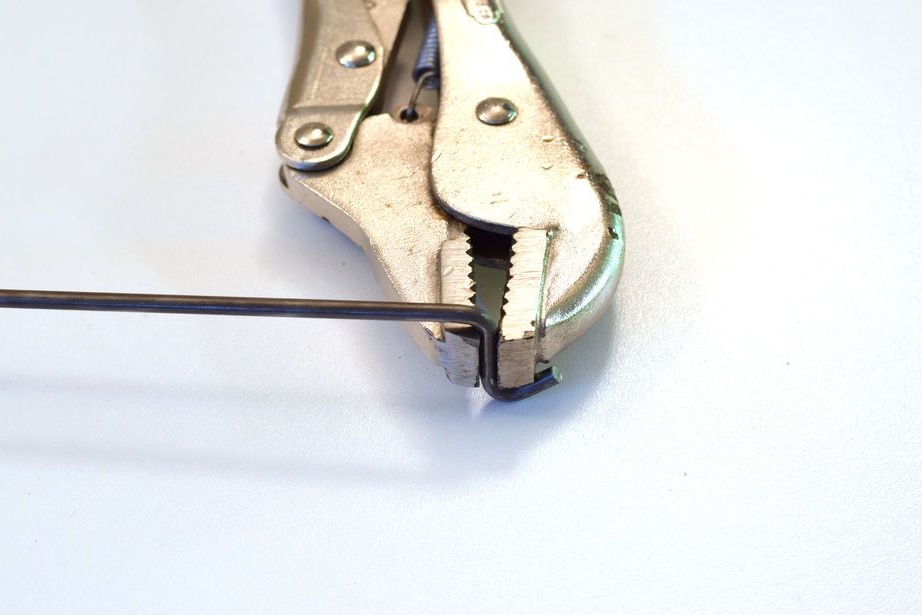
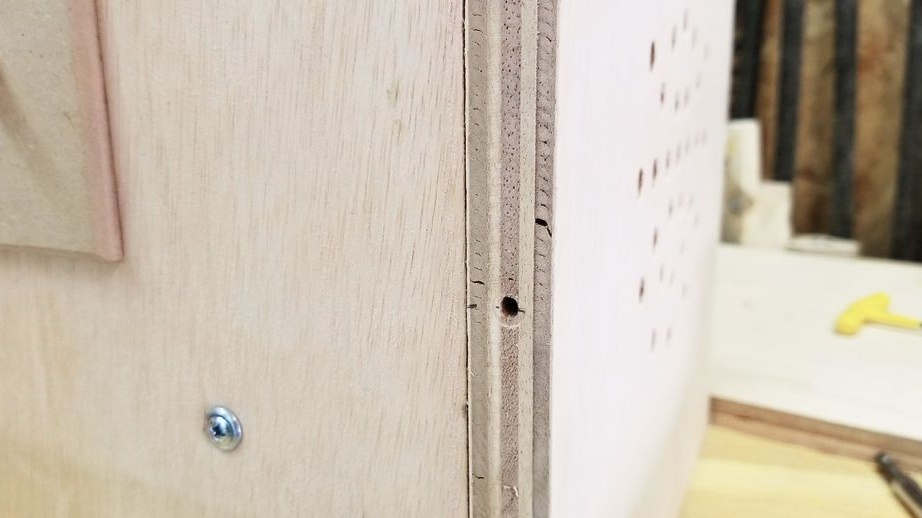
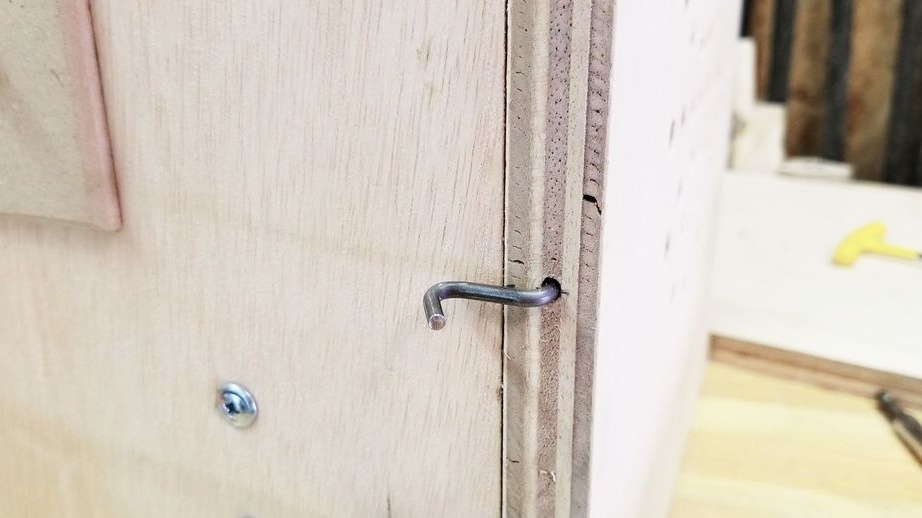
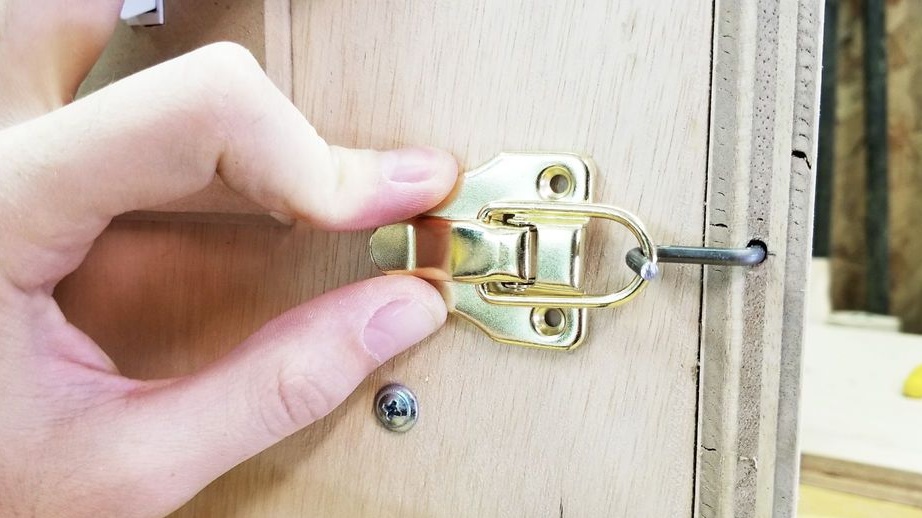
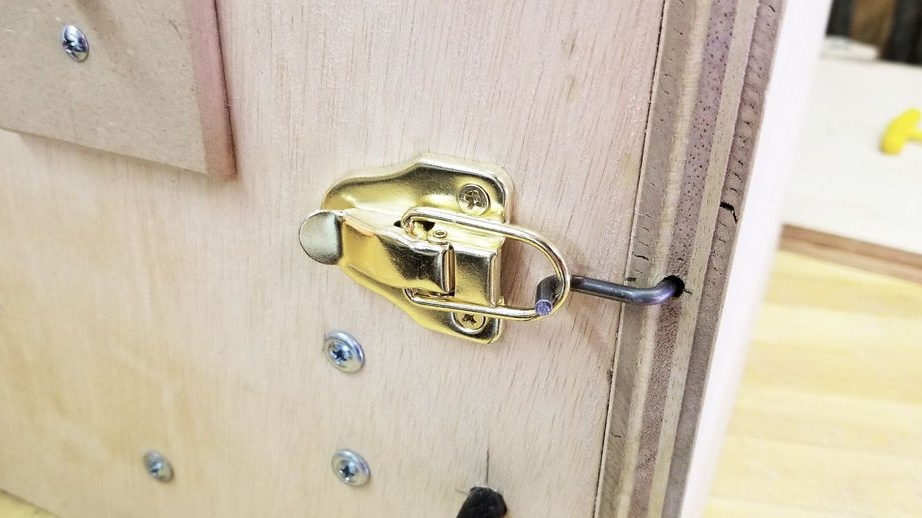
Step Ten: Latch
He bent the hooks from the wire (as in the photo).
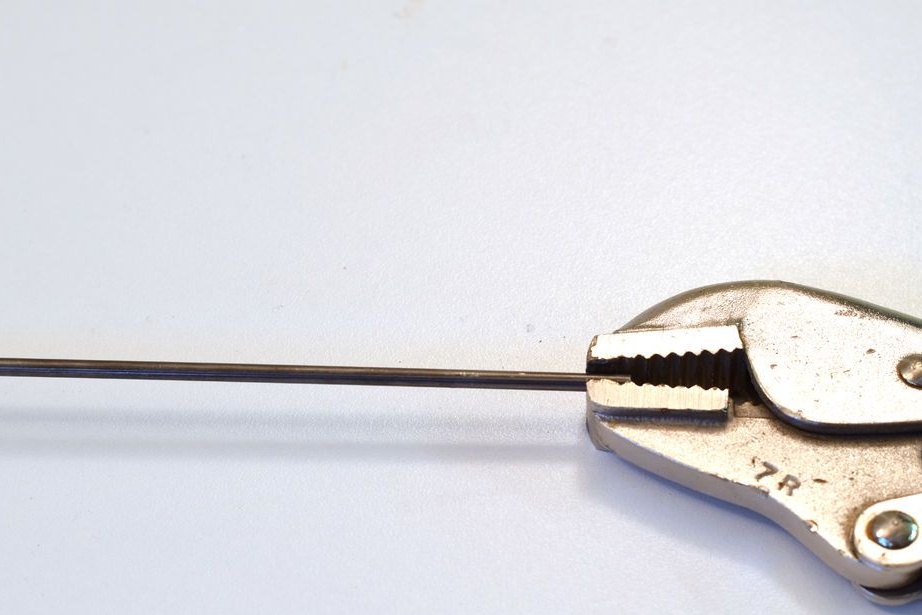
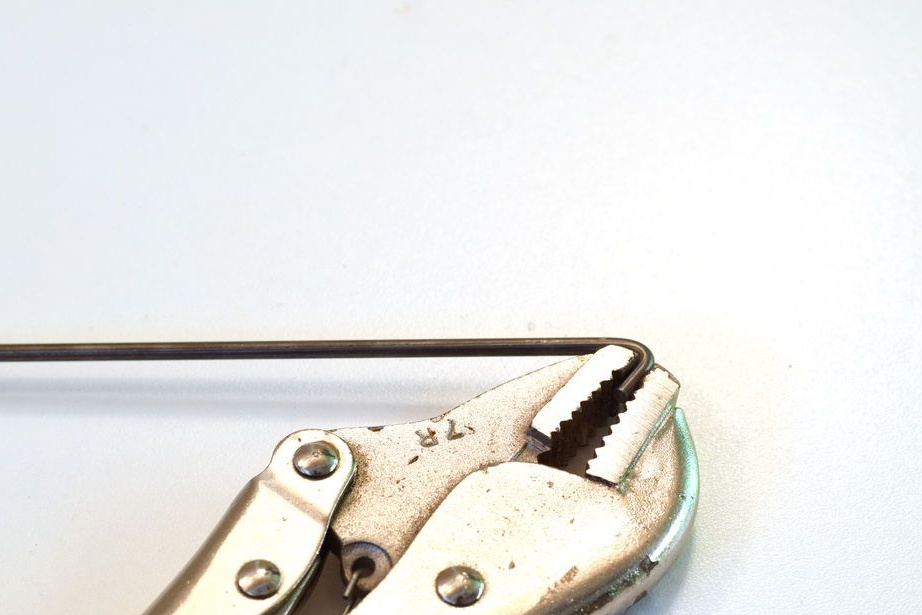
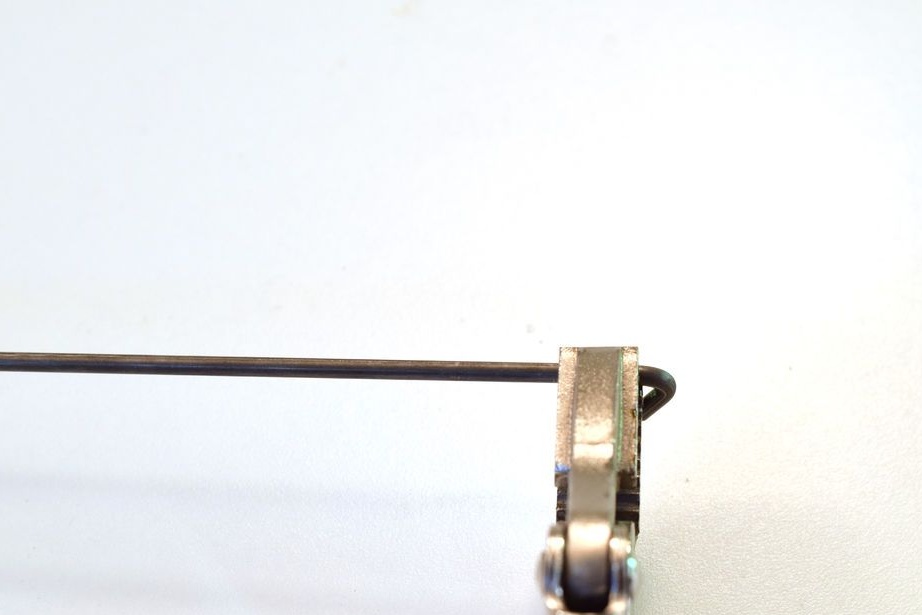

I drilled holes at the end of the back cover, on both sides. I inserted hooks into the holes.
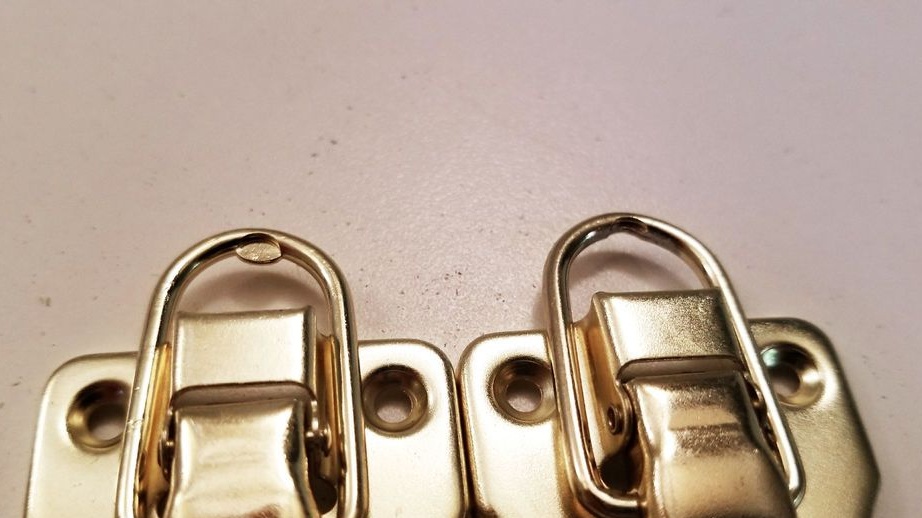
On the sides of the housing secures the latches.
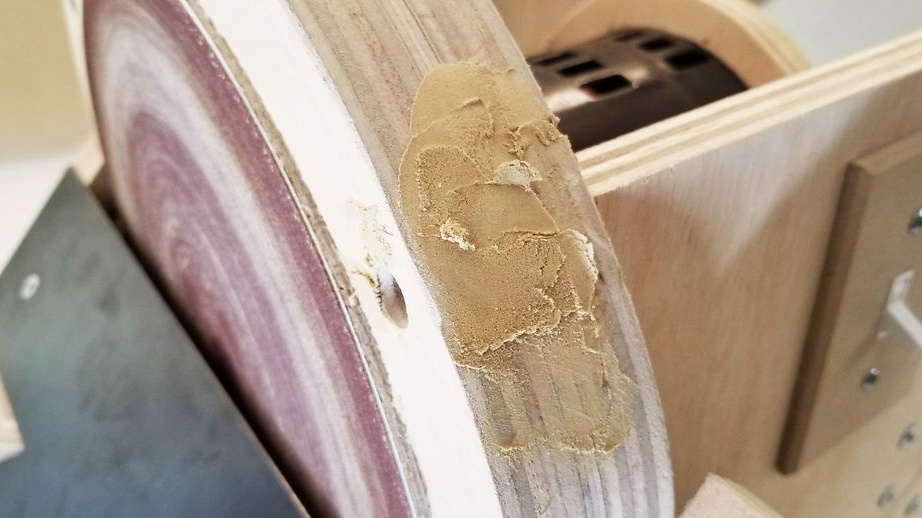
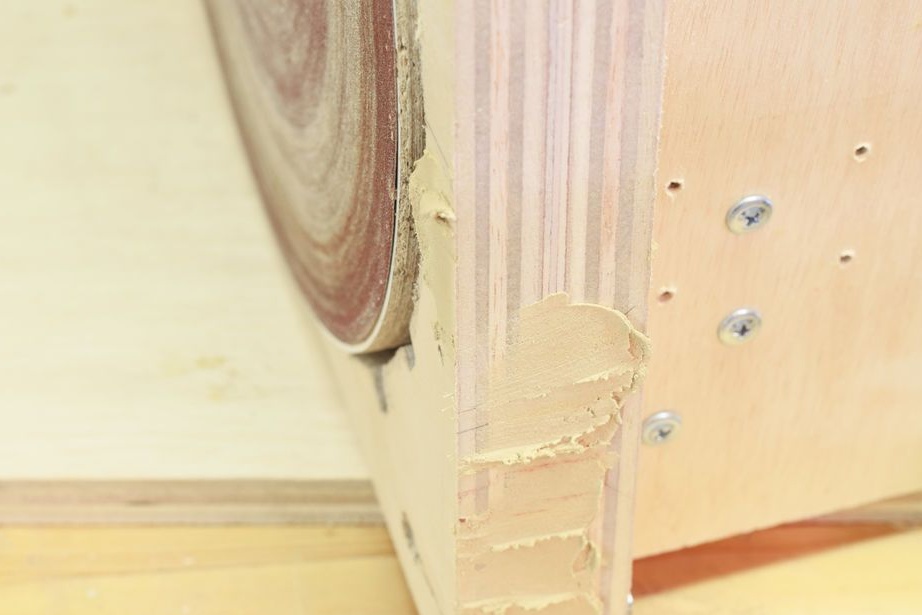
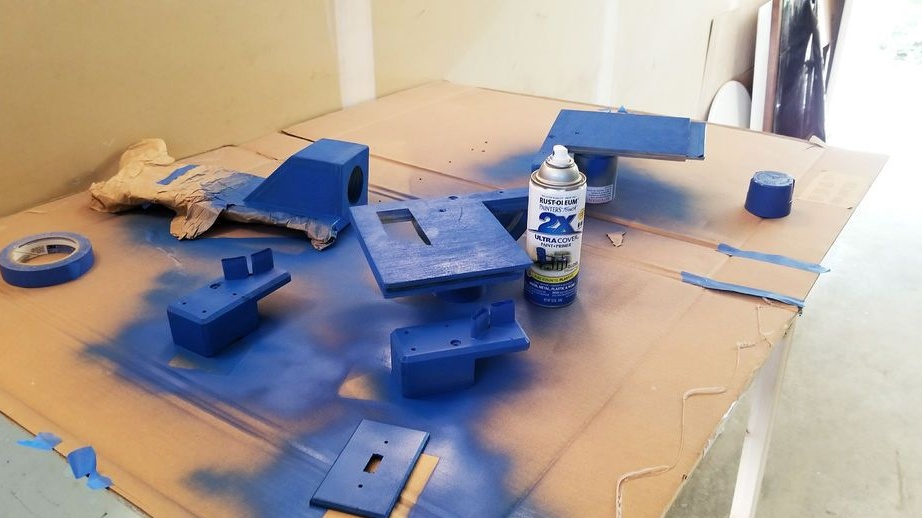
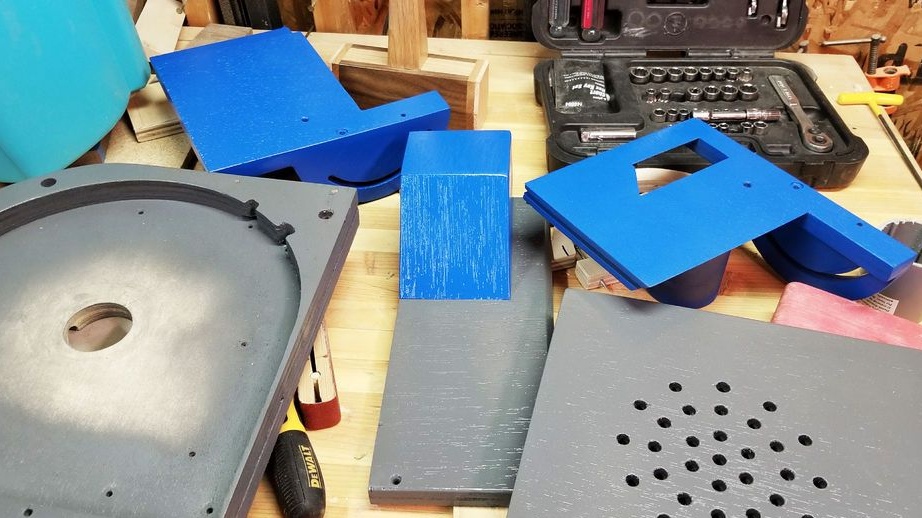
Step eleven: putty and painting
Putty wooden parts of the machine. After drying, the putty is sanded.
It colors.
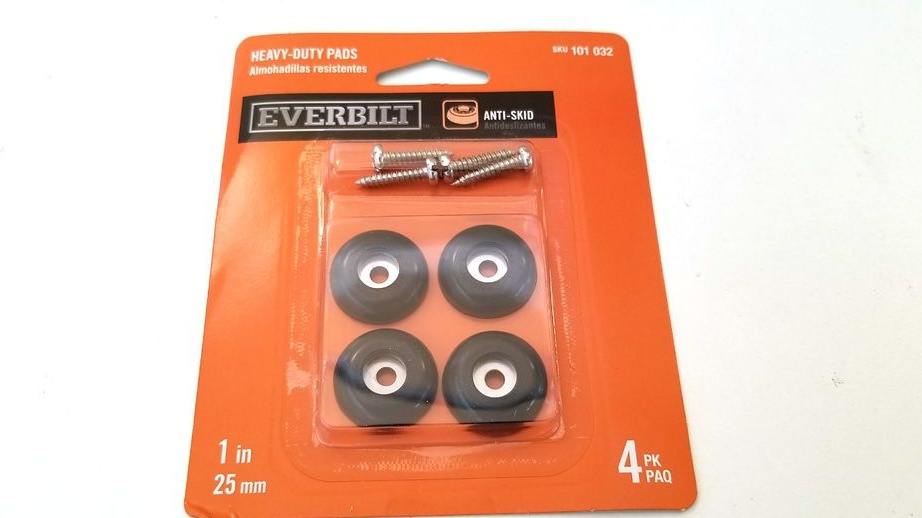
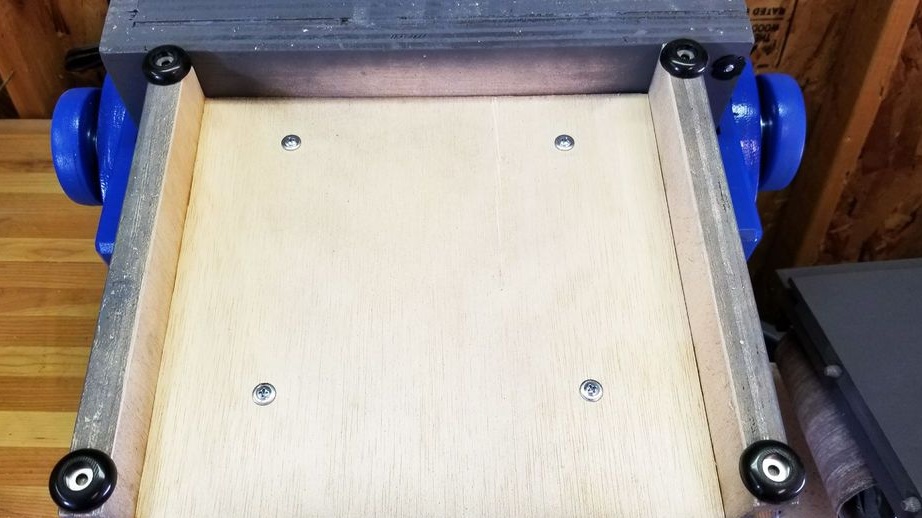
Step Twelve: Feet
Installs rubber feet.
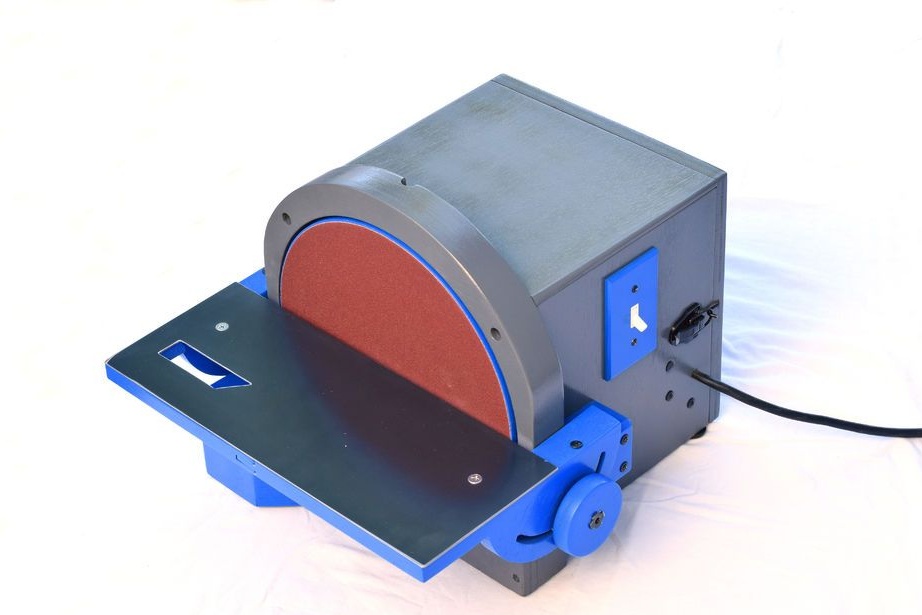
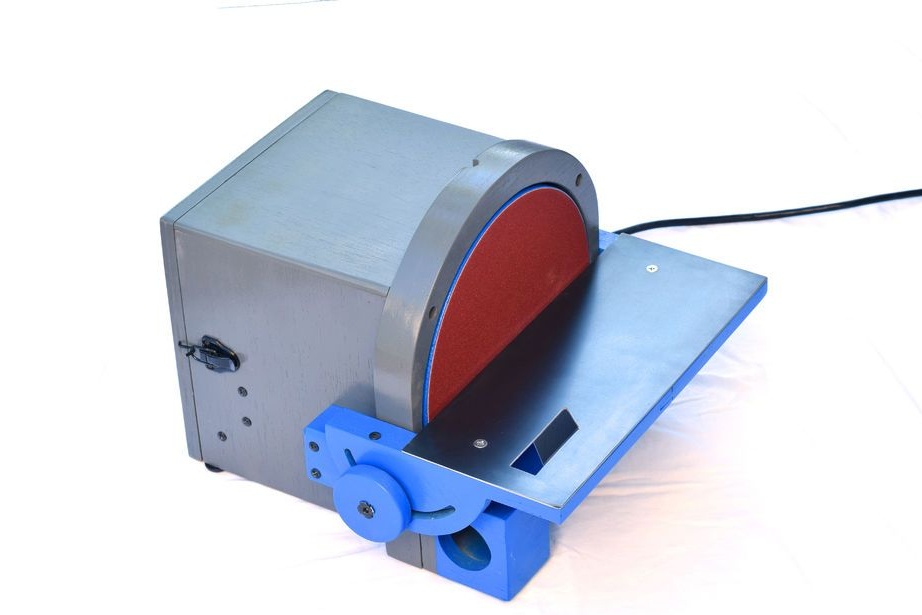
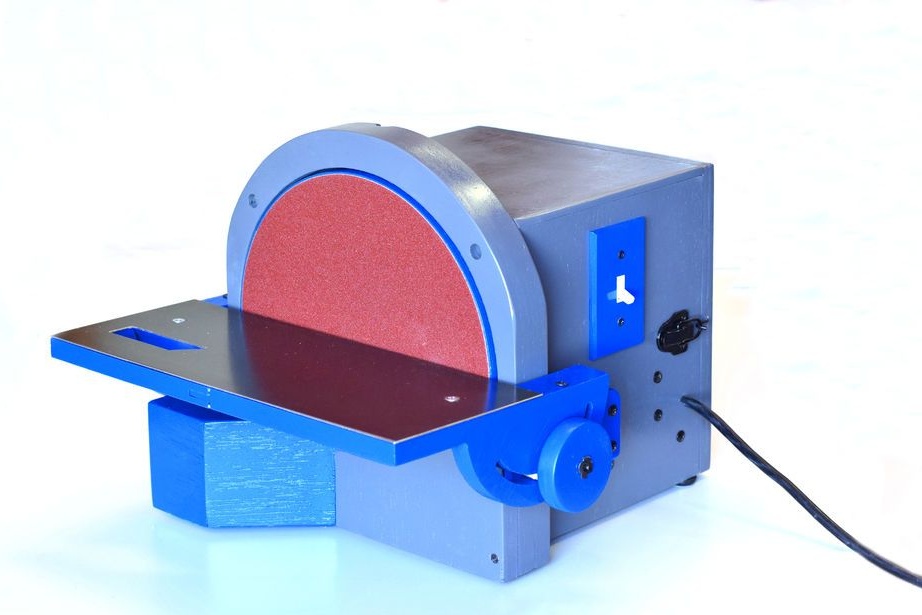
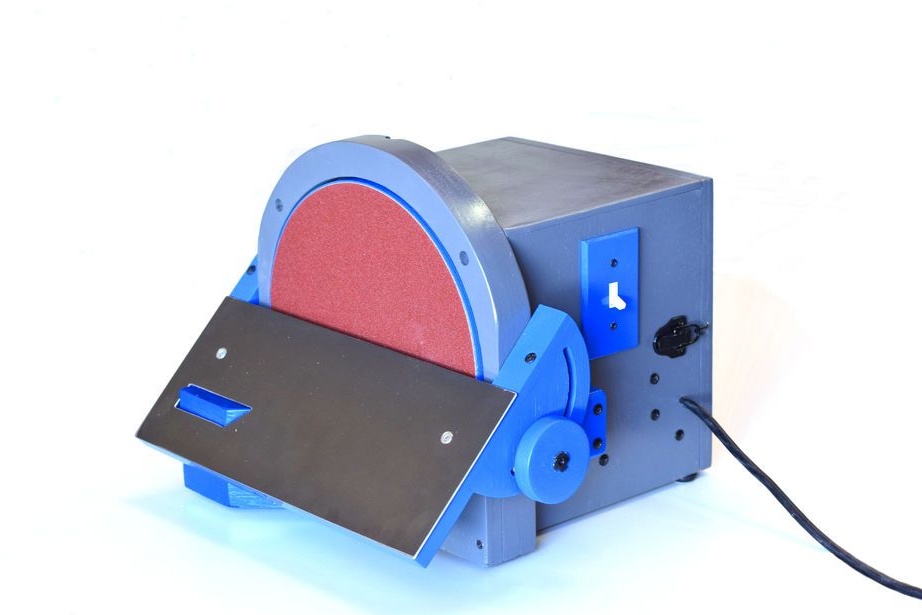
Disc grinder is ready.