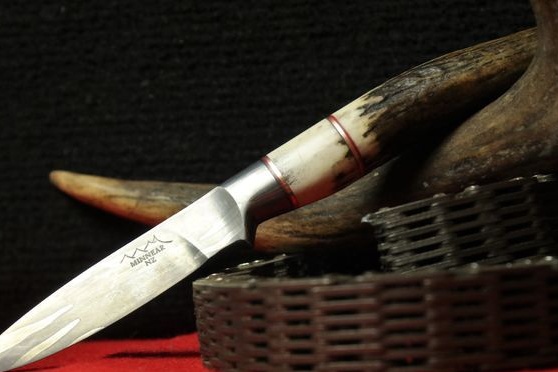
If you want to try yourself in blacksmithing, this article is for you. The author decided to use a chain as material, probably this is an old chain from a car engine or from a gearbox. Why the choice fell on such material is not clear, apparently this is what lay at hand. However, in such things fairly hard alloys are used, so this metal is perfect for a knife.
First of all, the guide is aimed at metal enthusiasts.
Materials and tools for homemade:
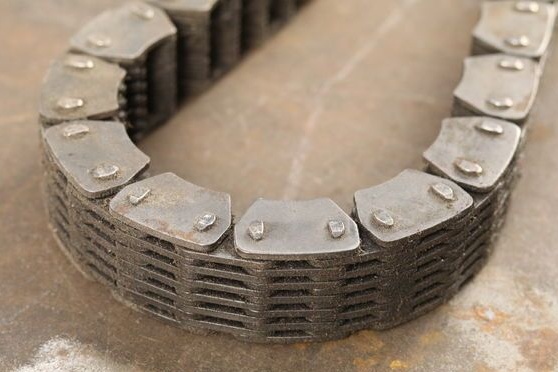
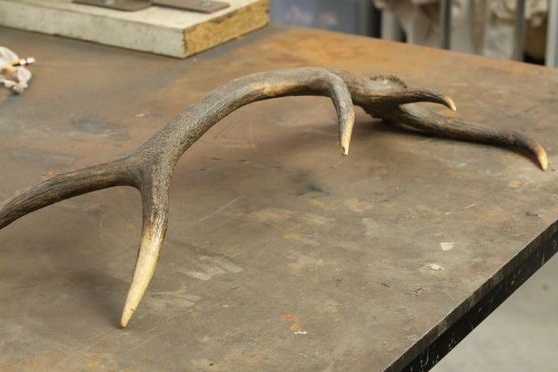
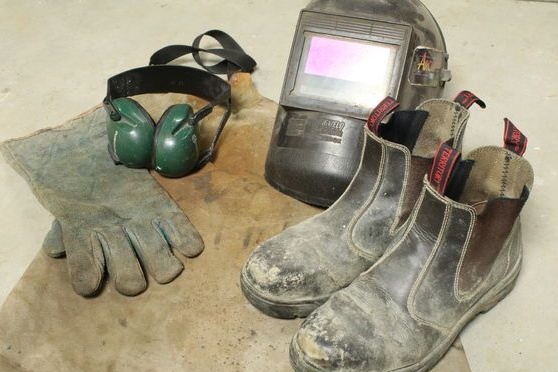
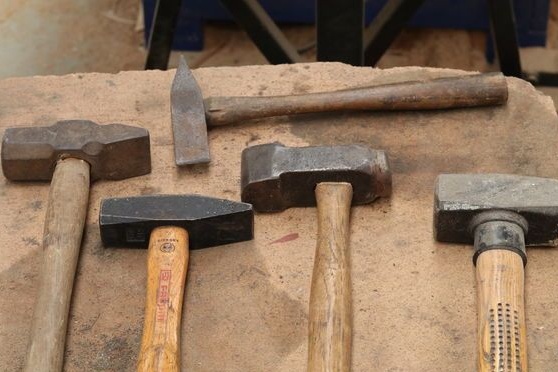
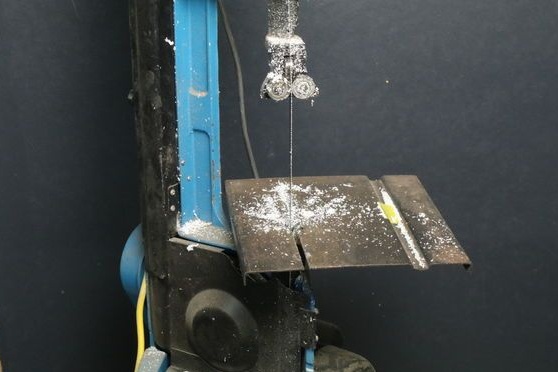
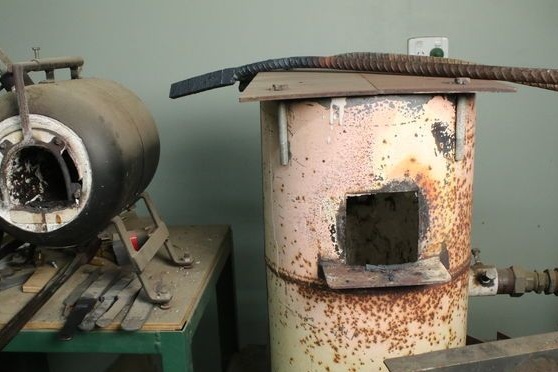
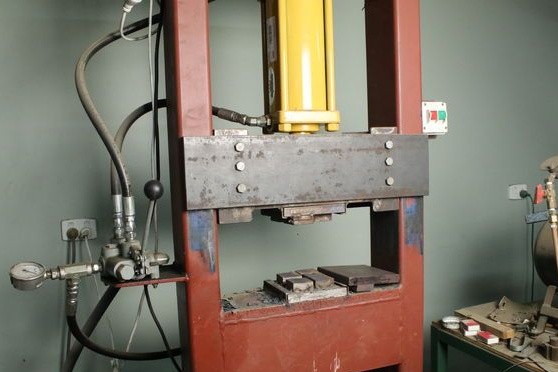
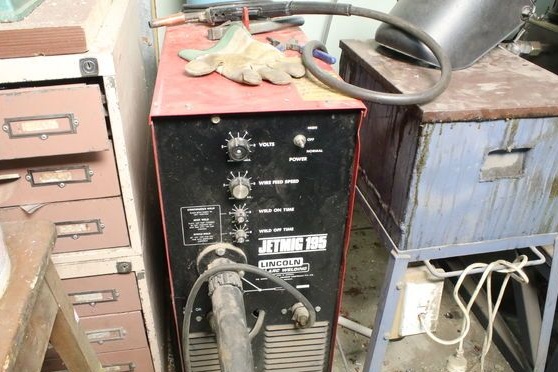
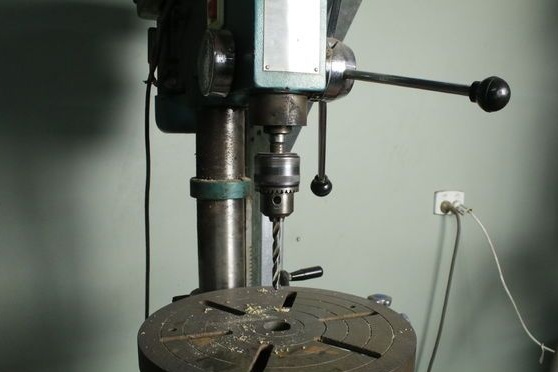
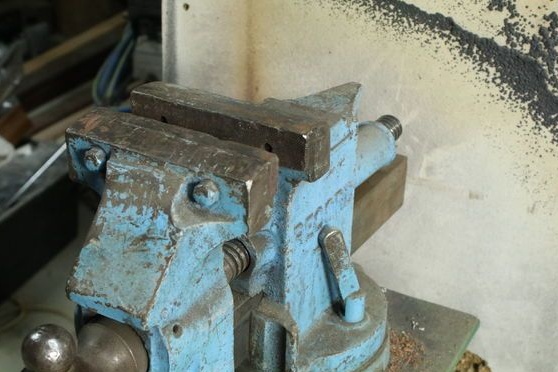
- For the manufacture of a knife, the author needed a hydraulic press, since it would be impossible or very problematic to “mix” the red-hot links without it
- You will need a good stove to heat the metal
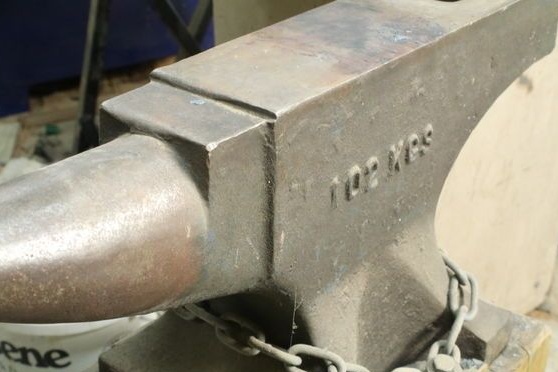
- A couple of good hammers and an anvil
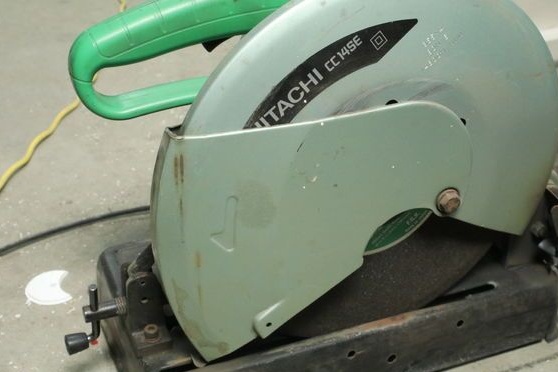
- A grinder with cutting and grinding discs and a cutting machine (optional)
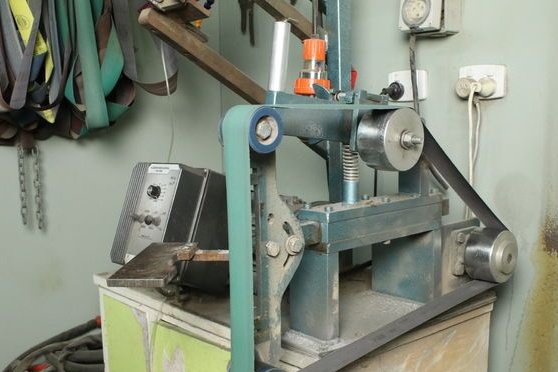
- Belt sander
- Materials for creating a pen (it can be a horn, a tree, etc.)
- Epoxy
- The device for etching inscriptions
- Beeswax and mineral oil for impregnation of the handle
- steel chain
- welding
- Good thick gloves, goggles and more
The process of making a knife:
Step one. Cut the chain
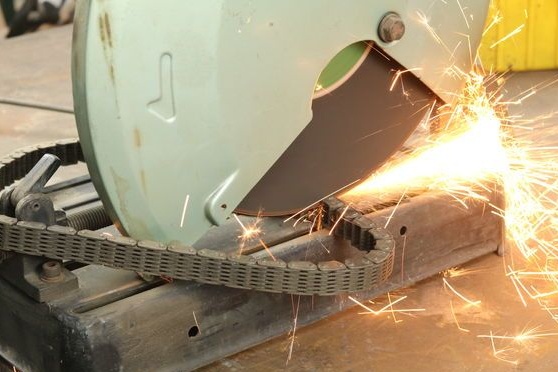
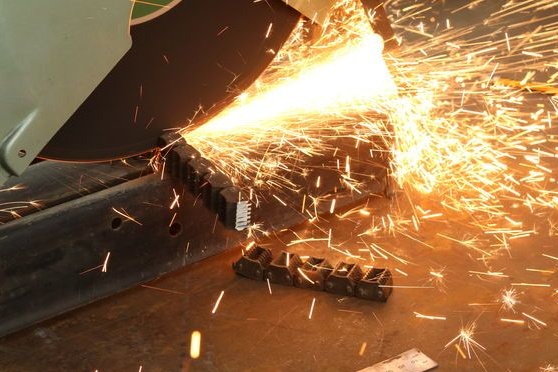
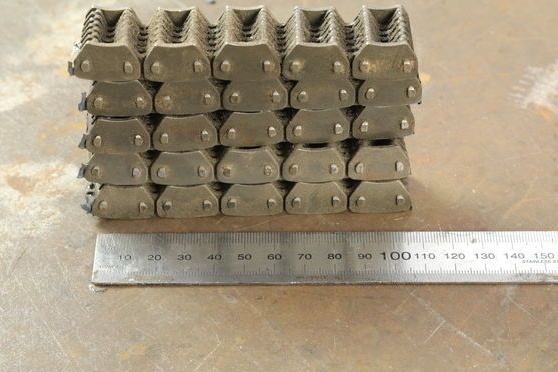
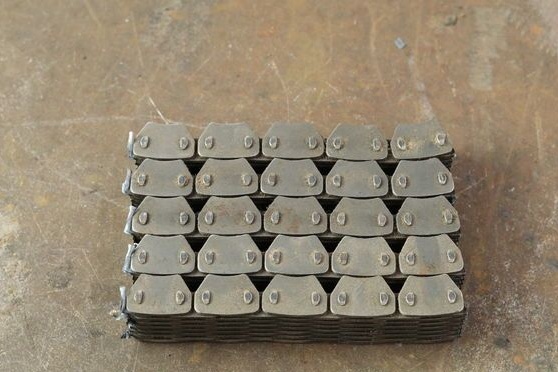
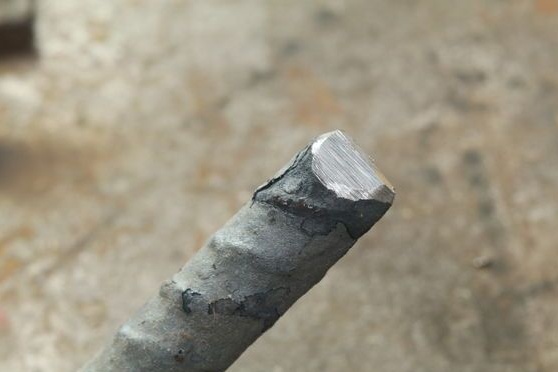
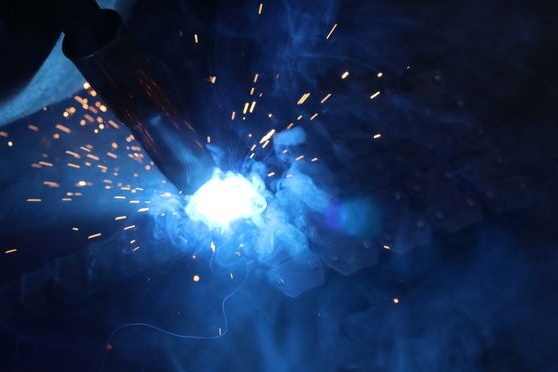
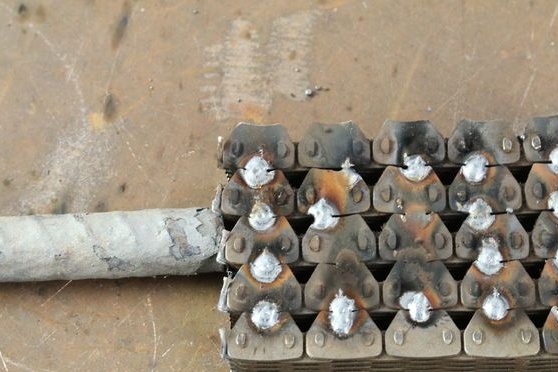
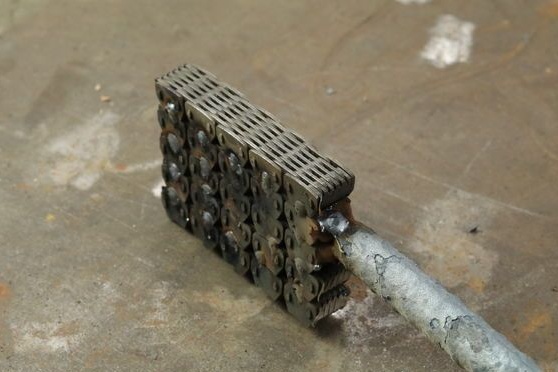
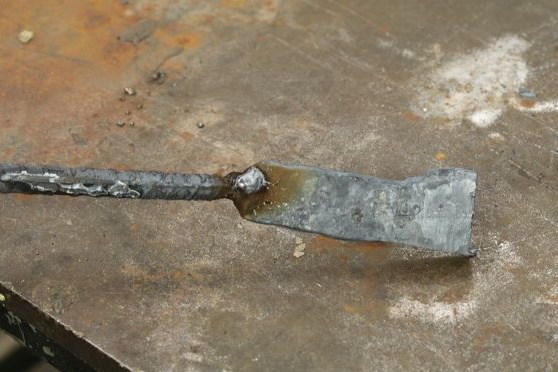
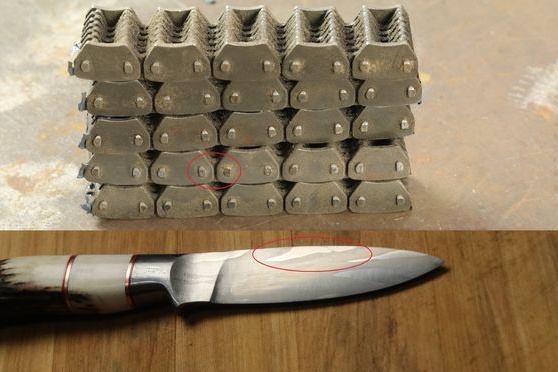
First you need to make a workpiece, the first thing the chain is cut into 5 pieces of equal length. Further, these pieces are welded so that during forging and heating they do not move. You also need to weld a piece of reinforcement to this block, this will be the handle of the future knife. It is convenient to carry out cutting with a cutting machine, but you can also use a grinder.
Step Two Heat
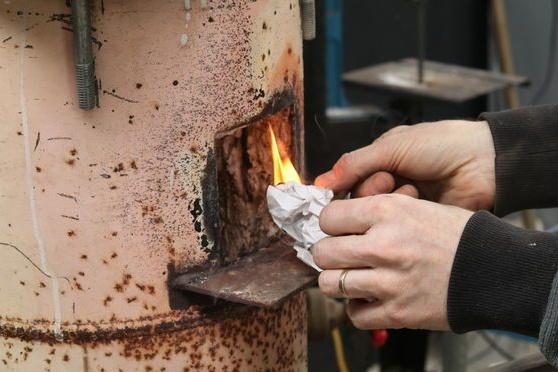
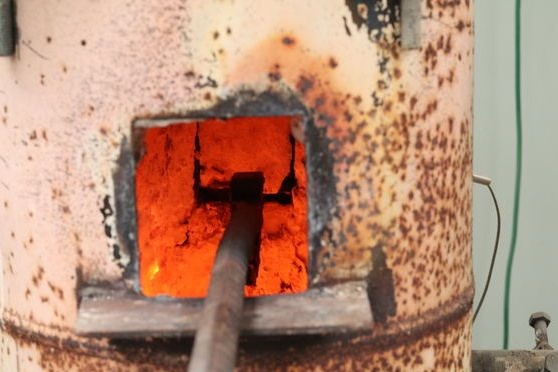
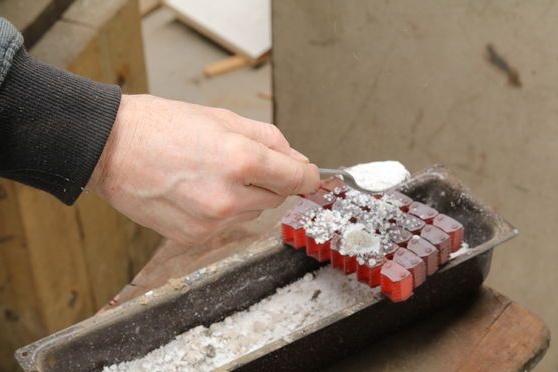
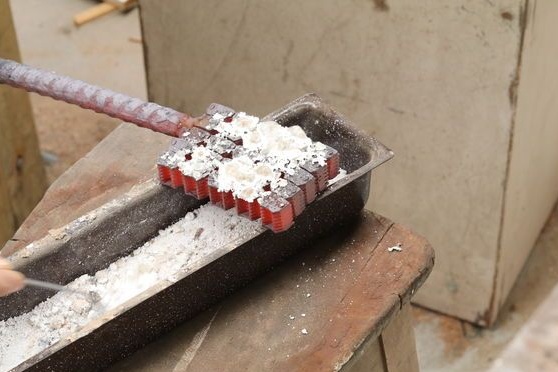
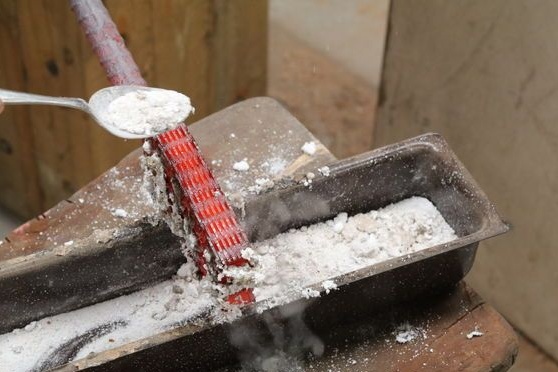
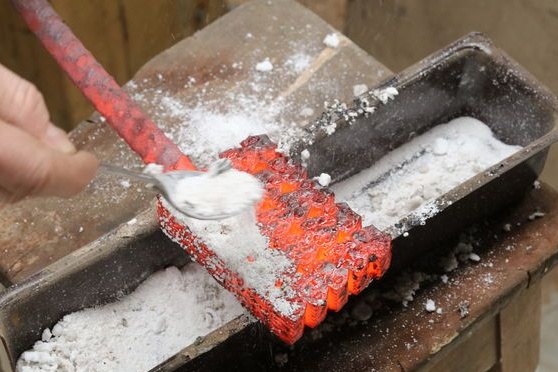
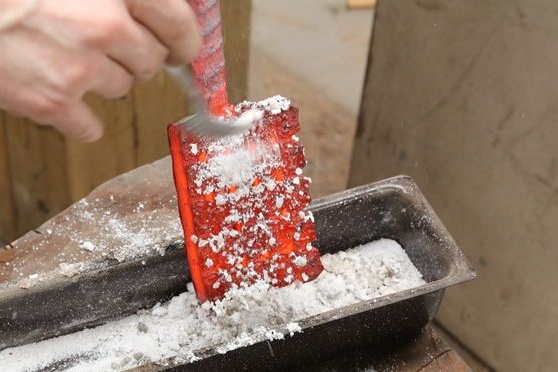
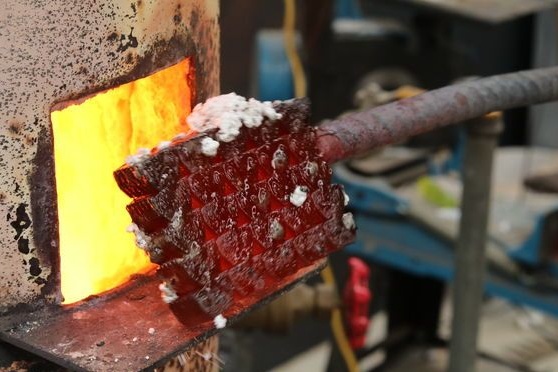
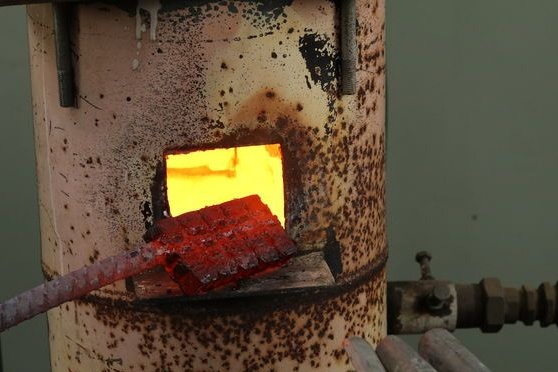
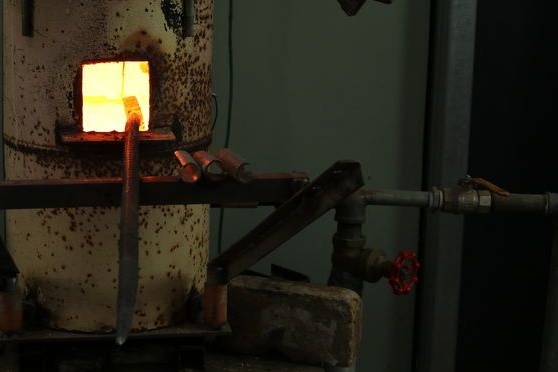
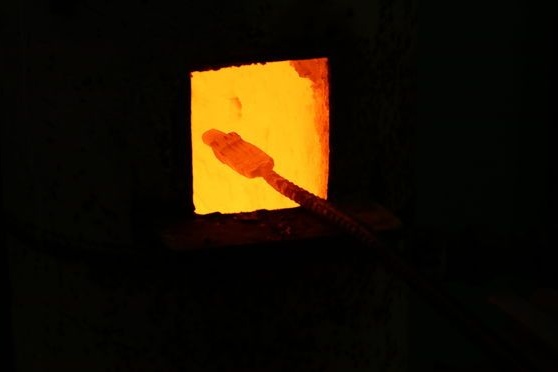
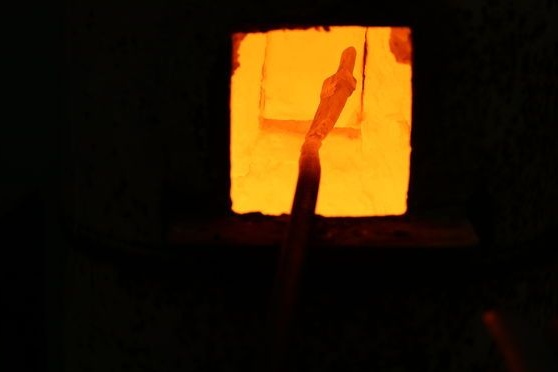
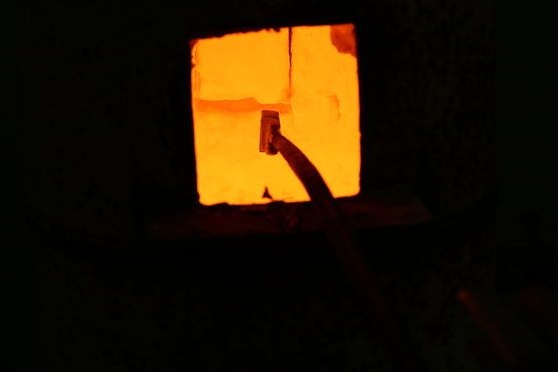
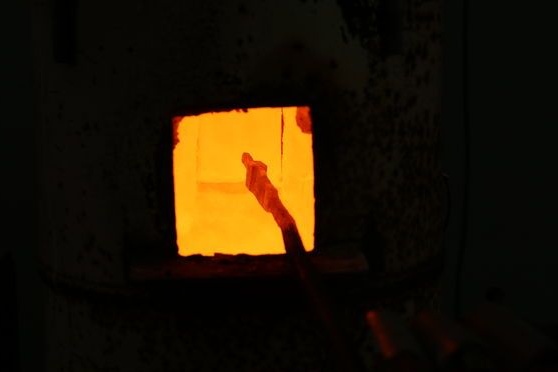
Next, the workpiece is sent to the furnace and heats up well there. After extracting the metal from the furnace, the author sprinkles it with brown, this will make it easy to remove the formed oxide from the metal, and also clean it.

Step Three Press
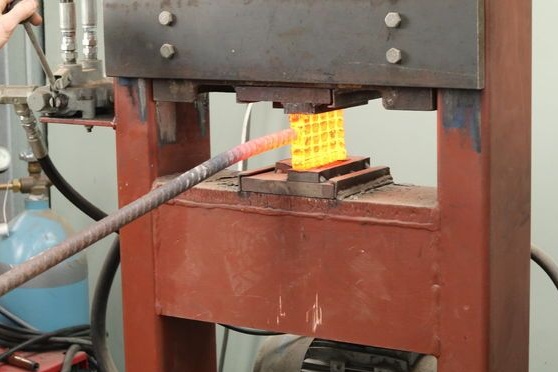
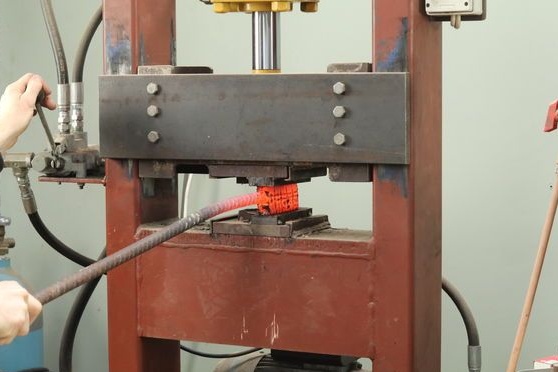
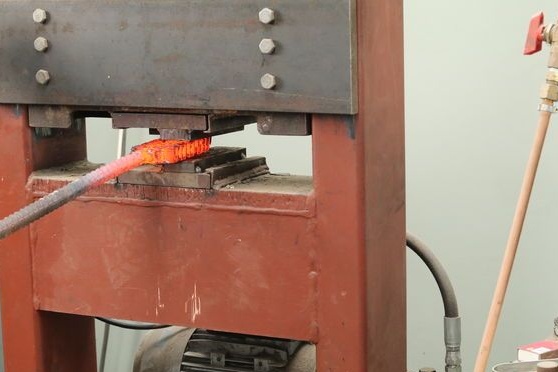
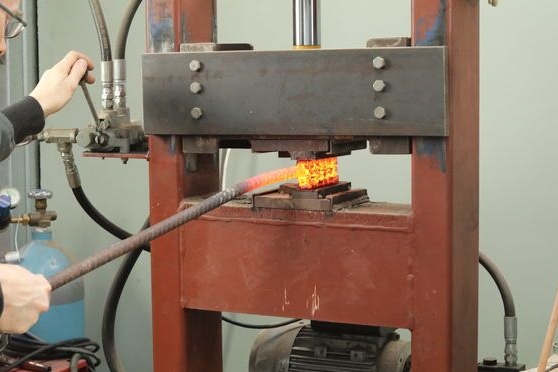
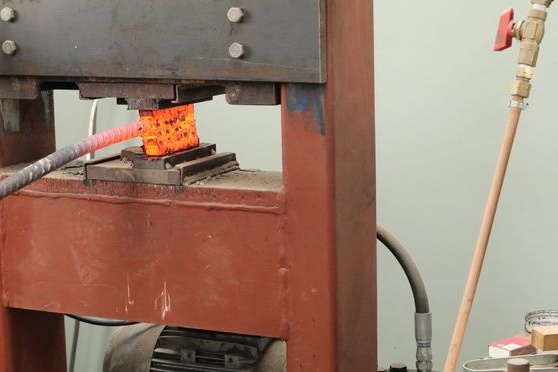
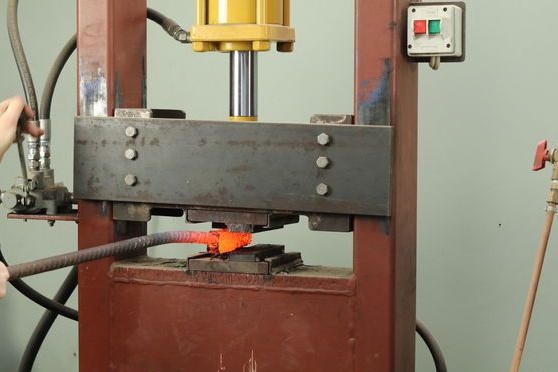
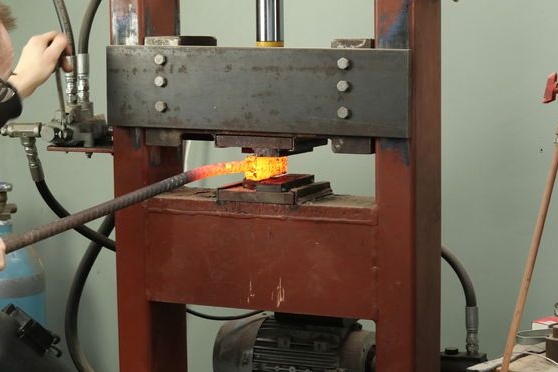
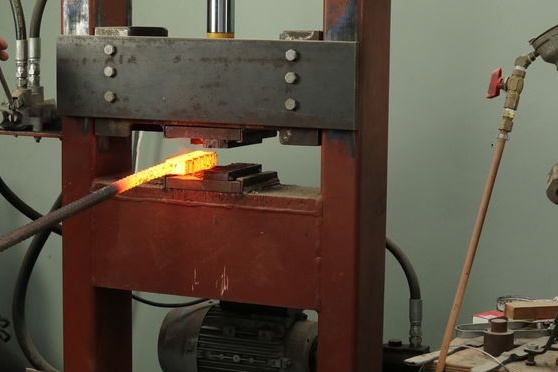
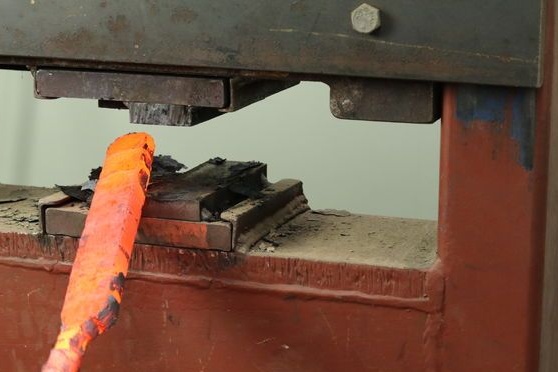
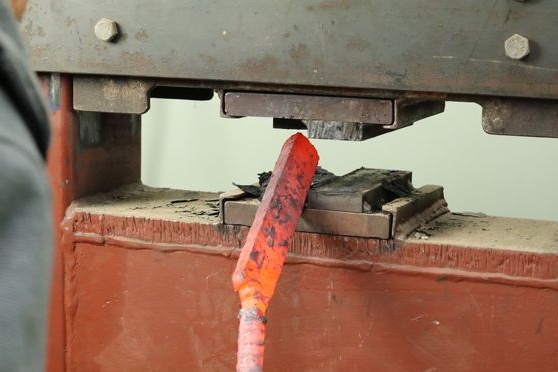
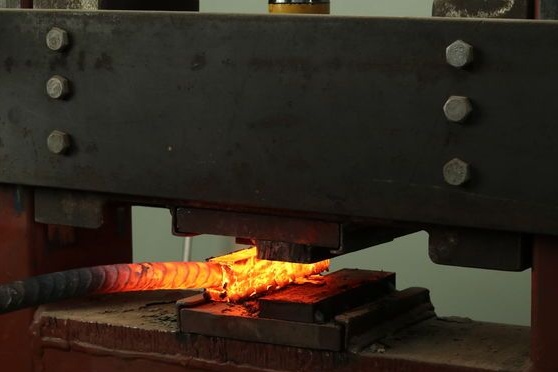
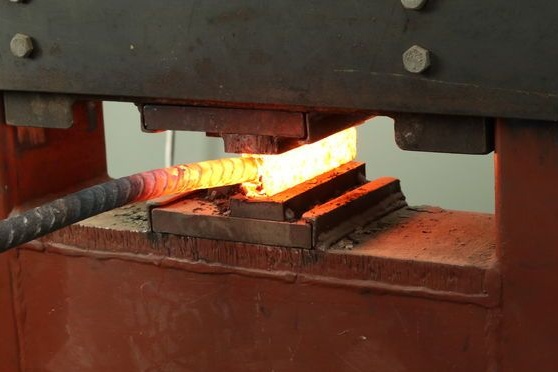
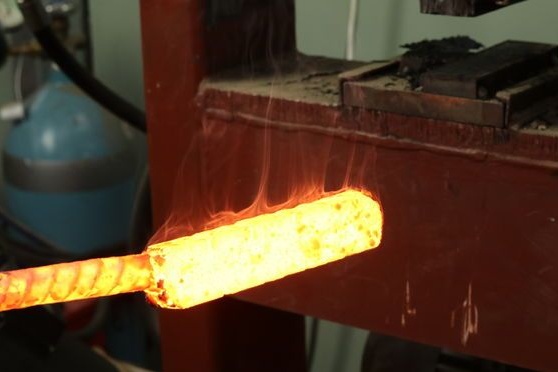
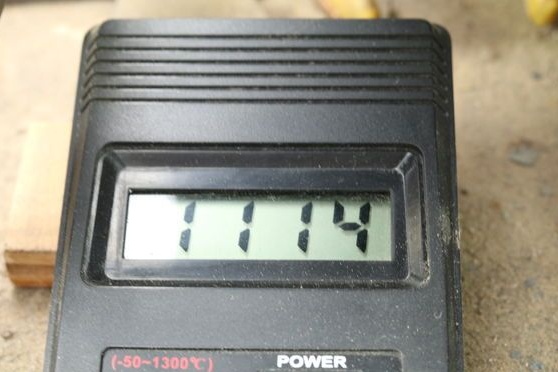
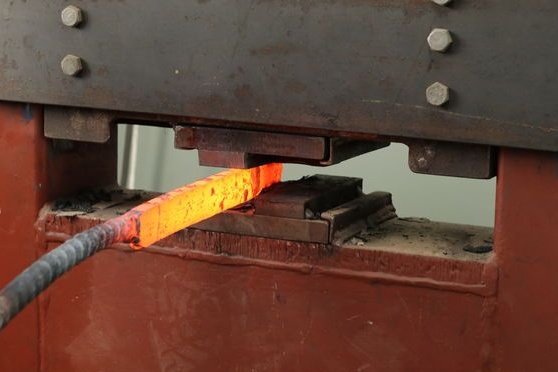
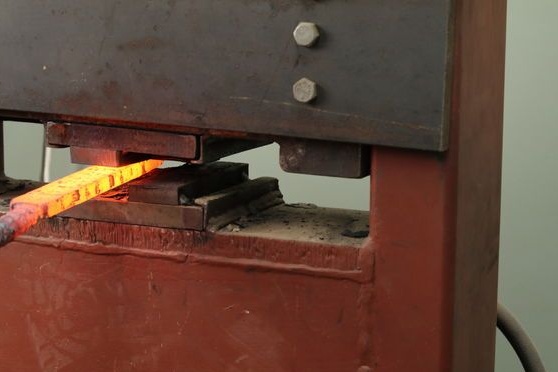
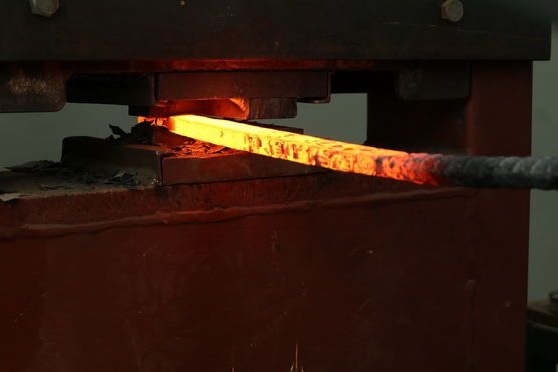
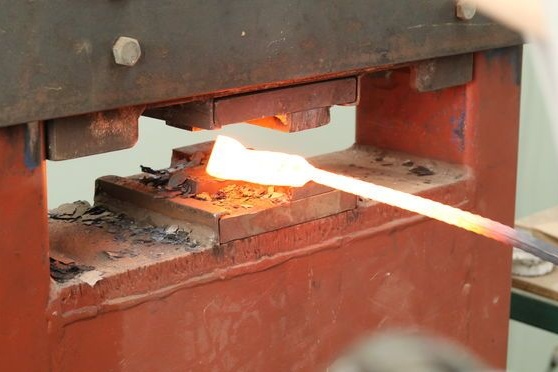
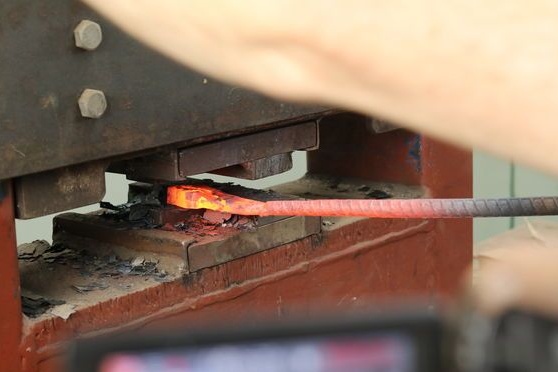
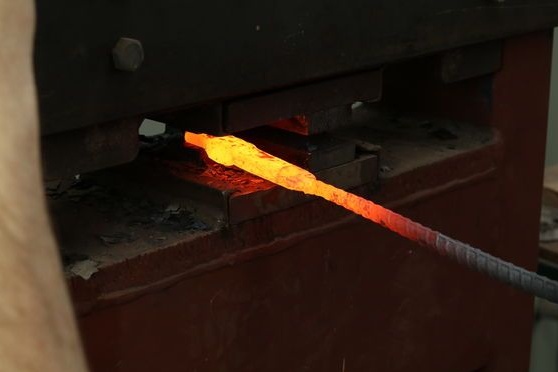
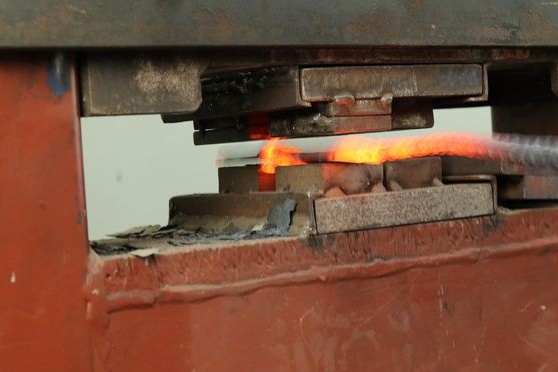
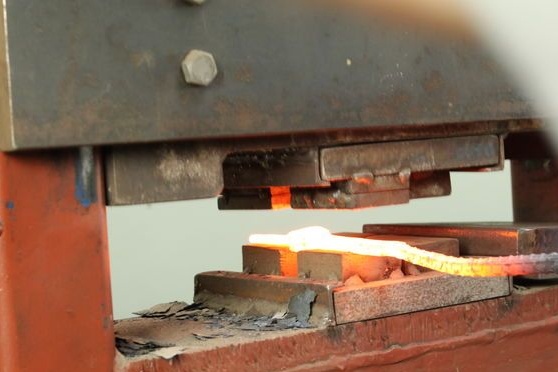
After a good warm-up, the workpiece is sent to “knead” under the hydraulic press. The temperature of the raw materials should be approximately 900-1000 degrees Celsius. Press the workpiece with a press until the mass mixes and becomes homogeneous.

Step Four We work with a hammer
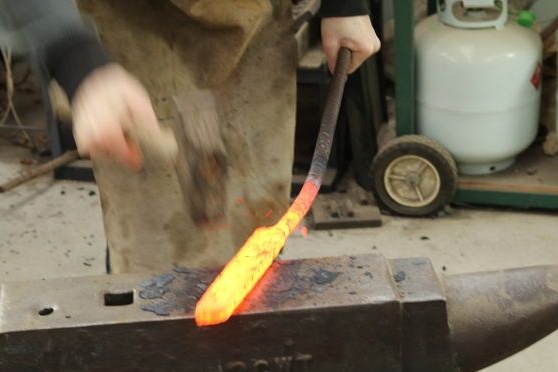
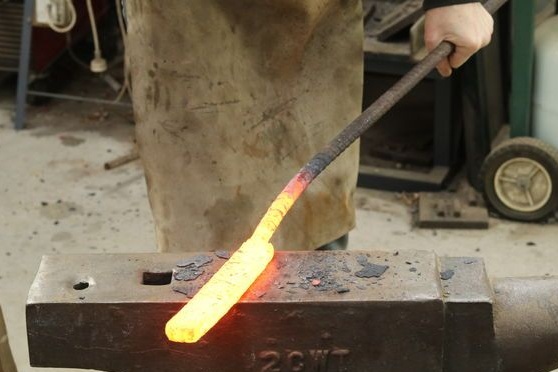
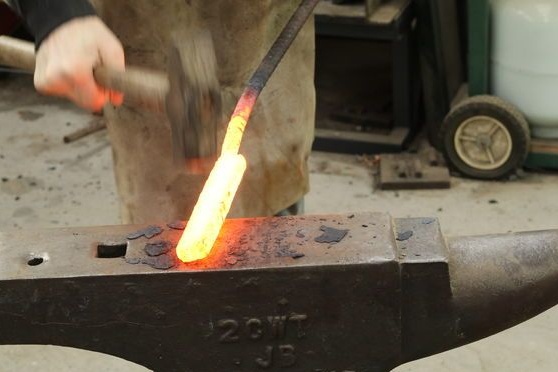
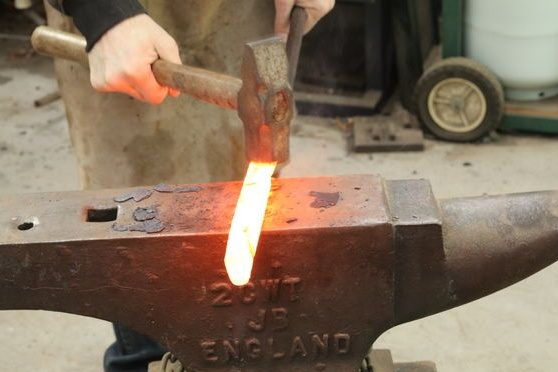
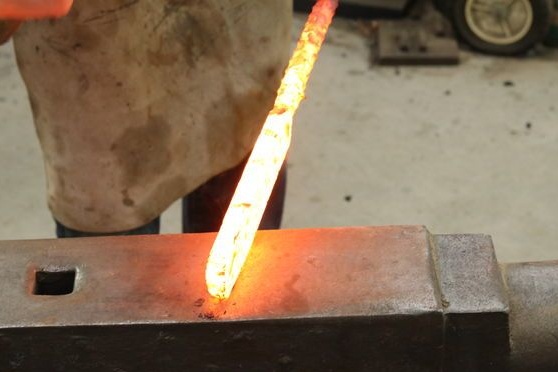
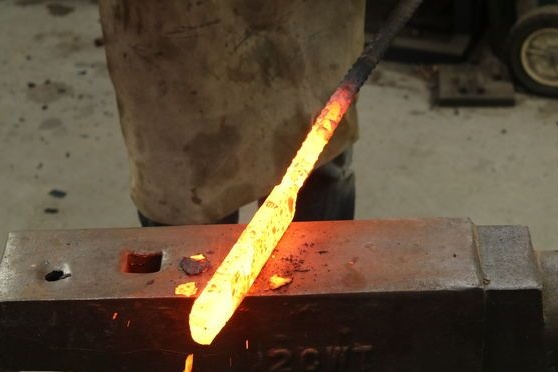
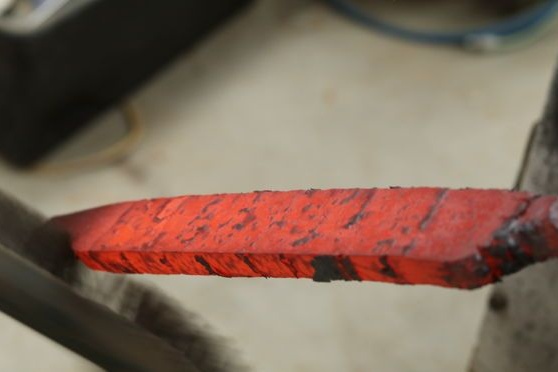
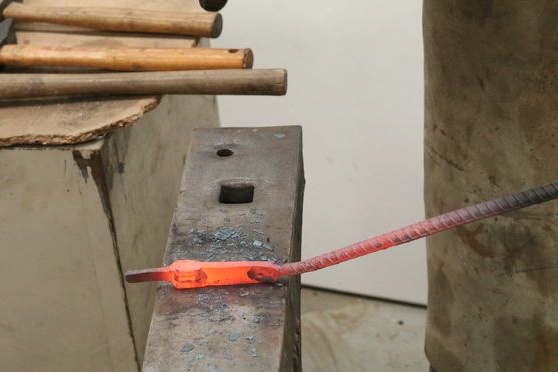
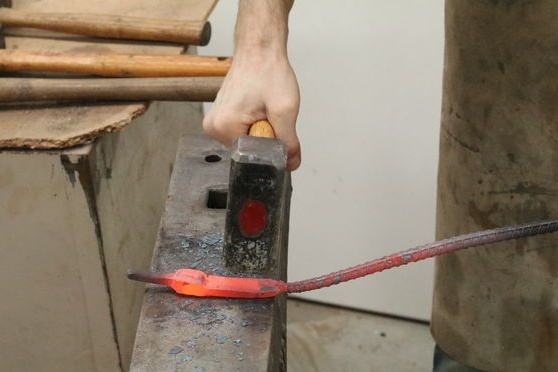
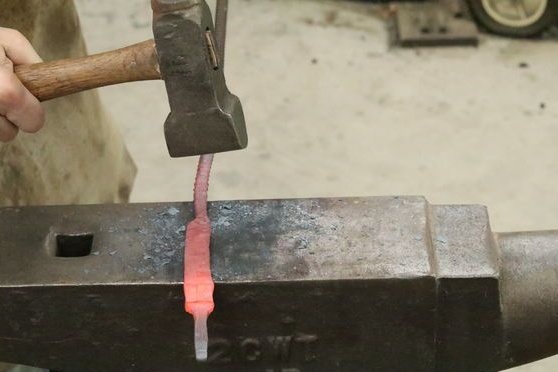
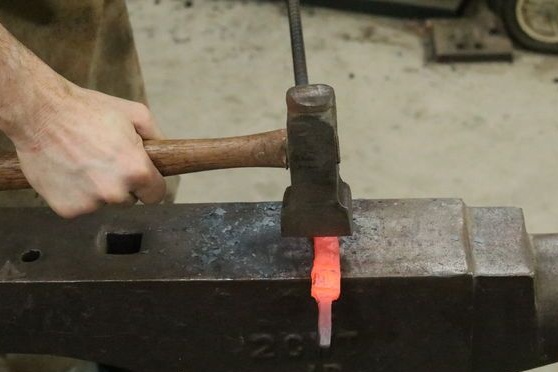
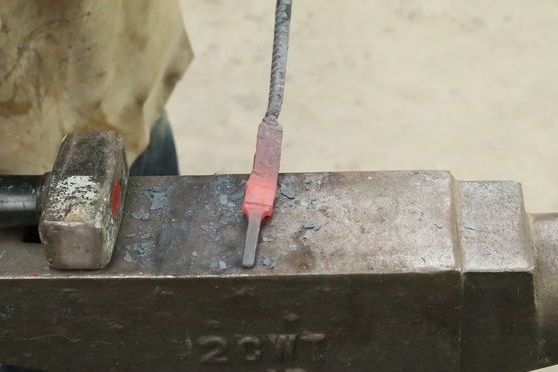
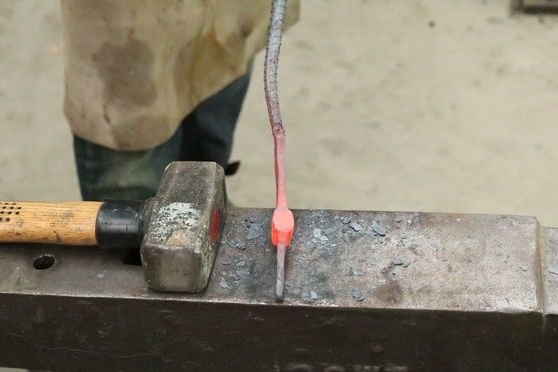
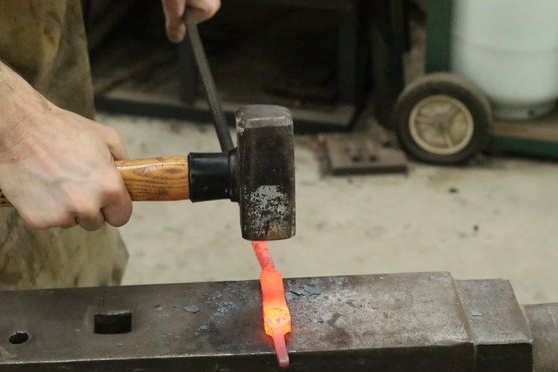
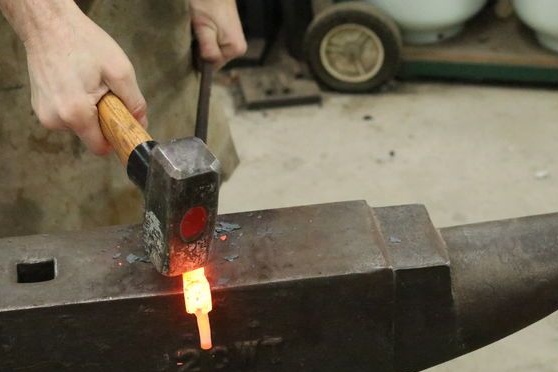
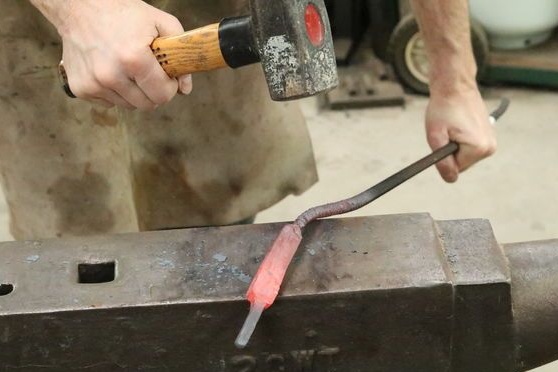
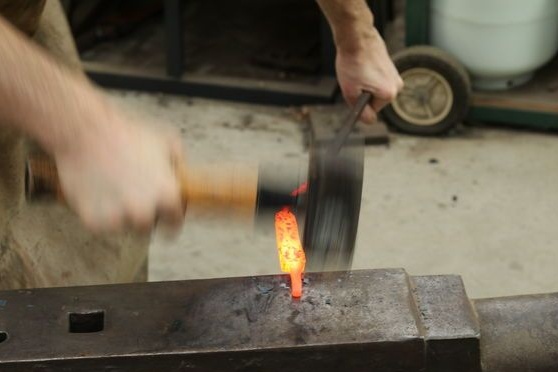
At this stage, forging begins, you will need an anvil and a good hammer. Now you can set the shape of the future knife.
Step Five Grind the workpiece
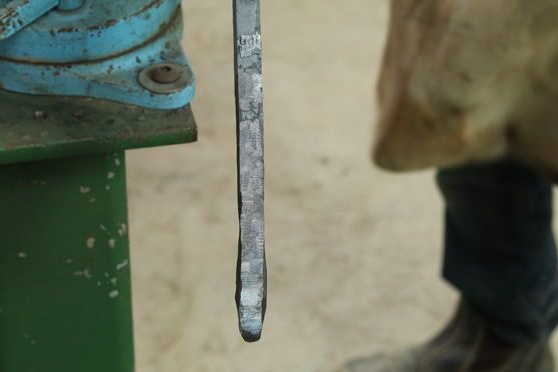
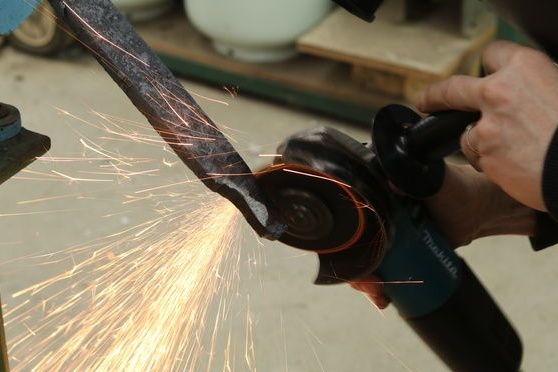
After heating and forging, there will still be various deposits on the metal, including oxidation and rust. All these elements must be removed from the metal. The author works here as a grinder.
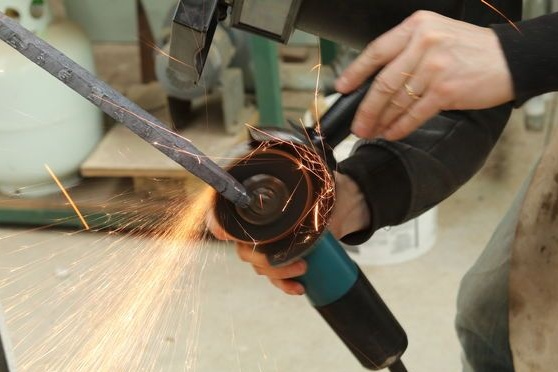
Step Six Cut, forge
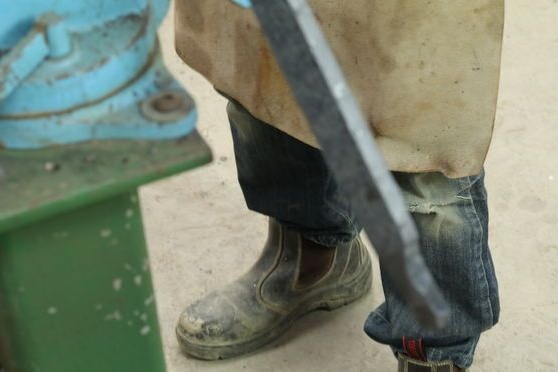
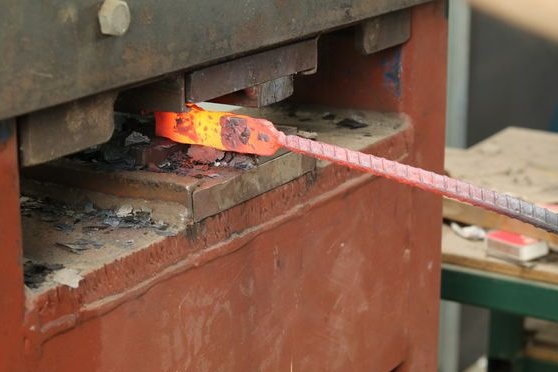
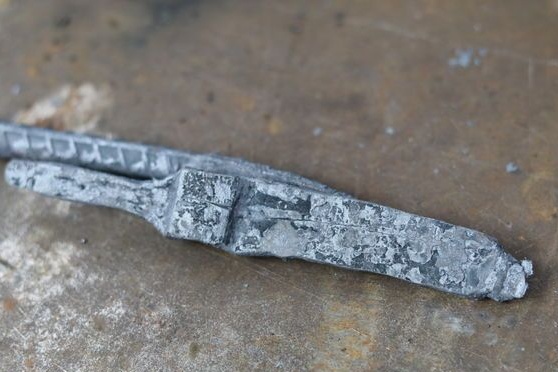
Now you need to trim the excess from the workpiece. Then the workpiece must again be sent to the oven and slightly trimmed under the press.So the main profile of the knife is formed. You will also have to work with the hammer on the anvil again.
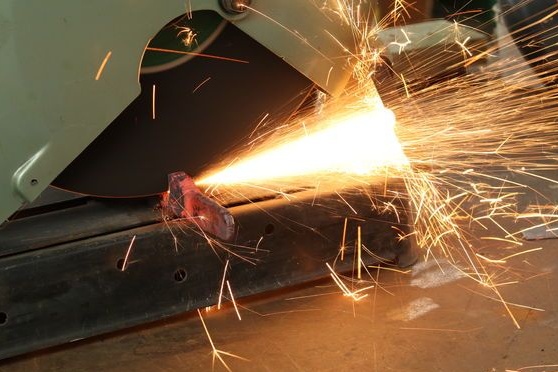
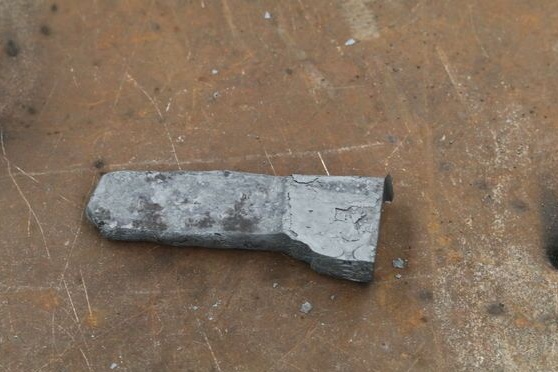
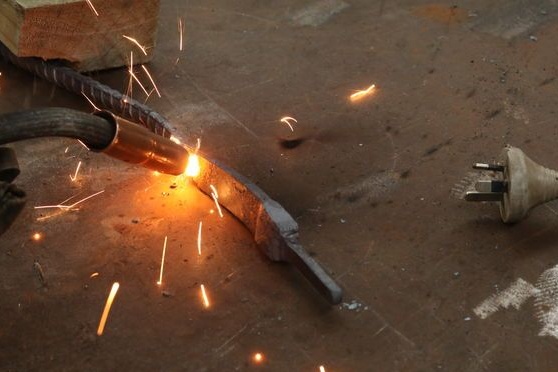
Seventh step. Release the metal
It will be very difficult to work with forged metal further, since it will become very durable. To make it softer, the steel must be heated in an oven, and then allowed to cool at room temperature. After that, the steel can begin to grind.
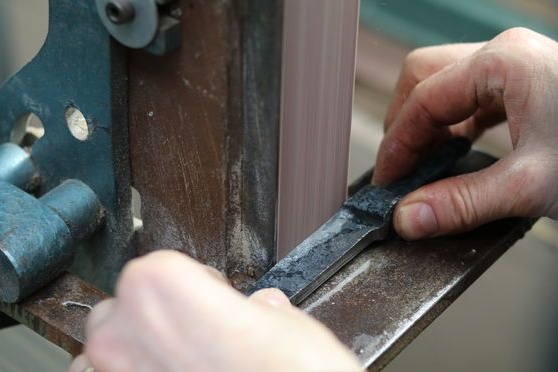
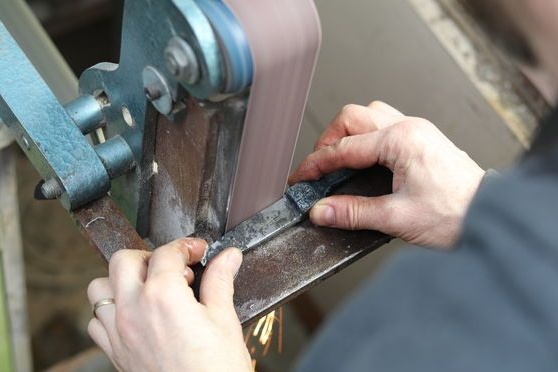
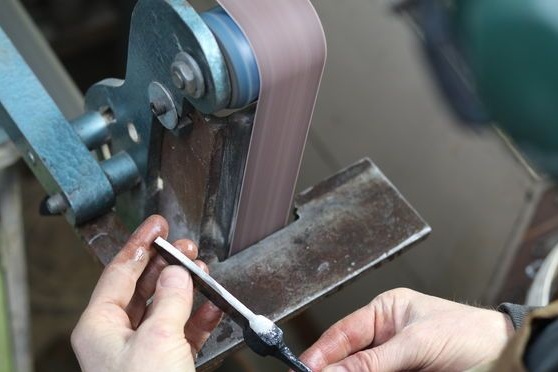
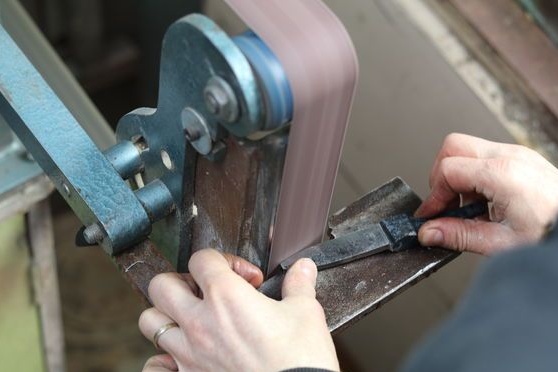
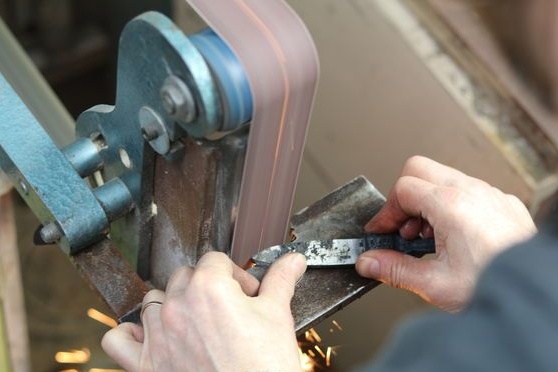
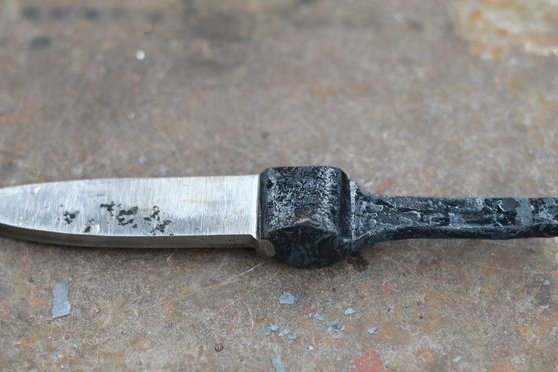
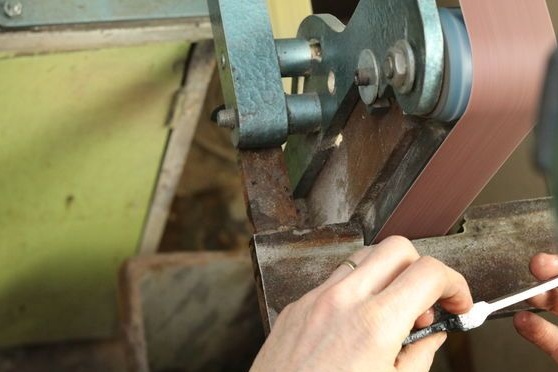
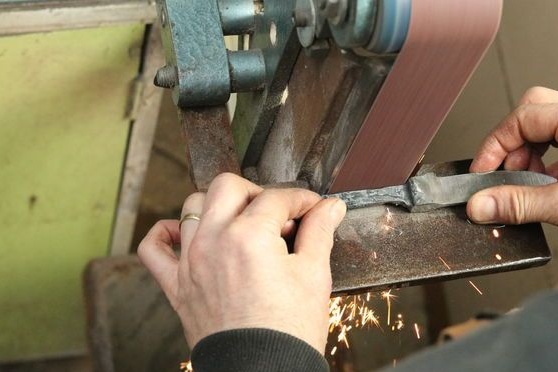
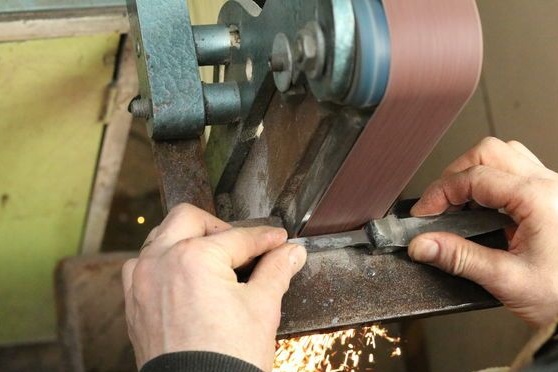
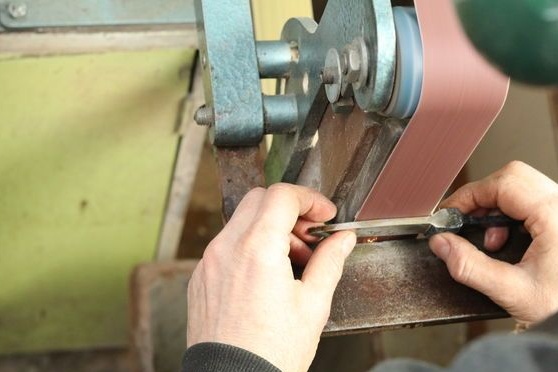
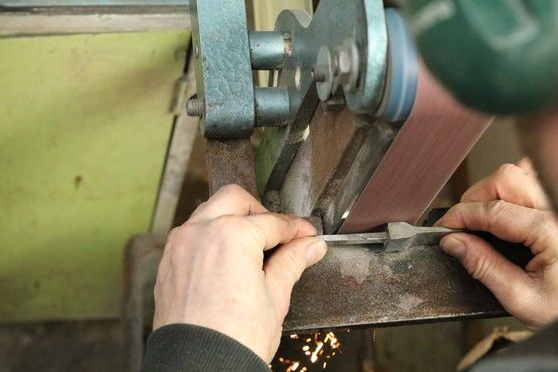
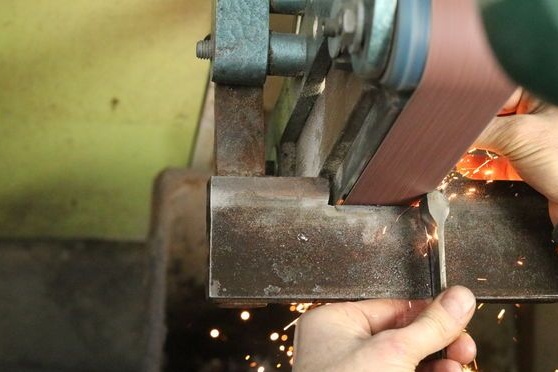
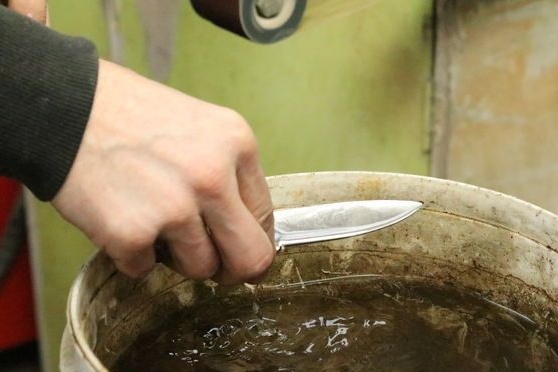
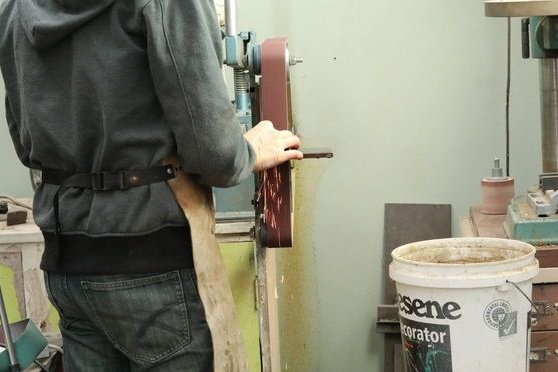
Using a belt grinder, the author sets the shape of the blade. During operation, the steel heats up very much, so it must be periodically lowered into the water.
Step Eight. We temper
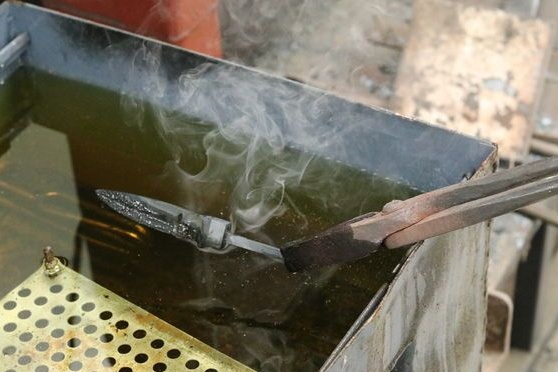
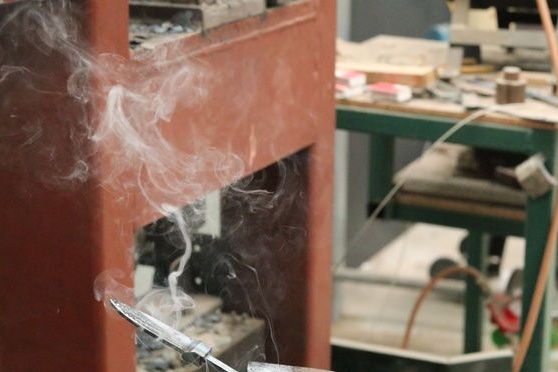
For steel to be strong, it must be hardened. The metal must be heated again in the oven and cooled in oil. It is best to lower the edge of the knife first, and then the whole of it, so the base will be more plastic and can hold large loads. To understand how long to heat steel, you can use a permanent magnet. A magnet that is not hot enough for hardening steel is not attracted, but you need to be very careful that the hot steel does not stick to the magnet.
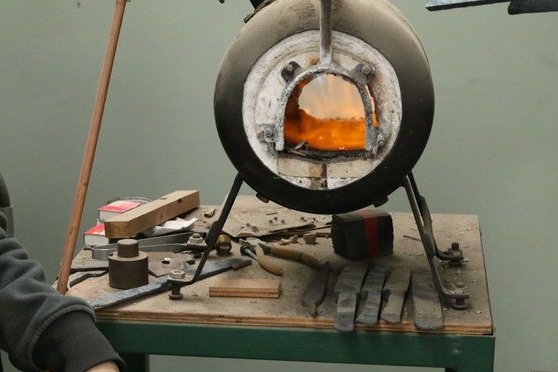
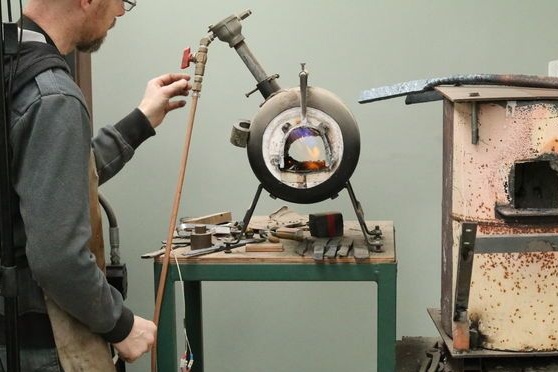
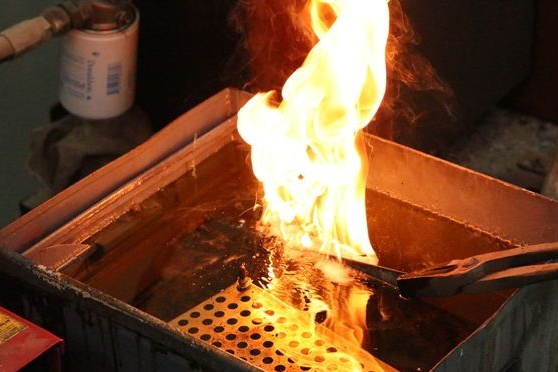
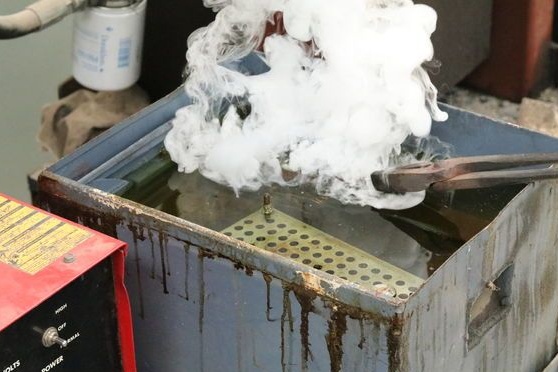
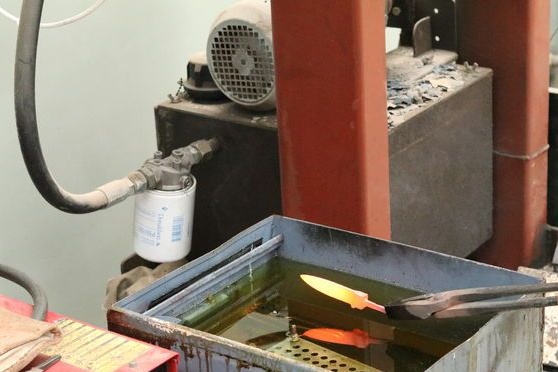
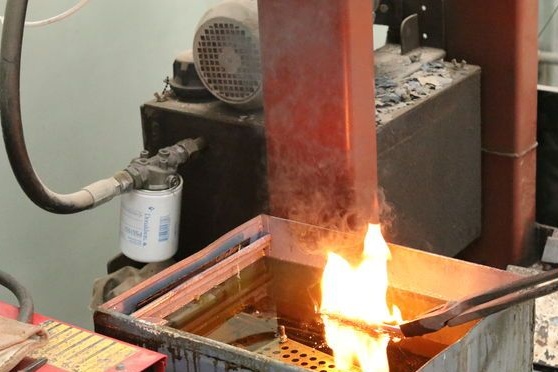
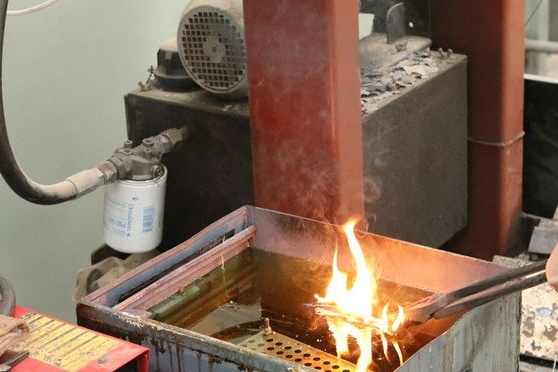
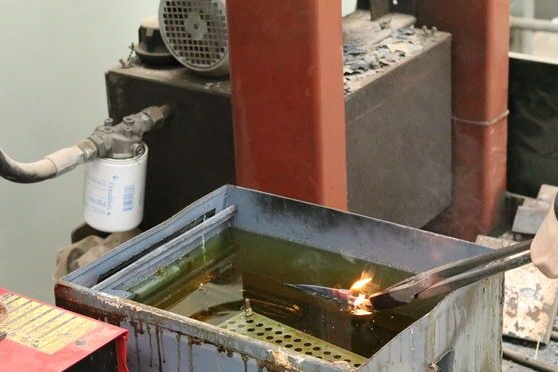
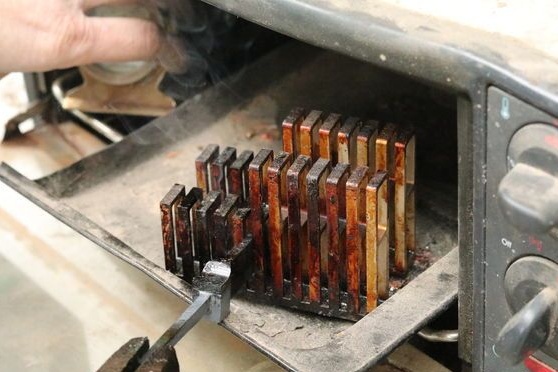
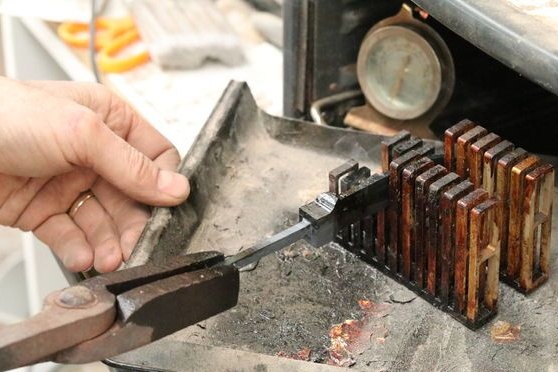
Due to the fact that after such hardening the steel becomes too brittle, the metal needs to be let go a little. To do this, the knife goes into the oven and boils at 200 degrees for two hours.
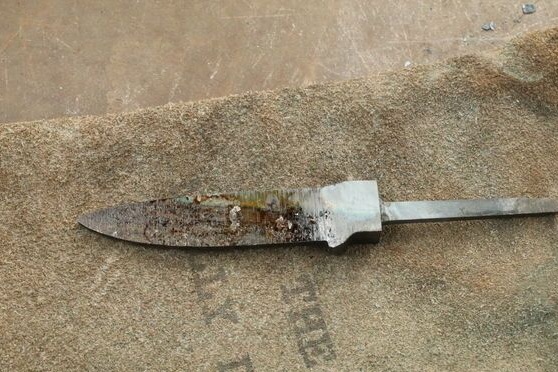
Step Nine. Make bevels
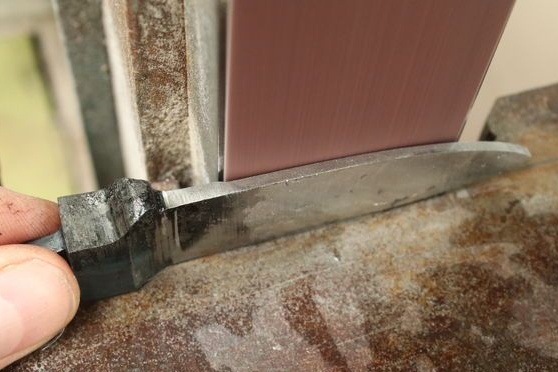
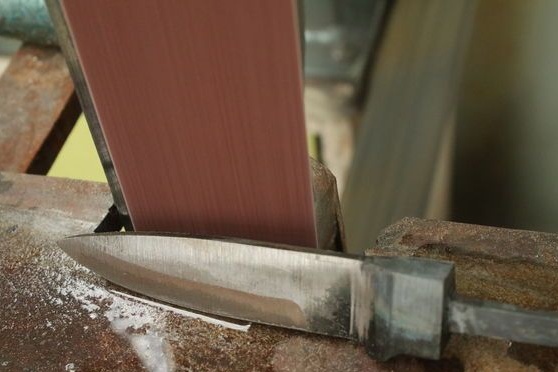
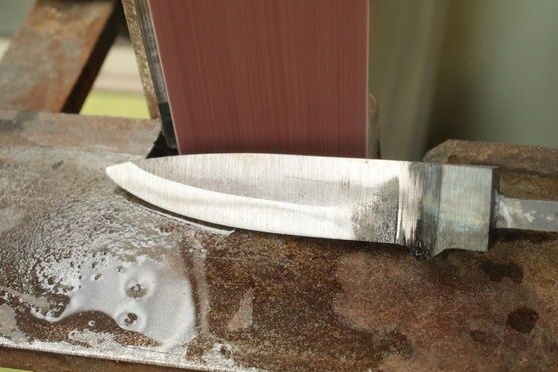
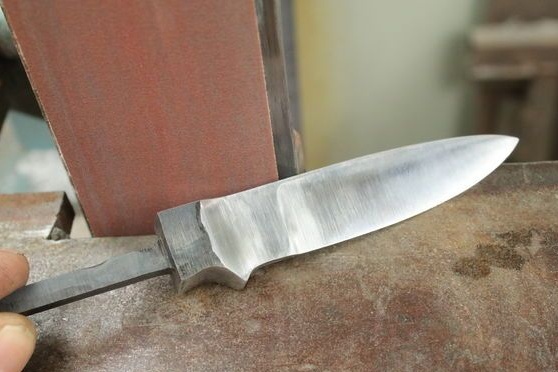
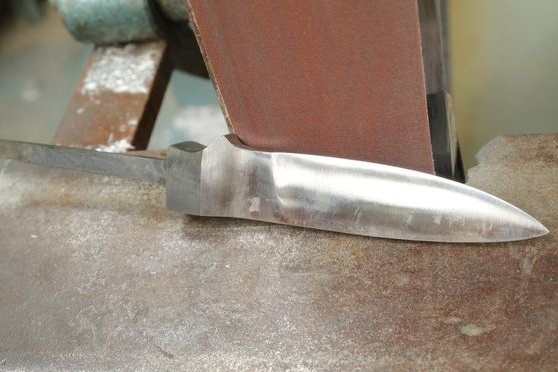
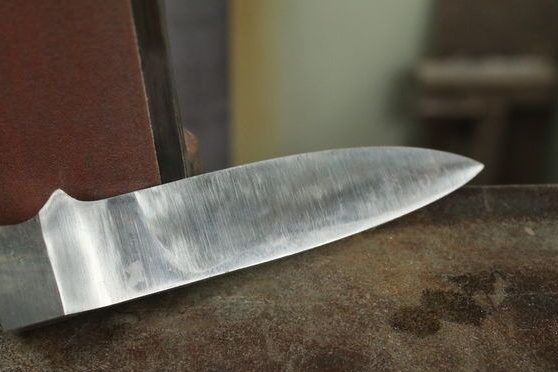
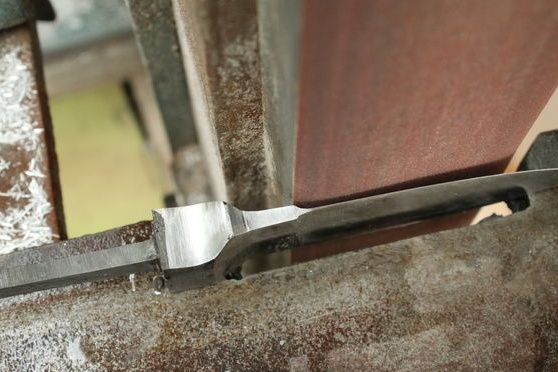
Here again you will need a belt sander. Using a tape of different grit, you need to gradually grind the knife blade. Steel will be very hot, so it will need to be lowered into the water from time to time. Well, after the formation of the blade, the steel can be properly polished.
Step Ten Prepare the horn
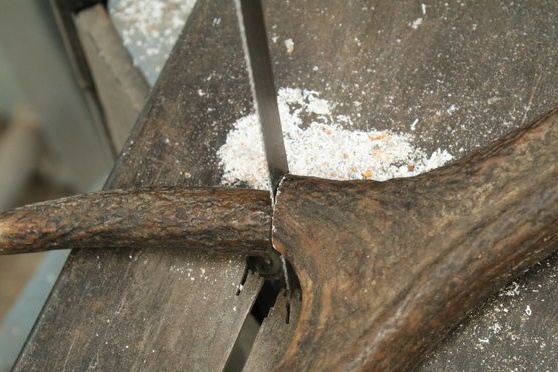
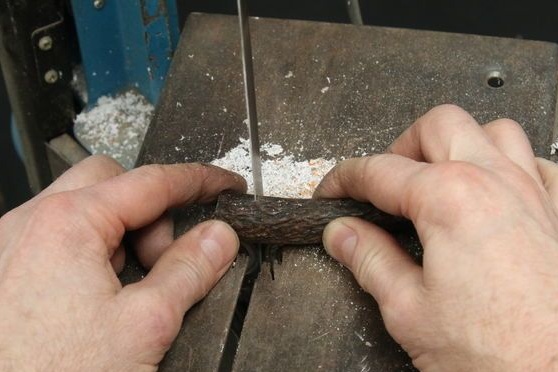
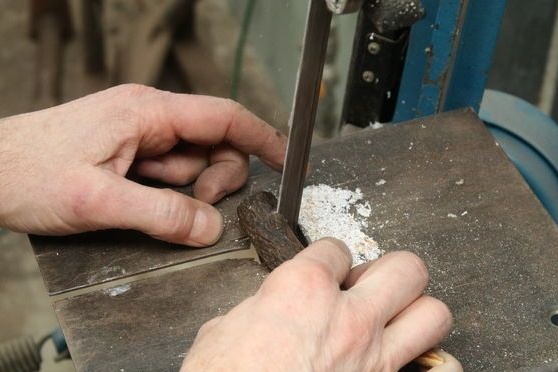
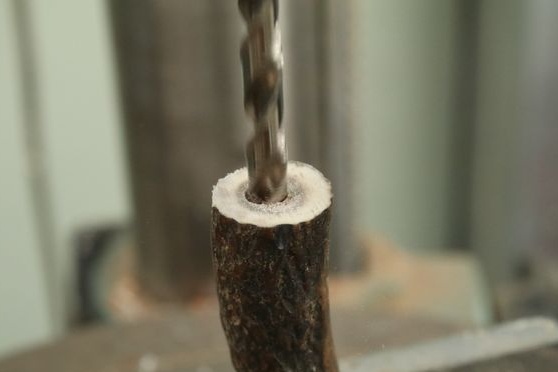
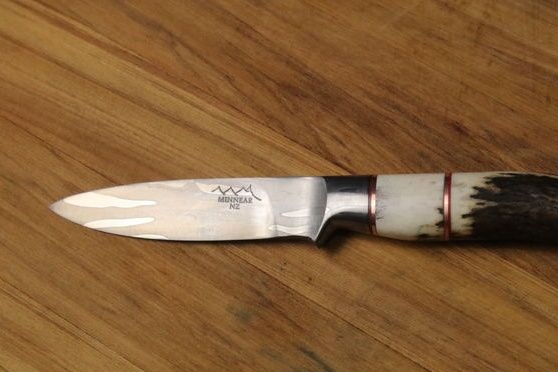
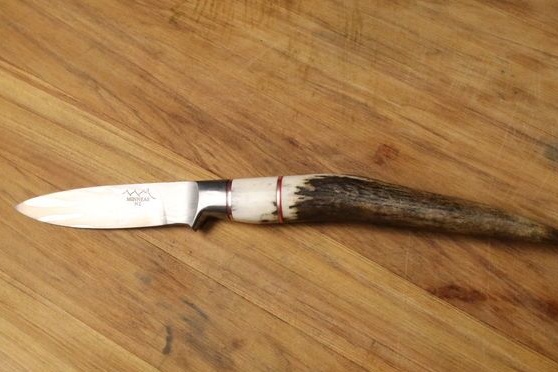
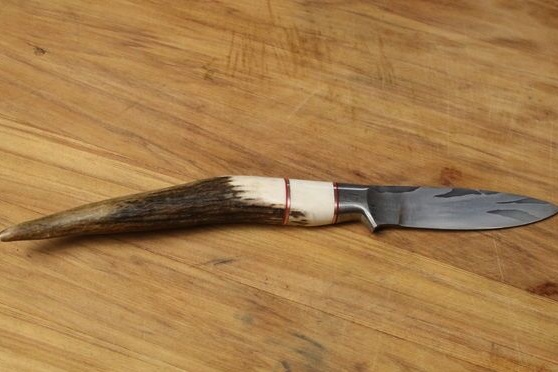
The author decided to use a deer horn as a handle. It is necessary to cut off from it that part that will fit in shape to create a pen. Well, then a hole is drilled in the horn under the protruding end of the knife metal.
Step 11. Putting the pen together
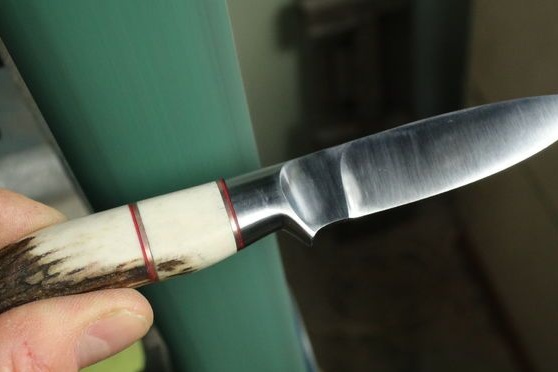
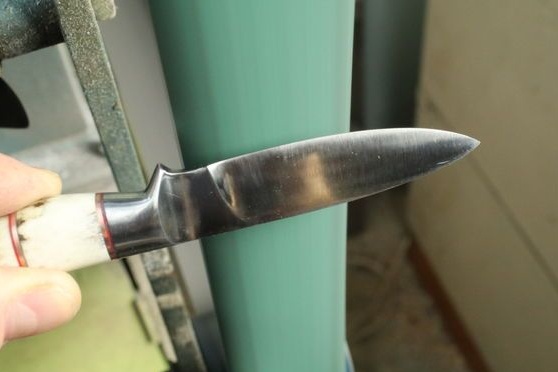
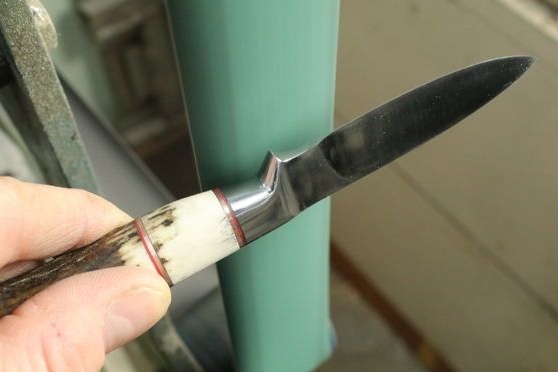
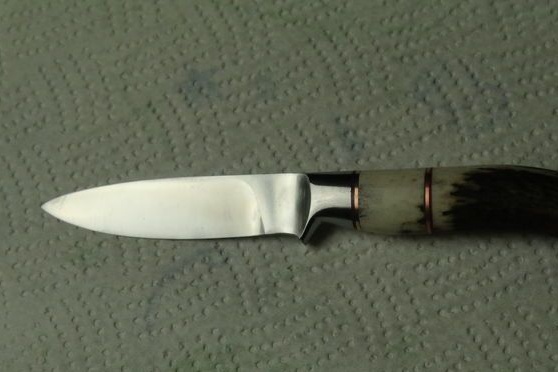
To decorate the pen, the author decided to cut it into several parts by inserting copper washers and a red film between the halves.
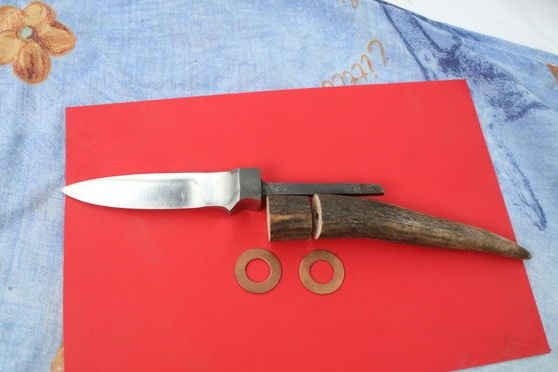
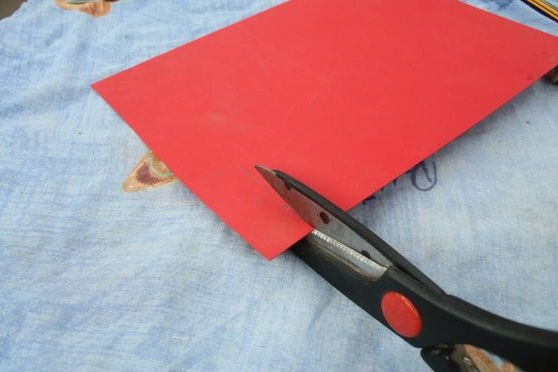
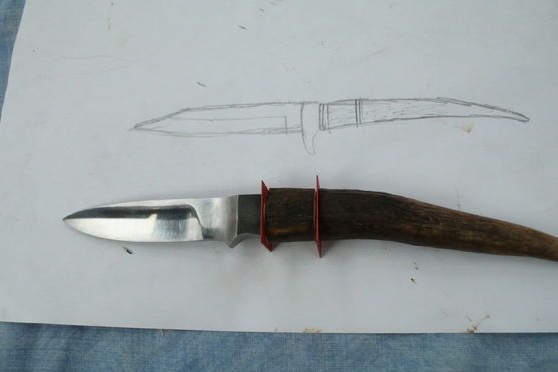
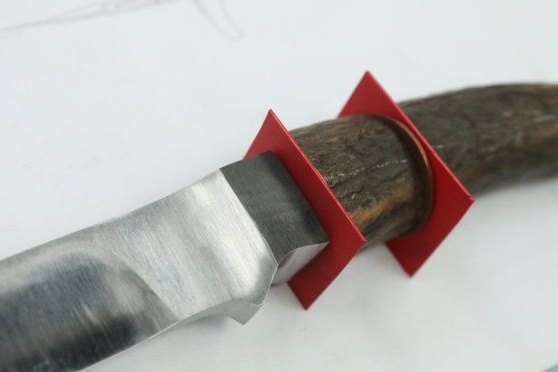
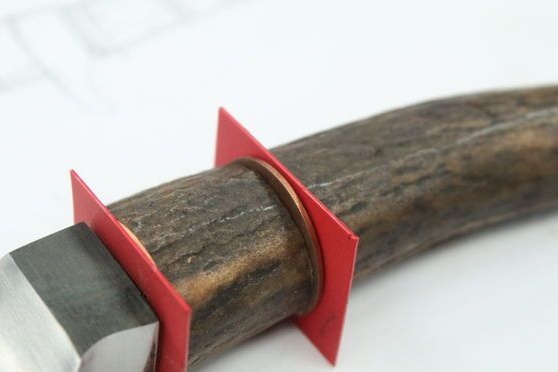
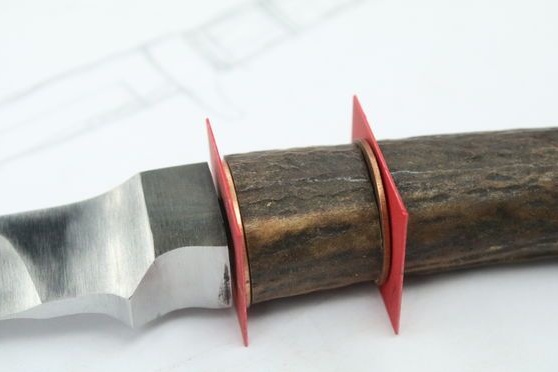
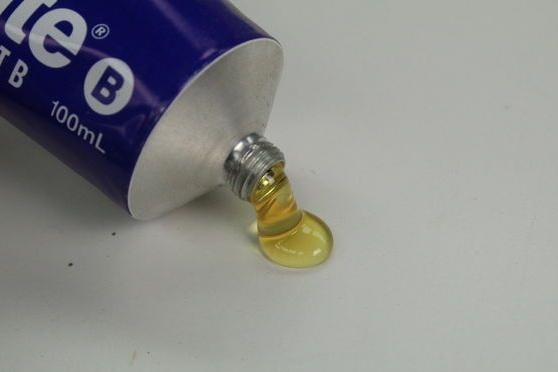
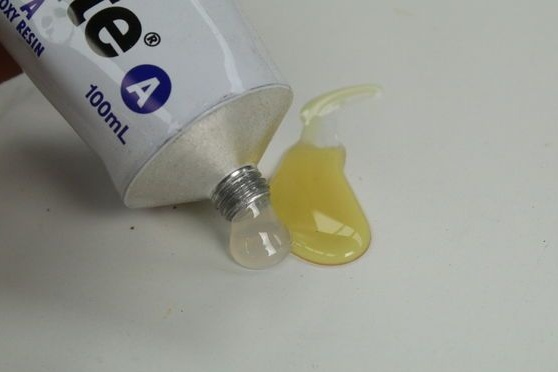
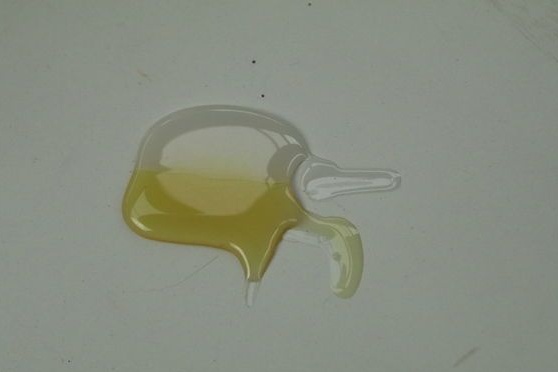
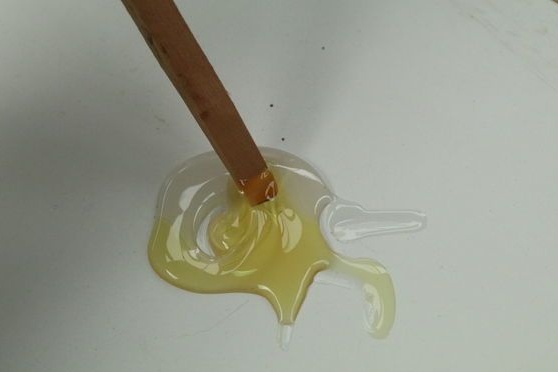
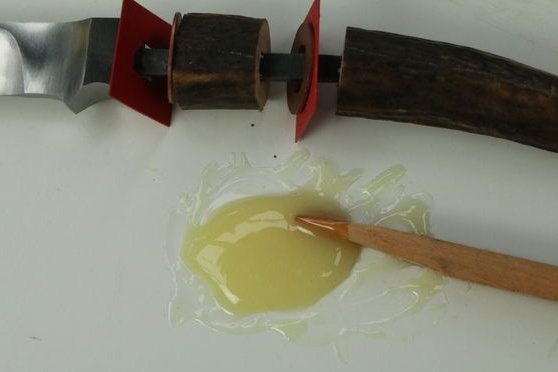
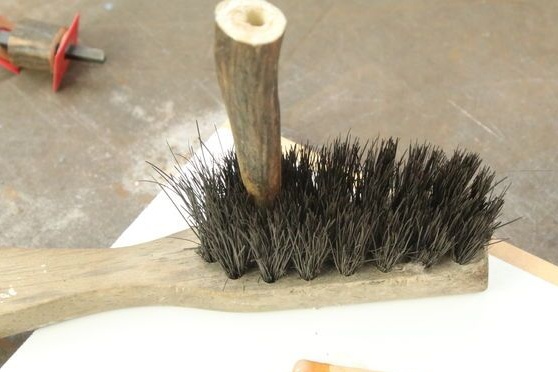
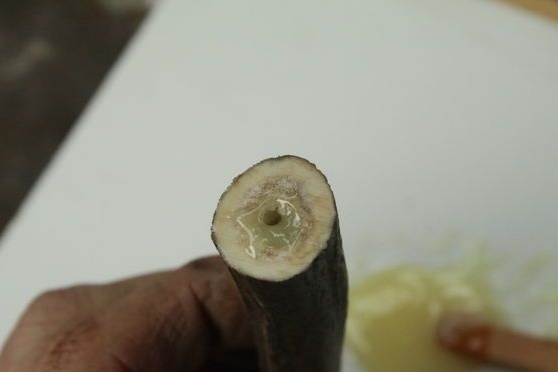
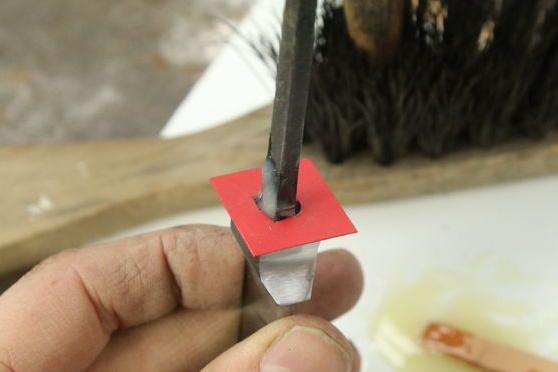
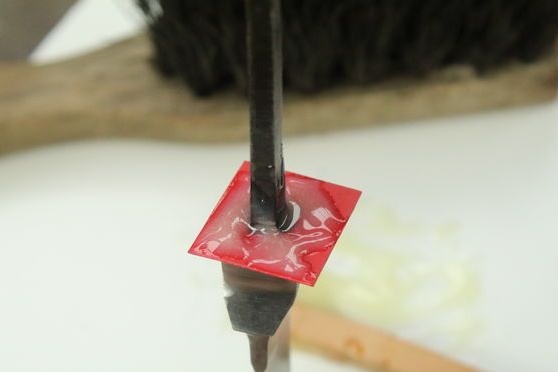
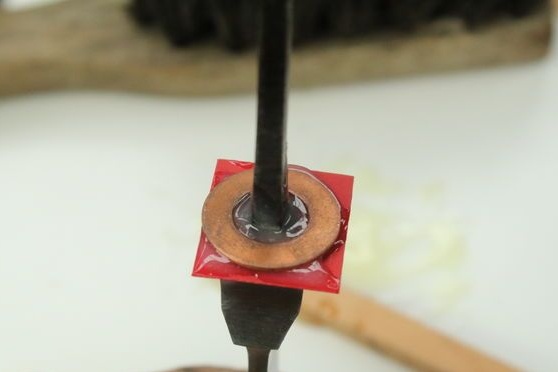
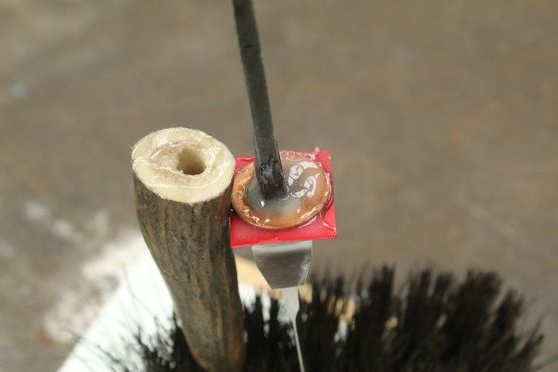
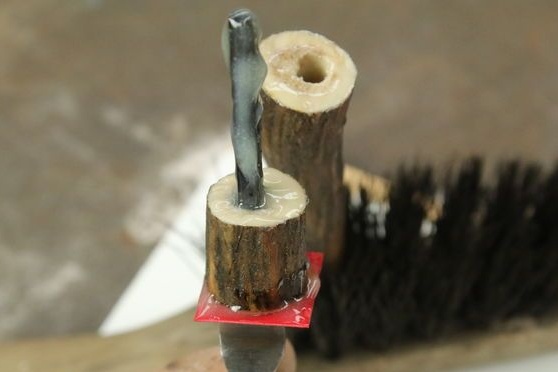
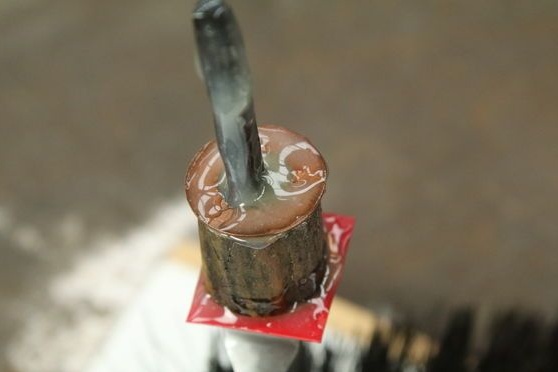
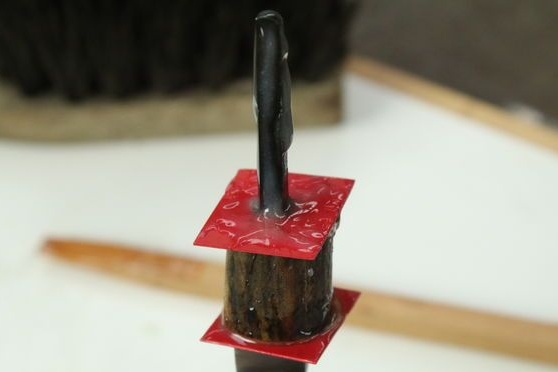
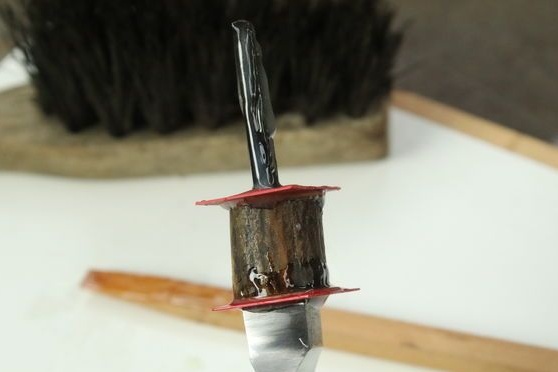
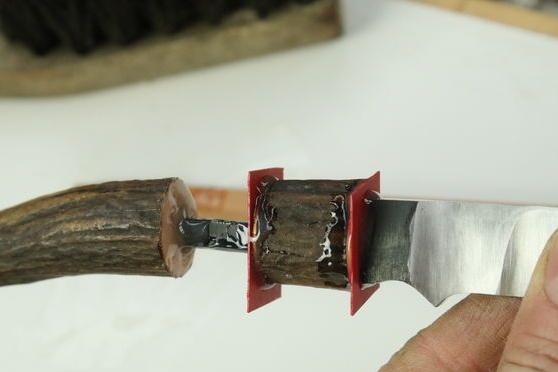
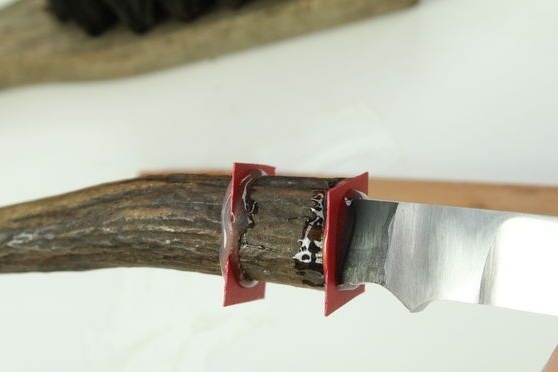
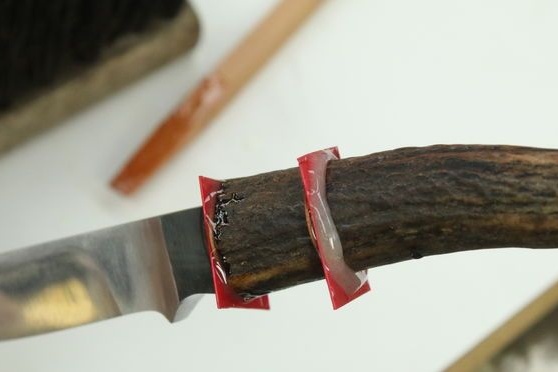
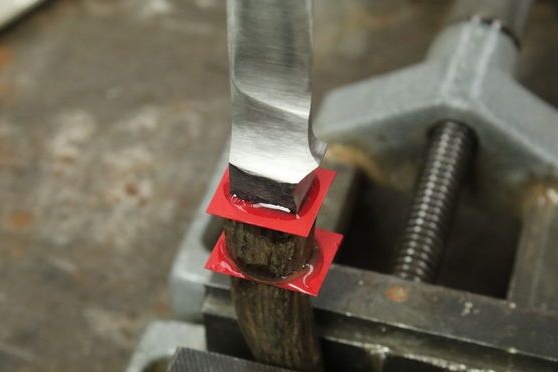
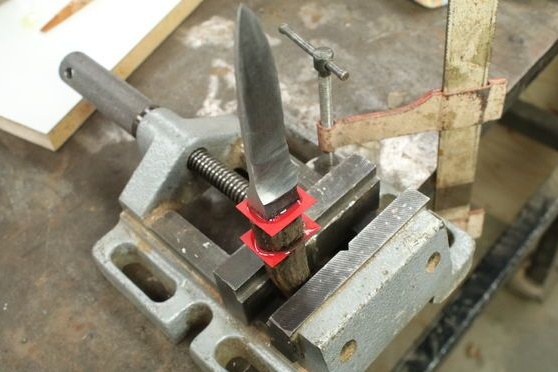
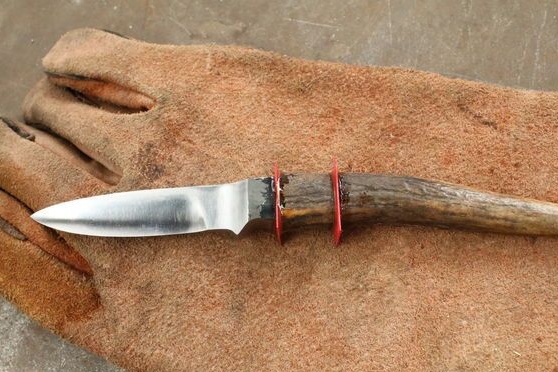
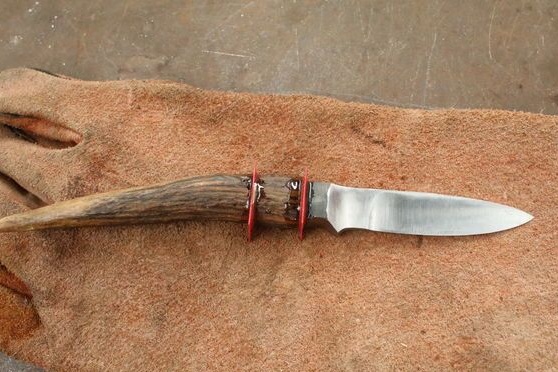
That's all, after that the handle can be glued, for such purposes you will need epoxy. It must be poured into the hole previously made in the horn. You do not need to pour too much, otherwise it will leak out and may stain the handle. Excess glue must be wiped off immediately.
Then the glue should be allowed to dry for 24 hours.
Step 12. Grinding
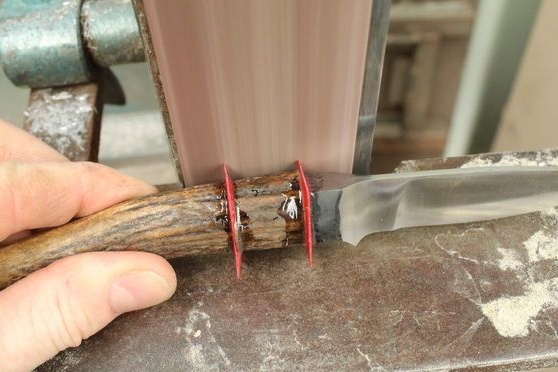
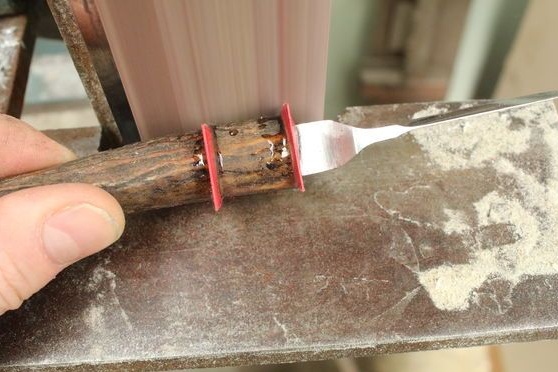
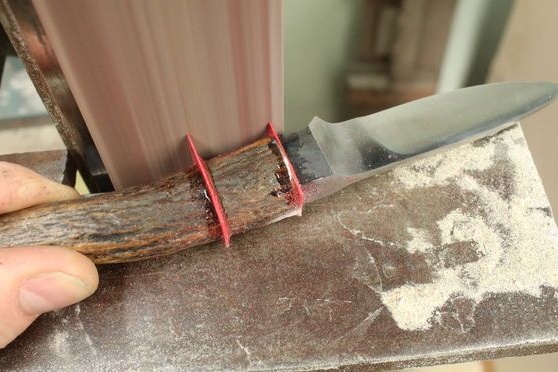
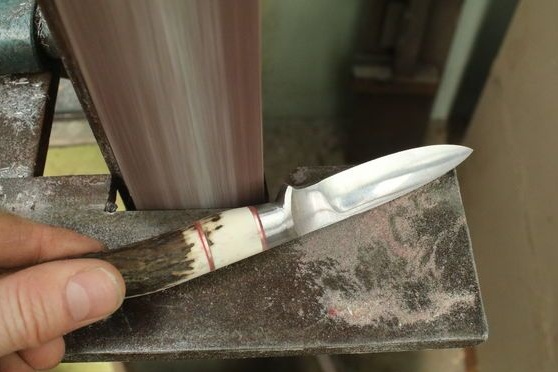
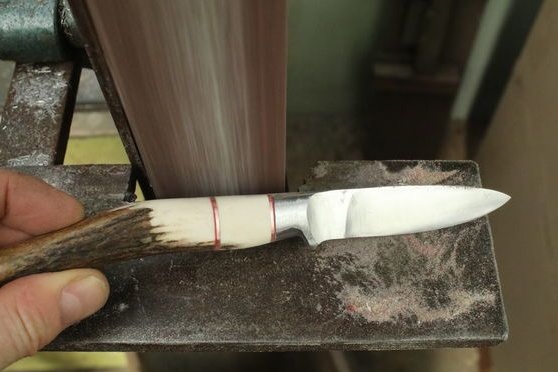
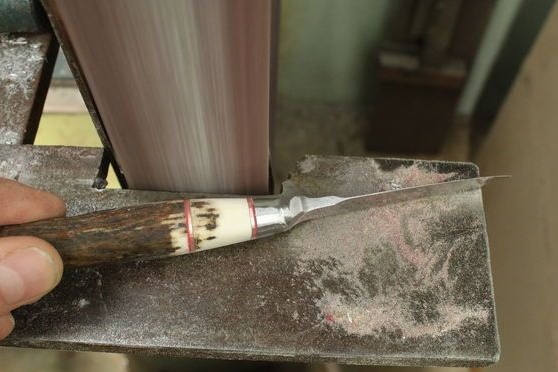
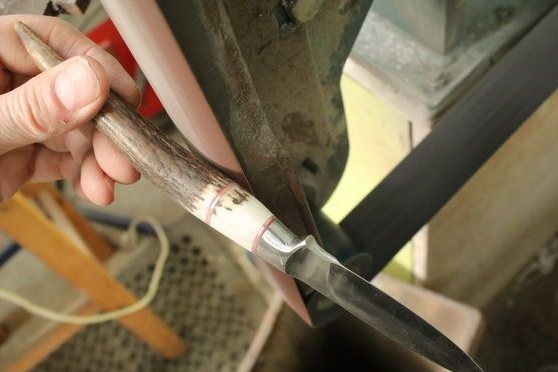
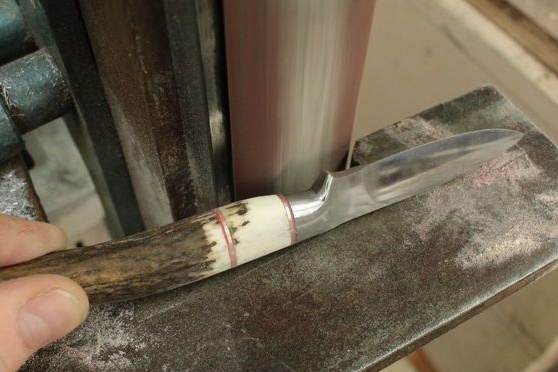
Since protruding parts of the glue are formed after gluing, and the other parts of the handle will not be smooth, you need to grind it well. Here again, a grinder with 600 grit paper will be needed. The speed for grinding needs to be turned on low. Checking irregularities on the handle is conveniently tactile, that is, with your fingers.
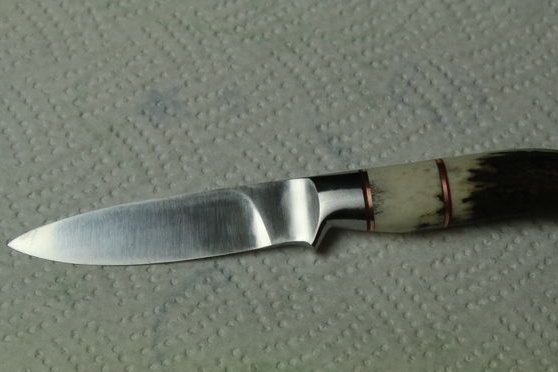
Step 13. Put the inscription on the knife
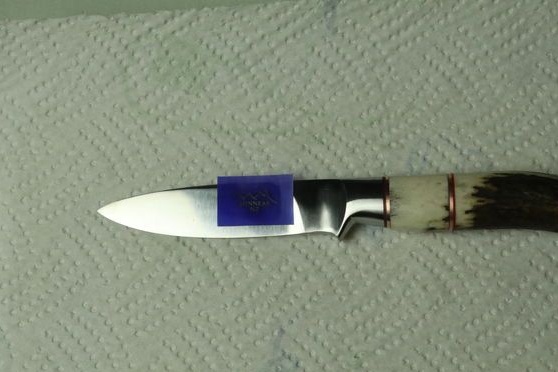
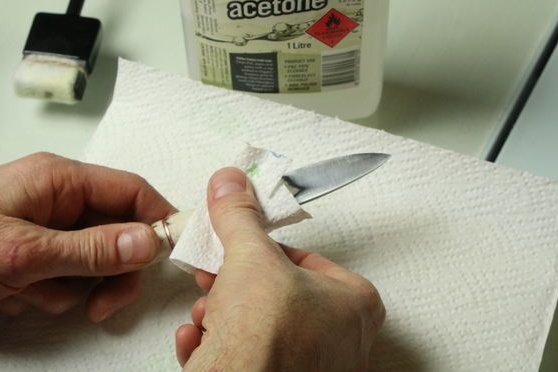
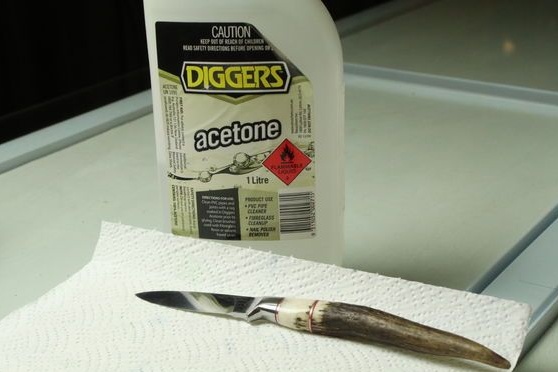
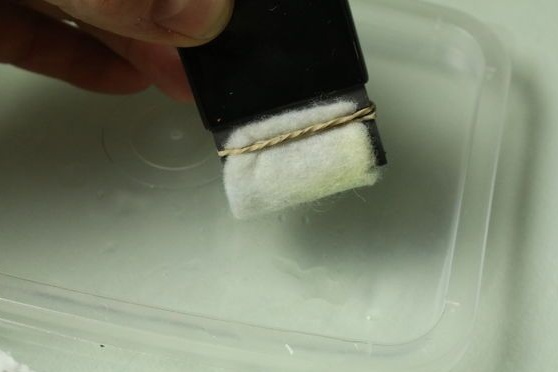
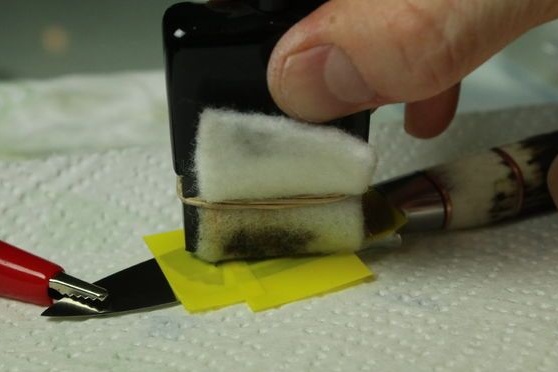
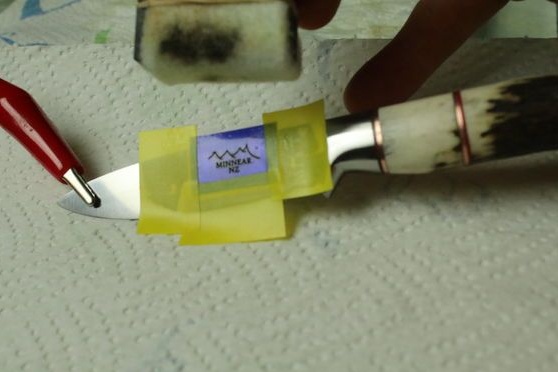
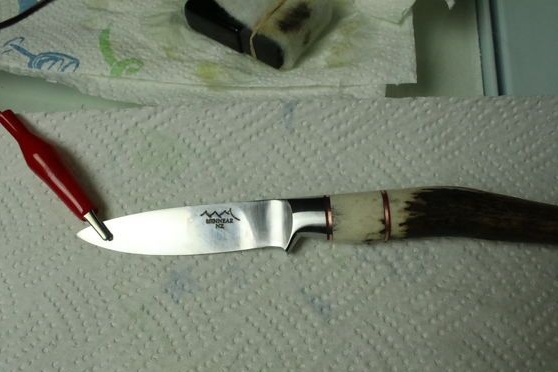
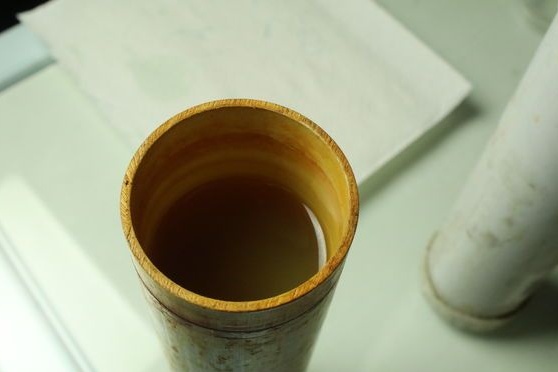
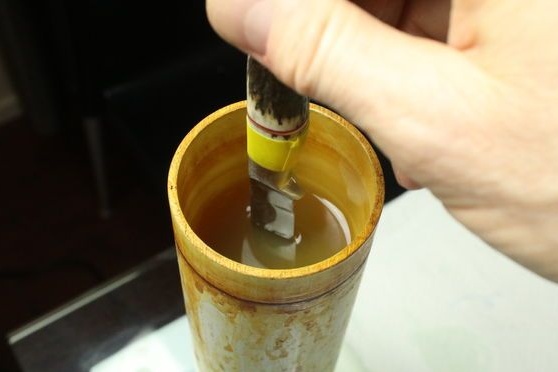
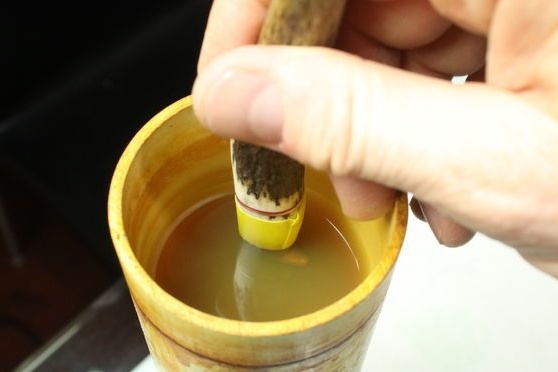
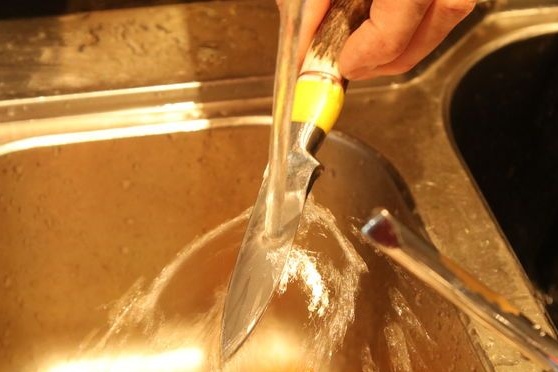
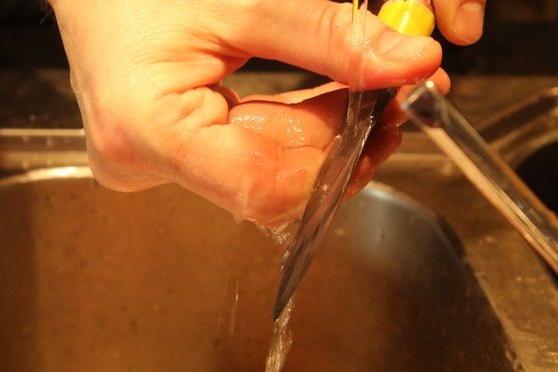
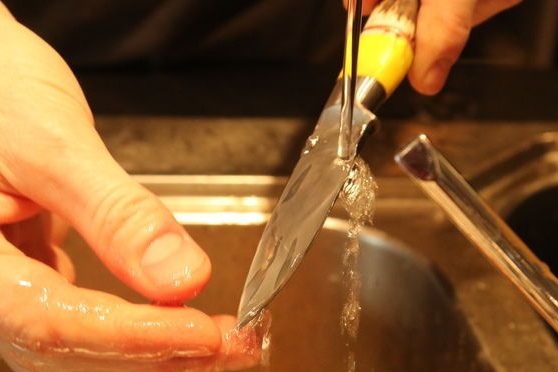
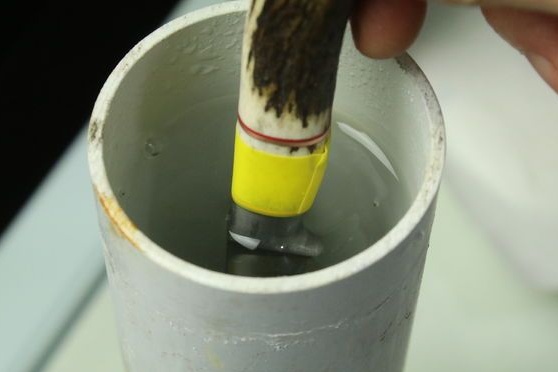
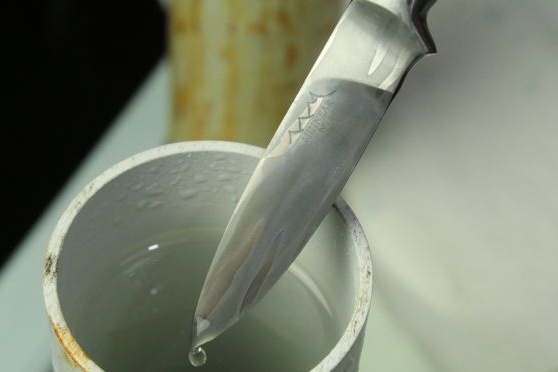
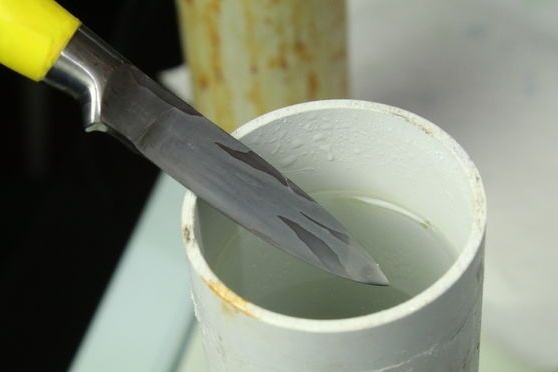
This is not a mandatory step; it simply emphasizes the uniqueness of the knife. You can apply the desired pattern or inscription to the metal by etching. It is necessary to impose a stencil on the blade, after having thoroughly cleaned the steel with acetone. Well, then the unclosed area is covered with etching liquid and current is applied. A chemical reaction corrodes the top layer and this forms a pattern. After etching, the blade must be washed well or cleaned with an acid-neutralizing agent.

Step 14. The final step in creating the knife
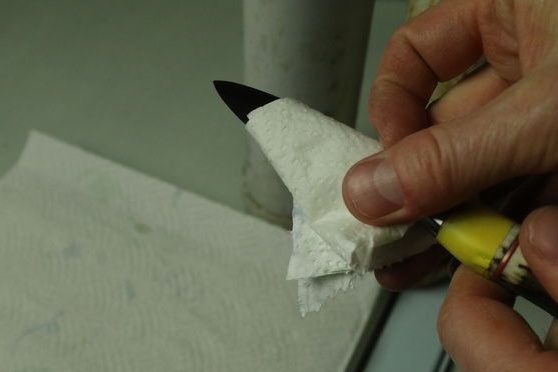
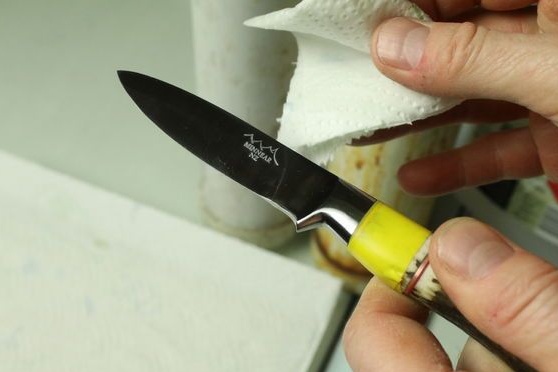
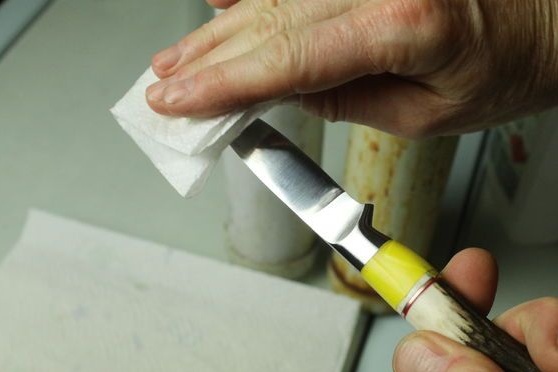
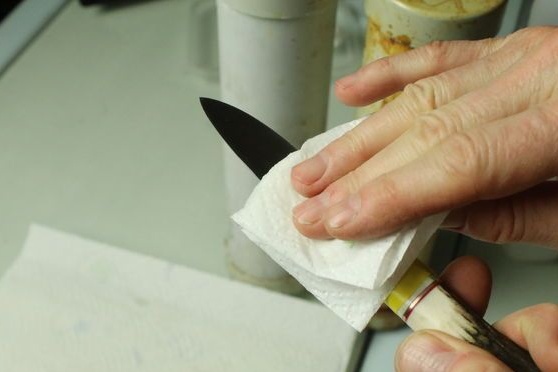
The handle of the knife must be covered with a protective layer, in addition, it will give it a shine. For such purposes, you need to mix beeswax and mineral oil in a ratio of 70/30. You also need to grease the blade of the knife, this will protect it from rust.
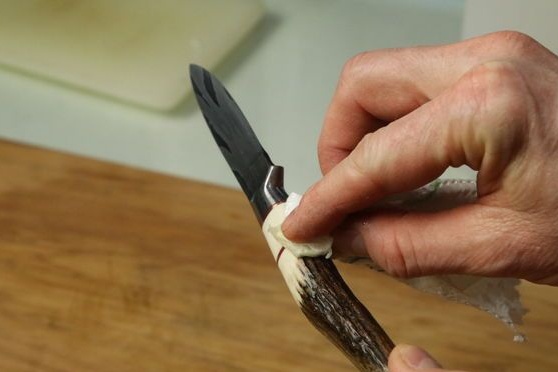
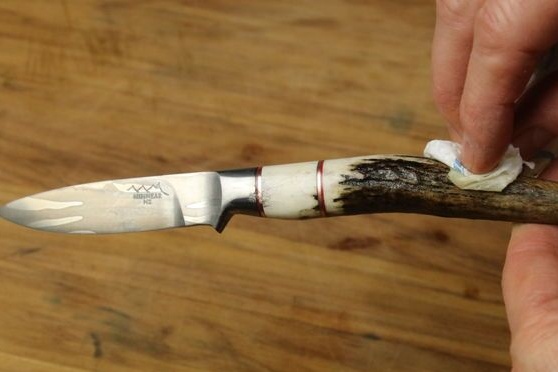
Beeswax will need to be melted in a bowl, then adding oil there. The result is a solid but plastic substance that is perfectly suited for such purposes.
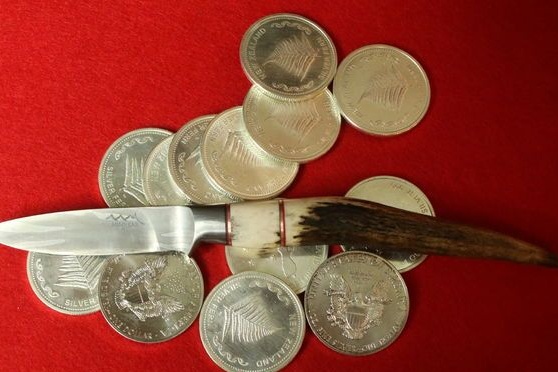
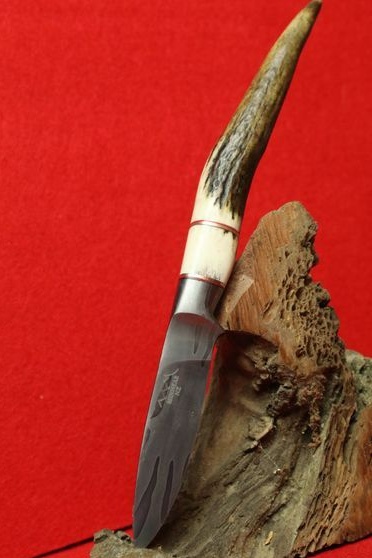
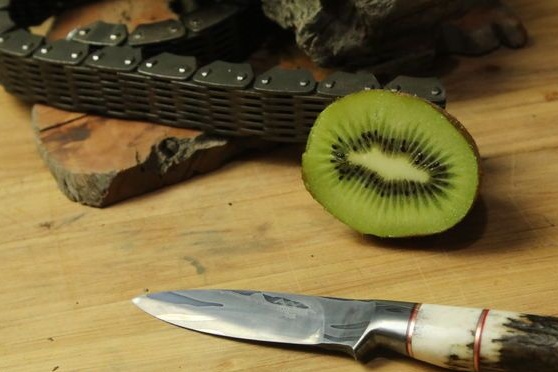
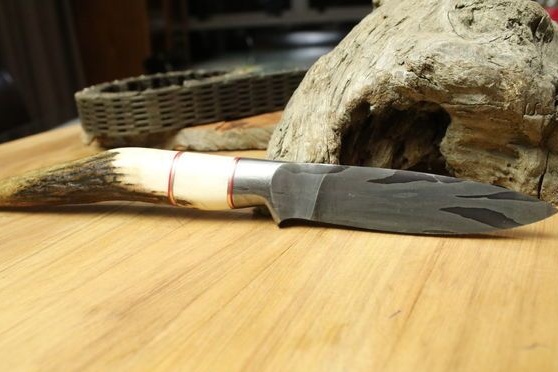
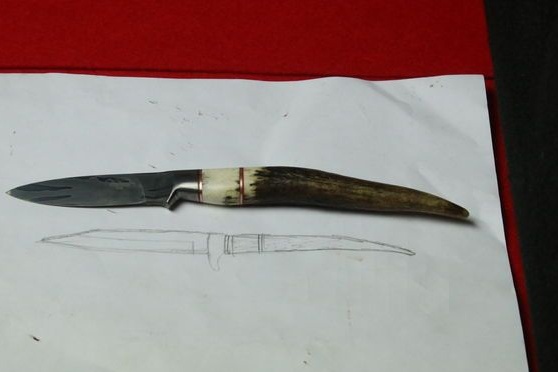
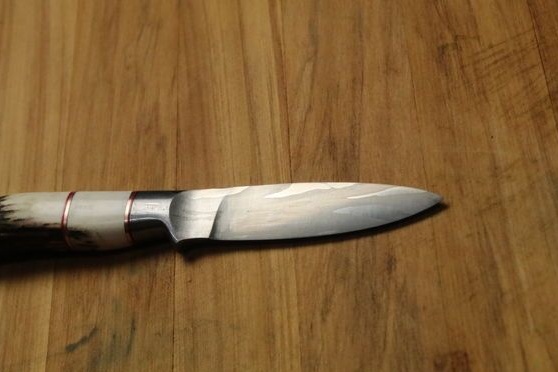
That's all, the original, one of a kind Damascus knife is ready. Such a homemade product will not be ashamed to give to a friend, especially if he is a hunter or a fisherman. However, it can even be sold to collectors.
