


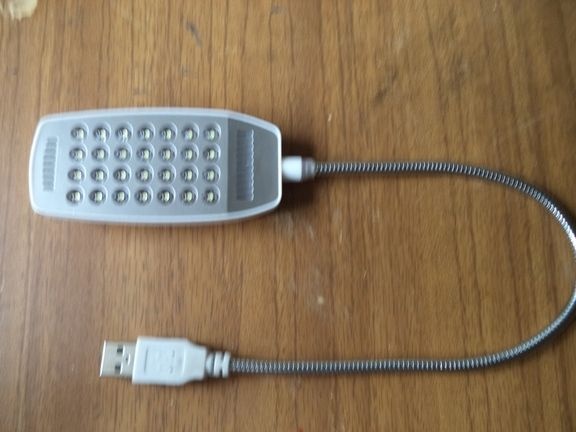
Hello to all visitors to the site, and those who decided to read this article. Today, AliExpress is the largest and most famous Chinese online store in the world. Almost everything is there. And I think every visitor to this online store has seen a flexible LED lamp. Personally, I bought one, used it for several days and decided to remake it a bit, that is, add a power button, make a stand and add a wire. I decided to redo it because the lamp was directly connected to usb connectors, and it was not very convenient, because if you connect it to a laptop, it was possible to damage the usb port, because usb ports are not designed for such a weight of the lamp. And then on my laptop, the usb connector began to hold usb flash drives weakly, but it was fixable. And so that the matter did not go even further, I redid the lamp so that it was not necessary to change the usb port of the laptop itself. I decided to add a switch so that once again it was not necessary to get the cable from the usb connector. And so, let's proceed to the alteration of the usb lamp itself.
To remake this equipment, we will always need:
Instruments:
1) Hacksaw for sawing wooden parts,
2) Wire cutters or side cutters,
3) Stationery knife for cleaning wires from insulation,
4) Glue gun and hot glue for gluing parts,
5) Drill or screwdriver and drill,
6) Phillips screwdriver for twisting screws,
7) Permanent marker for painting,
8) Sandpaper,
9) Electric soldering iron for soldering wires.
Materials:
1) Two small wooden planks,
2) LED usb lamp itself,
3) switch,
4) Two screws.
The process of finalizing a flexible LED usb lamp with AliExpress.
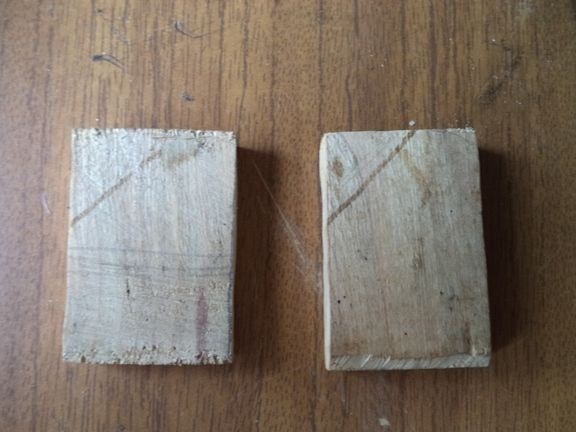
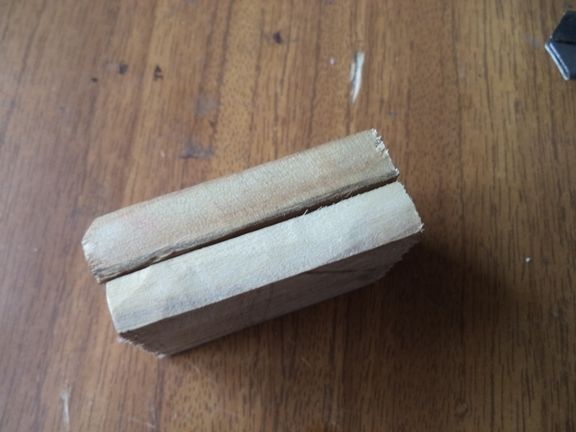
First, take two identical small wooden planks.
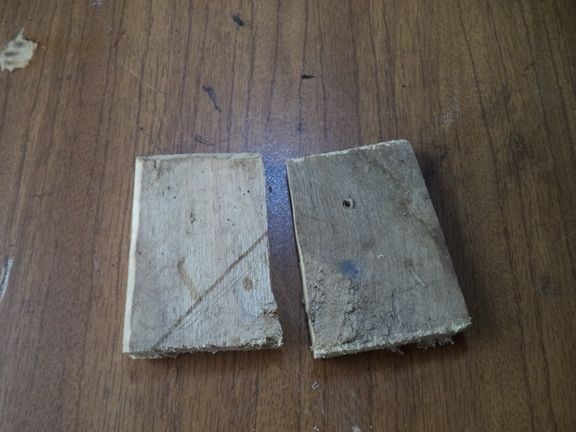
We make them exactly rectangular in shape.
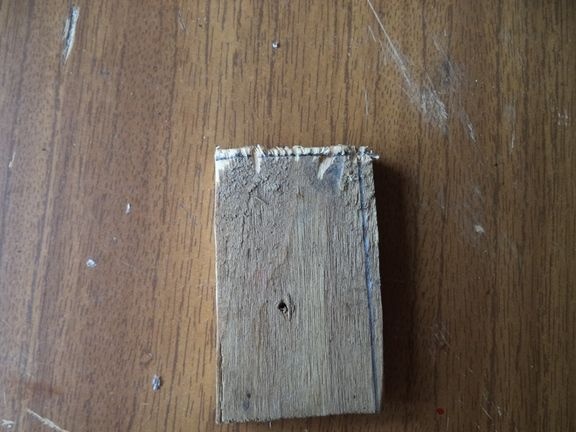
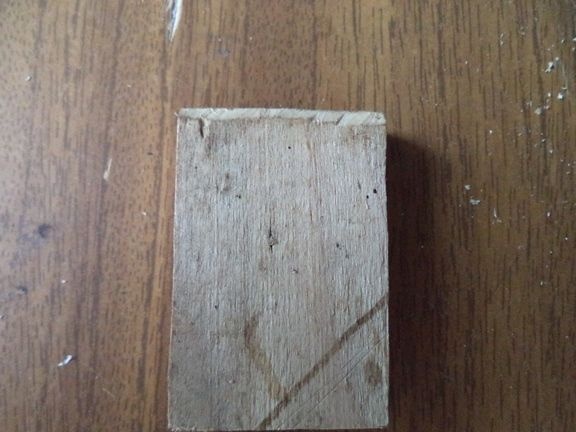
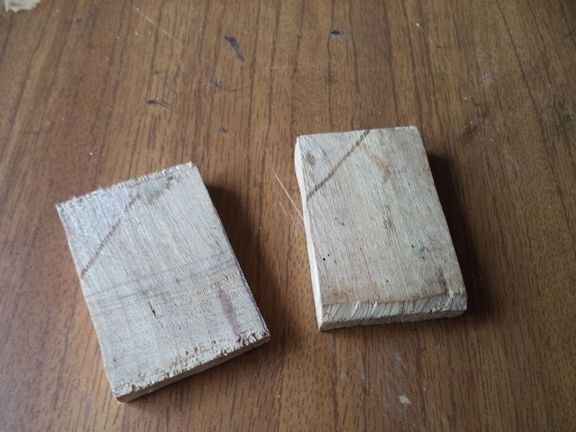
Grind them with sandpaper.
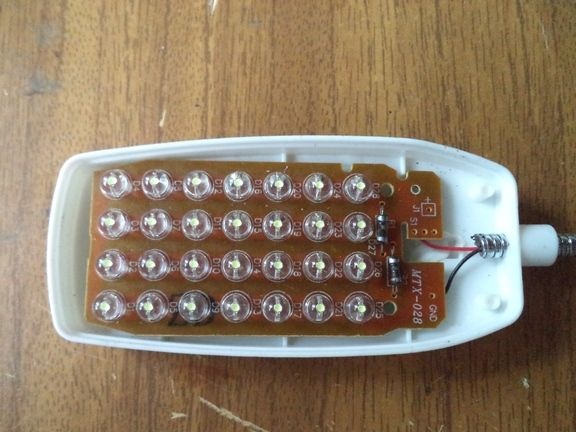
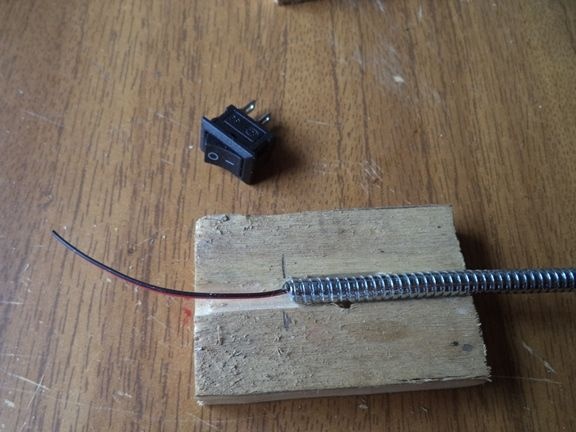
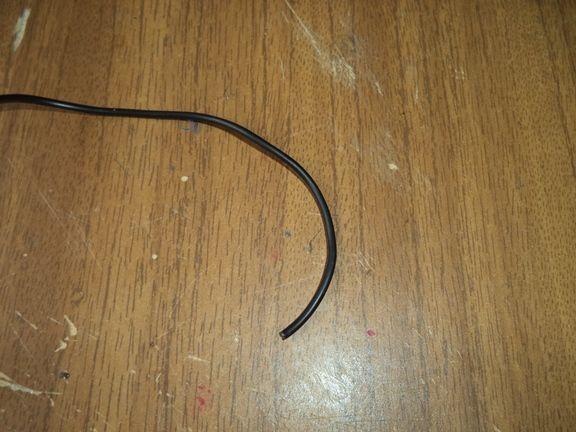
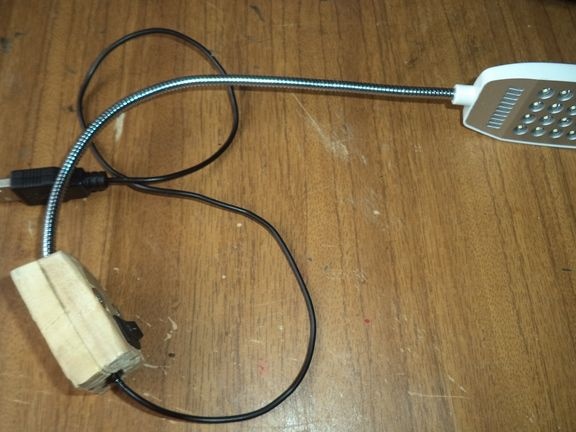
We take a flexible LED usb lamp itself and bite off the usb connector with a pair of pliers.
At my lamp, the housing with LEDs was removed from the flexible part, and to prevent this from happening, we disassemble the housing with LEDs.
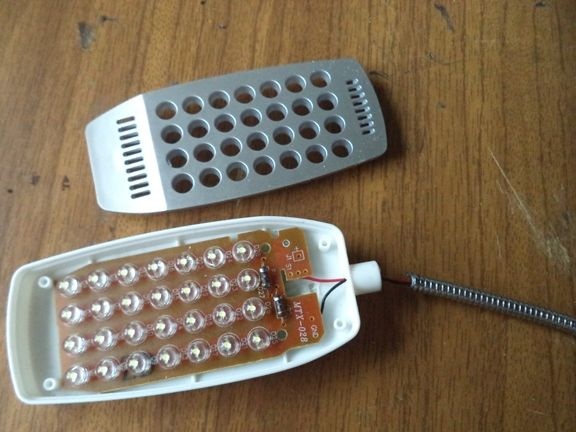
We insert the flexible part until it is visible for half a centimeter, and this part is sealed to the body using an adhesive gun and hot melt adhesive. After the hot glue hardens, the flexible part will no longer be removed from the body.


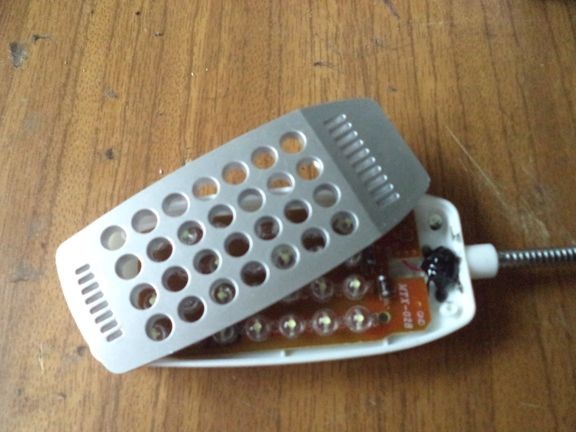
After all this done, close the case.
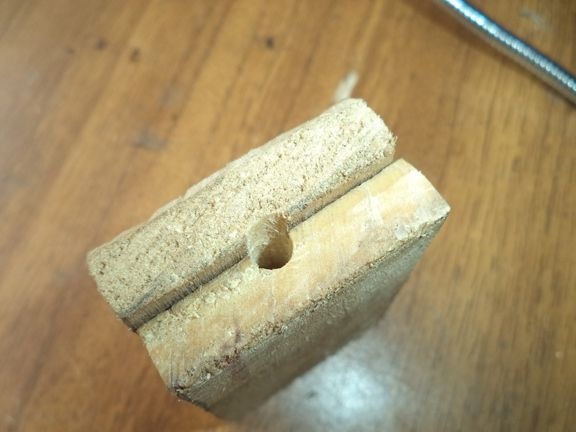
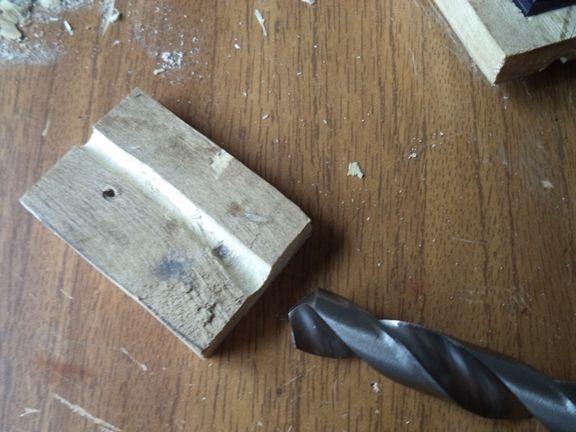
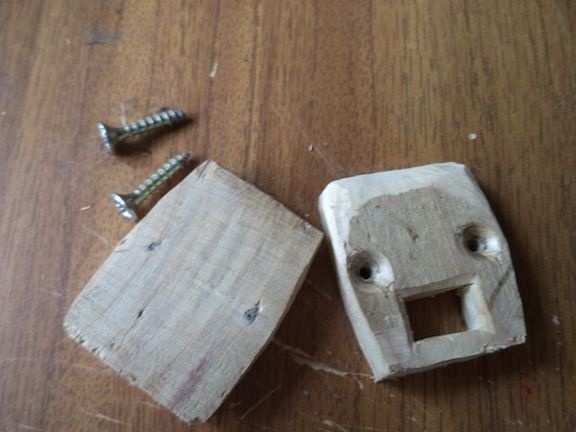
We select a drill bit thicker than the flexible part of the lamp and attach it to a drill or screwdriver.

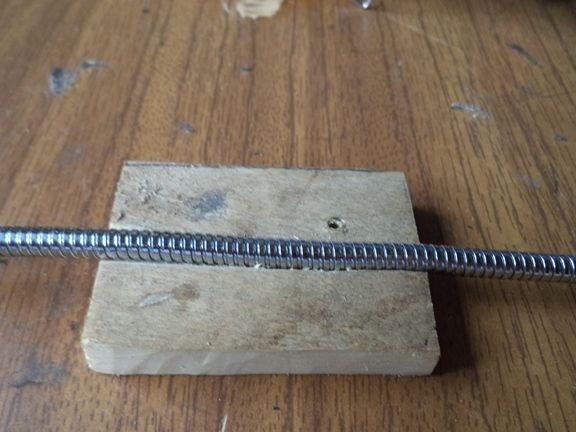
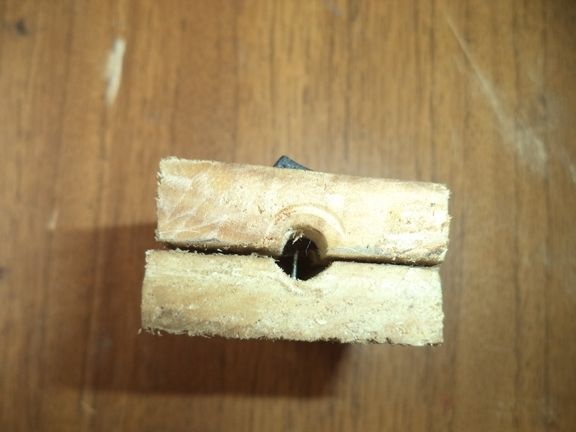
Next, take two planks and substitute them together.
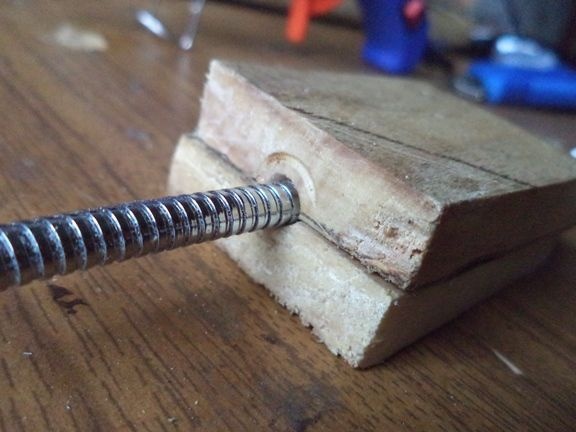
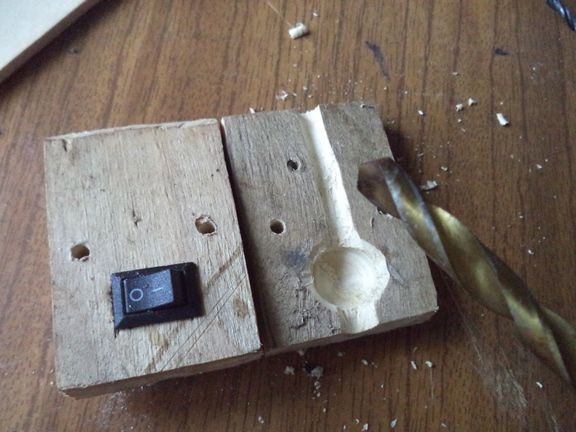
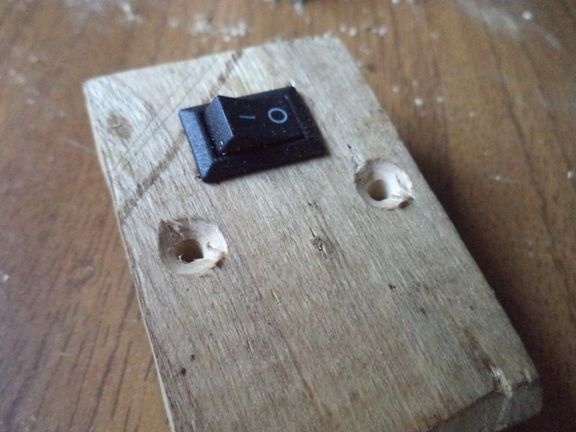
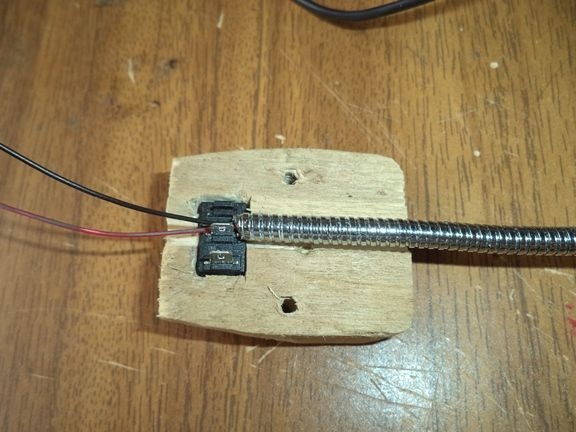
Between these planks, right in the middle, we drill a through hole with the help of a previously prepared drill, it should turn out just like in the photo. It is necessary that the flexible part of the lamp climbed into this hole.
On the boards you should get these grooves like this.
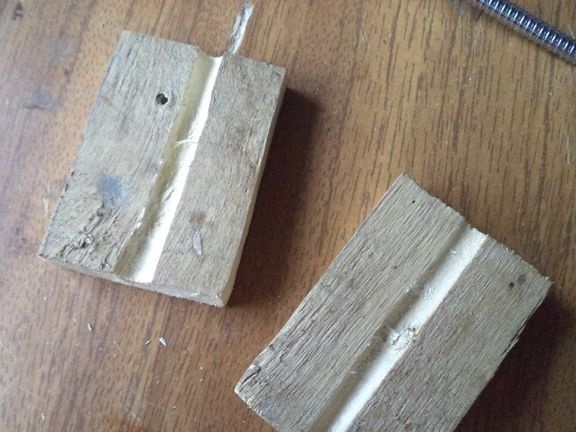
We insert a flexible tube on this groove and cover it with another plaque. In my case, everything fit perfectly.
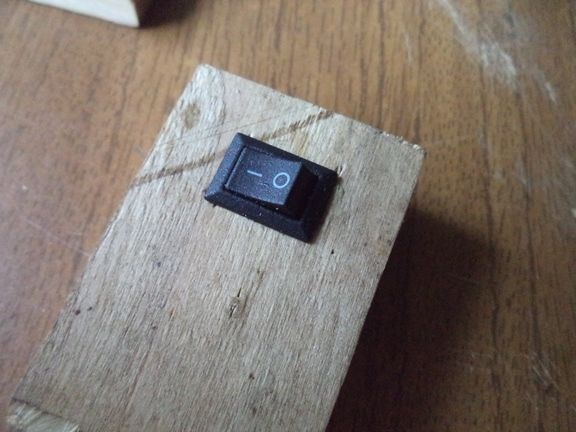
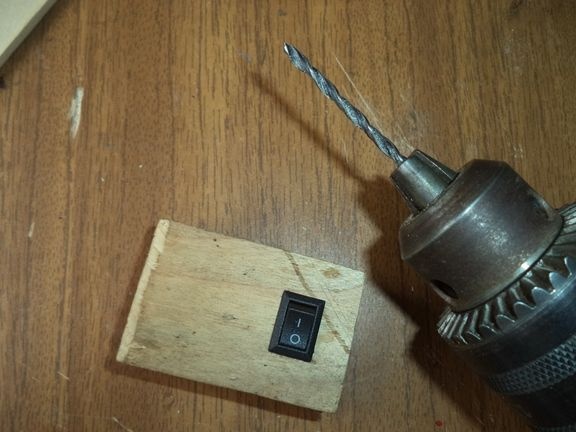
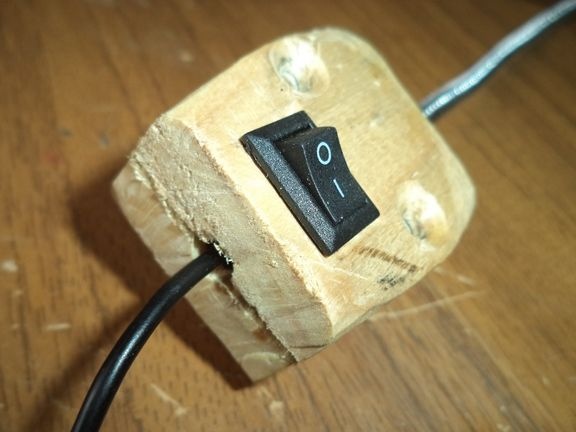
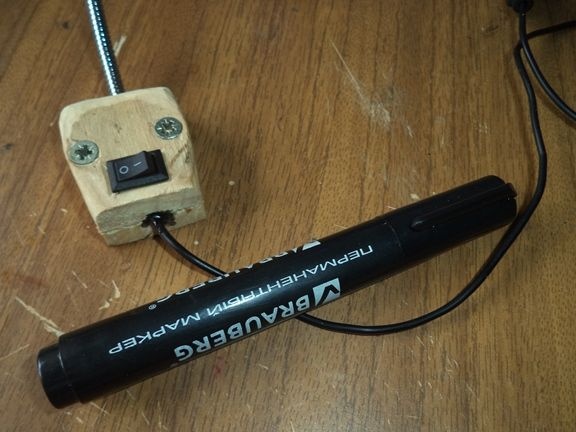
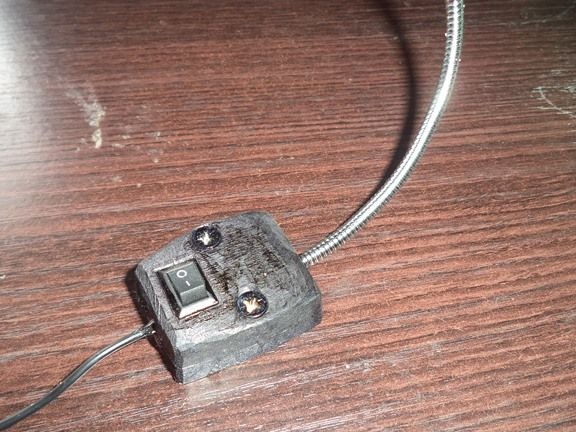
Now you need to make a hole for the rectangular shape for the switch. To do this, with a simple pencil, mark the place for the hole.
A rectangular hole can be made using a thin drill and a clerical knife.
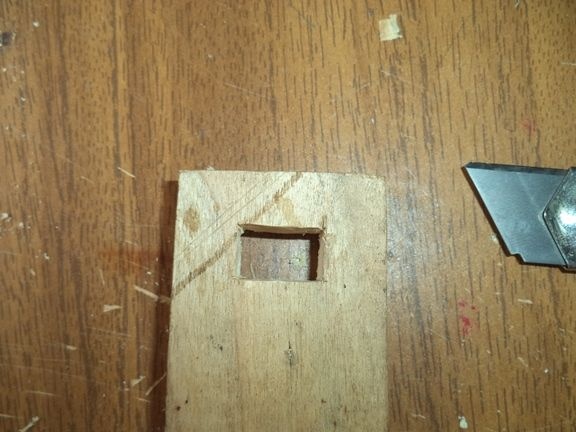
Check if the switch fits into a rectangular hole.
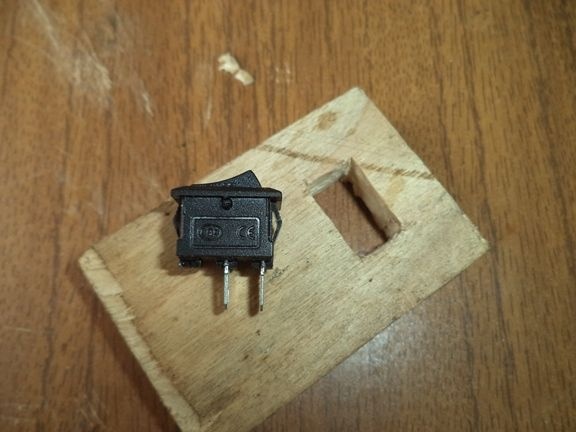

Everything fit perfectly.
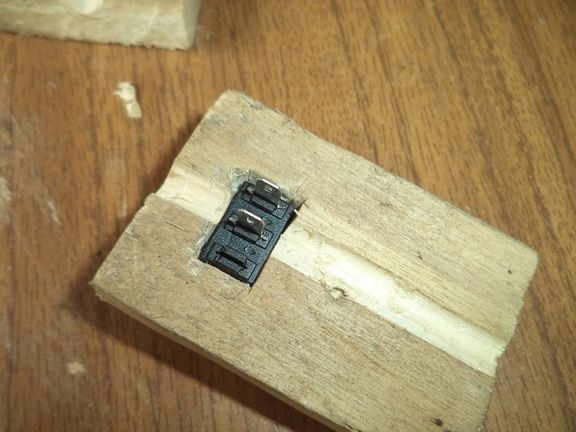
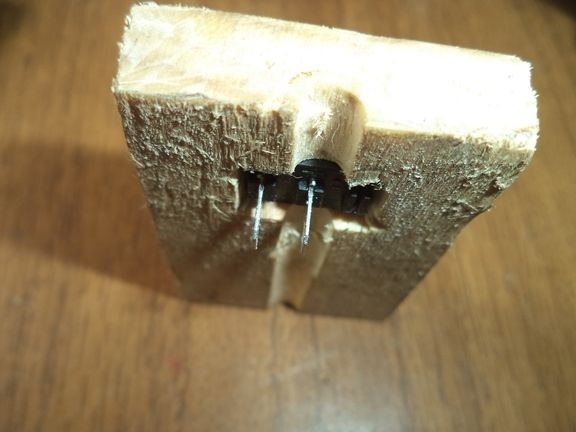
So that the switch contacts do not interfere with closing with another board, on the other board we make a recess using a thick drill a centimeter in diameter or more at the place where the contacts touch the board when closing.
If everything worked out, go ahead.
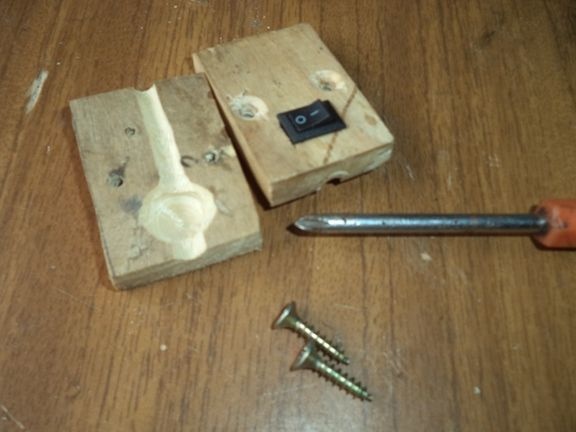
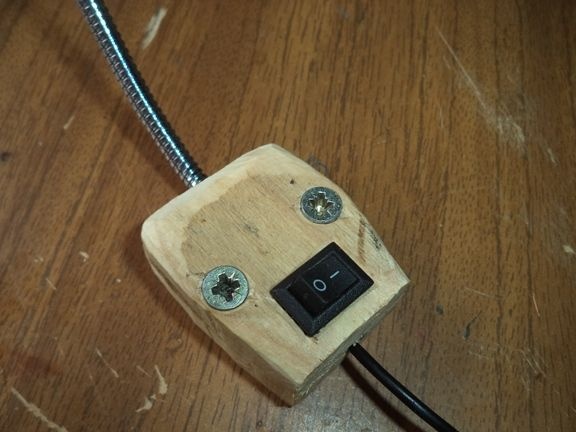
Now we make holes for fixing the boards together.
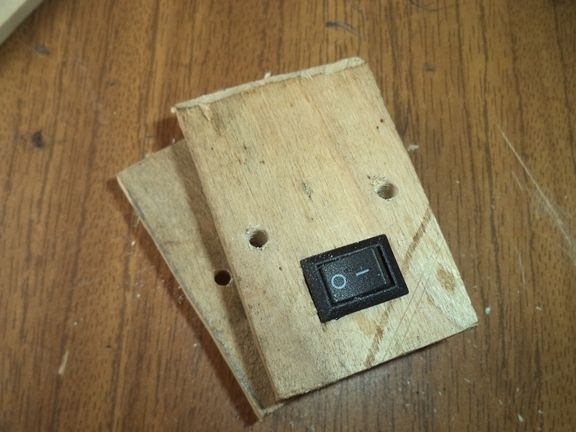
These holes are needed so that when the boards are twisted, they do not crack from self-tapping screws. By the way, the holes should be slightly smaller with the diameter of the screws, otherwise you will not be able to fix these boards together.
Further, so that the screws do not stick out, we make a small recess for them with a drill.
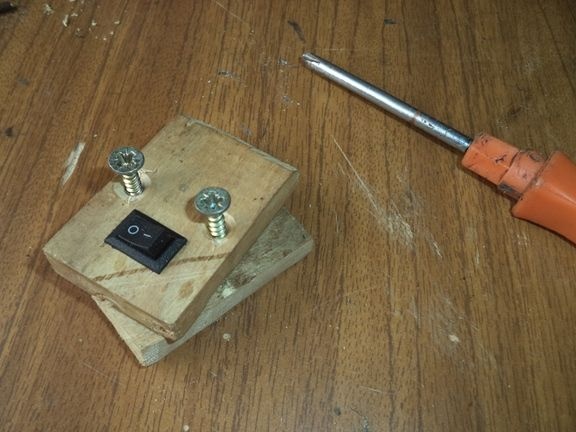
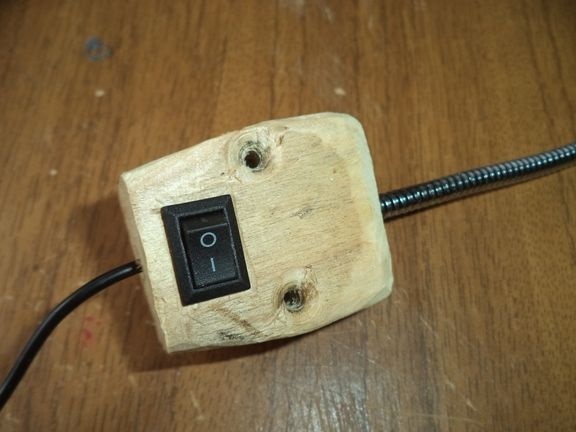
We fix the planks together with self-tapping screws.
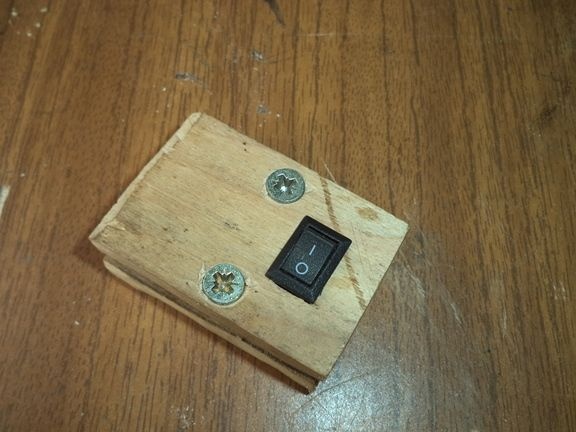
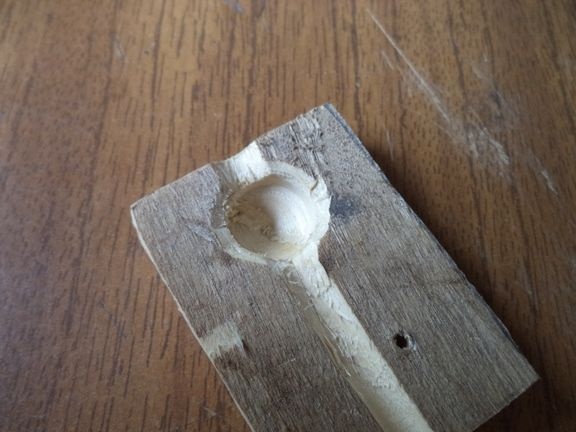
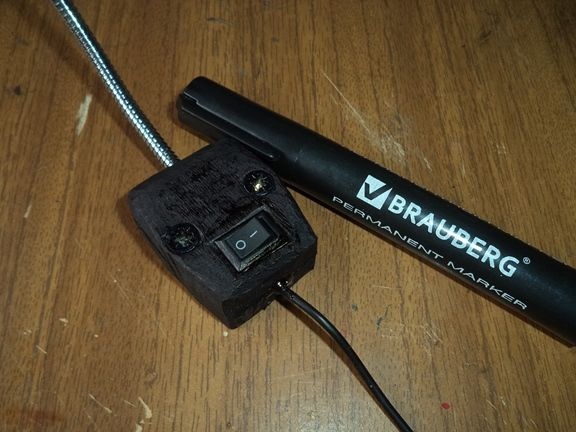
Using a clerical knife, we give a special look to our wooden case.

We disassemble our wooden case back.
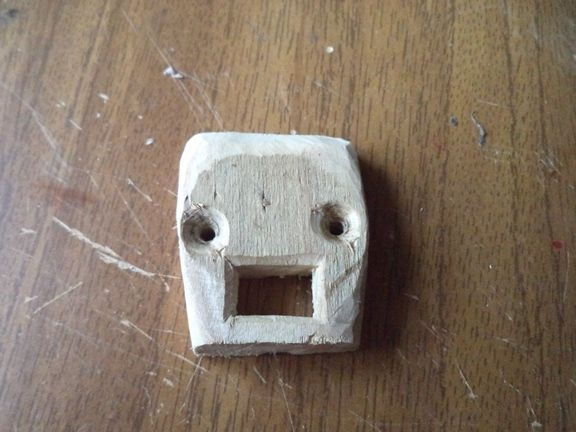
They look like little wooden faces, don't they?
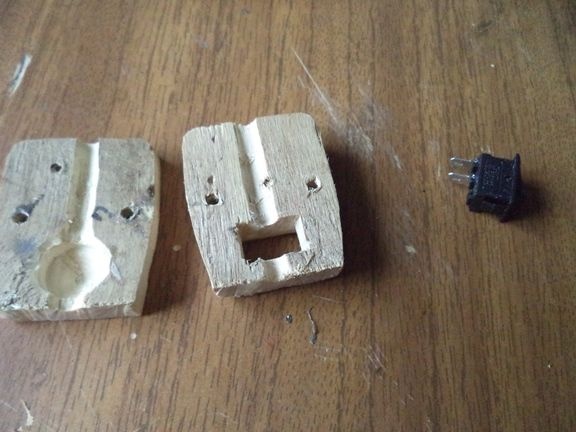
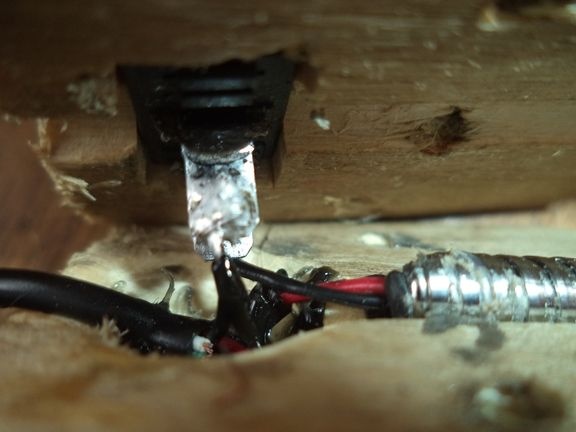
Now with the help of an electric soldering iron we solder the electric circuit and glue everything with hot-melt adhesive to the wooden case.

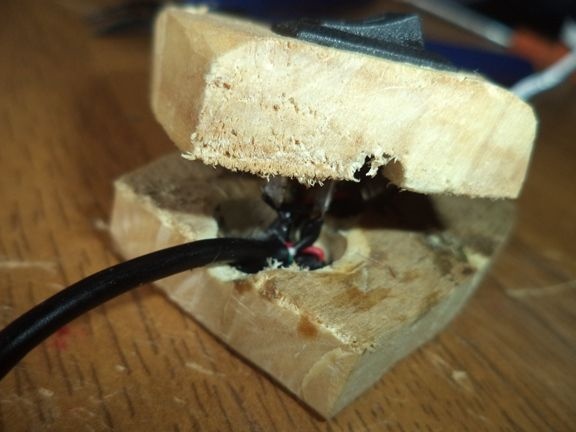
We close everything with another plaque.
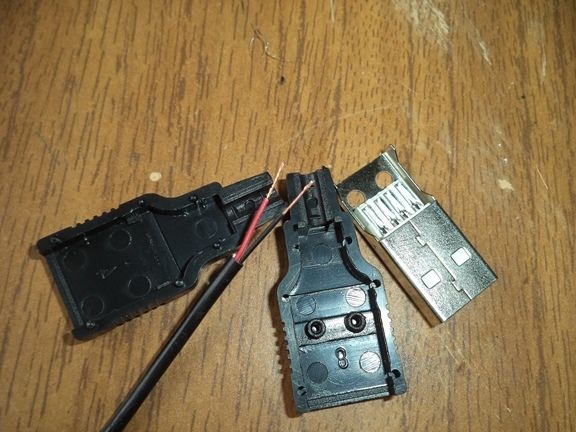
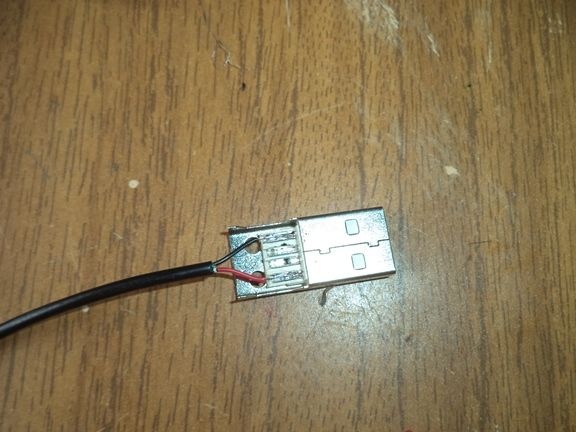
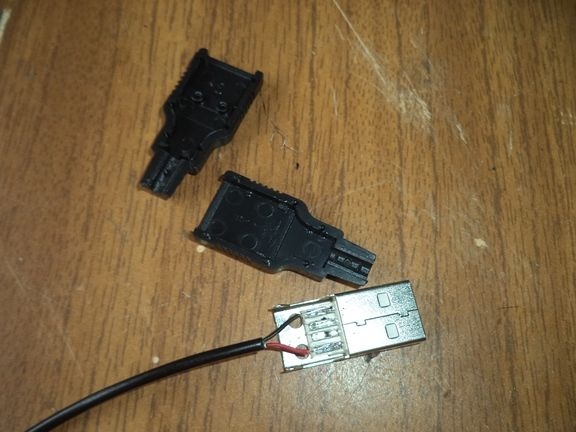
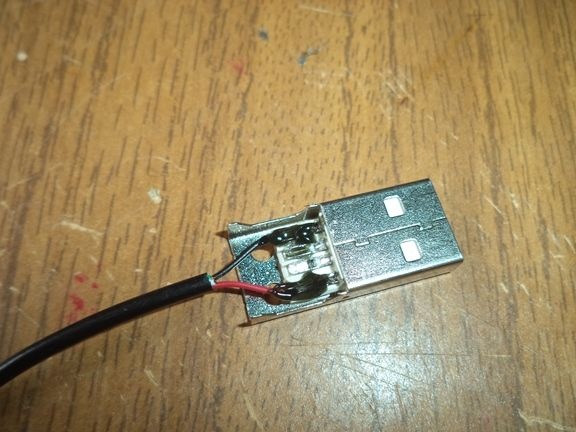
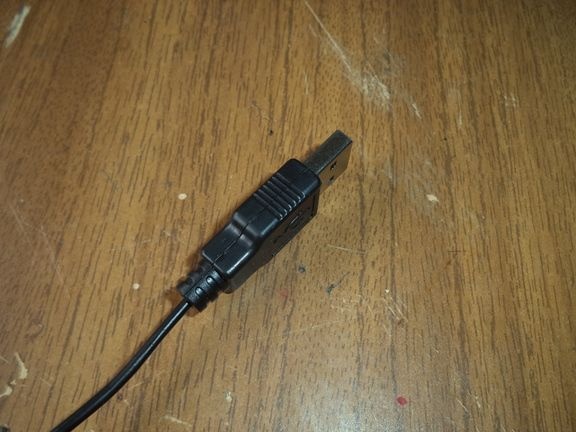
Now we need to attach the usb connector.
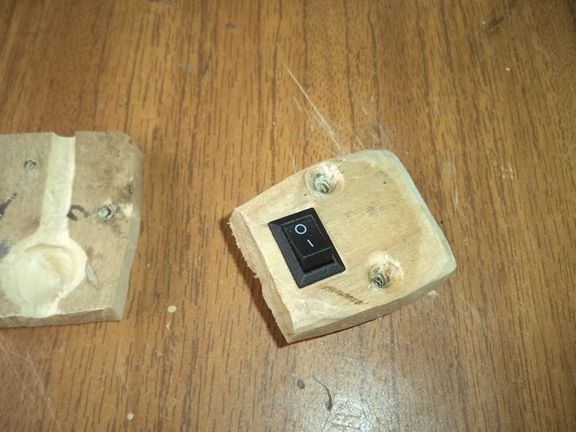
Using a permanent marker, we paint over our wooden case in any color of your choice.
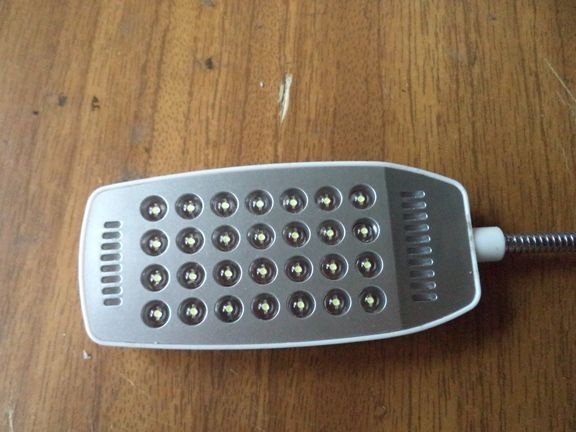
Homemade ready, now we need to test.
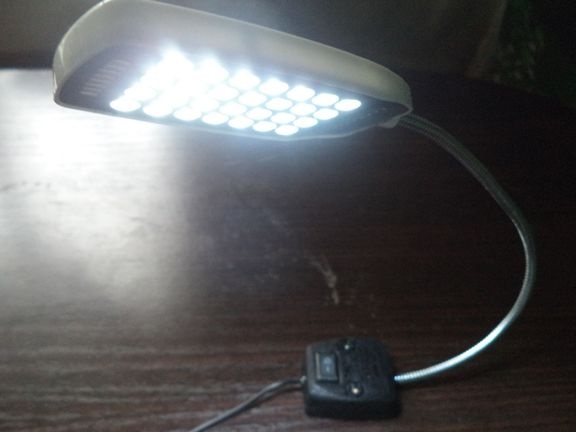
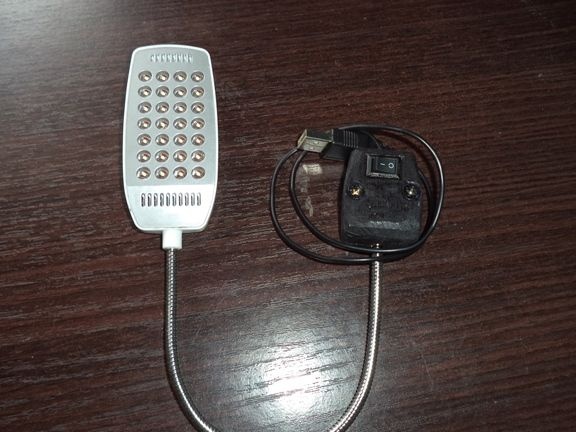
Everything works. That's all for me, thank you all for your attention, all for now !!!