


Hello to all lovers homemade. A flash drive in our time has become so popular that almost all computer users can not do without it. All this popularity lies in the fact that with the help of a flash drive, you can do a lot of manipulations with a computer or other devices that are able to work with it. In a word, this is a pocket drive, the volume of which is becoming more and more every year, because technology does not stand still, simplicity and functionality are two main advantages of this device. But it’s not always the case that the design of the flash drive’s case suits the user, which I also encountered. For this reason, I decided to make my home-made building that will satisfy my needs, both from the aesthetic side and in terms of convenience. And to give the case more originality, I did not stop at one species of wood, but took three at once.
I suggest watching a video on how I made this homemade product.
In order to make a home-made case for a flash drive from three species of wood, you will need:
* Parquet of different types of wood or whetstones
* Hacksaw
* Sandpaper or grinder
* Electric drill and drill for wood
* A flash drive whose case design does not suit
* Epoxy adhesive
* Clear wood varnish
* Kapron thread
* File
That's all the materials and tools that will help in the assembly of a makeshift case.
Step one.
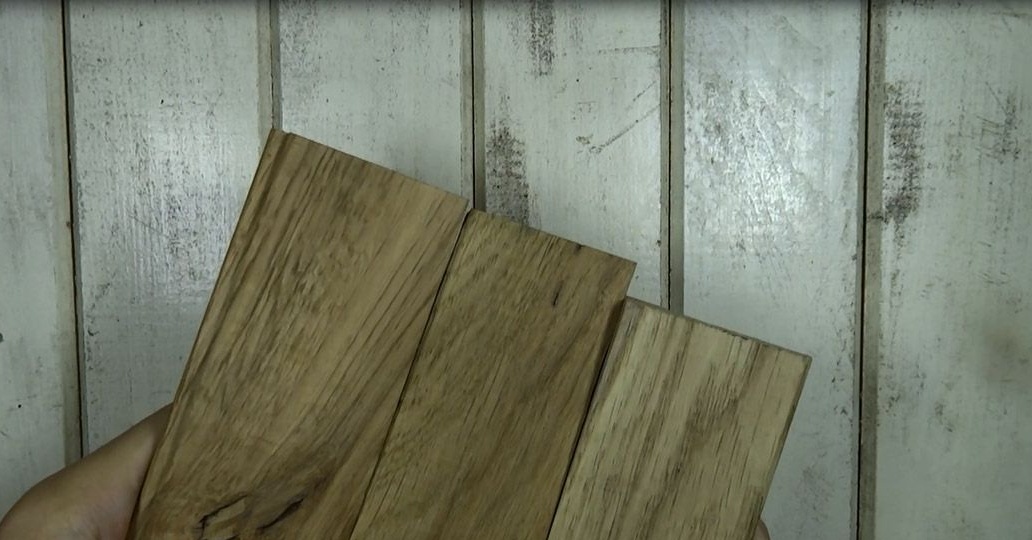
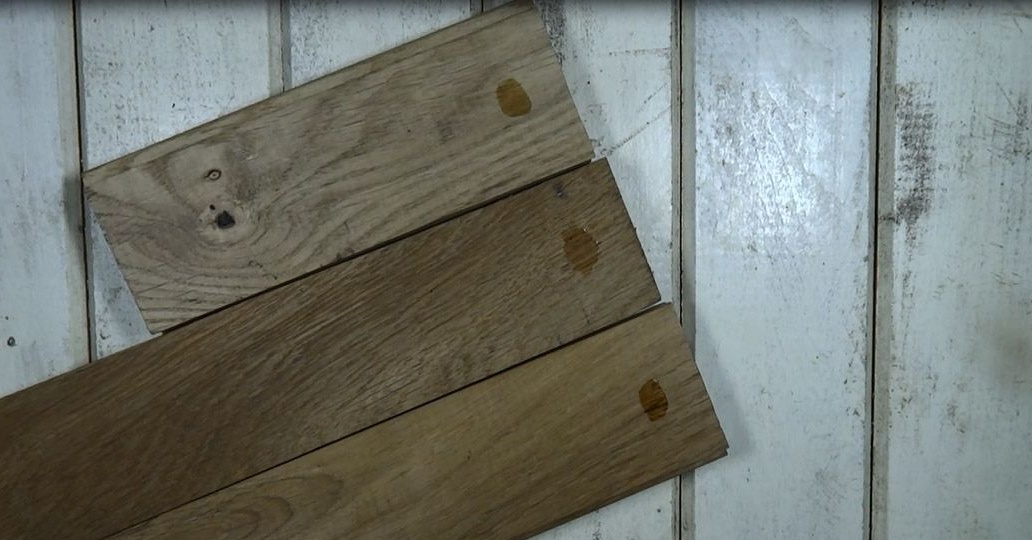
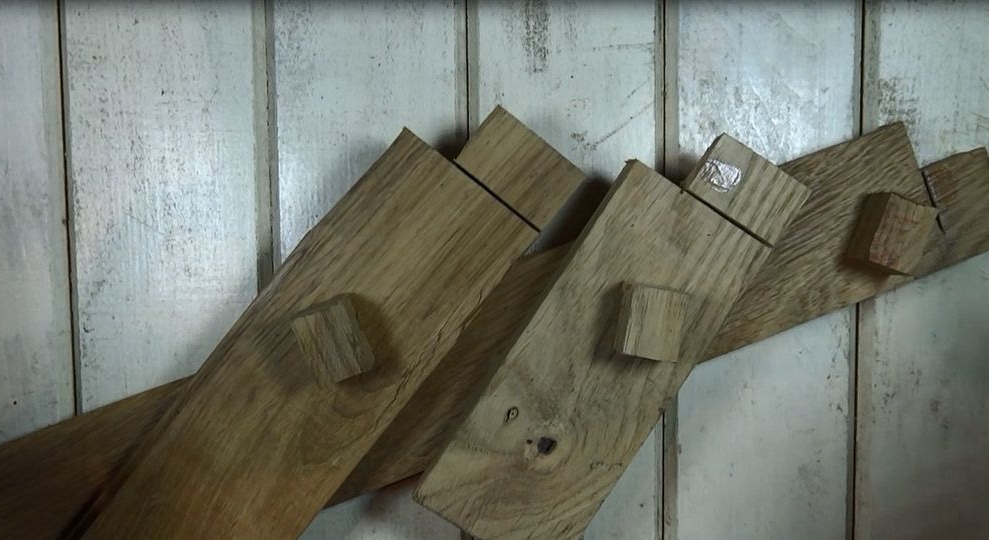
First you need to decide on the material, I chose three parquet floors of different breeds, and then checked how they behave when varnished, as the colors could just merge into one, which is certainly not good.
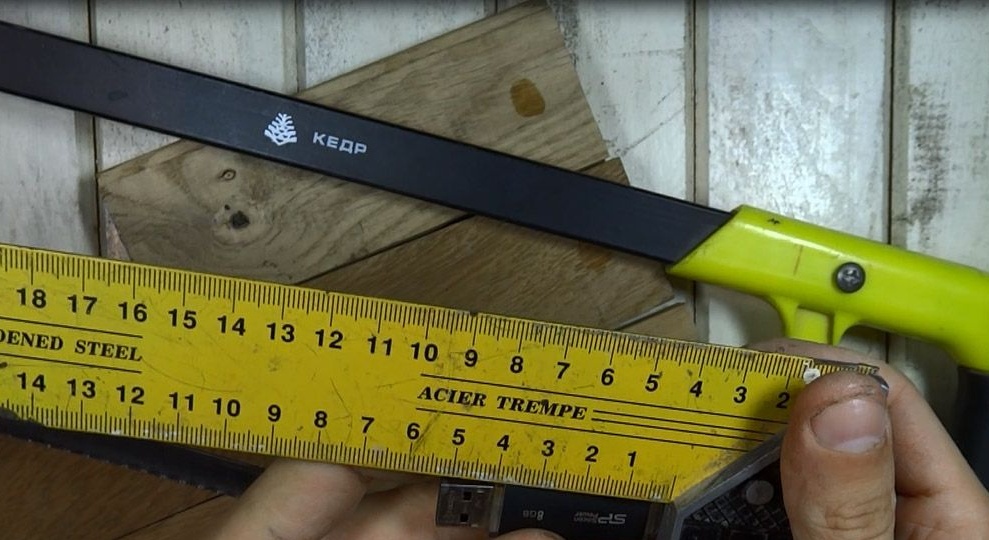
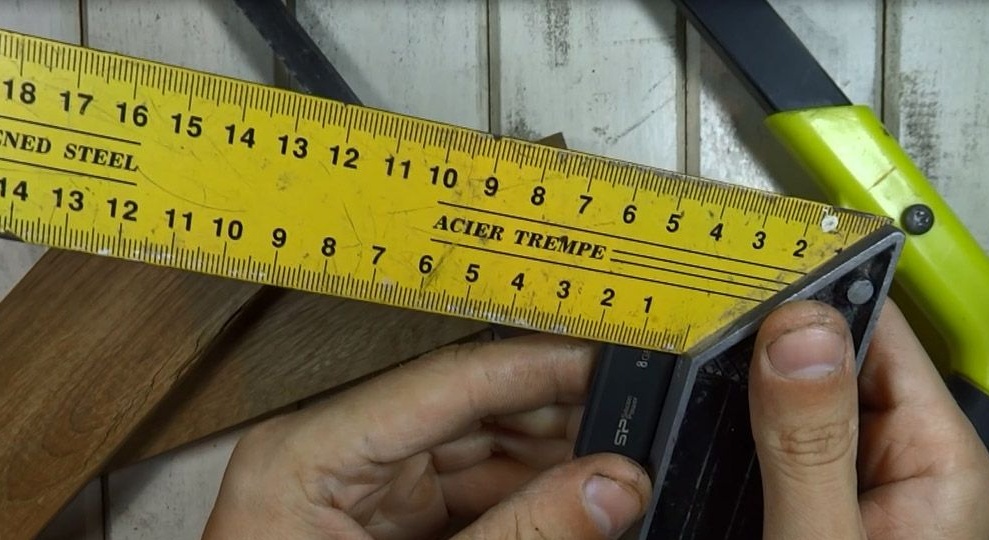
Next, I measured the dimensions of the flash drive, its width was 1.7 cm and length 4 cm, for the margin in width I took not 1.7 cm, but 2 cm, because during processing I did not want the case to lose strength.

Step Two
After the measurements, I armed myself with a hacksaw for metal, yes yes, it’s just that, because such a hacksaw on a saw gives very little serrations, and this saves time for further processing. Since the length of the body will be 4 cm, therefore each segment will be equal to 4/3 = 1.33 cm, it is not worth going into every hundredth of a piece, everything can be adjusted during the grinding process. I sawed such a piece from each parquet, then I glued them to each other using epoxy glue.
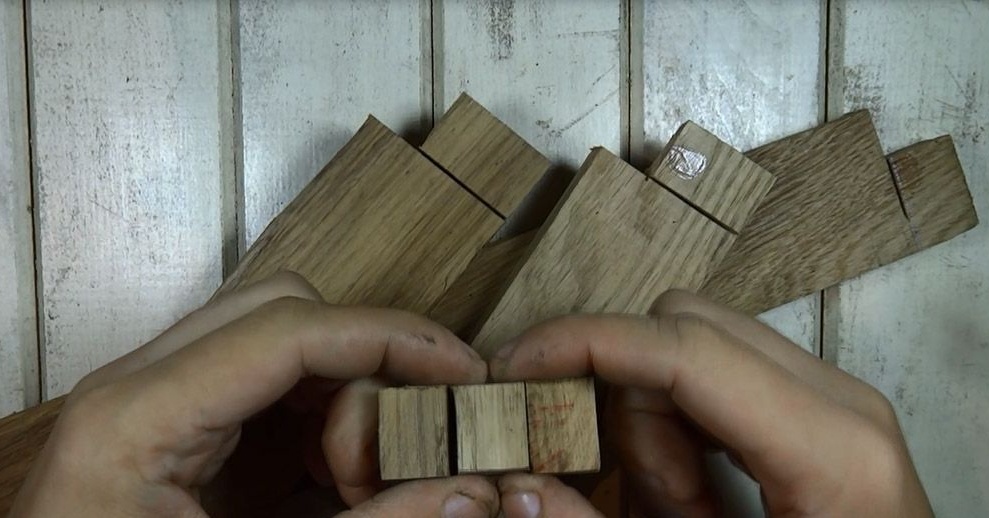

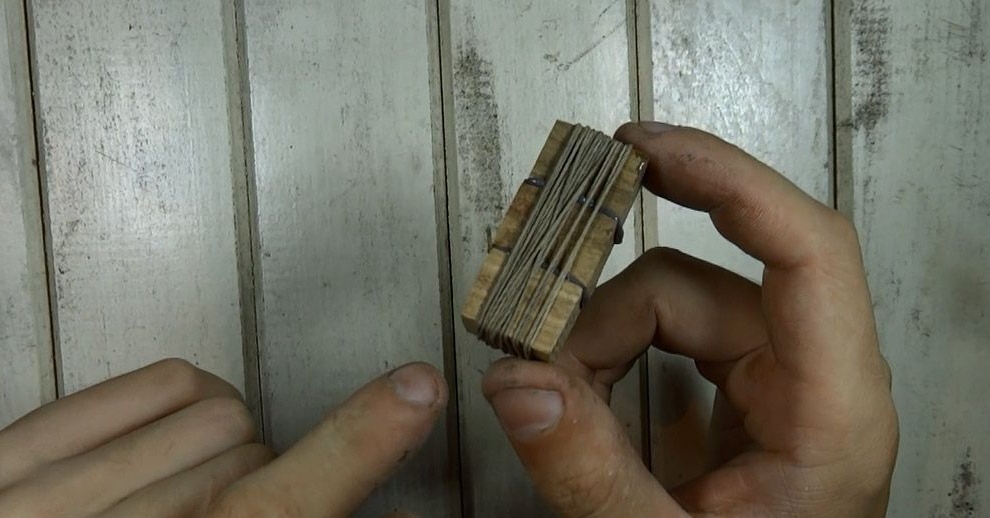
The main point is how firmly the components will hold, it will naturally be unpleasant if as a result at least one piece peels off the case, so for durable bonding I wrapped the future flash drive case with nylon thread and left to harden for 20 minutes.
Step Three
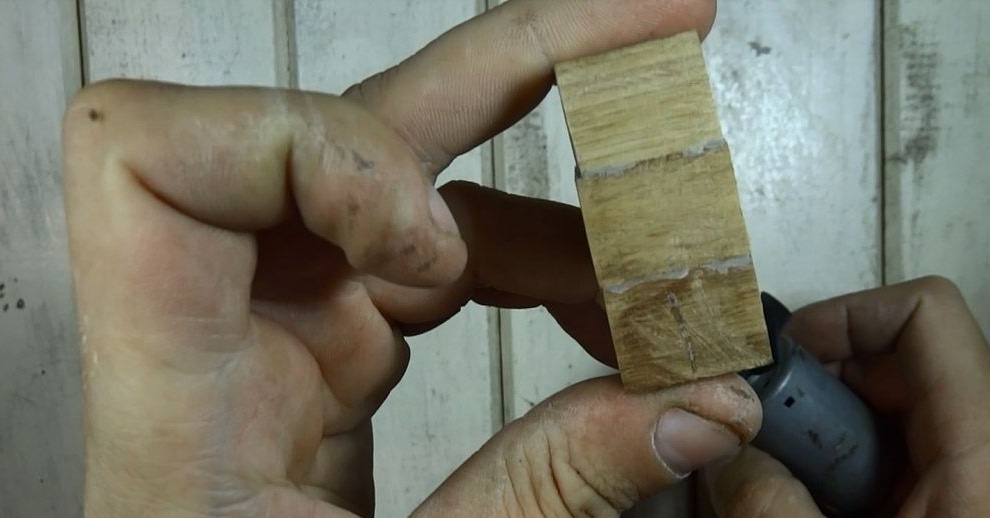
After the epoxy adhesive has hardened, you can remove the nylon thread. Having freed the kapron thread, I removed the excess epoxy glue with a knife and slightly treated the irregularities with my grinding device, which I made from the motor from the printer by gluing sandpaper on a circle.


Step Four
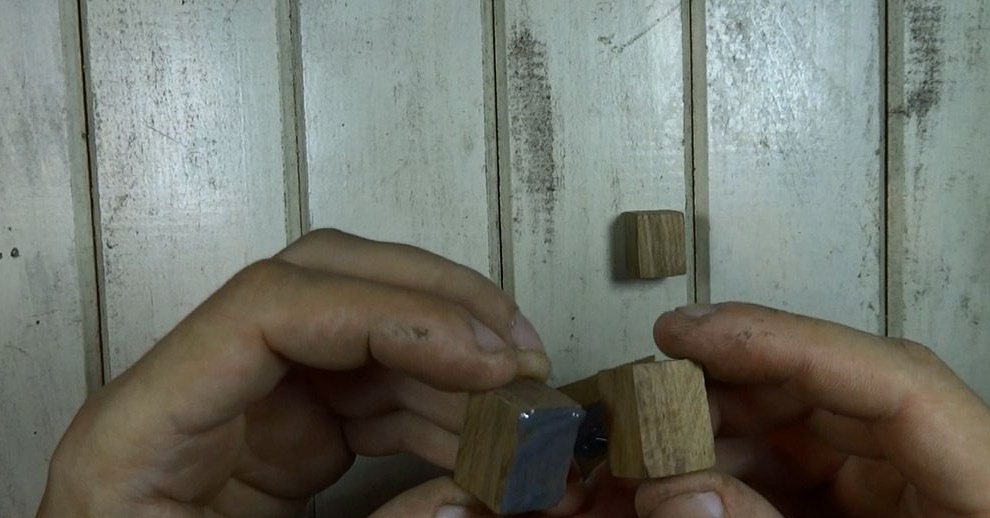
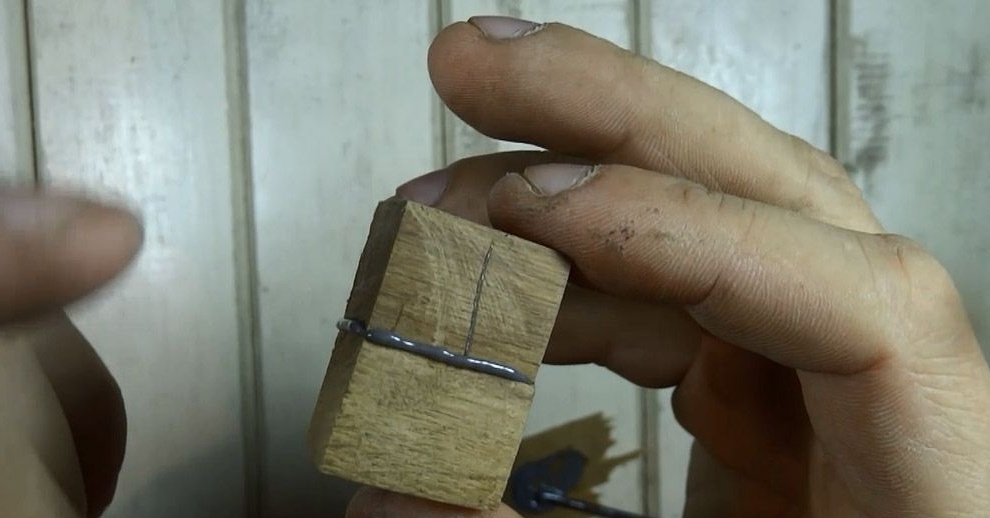
Then I drilled three holes with a diameter of 3.5 mm in the workpiece using a drill, I need to drill through, otherwise I will have to do it all over again. In the last cube, I left the back wall of the order of 4 mm, so that the case does not lose strength. In the finished holes, the flash drive board should fit, but nowhere without a file nowadays.
I finished the round holes with a file to a rectangular shape, periodically resorting to the size of the usb port.
Step Five
After a lengthy adjustment of the dimensions of the mounting hole for the flash drive board, I decided that it was time to disassemble its old plain-looking case.
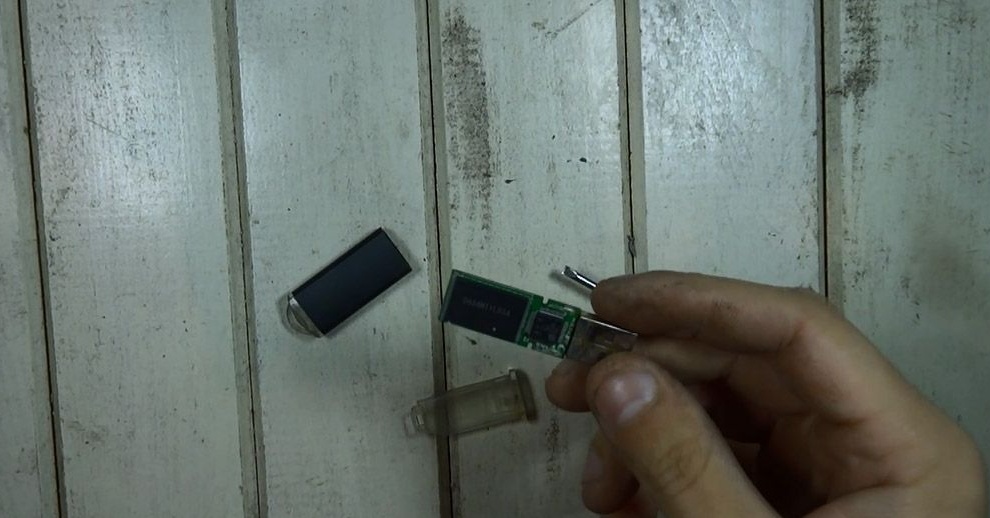
It opens quite easily with just one screwdriver, as a result it was possible to put the entire flash drive board into the case without complaints.
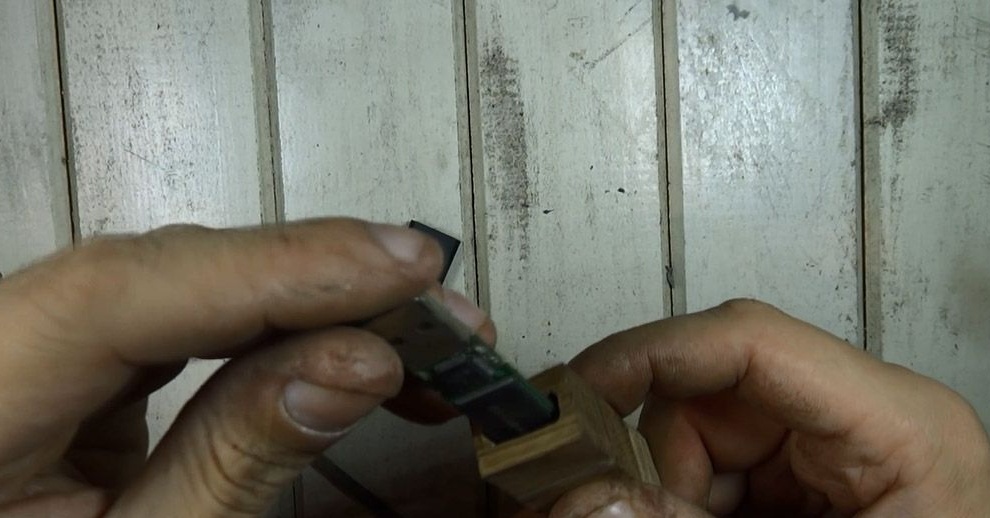
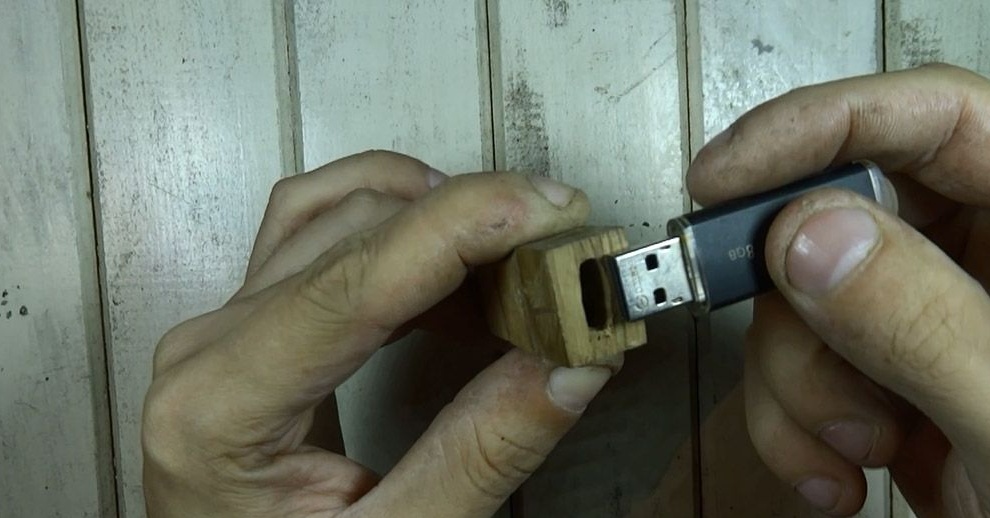
Now you can glue the board to the case, for this I also took epoxy glue and, having missed a small part of the board, put it in such a way that it looked 1.2 cm, no less.
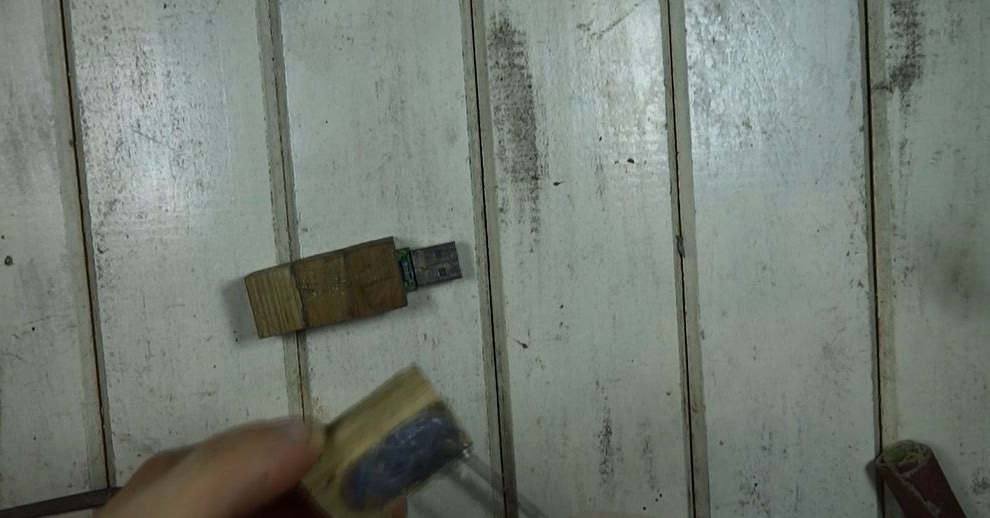


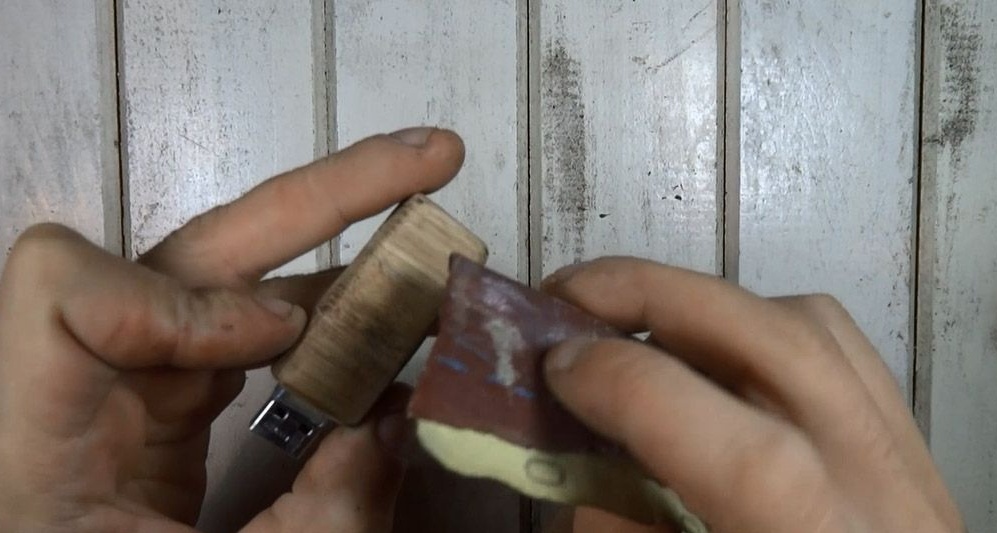
When the glue completely hardened, I sanded the entire body completely, removing the gluing points so that the joints could not be seen as a result. After a large sandpaper, I took the "null" and brought the case to a perfectly smooth state.
Step Six
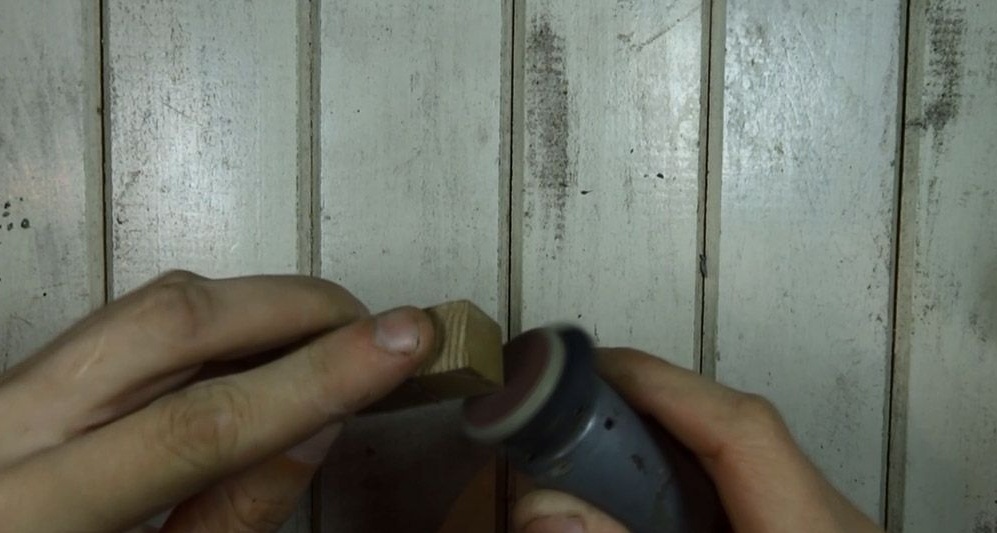
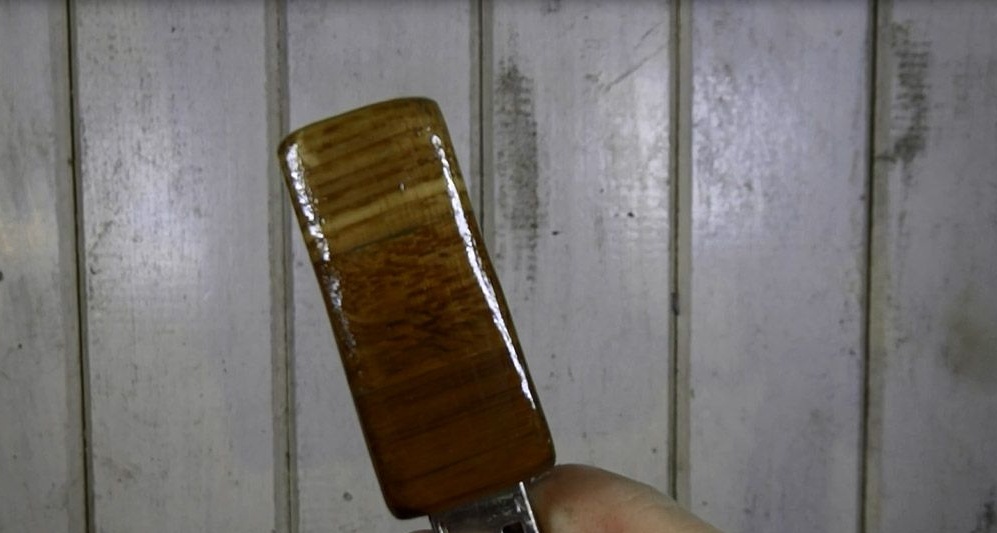
The manufacture of the case is nearing completion, but not protecting it will not be human. Therefore, I took a bottle of clear varnish for wood and covered the whole body with a fine brush, one layer in this case will not be enough, I decided to stay on three layers, which I think will be enough.

On this, the homemade case for the flash drive is ready, it turned out to be quite original because of its appearance, since it combines the beauty of each of the three breeds.
Thank you all for your attention, as well as creative success.