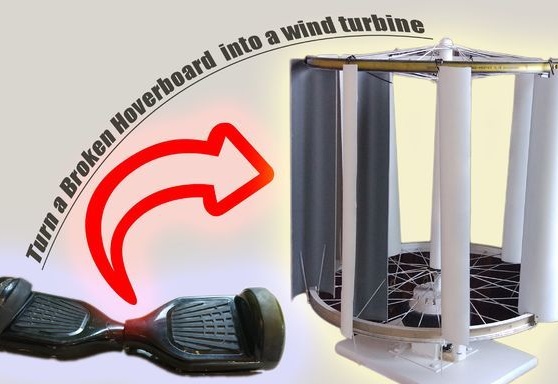
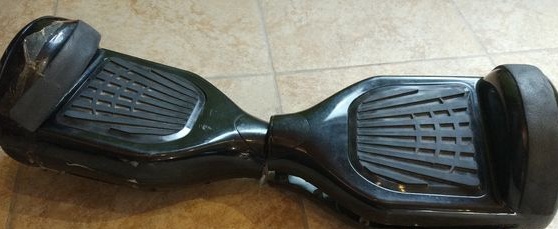
If you have broken the body of the hoverboard do not rush to throw it away. After a small alteration, a wind generator can be made from it. It was he who tried to make the author. What came of this will be considered below.
Tools and materials:
Gyro-scooter;
- PVC pipe;
-Pipe adapter;
-Two bicycle wheels;
-Plastic clamps
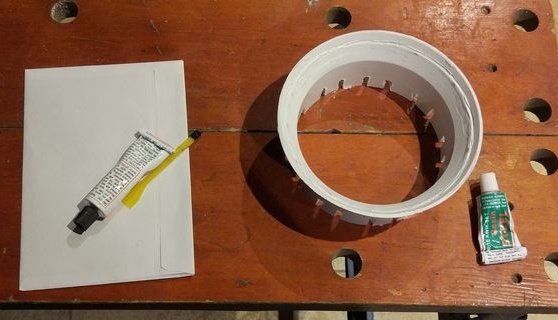
Epoxy resin;
-Cement;
-Board;
-Paint;
-Metal support;
-
-
-
- Dremel;
- drill;
- Angle grinder;
- Saw;
-Marker;
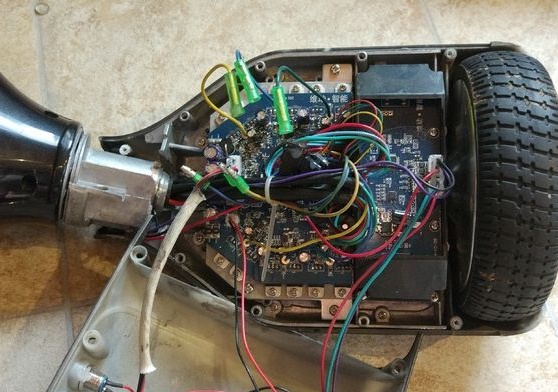
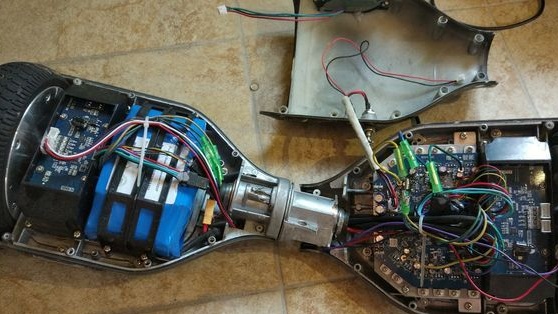
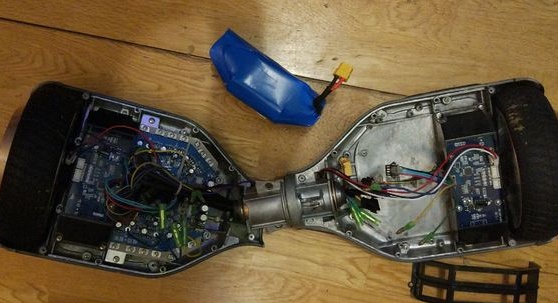
Step One: Dismantling the Hoverboard
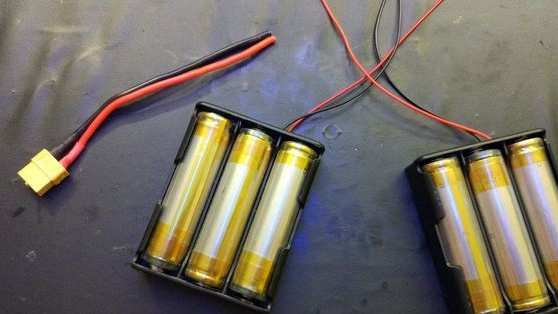
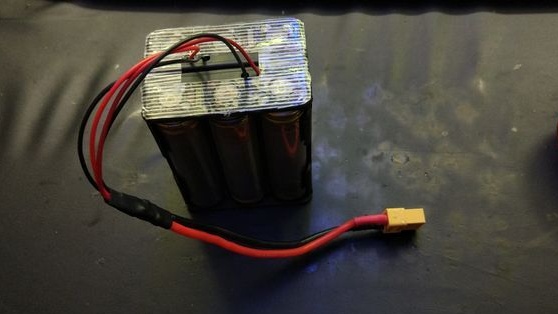
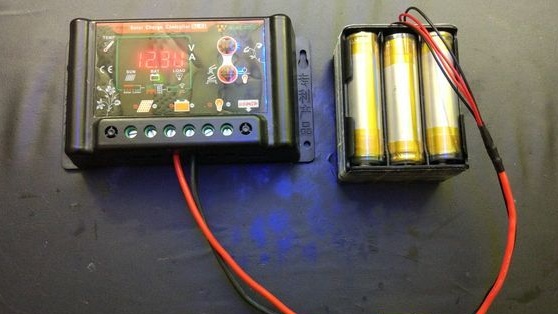
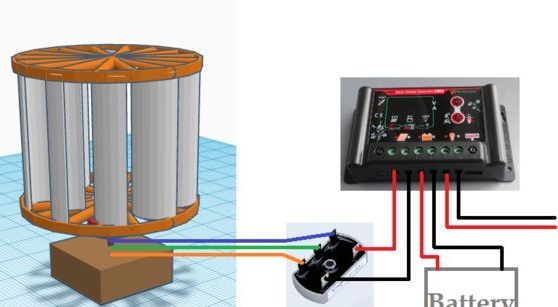
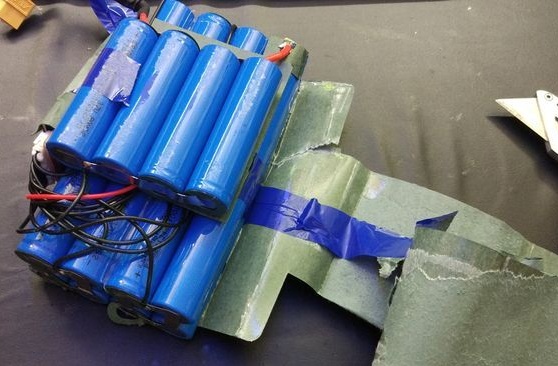
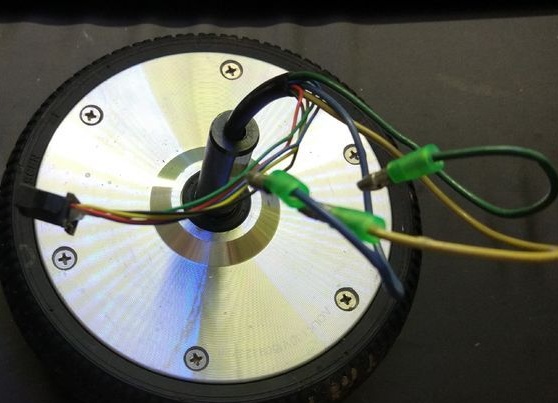
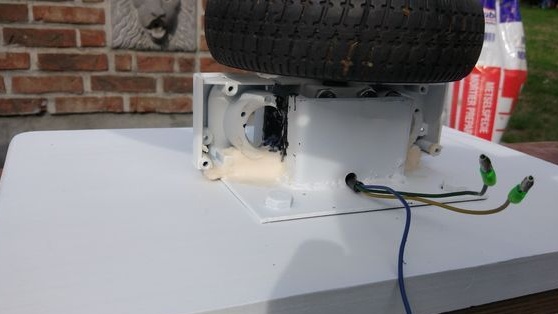
First, the author parses the hoverboard. To make a wind generator, you will need an engine, an aluminum case and batteries.
Step Two: Sketch
For his device, the author developed two sketch blades.
On one blade more powerful, but complex in execution.
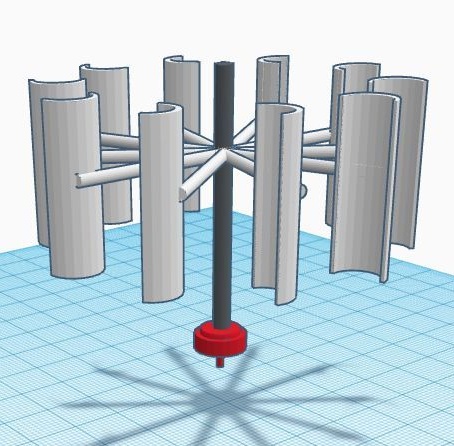
The second is not as productive, but easy to manufacture.

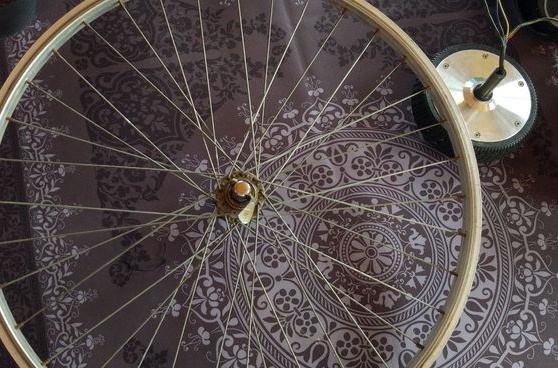
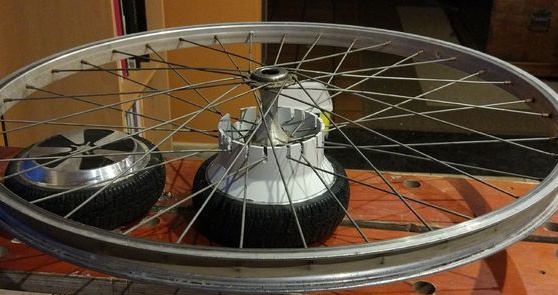
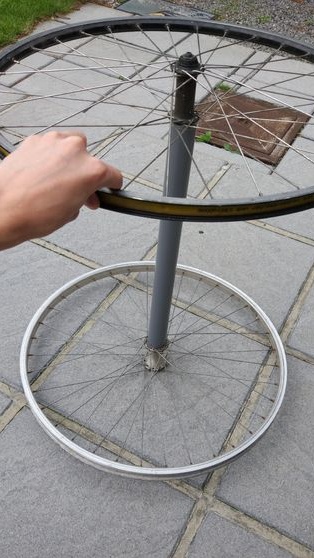
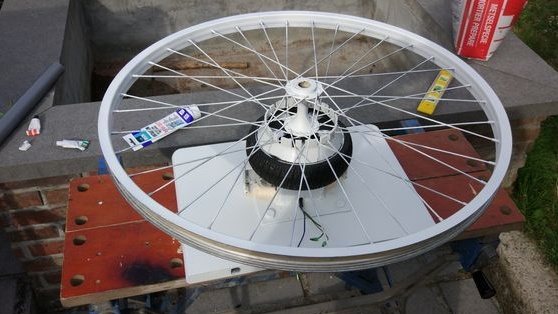
Step Three: Wheel
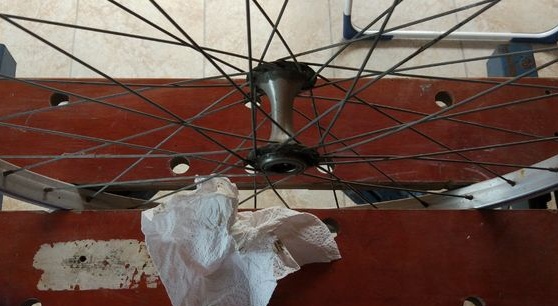
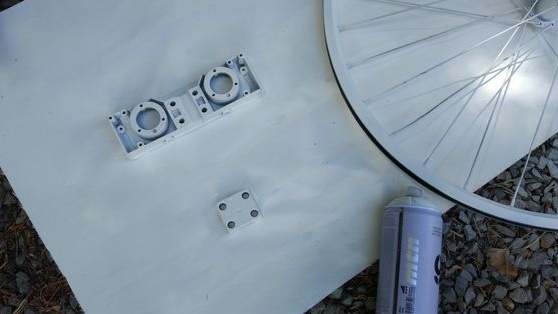
Parses a bicycle wheel, removes the axle.
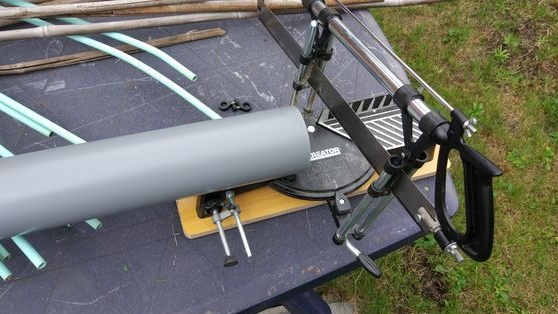
Step Four: Adapter, Engine, Wheel
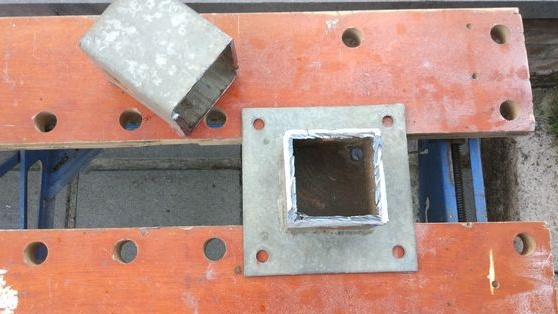
To connect the wheel and engine, the author uses a 100 * 150 PVC pipe adapter.
Installs the adapter on the wheel. Marks with a marker the location of the knitting needles to the end of the adapter.
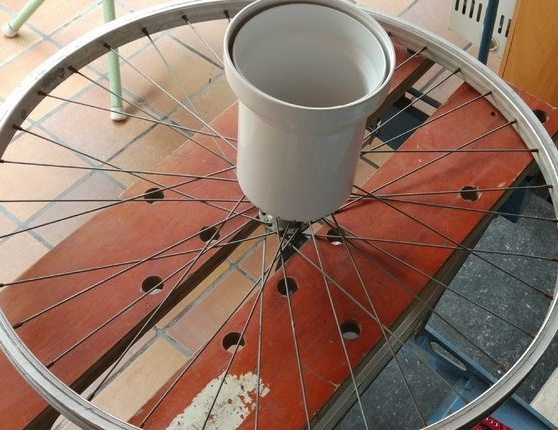
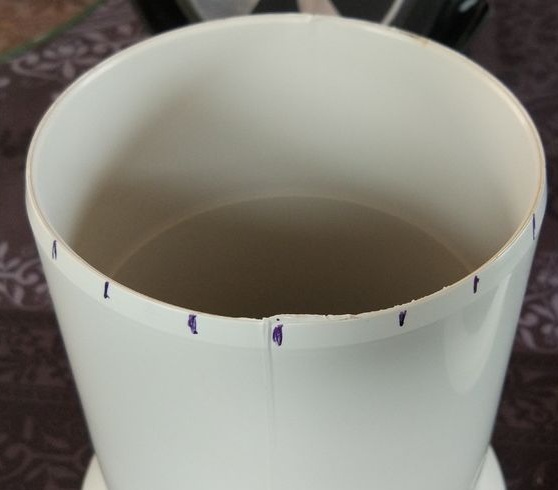
Makes slots in marked areas.
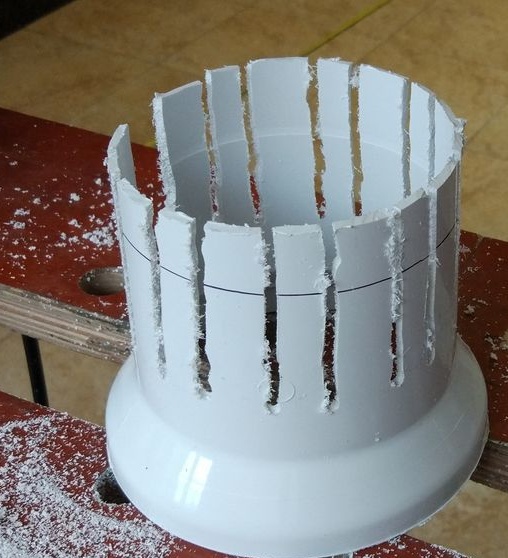
Trying on all the parts.
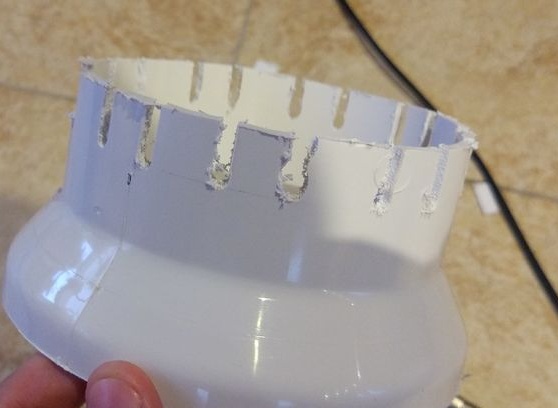
Glues a wide part of the adapter to the engine.

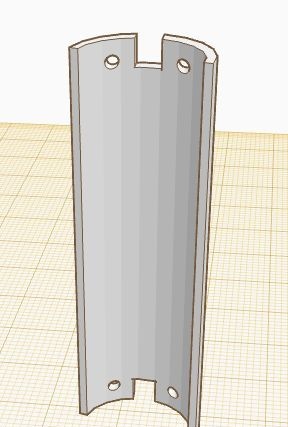
Step Five: Preparing the Blades
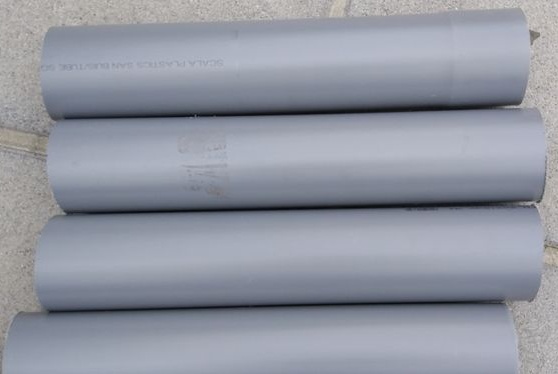
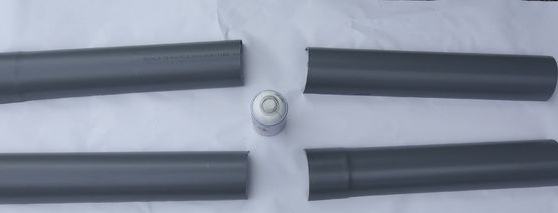
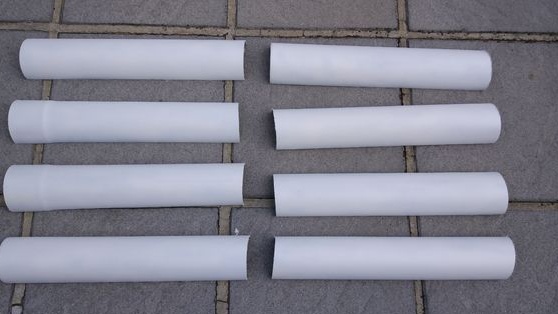
The blades will be installed between the two wheels. The wheels are interconnected by a PVC pipe. The distance between the wheels, and accordingly the length of the blades, 50cm.
Cuts four pieces of pipe and cuts it along. It turned out 8 blades.
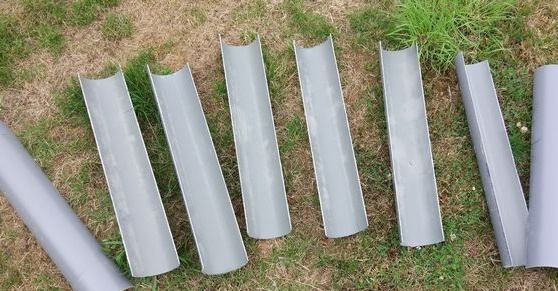
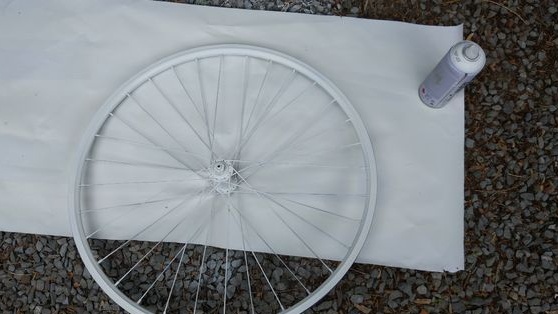
Step Six: Painting
Stains blades and wheels. While everything dries, it proceeds to the next step.
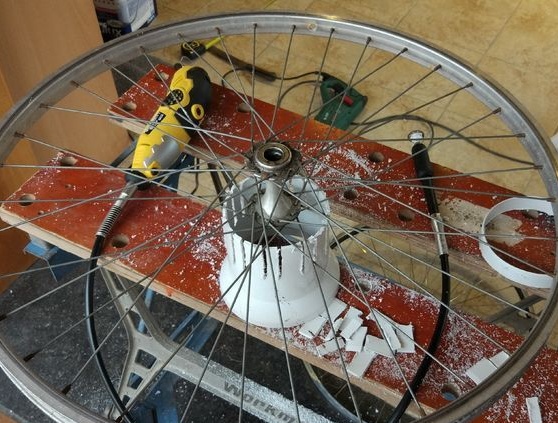
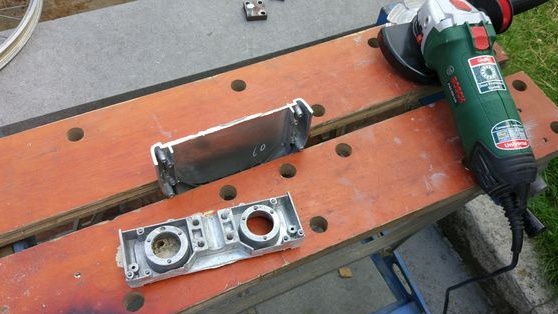
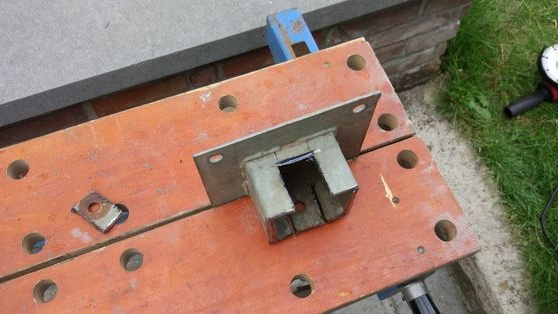
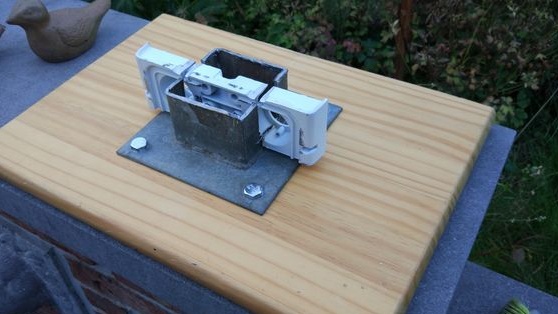
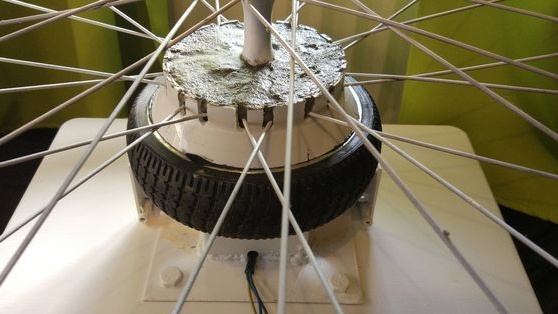
Seventh step: axle
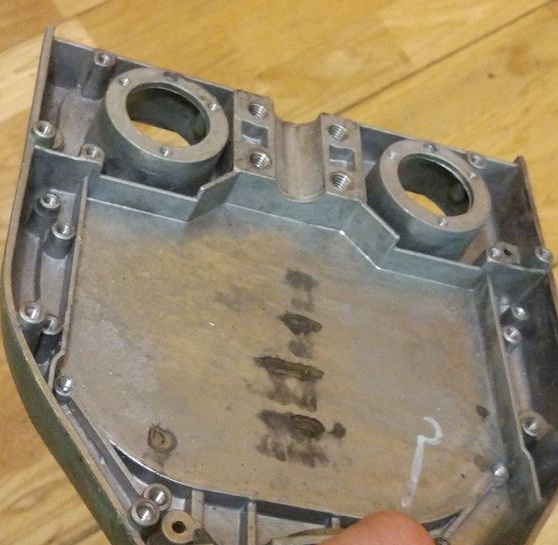
It cuts the aluminum part of the hull of the hoverboard as in the photo.

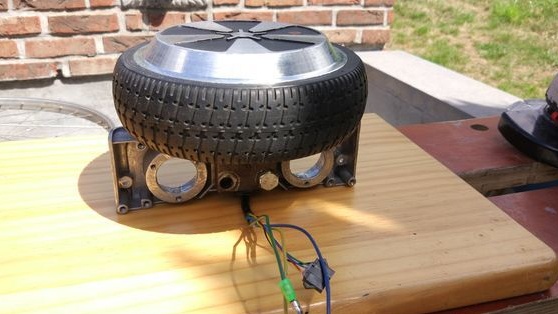
Stains.
Step Eight: Prop
The author had a metal support. Cuts off part of the support pipe. The rest should be equal in height to the aluminum part.
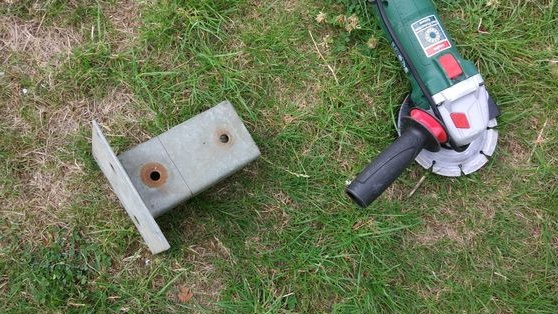
Cut a place under a pin.
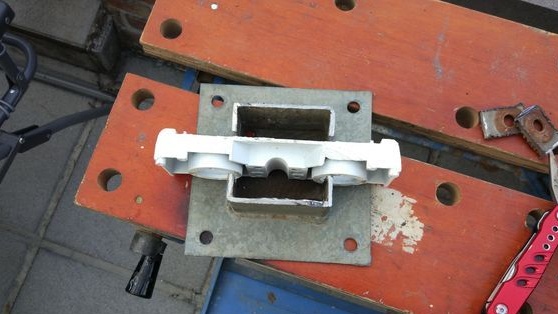
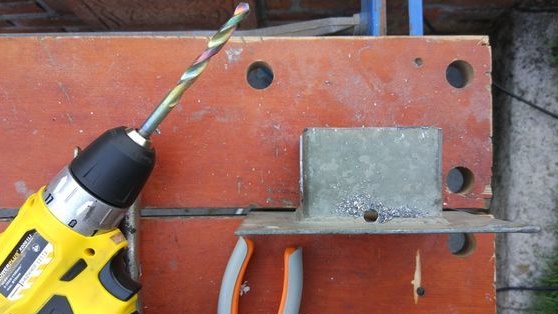
In the lower part, drills a hole for the wire.
Screws the support to the board.
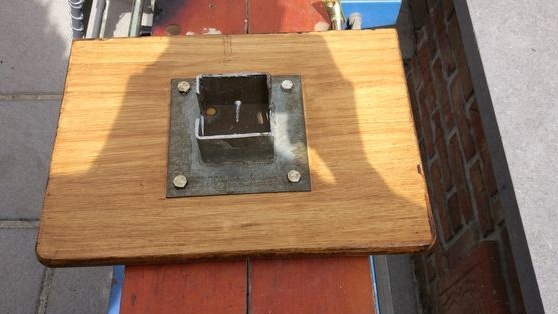
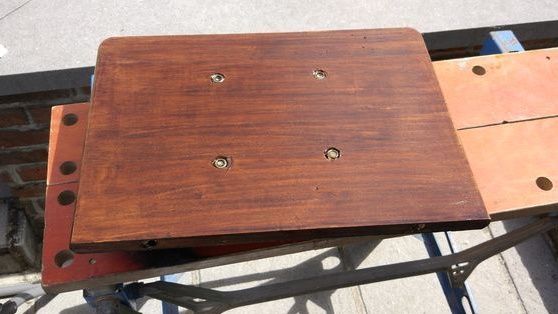
Stains.
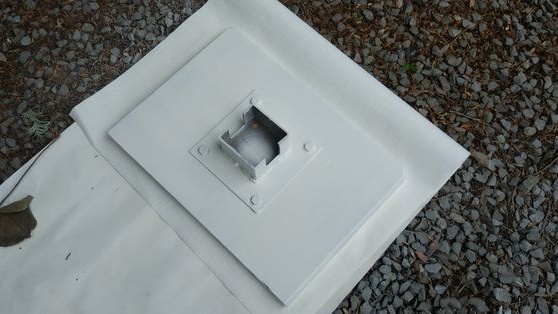
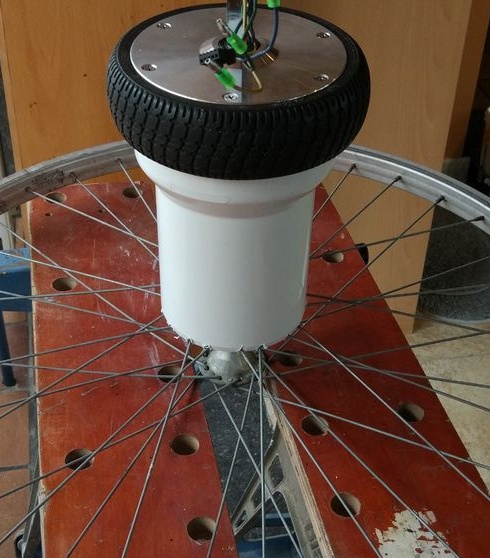
Mounts the trunnion on the axis of the generator.
Installs the generator on a support. The axle and support are fixed with epoxy.
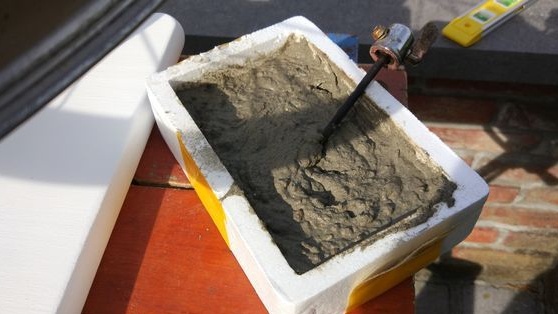
Fills adapter with cement.
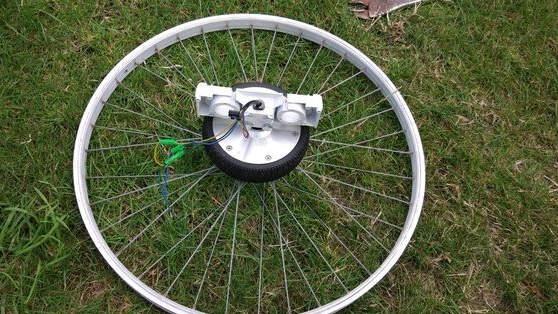
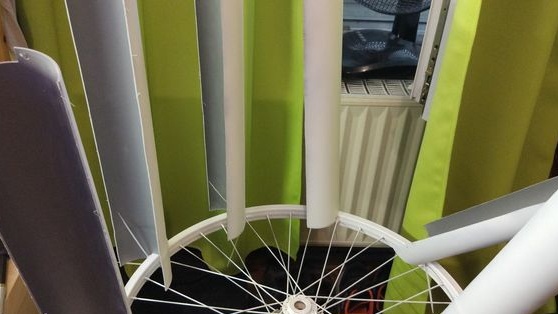
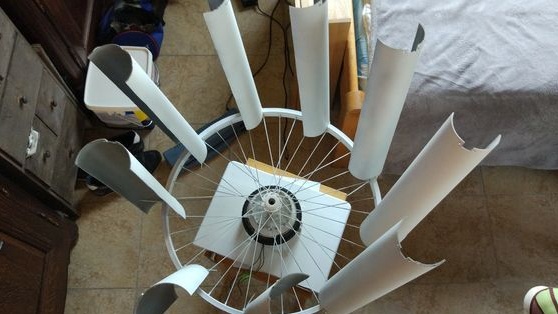
Step Nine: Installing the Blades
Prepares the blades. It makes cutouts and holes as in the photo.
With the help of plastic clamps, it fastens the blades to the wheels.


It remains to connect the electrical part and the wind generator is ready.