

If you are concerned about the issue of obtaining alternative energy, you can put together just such a simple wind generator for yourself. The main part of the spare parts used are bicycle parts. With the help of sprockets and a chain, torque is transmitted to the generator. A part from a bicycle also acts as a generator - this is a dynamo machine. If there is no dynamo, you can use a DC motor.
As for the propeller, it is made very simply and also from available materials. At the moment, it is easiest to make a screw from a PVC pipe or similar material, the pipe has a suitable profile for the manufacture of blades.
You will also need to find some scrap metal to make a mast, make a base, and so on. Consider this topic in more detail.
Materials and tools that the author used to make a windmill:
Materials:
- a piece of PVC pipe;
- metal plates;
- thin galvanized sheet steel;
- nuts, bolts;
- bearings;
- a piece of metal tube (for the manufacture of a bearing housing);
- metal clamps (3 pieces);
- paper, marker, scissors (for making a template);
- glue;
- steel corner;
- a square tube (mast);
- a wheel from the cart;
- dynamo machine (or DC motor);
- leading and driven sprocket, chain (from a bicycle).
Instruments:
- scissors;
-
- screwdriver;
- pliers;
-
- multimeter;
- wrenches and other little things.
The process of making a windmill:
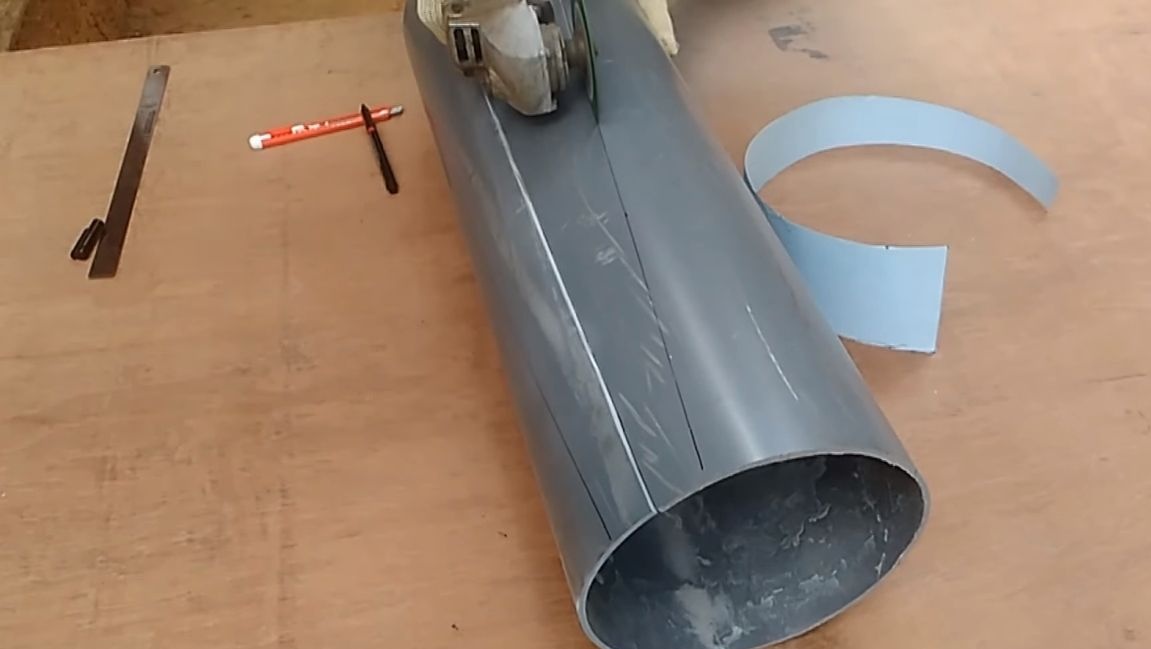
Step one. Let's start with the blades
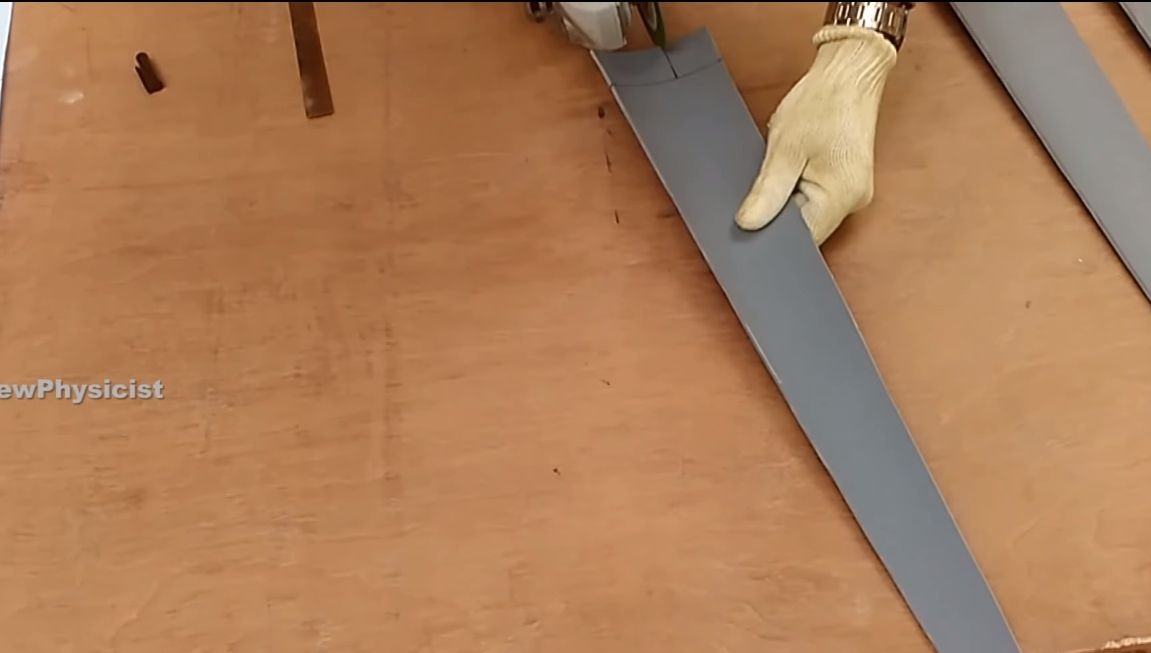
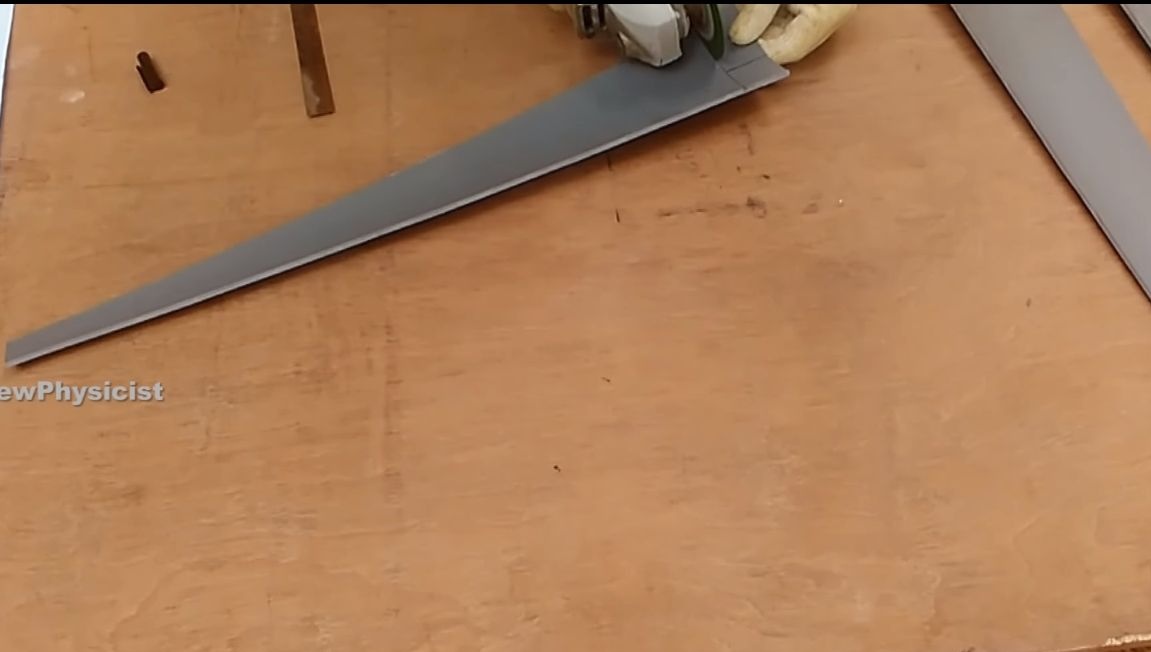
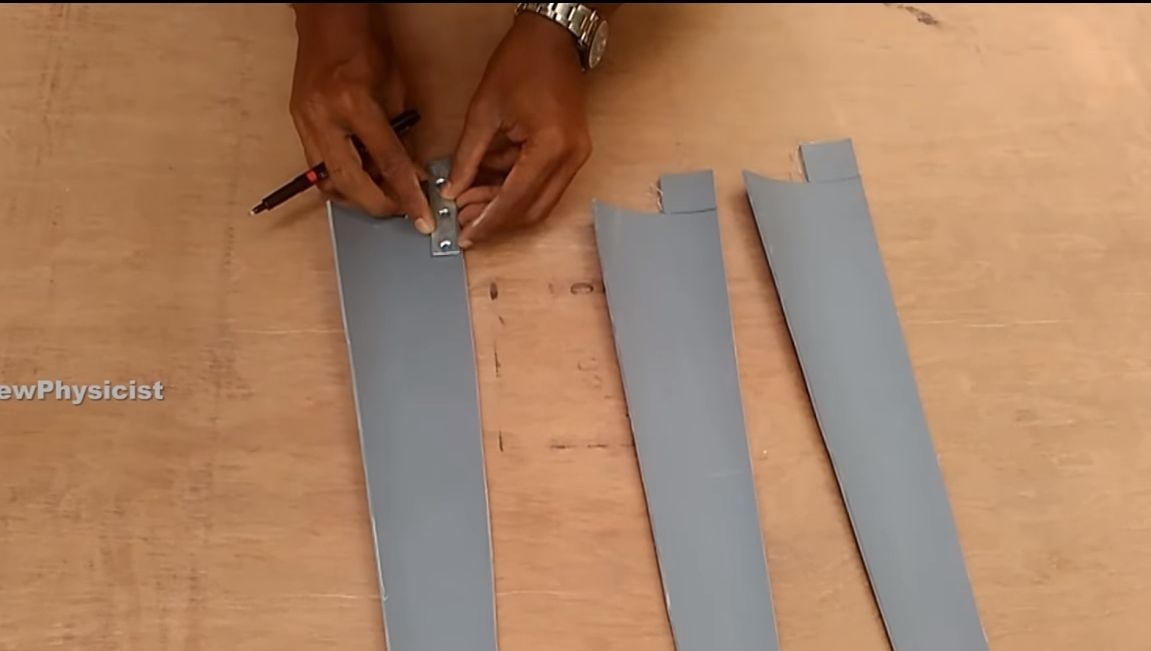
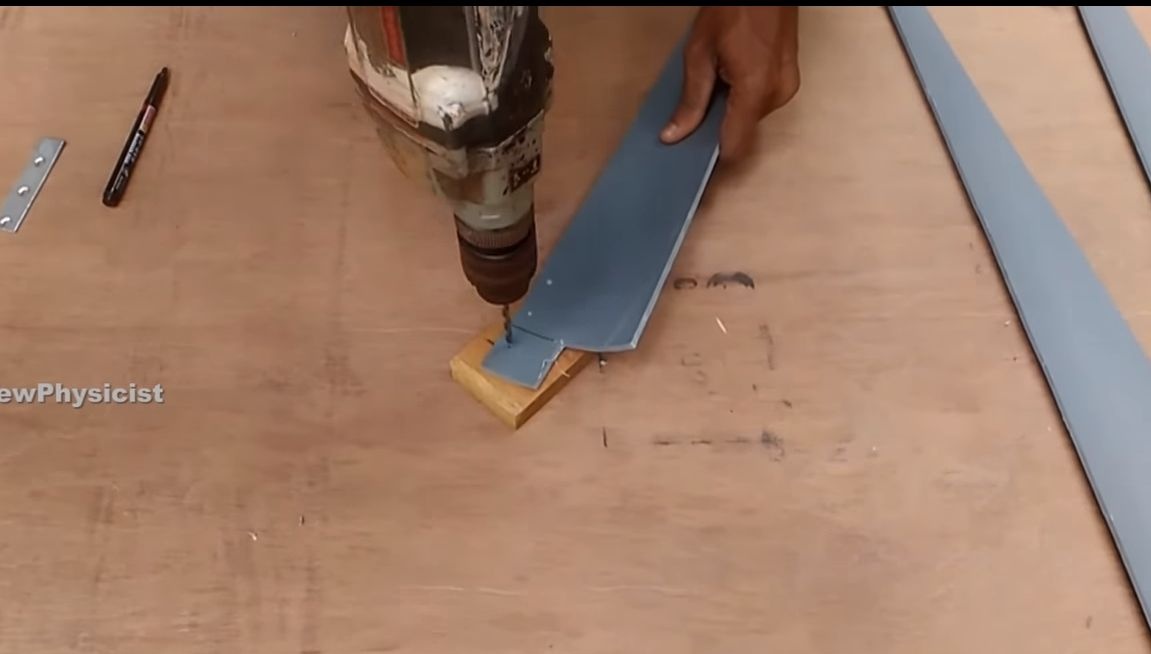
The author makes the blades from a piece of PVC pipe. The first step is to make a template out of paper, and then cut it with scissors. We attach the template to the pipe and cut out the blades. Each new blade is cut one after the other, resulting in few garbage. It is convenient to cut the pipe with.
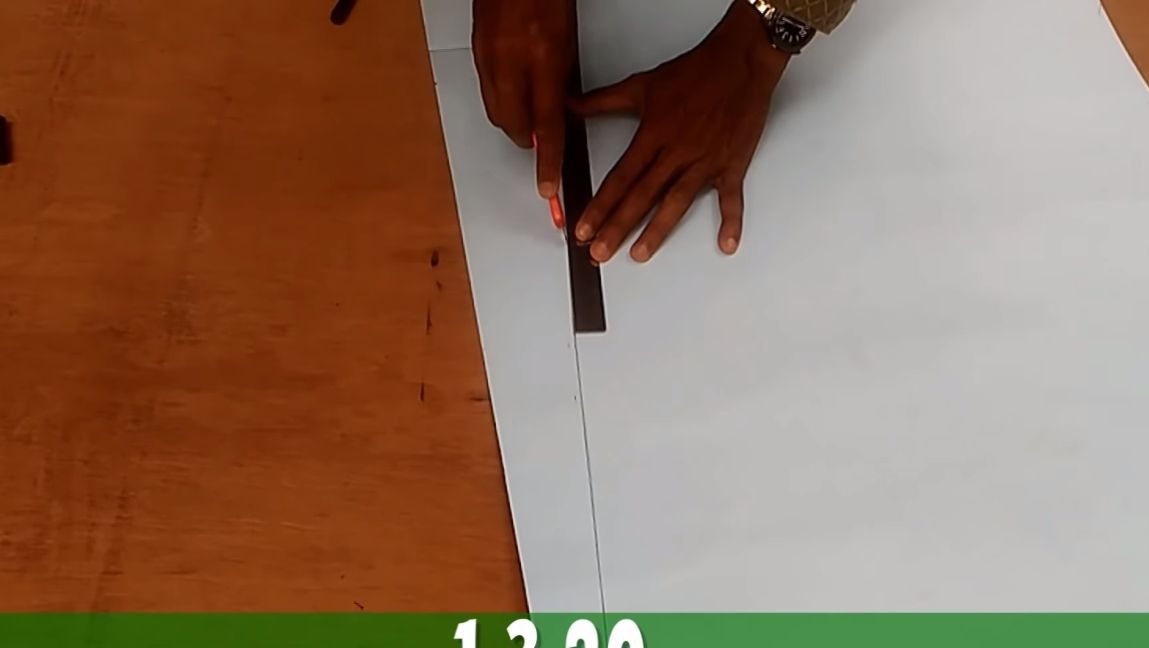
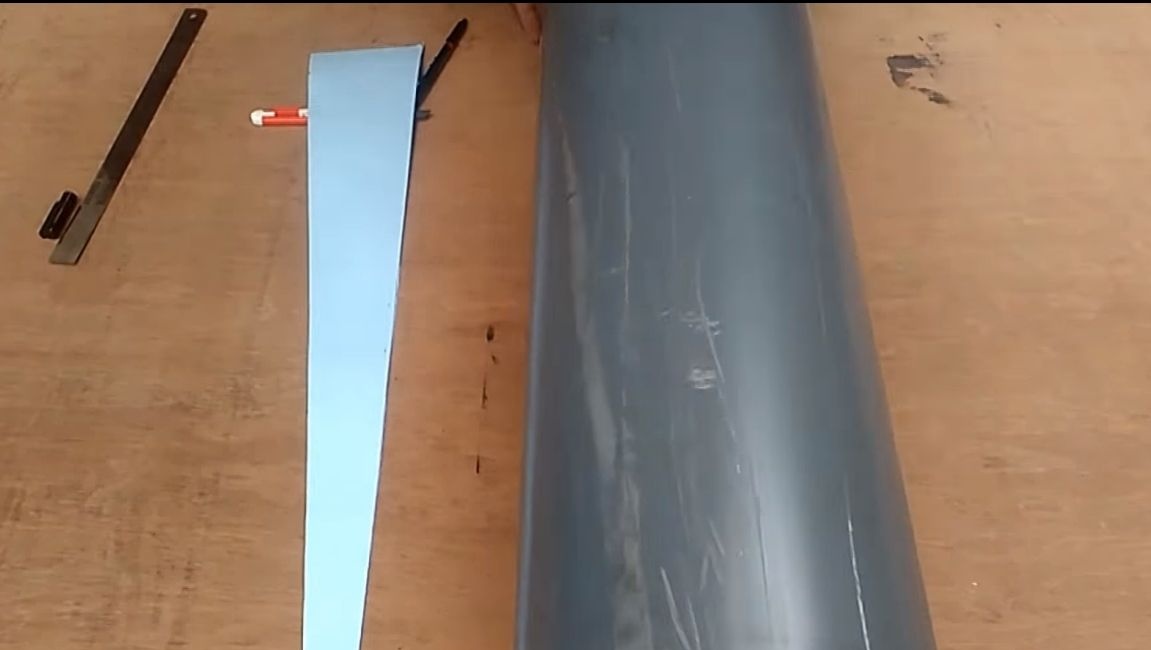
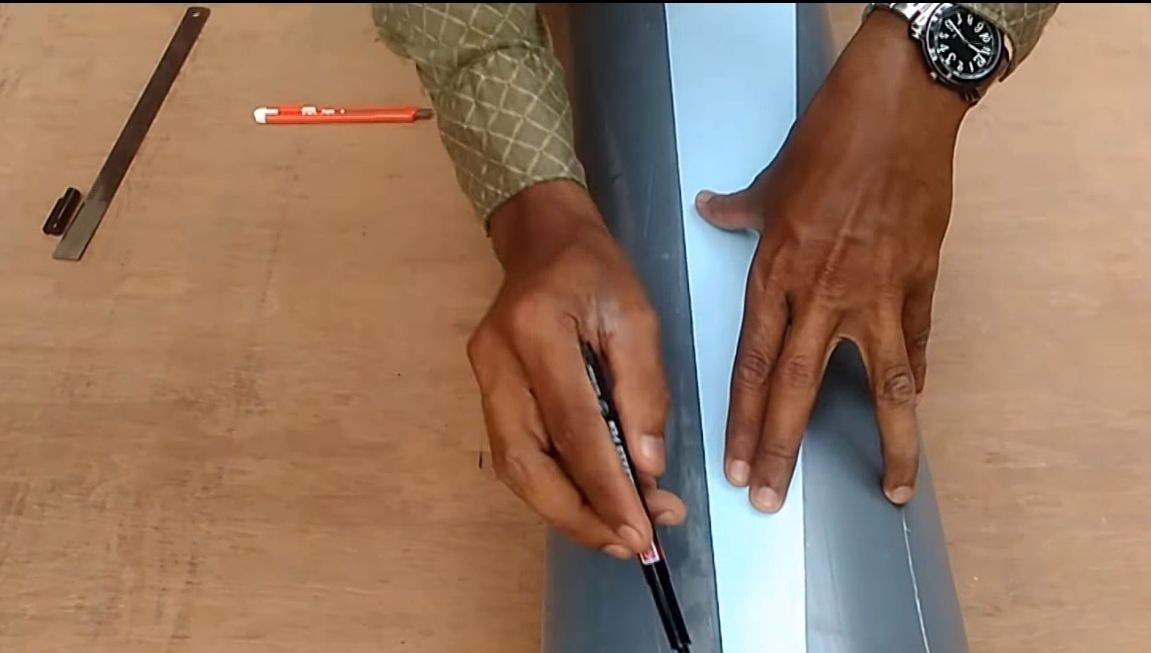
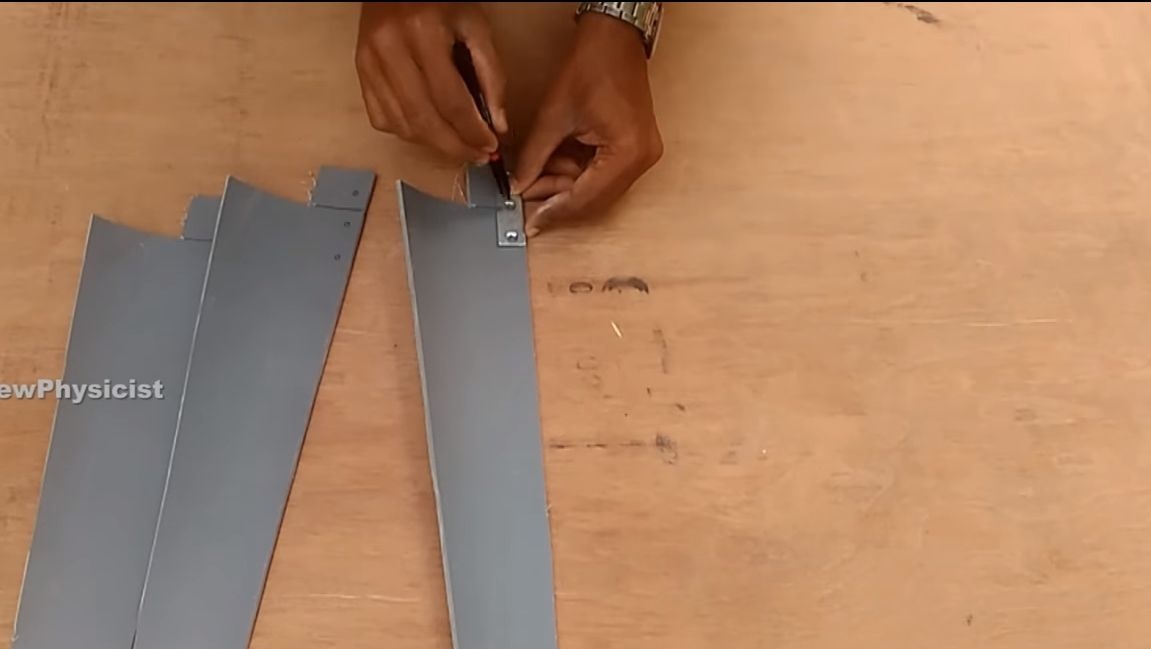
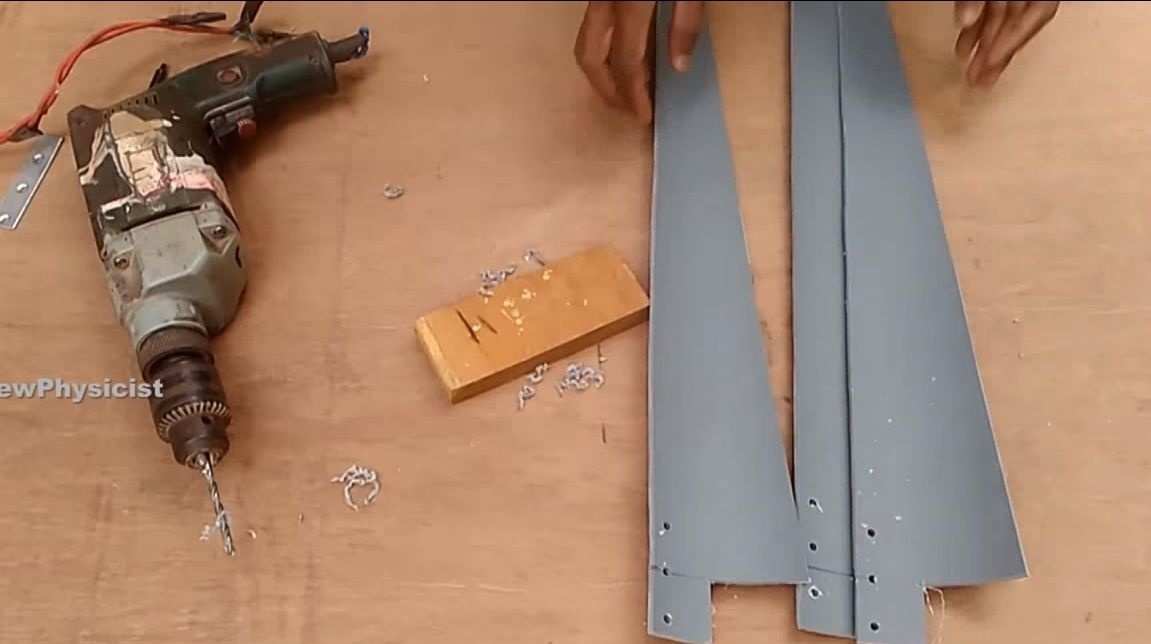
Mark the beginning of each blade and cut out the pieces, as the author did. The remaining parts are needed to attach the blades to the axis.As fasteners, metal plates with holes are used. We attach the plate to the blades and outline the places for drilling holes. In total, the author drills three holes in each blade.
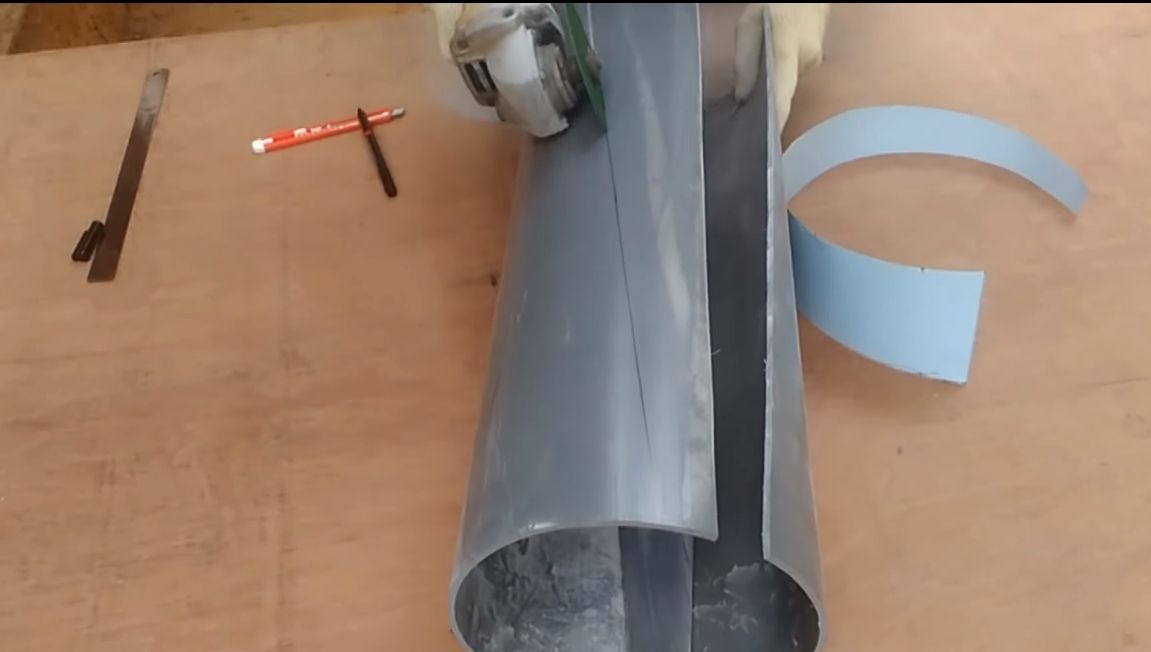

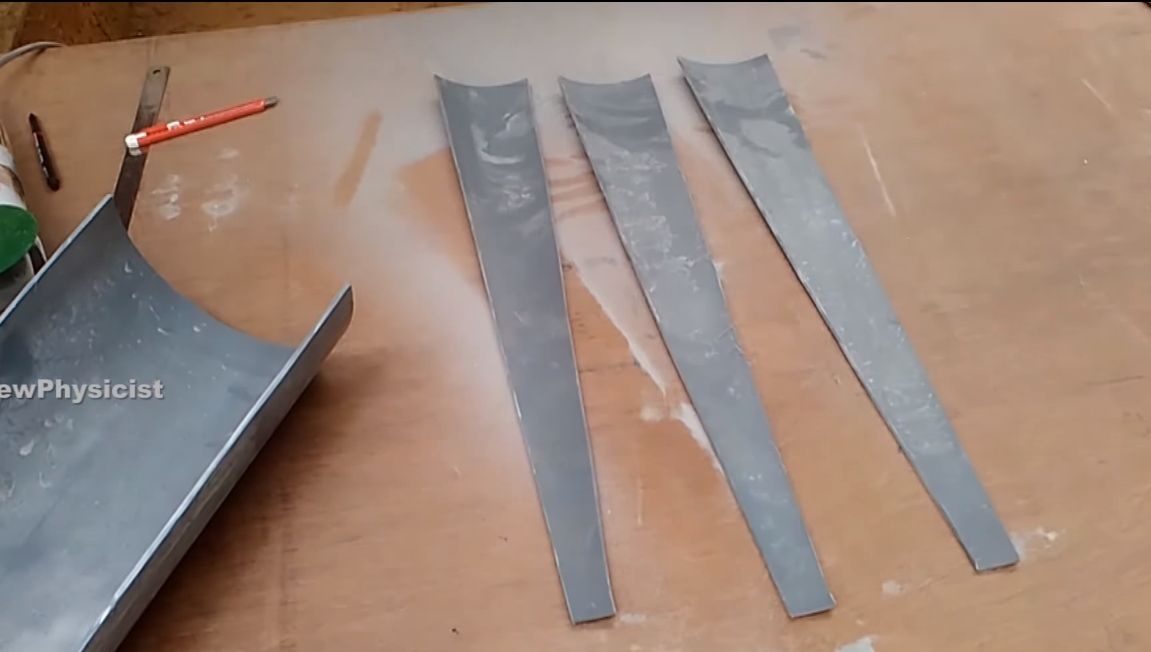
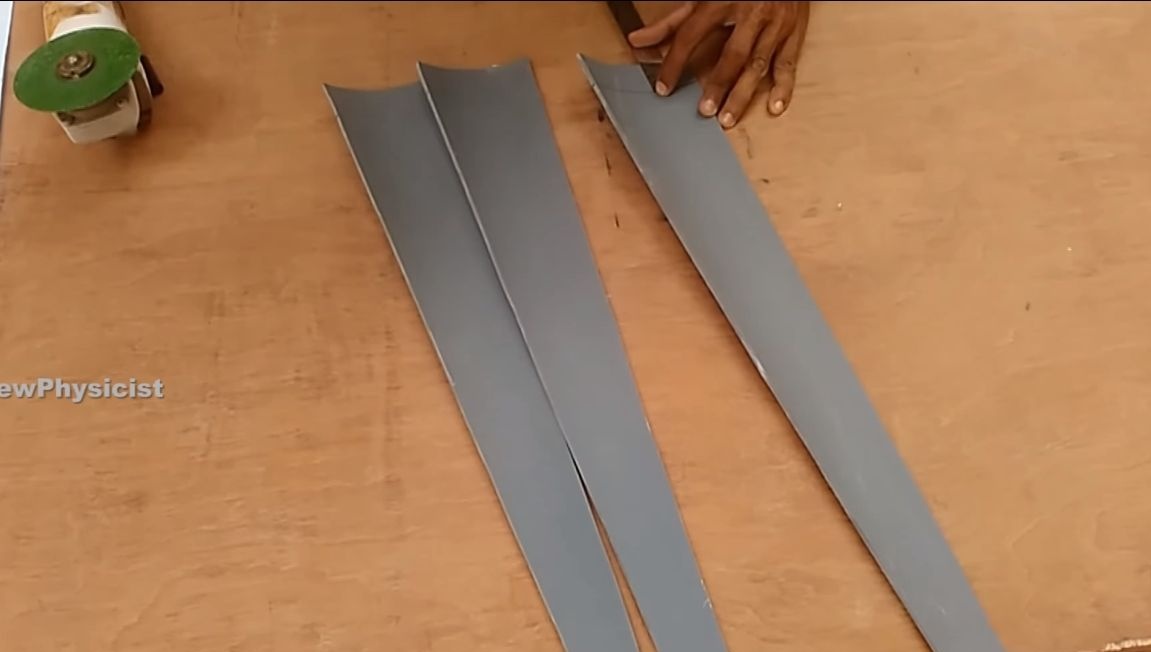
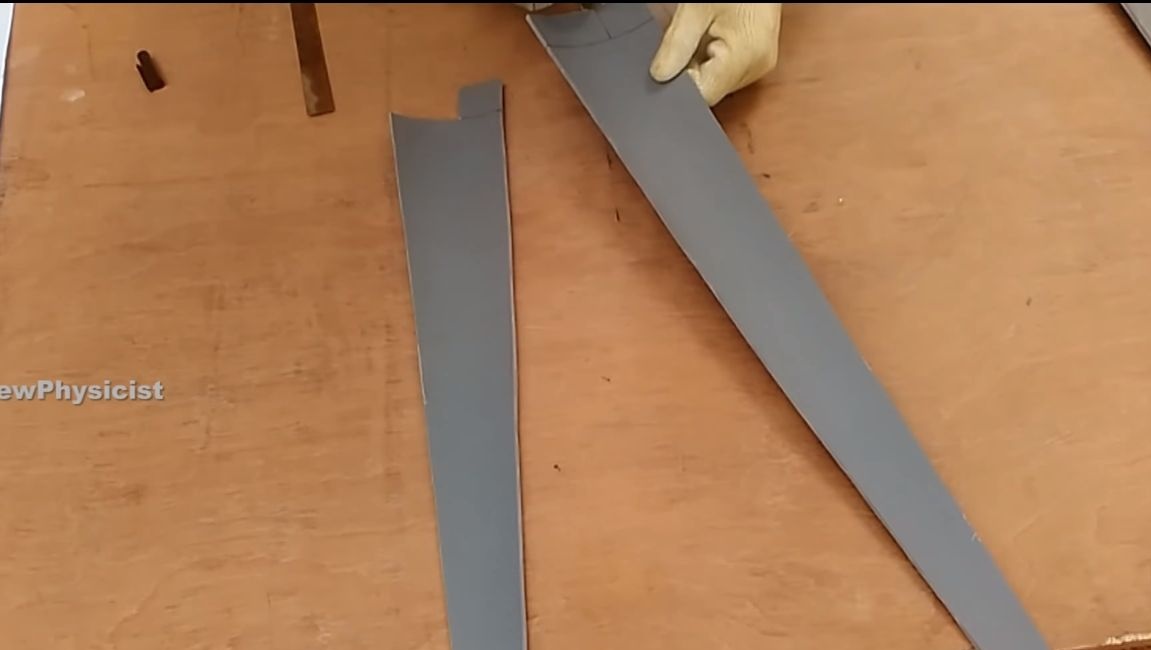
As for the plates, they are cut so that there is a free end for attaching it to the central disk. At the end, trim all the blades with a grinder so that they do not have nicks and so on.
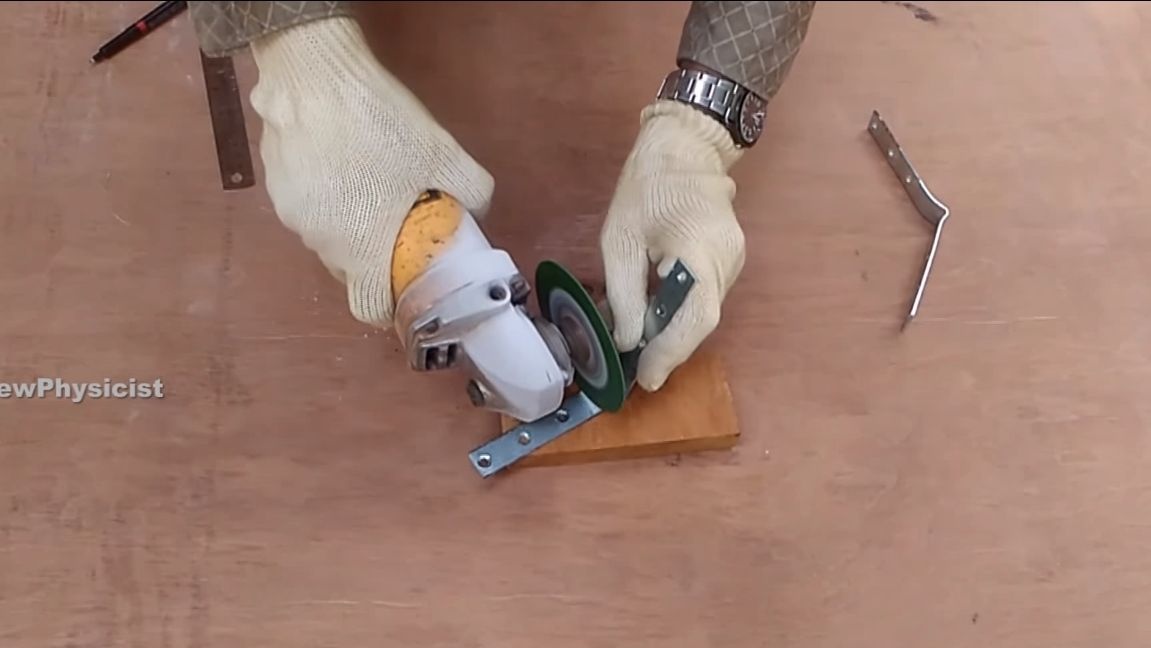


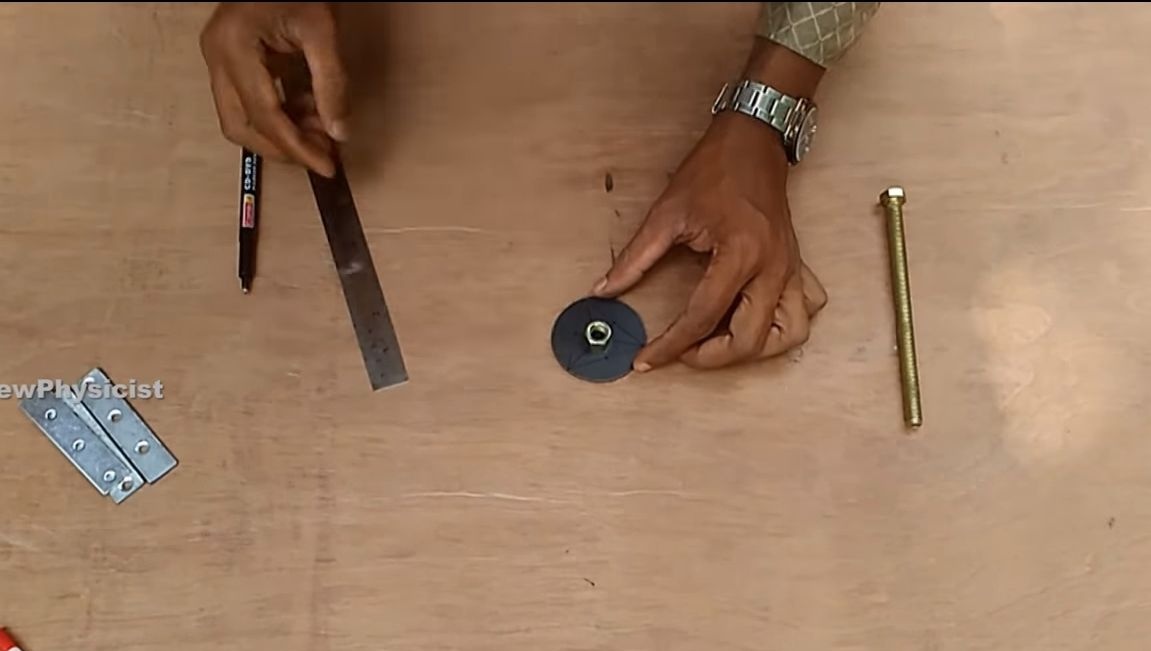
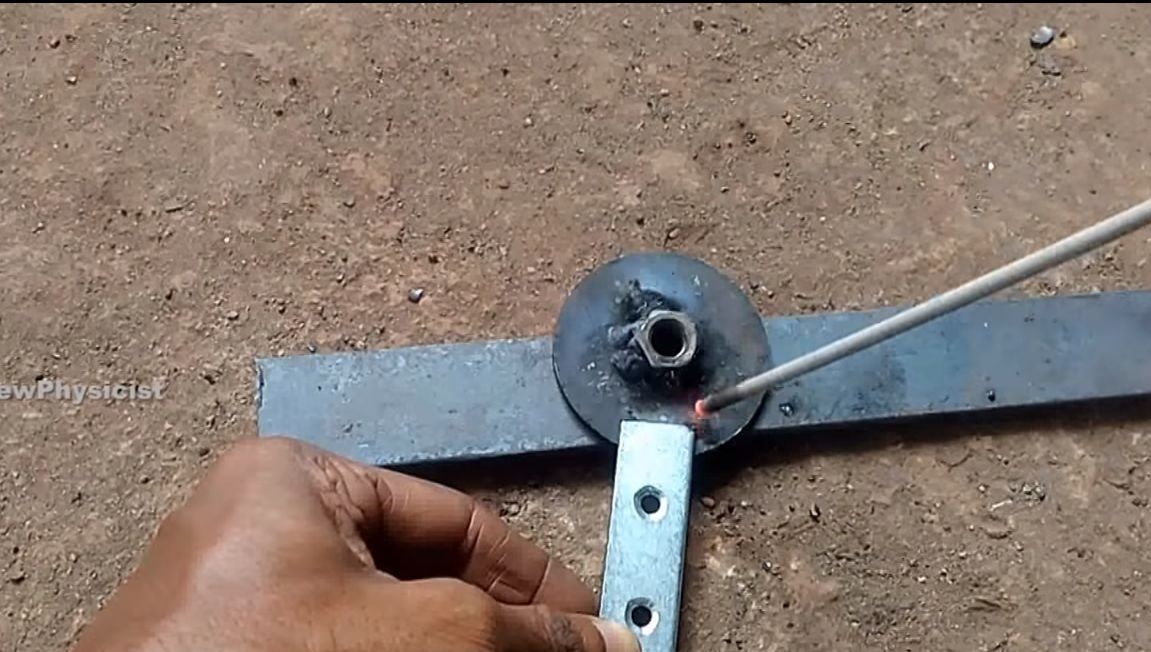
Step Two Screw core fabrication
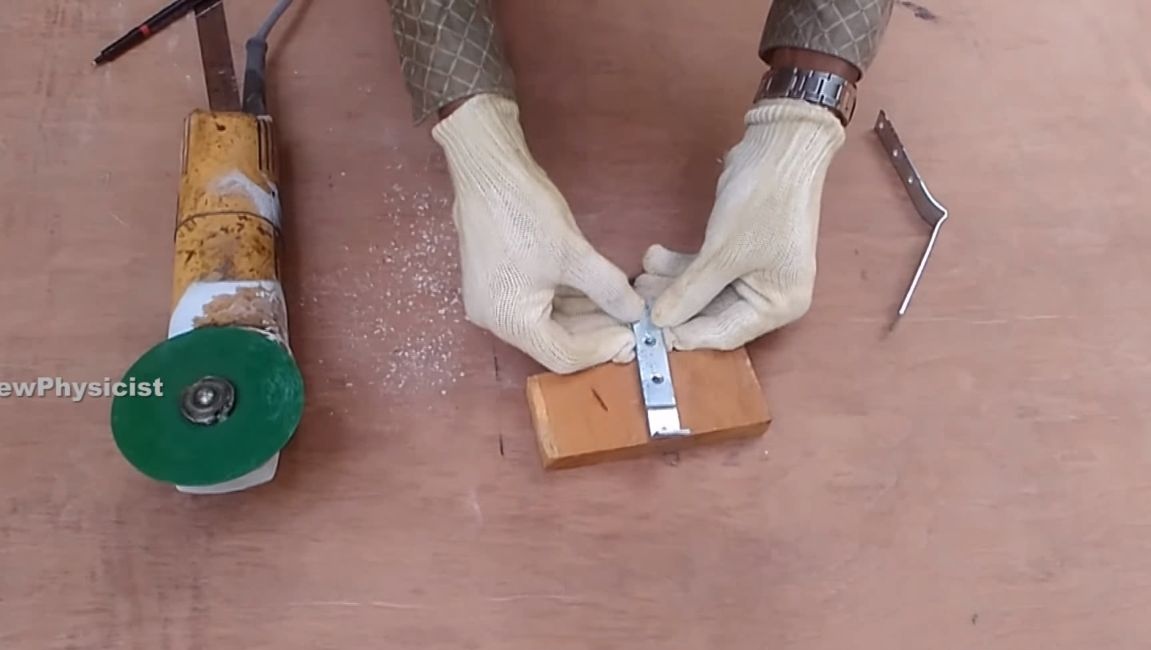
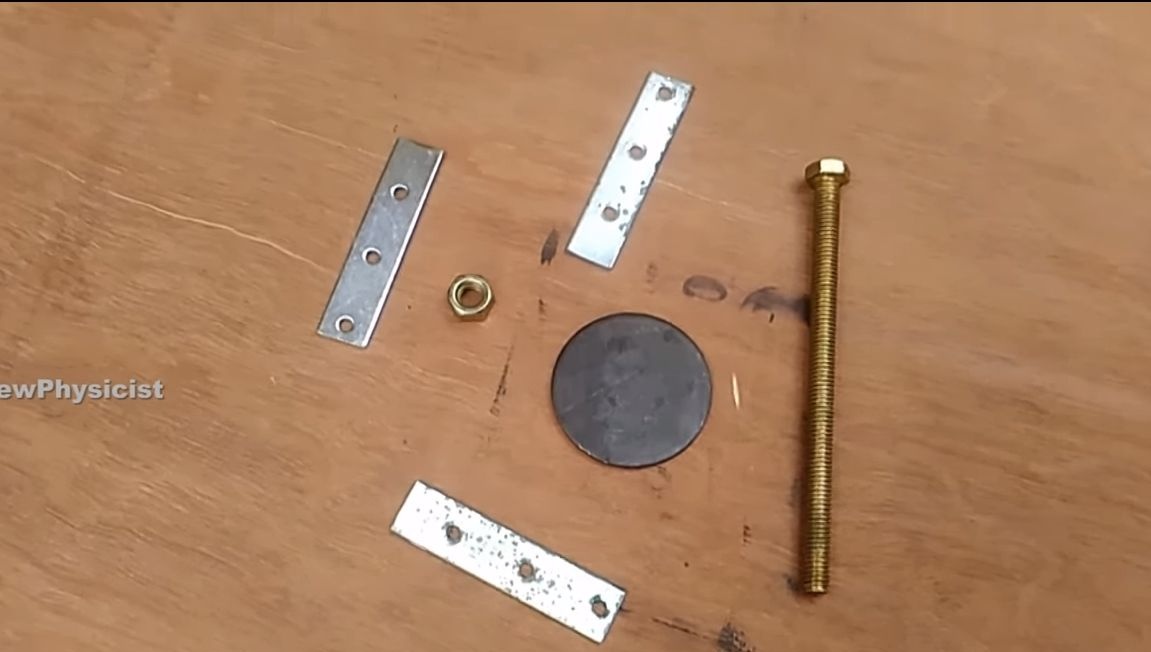
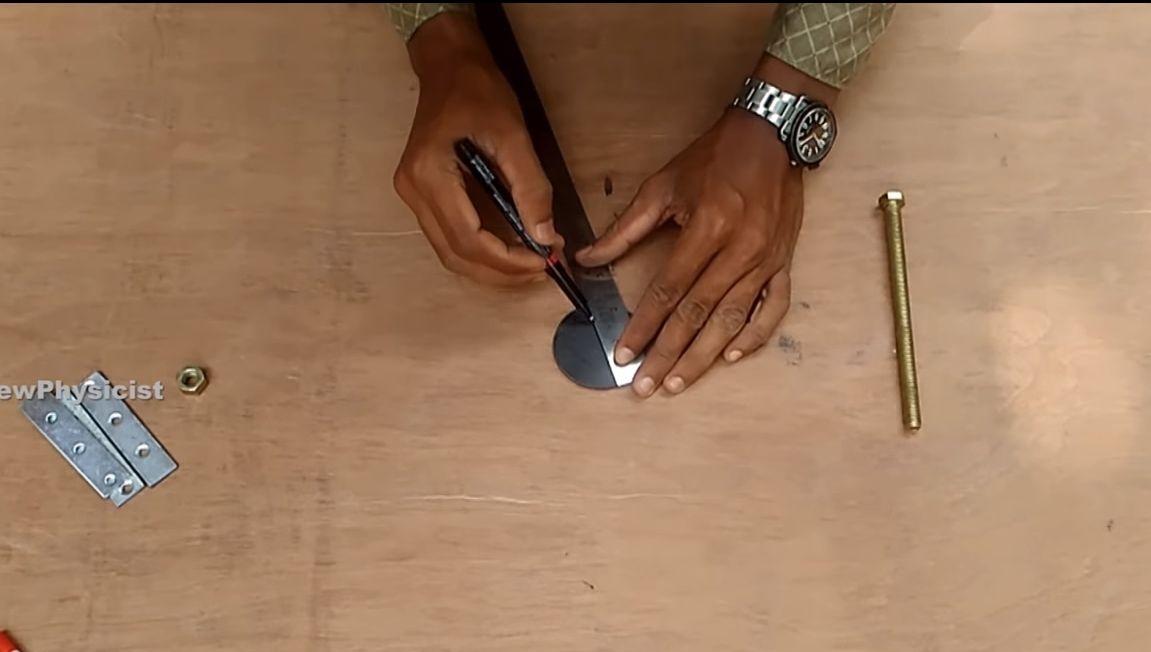
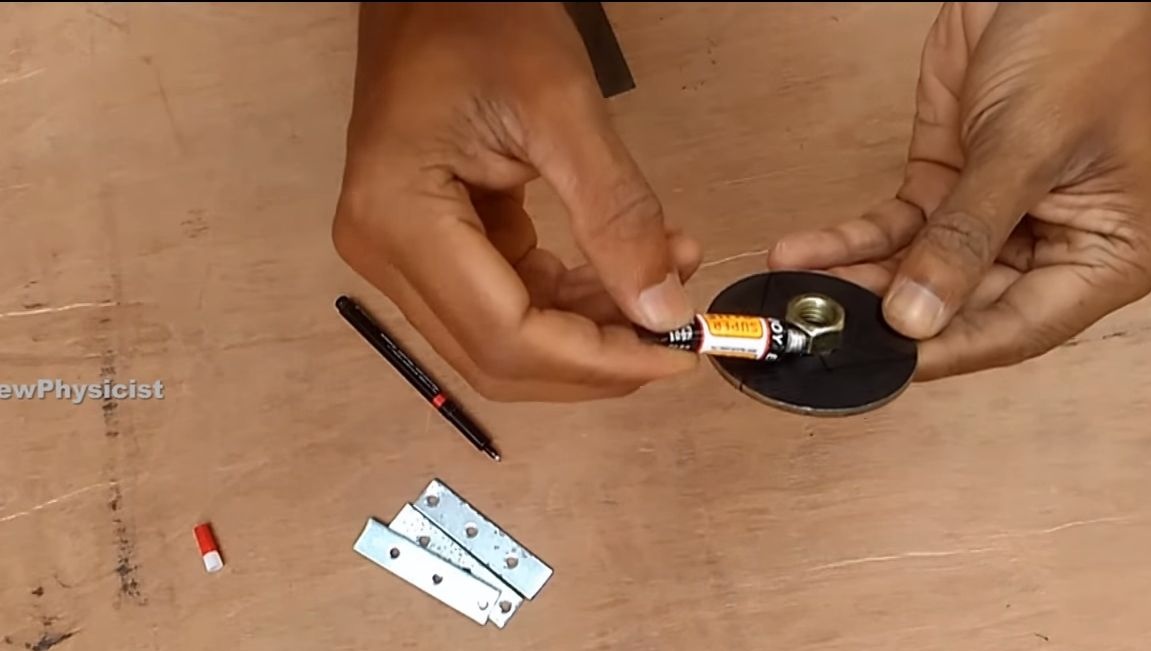
The core of the screw, to which the blades are screwed, is made of three plates, a round piece of sheet steel, and also a nut. Mark on the central disk where the blades will be located, and also determine the center. We install a nut in the center, its author glues superglue for ease of assembly.
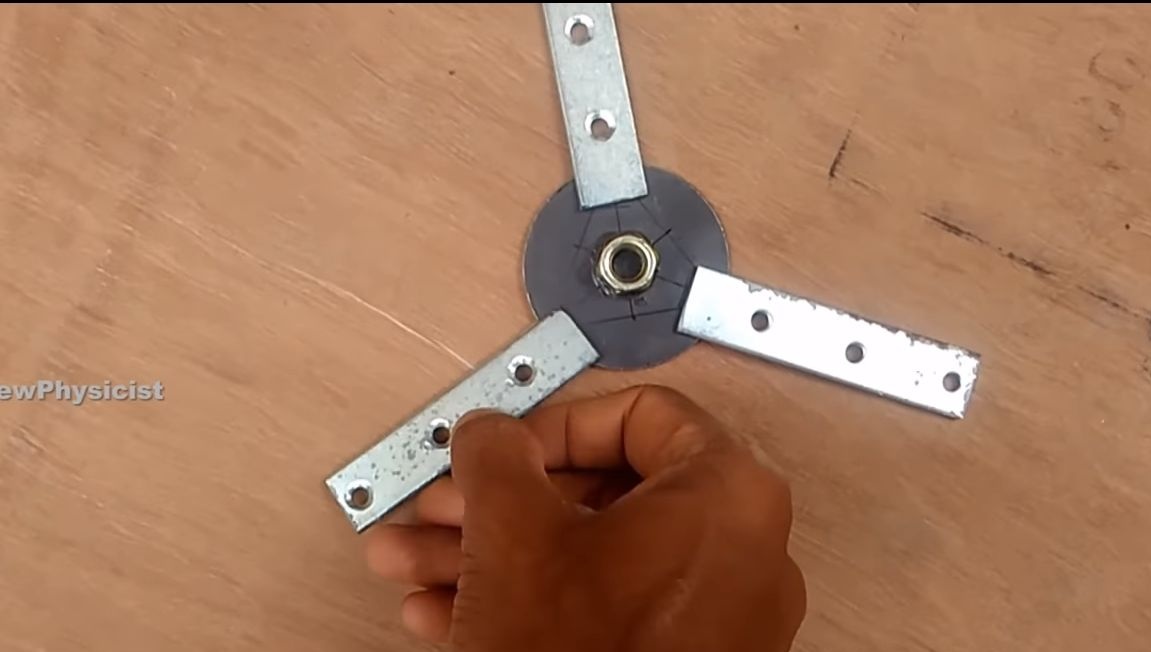
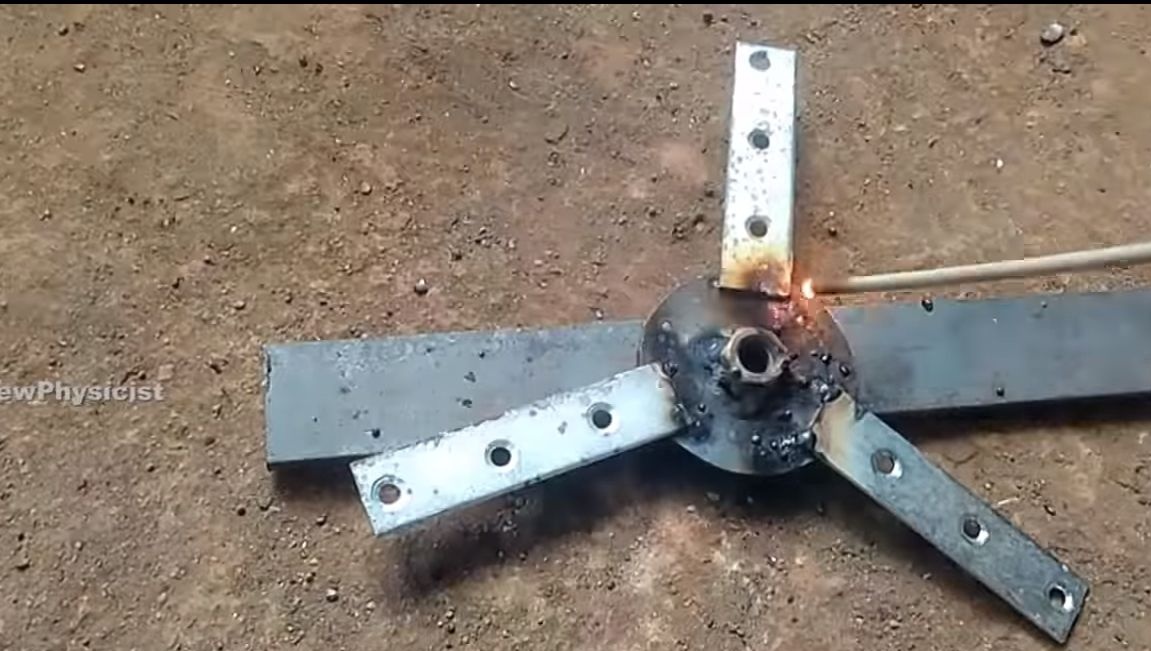
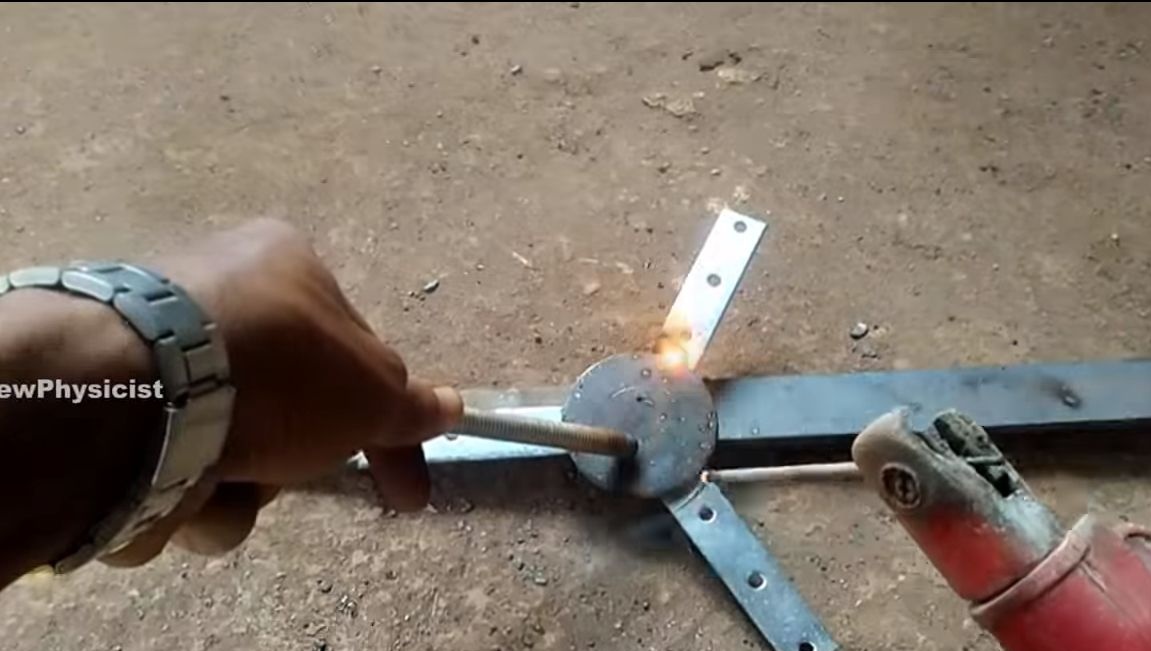
Getting to welding. First, weld the nut that we glued earlier. You need to weld well, as this is the only place where the propeller will be attached. Then weld the plates to which the blades are attached to the disk. They must also be carefully welded, the author makes a weld on both sides.
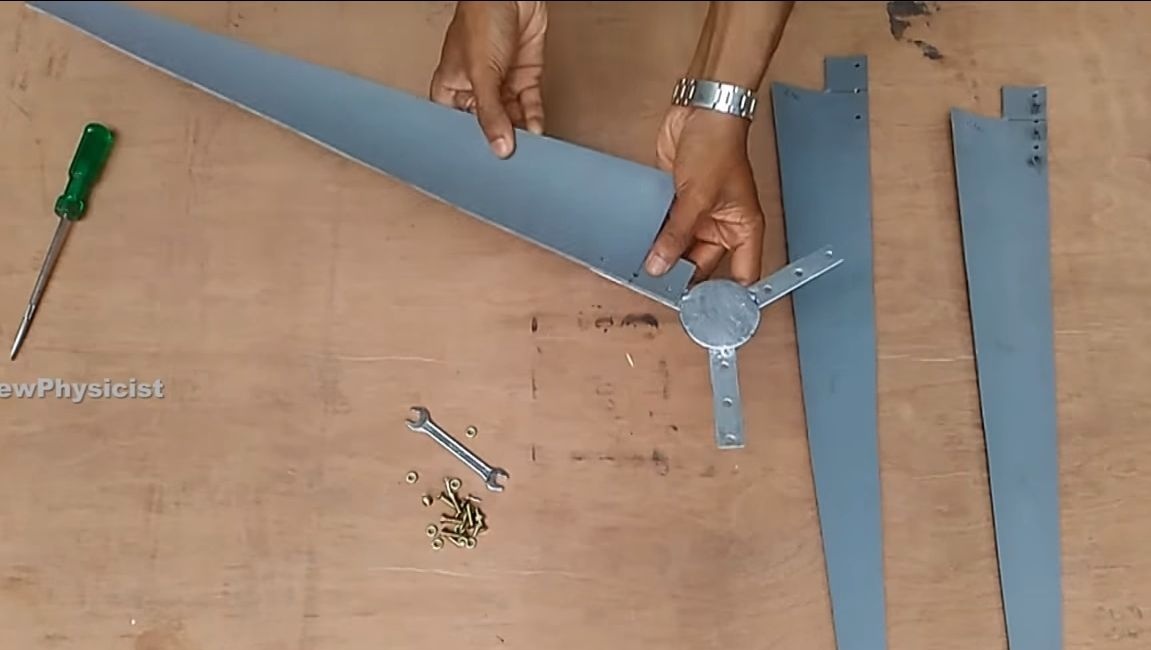
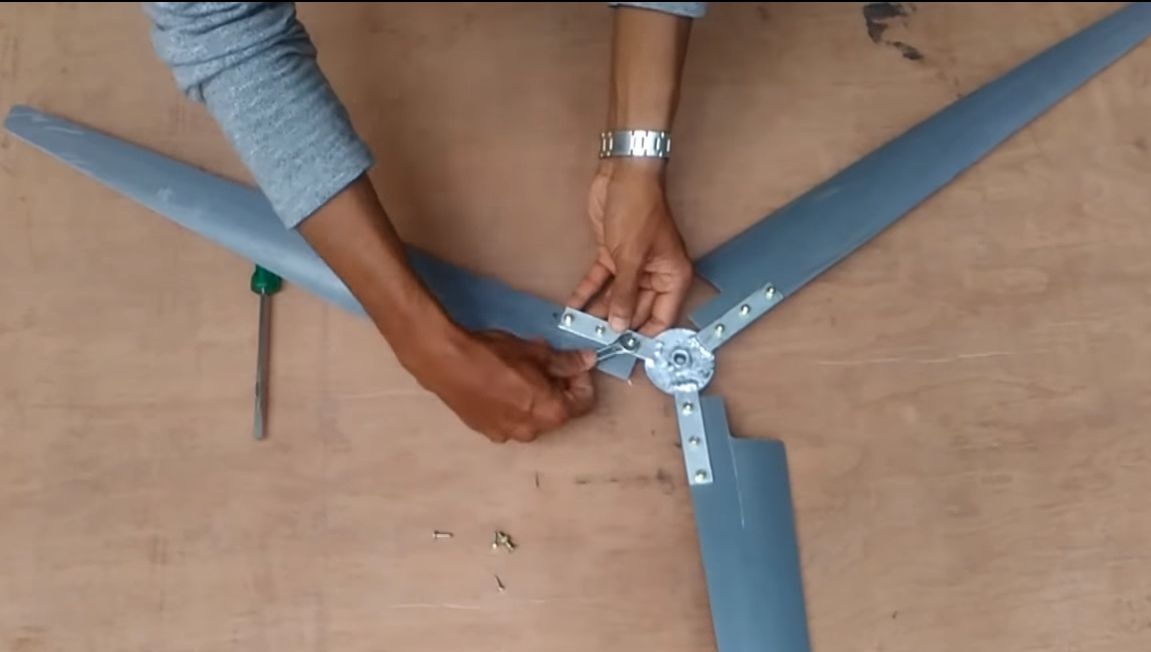
Step Three Screw assembly
Assemble the propeller. To do this, you just need to screw the blades to the core with bolts and nuts.
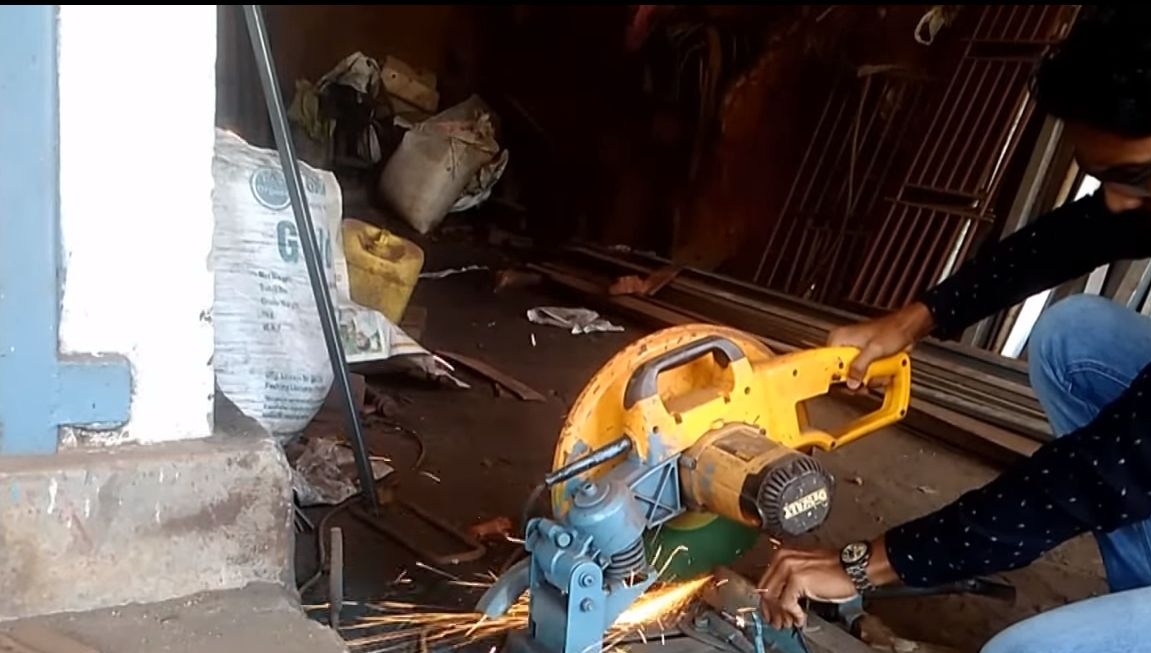
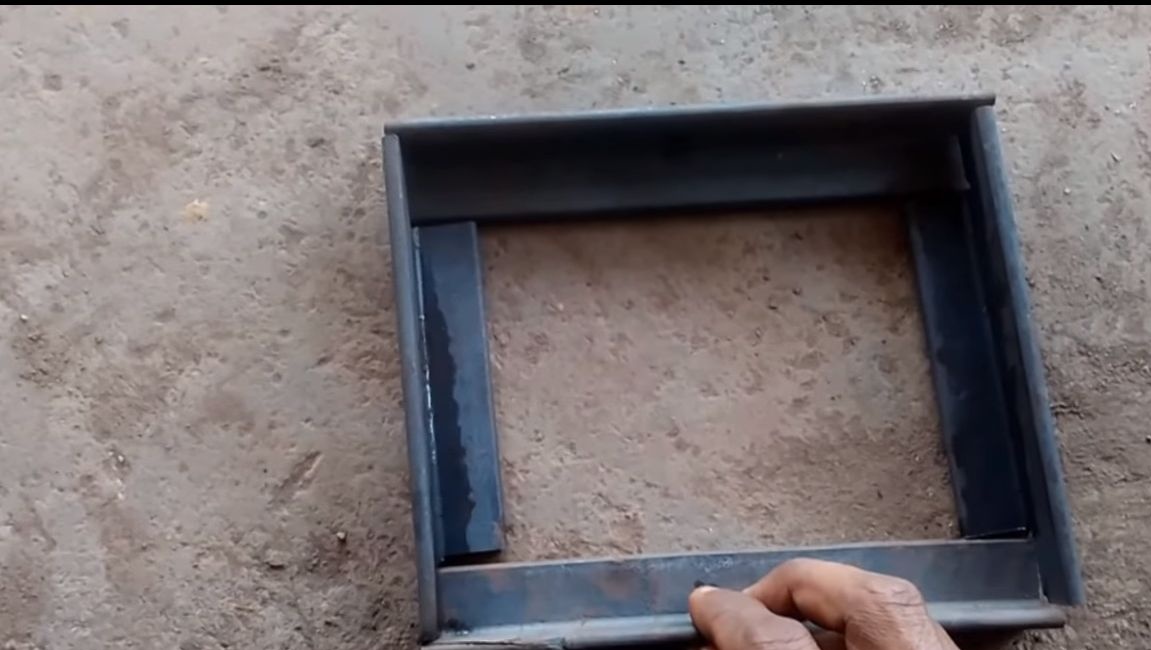
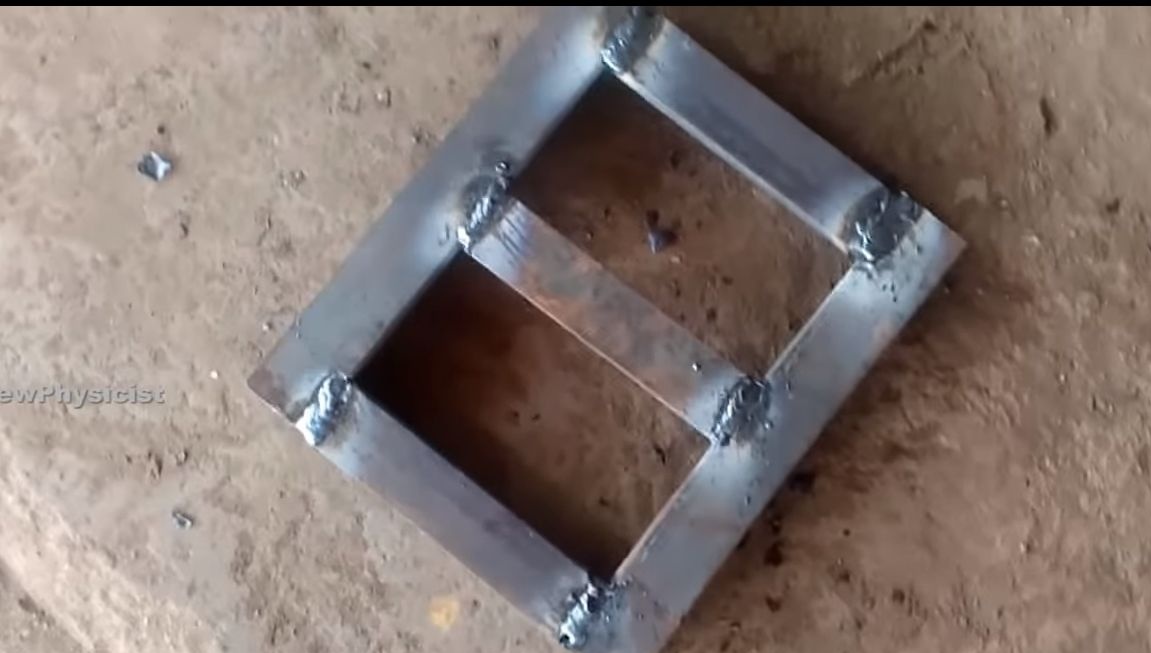
Step Four Base manufacture
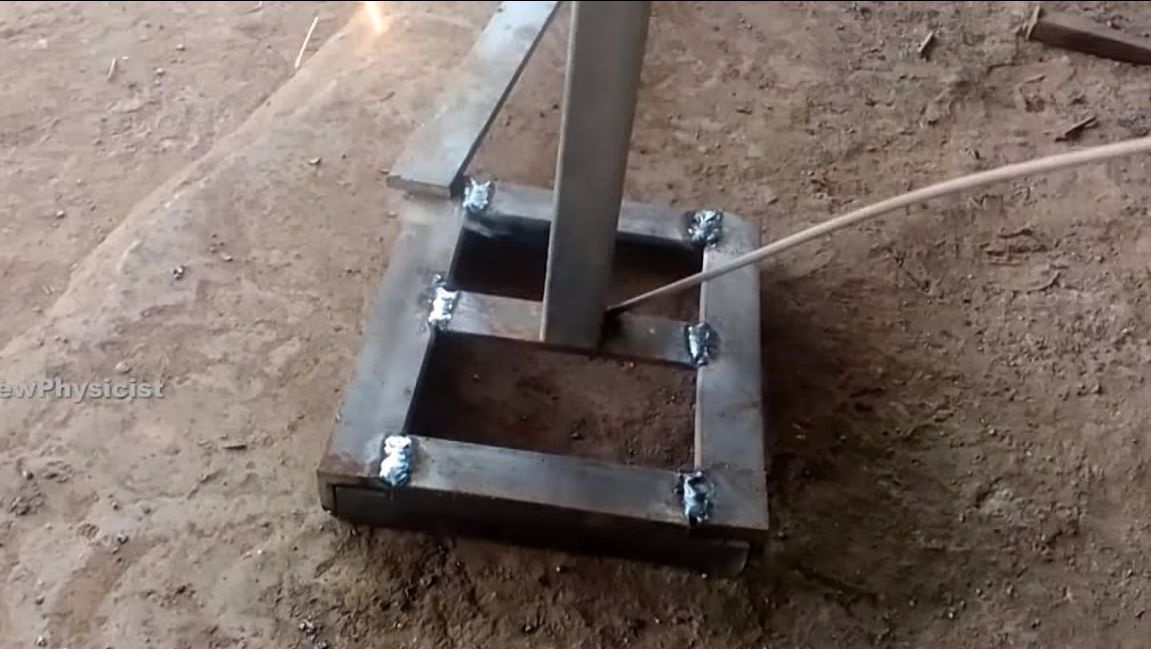
So that the windmill does not fall, and it can be fixed, make a reliable foundation for it. To do this, the author cuts a metal corner and then welds the frame.
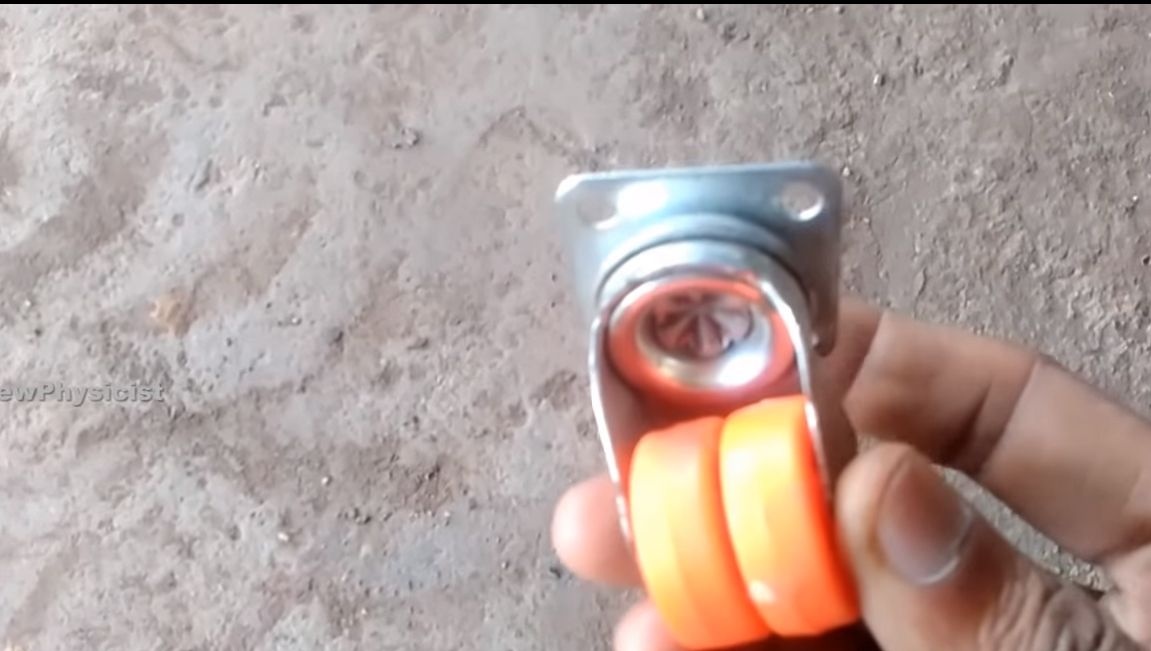
Step Five Prepare the bearing
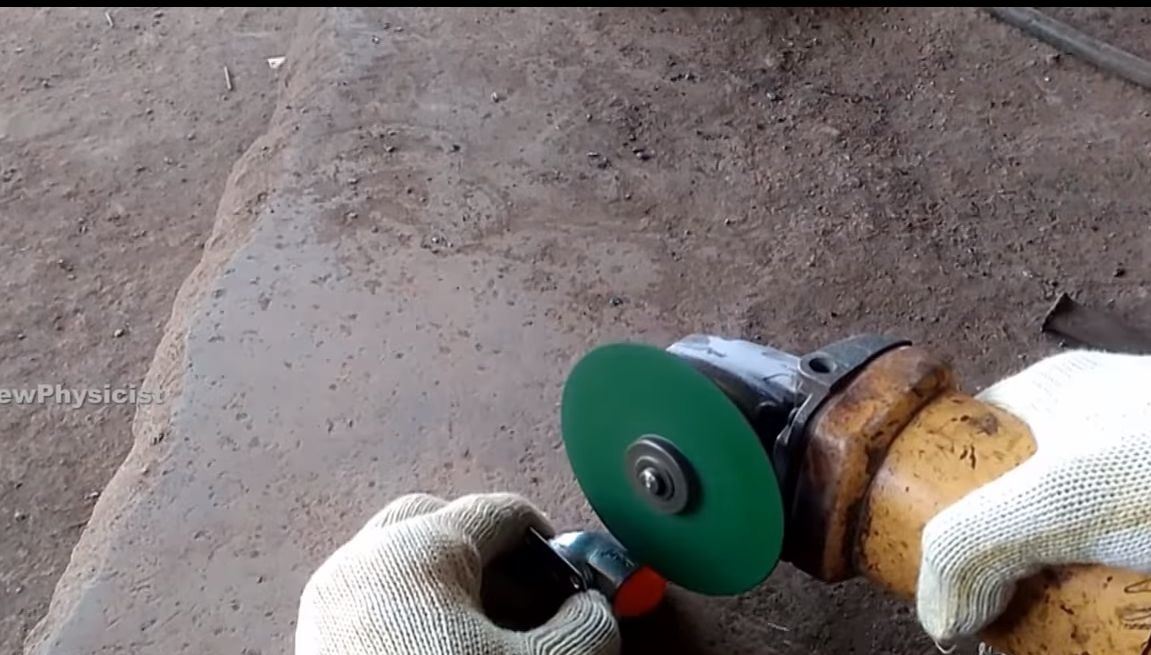
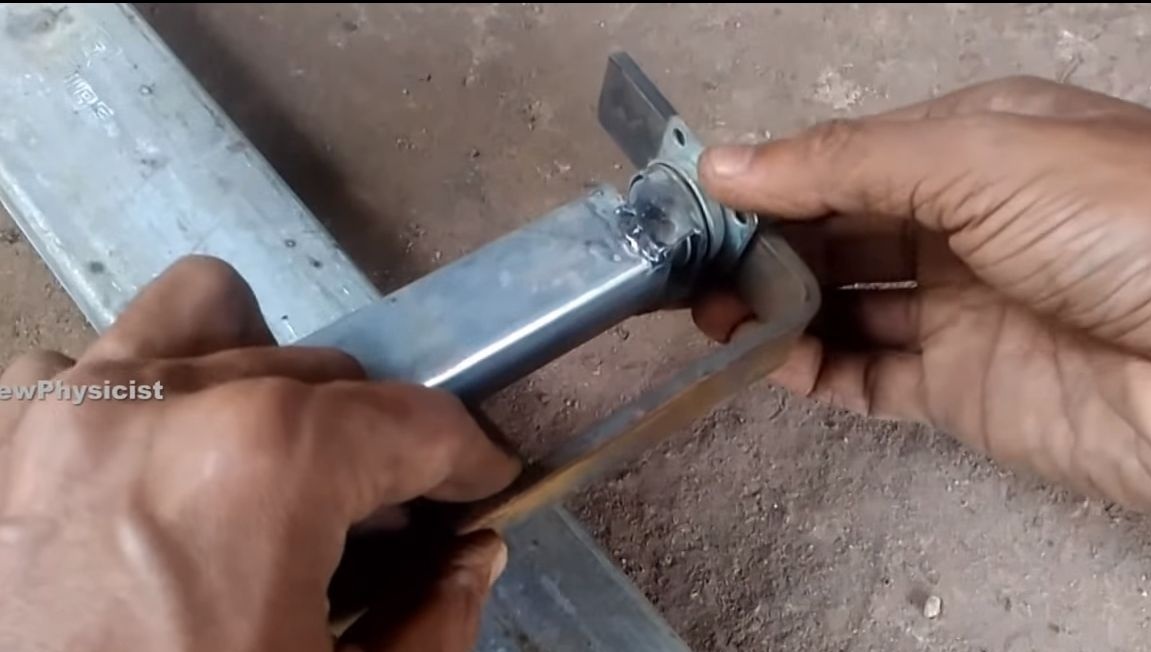
So that the windmill can rotate in any direction around its axis, you will need to fix it on the bearing. A wheel from the trolley acts as such a bearing, which can be rotated through an angle of 360 degrees. Cut off excess from it with a grinder.
Step Six Assembling a windmill frame
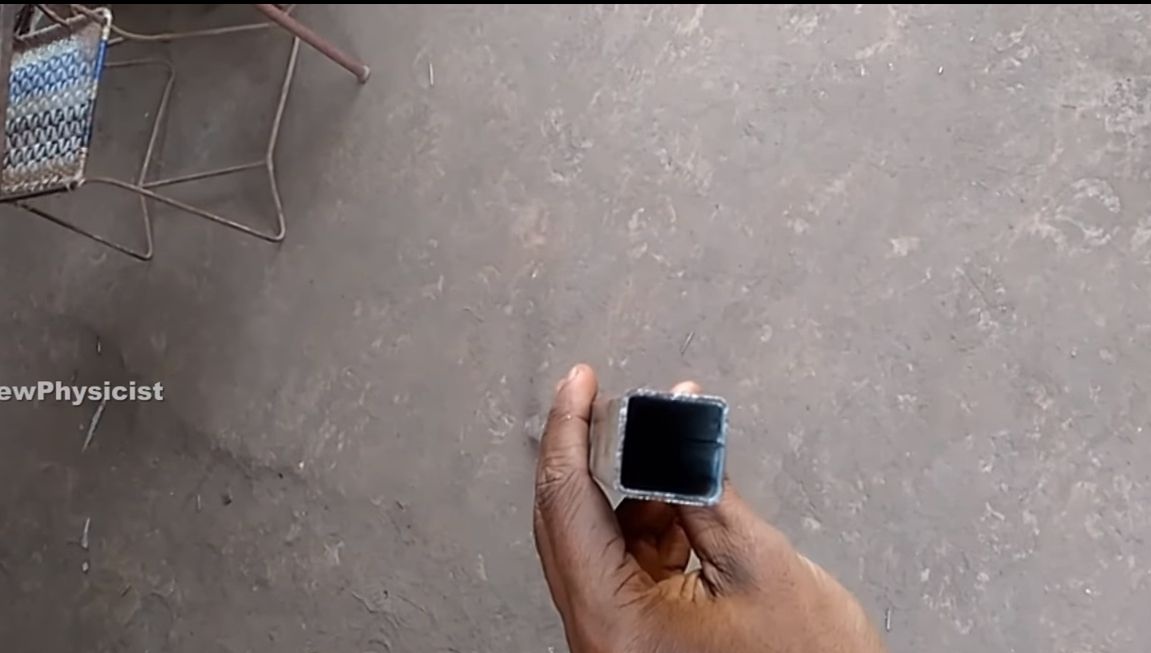
The mast of the windmill is made of a piece of steel pipe, the author has a square section. The pipe is not large in height, this design most likely implies installation on a roof or on another hill. Weld the mast to the previously made base.
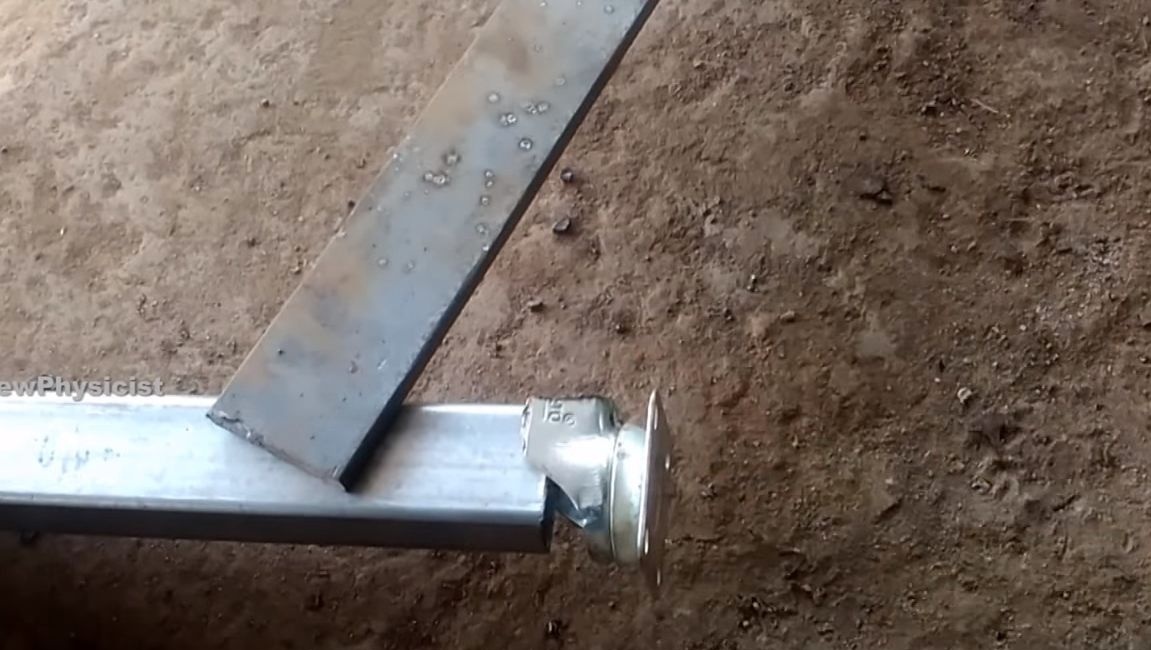
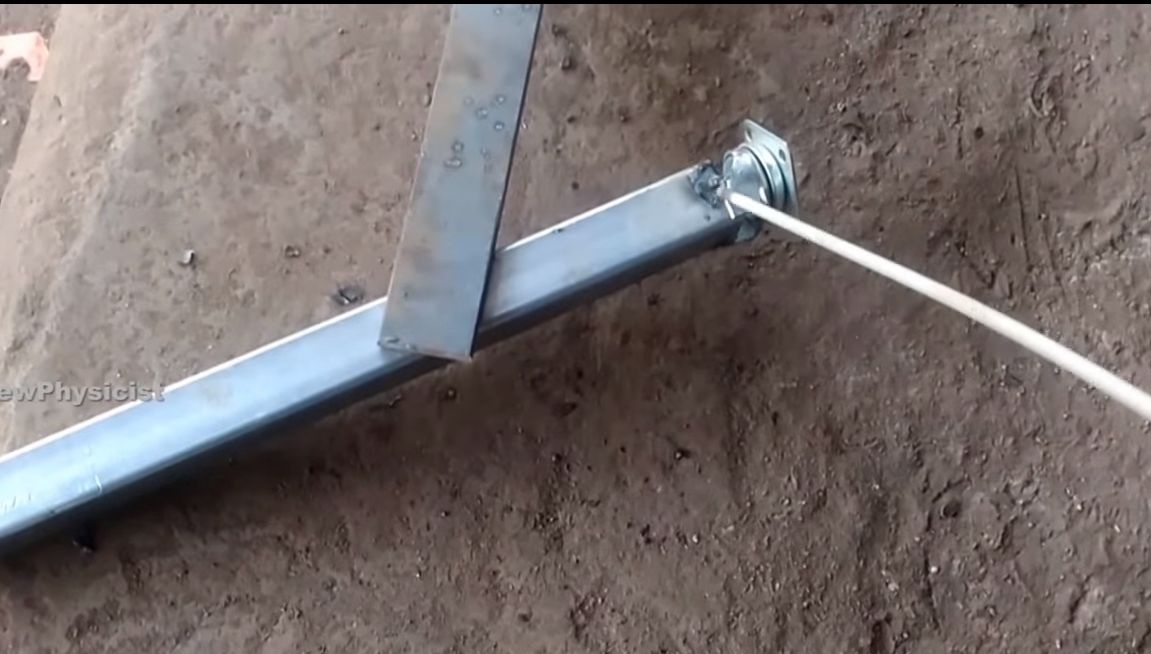
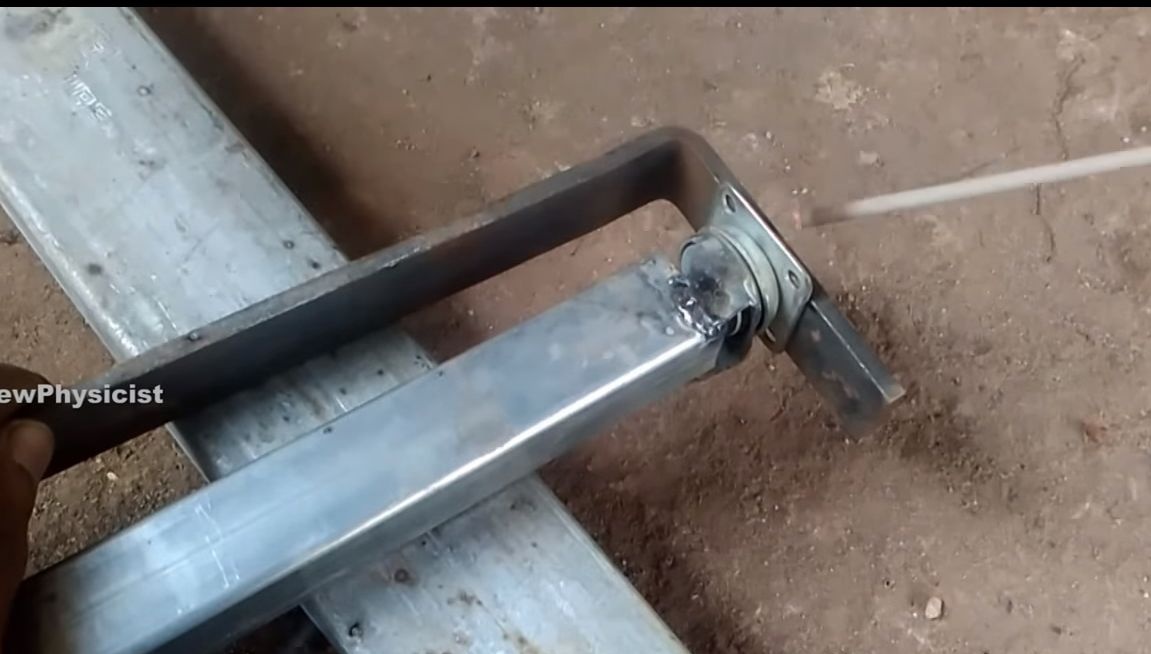
To the upper end of the mast, weld the part that we extracted from the cart wheel. Then a steel plate in the form of the letter “G” is welded to it, it will be needed to attach the tail.
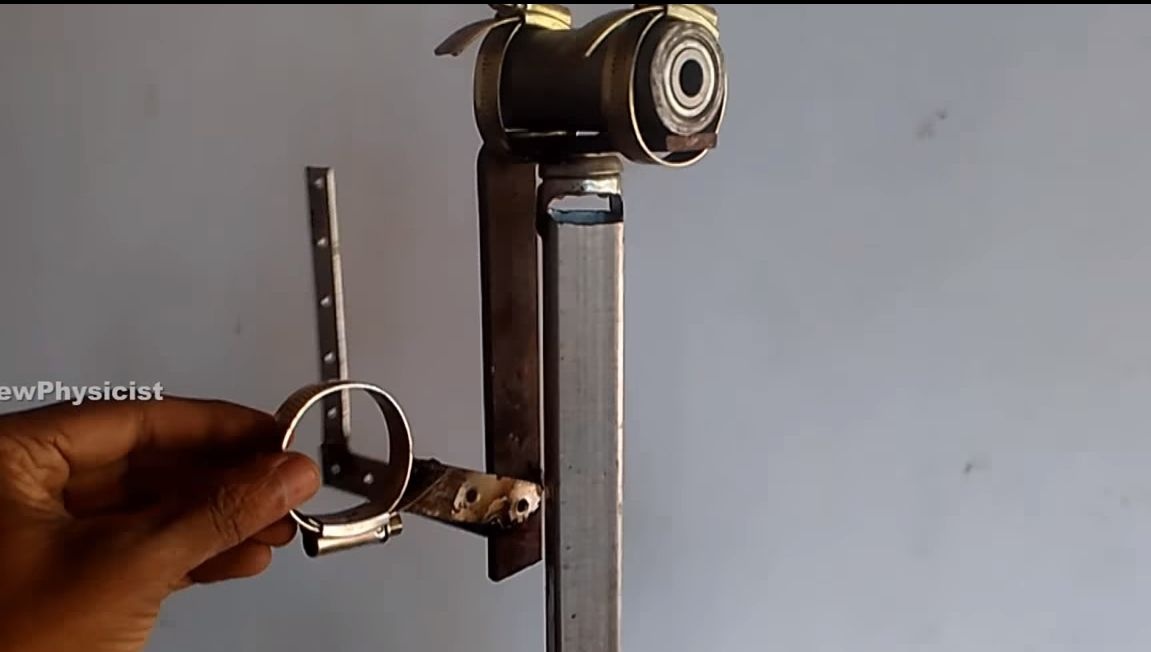
Seventh step. Sleeve with bearings
The propeller shaft rotates on two bearings. The author pressed these bearings into a piece of metal pipe. Remember to lubricate the bearings well before installation. In order not to be wiser with the hub, you can also successfully use the finished hub from the front or rear axle of the bicycle wheels.

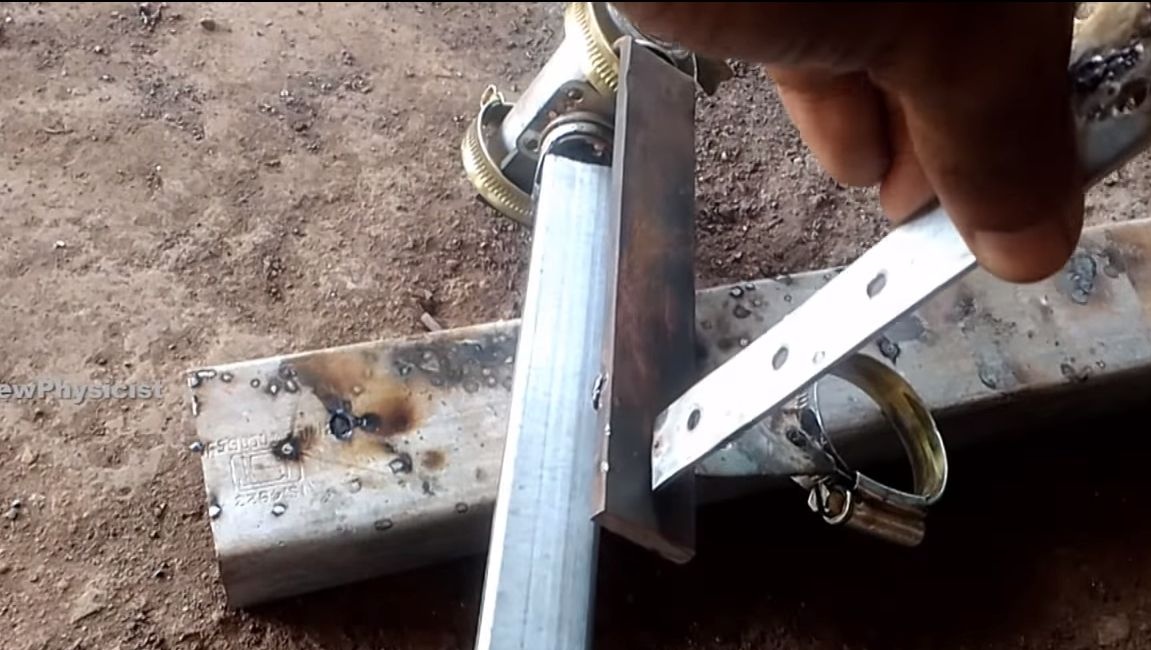
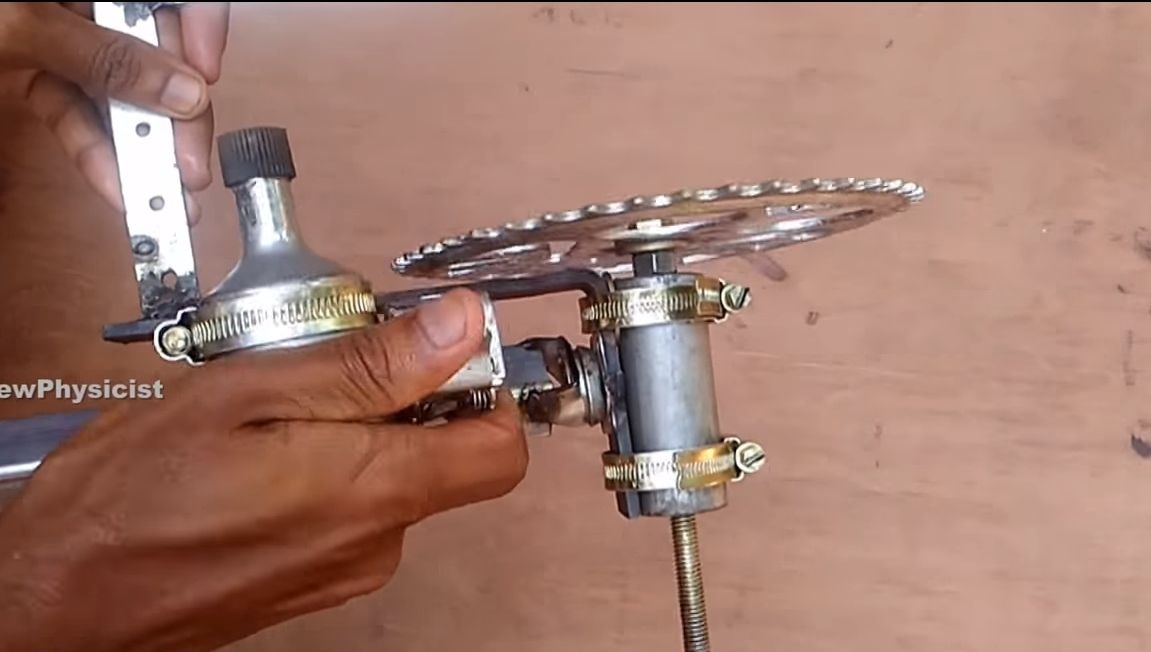
Step Eight. Mounting clamps
The author fastens the generator and sleeve with bearings using ordinary steel clamps. To fix the dynamo machine, you will need to weld an additional plate to the frame.

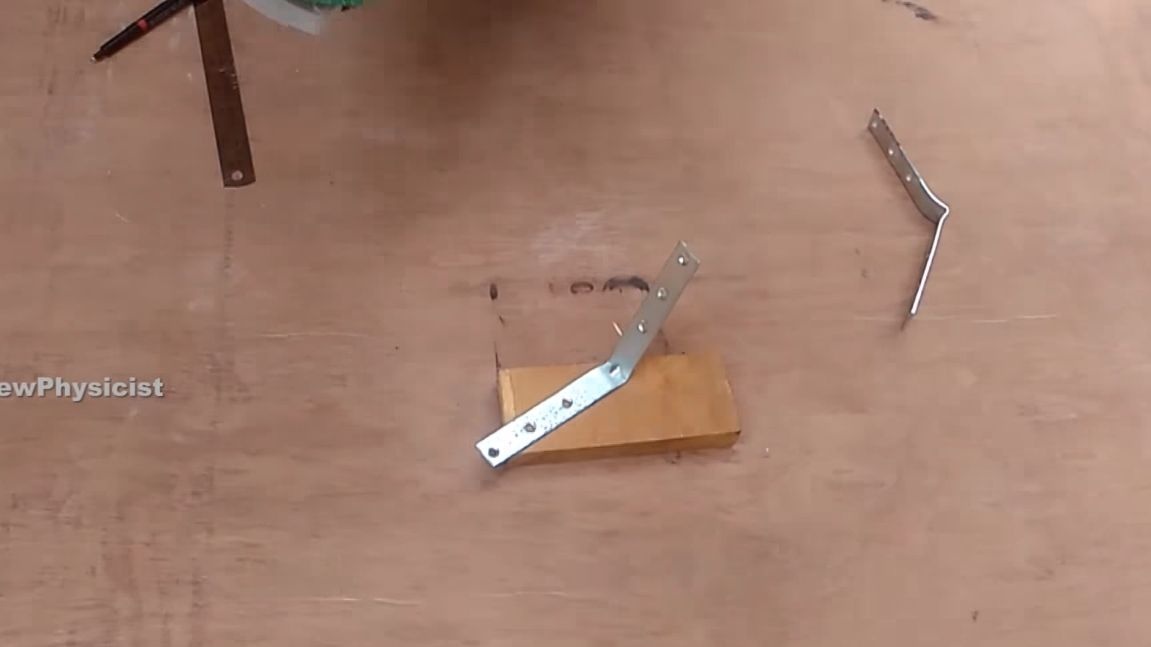
Step Nine. Tail Fasteners
Locate the metal plates and weld them as seen in the photo. One part is welded directly to the rotary plate of the windmill.


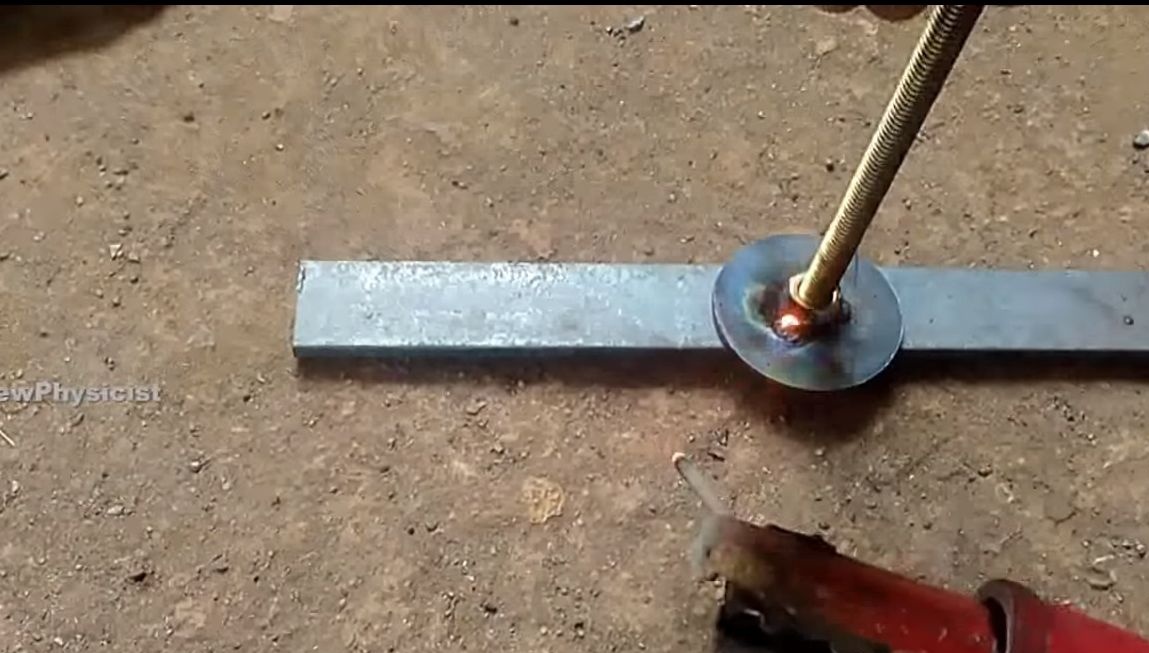
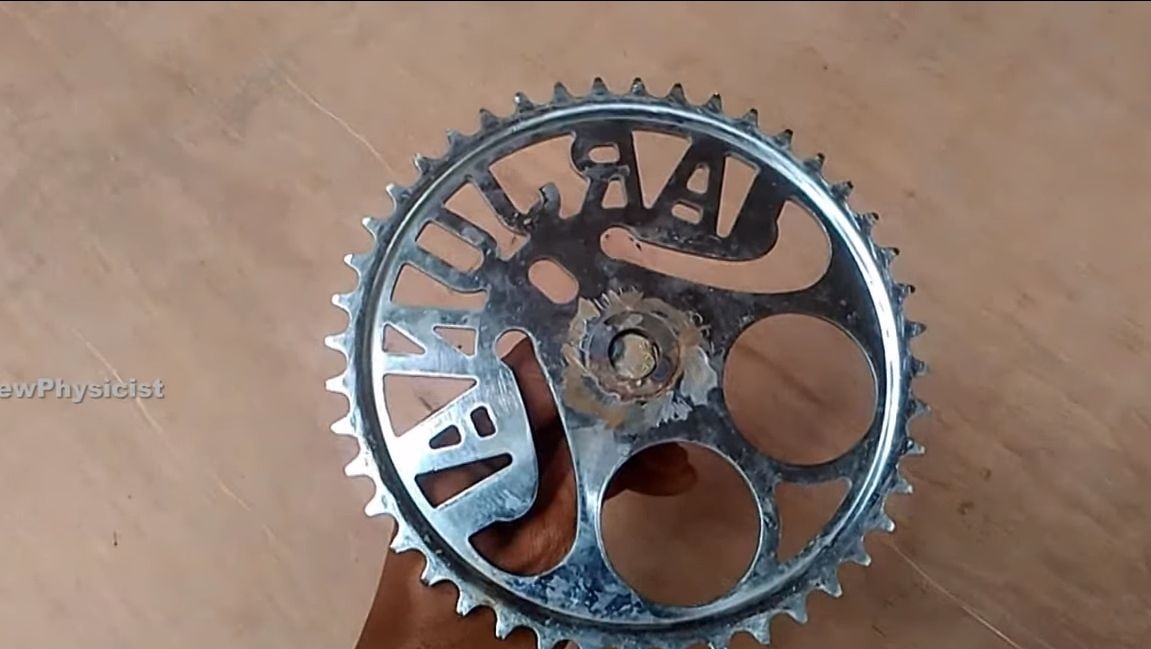
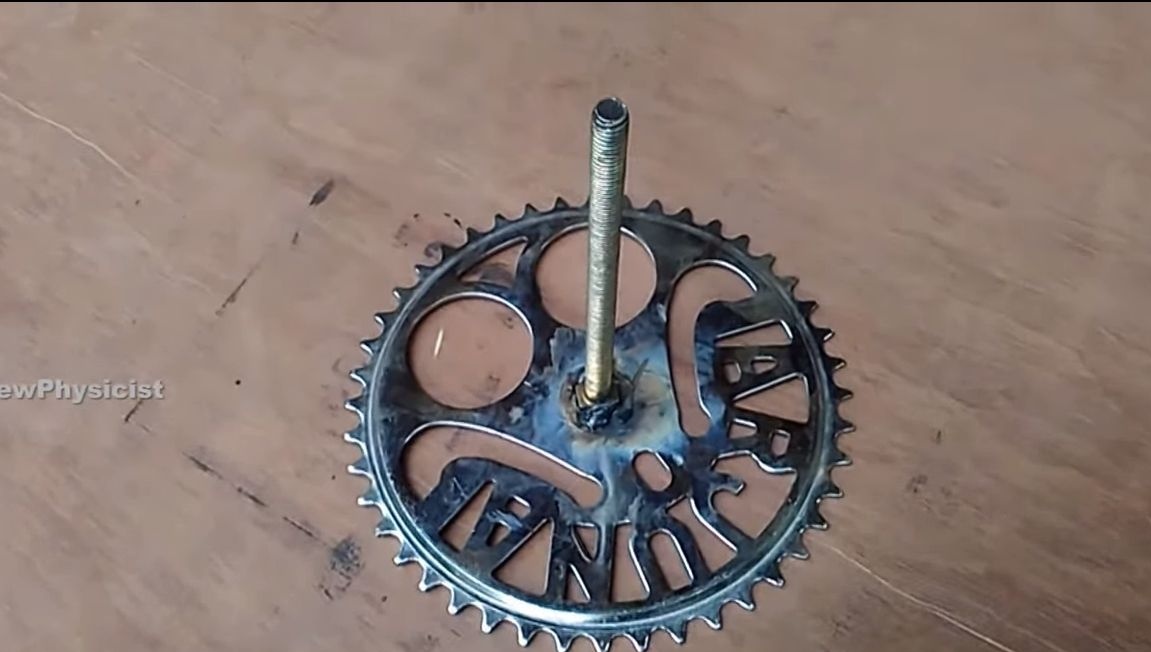
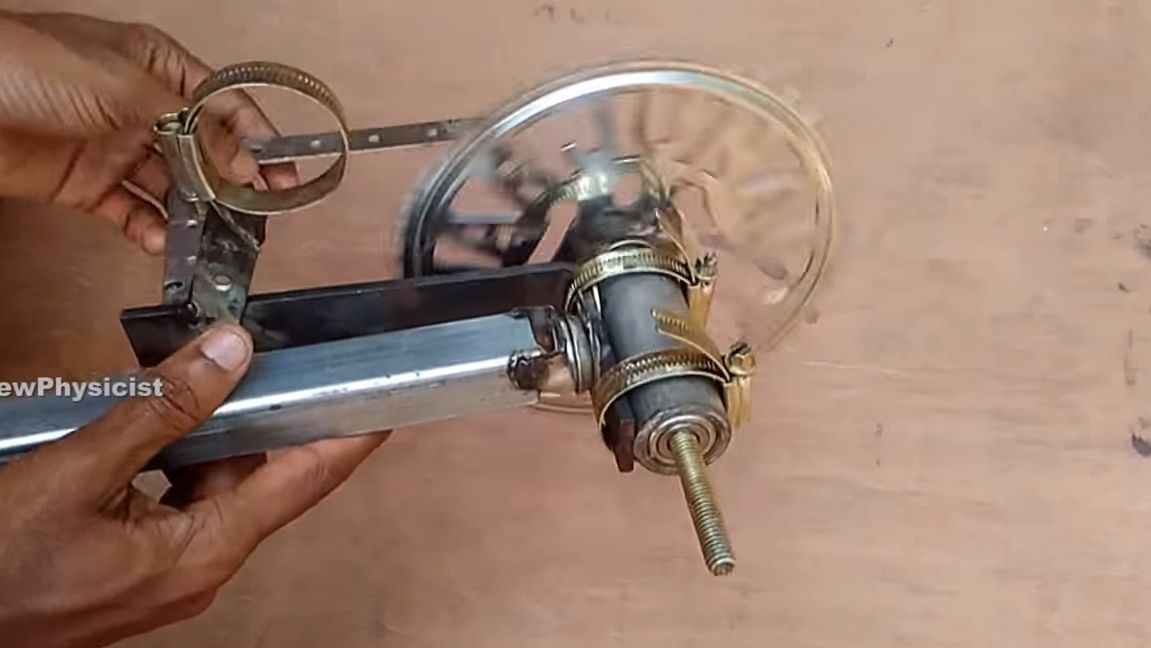
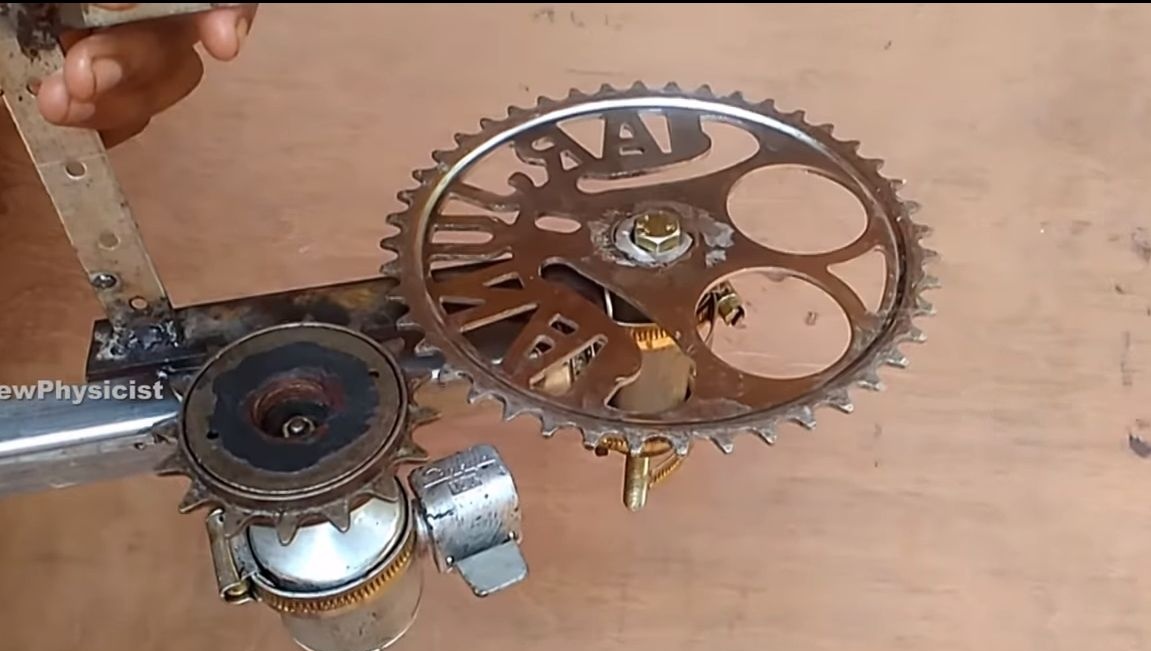
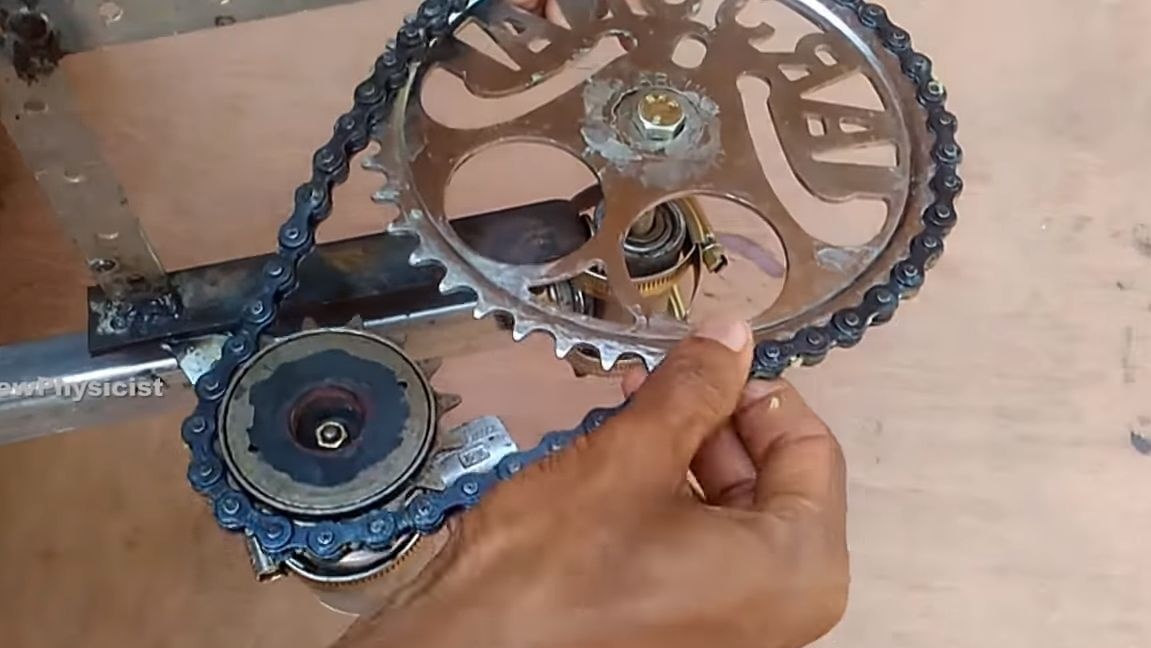
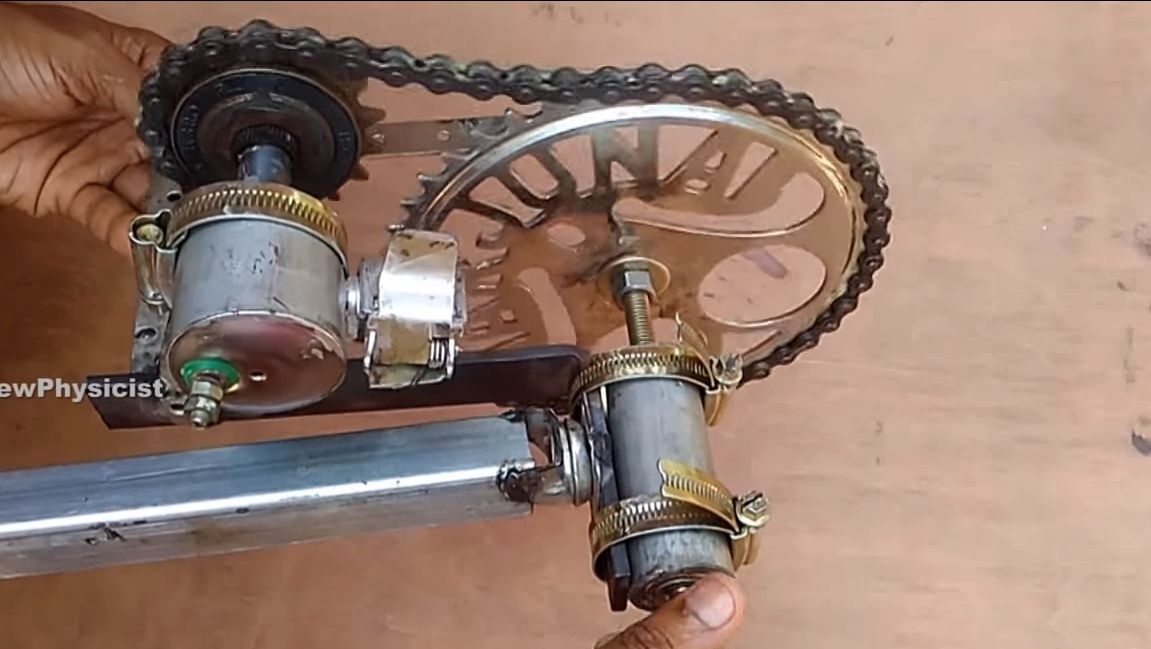
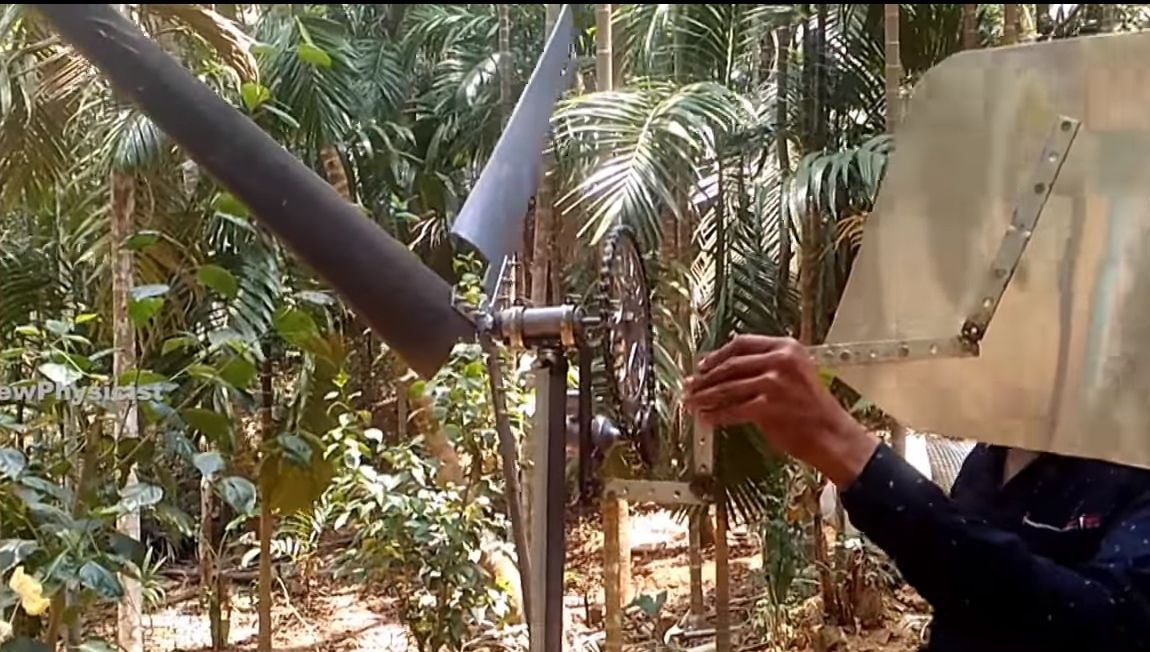
Step Ten Sprockets and chain
Take the front bicycle sprocket and cut off everything superfluous from it. Weld the nut to the center. This sprocket is located on the propeller shaft.
Install the dynamo in the clamp, and install a small diameter sprocket on the shaft. This will allow you to get a sufficiently high generator speed with a relatively small screw speed. That's all, cut to size and put the chain.
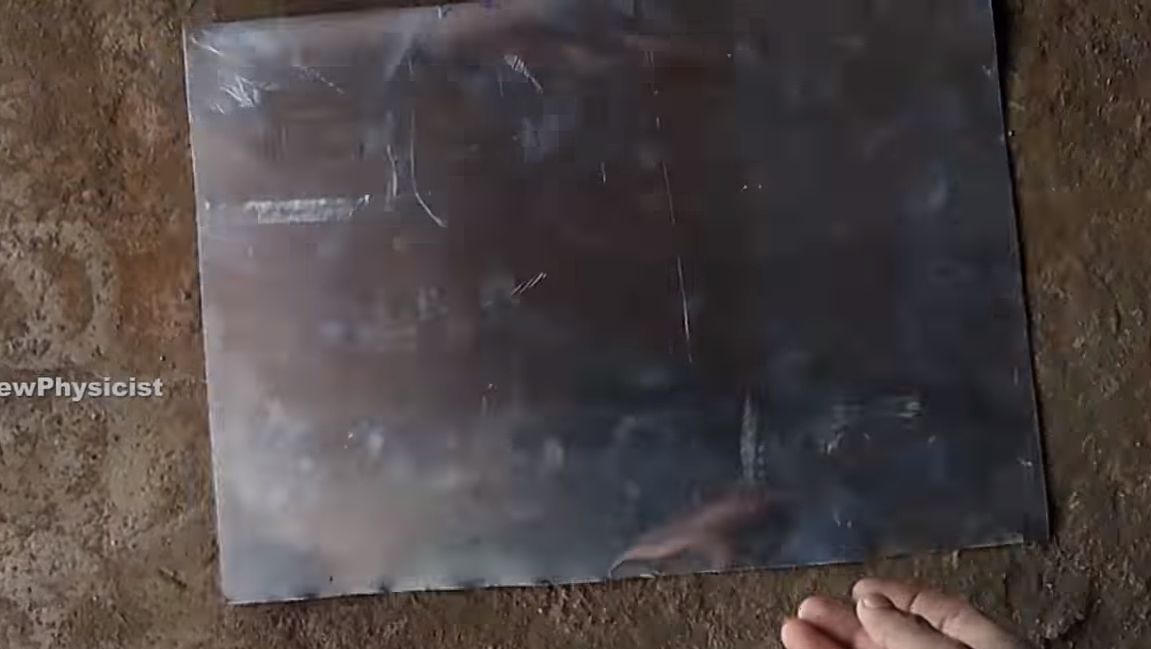
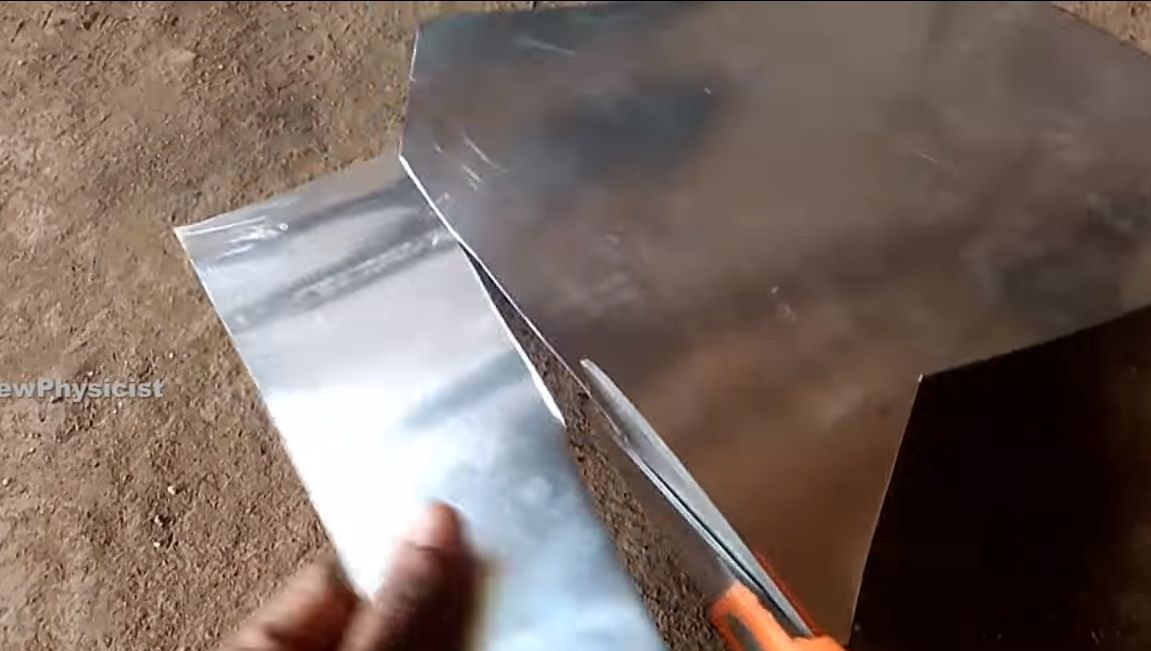
Step 11. Tail
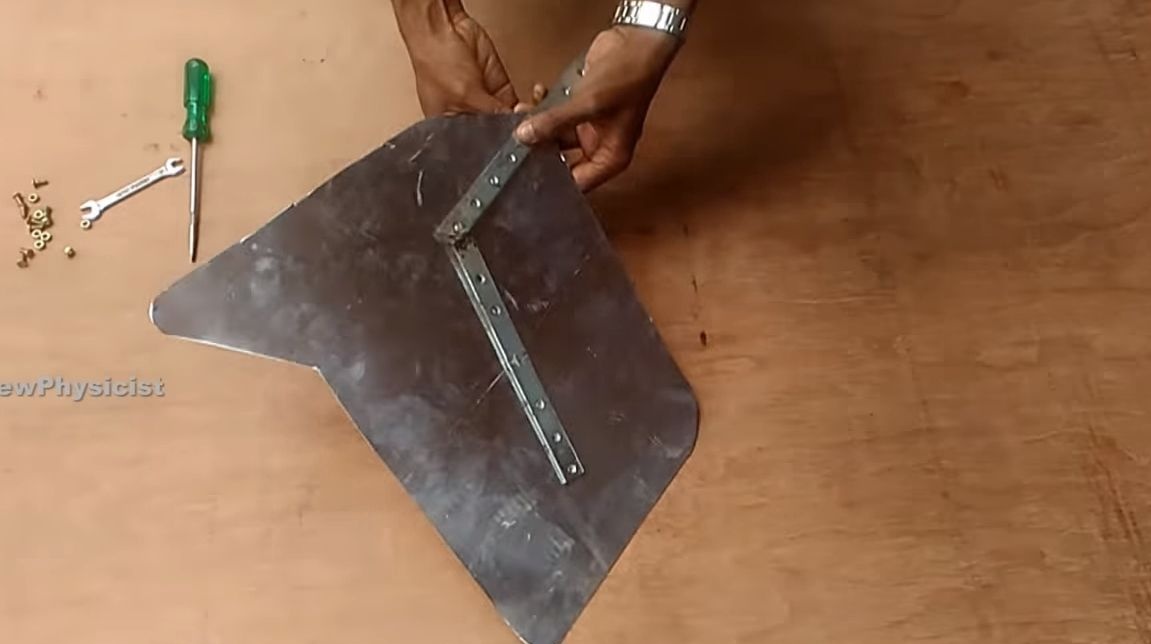
Cut the tail out of thin sheet steel using scissors. You can think about the shape and size yourself. Attach the second metal bracket that was previously manufactured to the tail.

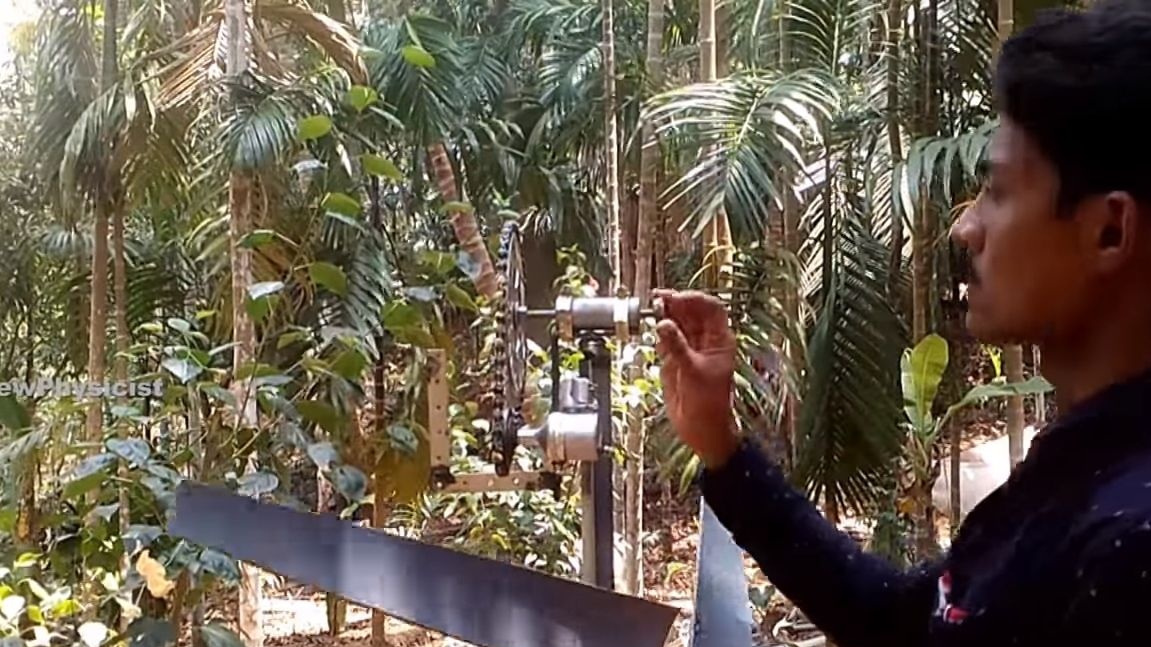
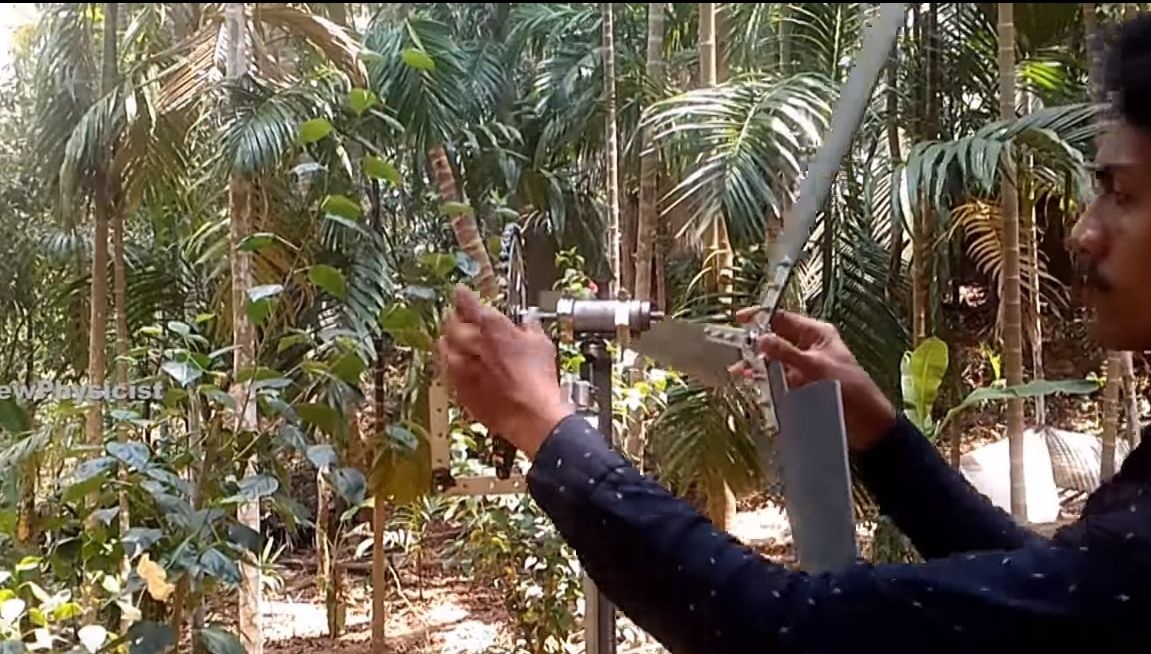
Step 12. Build the windmill!
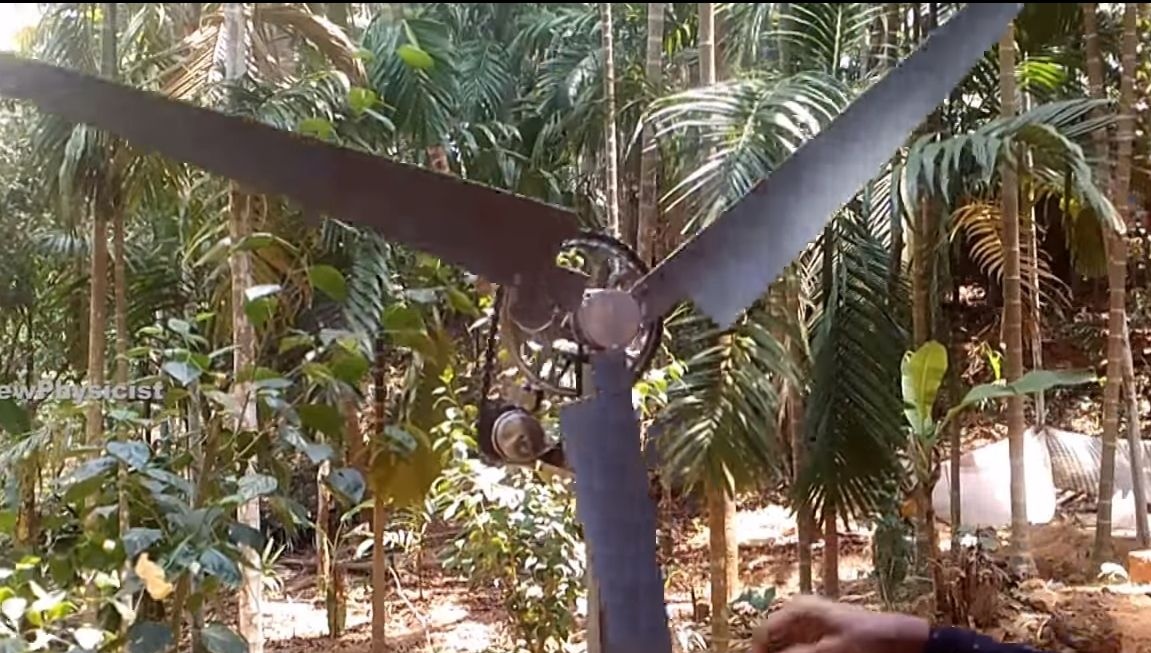
Fasten the tail to the windmill bracket using a bolt and nut. Install a wind turbine in an open area where a good wind blows. If the author does not deceive us, then his windmill works quite smartly, given that the branches of the surrounding trees almost do not move.If everything works fine and the circuit does not fall, connect the wires to the generator and take measurements of the voltage that it generates.
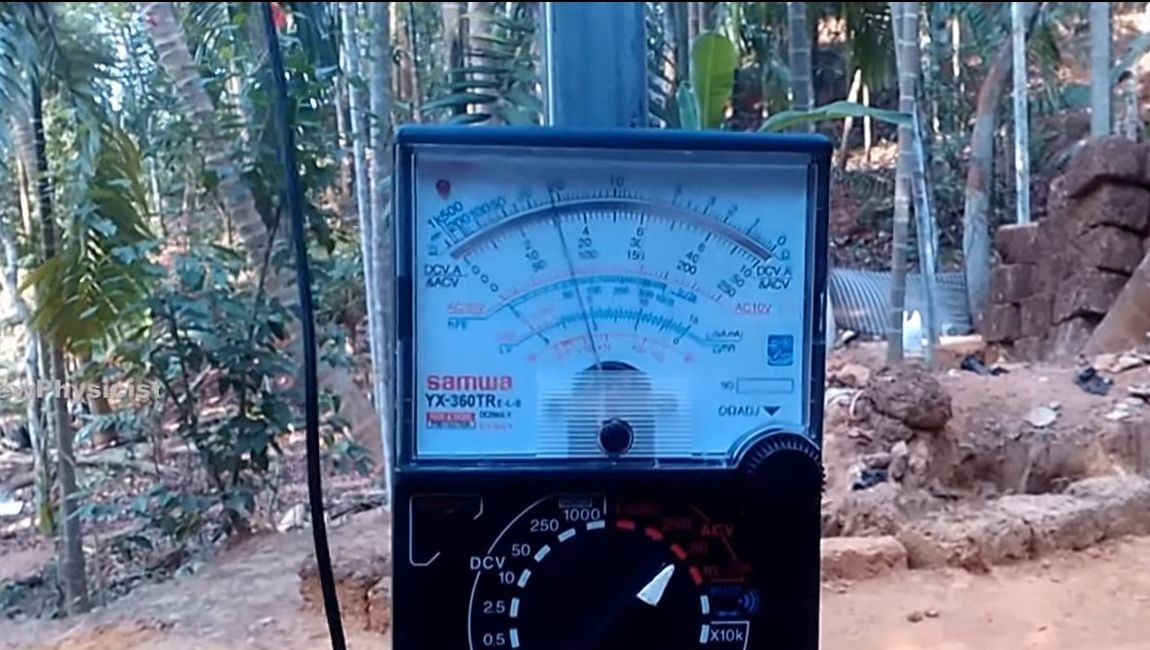
Well, then you decide, you can install the controller and charge the batteries with a windmill. There will not be much energy here, but it will be enough to charge a laptop, mobile and so on. And if you put a lot of such windmills or increase its size, there will be enough energy for wider domestic needs.