
Today it’s fashionable to do understated carsbut on our roads for a car it's just suicide. In addition, in such a car it’s already so easy you won’t leave the city and go to the country, but many people want to be fashionable. To solve this problem, the mono car's suspension can be made adjustable, and pneumatics come to the rescue. Using the air suspension, you can overestimate or understate the car with a simple click of a button.
How to modify your car, consider the example of a VAZ 2110 car below.
Materials for homemade the author decided to use affordable ones. It mainly uses parts from gas equipment. Well, as power elements, you will need to buy four pillows with shock absorbers.
What is it made of?
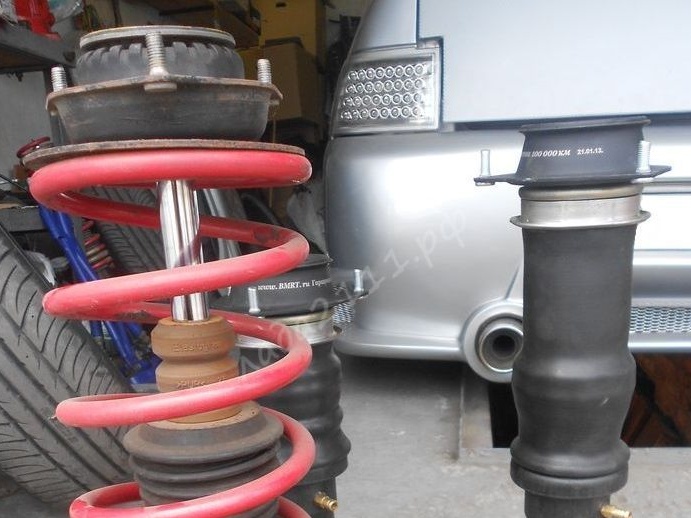
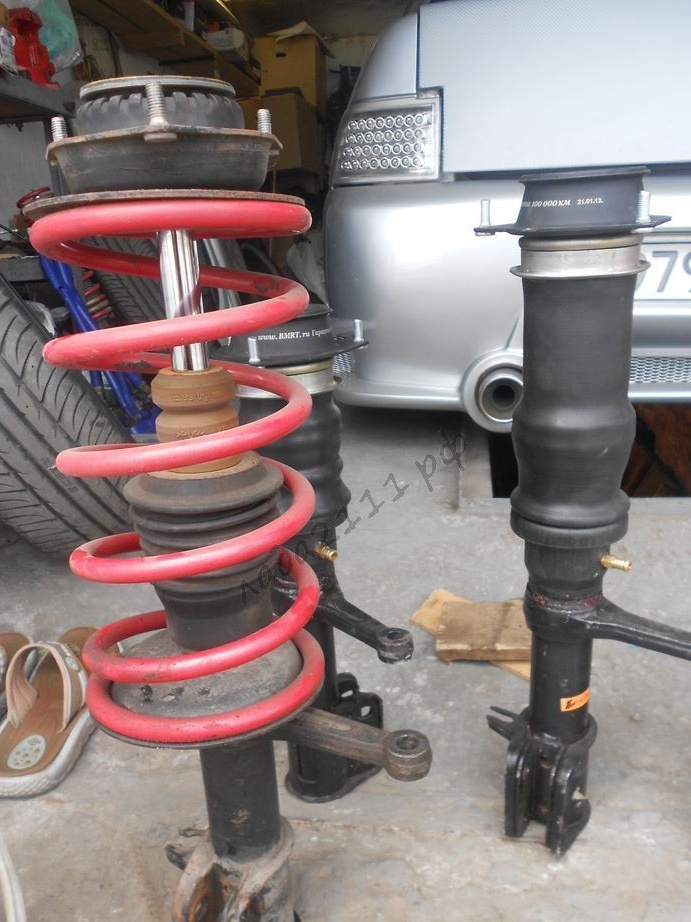
Racks
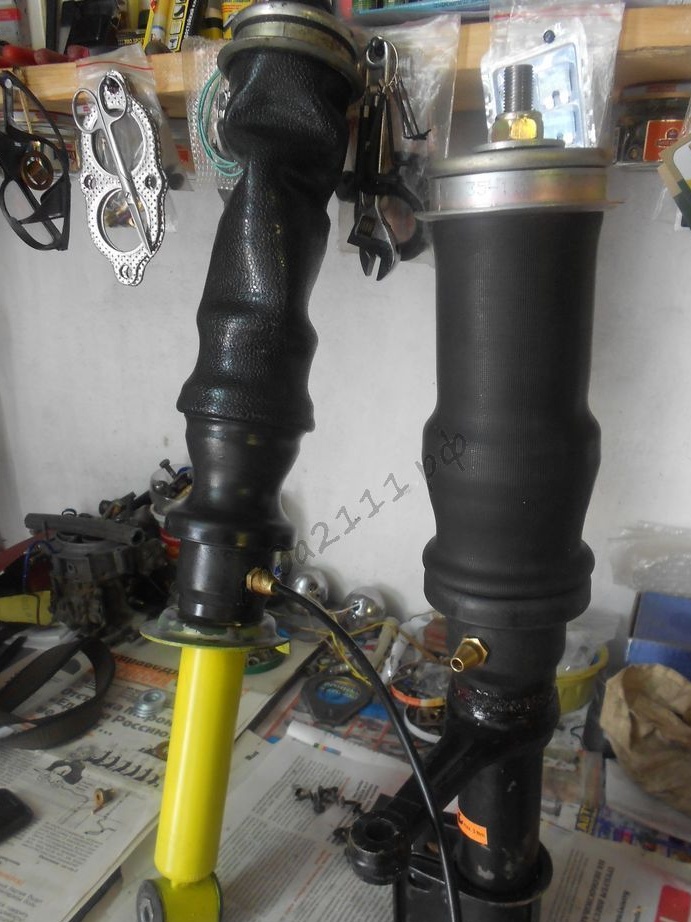
Racks author bought new oil-based SAAZ. There were left two bagels of the chipper), those that put on the shock absorber stock).
This case cost 8,000 rubles.
Where are the pillows from?
The author bought pillows from a 4th generation Scania truck. They cost 3,000 rubles apiece.
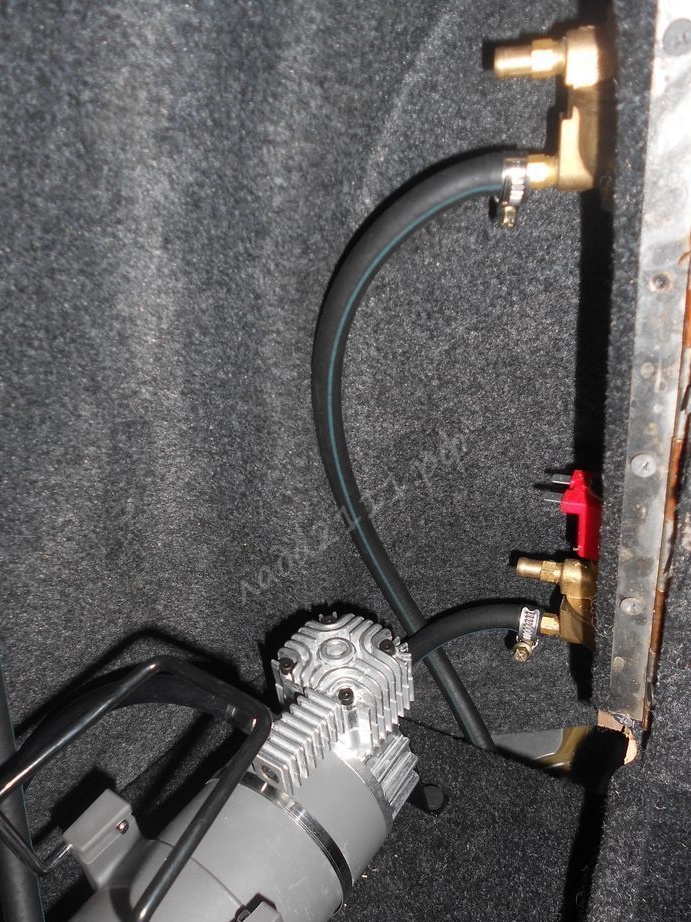
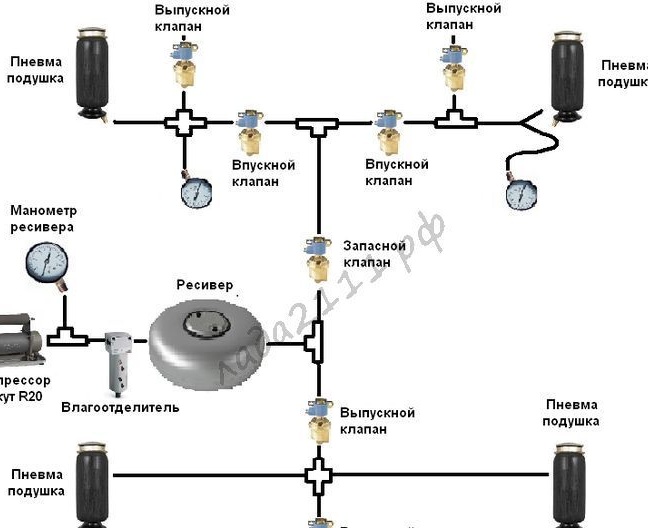
Air Suspension Receiver
The author made the receiver from a gas cylinder from VAZ 2109. The choice fell on such a cylinder because it can withstand high pressure (about 22 atmospheres) and also has a non-return valve, that is, nothing will have to be modified. And such cylinders have a large volume, it is 45 liters, which will contribute to the quick rise of the car if necessary.
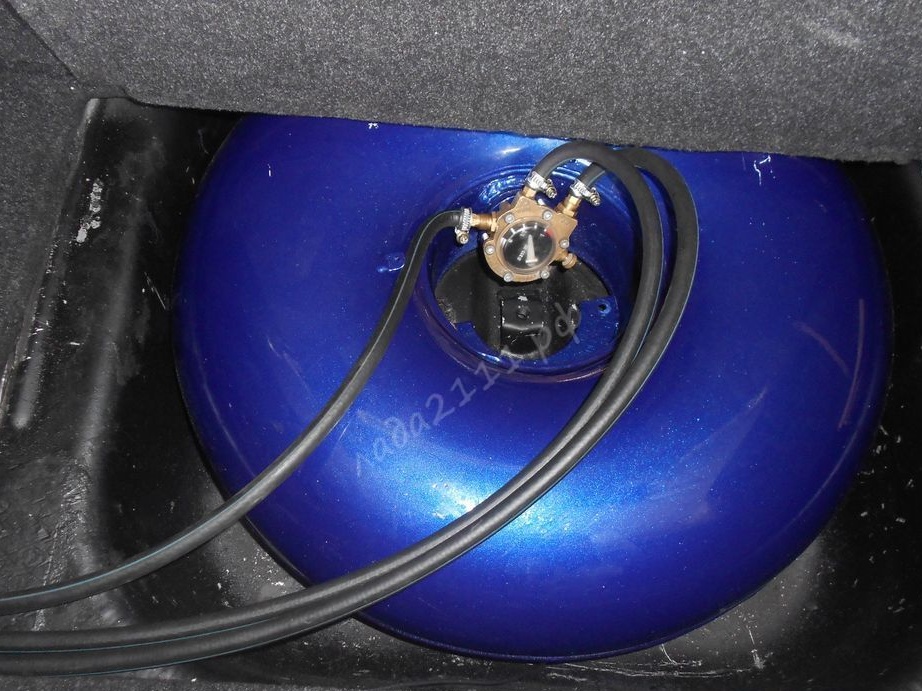
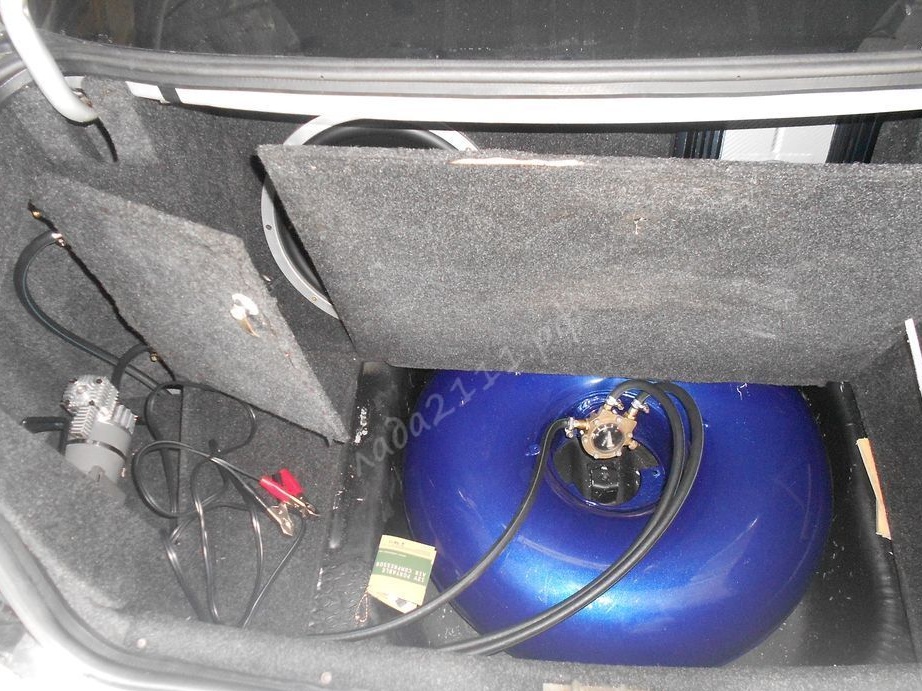
Of the disadvantages of such a receiver can be considered large weight and size. A smaller cylinder is suitable for Kamaz with a volume of 25 liters. But in this case, it will be necessary to weld the fitting, and make a check valve, although this option is best suited for the Classics.
The balloon cost the author 2,500 rubles.
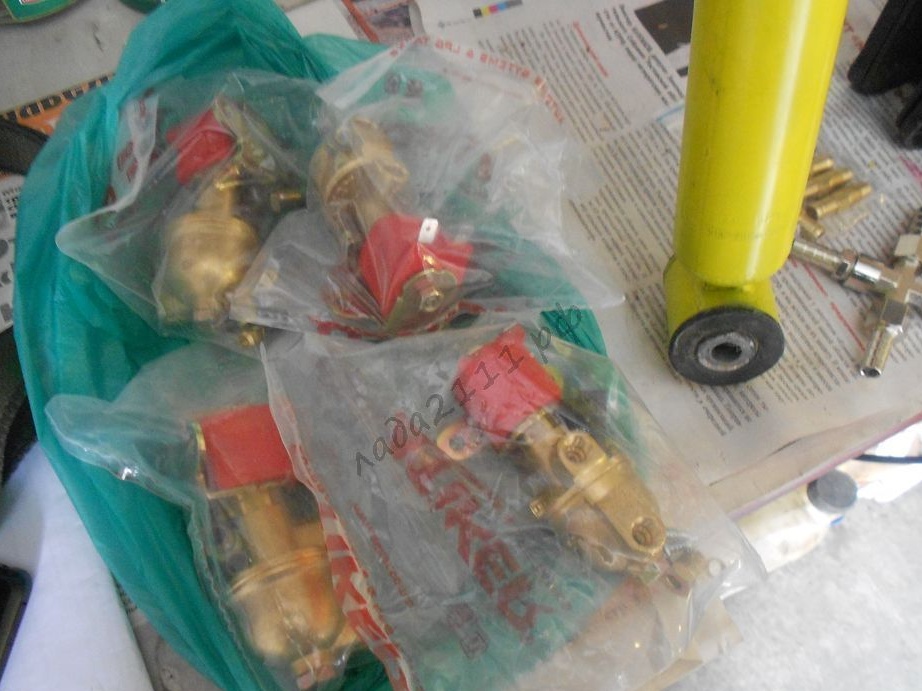
HBO valves
The valve will only need 4 pieces, two of which work on the inlet (front and back), and two on the discharge. If you select high-quality valves, they will hold up to 25 atmospheres.
One valve costs about 350 rubles apiece.
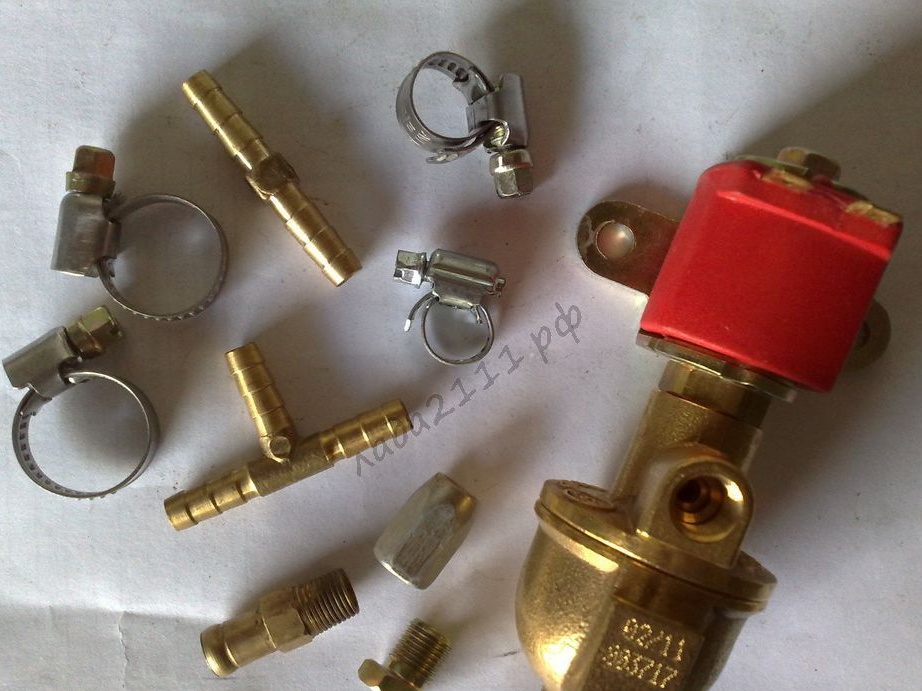
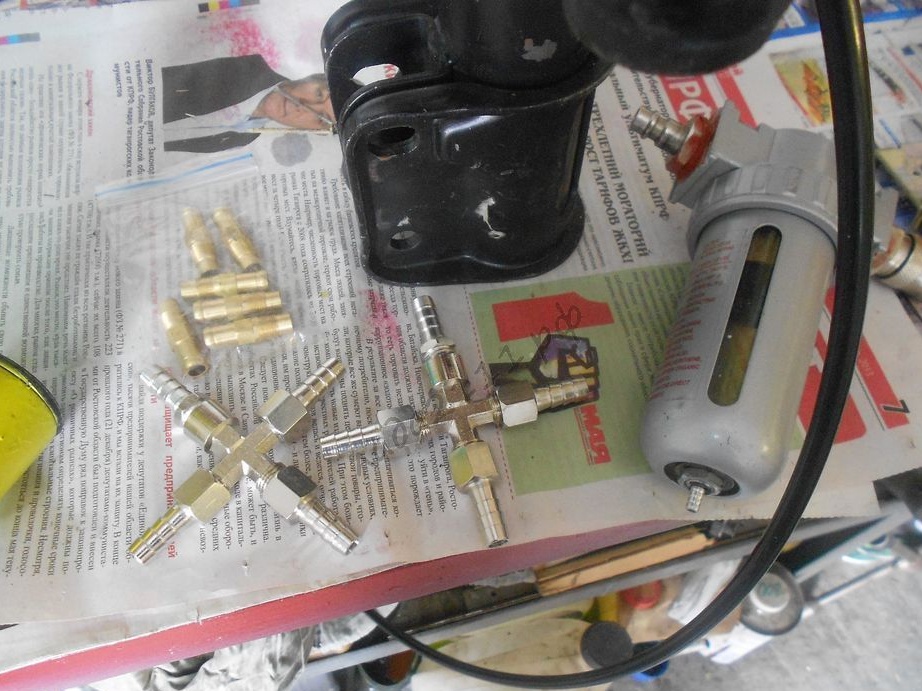
About the tubes
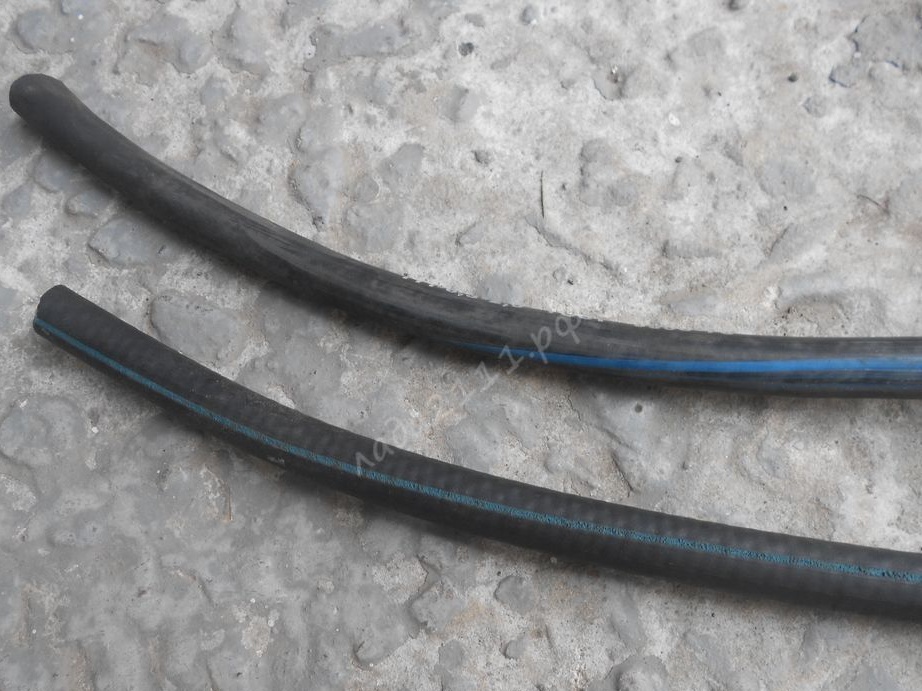
Initially, the author decided to use 6 mm oxygen tubes and fittings that were screwed into the HBO valves. But from the heat, these hoses began to break through. Therefore, it is best to collect everything immediately on high-pressure pipes made of PVC, they are used in the brake system of trucks.
From the receiver to the intake valves, the author put tubes with a diameter of 6 mm, and from the compressor to the receiver by 8 mm.
A meter of such a tube costs 35 rubles.

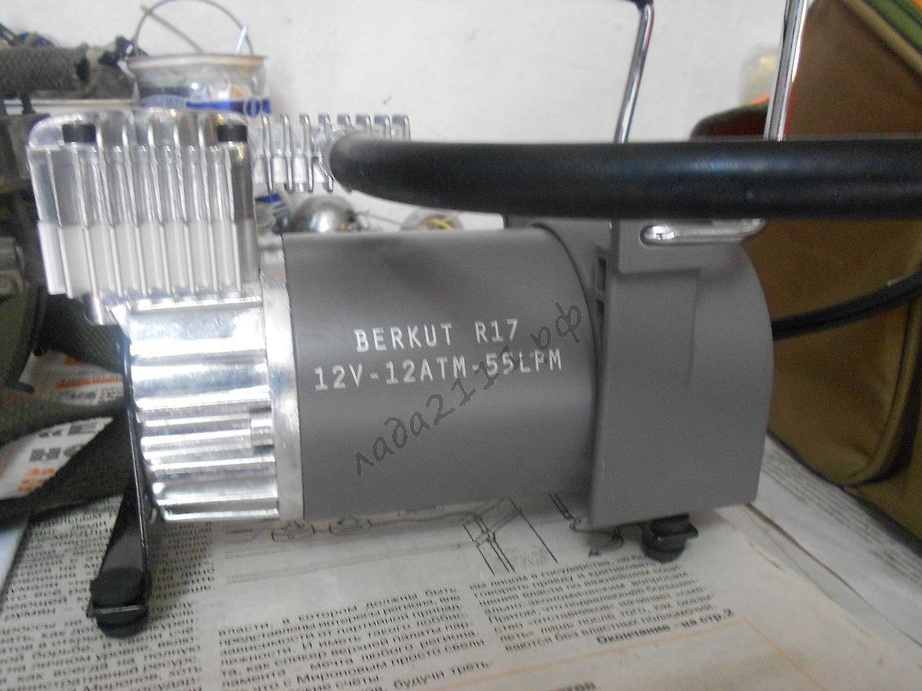
Which compressor to install?
The first compressor that the author acquired was Berkut P17 (18A) (price 2950r). In principle, it is quite enough for such purposes. For a reasonable price, it has good performance and resource. Later, the author decided to replace it with P20 (30A) (4950r), but apart from the pumping speed, no special changes in the work were noticed.
If you decide to buy another compressor from this price category, you will remember that very few competitors can be found with the above compressors.
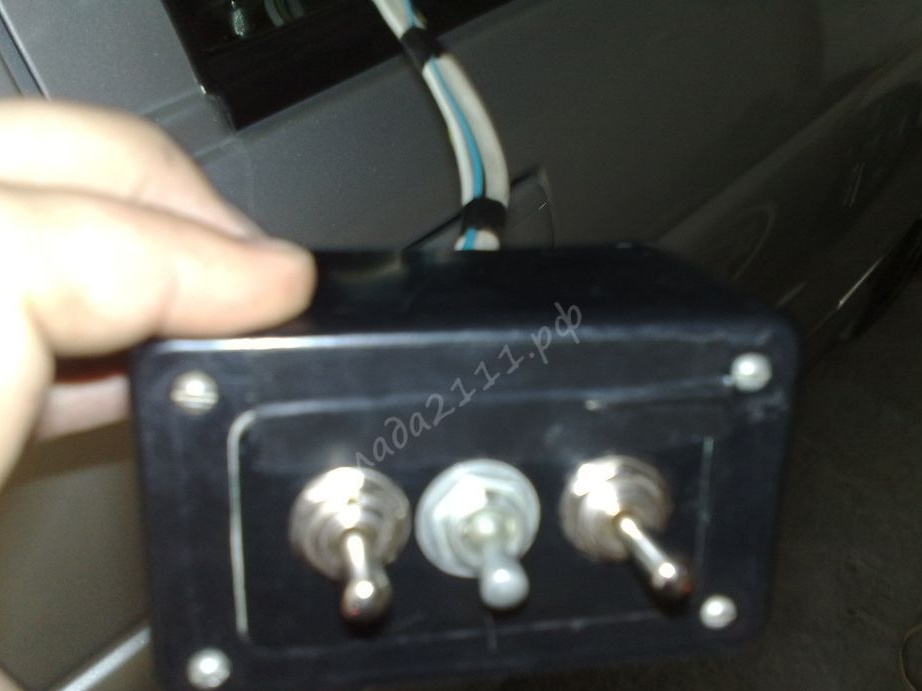
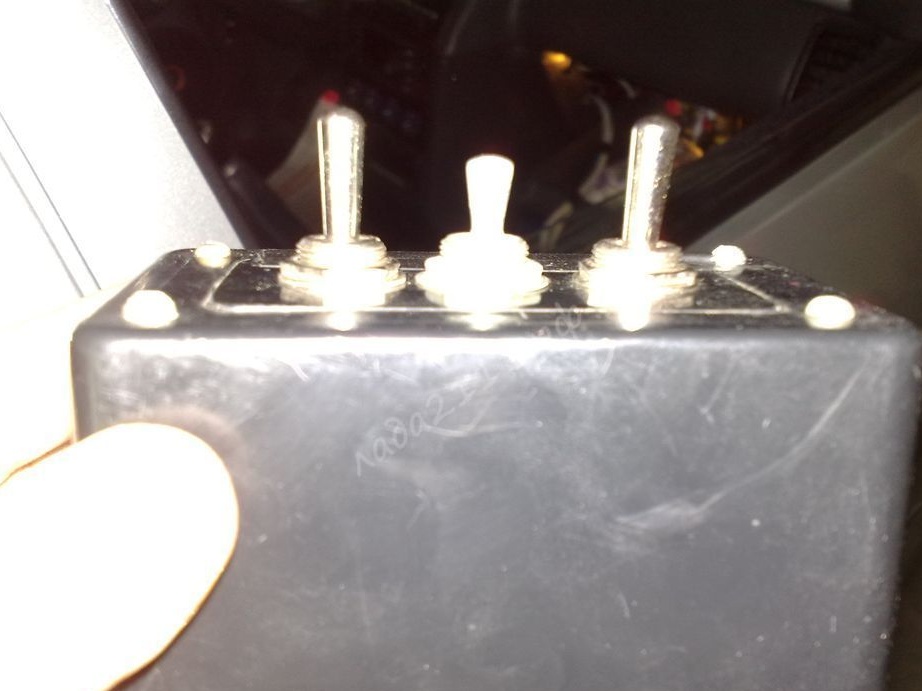
Air suspension control panel
Since the system is a two-circuit, the control is carried out with the help of three toggle switches. The left toggle switch has three positions and controls the rear contour. The right toggle switch also has three positions and controls the front contour. Well, the middle toggle switch is needed to turn the compressor on and off.
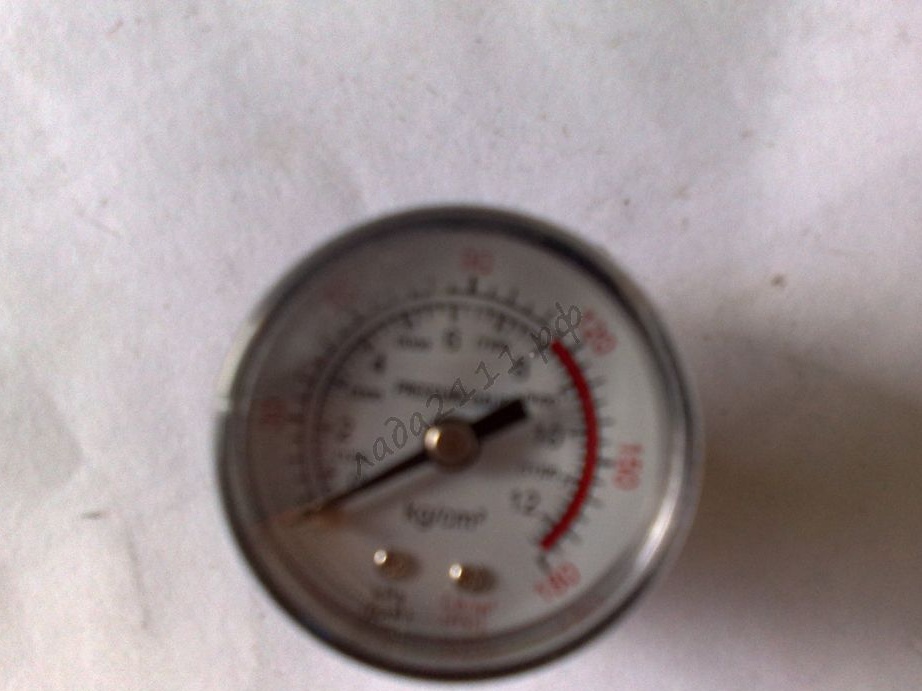
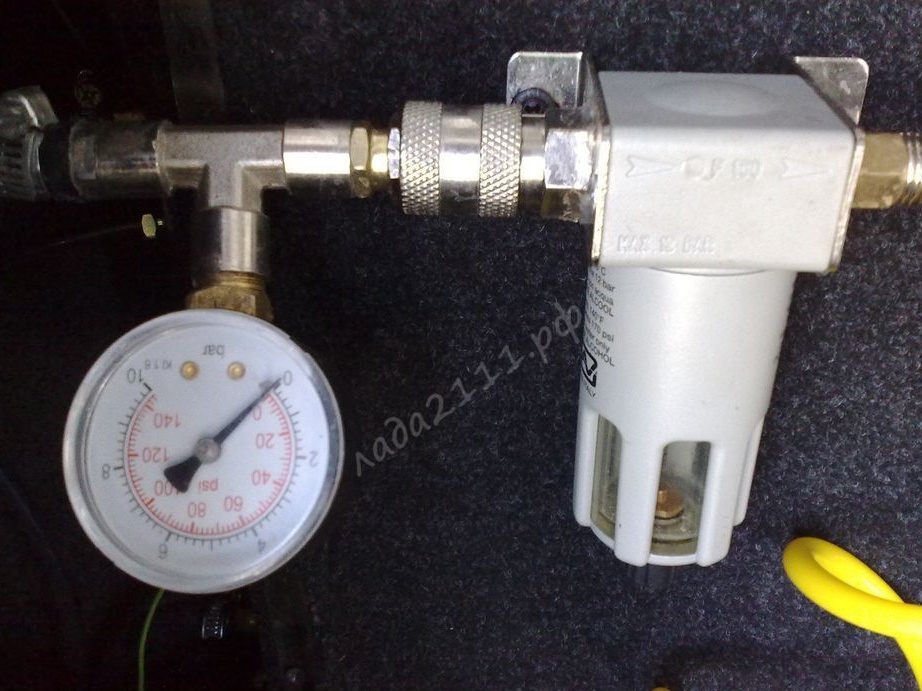
Pressure gauge
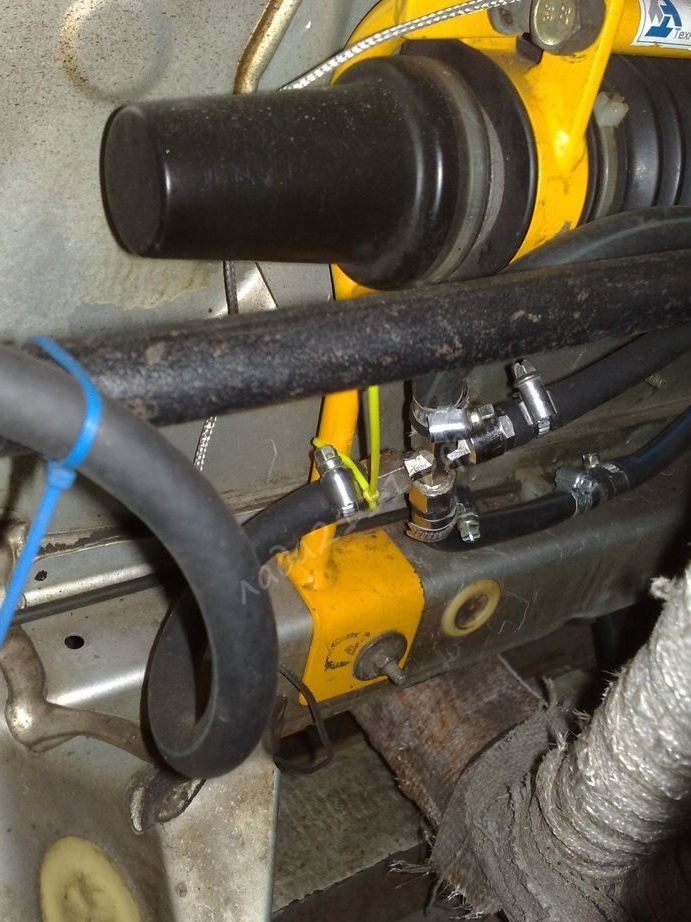
Between the compressor and the receiver, a pressure gauge must be installed to control the pressure. There should also be a dehumidifier. Where to install the pressure gauge, here everyone decides for himself.
It is advisable to look for nuts for them to supply pneumatic tubes. Everything needs to be done at quick couplings, so that if necessary, air can be pumped into the system at the tire fitting or from the Compressor (in an emergency).
A manometer costs 80 rubles apiece.

The total cost of the kit amounted to 17,000 rubles.
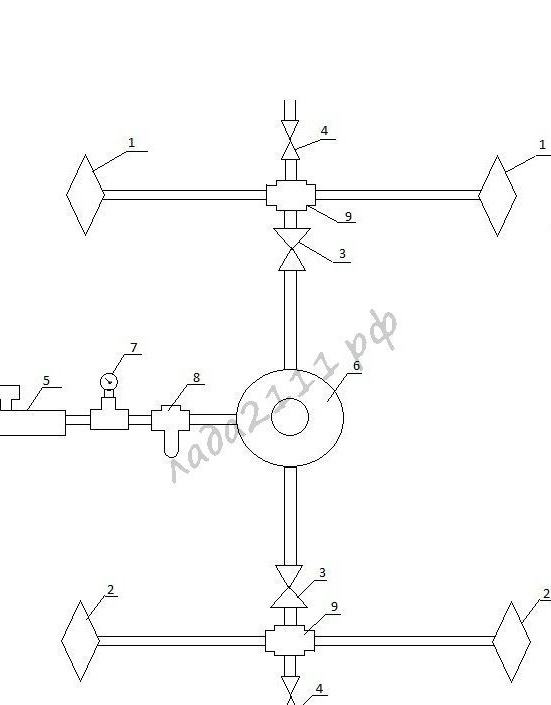
Scheme
Initially, the author decided to make a dual-circuit circuit. But due to problems on the front end, it was first made common. However, pressure flowed from one pillow to another and the car began to roll on its side. As a result, the system began to consist of three circuits, and not two or four, as in the standard version.
As can be seen in the diagram, additional valves and toggle switches were installed.
After assembly, it turned out that the ass holds pressure for a month, and before just two days, probably due to the large weight of the engine.
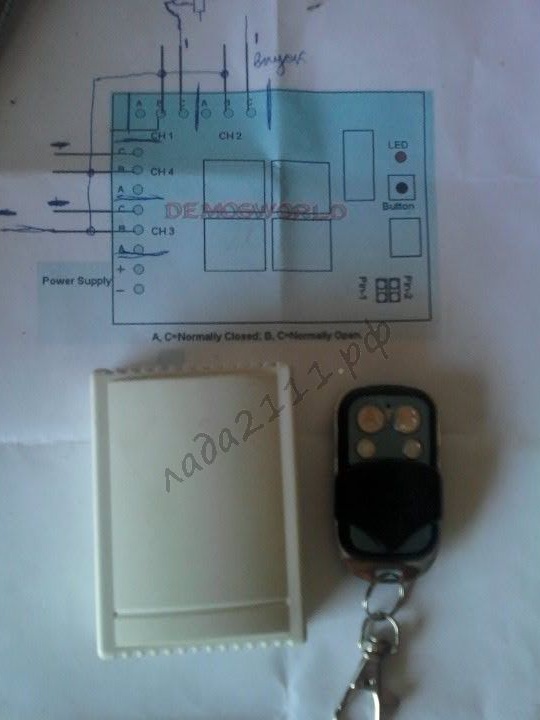
Later, the author finalized the system control panel, and now it has become radio-controlled. But you can control only two circuits, since there are few buttons on the remote control.
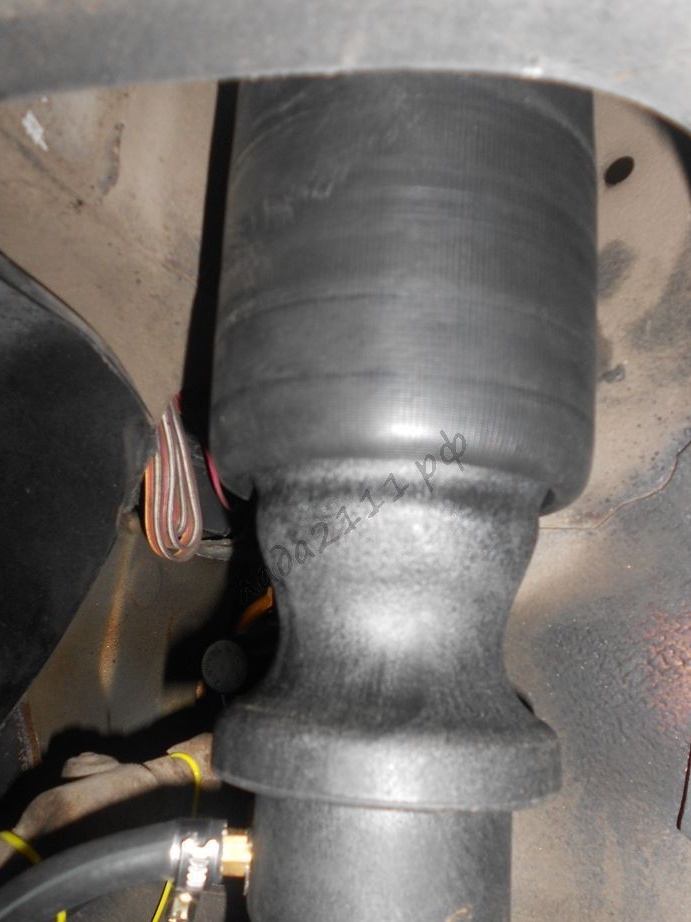
Air suspension installation process
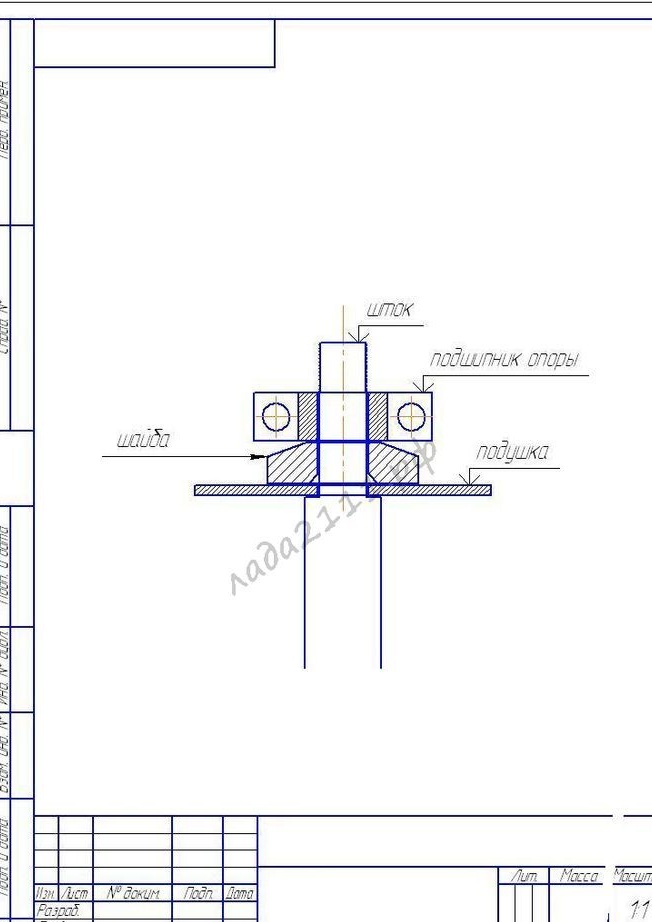
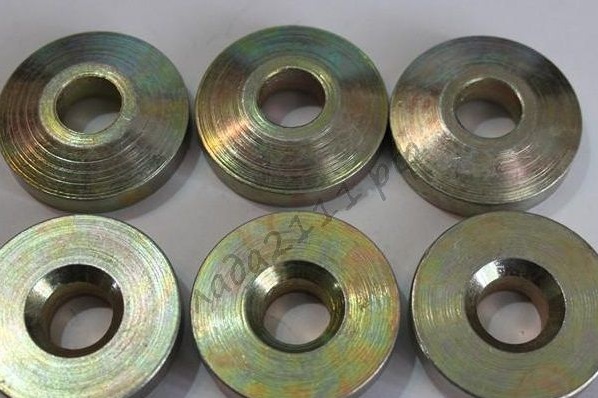
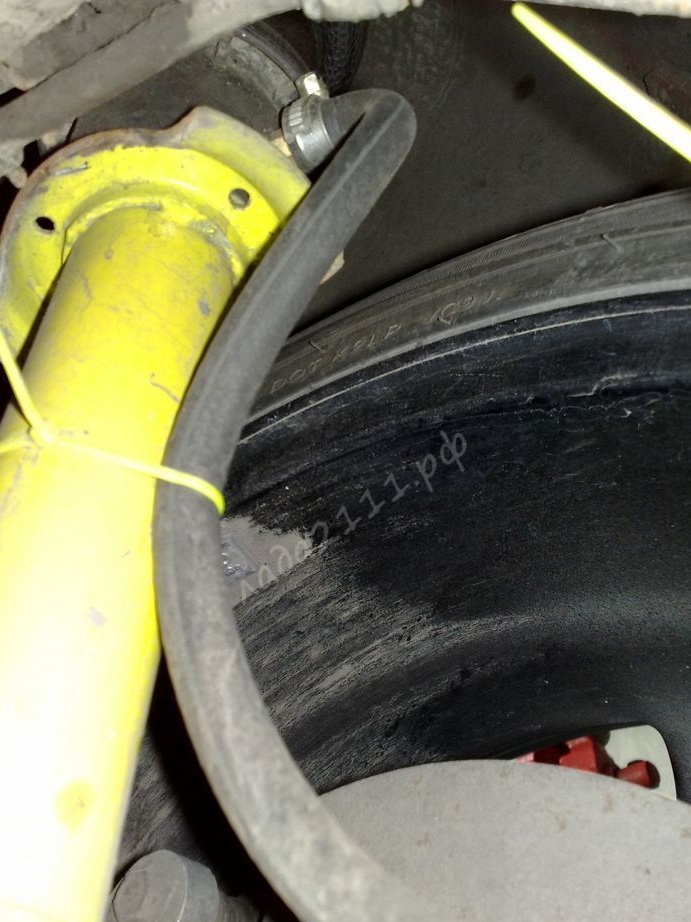
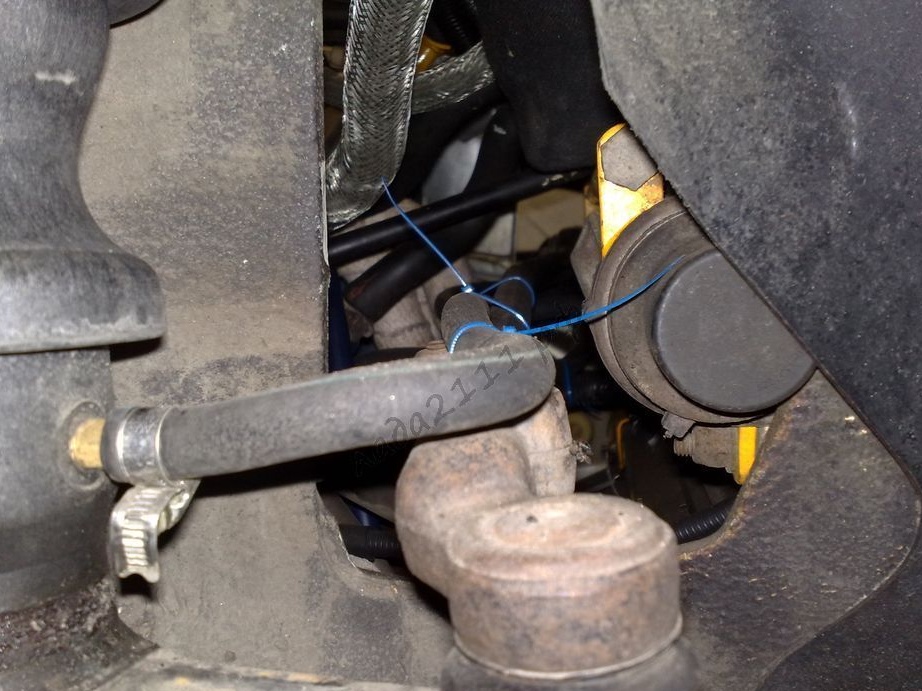
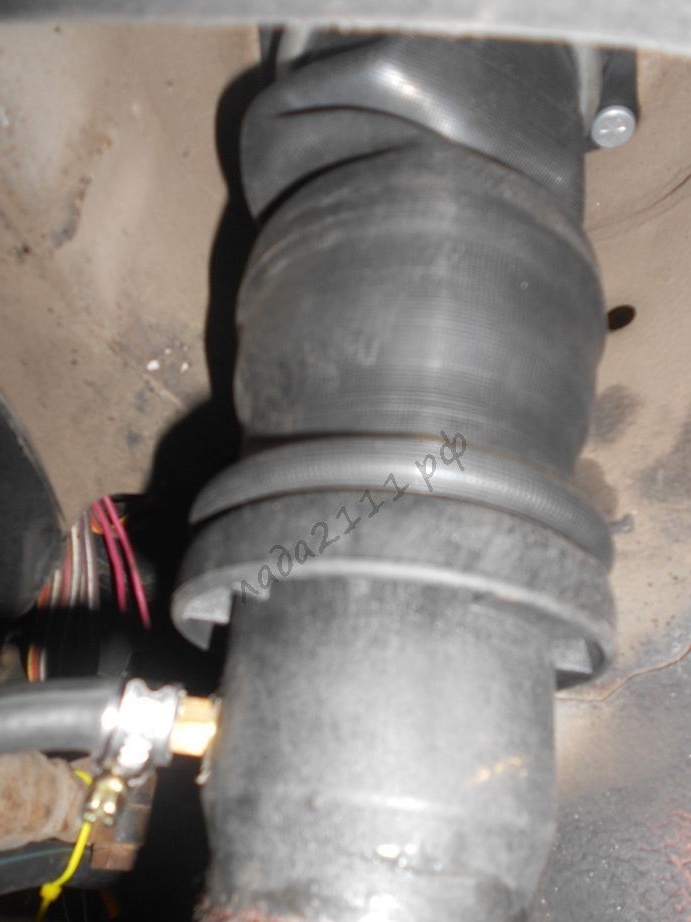
The body of the shock absorbers will need to be perfectly sized. Here you will need a turner. The diameter of the pillow is 45 mm, so that it fits snugly into the body, it is grind, or adapter sleeves are made. You will also need to make special sealing washers.

On the front boots you will need to remove the spring cups. Boots are the bodies of the front struts, inside of which a cartridge (shock absorber) is placed.
The rear cups must first be lowered, and then, when the 15 "wheel rests, cut down. There are special seals on the pillows of the shock absorbers.

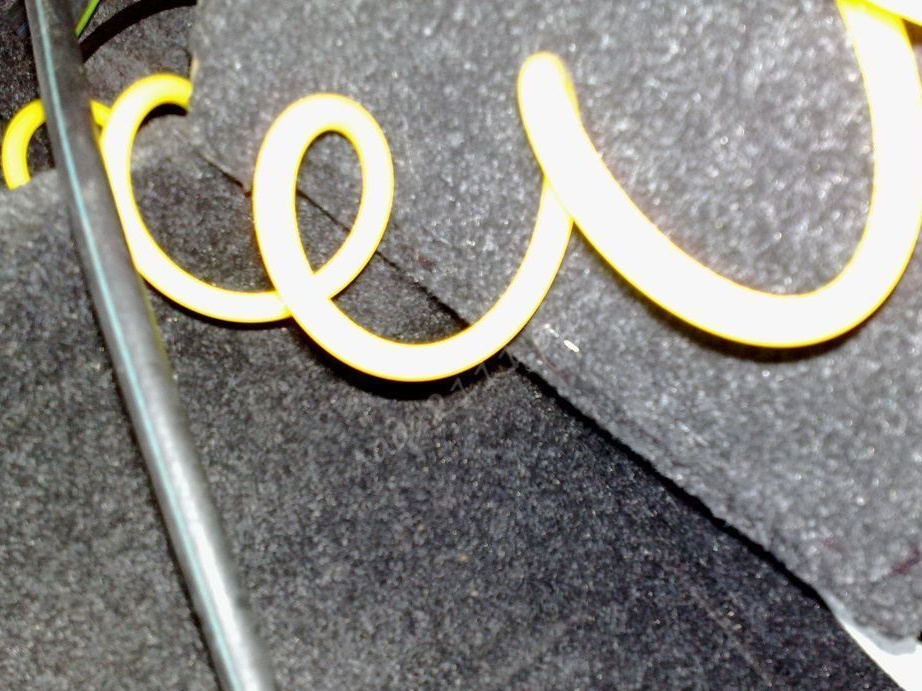
How to install racks, everyone knows. In order not to make additional holes, the author used drainage. Gum is removed from them and then oxygen tubes are inserted. Then they only need to be attached to the body with clamps.
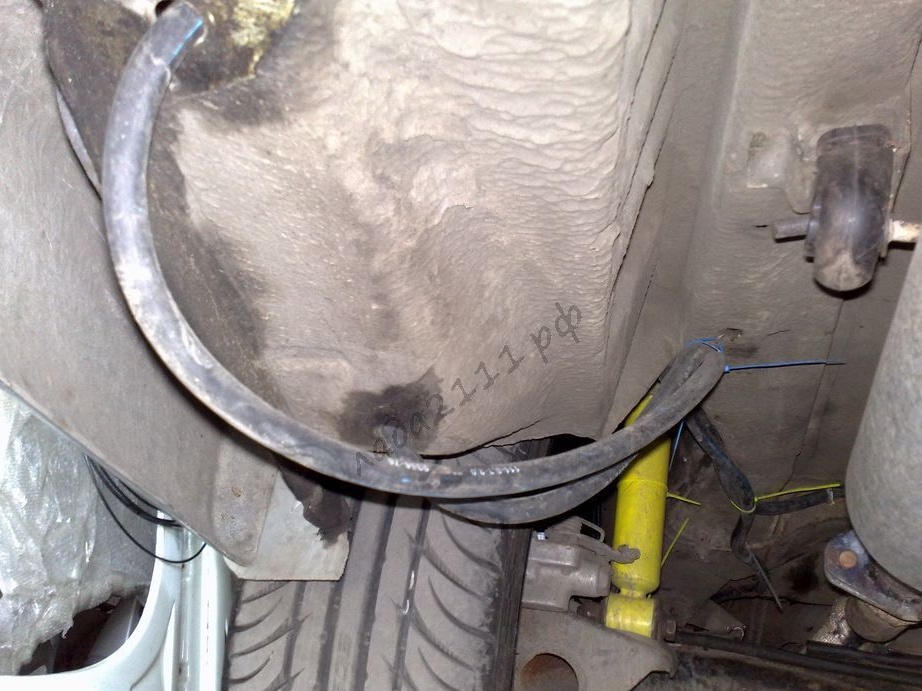
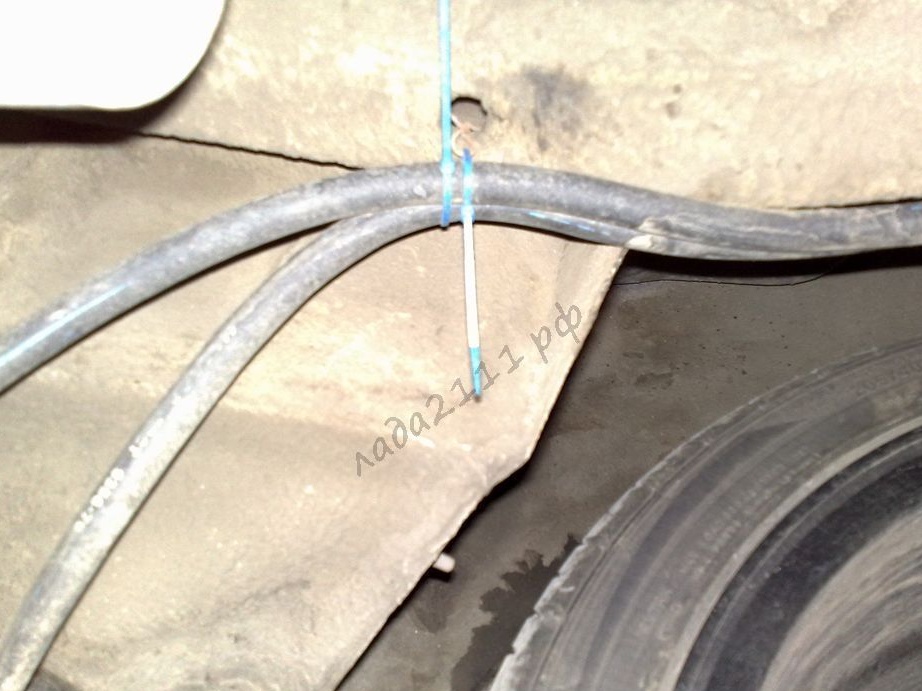
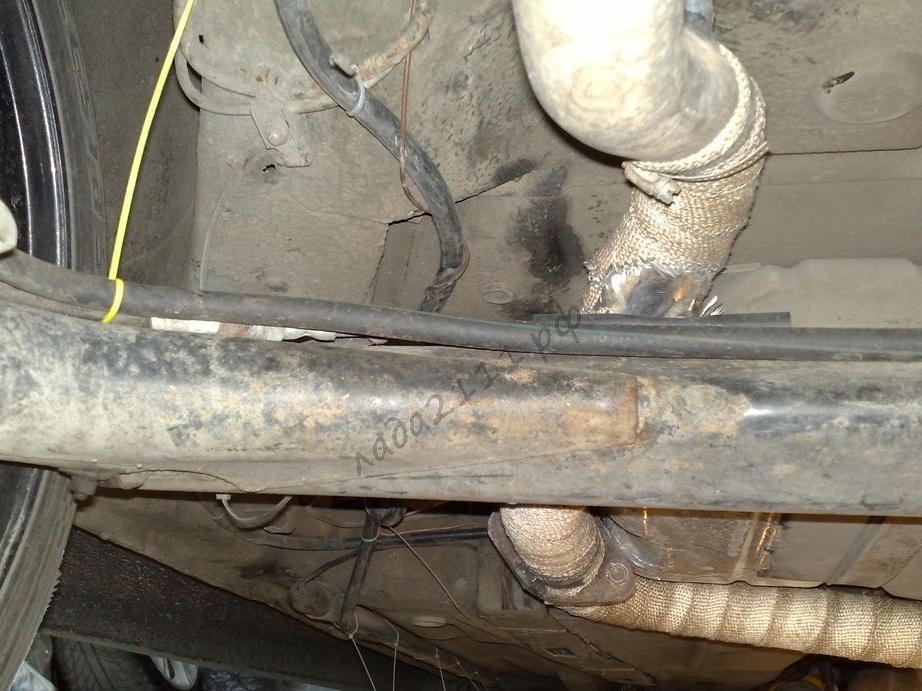
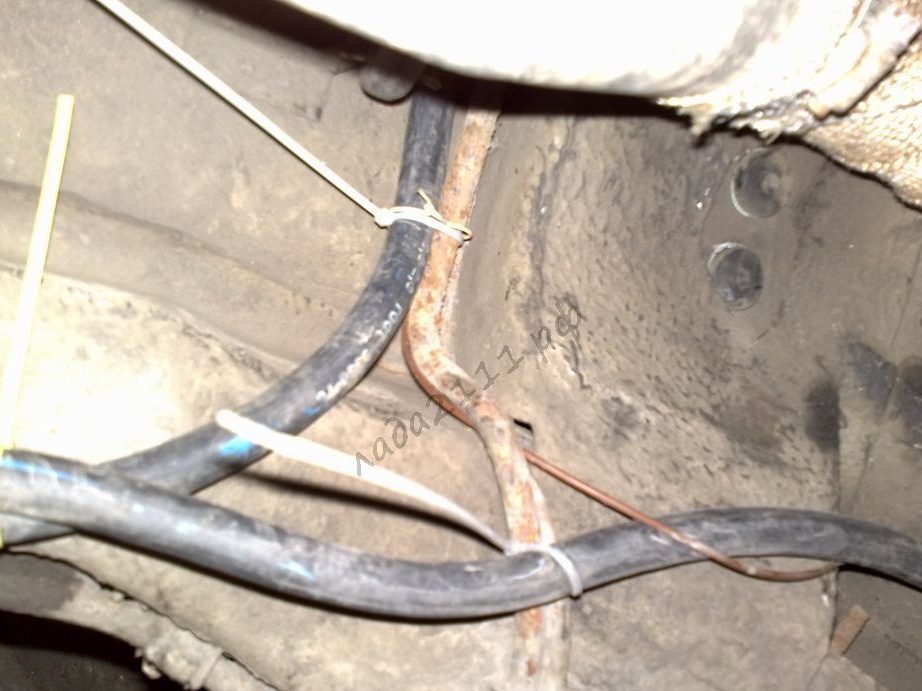
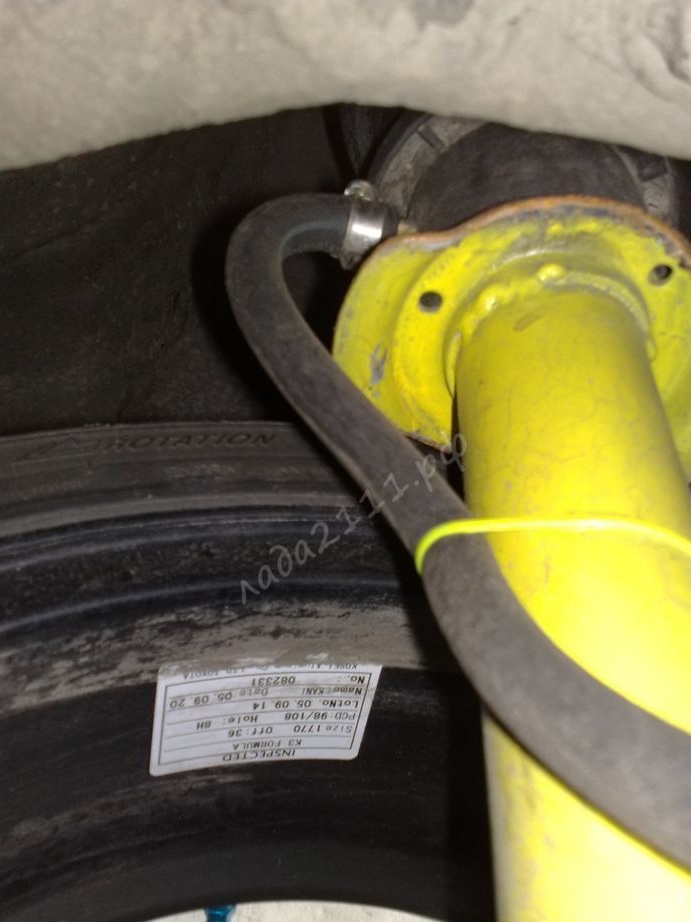
The author started the rear circuit above the rear beam, and the hoses from the pillows were laid along the rear beam. The HBO valve, which is needed to discharge air, is placed on the fuel tank bracket. The hose can be attached to the shock absorber with clamps, they are very flexible. There should not be a problem with the rear loop.
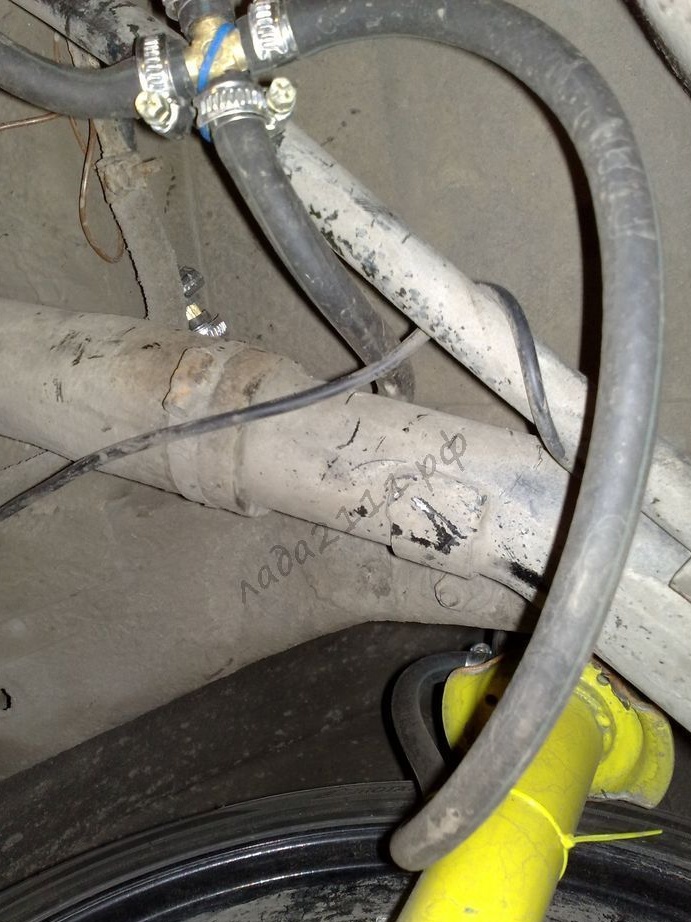
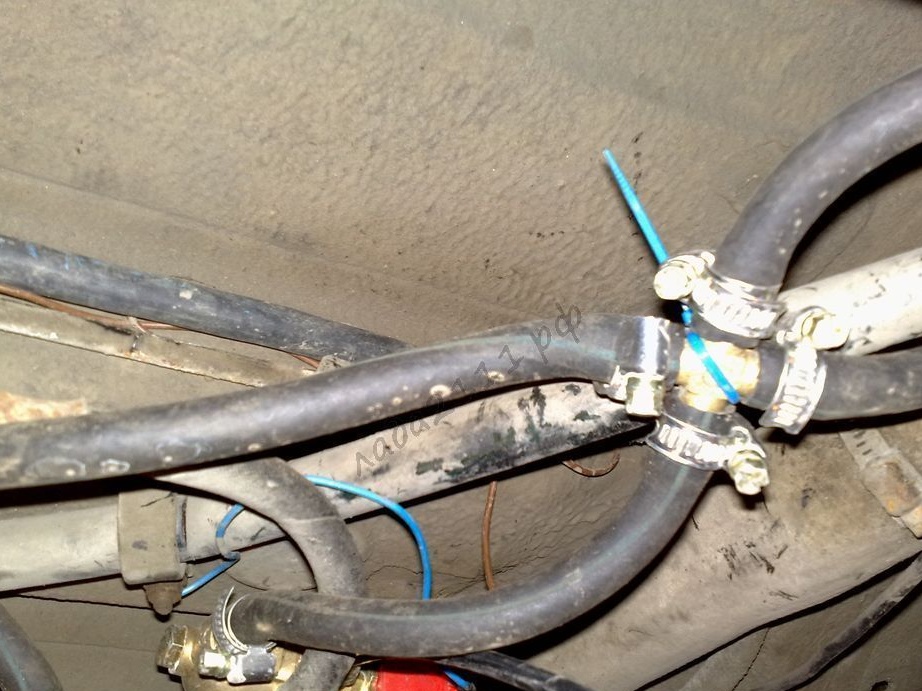
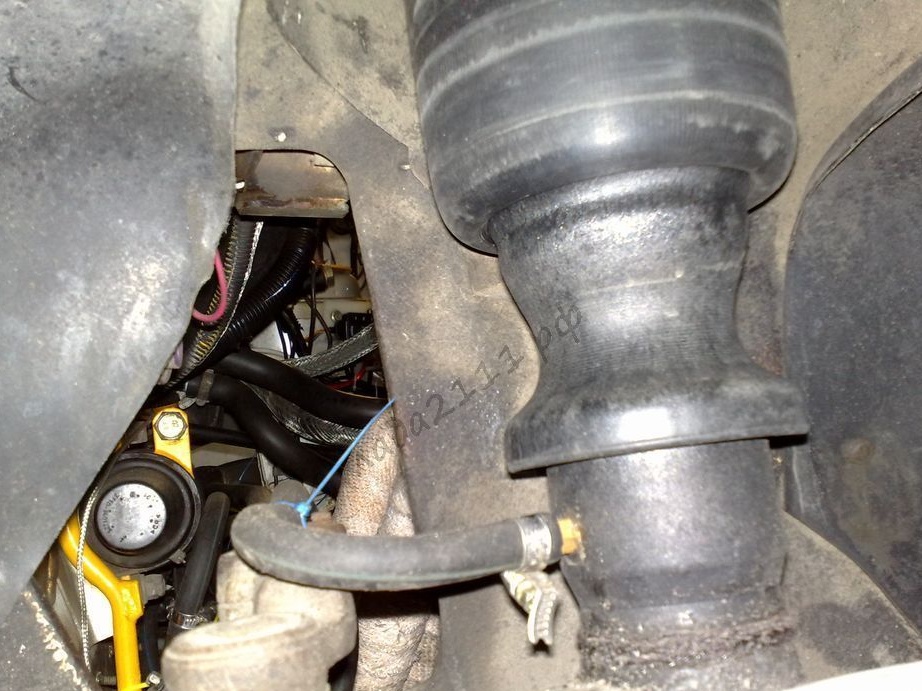
With the front circuit, it’s more and more difficult, since the hose passes through the whole car, but here the author was lucky, because his car is equipped with a backlight. The hose is easily attached with clamps to the tube, then to the stabilizer and goes to the frontal shield.
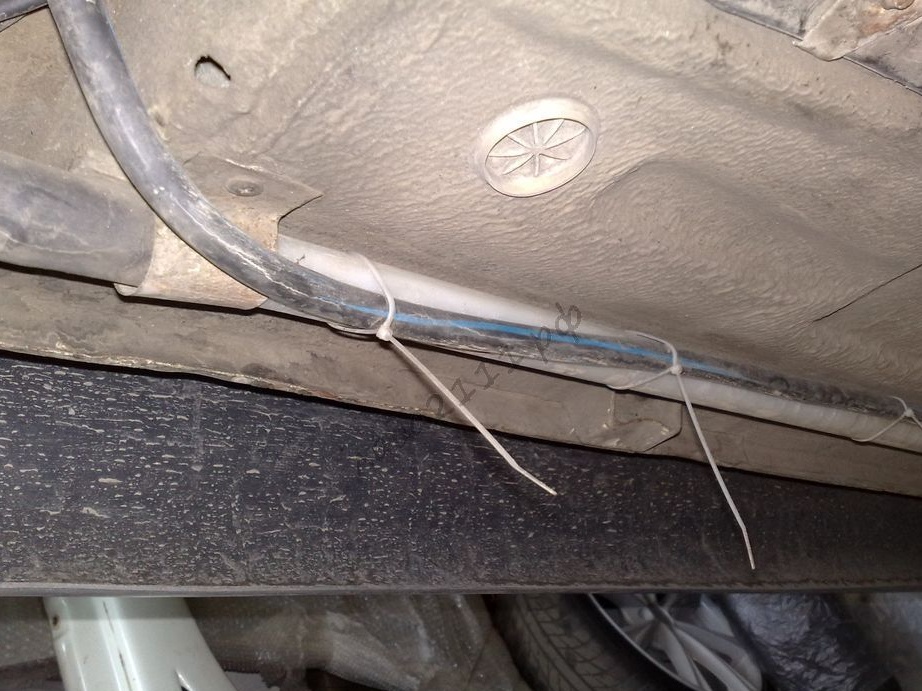
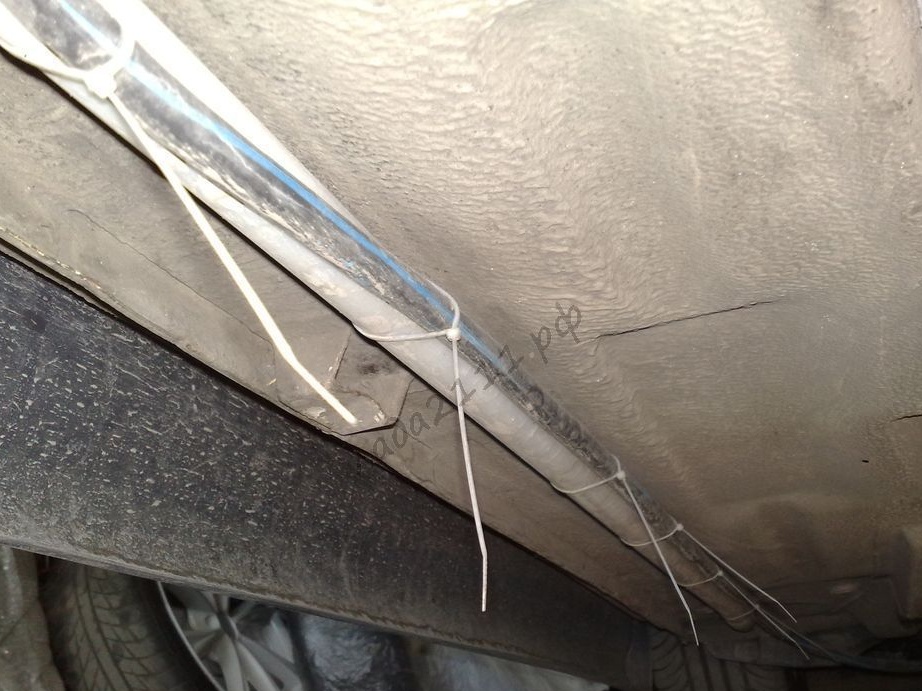

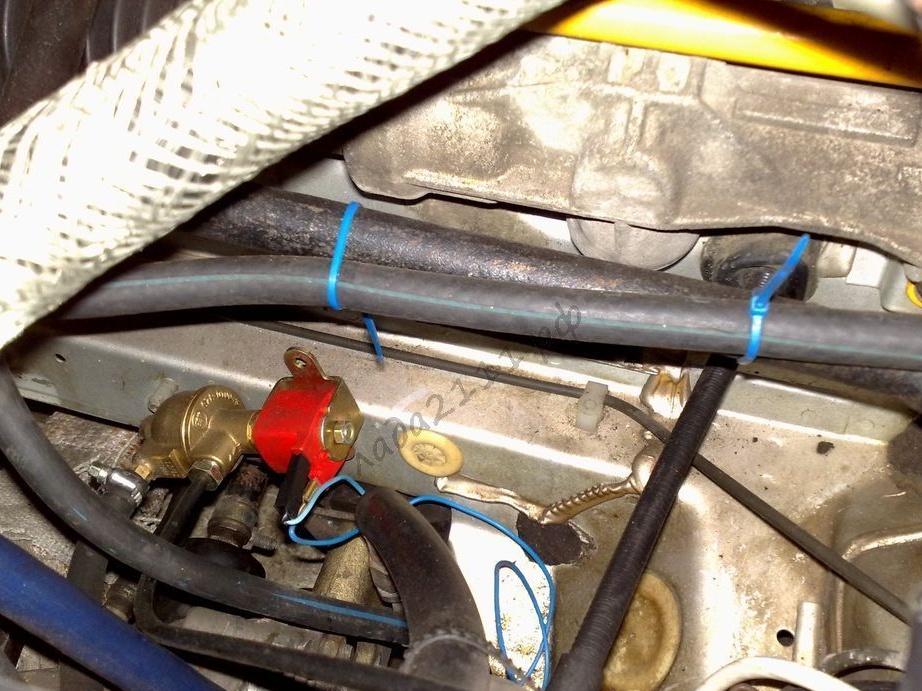
Hoses from the front airbags can be run on the steering rods. Then they are brought into the engine compartment, a crosspiece is installed, hoses are routed, an air vent valve and a HBO valve are placed.
At the last stage is going to electronics. Wires, toggle switches are connected, the use of fuses is mandatory. After that, you can test the system.To do this, air is launched into it, the pressure should not be high, about 8 atmospheres. Well, then close garage and listen, doesn’t hiss anywhere. If no sounds are heard, all connections are checked with soapy water. If there are no leaks, you can now try to raise and lower the car.

Optimal pressure
The system will need to constantly maintain a pressure of 8 atm. To fully disclose the front airbags, a pressure of 7.5 atm is needed, since there is a heavy engine. Well, for the rear cushions, a pressure of 6 atm is enough.
The Berkut compressor must be carefully monitored, since it gives out pressure and 12 atm without problems. At this pressure, it may break the hoses, breakage from the fittings, and so on. Similar negative consequences have already been encountered by the author.

The norm is to keep the front or rear of the machine raised for at least two days. Ideally, this should be a week or a month.
About wheel alignment
The alignment of the air suspension is installed as usual. It must be measured in the position in which you have to drive a car most often. With an understatement of the car, the collapse will be a plus, and when rising to a minus. This should not be forgotten when driving, as these factors greatly affect the stability of the car.