Winter is approaching, not to mention the fact that right now there are quite a lot of puddles and dirt outside the city. To overcome such obstacles, you need a good SUV, or for your car you can make snow chains and carry with you.
The main problem of such devices can be considered that they are problematic to quickly put on car, This especially applies to winter, when you need to work in the snow and in the cold. But after driving through the problematic area, the chains must also be removed, since driving them is harmful for the tires for a long time, and it is forbidden to drive along the highway.
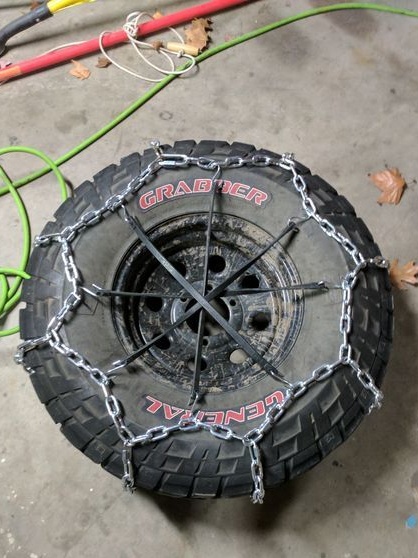
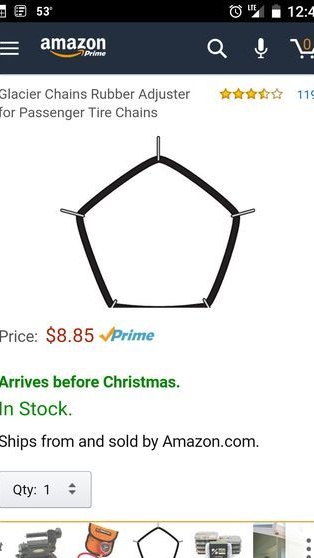
It occurred to one author to fasten snow chains using rubber bands with hooks. Now for the installation of chains do not need wrenches and stuff. For structural reliability, springs are best used instead of rubber.
Materials and tools for homemade:
From materials:
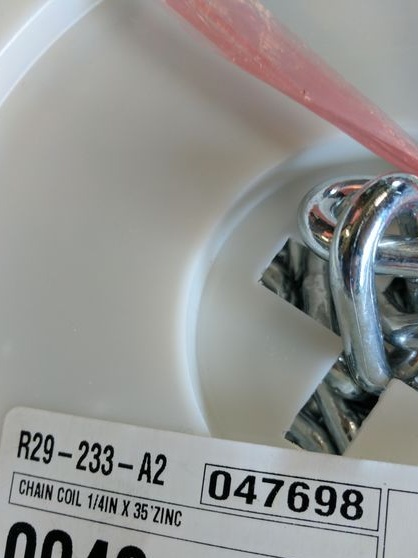
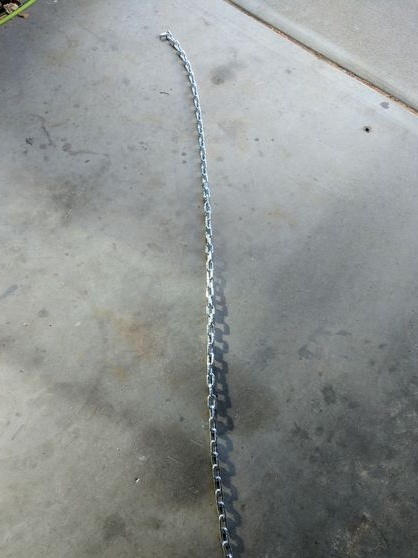
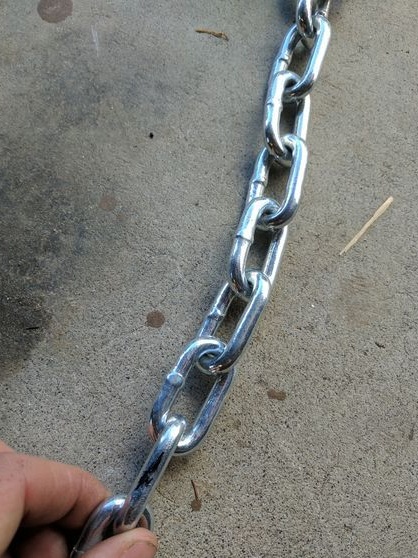
- steel chain (length and thickness will depend on the diameter of the wheels);
- rubber bands with hooks or steel springs for fixing chains;
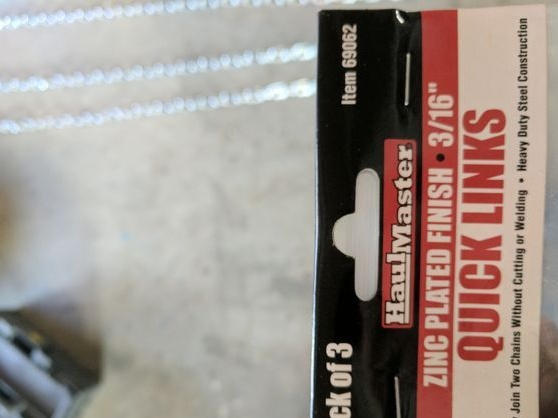
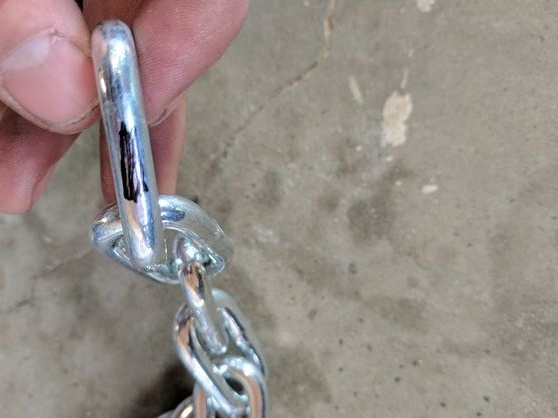
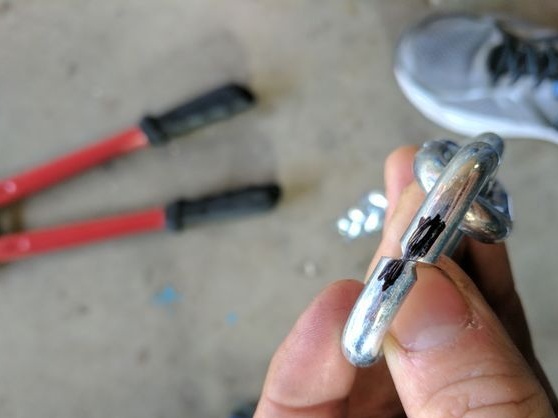
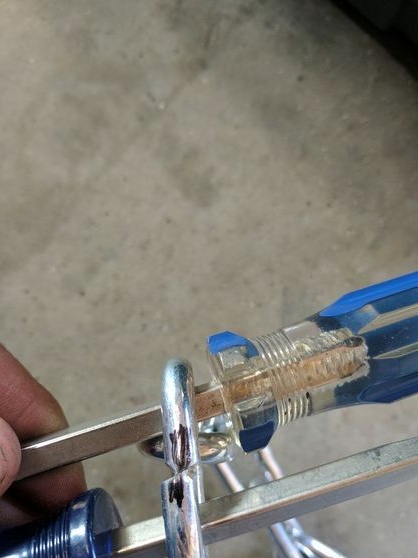
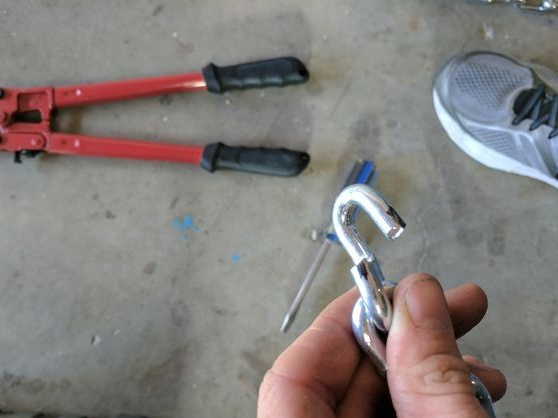
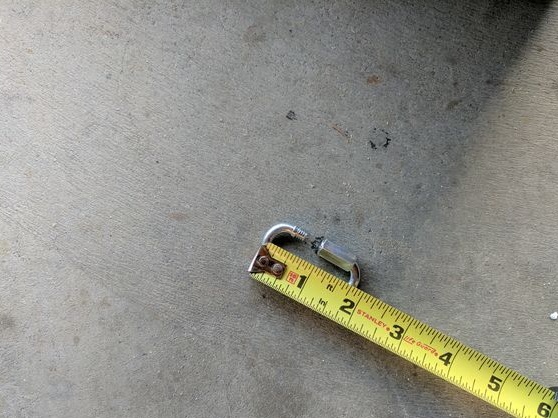
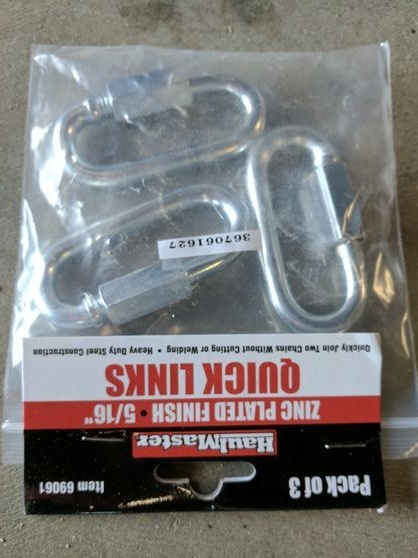
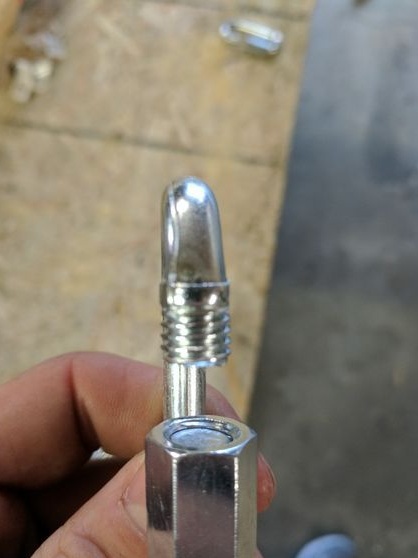
- a pair of carbines for quick connection of chain links.

From the tools:
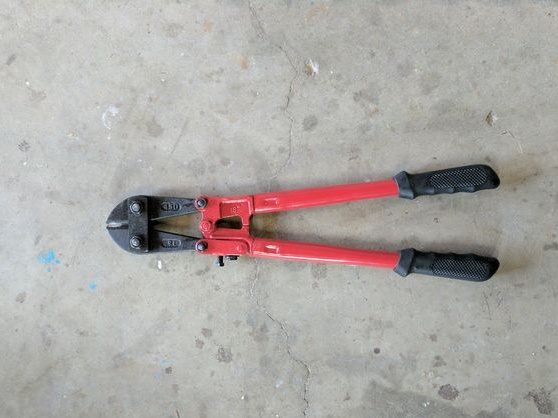
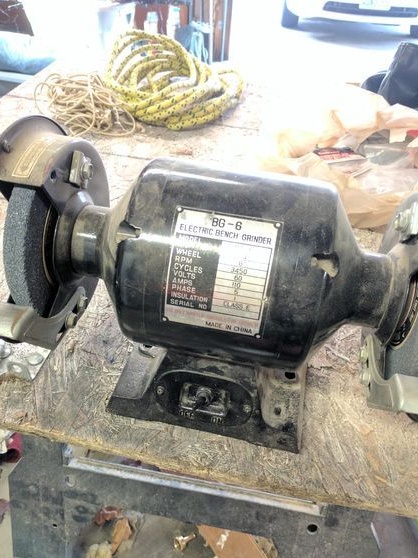
- a grinder (or other tool for cutting a chain;
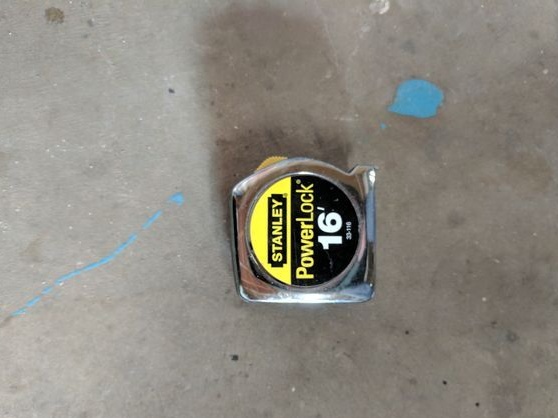
- roulette;
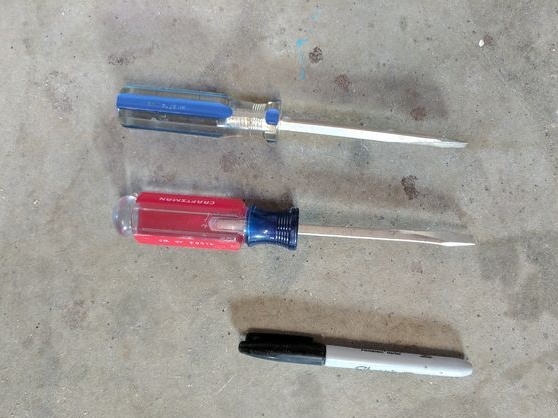
- sharpened and other common tools.
The process of manufacturing snow chains:
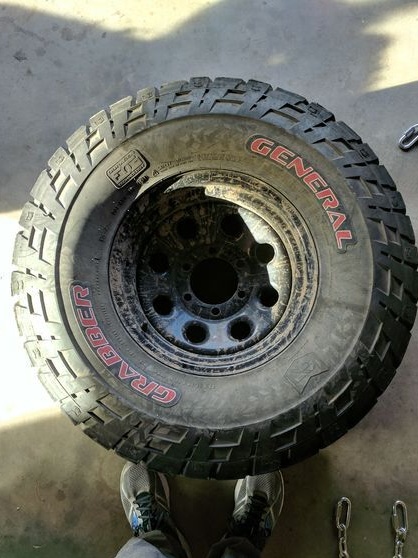
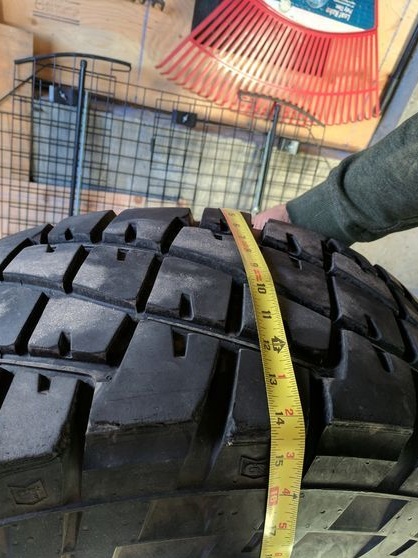
Step one. Measure tire circumference
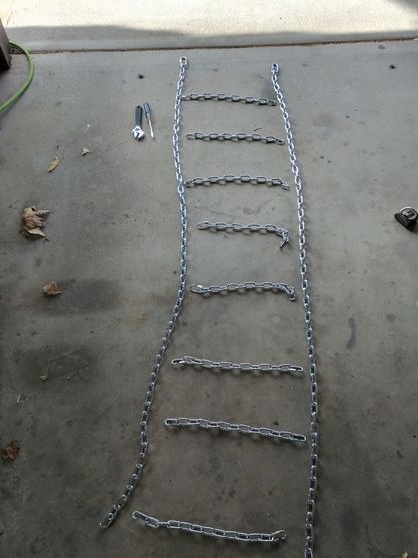
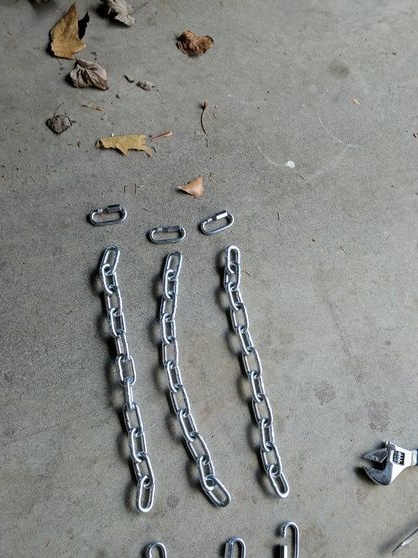
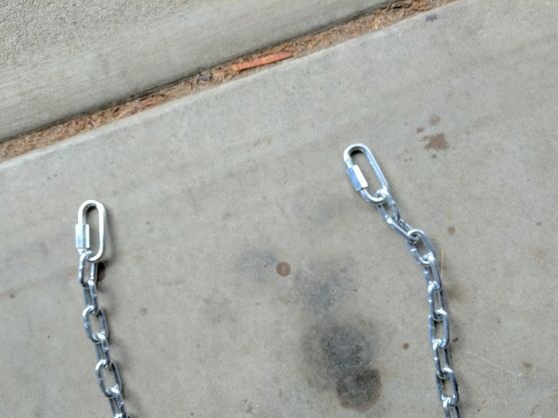
The first step is to make two rings from the chain, in diameter they should be such that they lie about half the width of the tire, well, or further to the center. The author connects the rings using carbines with thread.
These rings are needed for fastening the transverse elements, which come into engagement with the road.
Step Two Cross links
At this stage, the transverse elements of the chains are made and fastened. First of all, you need to determine their number. The more they will be, the better the wheel will mesh with the road. At least there should be 4 pieces, if there is less, the work of the hooks will not be effective, the wheel will simply dig into the ground. The author decided to use 8 transverse parts.


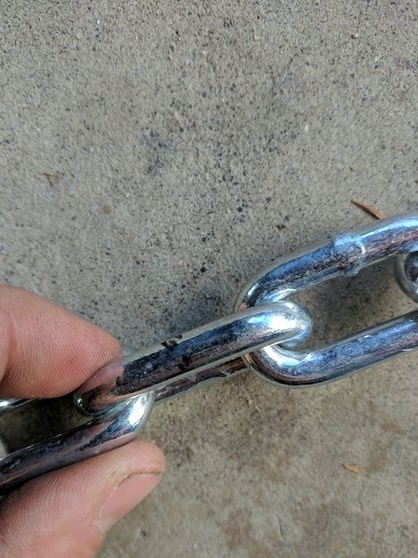
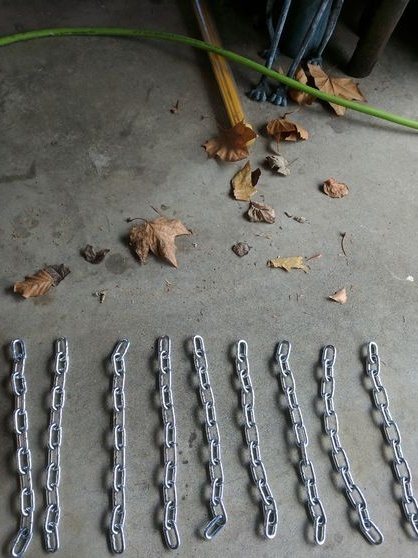
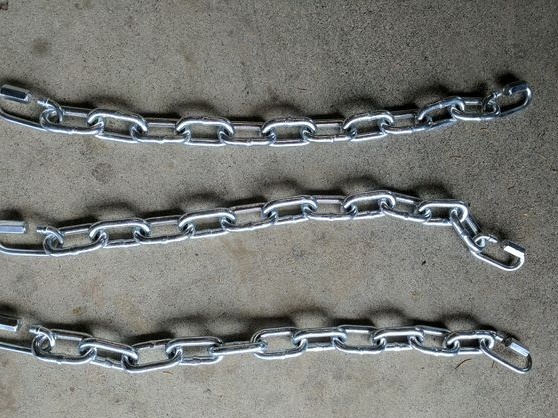

Well, then you need to cut the right number of chains of the desired length. The length should be such as to tighten the chains on the wheel well, otherwise they will fly off. Here they are adjusted depending on the width of the tire and the location of the side rings.
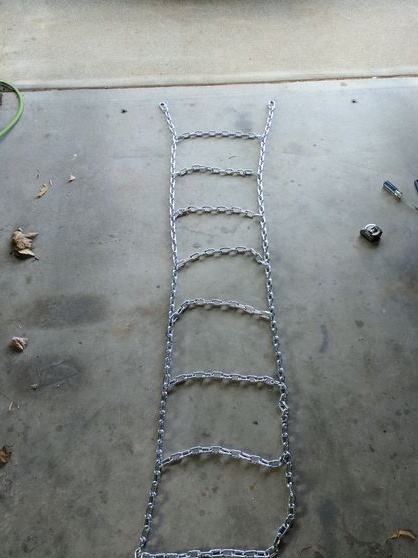
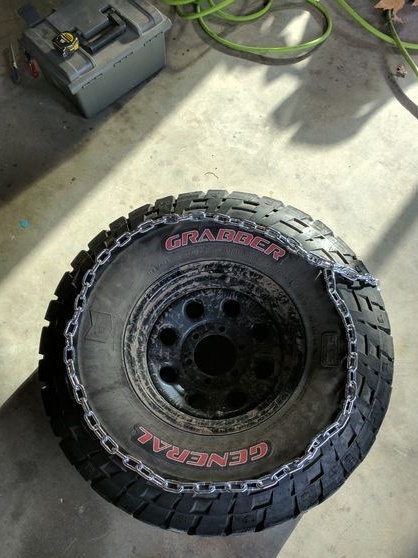
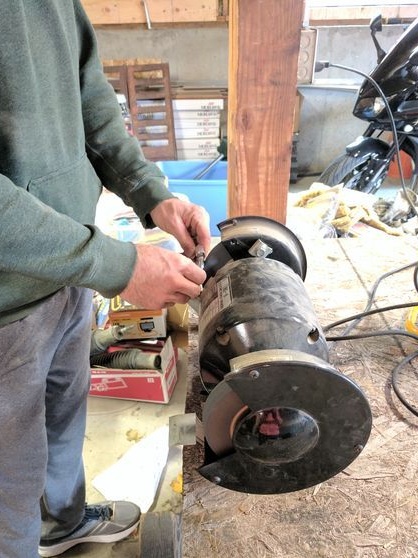
Step Three Final assembly
Now all the details are interconnected, forming a single track. Everything is connected with the help of good strong carbines. Well, after that the tracks need to be mounted on the wheel, and to tighten the chains, metal springs or, in extreme cases, rubber will be needed. For ease of mounting, the author installed hooks at the ends of the rubber strips.