
If you want to go hiking with comfort, be able to quickly cook and warm up, you need a good portable stove. Of course, it should be light, but besides this, it should effectively burn fuel and not disdain even wet sticks. Such stoves include a rocket furnace and a wood gas furnace. In general, these furnaces are very similar, just in a gas-fired oven, solid fuel is heated so much that it turns into gas, which then mixes with air and burns. Well, in a rocket furnace, the flame burns directly above the fuel.
The furnace is economical and can work after warming up with not very high-quality (raw) fuel, but the author recommends using it on wood pellets. At one gas station, the oven can work for about an hour, creating a rather high temperature.
Materials and tools for homemade:
- a fan from the computer or other suitable;
- power supply to the fan (or battery);
- Dremel (in extreme cases, a grinder with a small sharpened disk);
- drill with drills;
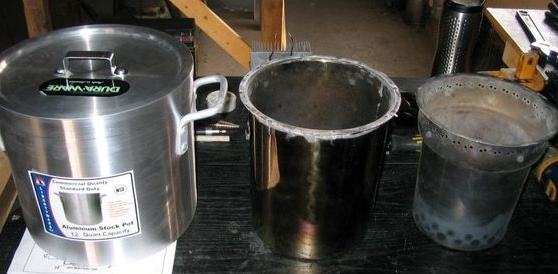
- three tanks (the outer part of the furnace is made of an aluminum pan, and the chambers for the combustion of fuel are made of stainless steel tanks);
- screws and screwdriver.
Furnace manufacturing process:
Step one. We make a hole in the lid of the main large pan
A large aluminum pan acts as the outer case of the structure. It should have a cover made of good thick aluminum. In general, the furnace consists of three chambers - directly the furnace, the insulating chamber, as well as the outer casing. As a result, the aluminum outer casing does not heat up so much that the metal deforms or melts.
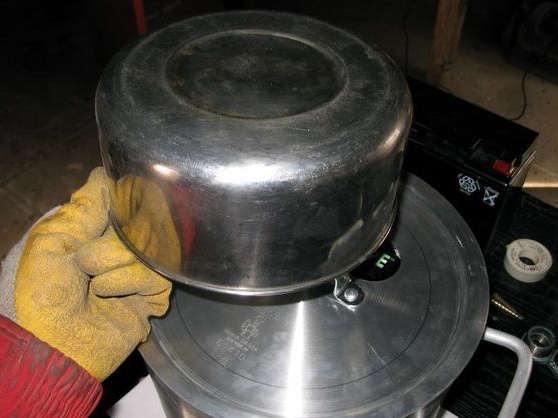
At this point we will need to cut a hole in the lid. In diameter, it should be such that a pot (pan) of stainless steel (medium in size) enters it.
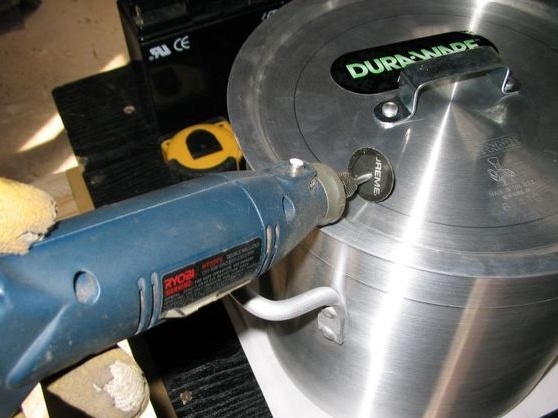
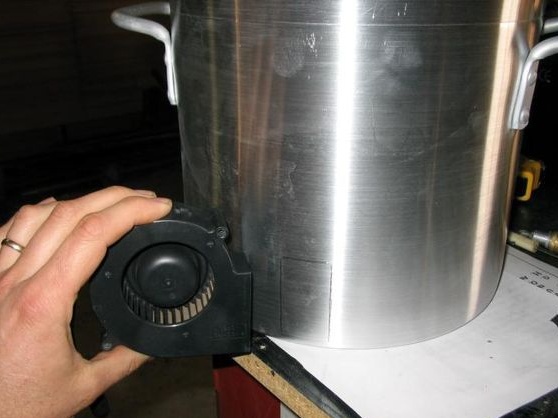
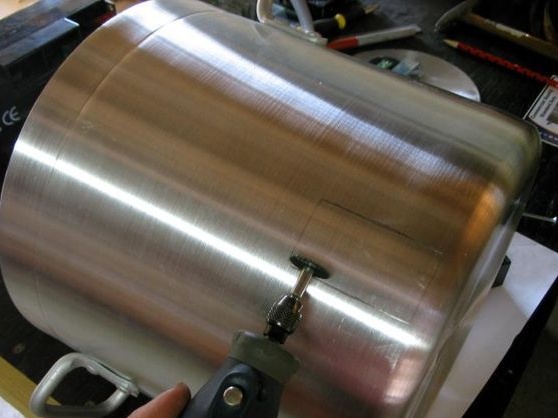
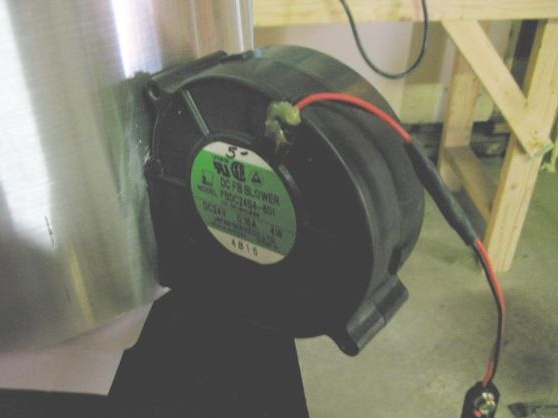
Step Two We make a window for the fan
For the furnace to work, a forced air supply is required. It is carried out by a fan from a computer on 12V. We take a felt-tip pen, we put the fan case to an aluminum pan and we circle. Well, then we arm ourselves with a dremel and cut out a window for installation.During long-term operation of the furnace, the metal can heat up, which can lead to the melting of the housing made of plastic, so it is recommended to make a certain air channel of metal, and already connect a fan to it.
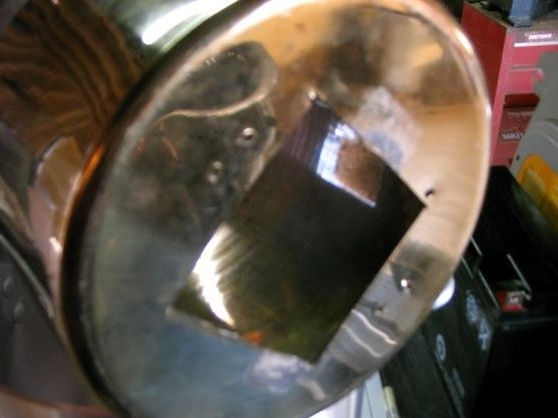
Step Three Window for supplying air to the combustion chamber
On an average size pot, the author will make a window for air supply. The author cuts it in the bottom with a dremel. In shape, it is easiest to make it square. It is not particularly necessary to bother with it, since this is only the primary window and there will be no source of fire specifically in this place.
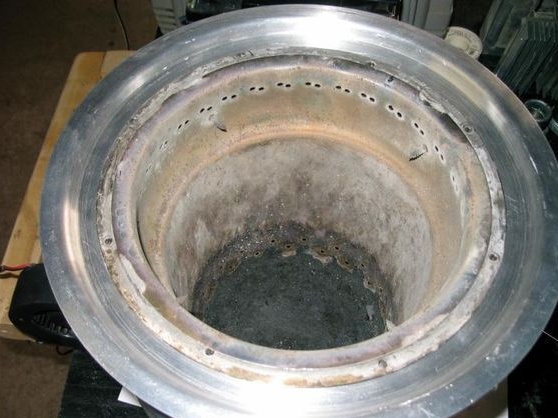
Step Four Drill holes in the combustion chamber
There comes the most crucial moment in the manufacture of the furnace. You have to drill holes in stainless steel tanks. You can’t do this with an ordinary drill; most likely you will need a drill with a winning tip. Use grease and do not let the drill overheat.
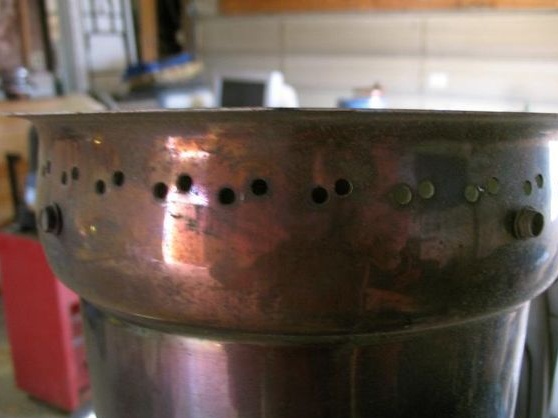
It is extremely important in this business to drill holes exactly according to the scheme provided by the author. The diameter of the holes should also be this. Otherwise, the operation of your furnace is not guaranteed. The lower holes are needed here in order to provide oxygen directly to the fuel, which, due to the high temperature, decomposes into pyrolysis gas. Then this gas flows up the combustion chamber where it is mixed with oxygen at the top, which comes from the top row of openings. Here, a combustible mixture is formed.
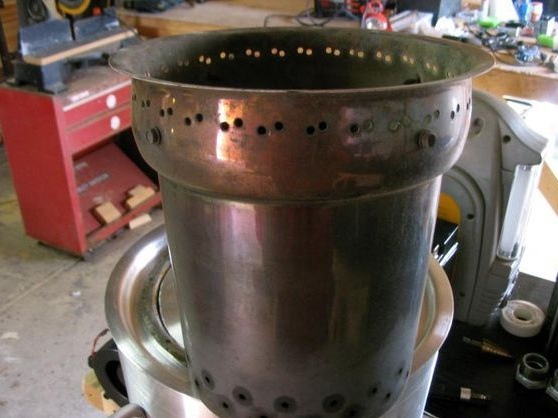
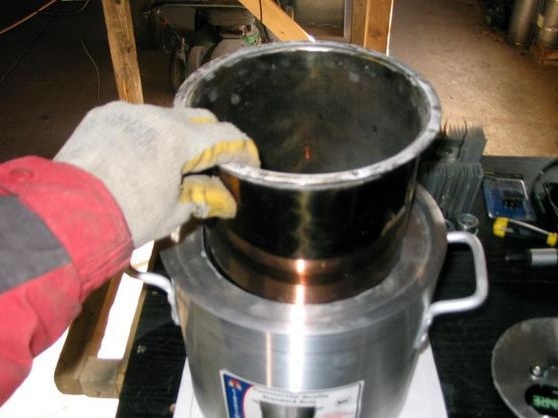
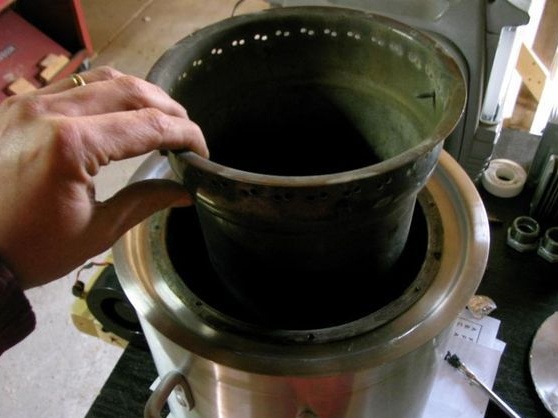
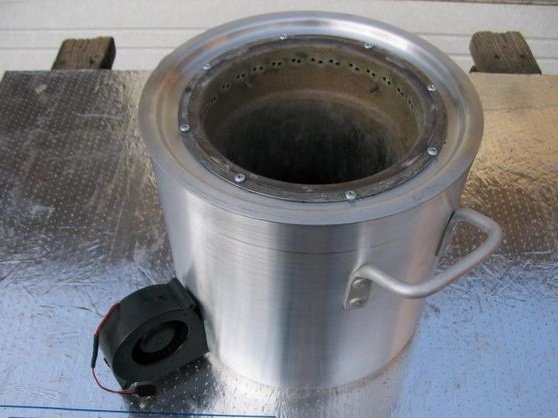
Step Five Putting it all together
Now we need to connect all three parts together. We take the lid from the aluminum container and insert it into a medium-sized stainless steel container. Next, a container with holes is inserted into this middle tank, that is, our burner. Well, now it remains only to put the lid on the main pan and our stove is almost ready.

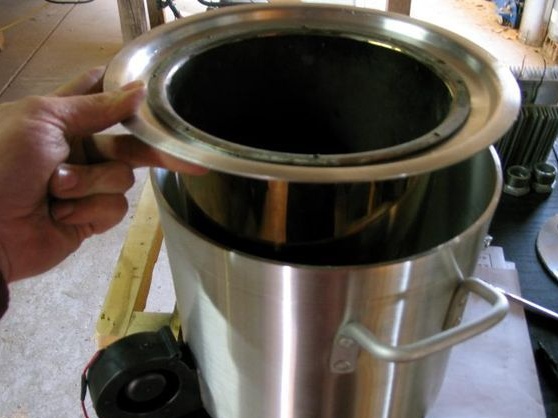
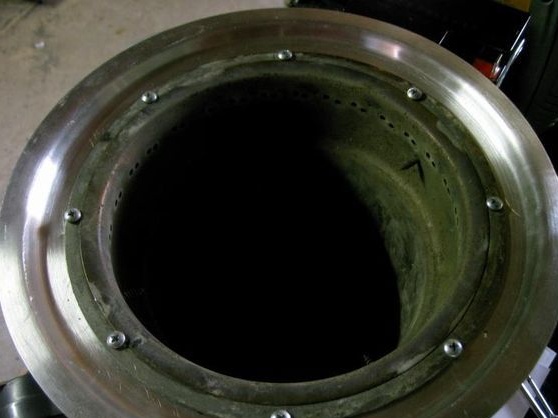
To connect this whole thing, you will need self-tapping screws. Drill a circle around the top of the middle capacity of the holes. Next, screws are screwed here. Their hats should be quite large so that they can simultaneously fix the inner small pot (firebox). If the self-tapping screws are not removed, the washers can be placed.
Now, to clean the furnace of ash, you just need to lift the lid with all two containers and pour out the contents.
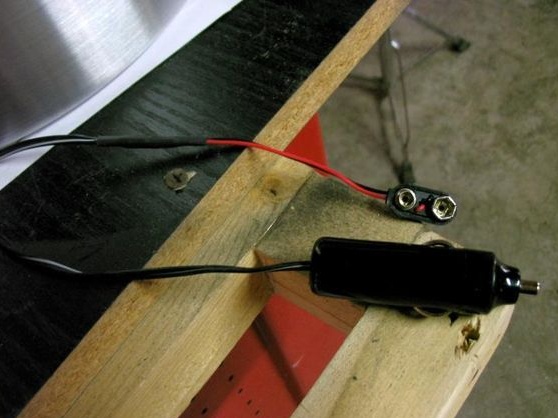
Step Six We connect and configure the fan
You can use a car battery as the power source for this oven if you travel by car. Well, or you can bring along a small battery, batteries, and so on, this fan does not consume much energy. In extreme cases, you can take a solar panel with you to charge the battery.
To quickly connect a fan, come up with some connectors; the author chose the connectors for connecting the Krona battery. At the other end of the cable is a plug for connecting to the cigarette lighter.
For high-quality operation of the furnace, you need to adjust the air flow rate. With a weak air supply, the fuel will not burn efficiently, the color of the flame will be yellow. Ideally, the color of the fire should be blue. But air supply is too active - this is also bad, since in this case the fuel will burn out too quickly.
How to regulate the air supply, everyone decides for himself. You can conjure with the fan speed by installing a resistor, or you can simply make a gap between the fan and the housing through which excess air will exit. Another option is to make a window with an opening door in the main large pan, which will relieve excess pressure.
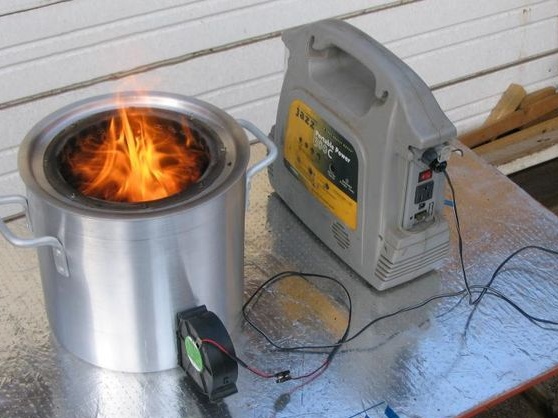
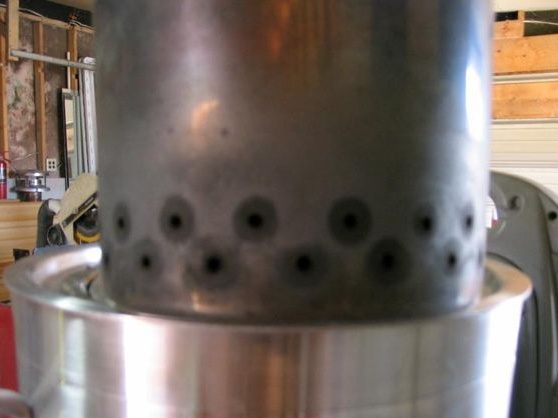
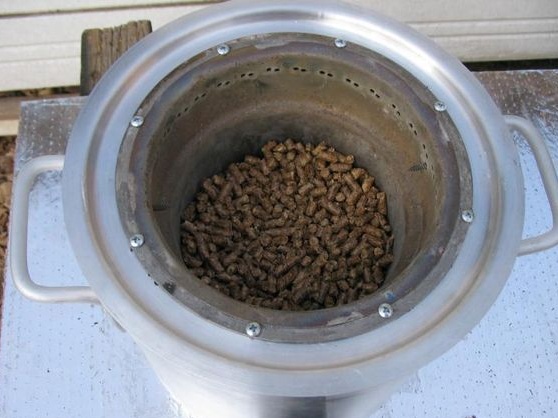
Seventh step. Testing the oven
To test the furnace, it is necessary to load fuel to the intended line. There should be enough fuel so that it does not block the upper air channels. The author uses wood pellets as fuel.
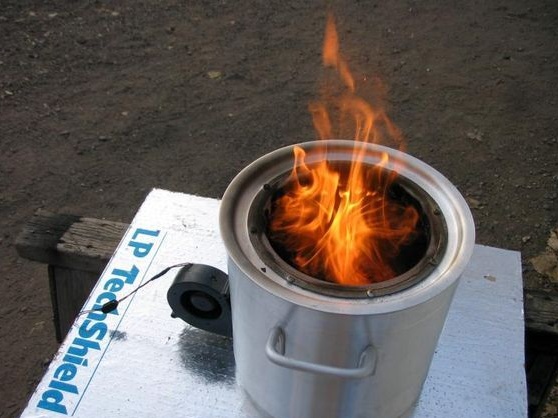
Now we need to ignite the furnace, for this we need some kind of flammable liquid. Do not use gasoline, thinner, alcohol or other rapidly evaporating substances for these purposes! Otherwise, fumes can accumulate in the furnace, and it will simply explode when set on fire. During the explosion, the entire upper part can fly far away and you may not find it.

Various oils, including motor or vegetable, are excellent for such purposes. You can also use special ignition fluid. If you don’t have anything like this at hand, simply put dry grass on the bottom of the firebox, set fire to it, and then slowly fill up the fuel.
When the ignition fluid burns out a bit, you can turn on the fan. First, the flame will be yellow, and then, as the fuel flames up, it will change to blue. Then you can start cooking on the stove. True, you will still need to come up with coasters for pots, pans and other utensils, well, or find ready-made ones.