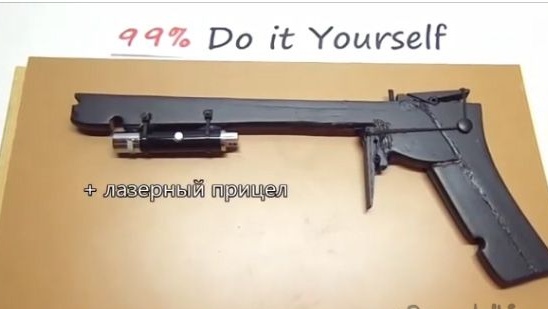
Hello friends. Surely many of us sometimes have nothing to do on Friday evening. Today I will try to describe in as much detail as possible the manufacture of a rather cool and original rubber arrow with a laser sight, which can occupy an adult and a child. The rubber arrow itself consists of quite ordinary and familiar things and this makes this rubber arrow available to everyone. And even a child can collect it.
To assemble the rubber barrel, we need:
1- Wooden hanger.
2- Terma glue.
3- Hacksaw for metal.
4- Marker or felt-tip pen.
5- Wooden skewers.
6- Two wooden clothespins.
7- Push pins.
8- Kapron thread.
9- A small laser pointer.
10- Plastic ties.
11- Stationery erasers.
The assembly of the rubber barrel with a laser sight.
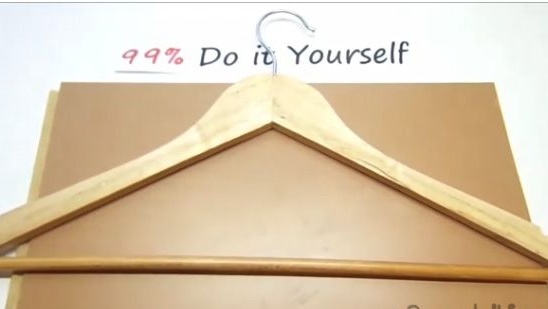
1- For starters, take a wooden hanger. And take it apart. We get two such blanks (see photo below).
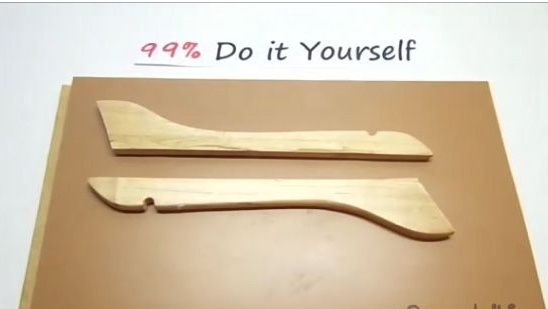
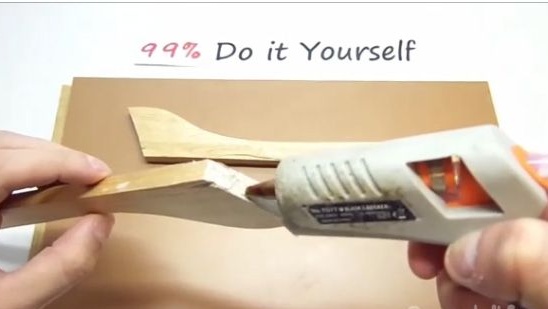
2- We glue these wooden blanks with each other as shown in the photo below.
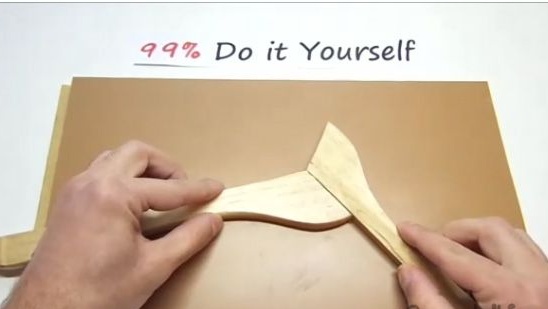
3- On the workpiece itself, mark and trim the excess.
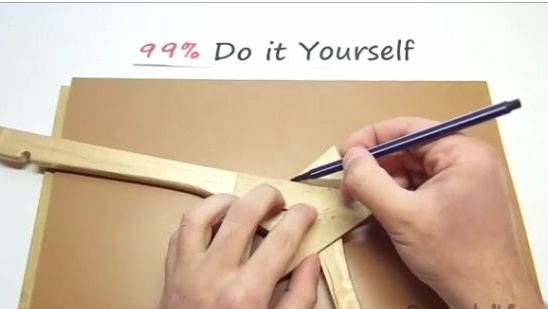
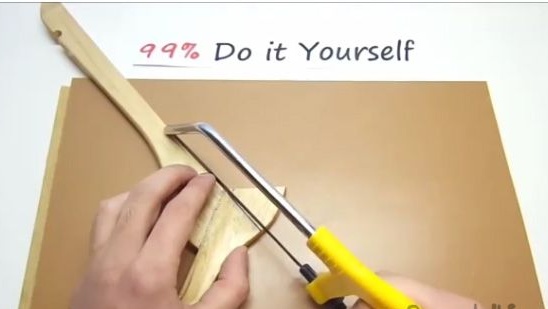
4- Next, approximately in the middle of the lower part of the workpiece, put a mark.
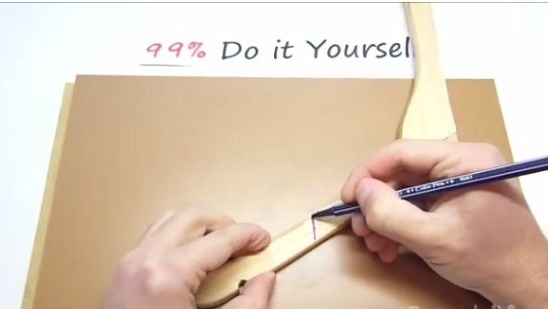
5- And saw off where previously put a mark.
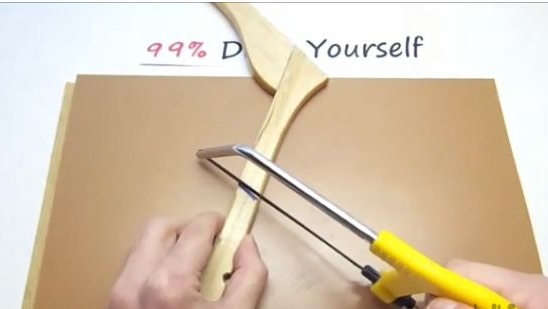
6- We don’t throw out the scrap, it will be needed now. From this trim, we will make a handle for our rubber arrow.
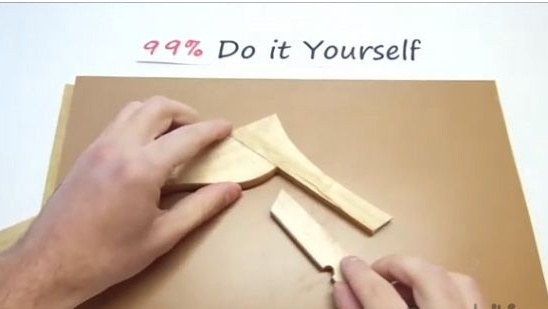
7- A piece is applied to the rubber arrow as shown in the photo below. And mark with a marker in the place shown below.
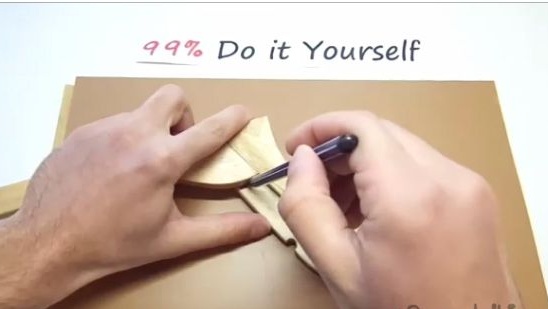
8- Saw off in the place where you just noted.
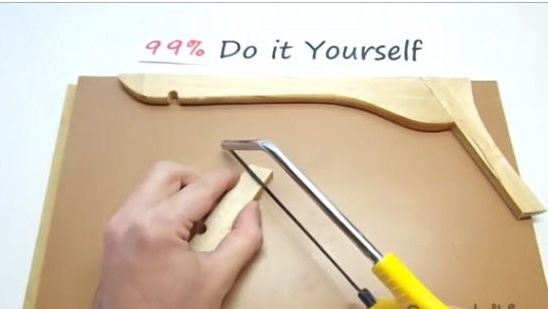
9- We glue two of our blanks.
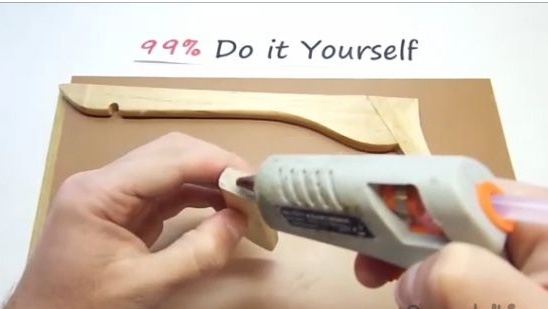
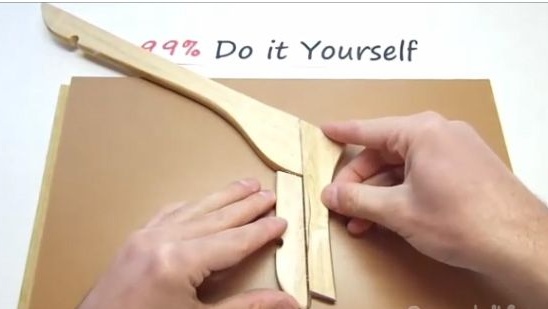
10- Saw off the excess (see photo below).
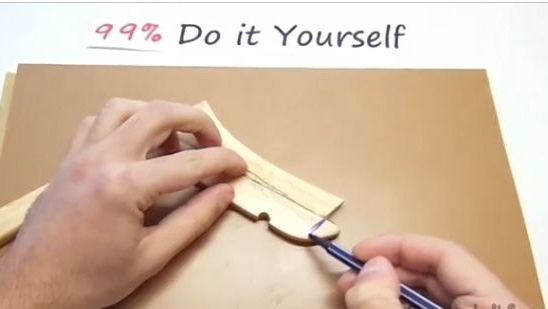
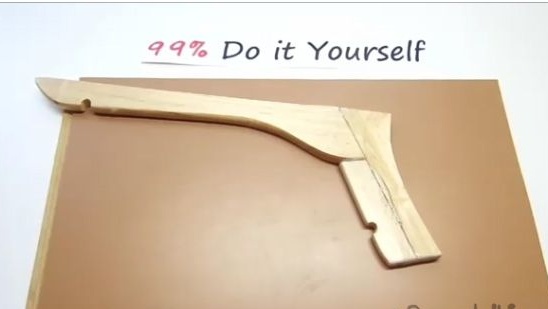
11- Then take a wooden clothespin. From it we will make a trigger.
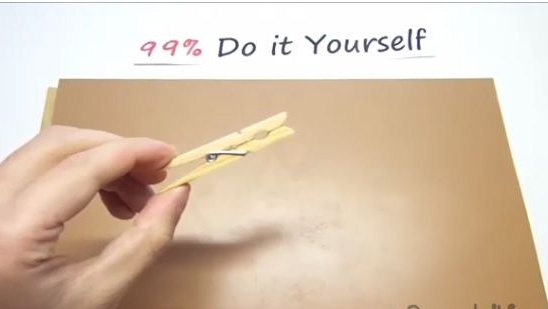
12- We mark in about the same place (see photo below).
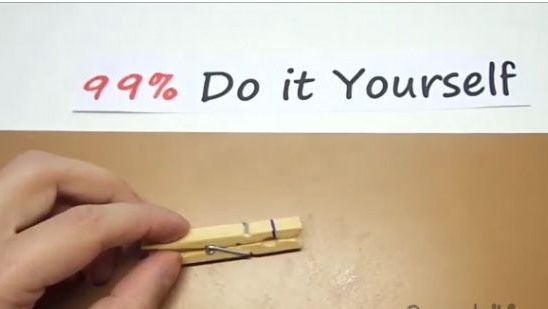
13- We saw off where just noted.
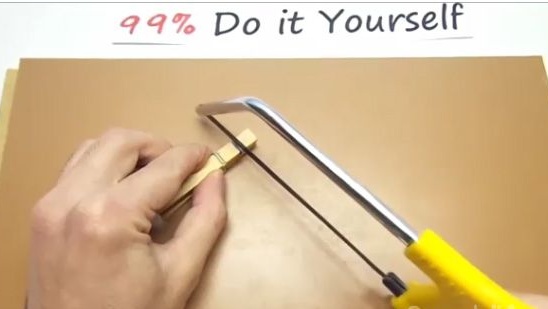
14- Next, make a mark in the same place as in the photo below.
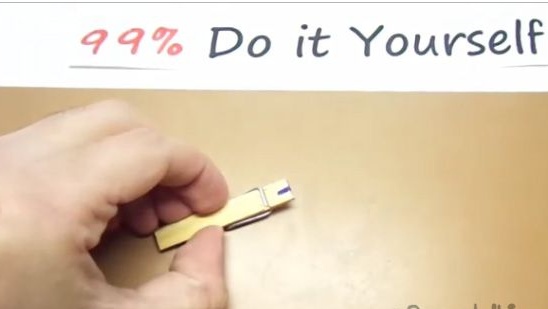
15- Make a file (see photo below).
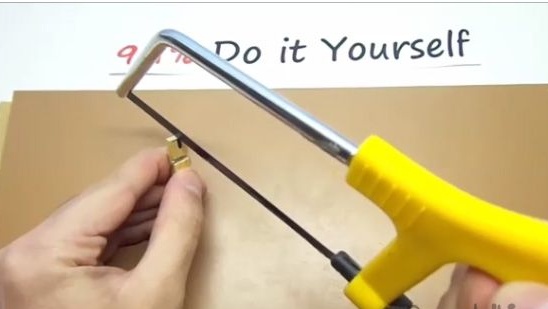
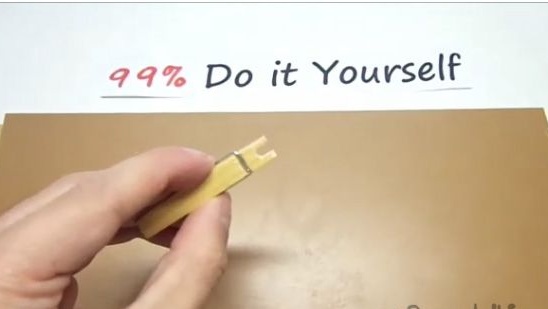
16- Then we make labels for the clothespin elements (see photo below).
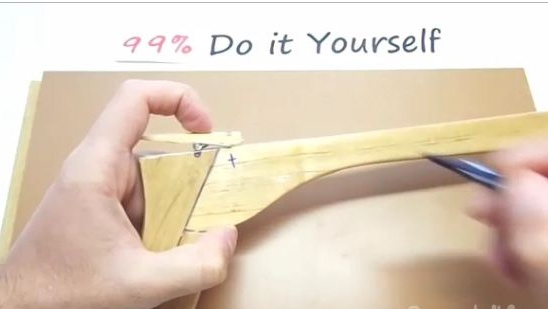
17- Where the mark is indicated by a cross, we make a puncture with an awl, and where we do a file with a circle.
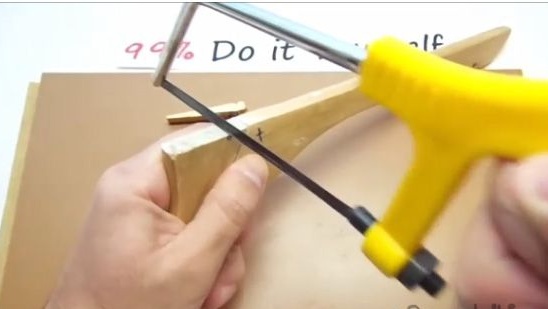
18- Something like this should work out for you.
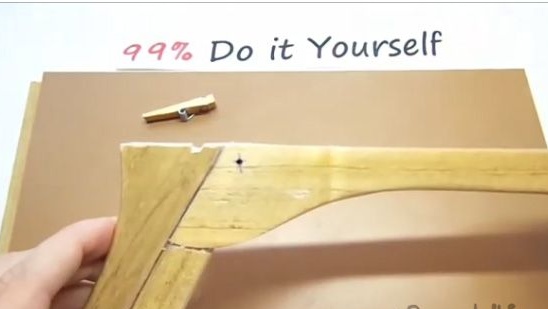
19- Insert the clothespin (see photo below).
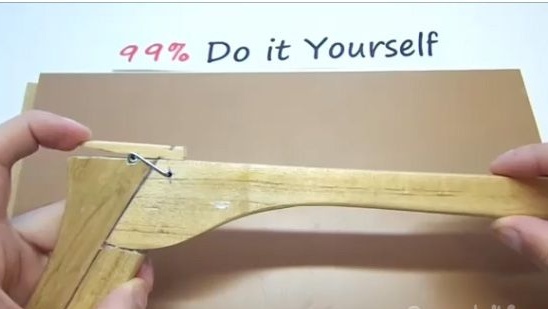
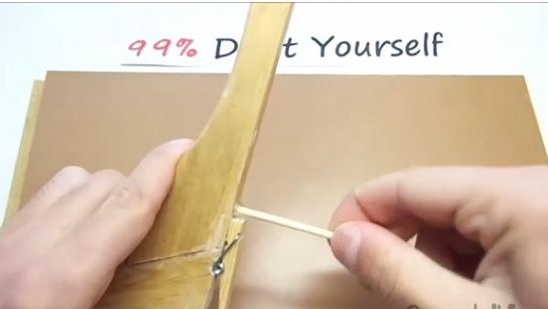
20- We put the mark as in the photo and make a hole with a drill diameter approximately like a wooden skewer.
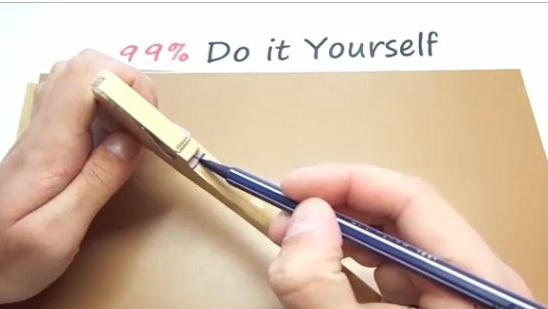
21- Take a wooden skewer and glue it into the hole just done.
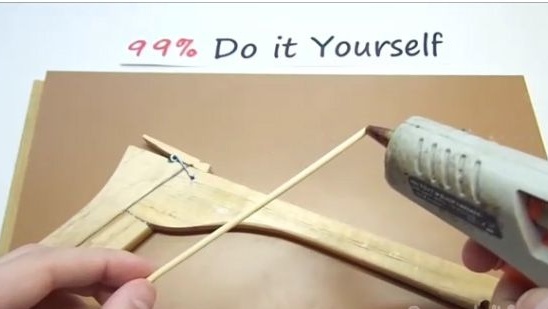
 [/ center]
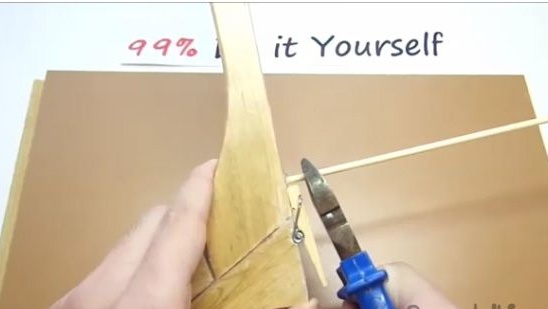
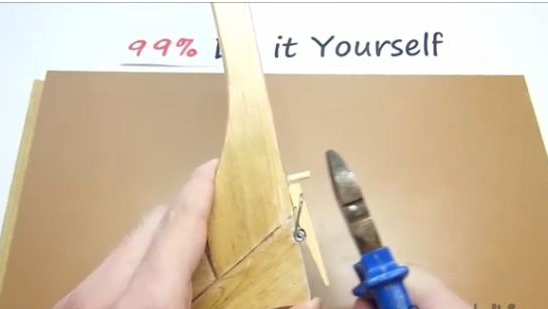
22- We bite off the excess from the wooden skewer (see photo below).
 [/ center]
23- After which we take the second wooden clothespin and do not mark it as in the photo below.
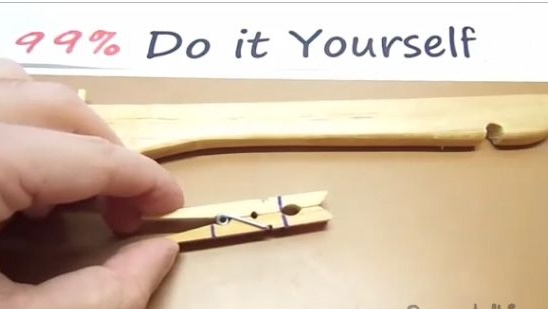
24- Saw off the marks just made.
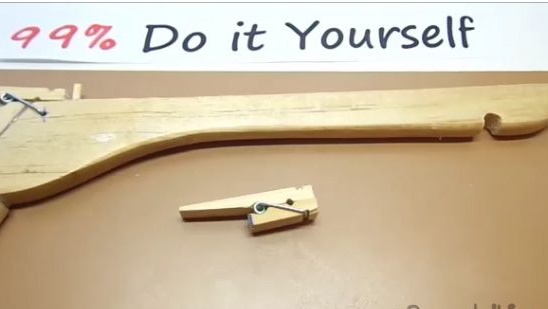
25- Then we make the same marks as in the photo below.
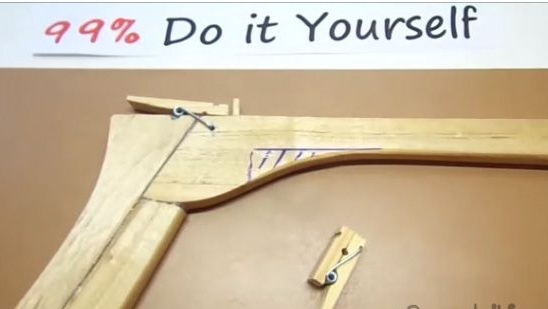
26- Saw off.

27- And glue the trigger.
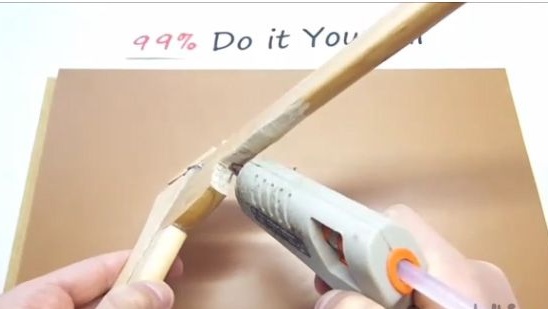
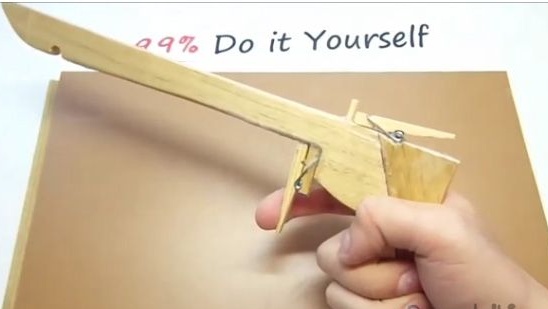
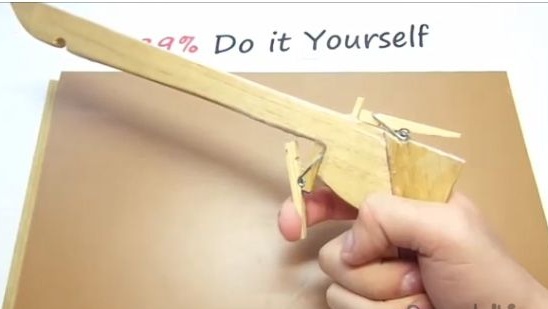
28- At the indicated place, insert the push pins, leaving not a large gap.
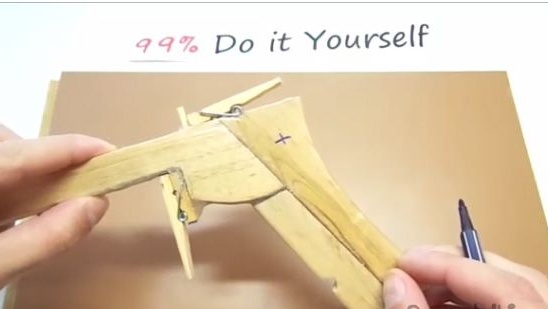
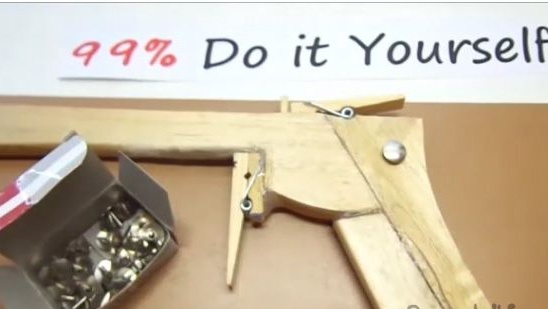
29- We put on a kapron thread as in the photo below.
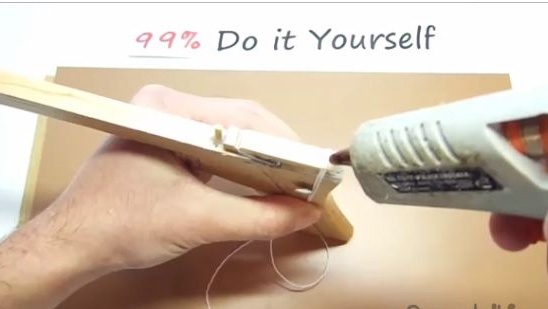
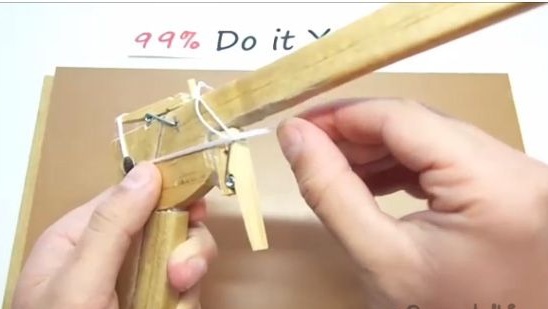
30- To get it like this (see photo below).
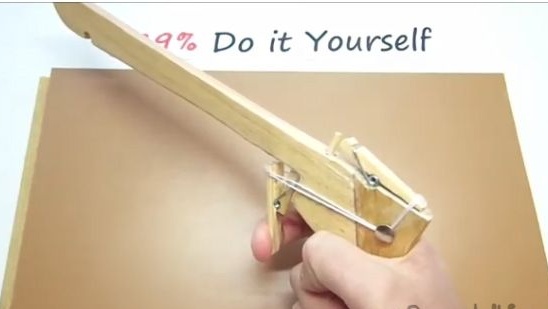
31- Saw off the tip of the rubber arrow.
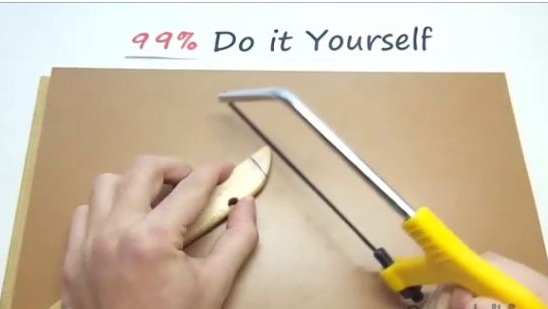
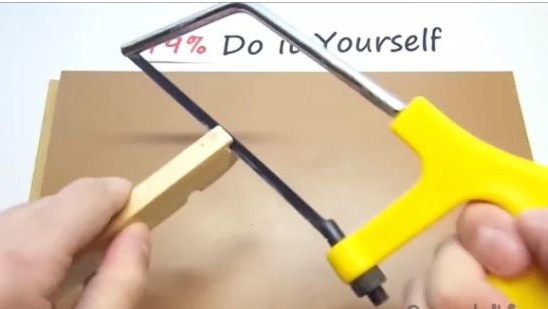
32- And at the end we make a cut, so that it turns out not a big groove, where we will insert the elastic bands.
33- We paint and fasten the laser pointer on plastic ties. All is ready!
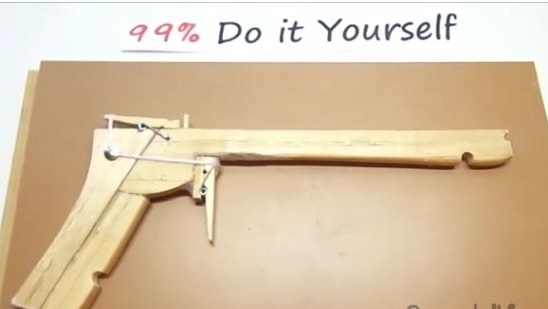

Conclusion:
Next, just put on elastic bands and shoot. In total, we got a simple and original, rubber arrow that will help you pass the time. Thank you for your attention. I hope this article was useful for you, also you have a wonderful opportunity to watch the video assembly of this homemade.
[media = https: //www.youtube.com/watch? v = 0YoHzJ1jc64]
