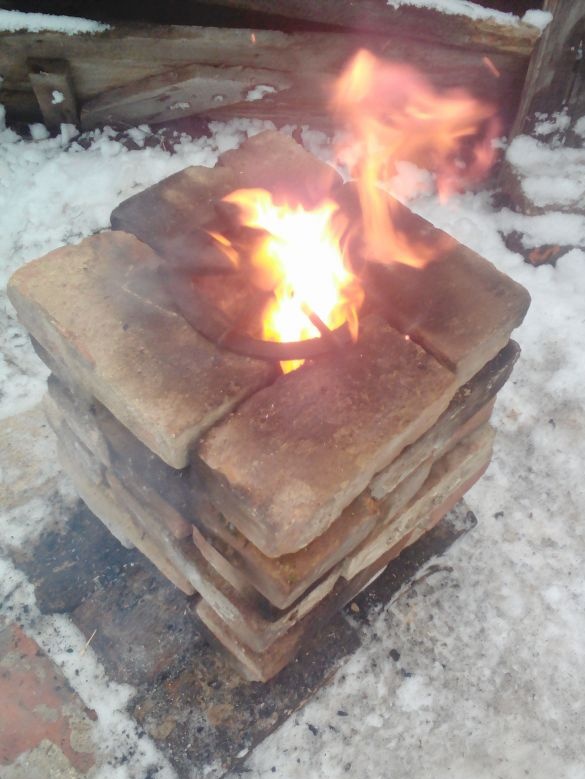
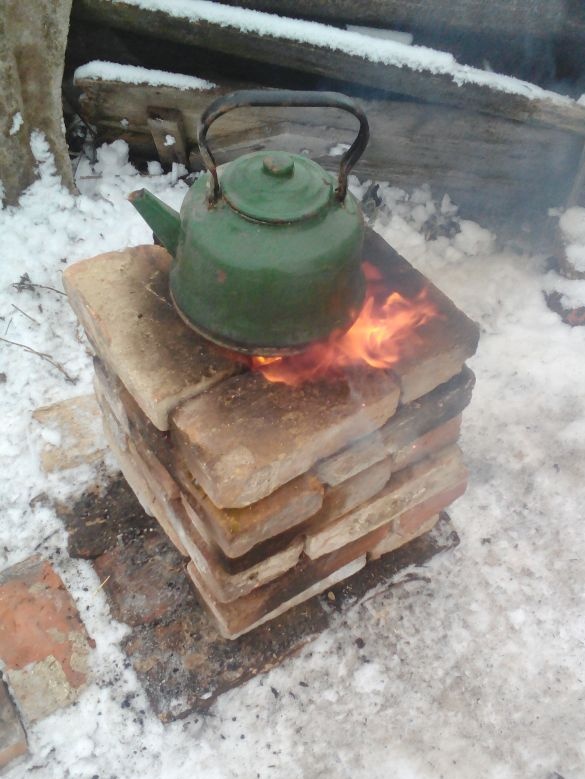
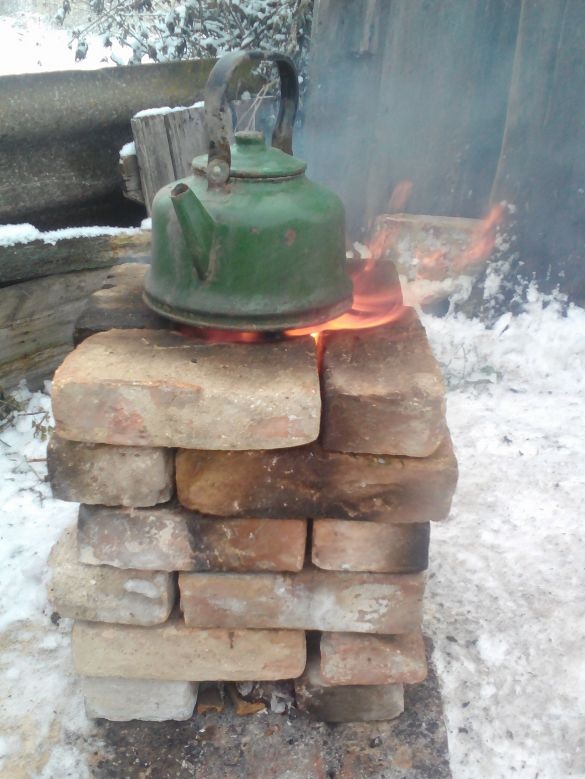
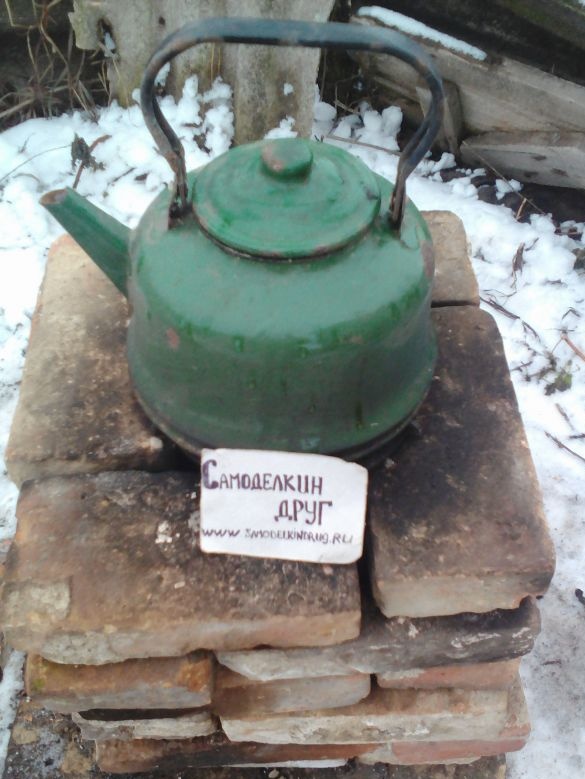
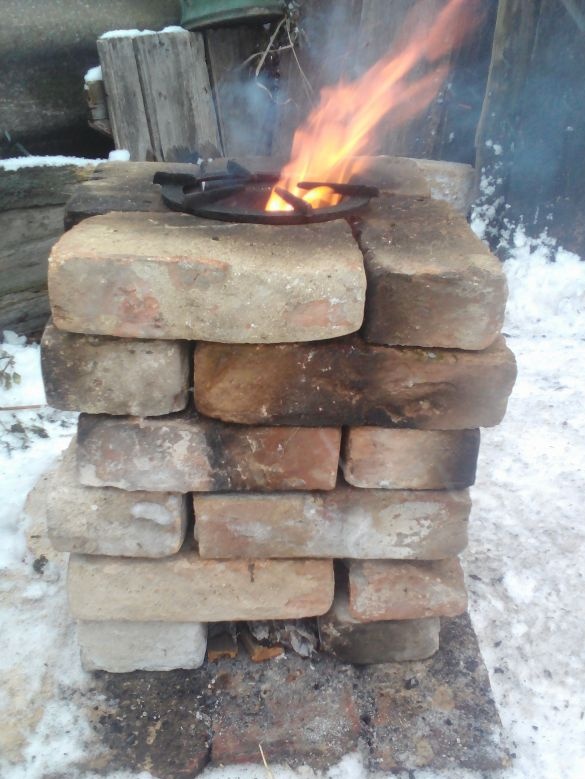
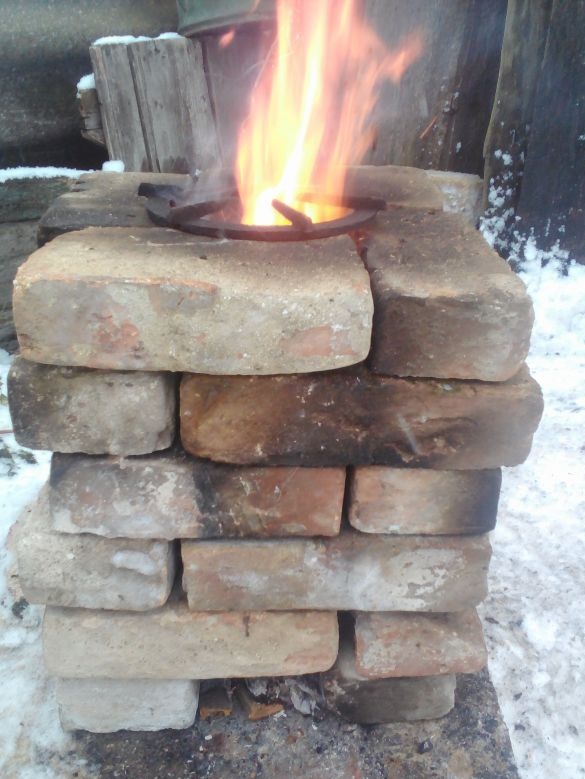
The stove is simple and does not require any kind of superpower and knowledge of furnace business) Simple for the people! The main charm of the stove is of course its budget, because each owner of a private house or cottages there are a couple of dozen used bricks, red ceramic. The second indisputable plus of the stove is its economy, due to afterburning of flue gases, which actually increases its efficiency.
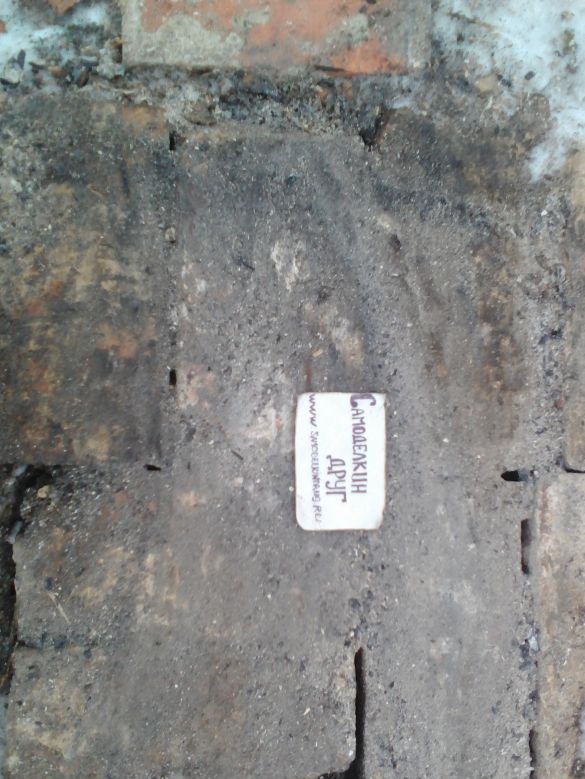
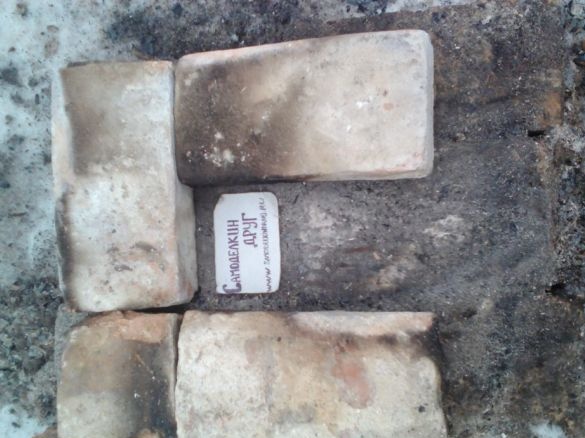
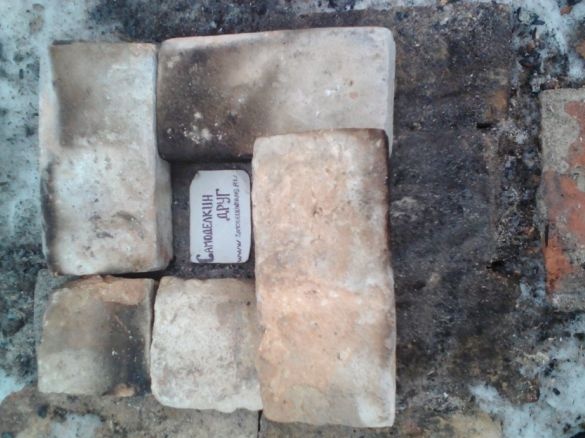
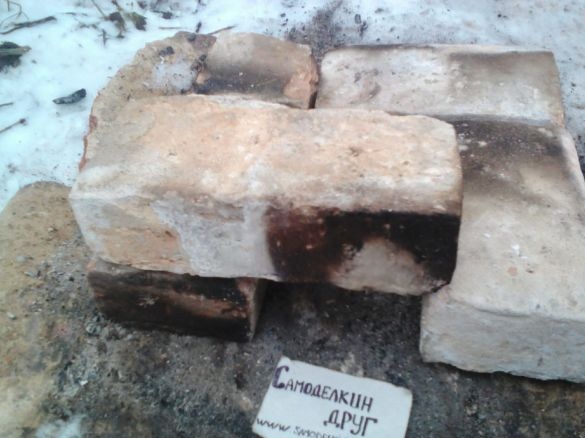
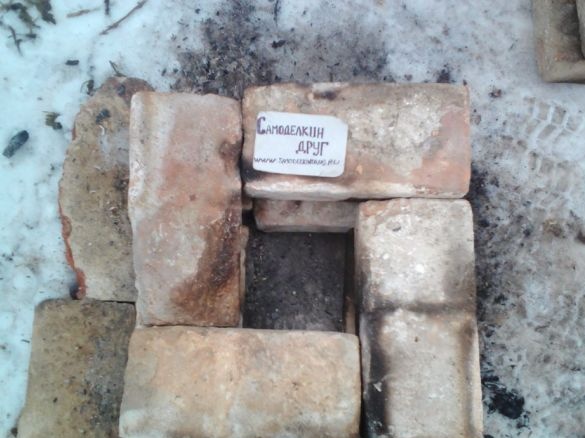
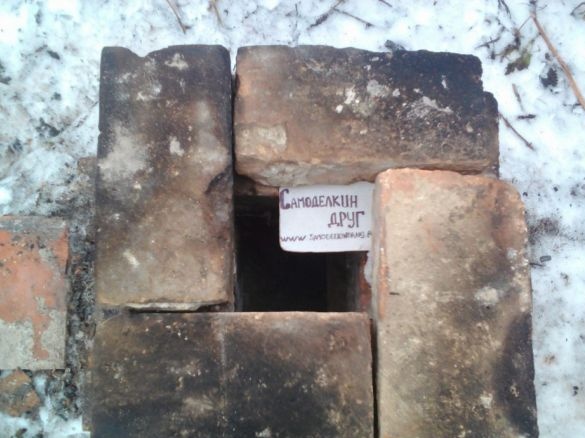
First, the base is laid out on a pre-leveled area, namely 1 half and 4 whole bricks, with the second row we form a firebox and lay the half of the brick in the left corner, then we shift this corner with a brick, and in the front part we get a hole for laying firewood and air access to the burning center . The third and subsequent rows are completely identical to each other, we lift the pipe and report the remaining brick.
You can use the oven to boil water, cook food, by the way, it’s cool to cook jam on it) just who is engaged in auxiliary households, you can cook porridge or a brew for animals)
Material
1. brick
Instruments
1. crazy hands))
Do-it-yourself instructions for laying a rocket furnace from brick.
And so, first of all, the site is leveled, we remove all unnecessary and unnecessary from the construction site. Here, the author previously made a base of used bricks and it turns out that the masonry has already begun from the second row. The first row is the foundation. 2 row is taken half of the brick and 3 more integers are laid as shown in the photo below. 3 row formed firebox. 4 and subsequent rows are placed to raise the pipe.
You can also watch the video shot by the author on the laying of the rocket furnace, which shows in more detail the whole process from start to finish. The operation of the stove, live fire, pleasant viewing)

