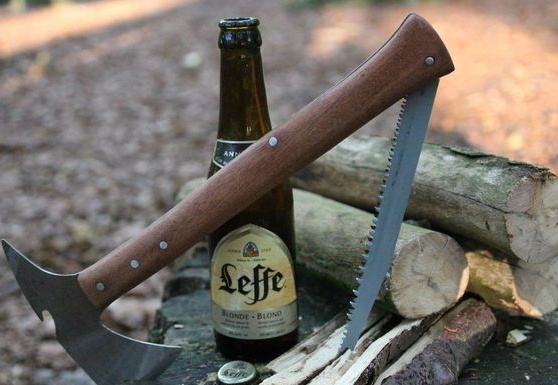
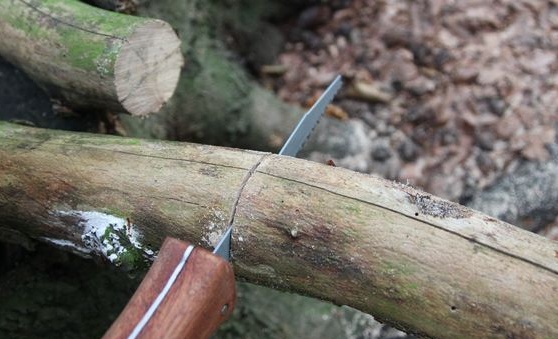
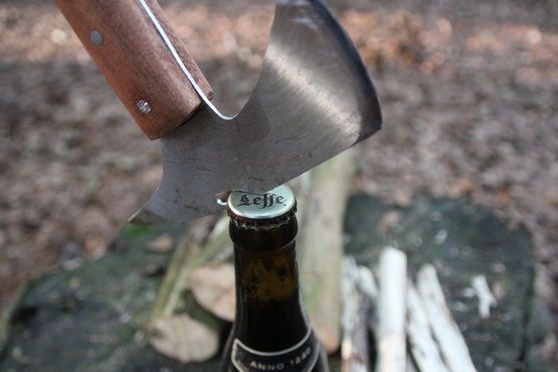
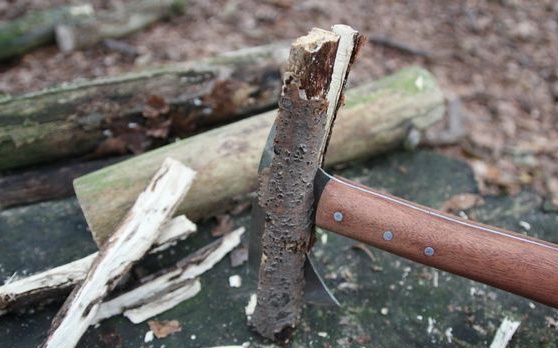
This hatchet combines three functions, this is itself an ax, and there is also a small sharp hacksaw, as well as an opener for beer. The author calls it device survivalist ax, although it is rather just a small helper in tourism.
A hatchet was made for mountaineering and, in general, outdoor recreation, with the use of beer, so an opener is provided here. As for the hacksaw, it is convenient for her to cut moderately thick branches, and then chop with an hatchet on woodchips for kindling. An ax is made easily, we use a saw blade as material.
View online file:
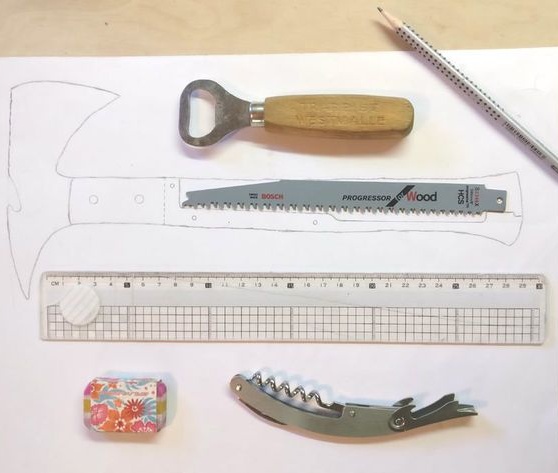
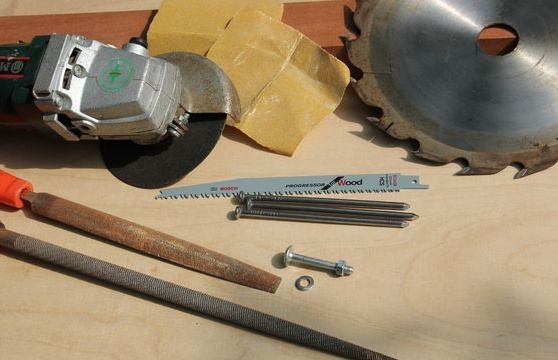
Materials and tools for homemadeused by the author:
Material List:
- saw blade;
- wood for the manufacture of pens;
- nails for the manufacture of pins;
- epoxy adhesive;
- washer, nut and bolt;
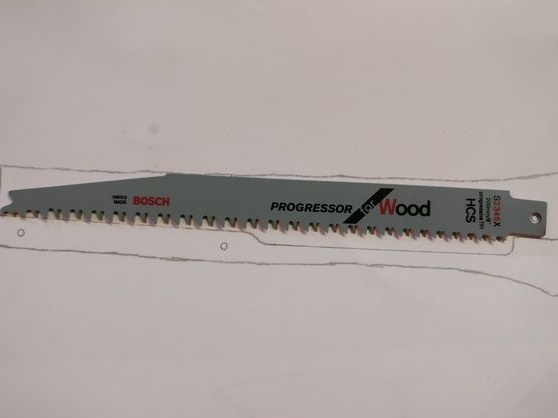
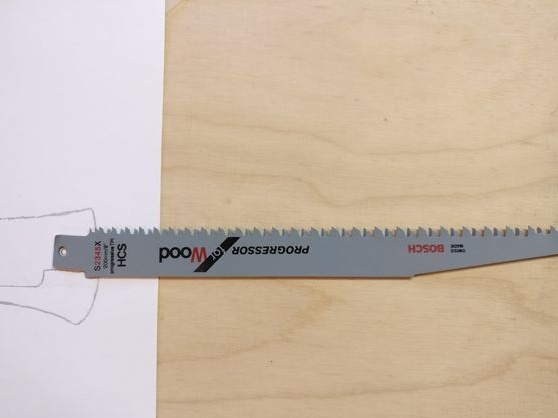
- Sawzall hacksaw blade (the author used 200 mm).
Tool List:
- marker;
- ruler;
-
- ;
- a good set of files;
- sandpaper;
- It is highly desirable to have a vice or clamp.
Hatchet manufacturing process:
Step one. We invent and cut out the main profile
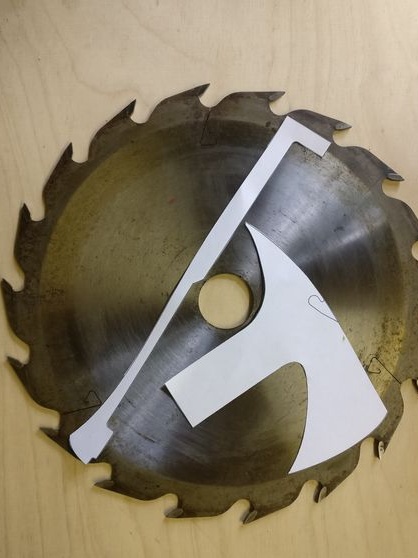
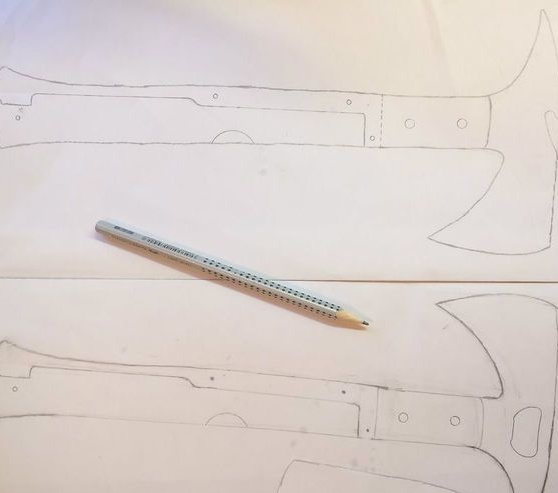
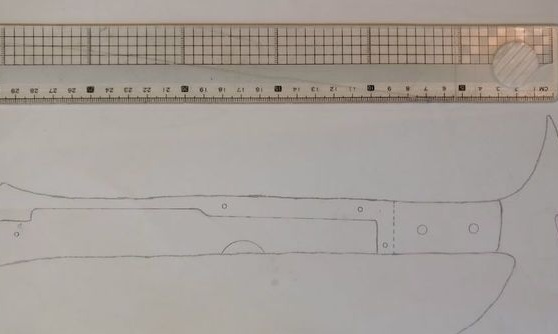
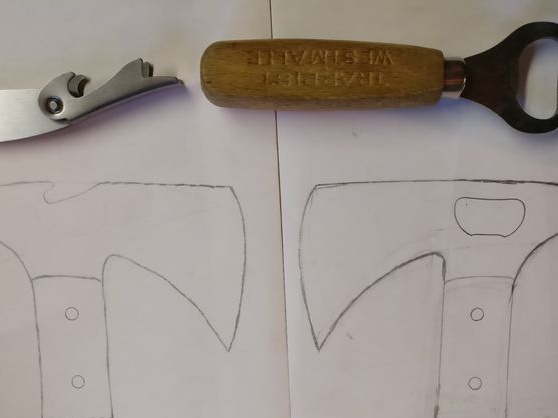
First of all, you will need to come up with the shape of your hatchet. Always remember that the main chopping characteristics of an ax depend on its weight. The more metal there is, the heavier the ax will be, and the better it will be chopped. Decide also on the shape of the blade, it all depends on what purpose you will use the hatchet. We draw an ax profile on a cutting disc. Or you can first do it on paper, and then cut and transfer to metal, this is a more professional solution.
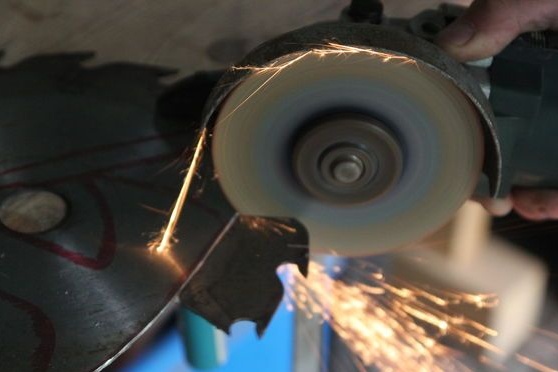
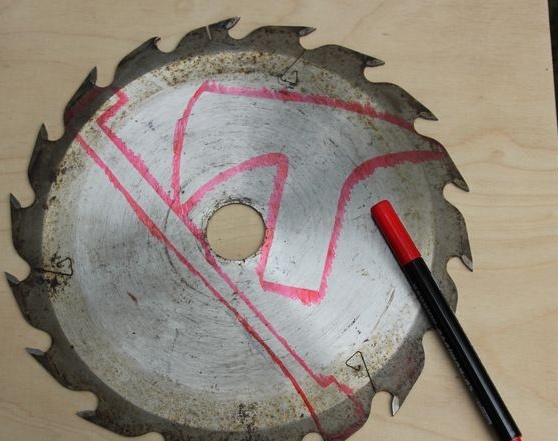
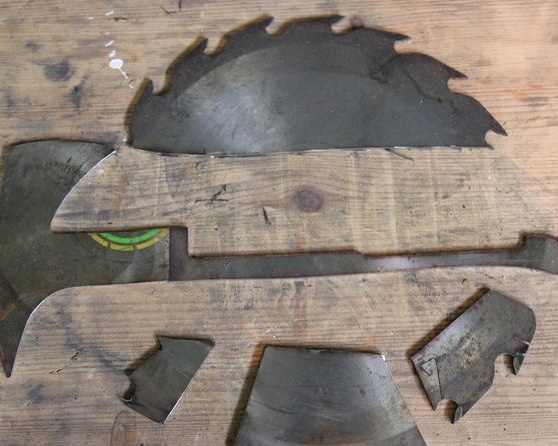
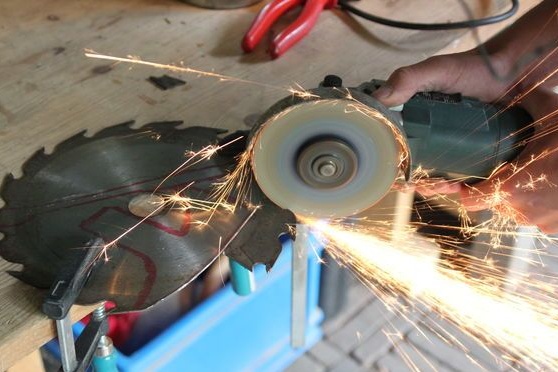
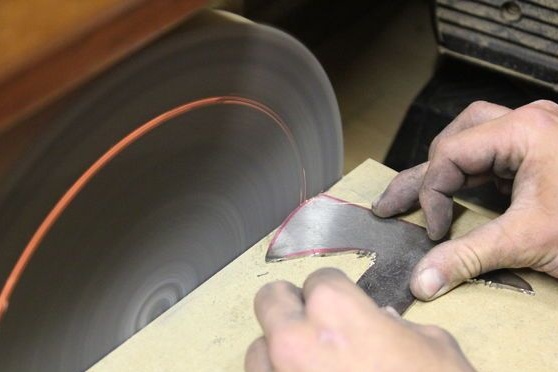
In addition to this, you will need another detail that needs to be cut. But it will be needed if you install a saw blade in your hatchet. A narrow steel plate should pass through the entire length of the handle, as a result, a groove is formed in the handle in which the hacksaw will be hidden. Of course, the shape of this steel plate should be such that the hacksaw blade fits into its place without hindrance. Since the author’s handle is quite long, it’s impossible to cut out these two parts in one piece, we cut separately the ax and the long plate that goes through the handle.
As for the tool, you can cut out this whole thing with the help of a grinder. Try not to overheat the workpiece for the ax, as this causes the tempering of the metal and it becomes soft.However, re-hardening solves this problem. This work can be done with a hacksaw for metal, however, in this case the metal is usually released by heating, after which it is easy to cut. Grind the remaining fragments on the grinder or with the same grinder.
Step Two Make a pen
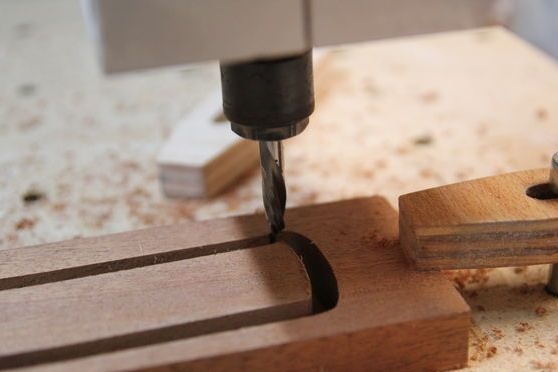
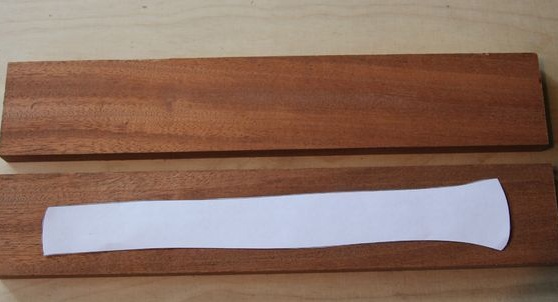
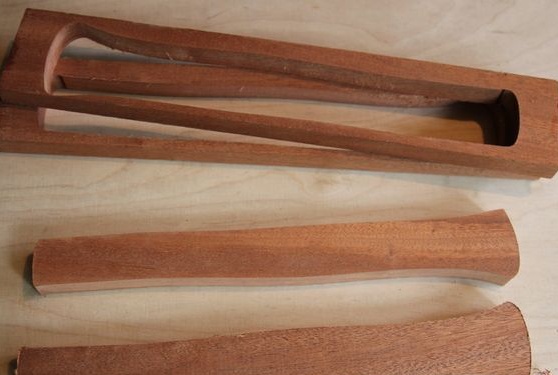
This step will be quite simple if you have a CNC. But this pleasure is expensive and few people have such a device. But all this work is quite simply done manually. We draw the handle profile on the tree and slowly cut it out. It’s good to have a jigsaw, if not, it’s not scary, everything can be done with hand tools. You will need to make two halves. Take care that the handle is not too thick. Sand the workpieces carefully so that they are smooth and the same.
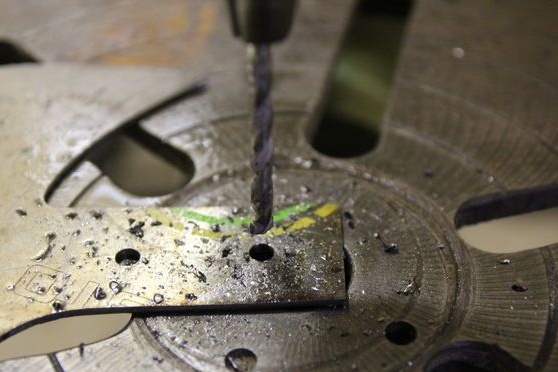
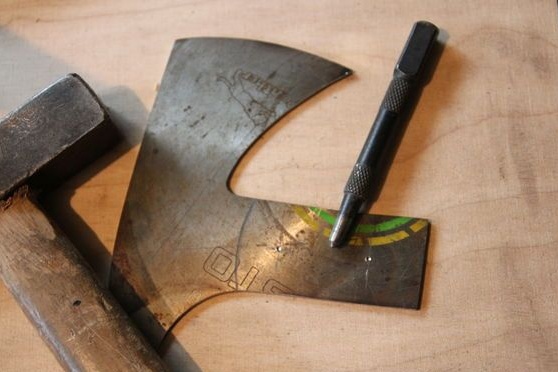
Step Three Drill holes in the metal
The metal of the saw blades is hardened; it is made of high carbon steel. Just so you can’t drill it with an ordinary drill. For these purposes, you will need a special drill with carbide tip. Usually this can be done with the drill used to drill concrete.
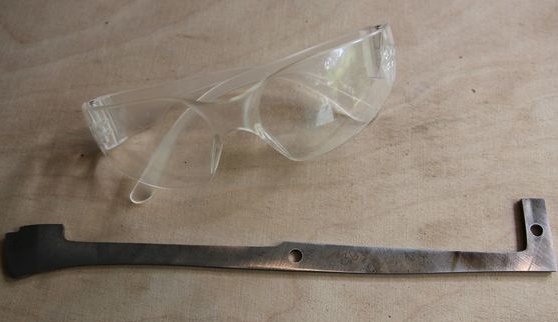
There is another option, you can always heat the metal to red, and then let it cool in the open air. As a result, it will be drilled without problems with an ordinary drill. Do not forget to drill two holes in a long metal plate that runs along the entire length of the handle. However, you can let this metal go without any problems, then hardening is not required.
Step Four Beer opener
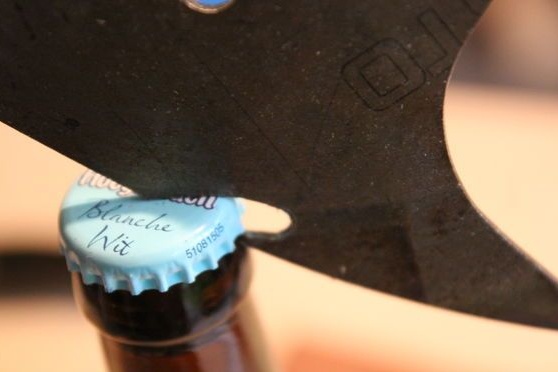
It just so happened that our author is a fan of rolling beer around a fire with friends. Of course, you can open the bottle about a bitch, but it is much more convenient to do this with a prepared tool, in our case it is an ax. It is not difficult to make an opener, just cut a clove with a grinder that will cling securely to the lid. According to the author, it works fine.
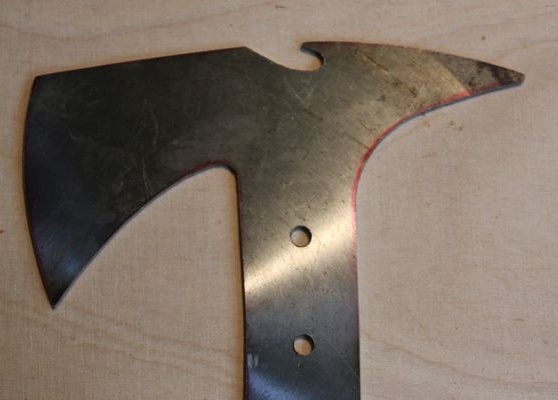
Step Five Trial assembly
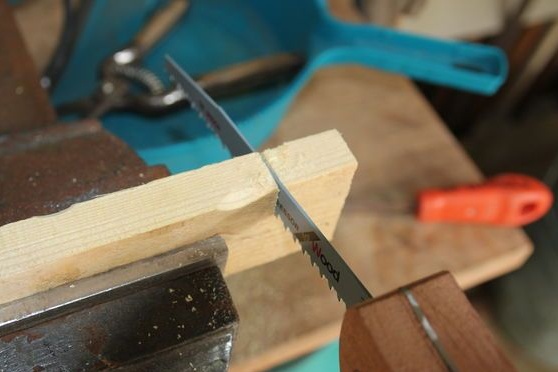
The first thing you have to deal with the locking mechanism of the hacksaw blade. That thin metal plate that runs through the entire handle works as a spring and retainer. First, the author collects everything with bolts and checks if everything works well. To do this, drill holes in the right places where exactly, look at the photo. If something is wrong, it’s still not too late to fit everything. Try to pull out the canvas and cut something, it should be fixed securely.
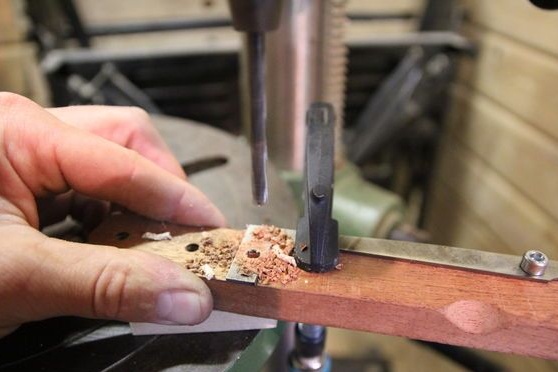
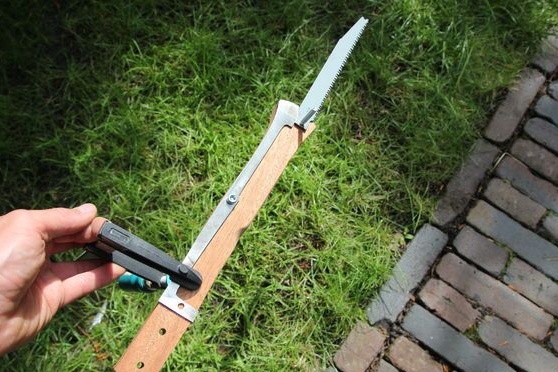
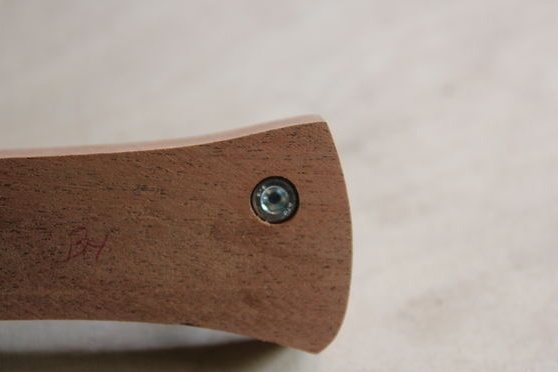
Step Six Sharpen ax
The most crucial moment in the manufacture of an ax comes - this is its sharpening. Since the hatchet is made without subsequent hardening, it is important for us to sharpen it correctly. When sharpening, the blade will heat up, which means that metal tempering can occur if the temperature becomes too high. After tempering, the metal will be soft and the ax will quickly lose sharpening. Before sharpening, stock up with a bowl of water and constantly cool the blade in it. Sharpen the author carefully using a grinder and grinding disc. This creates a bevel, and also rough grinding occurs.
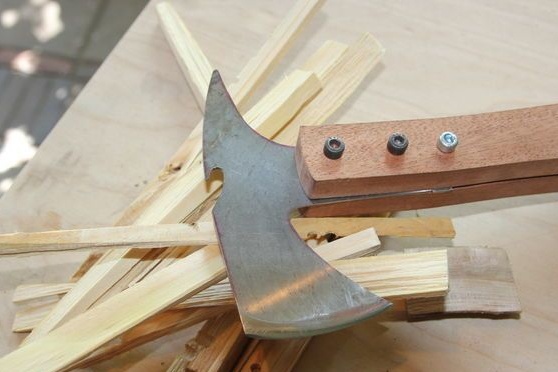
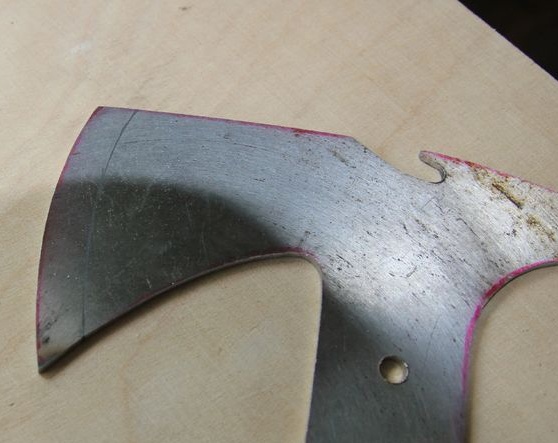
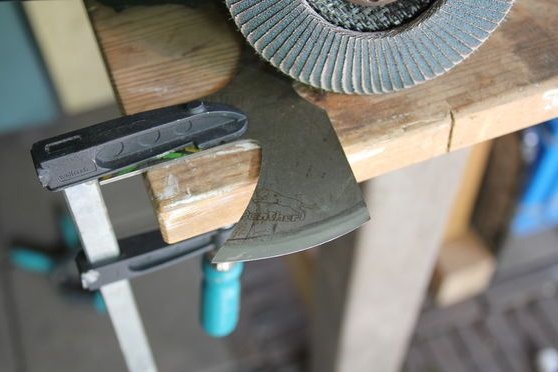
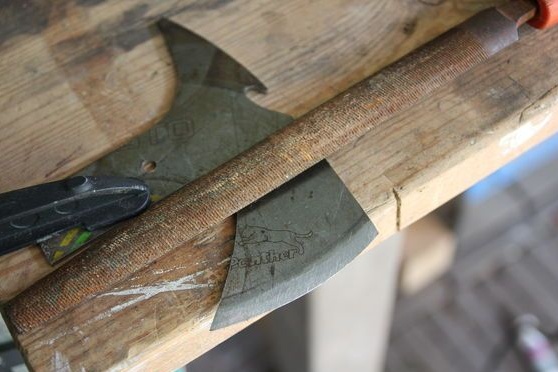
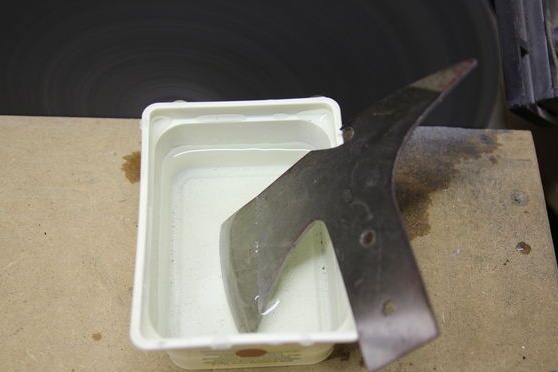
For finer sharpening, we take files, as well as sandpaper. If desired, using an emery paper, the hatchet can be sharpened to the state of the blade. But since we will be chopping them with firewood, we don’t need it very sharp, and it’s not safe.
Seventh step. Glue the hatchet
As glue we use epoxy. It will be convenient to use a double syringe, which simultaneously applies resin and hardener. The glue must be applied carefully, as there are moving parts inside the handle. Before mixing the resin with the hardener, prepare the pins. The author used ordinary nails as pins. We cut them to the desired length so that they protrude slightly from the handle on both sides.
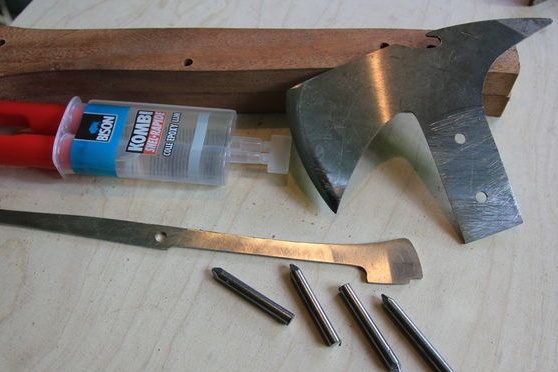
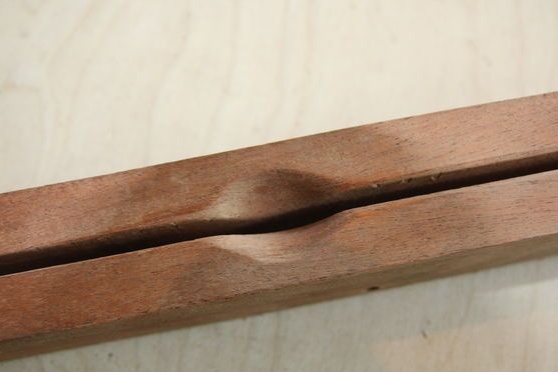
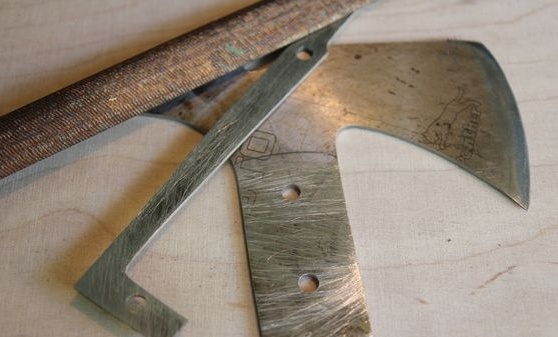
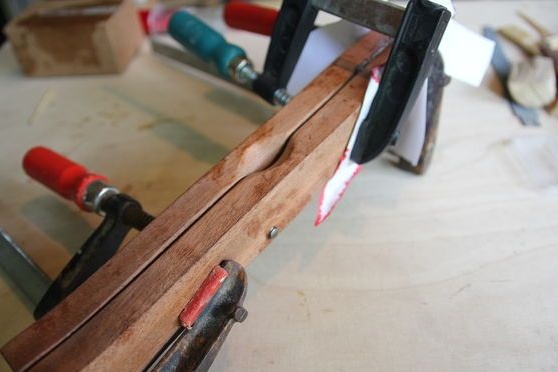
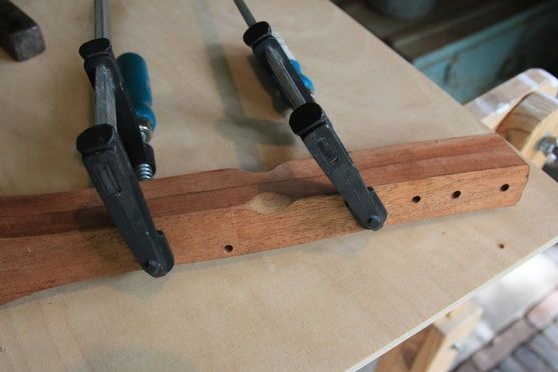
We apply glue in the part where the hatchet is attached, and also glue the upper half of the steel plate.The bottom part does not need to be glued, it works like a spring. We tighten the whole thing with clamps and leave it for 24 hours, this is how often the epoxy glue dries.
Step Eight. We form the handle
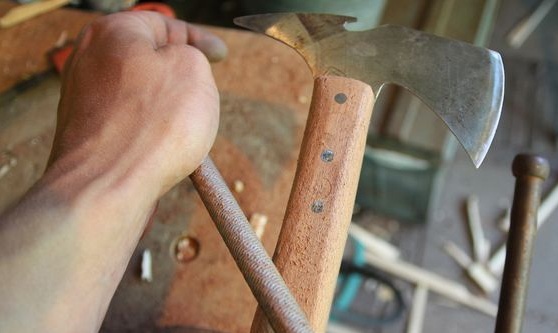
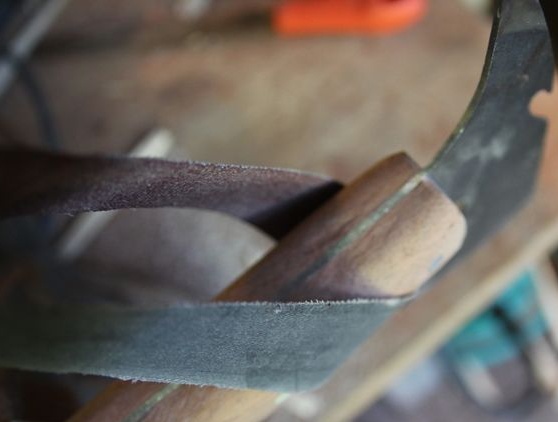
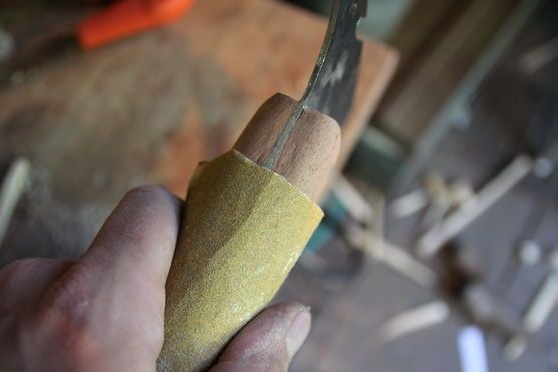
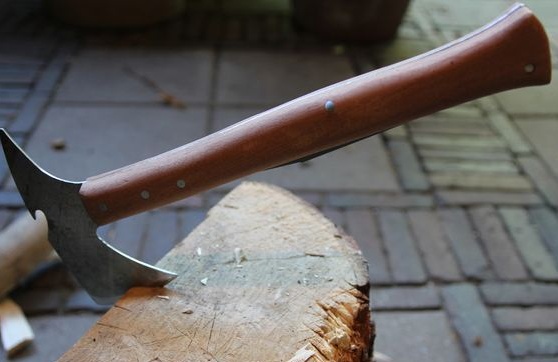
When the glue is completely dry, take a file and carefully treat the surface of the handle, remove excess. After rough processing we take large emery paper and continue grinding. In the end, gradually reducing the grain of the paper, we make the pen absolutely smooth. After that, the hatchet is almost ready, try it in practice!
Step nine Finishing touches
In the end, do not forget to protect the tree from moisture, this is a very important point. If this is not done, the handle will absorb water and will crack quickly, and it will also absorb dirt. For protection, you will need linseed oil or special impregnation for wood. We apply the oil and leave it to dry, after which it will no longer be taken.
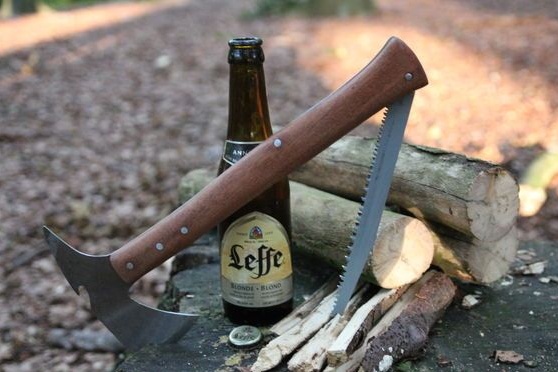
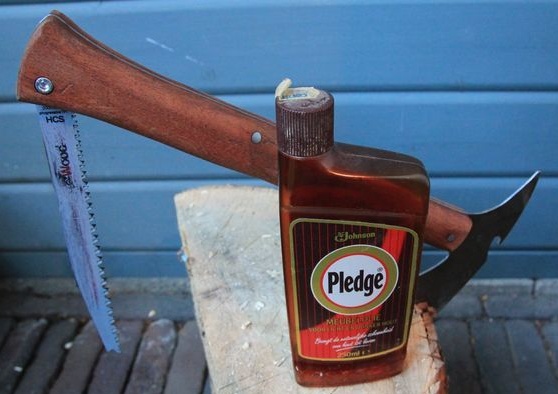
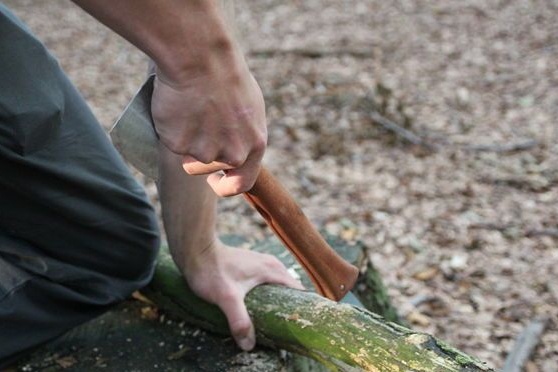
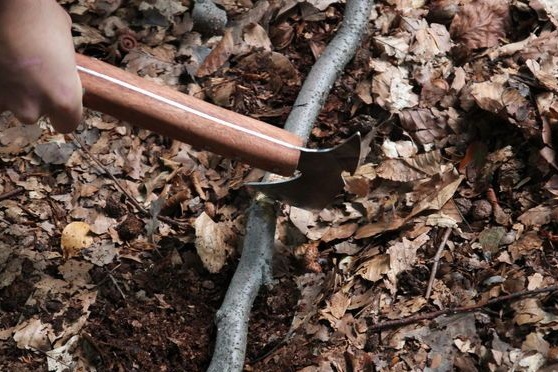
The hatchet is ready, its weight is only 300 grams, so taking it with you on a trip will not be very difficult. For safe wearing for an hatchet, you definitely need to make a cover.
