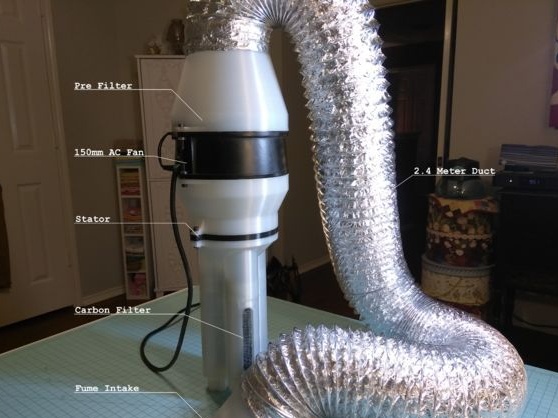
For soldering and chemical experiments, it is desirable to have an extractor hood. But it is not always possible to install a hood with access to the street. For such cases, there are devices that filter smoke and fumes in the room. It was such a device that was designed and assembled by the Master.
Tools and materials:
-Fan;
-Fasteners;
-The wire;
-Heat-shrink tubing;
-Activated carbon;
-Metal corrugation;
-Epoxy adhesive;
-Metal mesh;
-Foam filter;
-Nippers;
-Knife;
-Cable ties;
-Soldering iron;
-Drill;
-File;
-3D printer;
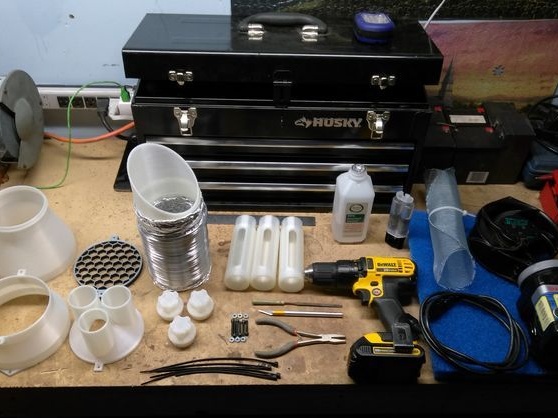
Step One: Design and Print
Makes a filter project.

Files for printing ,,,,,,.
Prints the details.
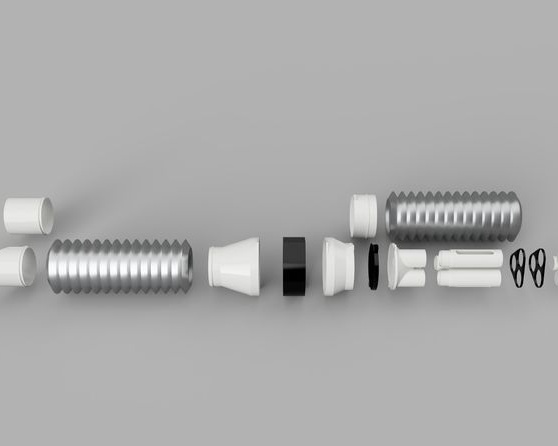
Step Two: Fan
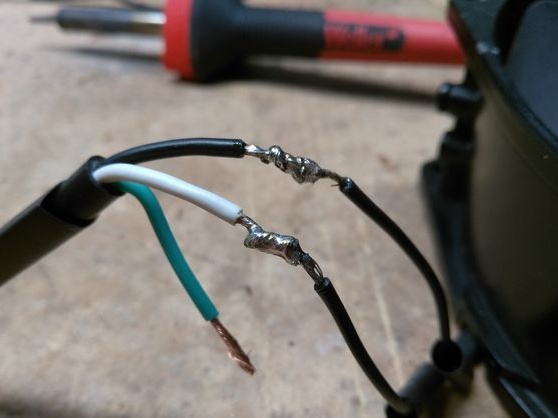
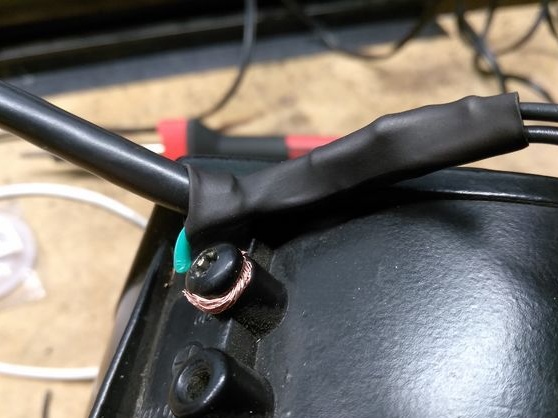
Connects the wire to the fan outputs. Insulates heat shrink.
Step Three: Filter
Cut and install a foam filter.
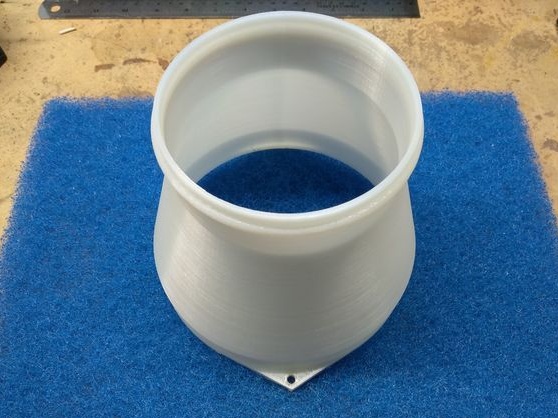
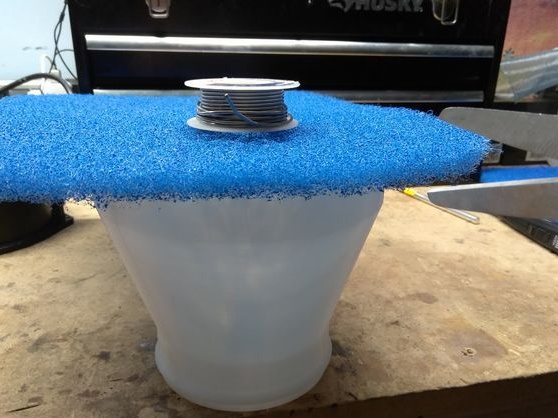
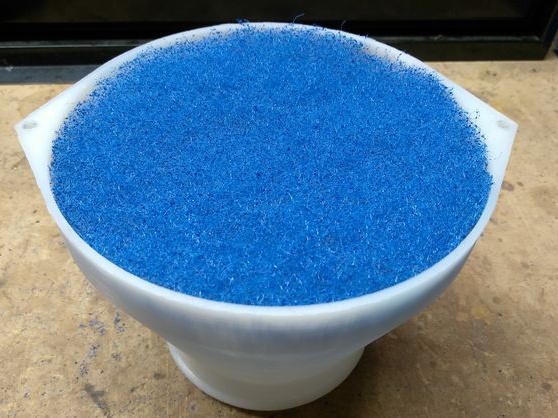
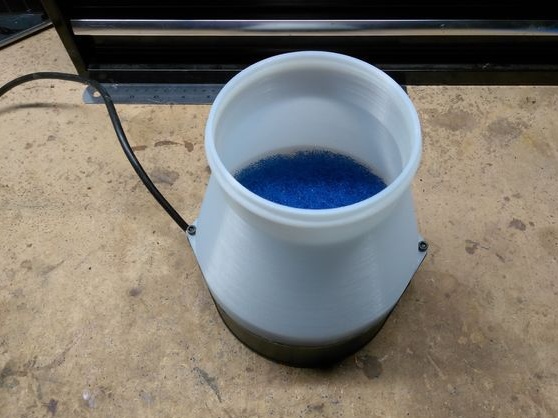
Sets cells. The cells serve to evenly distribute air throughout the filter.
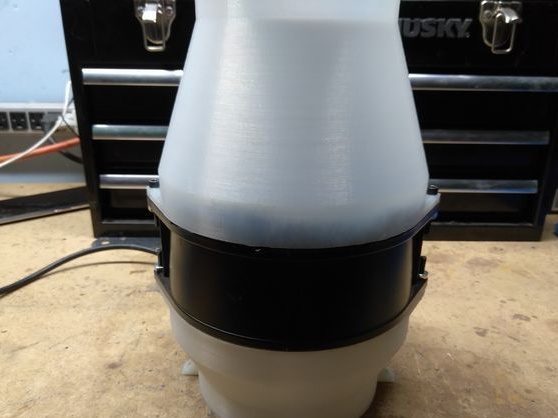
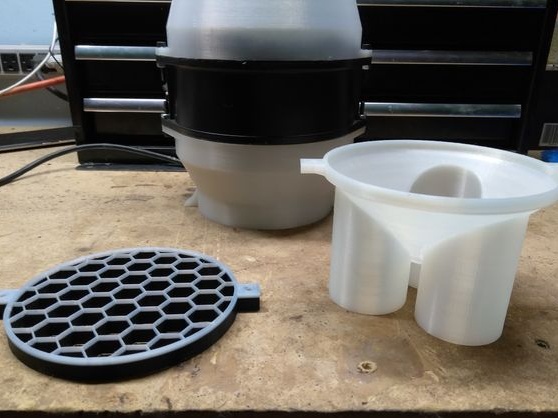
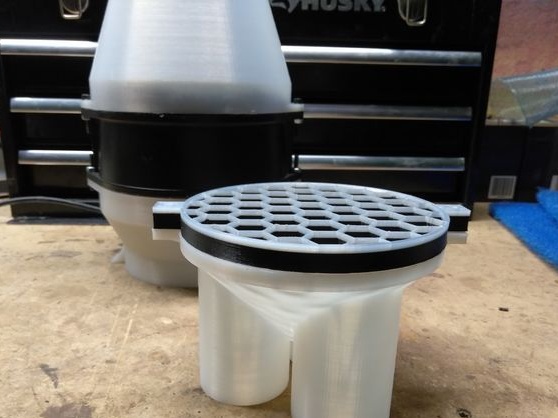
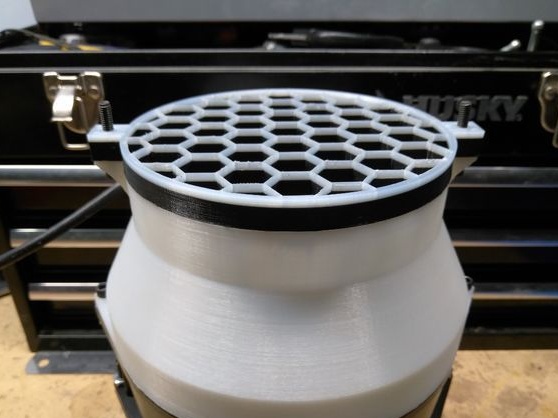
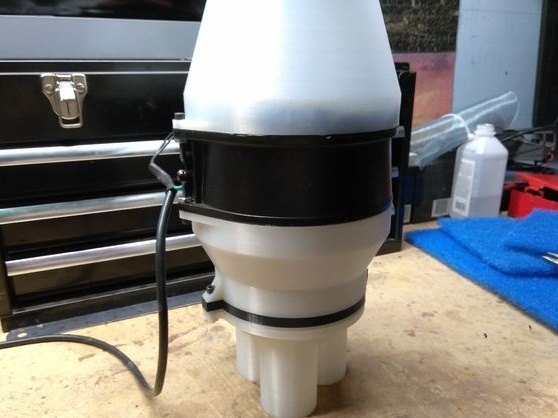
Step Four: Carbon Filter
Collects a charcoal filter. In three compartments of the carbon filter sets the grid.
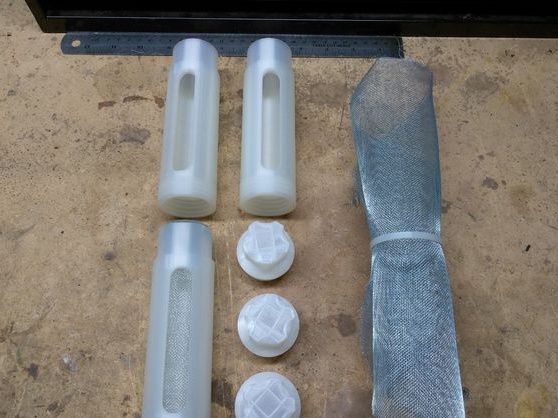
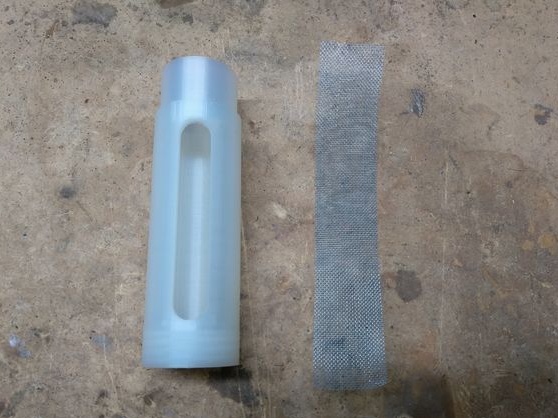
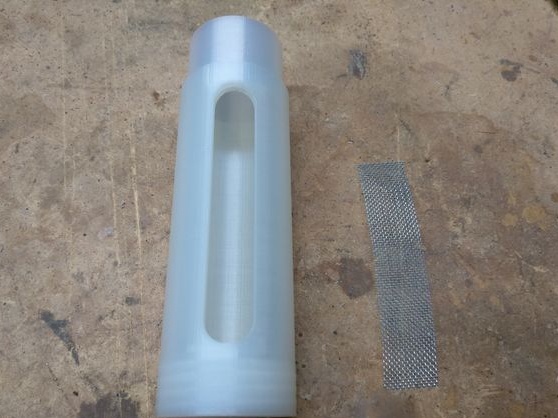
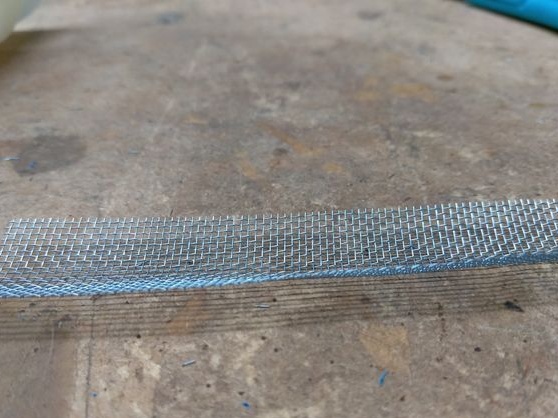
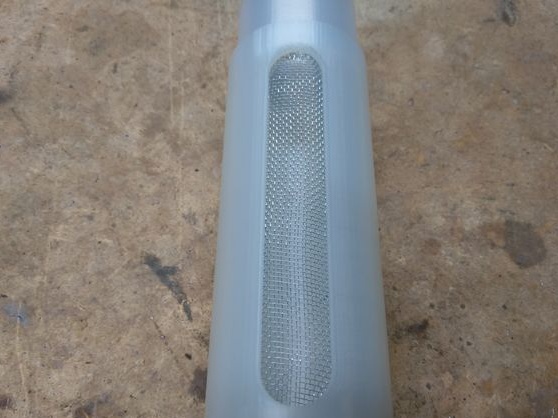
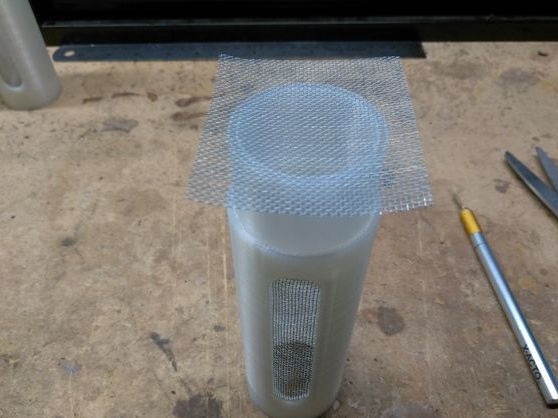
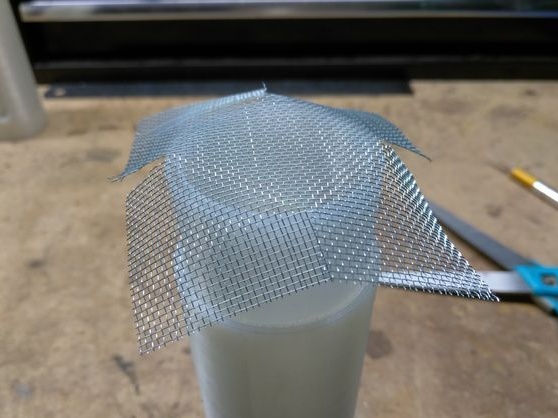
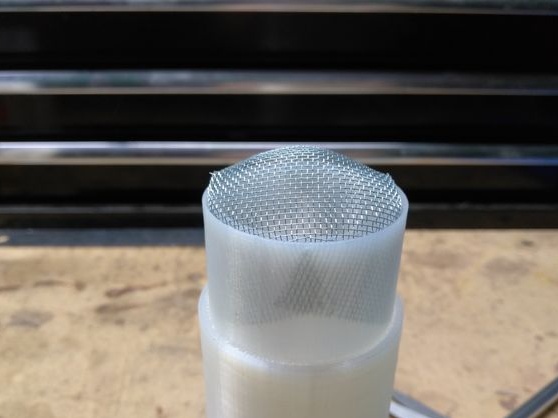
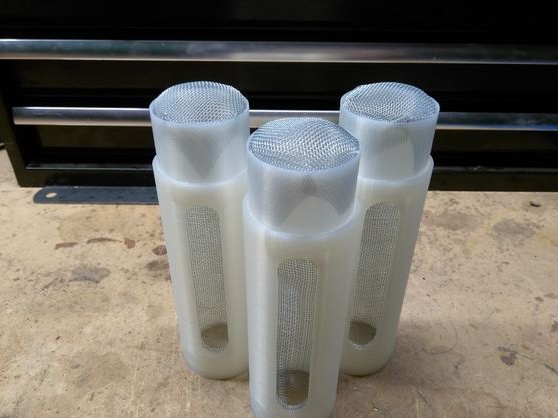
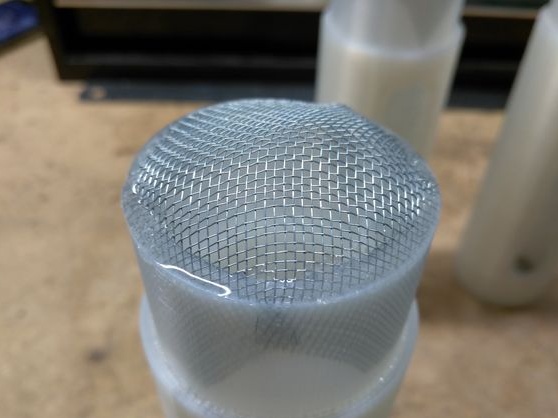
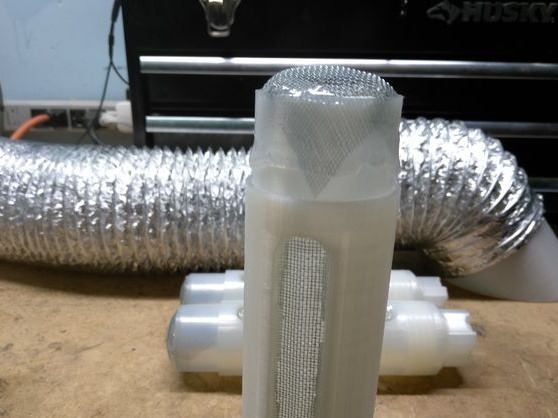
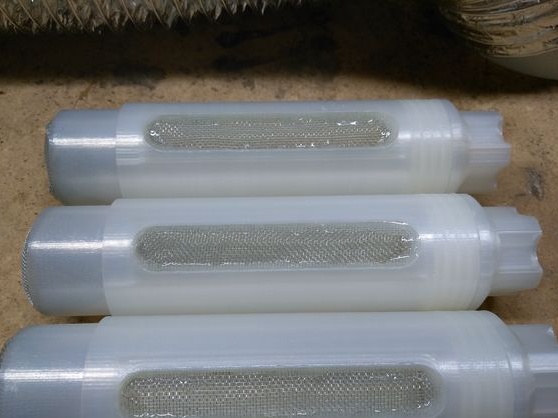
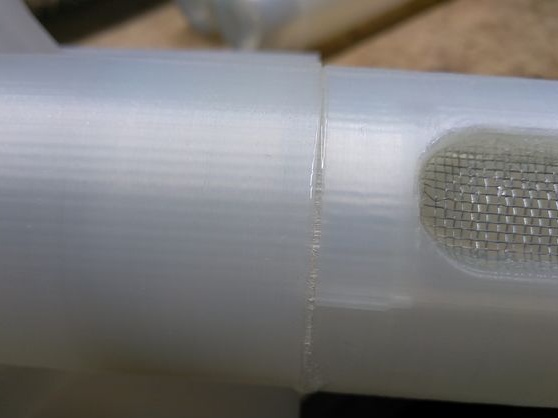
Adheres filters to the tee.
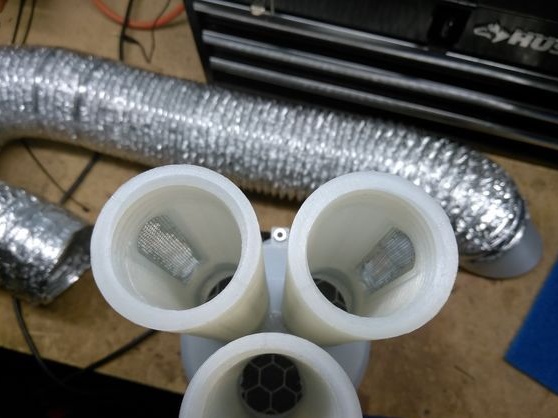
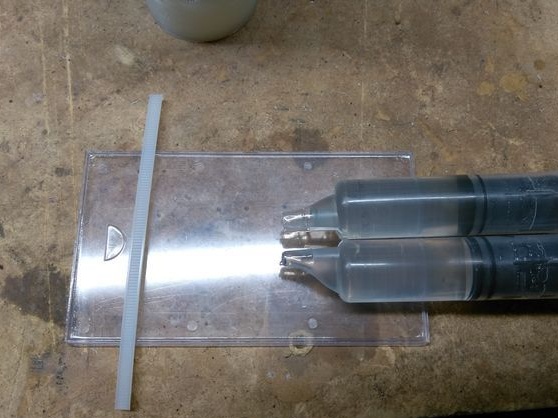
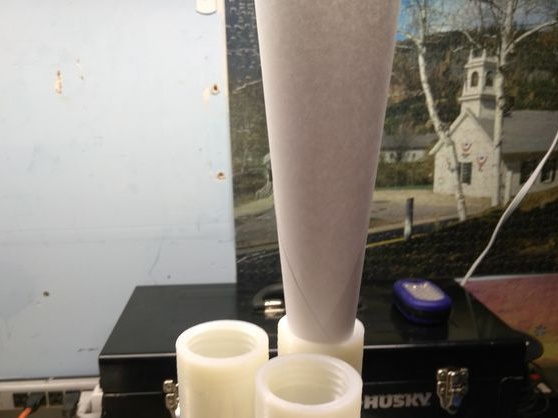
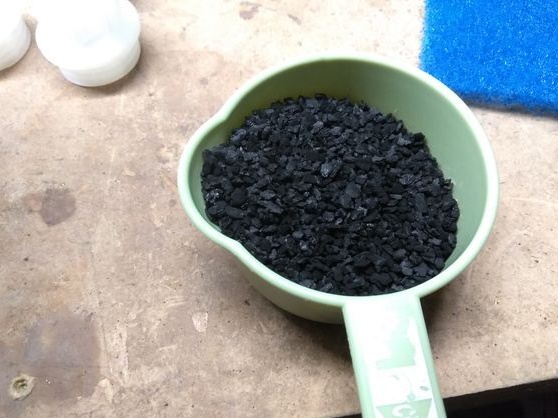
Fills filters with activated carbon.
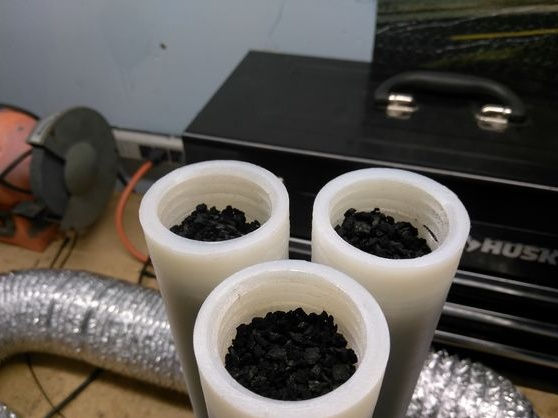
Set the caps.
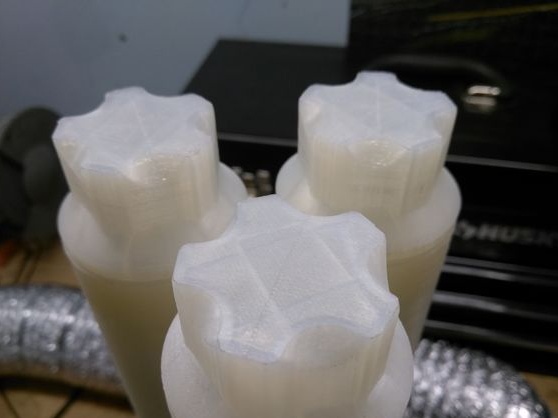
Collected all parts of the filter.
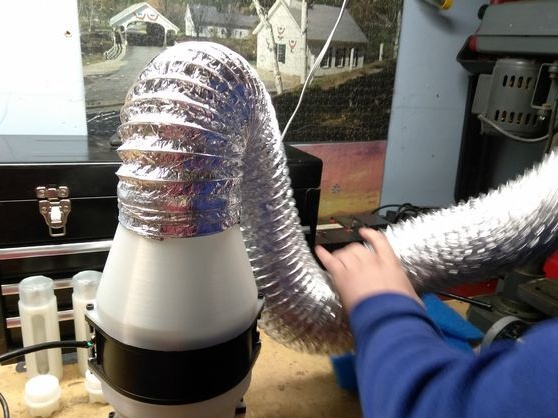
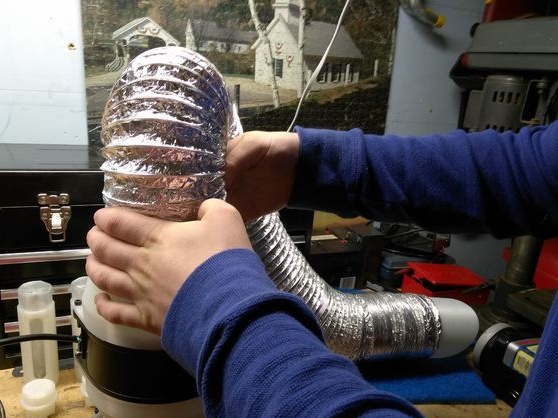
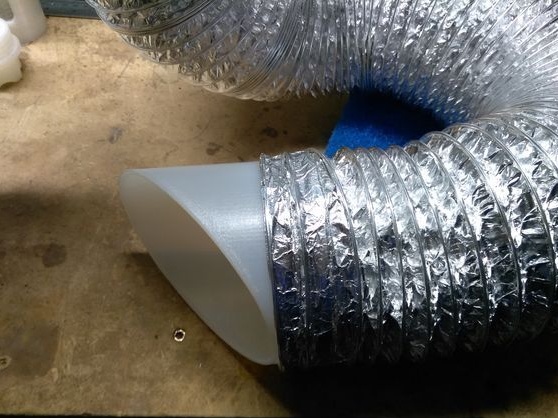
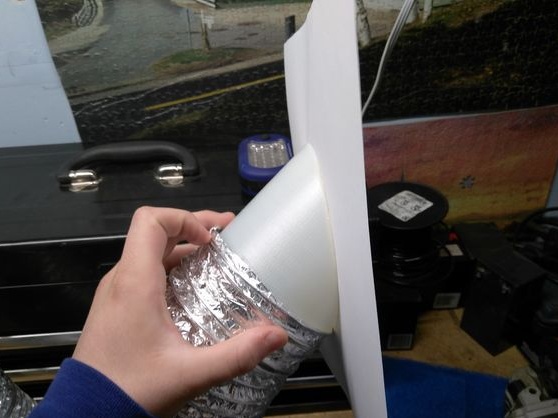
The smoke exhaust is ready.
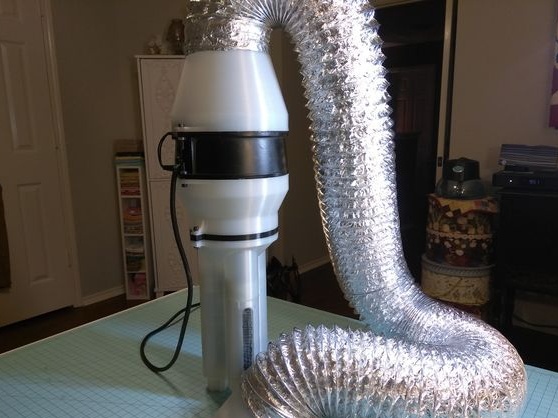
It remains to test. According to the master, the smoke trap is doing its job.
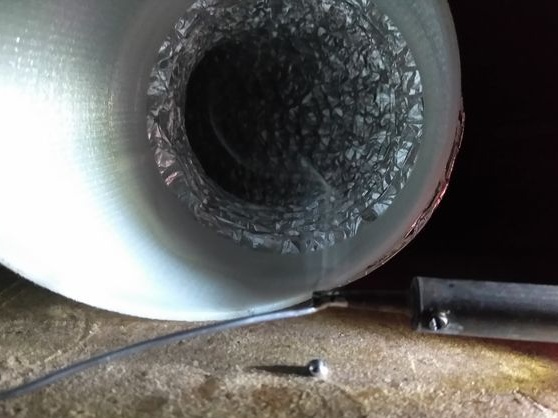
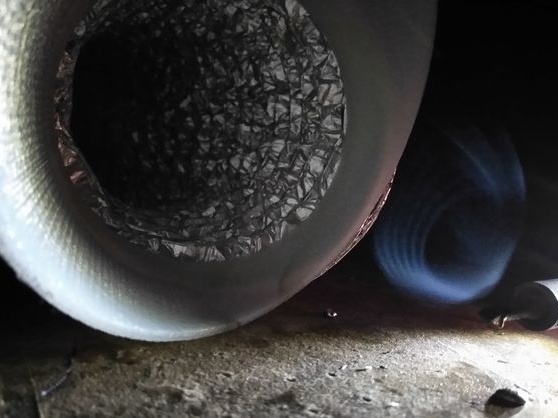
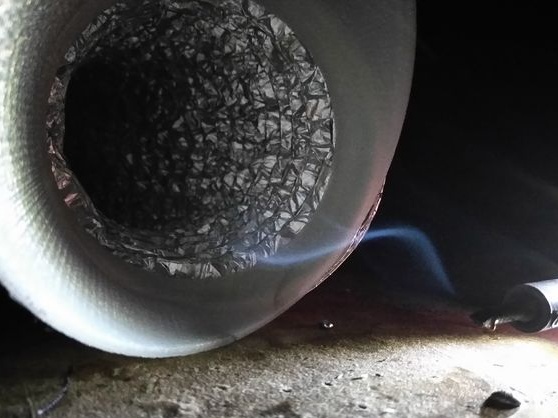
The operation of the smoke trap can be seen in the video below.
[media = https: //youtu.be/FPwNiLTFcMI]
