If you hold a large number of birds, then you probably have a processing problem. Nibbling feathers by hand is very long and tiring, and a person needs more. Such a problem is solved by such an ingenious device as a scavenger. All you need to remove the feathers from the bird is to scald it in boiling water and throw it in the car, it will do everything herself. Of course, after this a couple of feathers will remain on the bird, but they are not difficult to remove manually.
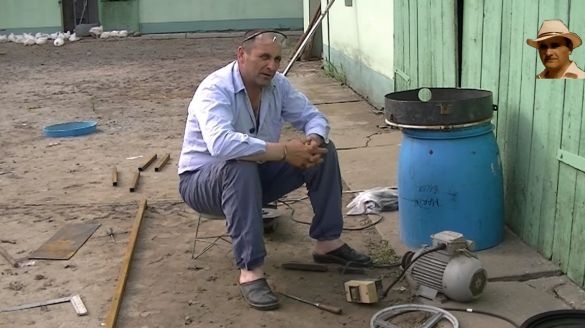
The device discussed below is assembled quite simply, the most expensive element here is an electric motor. Everything else can be found in landfills or use the unnecessary parts that you have in the garage. You also need to buy, but they are not expensive. Let us consider in more detail how to make such a miracle of technology.
Materials and tools that the author used for homemade:
Material List:
- engine (2-3 kW);
- spare parts from an old washing machine;
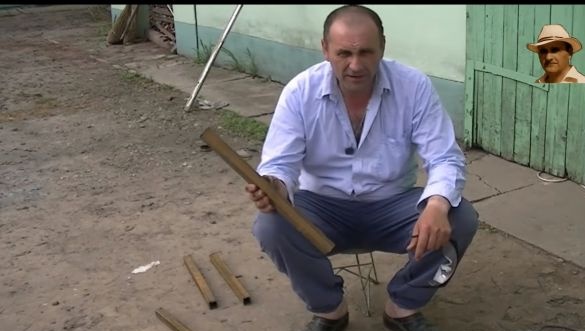
- steel square pipes;
- a plastic barrel;
- steel plates;
- bolts with nuts;
- switch;
- ;
- paint.
Tool List:
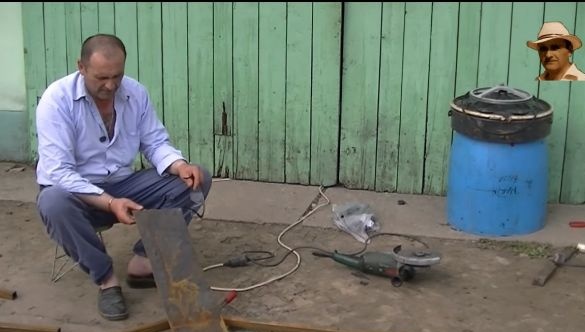
- grinder;
- drill;
- welding;
- screwdrivers, pliers, wrenches;
- a drill under the fingers;
- obedient woman ;-)
Machine manufacturing process:
Step one. Preparation of all necessary materials
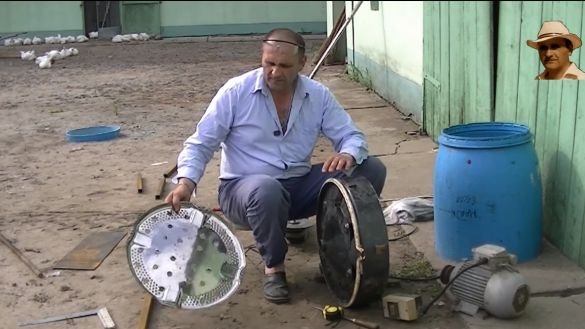
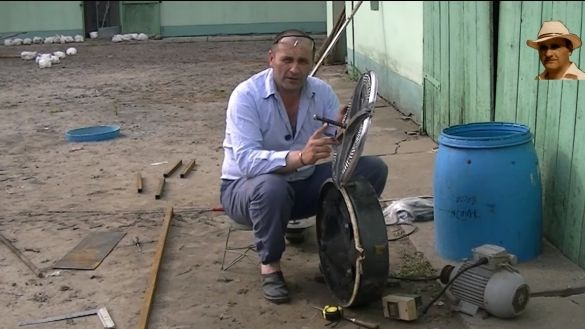
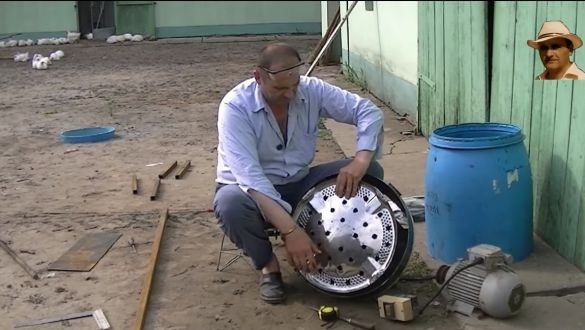
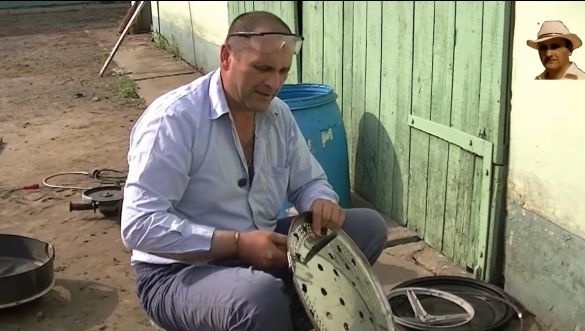
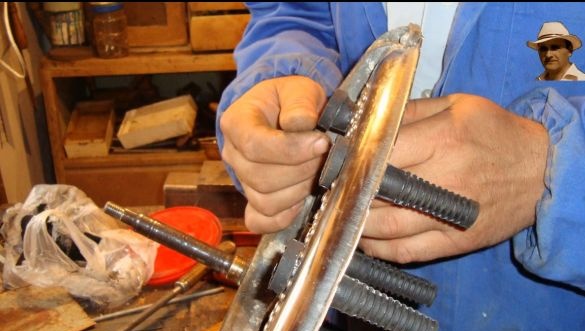
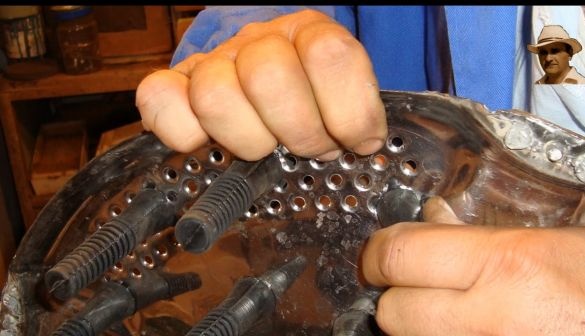
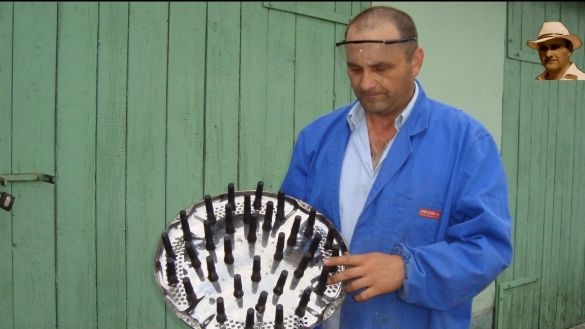
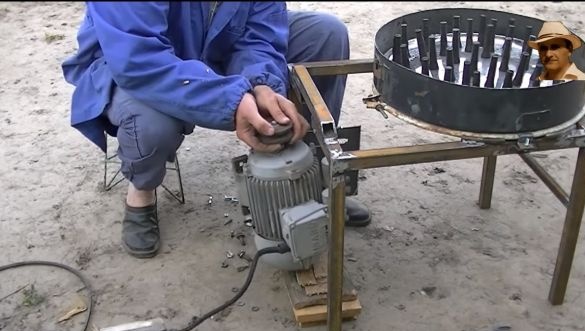
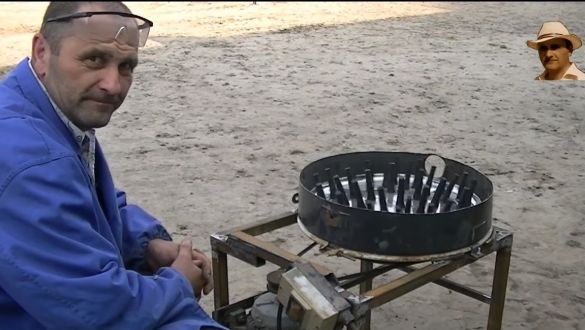
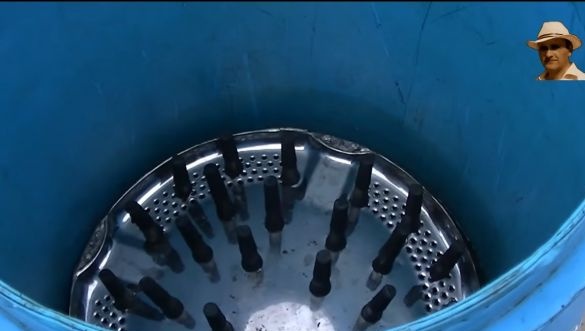
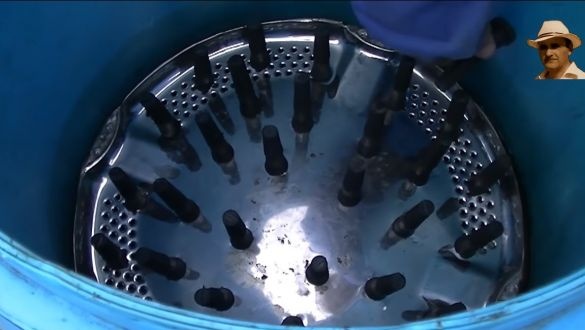
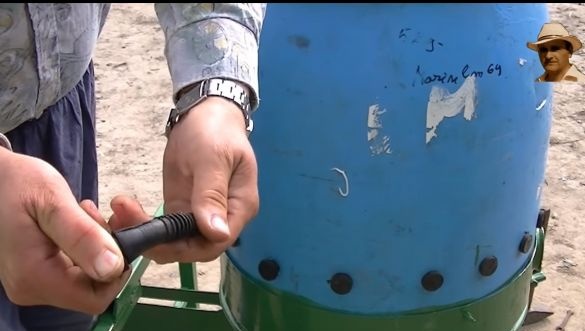
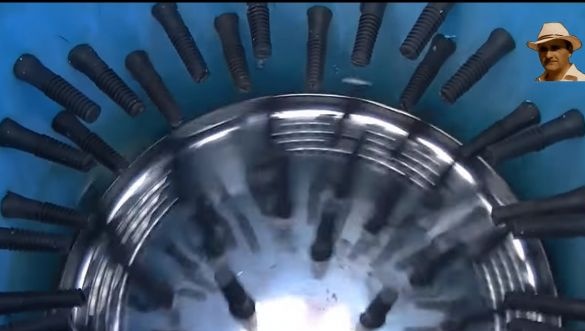
Let's start with the basics of a scavenger. It is a disk on which are attached the removable fingers. They are made of rubber, they look like bolts. When the disk rotates, such a finger grabs the pen due to the friction force and pulls it out. Today it will not be difficult for a scavenger. They come in different sizes, profiles, and so on.
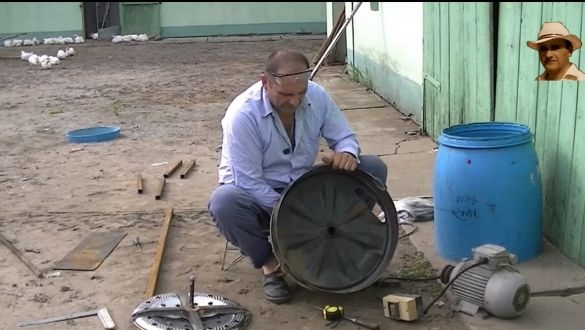
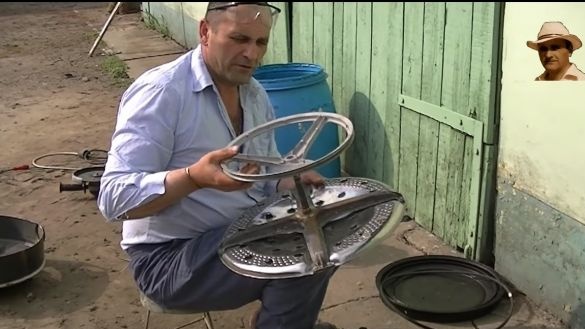
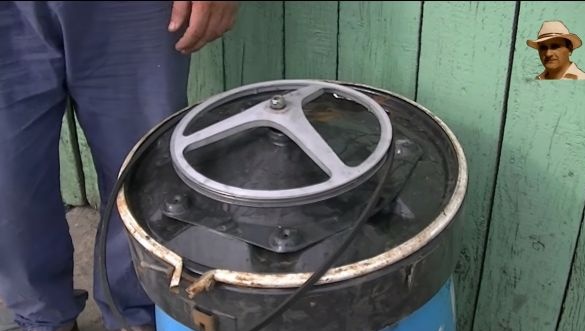
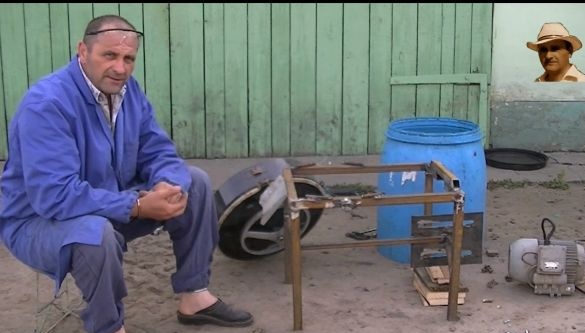
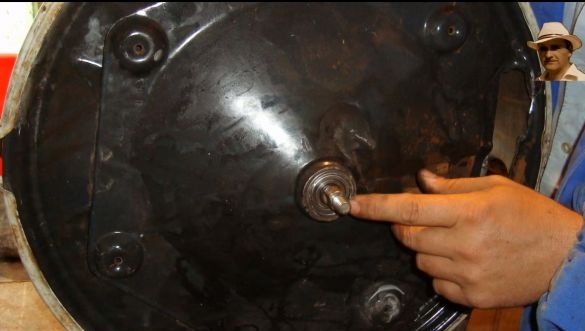
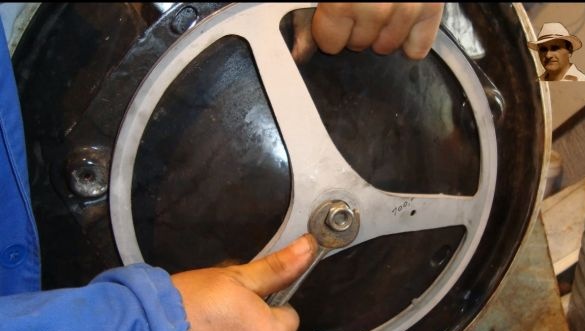
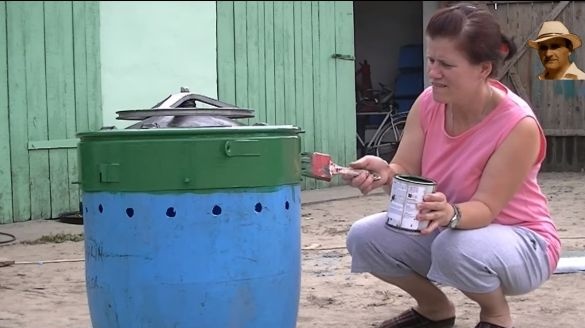
The lower rotating part is made of the drum of the washing machine, that is, the walls are cut off from the drum and the disk remains. Holes are drilled in the disc into which the fingers are mounted. You will also need a housing from the washing machine, it is used as the basis for installing the axis of the disk and the top of the machine.
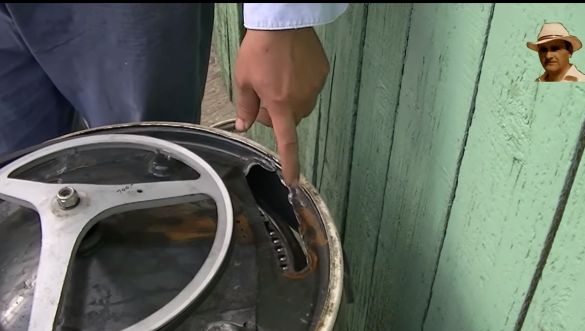
At the base, you need to cut a hole, dirty water will flow out through it.
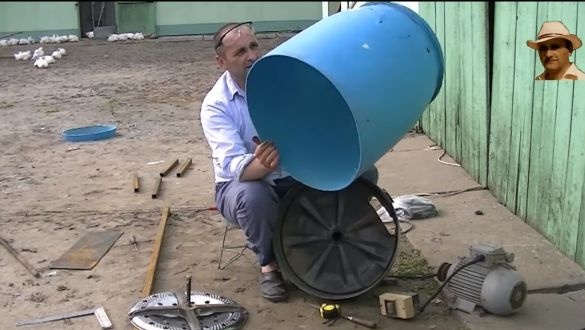
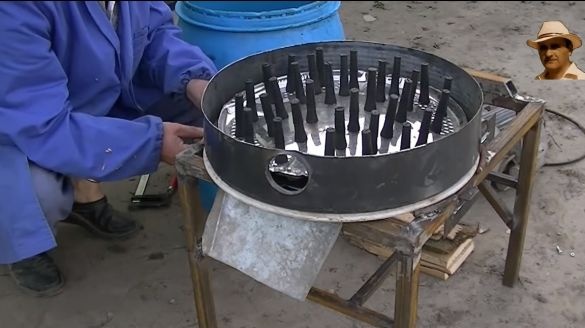
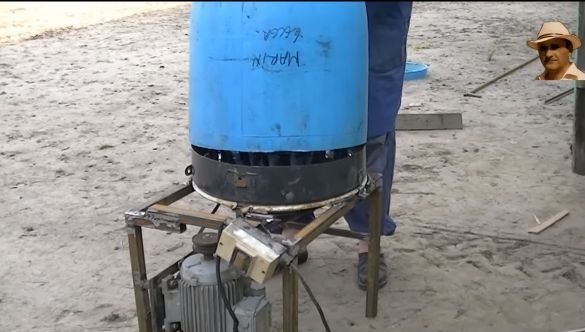
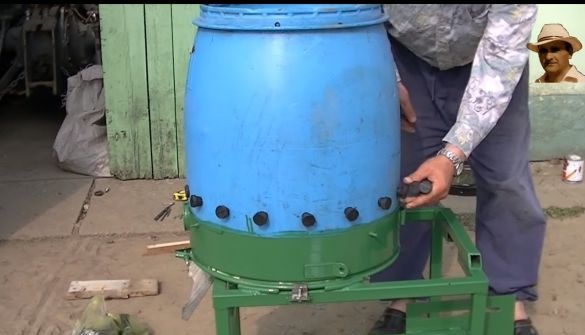
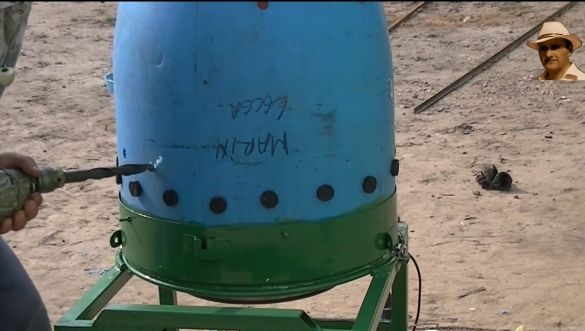
The upper part of the machine is made of a plastic barrel. From it you just need to cut the bottom. Several rows of feather fingers are also installed in this part. Under your fingers you need to pick up a drill of the appropriate diameter, they should go tight.
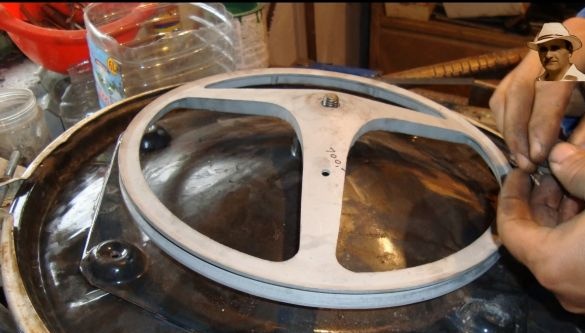
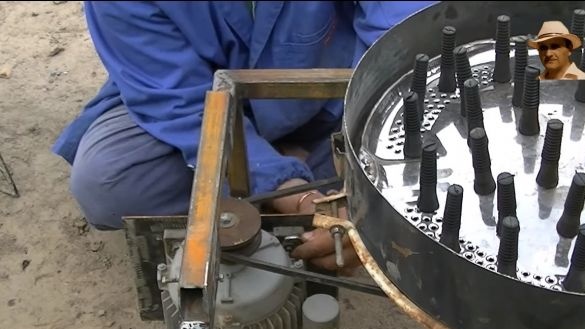
As for the transmission of movement from the engine to the working disk, two pulleys and a belt are used for this.Most likely, the author used these parts from old washing machines.
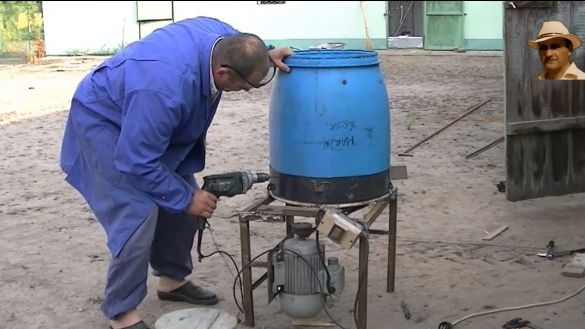
The author collects the frame from square steel pipes.
Step Two Assemble the frame
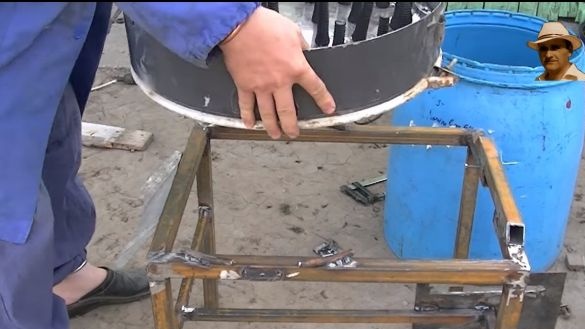
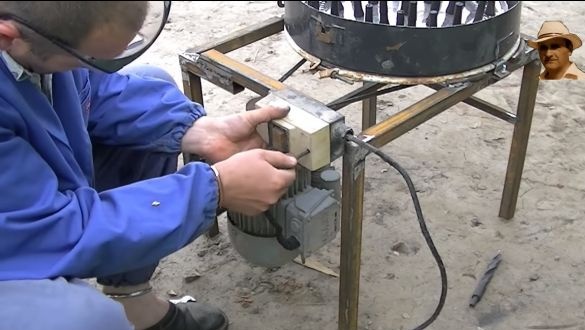
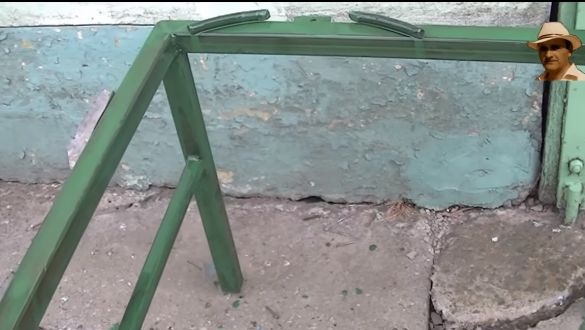
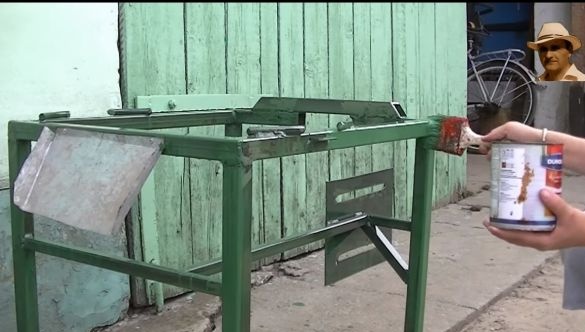
We cut the pipes into the necessary blanks, and then weld the frame. There is nothing complicated about this, you need to do some calculations to position the engine so that you can arrange a belt drive.
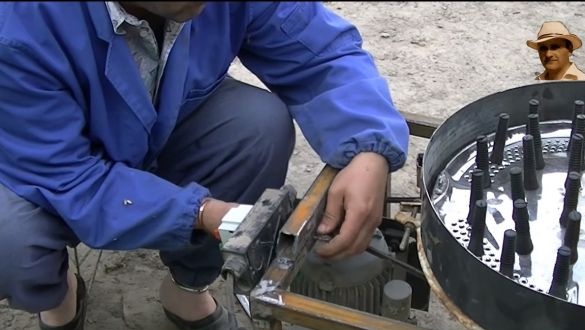
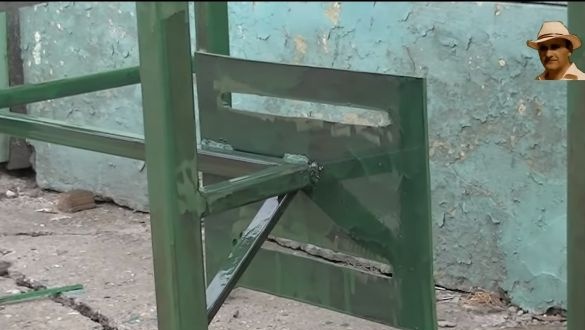
In the upper part of the frame, it will be necessary to weld the sides, they are made of reinforcement or the like. Weld the engine bracket, it can be made of thick sheet steel. You will also need to weld another small plate to secure the switch.
Step Three We assemble and install a working disk with a base
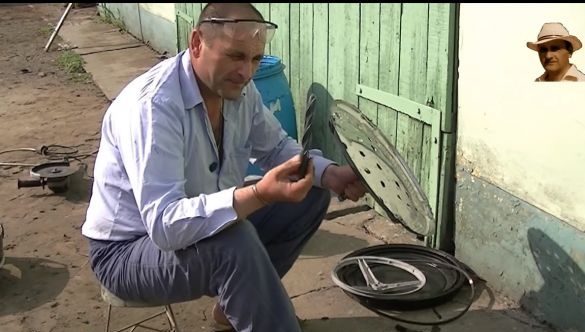
Fingers should be installed in the working disk, pick up a drill of such a diameter under them so that they fit tightly into the holes. On each finger there is a groove, thanks to it it is securely fixed on the seat. Fingers need to be set staggered so that they pass less areas.
We install the disk on the base, do not forget to grease the bearing. We install a pulley on the other side. The author has a much larger diameter than on the motor shaft, due to this, the speed is reduced and the torque increases, which is necessary for the operation of the device. High revolutions are not needed for the scraper.
Step Four Collect the car
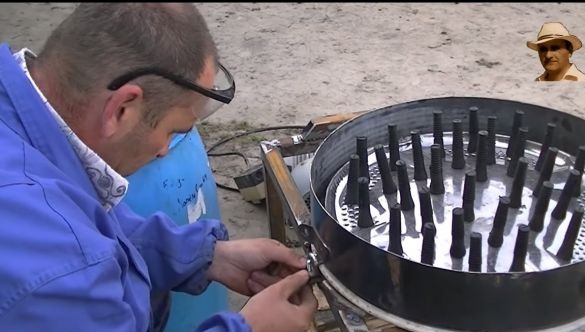
We install a working platform with a disk on the base, it is attached using special brackets and bolts with nuts. Thanks to this, you can always disassemble the machine. Opposite the outlet, install a galvanized metal shield so that dirty water does not flow throughout the frame.
Now you can begin to install the engine, fasten it with bolts and nuts. Remember to install the belt and tighten it. Tighten the nuts well so that the belt does not loosen.
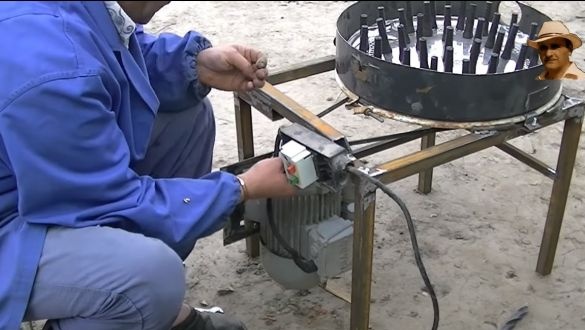
In the end, you must install the switch on the machine, it will quickly turn off the device in an emergency. The switch must be well protected from water. The author decided to hide the buttons under an elastic band so that water would not enter.
You can try turning it on! Everything works? Excellent! Don’t throw cats at her! This is a joke More precisely no, not a thing ... don’t throw!
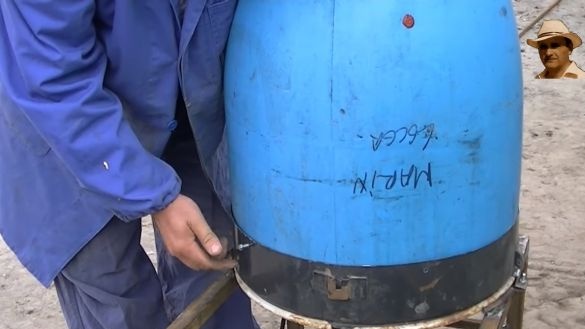
It's time to install the upper part, as part of it is used from a plastic barrel. Securely fasten it to the base using bolts with nuts. The disc should not cling to the barrel! Remember that there will be a rooster on the walls inside, make sure that everything is securely fixed.
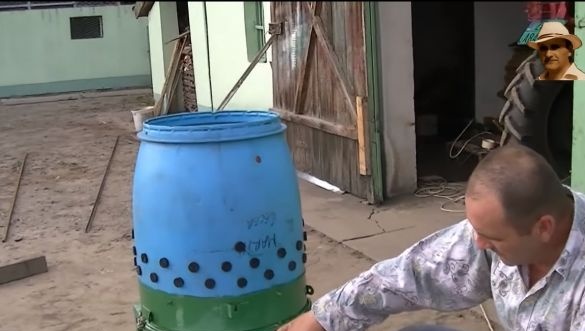
Now you can install the pins. We drill holes for them and install exactly as in the disk. For the device to work effectively, there should be several rows of fingers; they need to be installed in a checkerboard pattern.
When everything is ready, turn on the machine again and make sure that the drive does not catch on the case.
Step Five Painting
The frame of the machine will need to be painted, this is done not only for aesthetic purposes. When the device is working, dirty water flows out of it, which will quickly lead to the destruction of the metal. We take oil paint and thoroughly paint all those parts that may rust.
The device is ready! You can collect and test it!
Step Six Well, let's try?
The most sad and at the same time intriguing moment has come, here we are waiting for murder and experiment, but all for the sake of science, of course ...
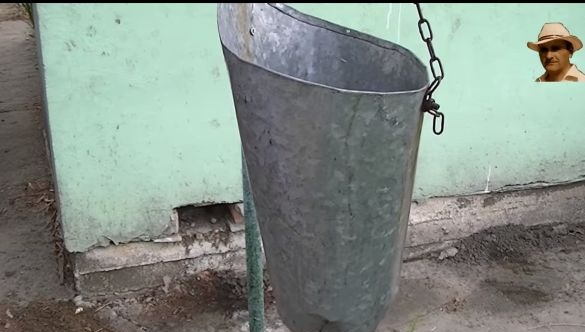
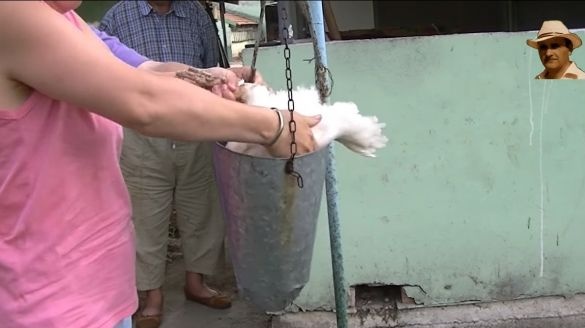
We take the chicken and send it to a better world, by the way, the author has a special device for this business. It is made in the form of a suspended cone made of galvanized steel. We put the chicken there head down and ... then you know for yourself. As a result, the chicken does not need to be kept and blood flows well.
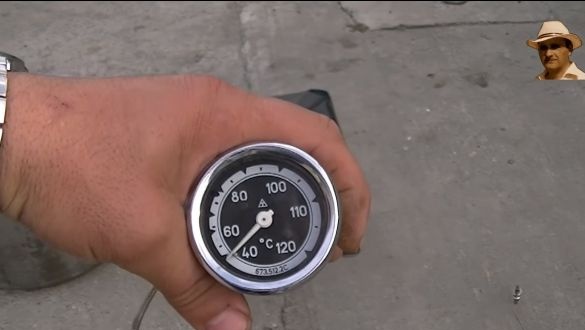
To pluck feathers, the chicken needs to be scalded, you will need boiling water. The temperature can be selected experimentally, it all depends on the season, breed and many other factors. But in general, there are no problems with plucking chickens.The problem will only be if overexposing the chicken in boiling water, then the skin in the machine may peel. Boiling water should be between 70-80 degrees Celsius.
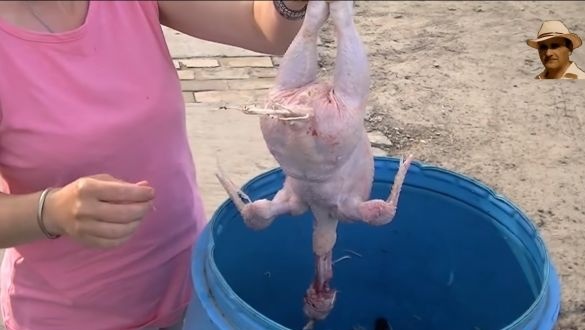
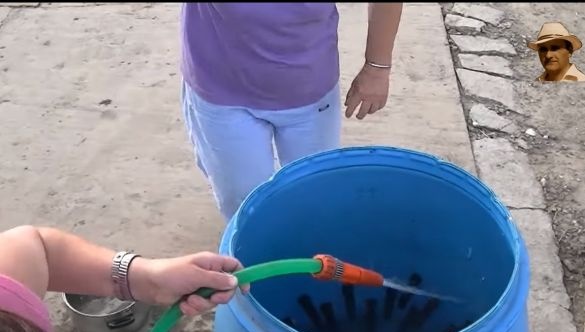
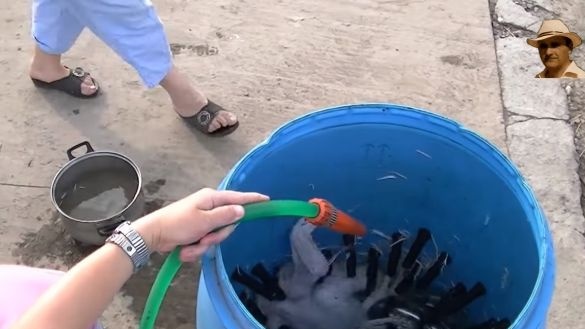
We turn on the car and throw the chicken there. She will fly inside the structure, fight against the removable ones and “undress” in her eyes. In the end, you need a hose with water, pour chicken from it to completely wash off the fluff. Can be poured from a bucket.
Turn off the car and get the chicken. It will leave a certain amount of thick feathers that the machine could not pull out, especially the tail section. But this is no longer a problem. That's all, good luck!

