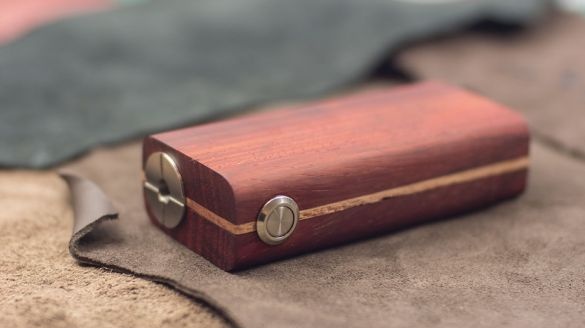
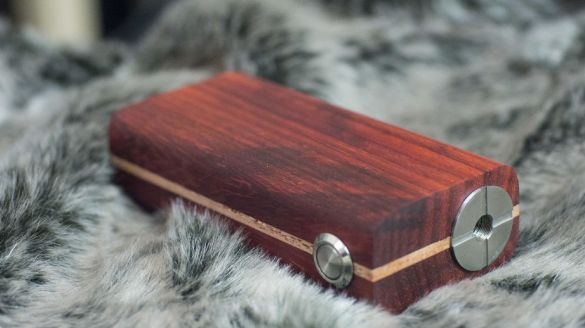
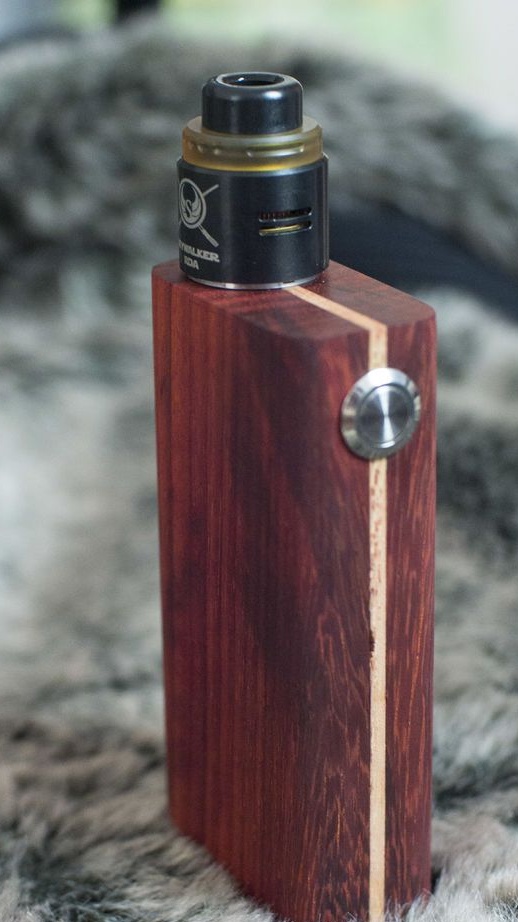
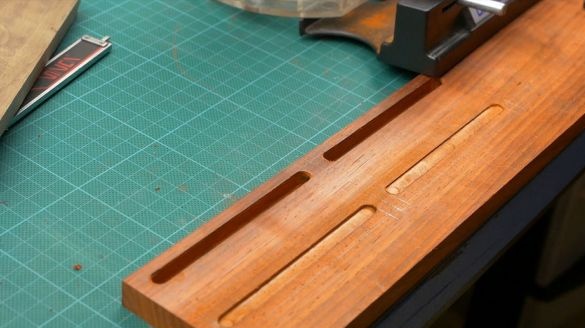
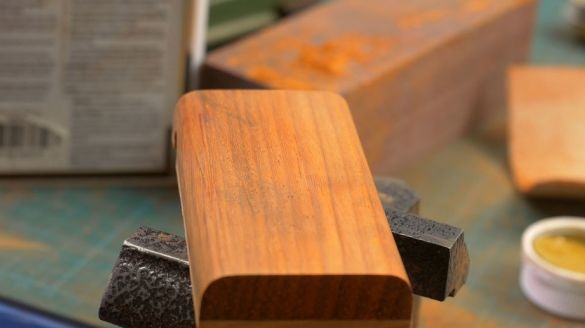
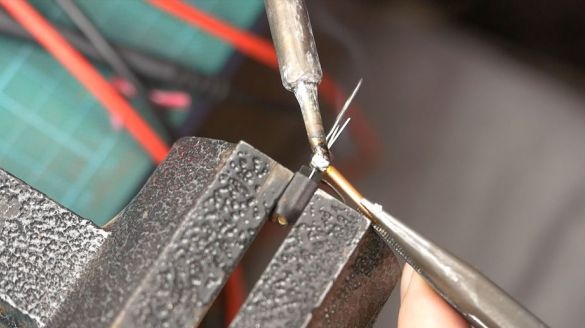
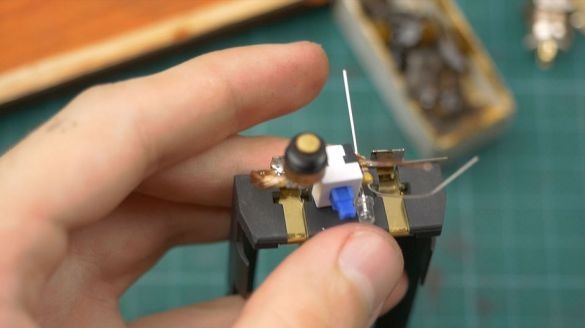
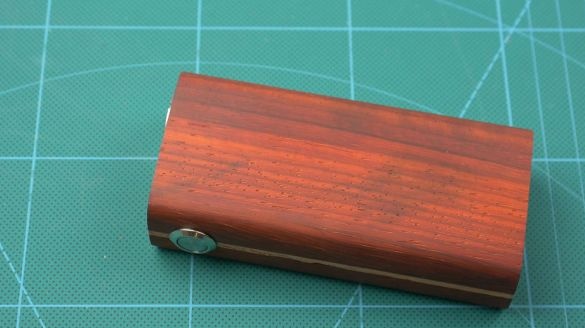
In this article, the Wizard will tell and show us how to make a wooden case. The case can be used for, for example, as a case when assembling an external battery.
Tools and materials:
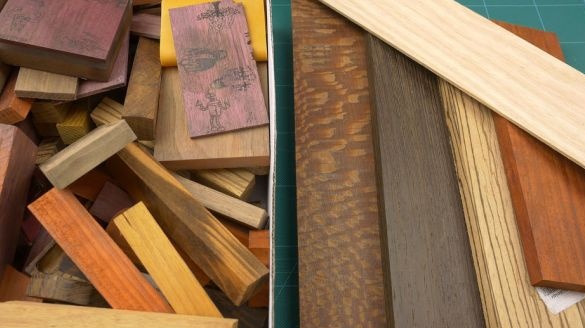
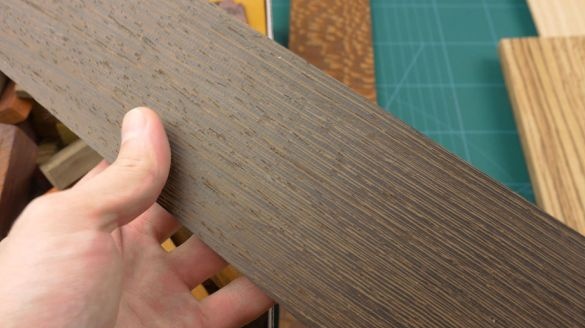
-Boards of fine wood;
-Calipers;
-Milling machine manual;
-Dremel;
- Grinding nozzles;
Cutters;
-Drill;
-Rule;
-Pencil;
-Gon;
-Chisel;
- Band saw;
- brush;
- Danish oil;
-Magnets;
-Glue;
- Clamps;
-Tape grinding machine;
-Sandpaper;
-Nadfil;
-Nail;
-Soldering iron;
-Electronic components (optional);
Step One: Markup
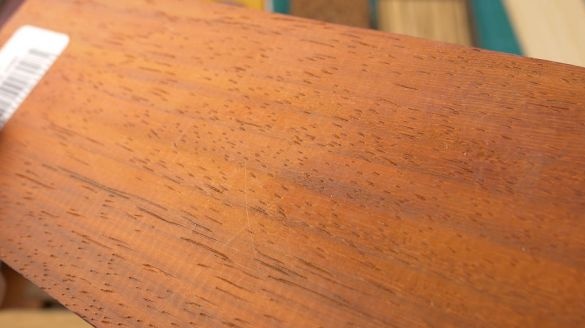
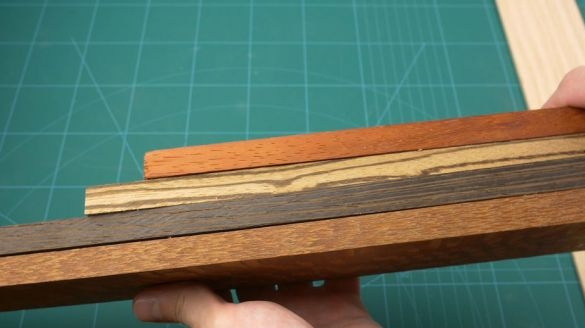
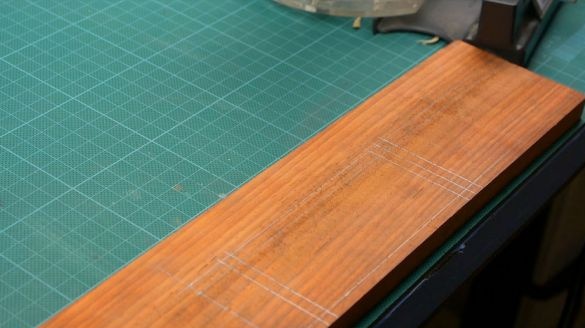
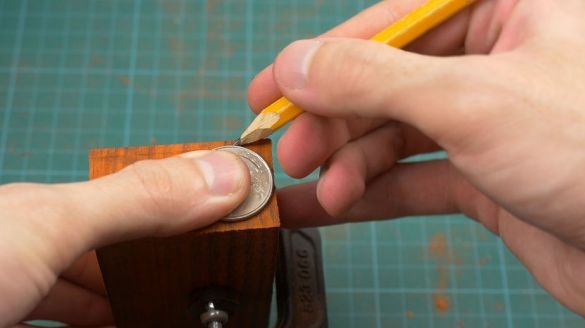
For the body, the master used a padauk. This is one of the varieties of mahogany. The master made the middle part of white ash. The first step is making symmetrical markings on the spider board, for the two halves of the box.
Step Two: Milling
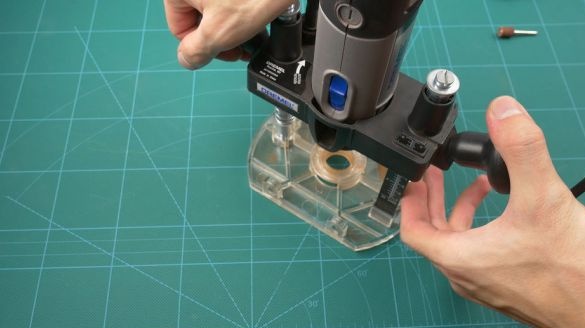
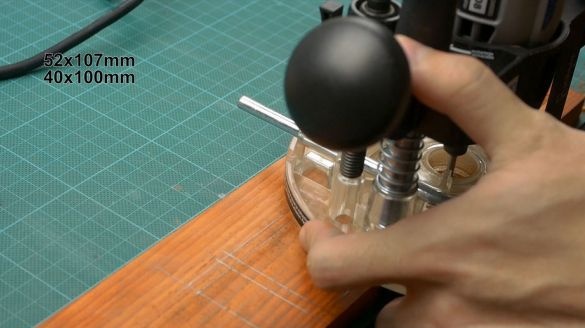
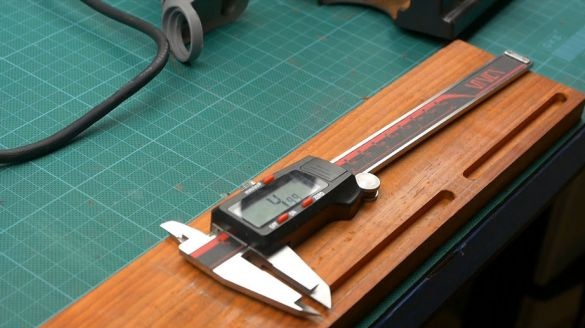
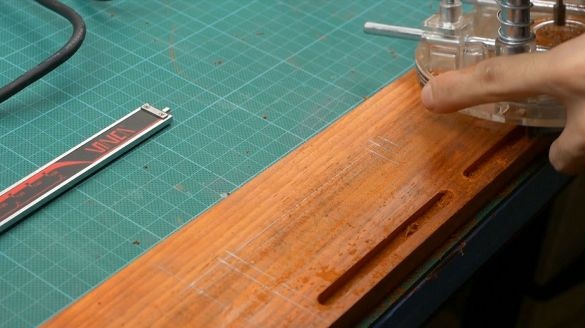
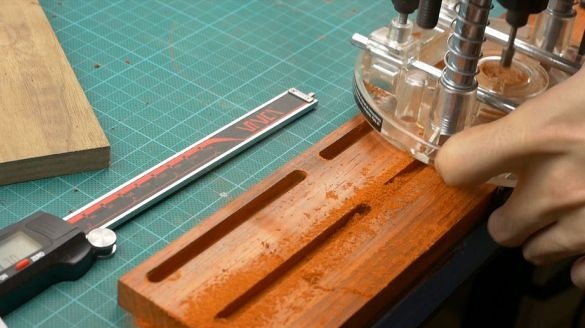
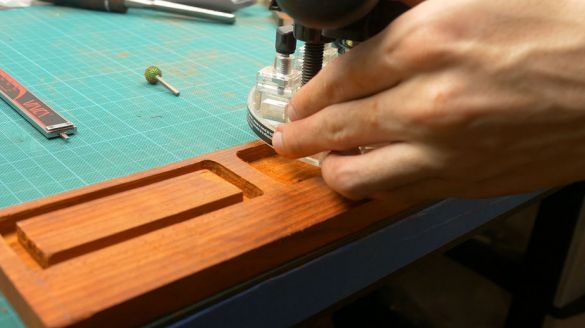
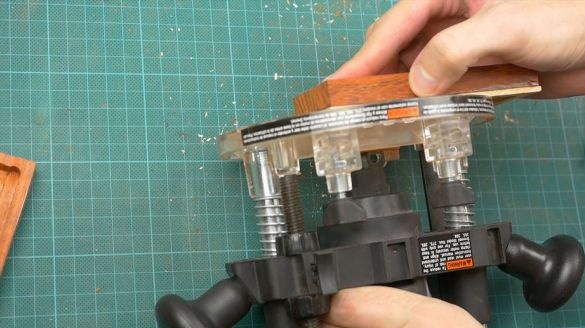
Using a hand milling cutter, selects a groove around the perimeter of the two halves of the housing. A caliper constantly controls the depth of the groove.
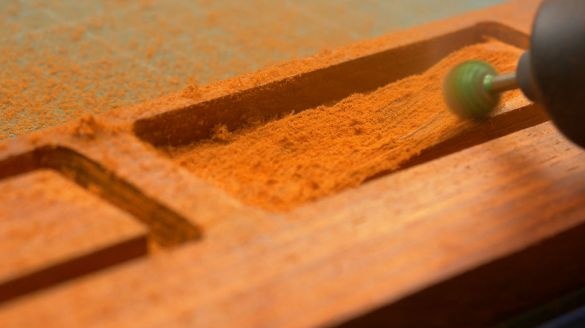
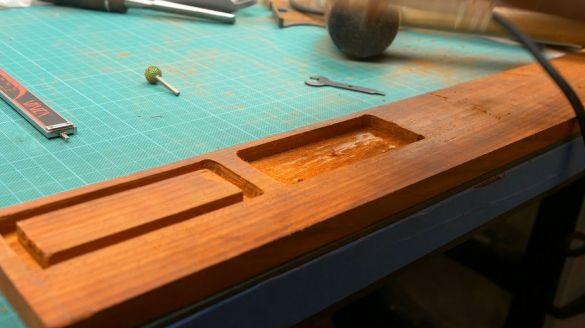
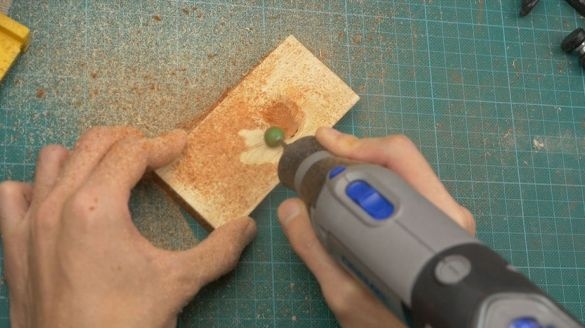
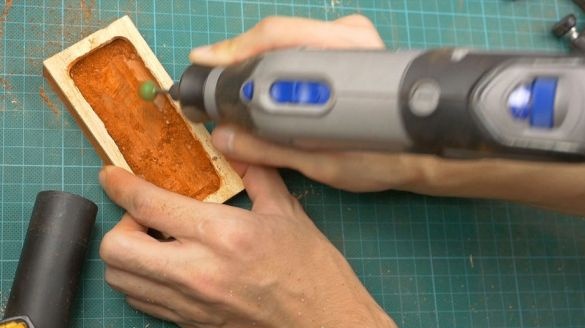
Dremel with a nozzle selects the middle.
Step Three: Cutting
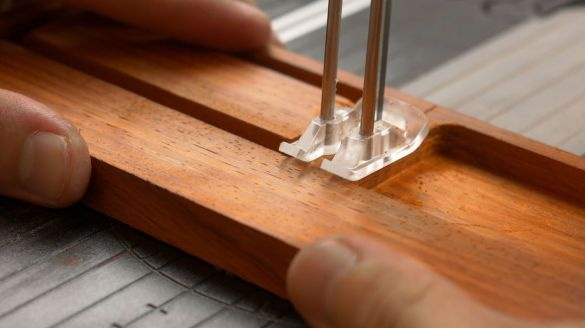
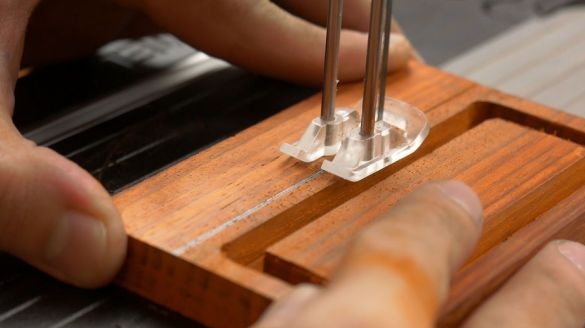
Cuts two halves of the body.
Step Four: Insert
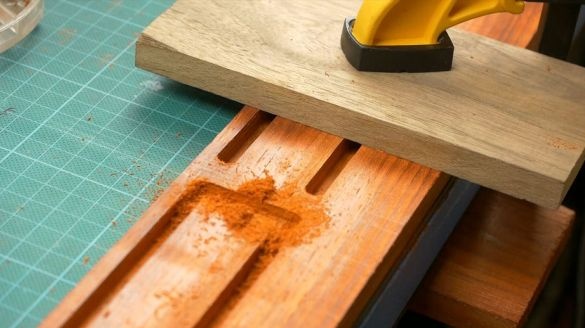
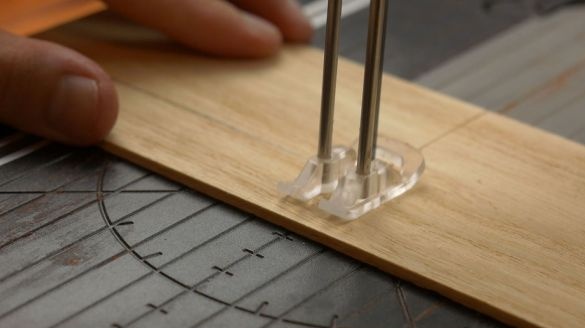
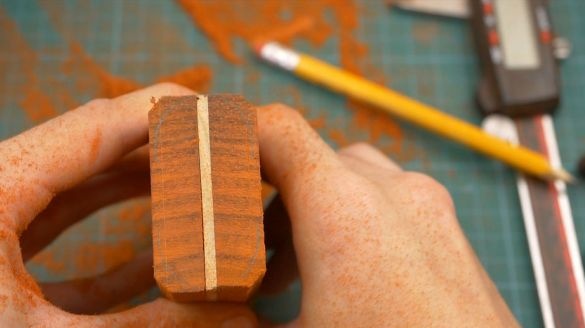
Slices a plank of white ash.
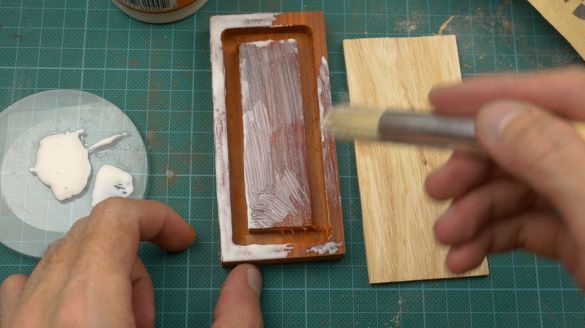
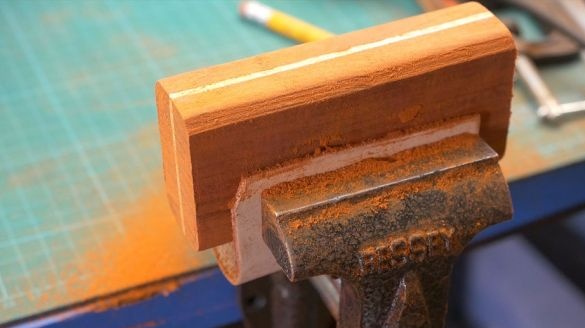
Spreads one half of the body with glue. Glues the bar.
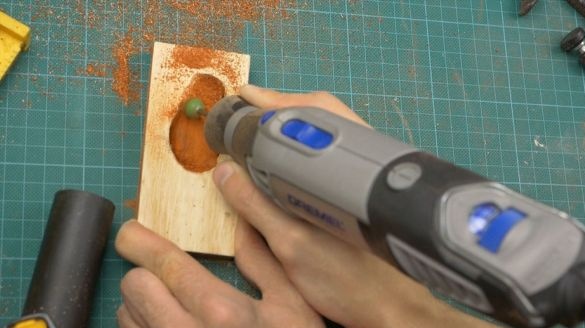
After gluing the wood, cuts out the middle of the plank.
Step Five: Grinding
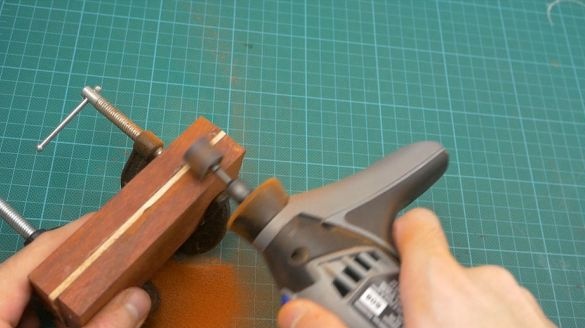
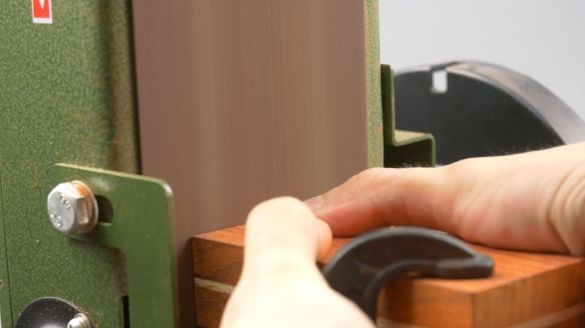
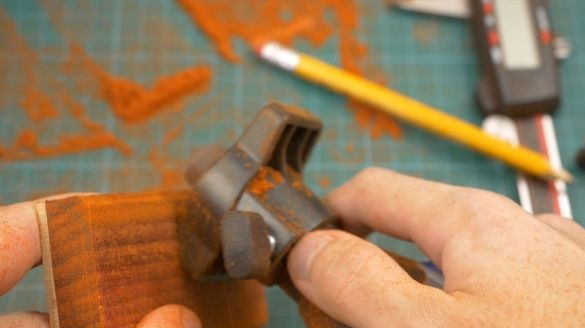
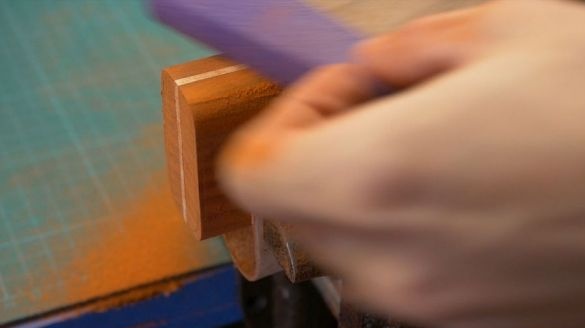
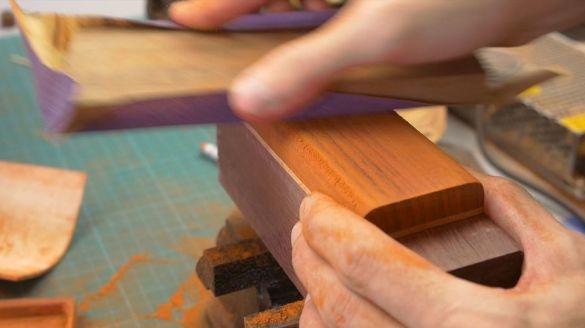
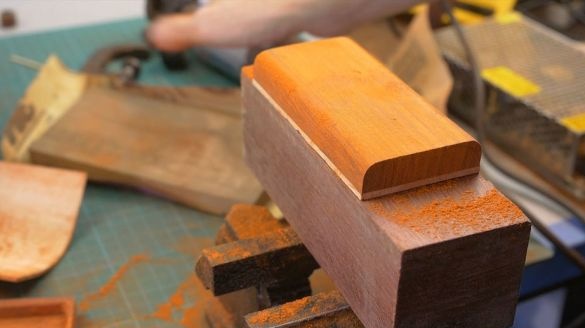
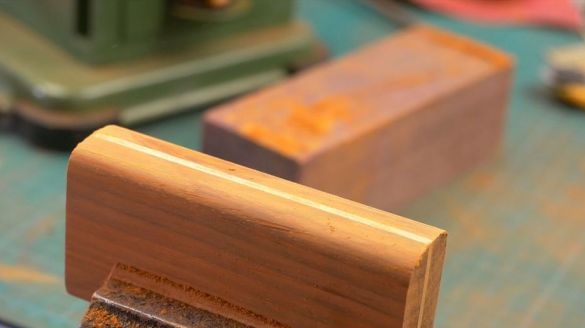
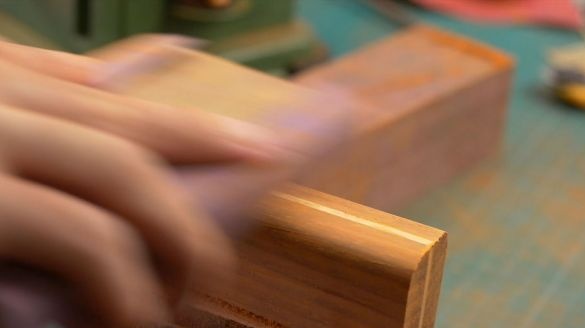
Using a different tool, grinds the surface. Rounds off the side surfaces of the housing.
Step Six: Holes
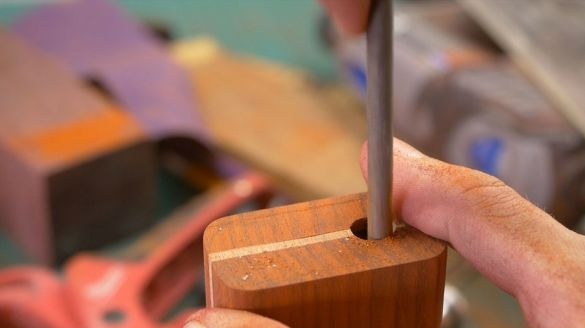
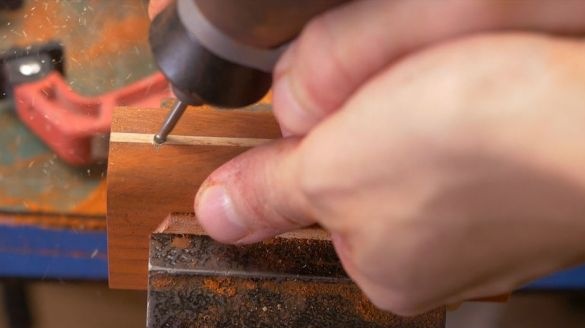
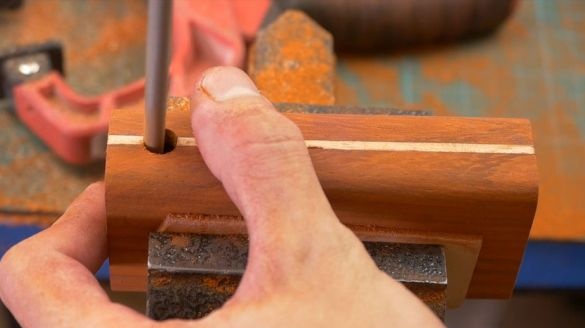
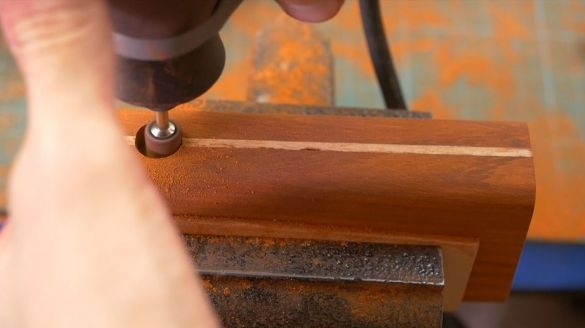
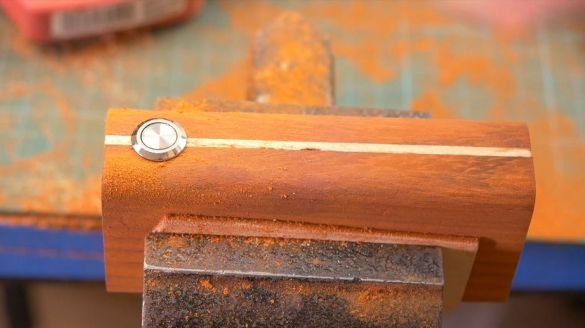
Drills technological holes.
Seventh step: magnets
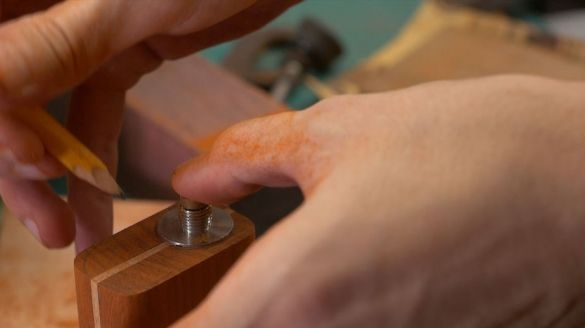
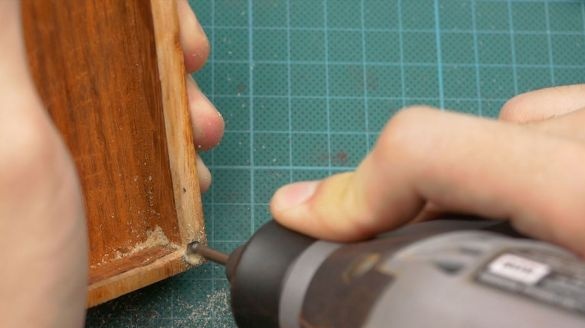
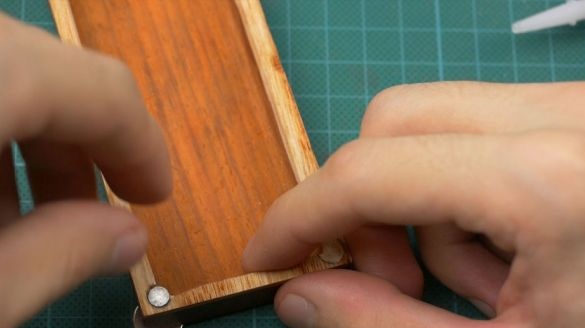
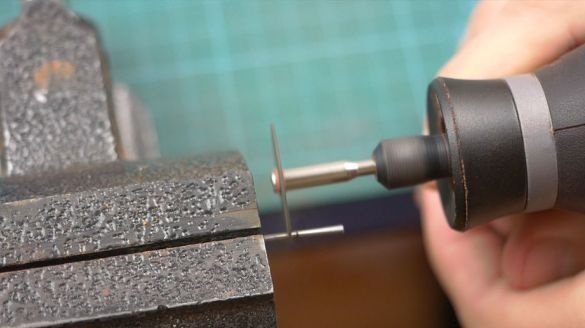
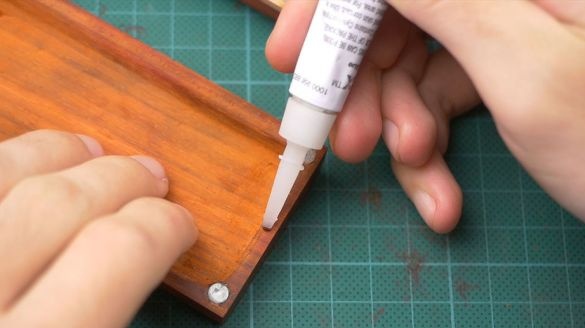
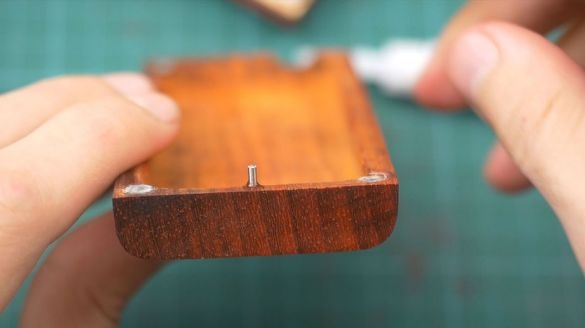
Halves of the box are fixed with magnets. The master installs magnets in the corners of the halves of the case. To align from the nail makes a pin. Installs it.
Step Eight: Oil Treatment
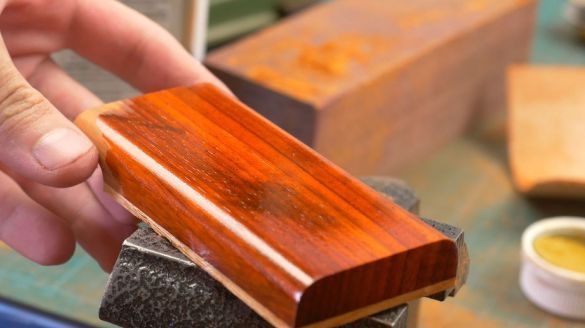
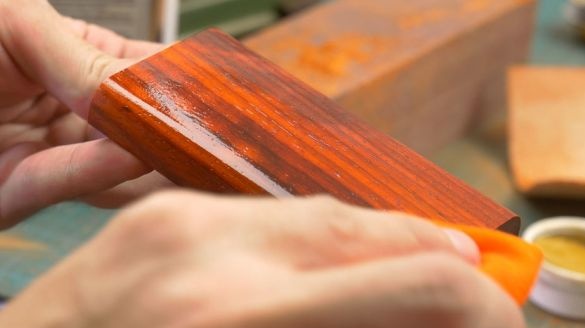
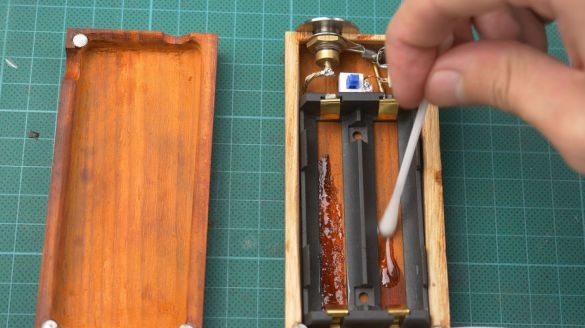
Covers housing surface with Danish oil.
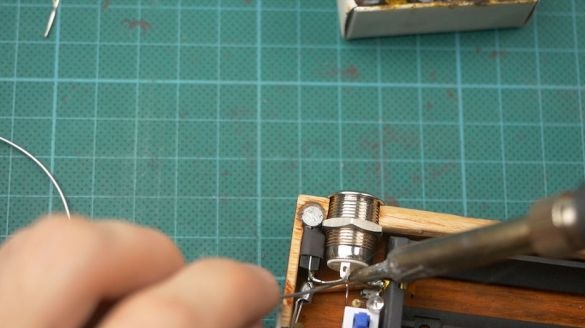
Step Nine: Electronics
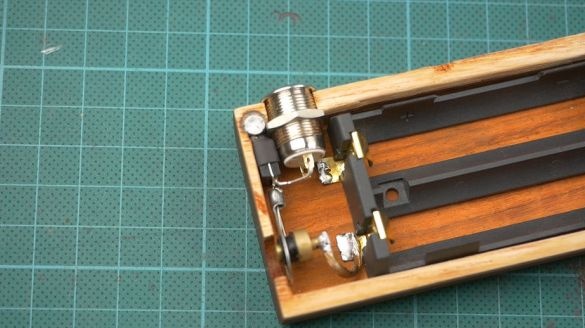
Boxing is ready, it remains to mount the electronic filling inside the case.
Details about the manufacturing process of the case can be seen in the video.

