
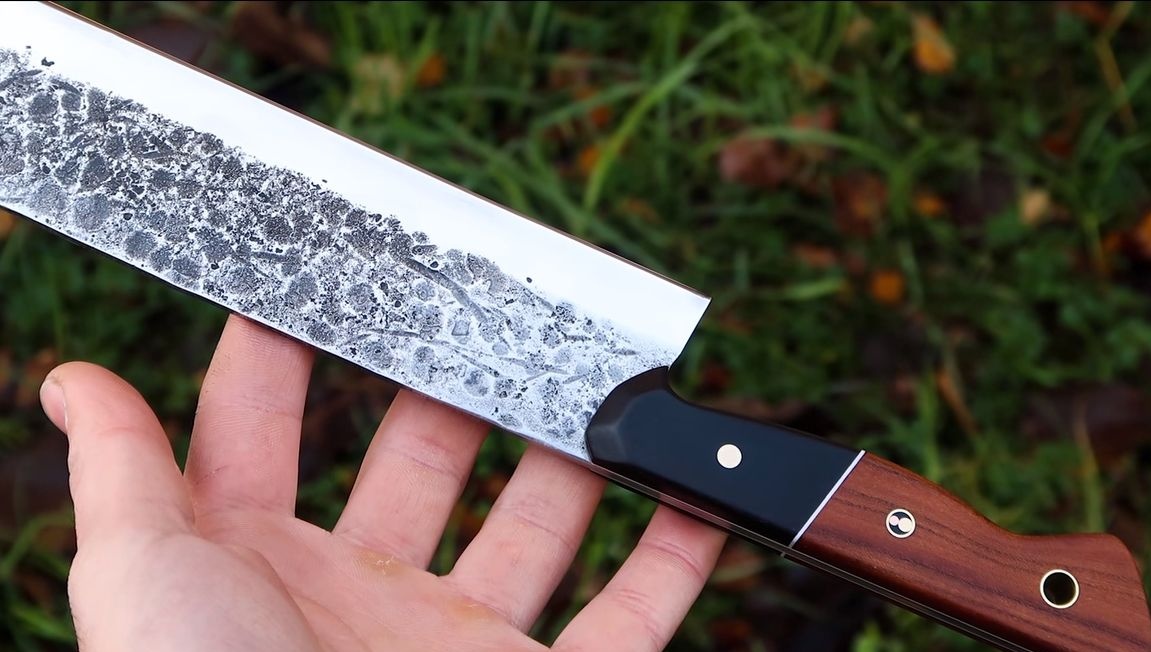
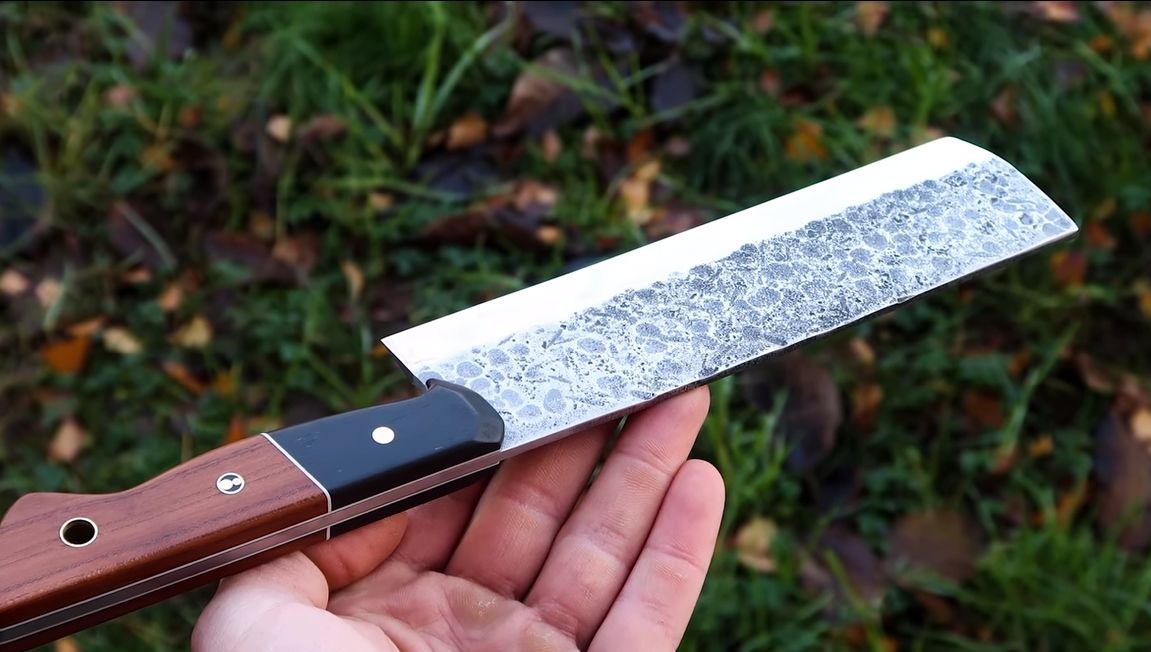
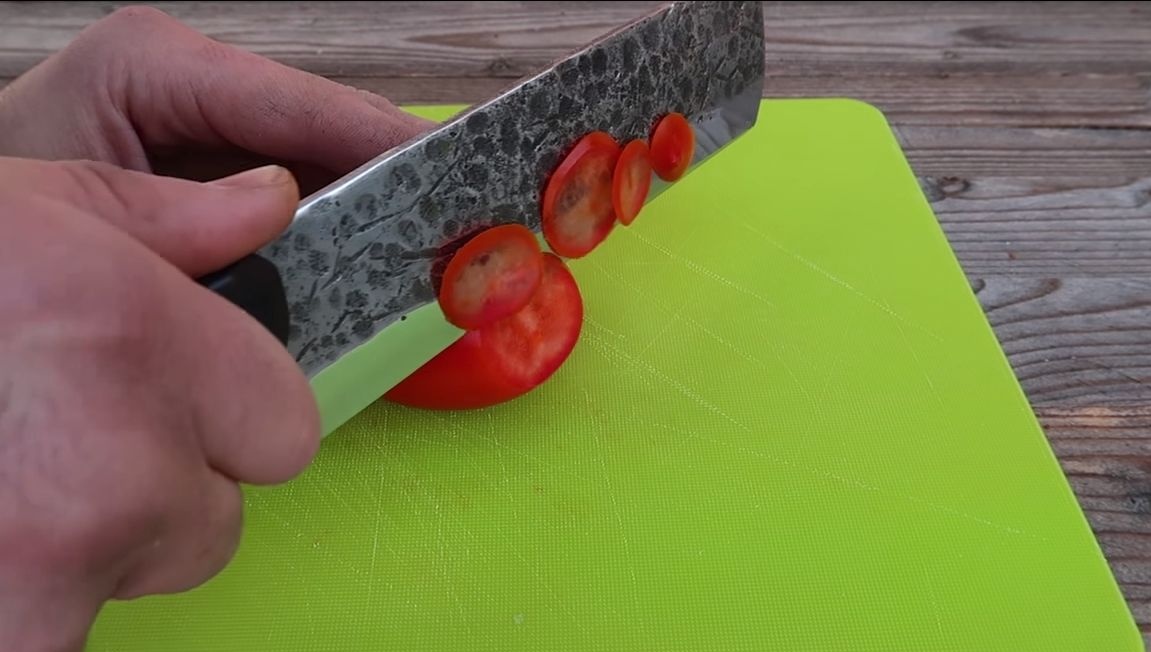
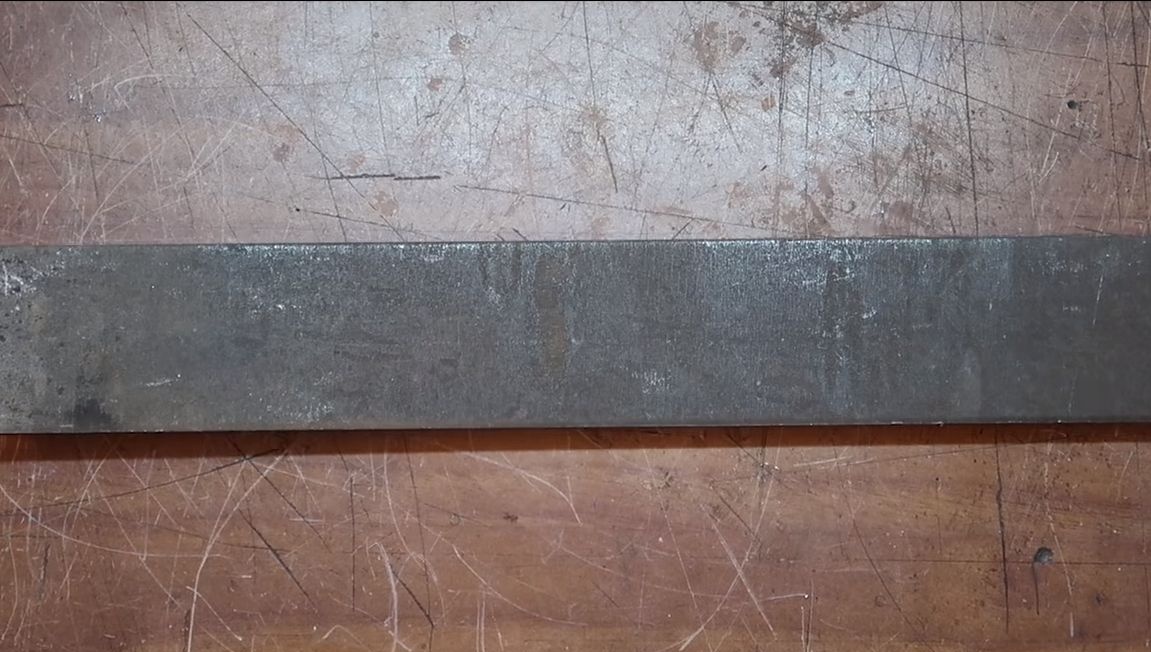
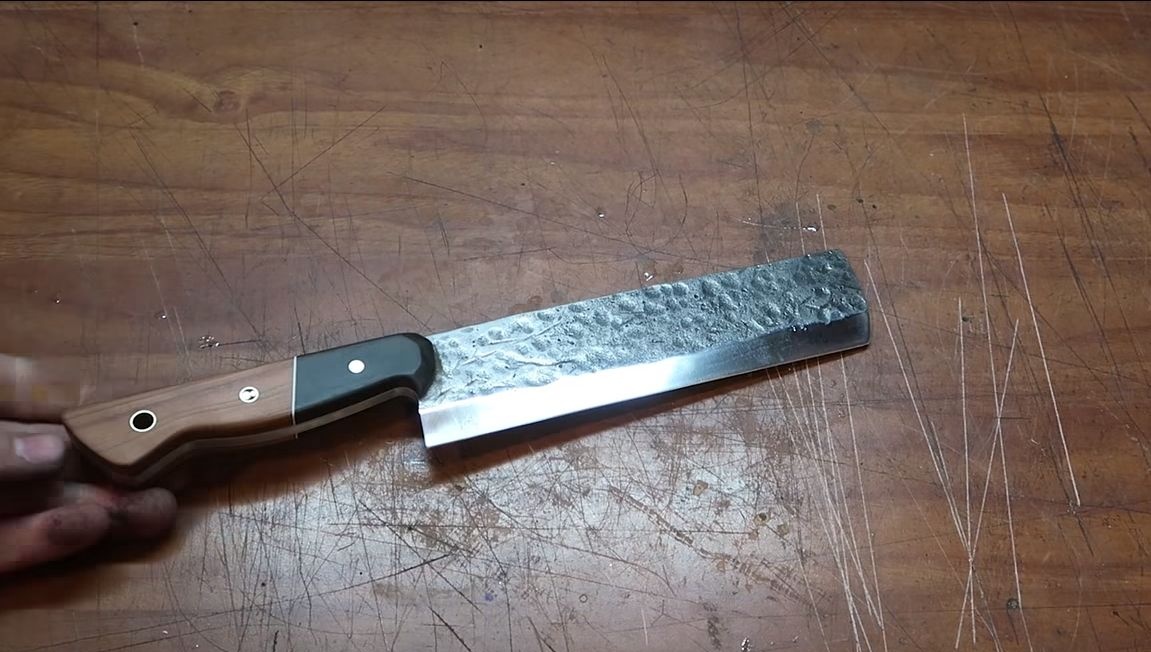
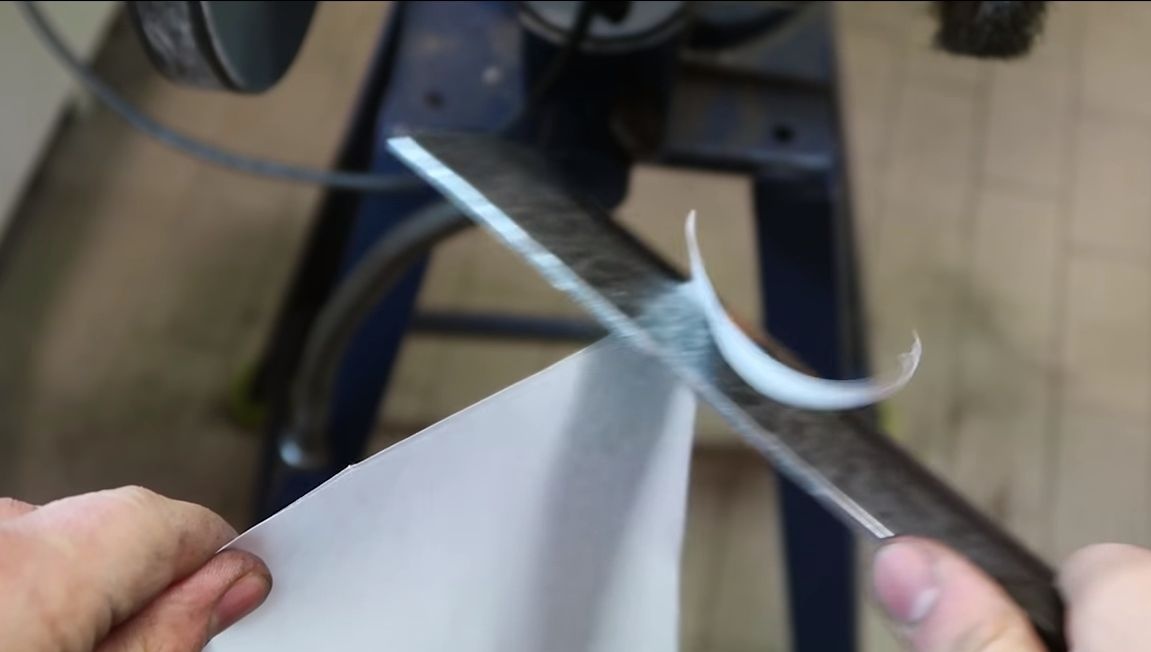
Hello to connoisseurs of knives and lovers to work with metal! I bring to your attention the instructions for making a knife in the Japanese spirit called "nakiri". A characteristic difference of this knife is its shape, as well as its large size. In fact, this is a small hatchet with which you can both cut and chop. The author easily cuts paper with them, and also cuts tomatoes very thinly.
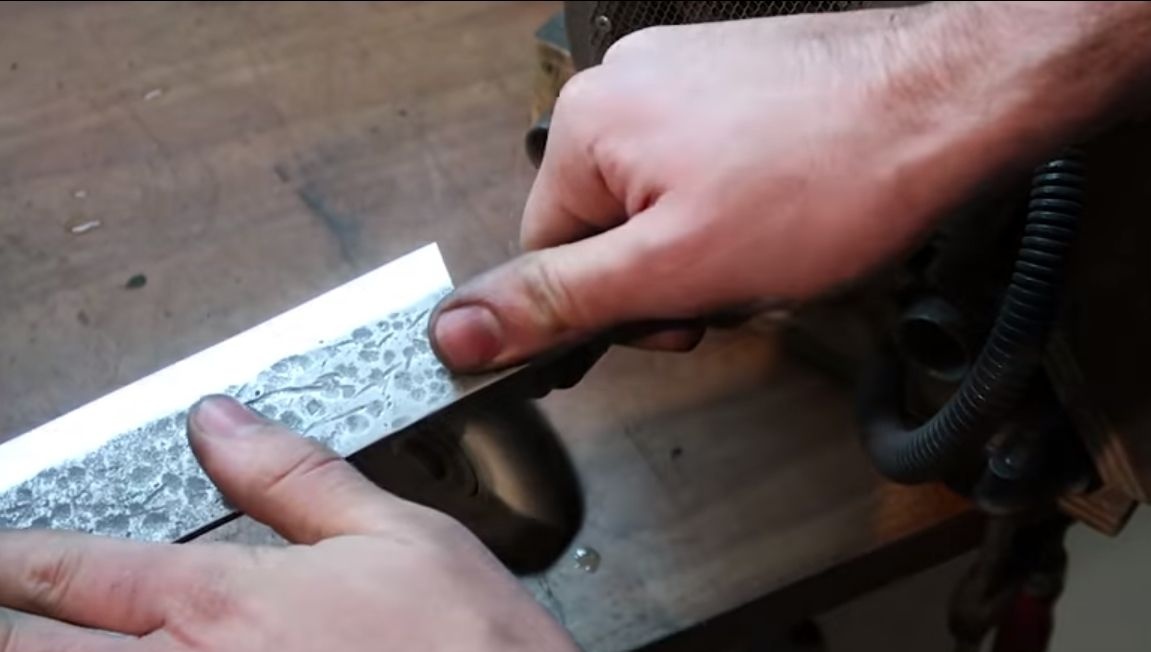
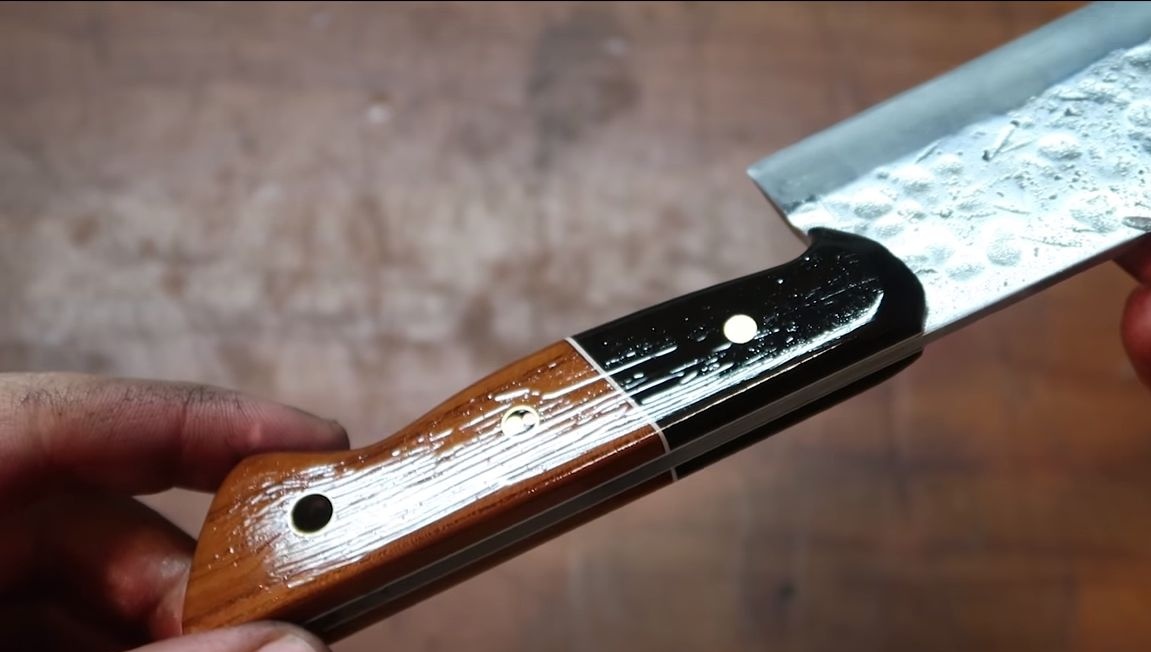
The Japanese love various kinds of patterns on metal, this is an ancient tradition, since earlier it was possible to find out by a similar pattern how the workshop belongs to the product. On this knife, we will recreate one of these patterns. And we will make an interesting combination pen.
Materials and tools used by the author:
Material List:
- a piece of hardenable steel;
- wood, plastic and other materials (for the manufacture of linings);
- brass tubes, rods and more (for pins);
- epoxy adhesive.
Tool List:
- (where without her?);
- a drilling machine and;
- hammer;
- source of fire (for hardening);
- domestic oven or special oven;
- hammer;
- anvil;
- oil;
- ;
- polishing machine;
- paper, scissors, marker (for making a template);
- tape cutting saw.
The process of making a Nakiri knife:
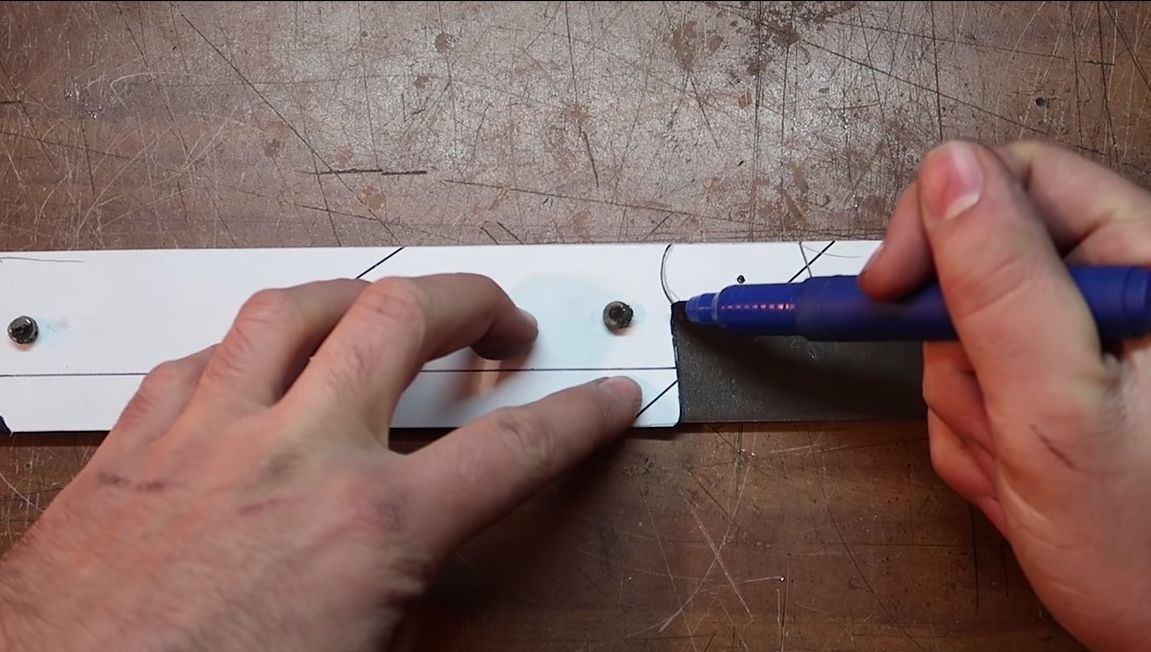
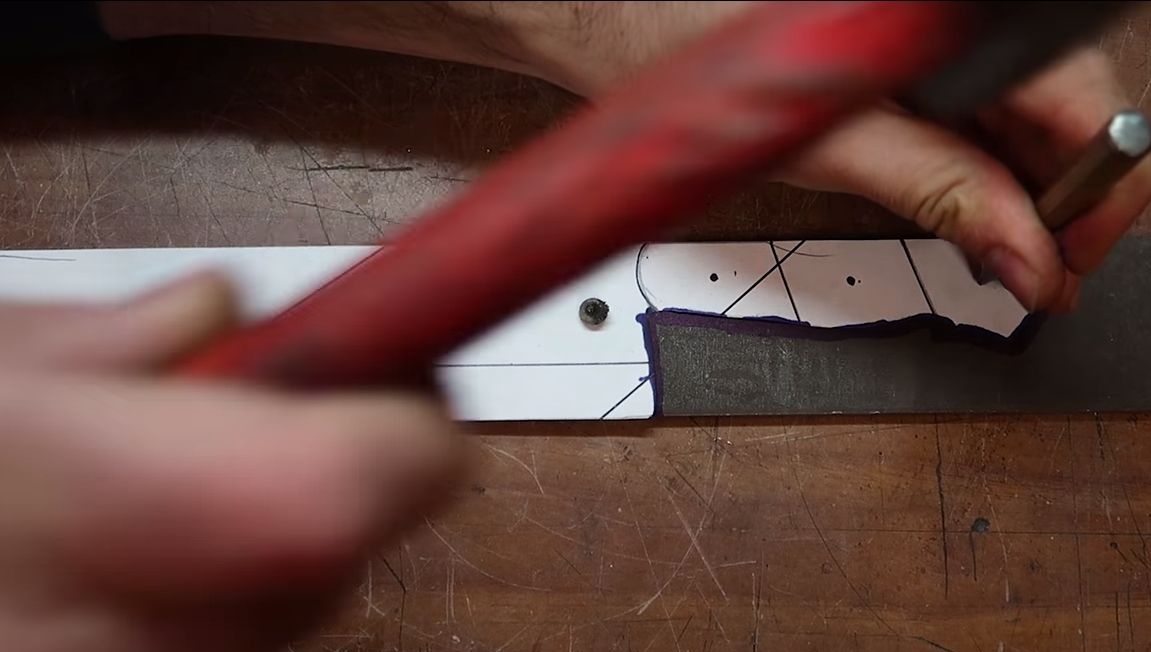
Step one. We transfer the template to the metal
First of all, you need to draw a knife template on paper, and then cut it out, if you have no idea what the knife should be, you can download the finished profile from the Internet and print it on a printer. The author attaches the template to the workpiece using magnets, this is convenient, then we need to circle the template with a marker.
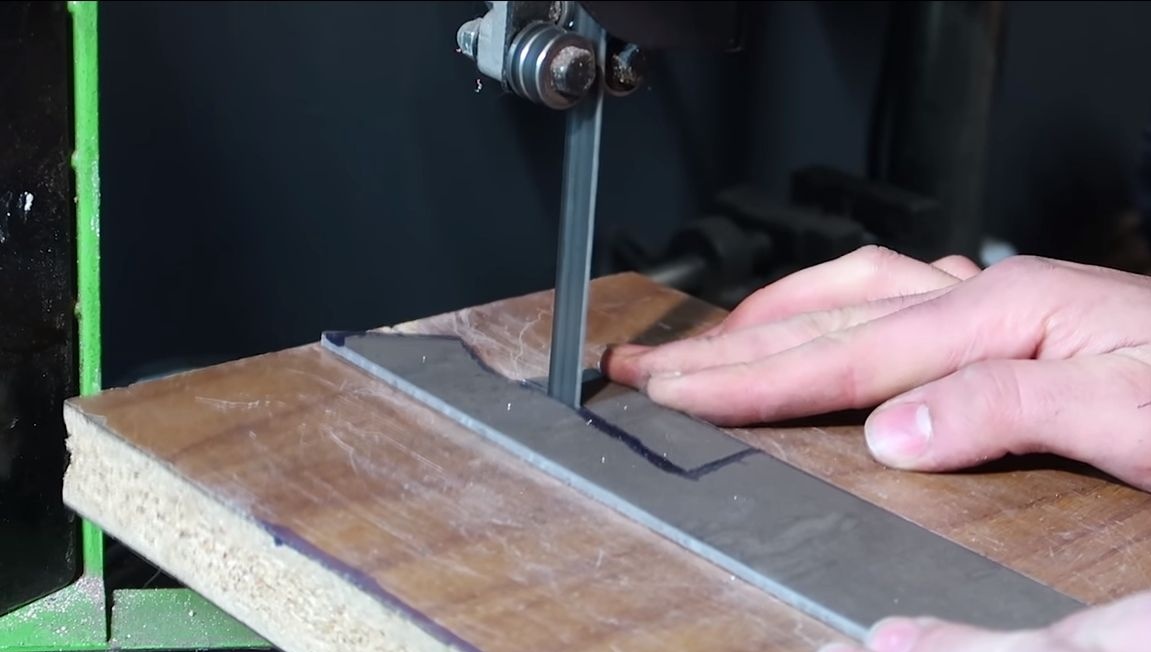
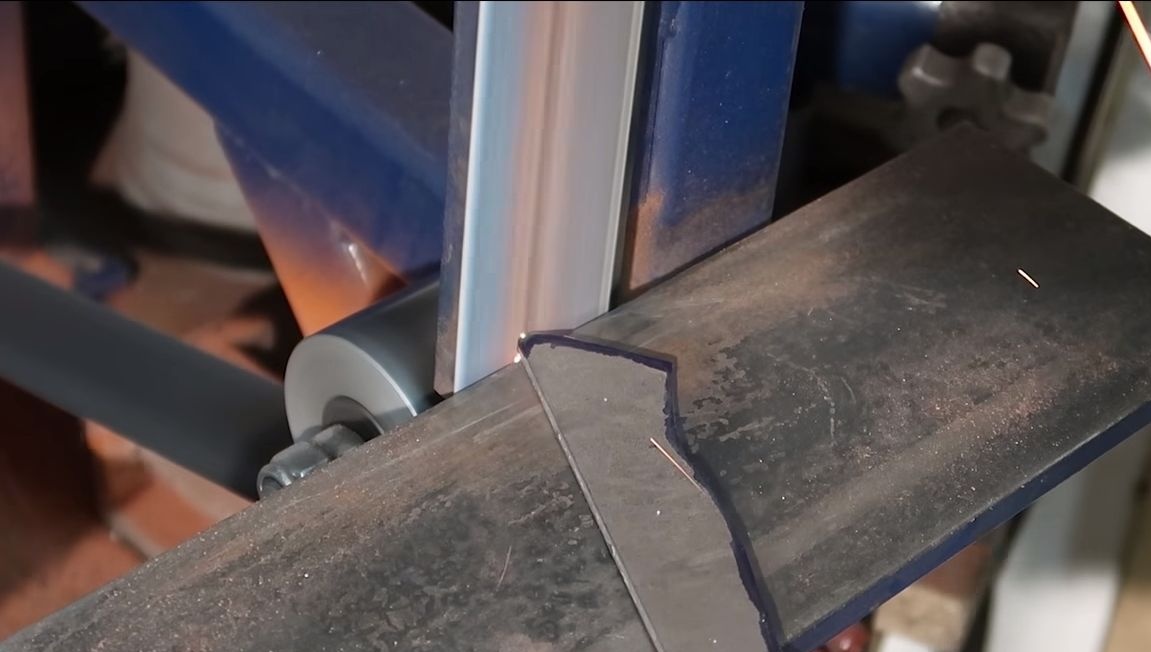
Step Two Cut out the pattern
The easiest way to cut out the template is with a band saw. It will allow you to cut in relief, and also does not overheat the metal, does not form sparks and so on. You can do this work and grinder, but then you have to grind the profile for a long time on the contour.
When the profile is cut, we bring it to the ideal using a belt sander.
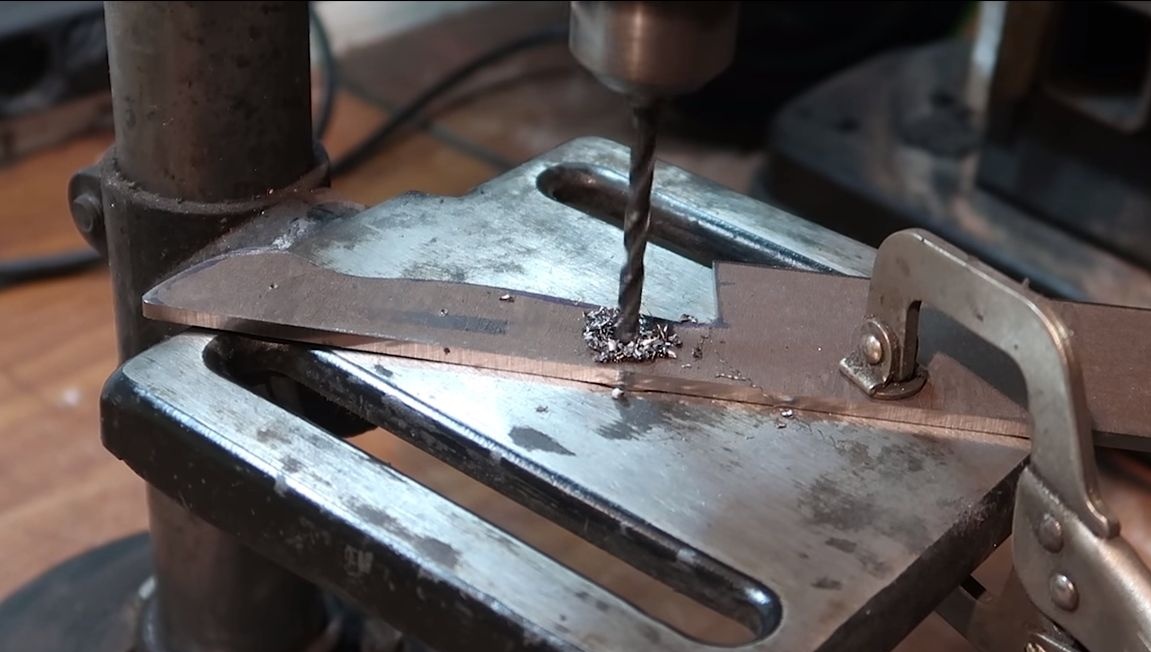
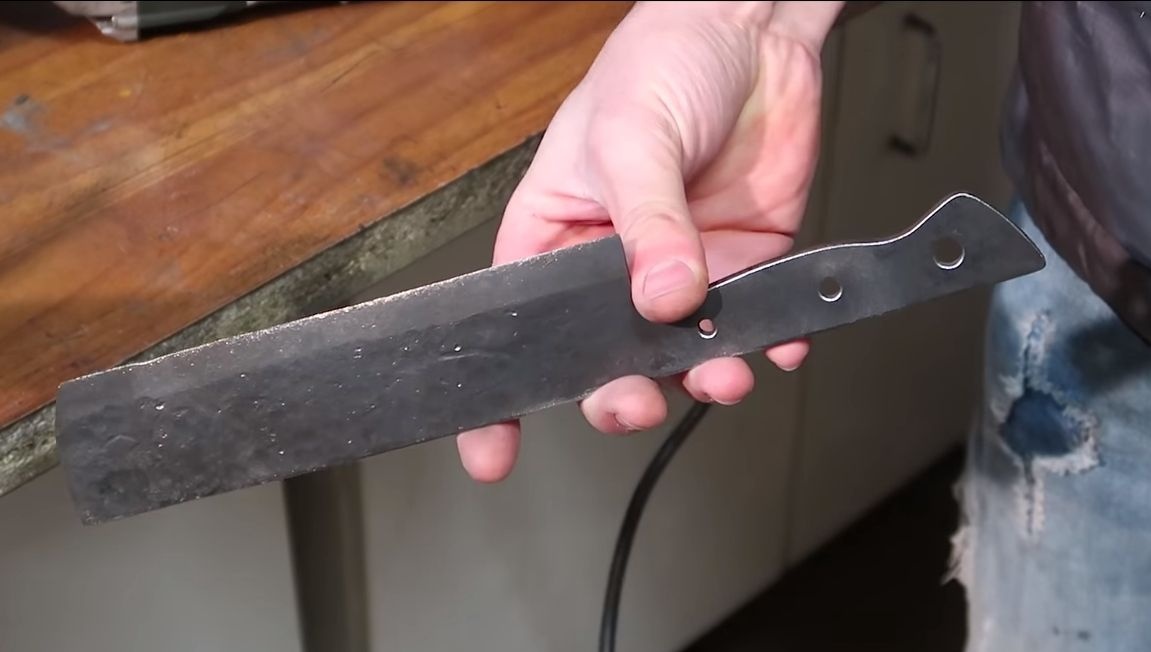
Step Three Drill holes
Drill the holes for the pins in the tail section immediately so as not to forget. The author only gets three pins. For drilling, it is convenient to use a drilling machine. The diameter of the drill is selected in accordance with the diameter of the pins.
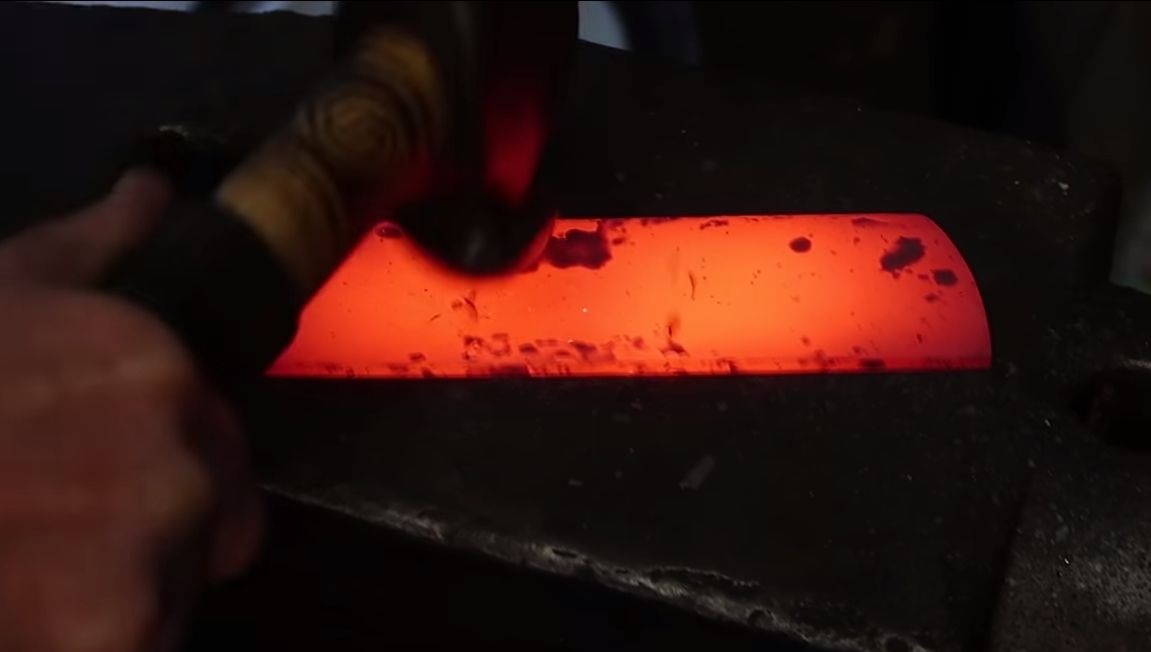
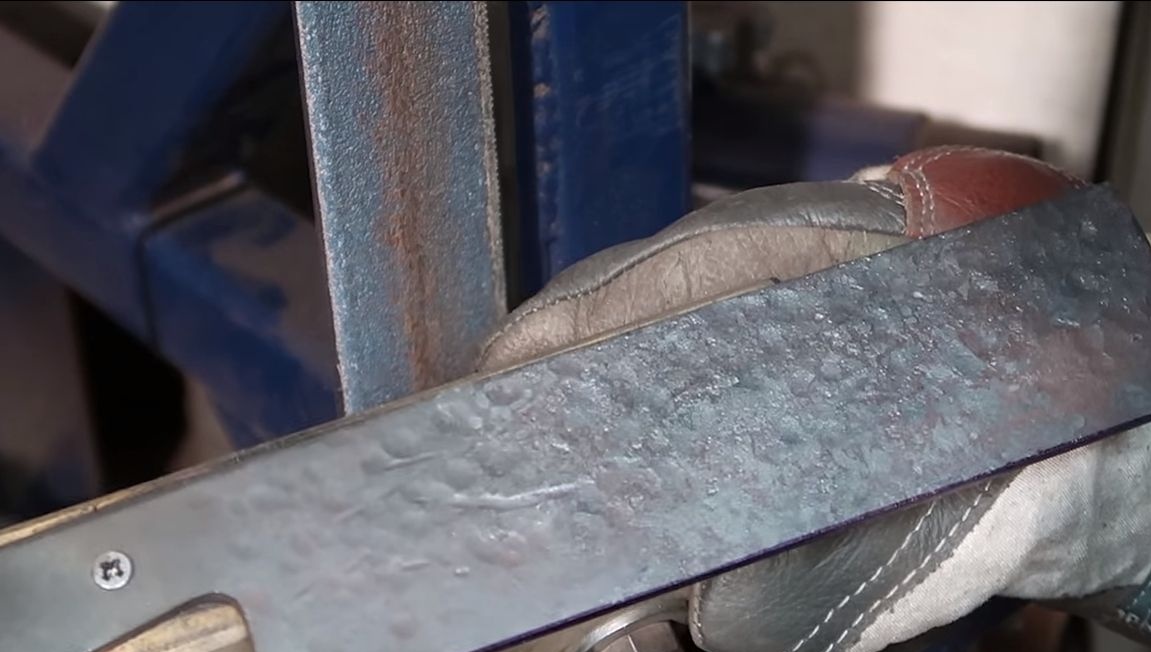
Step Four Forging
We start forging, this stage is needed in order to make an interesting pattern on metal. We heat the steel to red in coals and work with a hammer on the anvil.With mild, but frequent blows, we form one side, and then the other. You won’t be able to do the work at one time, so you will have to heat the workpiece several times.
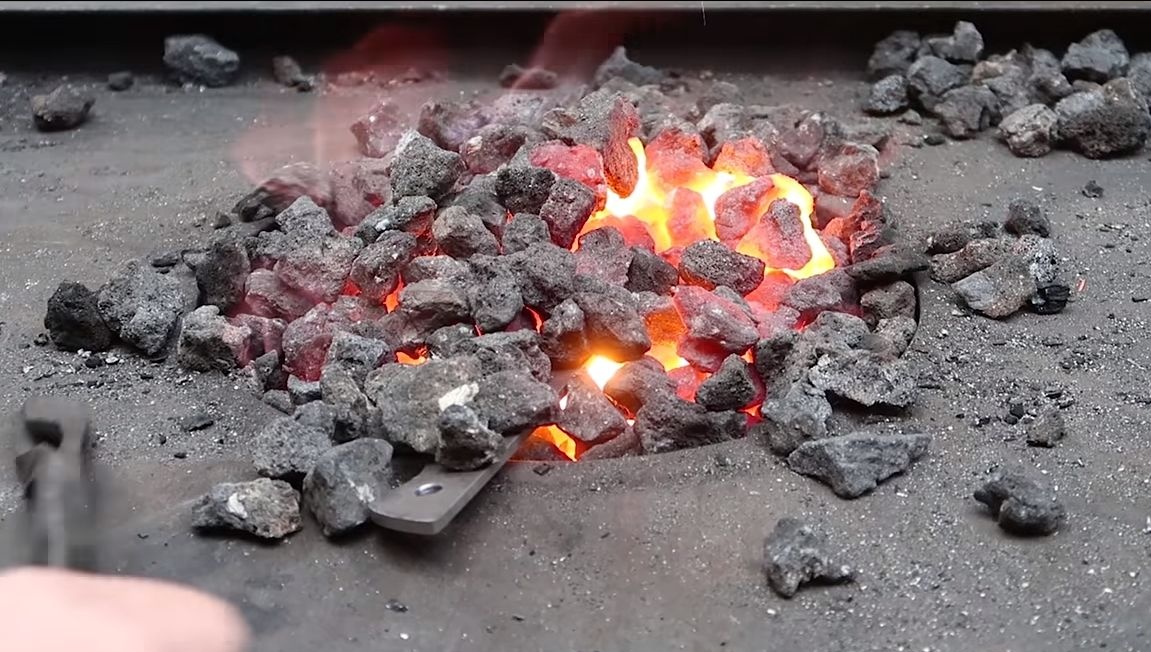
To heat the metal, you will need coals, as well as forced air supply. You can inflate the coals with a conventional hair dryer, vacuum cleaner, compressor, and so on.
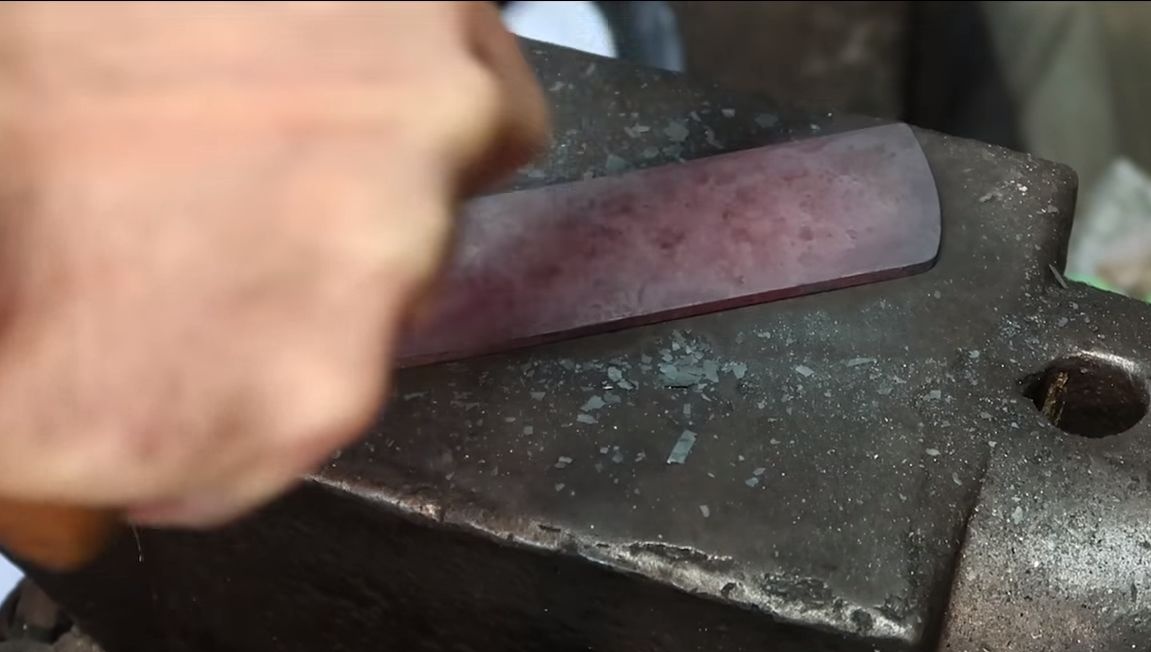
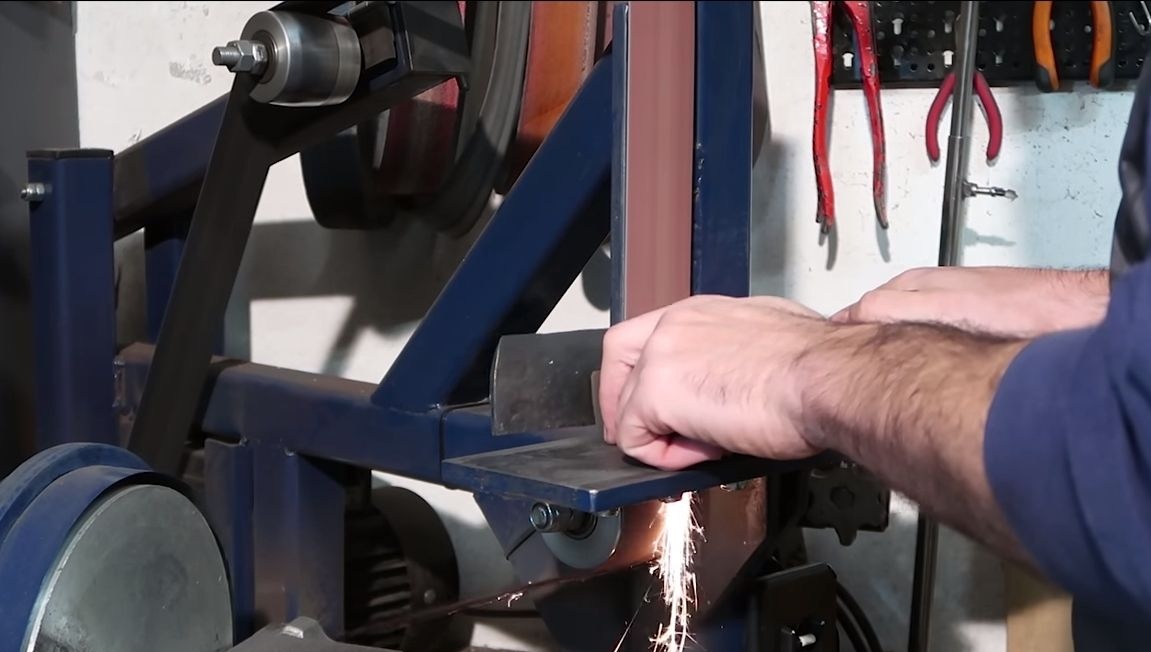
Step Five Grinding and beveling
First of all, you need to make bevels on the knife, this is a very important parameter and the cutting characteristics of the knife will depend on it. The thinner the blade, the sharper the knife will be. To form symmetrical bevels, divide the knife blade into two halves using a drill of the same diameter as the thickness of the workpiece.
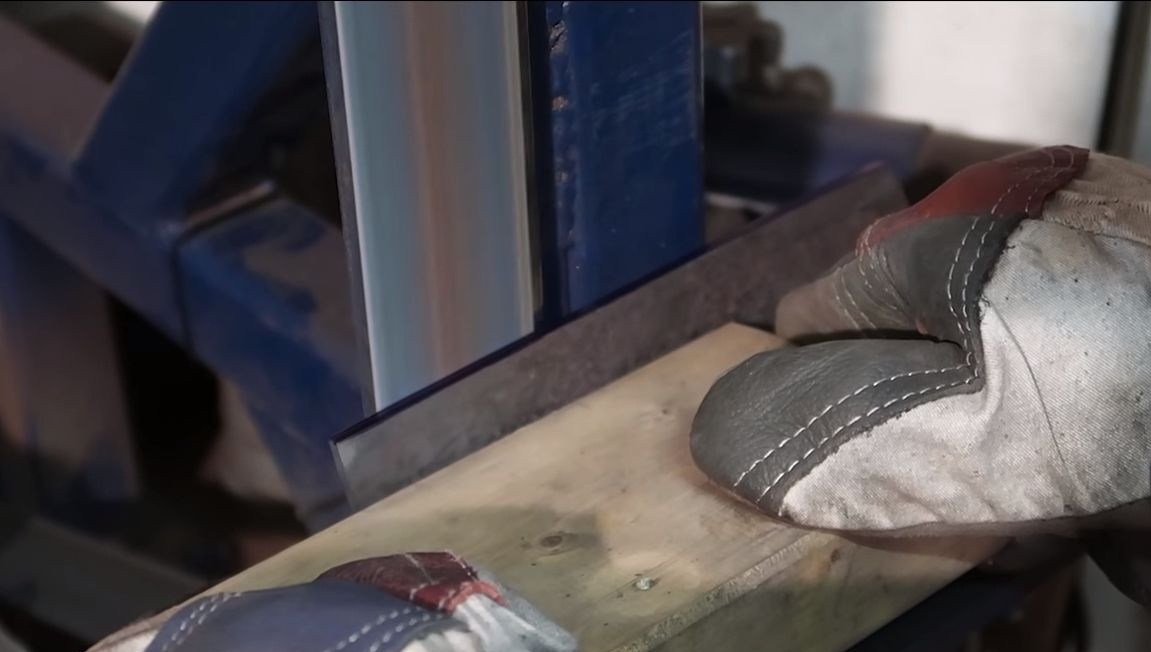
Now we fasten the workpiece to a wooden block and go to the belt sander. First, make a bevel on one side, then on the other. Make sure they are the same width and the same angle.
At the end, you can grind the entire plane of the blade. But do not overdo it much, it’s important for us to leave the picture on the metal.
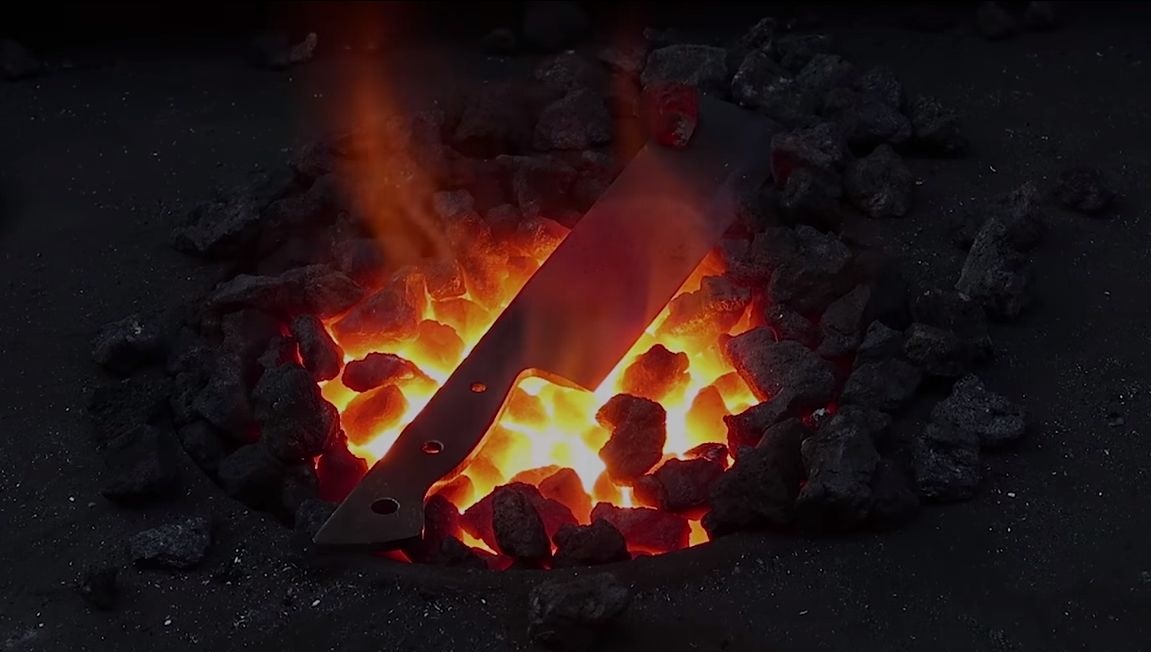
Step Six Getting to hardening
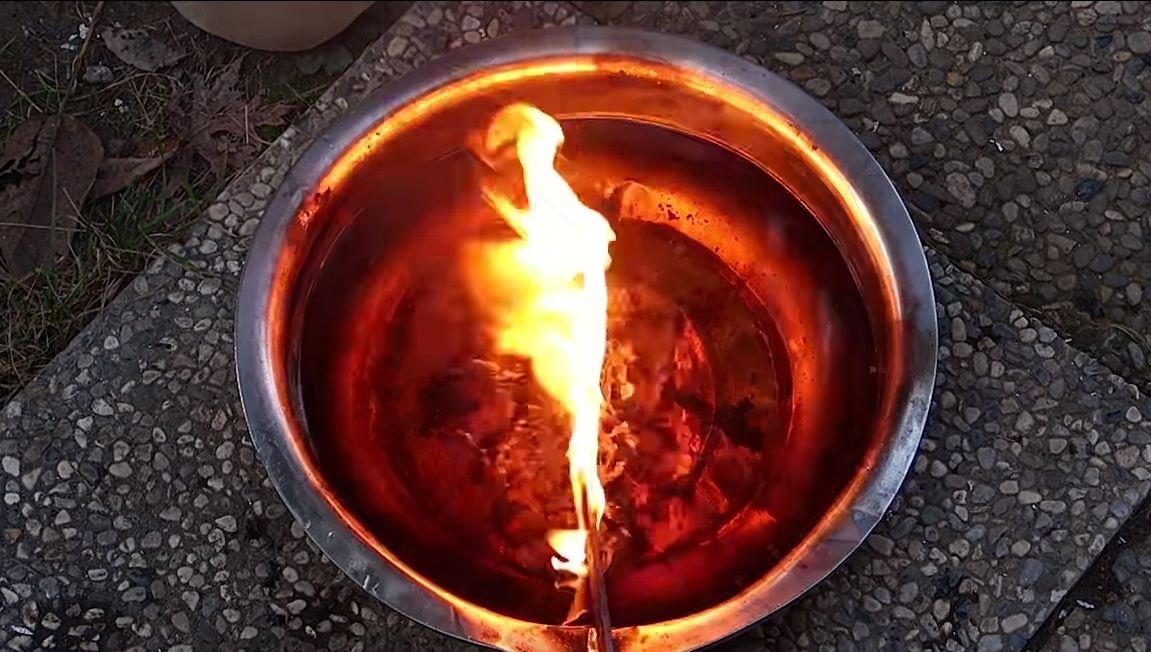
It's time to harden the blade, for this you need to warm it evenly, stir the workpiece in the coals so that the color turns out to be uniform. Take a permanent magnet and bring it to the blade, if it is not attracted, then you have already reached the desired temperature. We use oil for cooling, but for each metal, the cooling liquids and the heating temperature are different. Suitable motor or mineral oil.
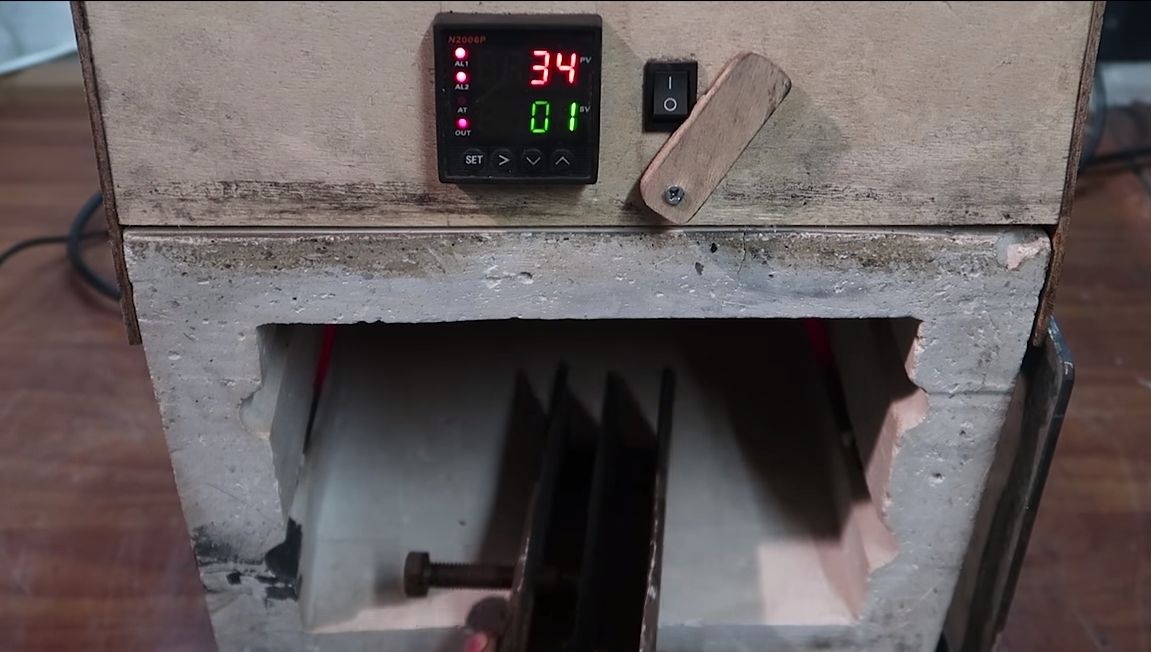
But hardening is still half the battle, now the metal must be released in the necessary order, that is, to make it a little softer. If this procedure is not performed, the steel will be very brittle and can fly to pieces even if the knife falls. Vacation is usually done in a domestic oven, but if there is a special oven, excellent. We heat the oven to 200-300 degrees and fry the workpiece in it for an hour and a half, then let the blade cool together with the oven in the closed state.
The temperature for the holiday for each metal is also individual.
Seventh step. Blade Finishing
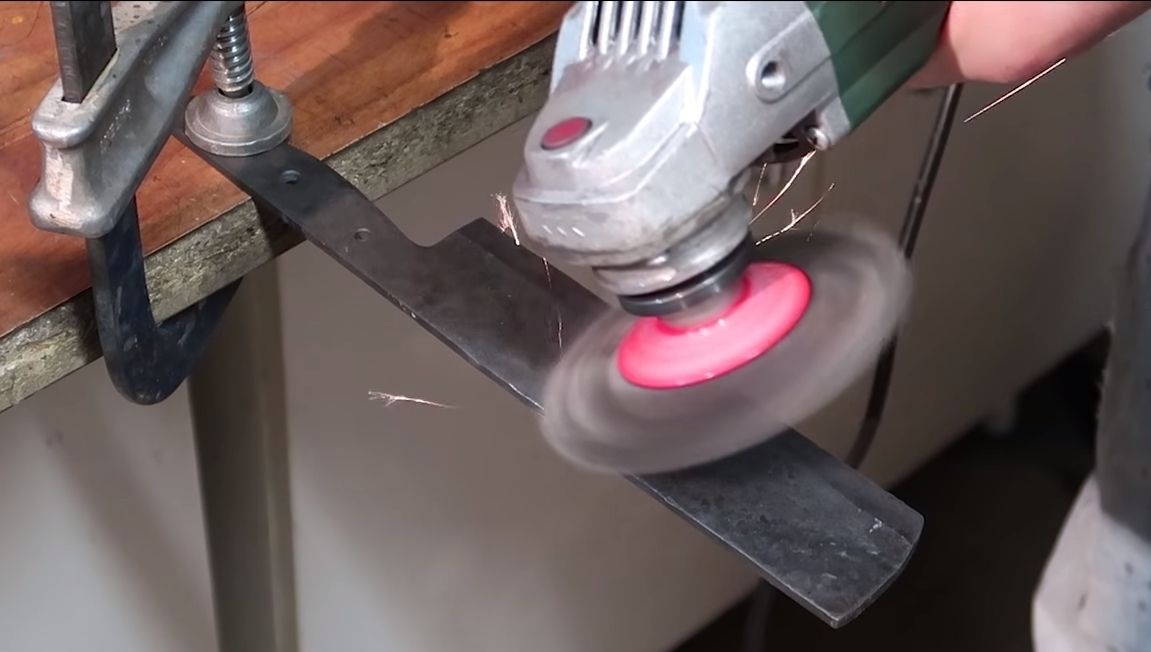
We start cleaning the metal, because after hardening it will be dark, have traces of burnt oil and so on. For cleaning, the author used a grinder with a metal brush. After that we go to the belt grinding machine, finally grind the surface of the blade with fine sandpaper.
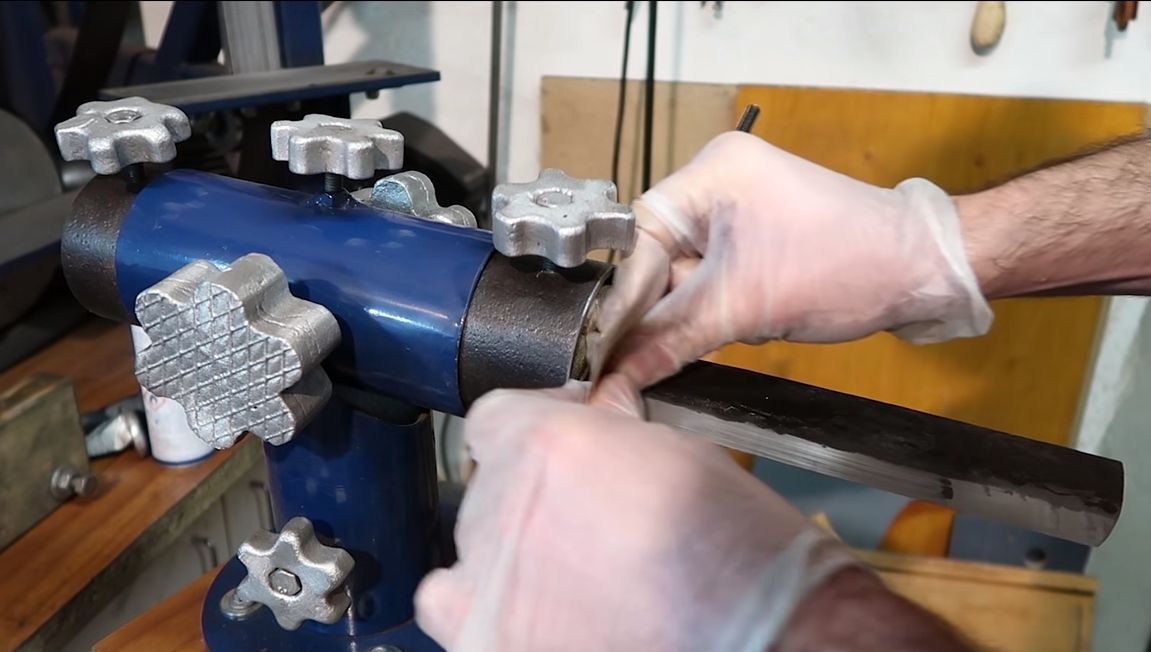
Now we proceed to manual processing, clamp the blade and take sandpaper in our hands. We carefully grind the surface of the blade so that the sandpaper works better, soak it in water. Gradually reduce the grain size of the sandpaper, bringing the workpiece to an ideal.
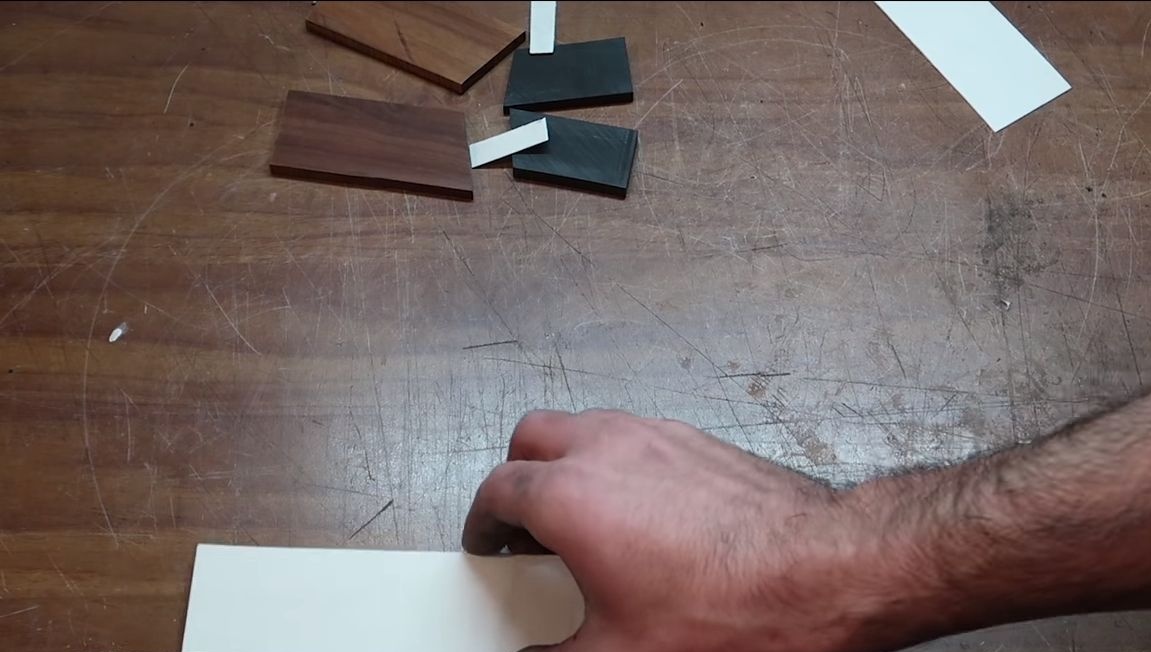
Step Eight. Lining
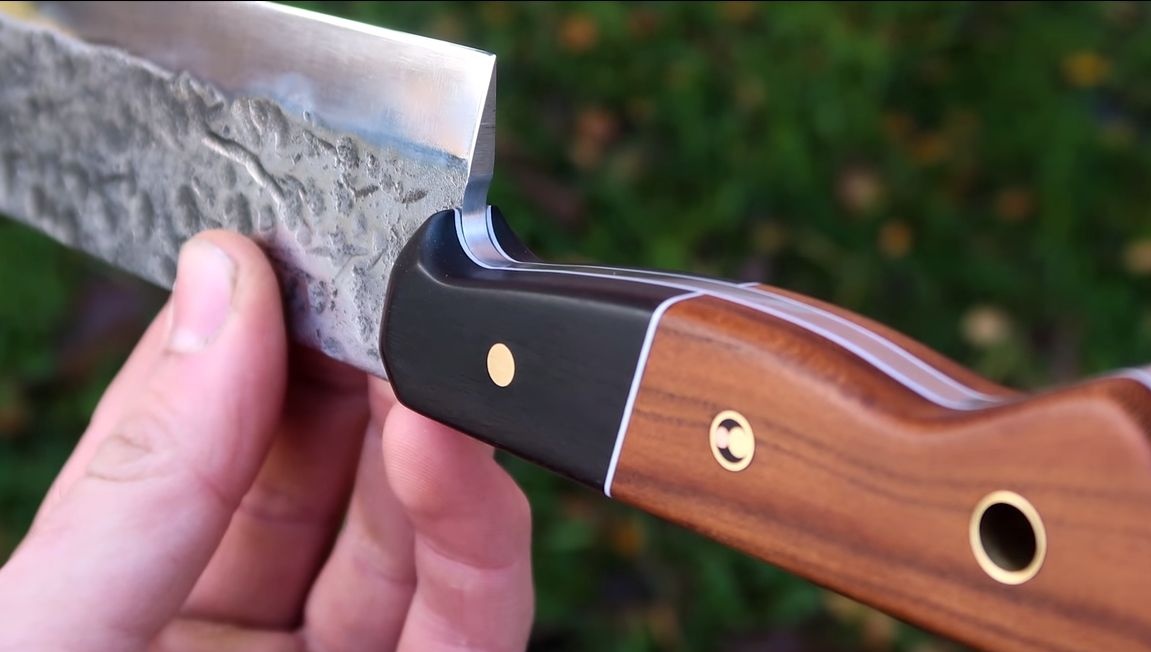
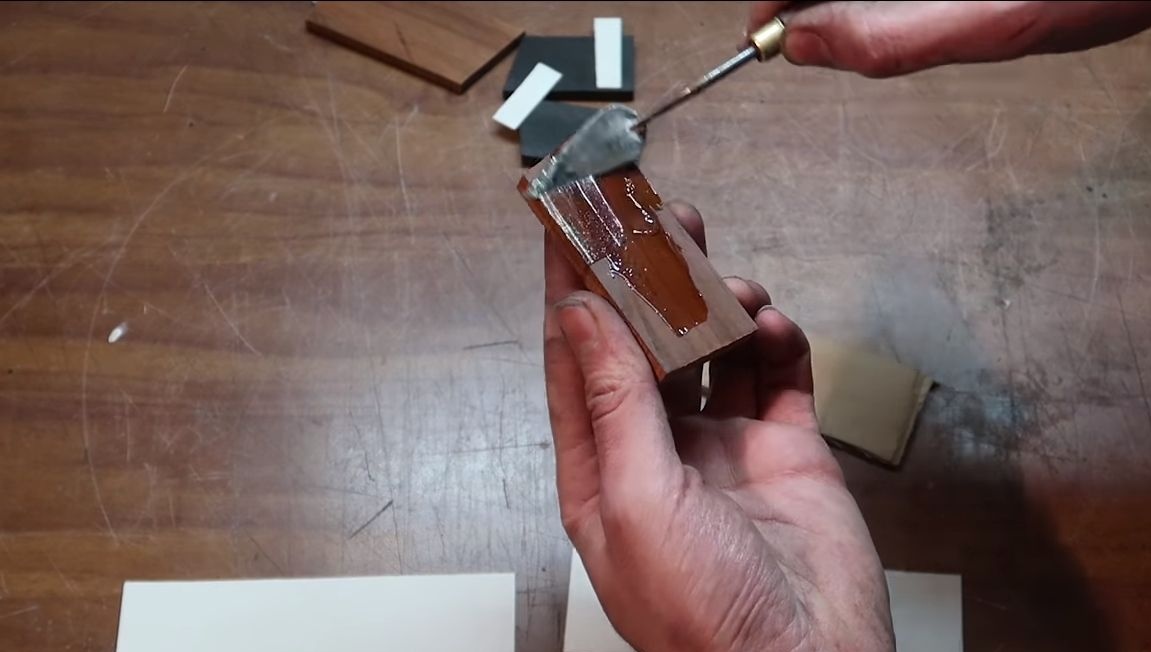
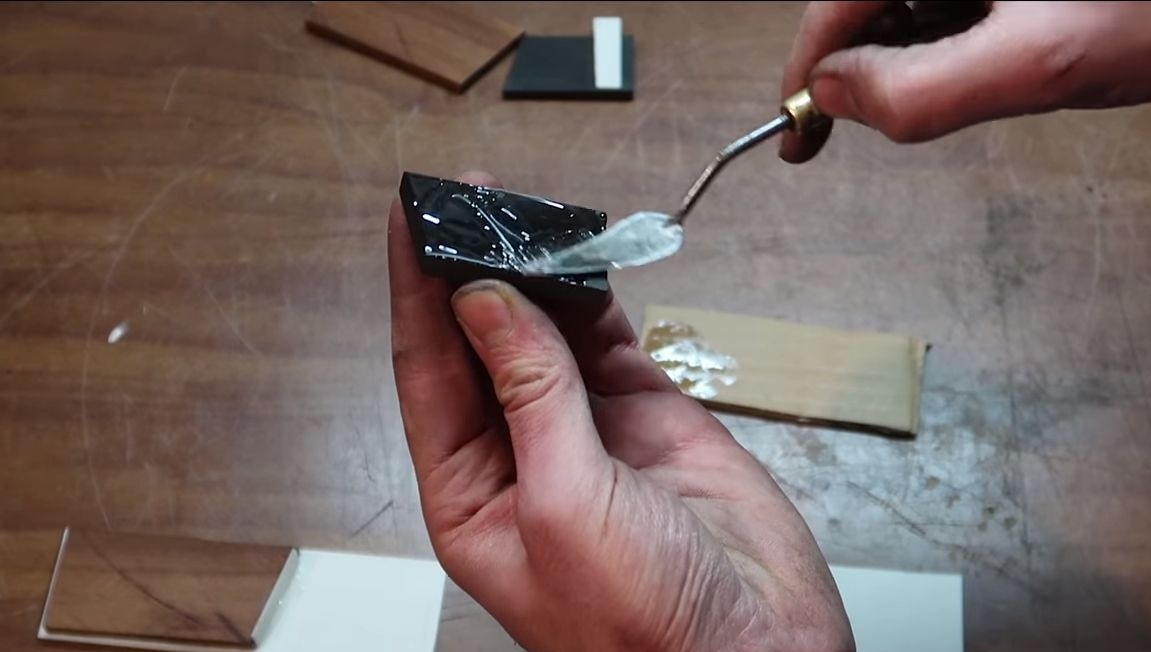
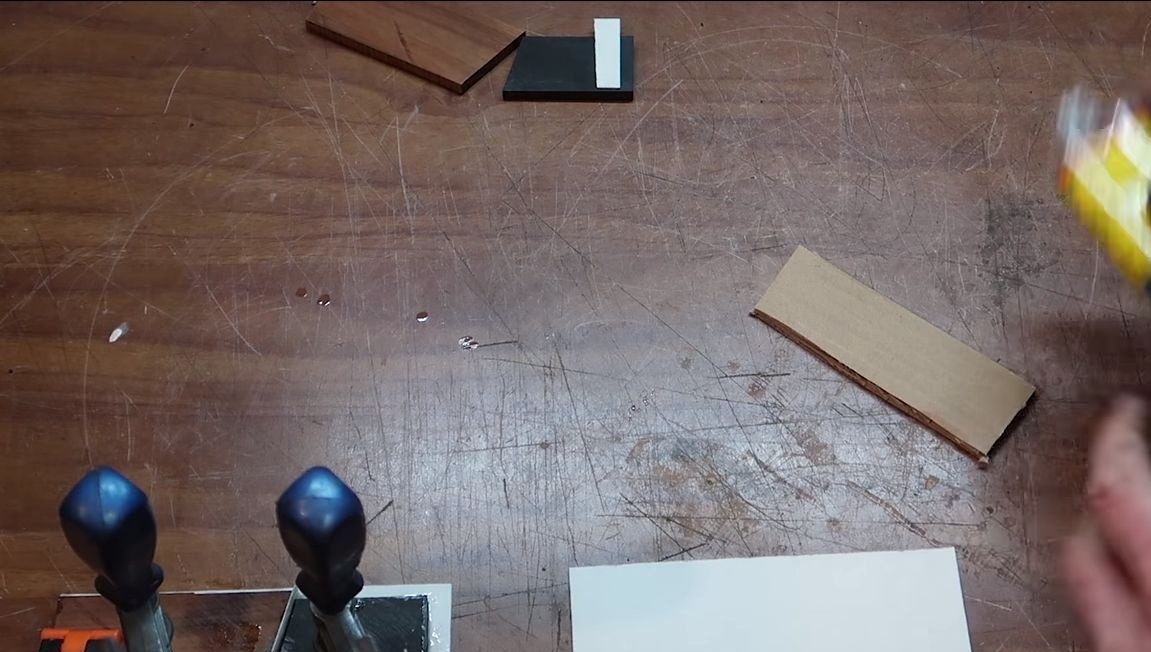
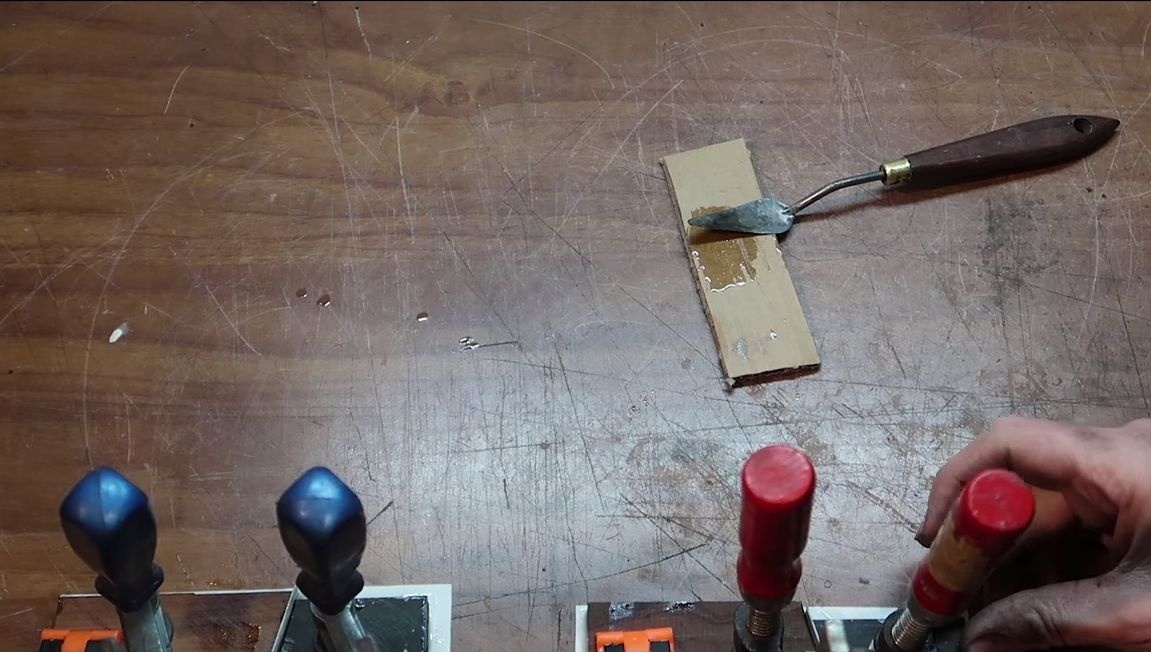
What lining is made of, I do not quite understand, the handle is combined, there is wood, and also probably plastic, rubber, or something like that. We cut out all the details, as the author did, and then glue it on epoxy glue. We clamp the parts with clamps and leave the glue to dry for 24 hours.
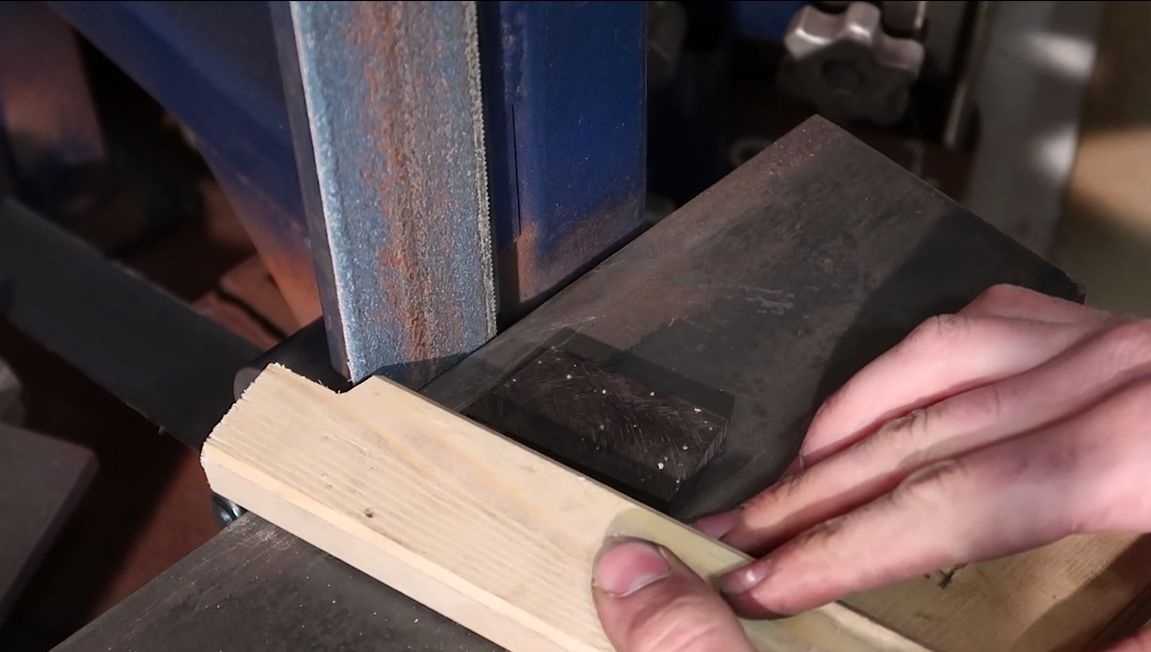
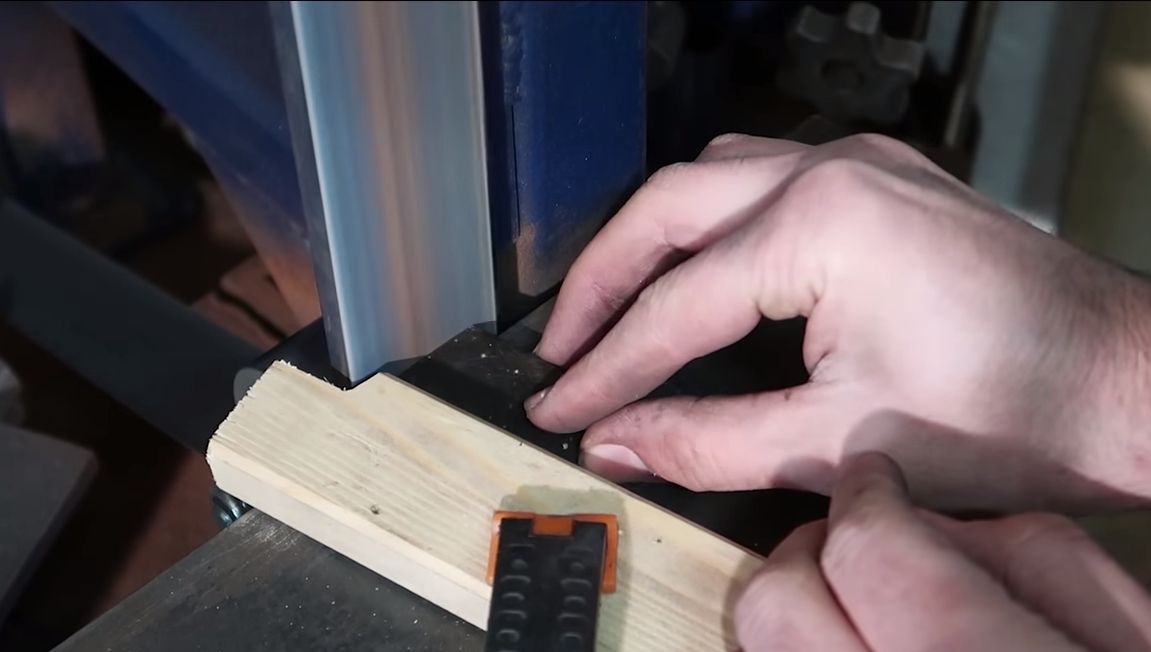
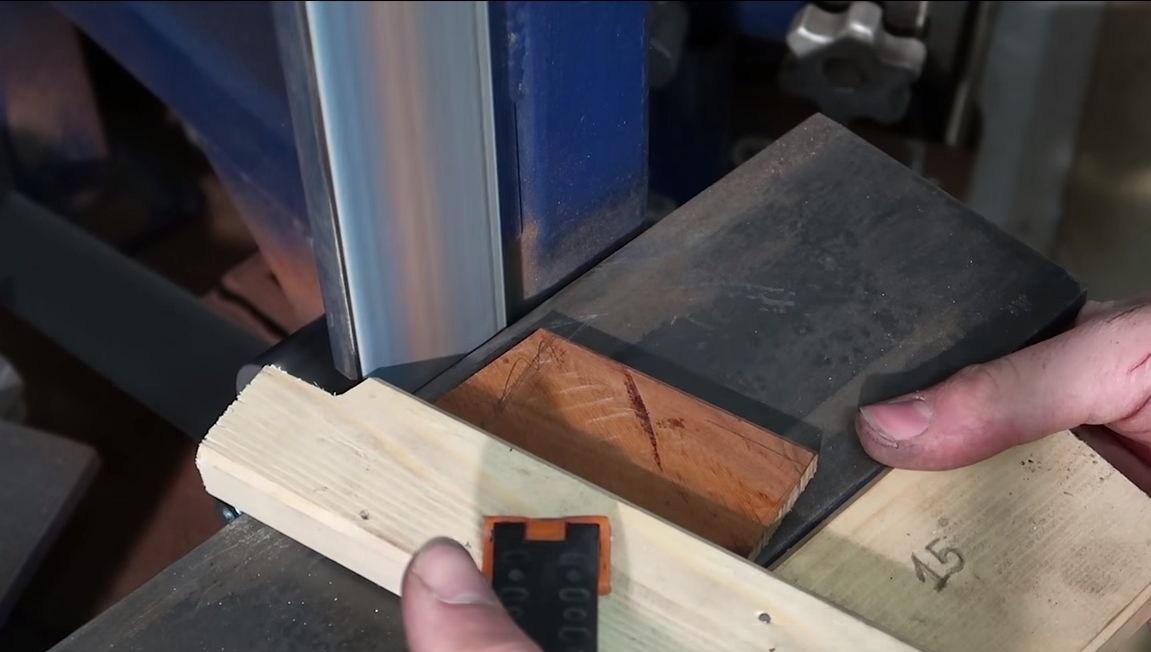
Once the glue has dried, the linings can be installed. To do this, first drill holes for the pins. Then we collect the handle dry and with the help of a band saw we cut out the desired profile. As a result, we get two overlays of the same shape.
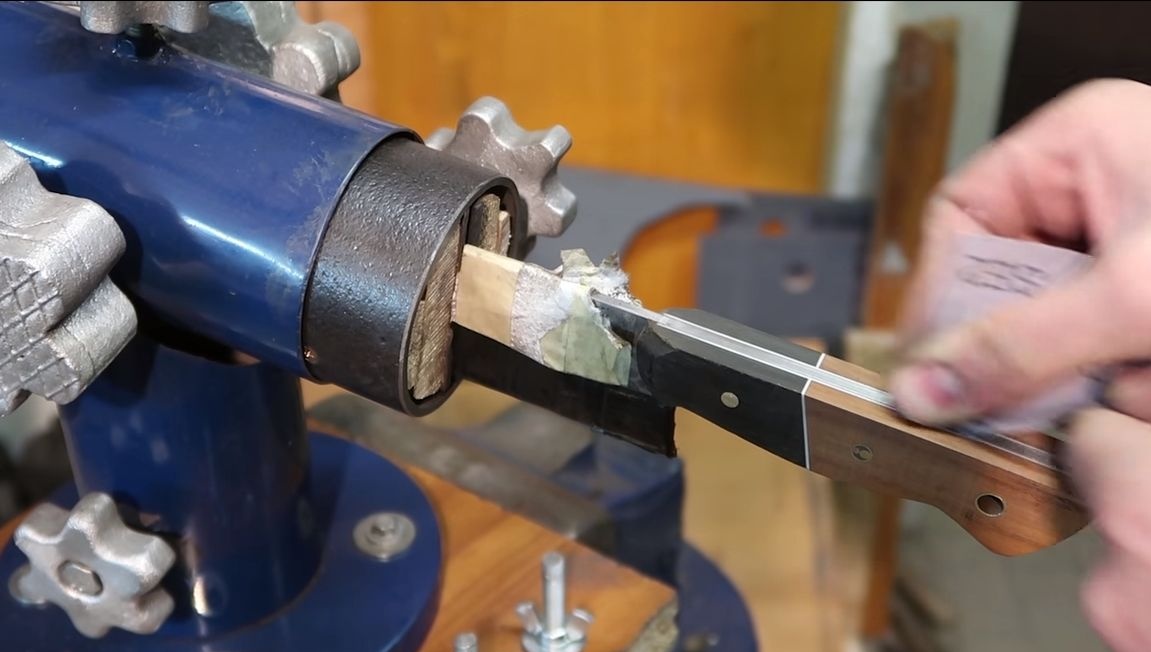
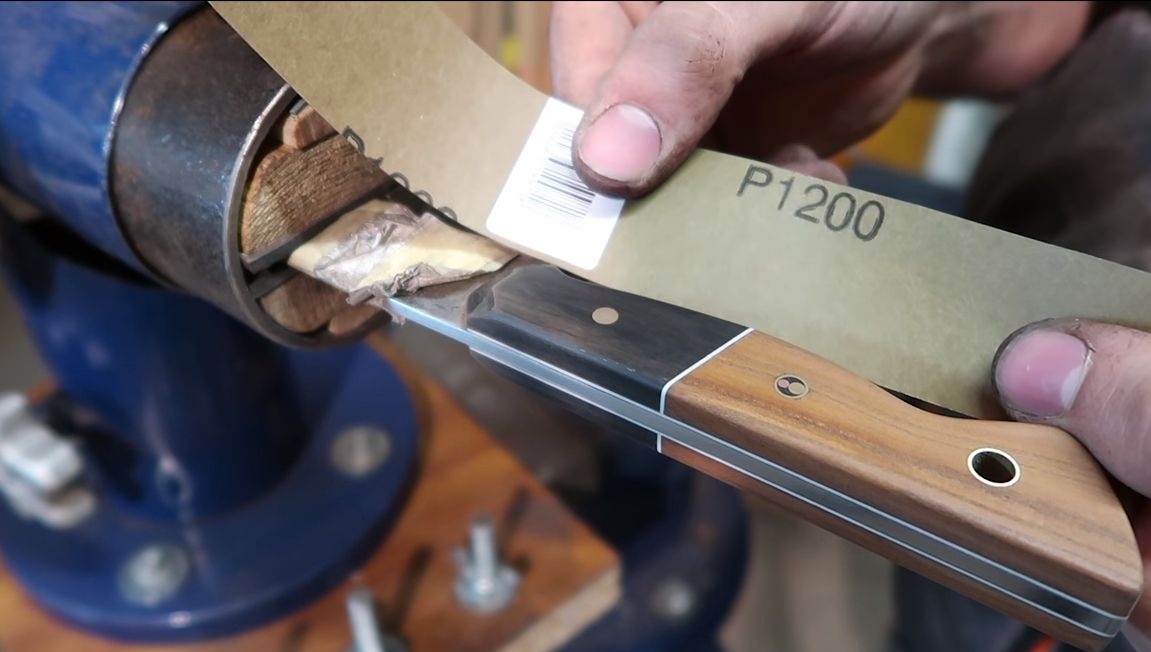
For bonding, spread epoxy glue, apply it to the pins, pads and assemble the handle. Previously, the blade must be wrapped with paper with a skit, so as not to smear with glue. Clamp the handle with clamps and let the glue dry completely. The remnants of the displaced glue must be removed immediately, so that later there is less work. Also take cotton buds and glue with glue the place where the handle goes into the blade.


Step Nine. Finish the handle
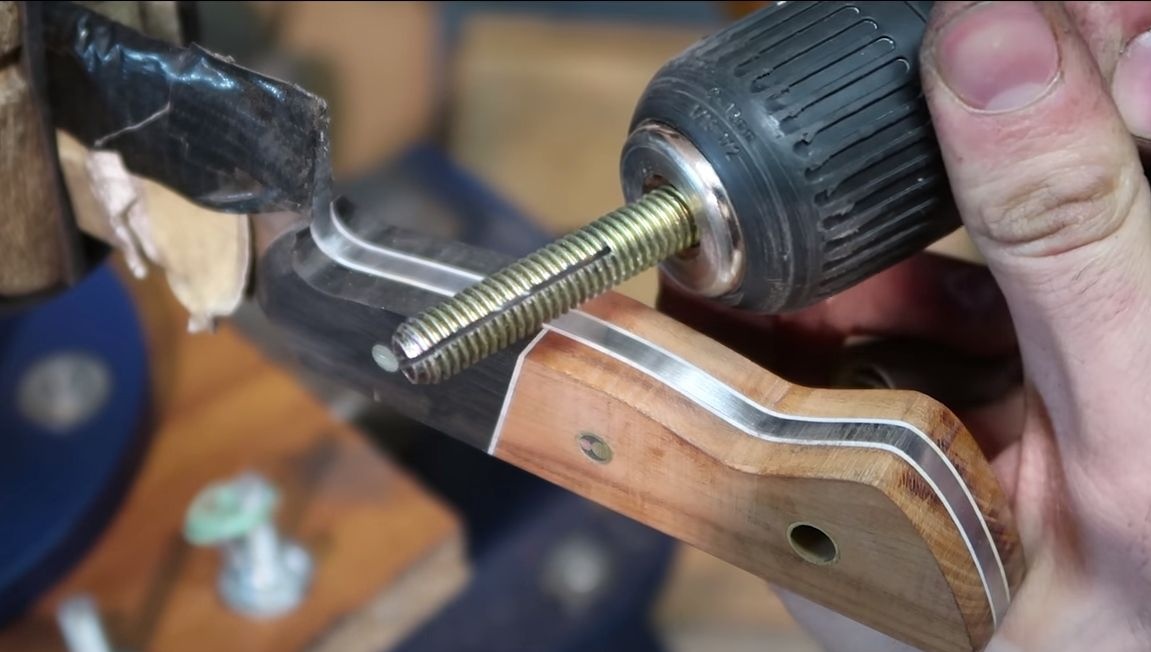
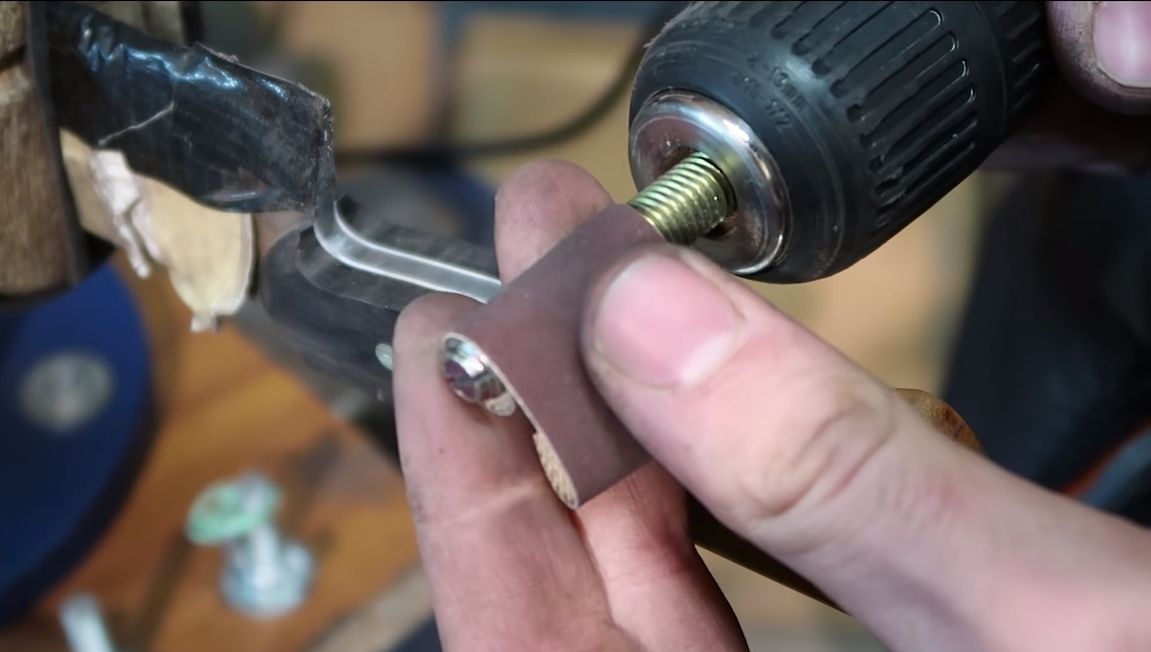
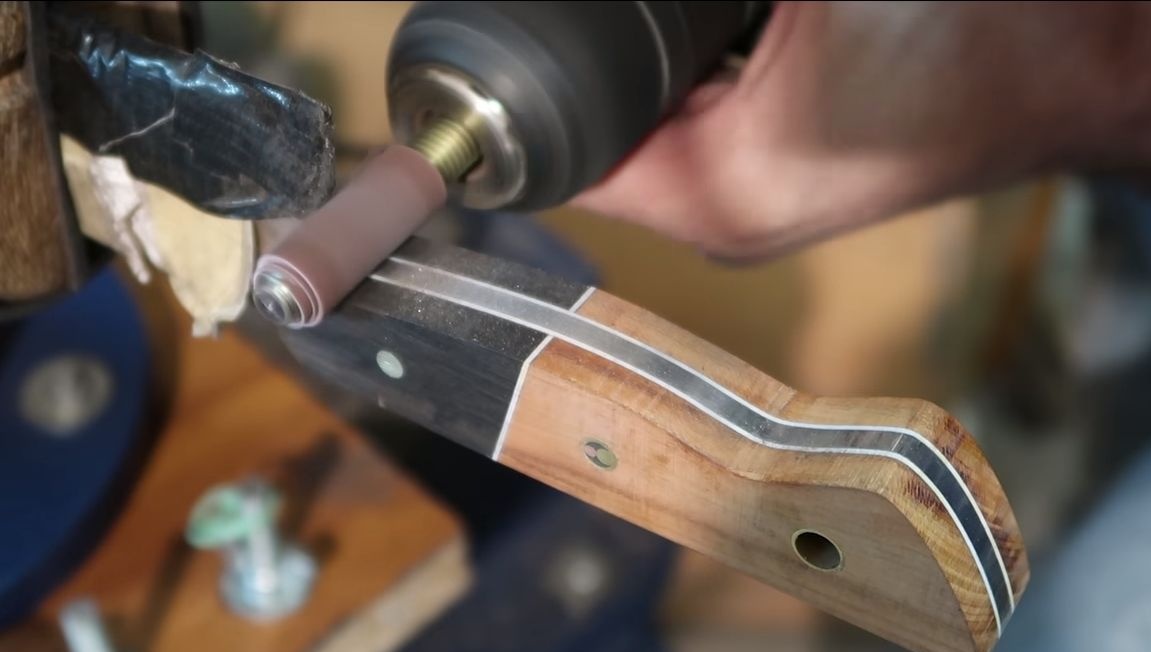
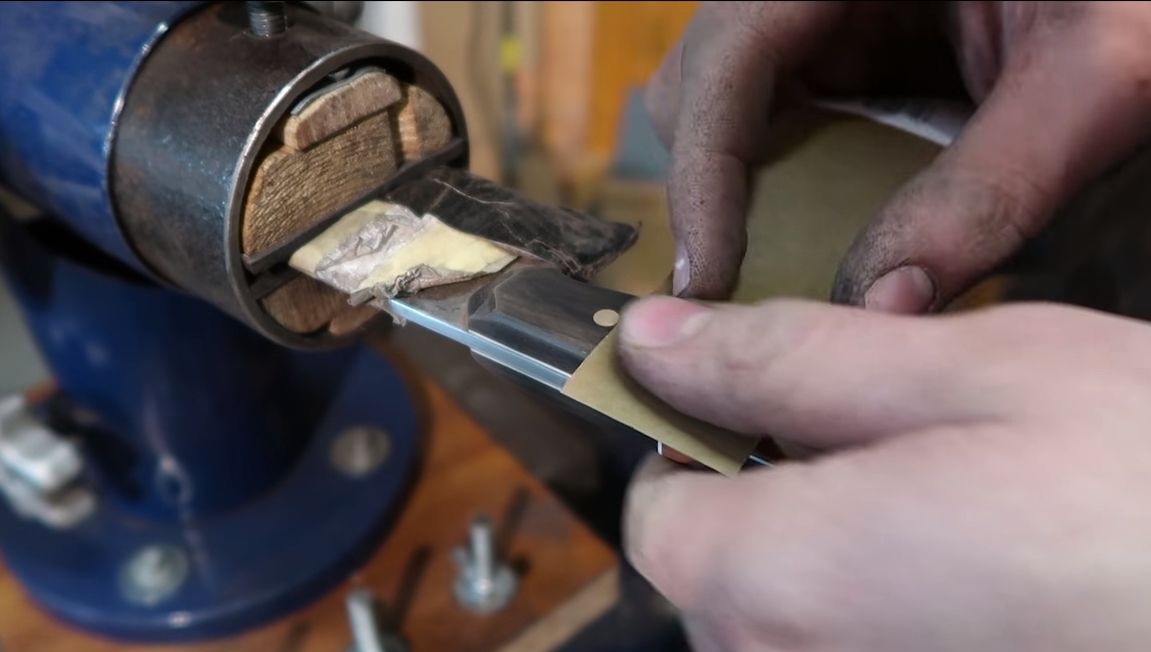
When the glue dries, remove the clamps and cut off the protruding pins. Now we go to the belt sander and carefully grind the handle.After that, we grind it manually using fine sandpaper. To polish problem areas, you can use Dremel. Instead of a dremel, the author took an ordinary drill and a bolt cut along it, set the sandpaper in the groove and do the work.
The final processing was the use of paper with a grain size of 1200.

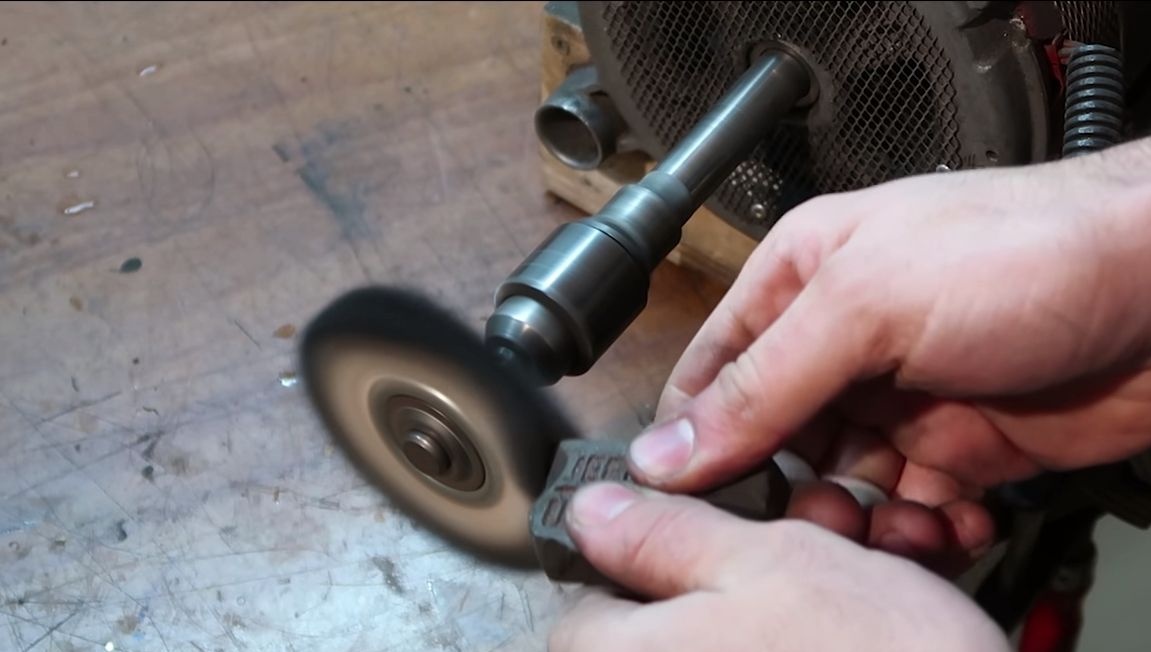
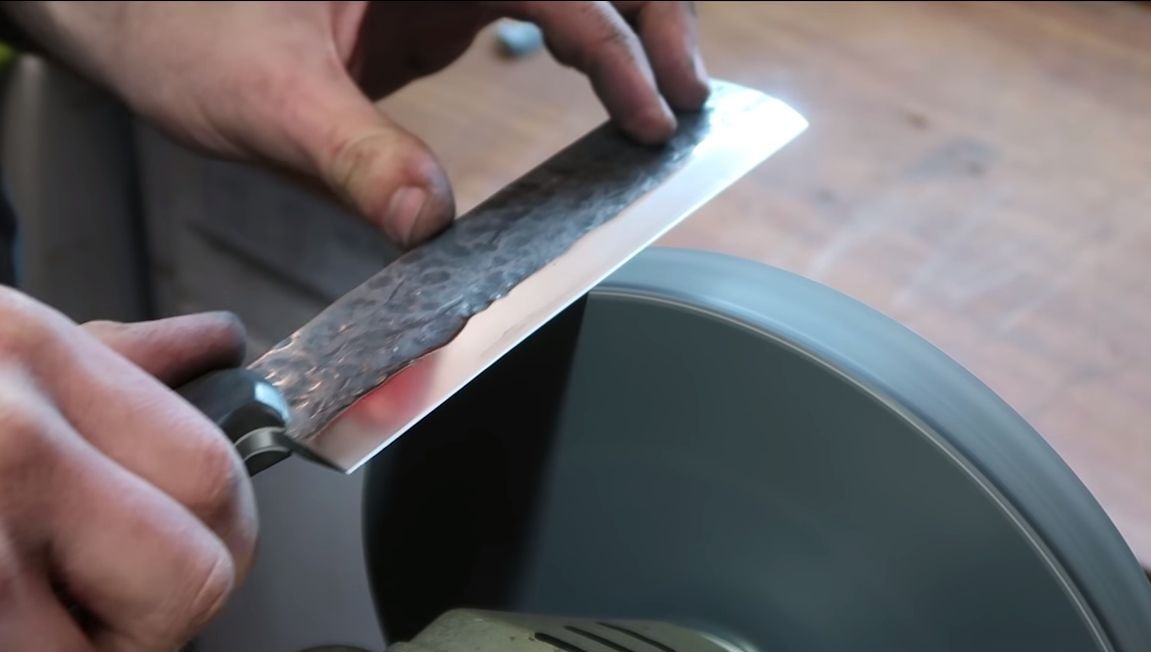
Step Ten Sharpening
Sharpen the knife to the state of the blade! For this, the author used a polishing wheel. In addition, you can polish the bevel line to a mirror state. In the video, the author demonstrates how he cuts a knife; it is so sharp that, despite its dimensions, it flawlessly cuts paper in a canopy.
Step 11. Handle Protection
The handle used wood, which is afraid of water. And in general, dirt will stick to the material. To solve this problem, varnish the handle, you can apply several layers. If only wood is used, it can be impregnated with oil, linen, or special furniture, will do.
That's all, the knife is ready! Look what a masterpiece the author has! Just do not tear your eyes. Do not forget that this is a very sharp weapon and can cause serious injury to yourself and others. Be careful and good luck!