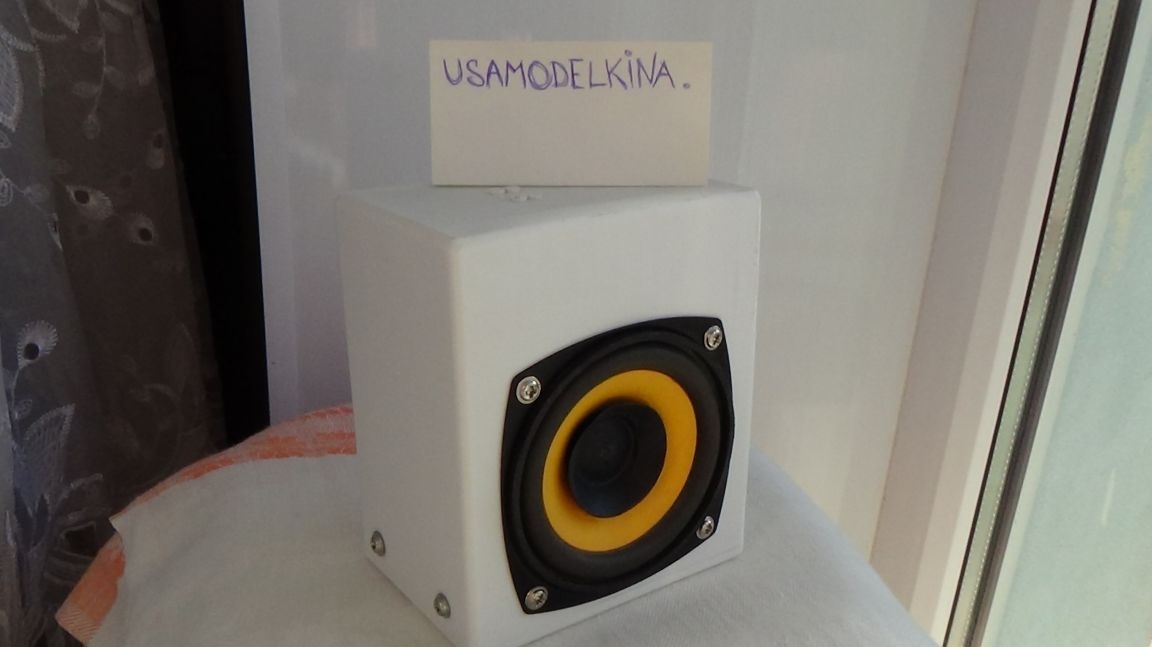
Hello to all lovers homemade, many of us love music, it is difficult to imagine a person who cannot live without music, since to one degree or another she is with us everywhere. For this reason, I decided to make a portable MP3 speaker, which can easily play music, and it will not differ in volume from large speakers, and small pocket speakers will not give any chance to compete in terms of volume and bass.
I collected this column in the presence of a 3D printer, but whoever does not have it, do not despair, the case can be made of plywood, fiberboard, MDF.
But before you start reading the detailed assembly process, I suggest watching a video showing the column from manufacture to testing.
In order to assemble this MP3 column, you will need:
* Soldering iron, solder, flux
* Fixtures for soldering "third hand"
* 3D printer, if not, then any material of the future case you like
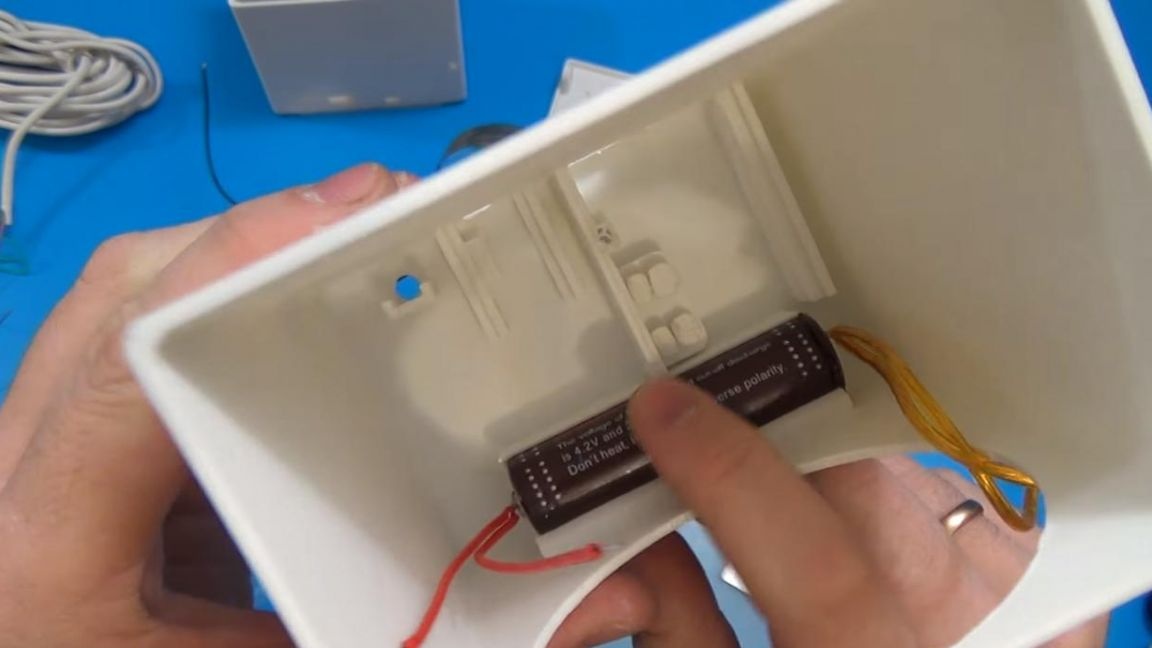
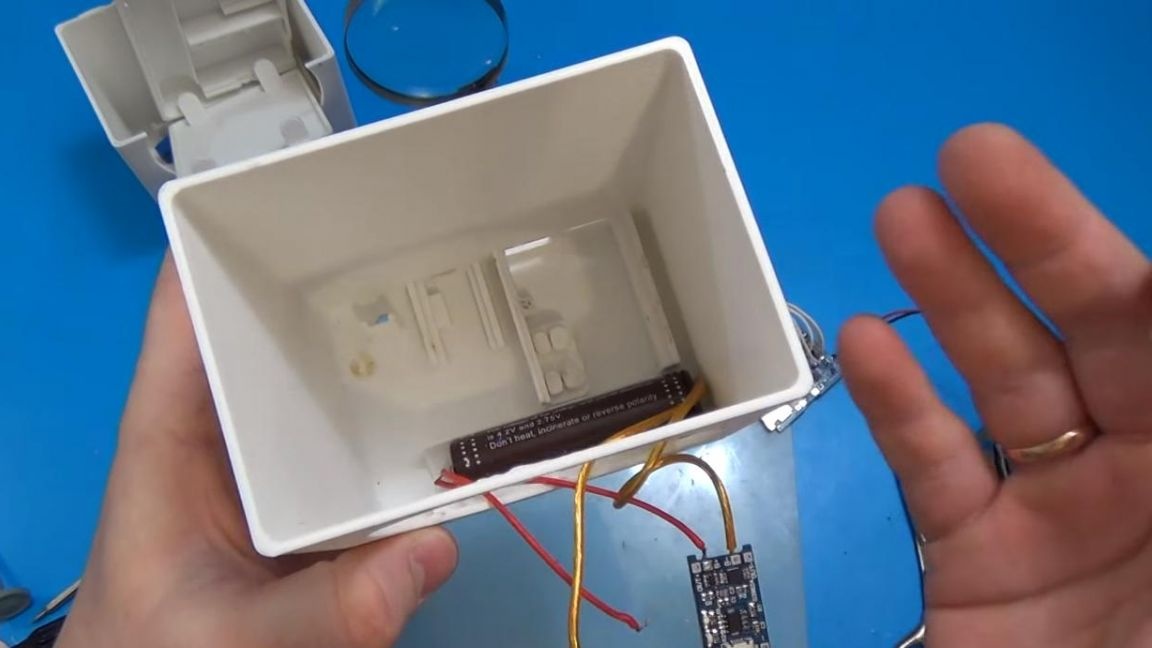
* 18650 battery with protection
* Charge-discharge charge
* MP3 module
* Power button
* Wires
* Drill
* Sandpaper
* Hot glue gun
* Small screws
That's all it takes to create such a simple column. do it yourself.
Step one.
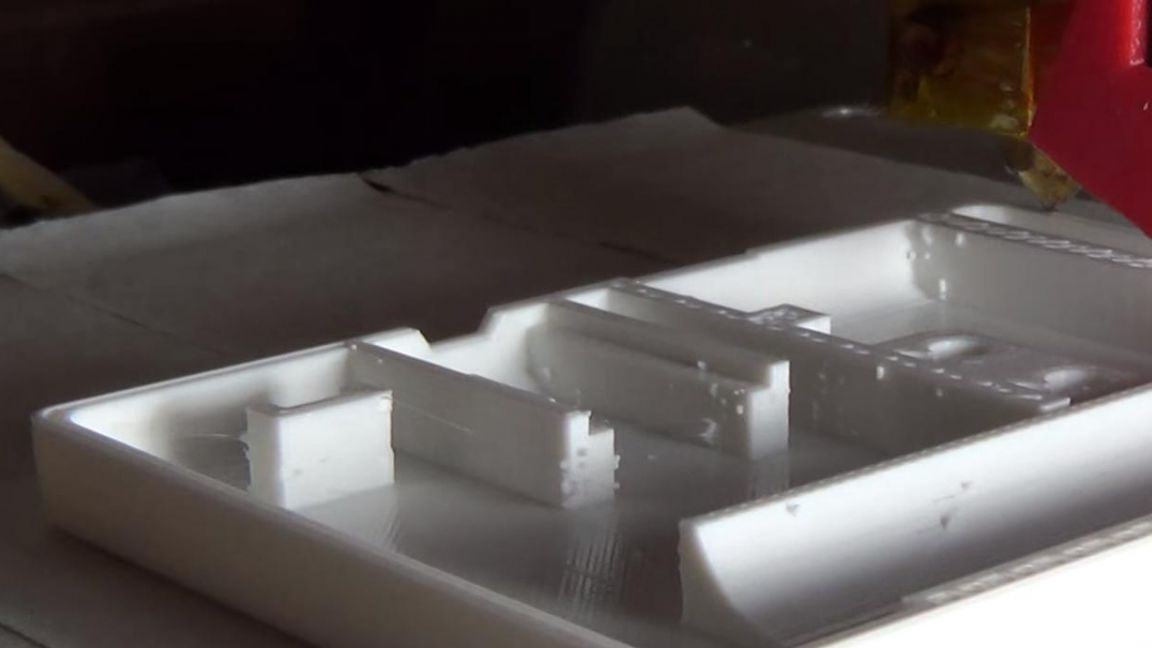
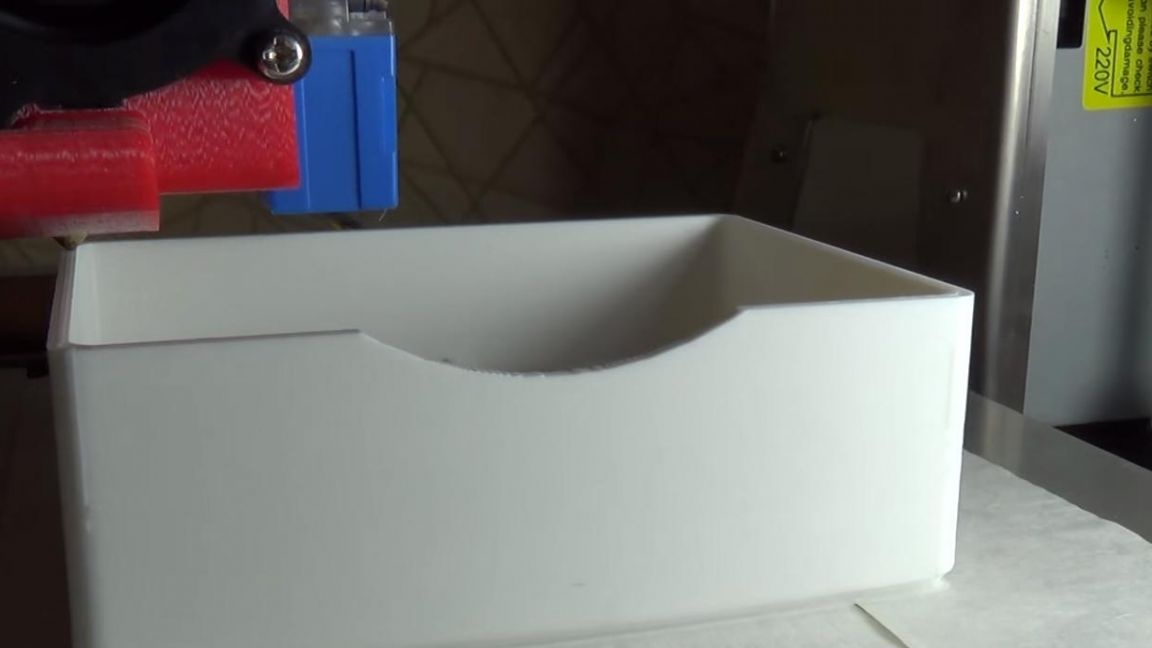
The first thing you need to decide on the case, in this case, the case was designed in the solidworks program, as it is understandable in work and quickly studied.
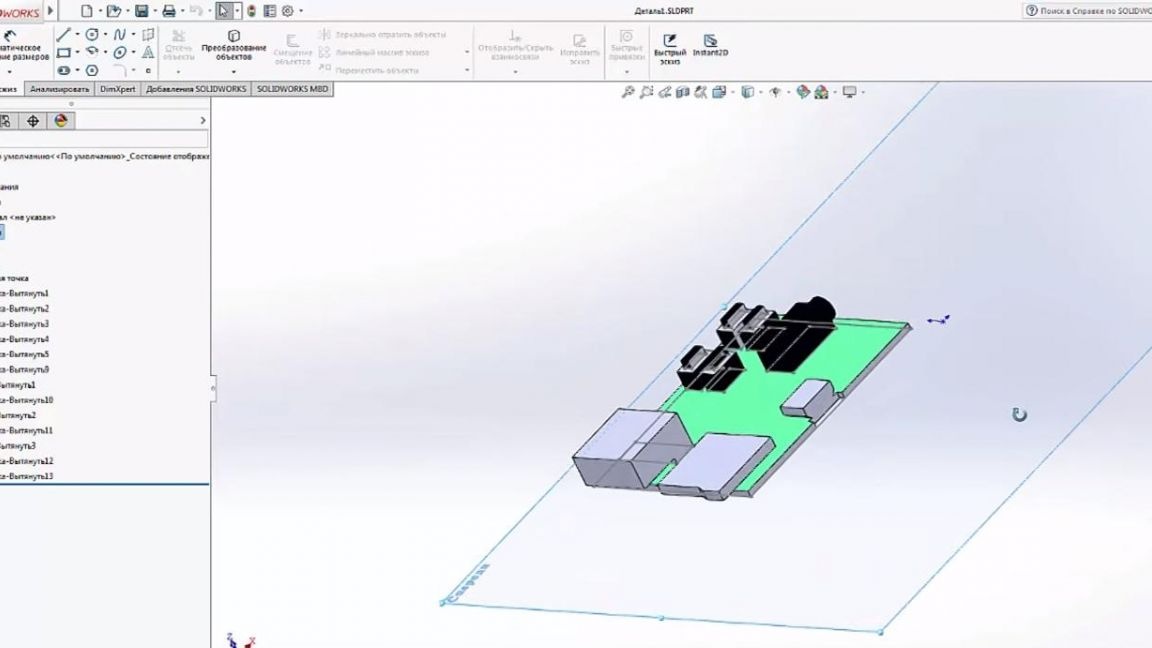
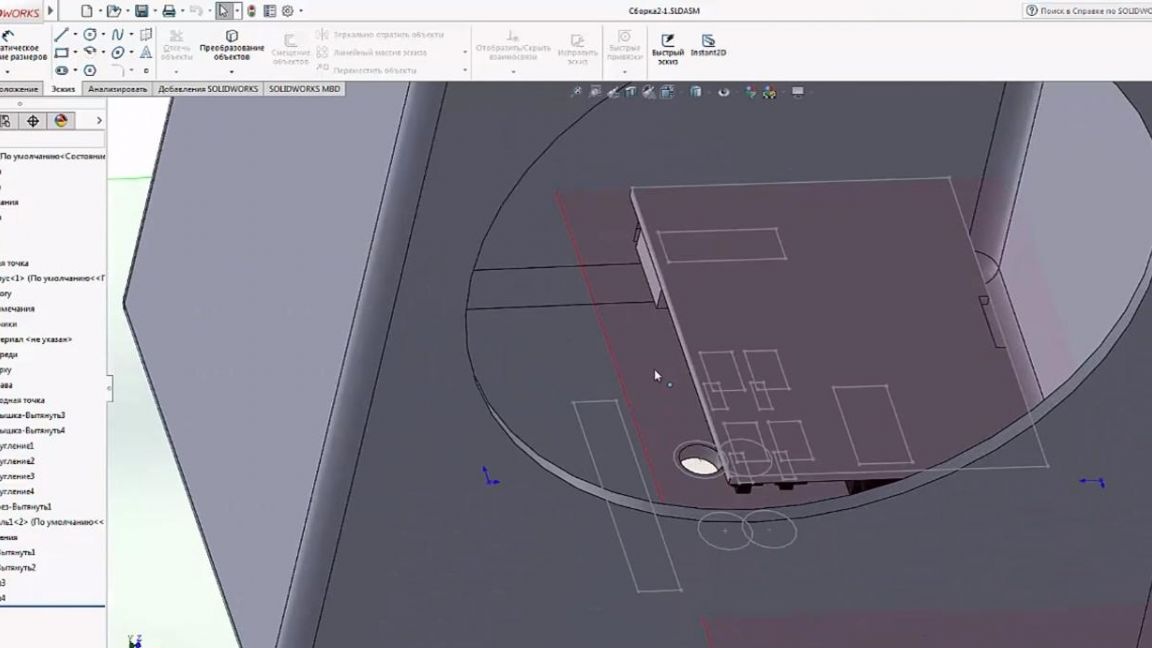
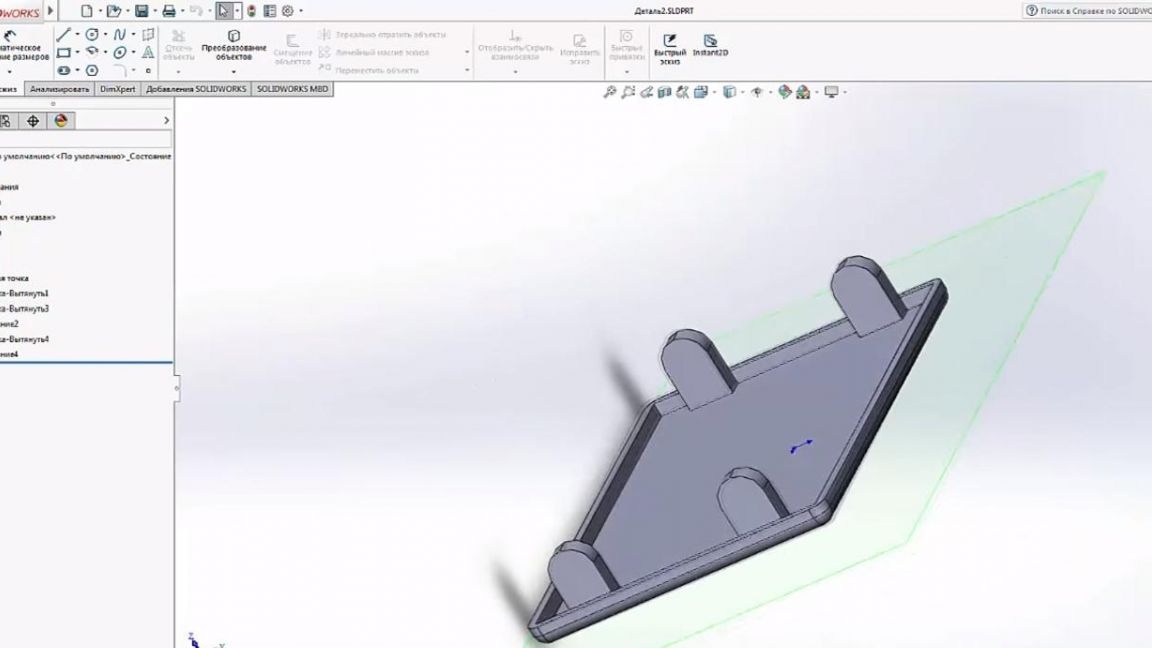
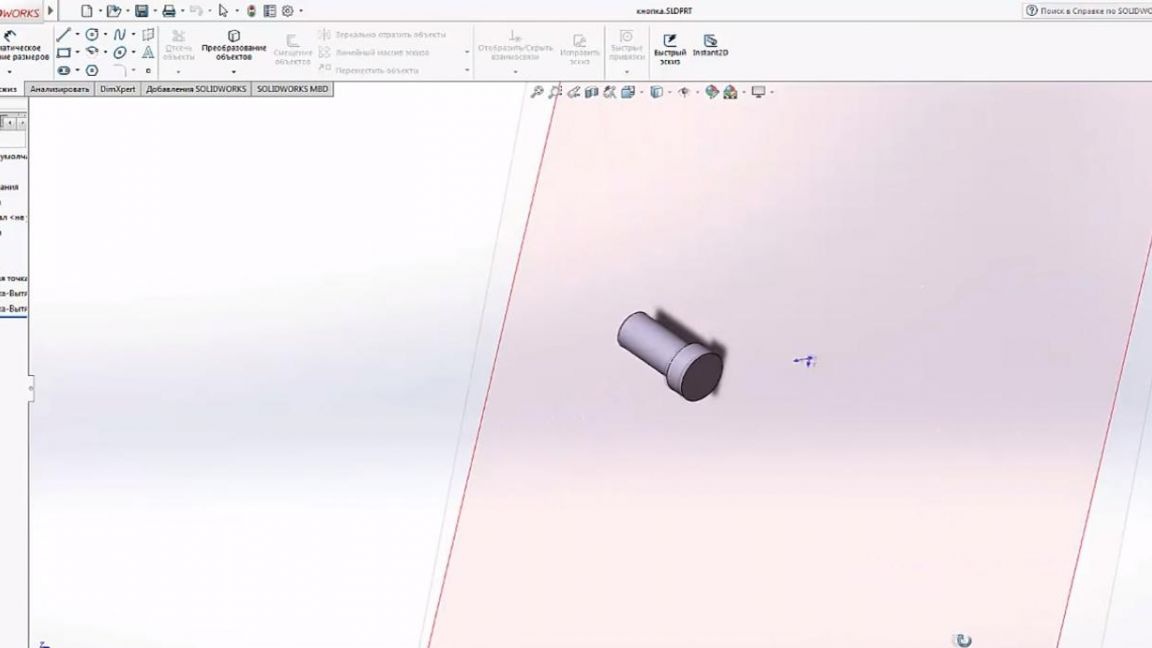
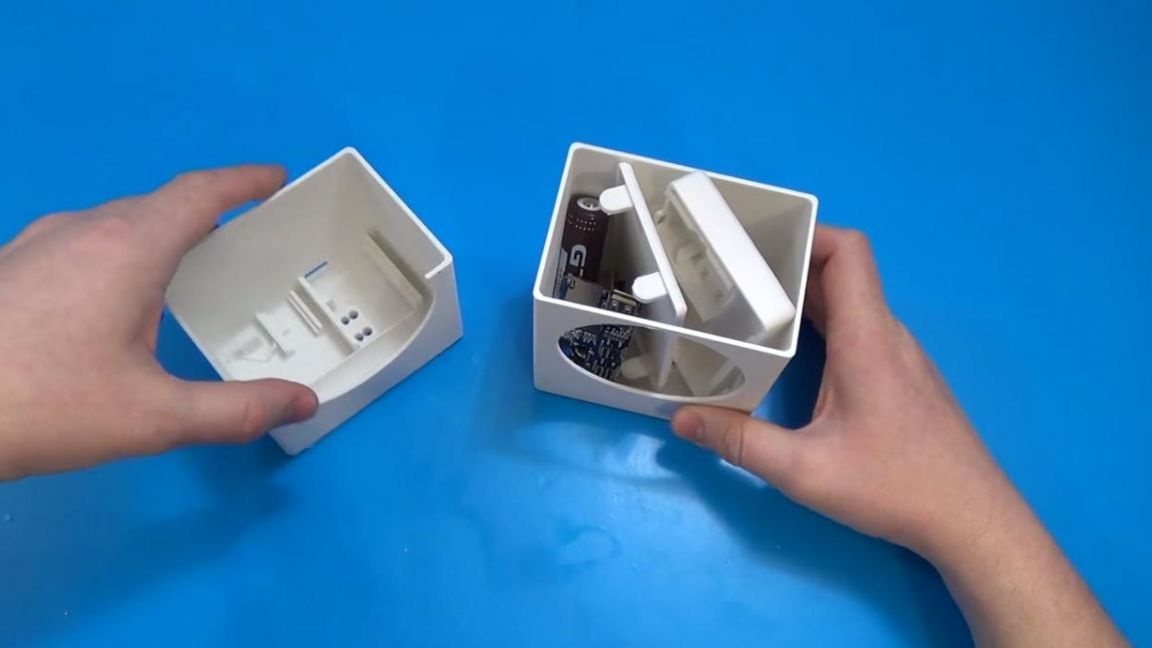
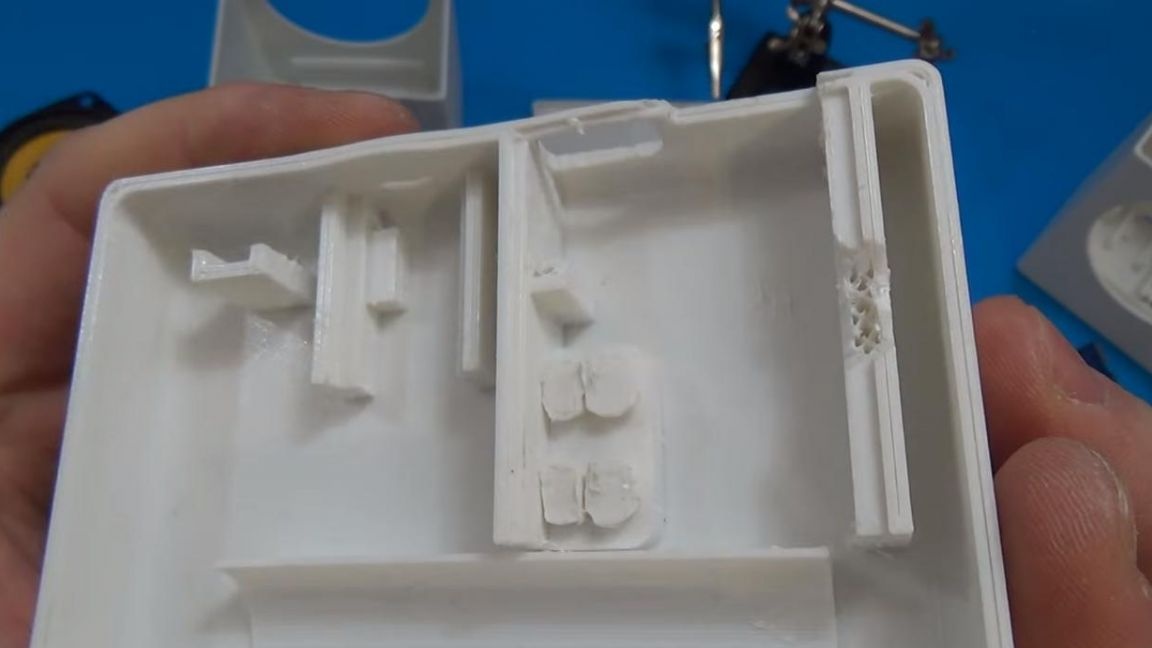
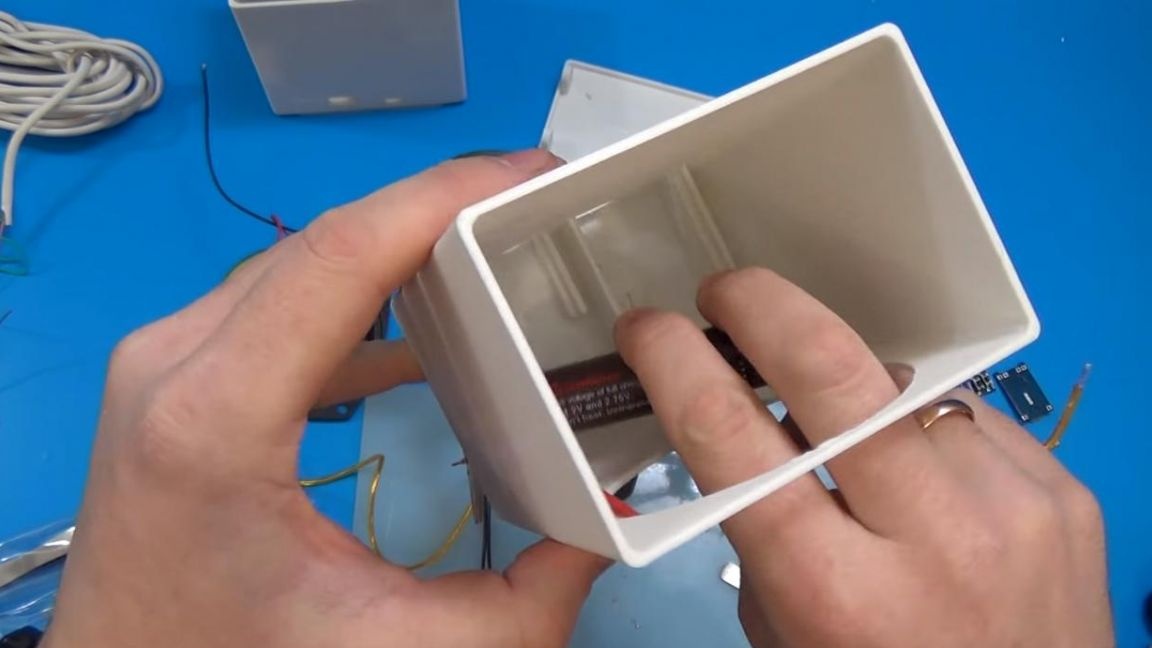
The case was created taking into account all the details, such as supports for the MP3 module and charging boards, the location of the control buttons, and a convenient mount for the 18650 battery. If you don’t have a 3D printer, you can make the case from other materials anyway , for example, plywood or fiberboard, here, as they say: taste and color.
The first attempt to print the case was not entirely successful, since already at the "finish line" the lights were turned off and the printer, of course, could not continue printing.
The second attempt was successful.
Step Two
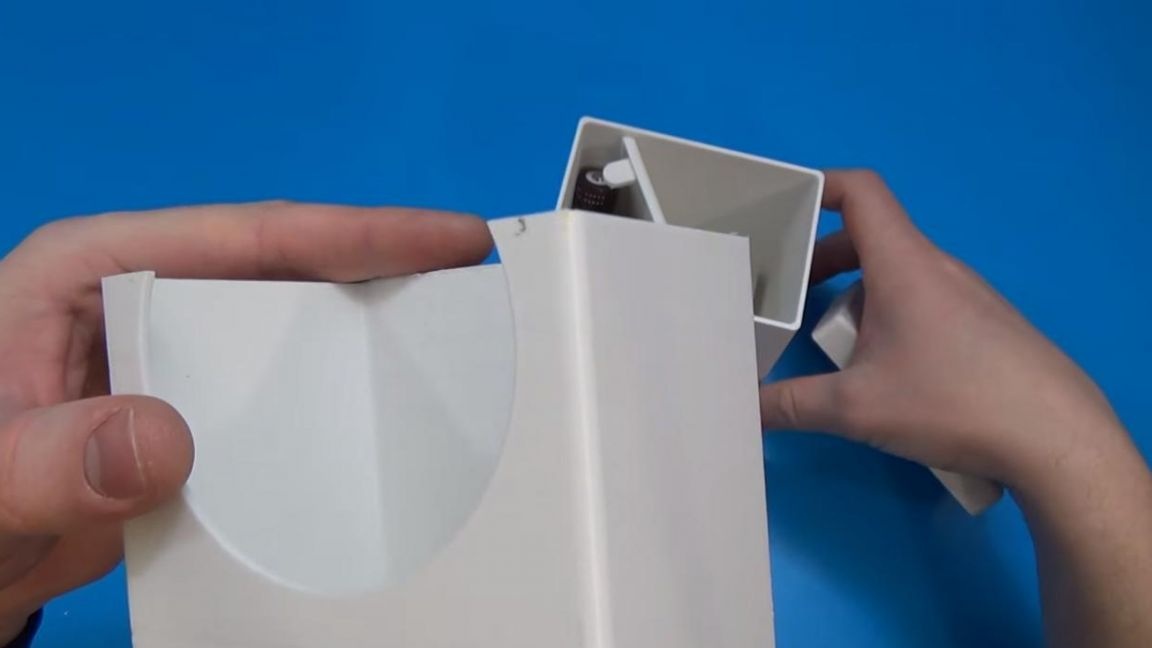
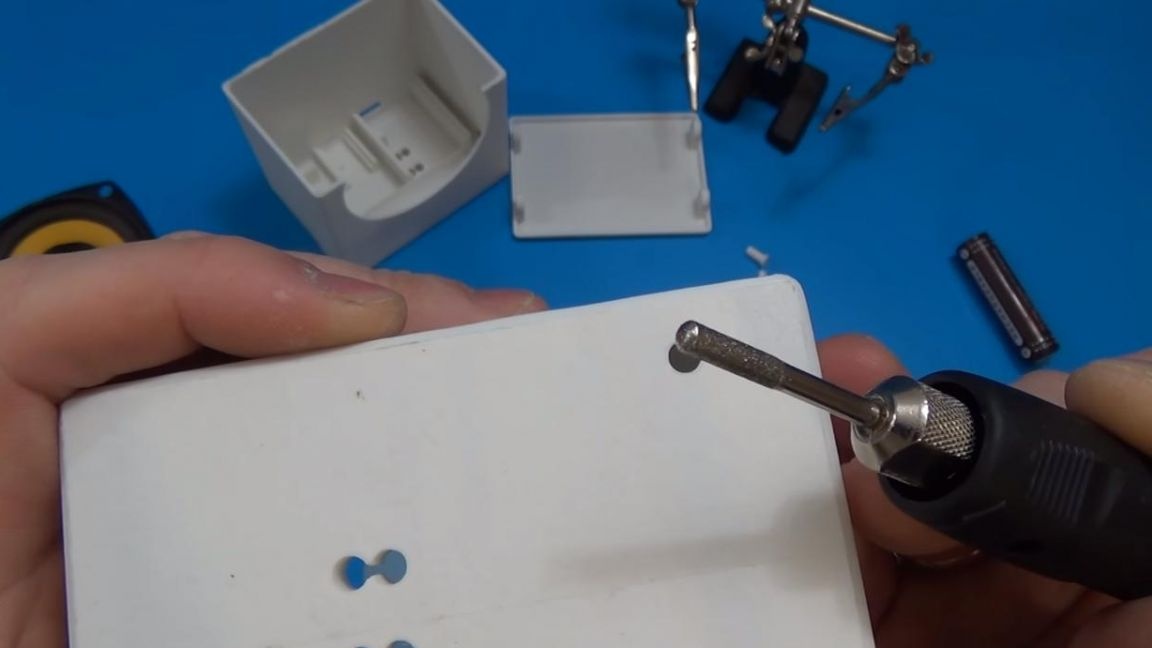
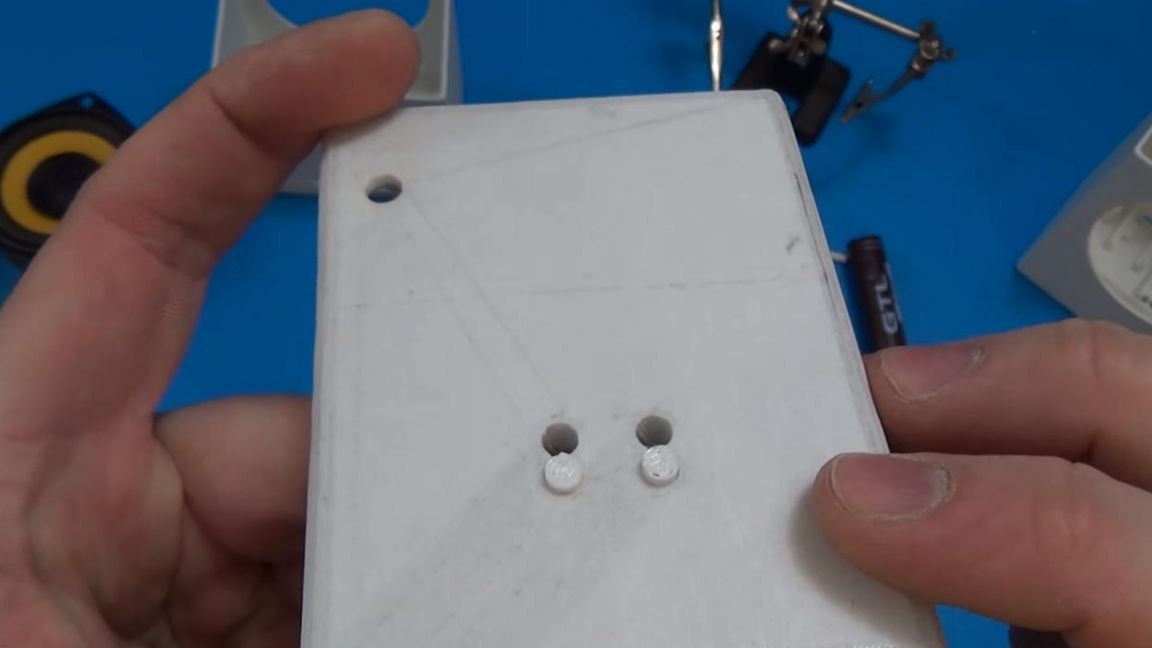
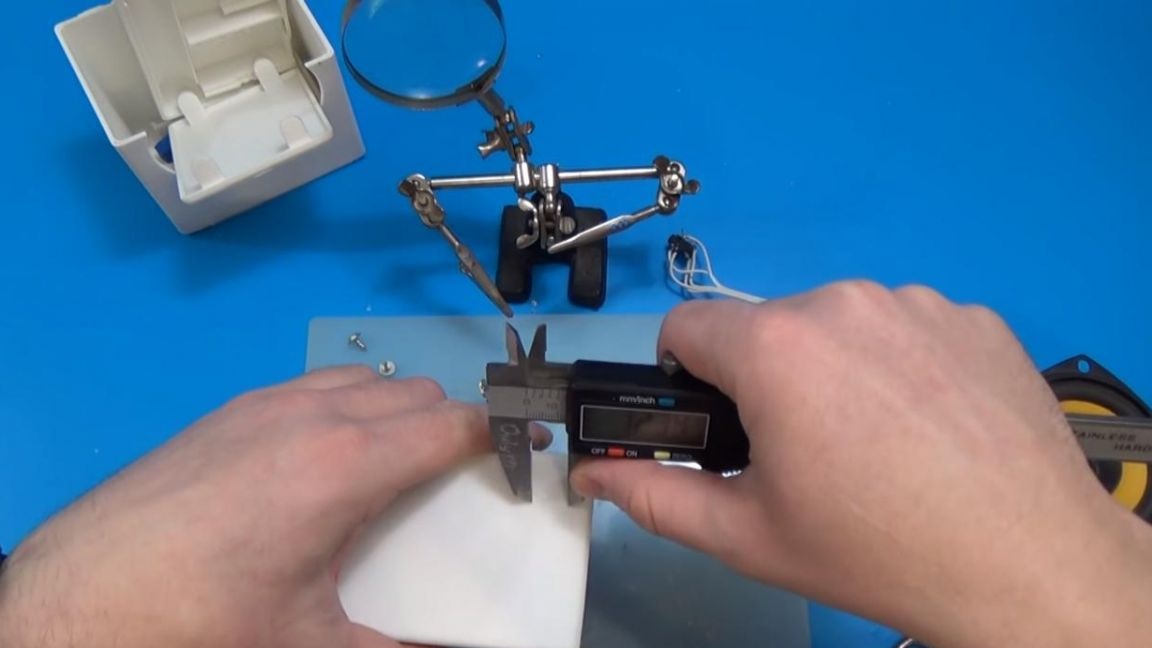
After the printer has printed the case, and by the way it took a whole 12 hours, it is necessary to remove all the flaws, since the accuracy here is not so great and in the end you need to grind and trim a bit.
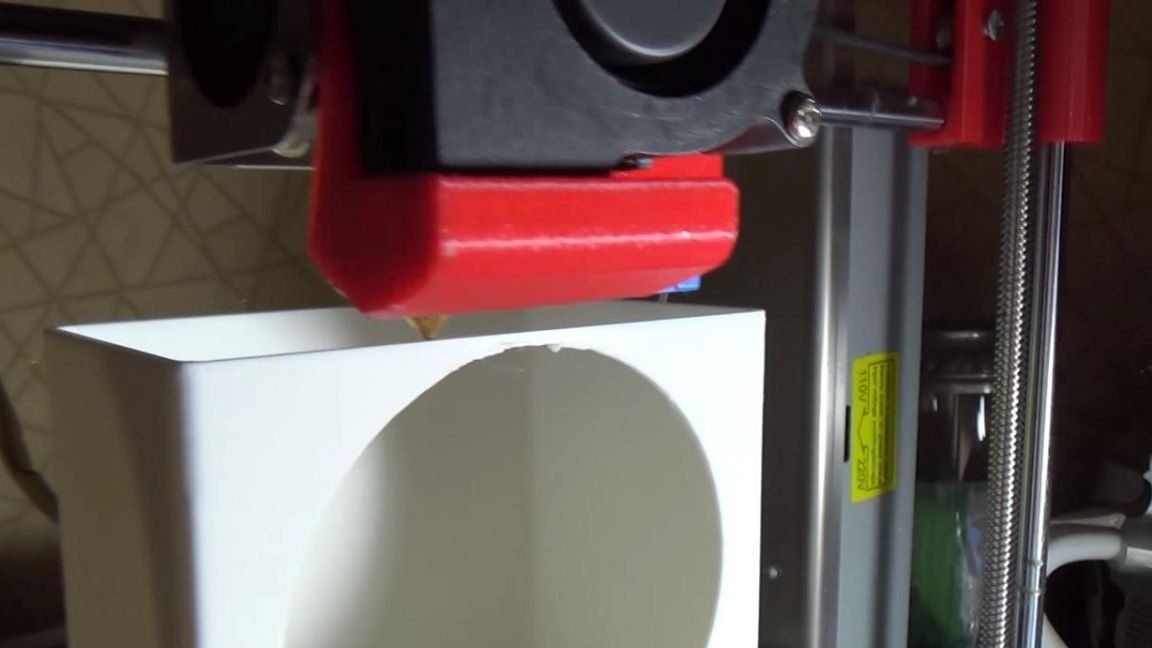
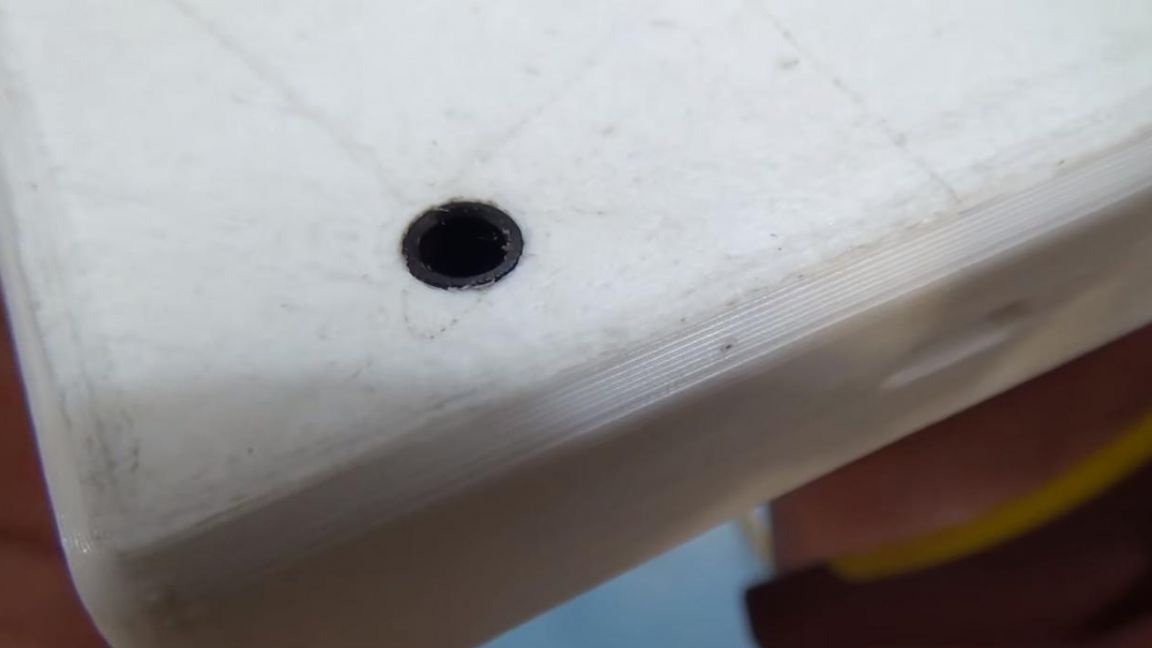
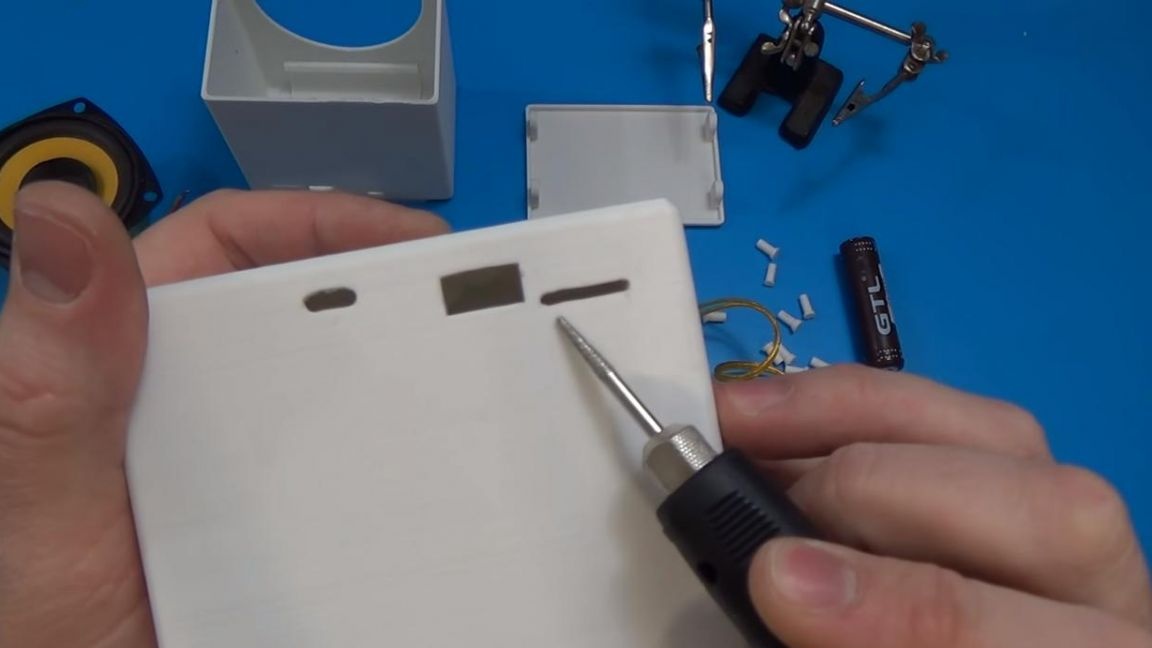
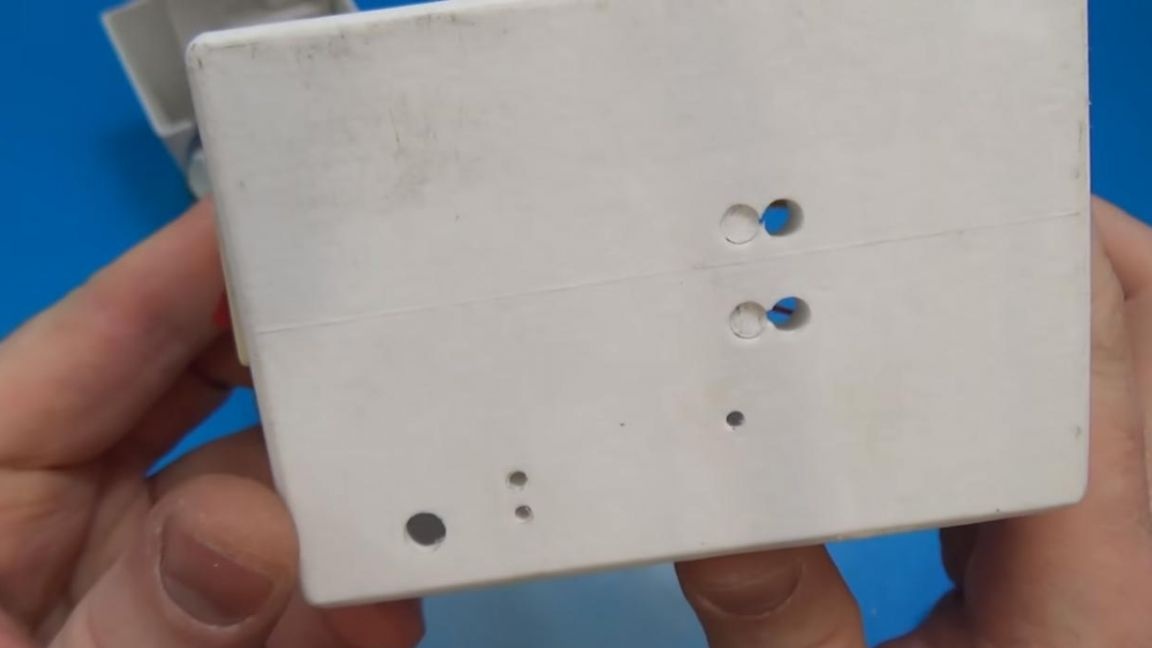
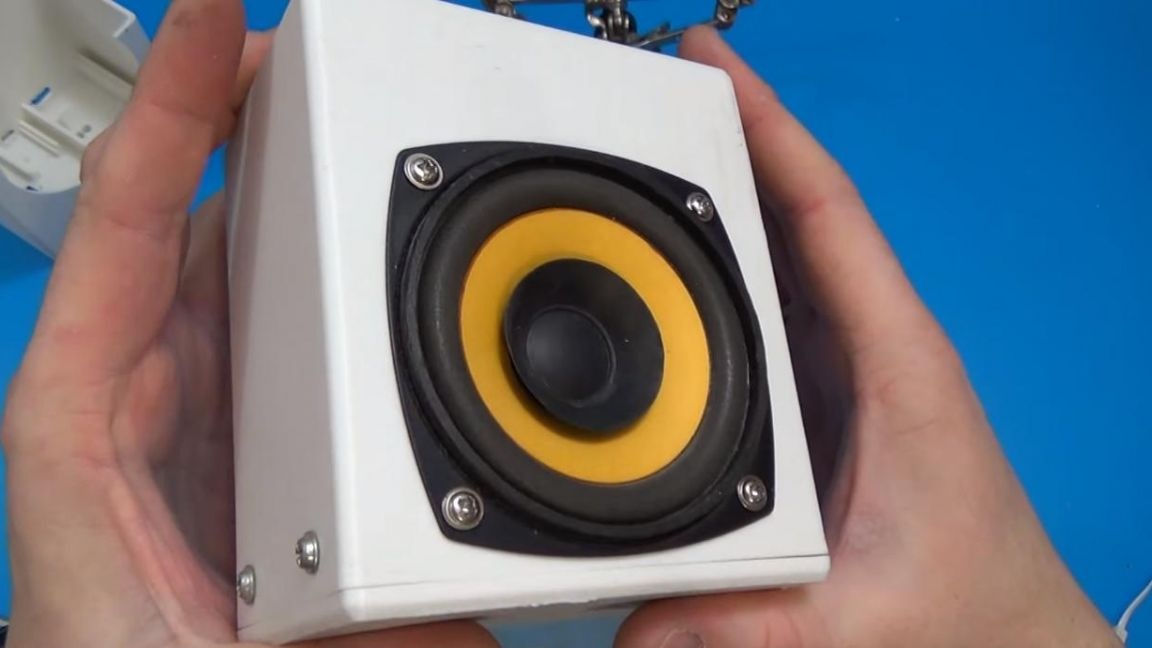
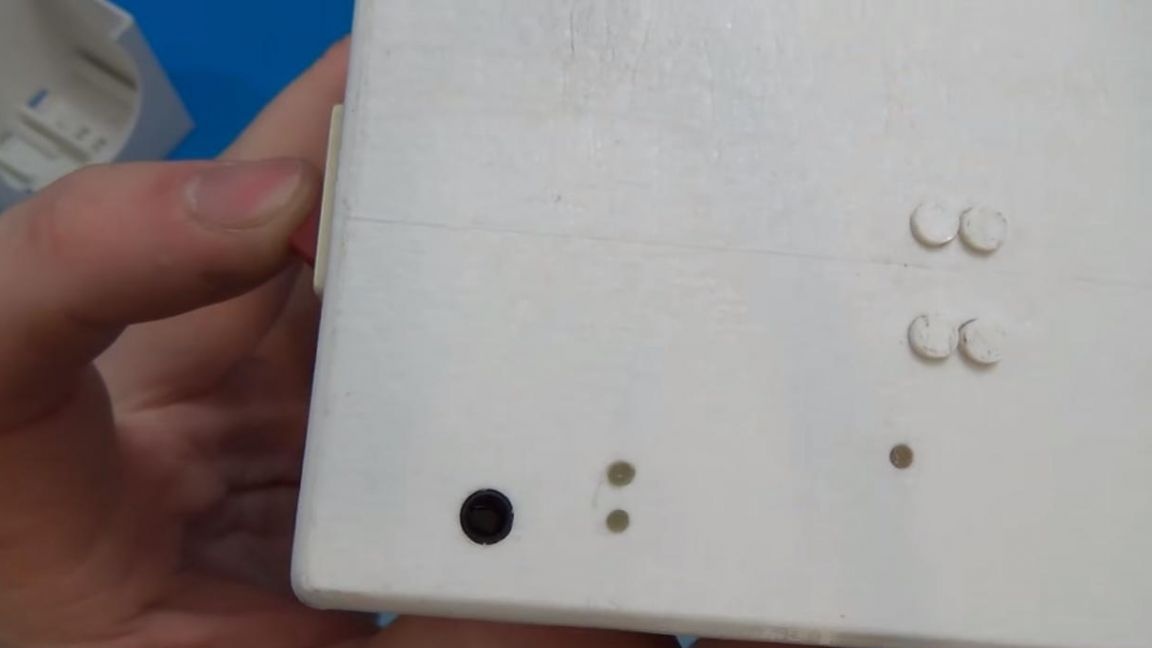
On the speaker’s seat, plastic has slightly flowed, which needs to be polished a little, the holes for the headphones also need to be drilled using a drill with a diamond bur.

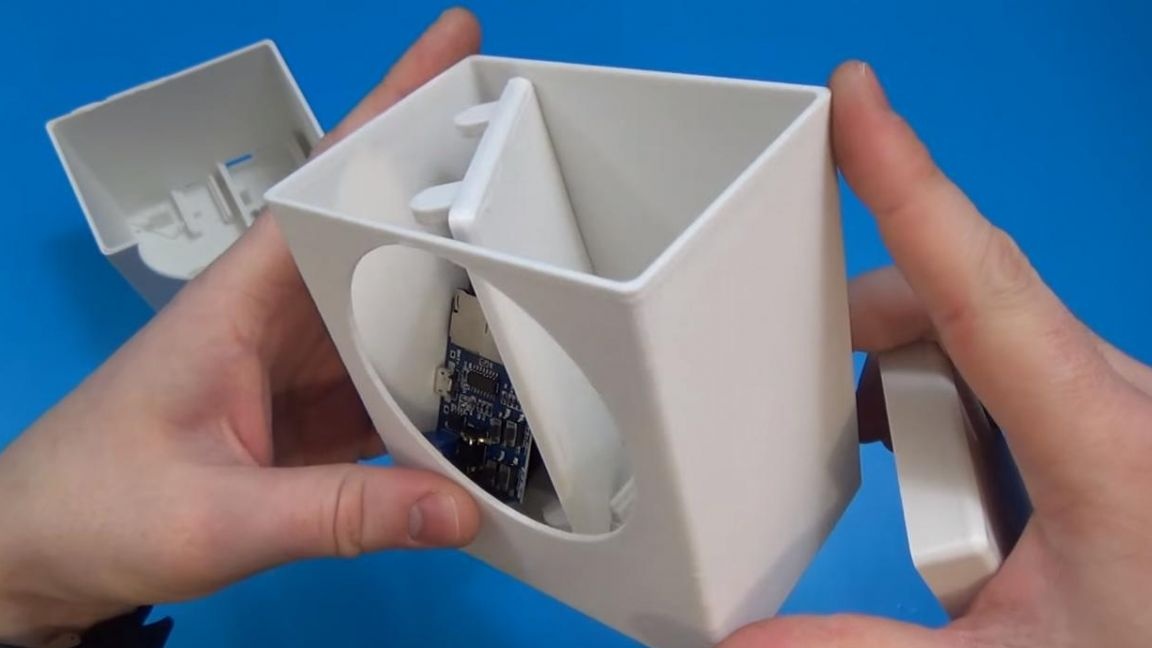
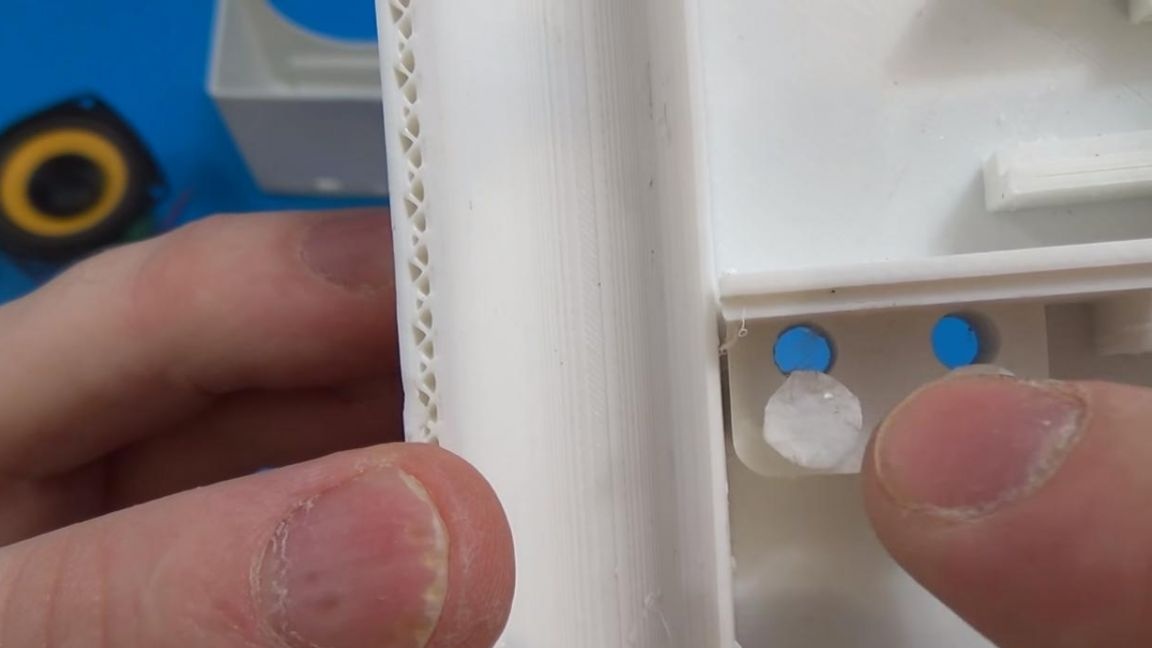
On the case inside, you need to trim the footprints of the boards, since they came out also with small irregularities.
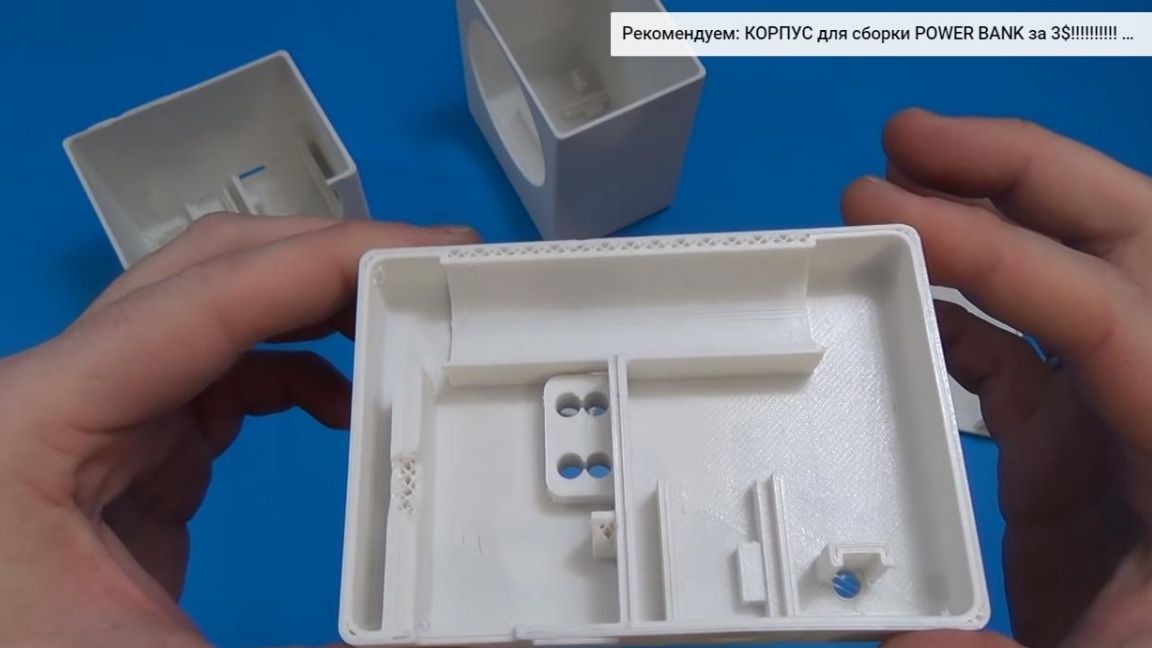
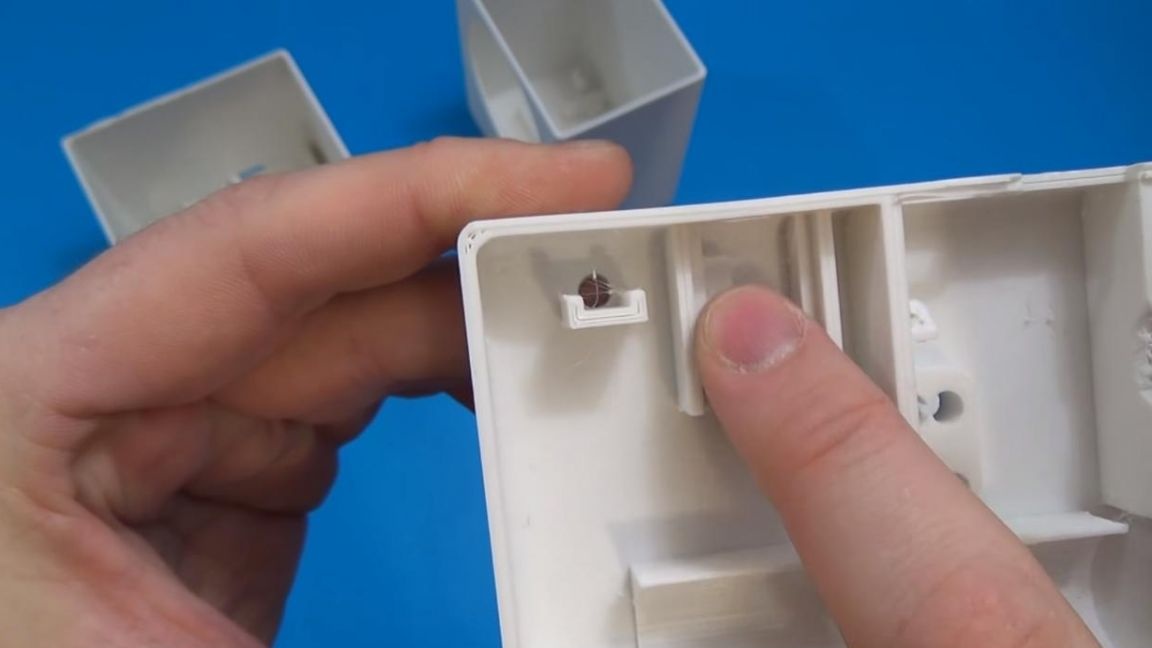
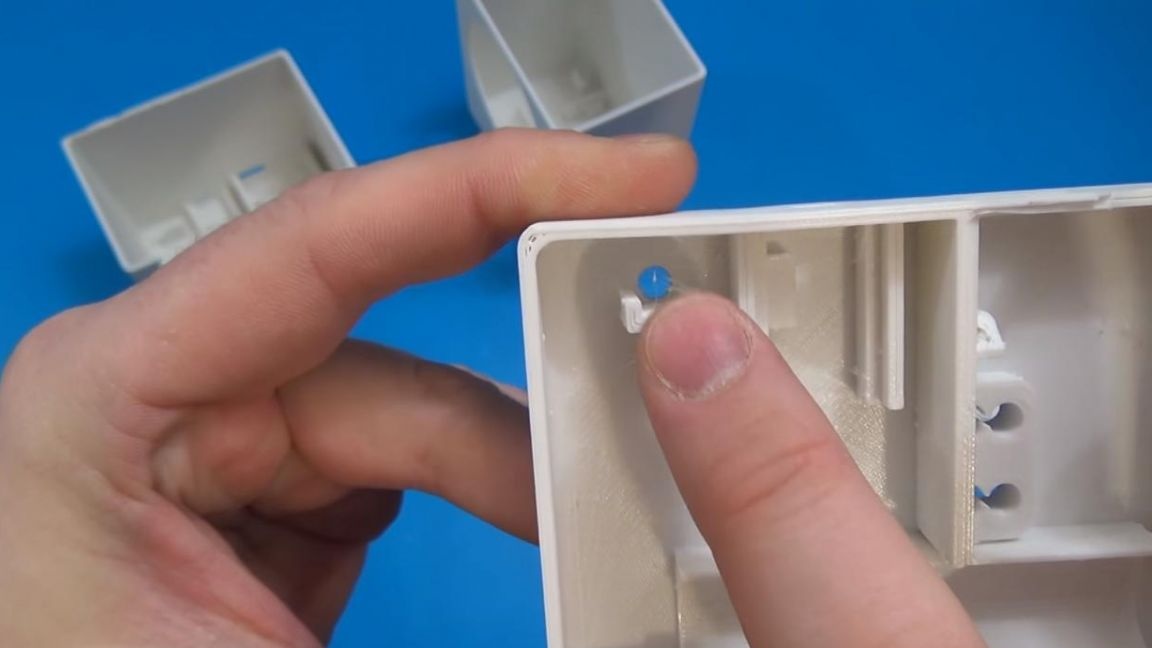
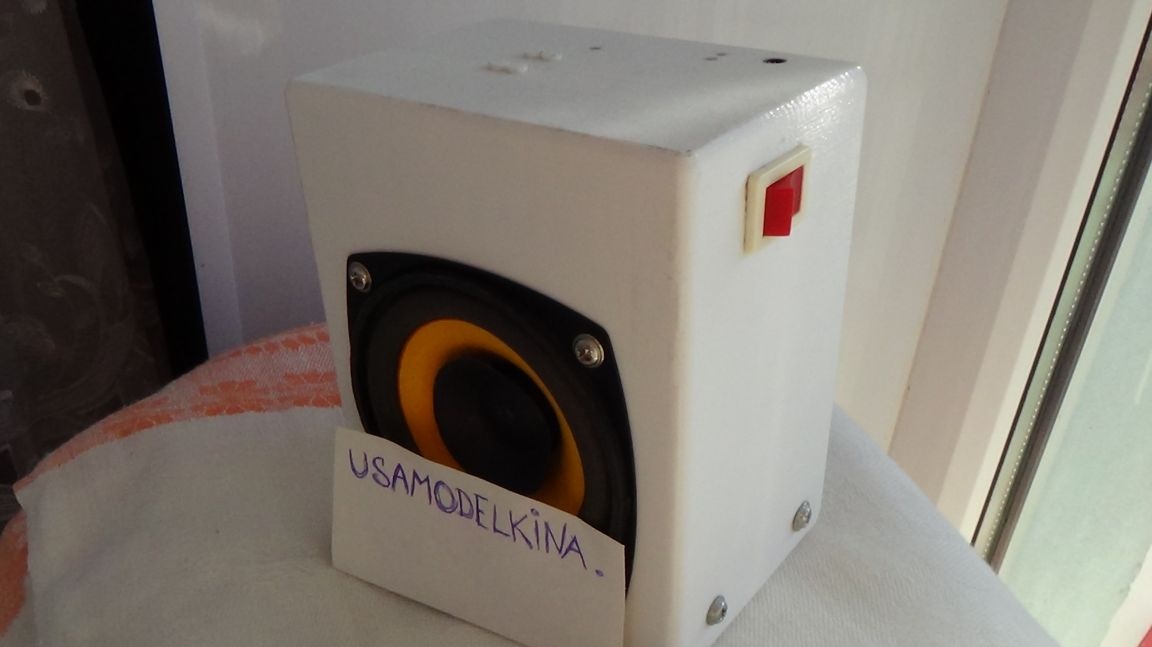
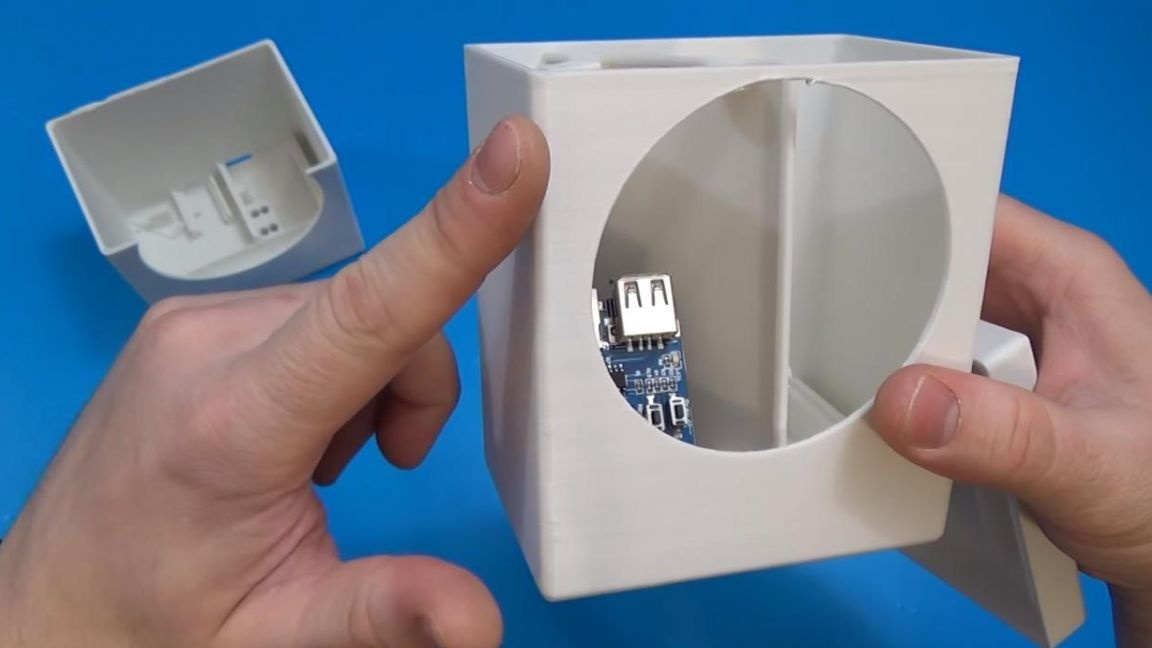
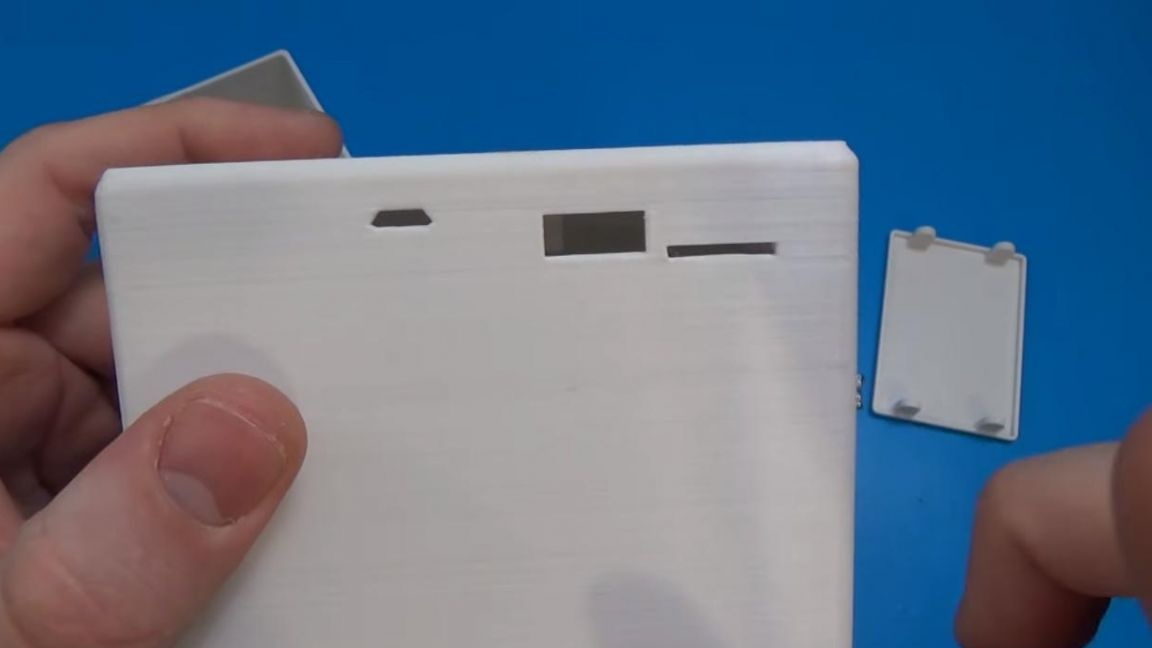
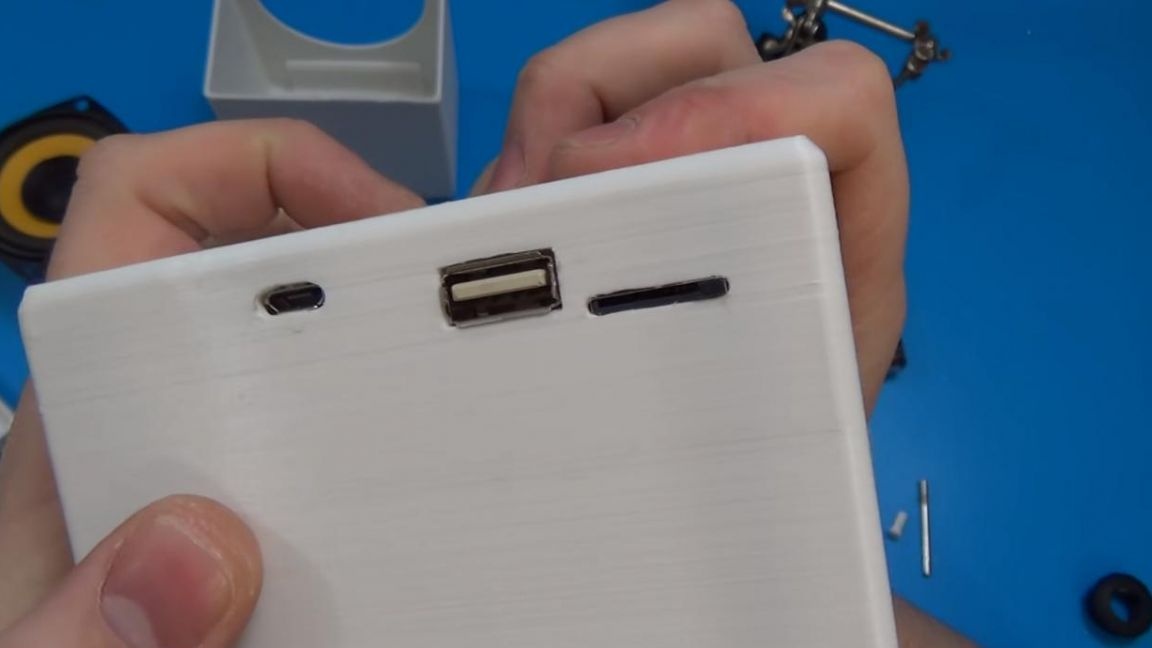
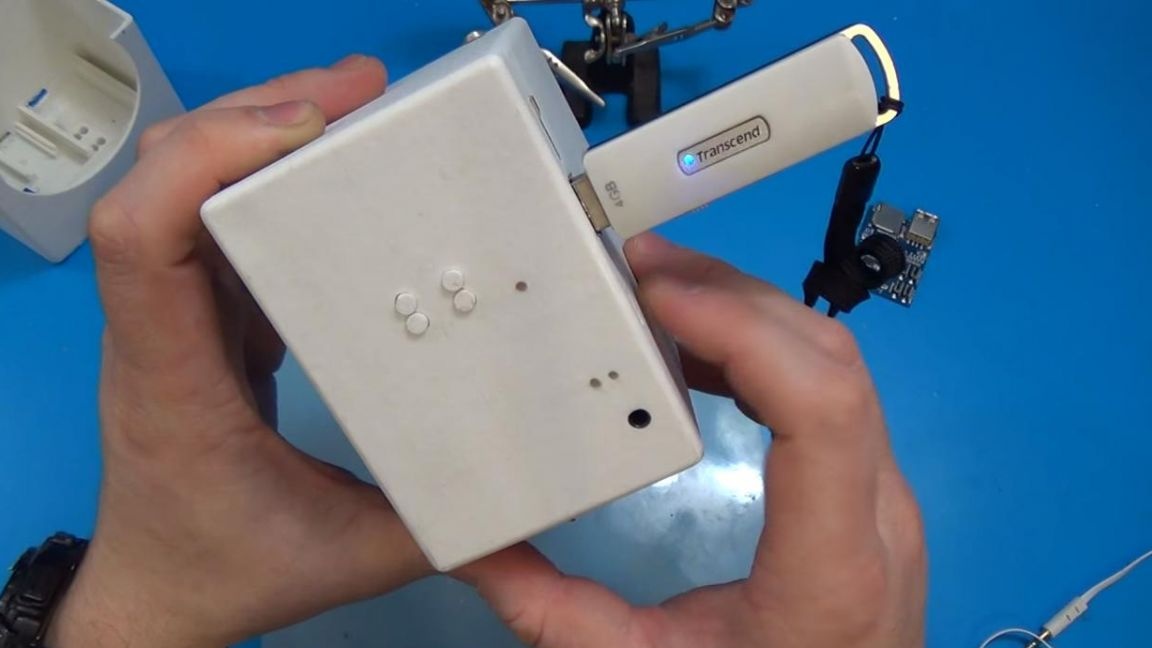
At the output of the board, we bore holes for accurate installation, since the plastic shook a little.On the back side there will be a connector for connecting USB-flash drives and micro-sd cards, as well as a connector for connecting a power cord that will charge the speaker.
Step Three
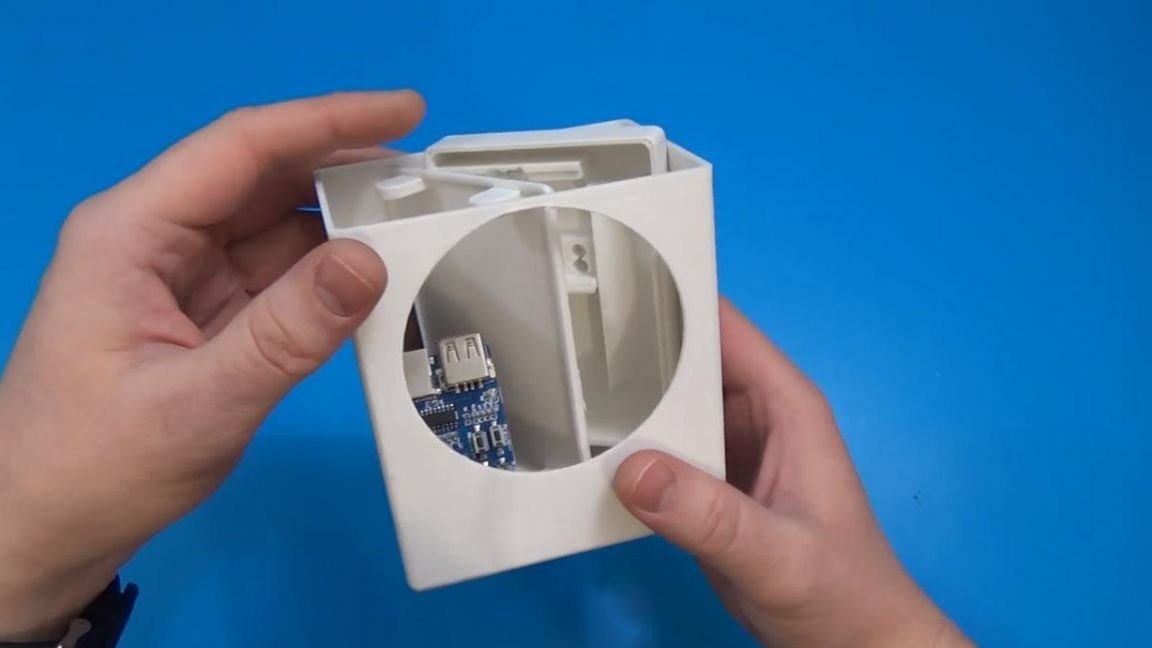
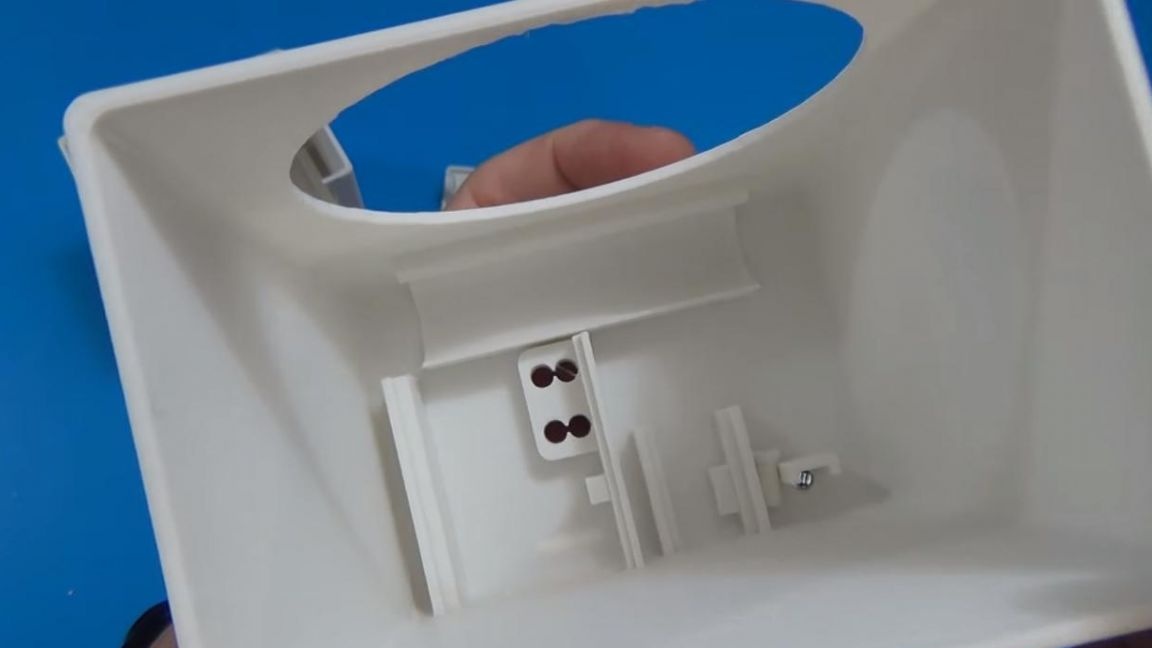
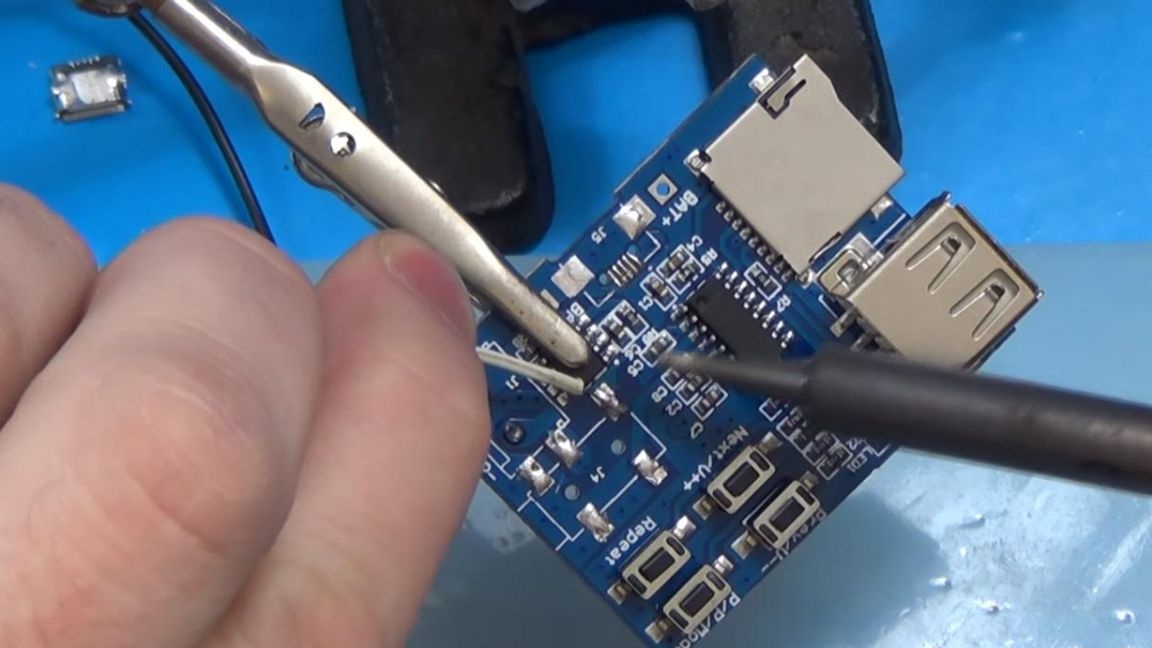
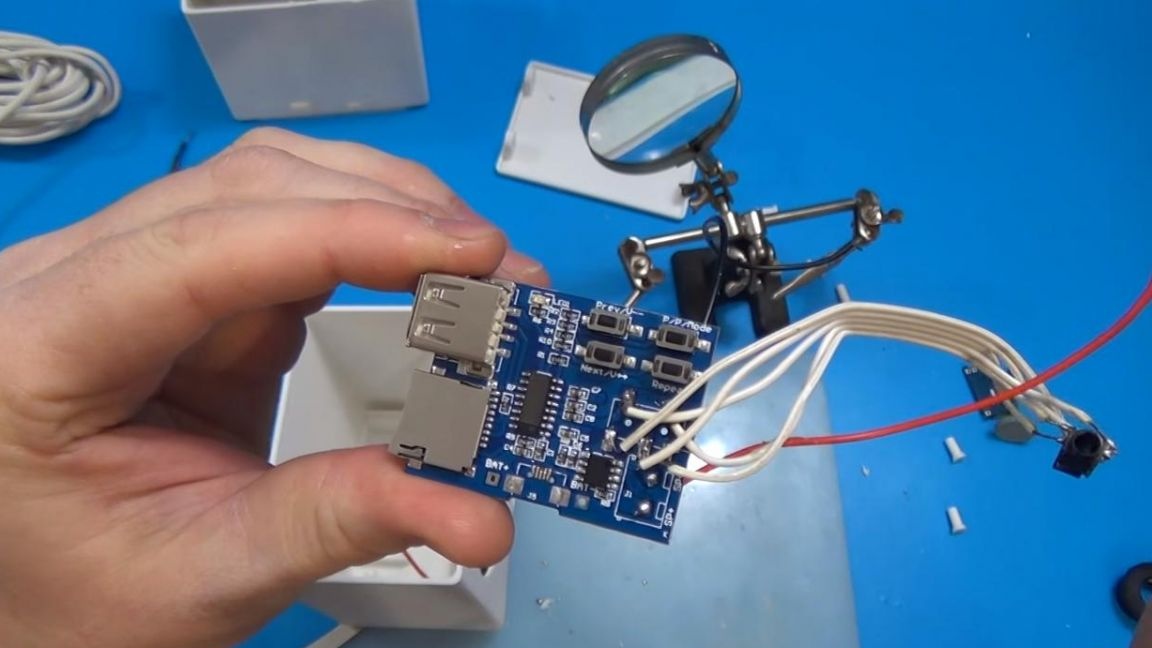
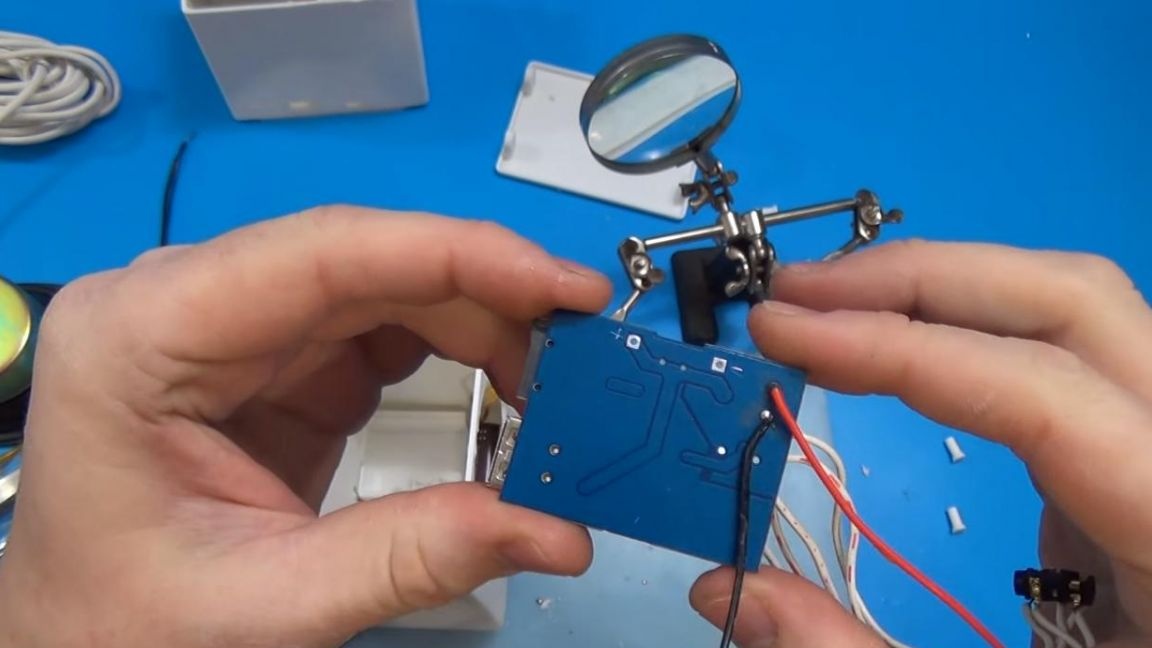
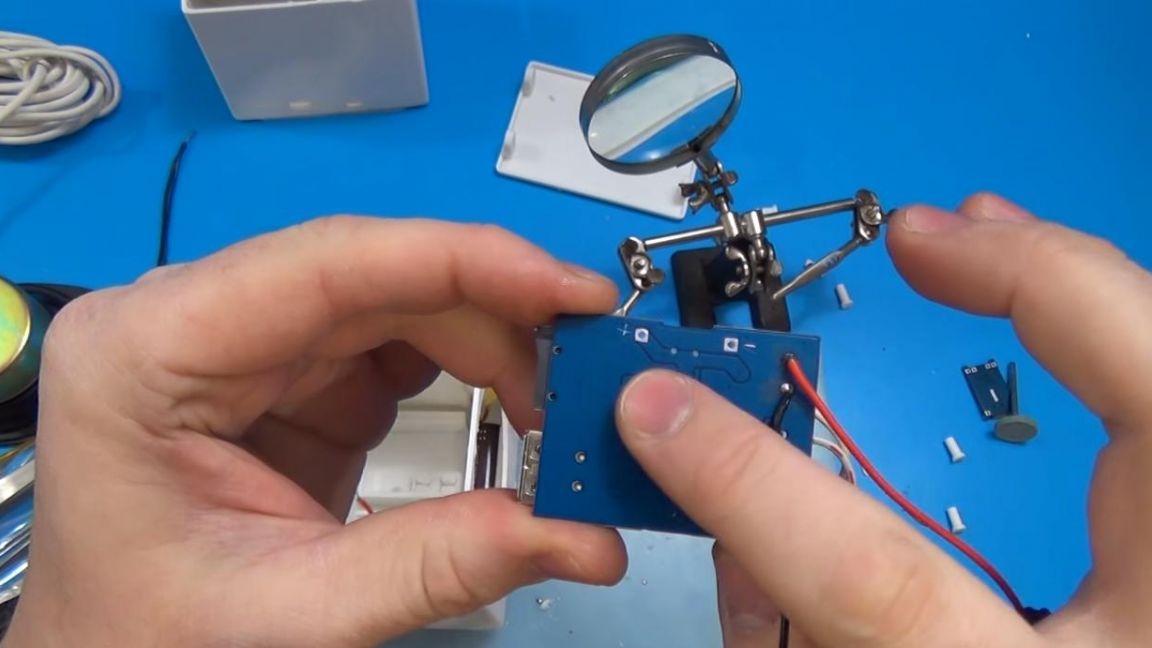
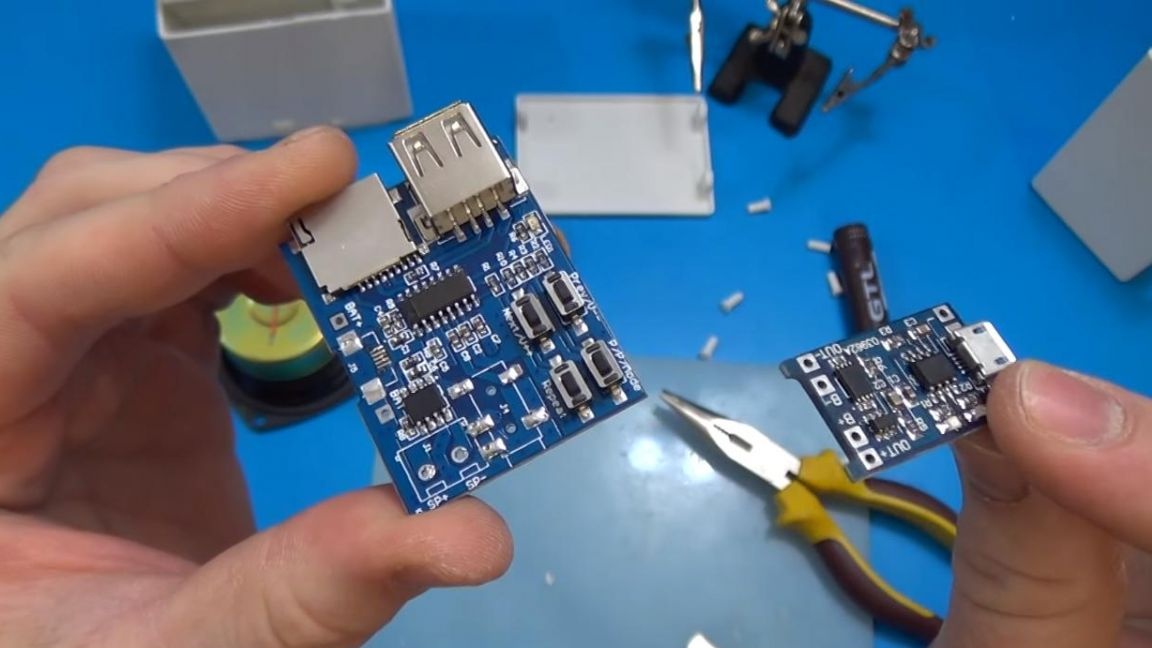
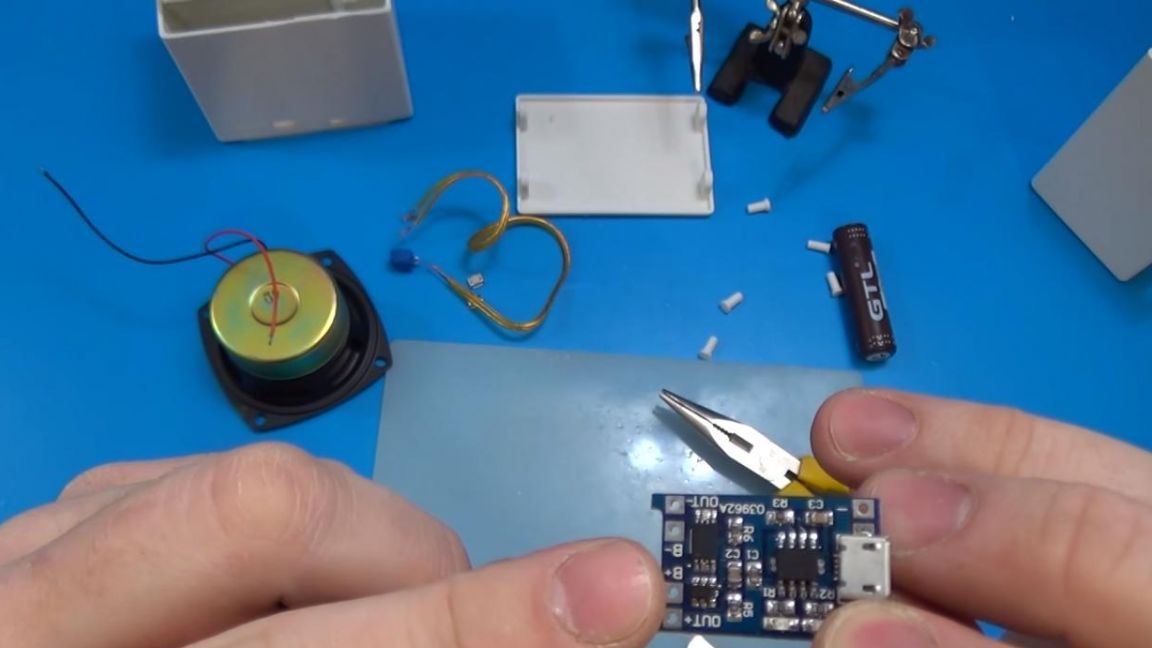
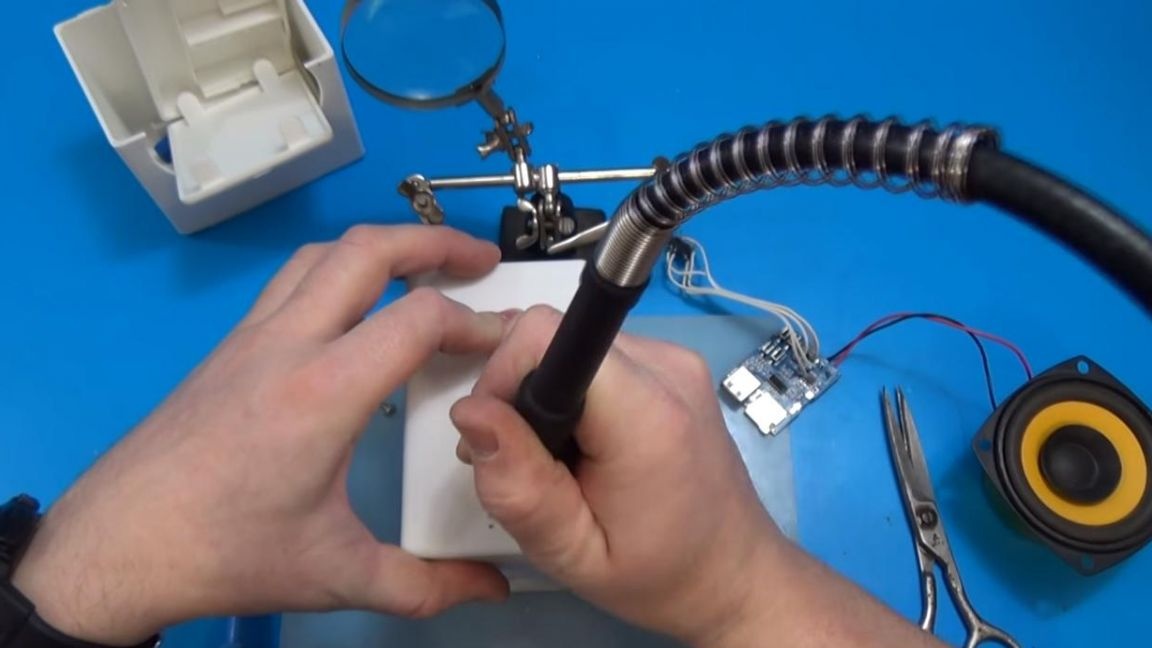
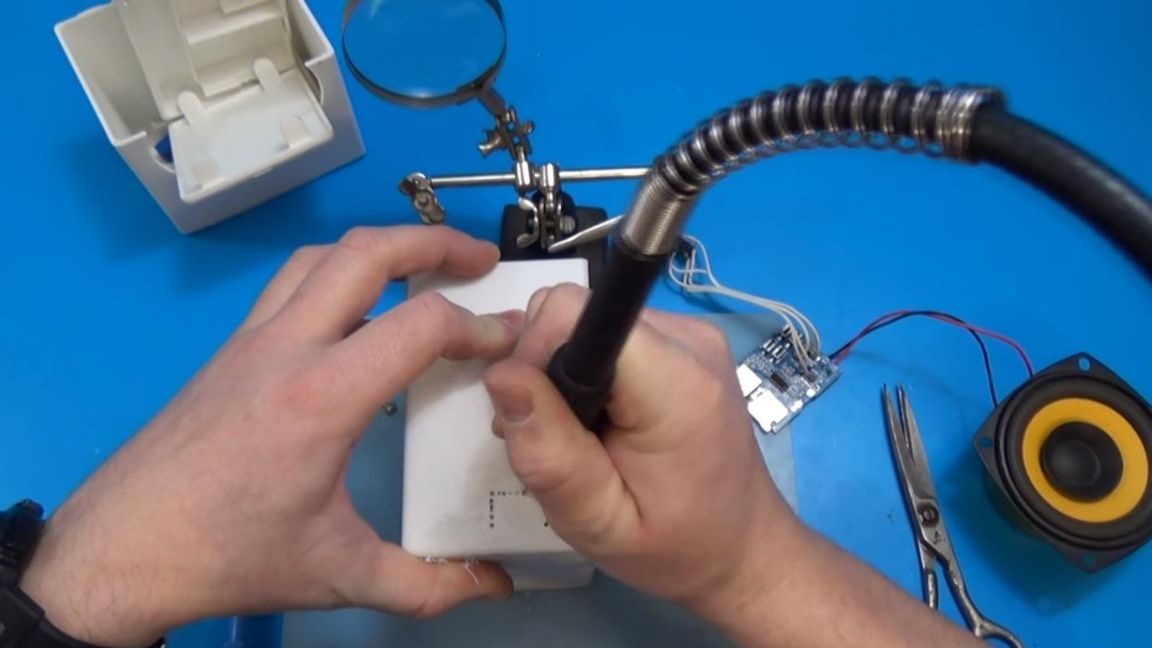
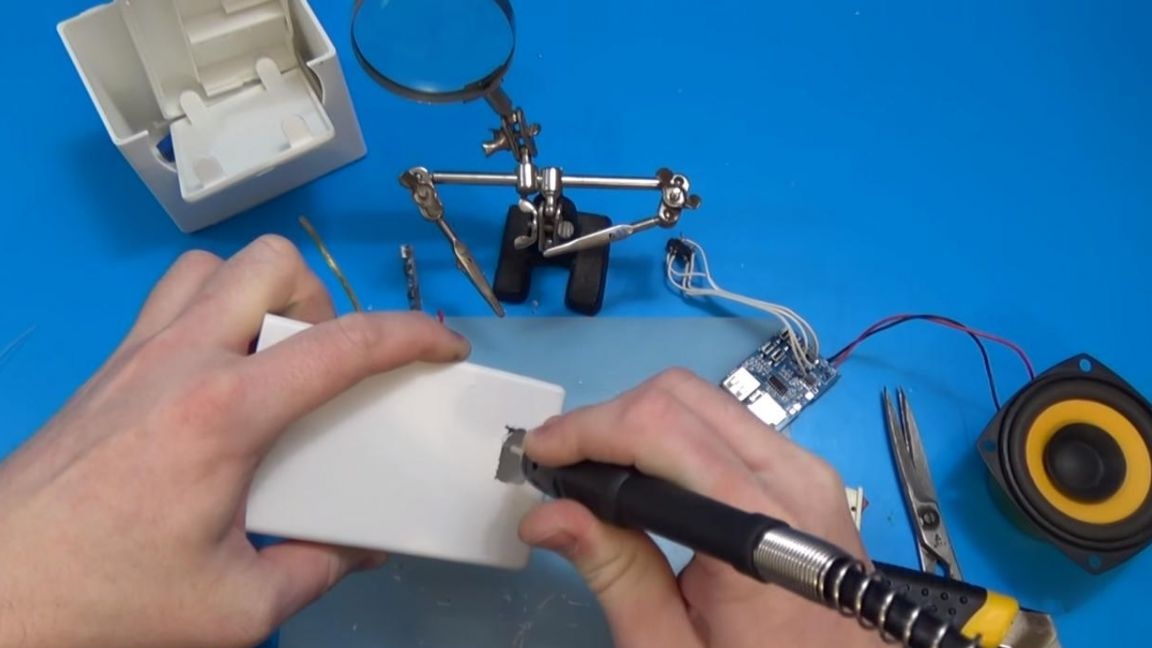
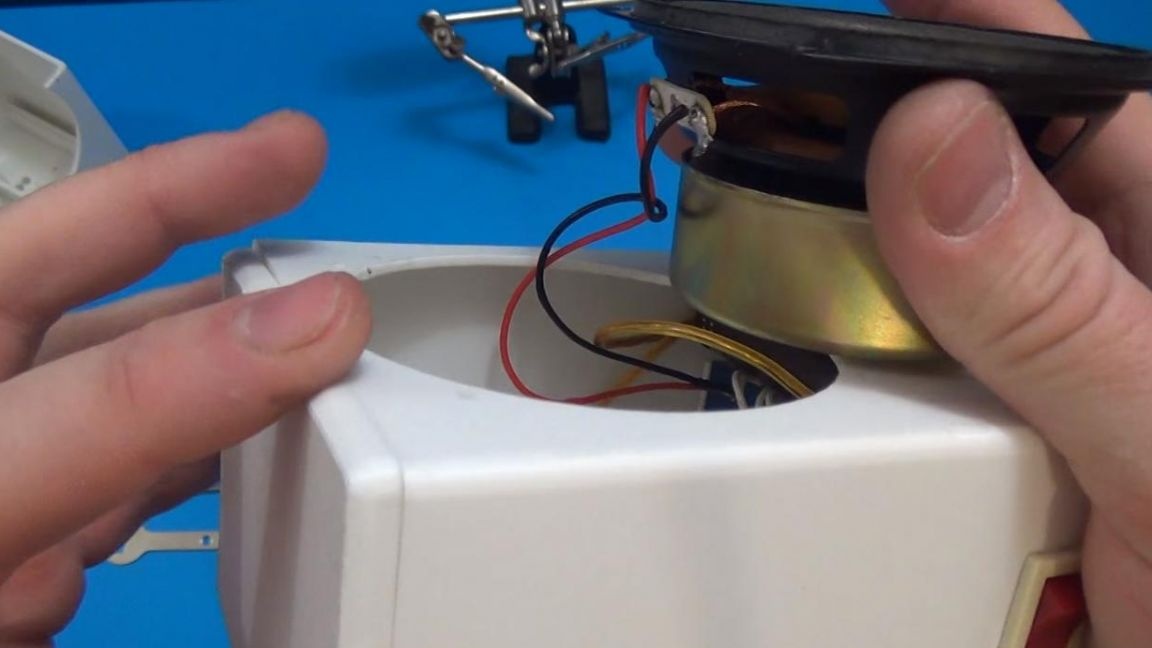
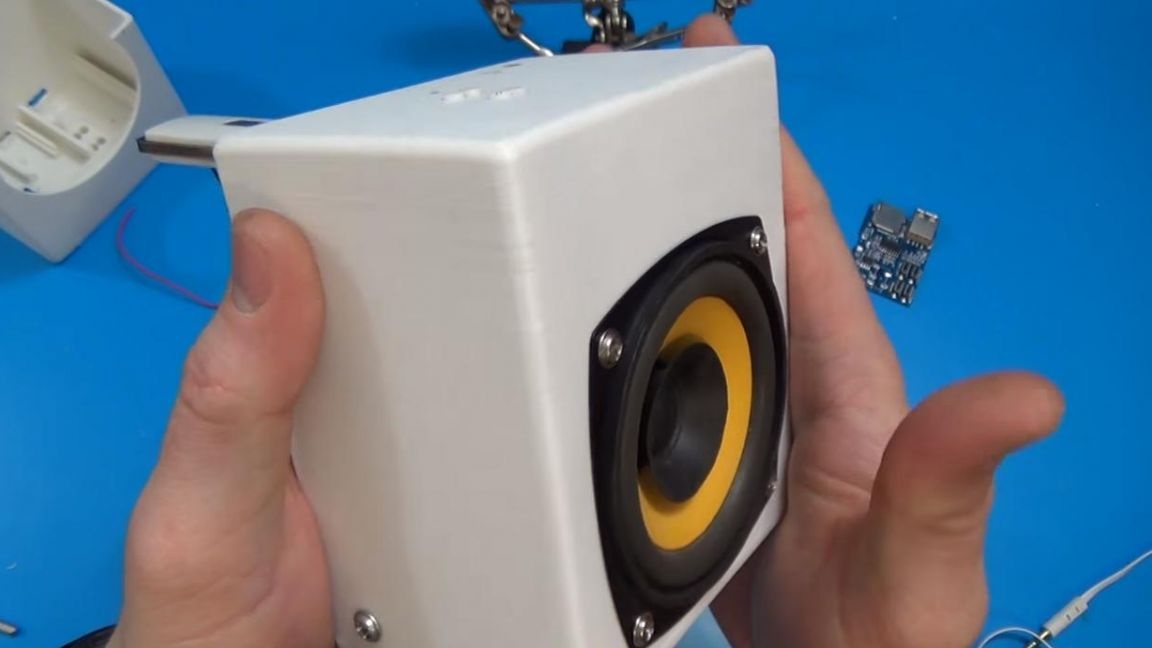
After making amendments to the case, we turn to the MP3 module, from it we solder the headphone output, speaker connection terminals and micro-usb port.

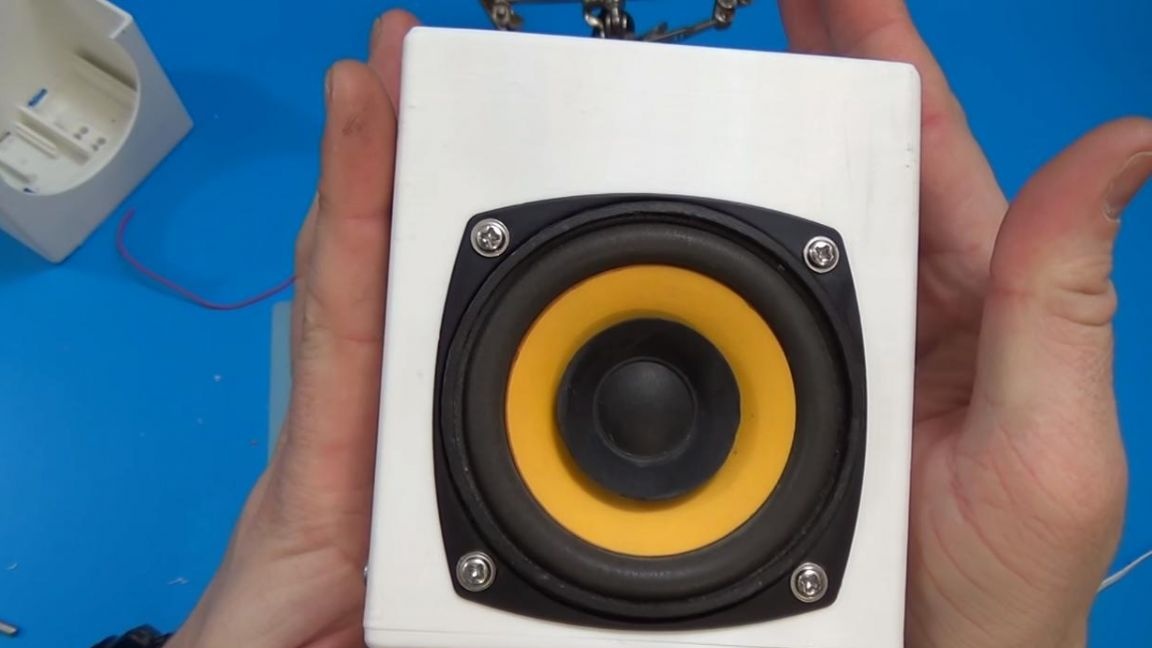
We try on the module in the case, it should look something like this with a good fit.
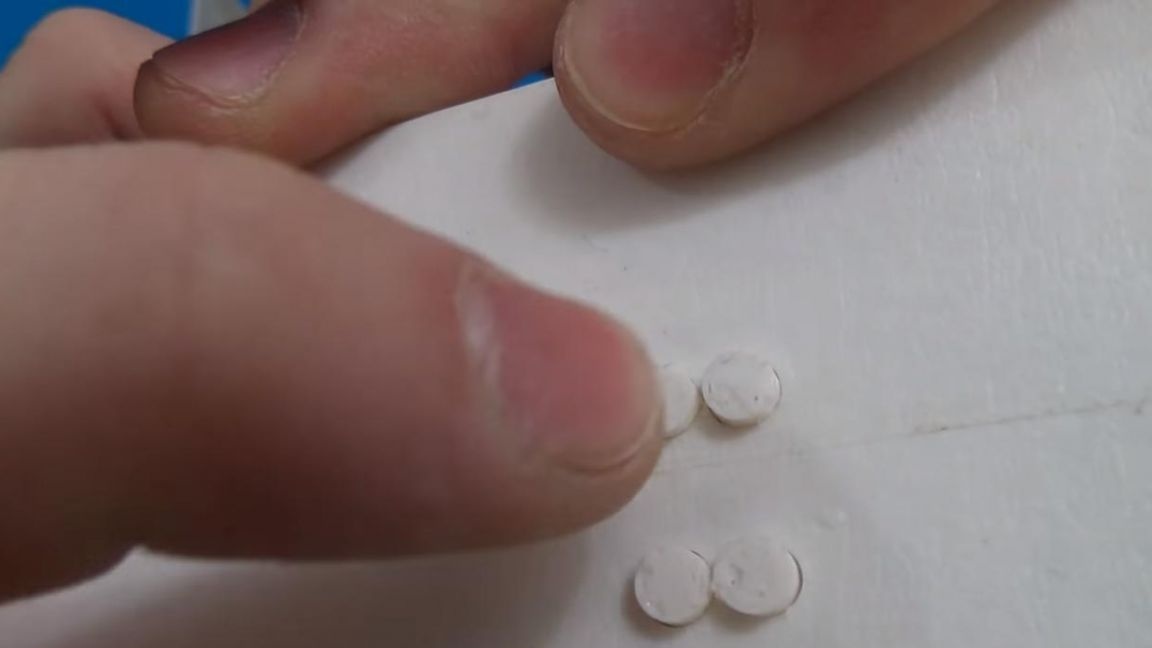
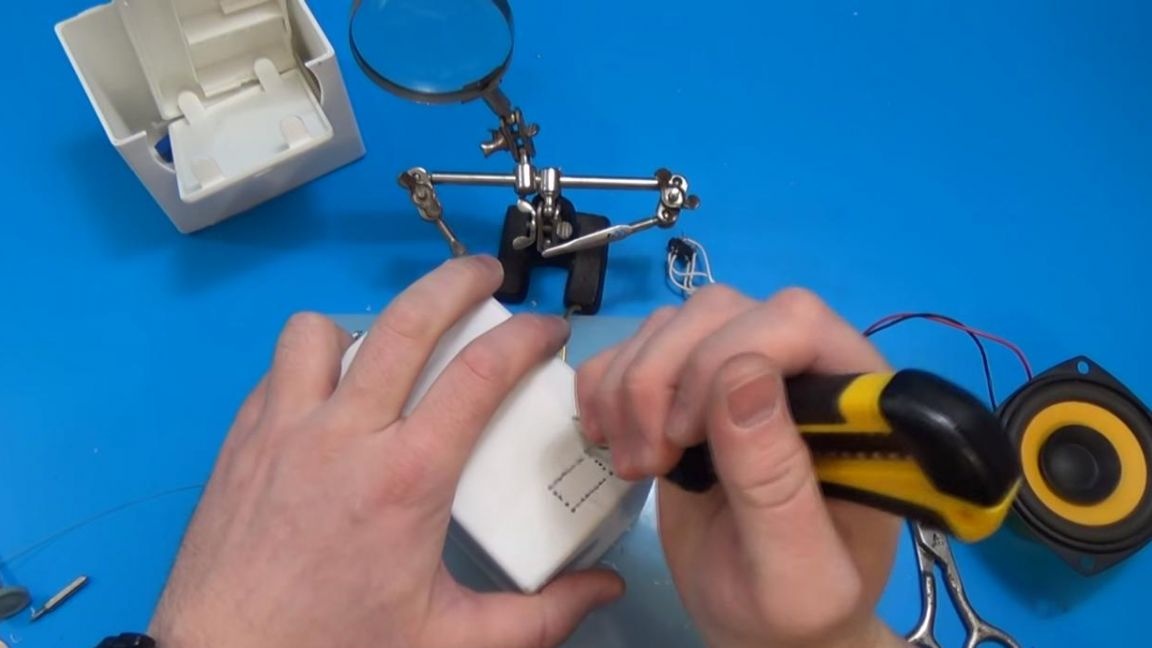
And now there are small improvements to the buttons, since they are made of plastic, you can easily sand them with sandpaper, you also need to grind one of the edges of each of the four buttons, because they are too close.


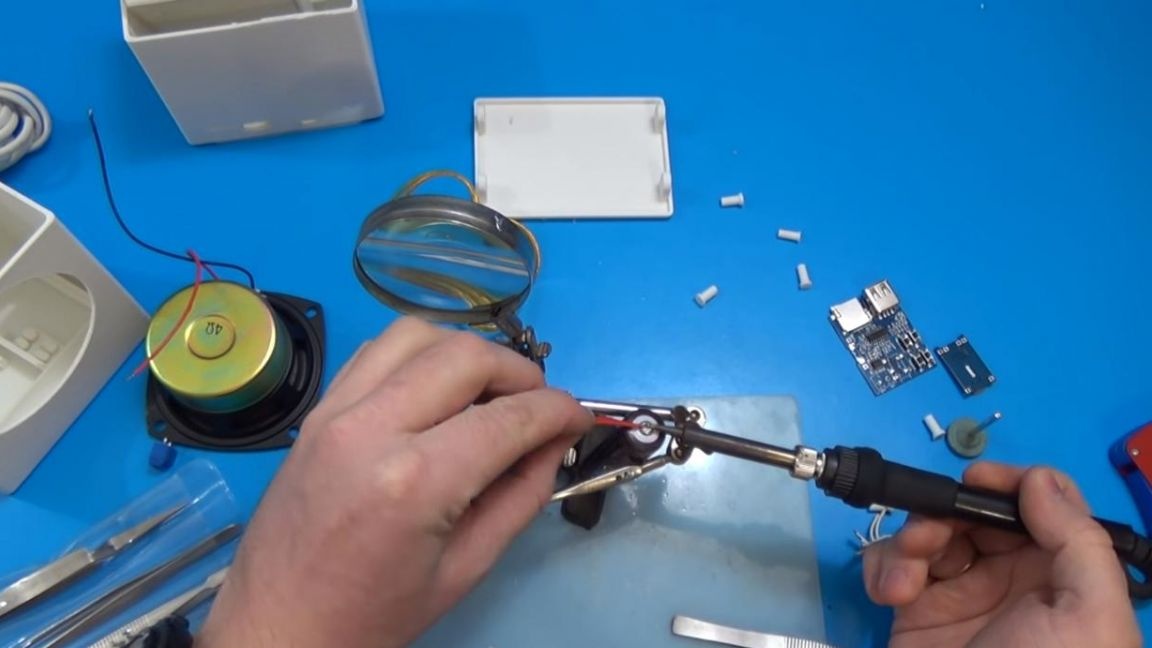
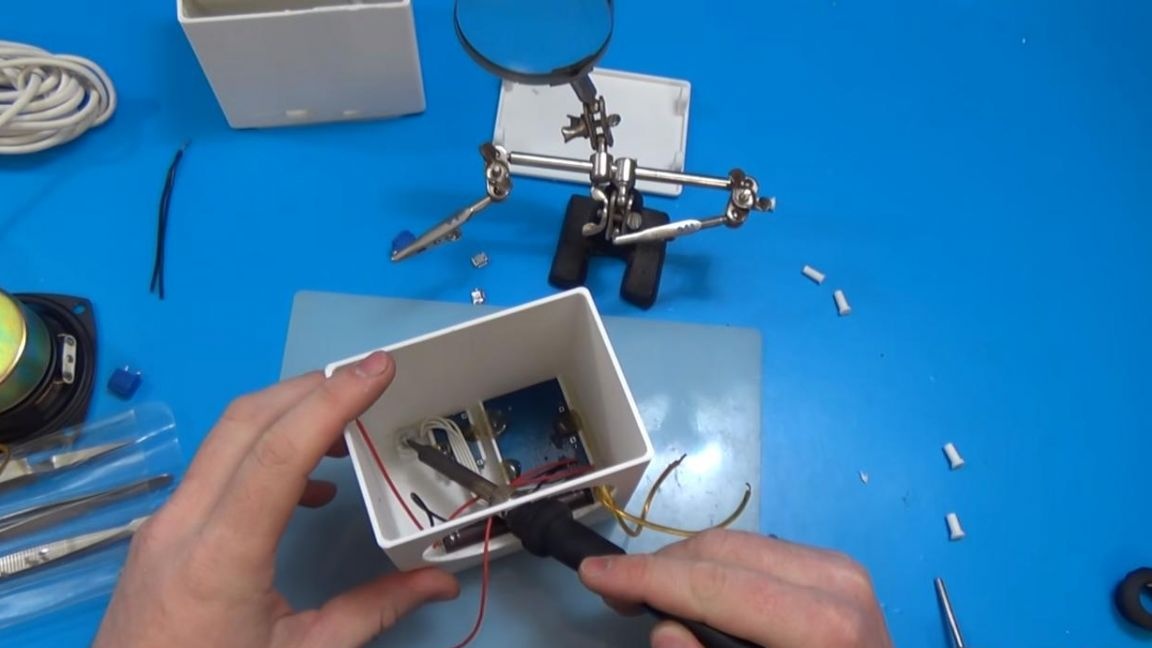
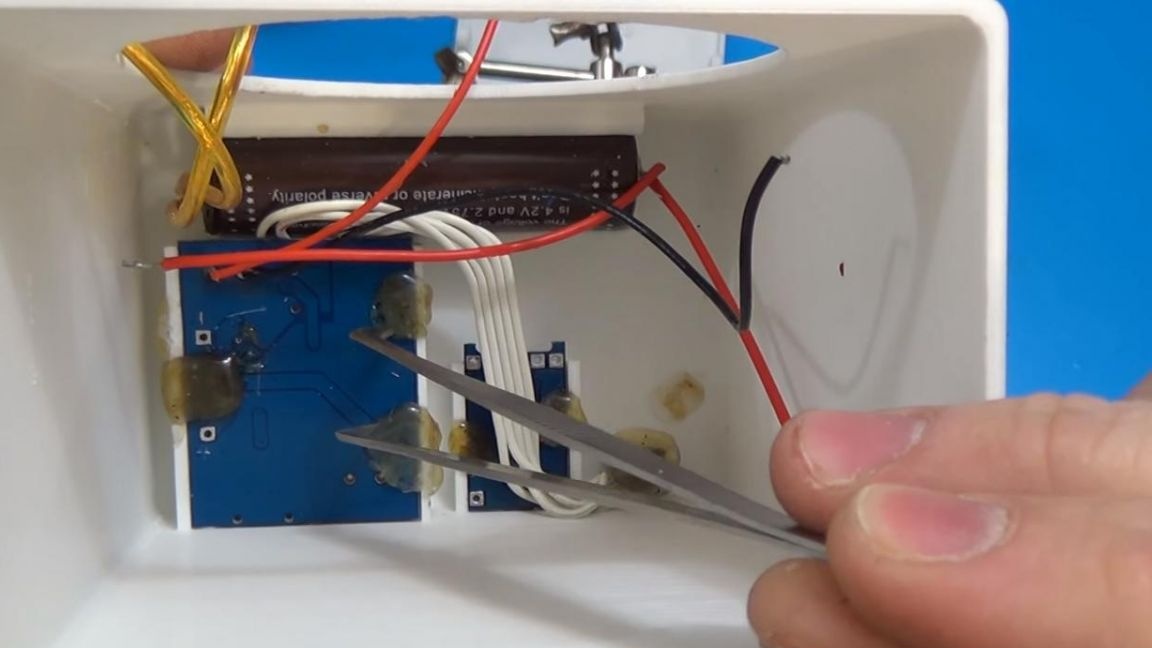
It's time to solder the wires to the MP3 module and the charge module. We solder the speaker wires to the MP3 module board, also solder five wires on the 3.5 mm jack installation site, and then to the headphone jack itself, this is done in order to place this jack more conveniently, and not as it was done from the factory .
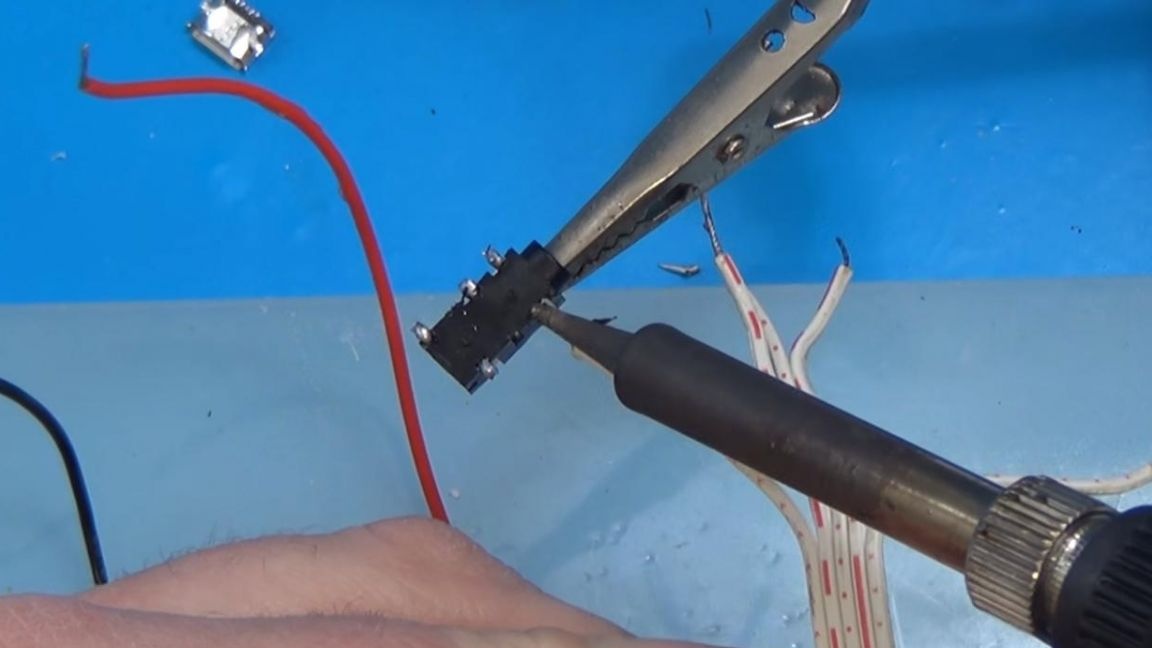
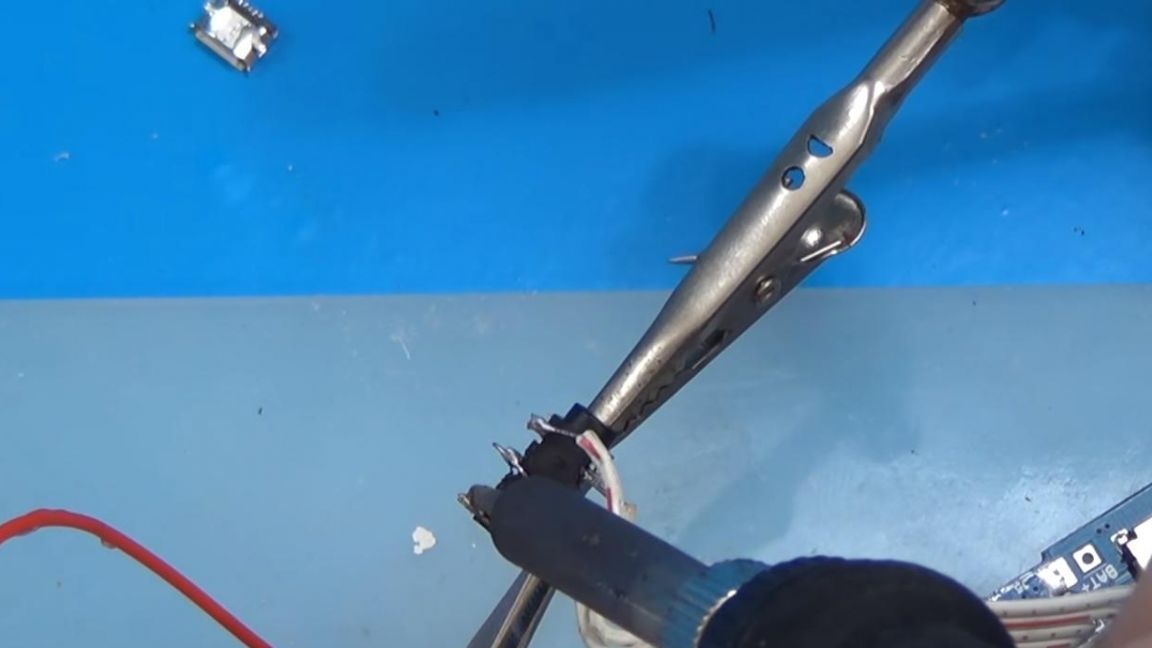
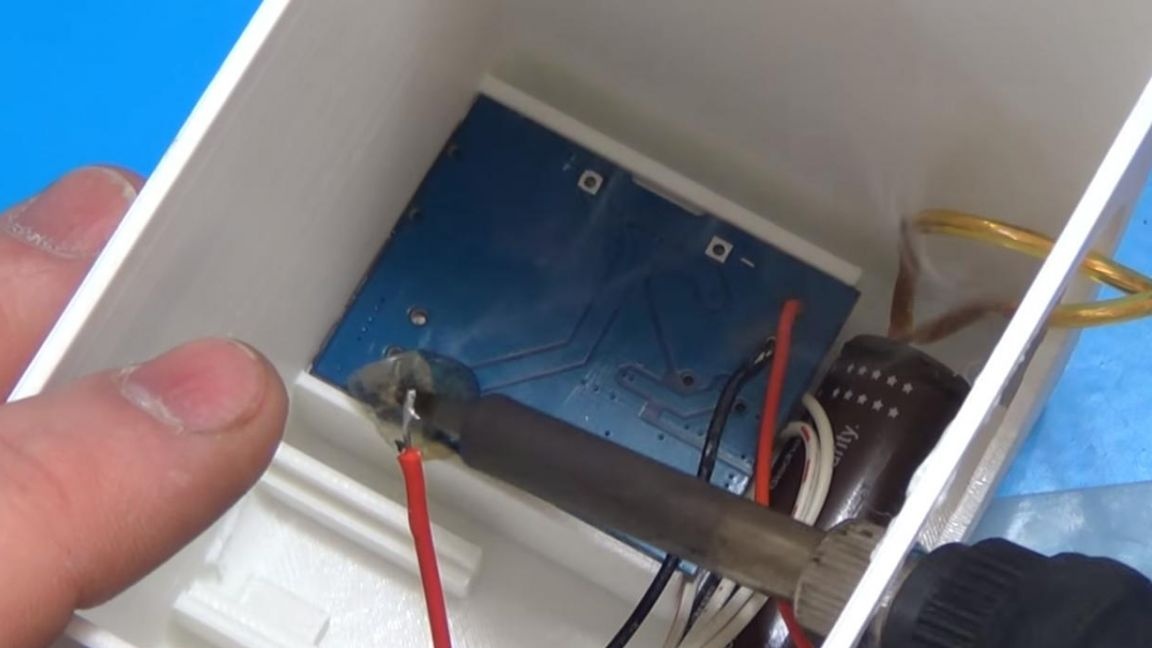
We solder the power wires of the MP3 module with the OUT + and OUT- contacts on the charge board, and solder the wires to the 18650 battery from the charge board.
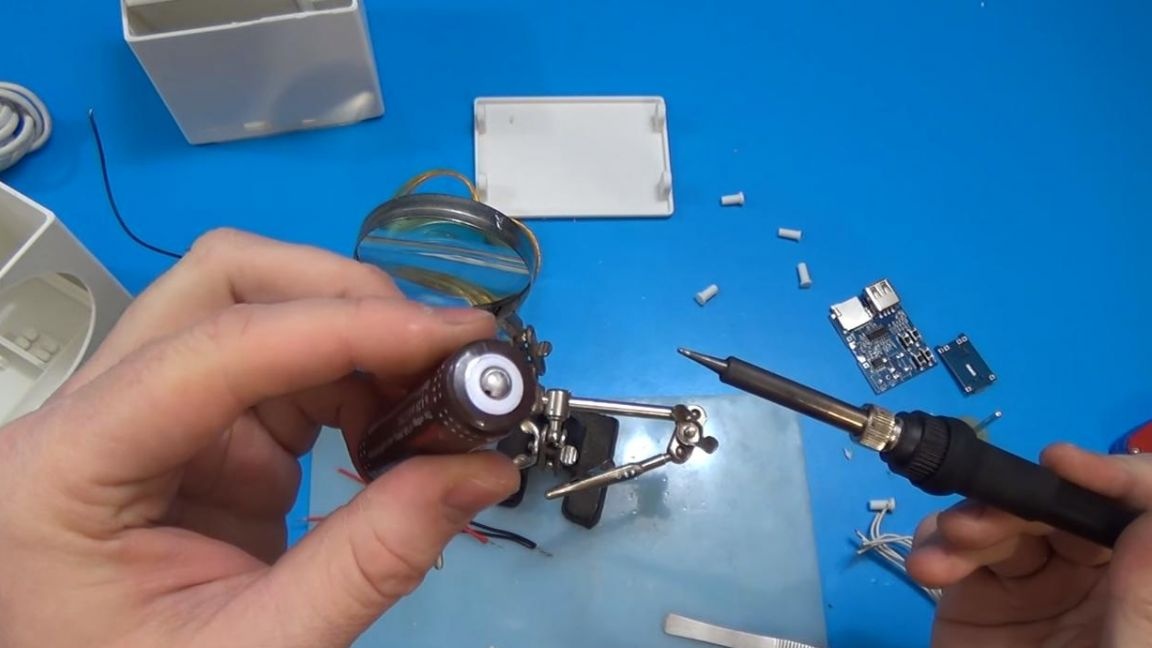
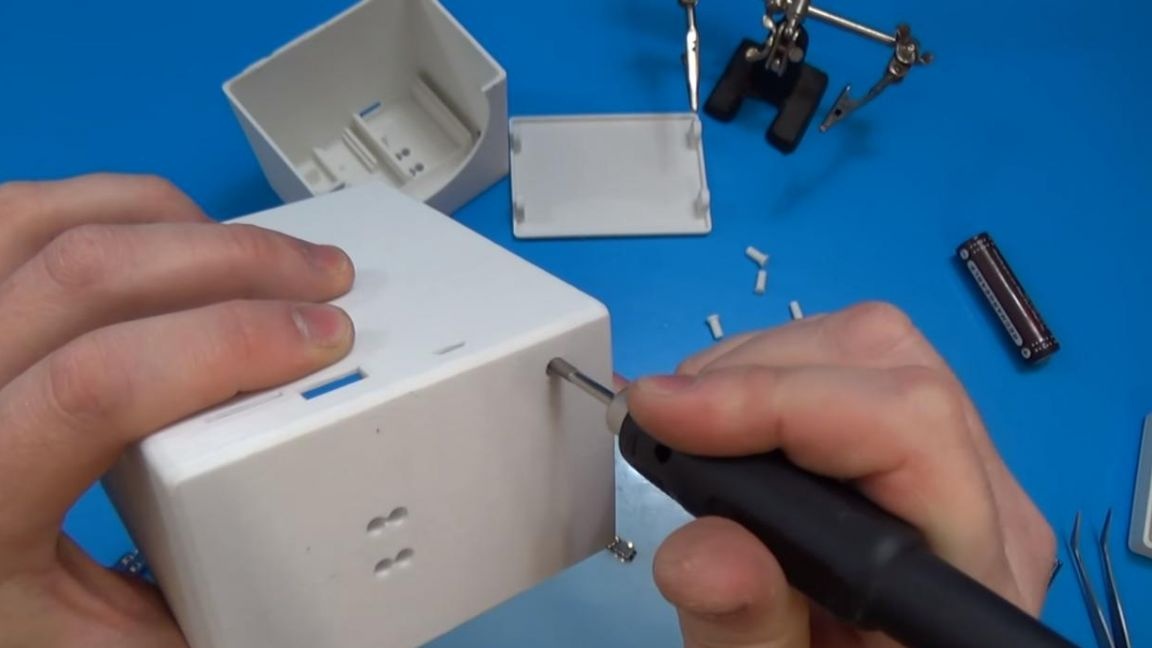
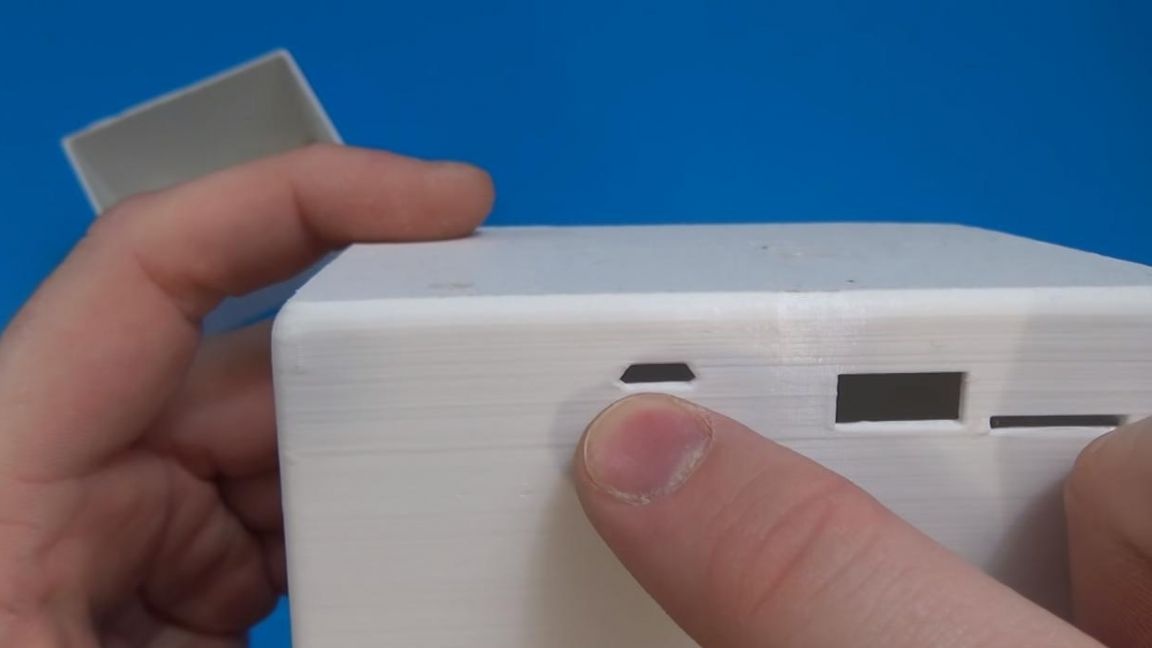
At this moment, I had a small "mess", or rather forgotten to install the power button, so I advise you to start with it in advance.
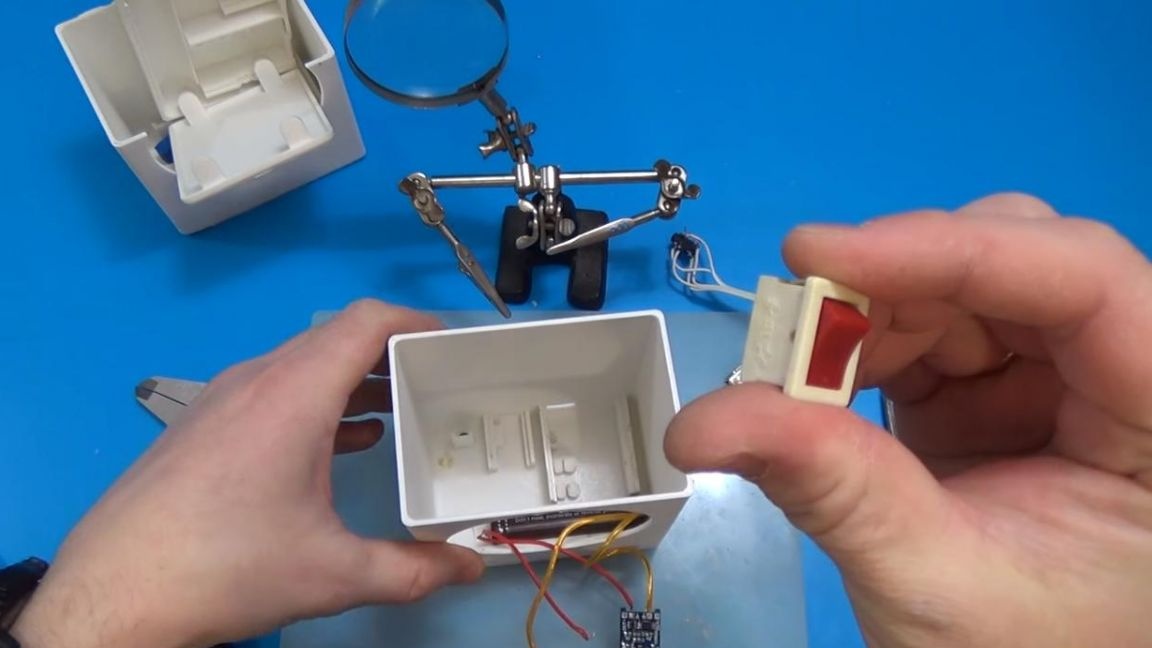
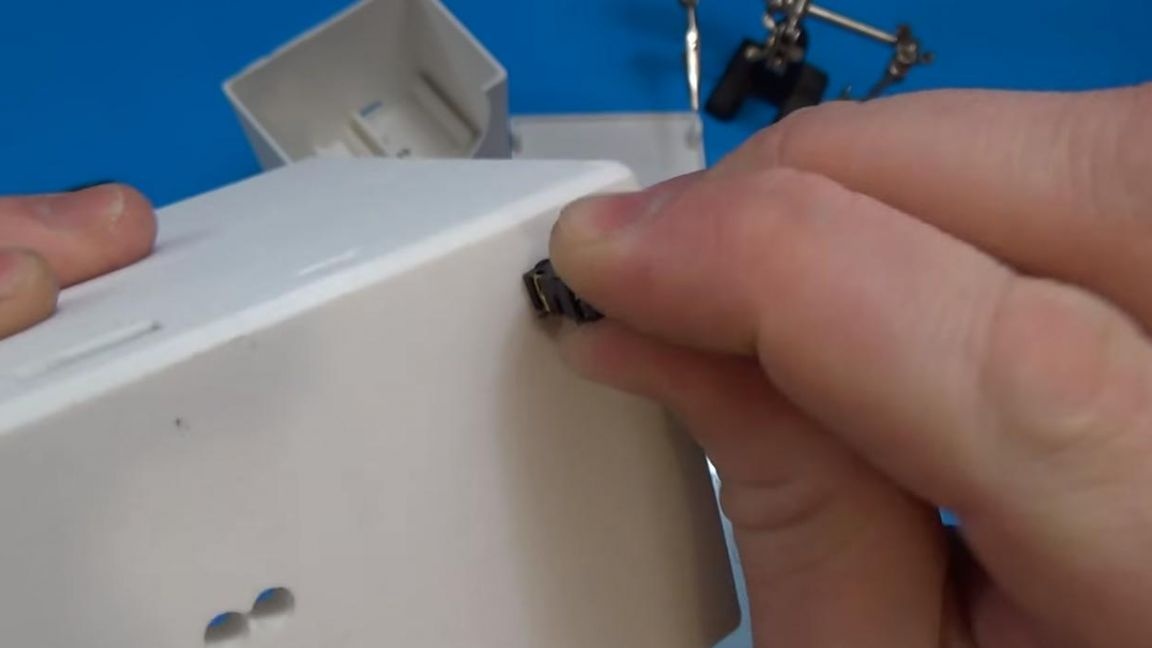
We install the switch in the case with the help of a drill and a stationery knife. We connect the switch to the power supply on the sound module board.

Step Four
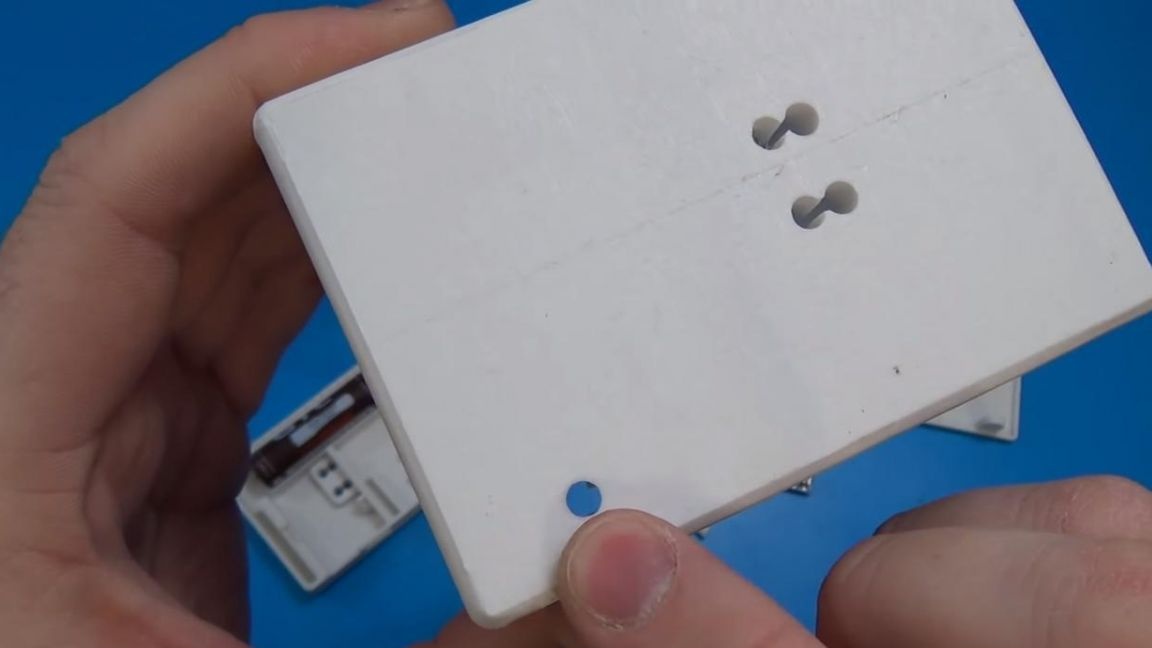
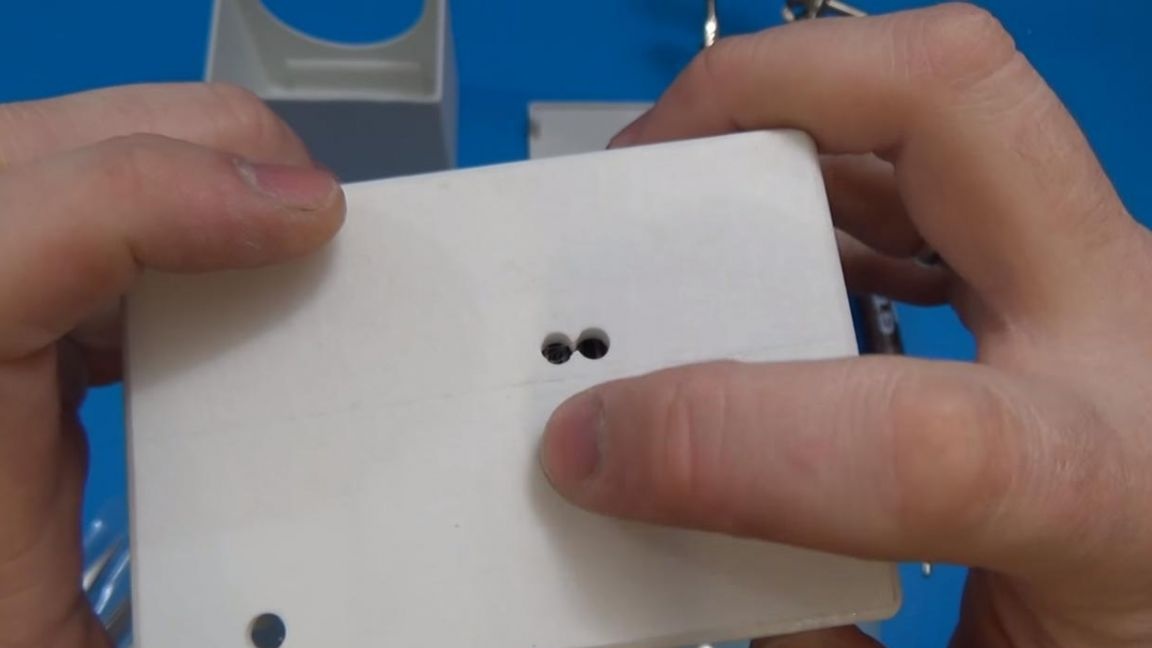
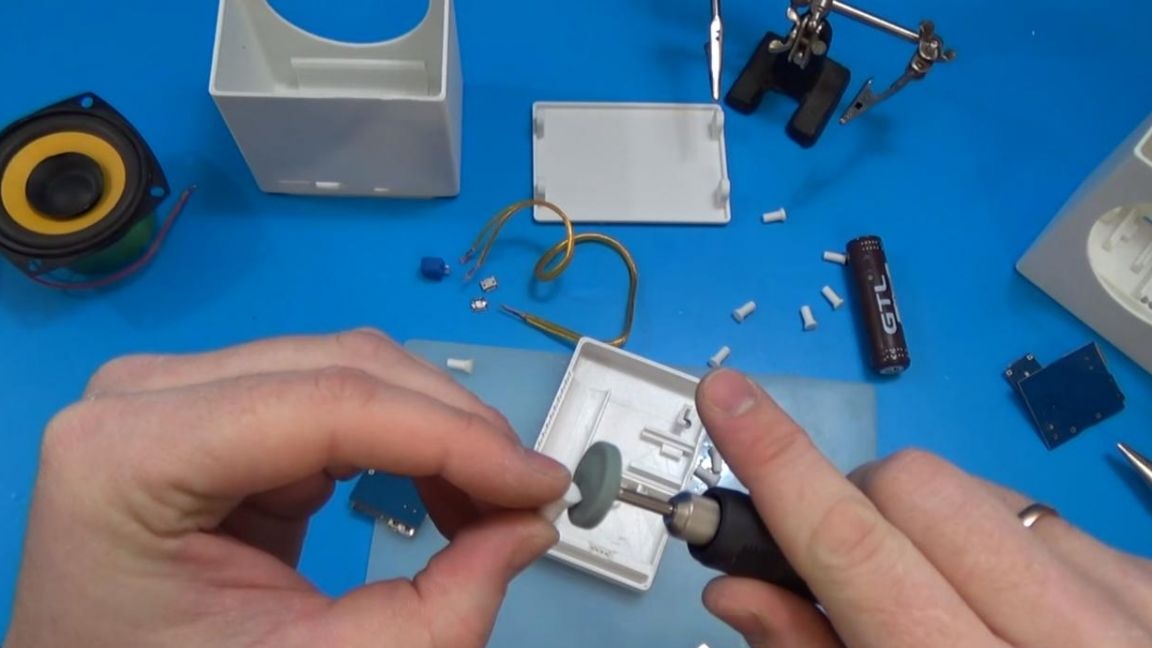
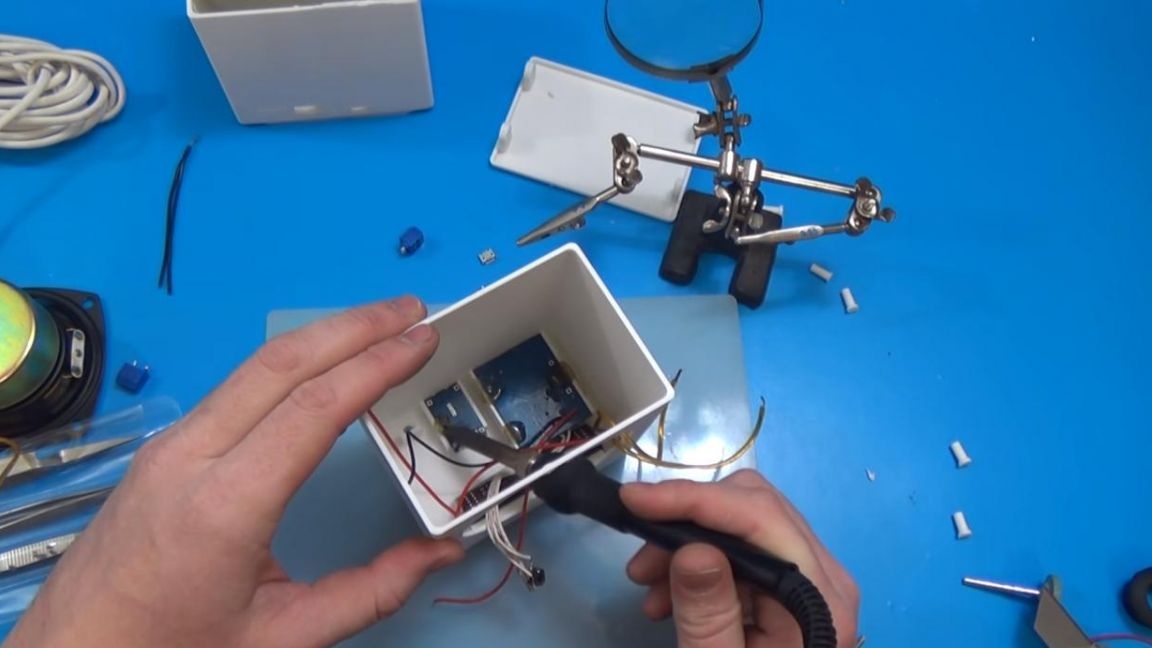
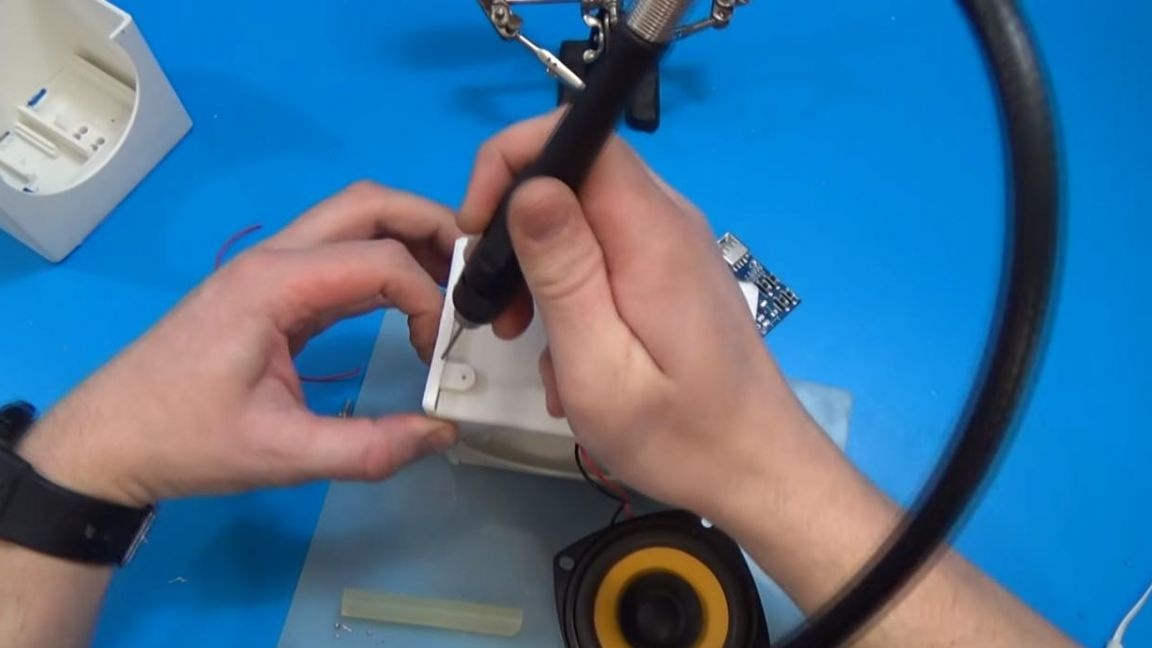
Before installing all the elements, it is necessary to drill holes in front of the LEDs, which inform about the completion of charging or about the power on the column. I simply fused hot glue into these holes, which is almost transparent and conducts light fairly well.
Now you can install the insides in the case with a hot-melt gun or by dissolving hot-melt glue pieces with a soldering iron.
Step Five
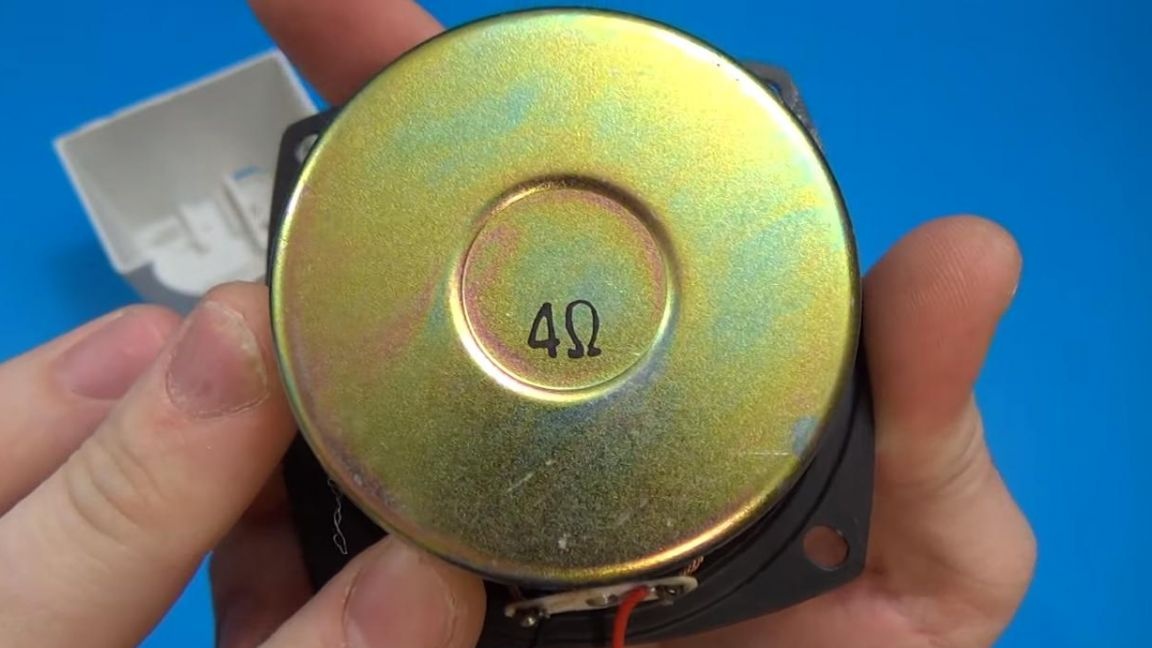
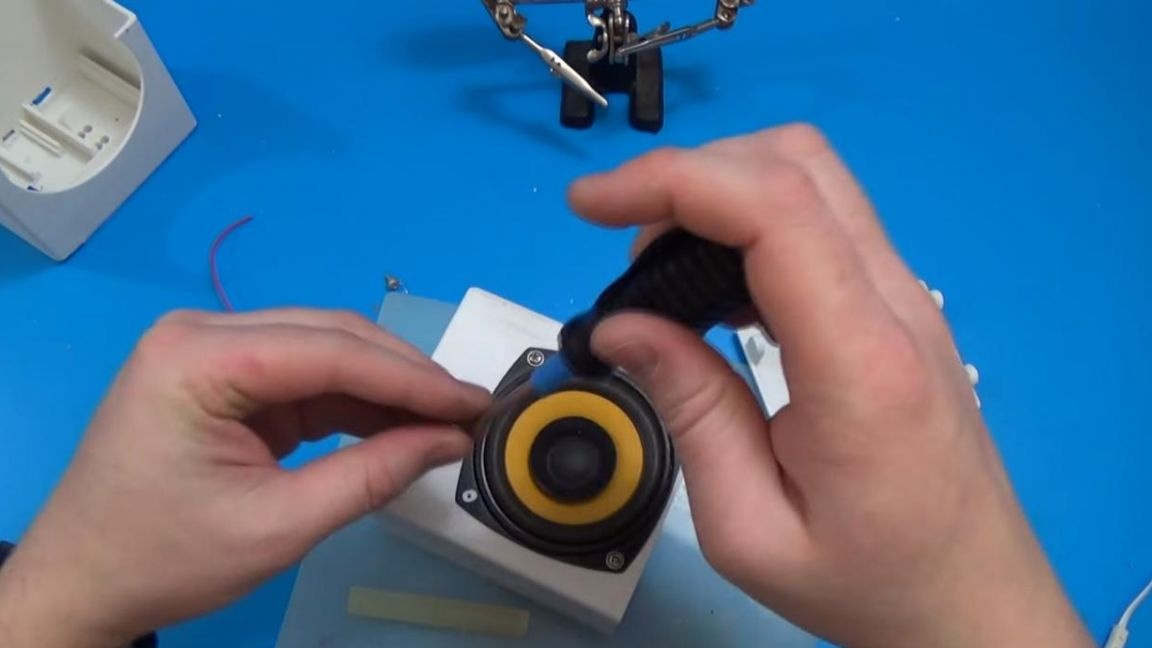
Solder the wires to the speaker and check the performance of this column.
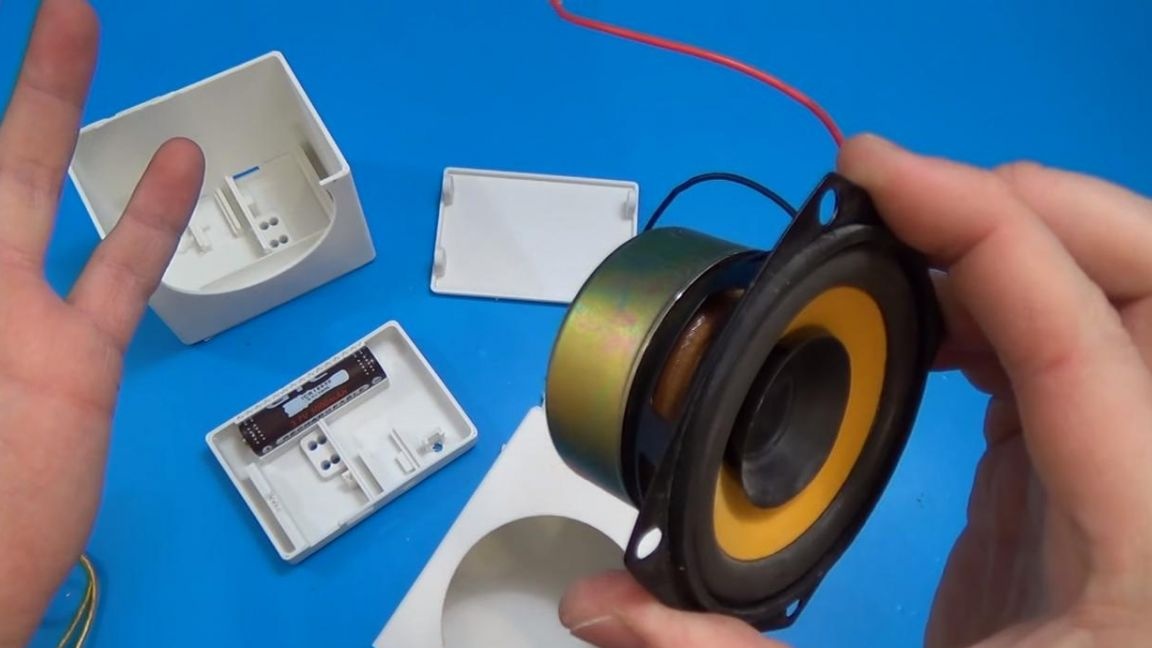


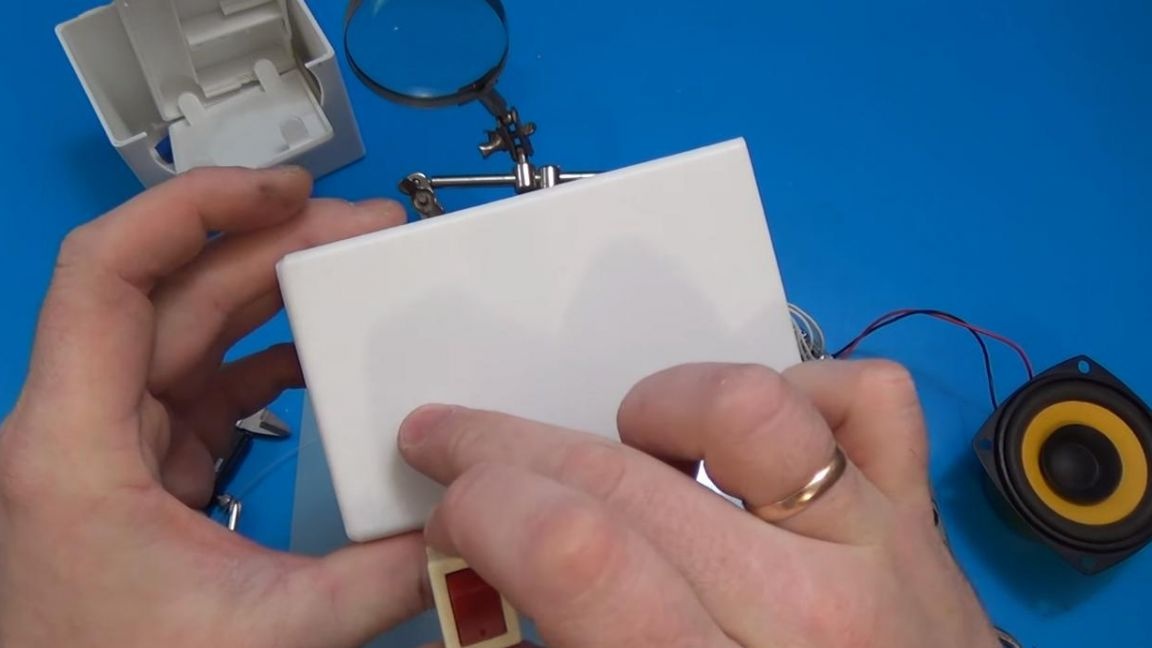
If everything is ok, then go ahead, just a little bit remains. Since the case has a cover, the time has come to install it, it will be fastened as well as the speaker with the help of small screws, we drill holes for it with a drill.


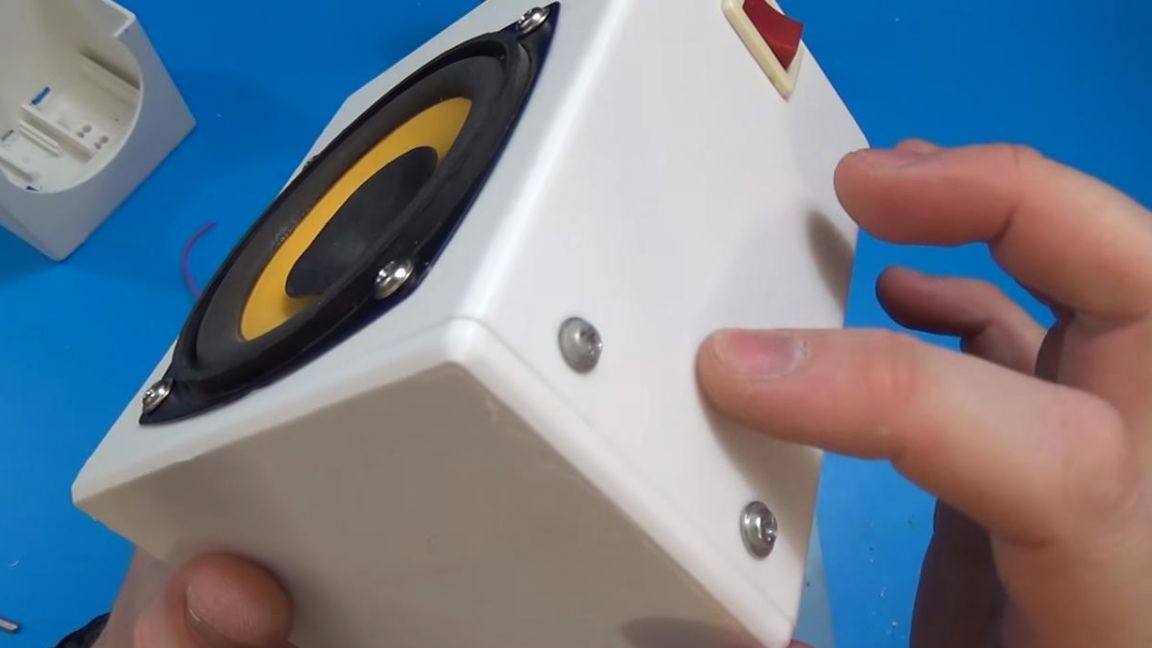


Well, now you can fully check the operation of this unit. We connect the USB-drive to the speaker and turn on the power, the music is playing, the sound is quite loud, such home-made products can be taken on a camping trip, on vacation and in any place where there is no power source.


That's all for me, I wish you creative ideas and useful homemade products.