
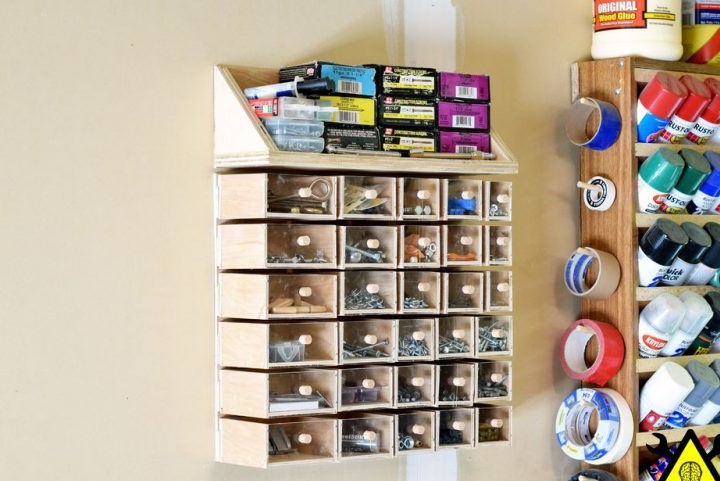
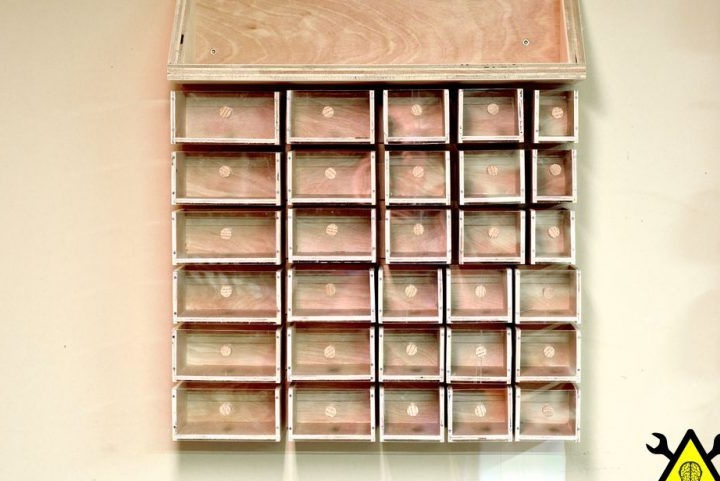
To attach the boxes made, the author used a French spike. The boxes themselves, according to the author, will be very strong and durable, not like their plastic counterparts.
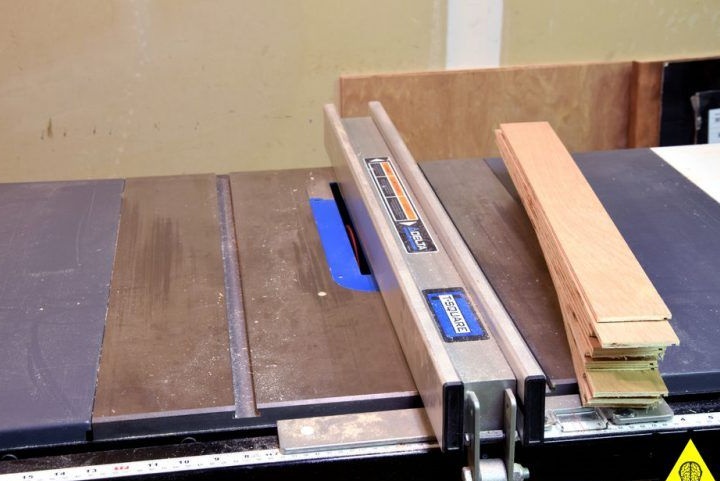
Part 1: Preparing the details.
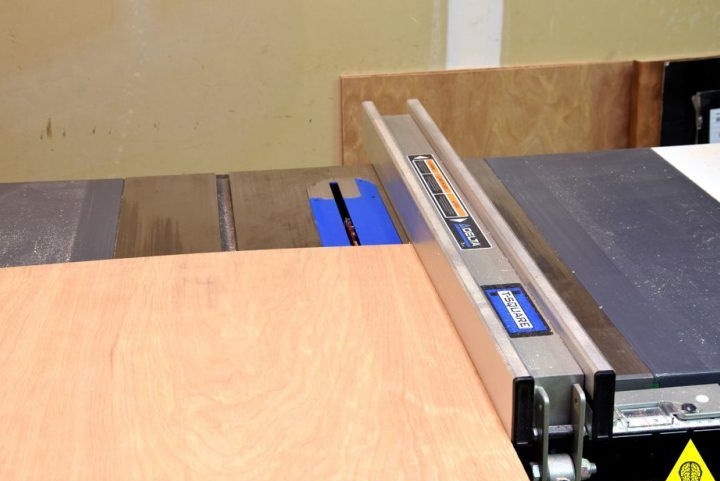
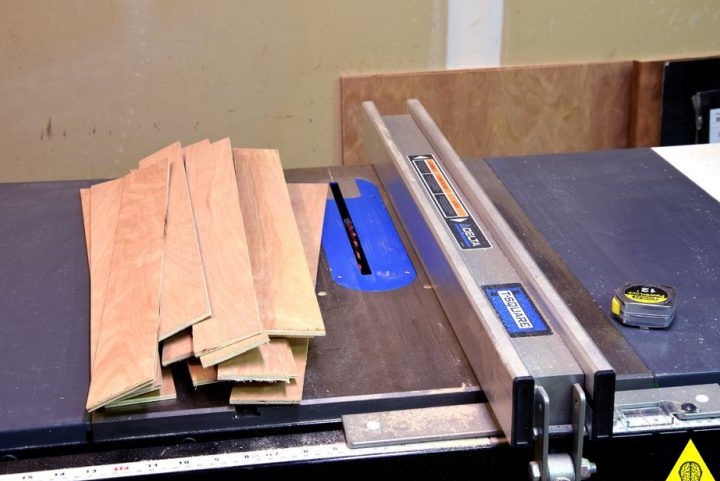
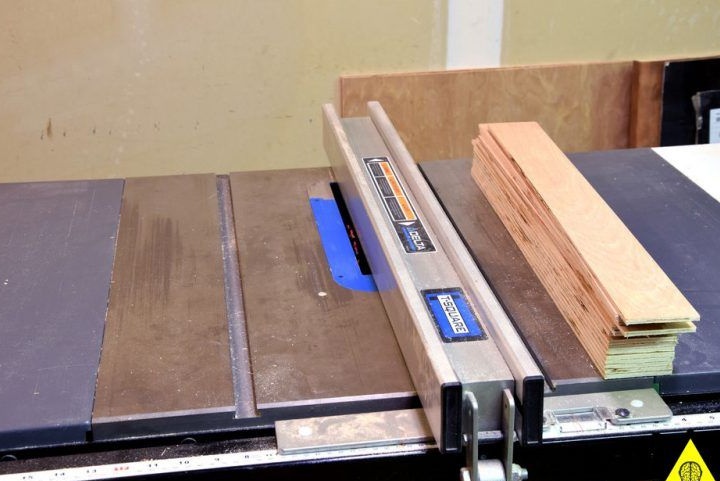
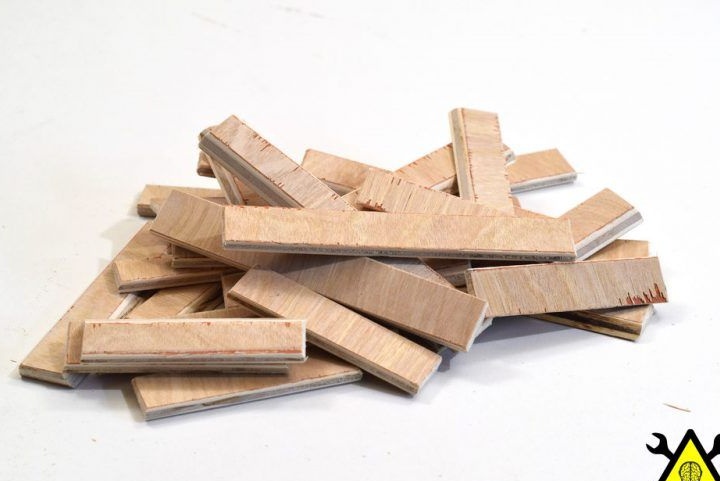
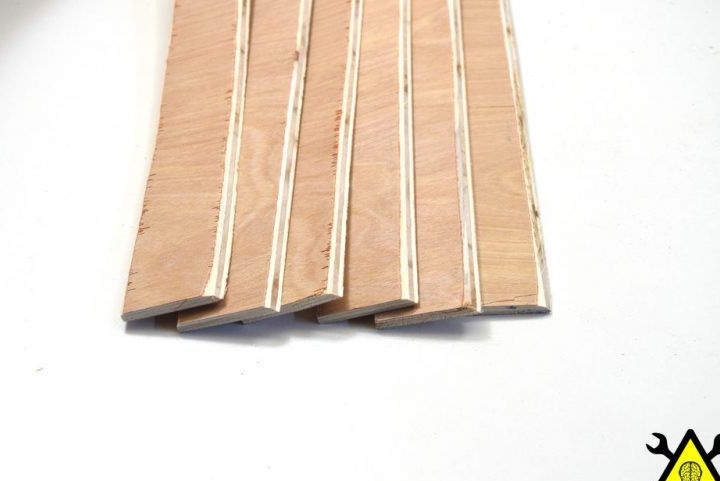
First of all, the author cuts plywood into strips 6.3 cm wide.
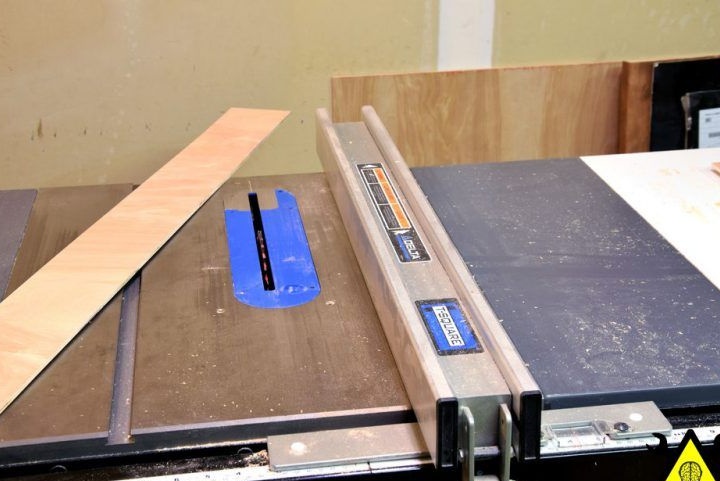
Part 2:
We shorten the blade, then sharpen the holes in the parts that were ready before that. The hole will be set to 3 mm. from the edge and should protrude slightly to secure the bottom of the drawers.
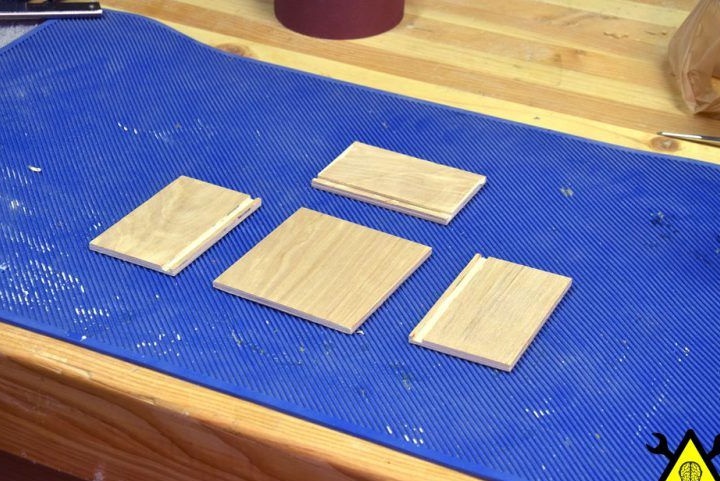
Part 3: We cut strips into several parts.
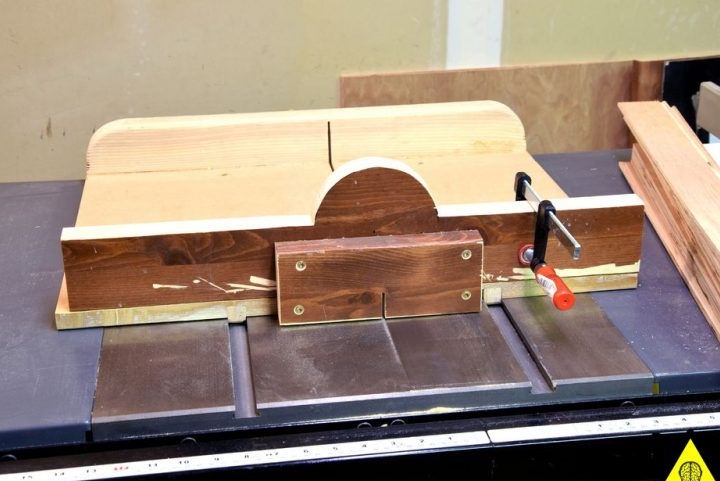
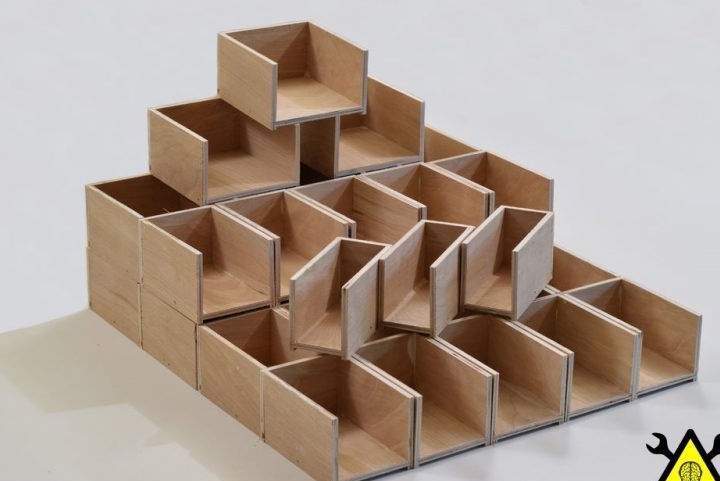
According to the author, the box will have different widths, more precisely 5, 7, 10 and 12cm; their depth will be equal to - 10cm.
Part 4: Cut the bottom.
The very bottom of a particular box will be different.
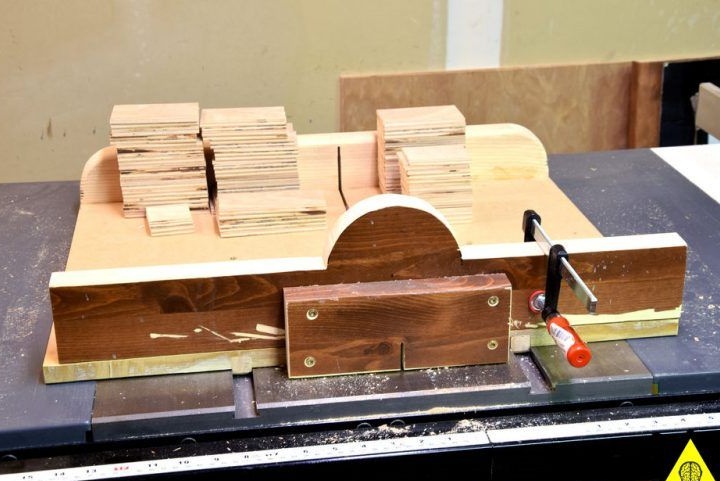
Part 5: Grouping of components.
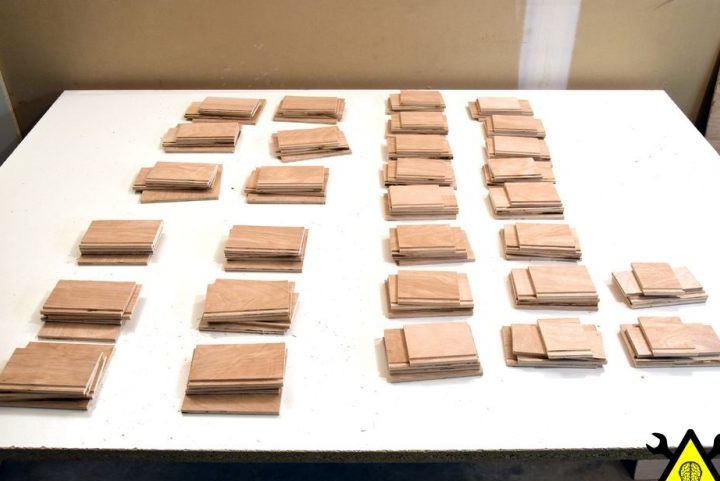
We lay out the details for most, from small to large. This shows what needs to be cut before assembling the structure.
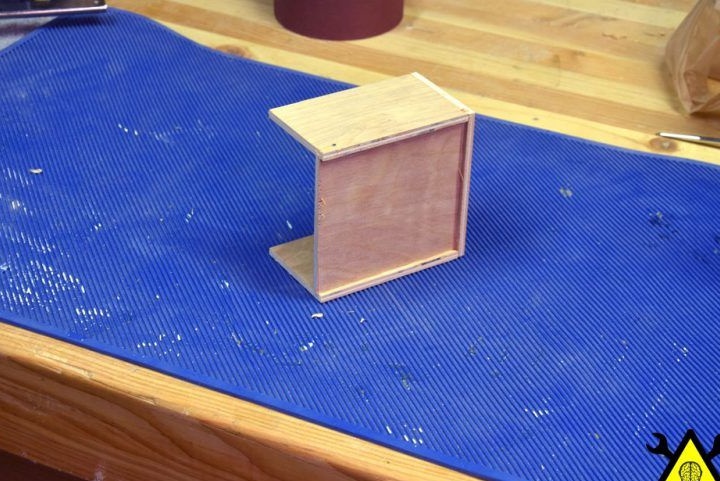
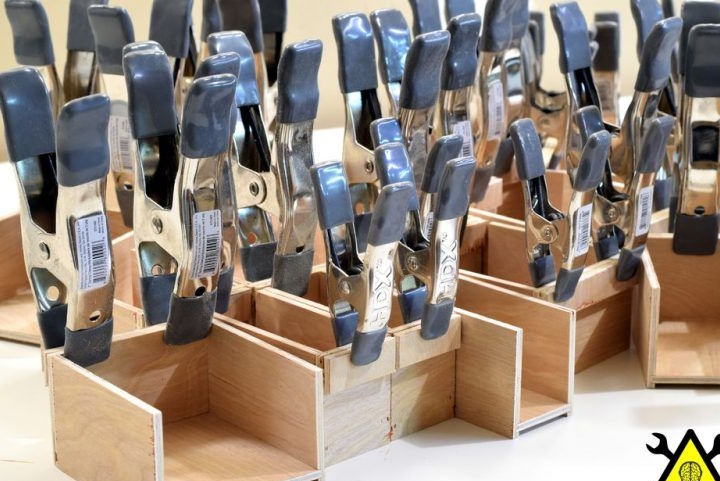
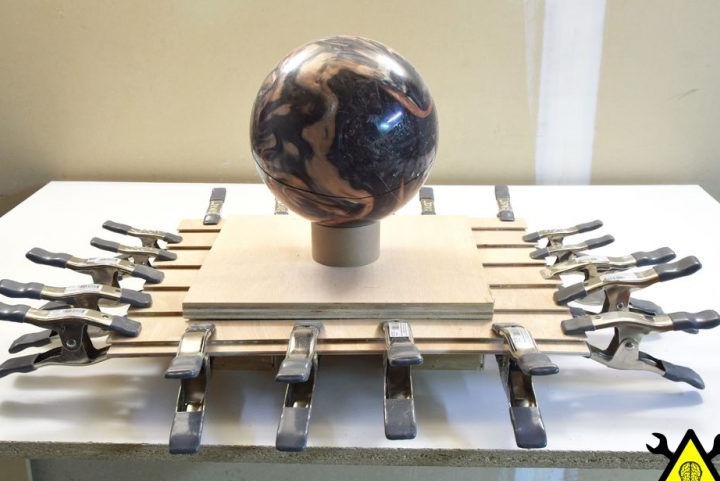
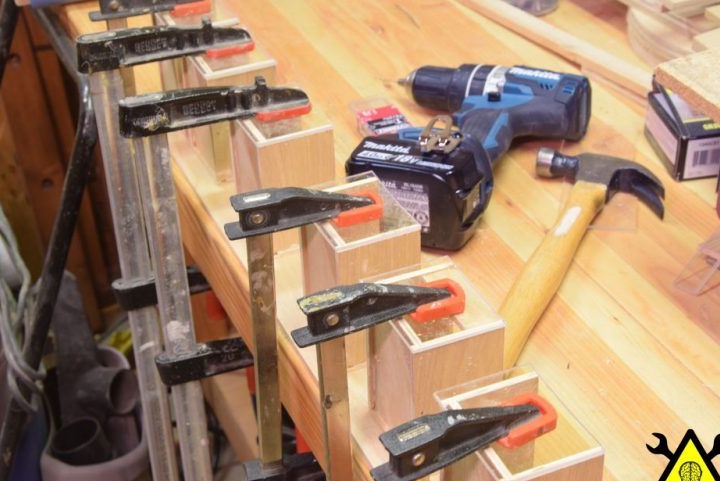
Part 6: Assembly.
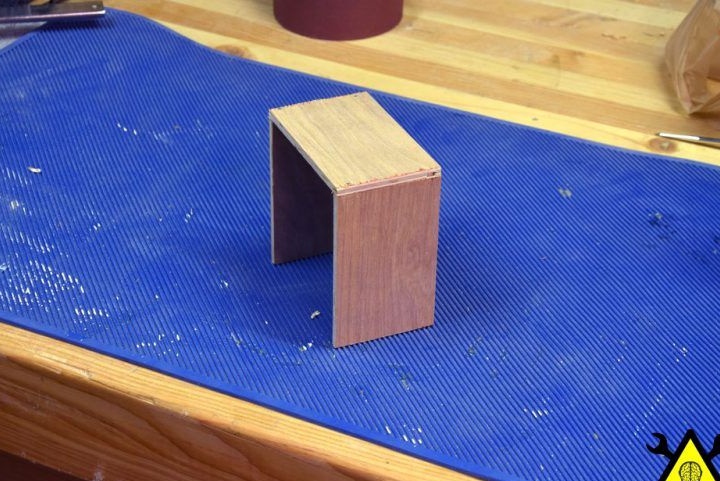
To glue the parts we take hot melt glue. To retain the details, the author used 15mm. with nails.


Part 7: Grinding.
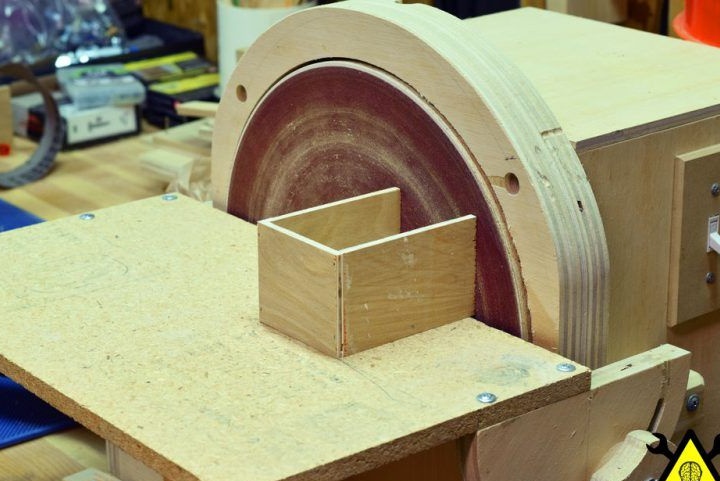
The author took the grinding disc and the machine and polished the outer part of each drawer.
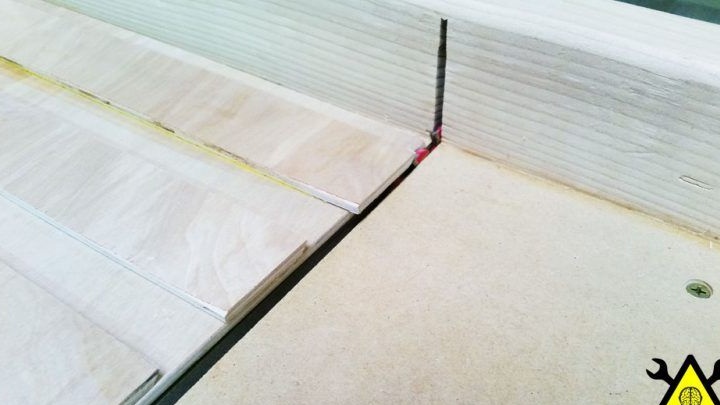
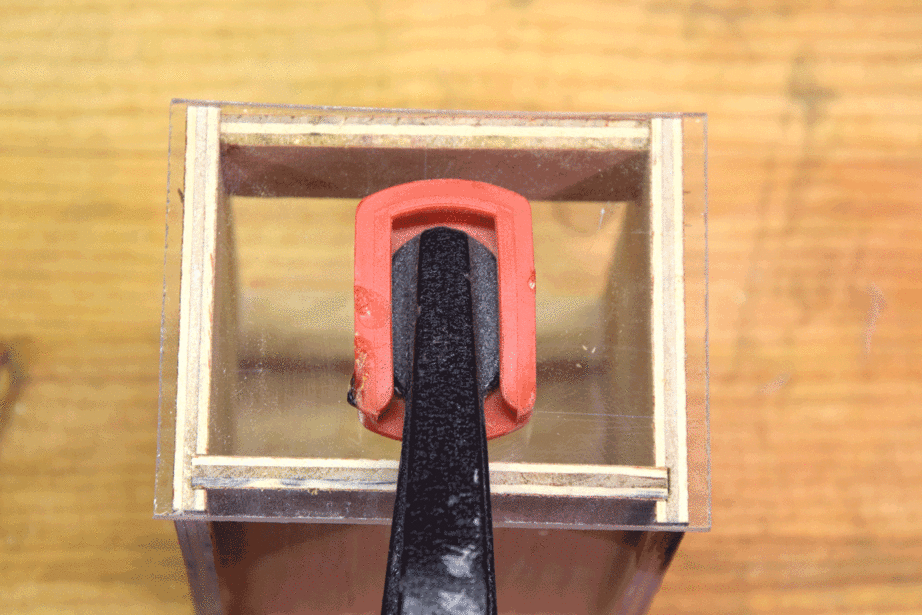
Part 8: Mode and glue the French spike.
It should be a few mm. smaller than box size. Apply glue and fix it with a clamp.
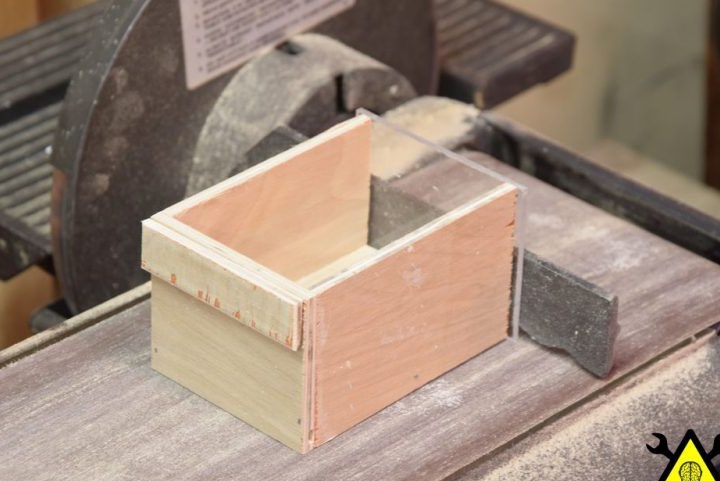
Part 9: We make a shield.
While the spike dries, the author makes a board for fasteners. The size of the board is individual. We cut out the fixing parts under the spike and attach them to the board.
The author placed the fixing parts so that 5 mm remained on each side. This will allow easy circulation of the box.
We are waiting for the glue to dry completely and then we will align the edge of the guides.
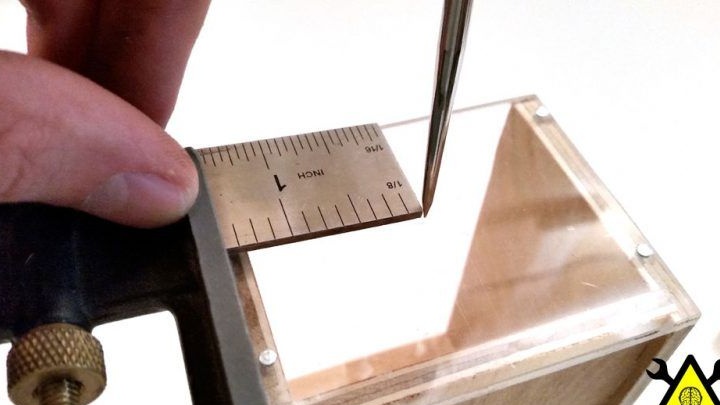
Part 10: Inserts
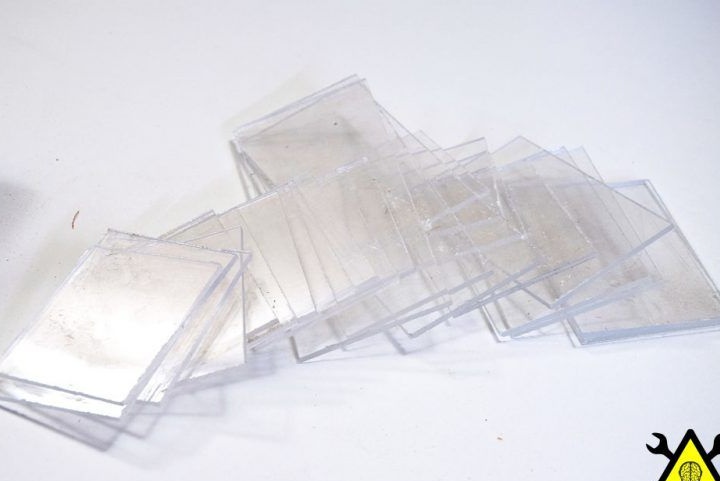
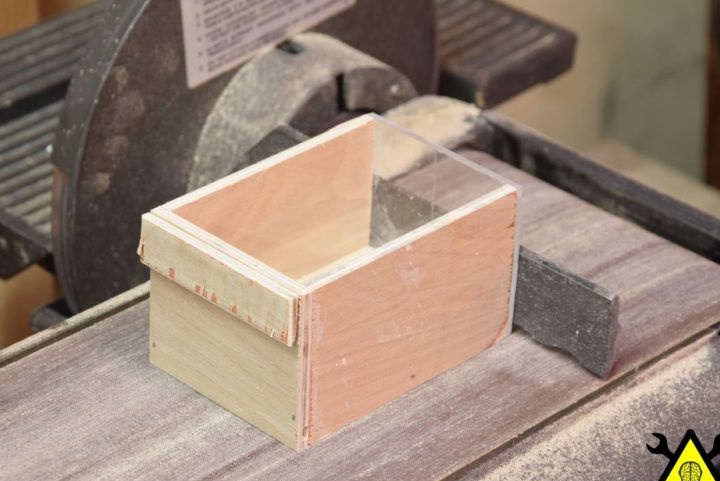
Acrylic parts need to be done a little more than the drawers.
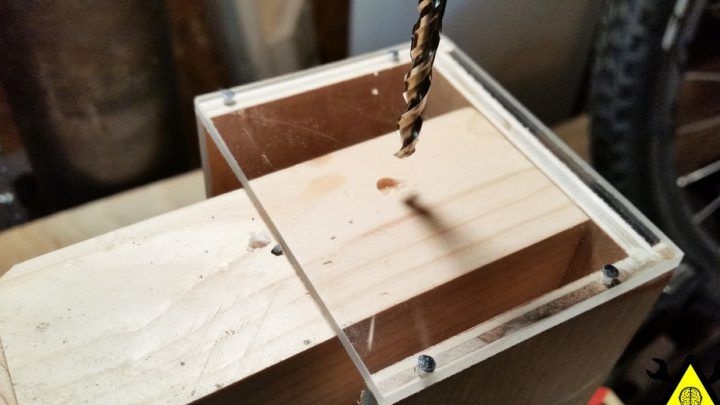
Part 11: Fix the front part.
We drill four holes in the acrylic blank, which are slightly smaller in size than the nails to use.
Further, the author polishes the edges with the main part of the box.
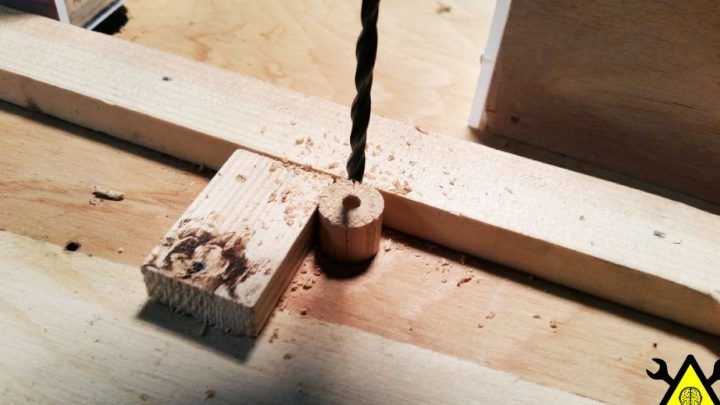
Part 12:
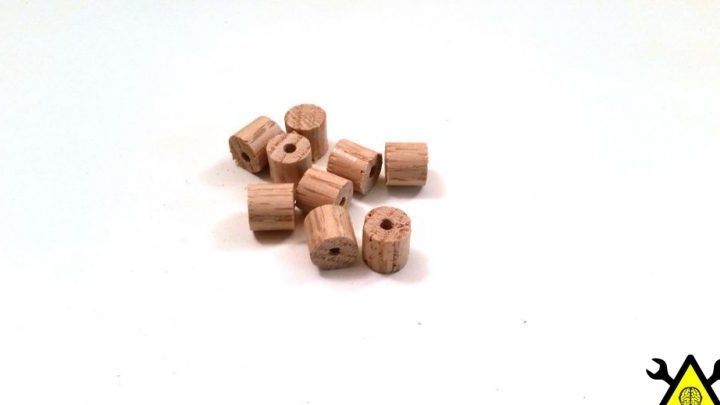
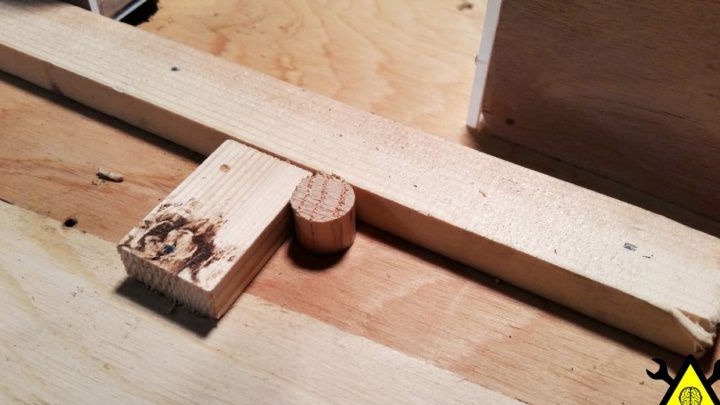
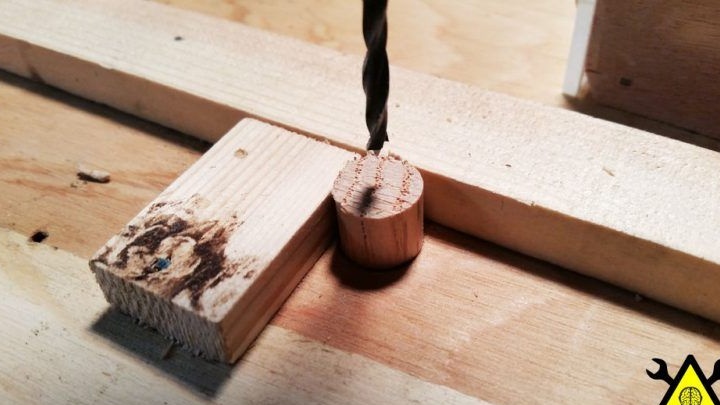
For easy removal of the boxes, we fix the minimum fastenings on them. The author took 12mm. dowels, drilled holes and secured drawers on them.
Part 13: Preparing a wall for drawer handles.
We drill holes before fixing the front parts. Then we fasten the board and carefully drill a hole.
Part 14: Fastening the finished homemade.
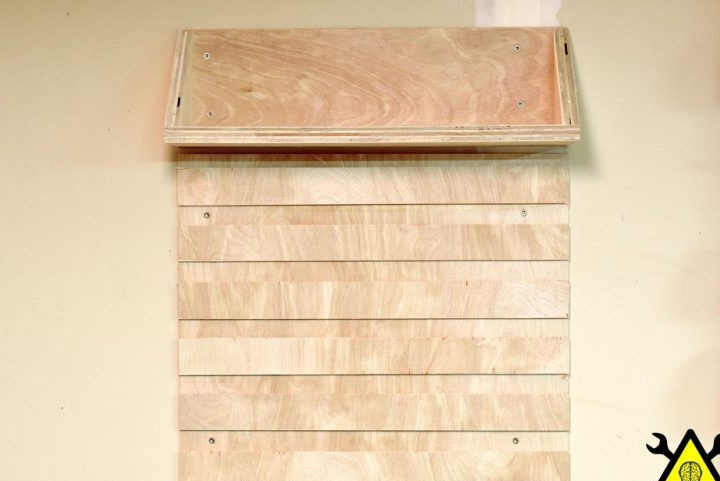
We make holes in the wall and fasten the board to the wall. Further it is already possible to fill in boxes.
That's the end, good luck to everyone!