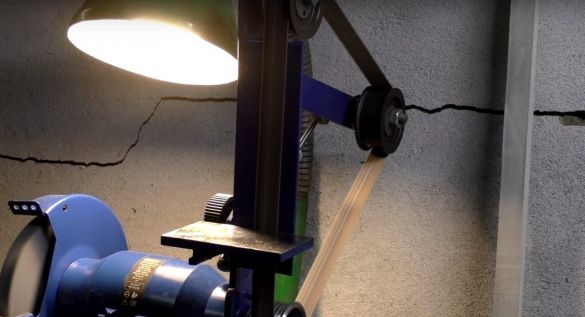
Good day to all. Today our hero will collect one, very useful device, or as it is also called a grinder. How and from what, the author assembled it, and everyone who reads the article to the end will be able to find out what he did.
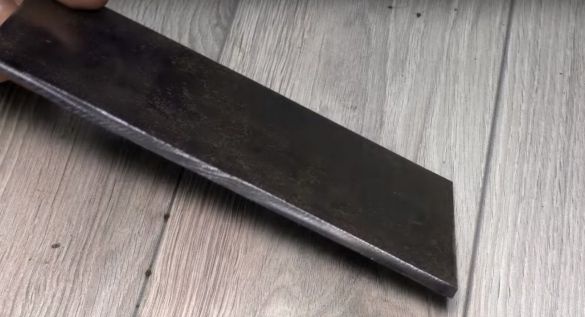
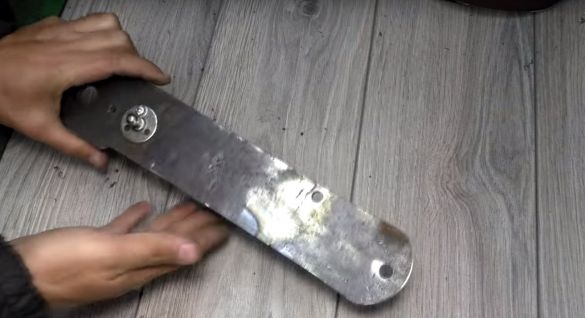
And so the author took a piece of sheet metal with a thickness of 6 mm.
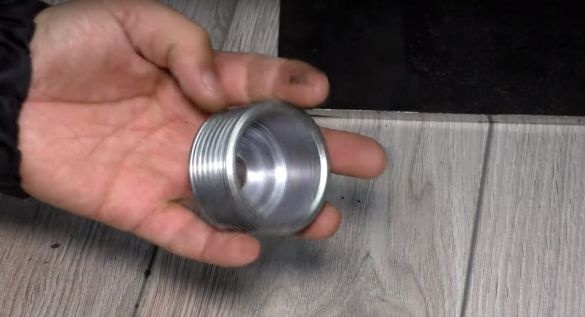
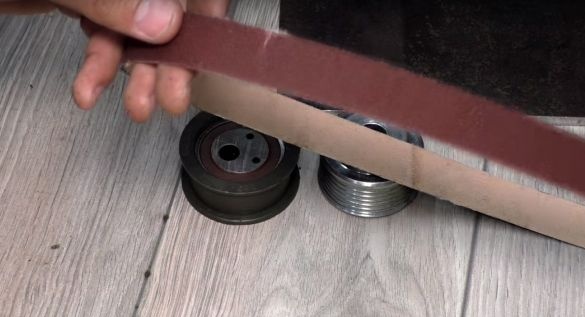
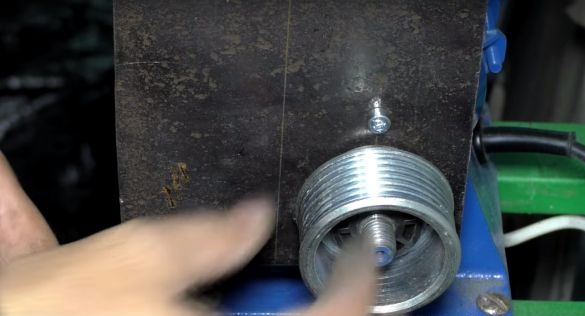
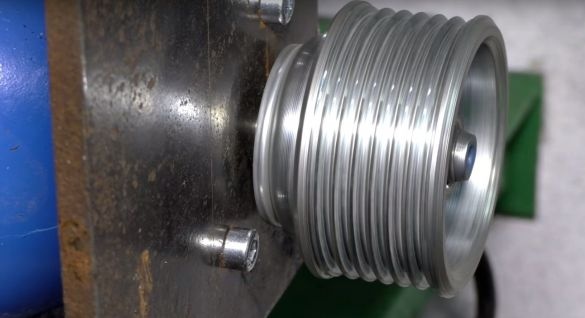
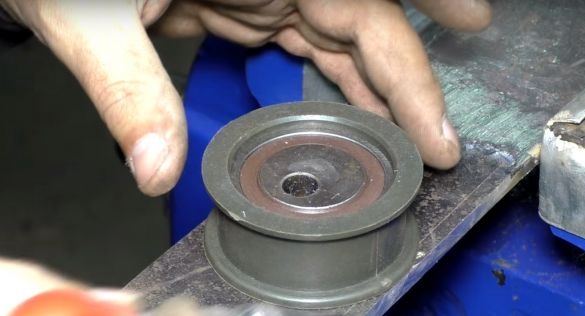
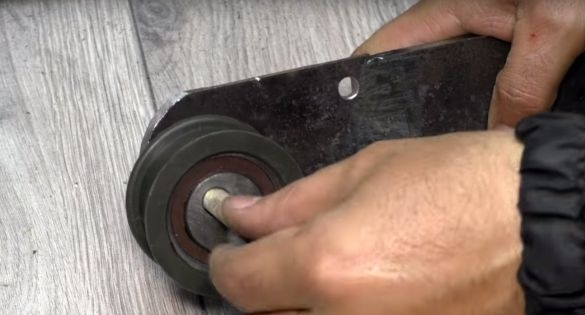
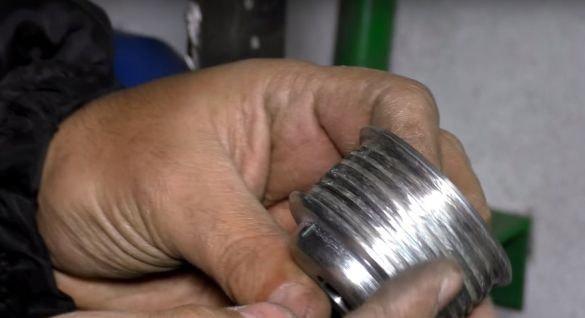
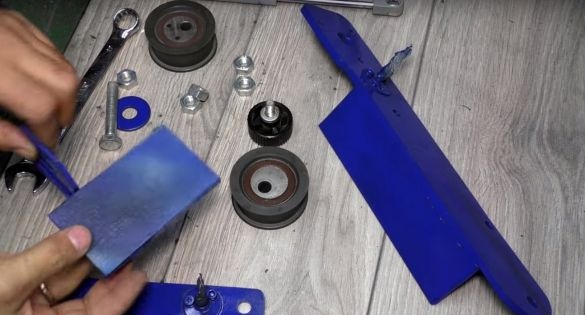
Pulley from a car generator VAZ - 2110.
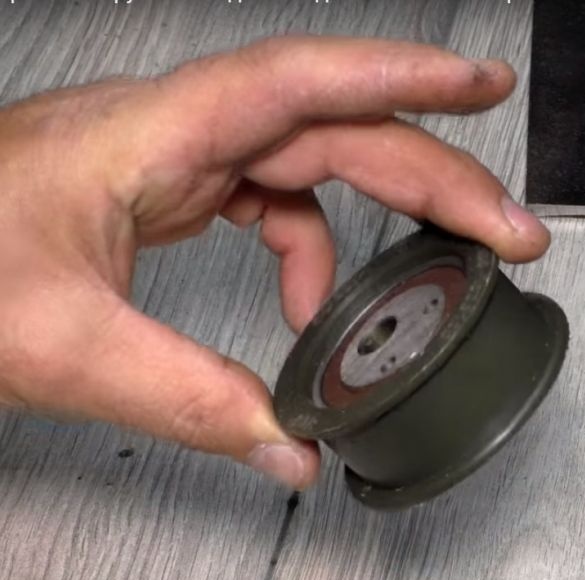
Two tension rollers of the timing belt are all from the same VAZ - 2110.
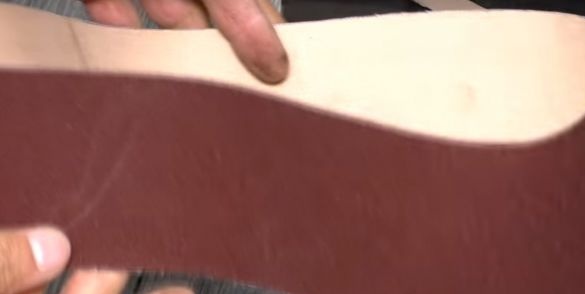
Also, an emery tape with a width of 20 mm, the author cut it from a wide one. (This is used in grinders.)
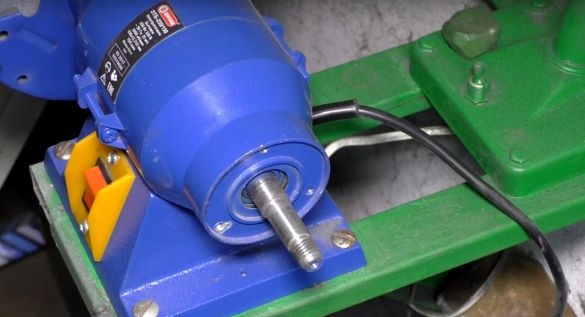
The heart of the grinder will be a 250 W engine; the author used an emery engine.
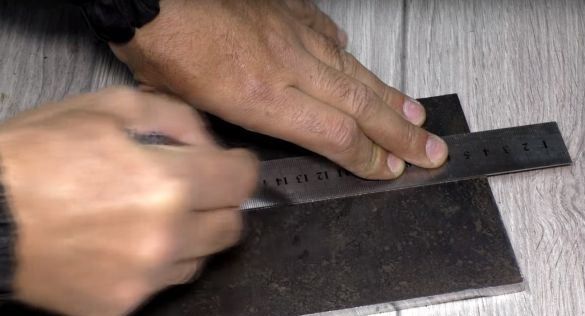
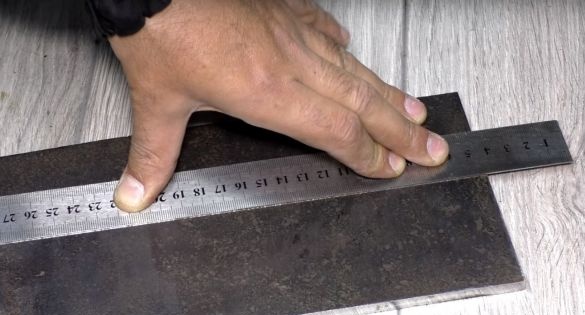
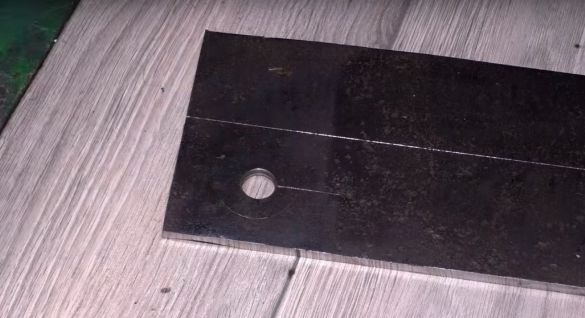
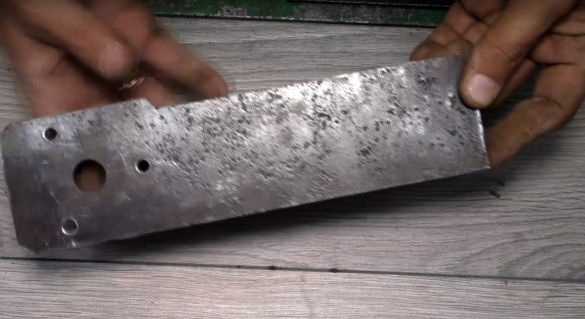
First of all, he marked on sheet metal, according to the diameter of the casing of the author, this is 65 mm.
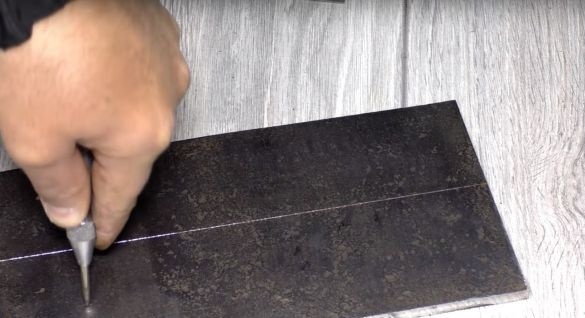
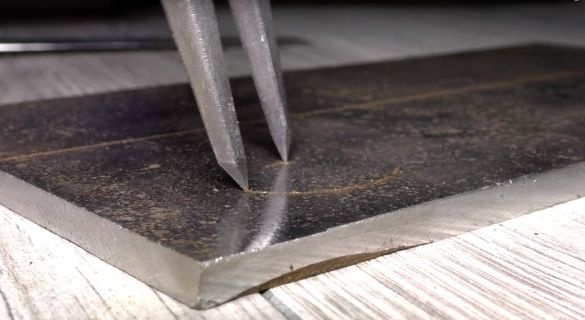
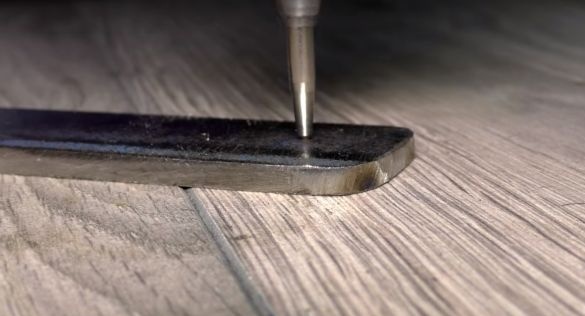
Then he filled a place under the hole in the motor shaft, and drew a circle. (The circumference is equal to the size of the motor protection mount.)
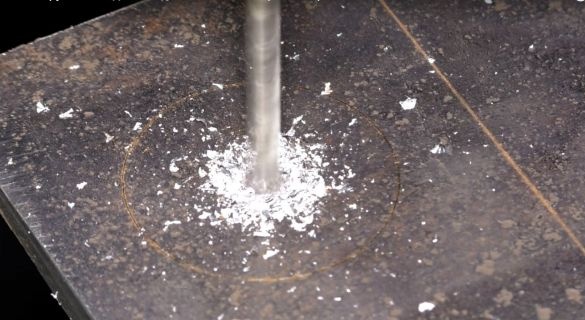
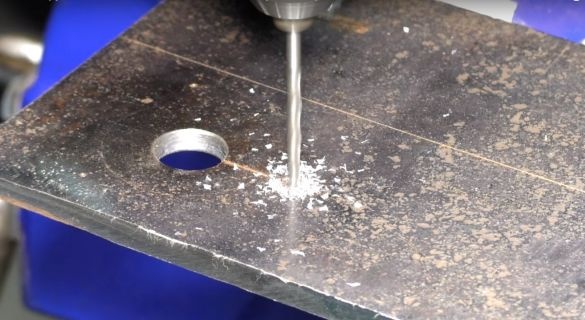
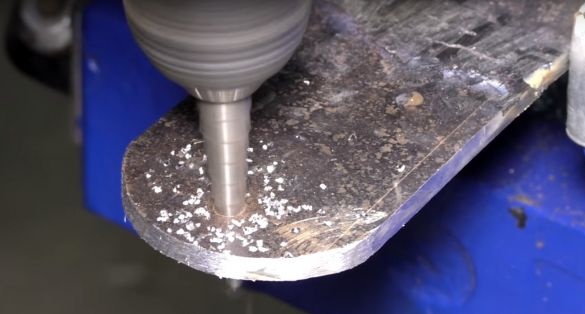
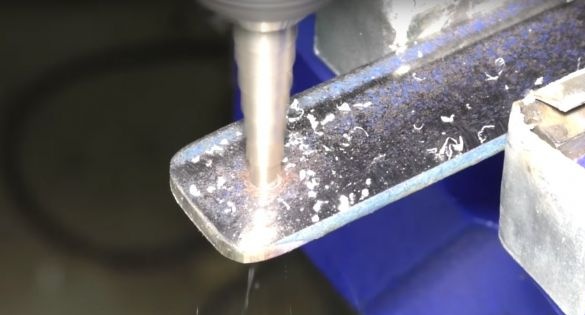
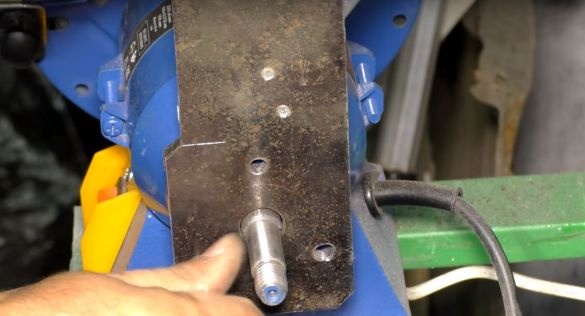
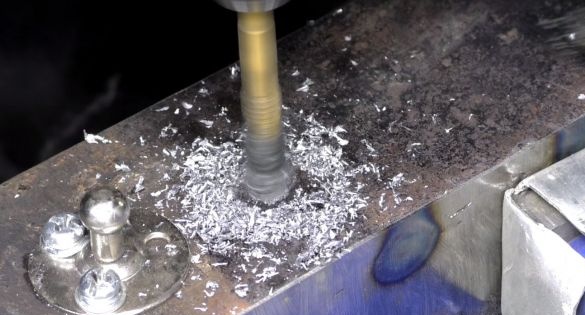
By making a hole with a 16 mm drill.
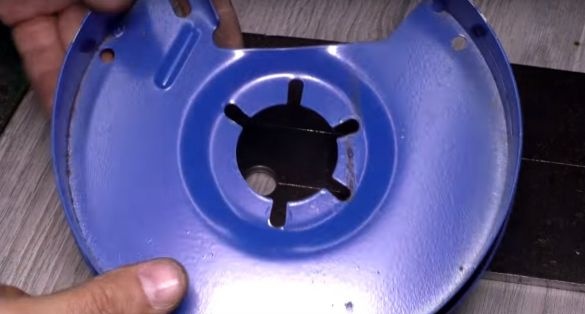
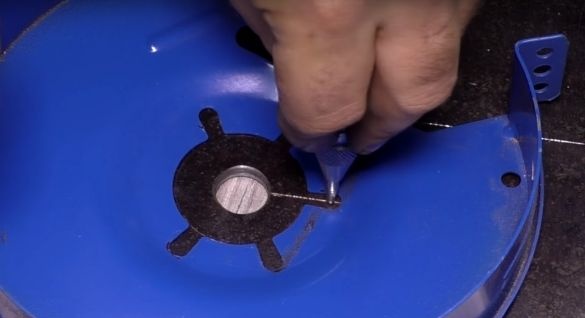
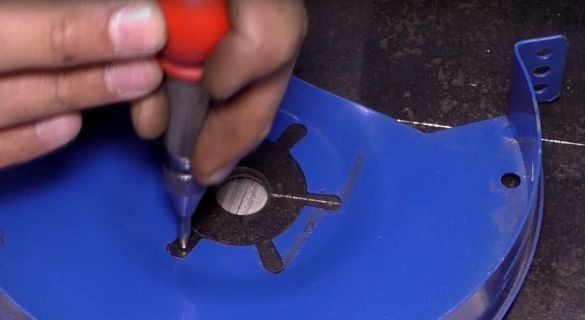
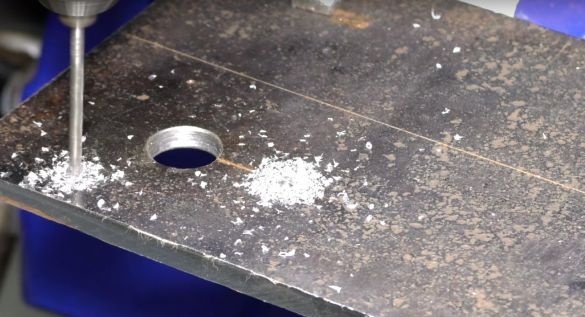
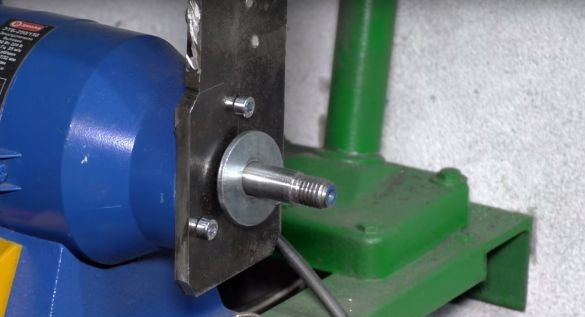
He took the protection and combined it with the previously made circle on the workpiece, screwed it up and made holes for the fasteners. The author has a hole size of 5 mm.
Checked, everything fits perfectly.
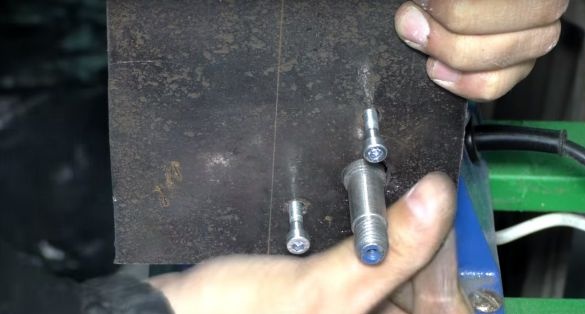
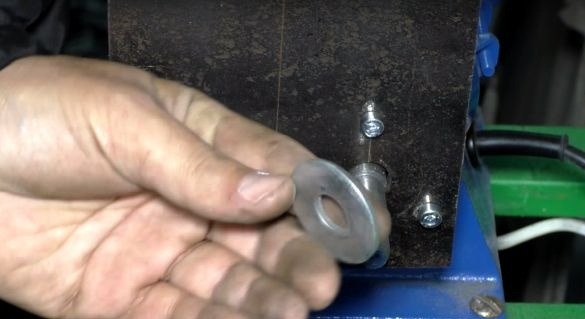
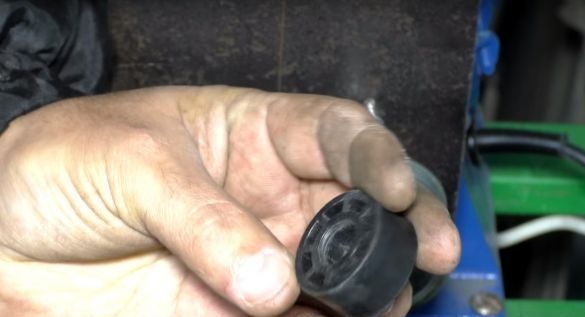
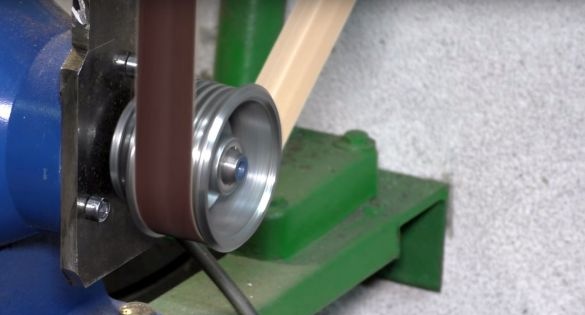
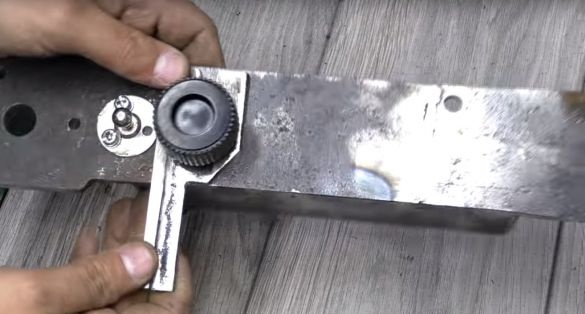
Fastenings of the driving roller (pulley), the author will produce using two enlarged washers for a 12 mm bolt and a sleeve that came with emery.
Further, the author cut the plate so that it was flush with the outside of the drive roller.
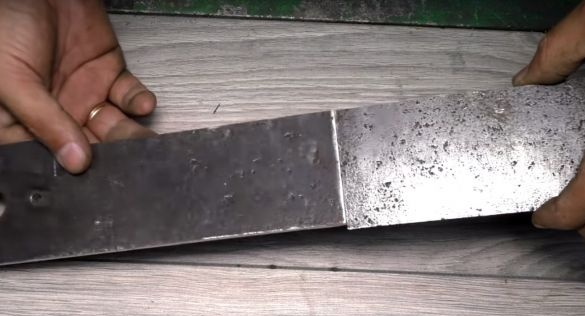
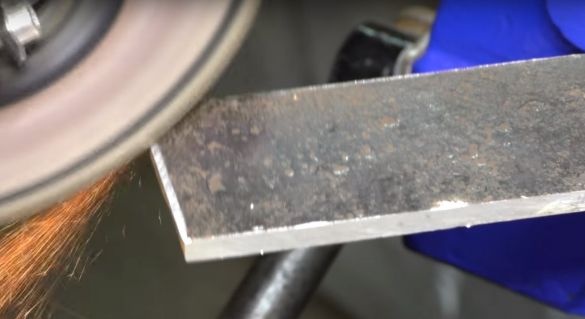
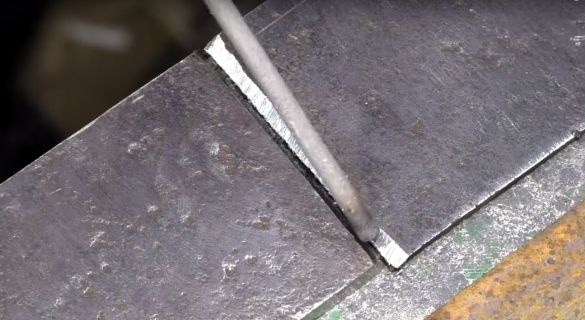
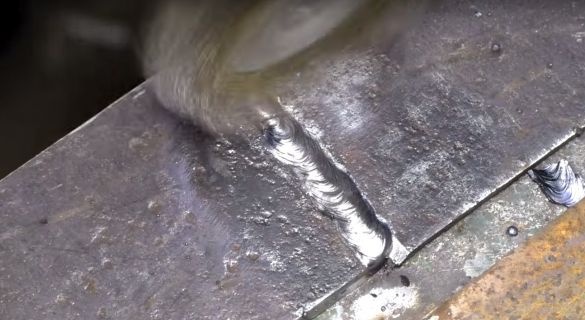
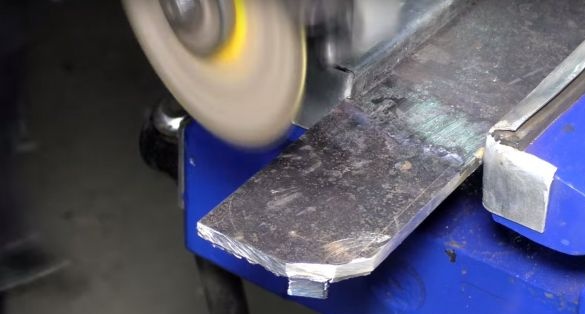
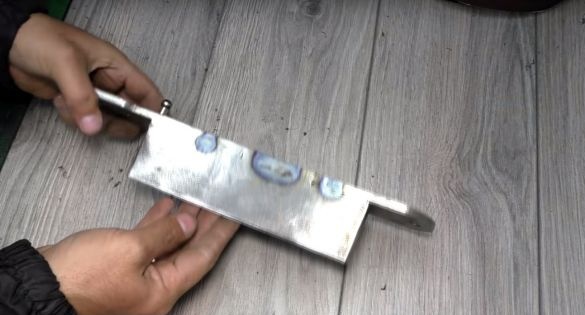
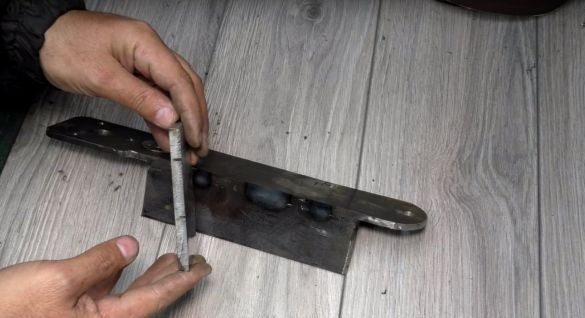
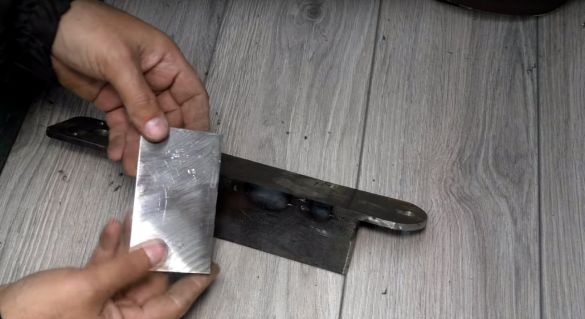
Then the author decided to increase the working area of his device. To do this, he will take a piece of the plate cut off from the workpiece and weld it to the workpiece at the end. After removing the chamfers on the welded edges.
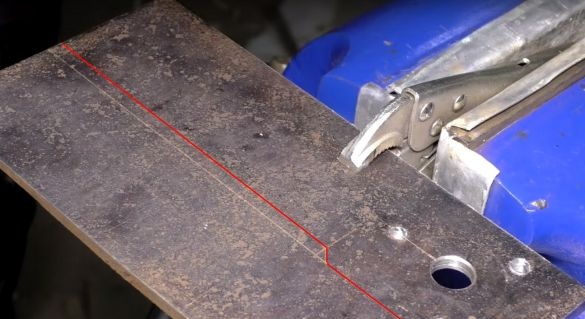
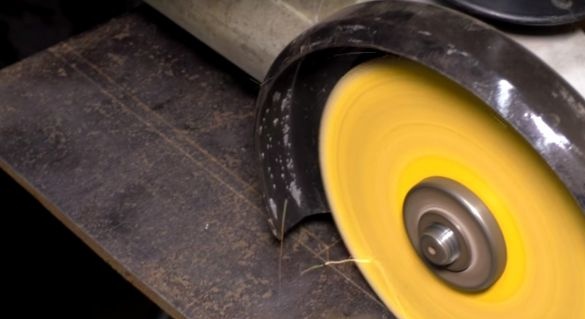
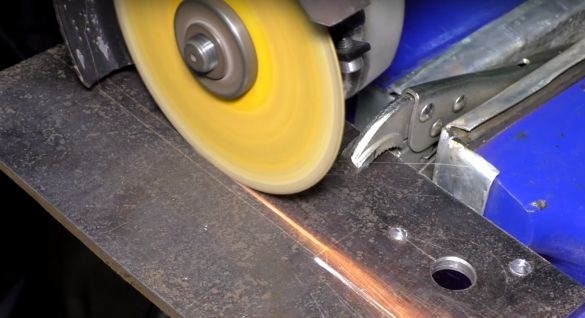
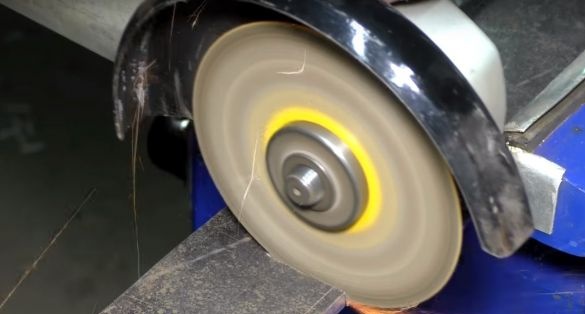
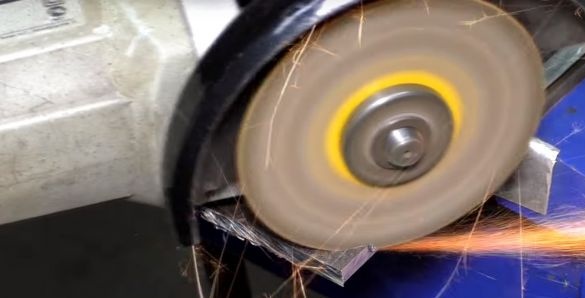
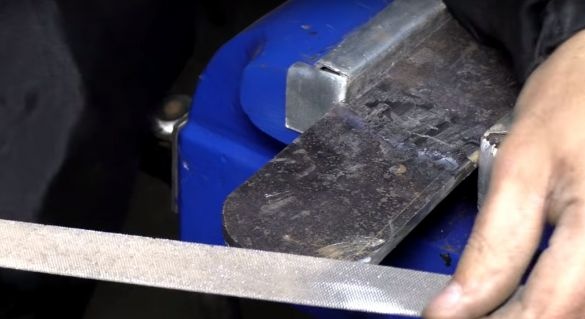
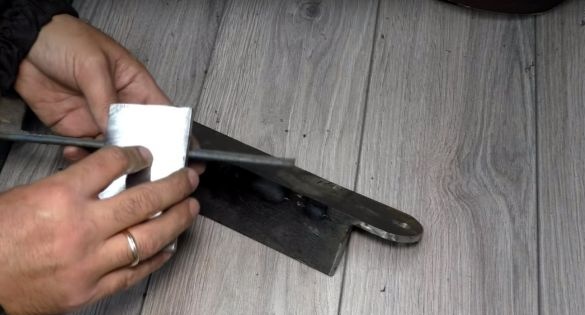
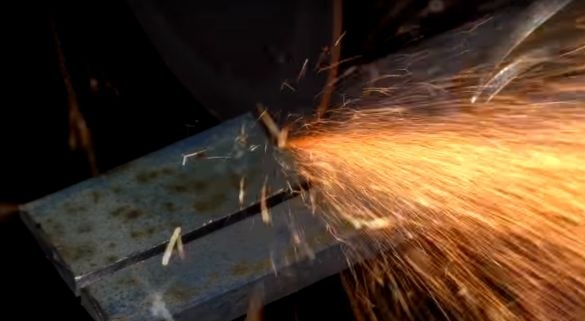
After calculating the required size of the workpiece, he will cut off everything unnecessary and process the edges with a file.
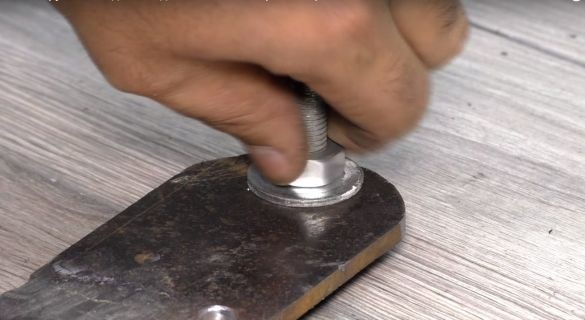
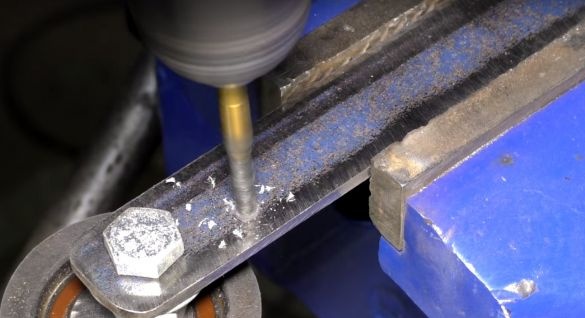
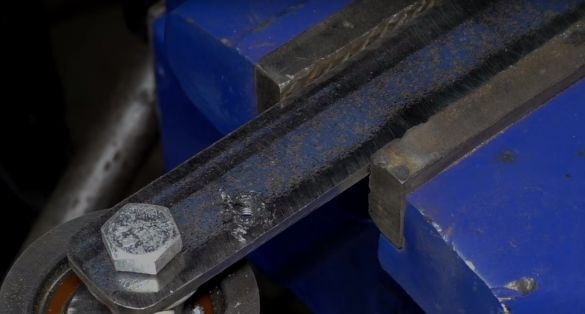
Then he will make a hole for the bolt M 10, for attaching the upper roller.
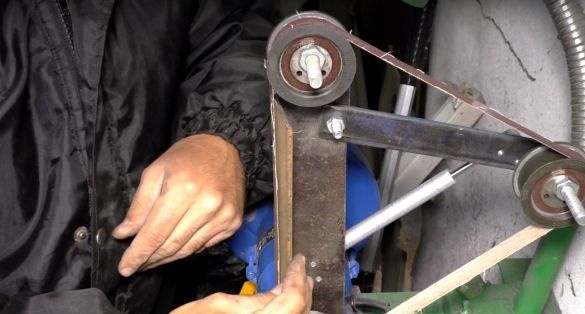
And for mounting the tension roller, the author took such a plate that he cut from the 50th corner and made holes on the edges of one for the roller, and the second for mounting the mechanism itself to the case.
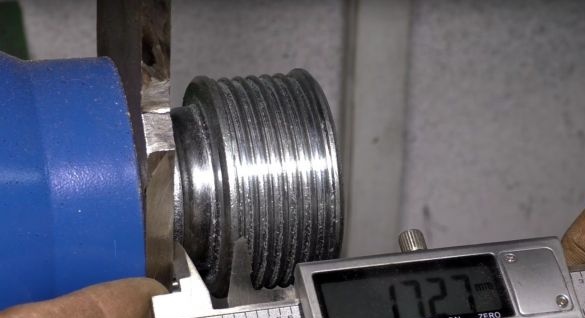
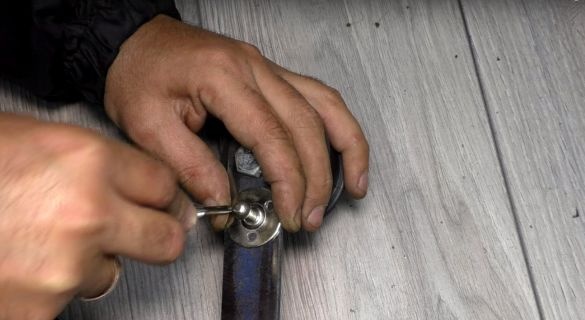
Then he measured the distance from the body to the beginning of the drive roller, it is 17 mm. He made the same distance on the upper roller using two nuts and one enlarged washer.
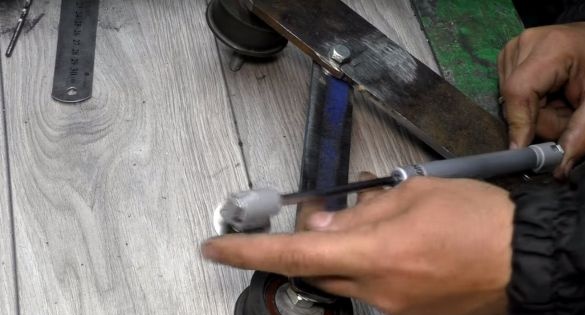
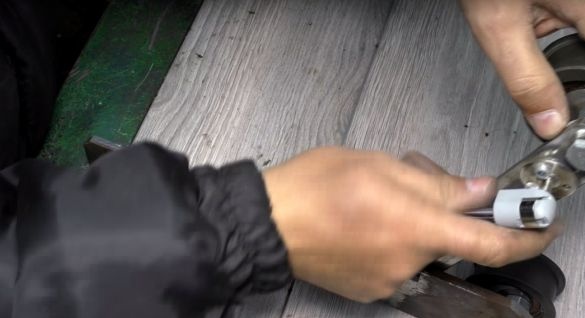
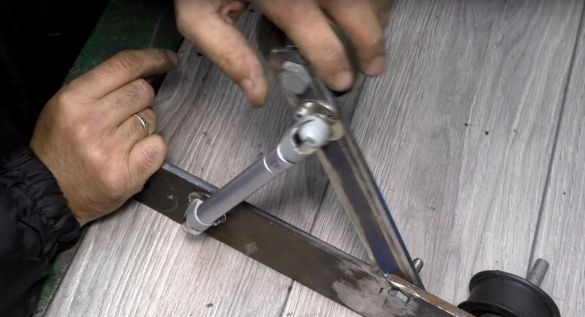
For a tension roller instead of a spring, the author uses a furniture gas shock absorber (elevator). Marks places for fastenings, makes holes and installs the elevator in its place.
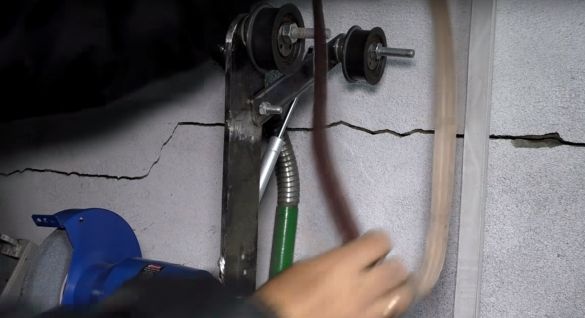
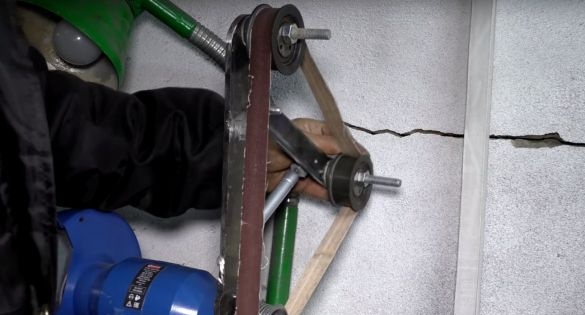
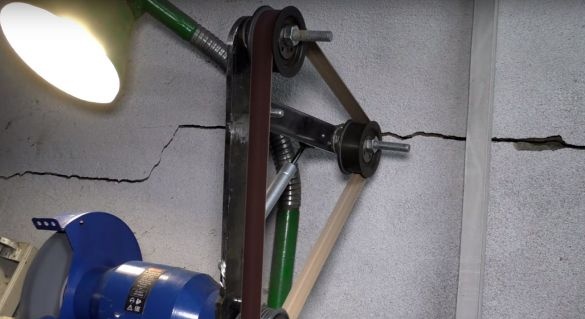
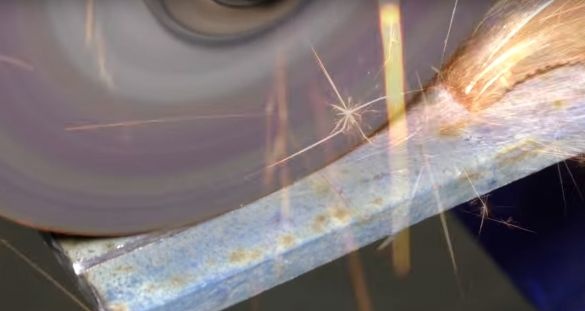
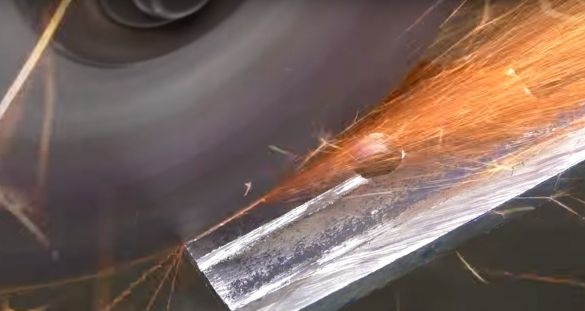
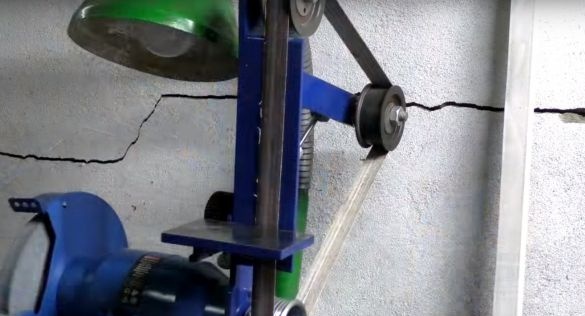
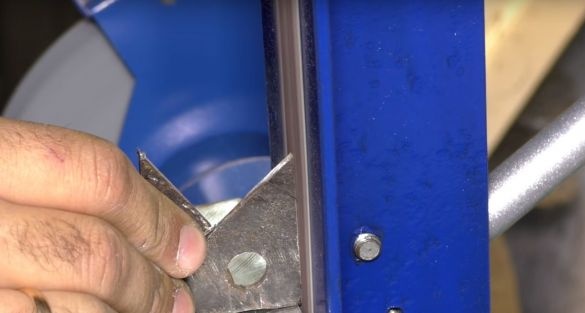
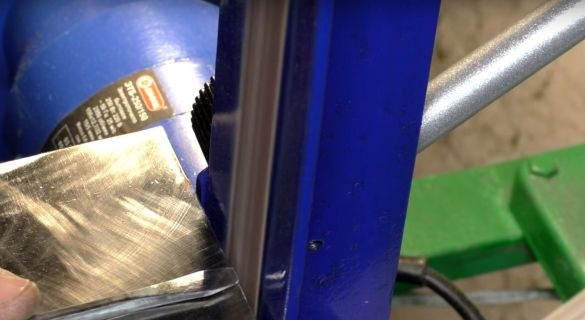
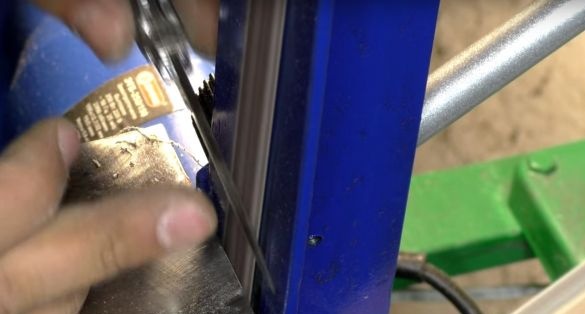
Then he sets the grinder on the engine, puts on the tape and checks its operation. On the leading video, the author sharpened sharp edges so that they would not cut the tape during work.
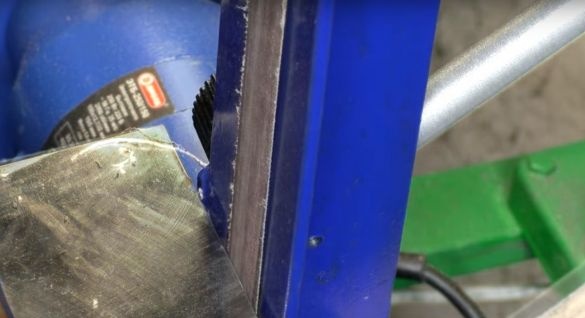
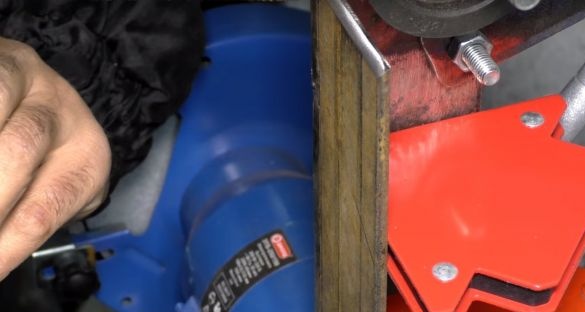
After the author checked and made sure that everything works as it should. He began to manufacture a thrust pad. Cutting off a piece of the plate of the desired size, secured it with magnetic corners and removing the tape, welded the pad to the body.
And the last element of this device, the author will have a persistent table, which he will make from an 8 mm plate and trim the corner.
Having marked the emphasis of the table, he cut off everything that was not needed, and made a hole, and drank it for fastening.
On the grinder body, the author also made a hole and cut a thread for fixing the table.
And in the end, the author painted all the details after pre-sealing with masking tape places that did not need to be painted. After the paint has dried, the author removed the adhesive tape and gathered all the parts in one piece, so we got such a grinder.
With the help of such a device you can: cut various kinds of workpieces, sharpen the tool, make descents on knives and much more.
Thanks to all! Hope the article was helpful. See you.
Grinder making video:

