
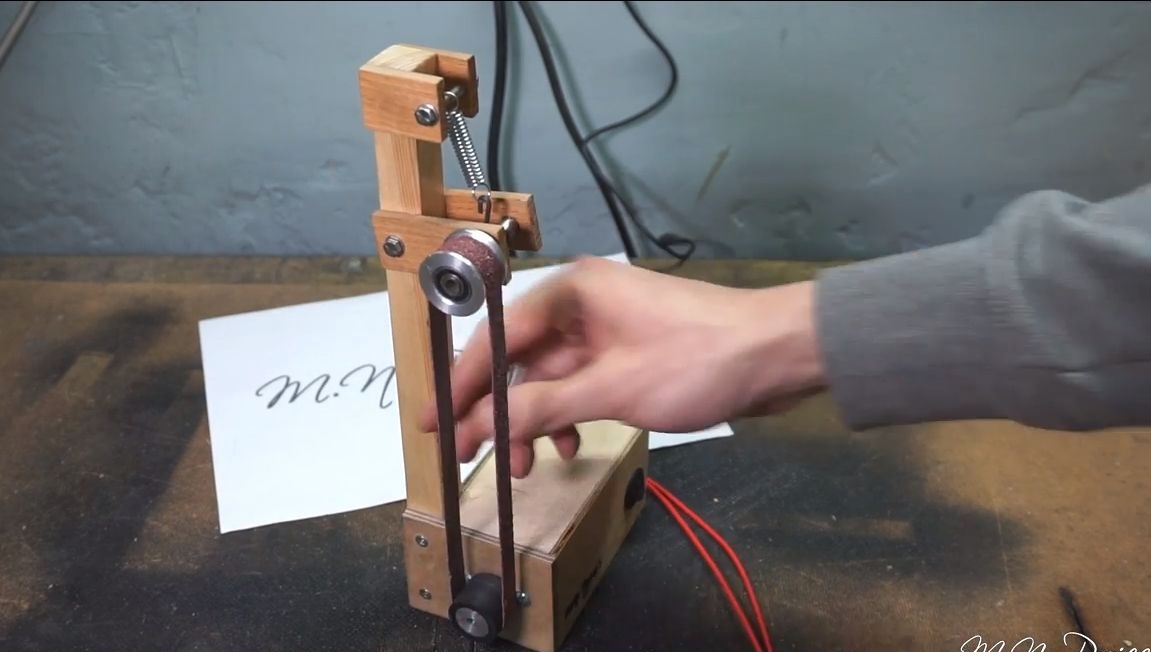
You will really need such a machine if you are manufacturing various small products that require grinding. It can be wood, metal, plastic and so on. The best grinding tool is considered to be a belt grinder, we will consider its manufacture in this instruction.
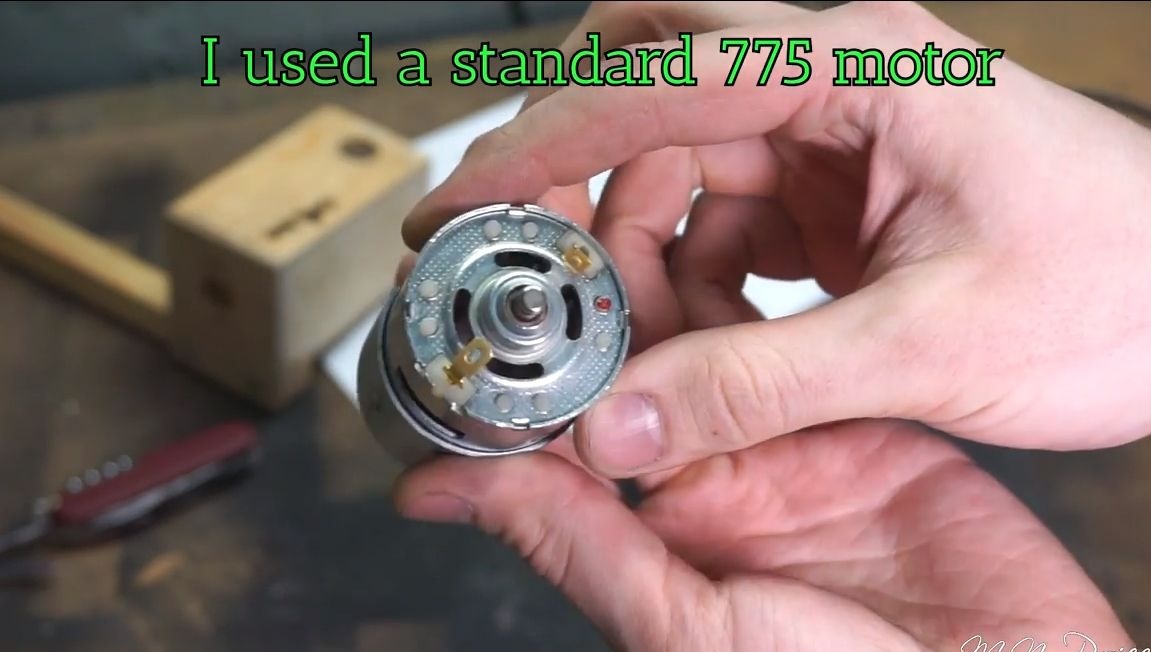
We’ll make a little machine, it works on 12V voltage. As a power unit, a well-known or similar is used. The frame is made of wood, plywood is used here, as well as a small beam. Homemade It’s not difficult in itself; a novice can handle it.
The greatest difficulty is the manufacture of wheels on which the grinding belt is worn. Their author makes aluminum, turning on a lathe. If you do not have a machine, do not despair, the wheels can be made of wood or plastic. Experience shows that wooden wheels are quite functional for themselves and have a considerable service life. So let's get started.
Materials and tools used by the author:
Material List:
- plywood;
- wooden beam;
- blanks for wheels;
- springs;
- ;
- self-tapping screws;
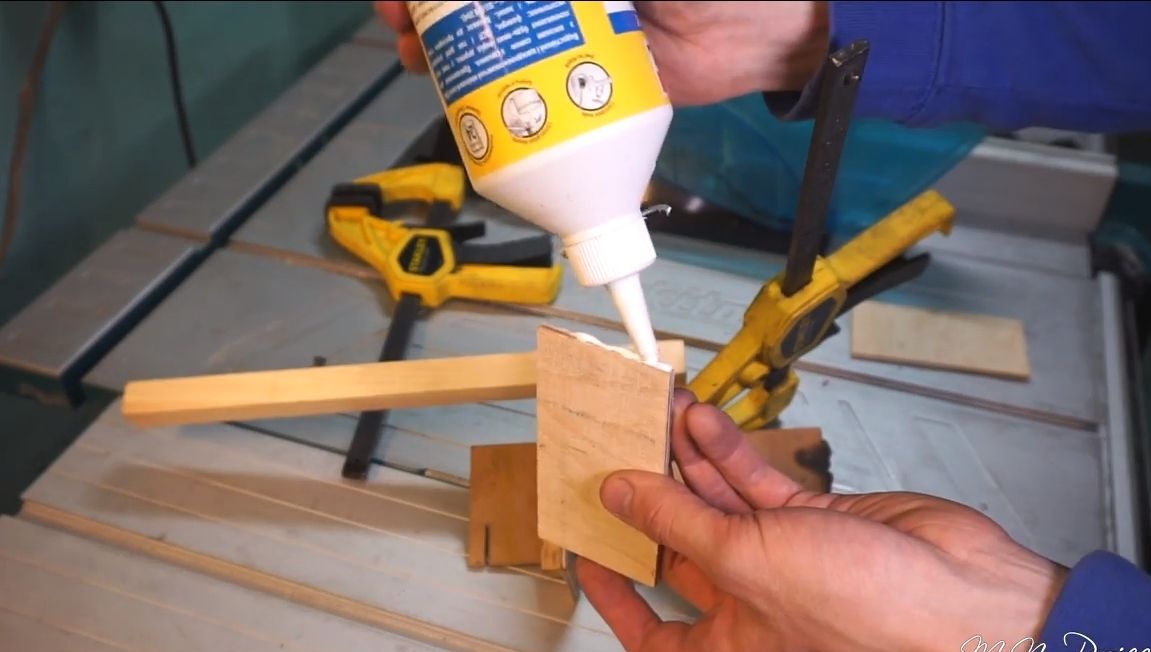
- glue for wood;
- hot glue"
- a small 12V fan;
- bearing for the driven wheel;
- power supply unit 12V;
- Super glue;
- sandpaper (for the manufacture of a belt).
Tool List:
- a circular saw;
- a hacksaw;
- drilling machine;
- screwdriver;
- soldering iron;
- pliers and pliers.
Machine manufacturing process:
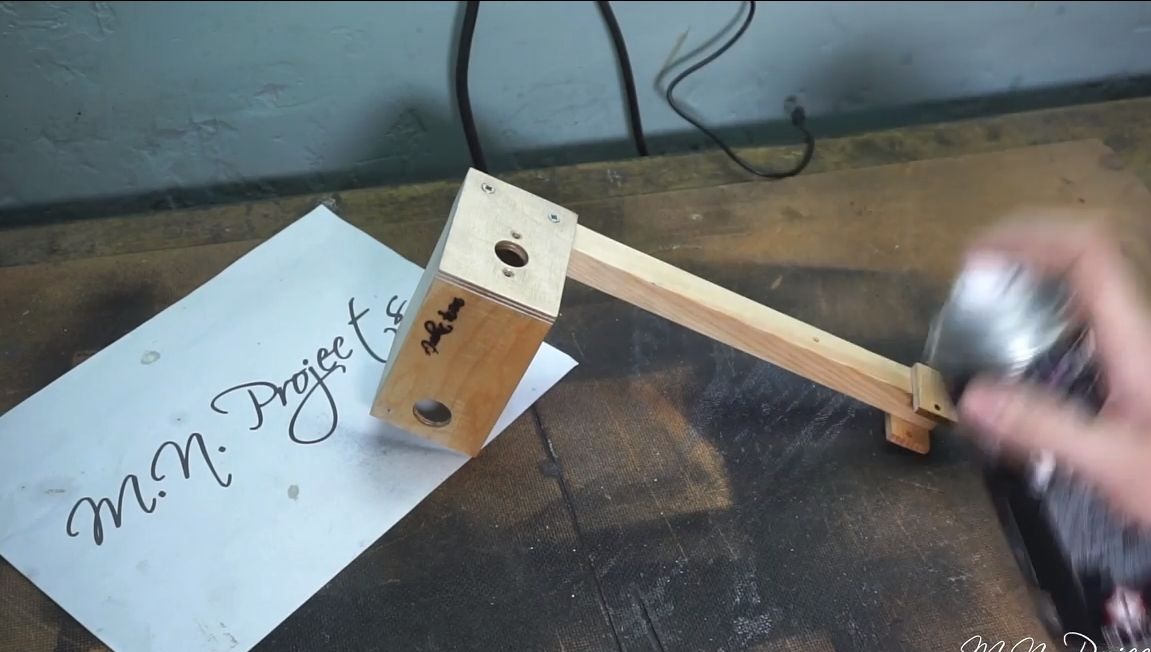
Step one. We make parts and assemble the frame
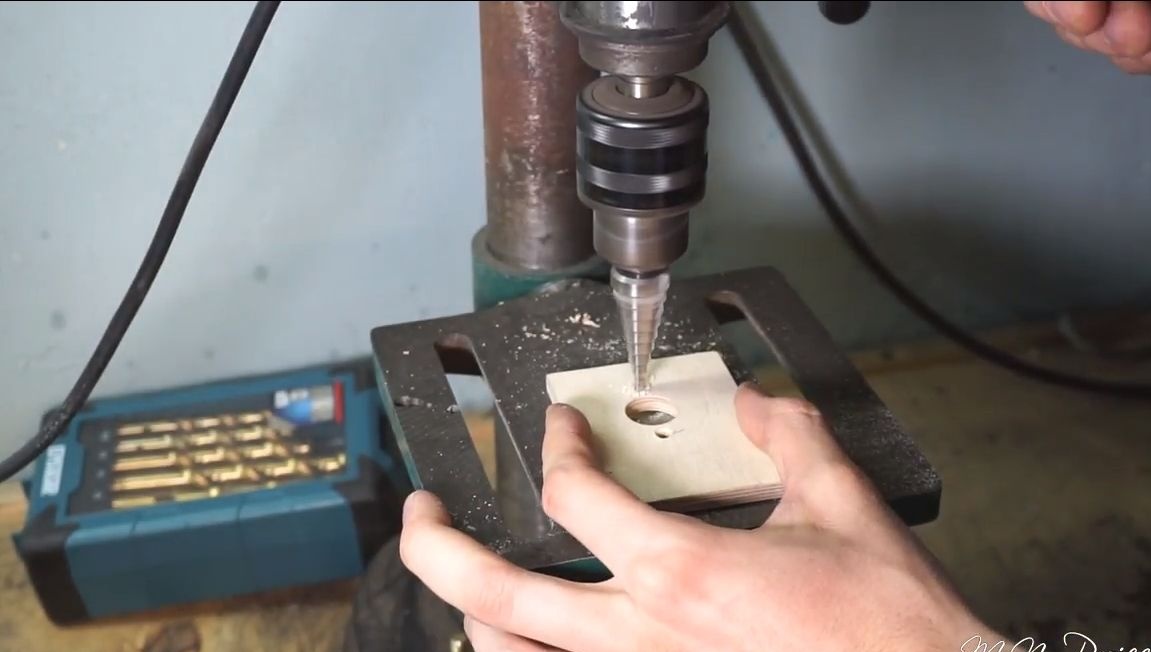
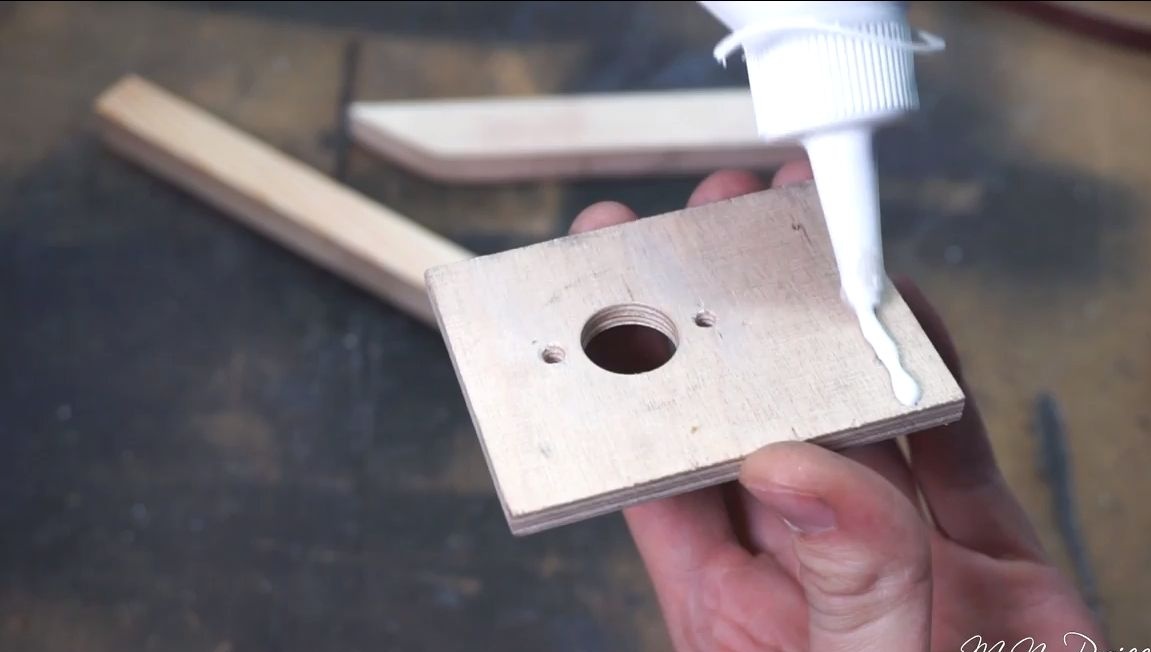
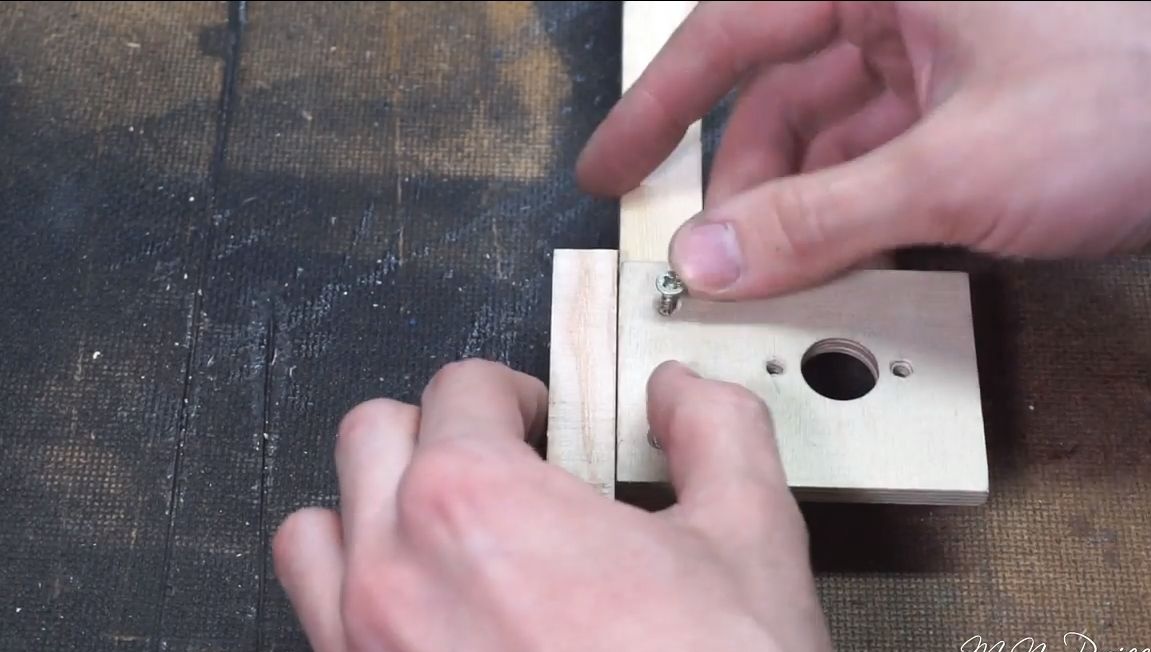
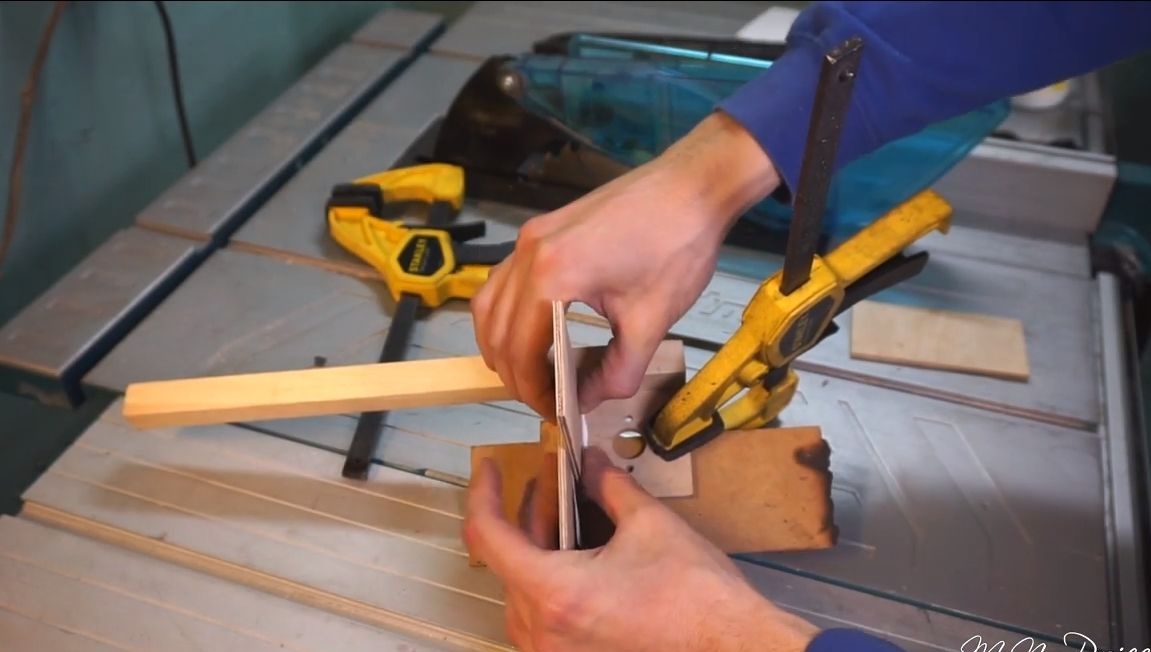
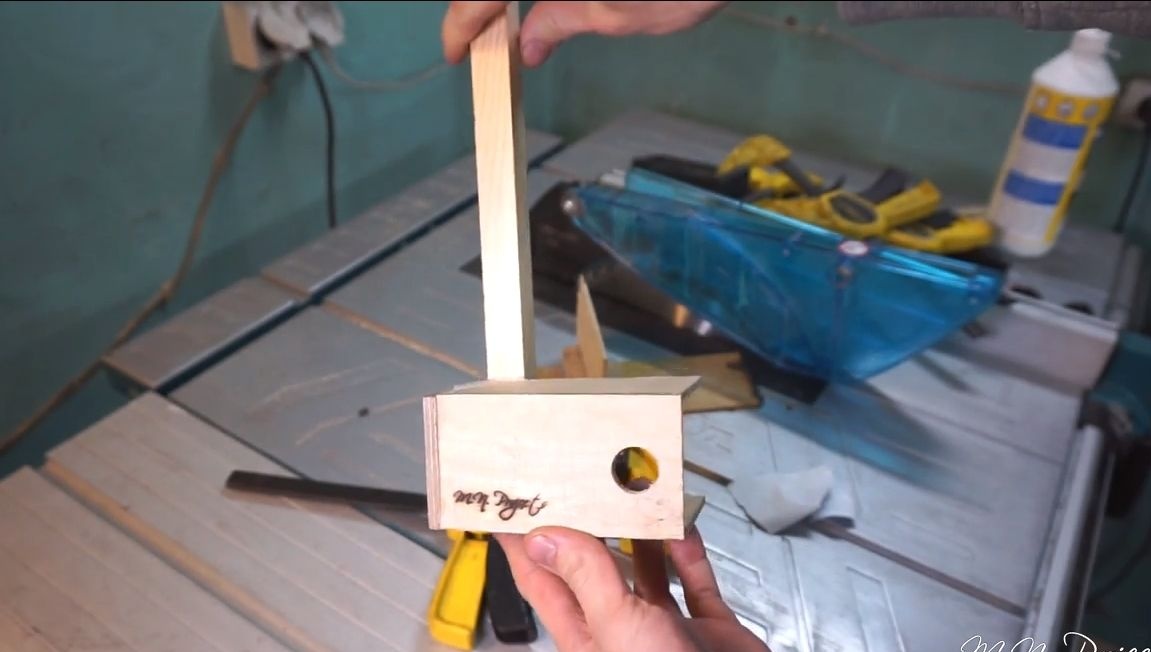
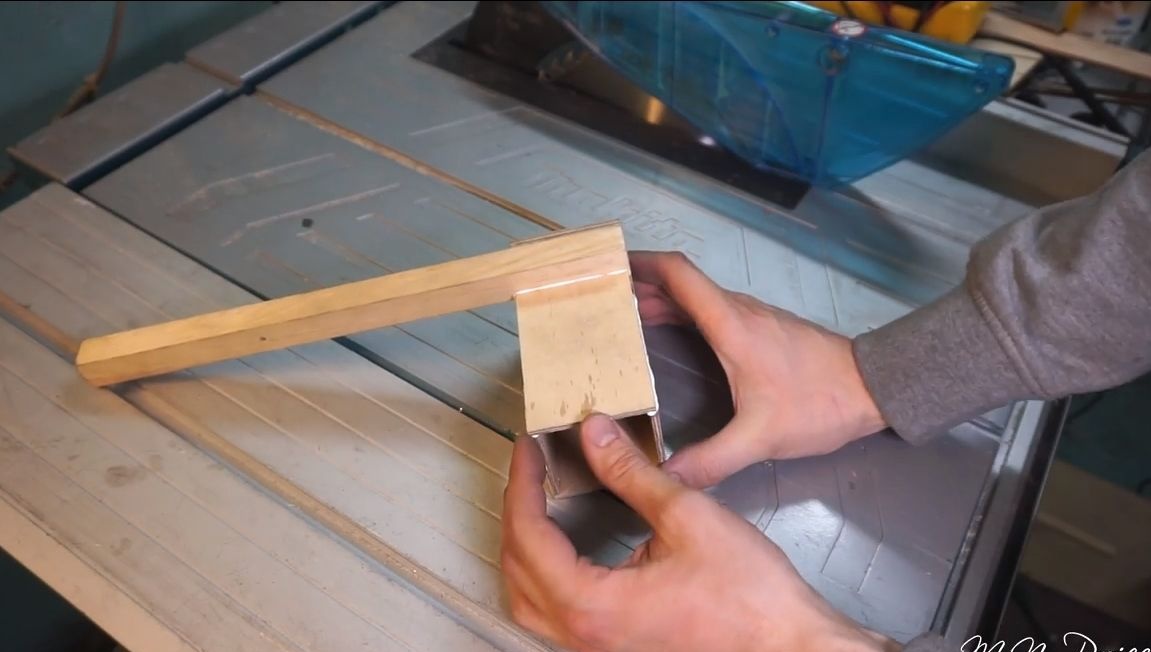
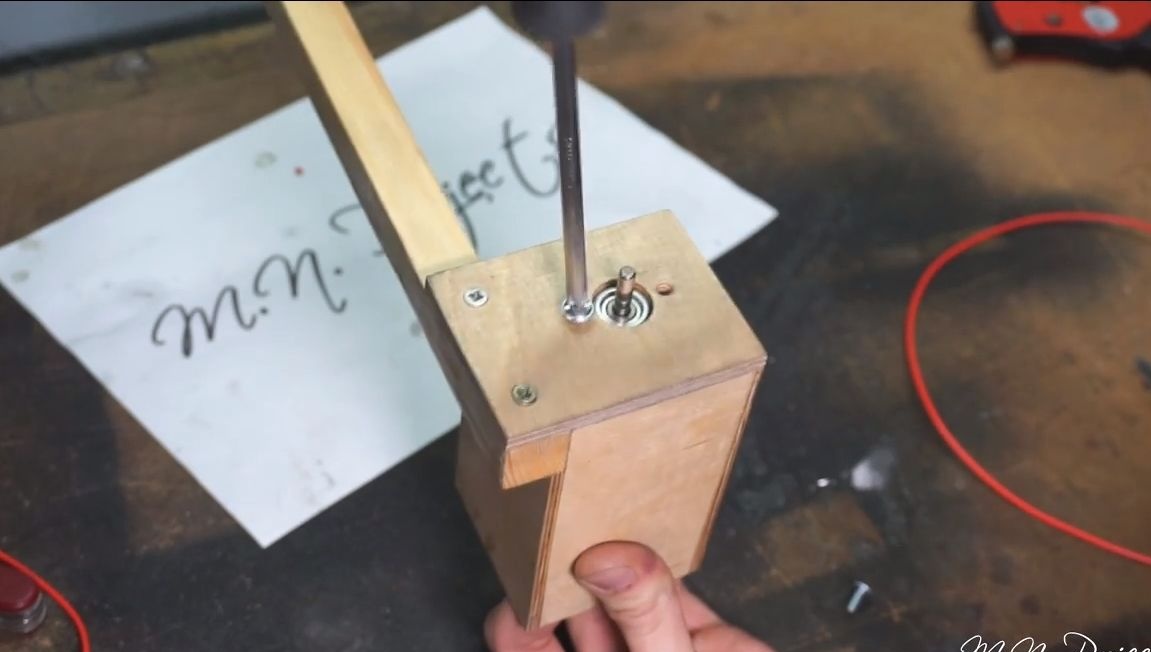
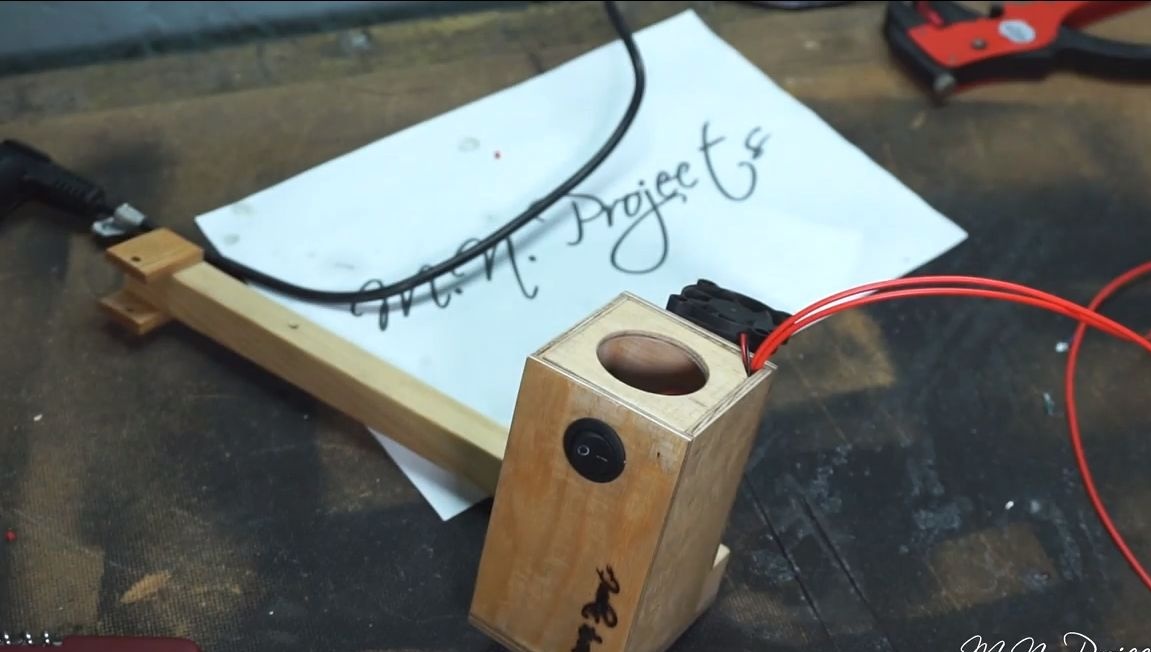
To make the frame, you will need plywood and a small wooden block. A case is made of plywood, the author collects it on wood glue. A hole for the engine, as well as a switch, will be drilled in the housing. As for the wall on which the motor is located, it is screwed to the bar using self-tapping screws for reliability.
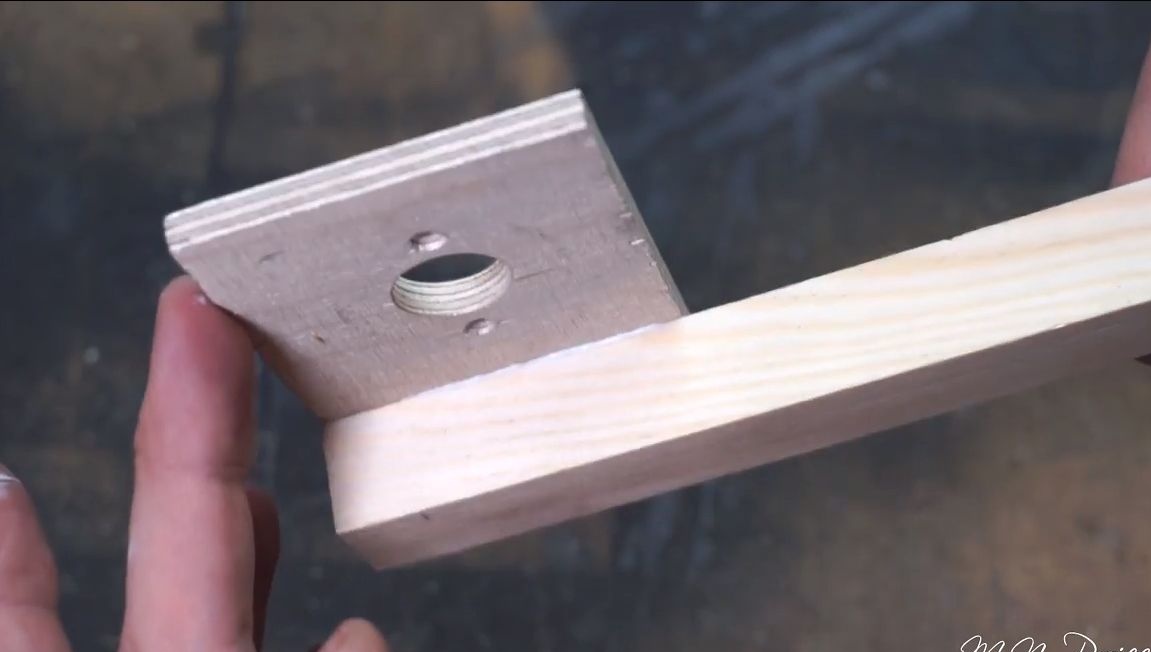
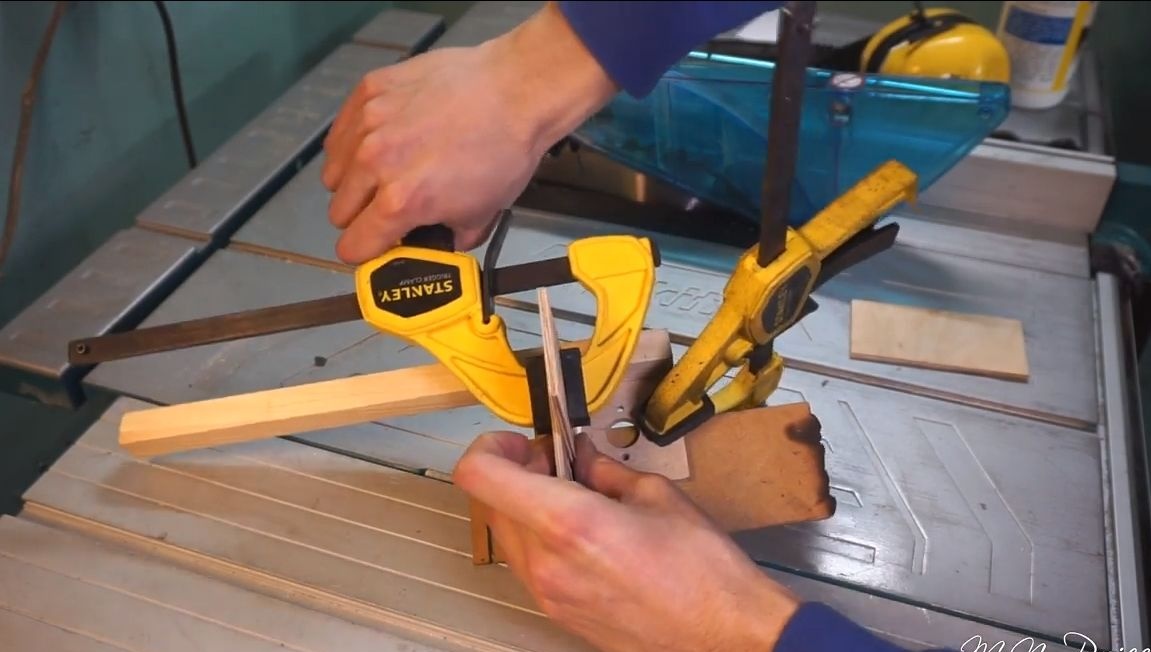
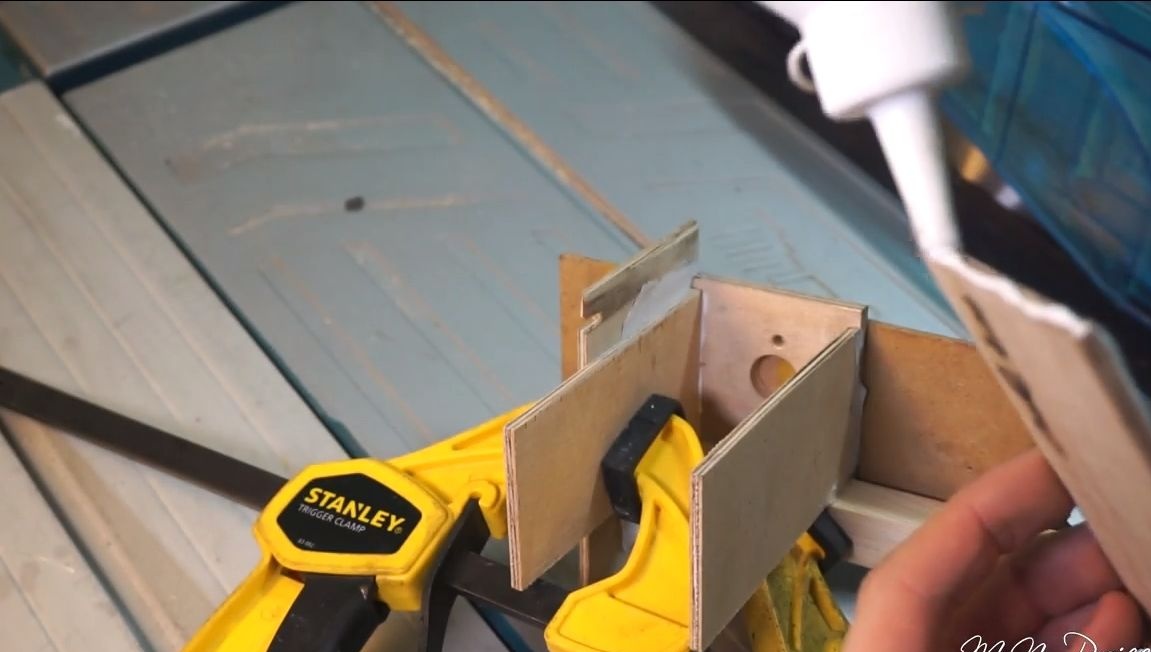
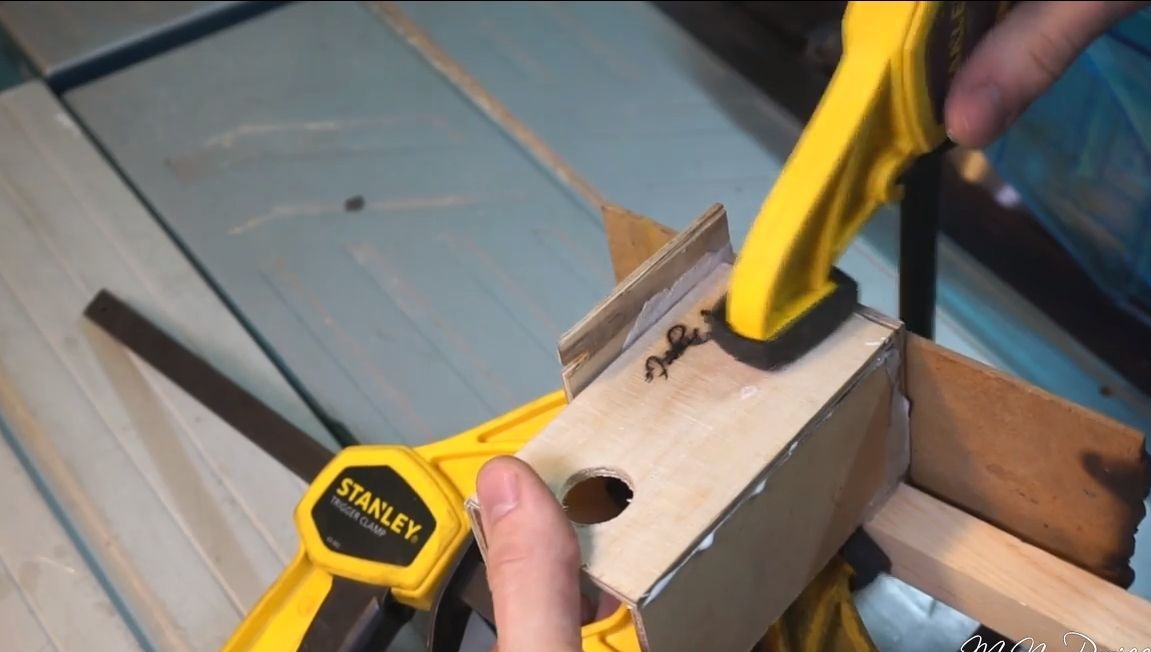
In the housing, it is desirable to drill several ventilation holes from the rear side. At the very top, the author places a bracket, for which a spring will cling.It is made from two pieces of plywood. In conclusion, we paint the whole thing with paint or varnish.
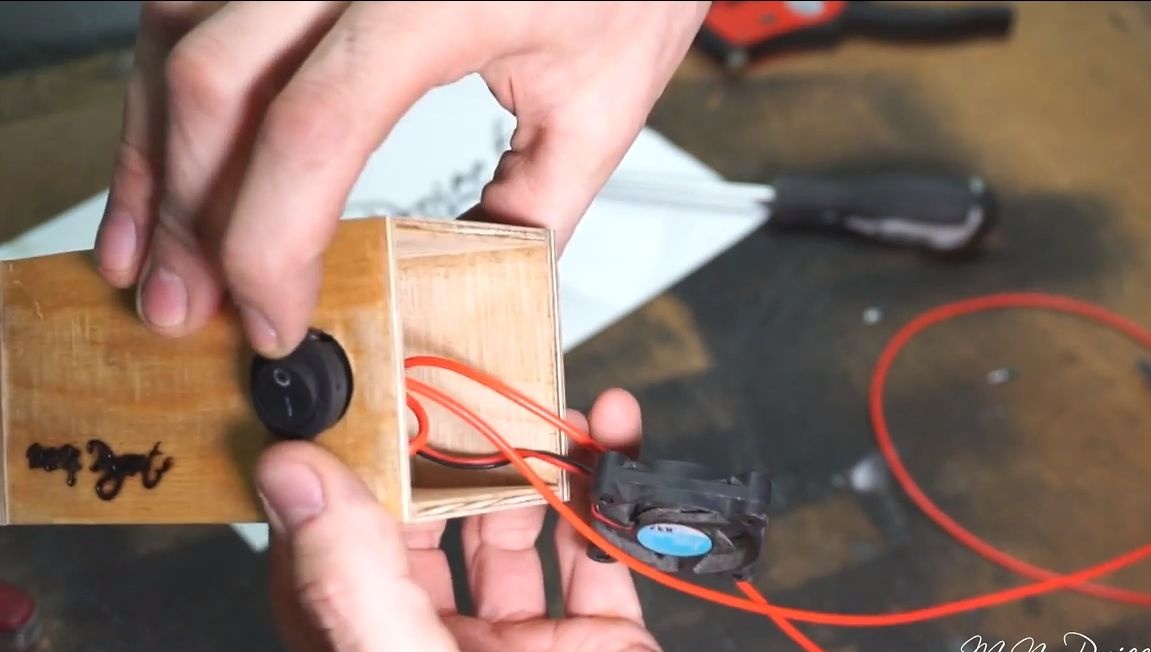
Step Two Set the filling
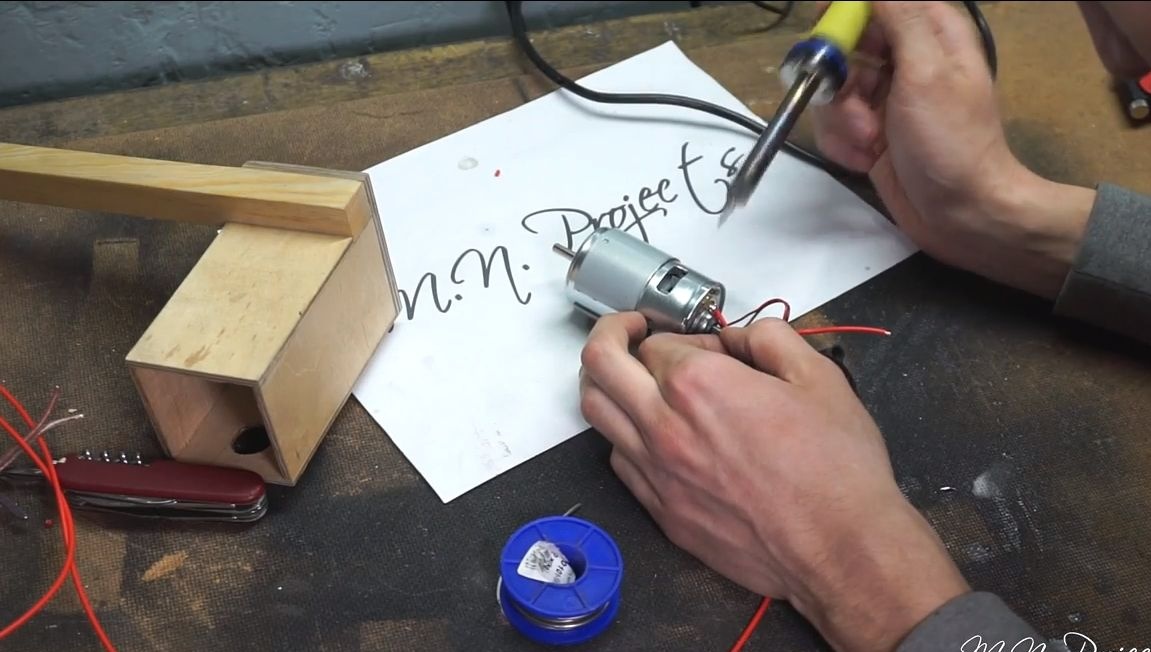
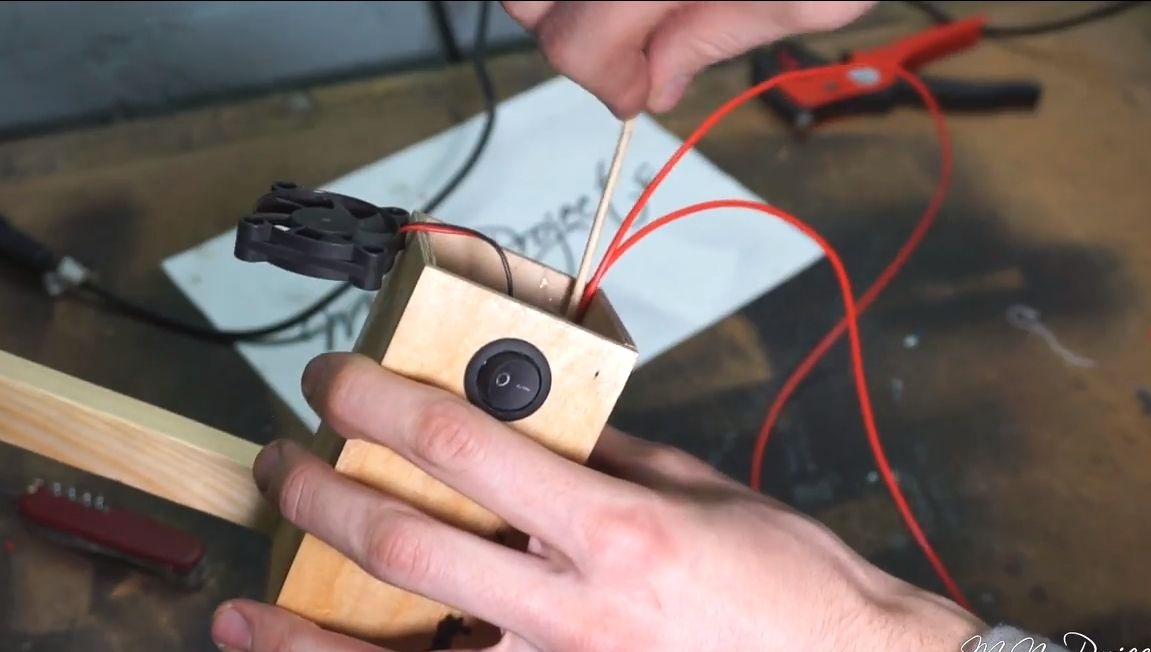
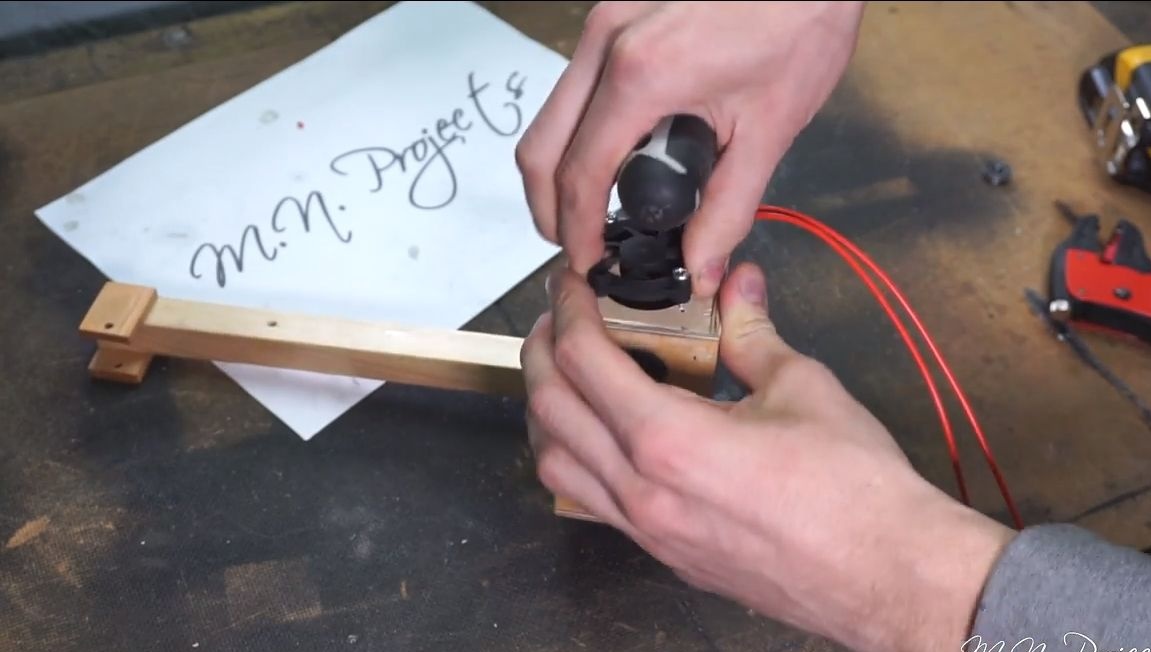
Let's start with the engine, you need to solder the power wires to it, now the motor can be installed in its place. We fix it with two screws. The design also provides for a cooling fan, since it can warm up slightly under load. We install the switch and solder the remaining wires into place.
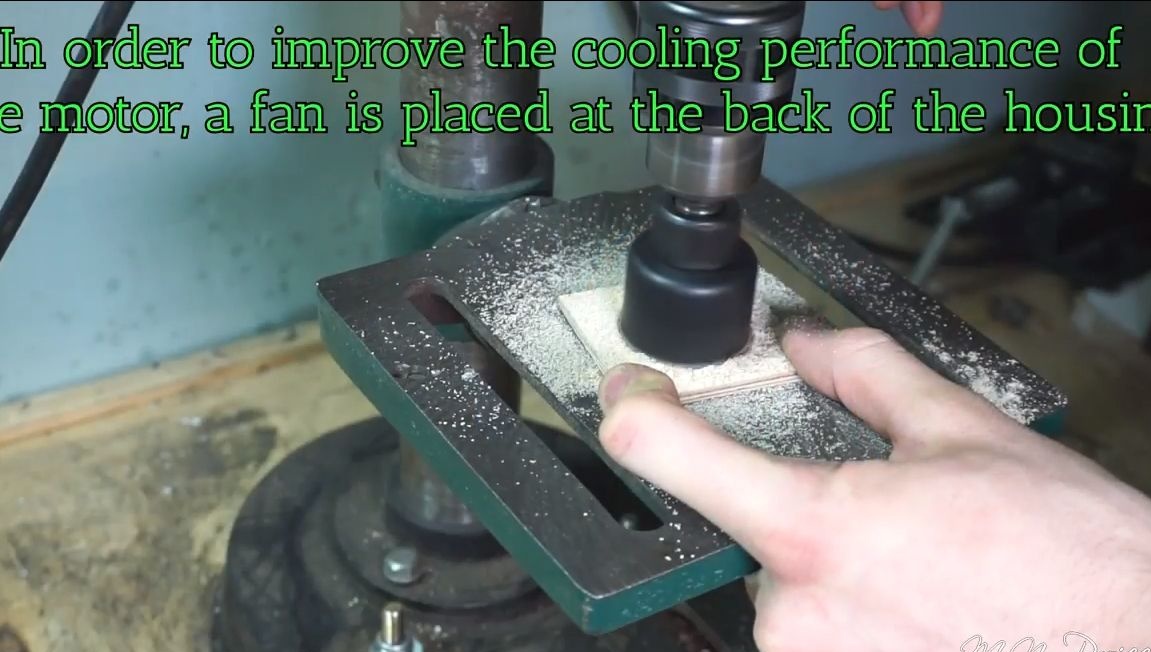
Step Three Fan installation
To install the fan, you need to make the back wall for the case. Take a piece of plywood and drill a hole in it along the diameter of the existing fan. The fan itself can be fixed with screws and nuts. Glue the back wall with PVA glue or the like. The wires inside the housing must also be firmly fixed so as not to break the contacts. Hot glue is suitable for these purposes.
Step Four Wheel manufacturing and installation
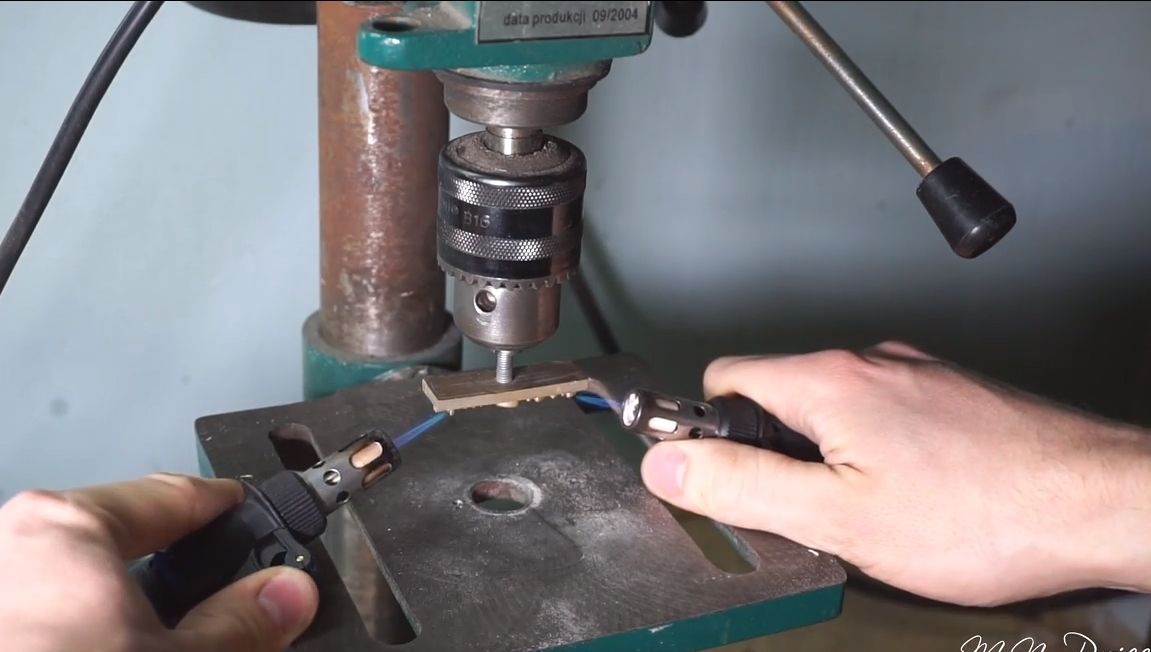
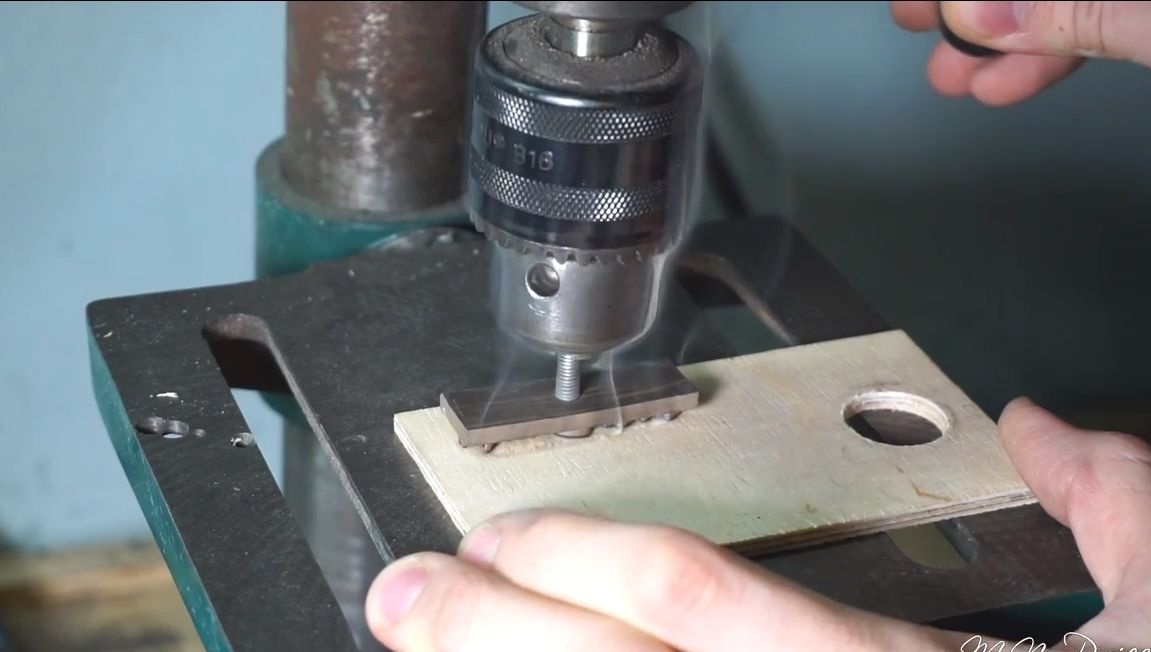
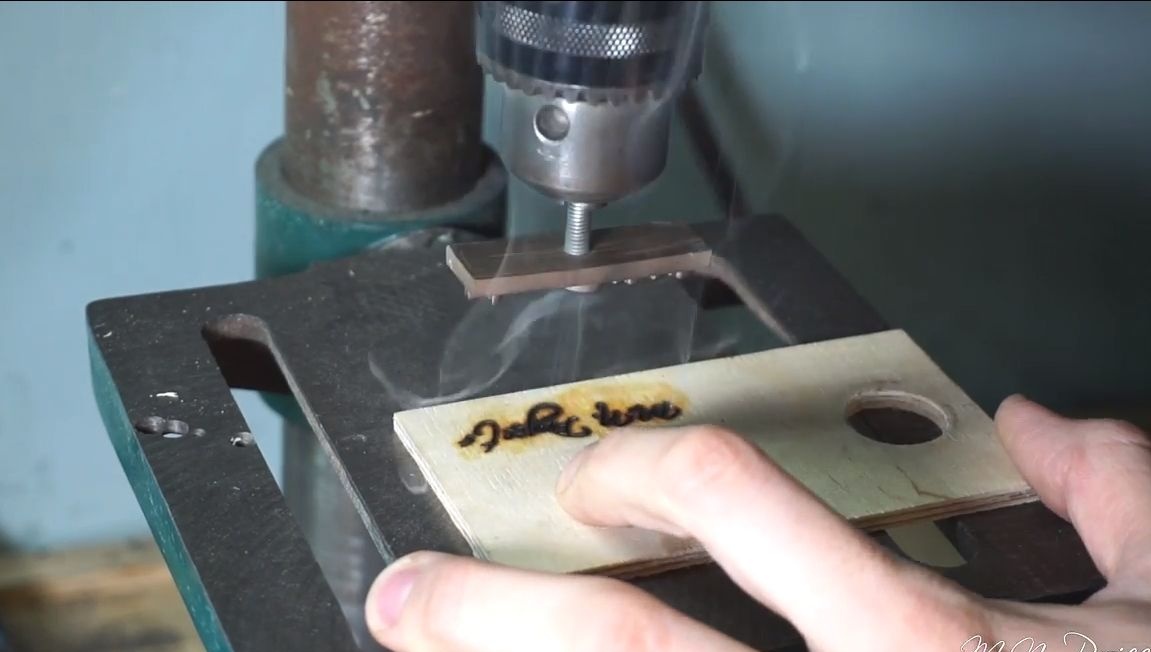
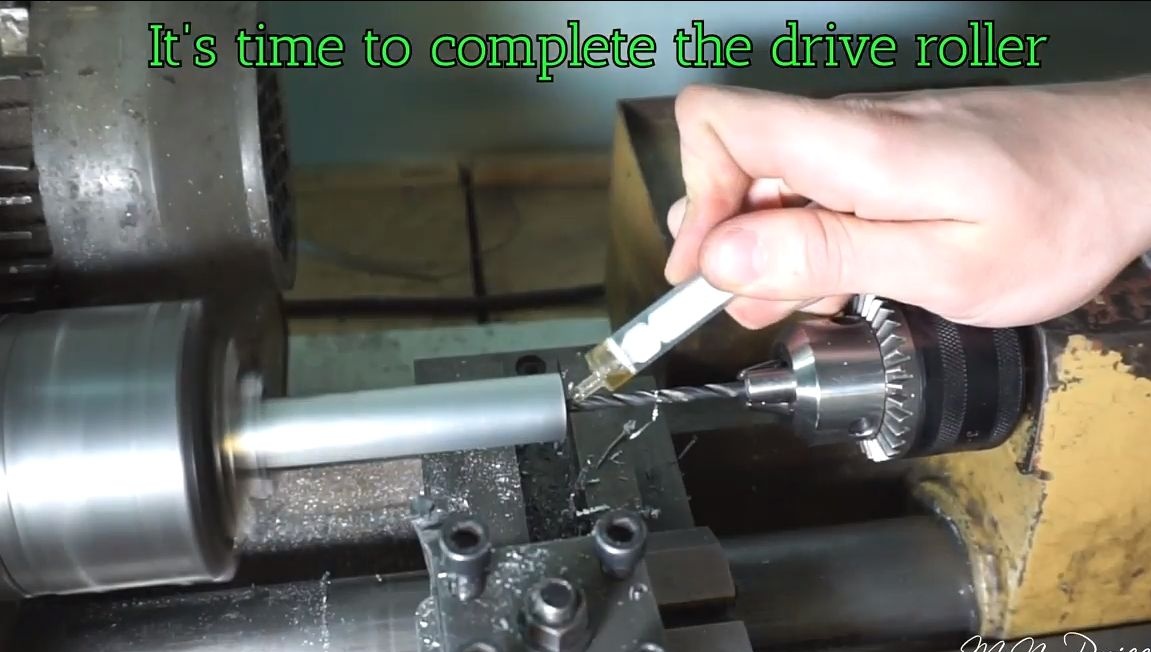
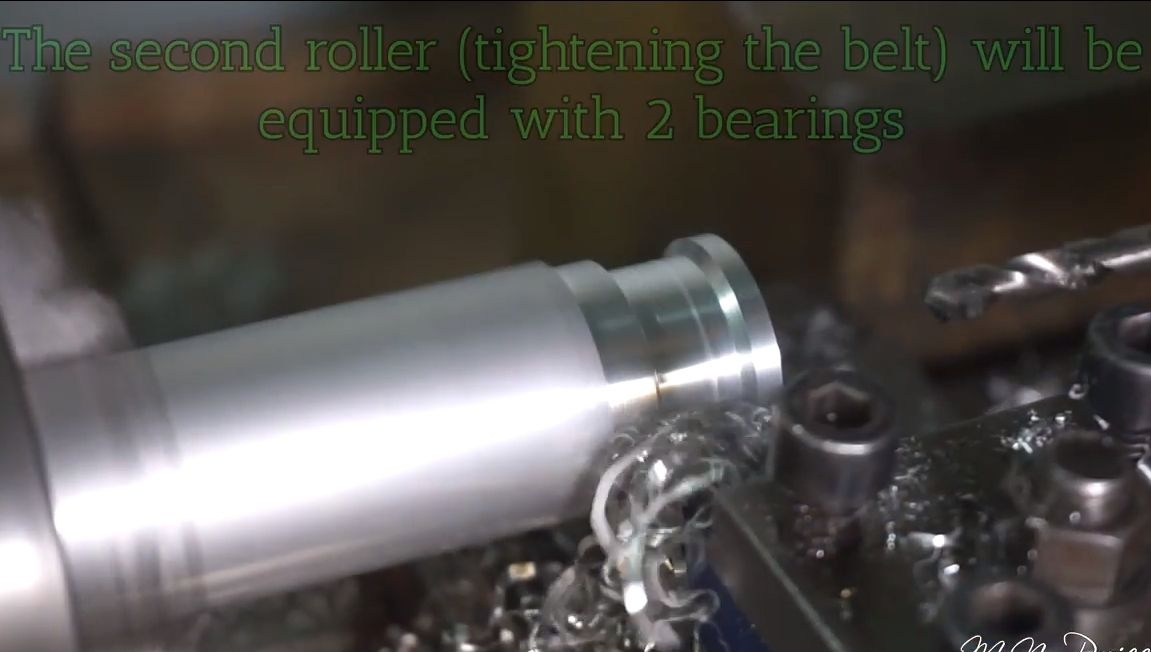
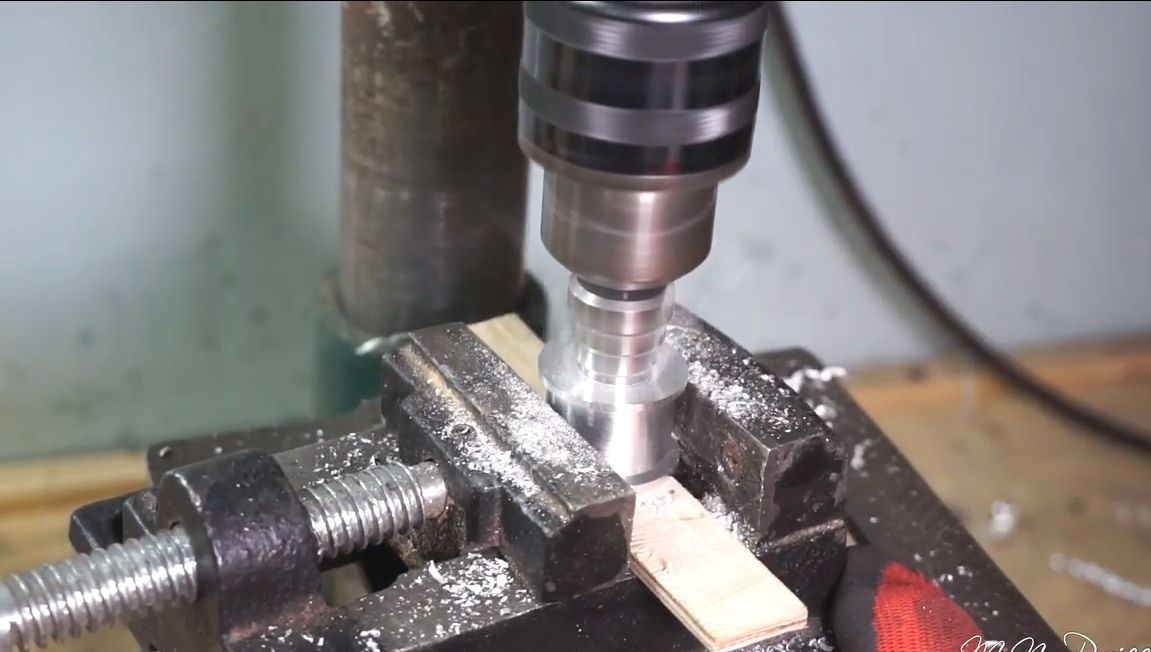
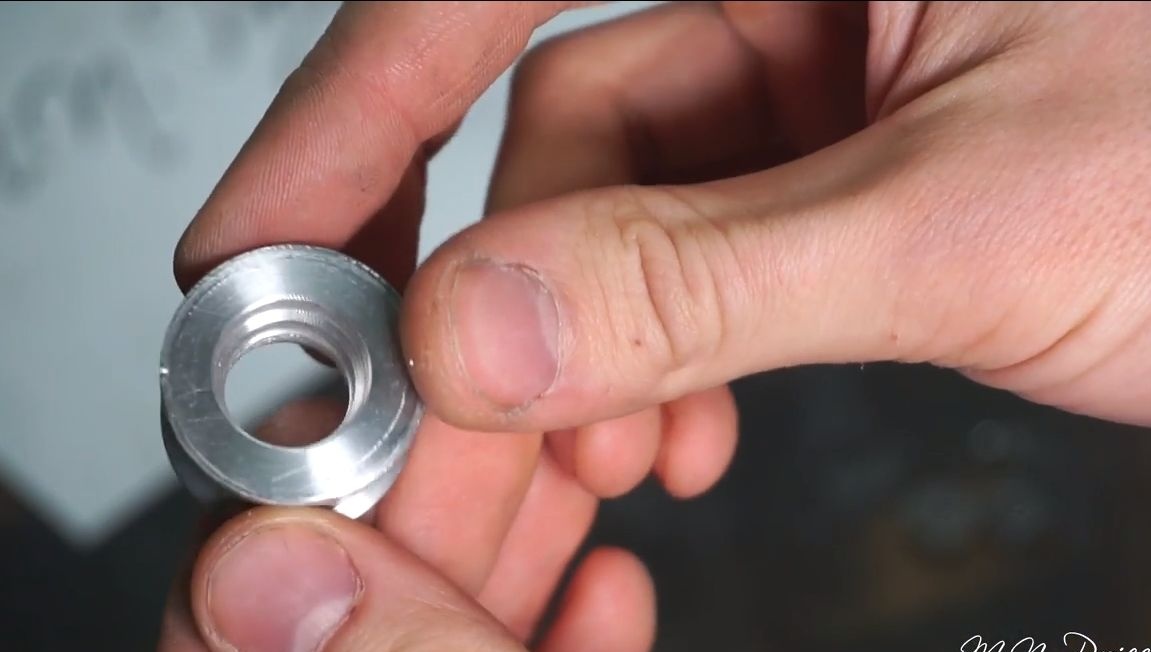
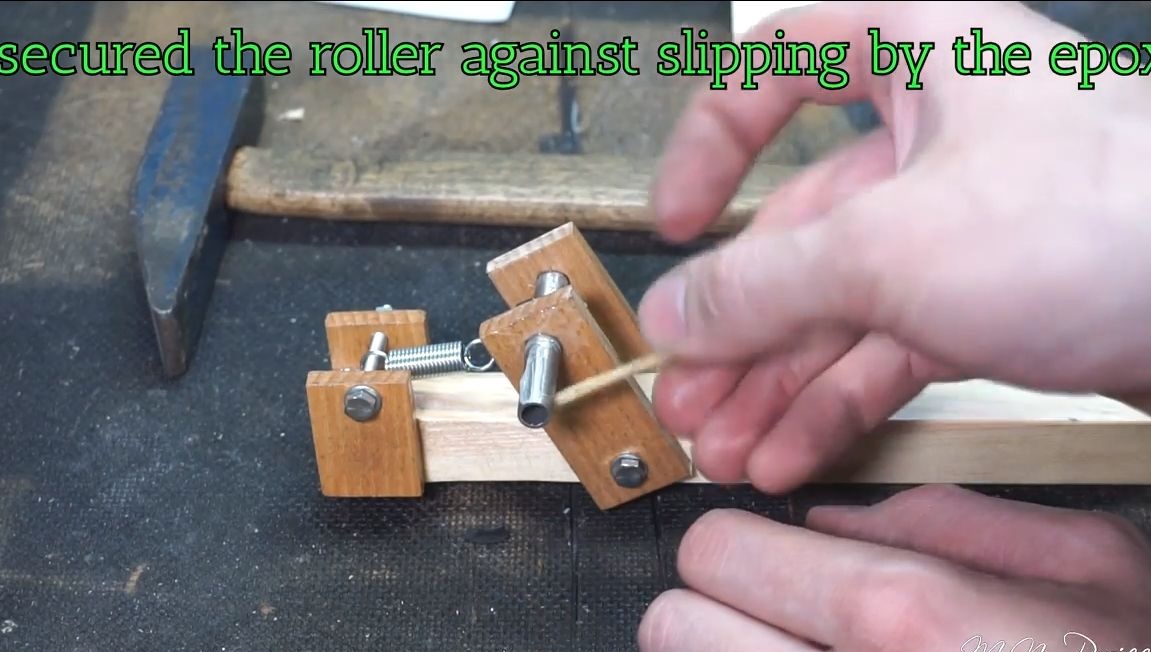
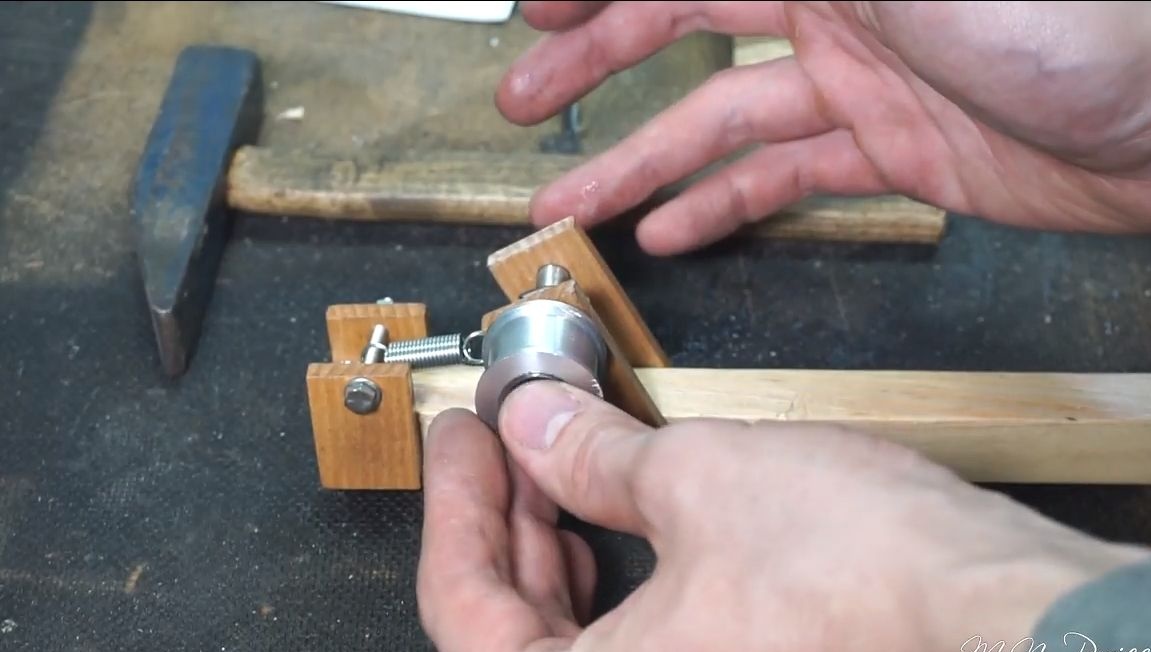
The author makes the driven and driving wheel of aluminum, here you will need a lathe. Let's start with the driven wheel, drill a hole under the motor shaft inside and process the wheel from the outside. Further, when the wheel is ready, the author puts a piece of rubber hose on it, thanks to the rubber the wheel will not slip. Fasten the drive wheel to the shaft with epoxy glue.
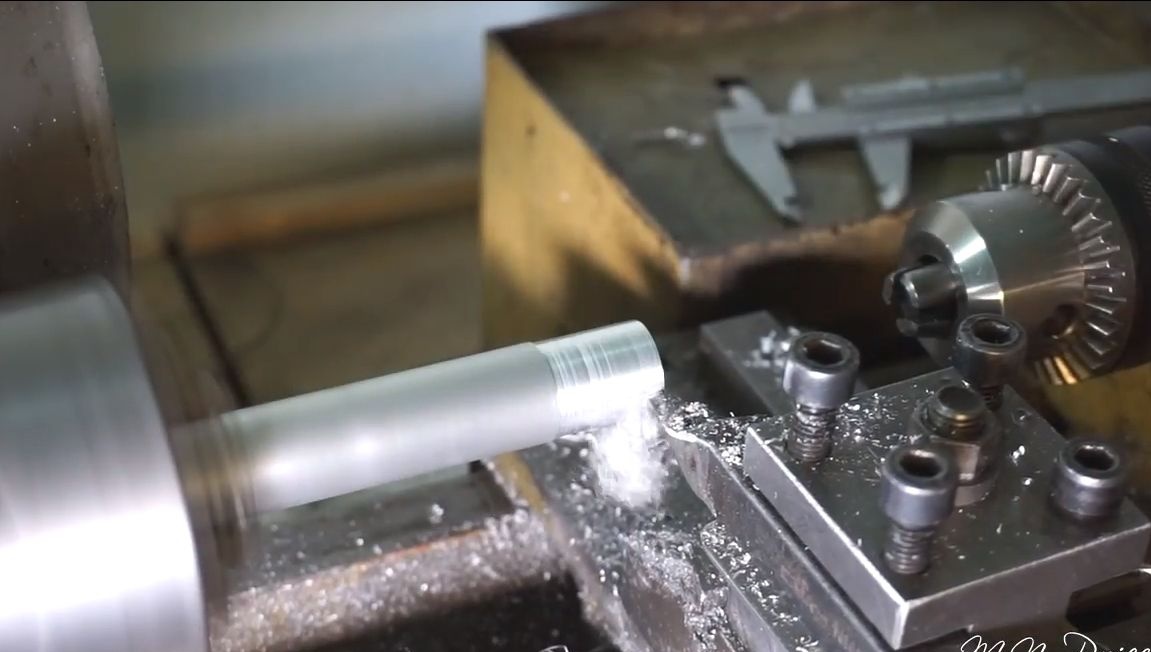

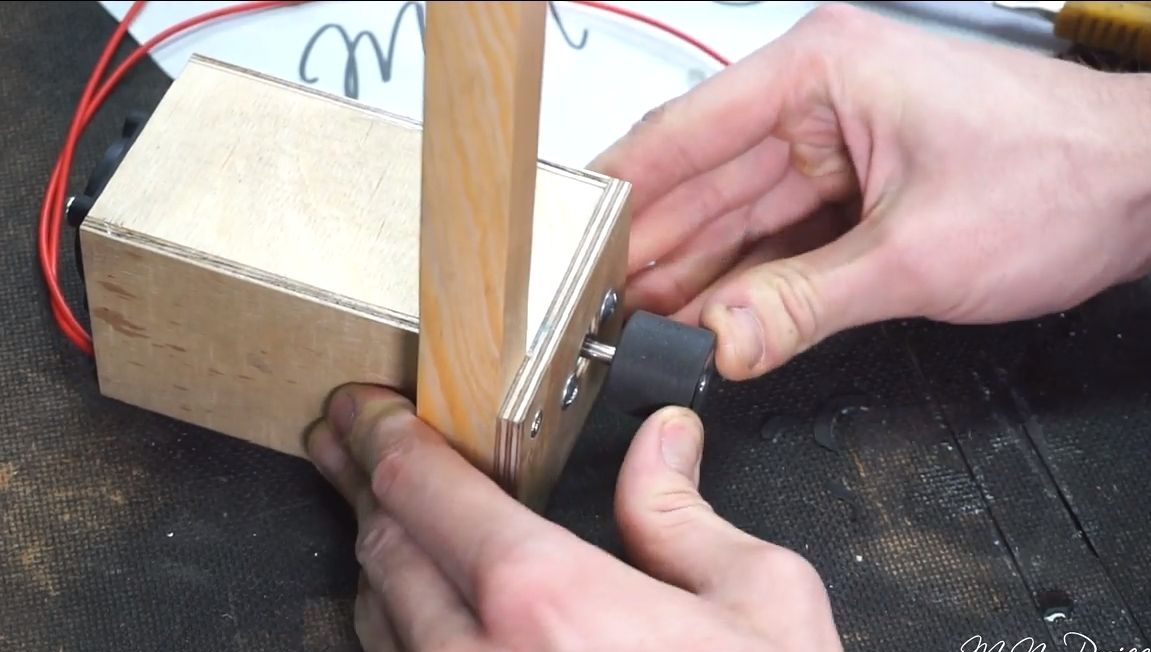
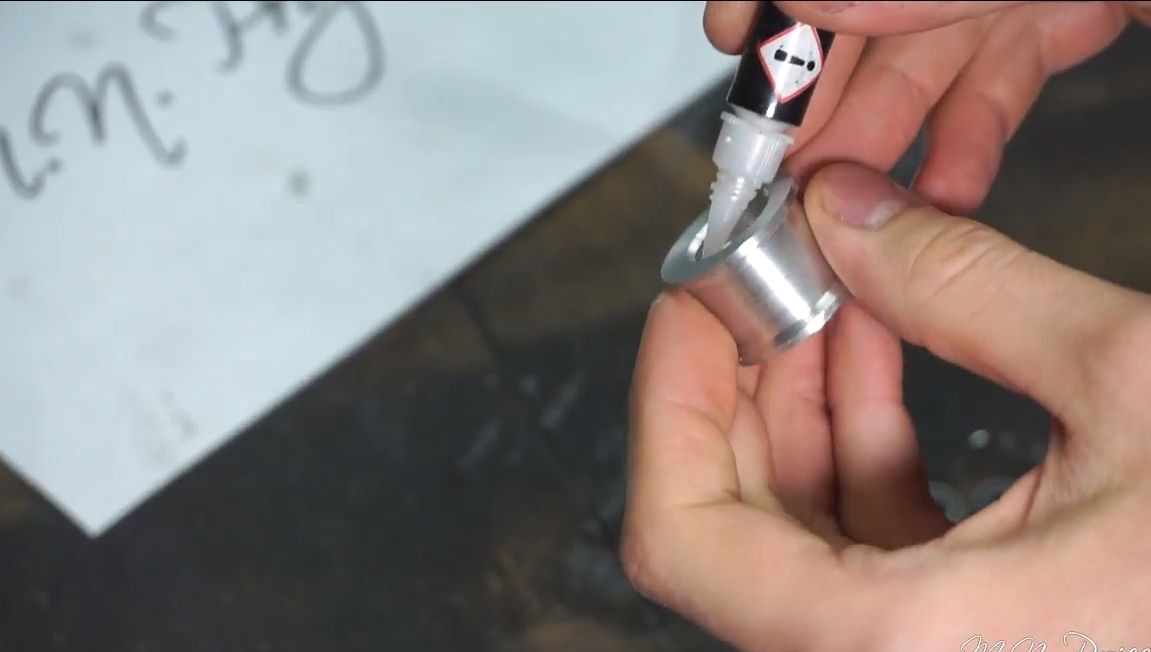
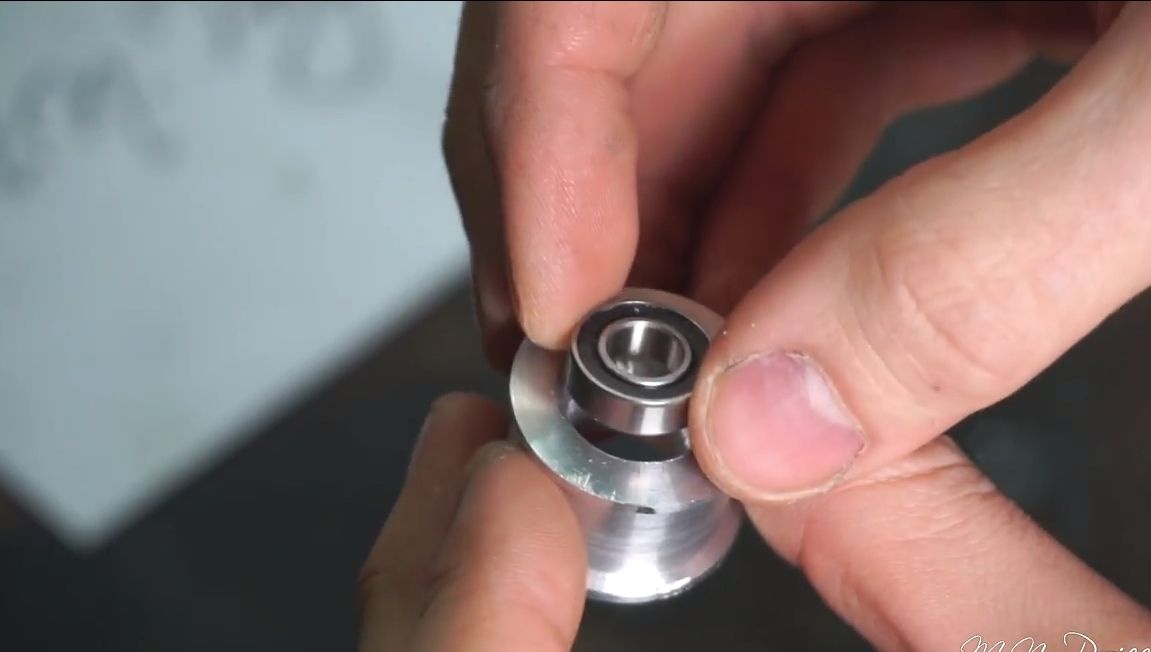
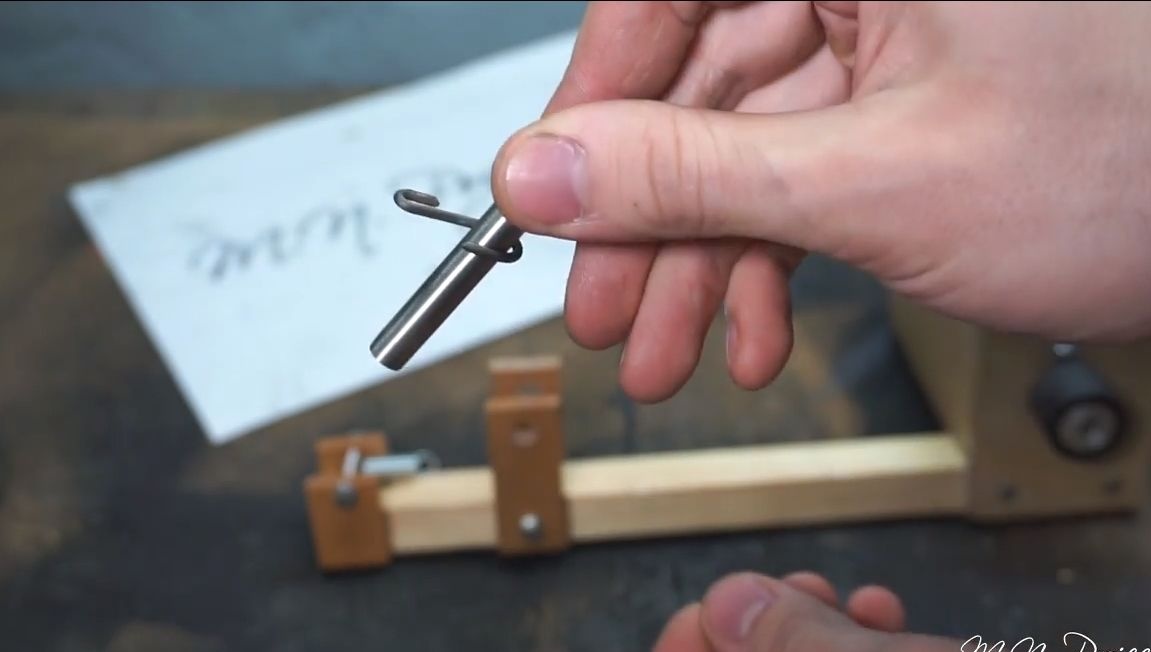
As for the driven wheel, it has a groove in the center so that the grinding belt does not fly off. This wheel is also located on the bearing, under it you need to squander the seat. The bearing is glued to superglue.
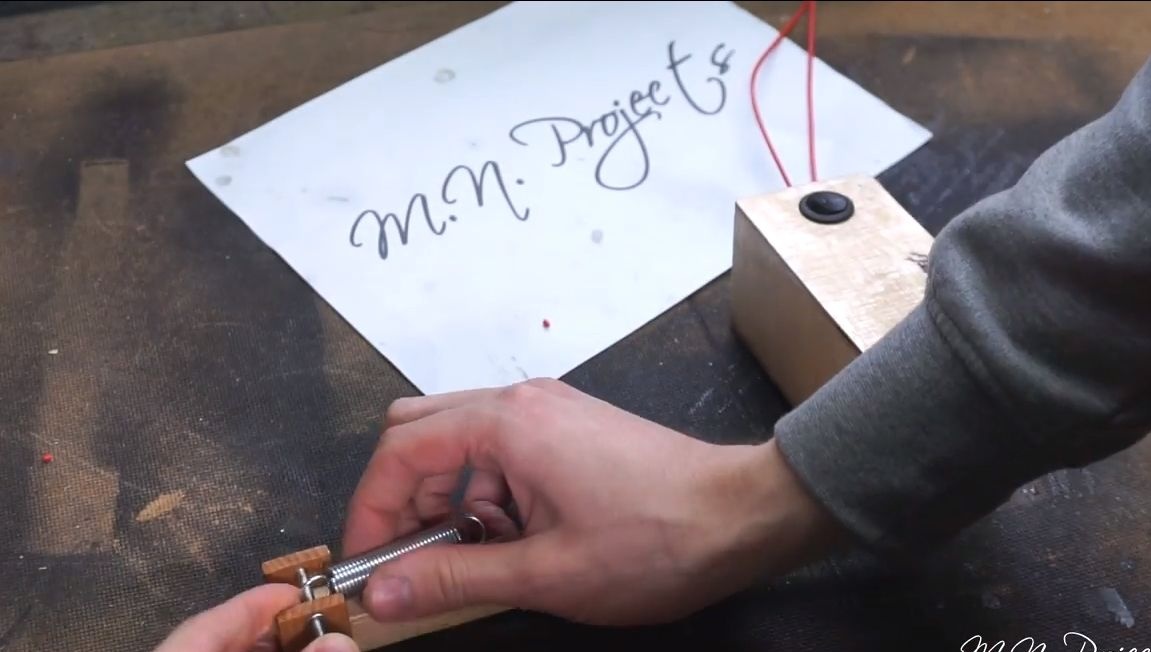
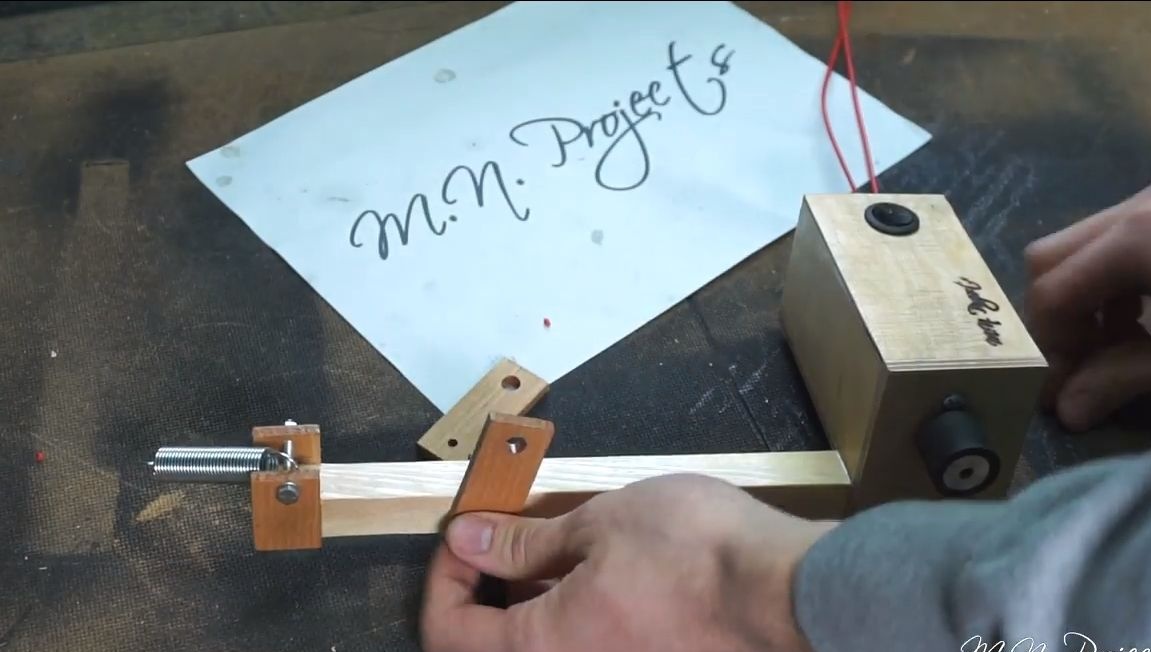

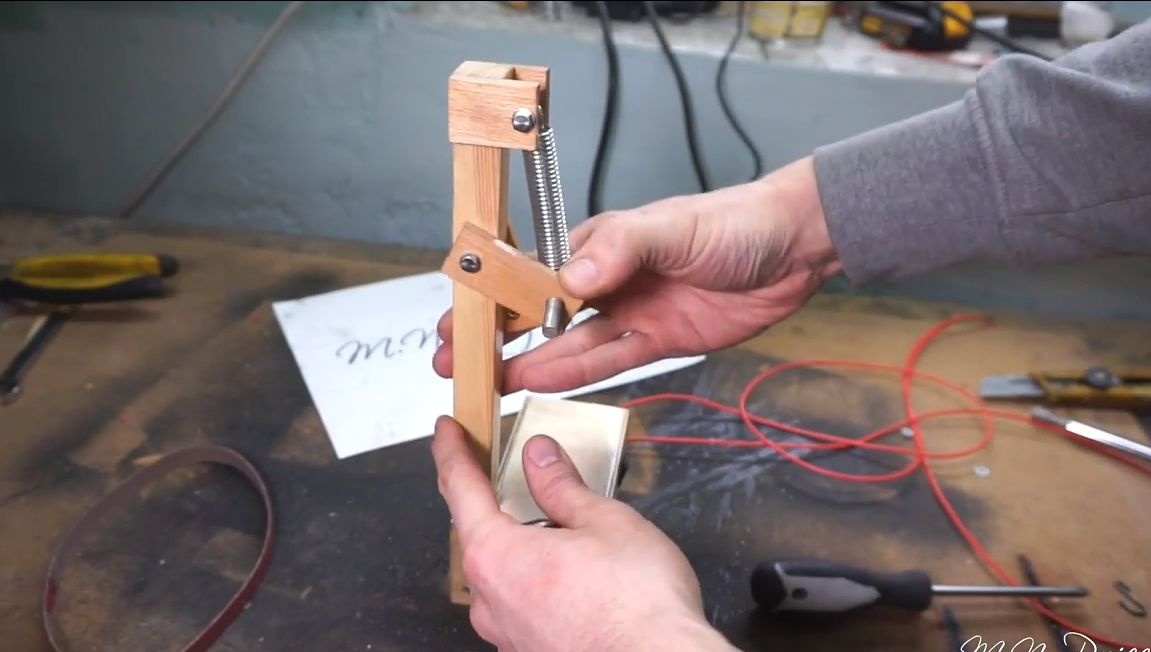
Step Five Set the tensioner
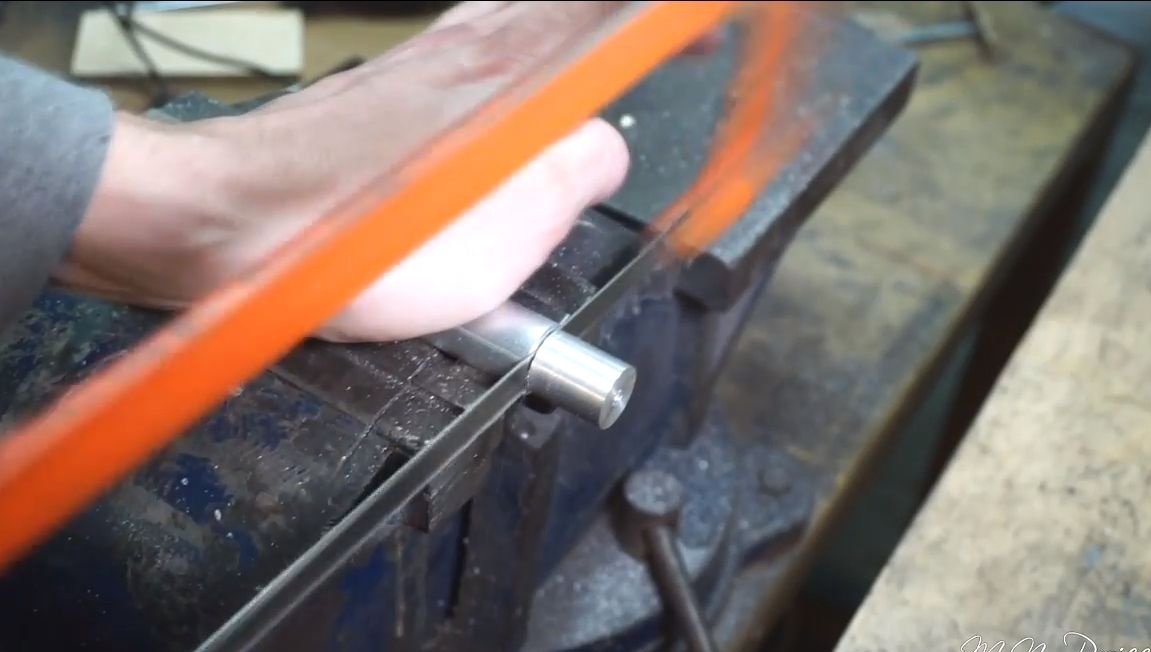
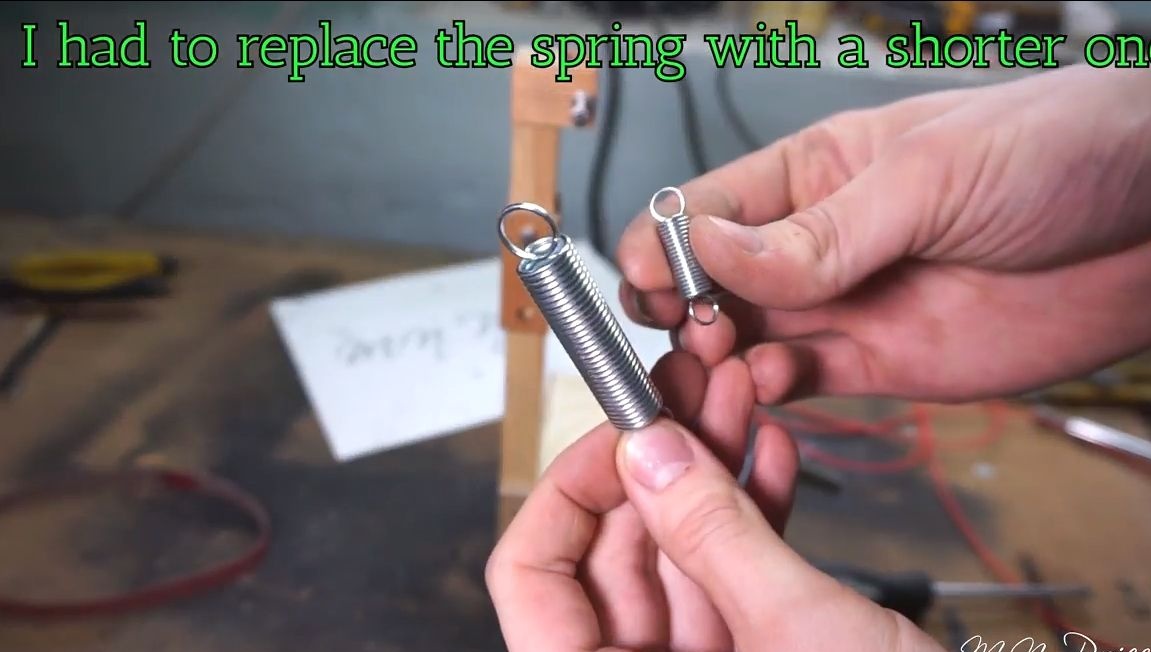
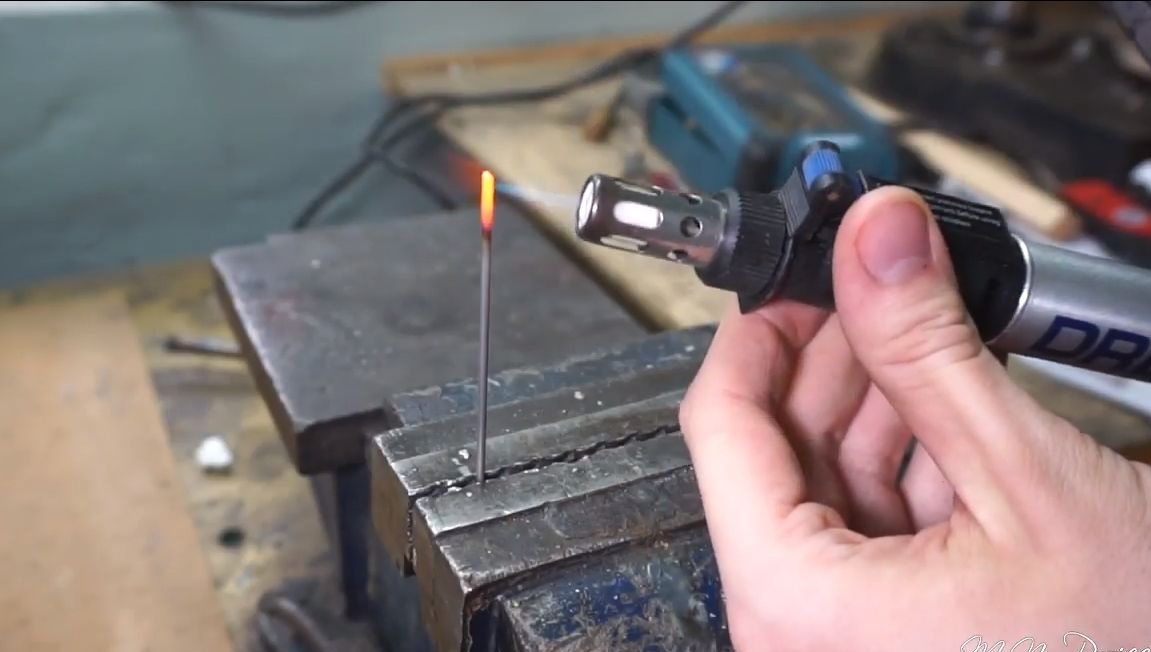
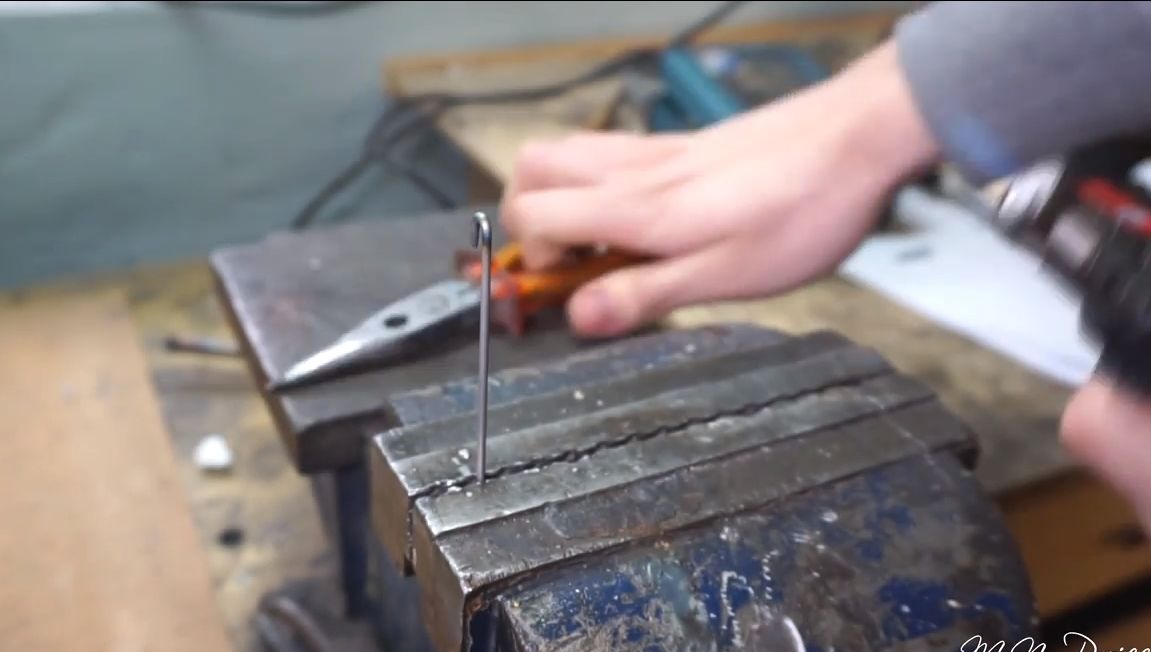
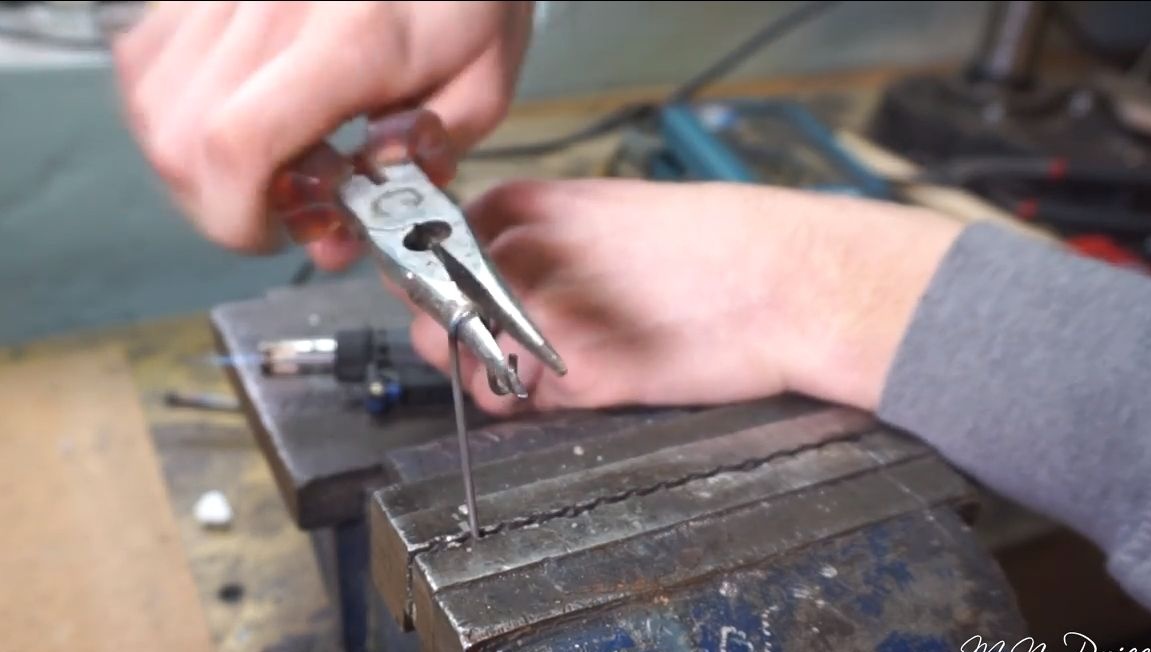
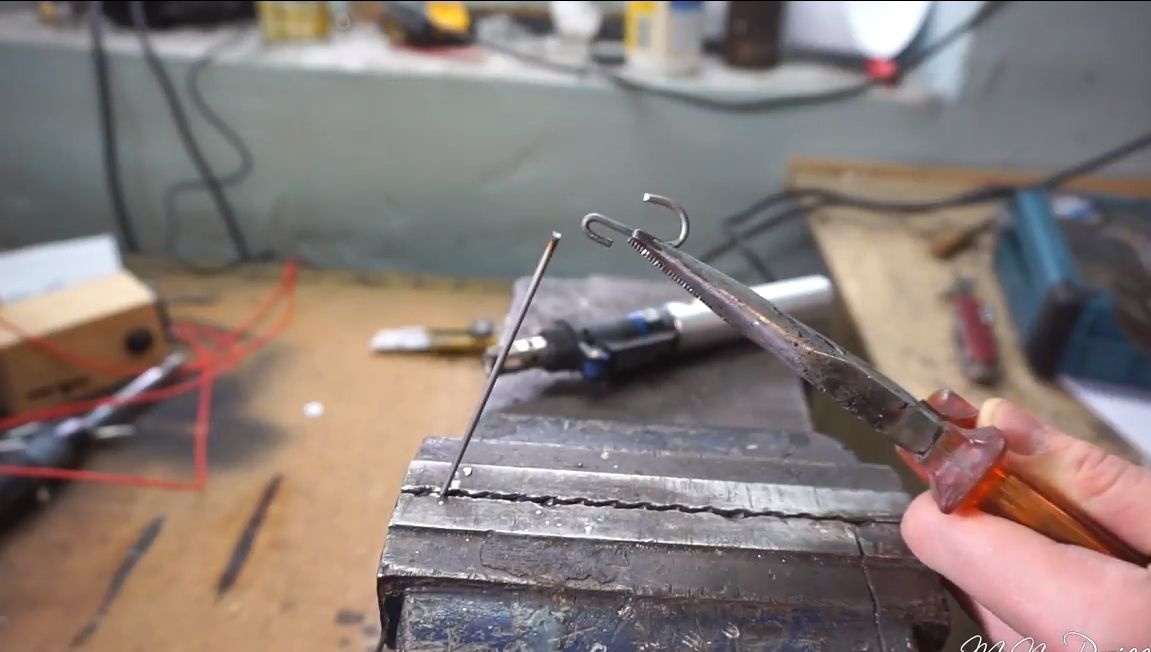
A spring is used as a tensioner, thanks to which the grinding belt will always be tensioned. The first tests showed that the spring chosen by the author does not tension the belt properly. To solve this problem, a shorter spring was chosen, and so that it reached the axis of the driven wheel, the author fastens it with a wire hook. By the way, the wire easily bends if it is heated red-hot.
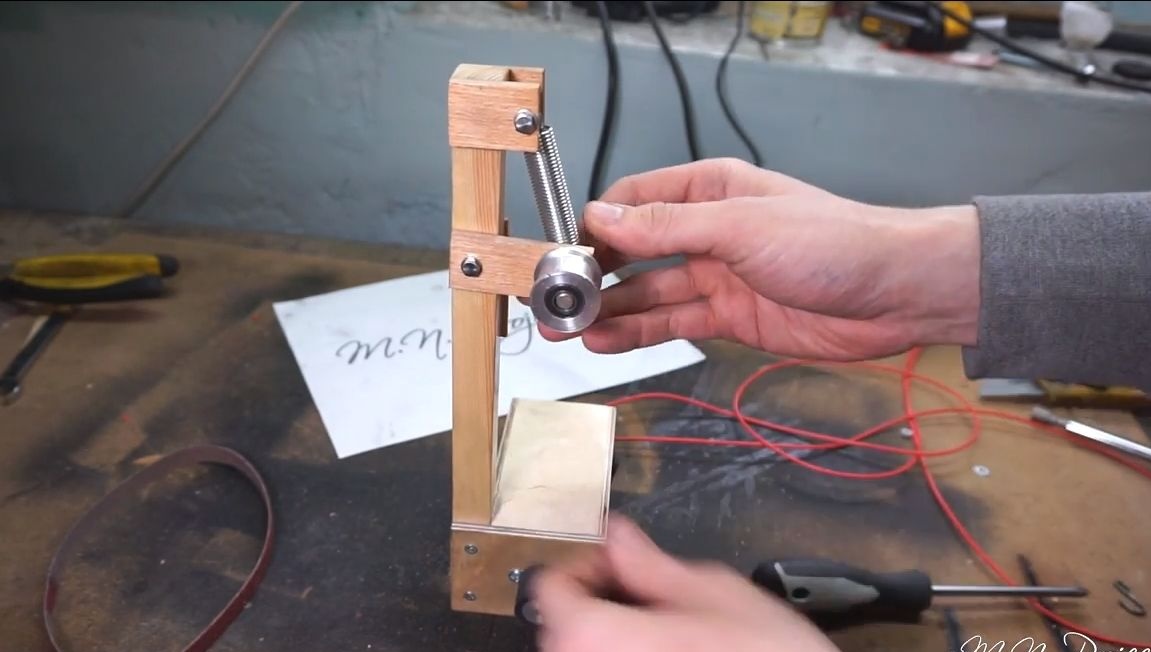

Now everything can be assembled. We thoroughly lubricate the axle and bearing, install the driven wheel in its place. Put on the belt and make sure it is tight.
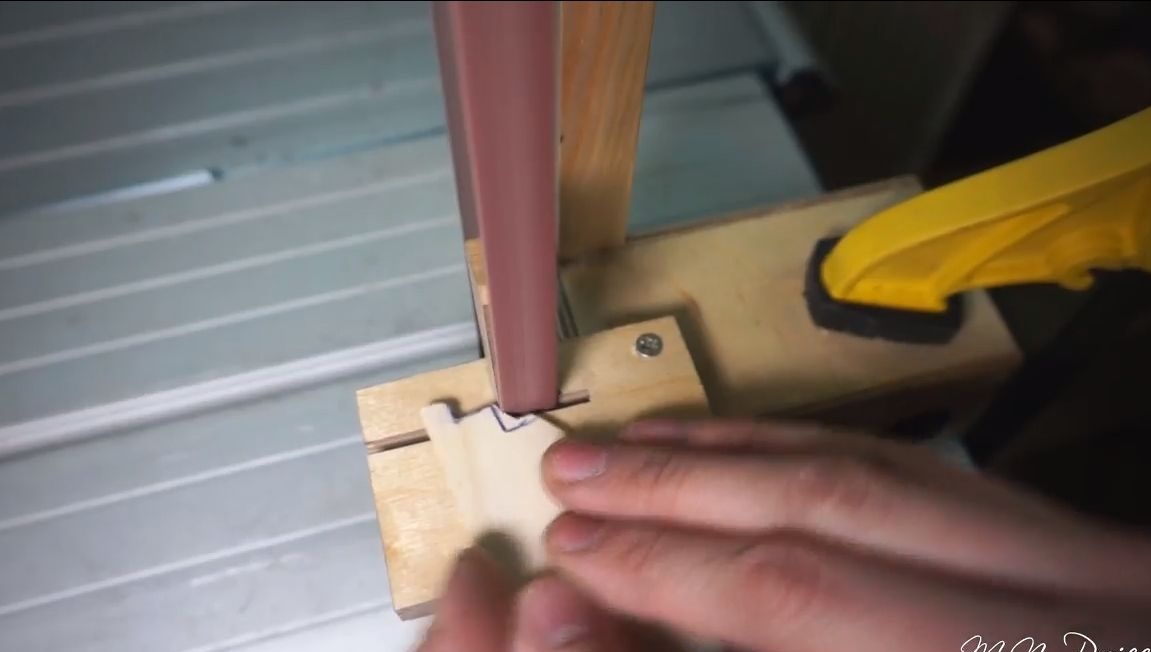
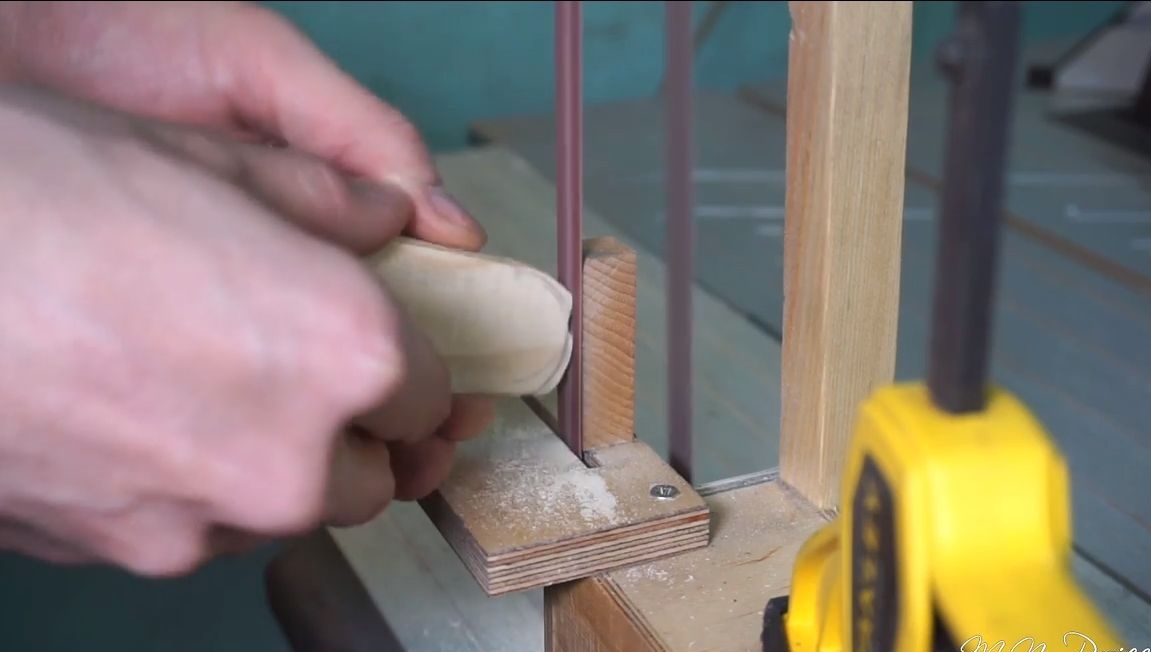
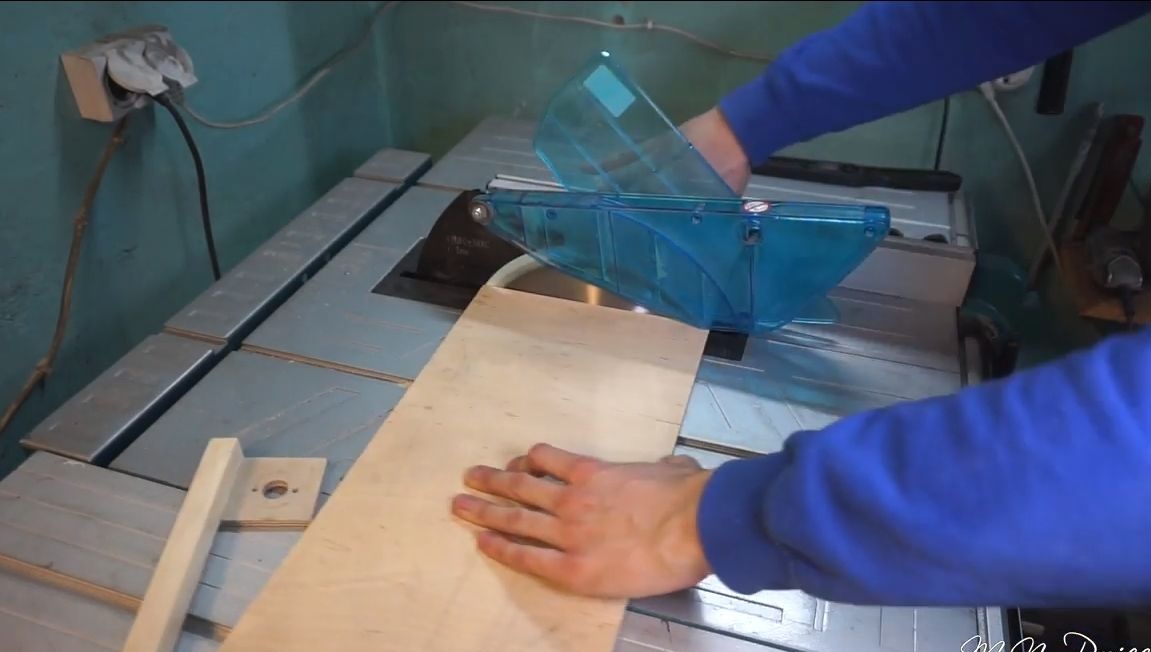
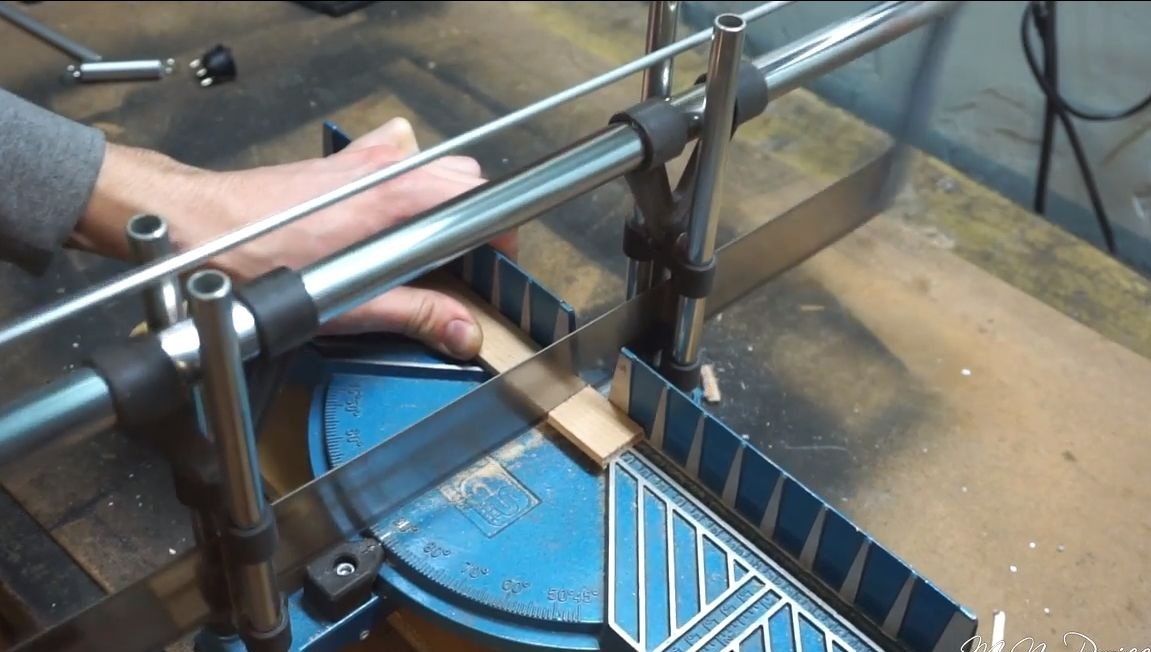
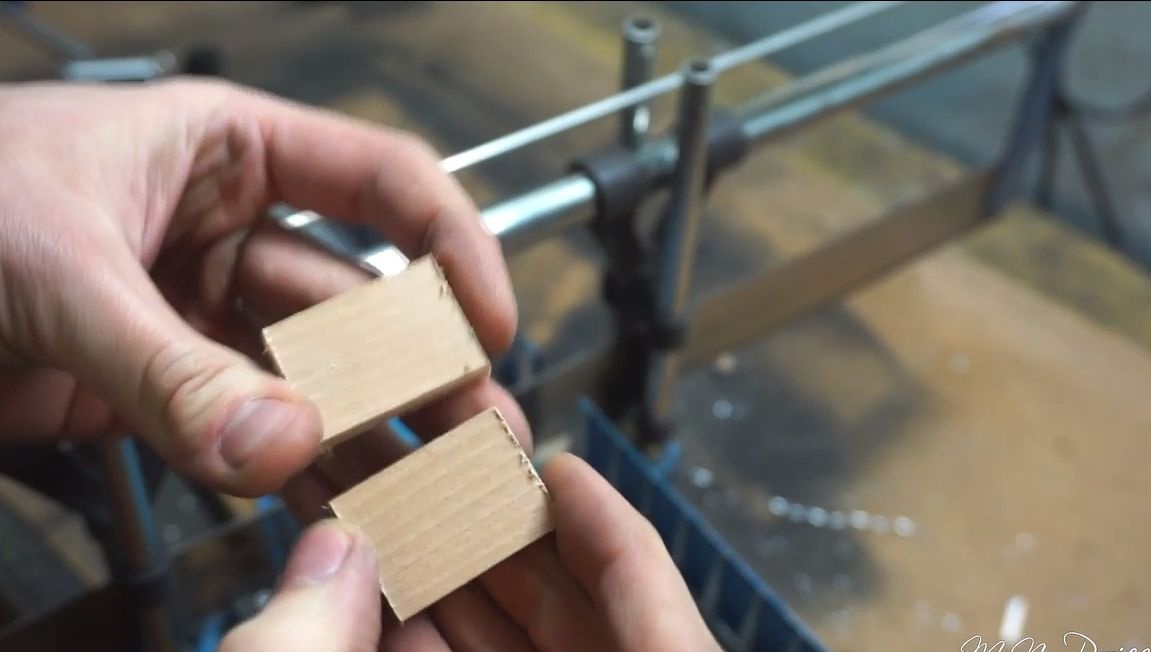
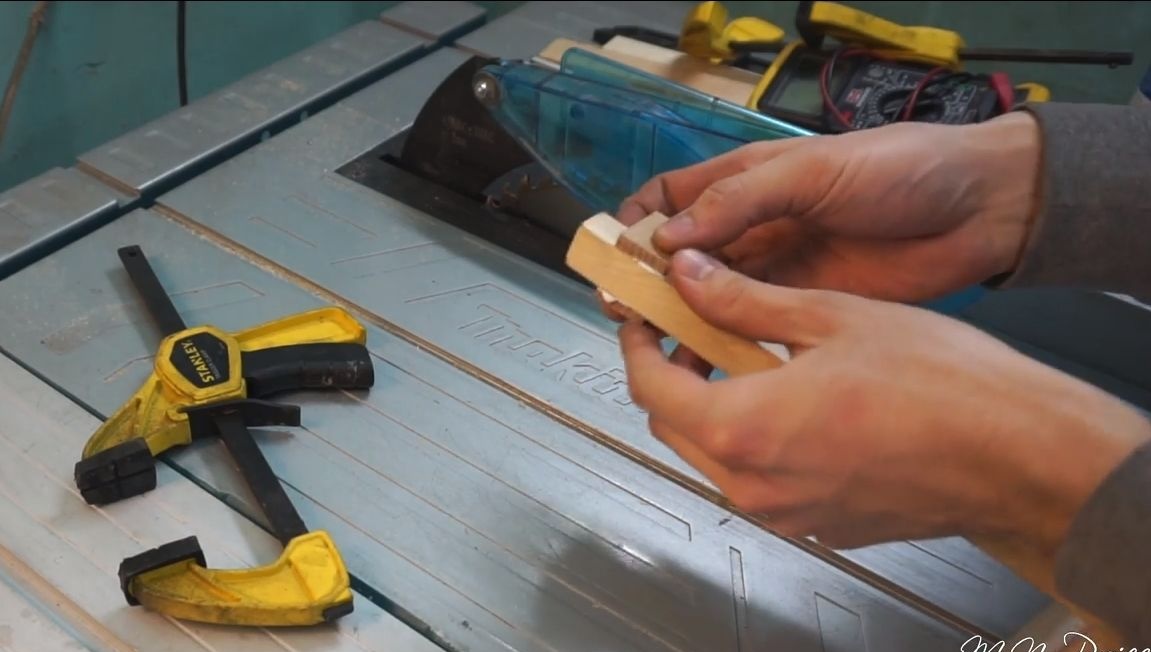
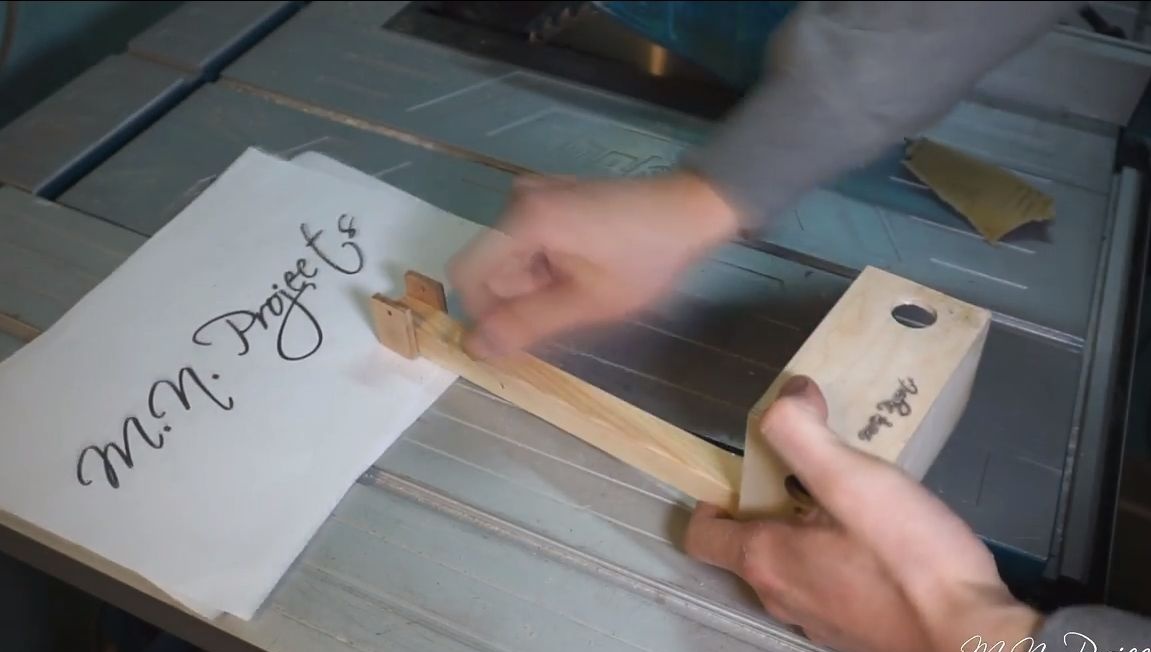
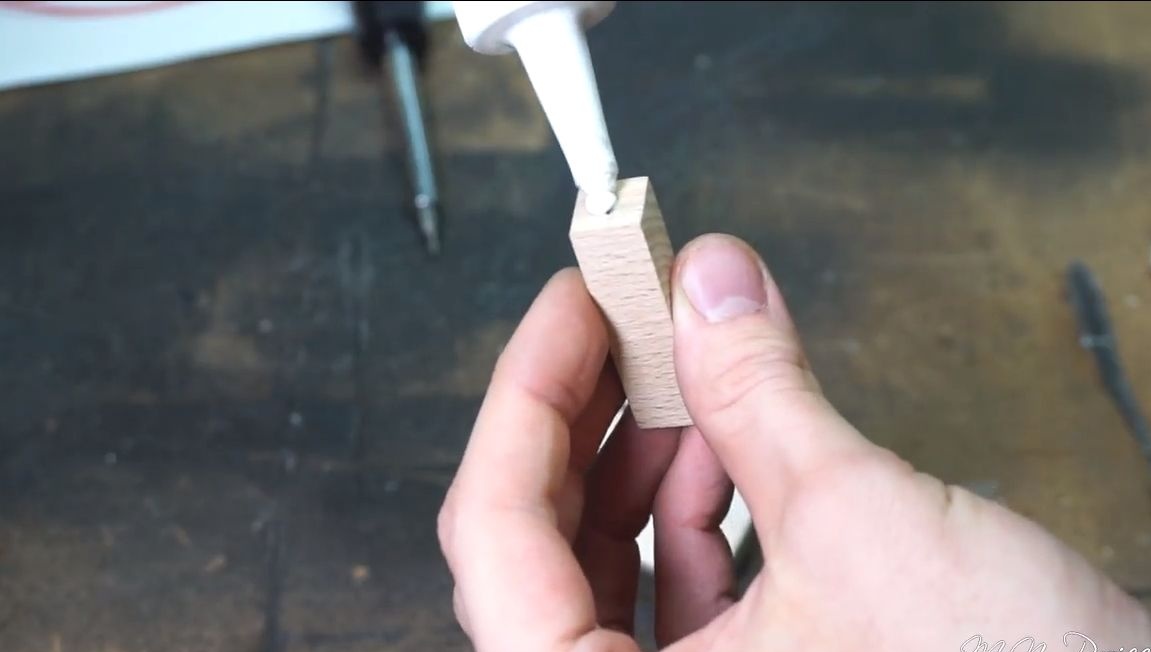
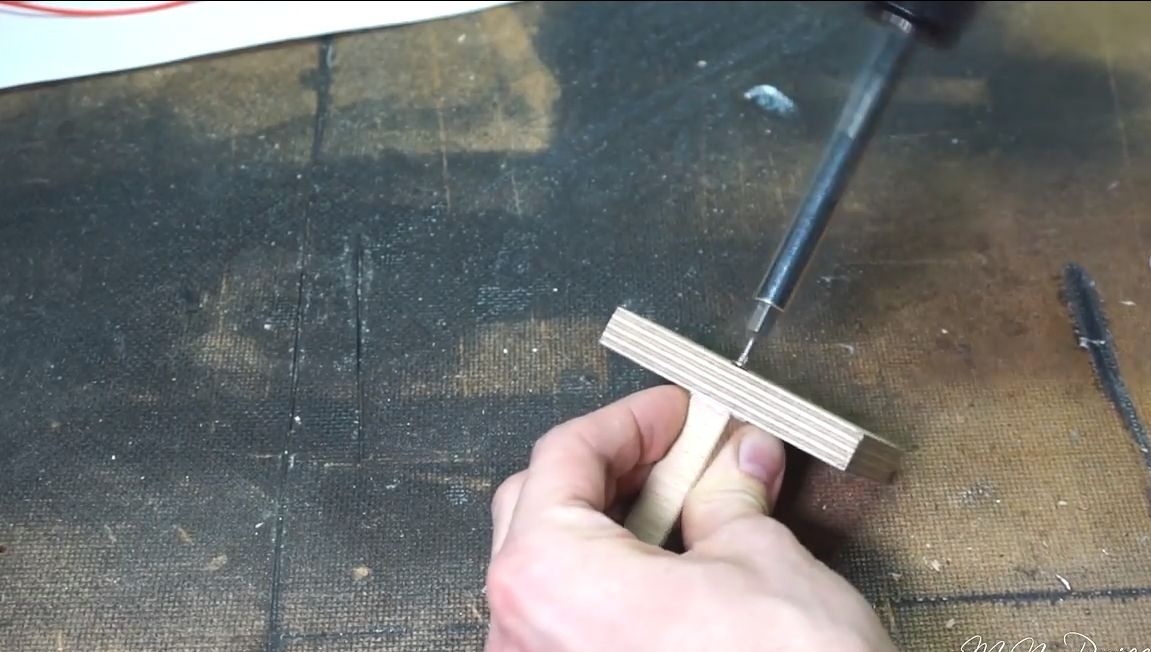
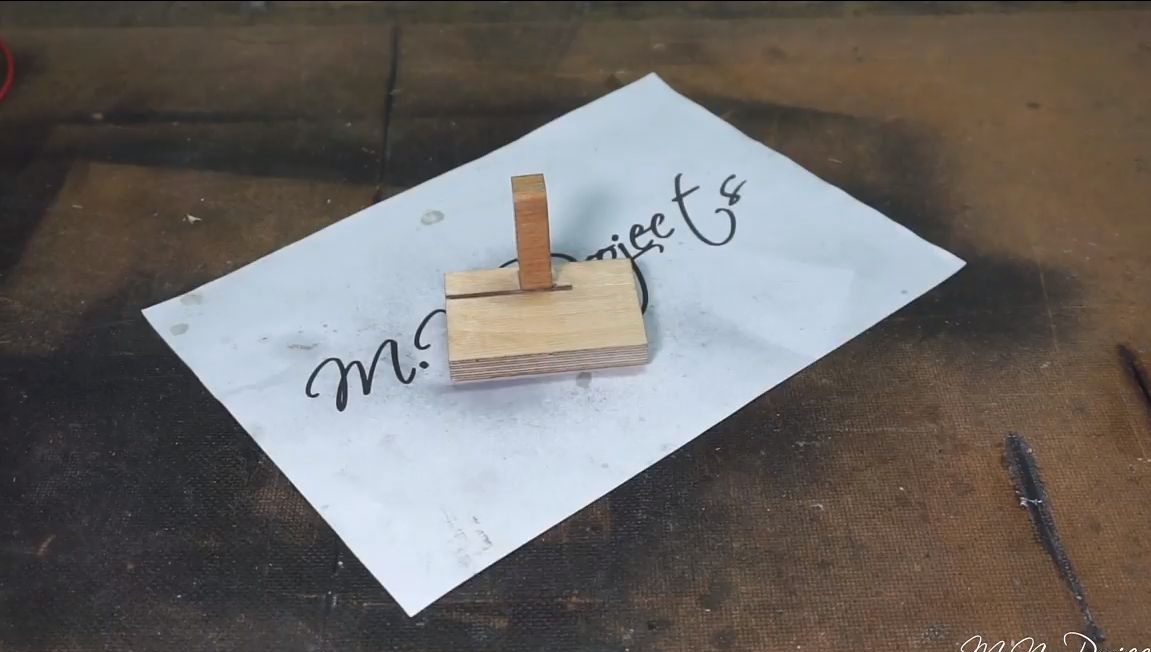
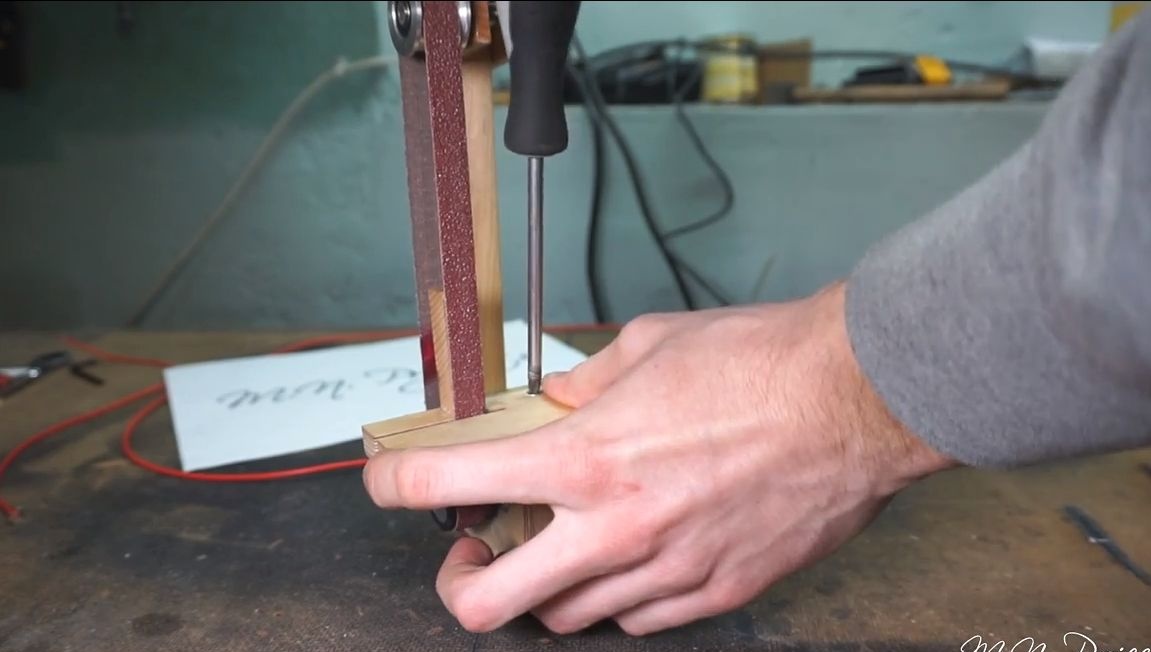
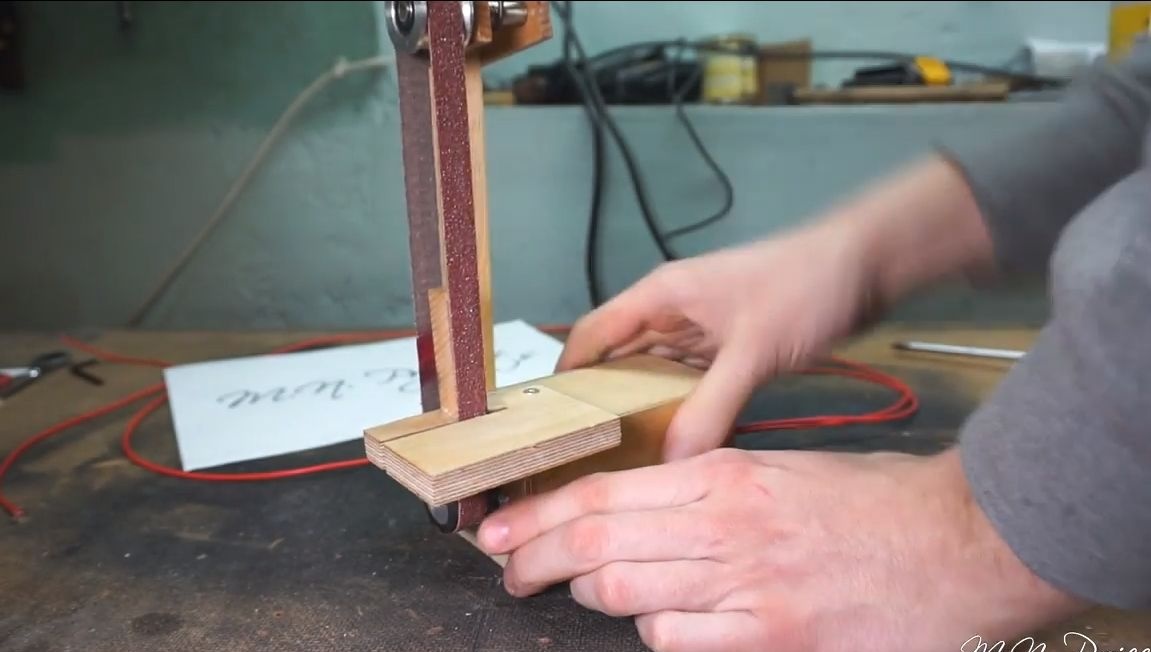
Step Six We make a working platform
To make a working platform, you will need plywood and a small block. In the plywood, you need to cut a slot so that you can start the grinding belt. As for the bar, it works as a stop. We install the platform in its place, the author fixes it using glue and screws.
Seventh step. Legs
To prevent the machine from slipping during operation, stick pieces of rubber or something similar to its base. One way or another, the machine will still have to be additionally fixed, since it is too light. The author mounts it on the table using a clamp.
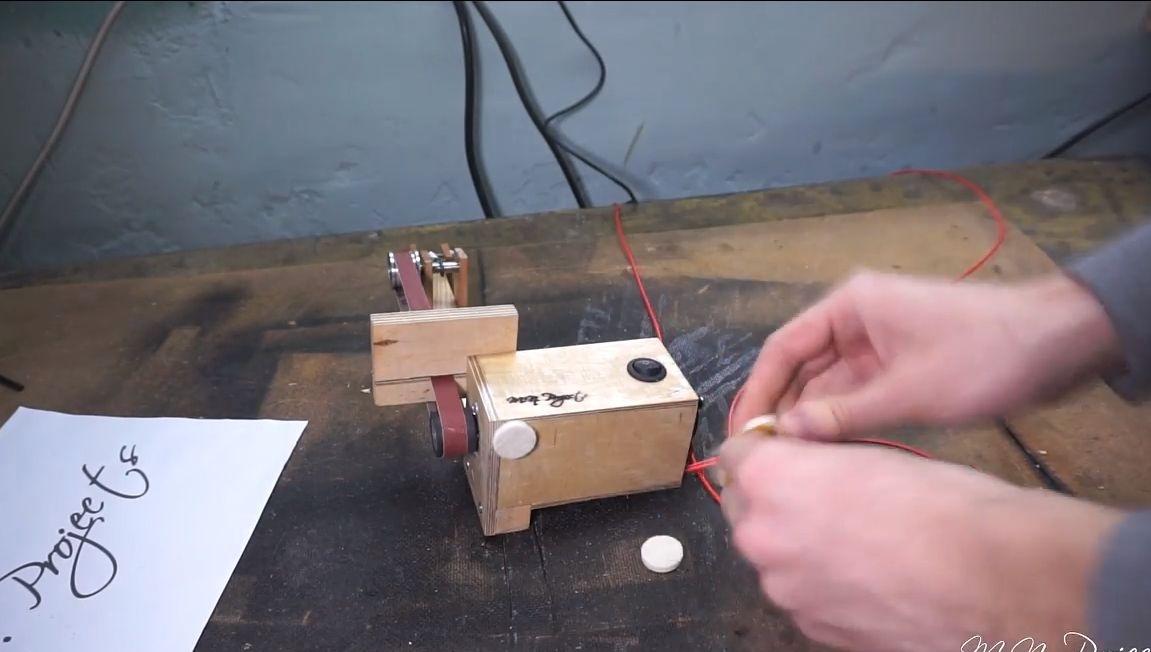
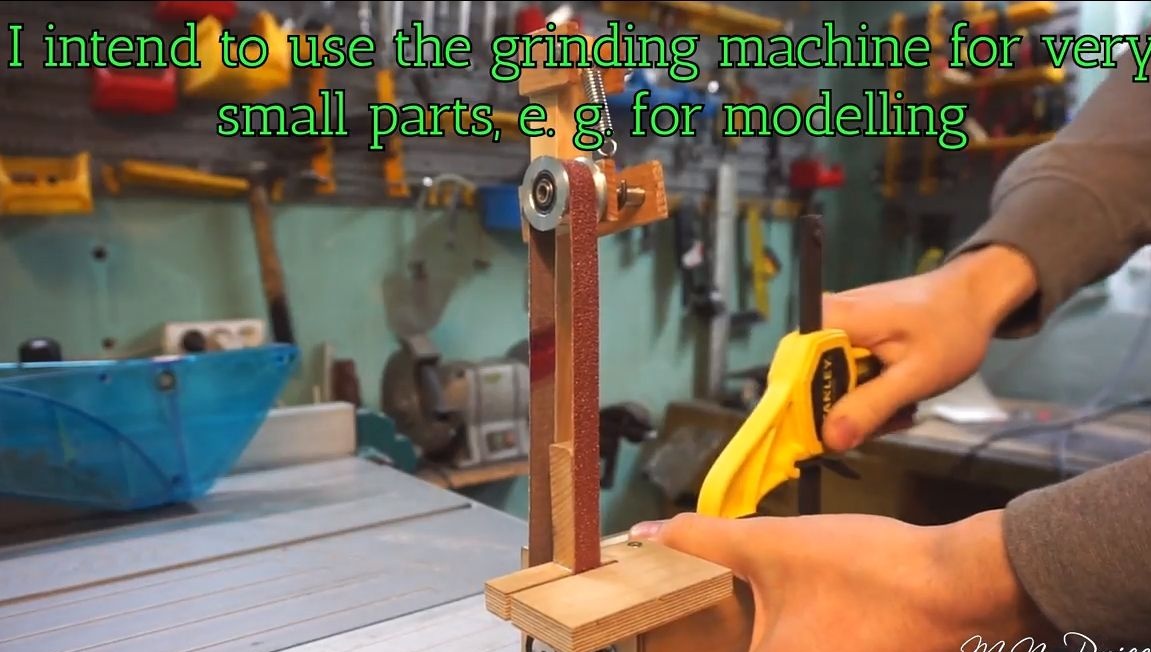
That's all, the machine is ready! You can start testing. He works quite well for the author. Various small parts can be made. The device is almost silent, it works on 12V voltage, it can easily be powered by a battery, if necessary. That's all, good luck and take care!