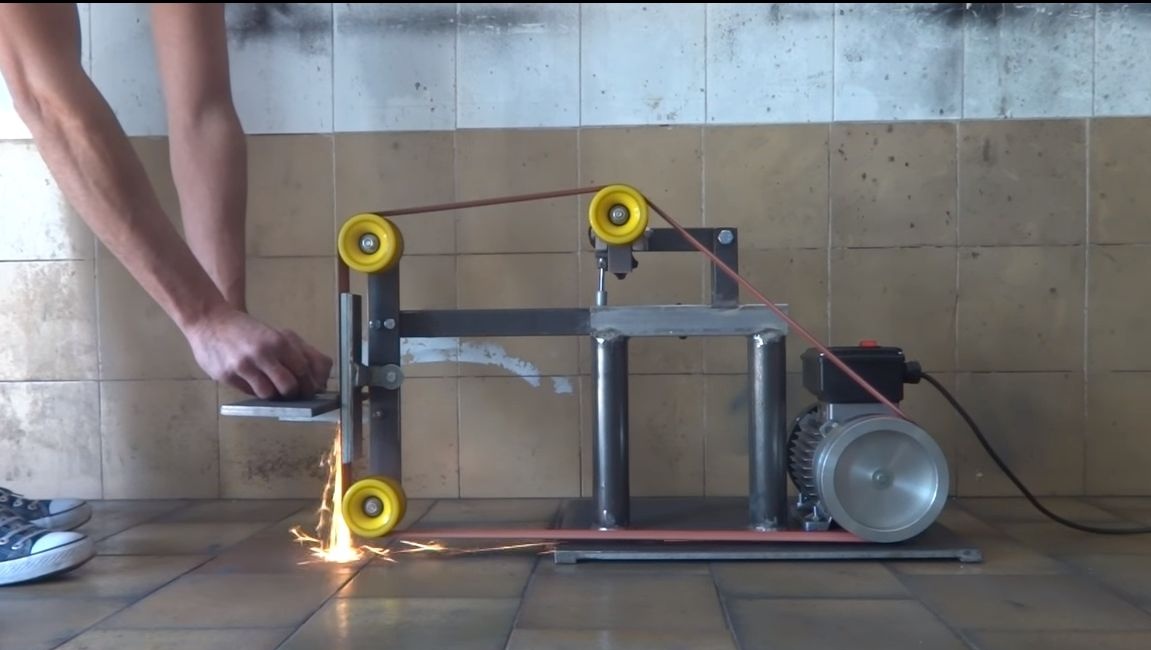
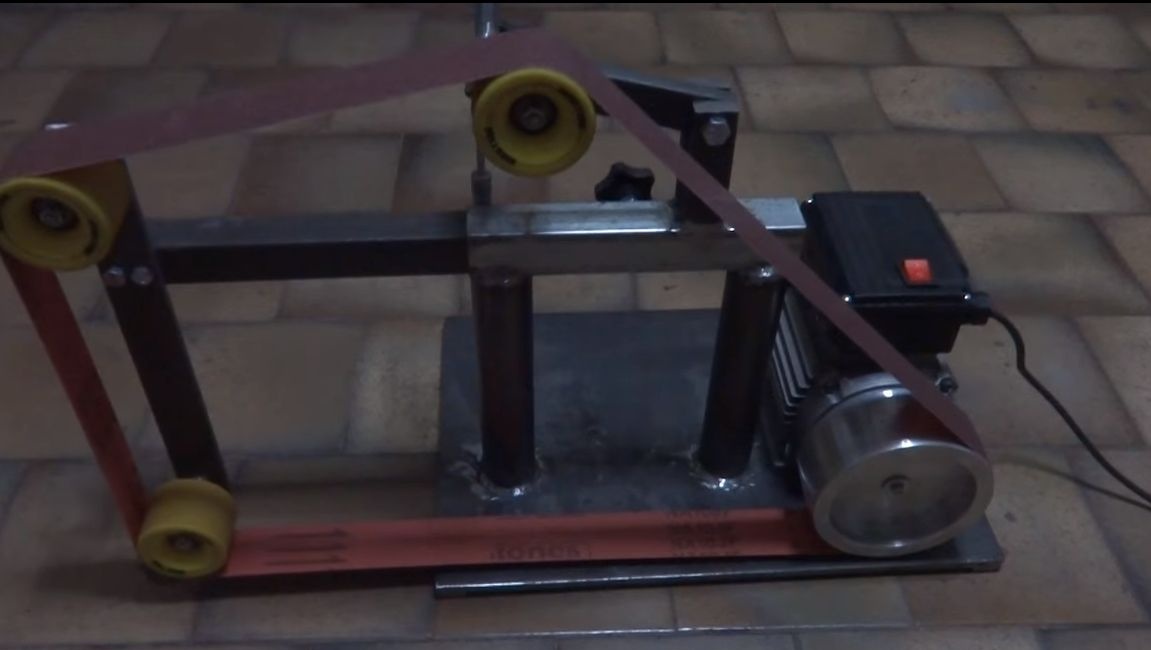
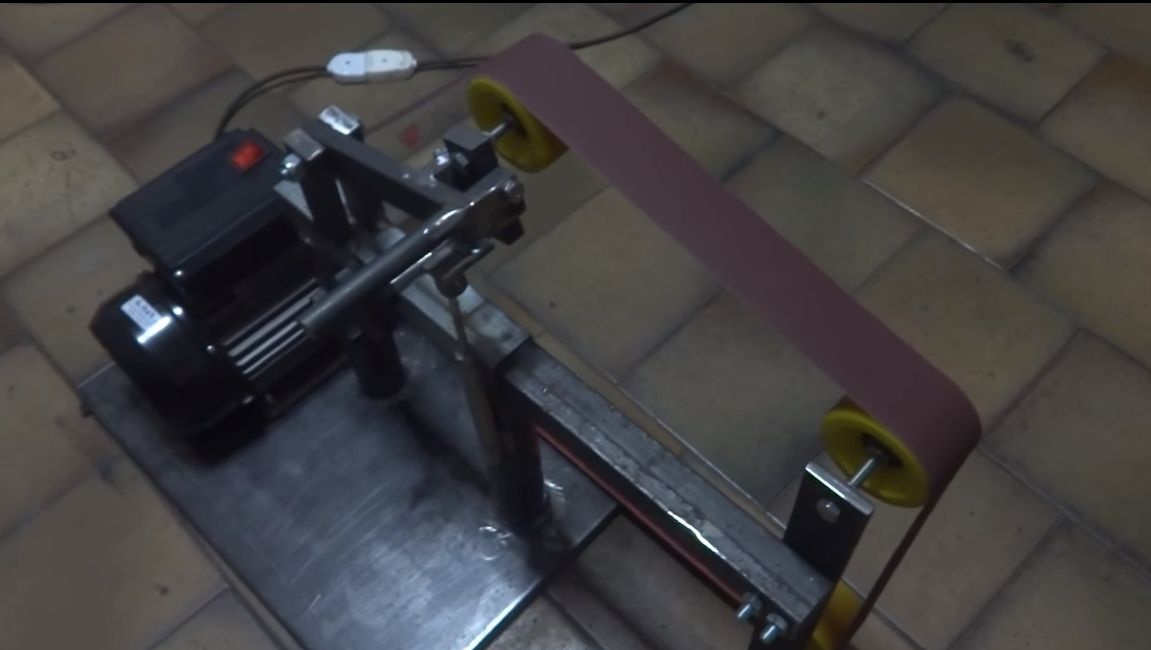
Greetings, reader! In this instruction, we will discuss how to make reliable, powerful. As a driven wheel, the author decided to use skateboard wheels, take note of this decision! There are bearings in the wheels, they can be easily bought, and replacing the bearing or the wheel as a whole will not be difficult. This will save you from the need to invent something yourself and save time.
The manufactured machine tool is quite powerful, they can easily handle knives and much more. However, the power will depend on the engine you choose, there are no restrictions. A feature of this machine can be considered that it supports vertical and horizontal adjustment. This means that you can install both short and rather long belts. The frame is assembled easily from available materials. So let's get started.
Materials and tools used by the author:
Material List:
1. Of the most expensive, you will need to purchase a good engine. At the author, he goes with the wheel, which transmits movement to the belt. The wheel is made of aluminum, has no additional coating. However, no belt slip is observed. Such a part can be ordered from a turner.
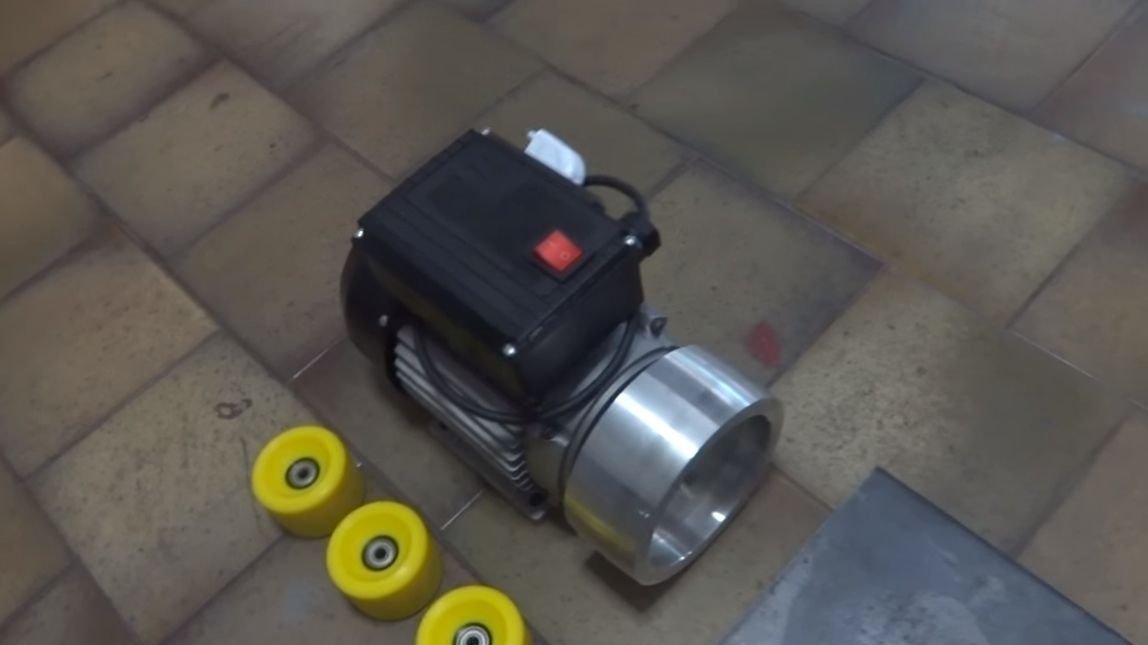
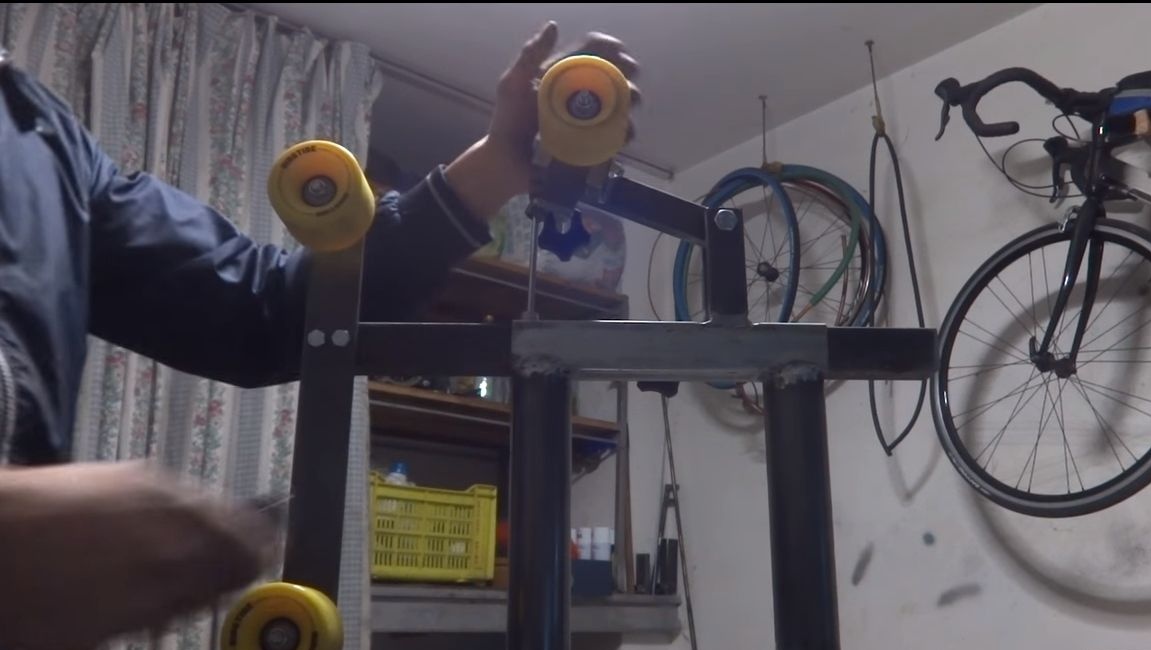
2. Three wheels from a skateboard. Choose high-quality, with bearings.
3. Sheet steel (for the manufacture of base and other).
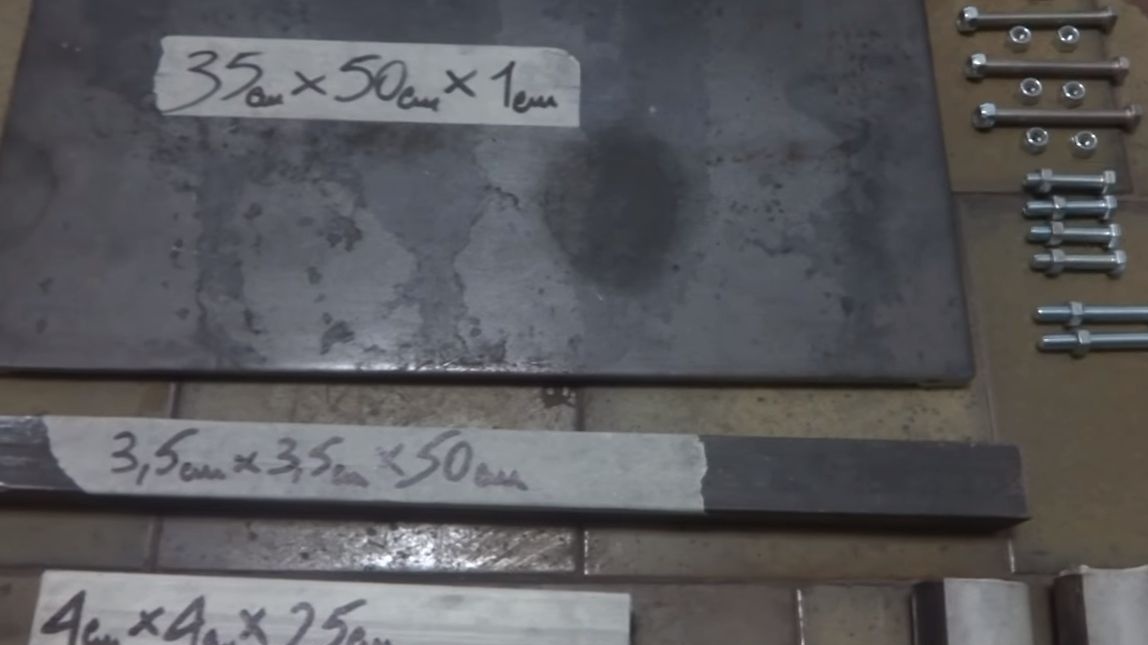
4. Round and square pipes.
5. Bolts, nuts and other trifles.
6. A small shock absorber. This can be found in some washing machines, strollers and other similar equipment. It works as a tensioner.
Tool List:
- welding;
- grinder;
- vise;
- welding magnetic squares;
- roulette;
- marker;
- wrenches, etc.
Manufacturing process:
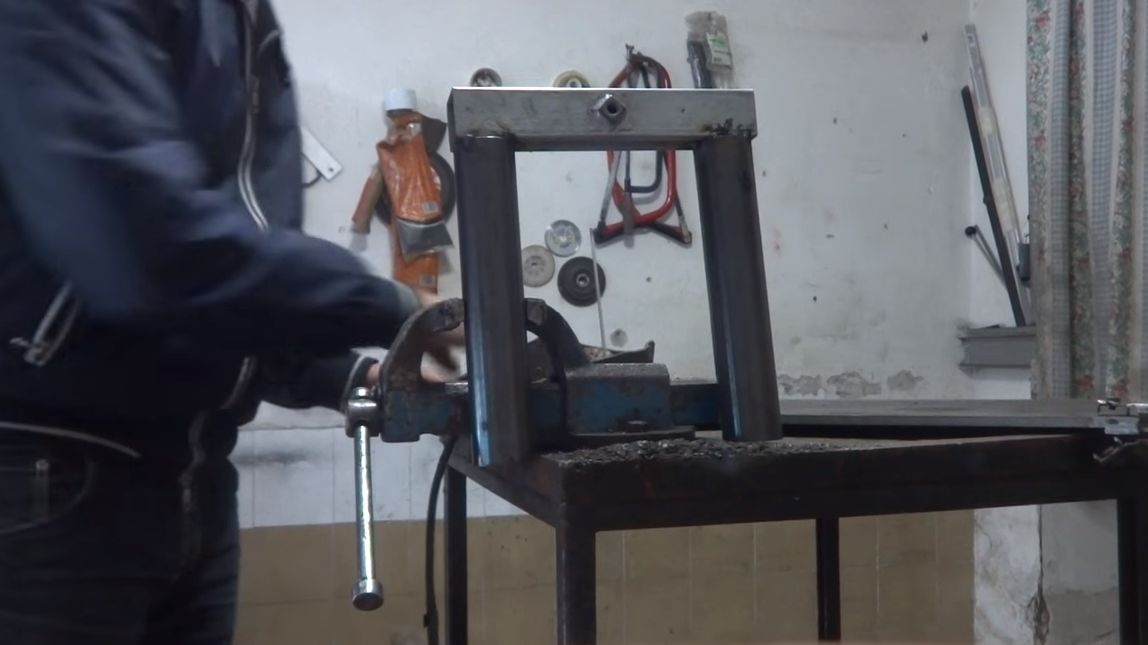
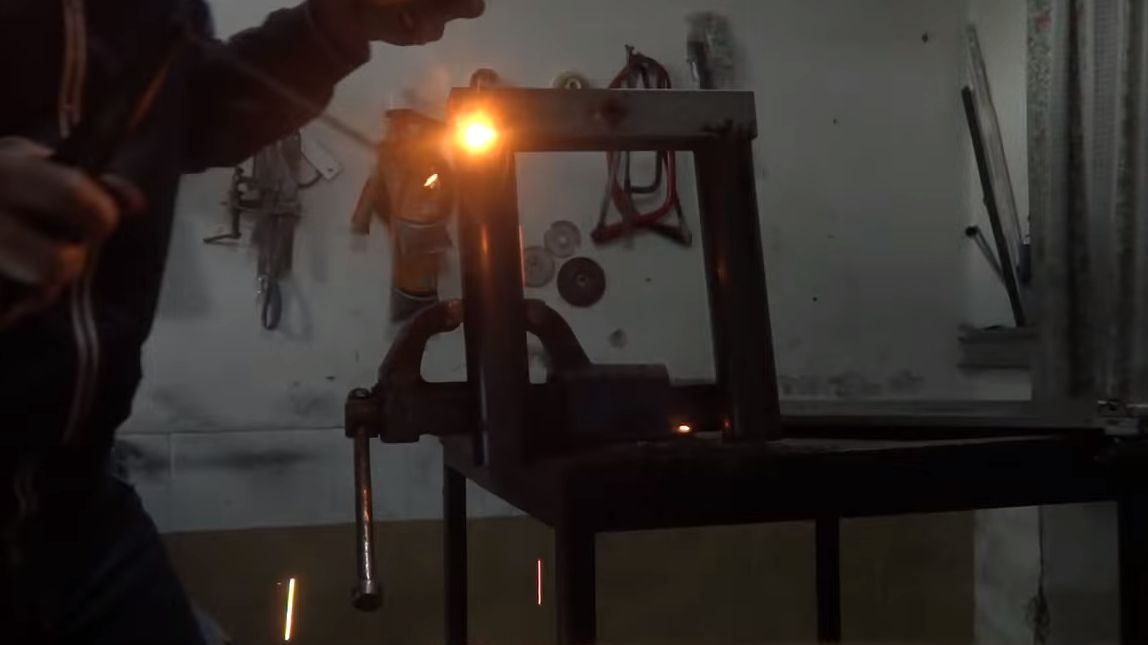
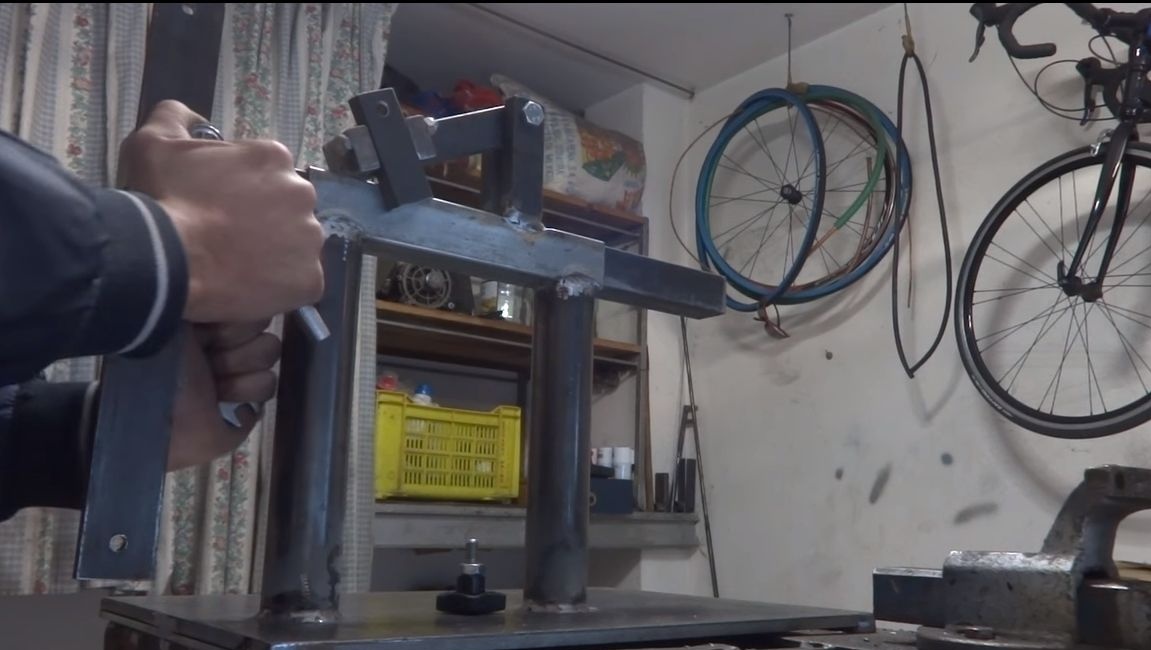
Step one. Assembling the main frame
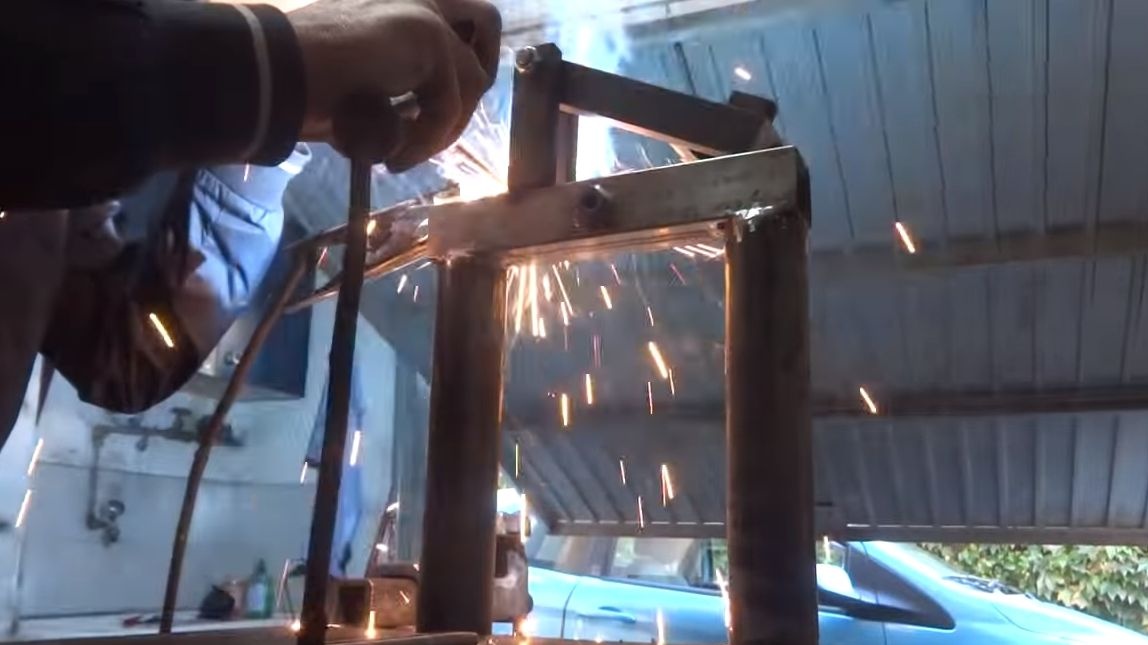
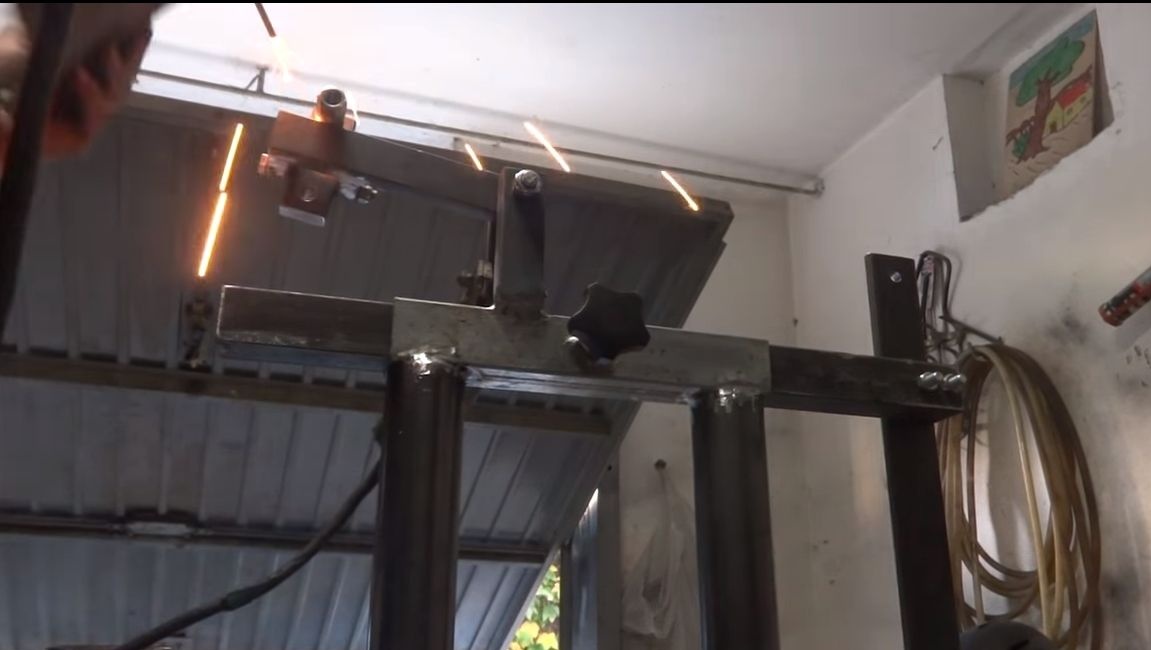
The center of the design is a frame made in the form of the letter "P". The author decided to make vertical supports from round pipes, and the horizontal one is made from square ones. Weld all parts securely, the frame must withstand heavy loads. To weld such a structure correctly, it is very useful to use welding magnetic squares. Also weld the base, it is made of thick sheet steel.

Step Two Production and installation of the tension lever
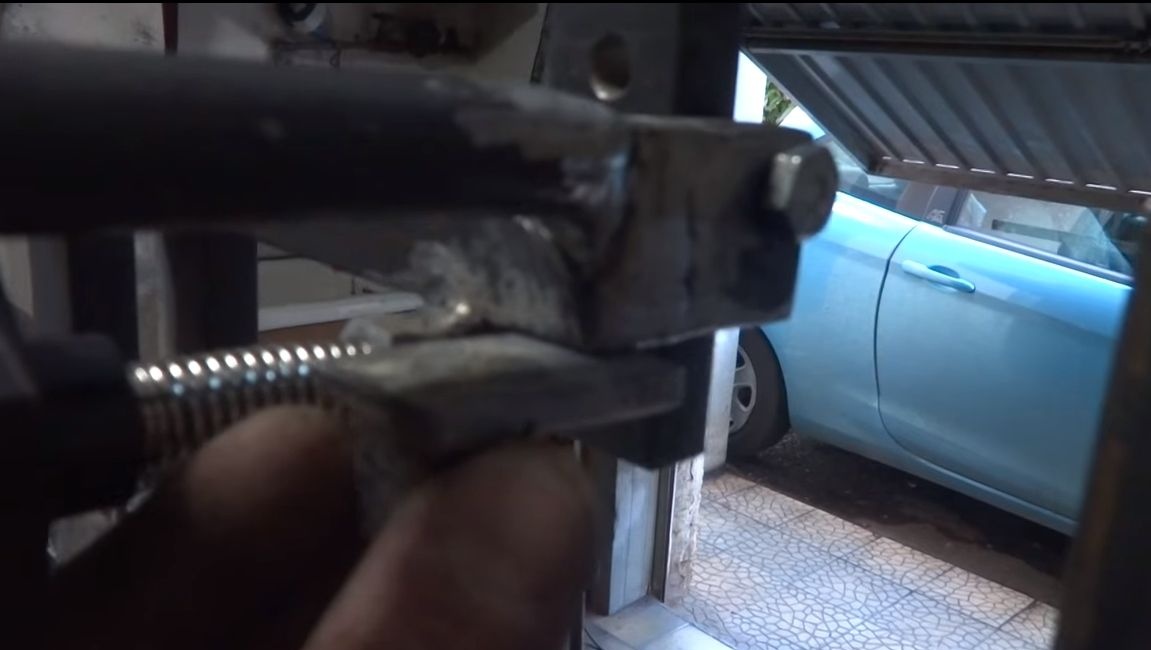
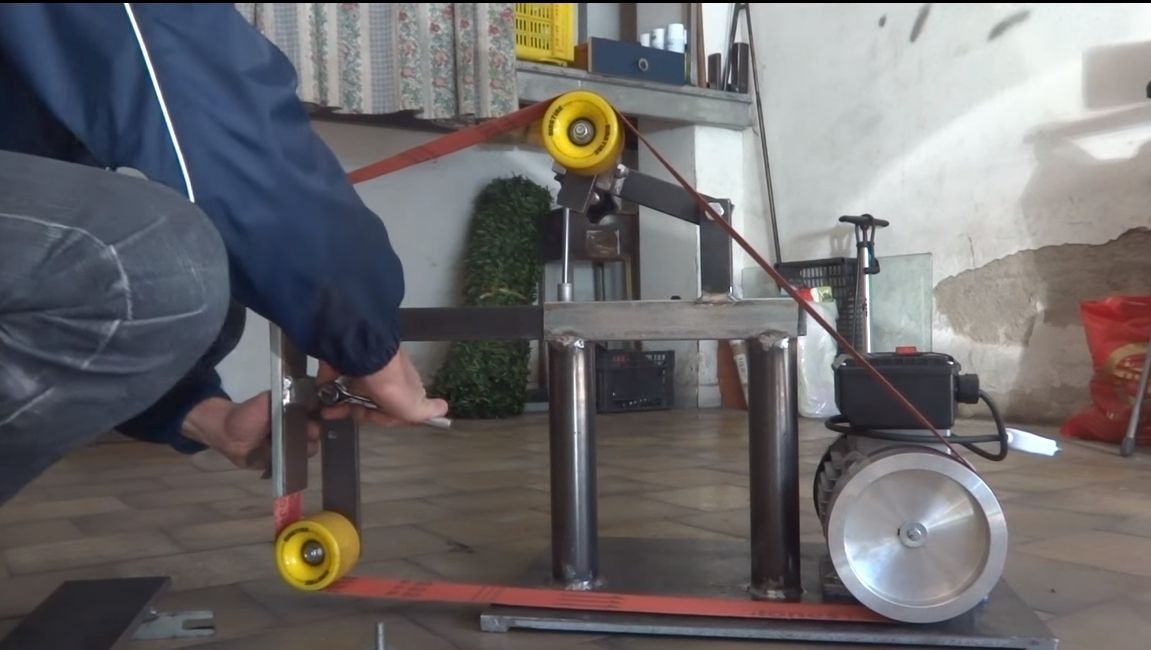
The belt is tensioned in the vertical direction by means of a lever fixed in the upper part of the frame.On this lever is one of the driven wheels of the machine. This part can be assembled from square pipes.
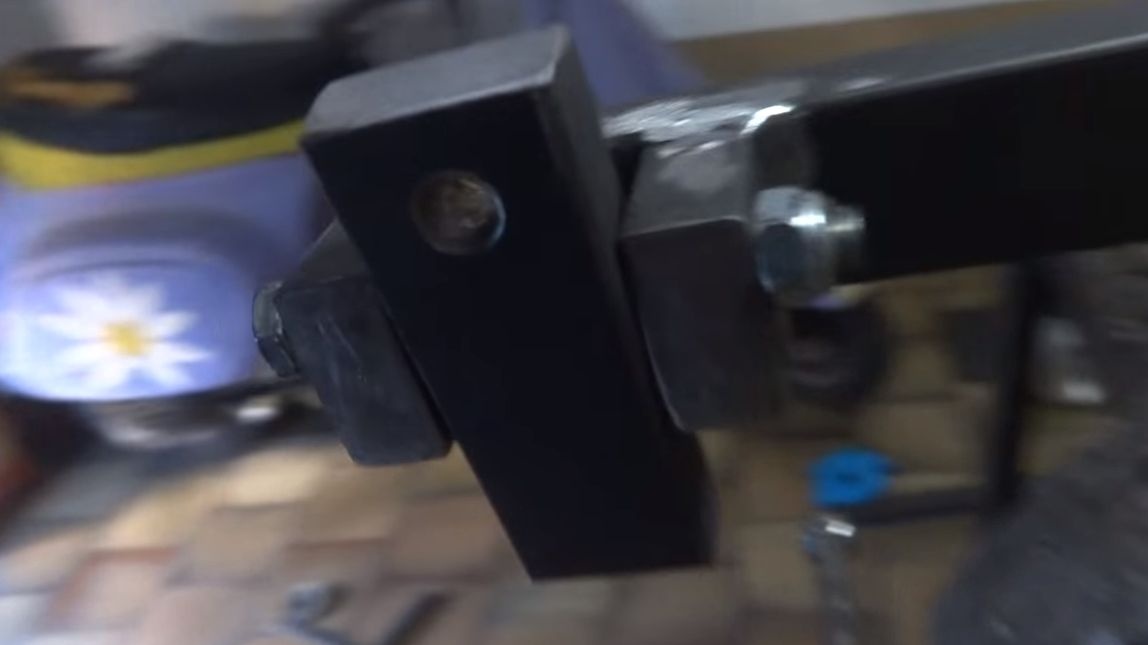
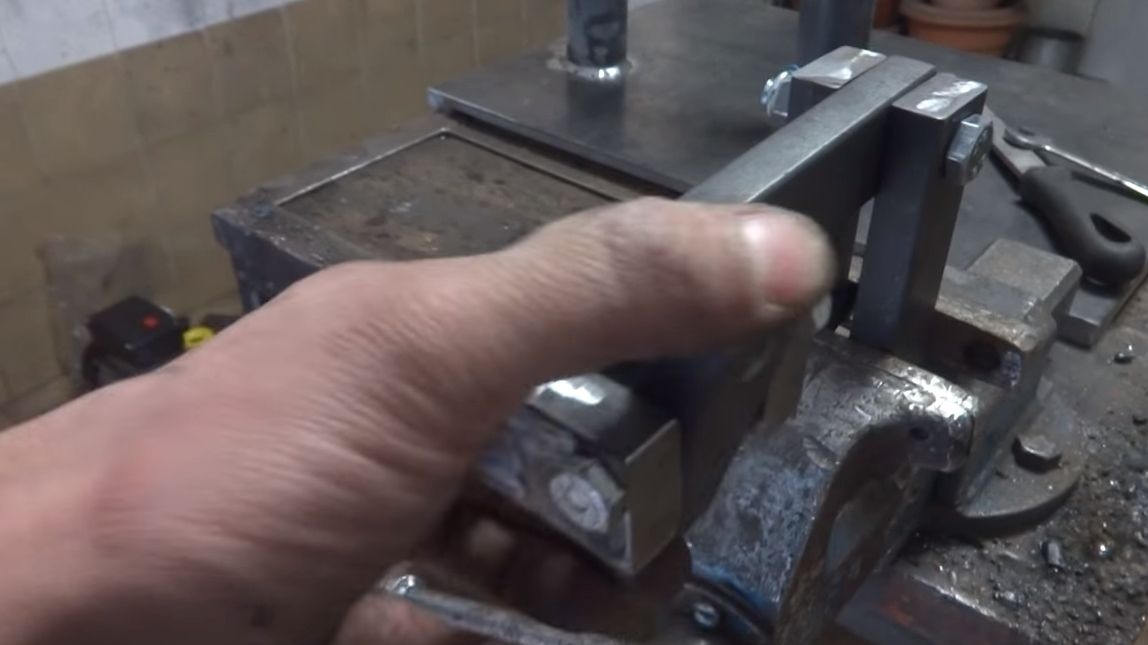
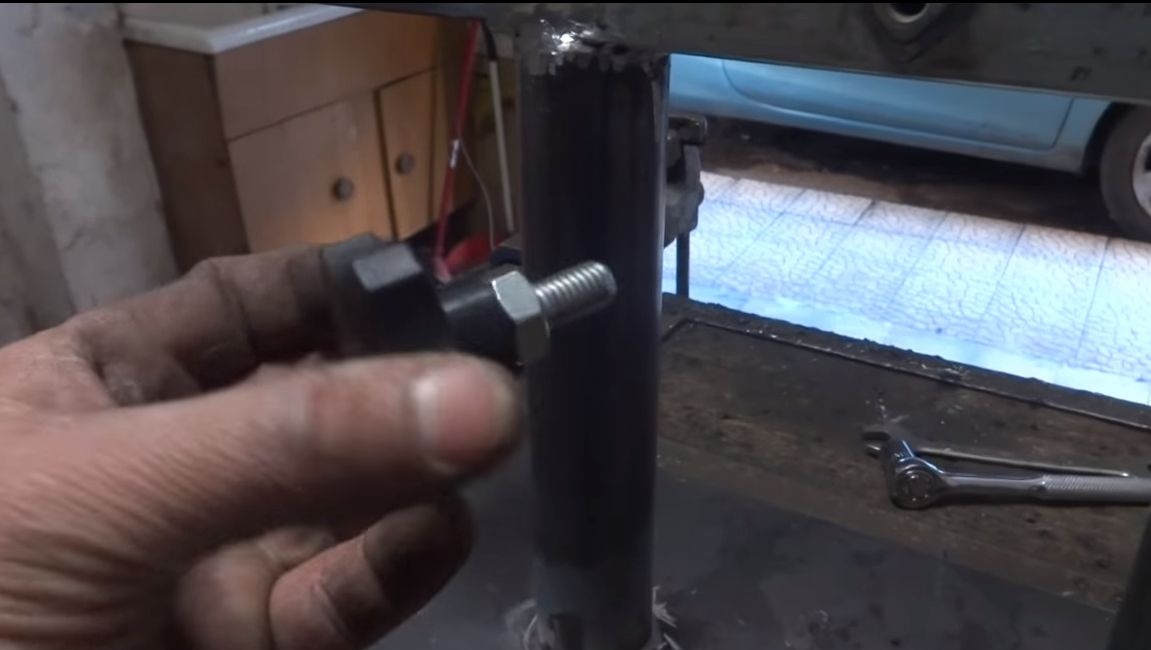
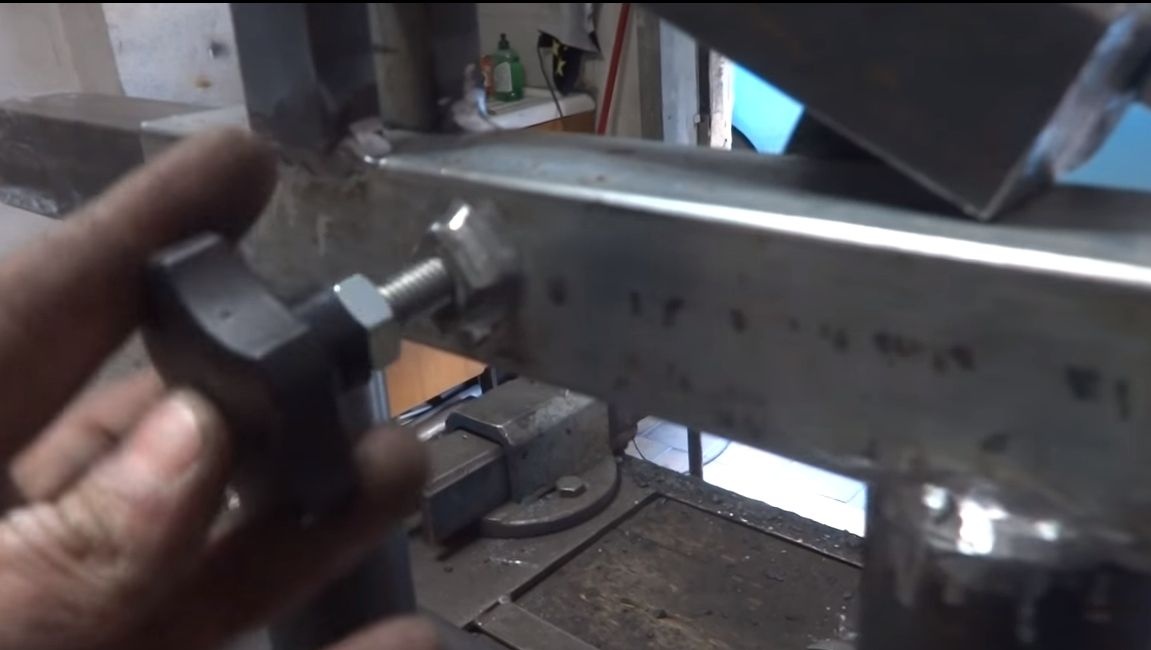
Among other things, the upper wheel should be able to lean down or up. Thanks to this, you will have the opportunity to center the belt on wheels. To adjust the author uses a bolt with a plastic handle.
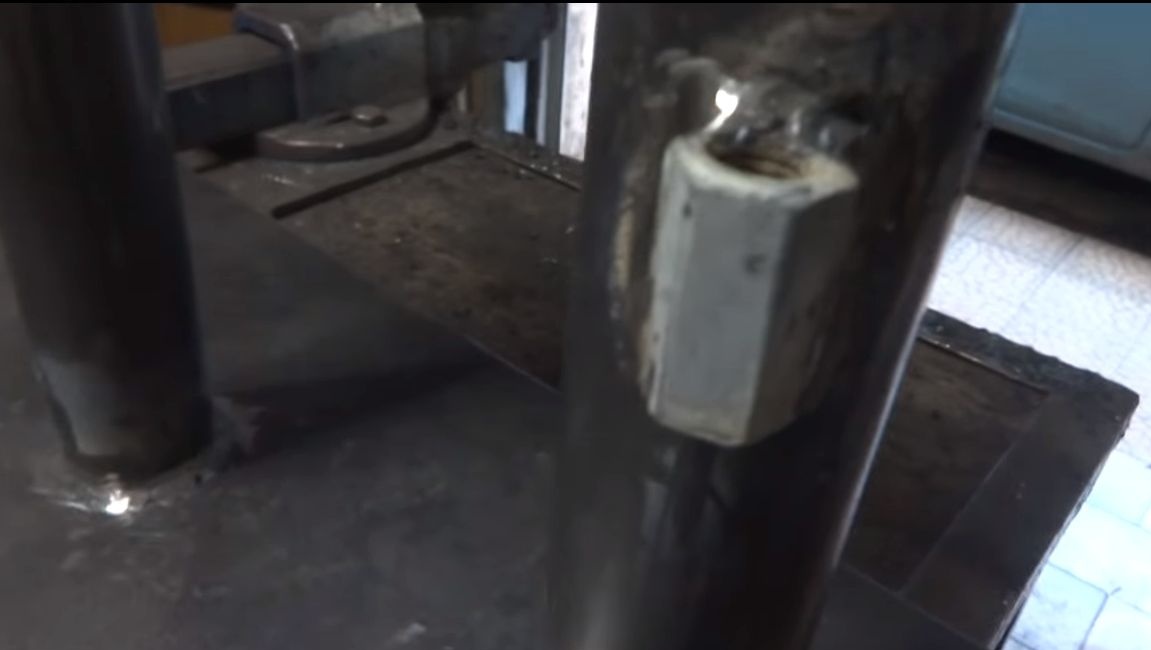
Now you can install the shock absorber, he will push the tension lever up. Instead of a shock absorber, you can install the spring in an appropriate place. As a support, the author welded a nut for the shock absorber. The lever will also need support.
Step Three Installation of two other wheels
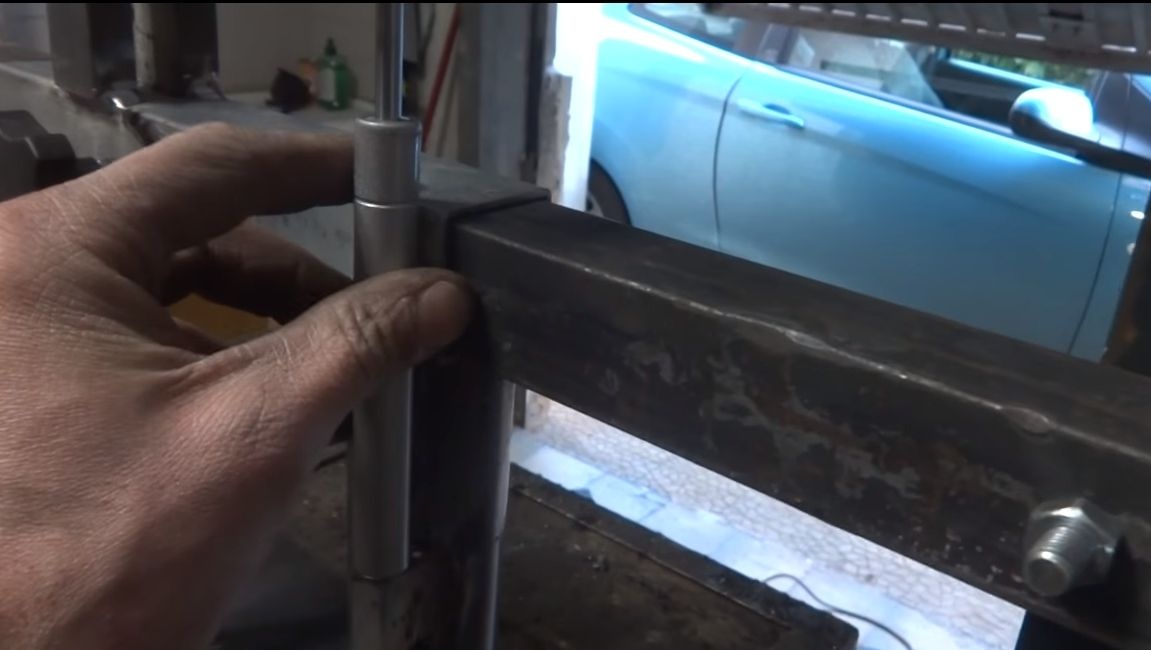
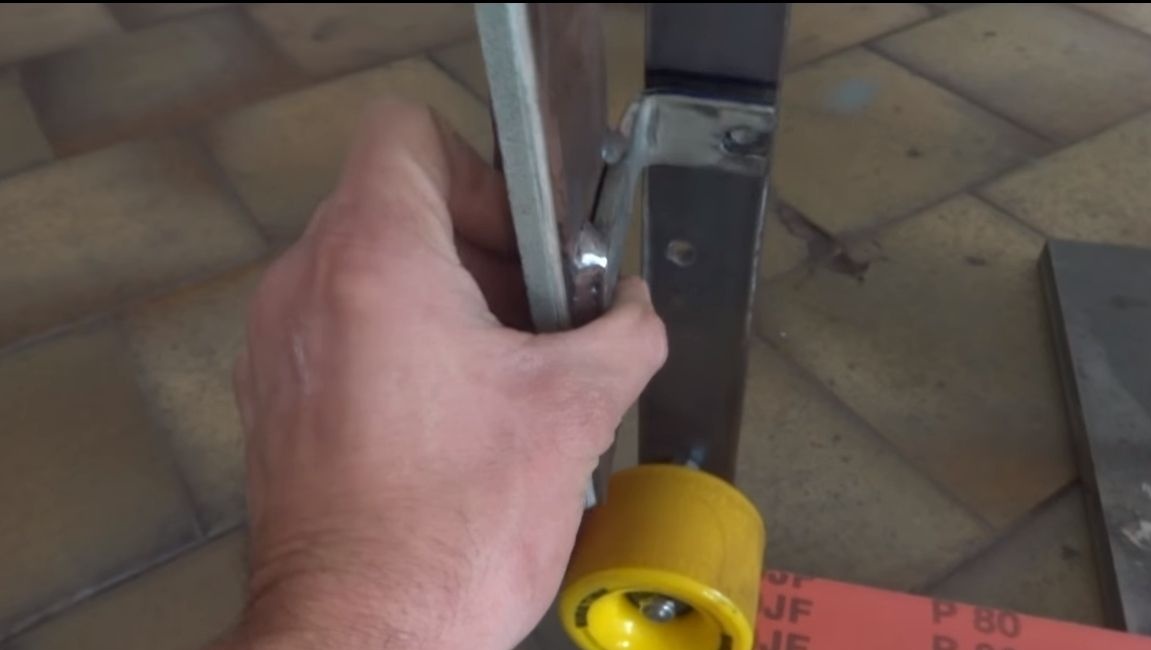
The author decided to make it so that the belt could also be pulled in a horizontal direction. To do this, we take a piece of a square pipe of such a diameter that it is inserted into the pipe, which is welded in the upper part of the frame. Next to the end of this pipe we fasten another pipe in an upright position. Here you can use bolts with nuts.

That's all for now, you can attach the remaining wheels to the ends of the vertical pipe. They are fastened with bolts and nuts. The horizontal retractable structure must be fixed. To do this, drill a hole in the main frame and weld a nut. Using a tightening bolt, you can easily fix the structure.
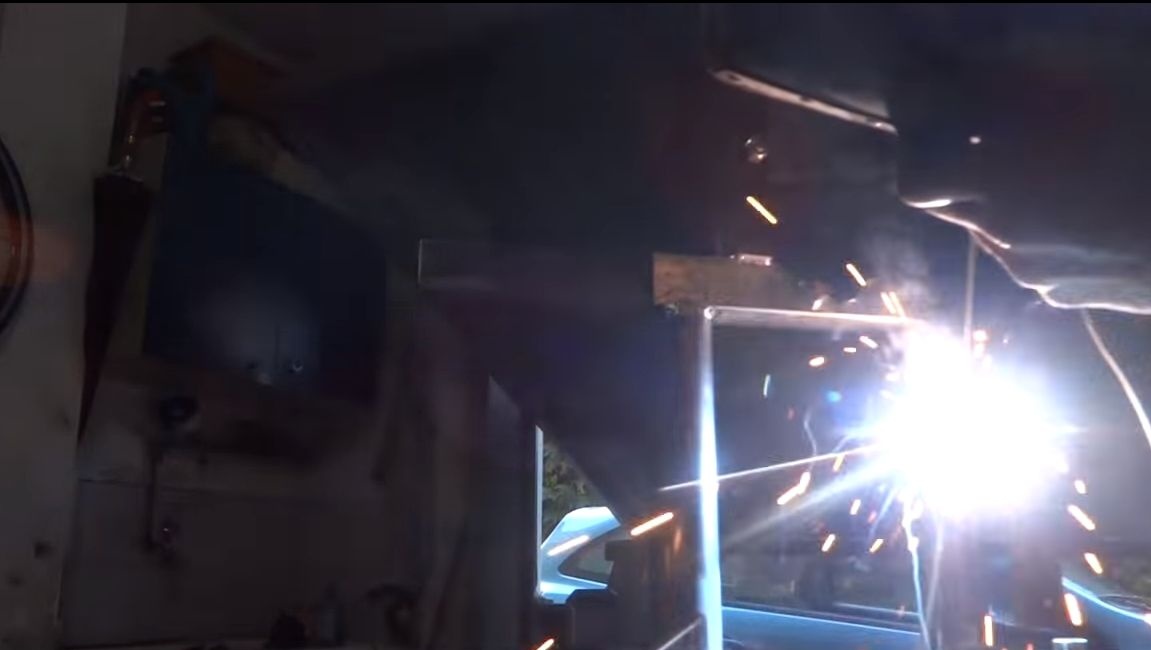
Step Four Trial run
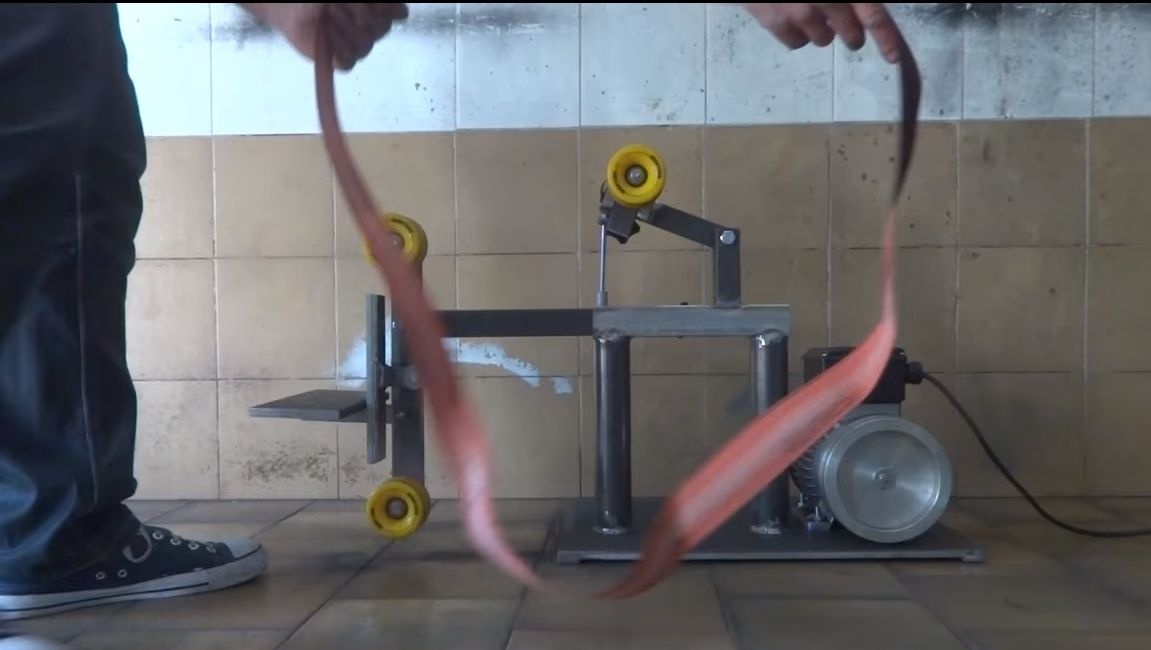
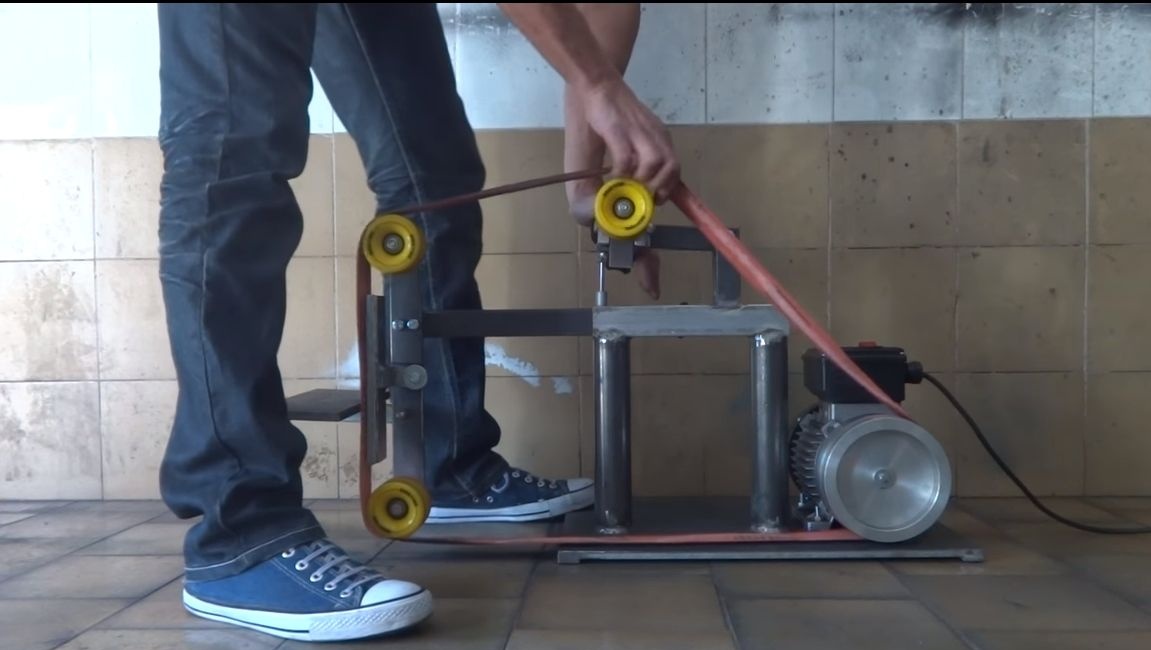
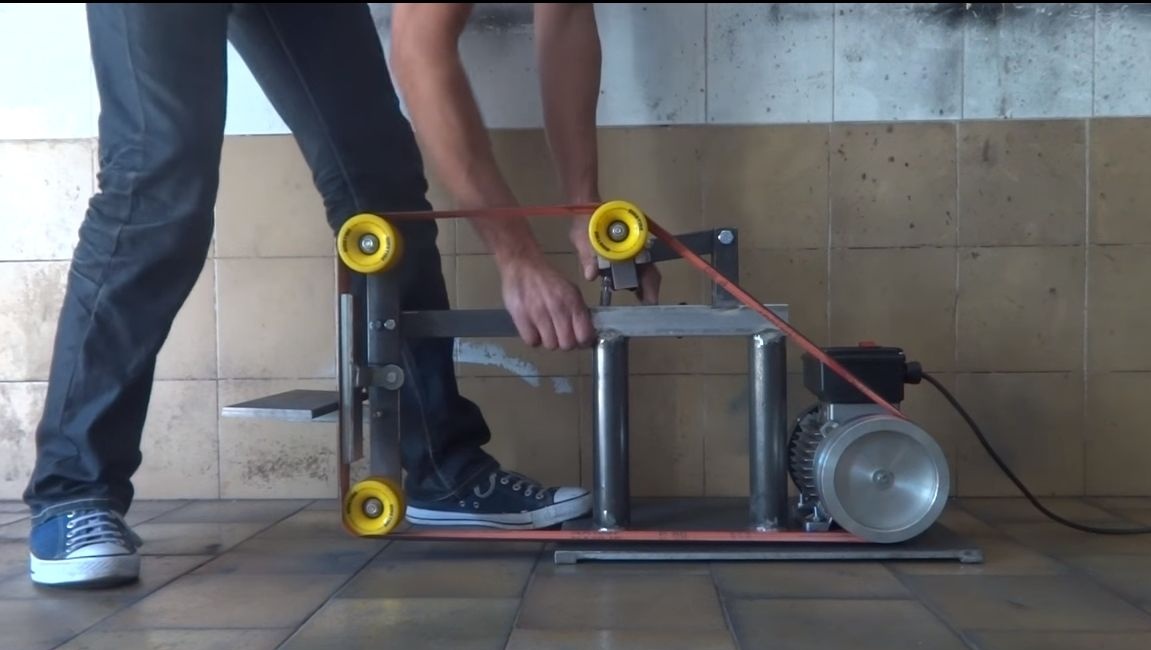
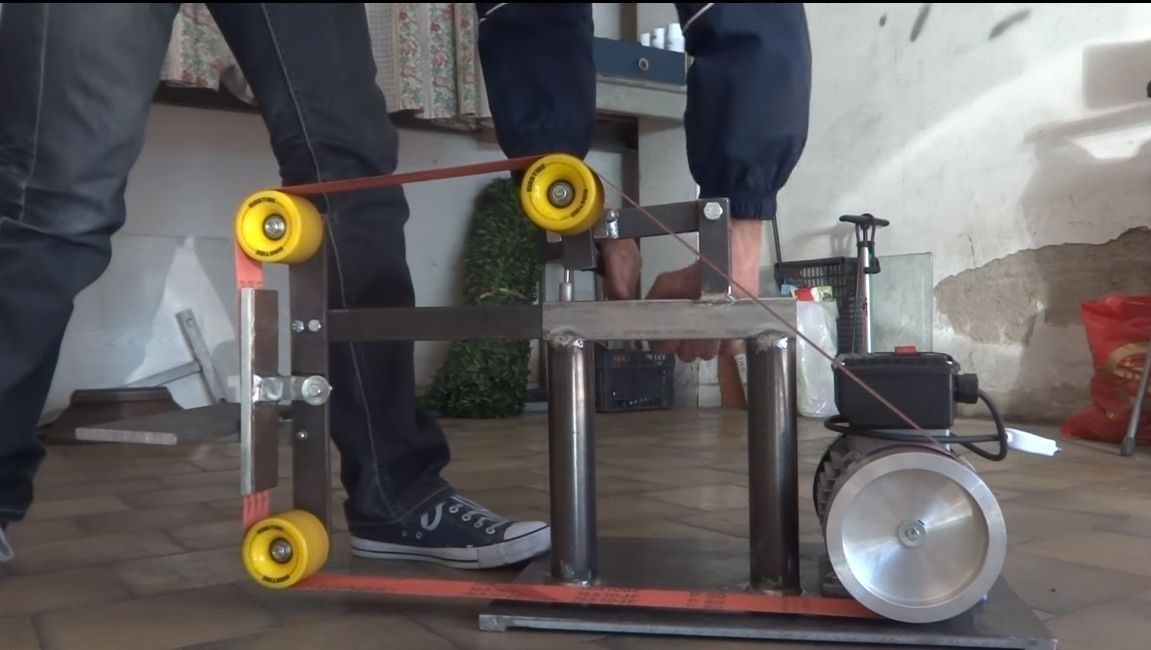
At the end, you will only have to fasten the engine to the base, which is thick sheet steel. You can install the belt and try to start your brainchild! First, loosen the screw that holds the horizontal tensioner with two wheels.
Lower the upper arm with your hand to the bottom and put on the belt. While holding the upper tensioner, extend the horizontal tensioner to the maximum length and secure with a bolt. Now you can release the upper tensioner, it will pull the belt to the optimum value. Make sure that the belt runs easily, if it is pulled, slightly release the horizontal tensioner.
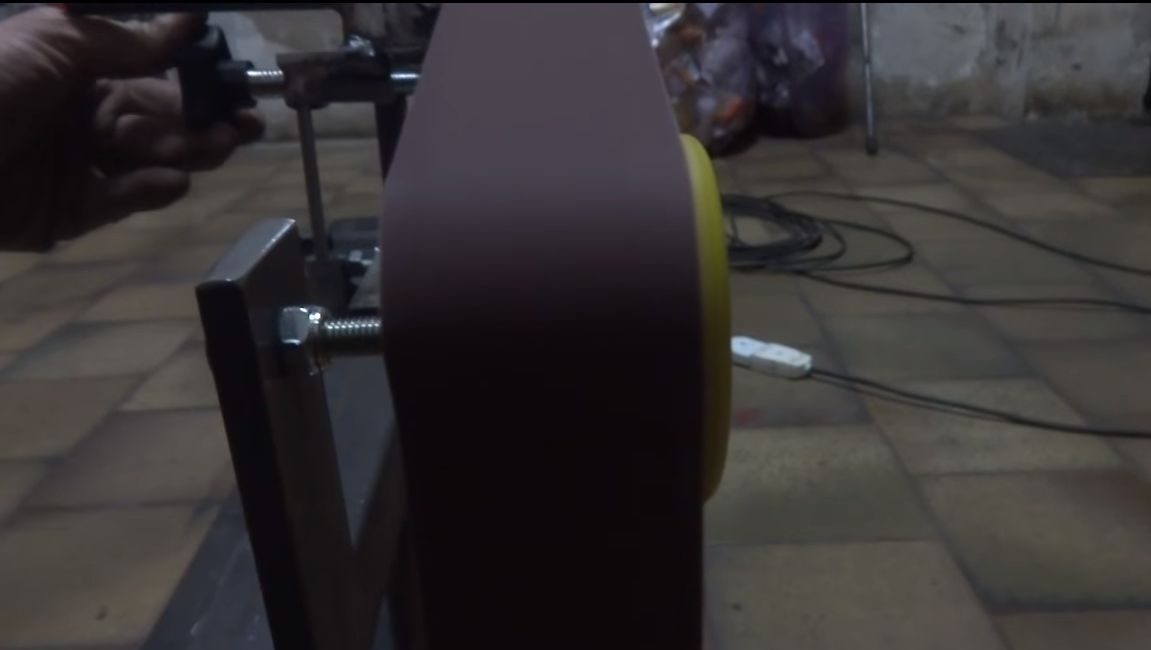
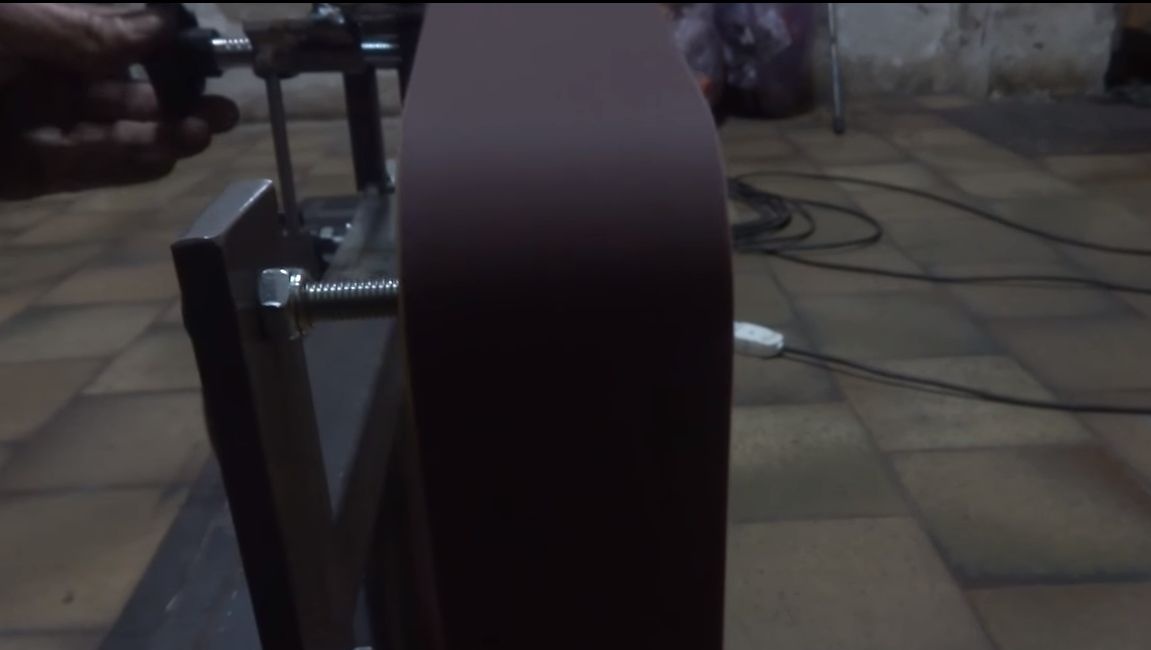
The machine can be started! You just have to adjust the belt, namely to center it on the wheels. For this, an adjustment screw is provided in the upper part of the structure. With it, you can change the angle of the upper wheel and thereby center the belt.
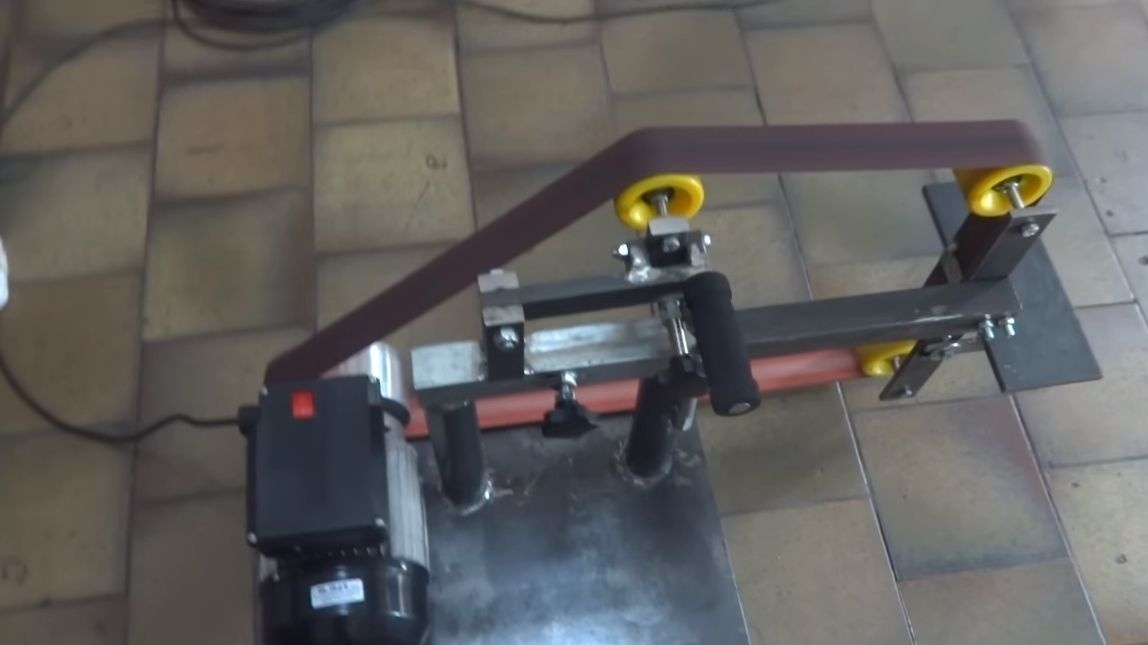
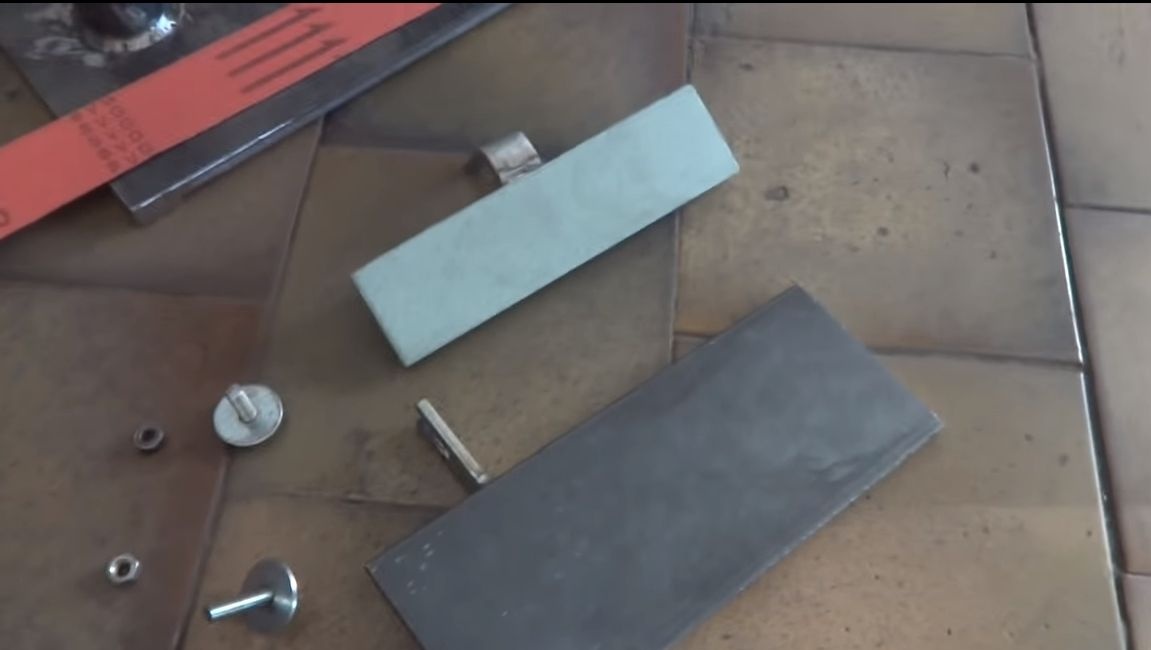
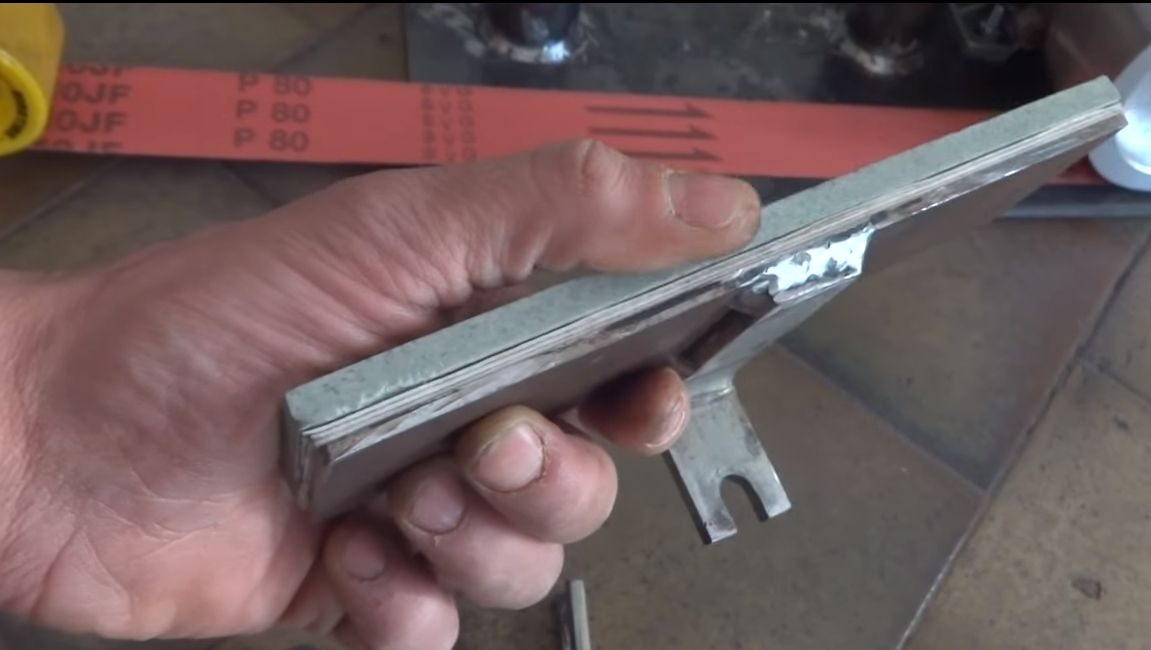
Step Five Installation of a desktop and support
The work table and the support on which you will rely when working can be made of sheet steel. Weld the corresponding brackets to them and drill holes. Now fasten these parts to the machine using the bolts and nuts.

That's all, the car is ready for testing. We install the belt, above I already told you how to do it, and start it. The machine works quite quickly, judging by the number of sparks. I think the instruction was useful for you, and you learned a lot. Good luck and take care!