
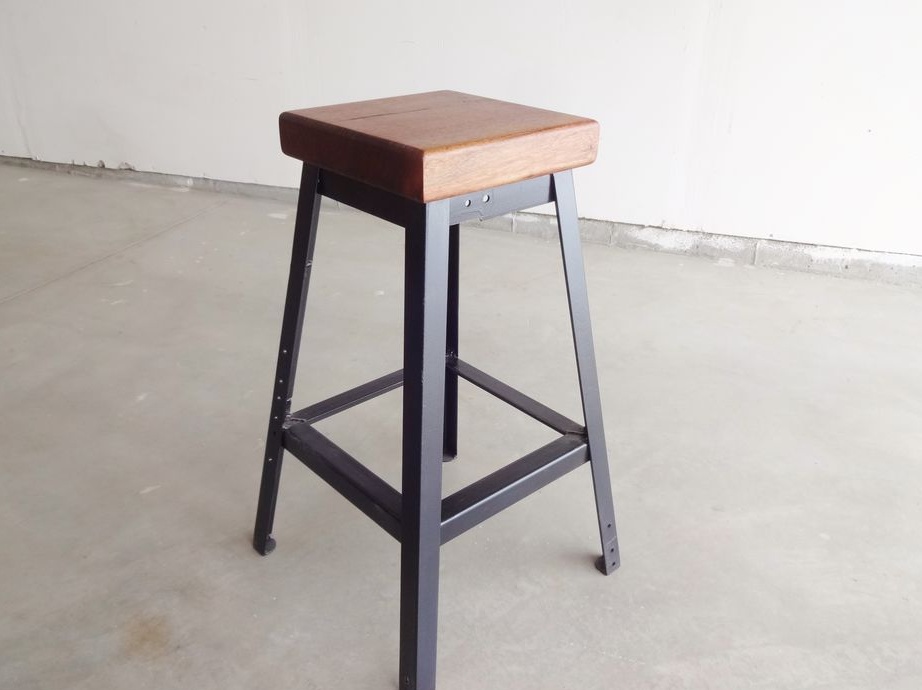
Iron was taken from an ancient bed frame, and a tree from pieces of walnut. The height of the chair is approximately 64 cm.
Main detail of this homemade - this is its shape, for easy welding and strengthening of pieces of iron. If you are cooking for the first time, then this project will familiarize you very much with this activity, and thanks to it you will learn how to cook perfectly.
Part 1: We begin production.
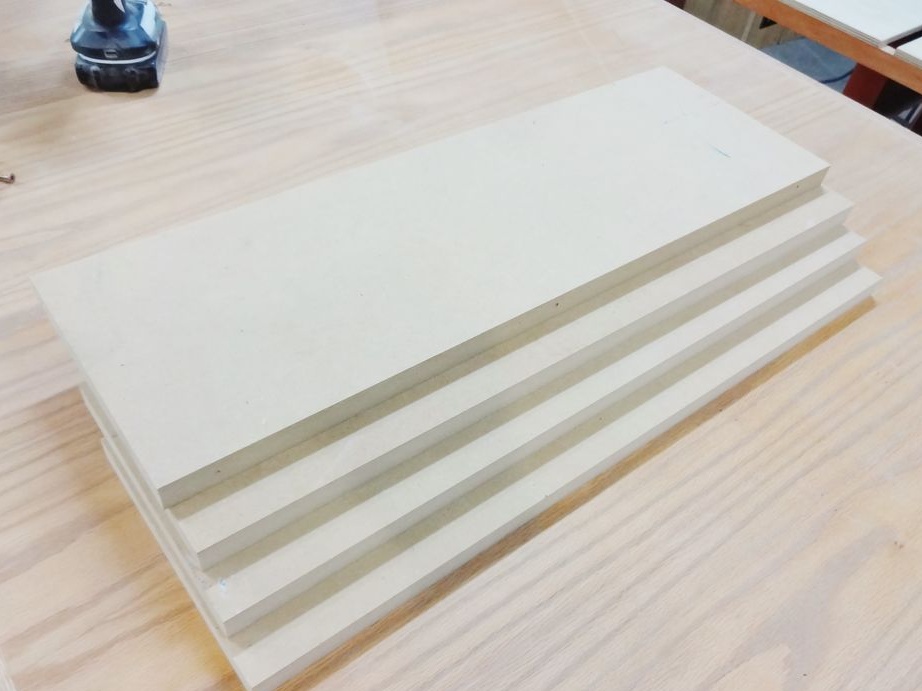
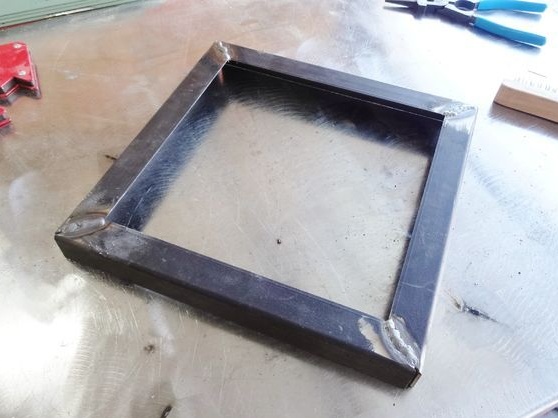
Let's start creating the shape of the future bar stool.
We cut the metal into 4 parts of 23.2 cm by 54.5 cm.
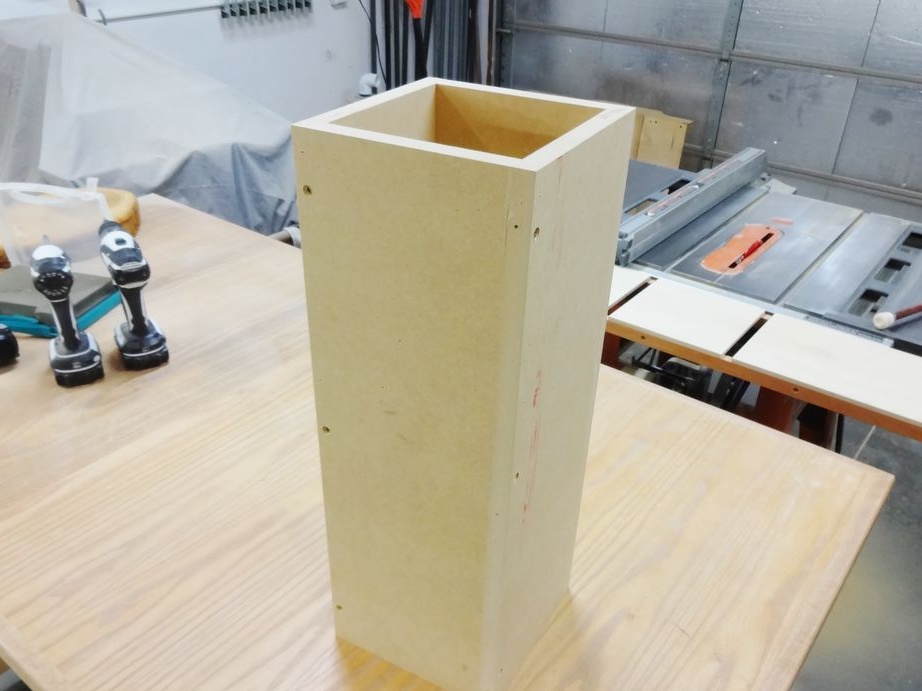
Everything was fastened to the side joint and secured with screws, so they formed a 20 cm square tube 58.5 cm.
Part 2: Base in the form of an angle under the form.
The base is made from a piece of lumber 9.5 cm thick.
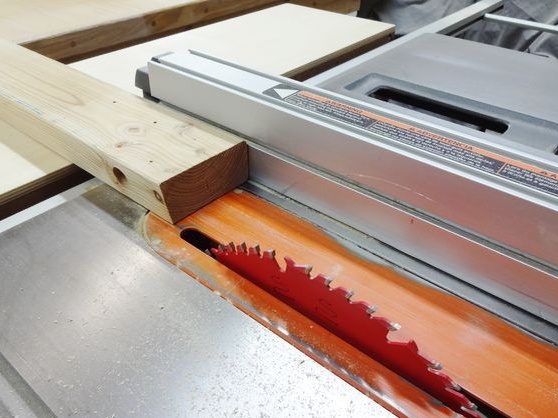
The pieces themselves had to be cut beveled so that everything would fit.
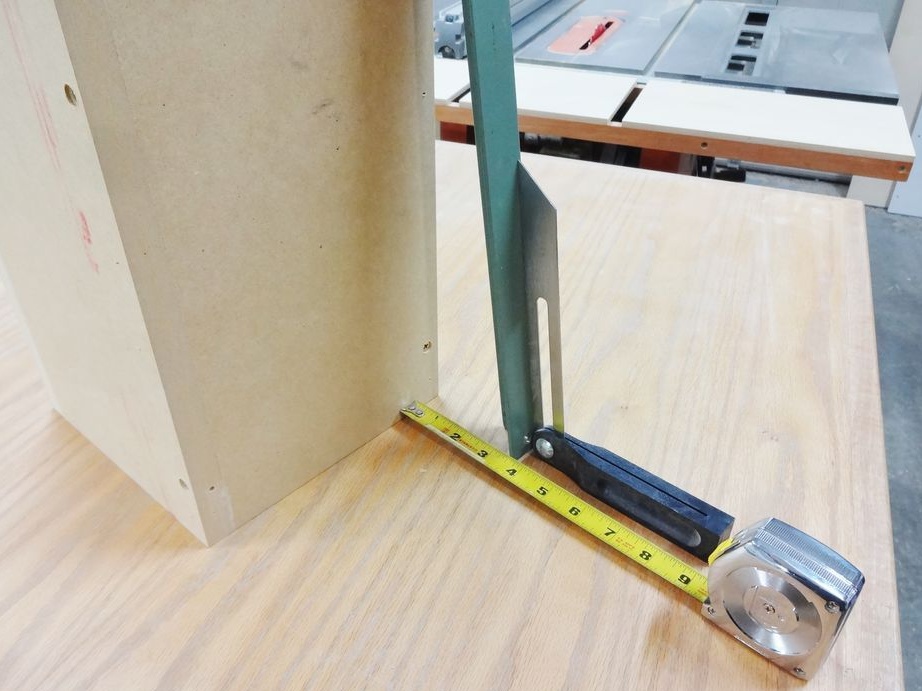
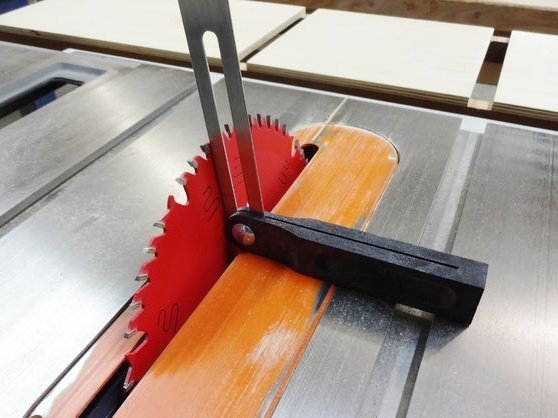
Using a tape measure, we will find a suitable angle and set it so that everything matches. Pieces of lumber passed through the saw, so that if necessary, there would always be a beveled edge.
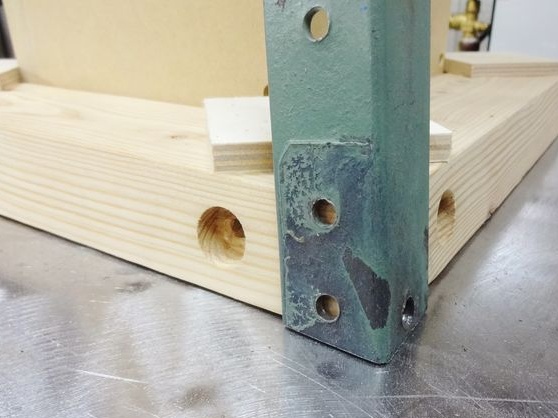
Part 3: End of the base part.
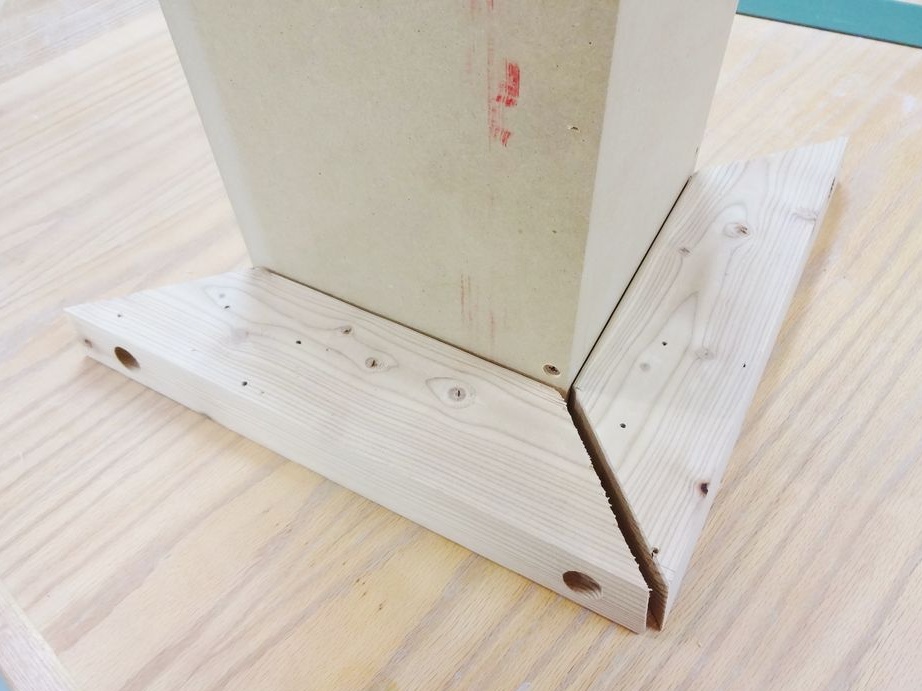
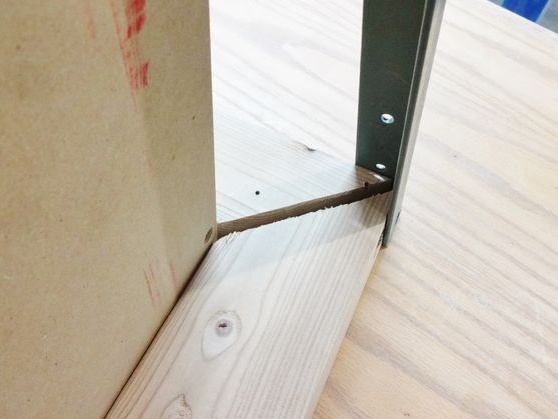
The ends of the beveled lumber under the basis of the form are cut at 45 degrees and adjusted around the perimeter.
We fix the beveled base with plywood and nail it with an edge. This part does not connect to the pipe, so it can be removed if necessary.
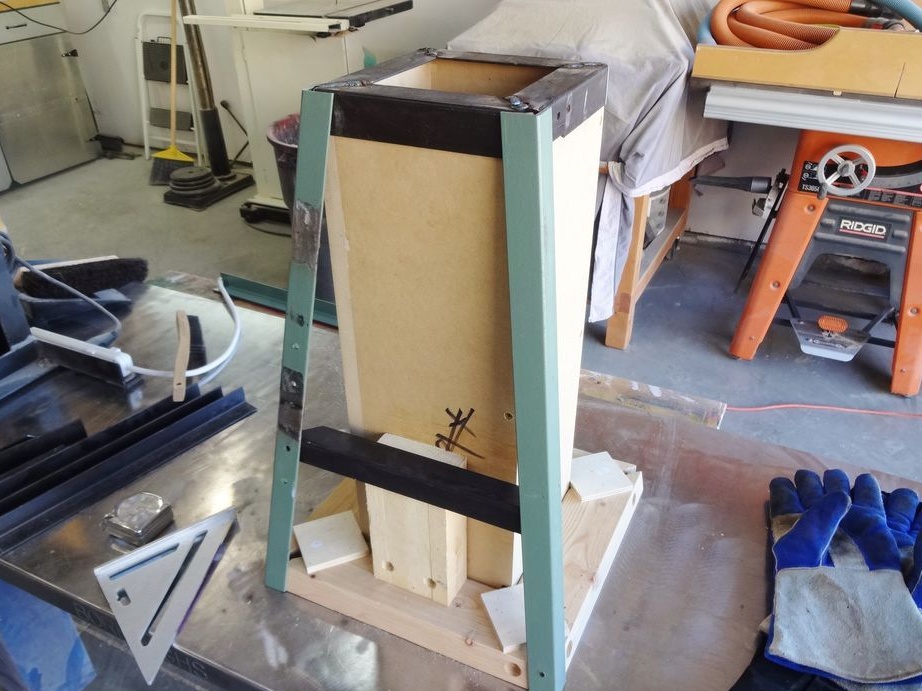
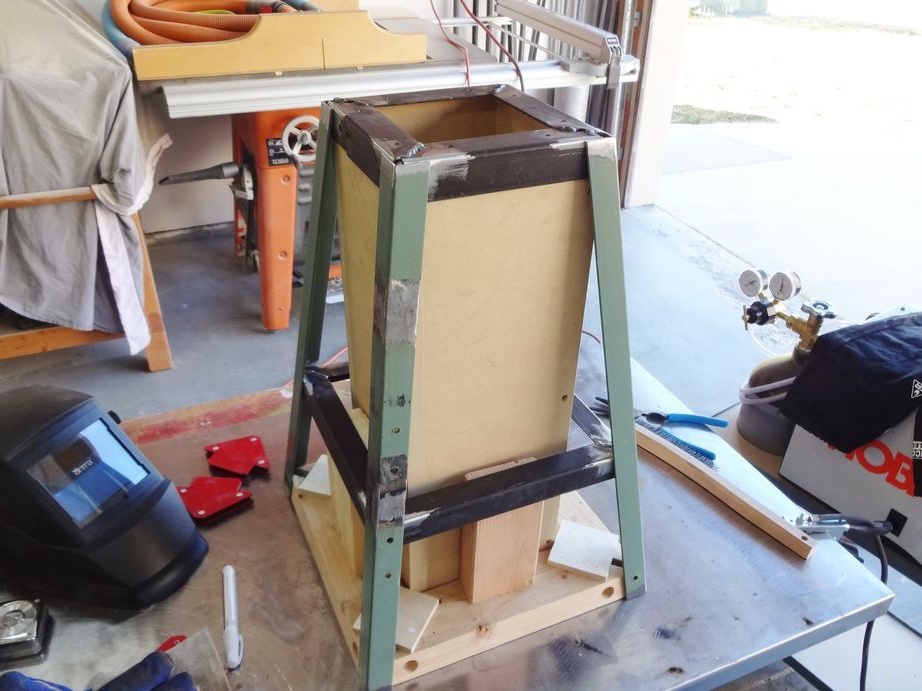
Part 4: Mark and cut off the future legs.
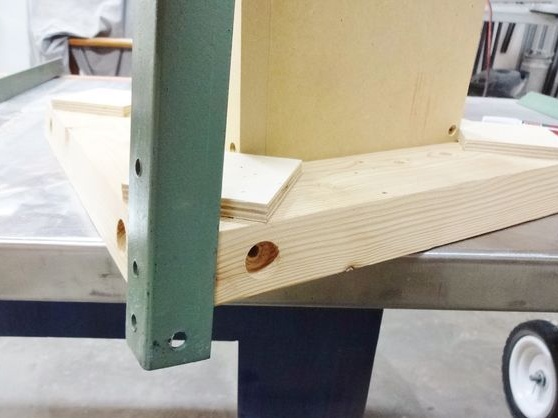
A recent shape will help you easily locate the legs. No measurements are necessary, just attach and mark.
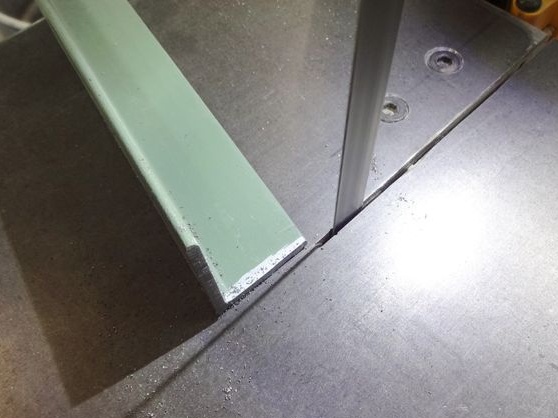
The lower part of each leg is marked and cut off first. To make a marking, we hang the angle of the form above the edge of the table, and fix the metal part in place.
Next, cut off the lower ends.
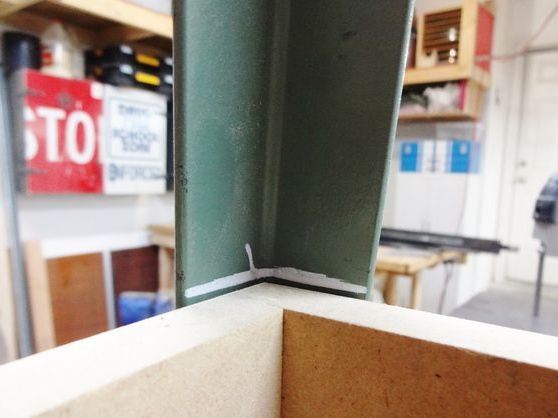
When cutting pieces of legs, everything is placed in a mold and then the upper ends are also marked.
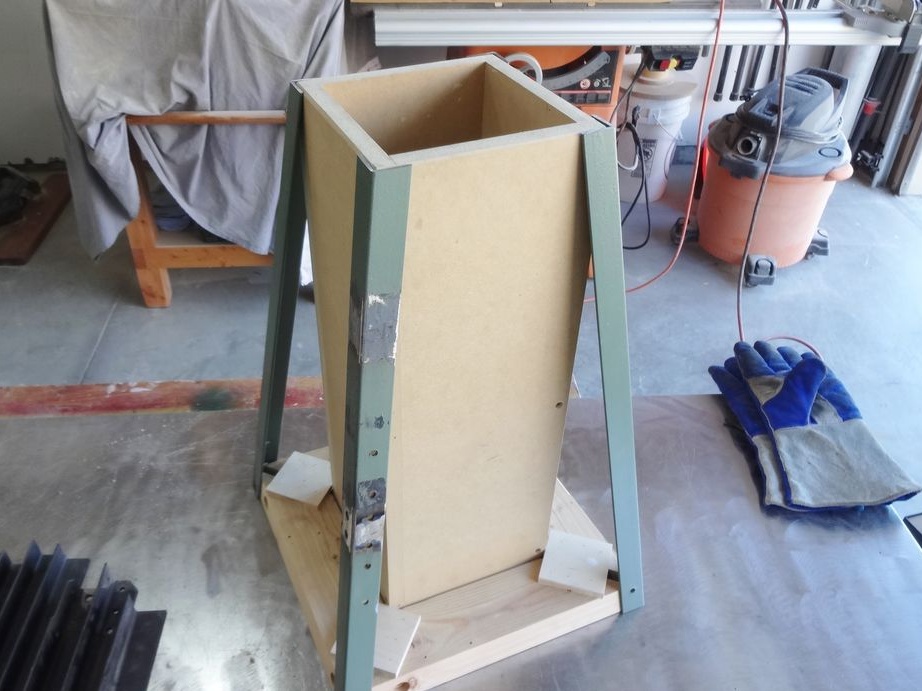
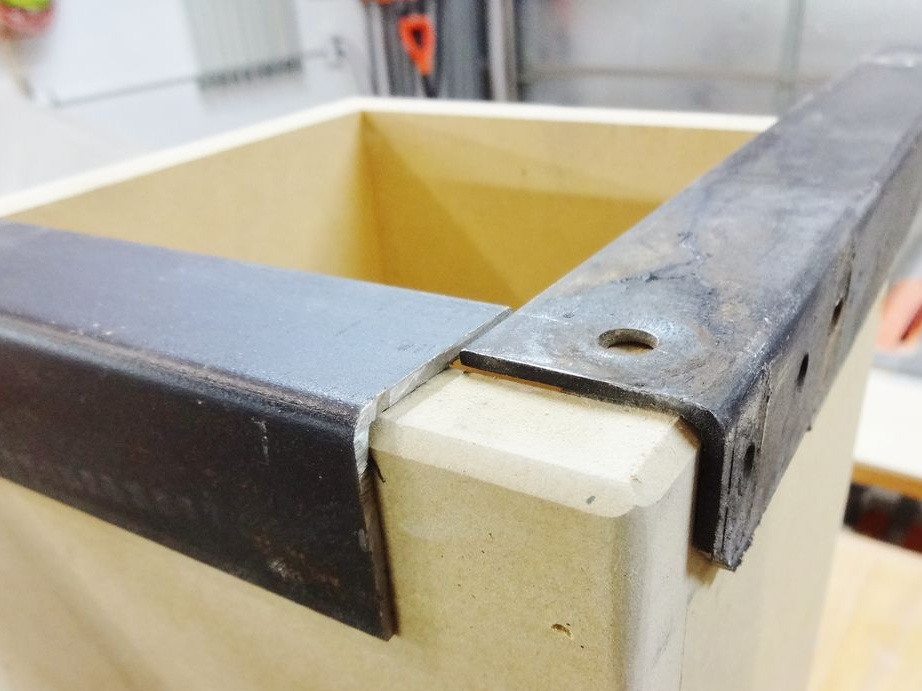
Part 5: The upper part of the chair.
The upper part of the bar stool was made with 4 corners of the iron.
Everything was noted with the help of the square made earlier and the usual clerical pen.
Glue the resulting pieces together, and then remove from the mold to fit the exact weld on each side.
Next, we drill several holes in the upper part, with which we will fix the upper part in the future.
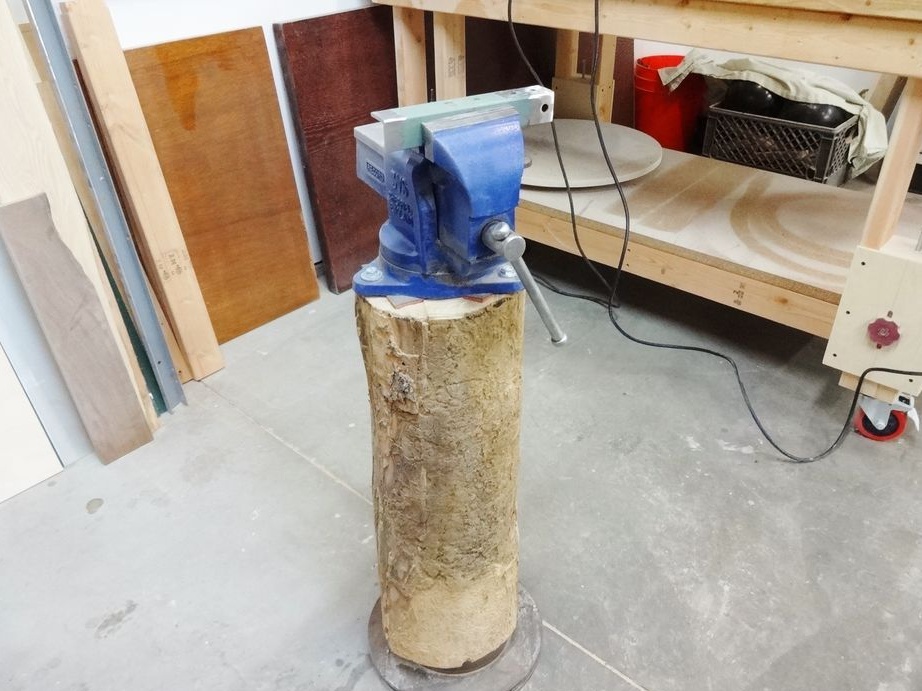
Part 6: Vise.

It is better not to install a vise as an author on wood, since the bolts with which everything was fixed fly out and everything has to be redone.
Part 7: Stand for legs.

Now you can cut a few more pieces of metal for the future stand.
The pieces were 30 cm long and at an angle of 45 degrees.
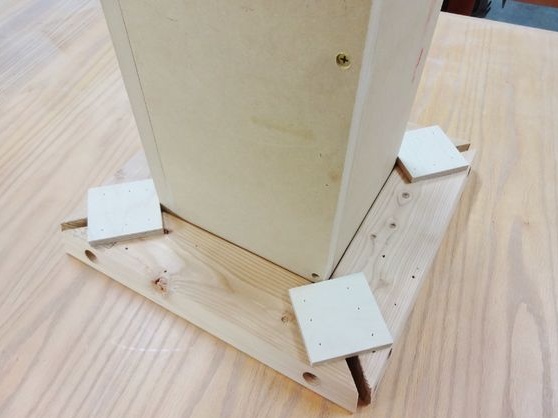
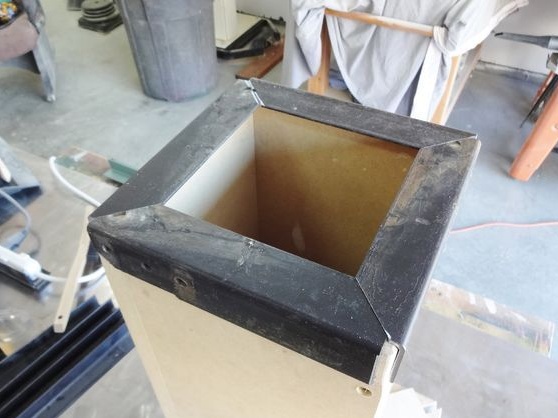
Part 8: Finish the welded parts and skin them.

The stand and support were held with blocks for support and the upper part of the chair.
Next, we weld everything together.
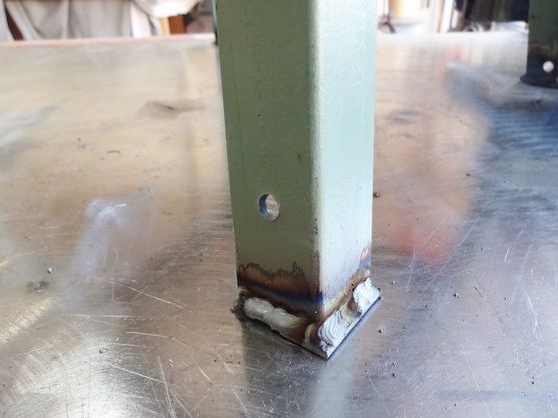
Metal pads were welded from below under each leg.
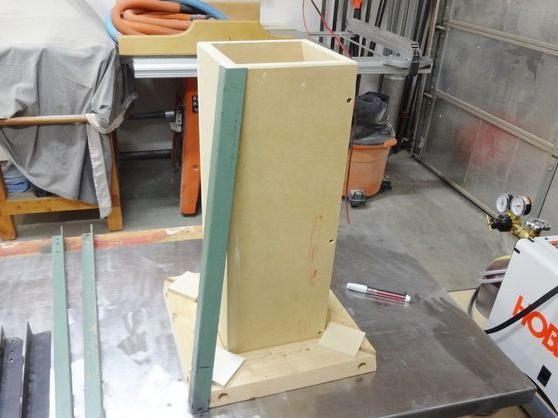
Now we are sanded with 40 grit sandpaper.
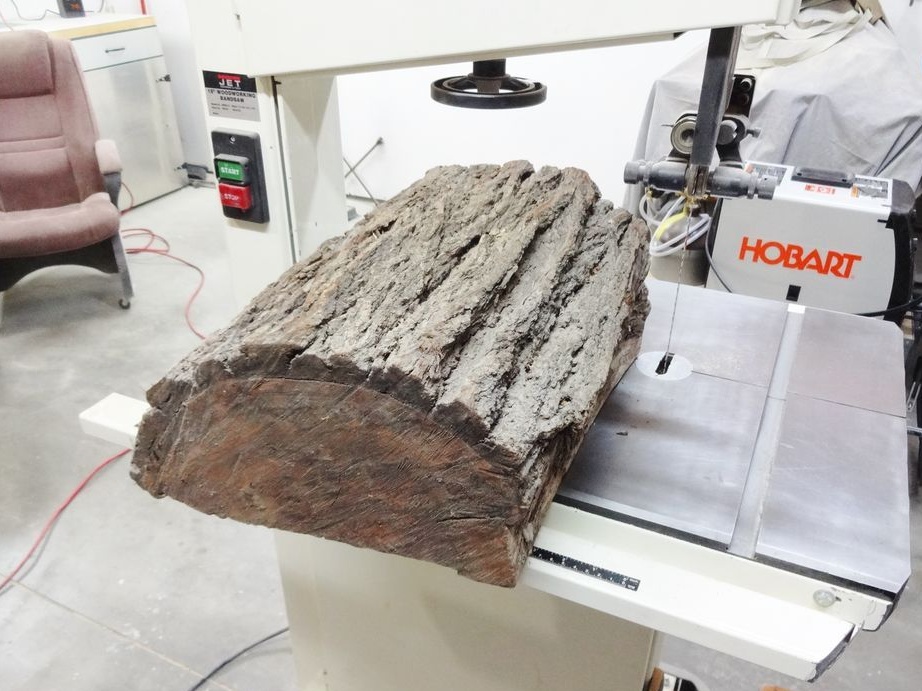
Part 9: Location.

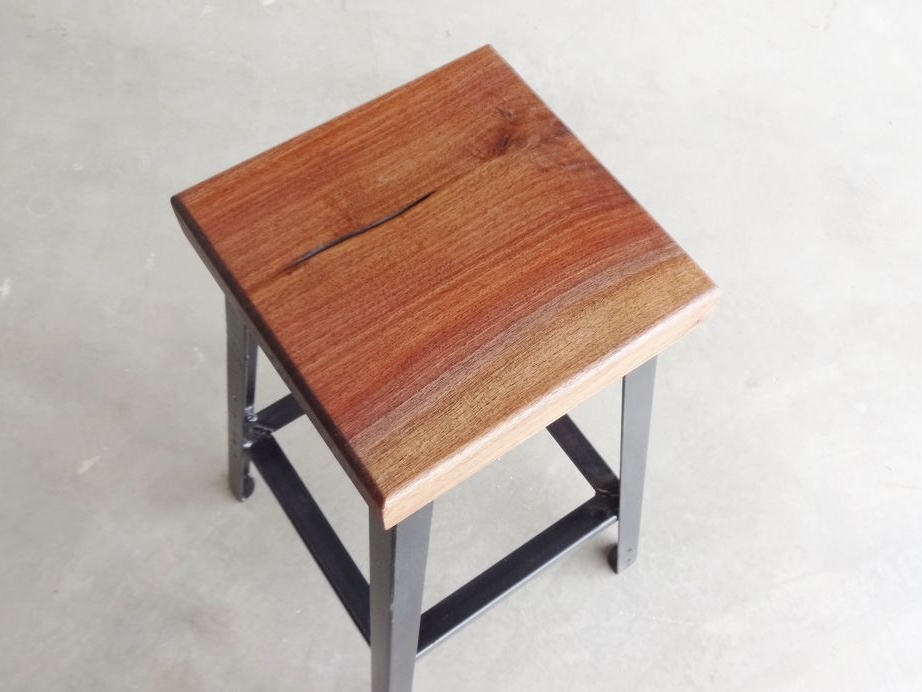
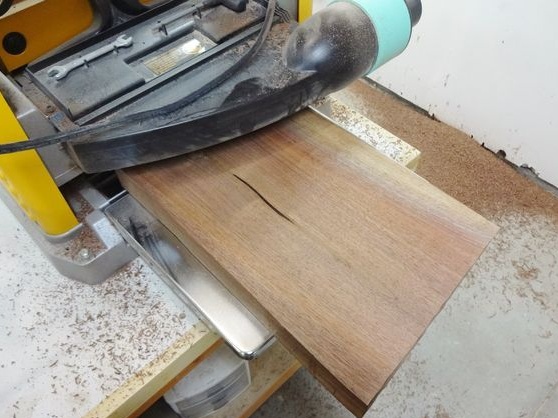
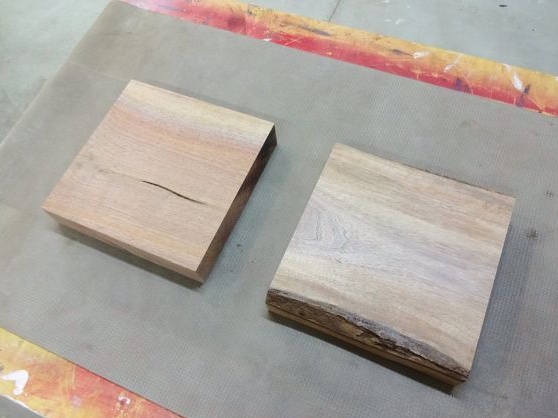
The walnut used by the author lay with him for a very long time and then he decided to use it.
The main part of the regime is on two thickened boards.
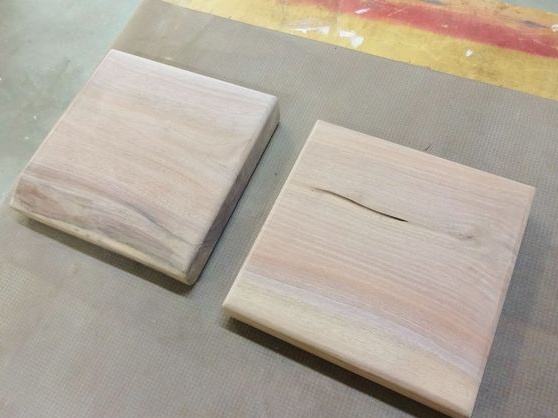
All boards are cleaned with sandpaper.
Grind the chamfered edges with sandpaper with a grain size of 100 to 220.
Part 10: Painting.

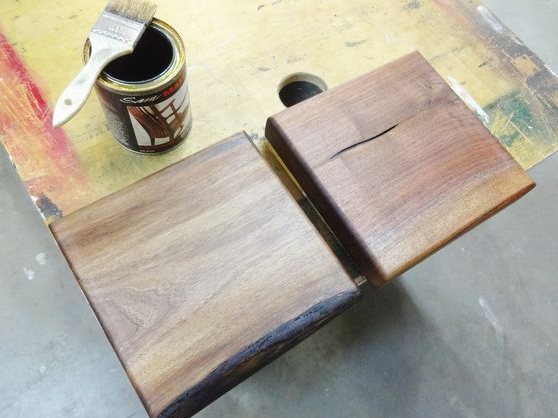
We cover the frame of the future bar stool with a dirt sprayer, and then with ordinary black paint.
Part 11: We fix the seat of wood.
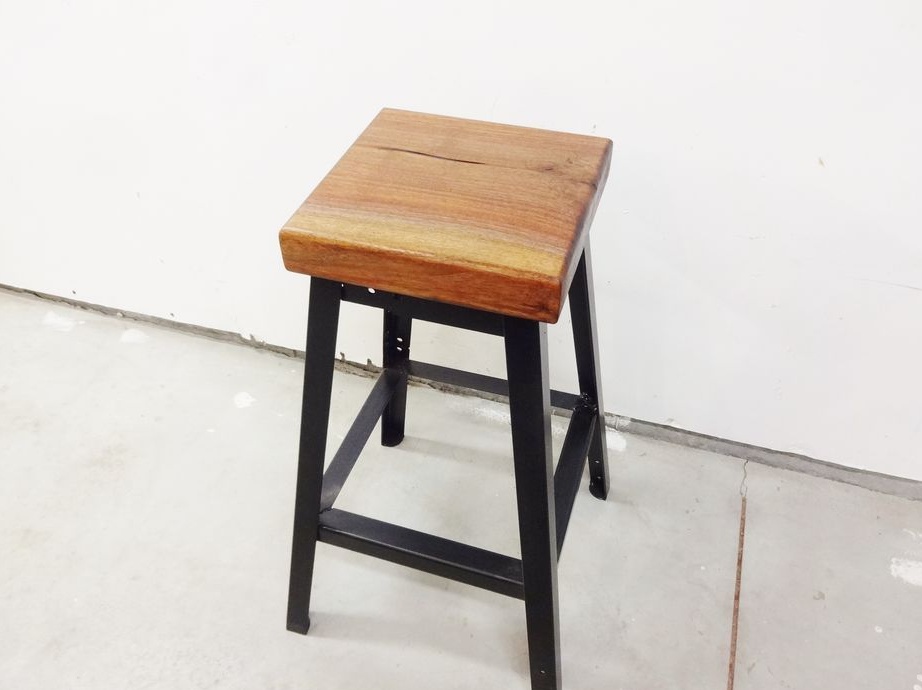
The wood seat was mounted on newly made holes with screws.
Thanks for reading this article. Good luck to everyone, bye!