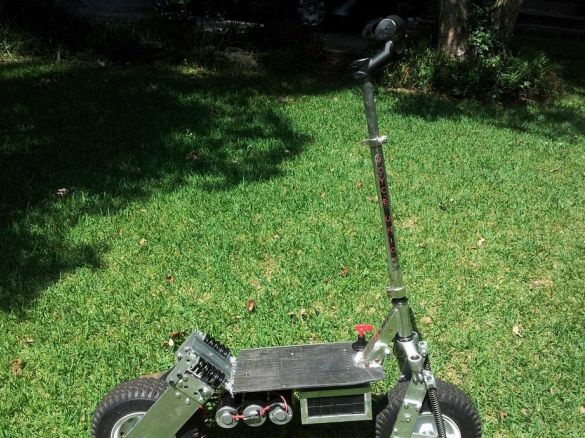
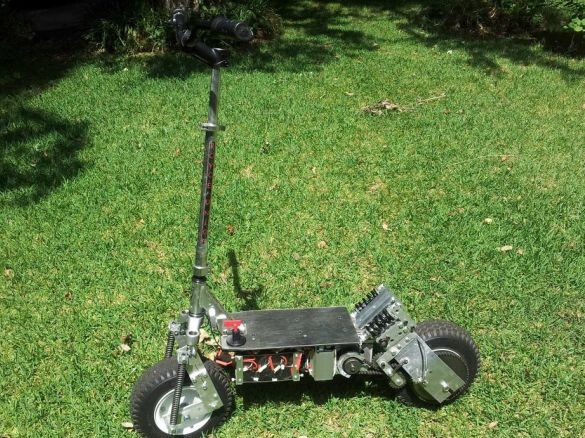
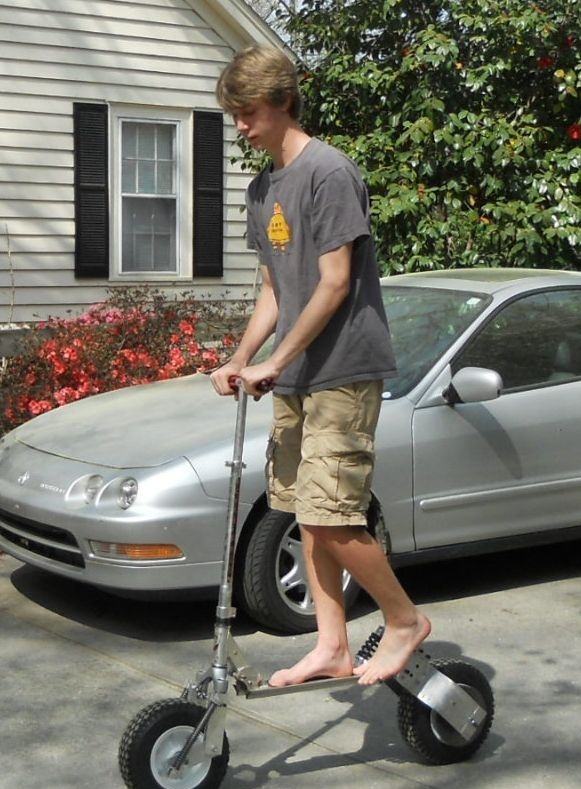
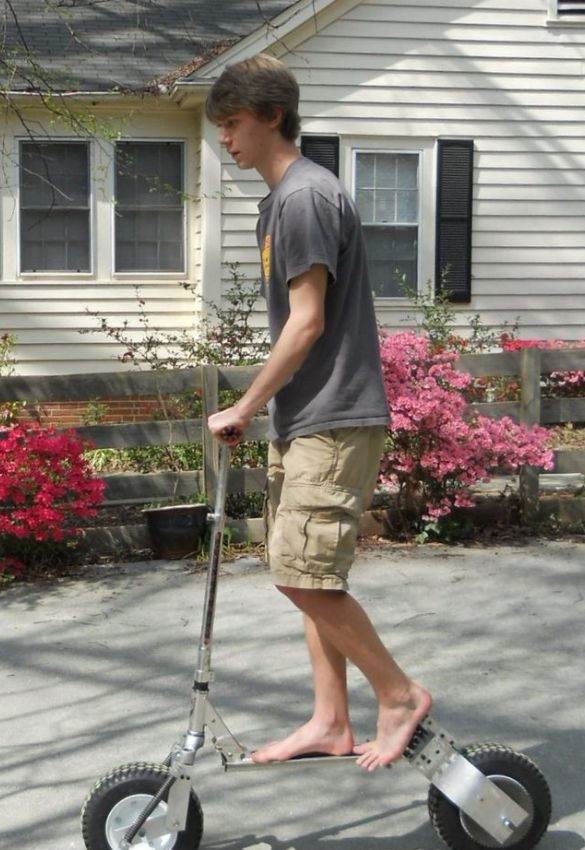
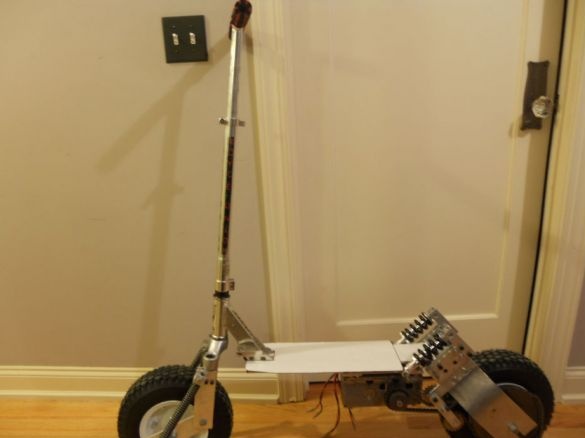
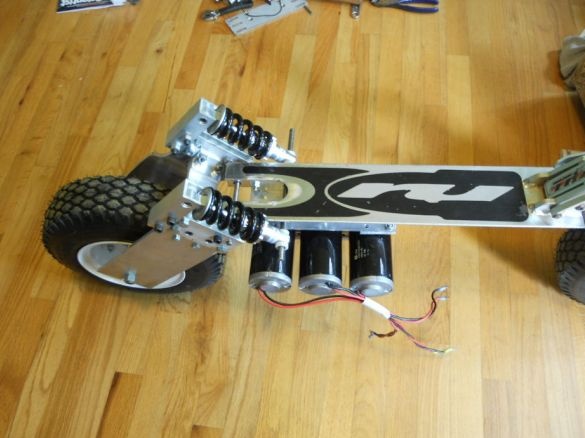
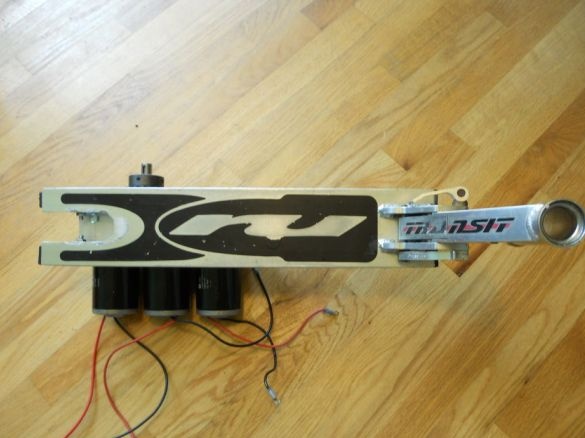
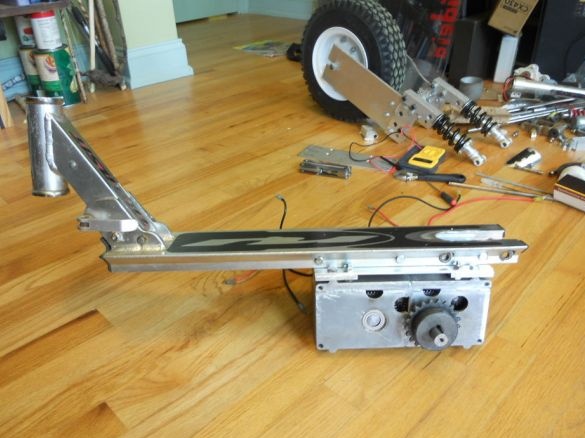
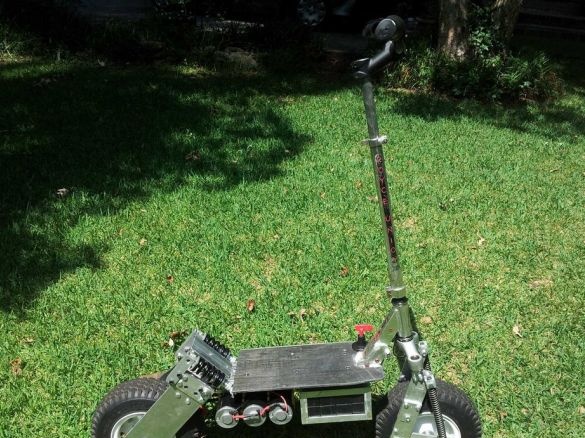
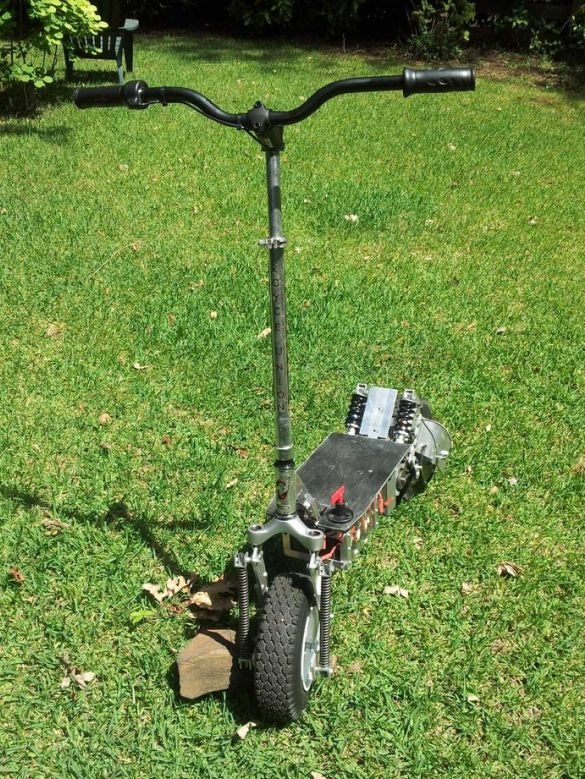
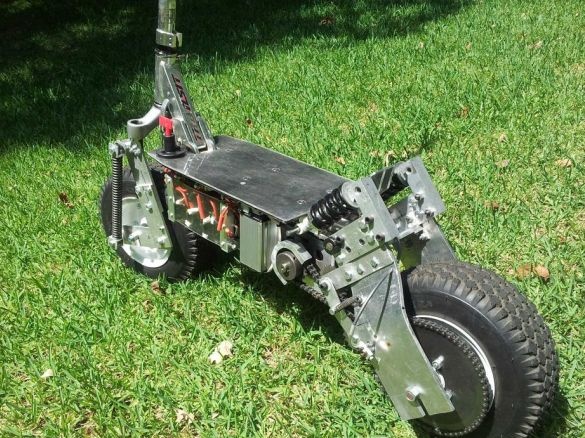
For lovers of automotive technology today, we will consider how to build an electric scooter from a scooter. According to the master, the electric scooter he assembled has a speed of up to 40 km / h, has about 3 l / s and can travel from 13 to 20 kilometers on a single charge. Basically, all the parts from which the scooter was assembled, the Master took when disassembling old robots in a robotics club. To make an electric scooter, he needed the following
Tools and materials:
- Scooter frame;
-Wheels;
-Reducer;
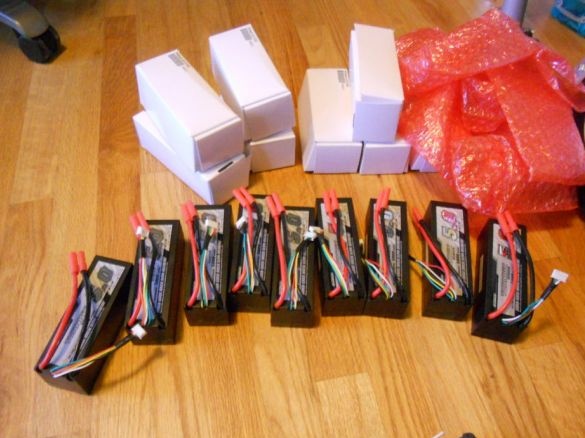
- - 8 pcs;
-Aluminum corner;
-Aluminum strip;
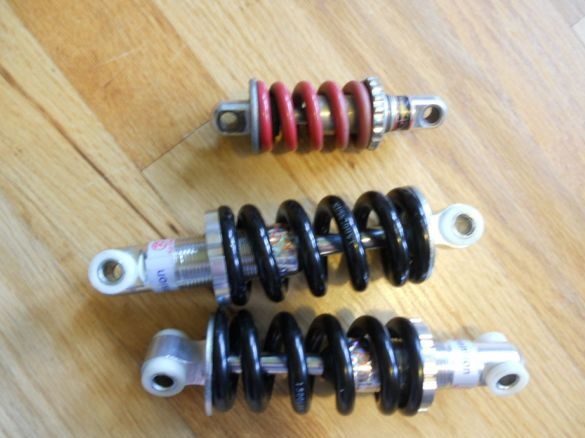
-Dampers;
-Fasteners;
-Circuit breakers;
-Connectors;
-Wire;
-Drill;
- Hacksaw for metal;
-Drilling machine;
-File;
- Clamps;
-Soldering iron;
-Burner;
-Charger;
- metalwork tool;
Polycarbonate;
Epoxy resin;
-Carbon fiber;
Step One: Frame
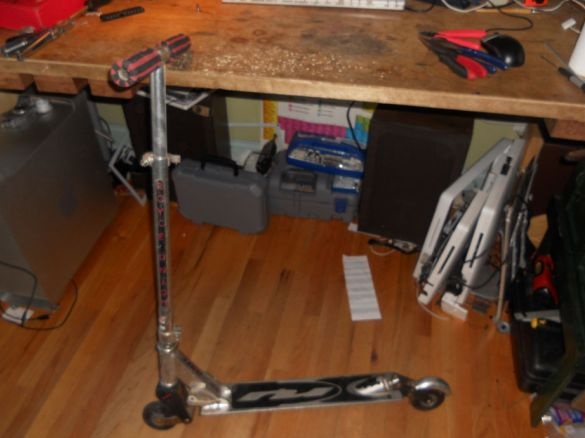
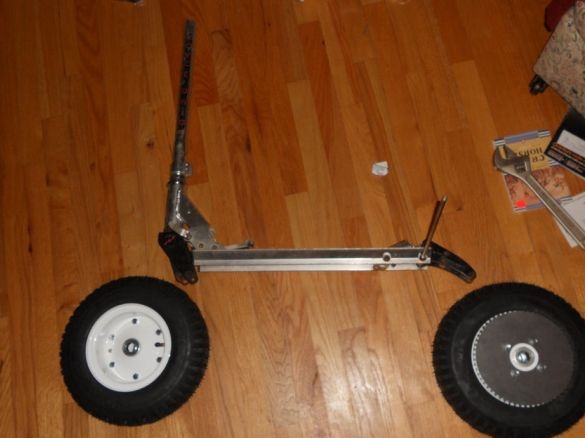
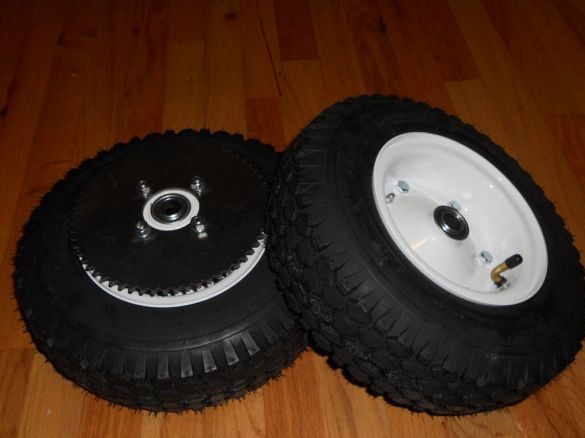
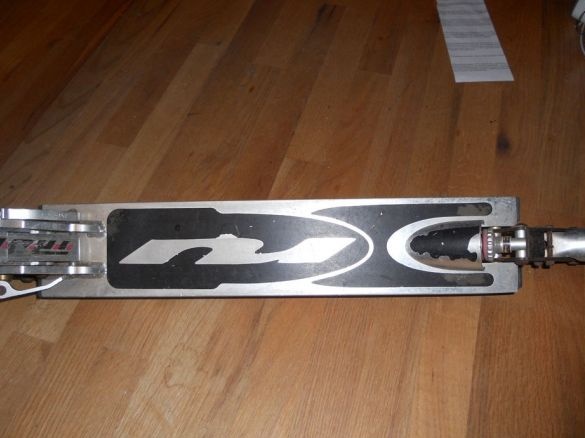
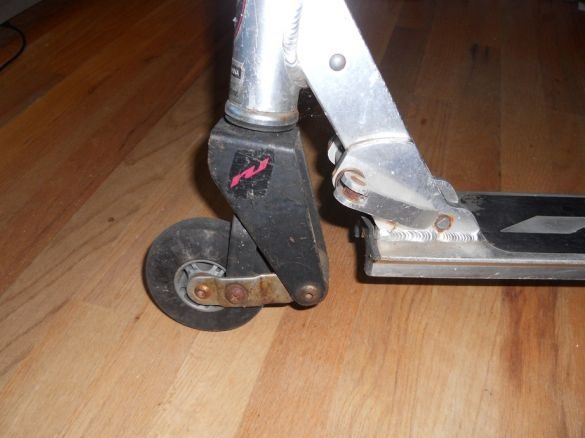
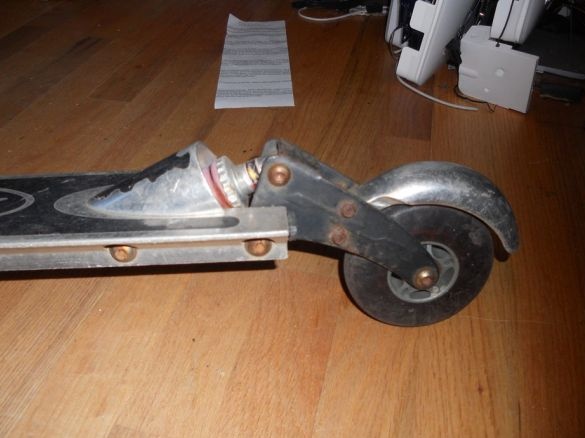
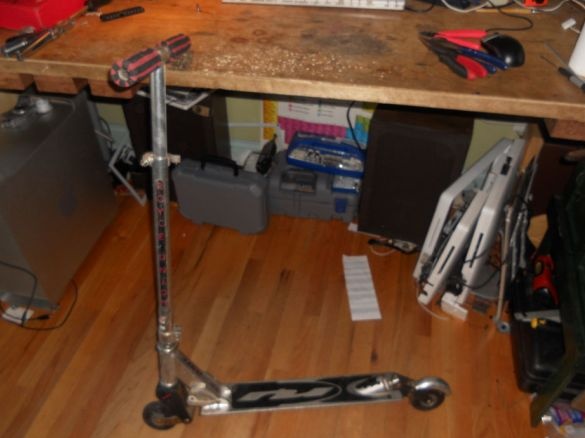
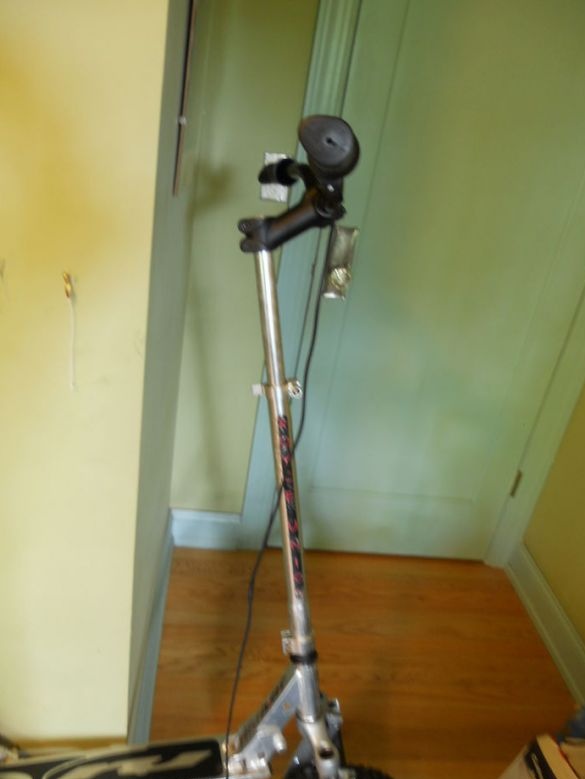
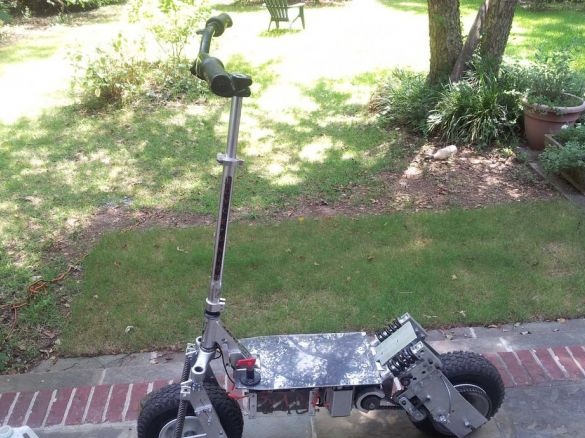
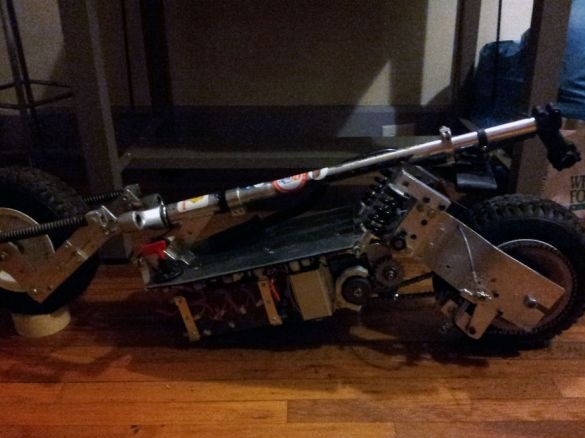
The master took Rama from an old scooter. I took off the suspension and wheels from the scooter. For the project acquired other wheels. These wheels are collapsible and on them, if necessary, you can put winter tires. According to the author’s idea, the gap under the scooter platform should be about 20 centimeters.
Step Two: Rear Suspension
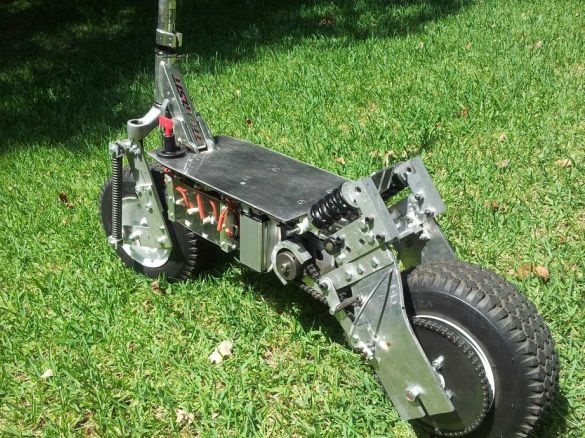
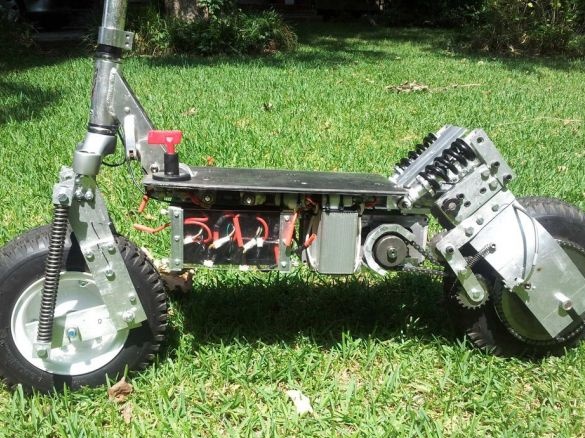
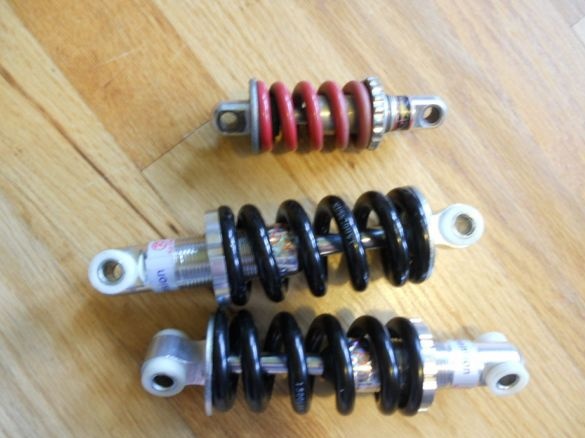
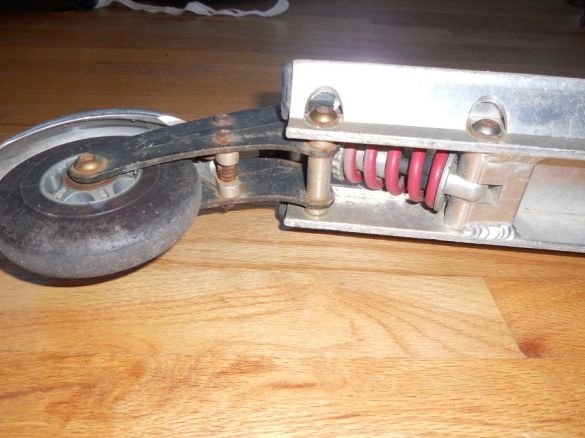
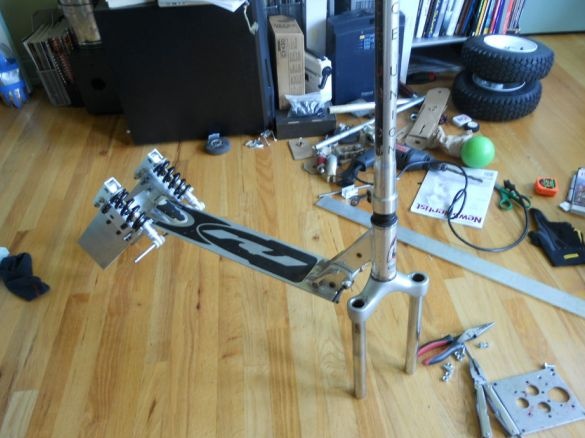
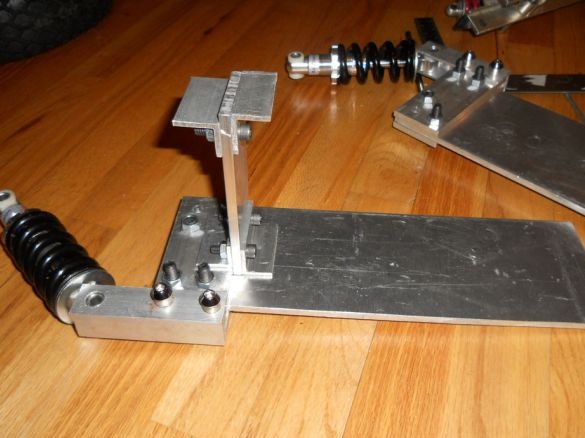
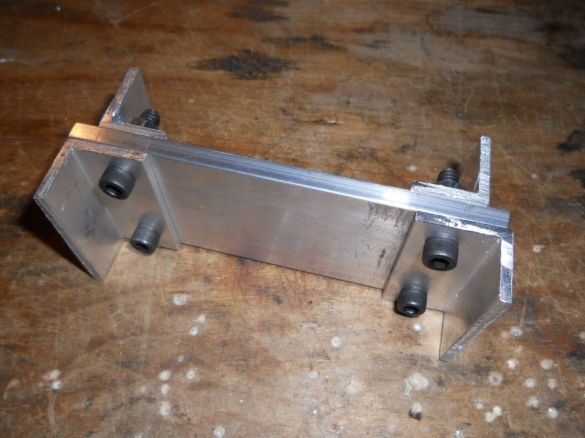
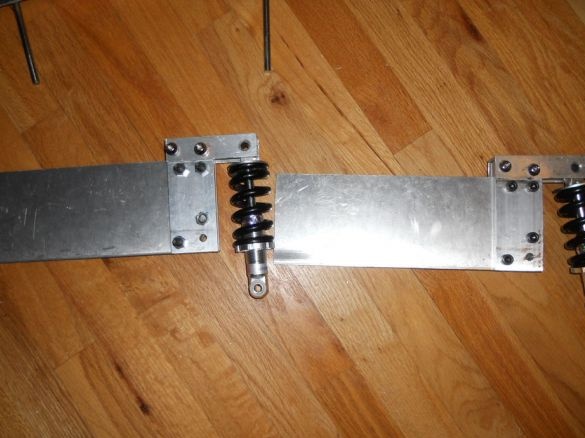
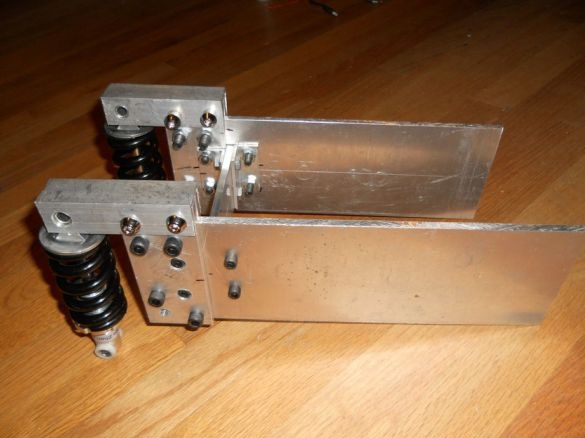
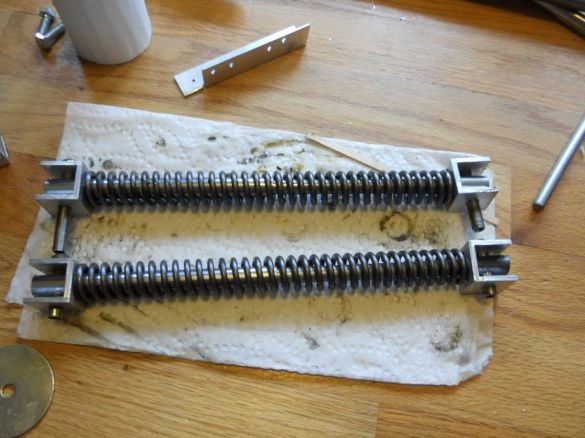
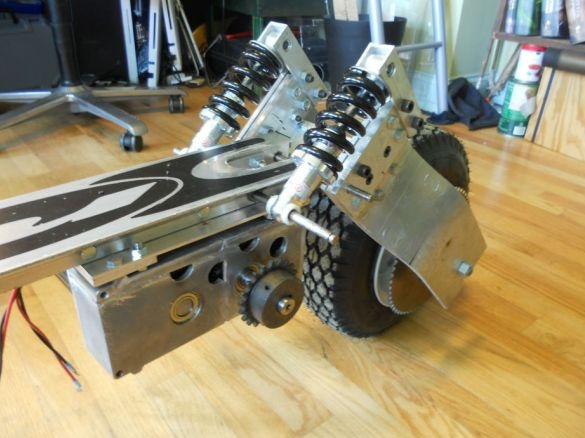
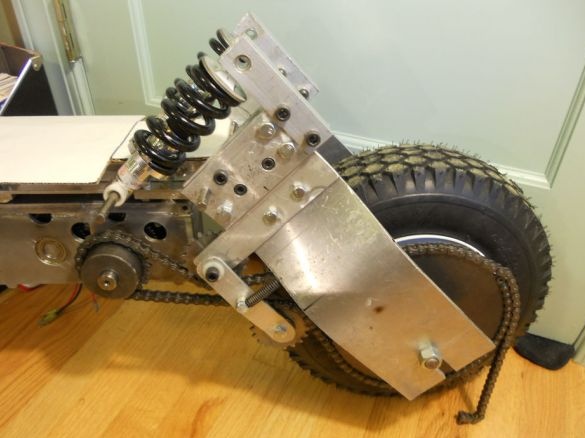
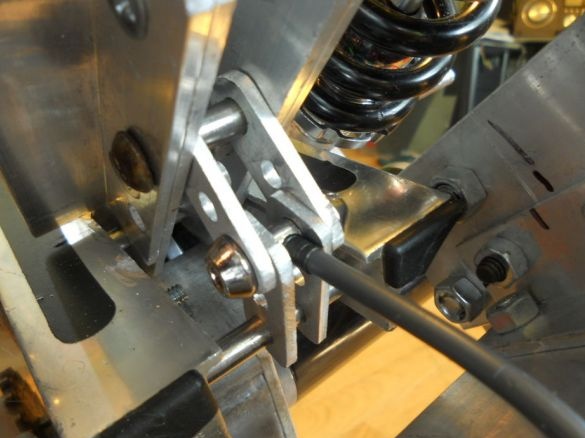
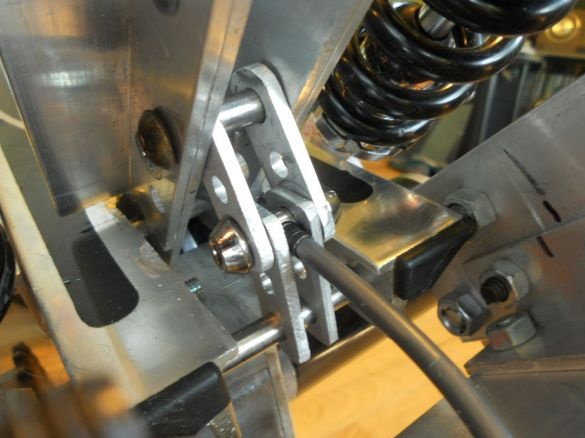
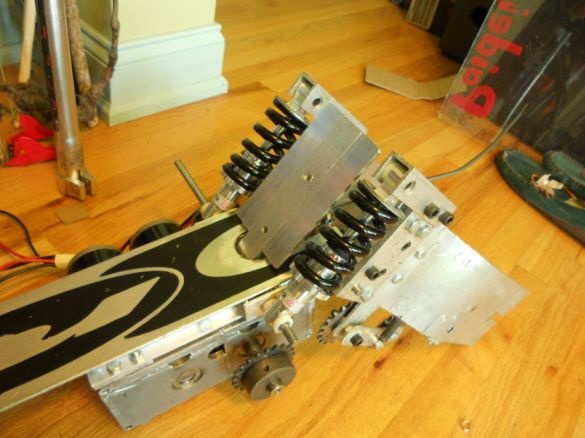
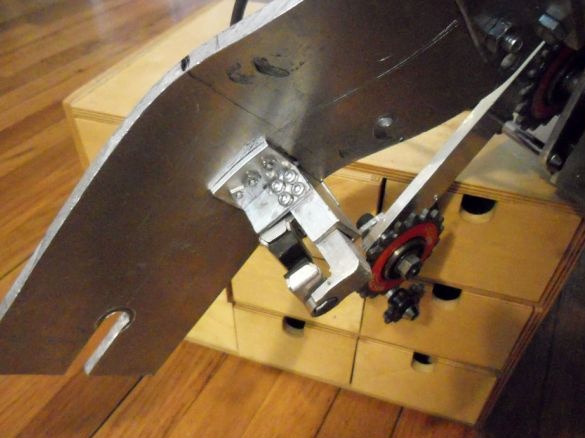
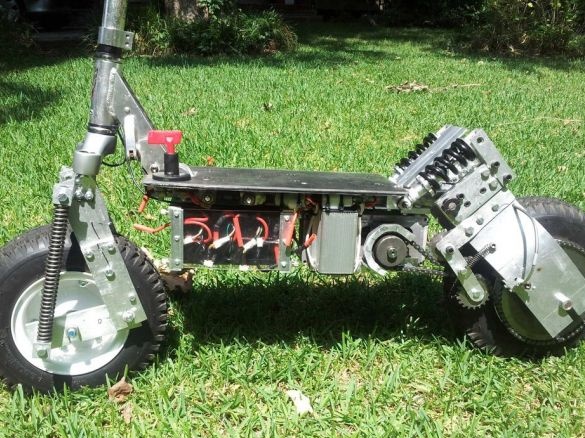
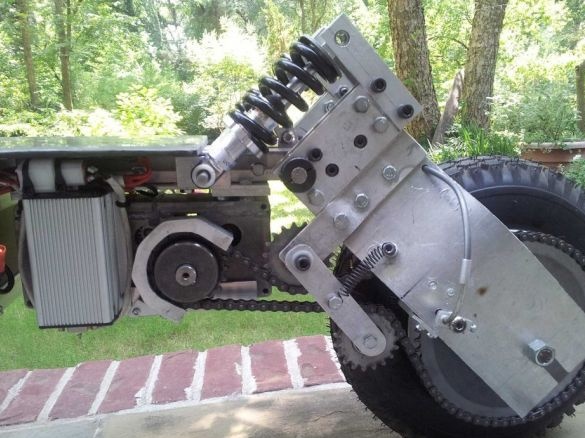
The rear suspension is made of aluminum corner and strip. Shock absorbers are mounted from a mountain bike.
Step Three: Front Suspension
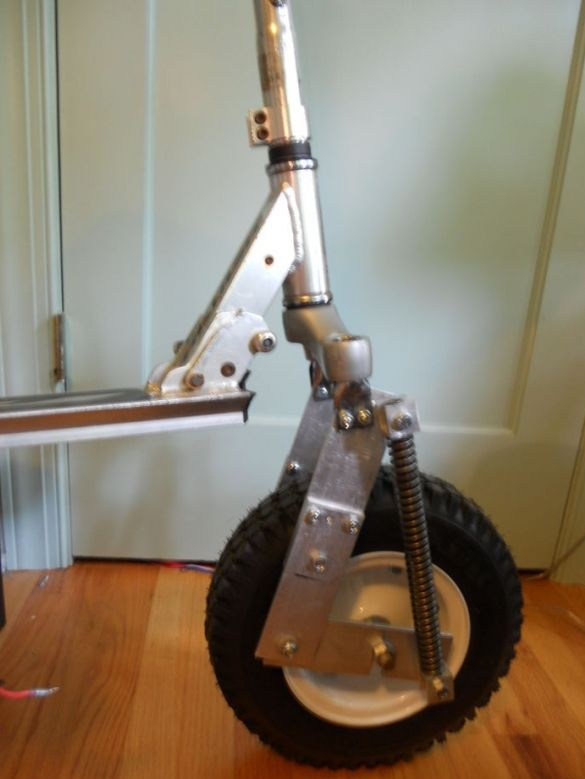
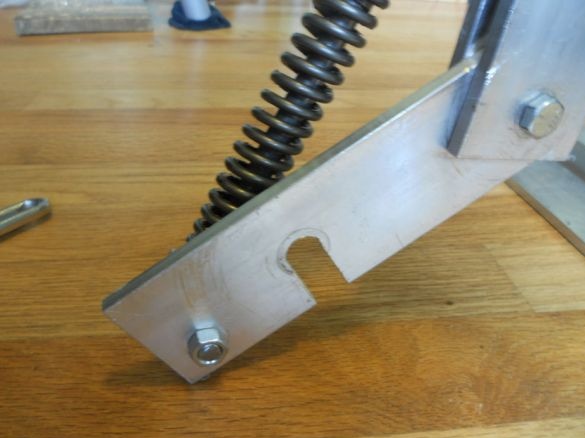
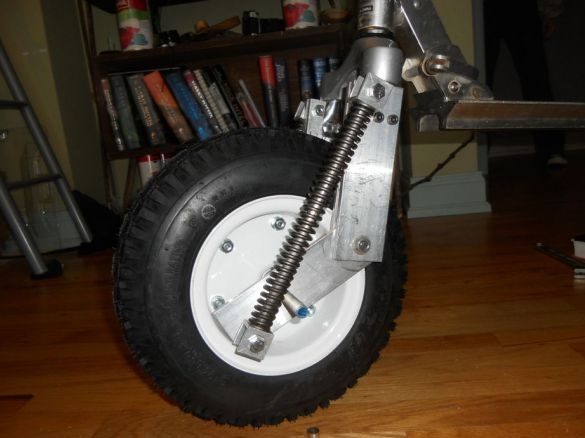
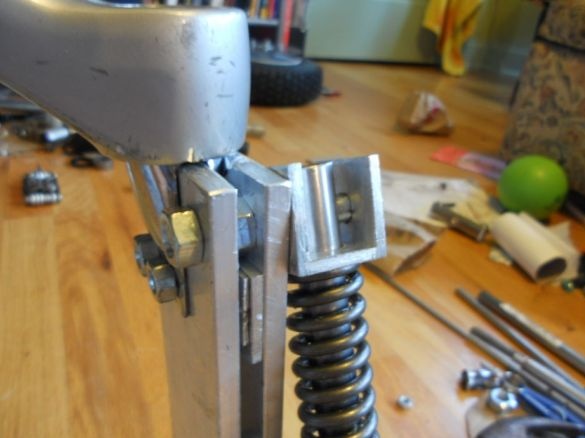
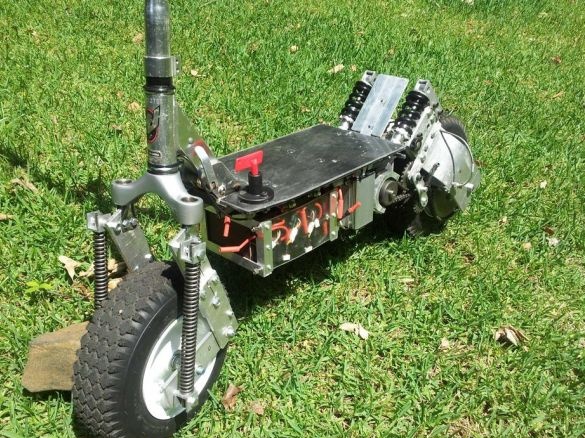
The front suspension is made using the spring fork of a mountain bike. In the manufacture of the suspension, the master paid special attention to the fact that the wheel would not cling to the frame during turns.
Step Four: Wheels
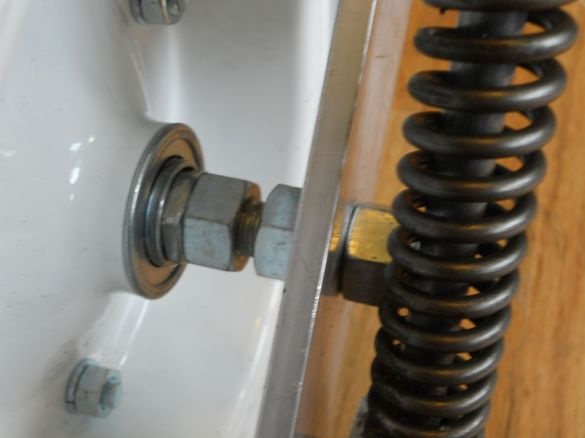
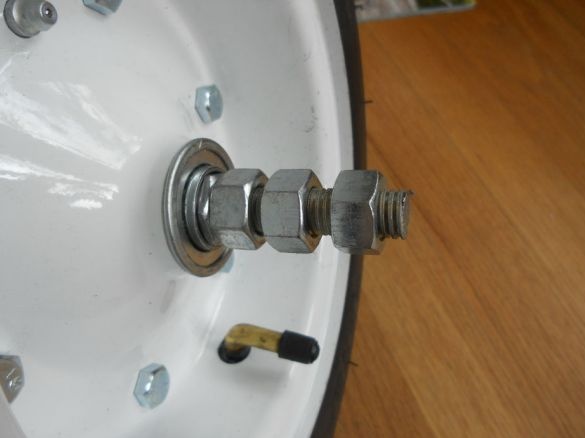
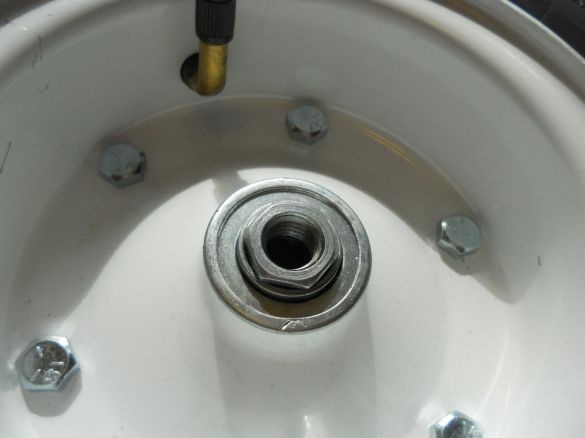
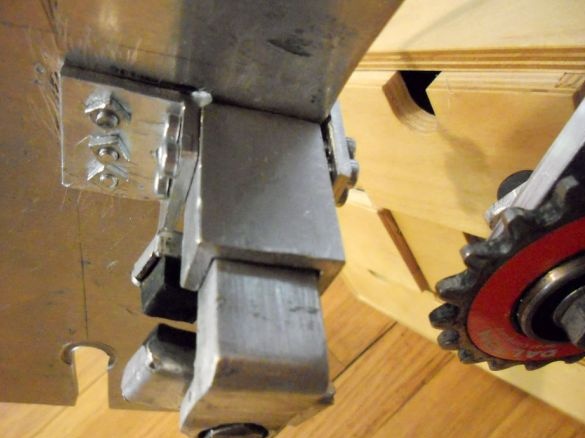
The wheels are attached to the suspension using a 12mm stud. Between the inner race of the bearing and the stud, the master installed bushings.
Step Five: Gearbox
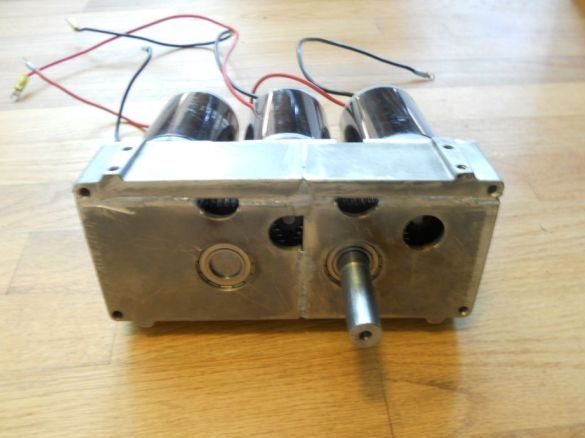
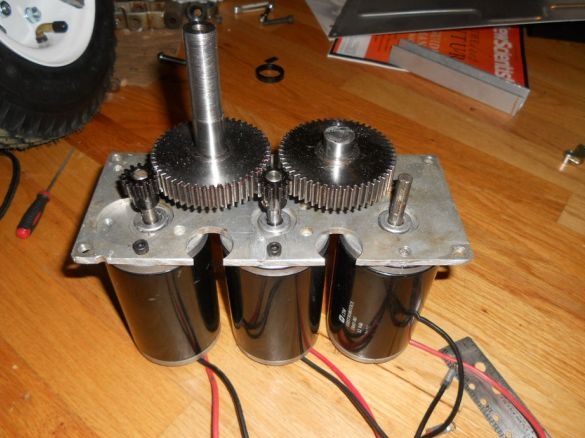
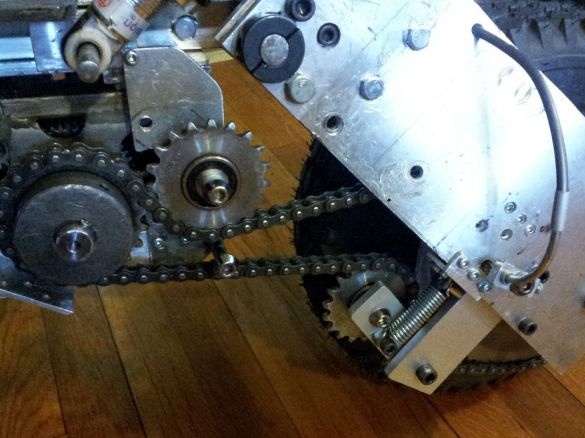
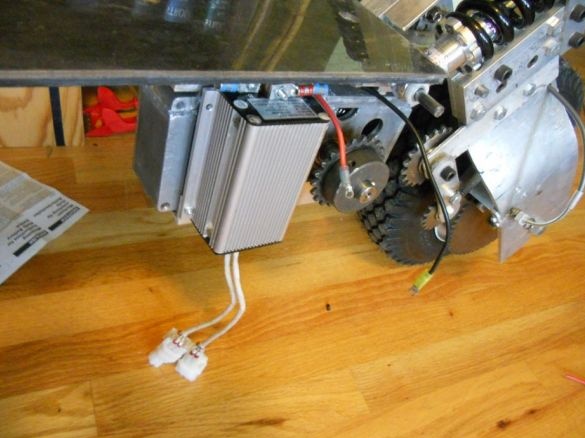
The electric motors that the master installs on the scooter are highly resourceful, so he had to put the gearbox. The master assembled the gearbox from two gearboxes. The gear ratio of the gearbox is 14:50. An asterisk for 21 teeth is installed on the gearbox shaft.
Step Six: Chain Tensioner
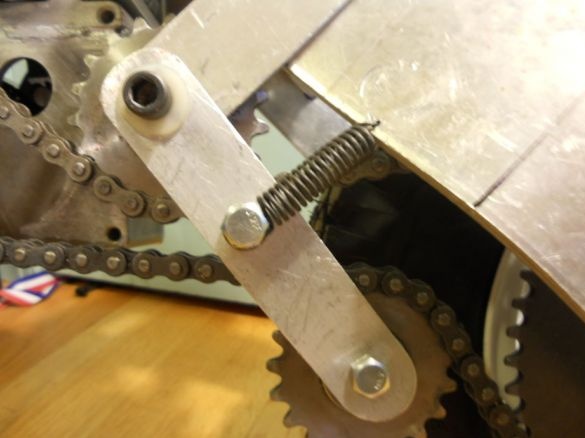
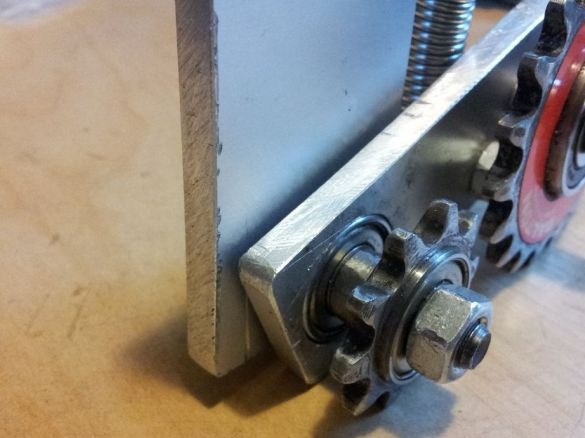
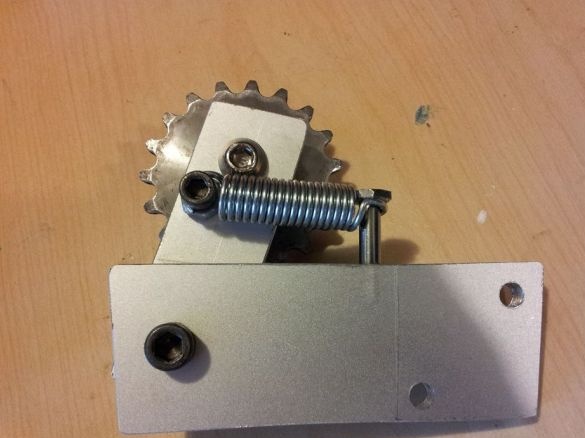
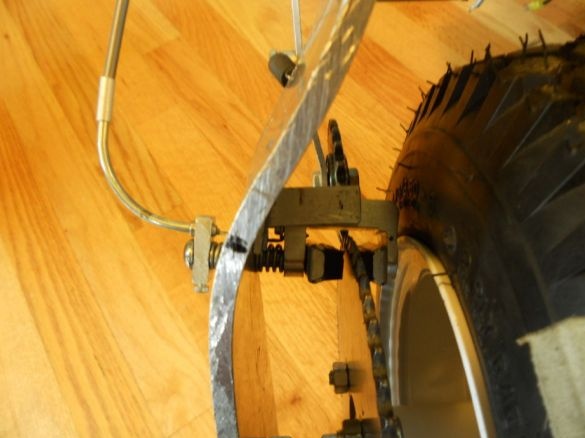
Tensioner master remade three times. In the first version, the chain slipped when driving on rough roads.
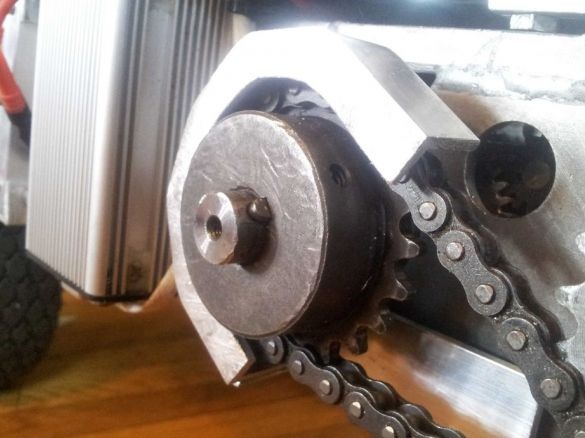
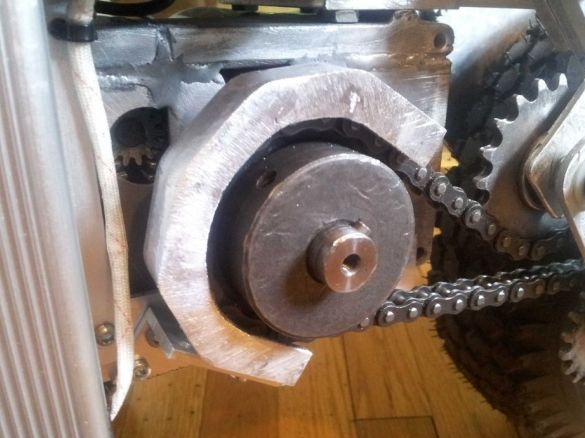
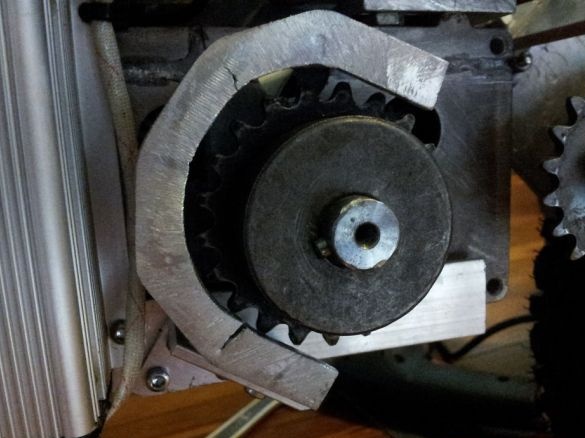
Then the master made a protective cover.The casing worked until the chain was pulled and tore it.
In the third version of the tensioner, the master used two stars.
Seventh step: brake
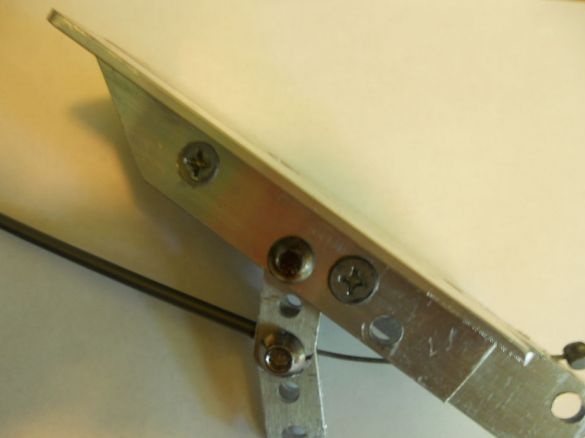
Electric scooter disc brakes. The brake disc is located on the rear wheel. The foot brake pedal is located on the rear of the platform.
Step Eight: Steering Wheel
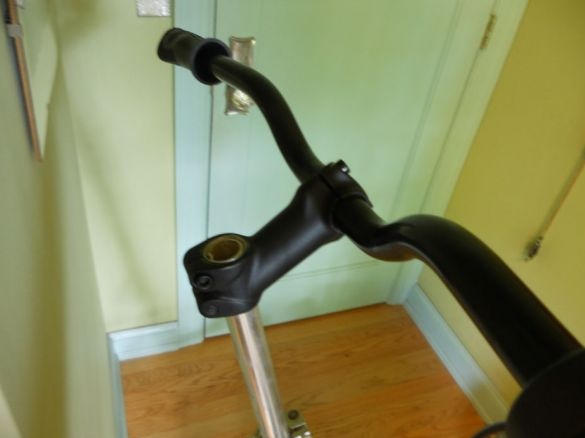
The master replaced the wheel with a wider one, from a mountain bike. Fastening the steering wheel to the fork also from a mountain bike. Under the right hand, on the steering wheel, a gas handle with a Hall sensor is installed.
Step Nine: The Platform
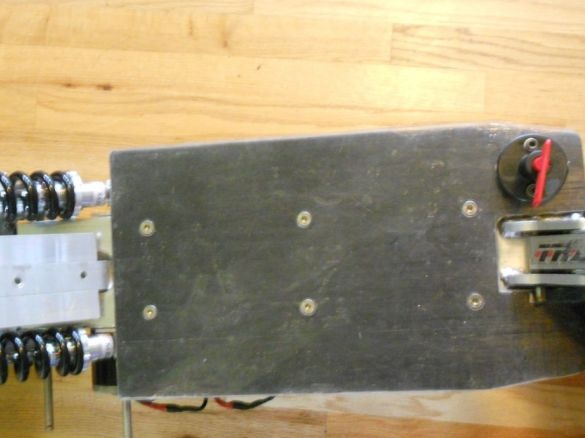
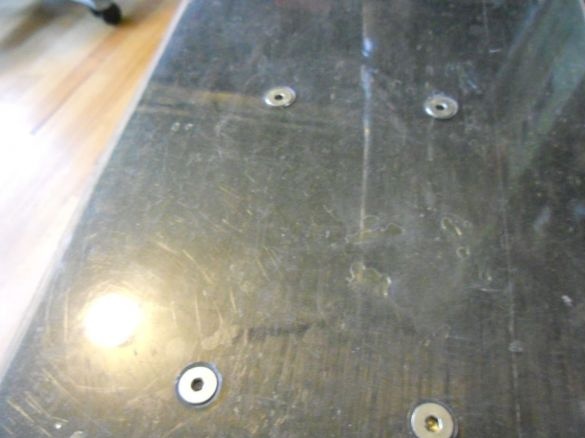
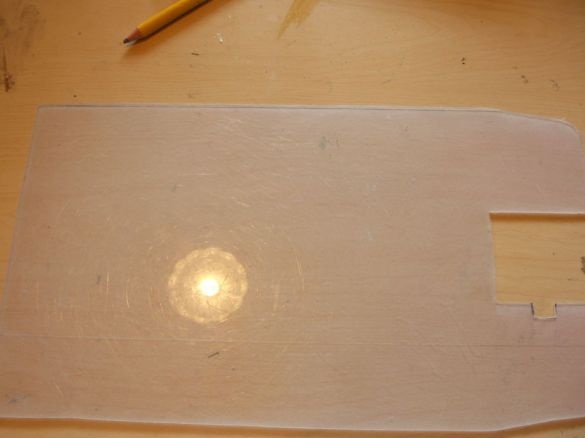
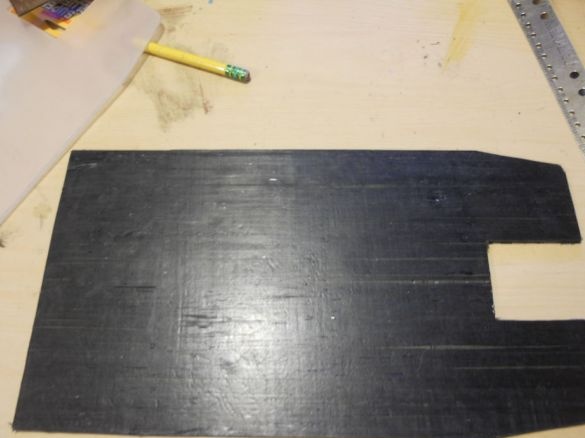
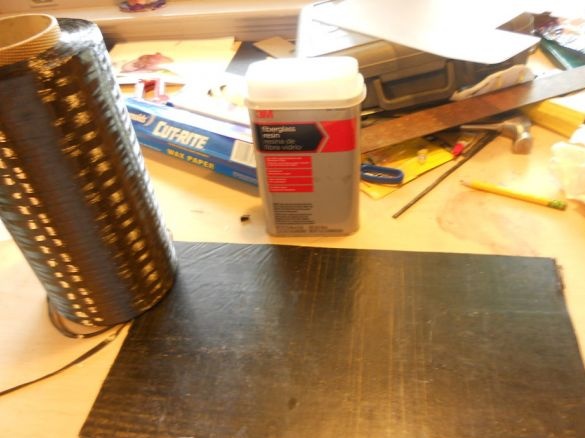
The standard platform of the scooter is small, so the master had to make another. The platform is made of carbon fiber and epoxy. Top sets polycarbonate.
Step Ten: Electrical
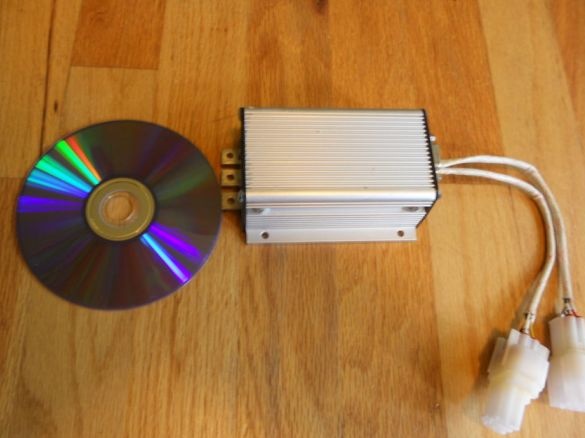
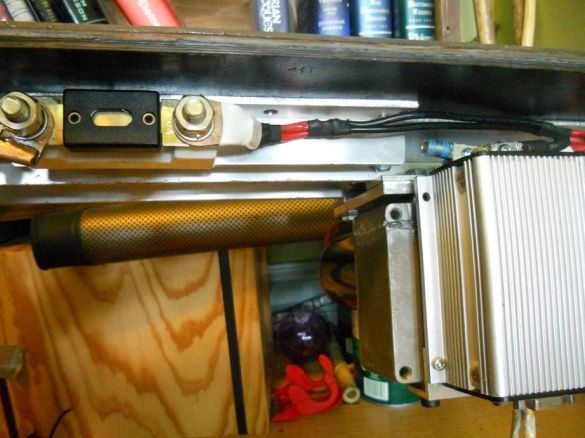
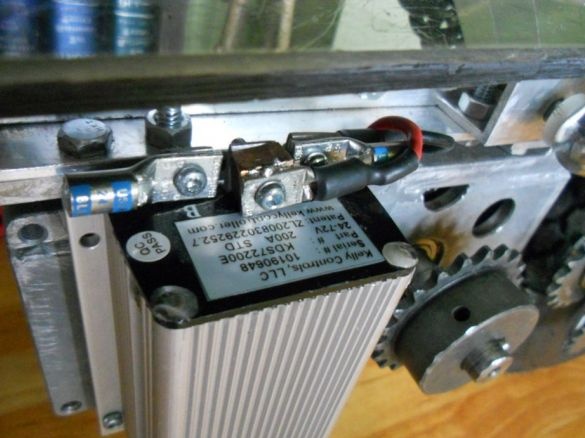
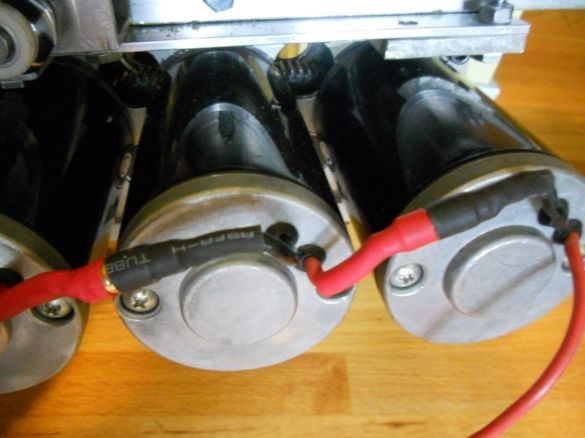
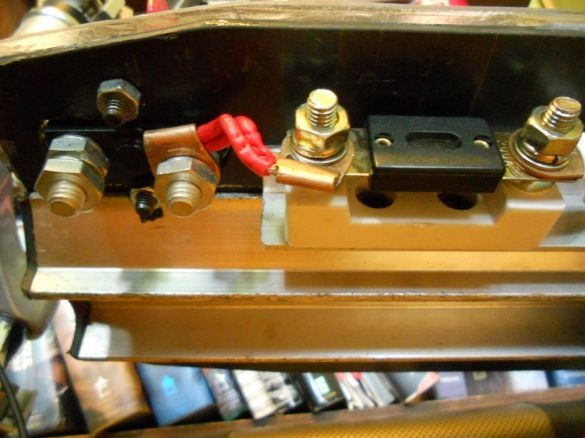
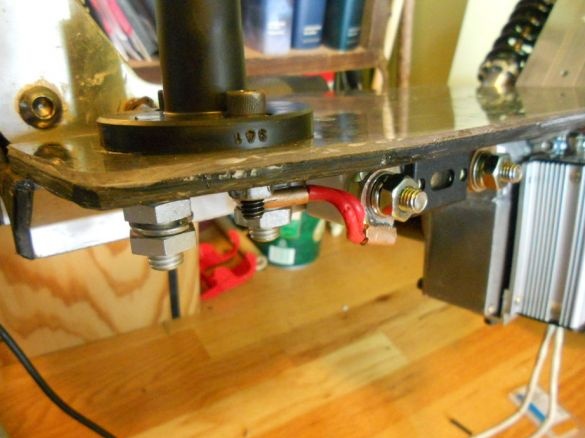
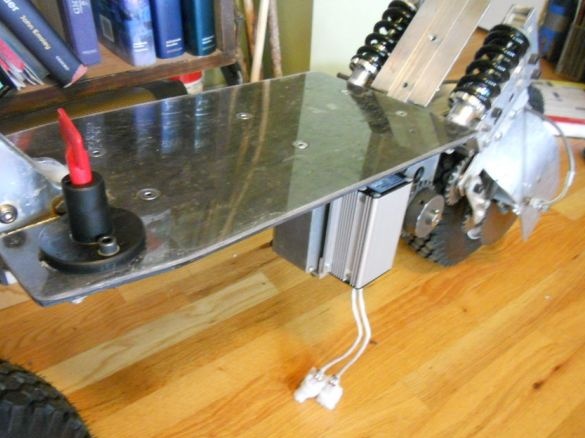
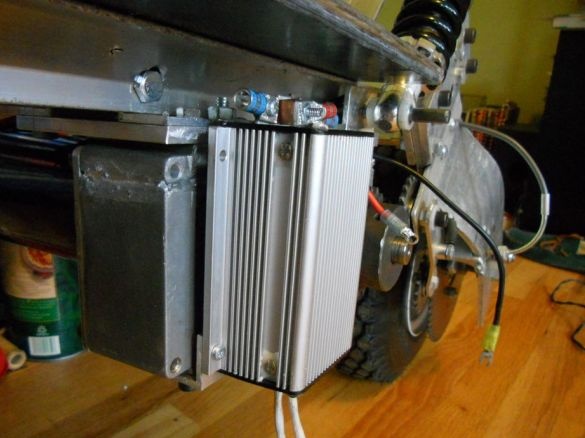
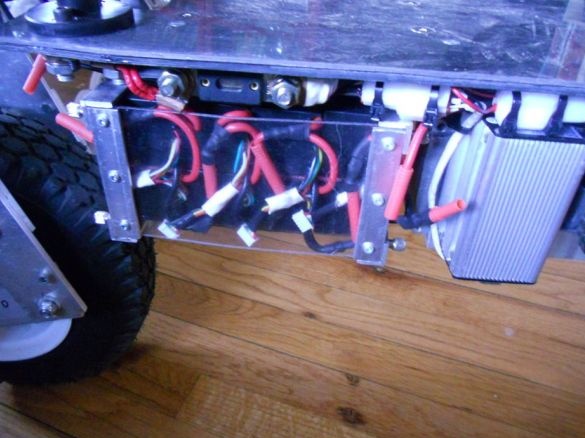
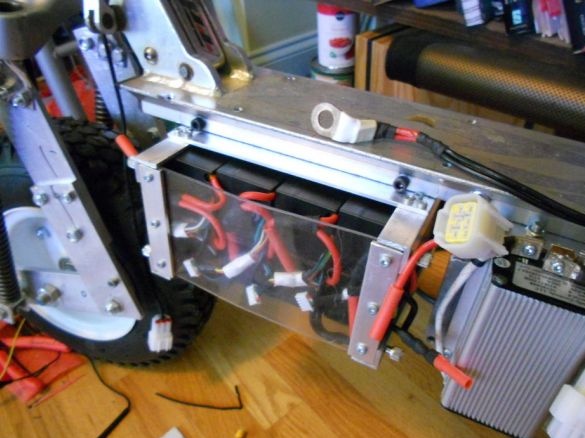
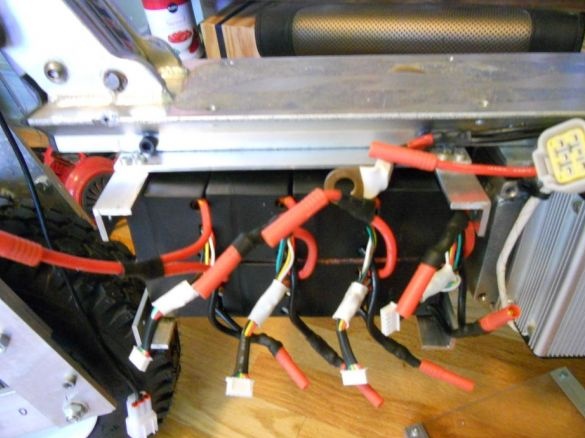
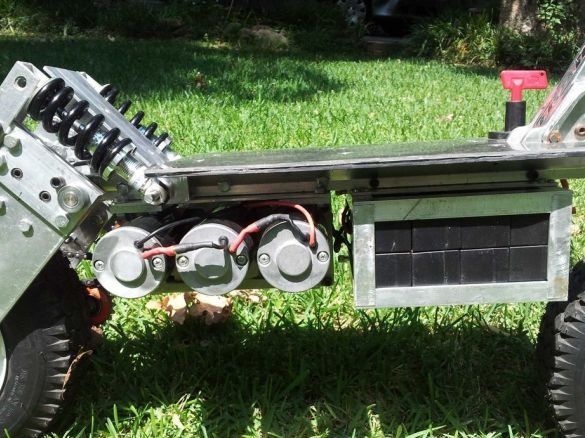
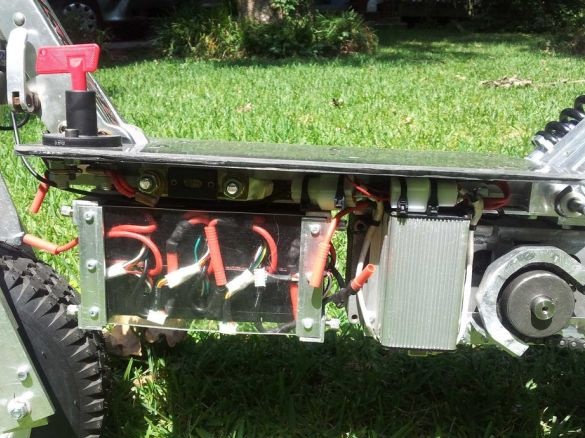
All electrical equipment is installed under the platform. An ignition switch is attached to the platform. Electric motors are connected in series. A 200A fuse is installed in the circuit.
Step Eleven: Batteries
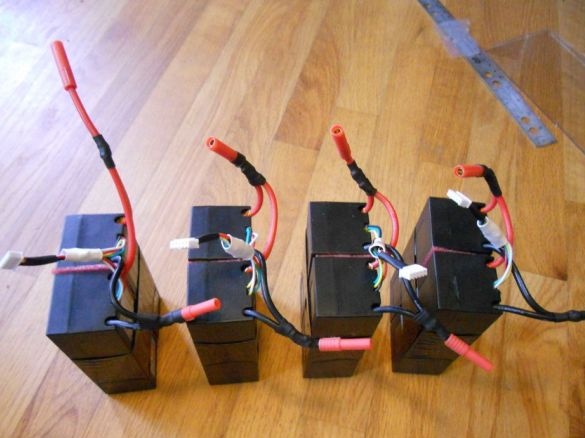
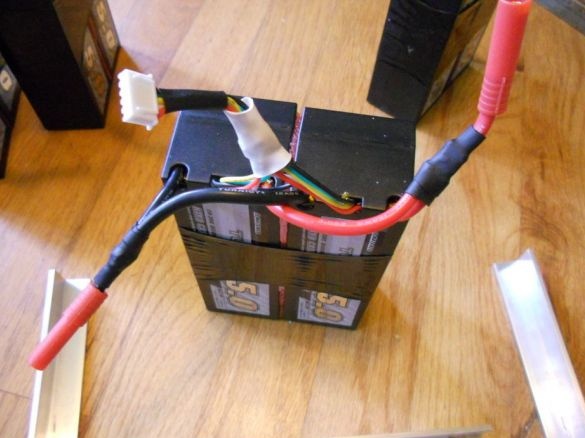
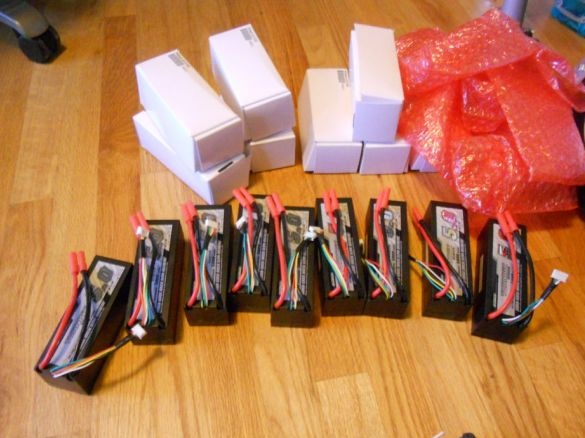
To power the master uses eight lithium-polymer batteries 14.8V 5A.
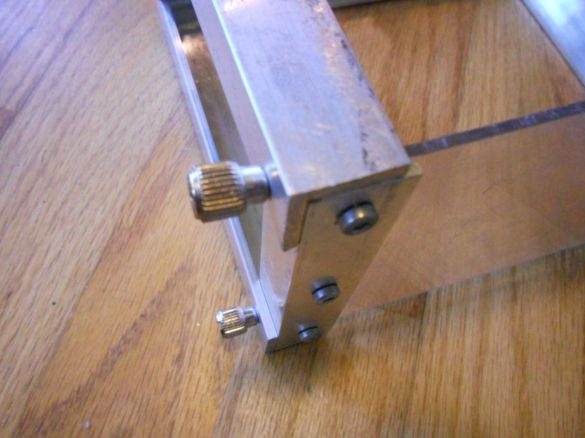
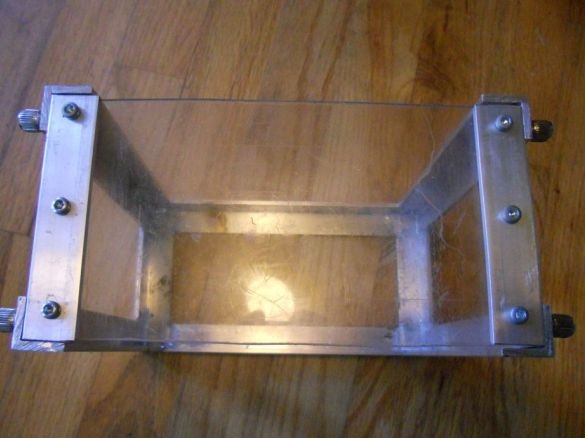
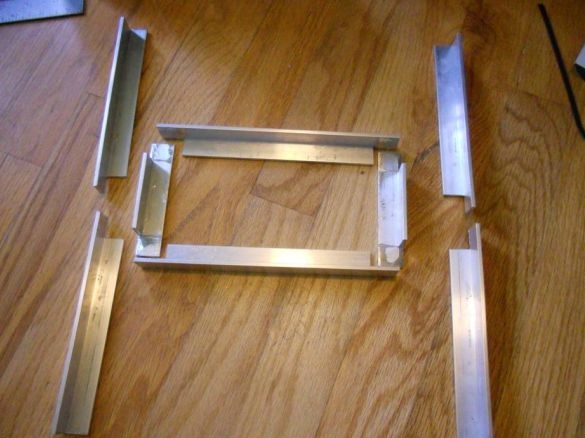
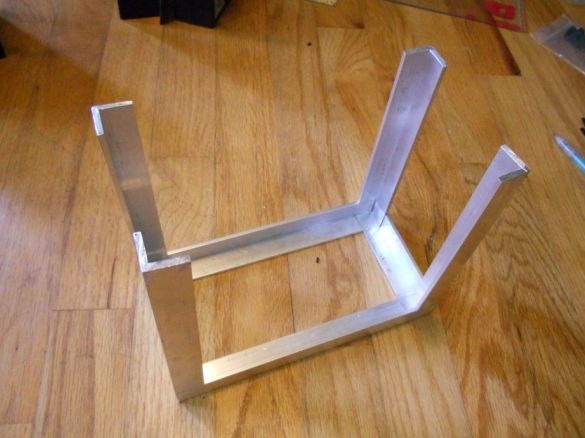
To install the batteries, the master made an aluminum case.
The scooter is ready.
Below is a video overview of the operation of the electric scooter.
For those who want to repeat homemade the master talks about some of the shortcomings of the electric scooter.
Due to the high peak load, the scooter motors fail. You need to either limit the current, and lose in power, or put a more powerful motor.
To operate the scooter in wet weather, you need to put wings on the wheels.

