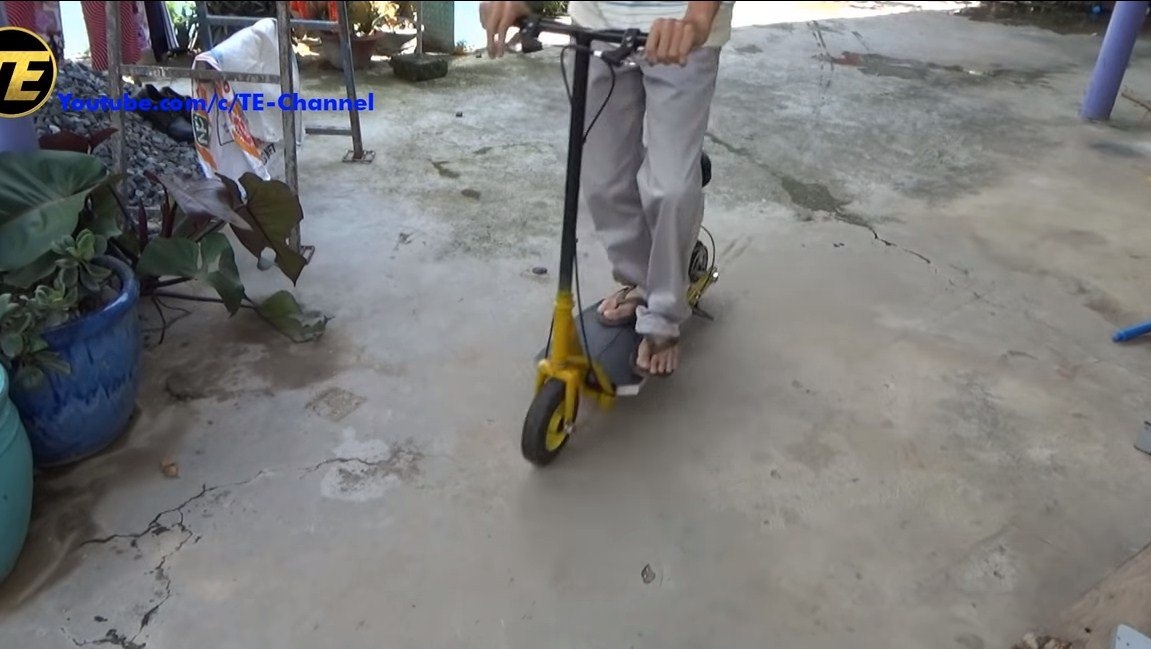
Hello everyone, I suggest that you read the instructions for making a homemade scooter with a gasoline engine. Made by homemade quite reliably, a powerful disc brake is installed here, the frame is welded from profile pipes, the scooter is even equipped with a footboard. As a power unit, an engine from an automatic centrifugal clutch is installed here. Of course, the engine for such a homemade product is too powerful, so to reveal its full potential may be impossible and life-threatening. If you are interested in the project, I propose to study it in more detail.
Materials and tools used by the author:
Material List:
- boards, plywood (or the like);
- rectangular profile pipes;
- spare parts from an old bicycle;
- chain transmission from a moped, motorcycle (or similar);
- ;
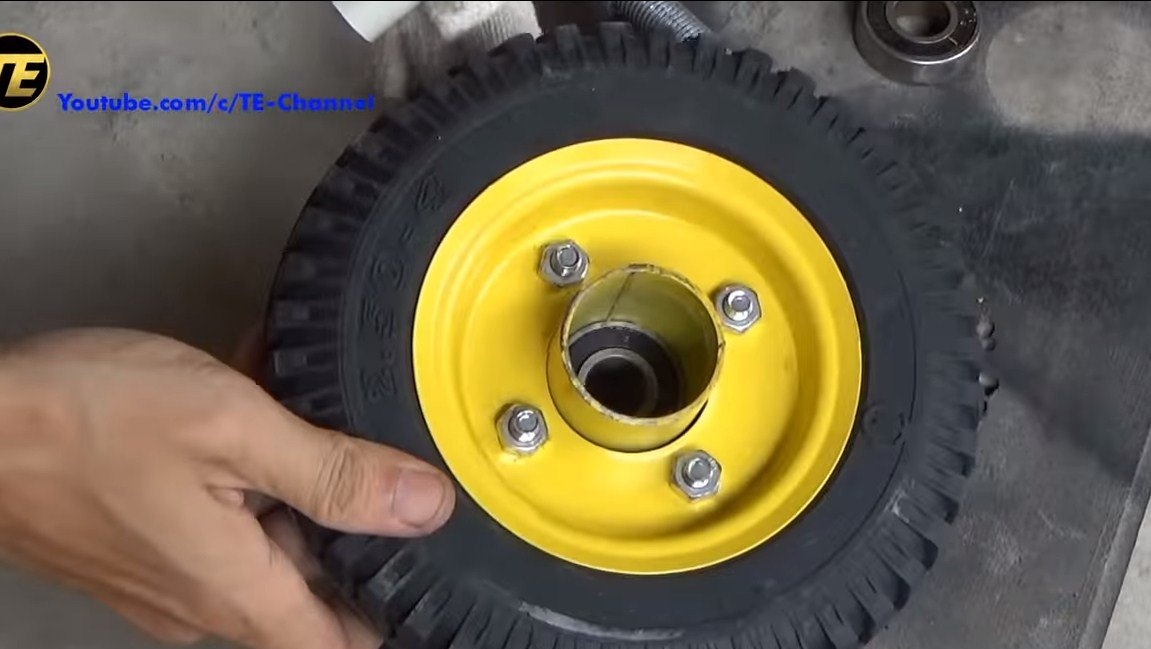
- wheels for carts;
- engine from;
- sheet metal;
- threaded rods, nuts, washers, etc .;
- paint;
- fittings;
- a spring for a footboard.
Tool List:
- welding machine;
- grinder;
- drilling machine;
- spanners;
- Grinder.
Scooter manufacturing process:
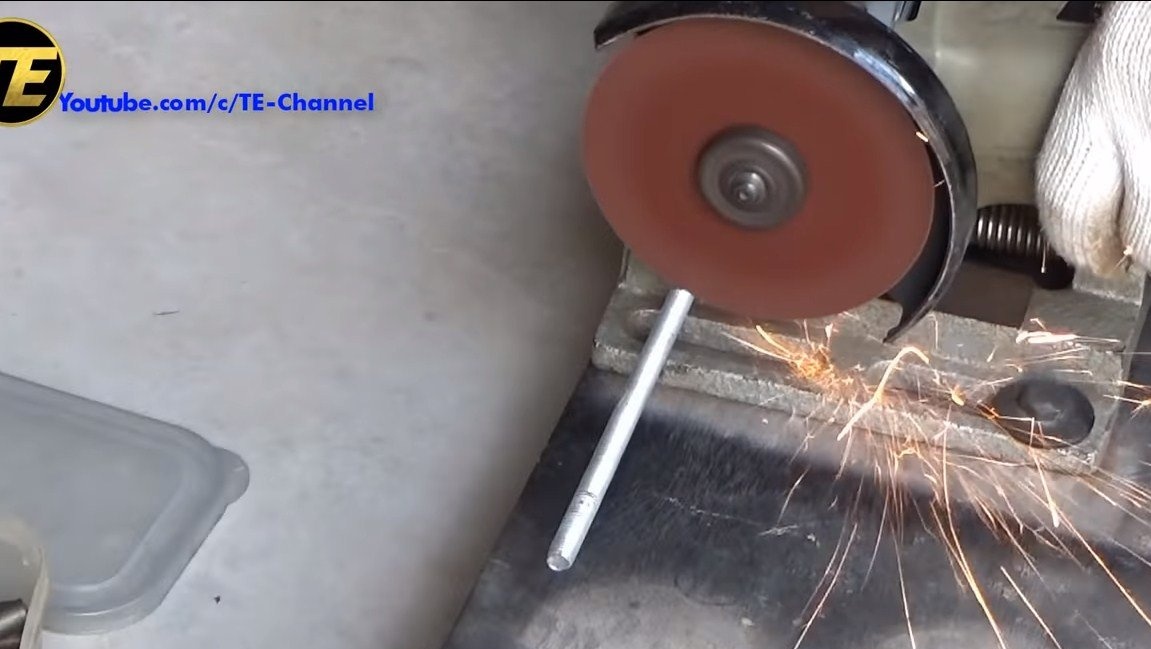
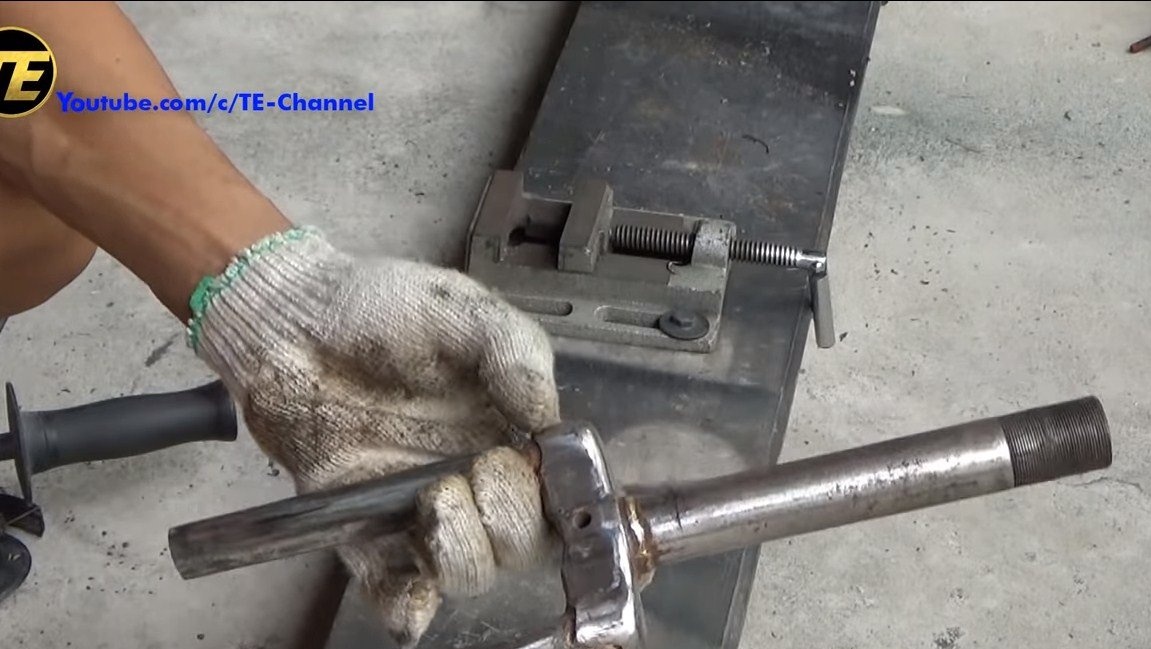
Step one. Rear axle
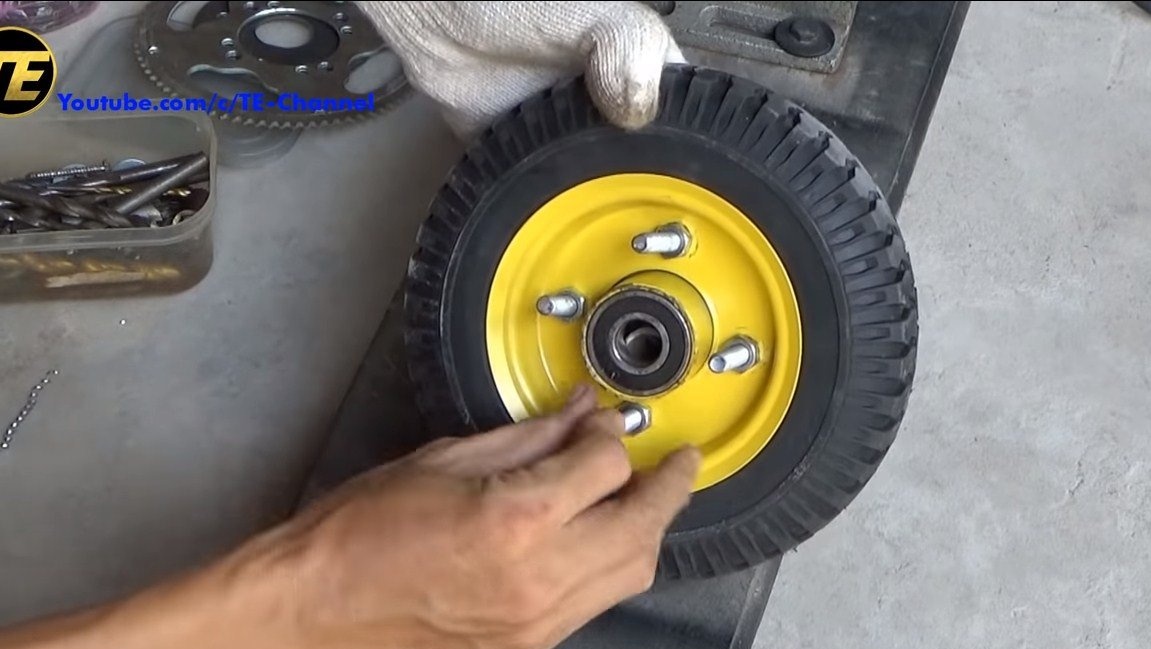
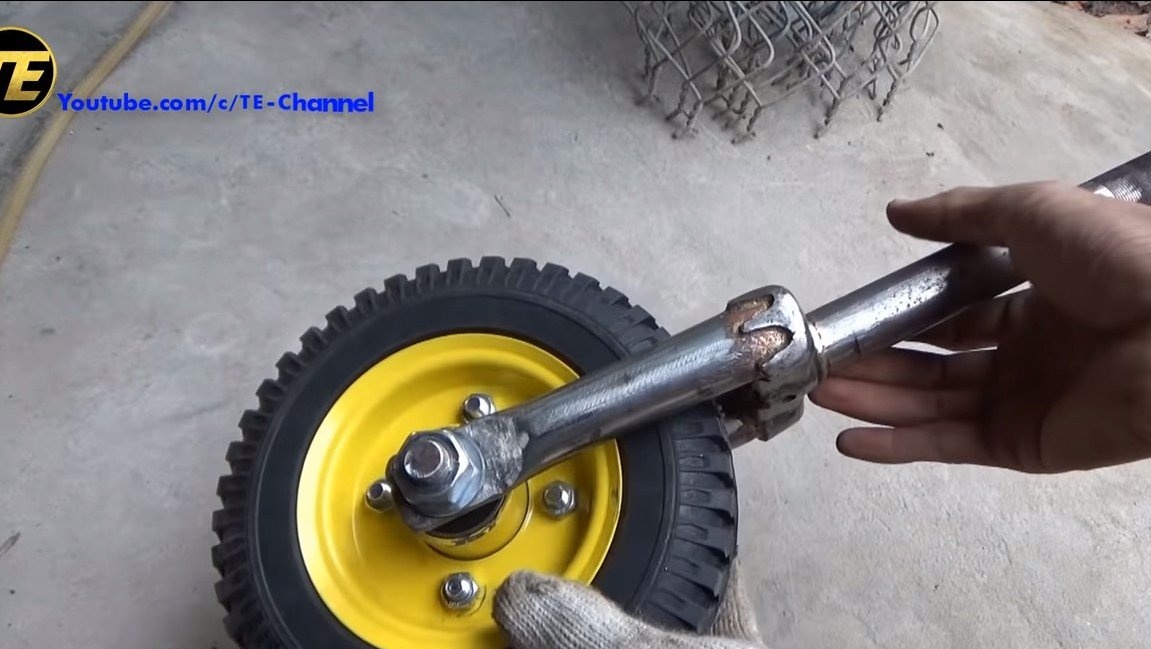
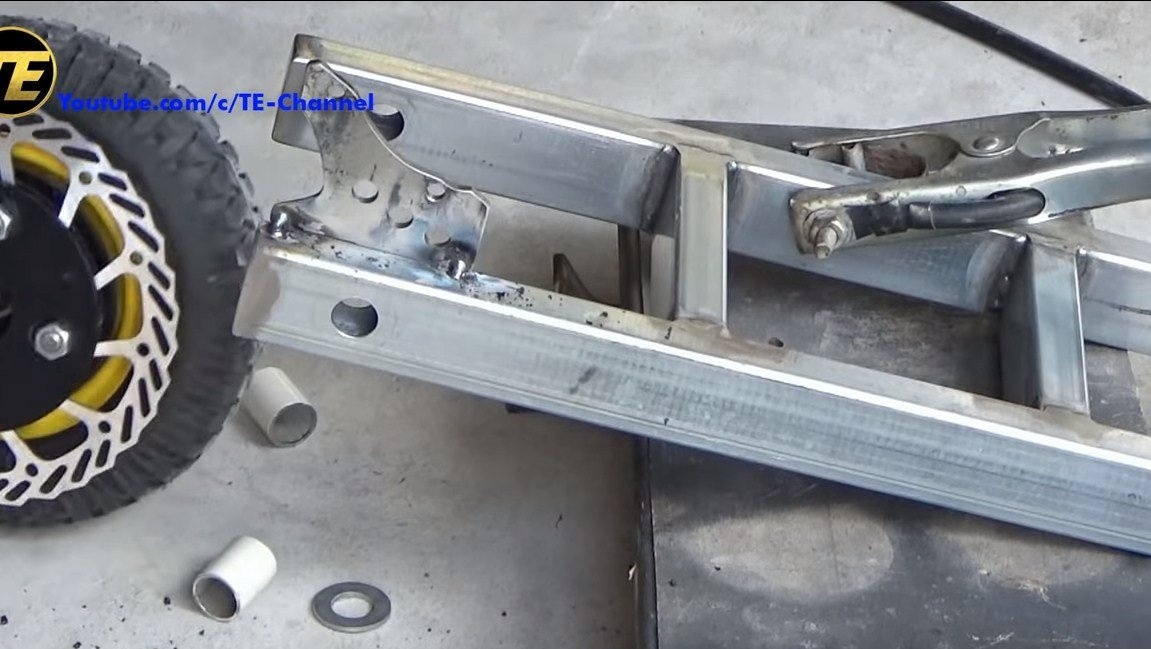
We will manufacture the rear axle for the scooter, a threaded rod will be used as it. The author’s wheel has two bearings, which are pressed into a steel pipe. So that the bearings can be pulled together with a threaded rod, a spacer must be made between them. The author uses a piece of plastic plumbing pipe as such a spacer.


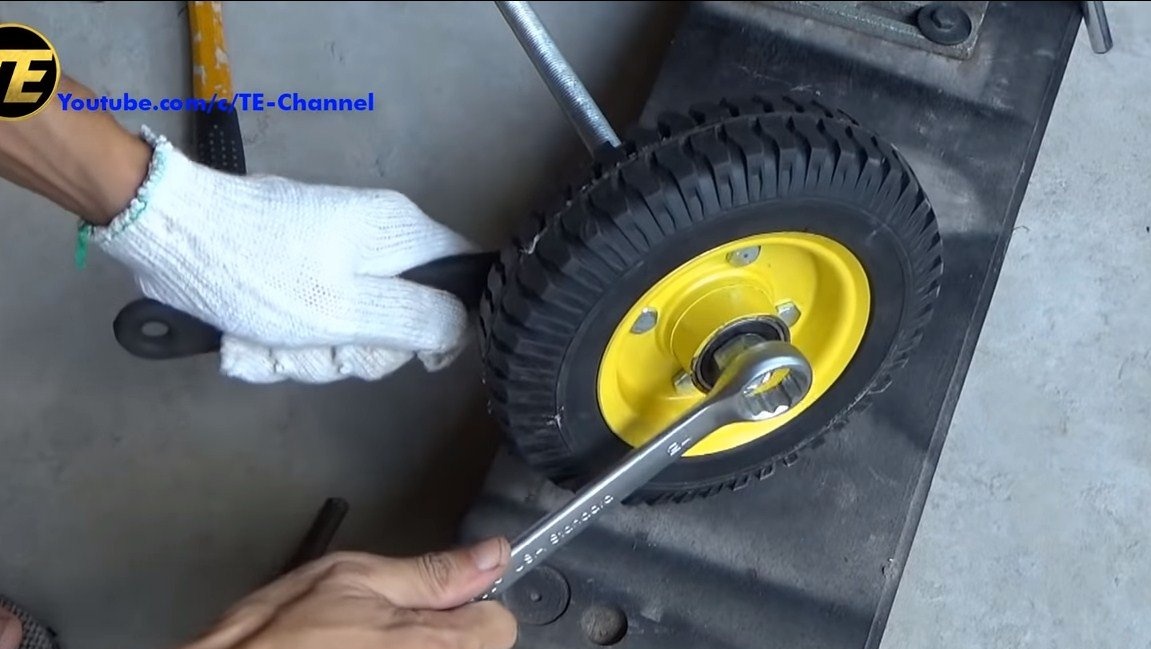
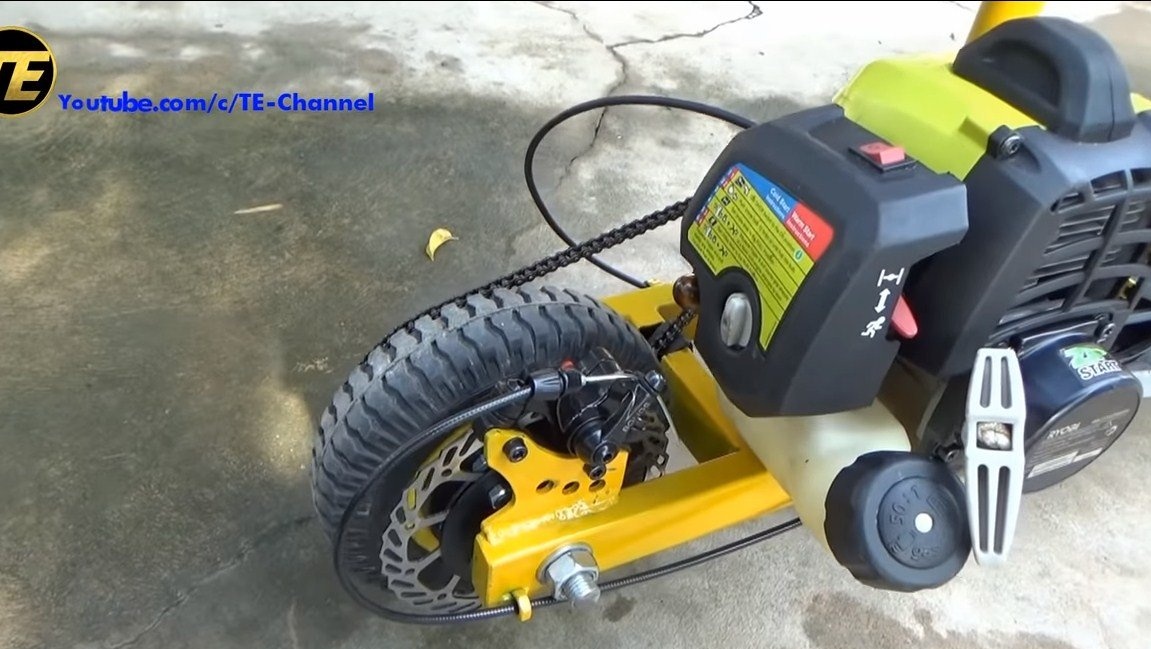
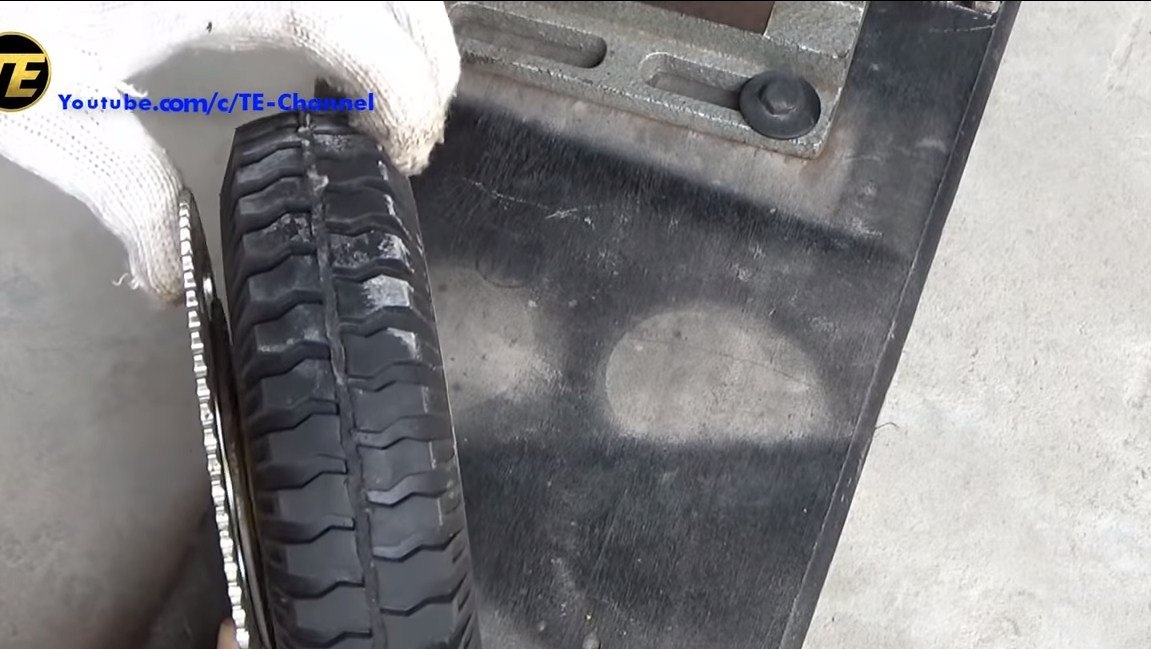
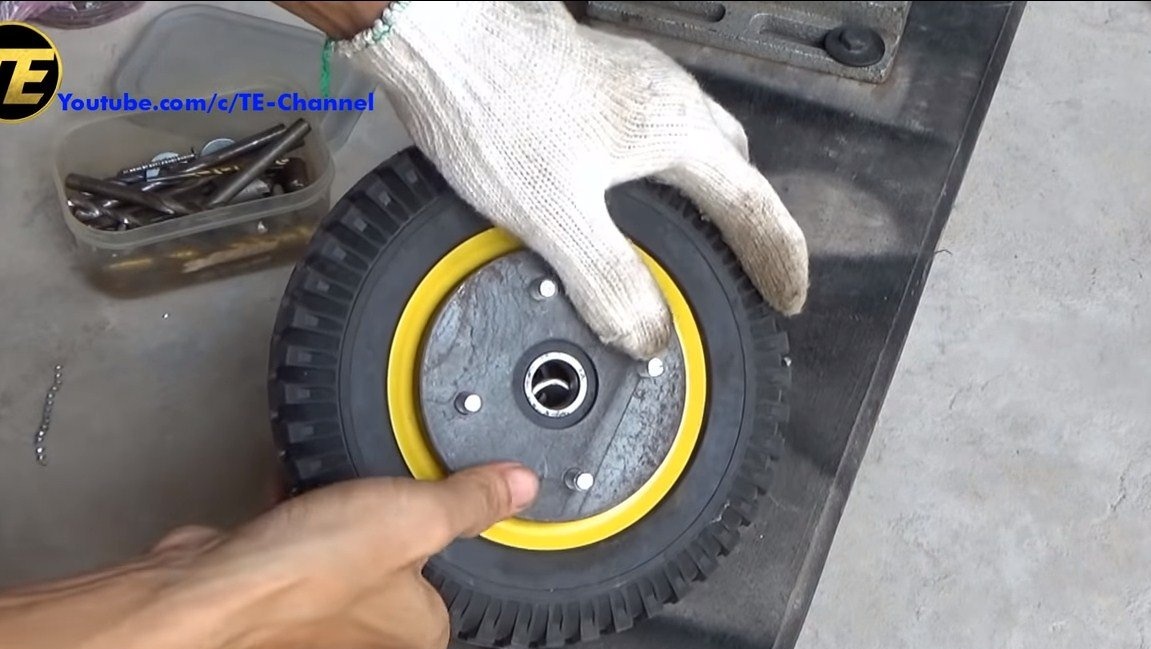
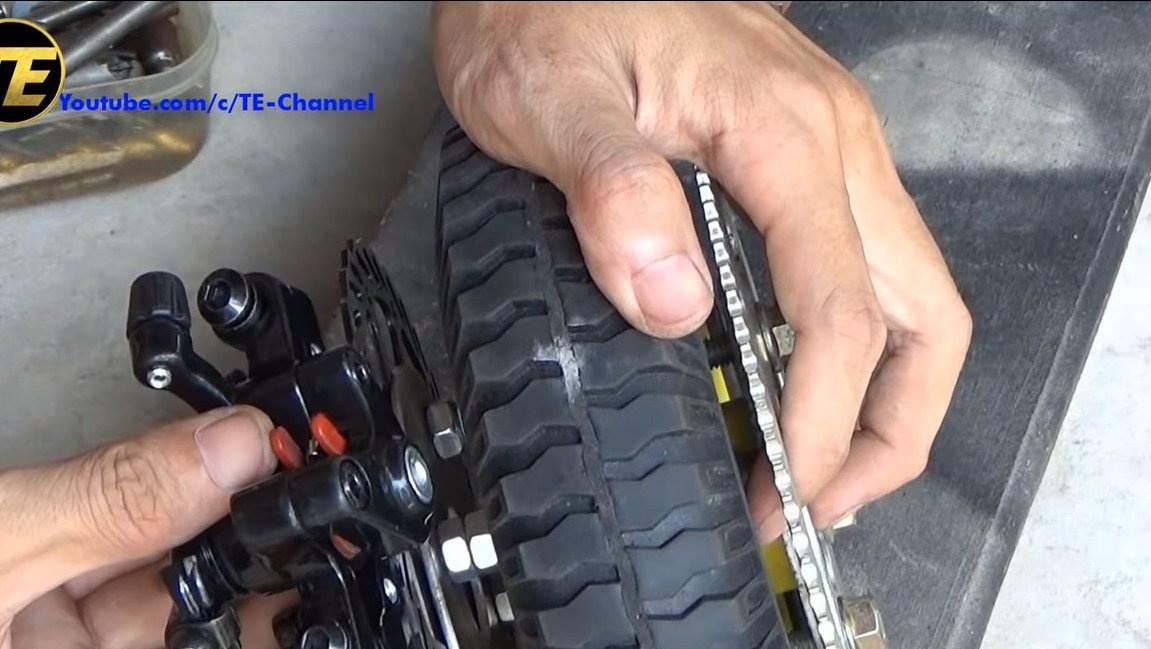
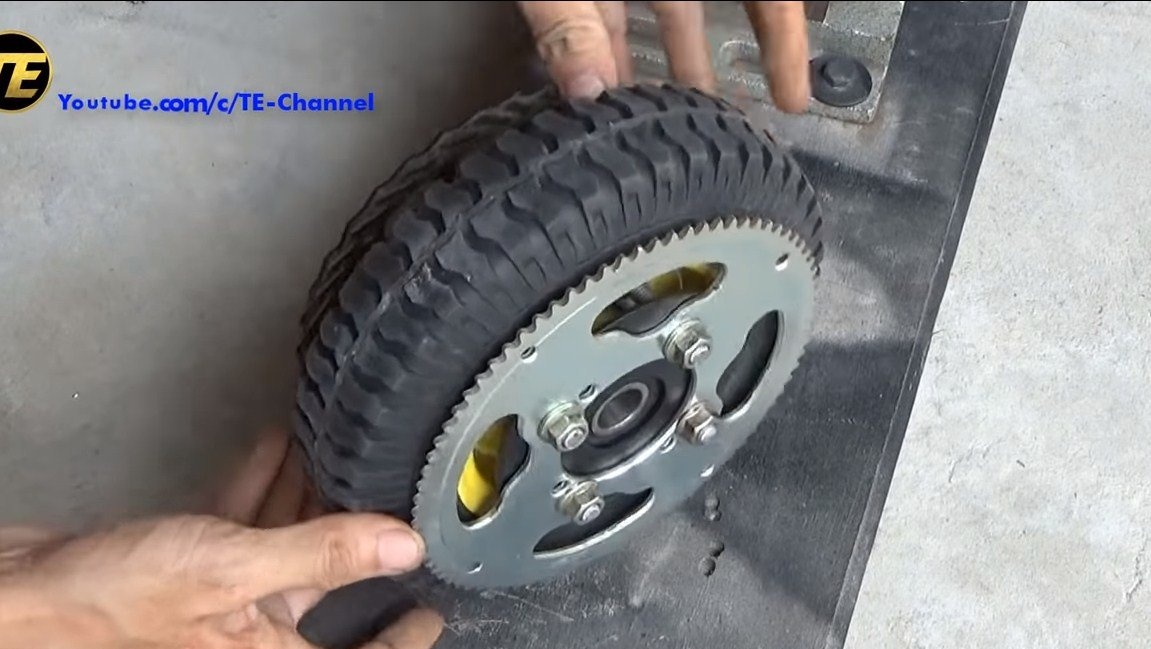
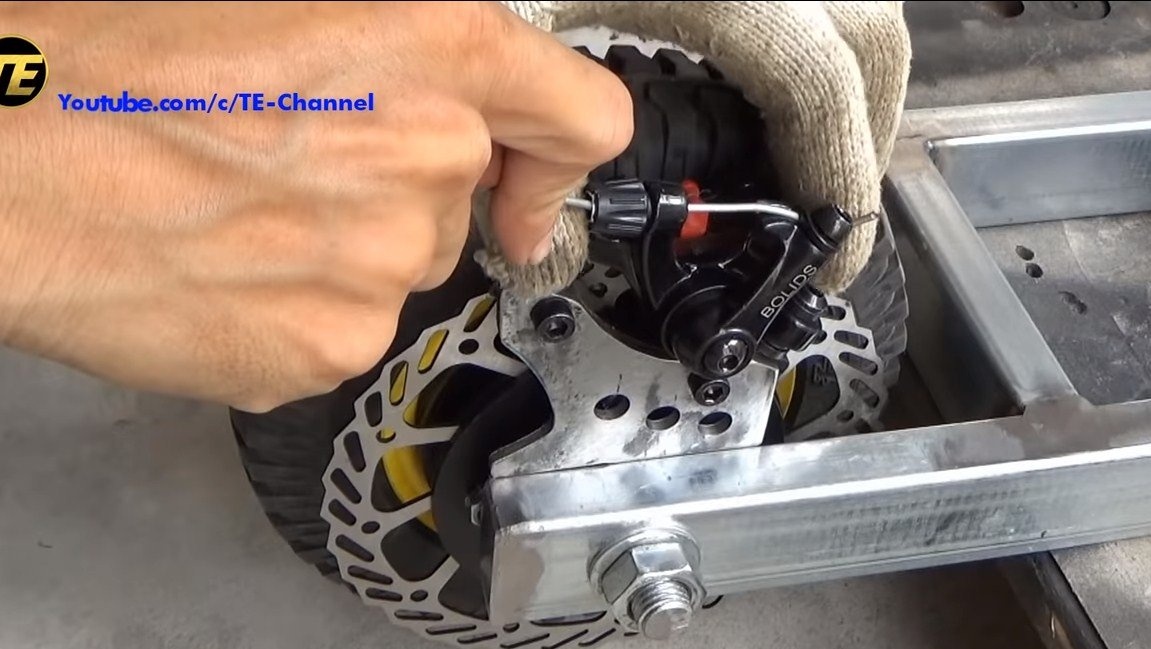
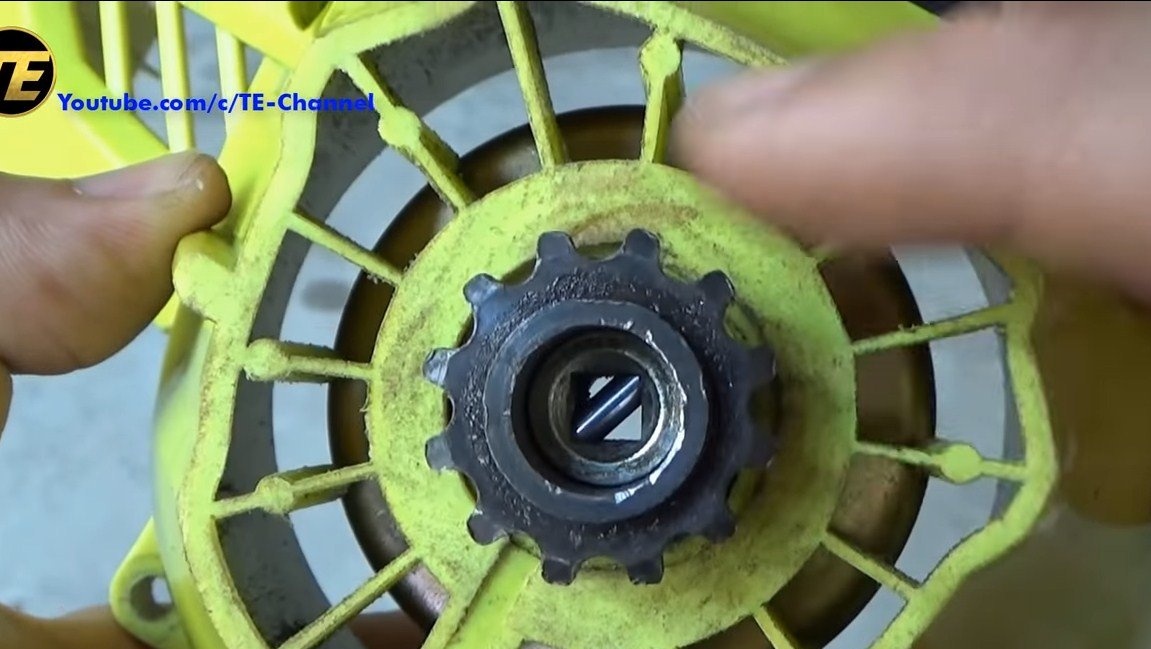
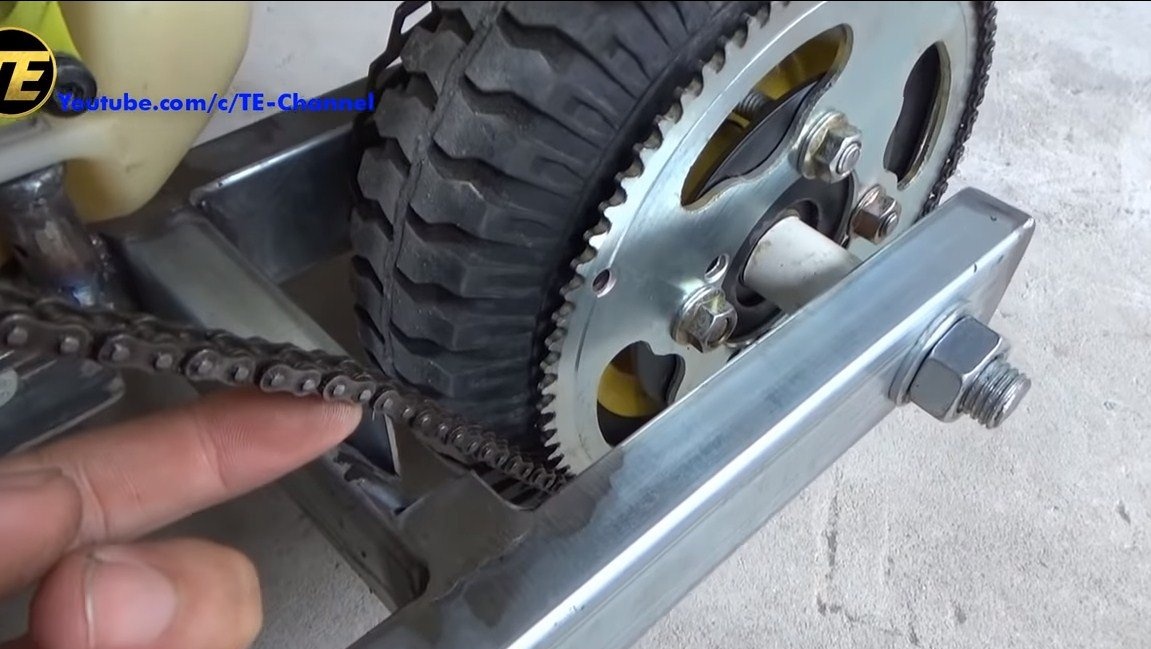
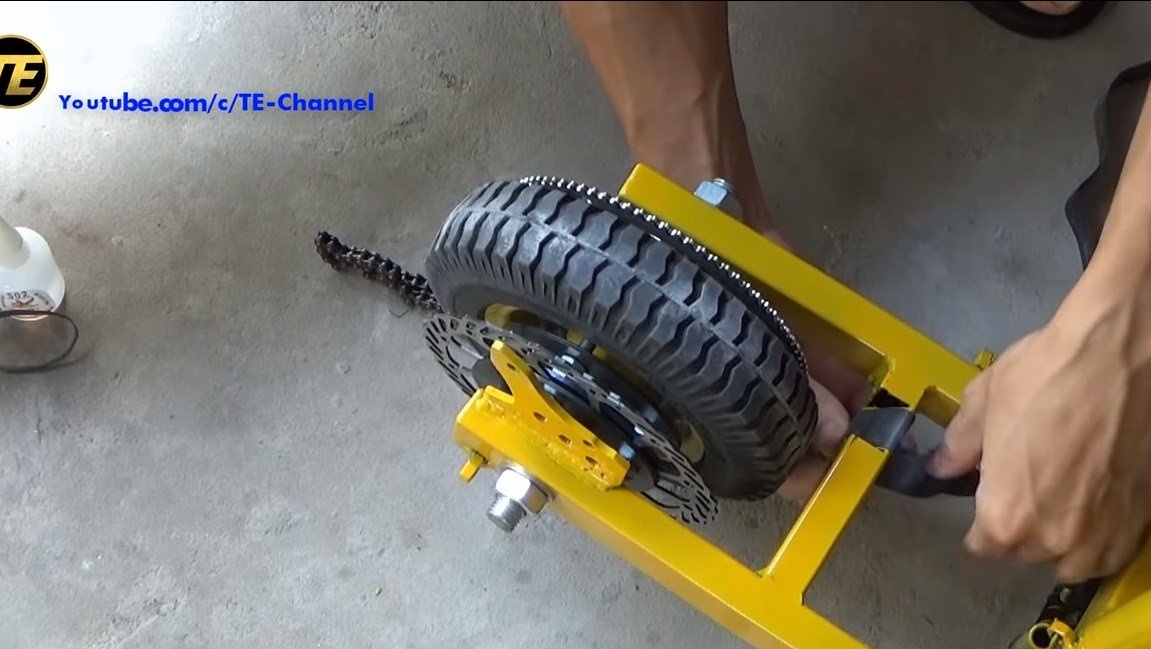
Step Two Installing the driven sprocket and brake disc
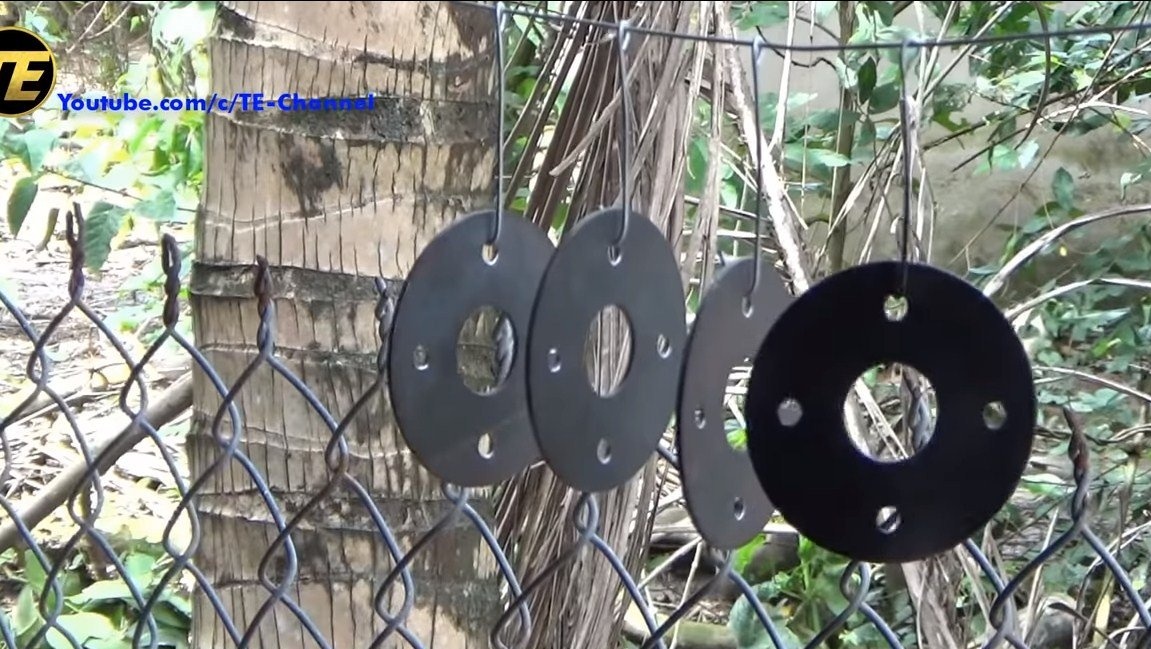
Next, the driven sprocket will be mounted on the rear wheel. It must be installed from the wheel disc with a clearance so that there is room for the chain. To get this gap, the author made a “washer-spacer” from thick sheet metal. You can use several of these washers to get the desired clearance.
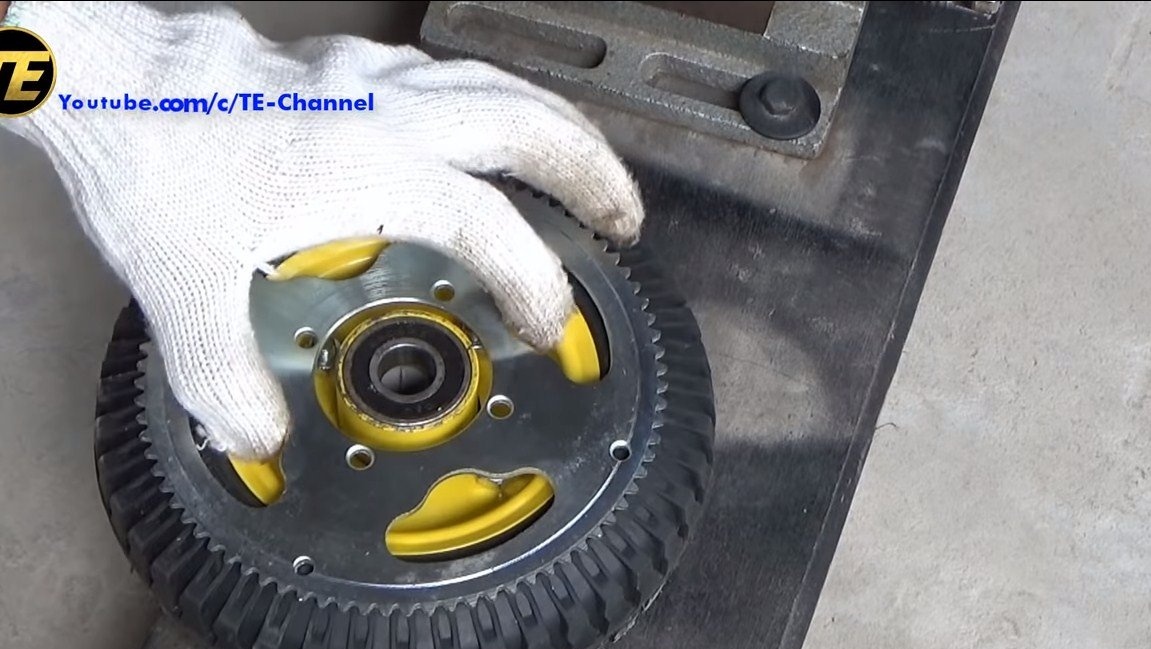
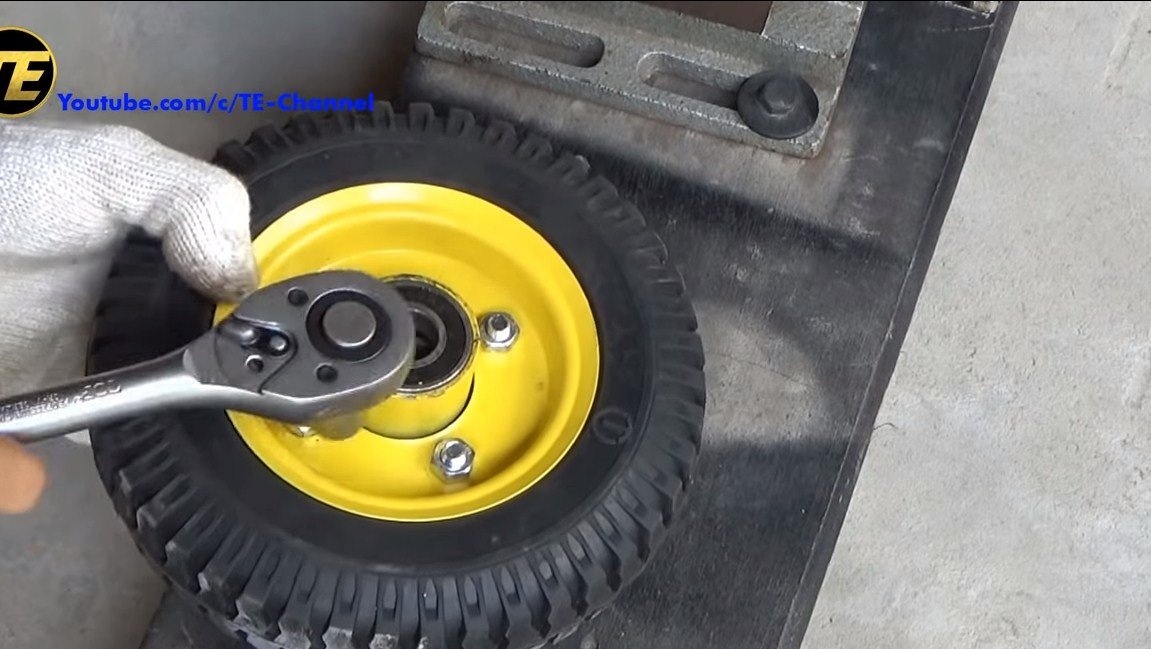
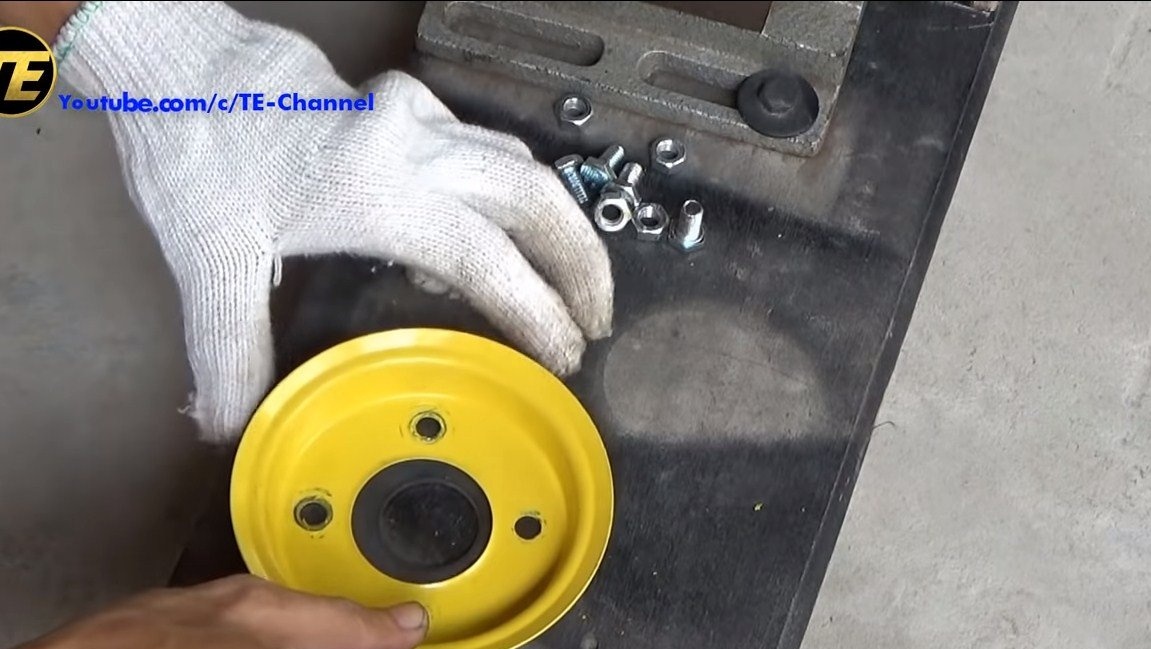
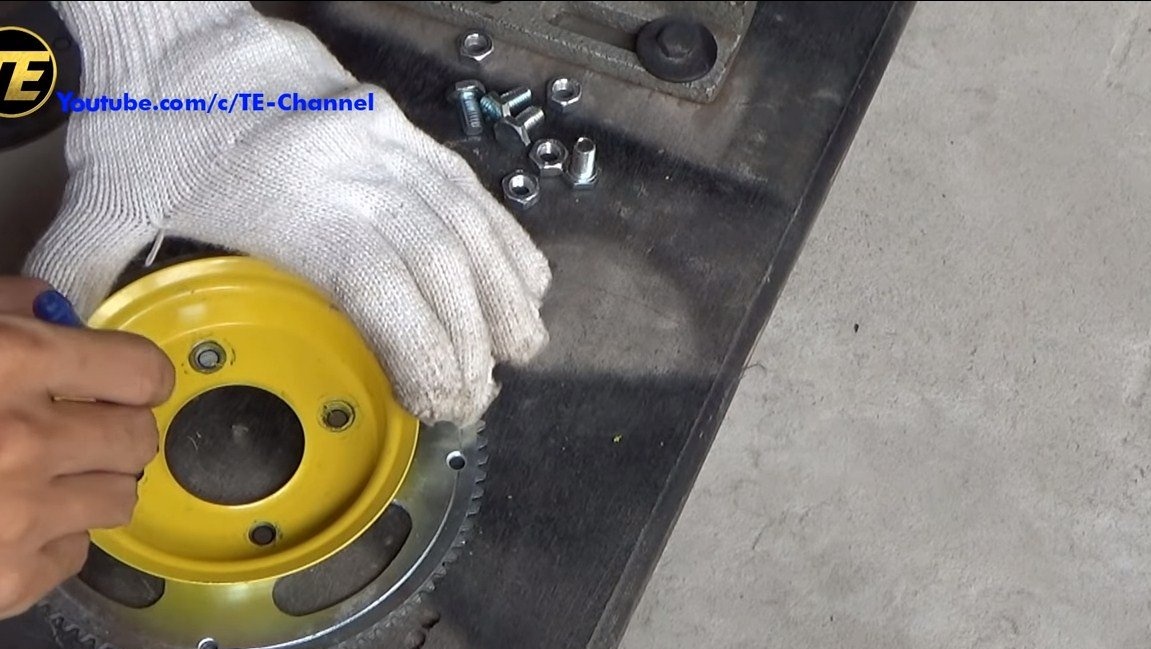


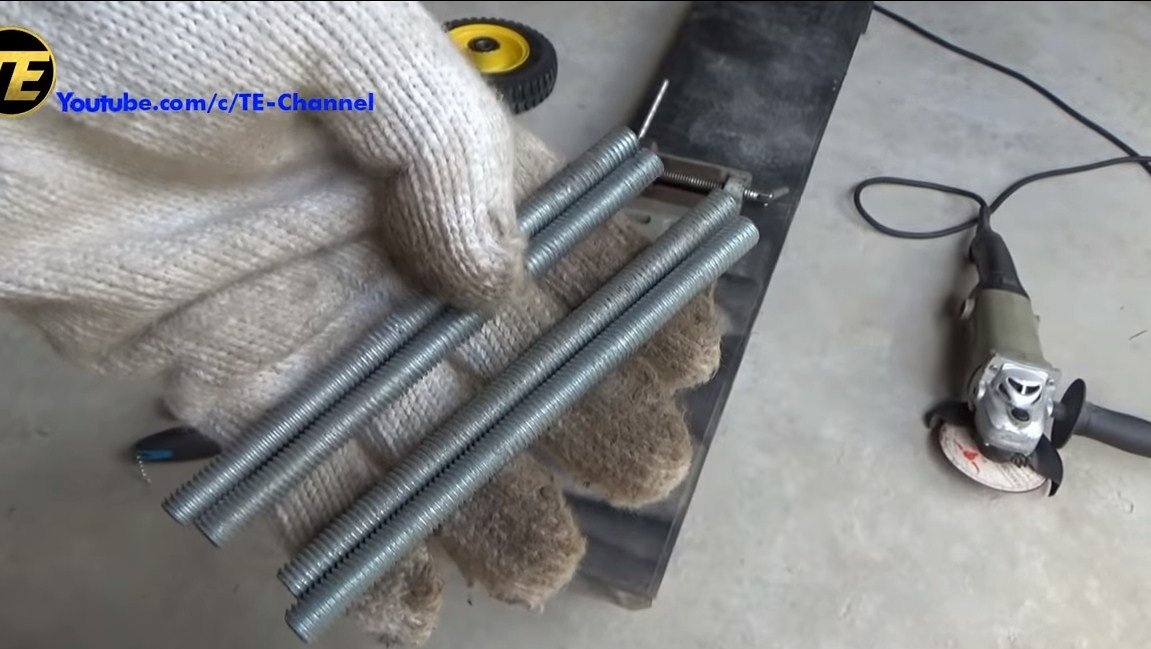
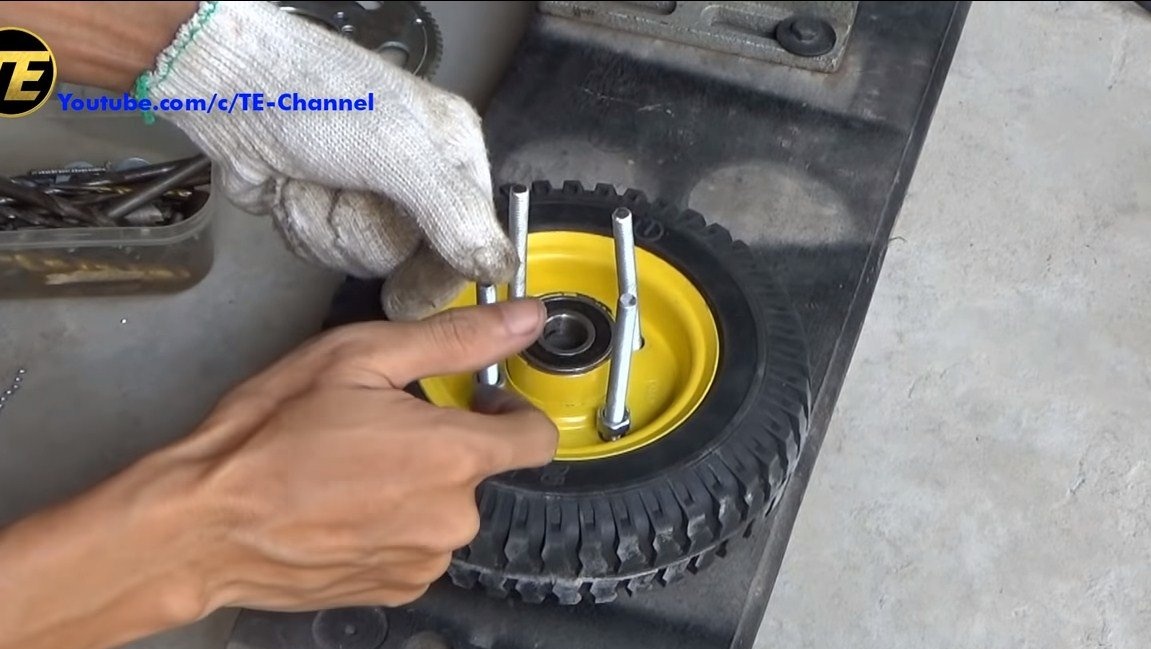

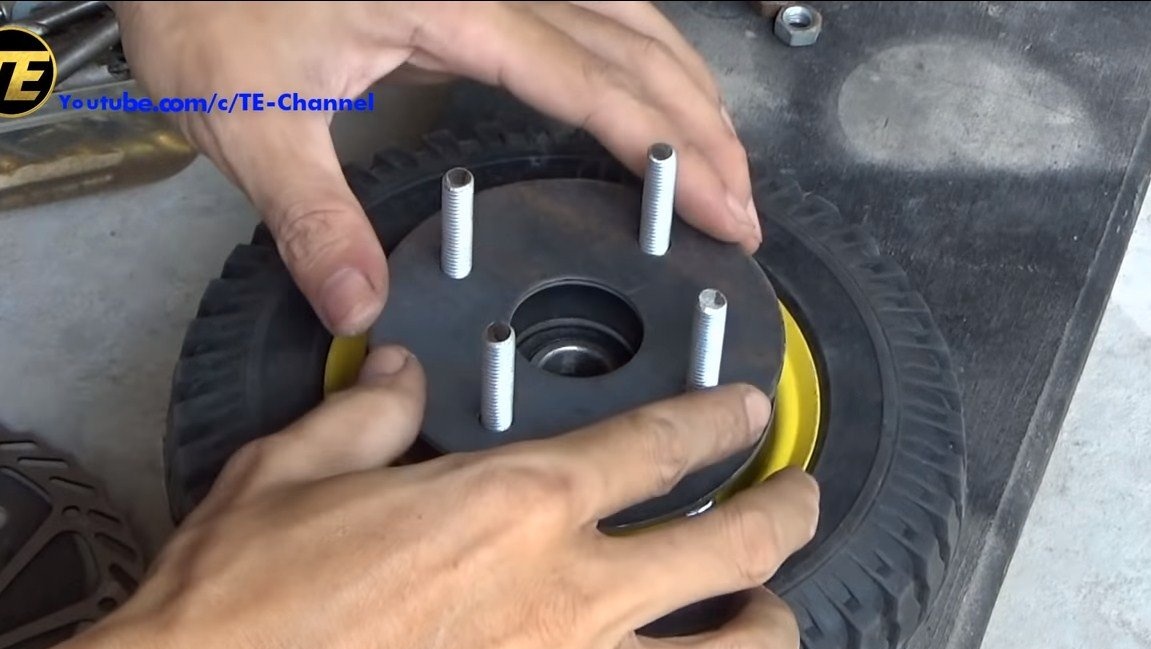
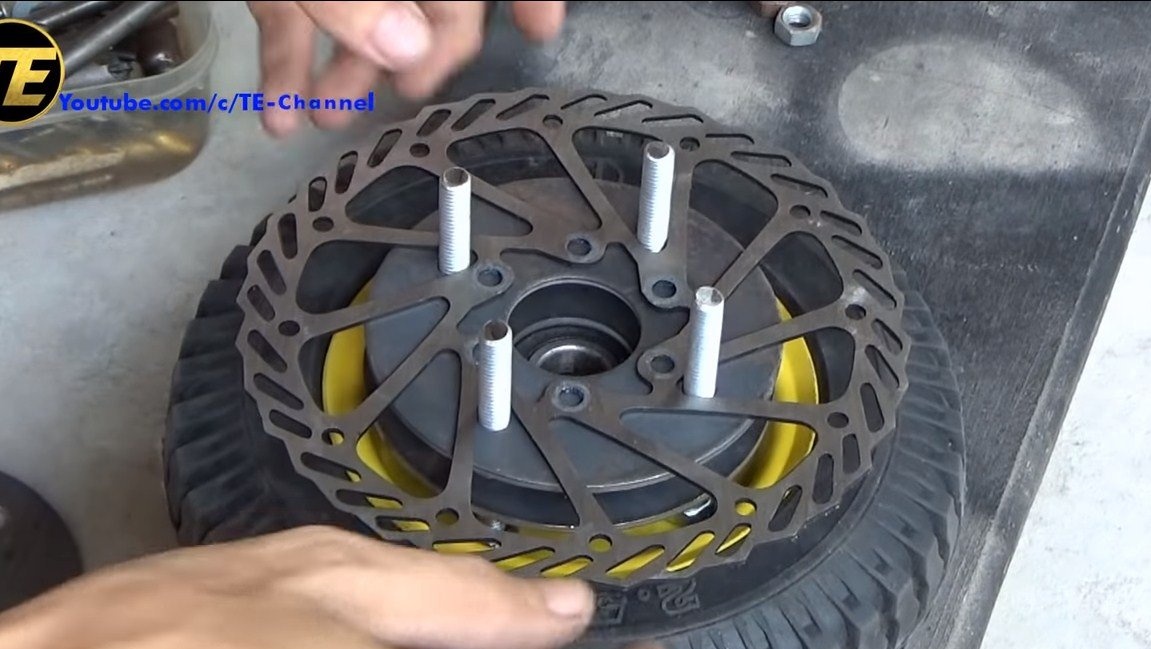
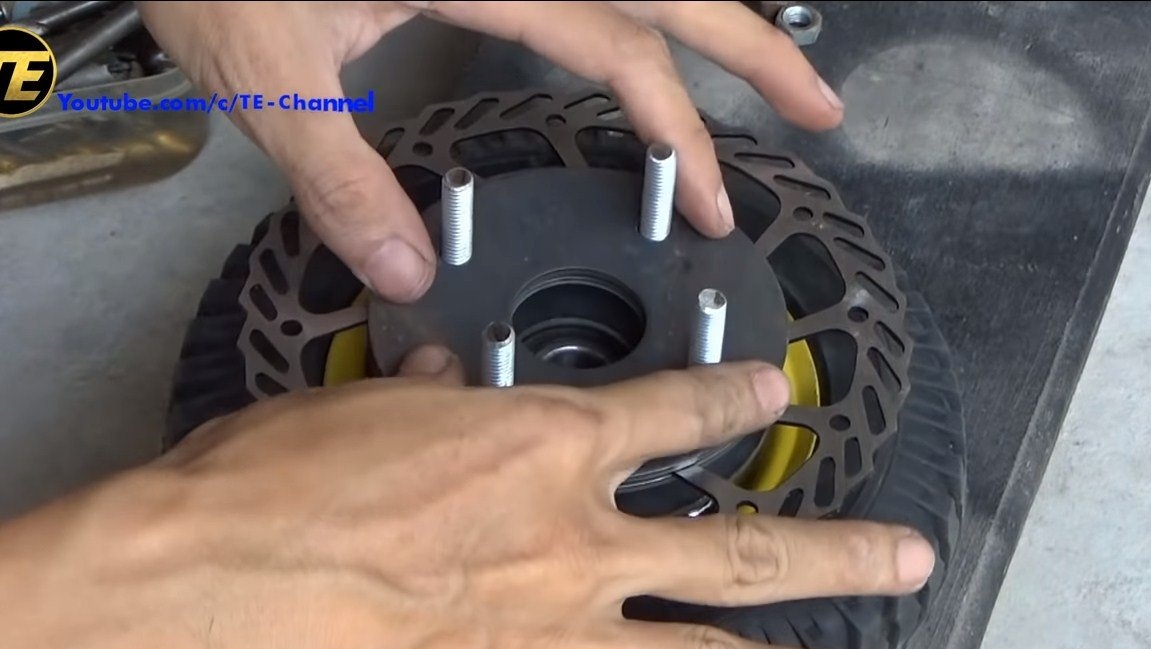
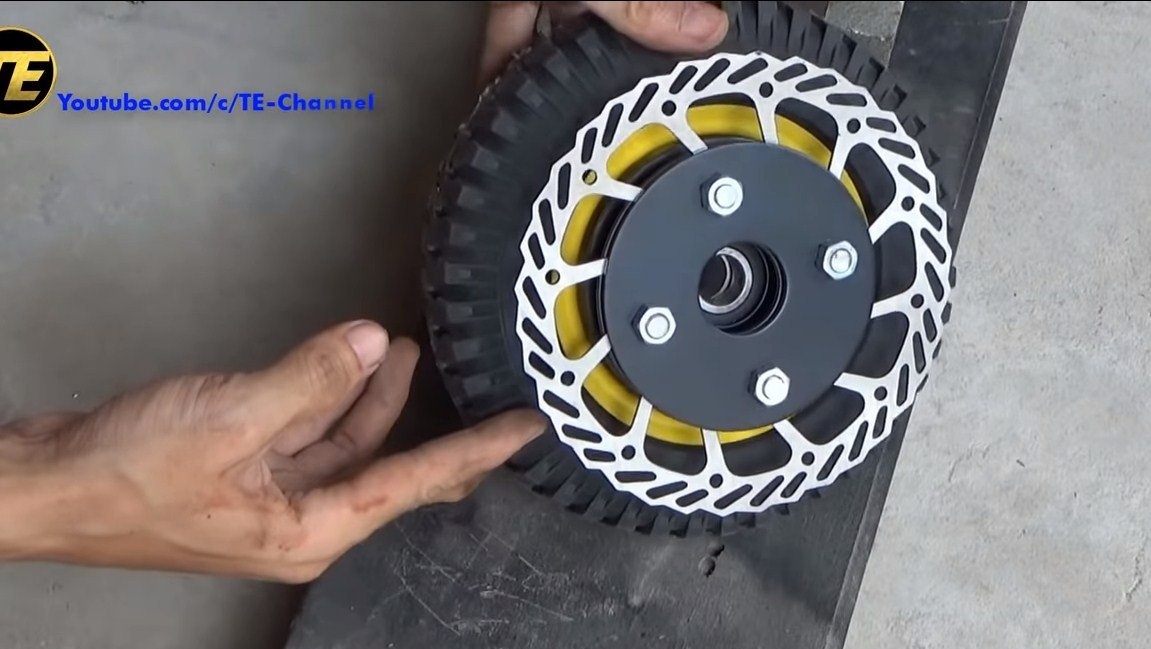
As for the disc brake, the disc is mounted on the other side of the wheel in a similar way, it is clamped between the two washers. The author’s wheel disk is collapsible; it is assembled on two bolts with nuts. Instead, we need to install threaded rods of a suitable length to secure everything to the wheel. Here it is recommended to use a grower so that nothing is untwisted.
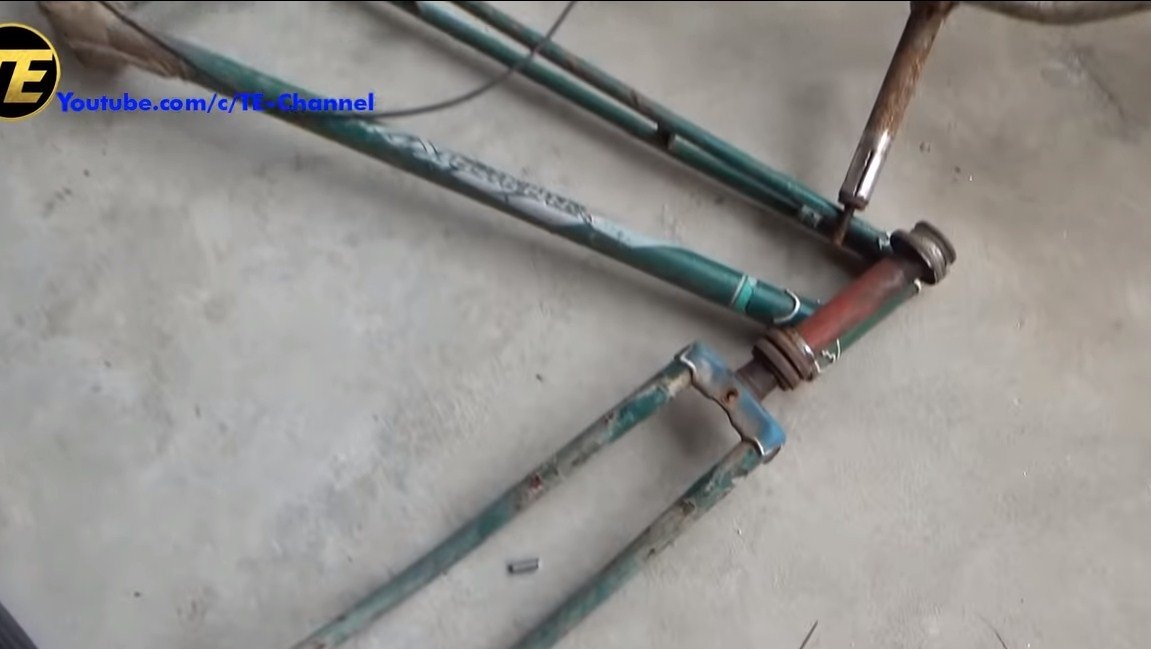
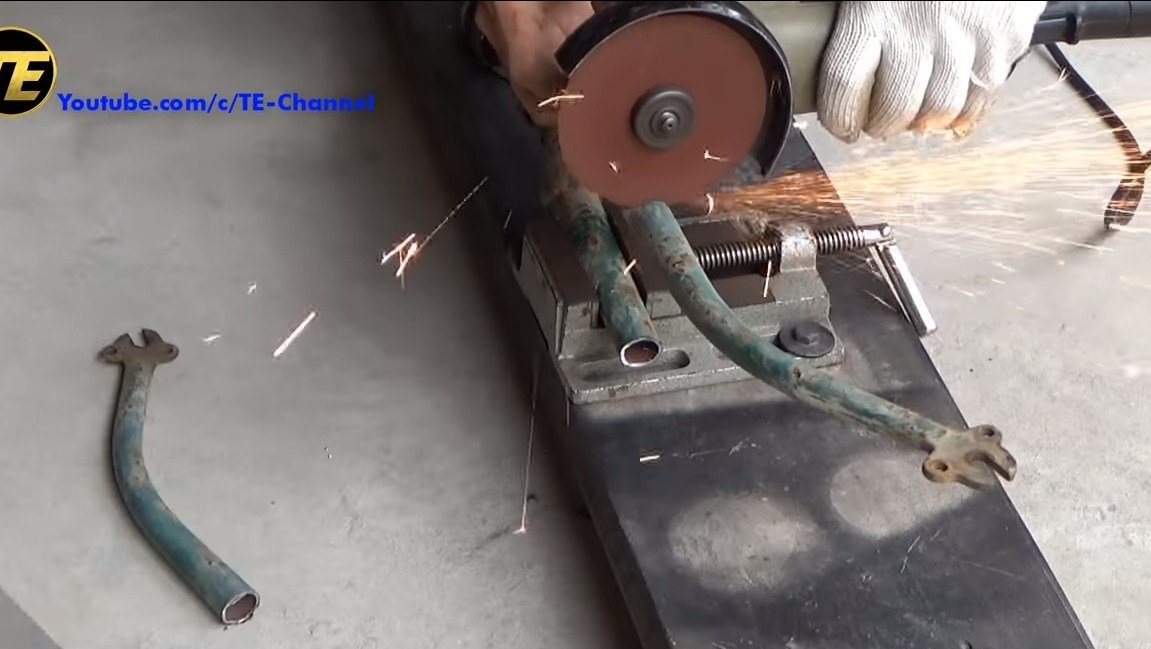
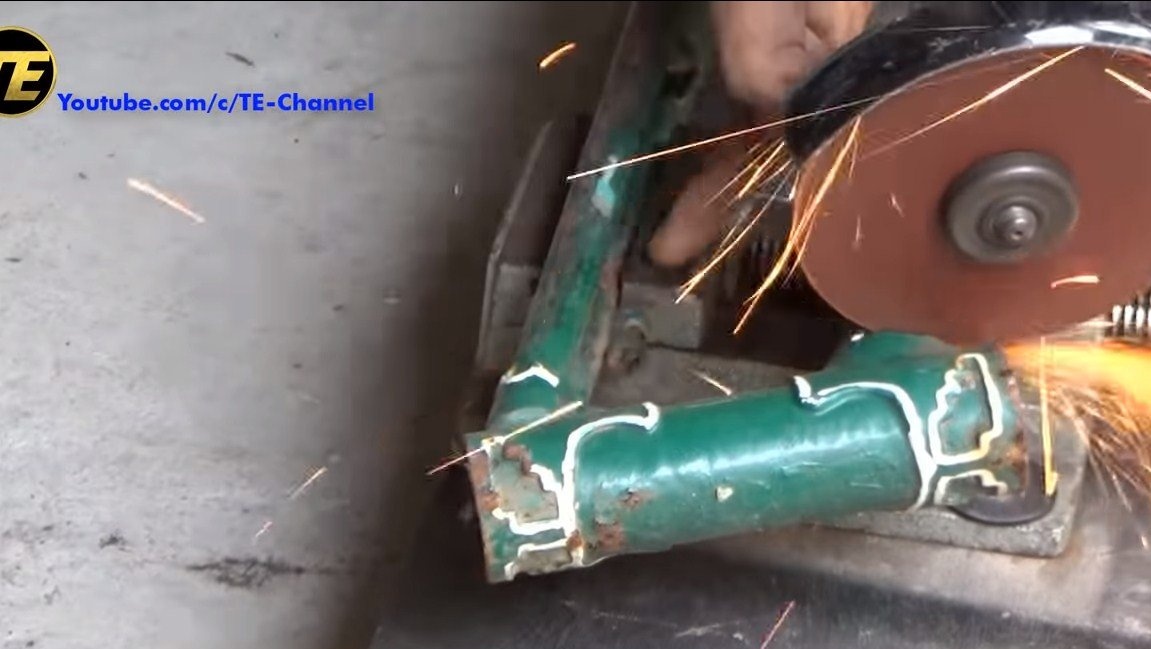
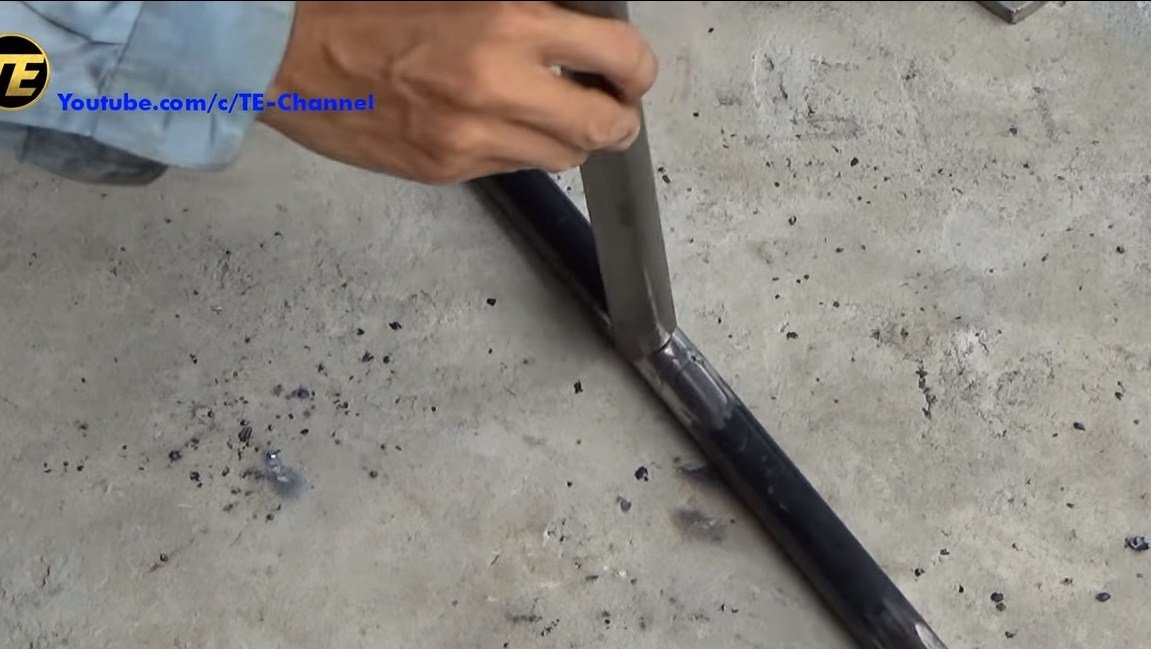
Step Three Front Fork Making
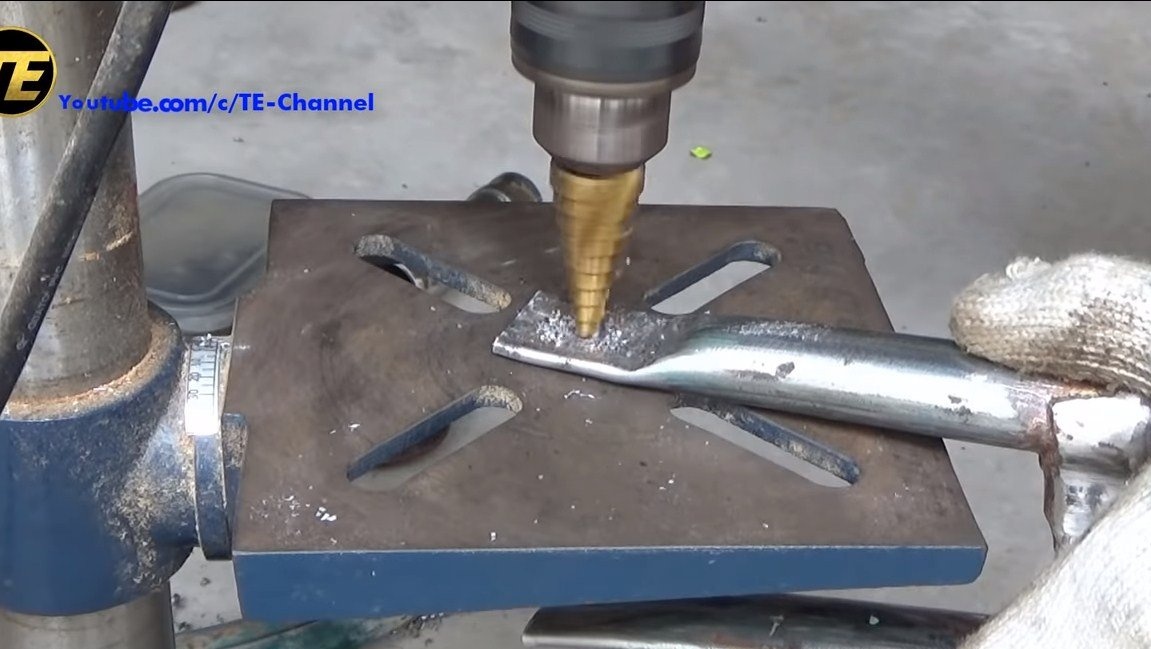
Let's make the front fork, for this the author adapted the old fork from the bicycle.Just cut off excess from it, and flatten the edges of the tubes with a hammer and drill holes with a step drill. As a result, it remains to screw the front wheel to the fork. Of course, the plug is pre-cleaned of rust and old paint. A sleeve with bearings for the handlebar will need to be cut from the bicycle frame.
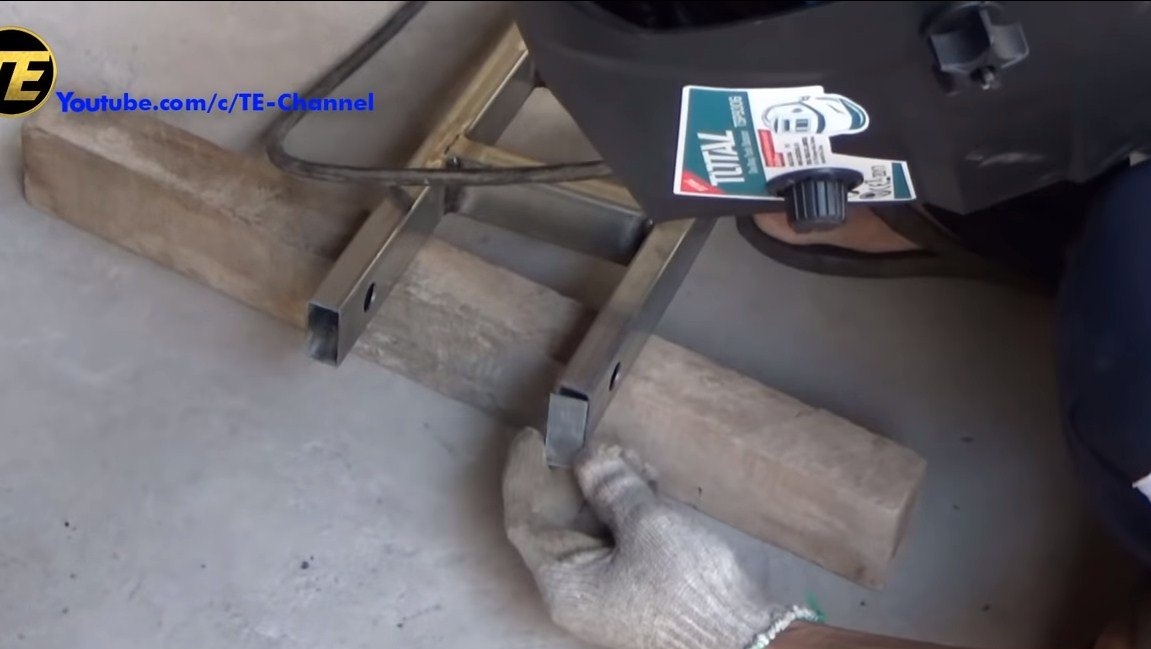
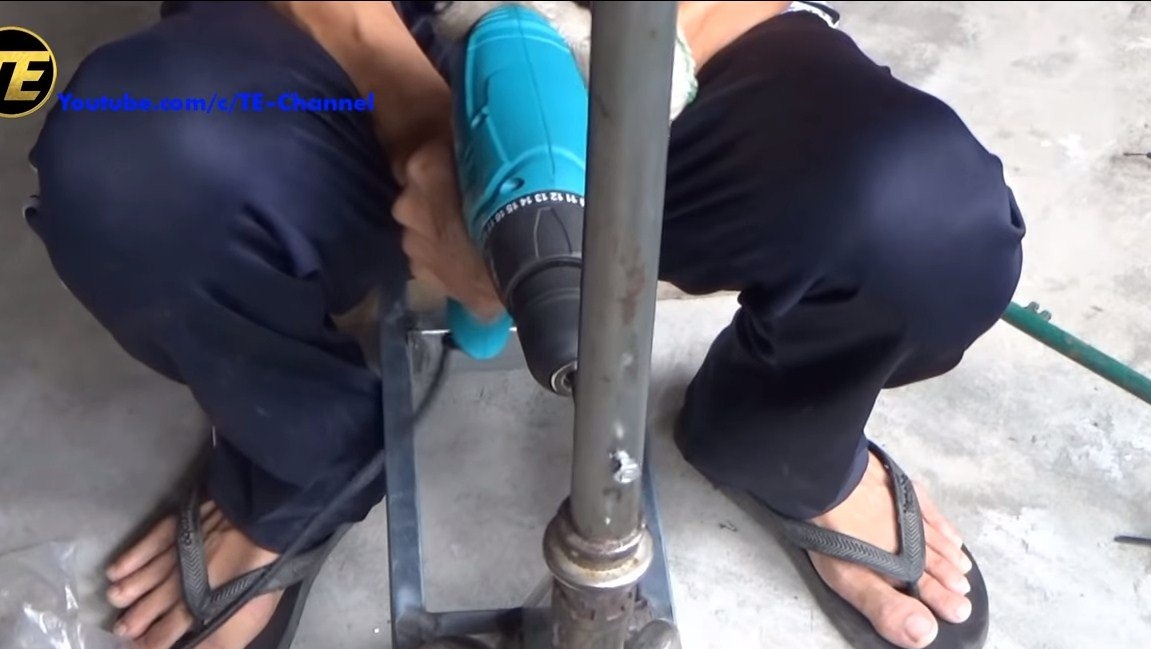
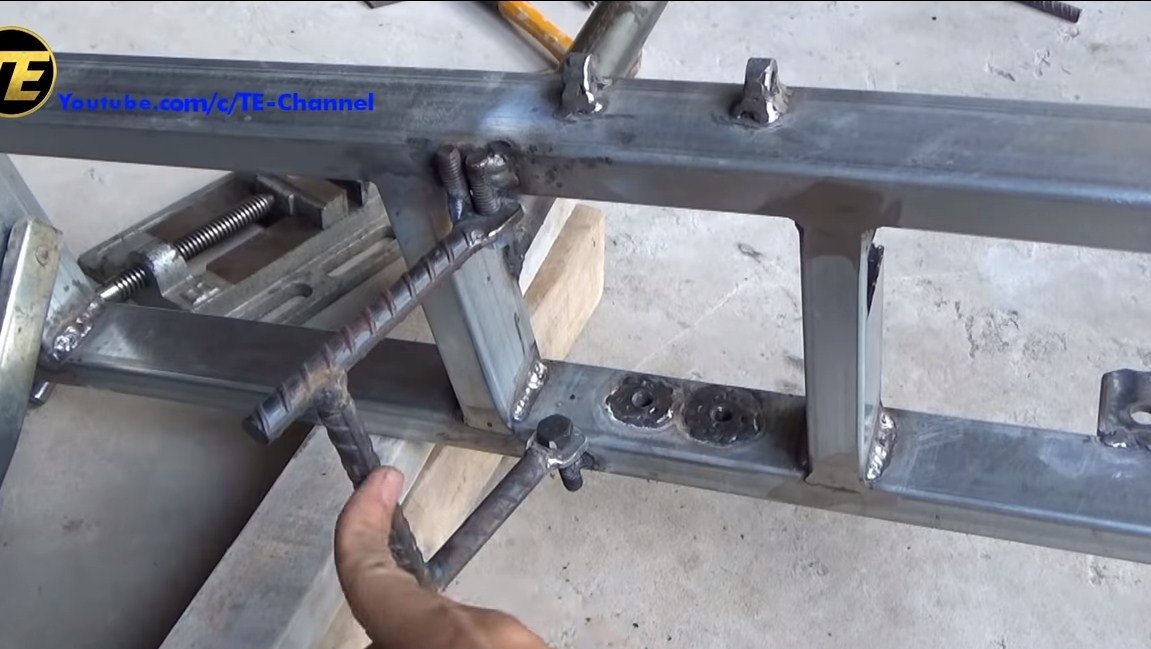
Step Four Frame assembly
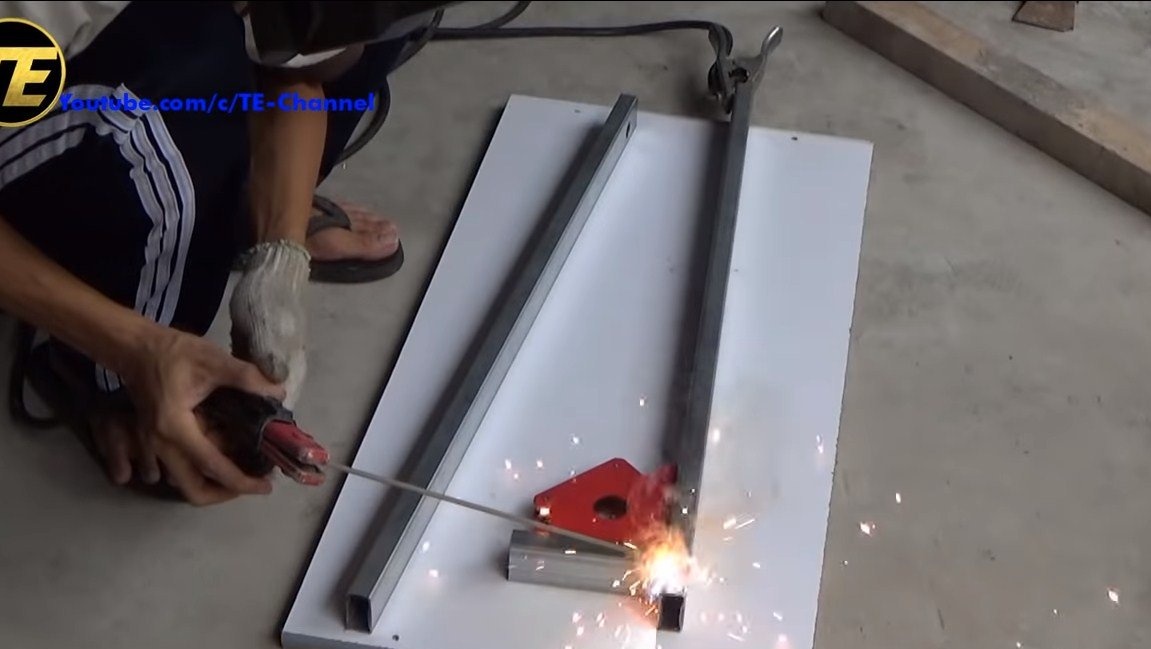
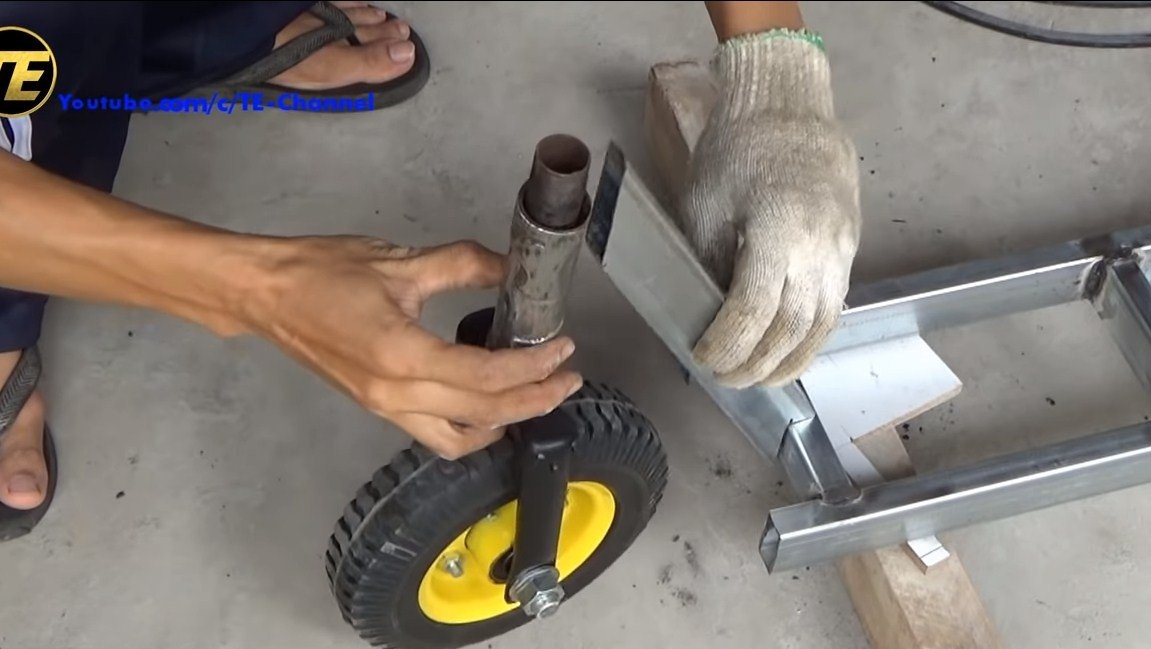
For the frame you will need rectangular shaped pipes. First we weld a rectangle, in the back we automatically get a fork for the rear wheel.
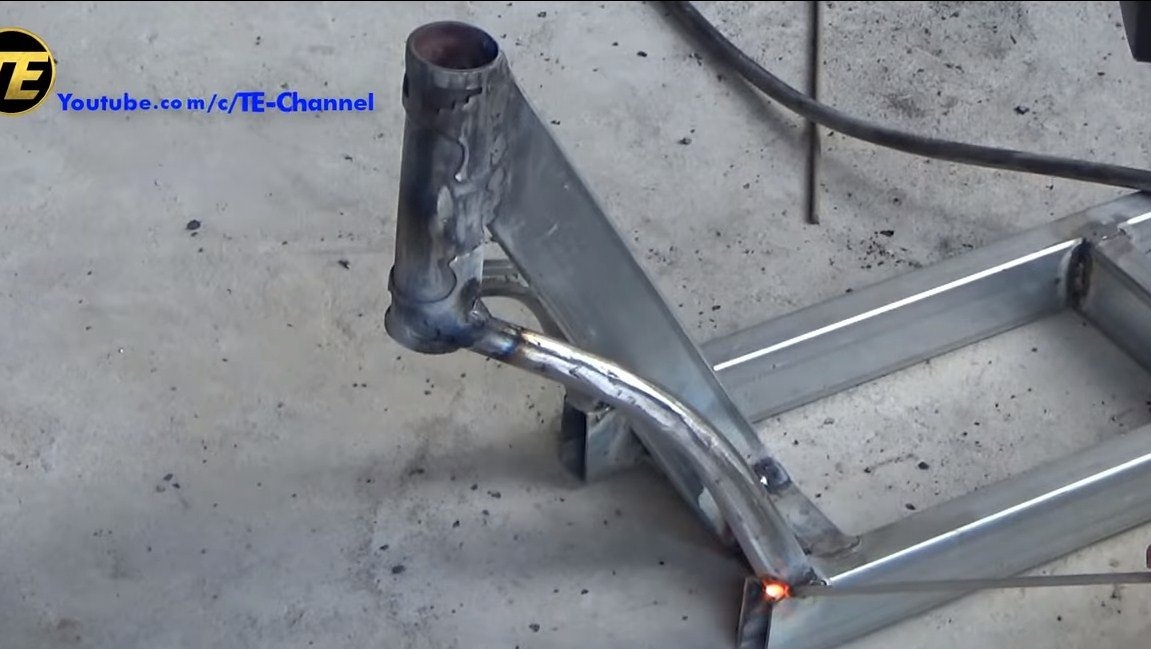
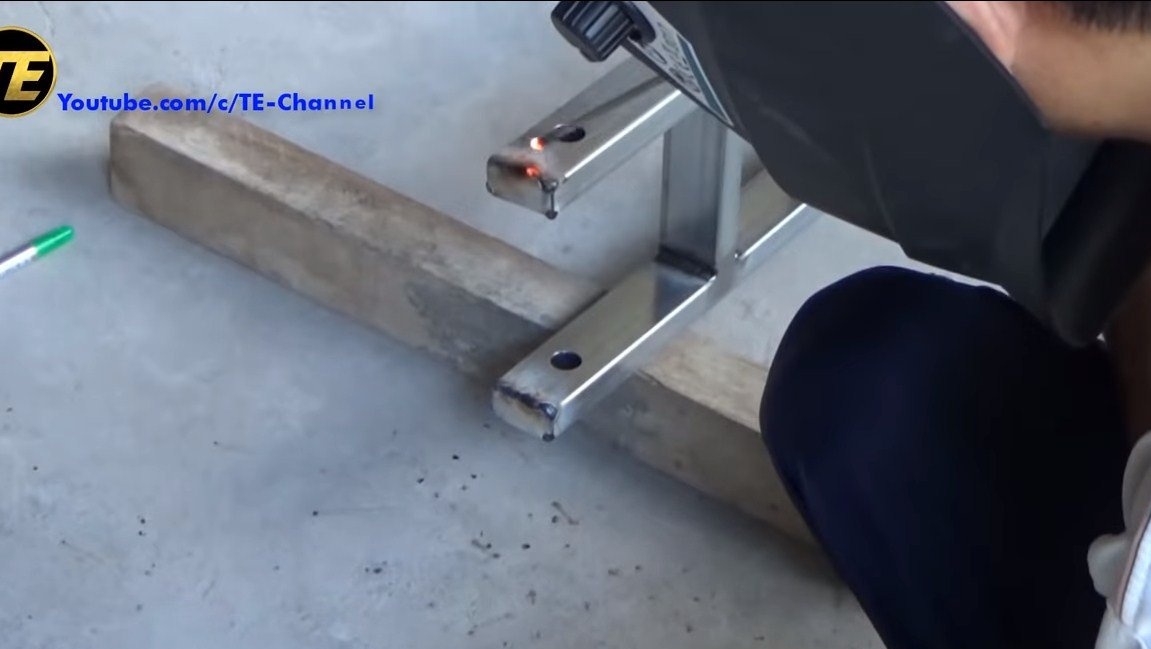
In the front part we weld the bushing from the steering wheel of the bicycle, in addition, the author strengthened the front part with the help of parts cut off from the old bicycle fork. Everything turned out quite interesting, but at the same time, and hard. The open sides of the pipes are welded with steel plates, so that dirt that causes rust does not get inside.


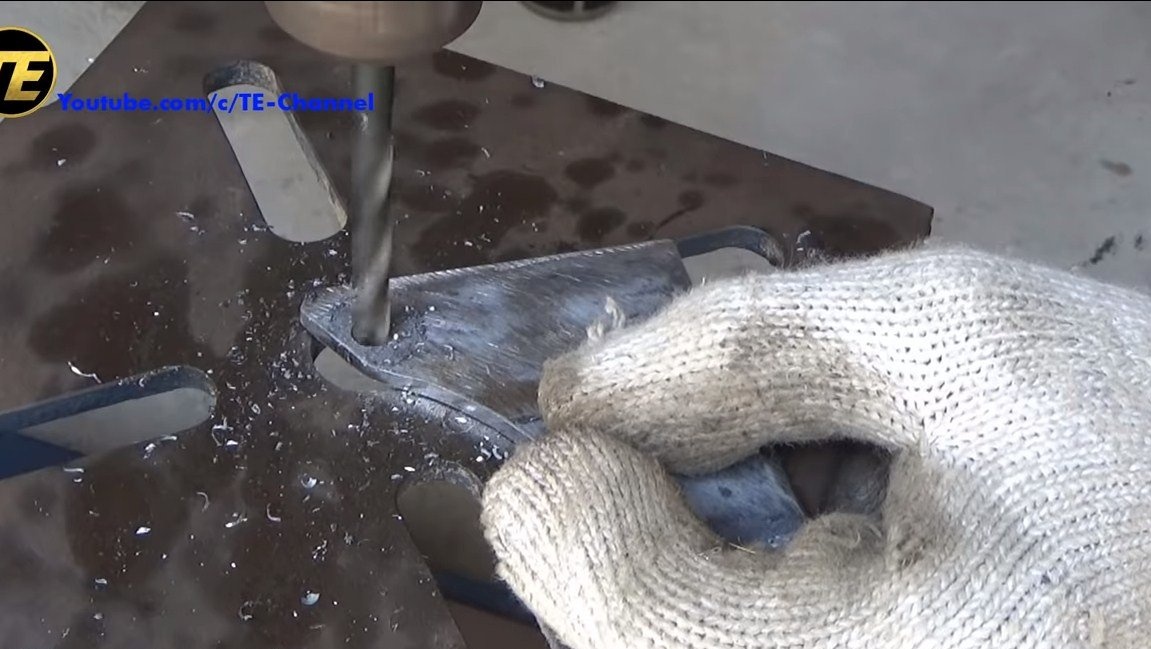
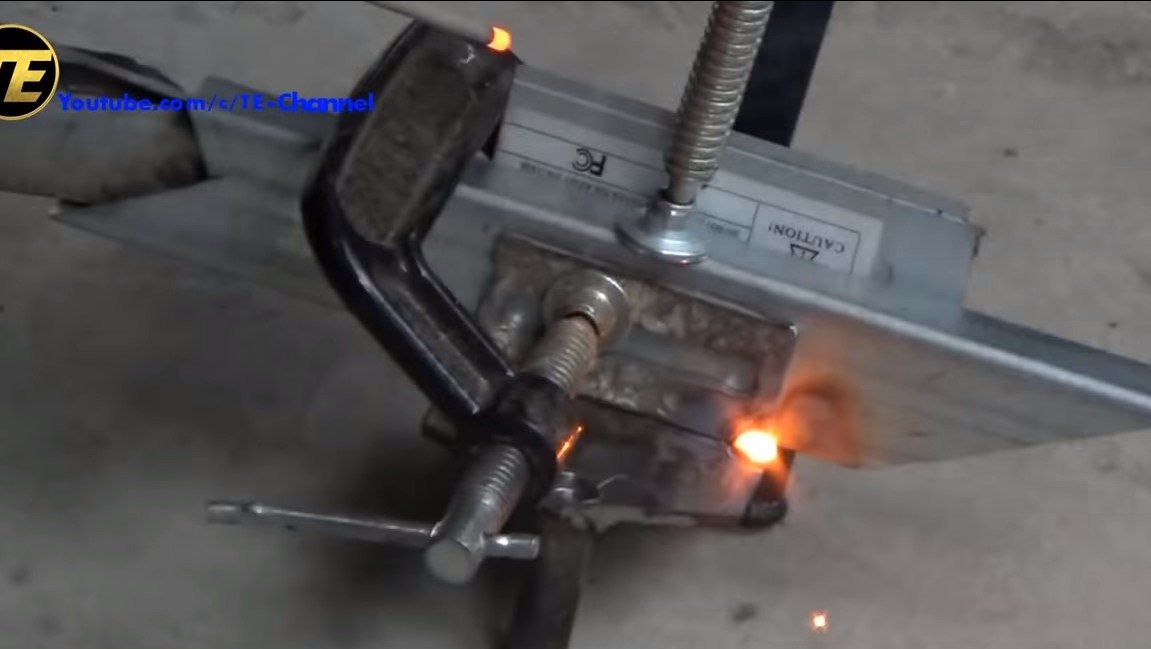
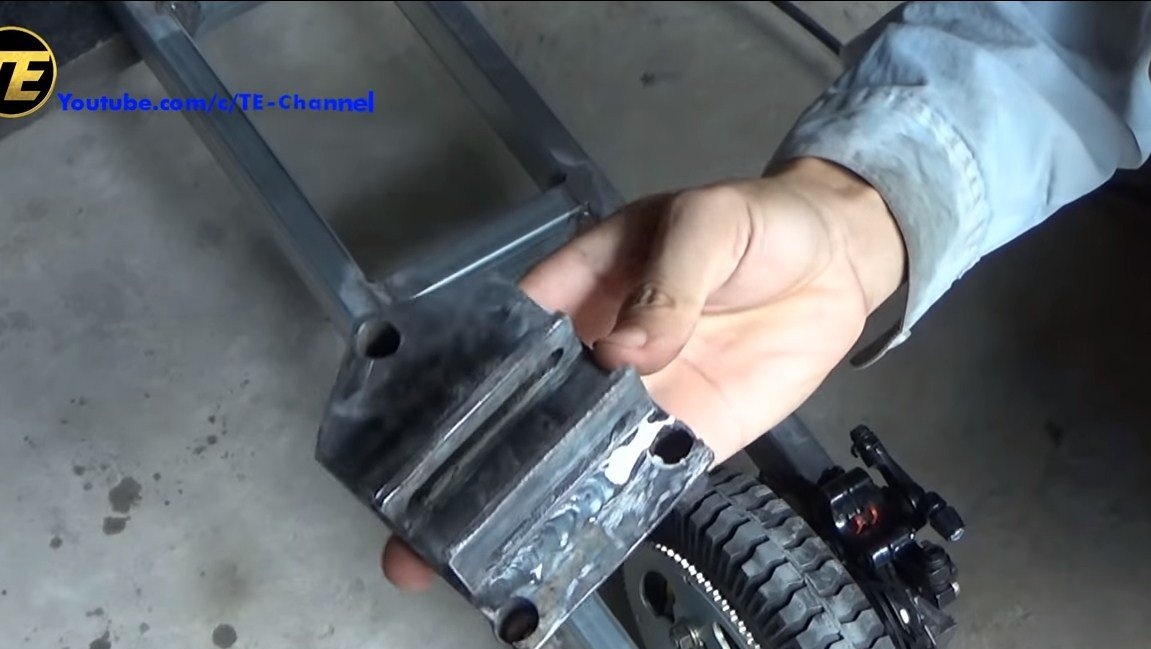
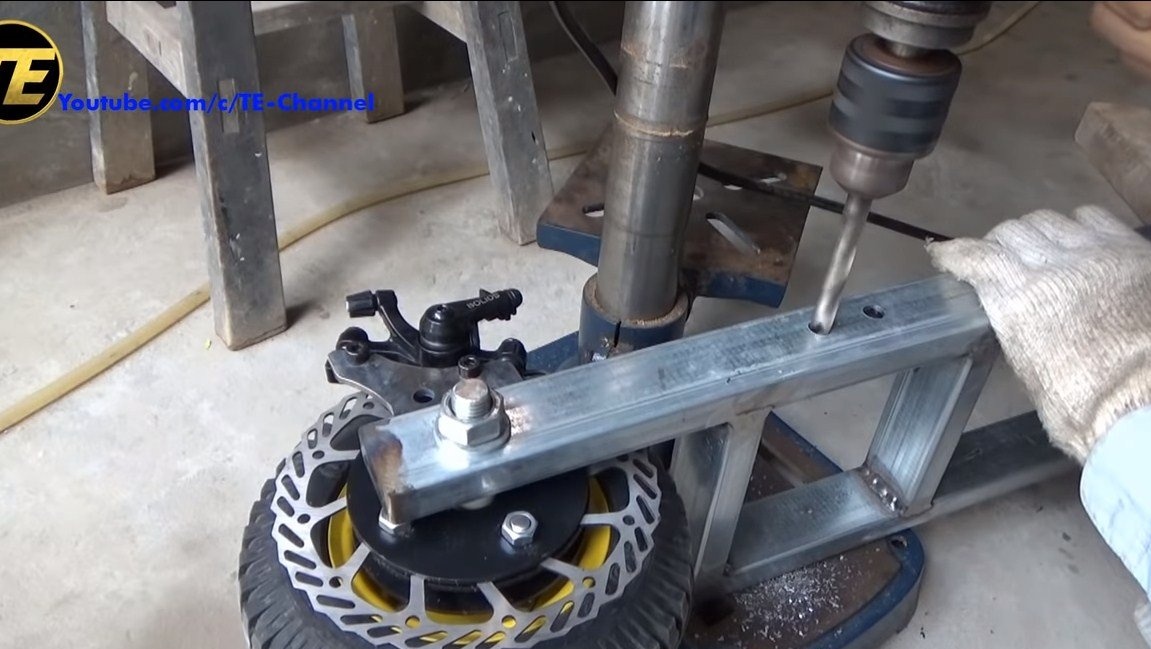
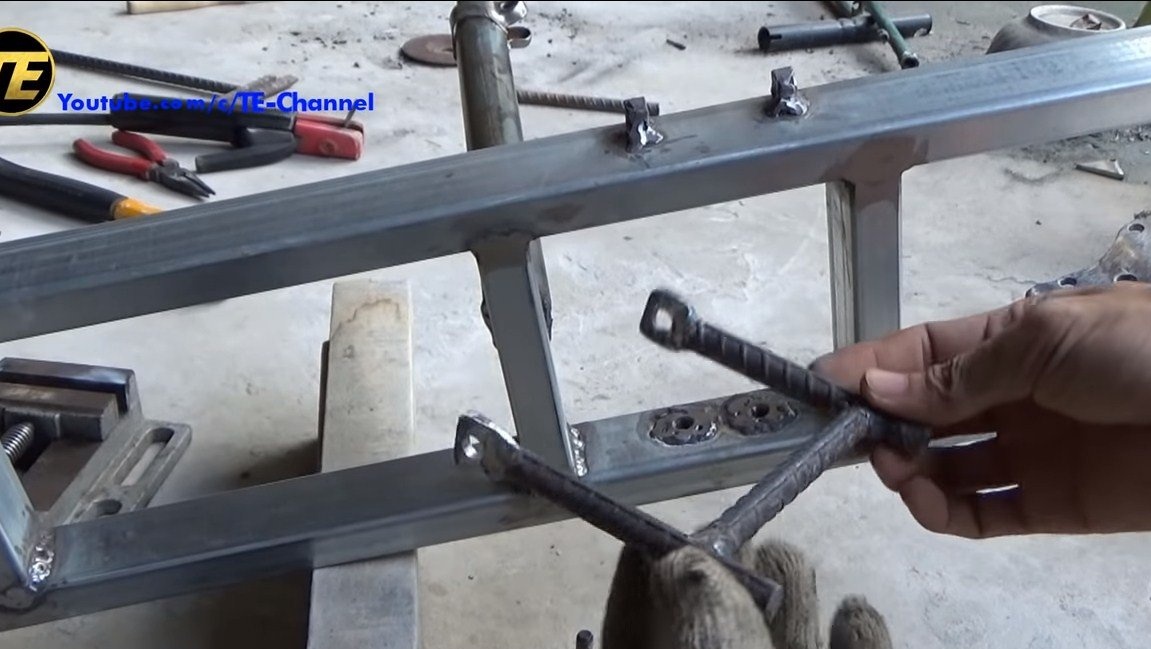
Step Five Rear brake mount
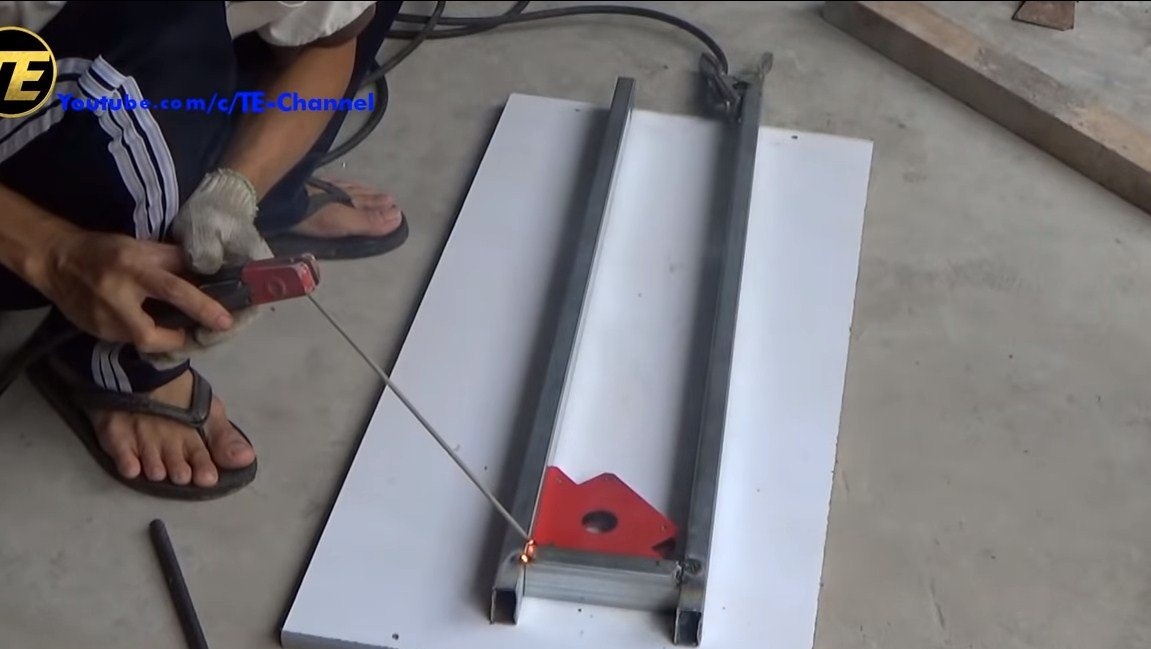
On the rear fork we mount the mount for the disc brake. Its author cut out of sheet steel, having drilled fixing holes in the right places. Well weld this part to the frame.


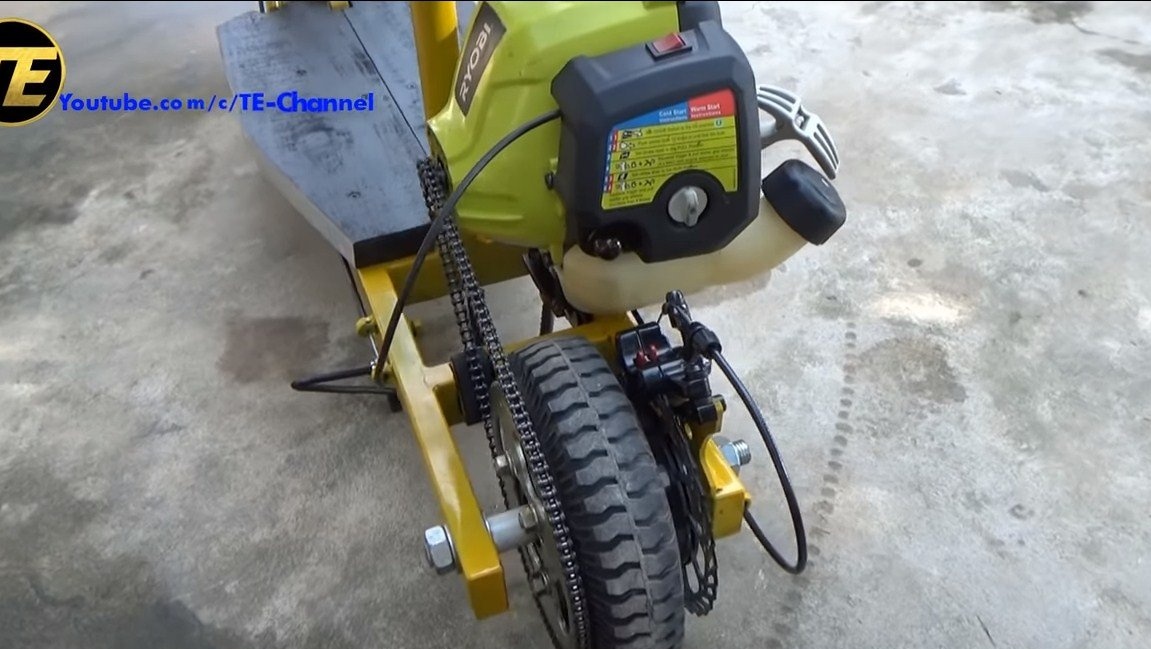
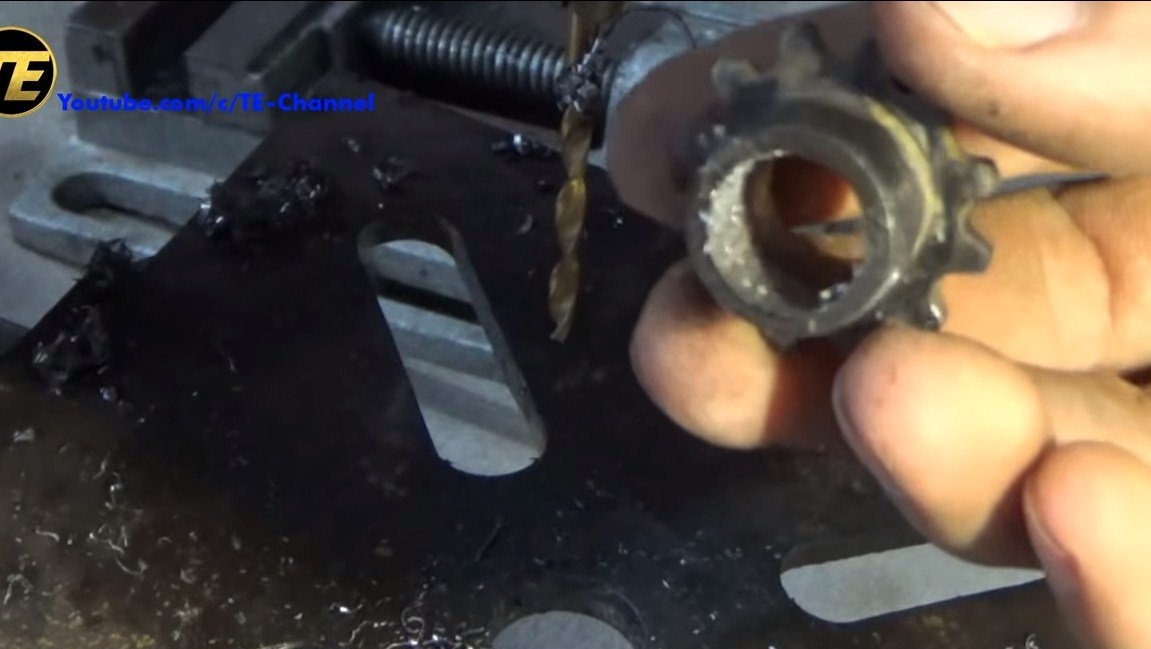
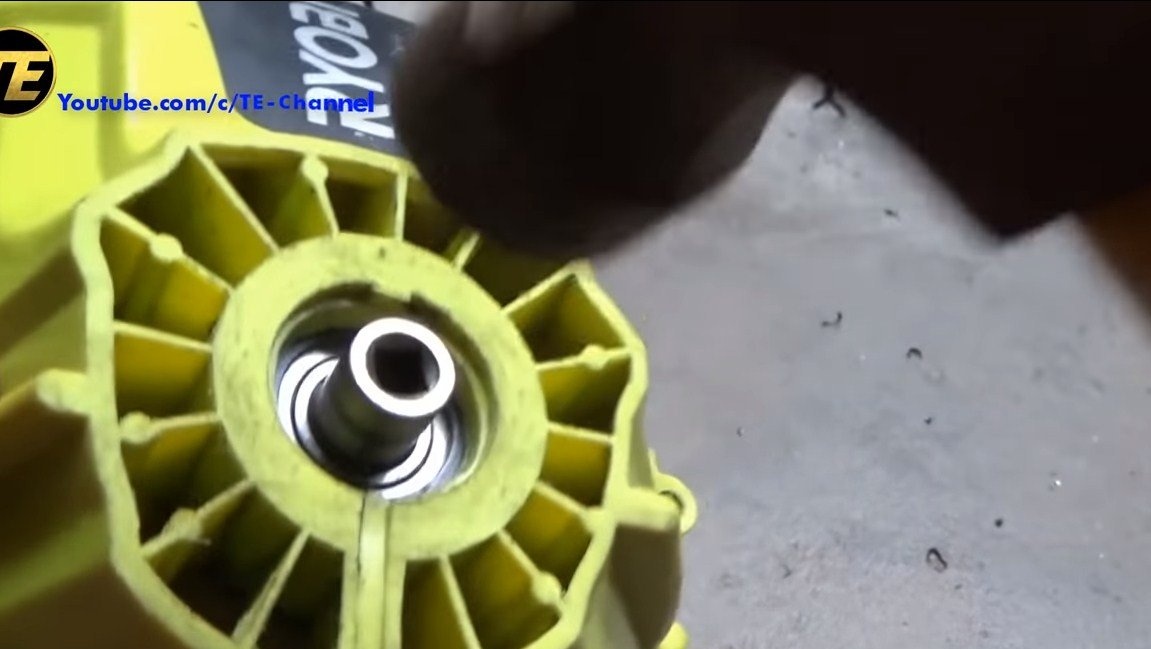
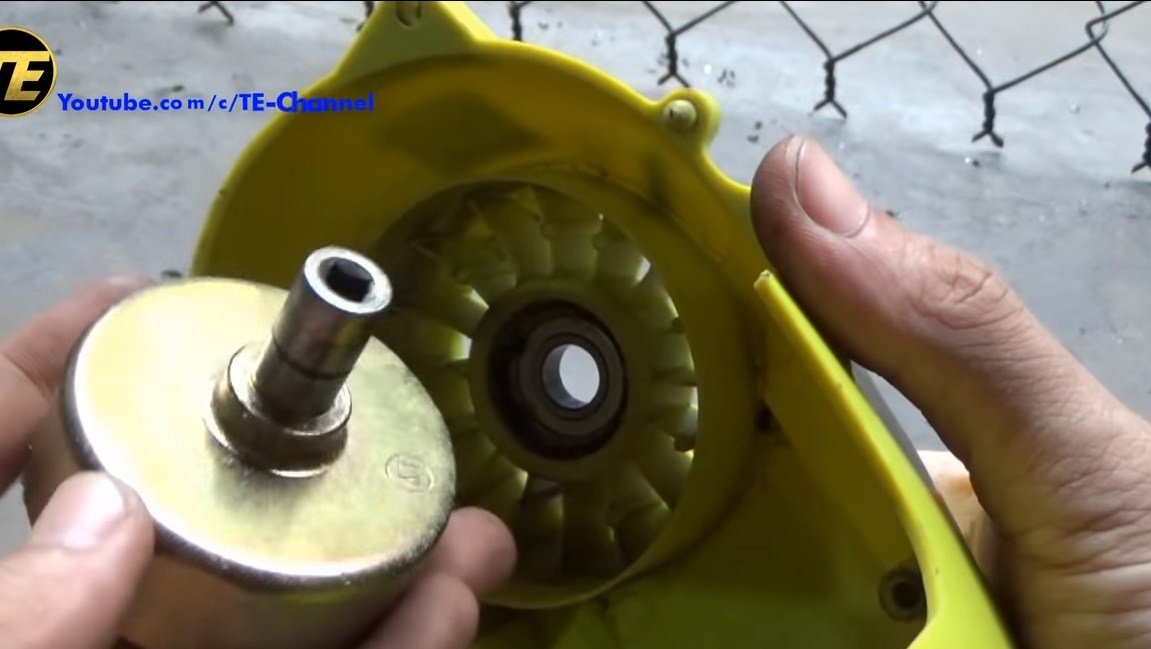
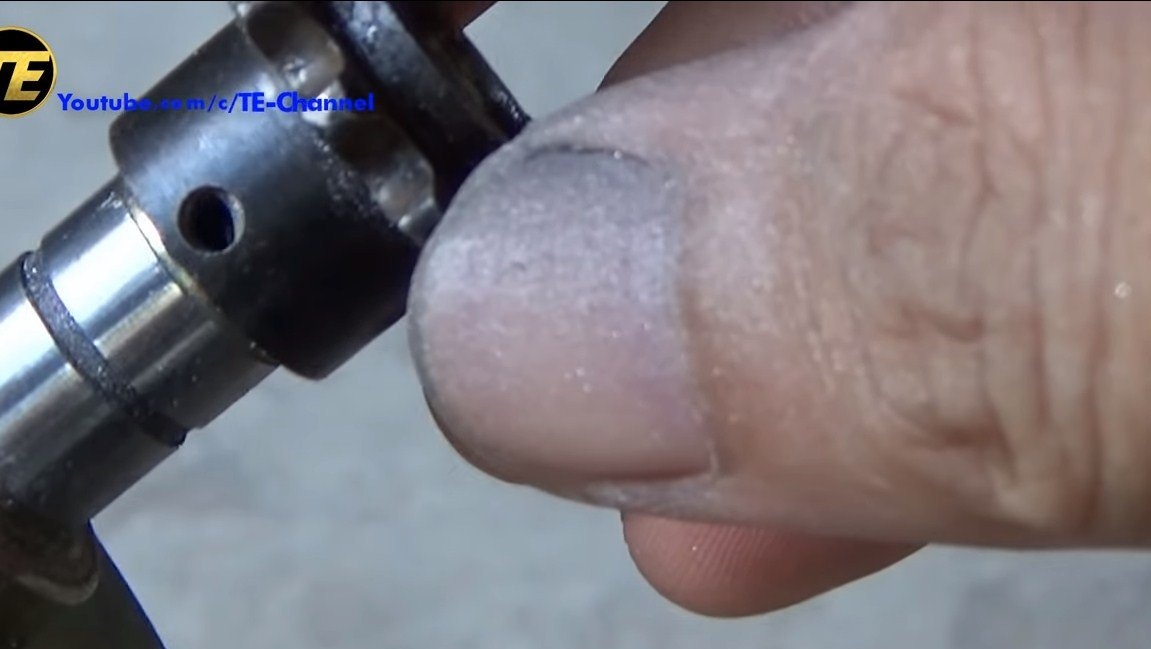
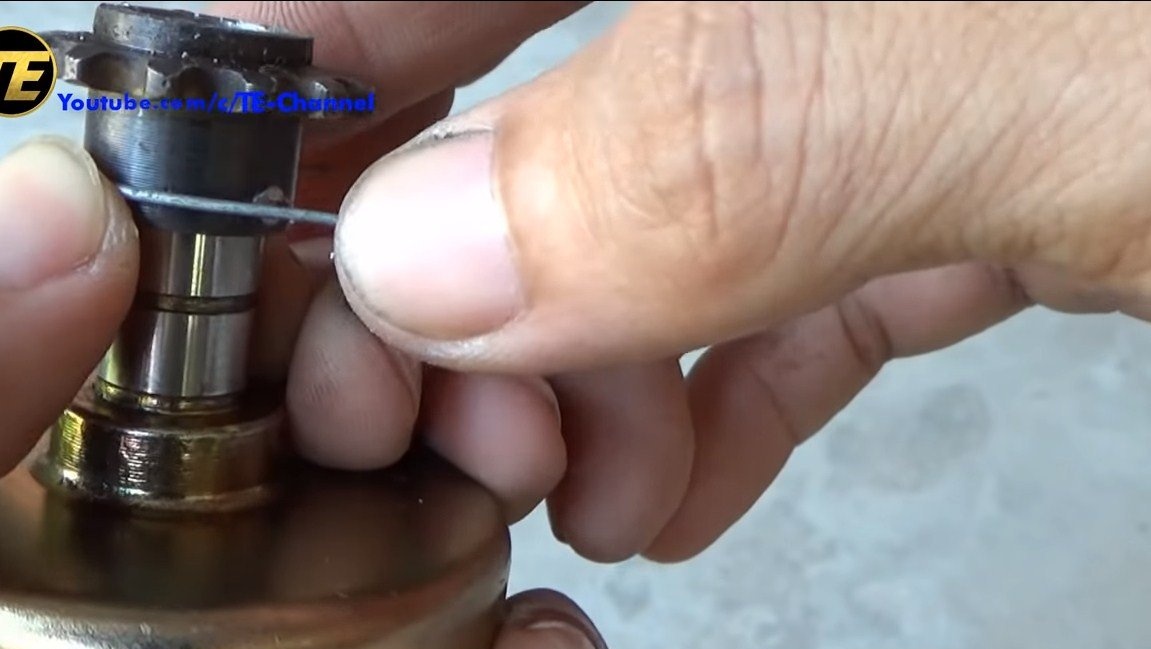
Step Six Setting the drive sprocket
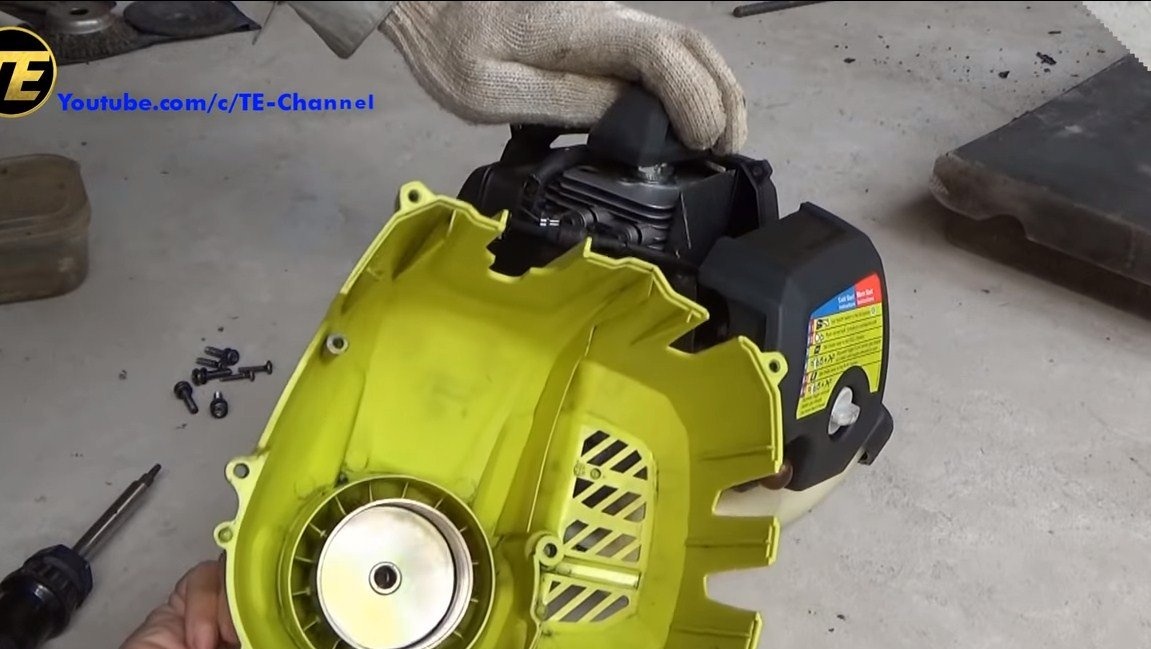
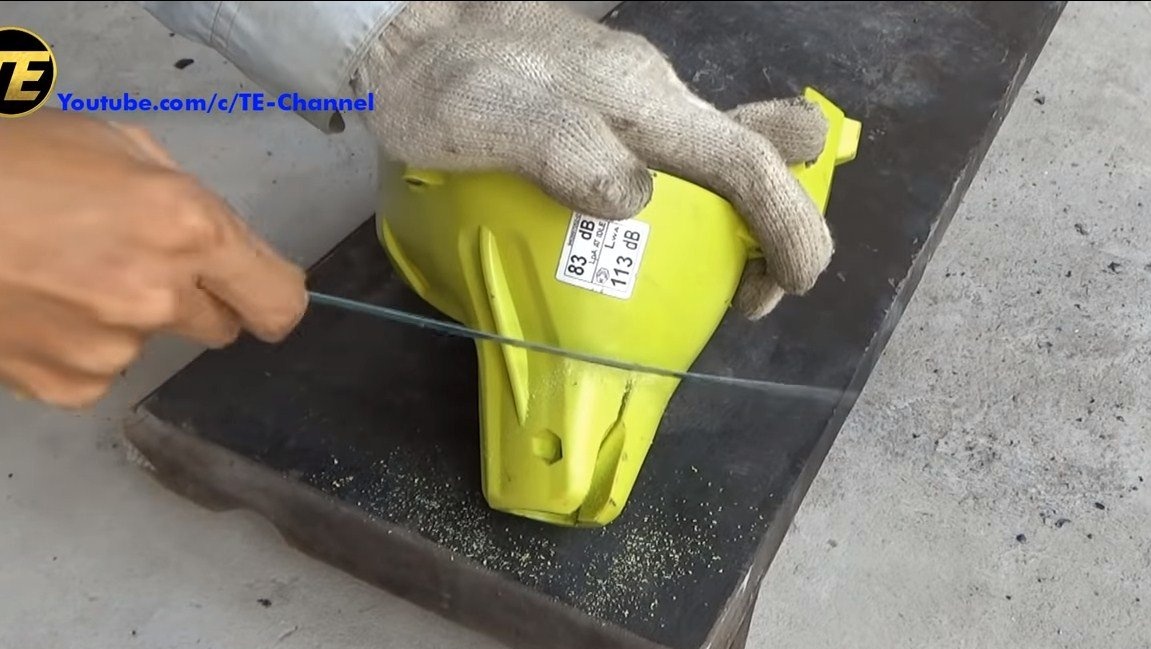
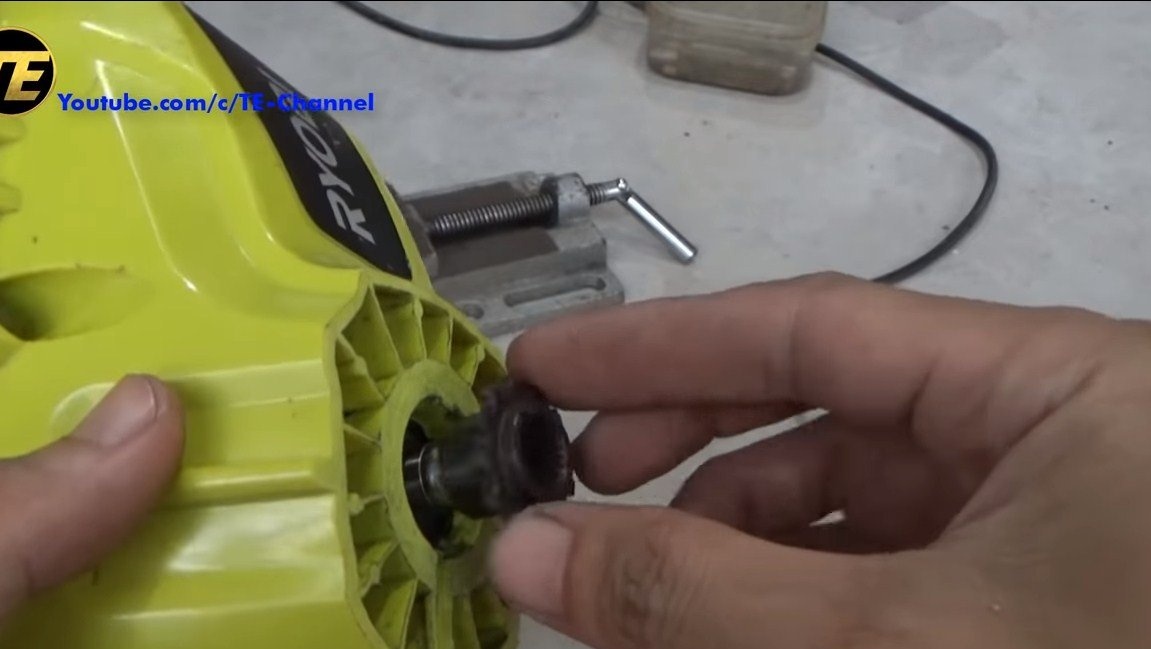
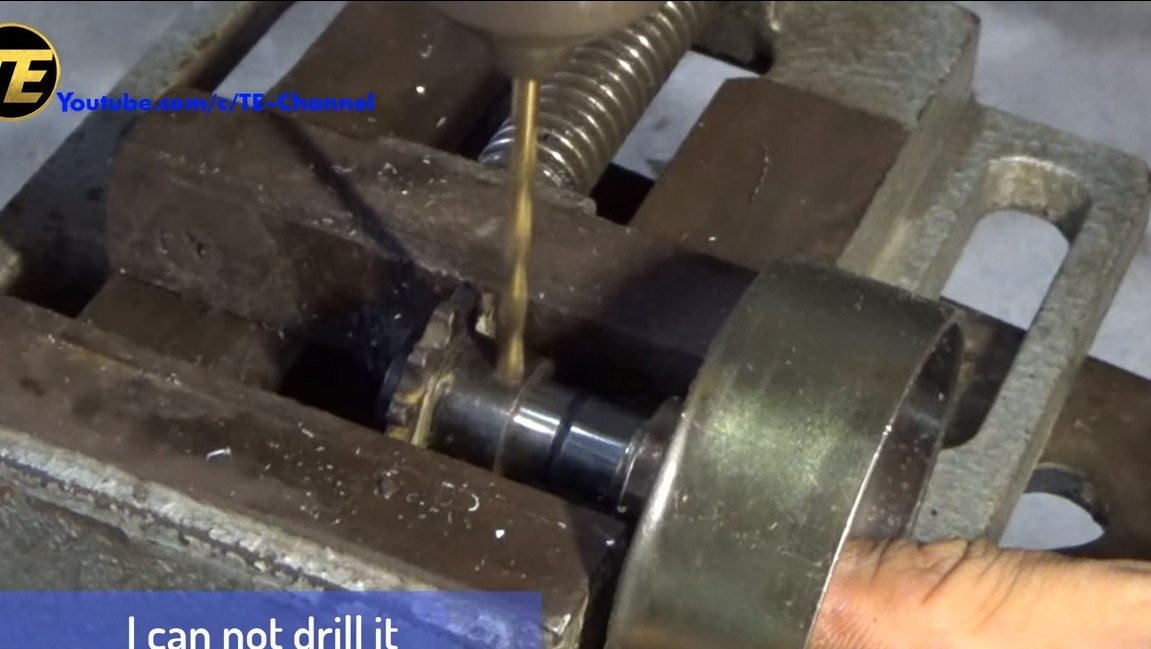
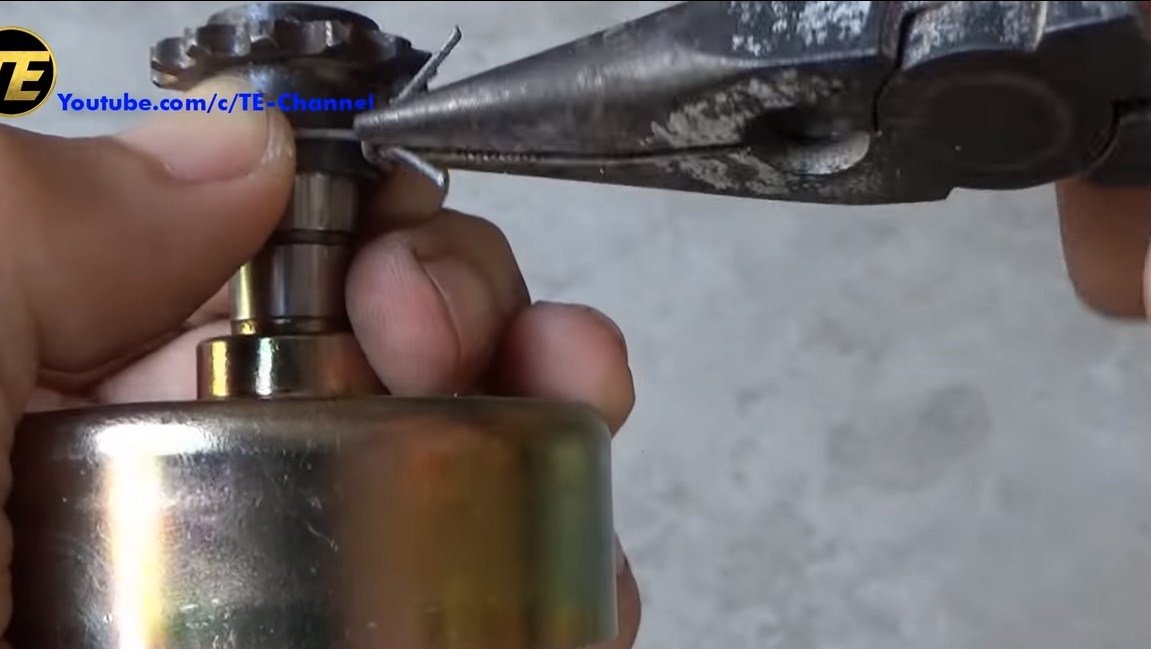
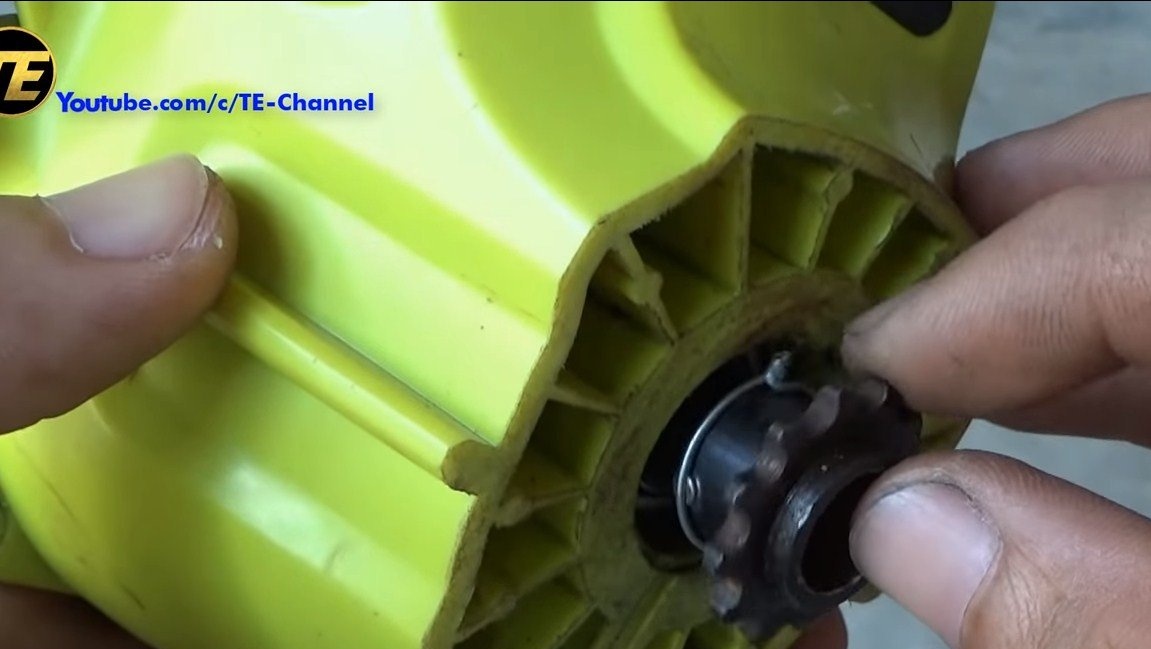
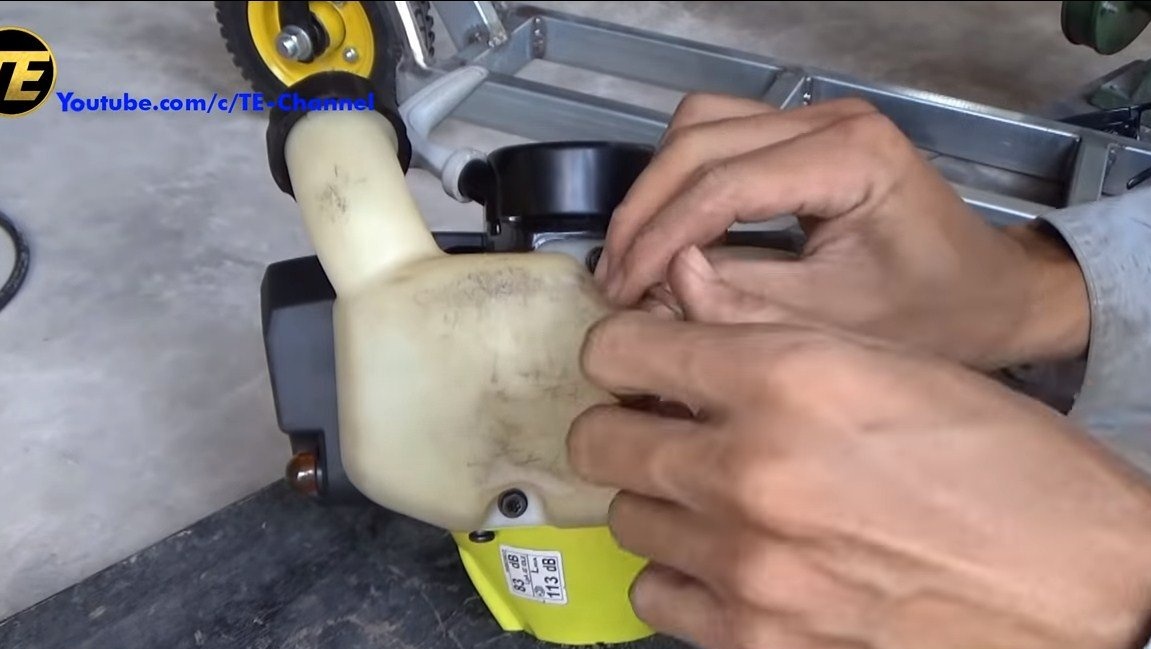
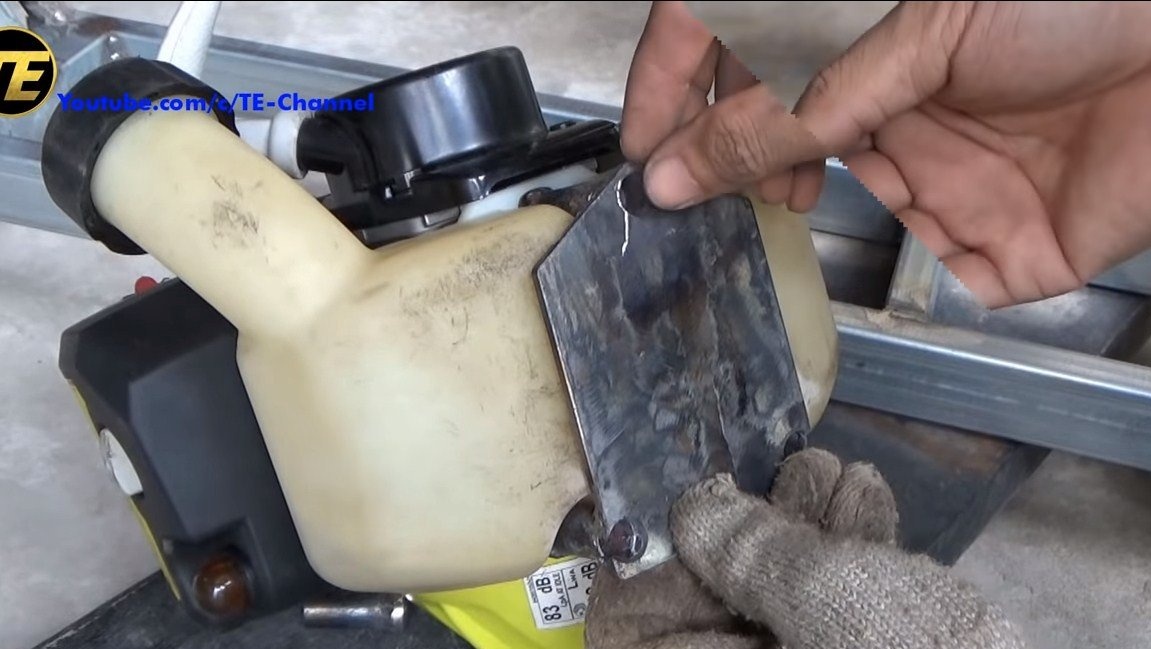
A drive sprocket must be installed on the motor shaft, it must be as small as possible to obtain high torque. To install the sprocket, we saw off the nose of the engine, it is made of plastic, the author cuts it with a hacksaw for metal. The sprocket will hold with a cotter pin. The cotter pin must be strong, made of carbon steel, otherwise it can easily be torn off when driving.
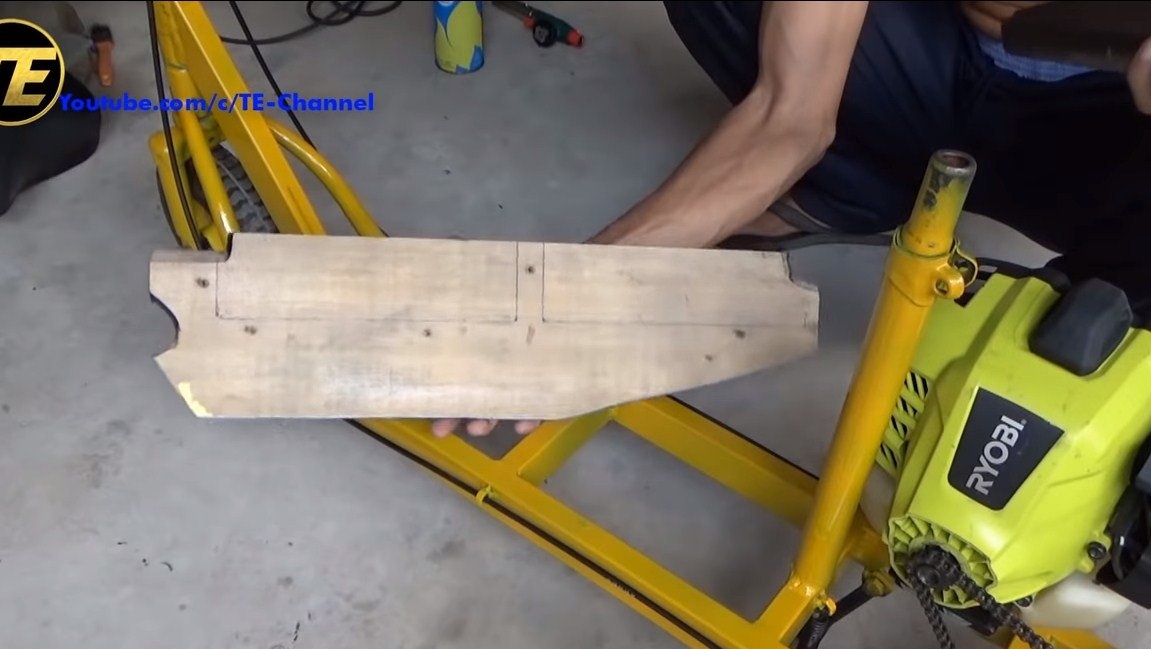
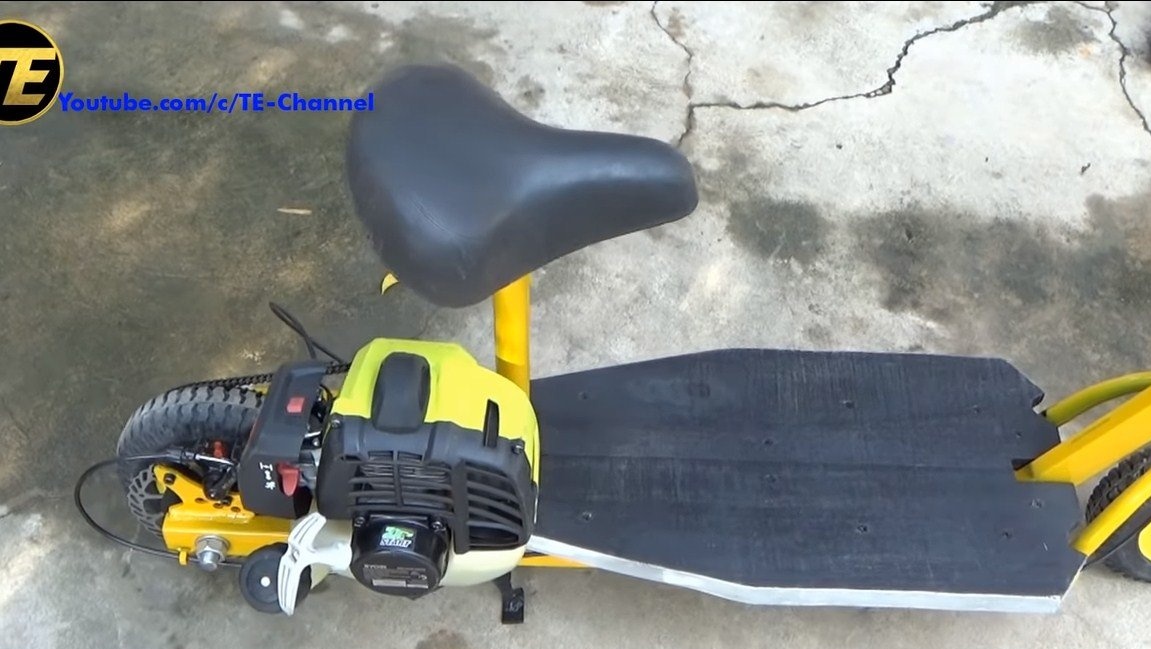
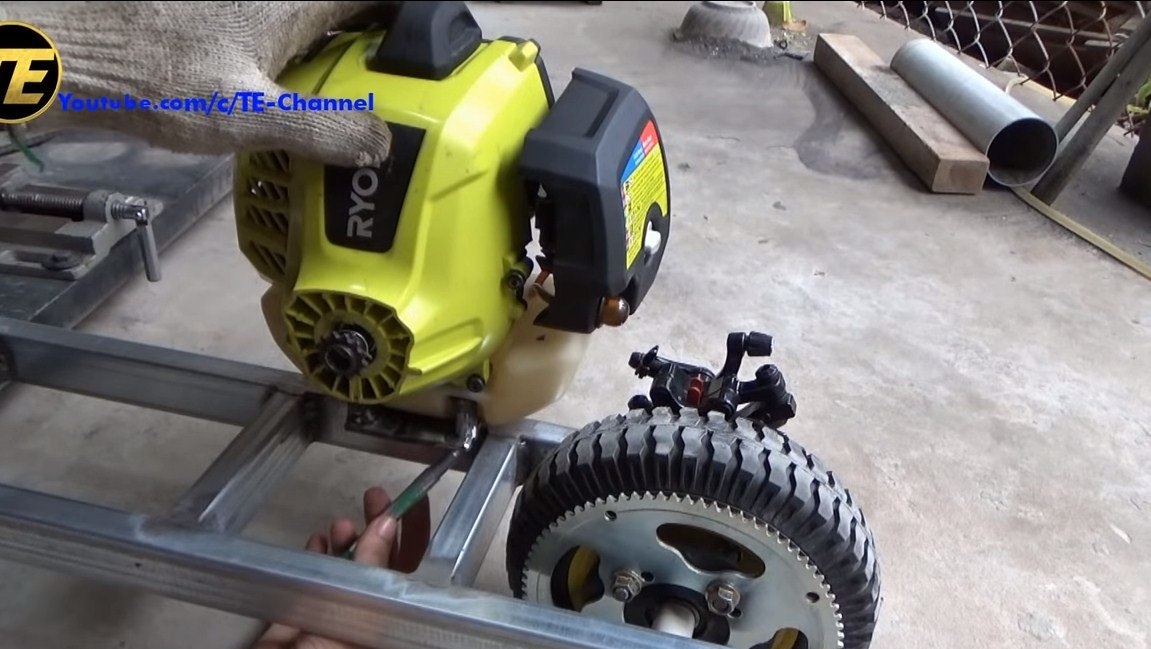
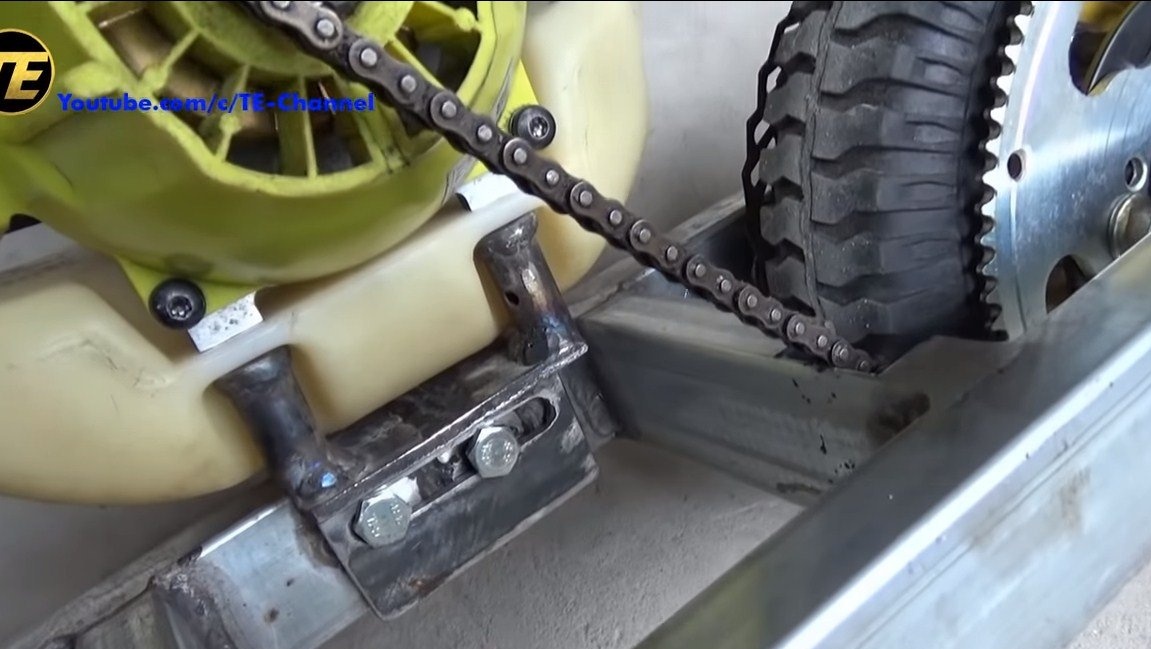
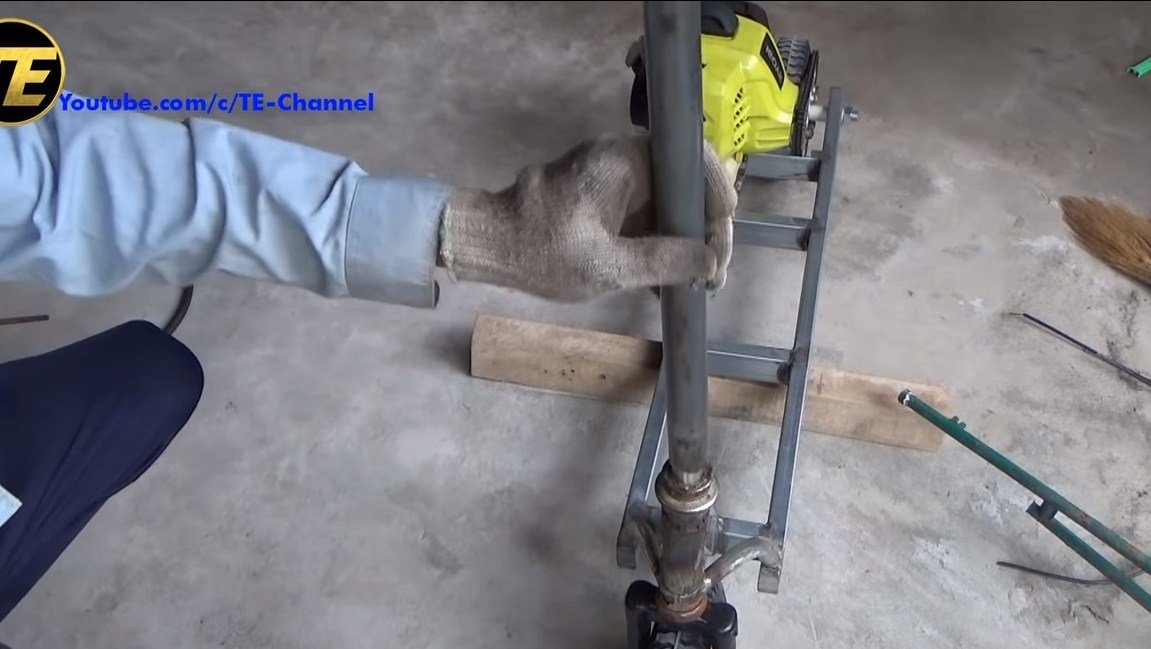
Seventh step. Engine installation
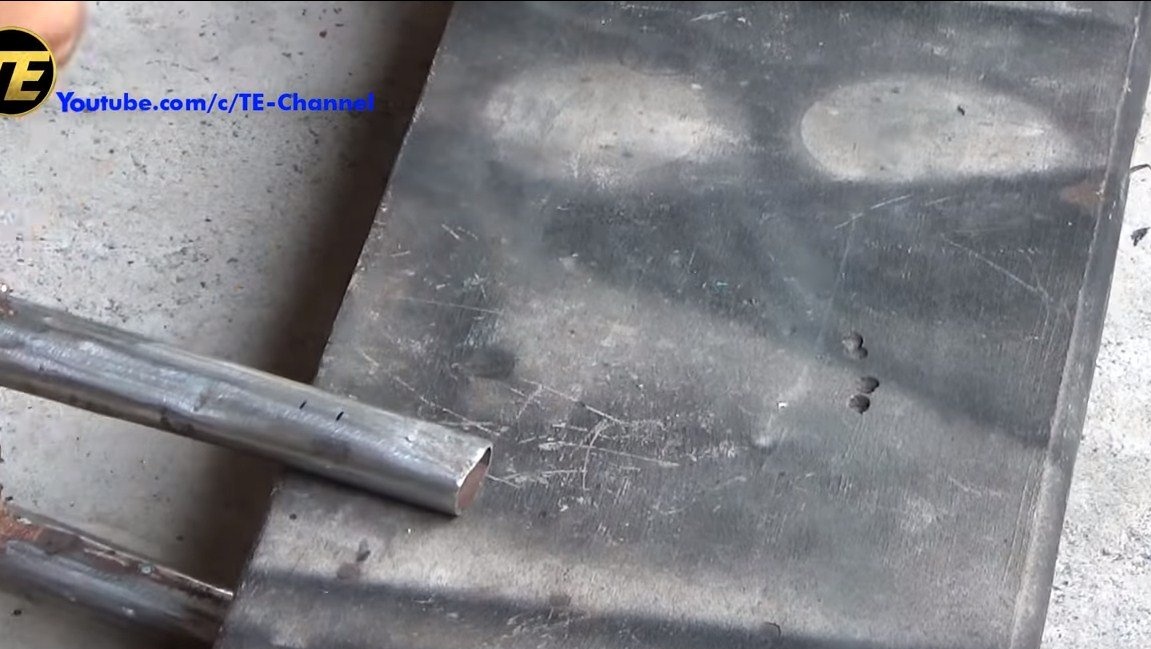
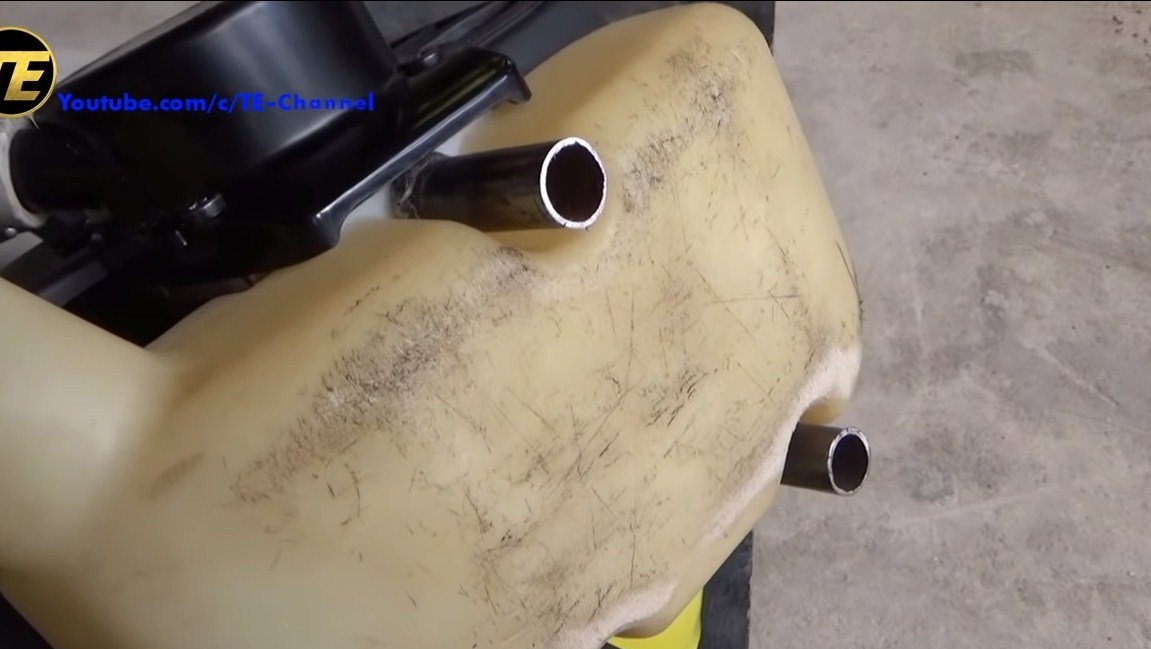
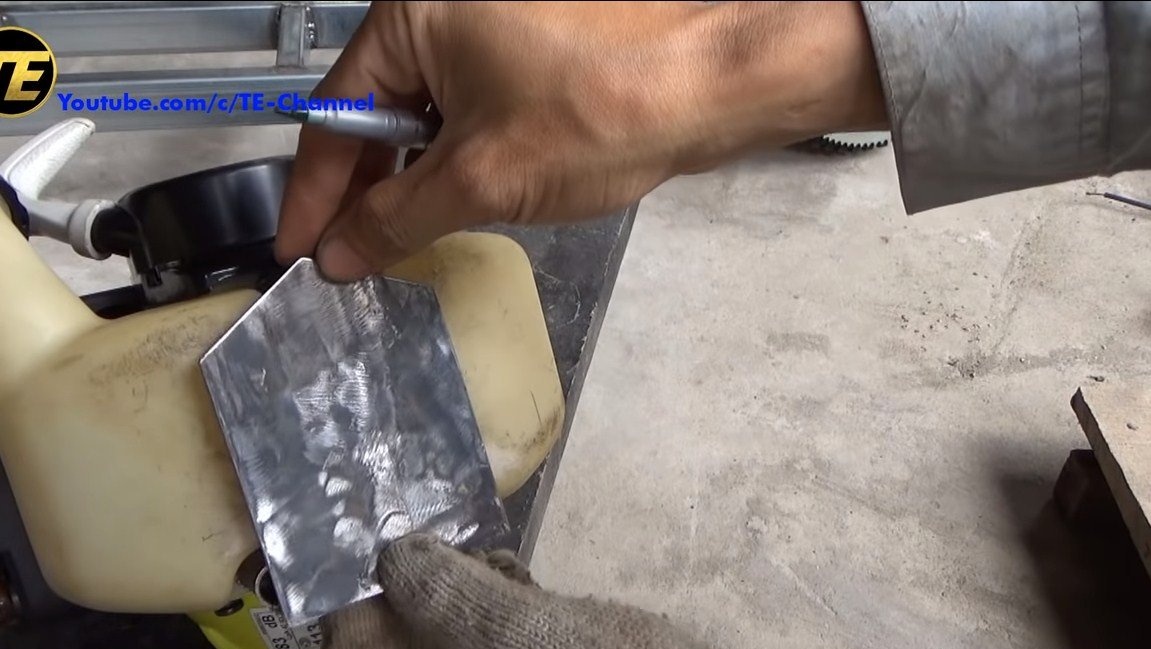
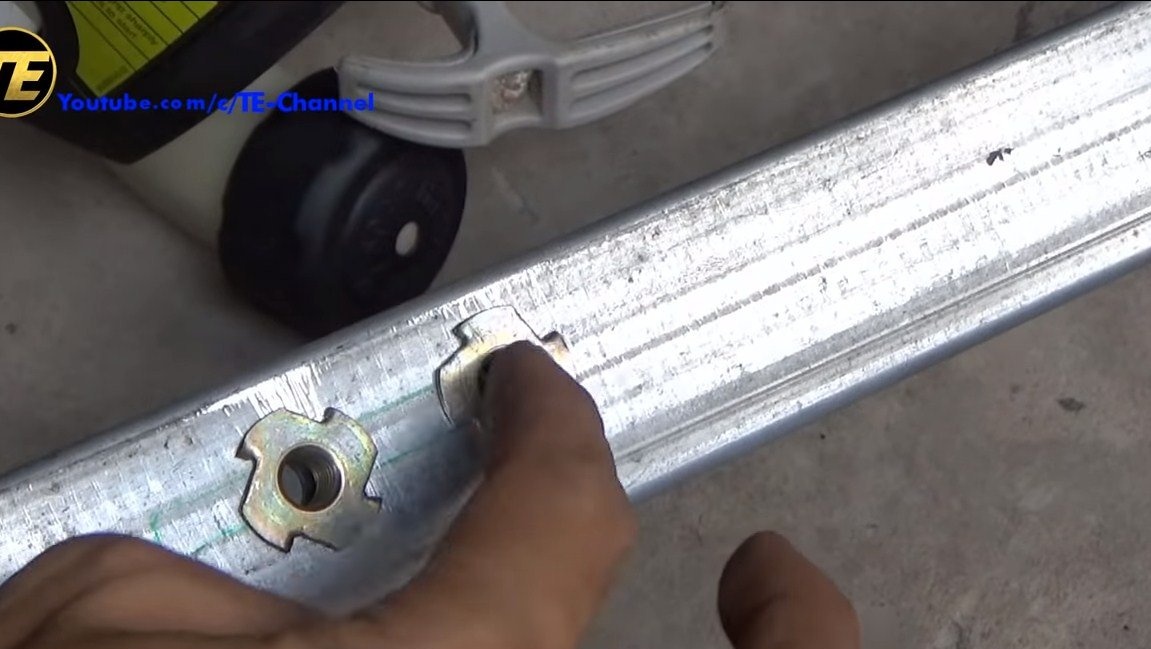
Install the engine on the frame, it will be a circuit with us, and we will fasten it with the screws that hold the gas tank. We cut steel tubes and weld them with sheet steel, and then drill holes. We fasten these tubes to the engine, and then we weld a steel plate to them. The result is a convenient and reliable bracket.

The engine is attached to the frame with bolts and nuts, the nuts are welded to the frame. As a result, the engine can be moved forward or backward to tighten the chain or loosen it. Similarly, unscrewing only two bolts can remove the engine.
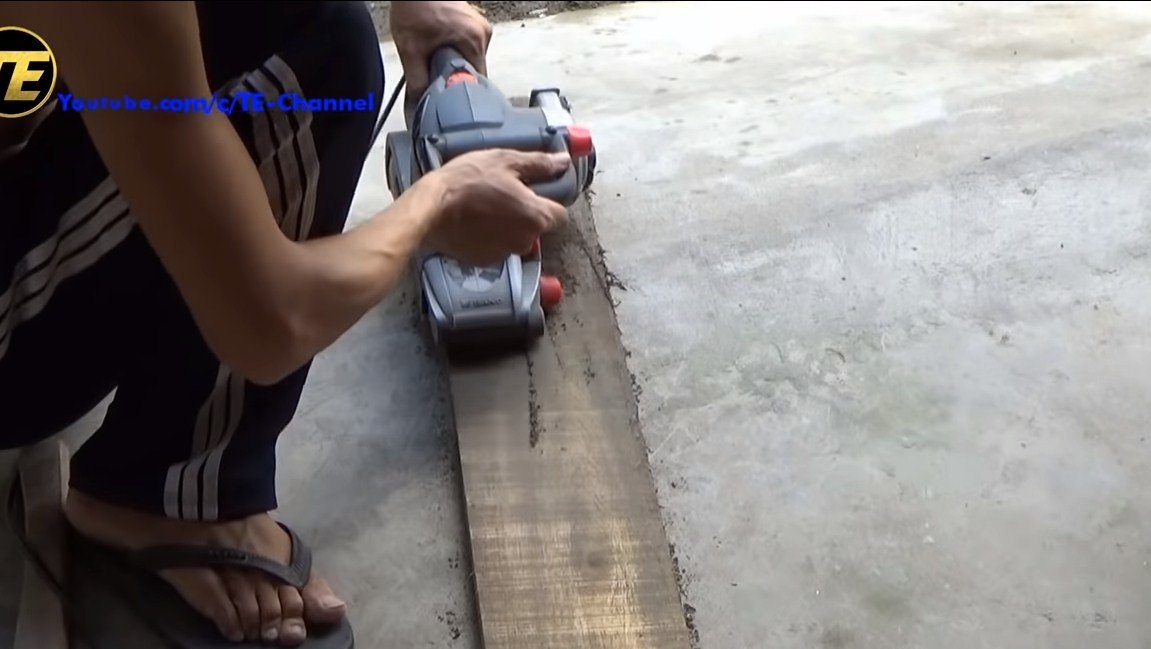
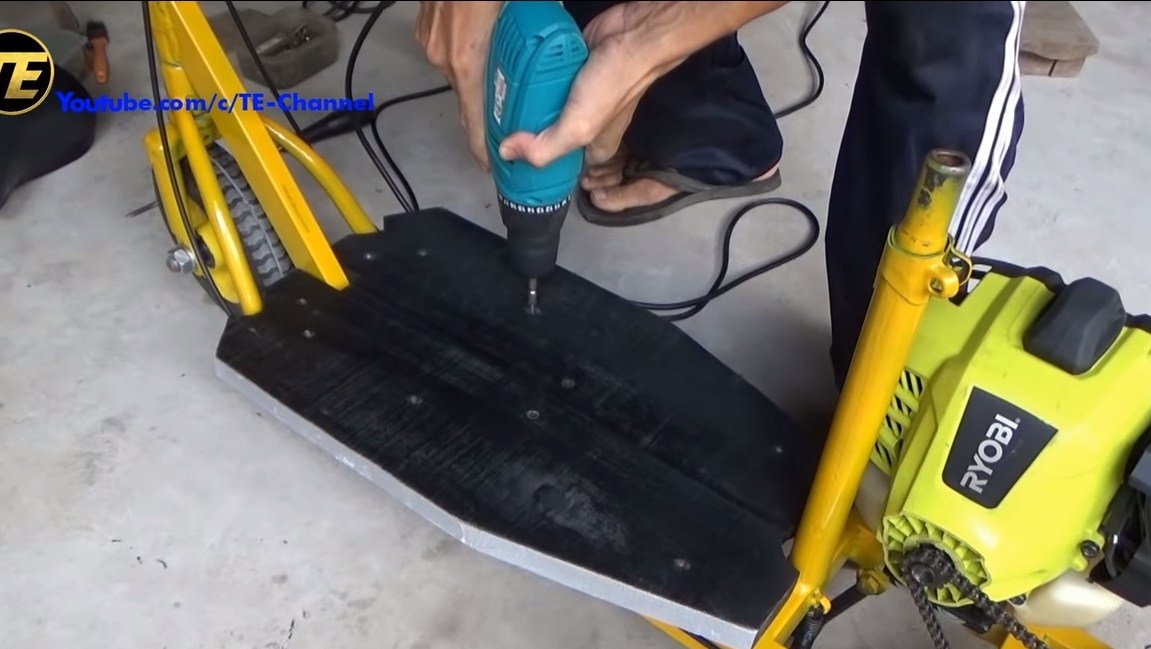
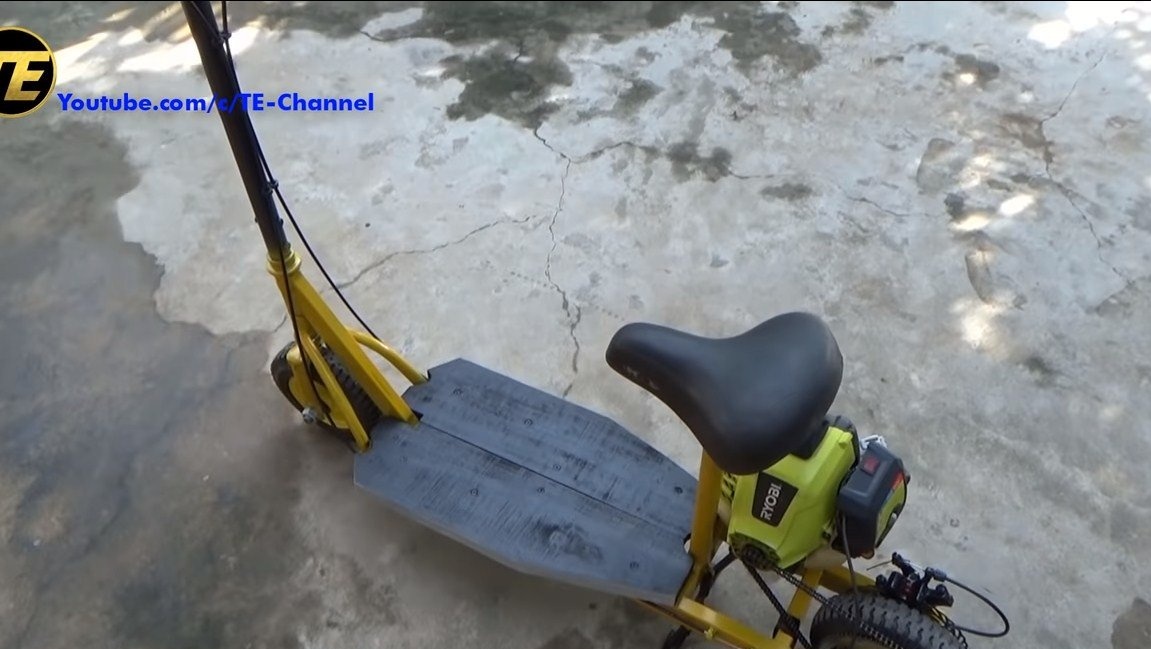
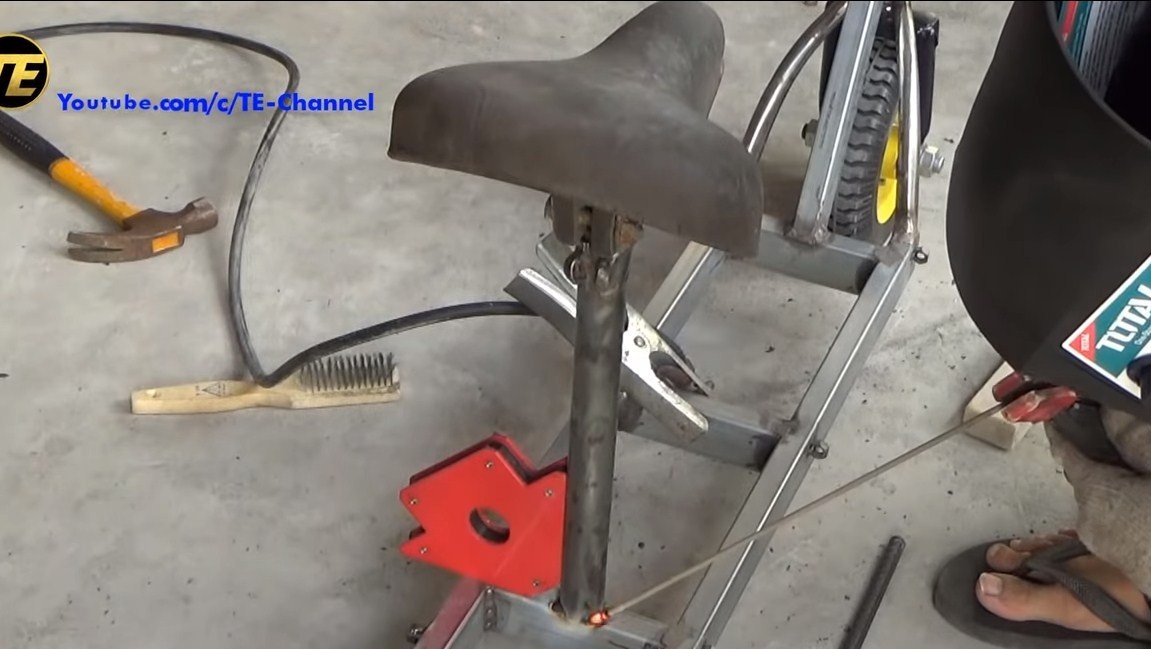
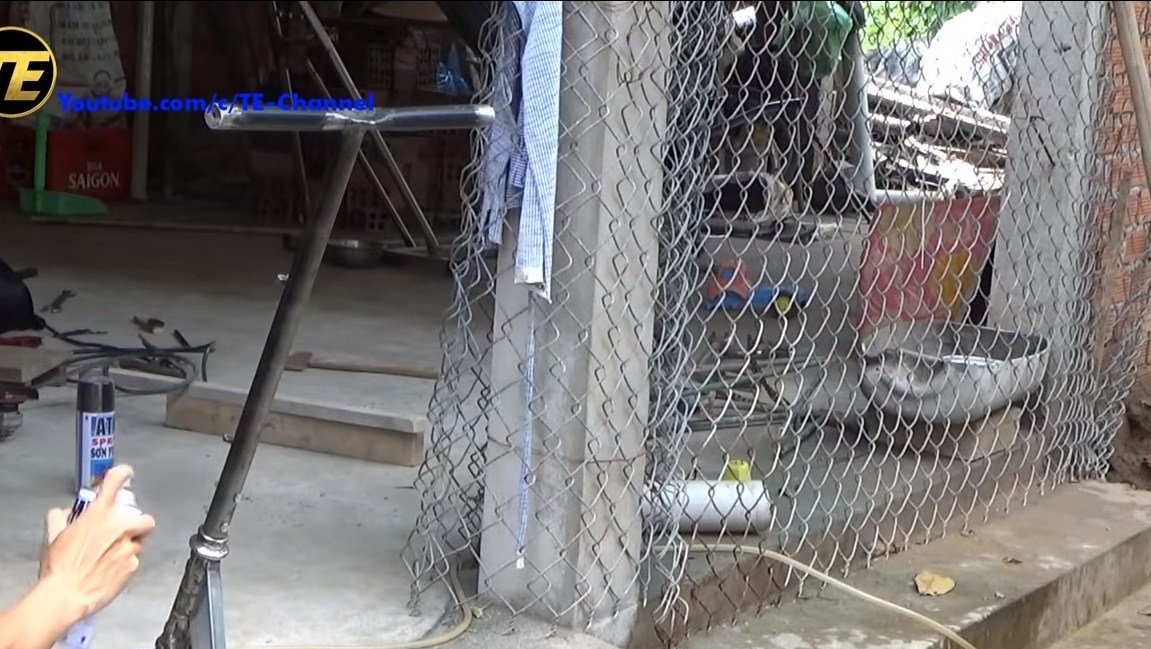
Step Eight. Finishing touches
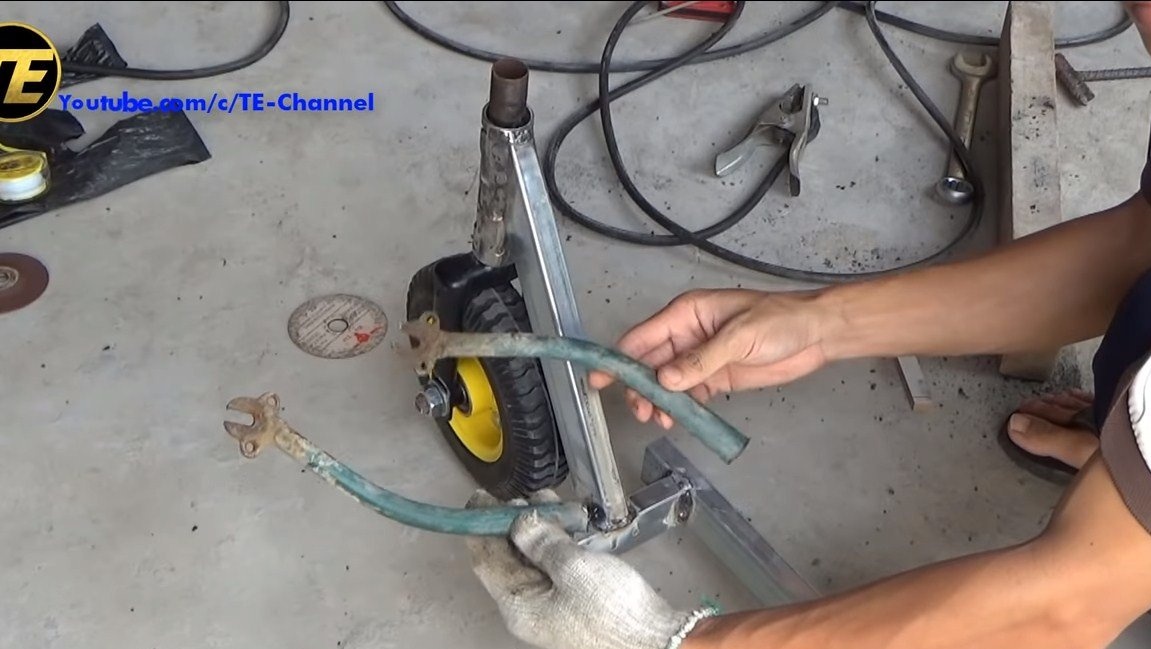
At the end, we extend the steering wheel using a piece of pipe, and also weld the seat from the bicycle. We make a scooter for the scooter so that it does not have to rest against walls, fences, and so on. The author has welded a reliable footboard from reinforcement. When everything is ready, the metal parts will only have to be painted. As a result, the scooter will look “like from a factory”.


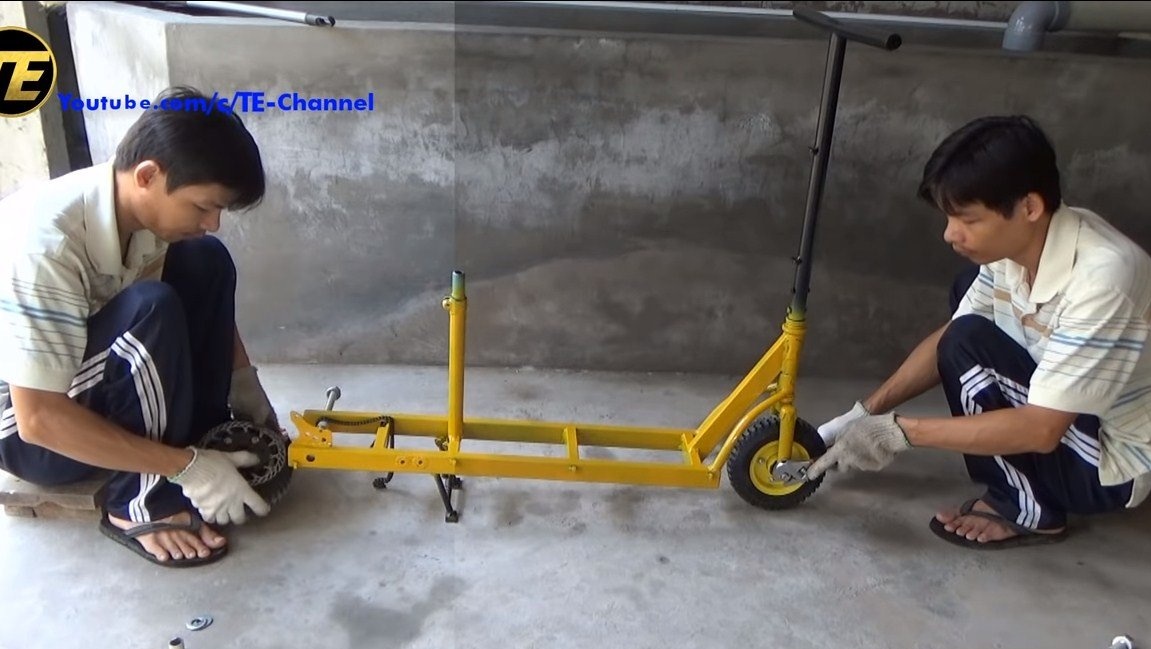

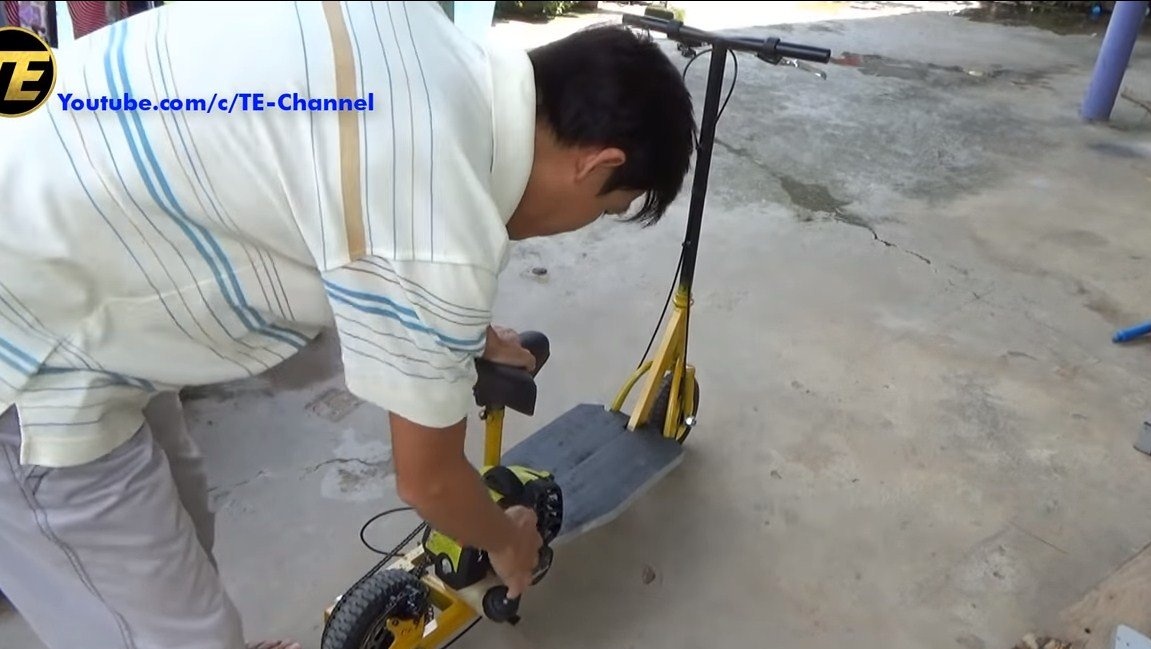
Everything is ready, it remains to collect the scooter. We carry a manual brake, as well as a throttle control knob. Do not forget to make in an accessible place the ignition off button for an emergency. The scooter is ready, you can experience it. The author rides it without any problems, such vehicles will consume little fuel, especially if they accelerate and coast. I hope. You liked the homemade. Good luck and creative inspiration!