
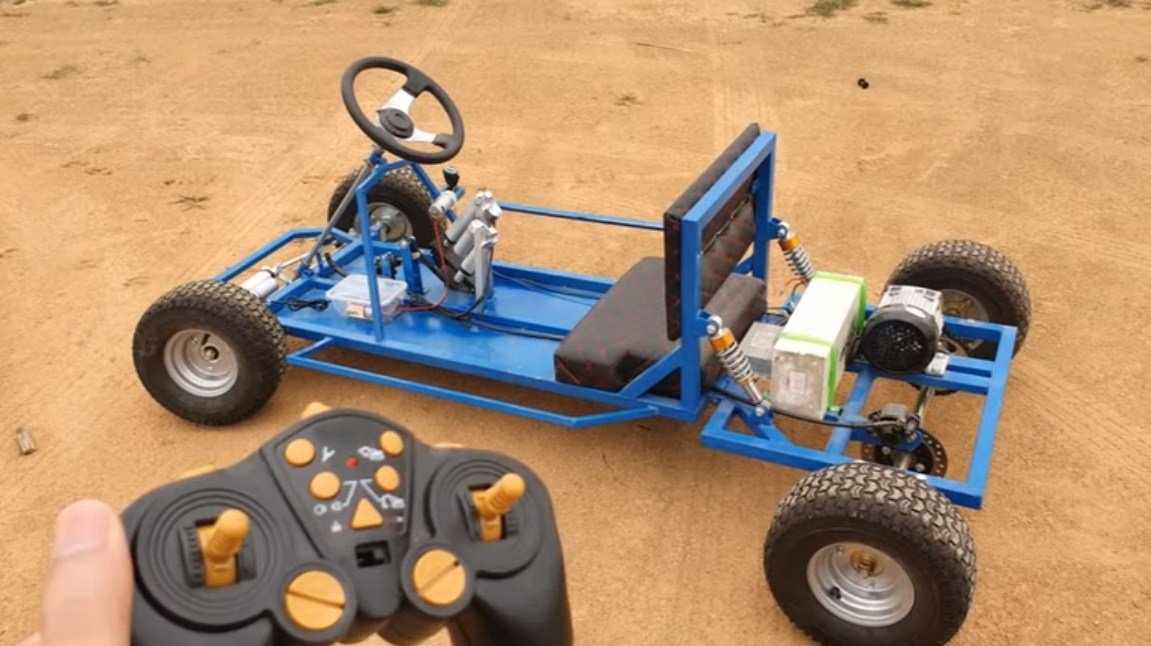
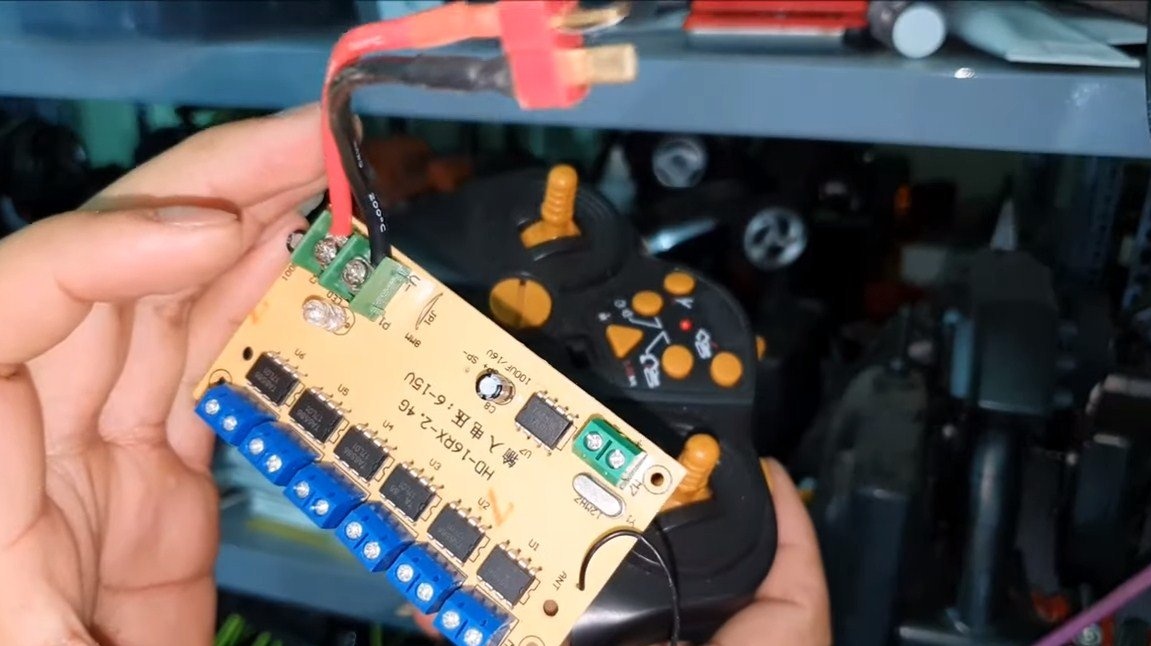
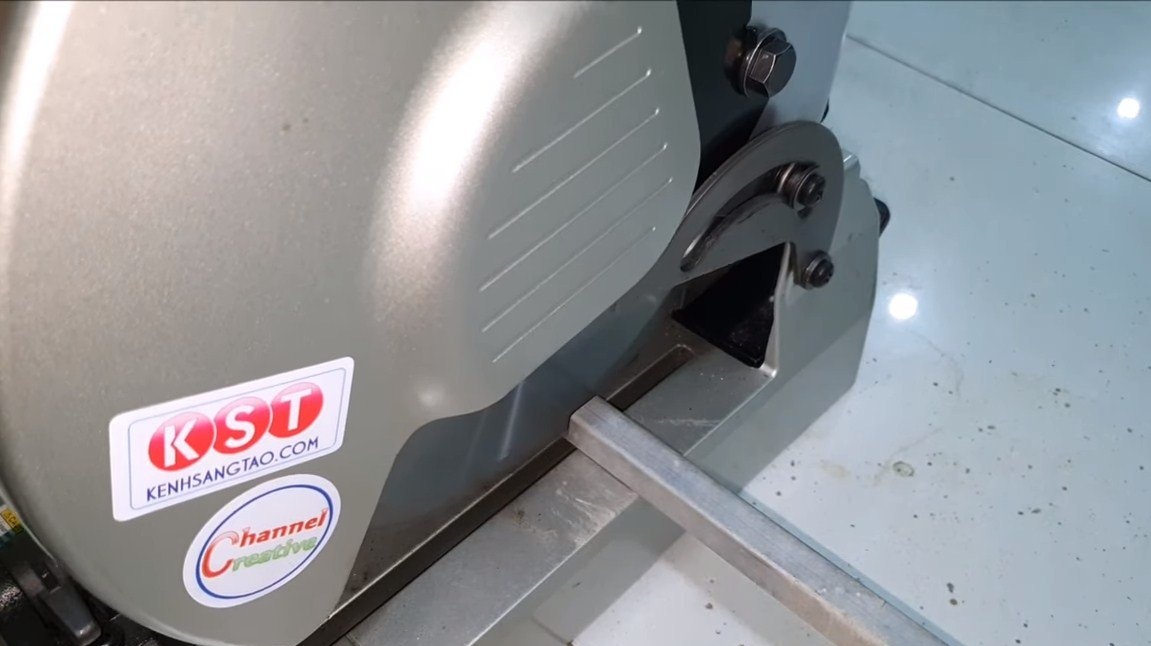
I welcome the fans to craft, today we will consider how the author redid the cards to such an extent that it became possible to control them remotely. Maybe, with this example, you will assemble some kind of the necessary mechanism, for example, a system for opening and closing gates from the remote control and much more. Homemade The assembly is quite simple and does not require special skills. How to make such cards, you can seethis article. If the alteration project interests you, I propose to study it in more detail!
Materials and tools used by the author:
Material List:
- or similar;
— ;
— ;
- wire;
- plastic ties;
- fixing corners;
- profile pipes;
- bolts and nuts.
Tool List:
- welding machine;
— ;
— ;
- soldering iron;
- marker.
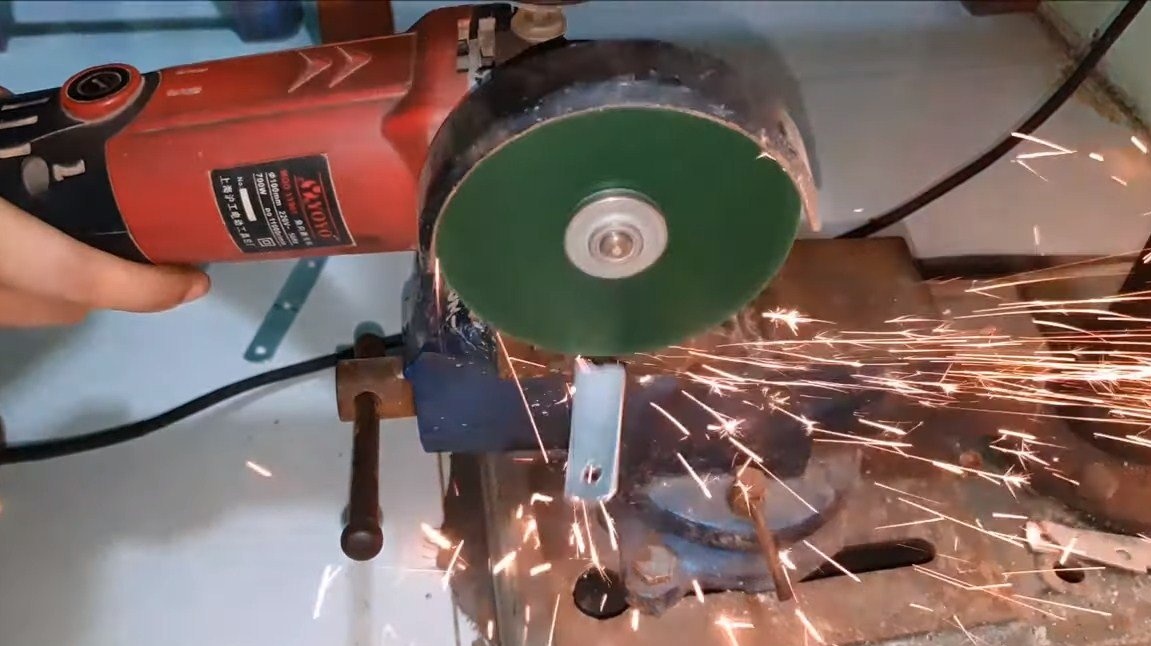
Homemade manufacturing process:
Step one. Reverse
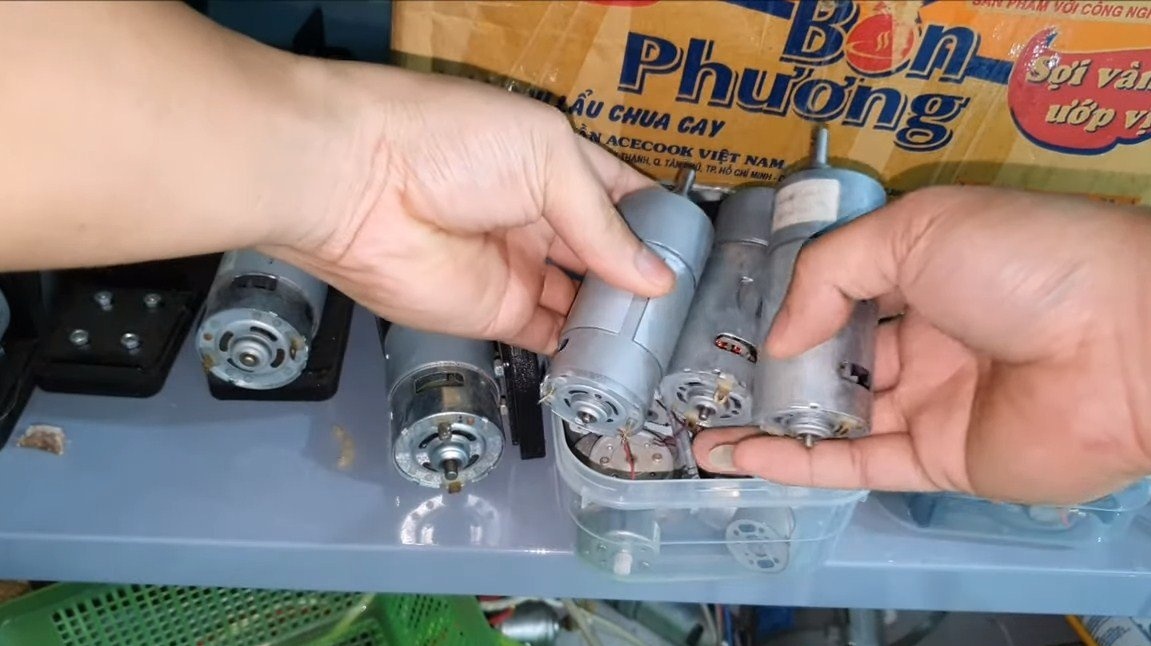
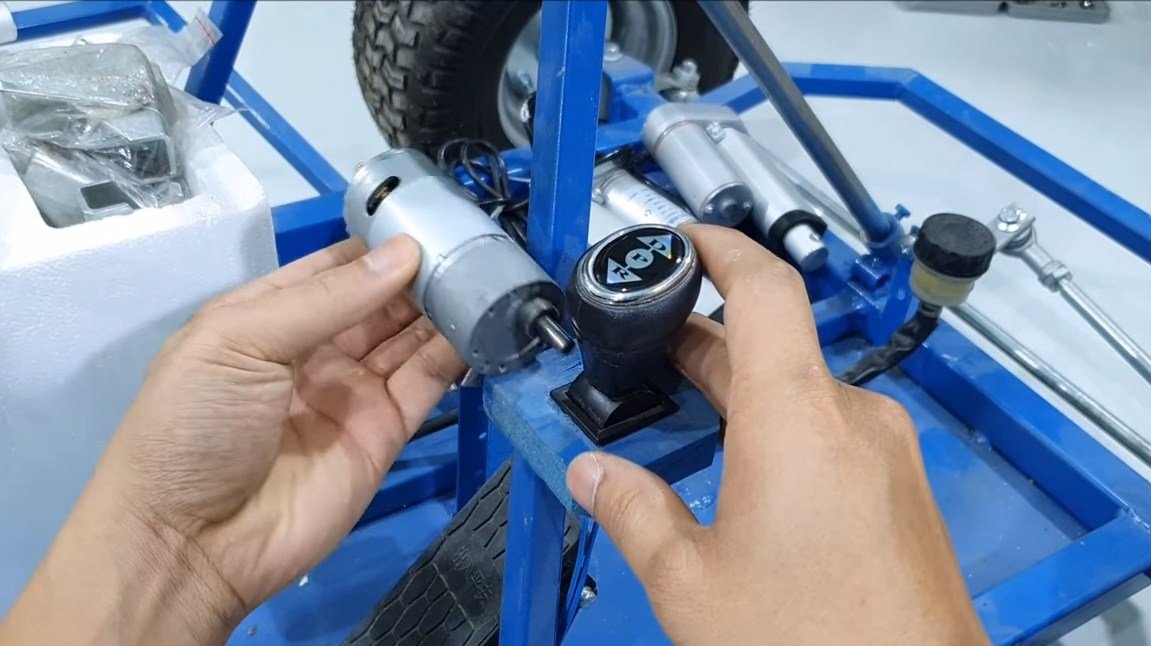
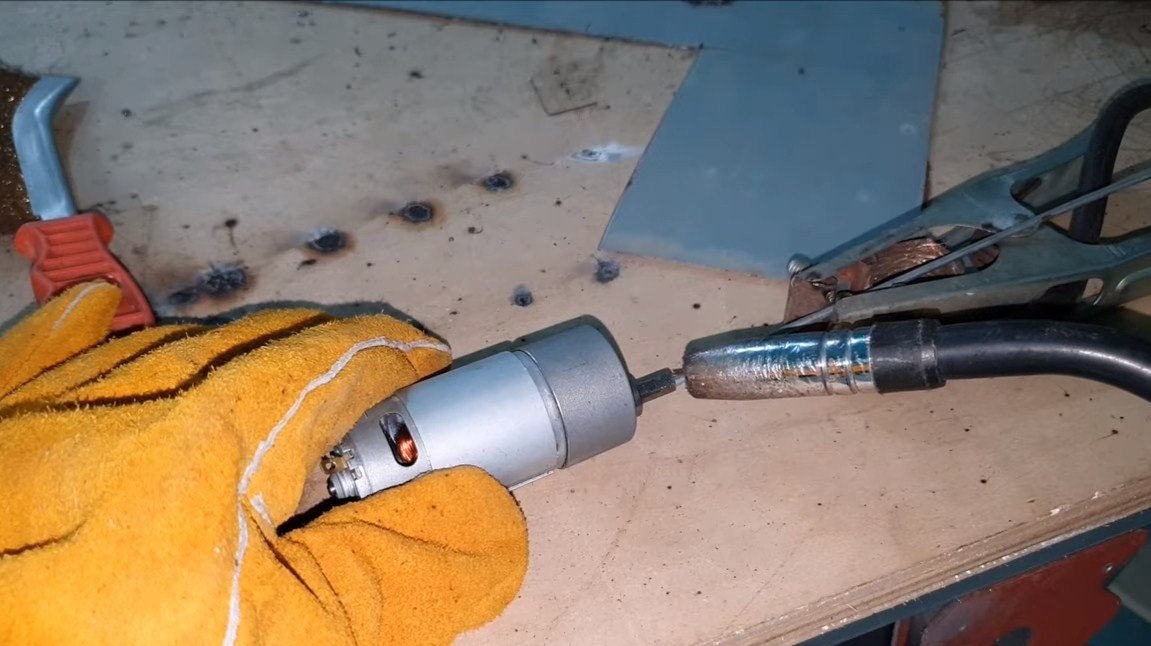
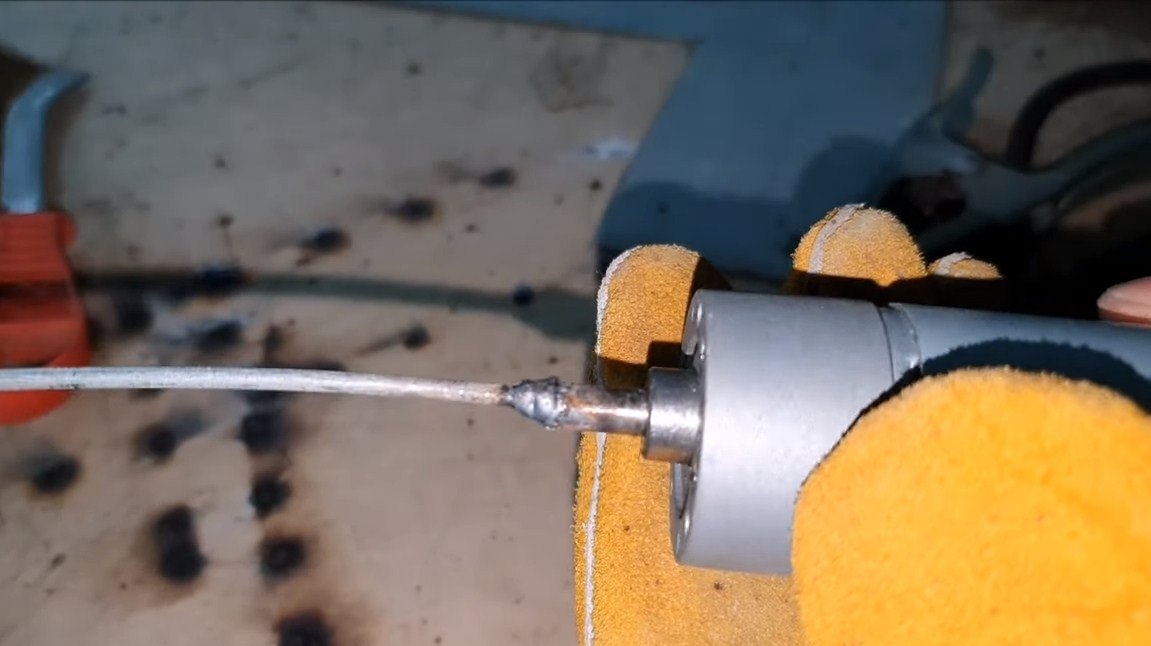
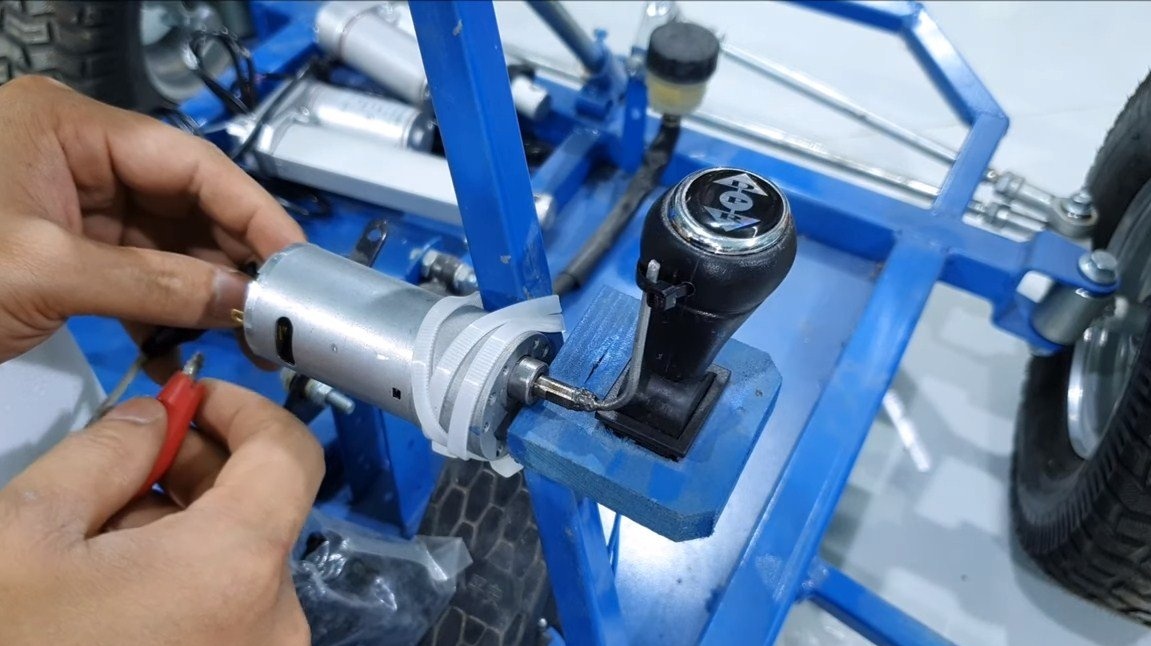
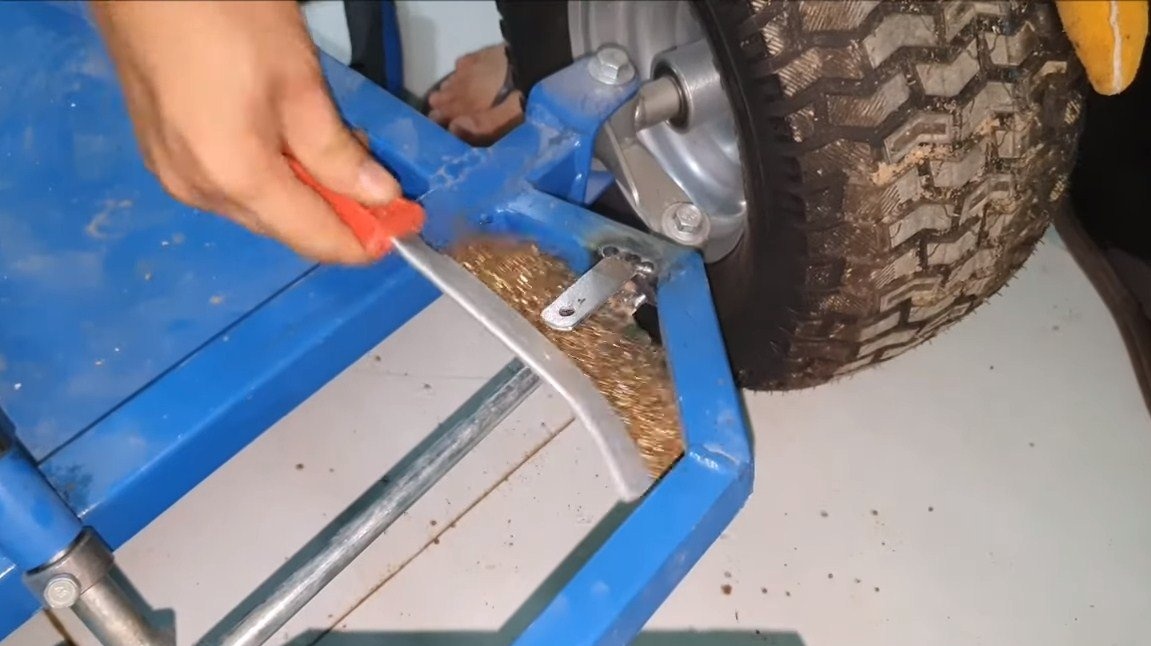
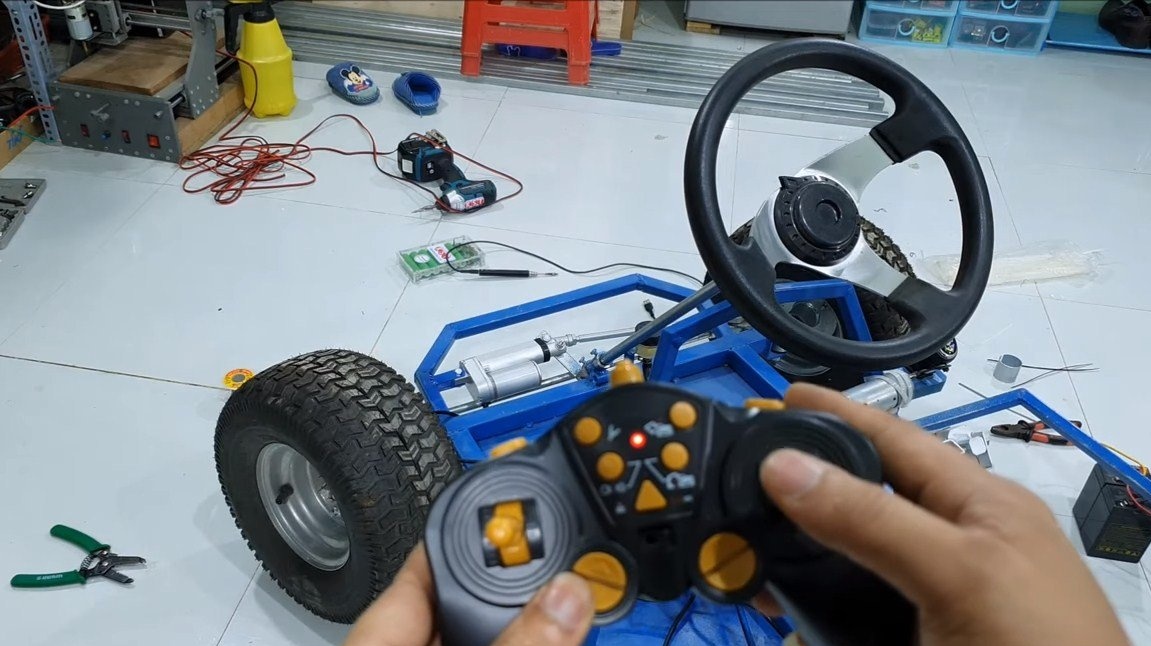
To begin with, we need to configure the control knob, which switches the mode of movement forward and backward. To control the pen, the author adapted a 12V gear motor. We weld an iron wire to the motor shaft and bend it into a lever. The lever with plastic ties is attached to the control handle. But here it is important to understand that you can’t hold the control button for this engine for a long time, it will warm up and discharge the battery. You need to control it with short presses forward and backward.
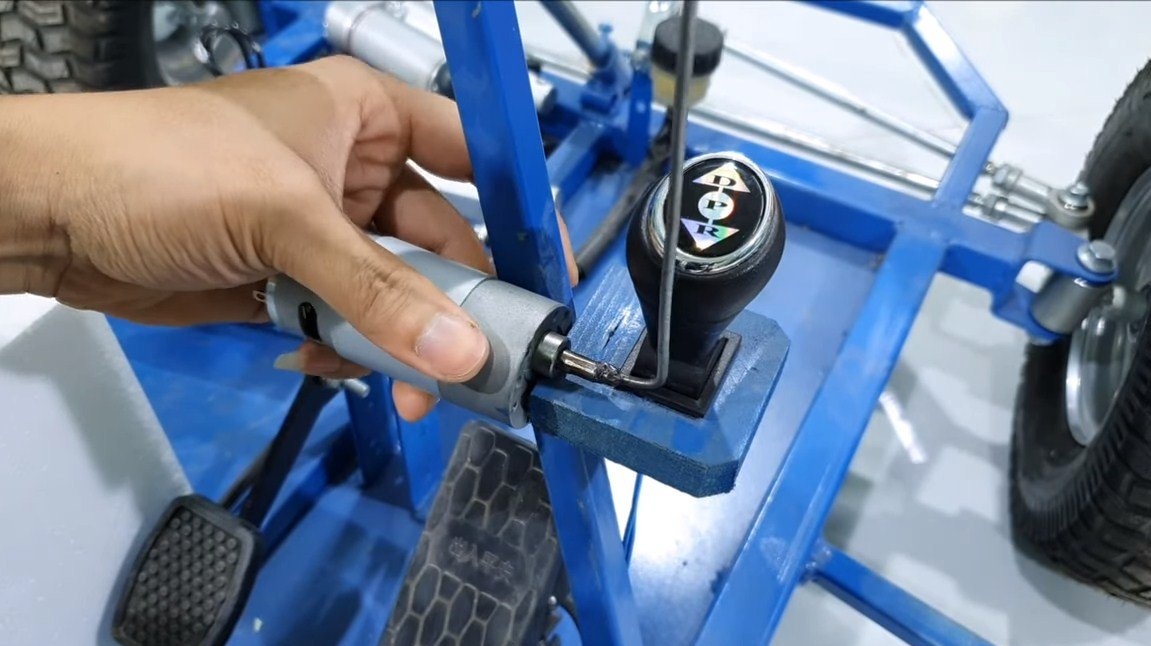
Step Two Steering
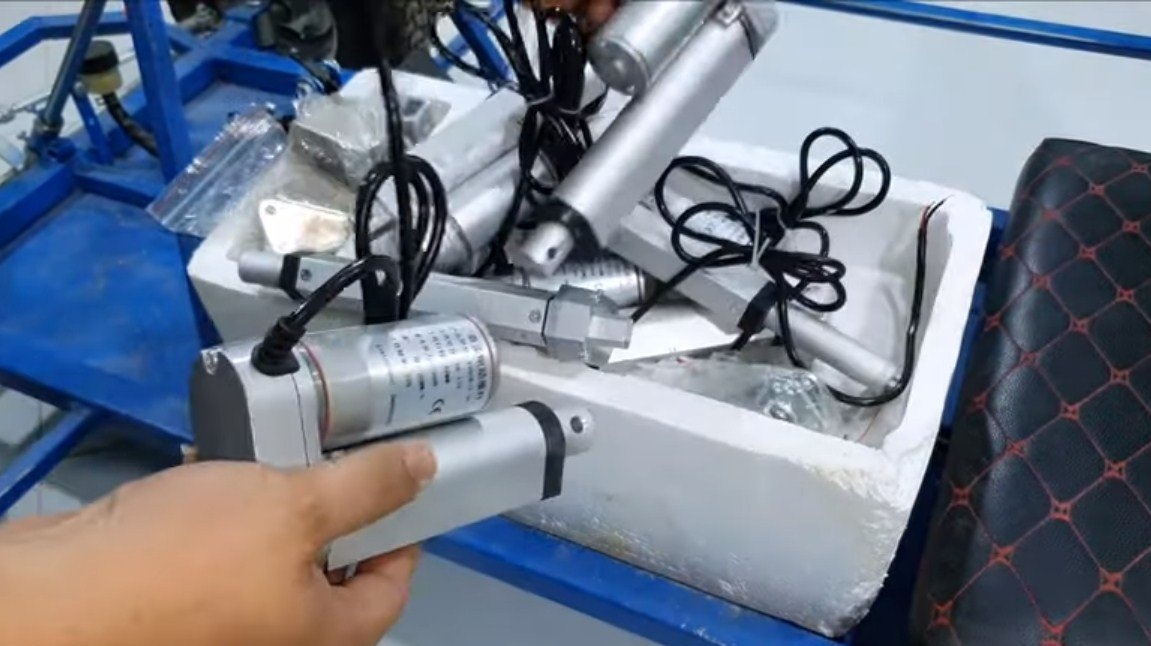
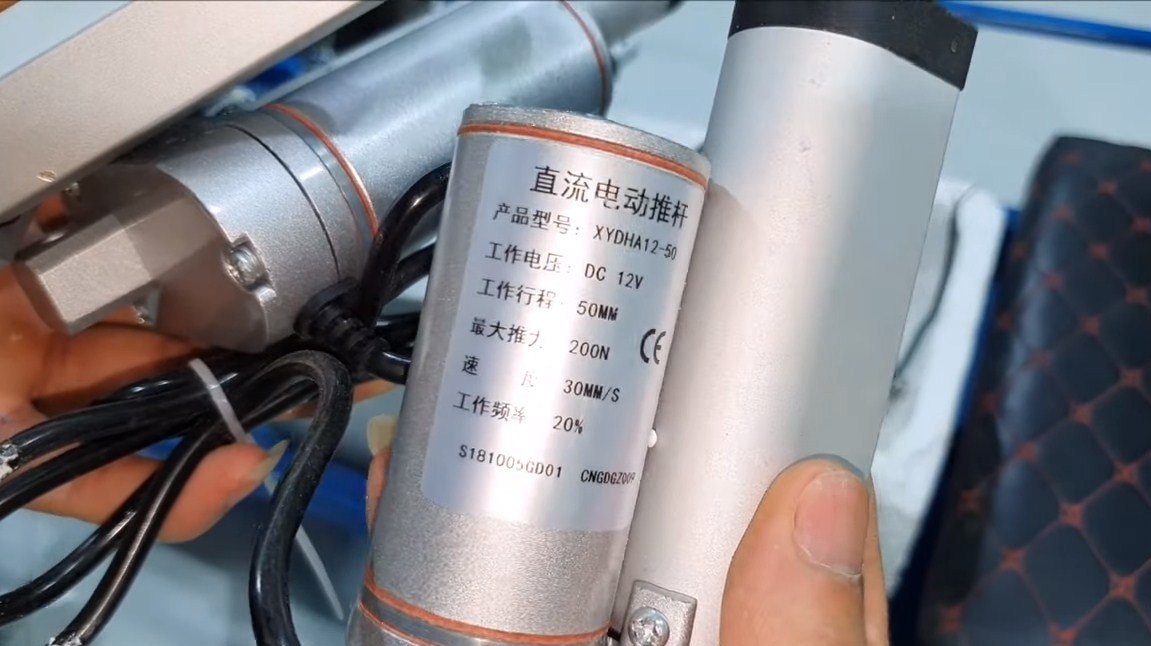
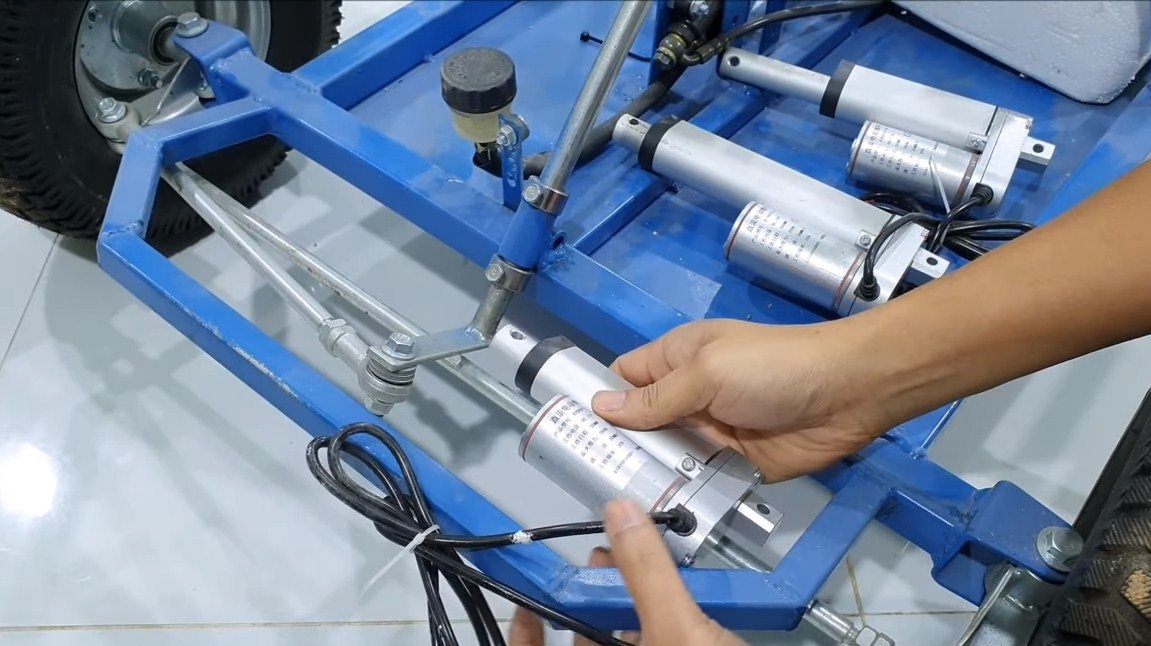
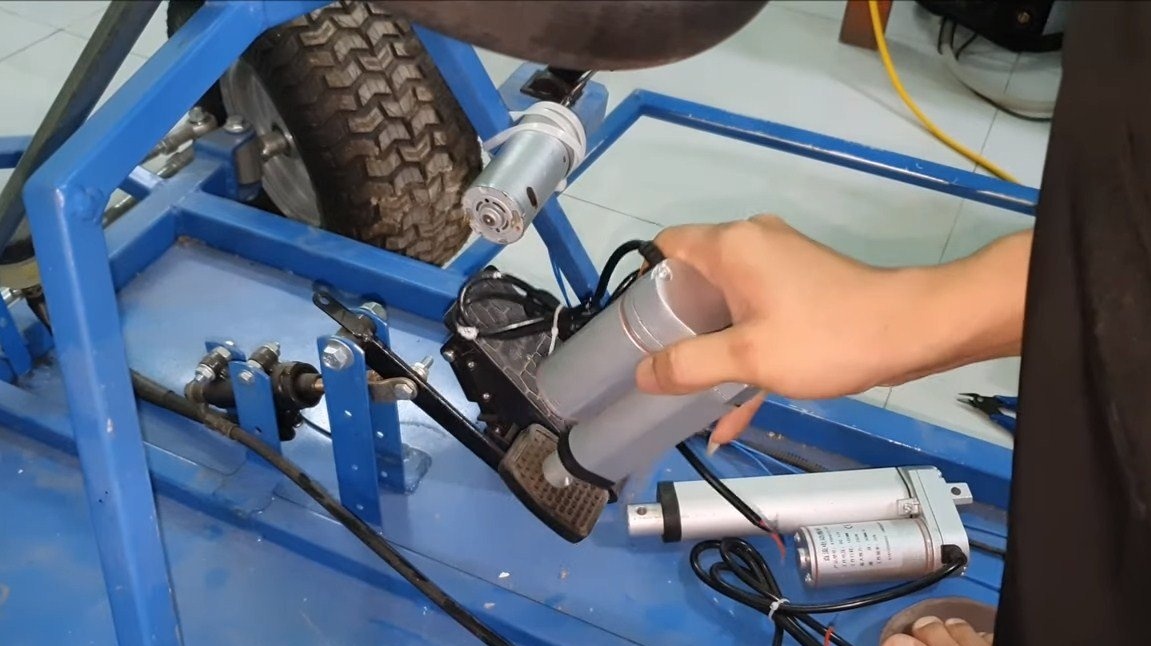
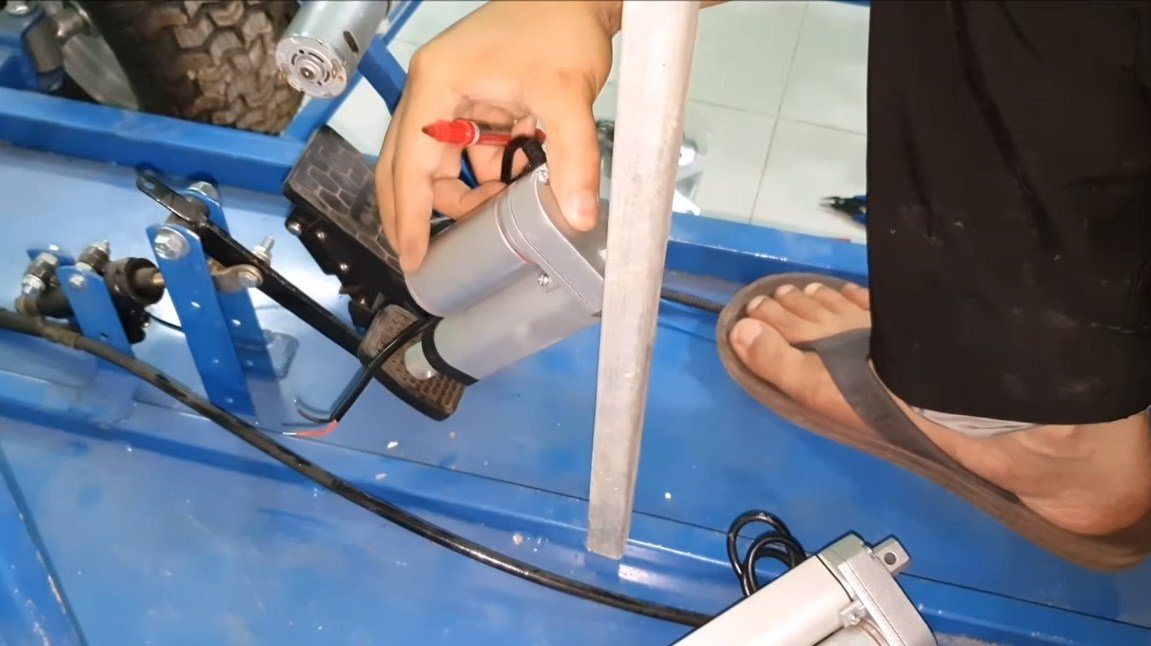
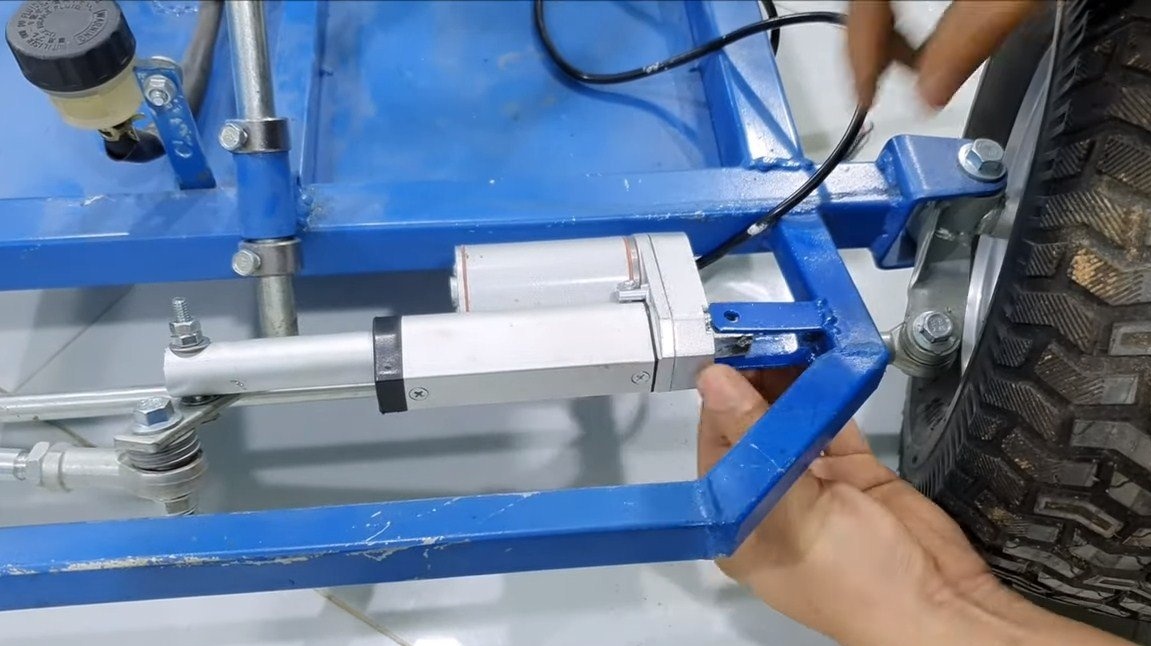
We’ll adjust the steering wheel, here we need a linear drive motor, it is an engine that extends or retracts the rod during operation. We attach the motor housing to the frame, for this we weld the corresponding fasteners to the frame. Well, the rod needs to be pivotally connected to the steering lever. The disadvantage of the design is that the wheels are not able to center themselves, this can lead to some difficulties in driving.
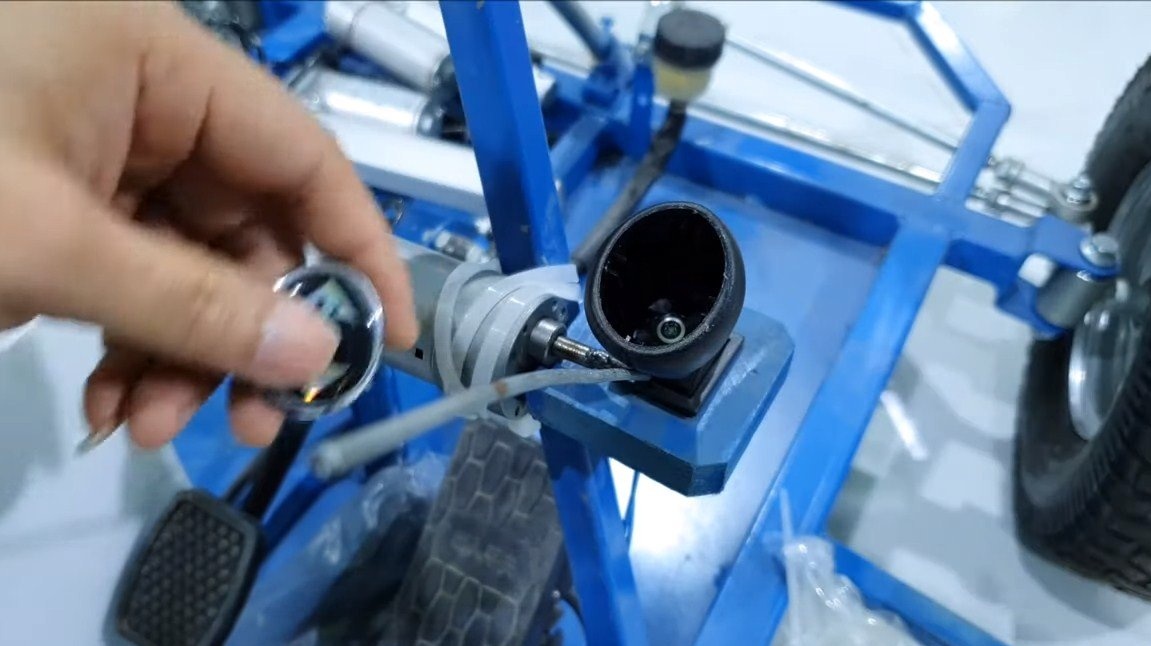
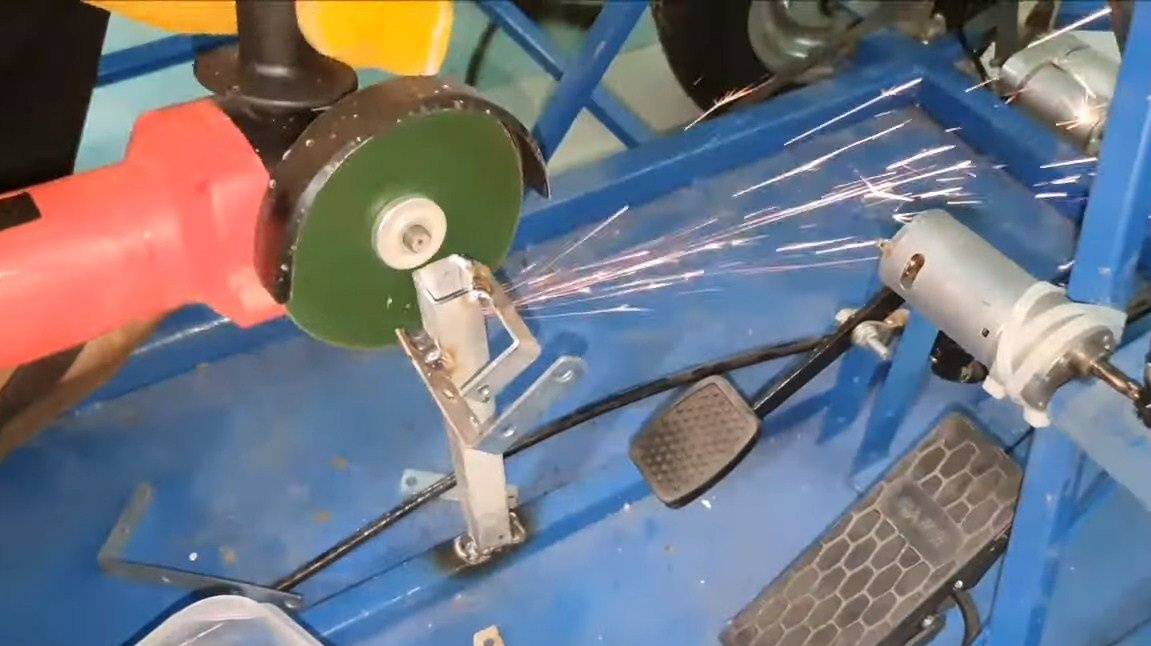
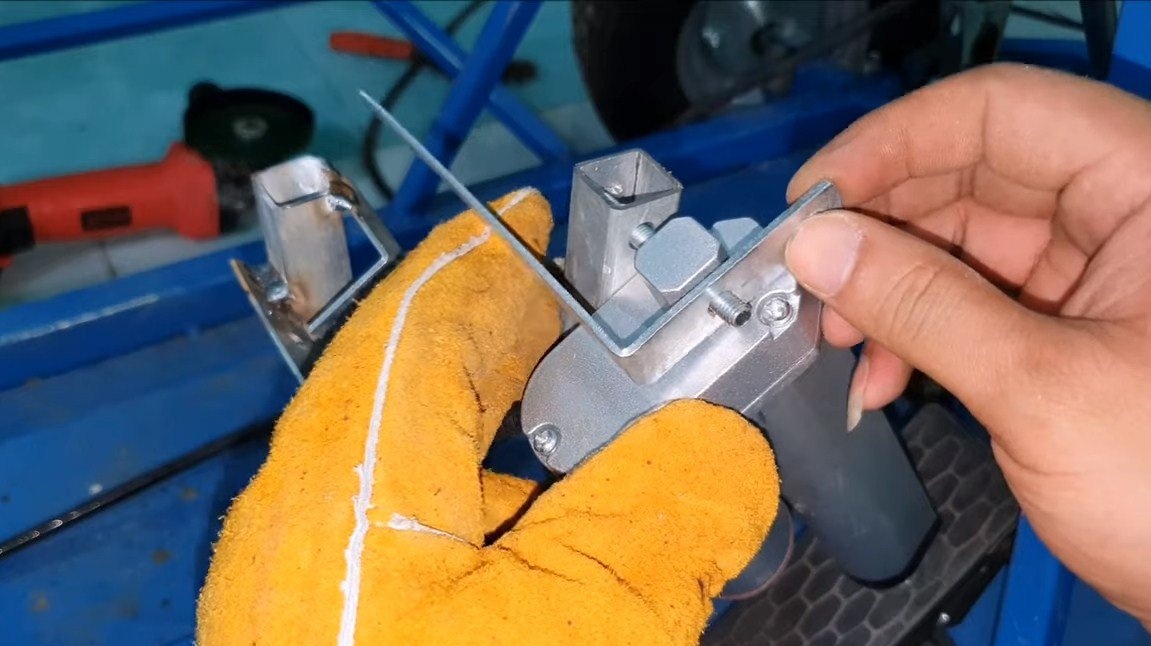
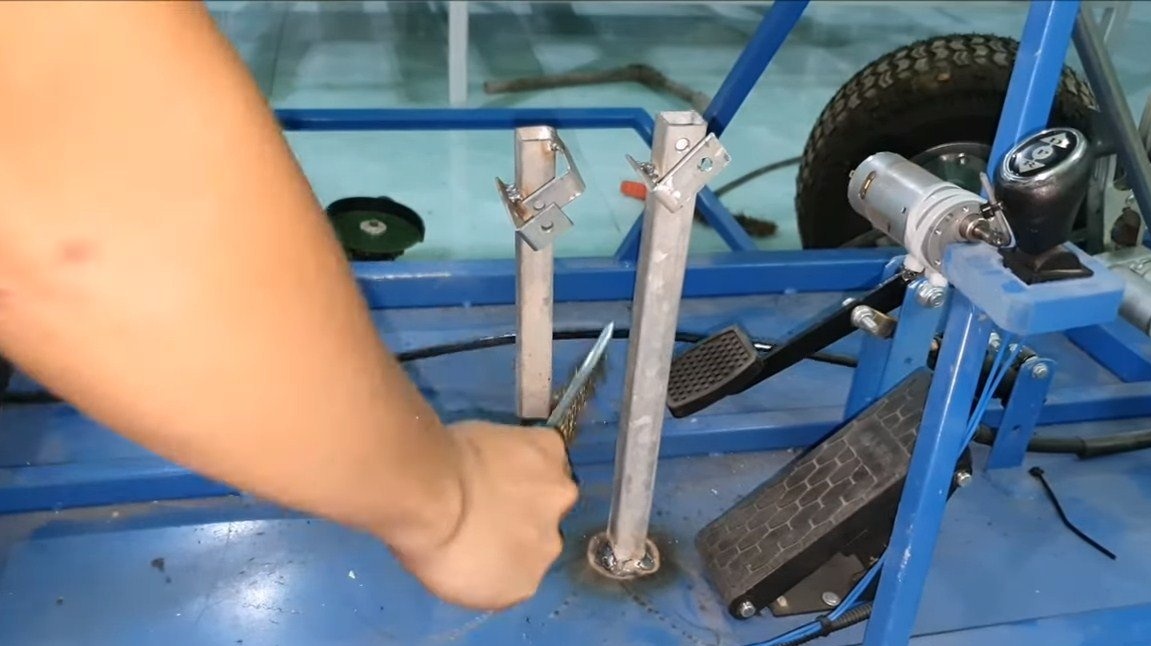
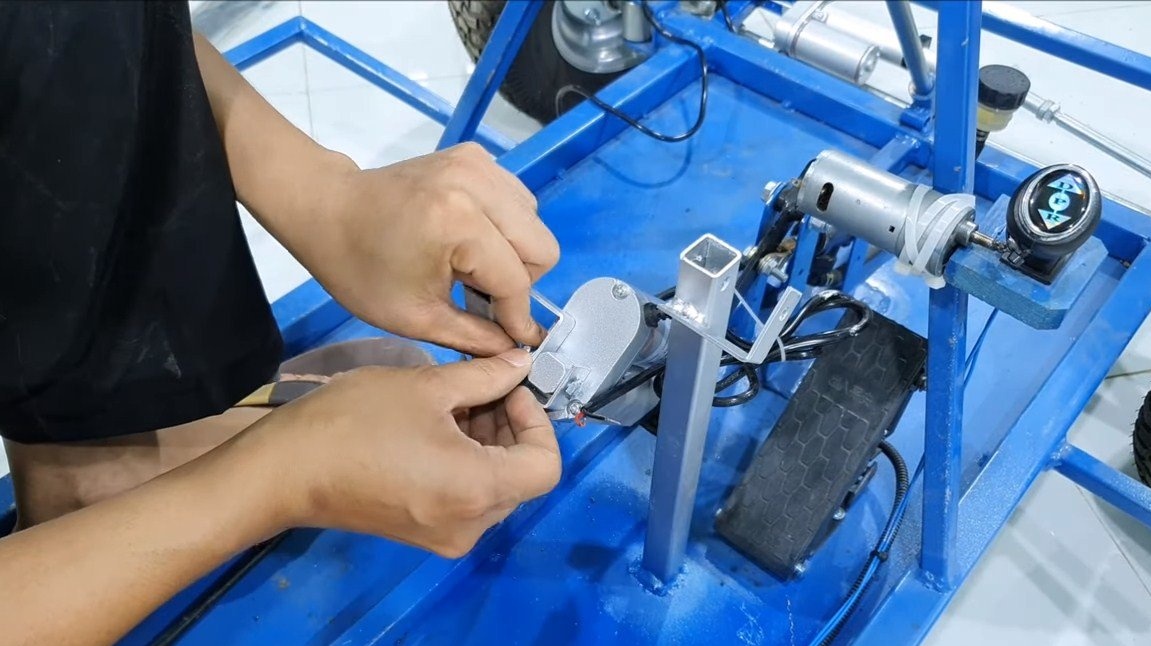
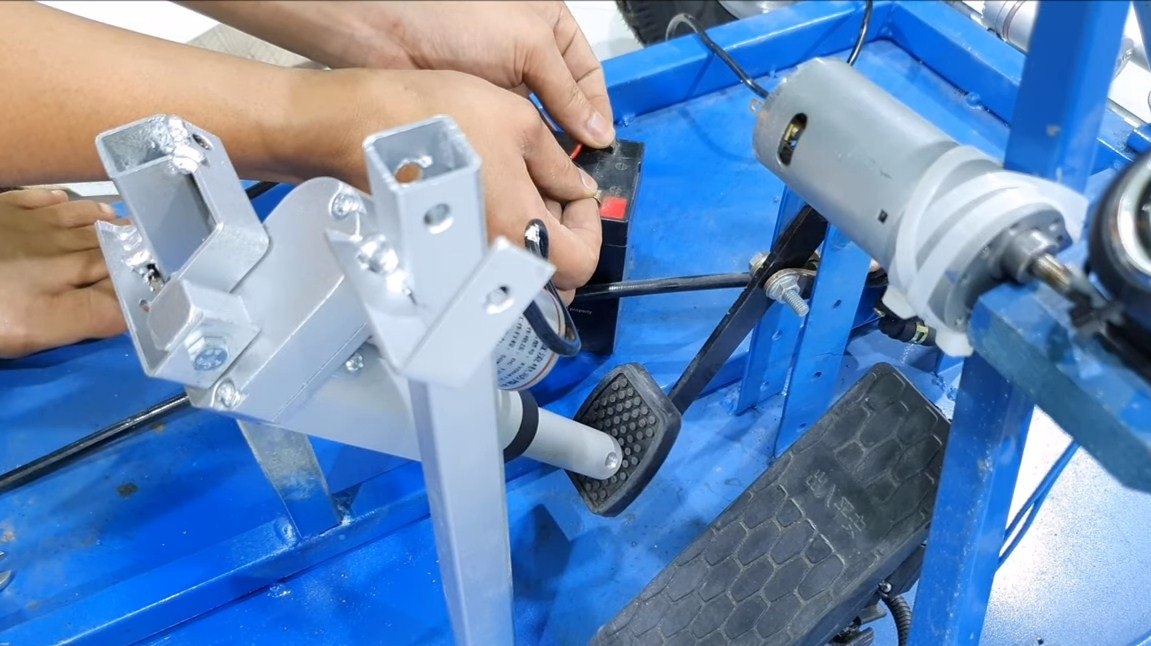
Step Three Gas and brake
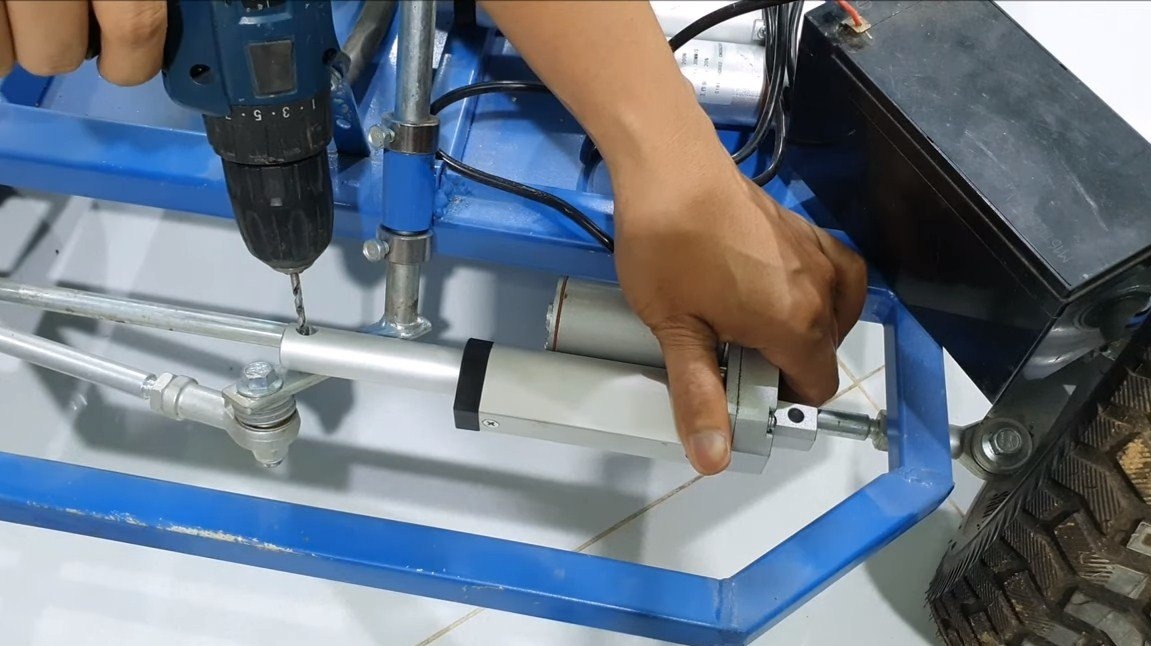
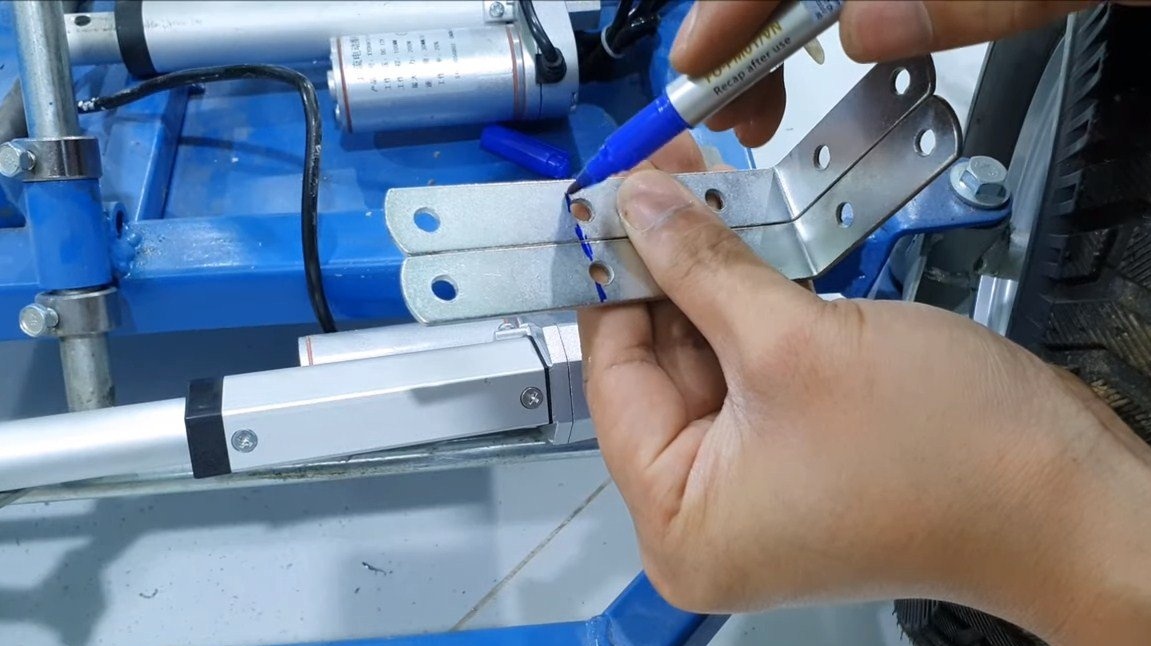
To press the gas and brake pedals, we will also need linear motors. Their stocks must be installed opposite the pedals. We weld the racks from the profile pipe to the base, and we weld the brackets for fastening the engines to the racks.
Step Four Assembly and testing
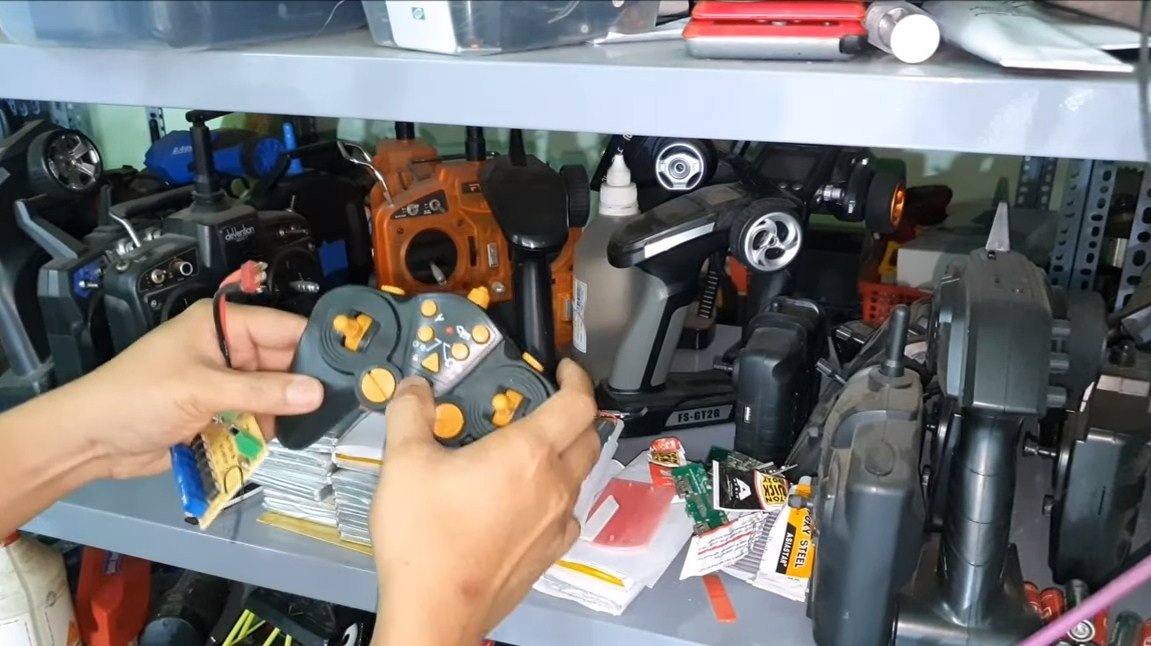
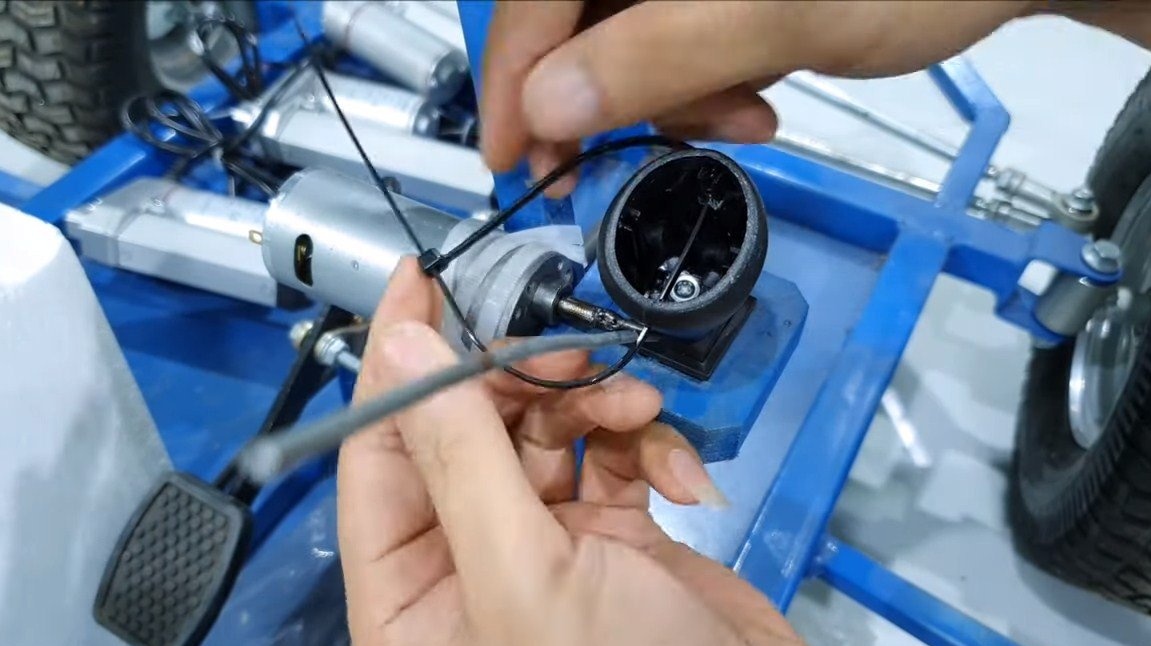
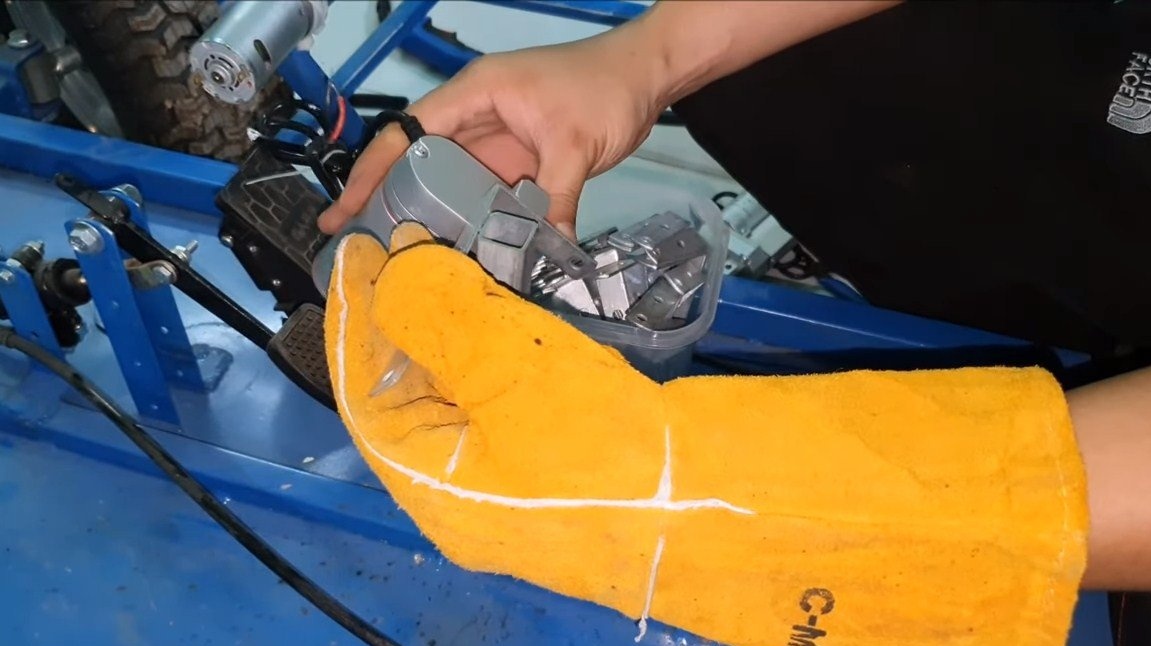
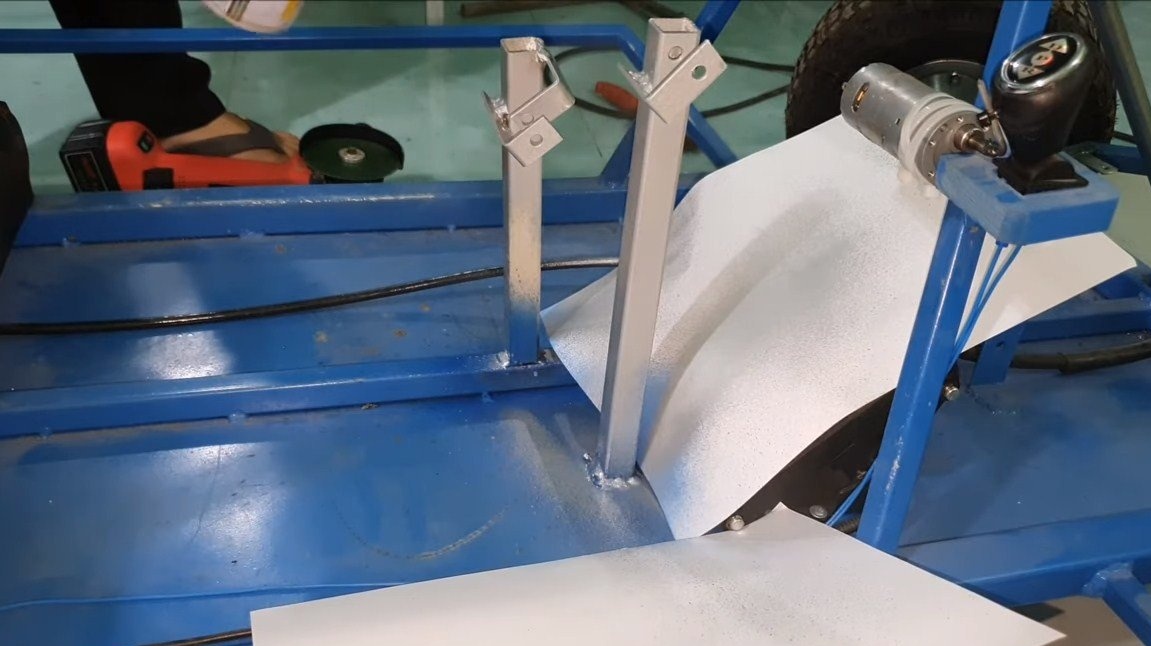
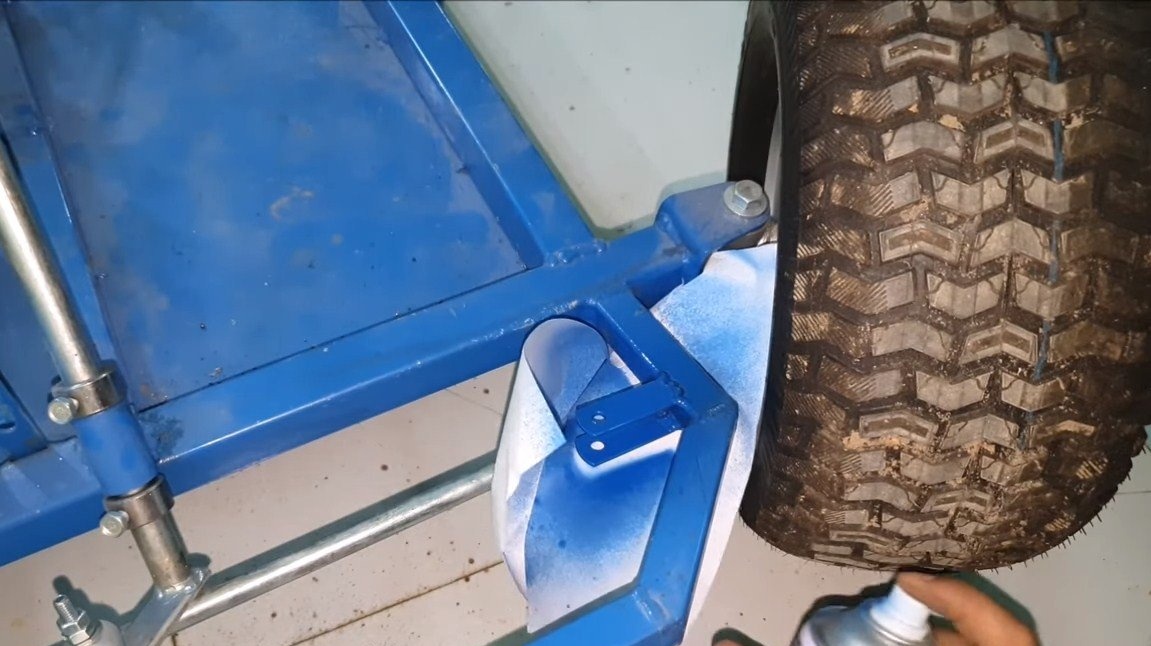
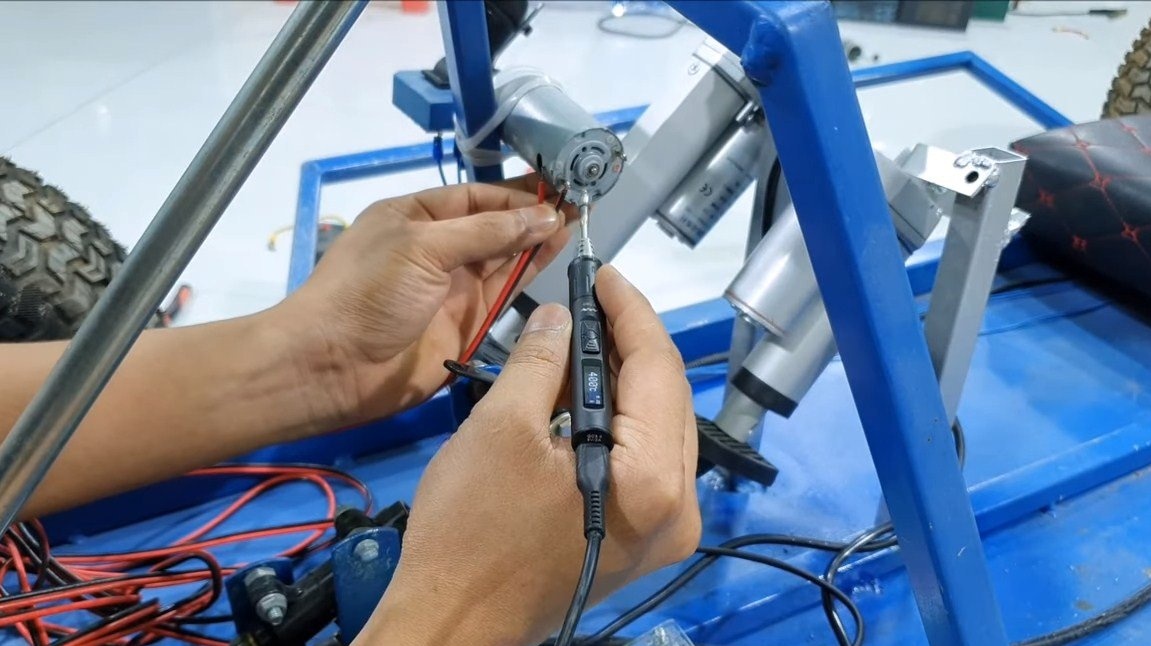
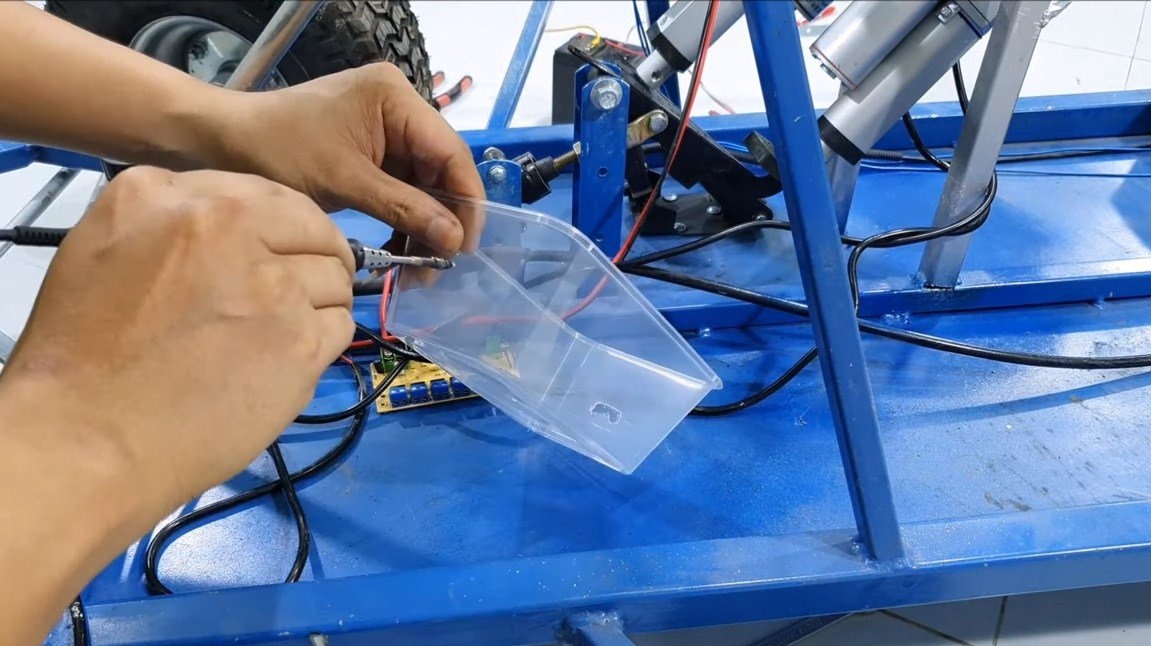
We tint the welding spots and proceed to assembly. We fasten the engines in their places, solder the wires and install the radio signal receiver. Electronics be sure to place it in a case that will not allow dust and water to pass through. A plastic container is quite suitable for such purposes. We fix it to the base using double-sided tape, and the holes can be melted with a soldering iron. To seal the holes with wiring, pour hot glue. The electronics and motors can be powered by a battery card; the required voltage can be adjusted by installing a DC-DC converter.


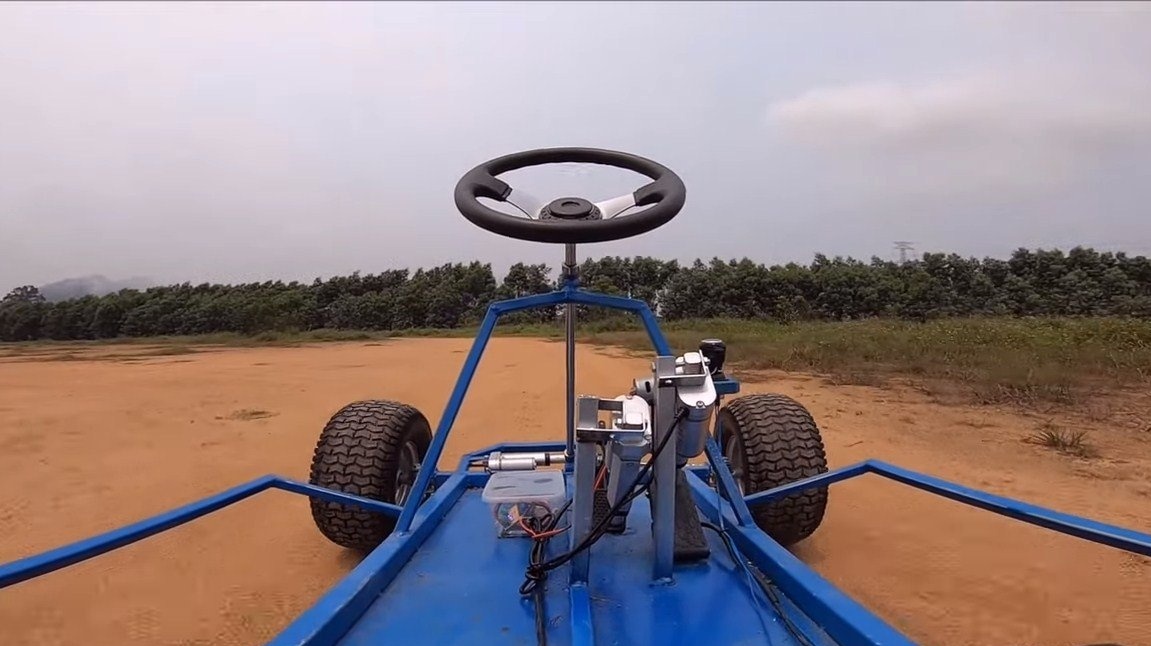
That's all, the homemade product is ready, you can start the tests. The machine is easy to operate and behaves perfectly. This is such a big toy. On such a map, you can ride yourself by controlling it with a joystick. If you show a little enthusiasm, so you can redo andcar. On this project can be considered successfully completed. I hope that homemade work was useful to you, and you found interesting thoughts. Good luck and creative inspiration, if you decide to repeat this. Do not forget to share your ideas and homemade things with us!