For sharpening knives, the Master made a mini grinding machine. In the manufacture of the machine, the master used spare parts from an old printer. The power of such a machine is certainly small, but the machine copes with its tasks.
Tools and materials:
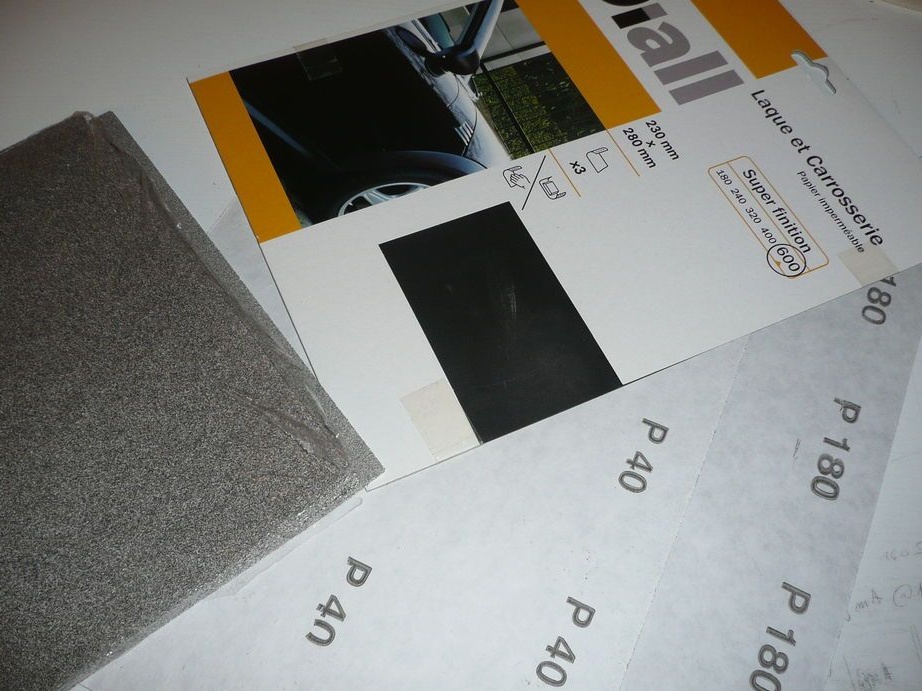
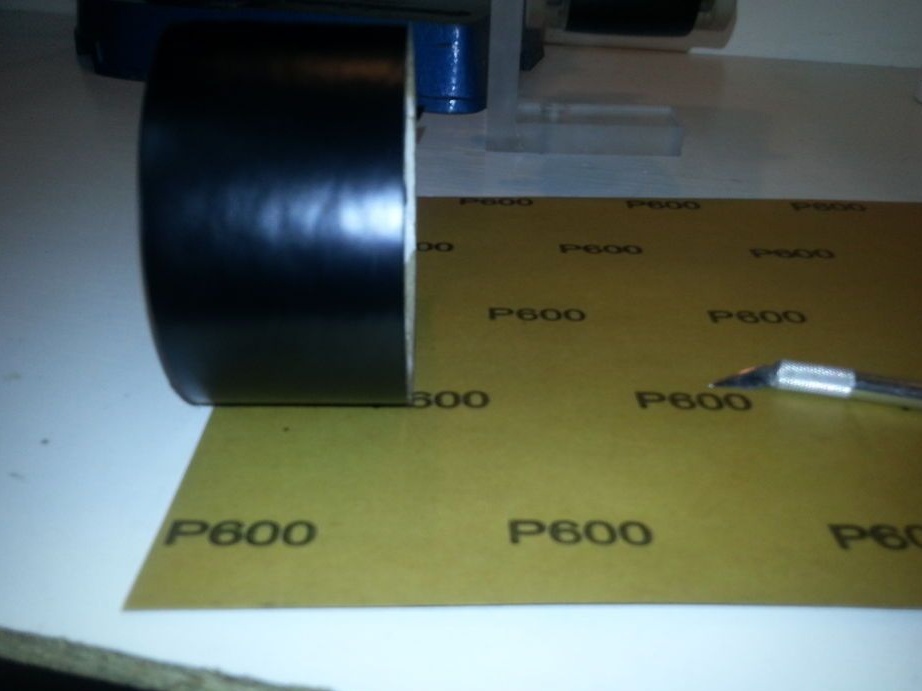
-Sandpaper;
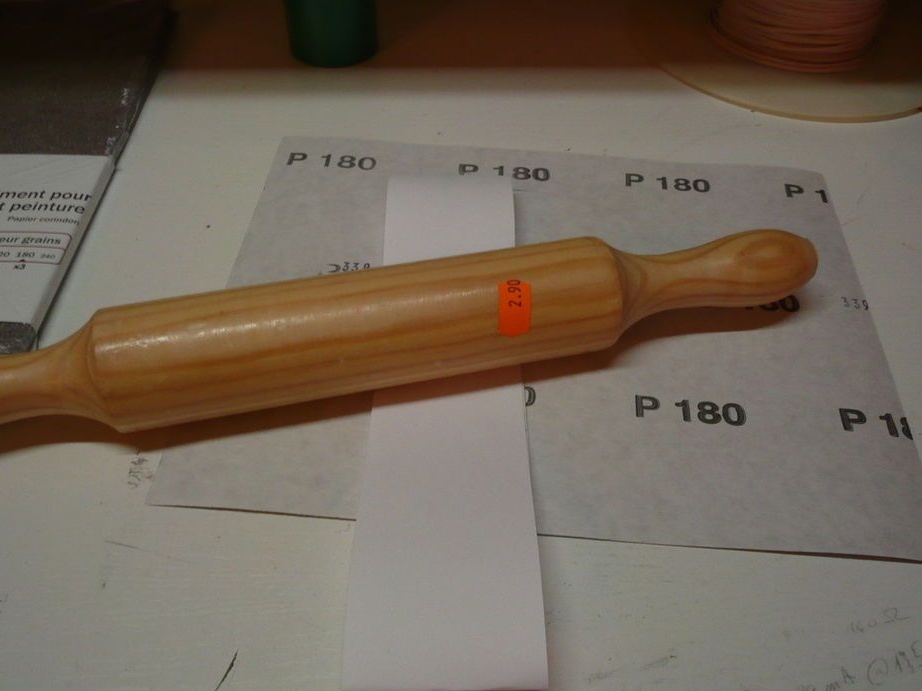
-Wooden rolling pin;
-Rule;
-Pencil;
-Gon;
-Drilling machine;
-Hacksaw;
-Bearings;
-Hammer;
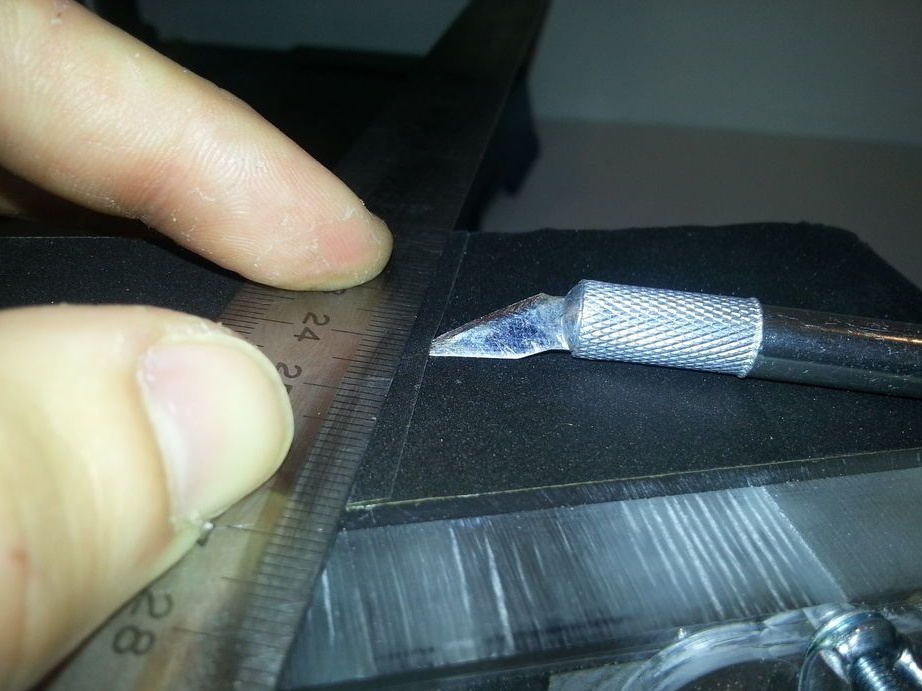
-Knife;
-Printer with a working engine;
-Plexiglass;
-Tumbler;
-Dense fabric;
-Glue;
- adhesive tape;
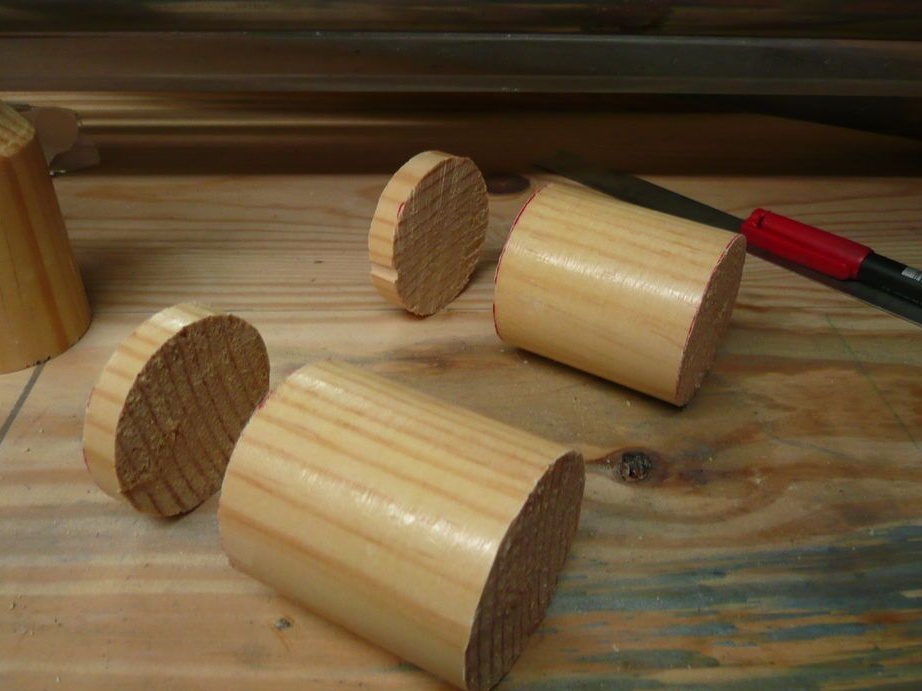
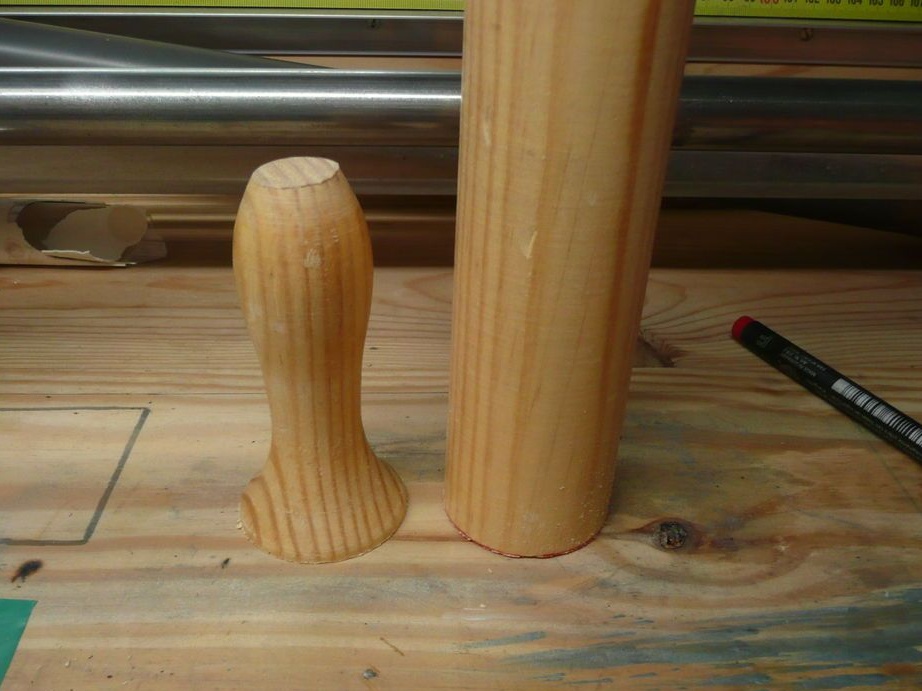
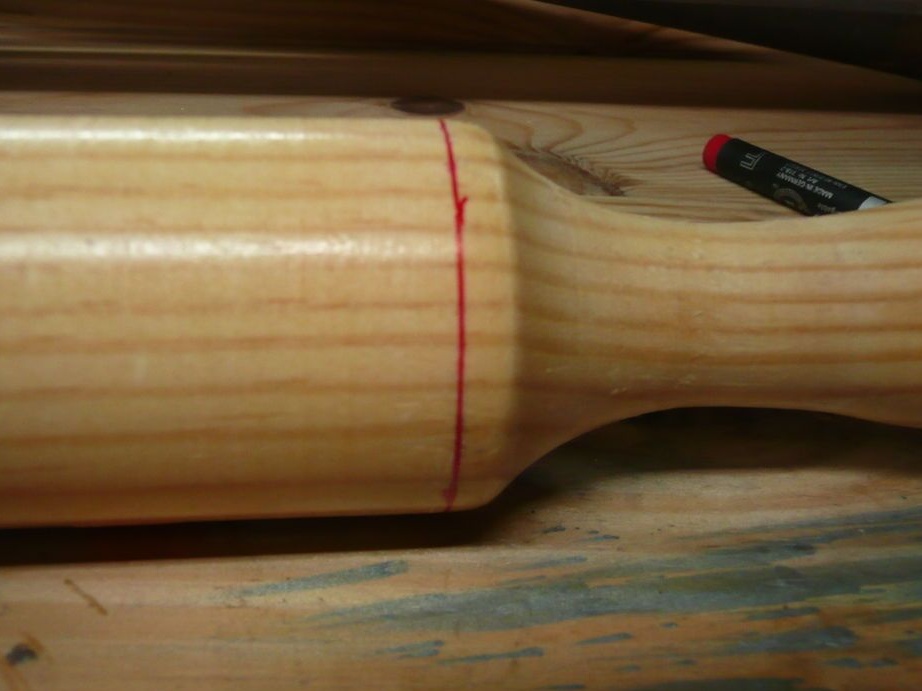
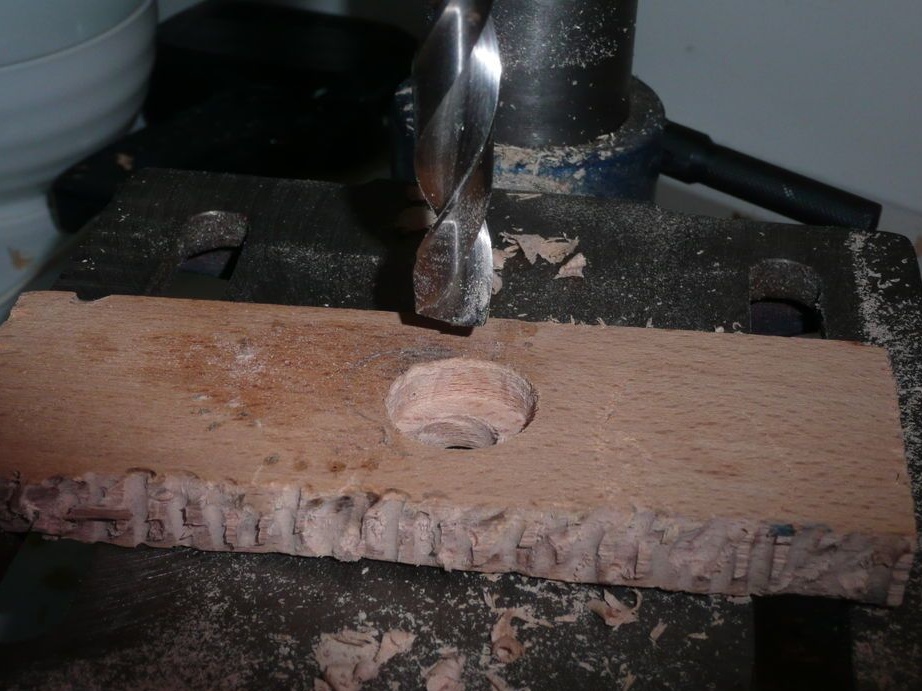
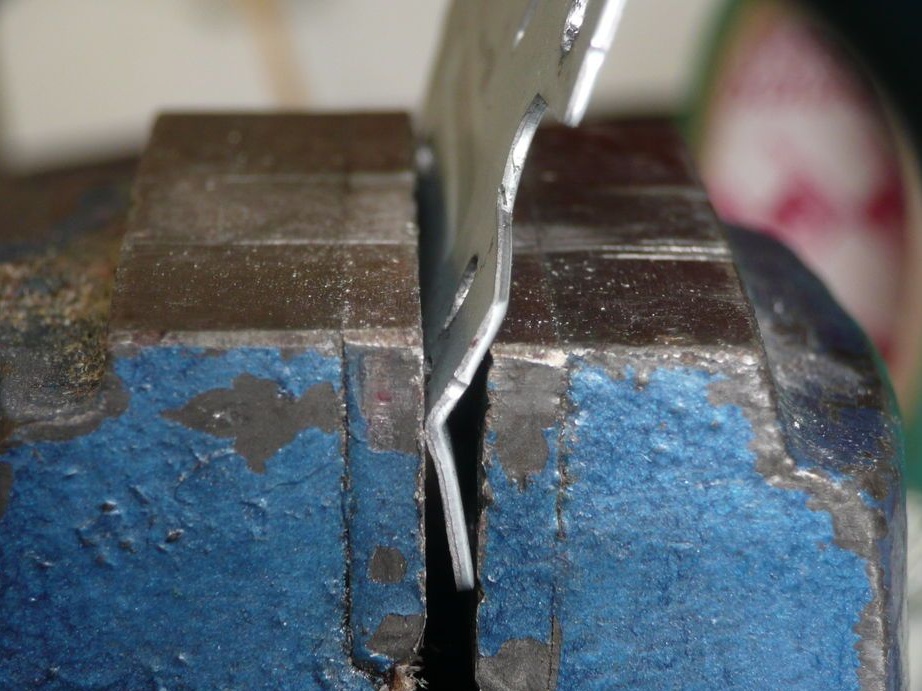
Step One: Rollers
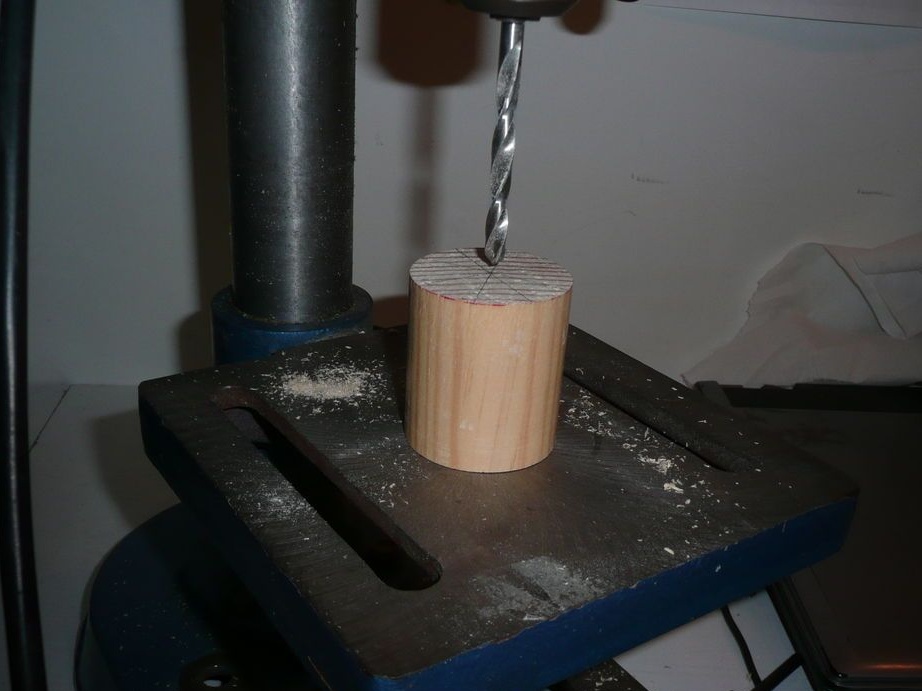
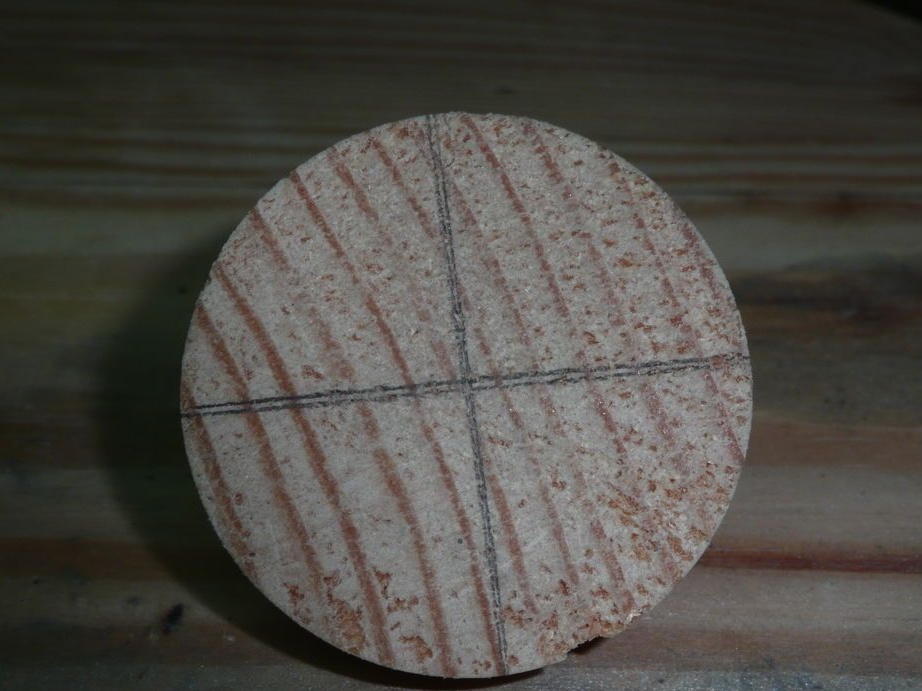
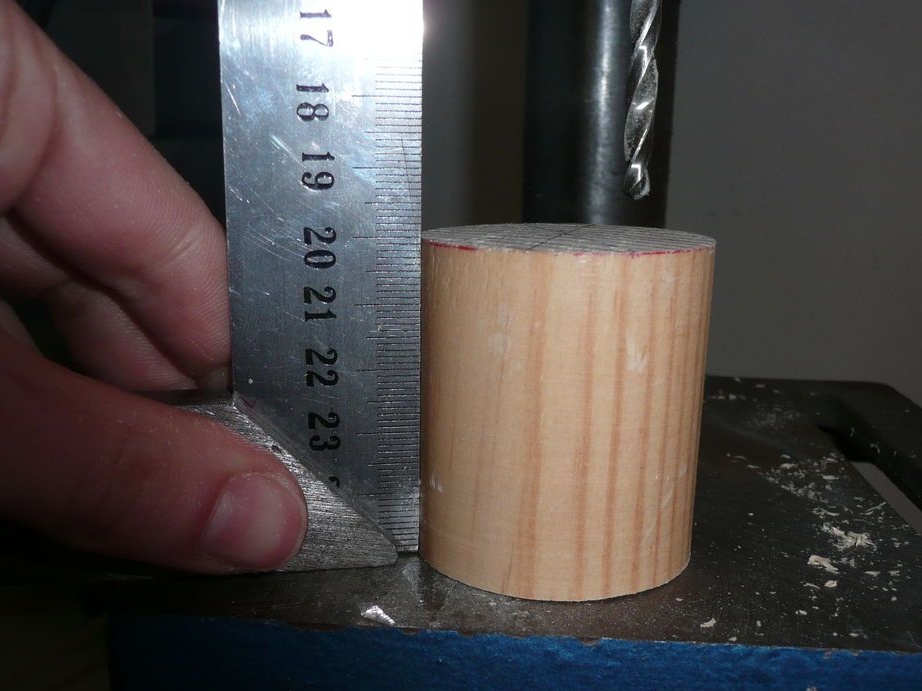
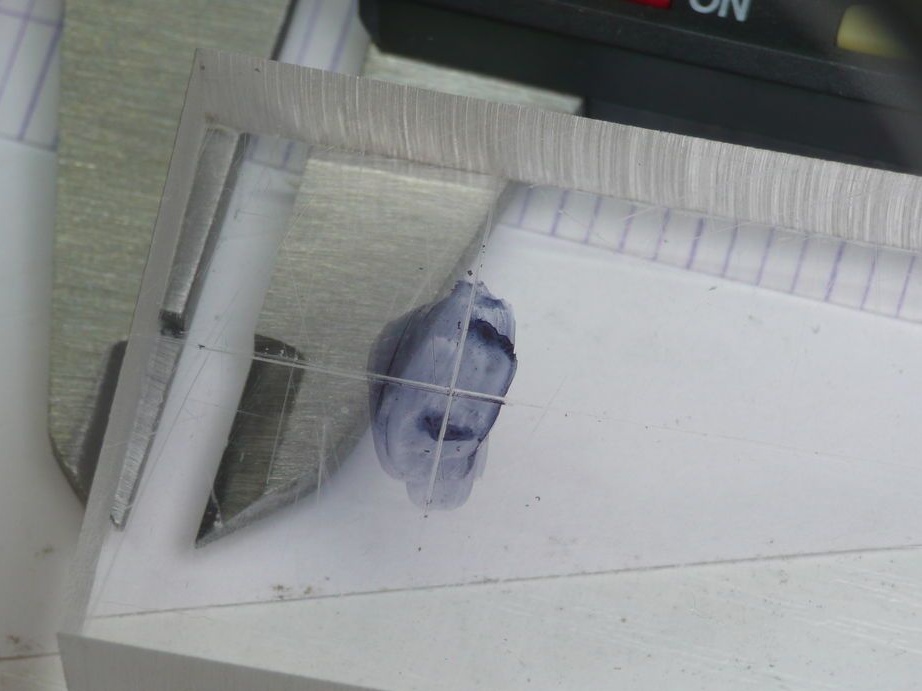
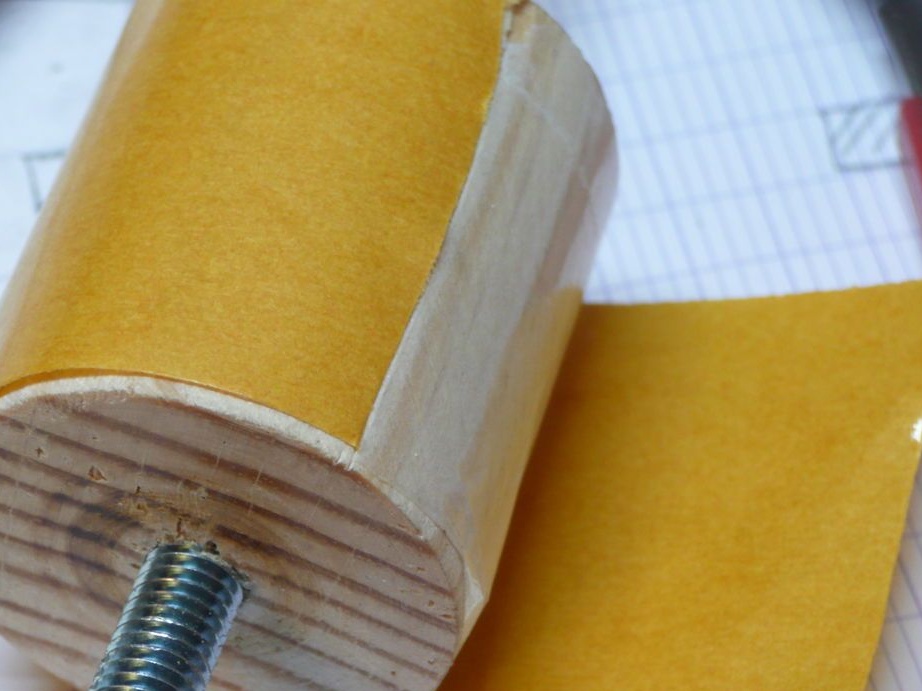
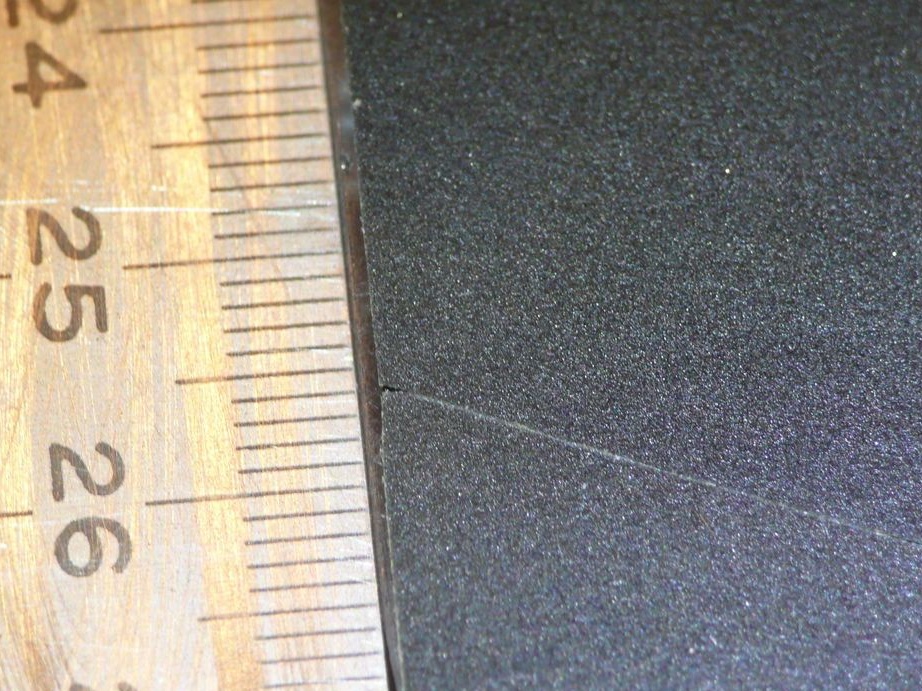
The master made the rollers from a rolling pin for dough. Cuts two rollers of the desired length. The length of the roller is selected based on the width of the sanding belt. Then the master finds the center of the circle and drills a through hole.
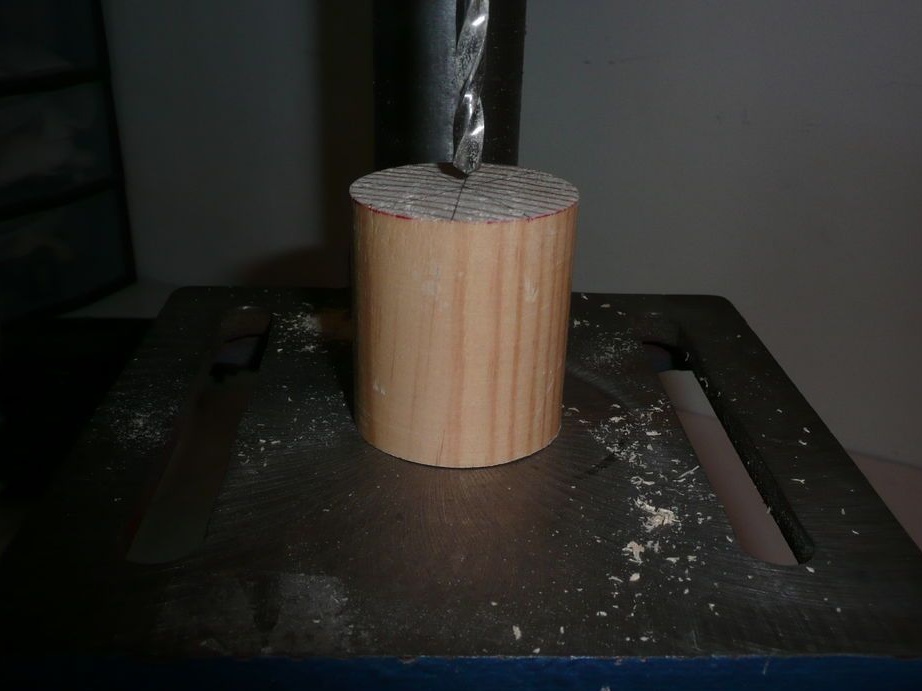


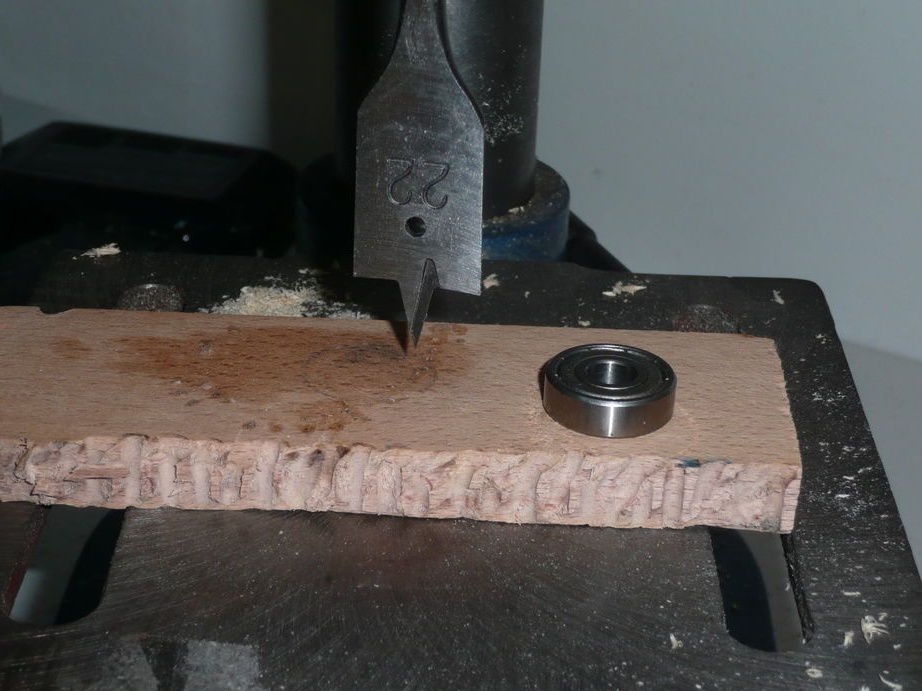
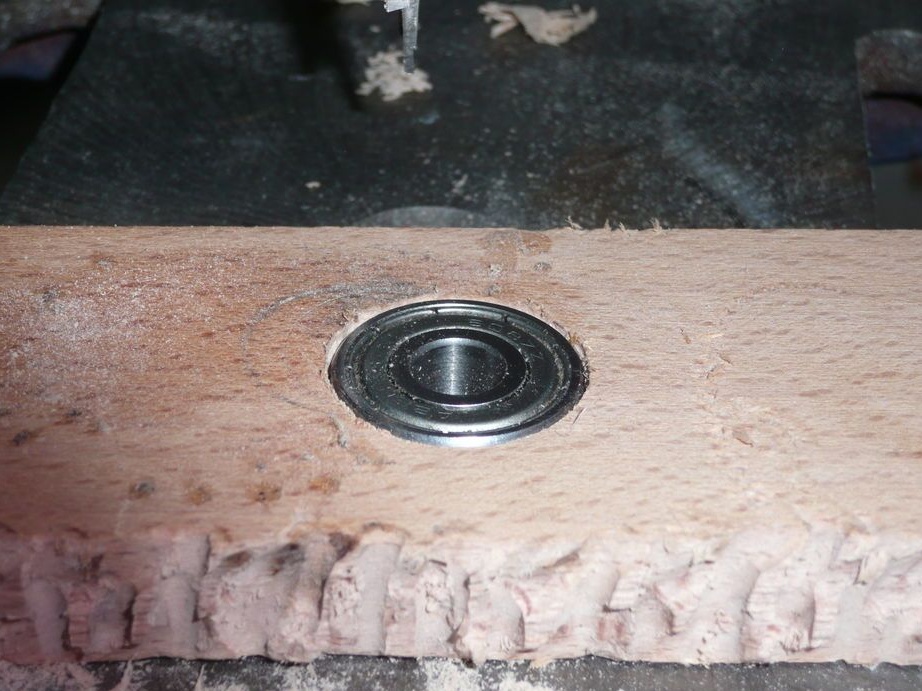
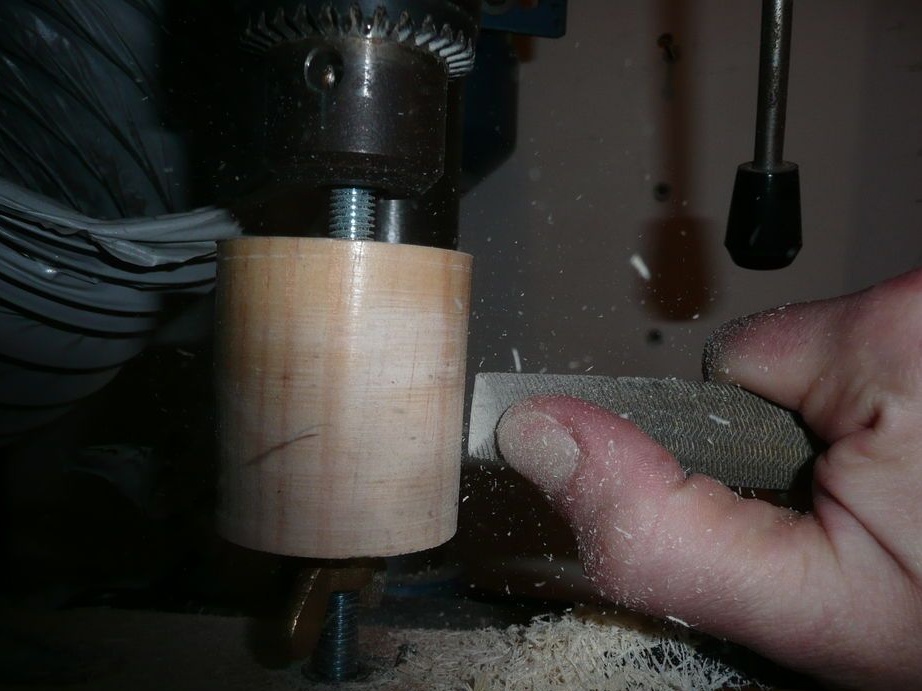
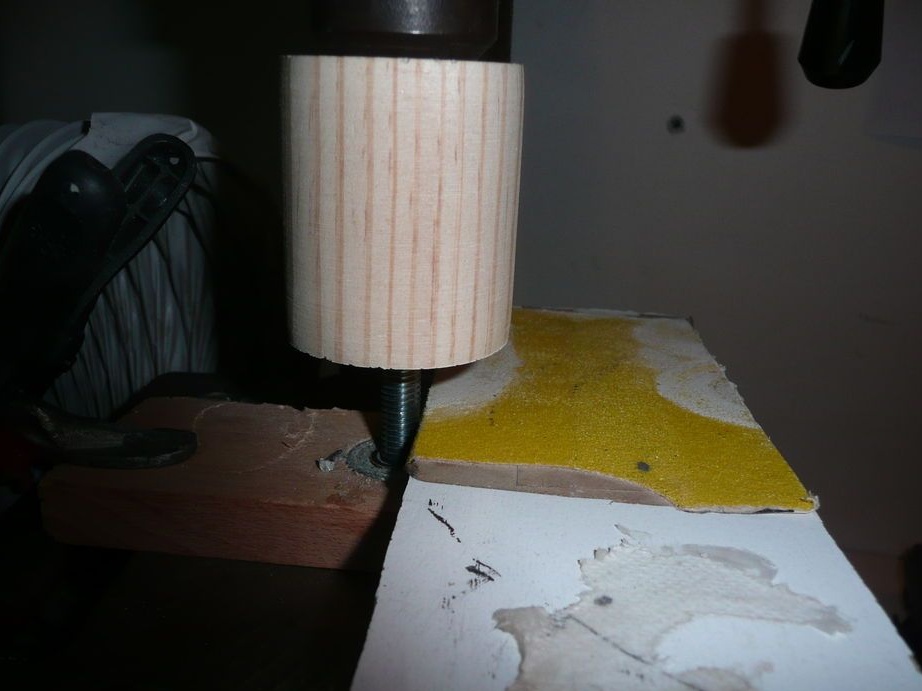
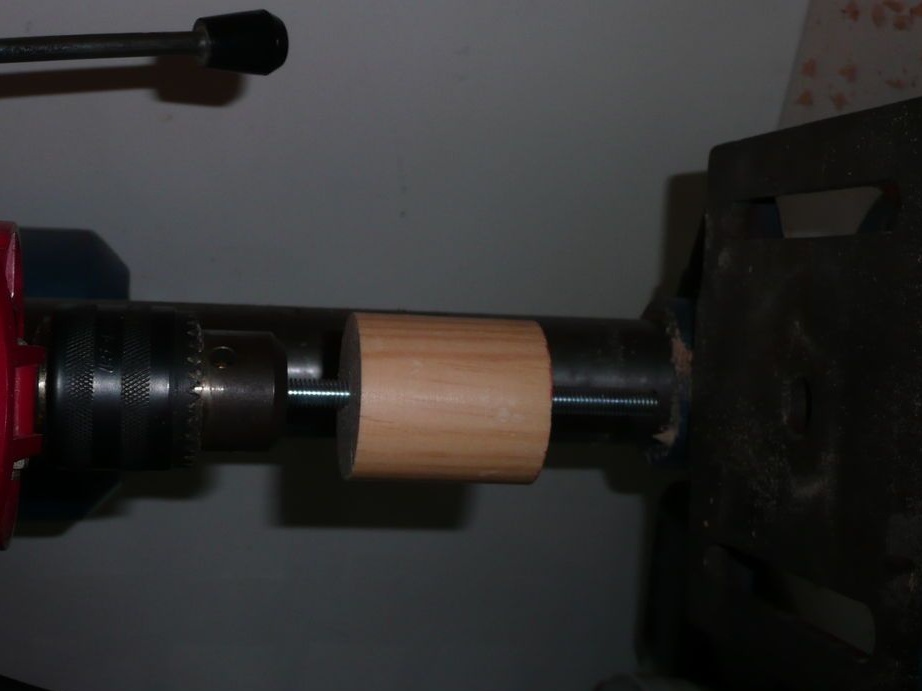
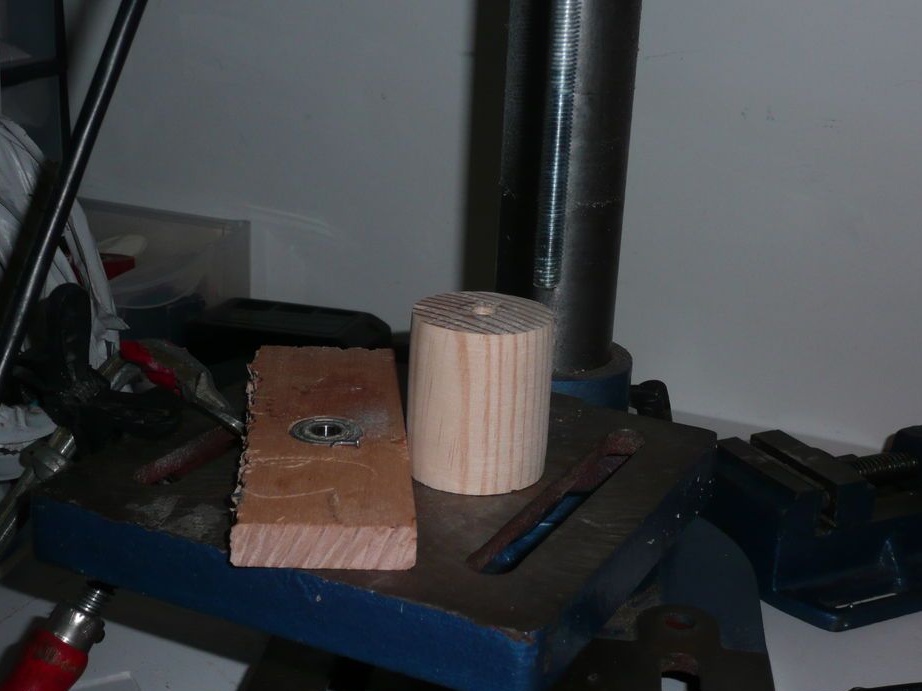
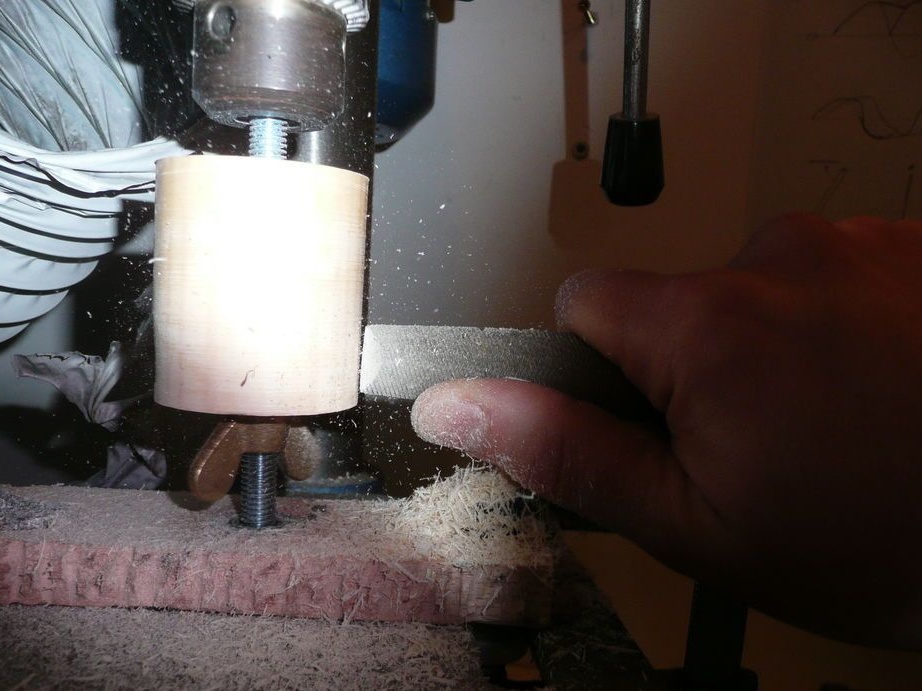
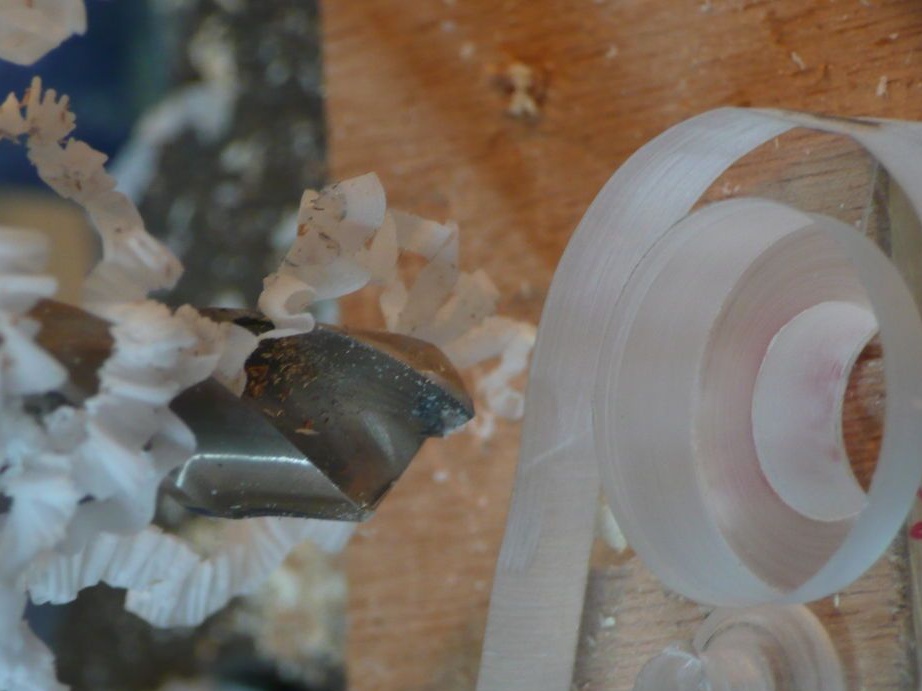
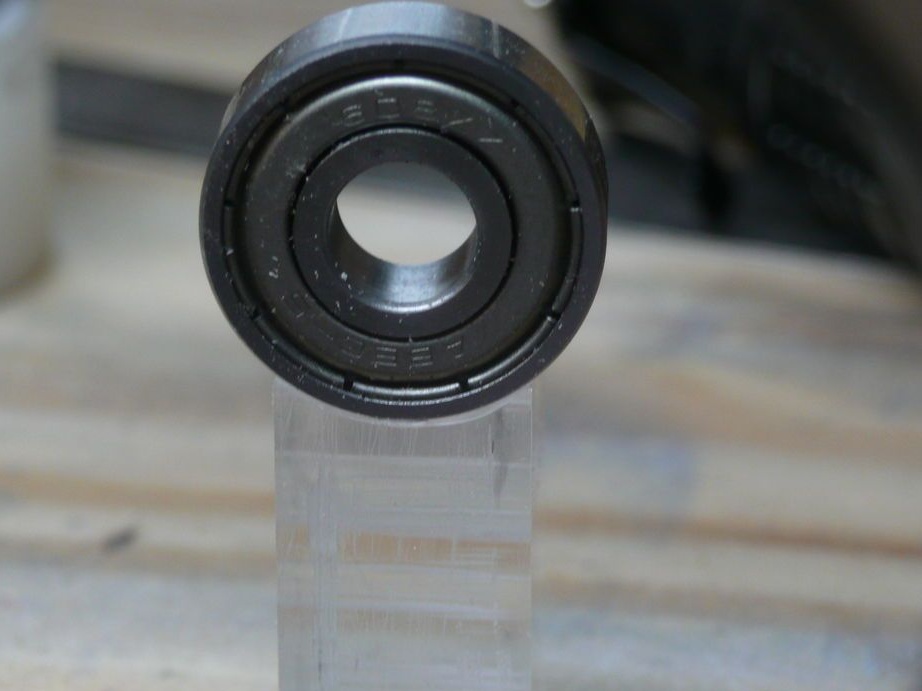
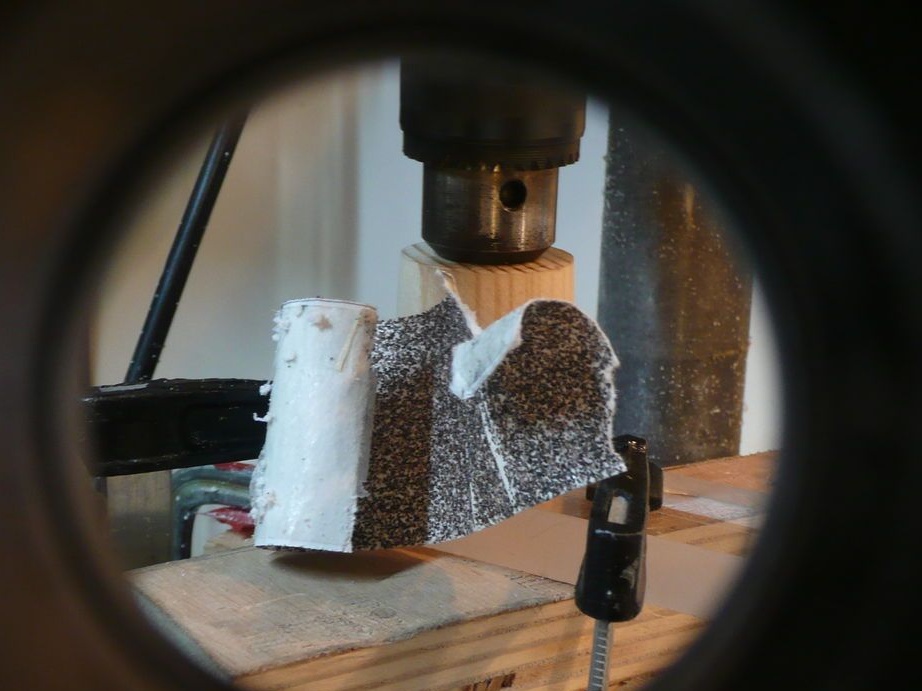
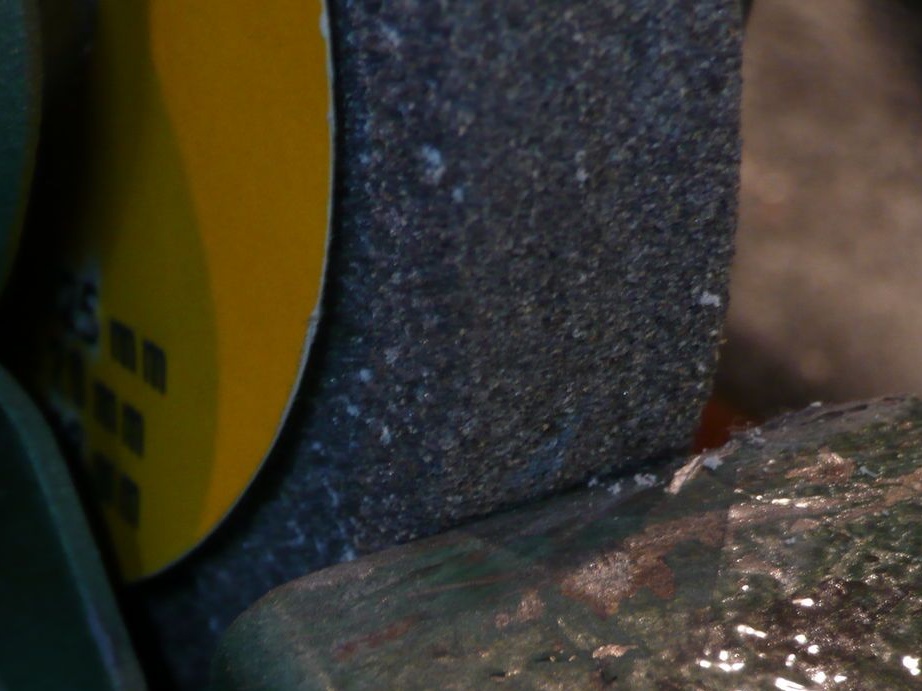
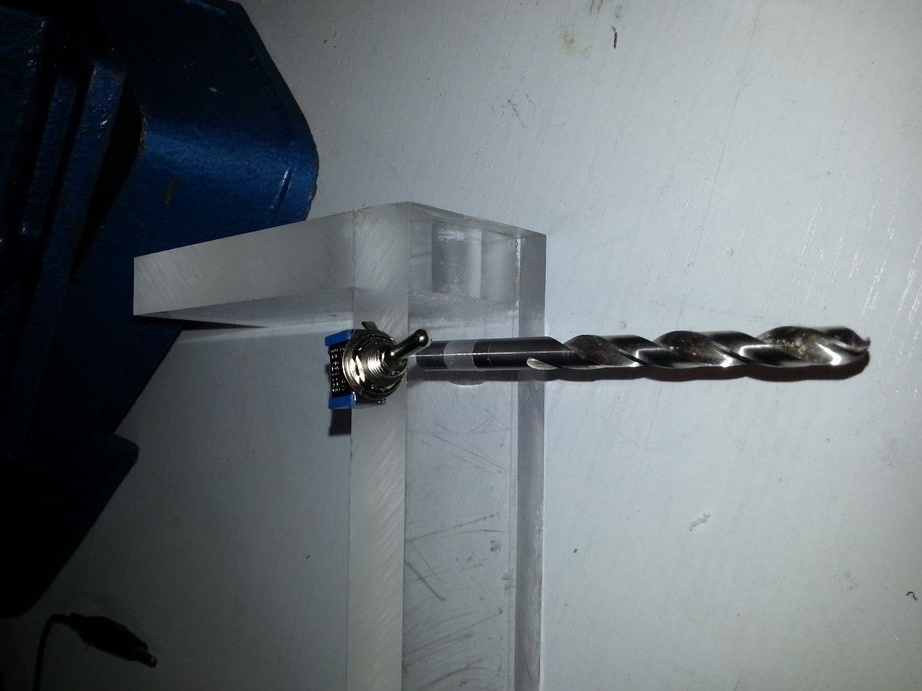
Step Two: Roller Processing
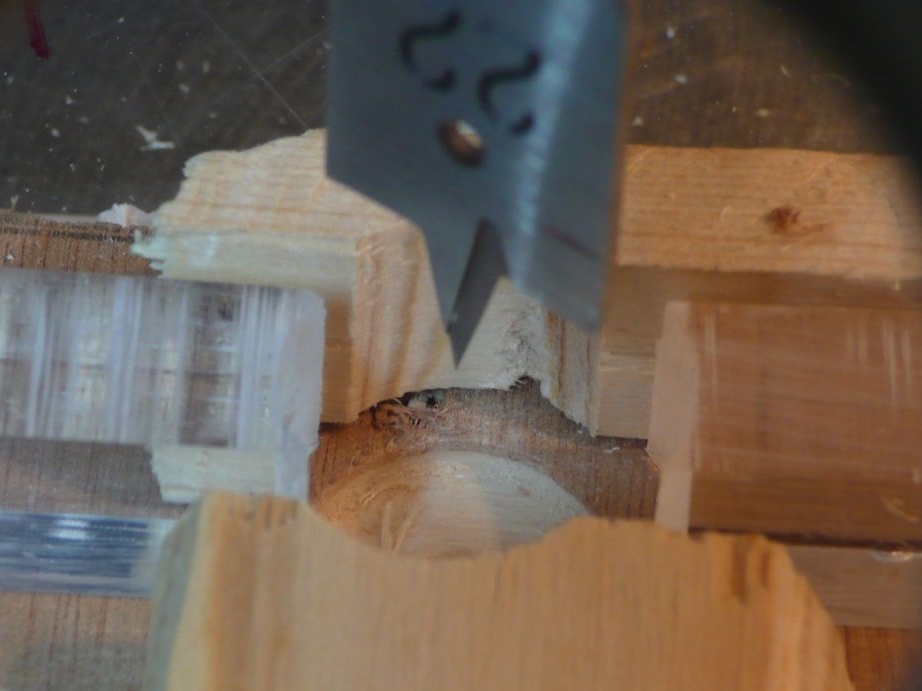
Now you need to process the rollers and make them as even as possible. The master does not have a lathe, and it makes it a primitive analogue. He makes a hole in the board and sets the bearing. Clamps the board on a drilling machine, the center of the bearing to the center of the drill. Inserts a pin into the hole of the roller and clamps it in the chuck of the drilling machine. The second end of the stud goes into the inner race of the bearing.
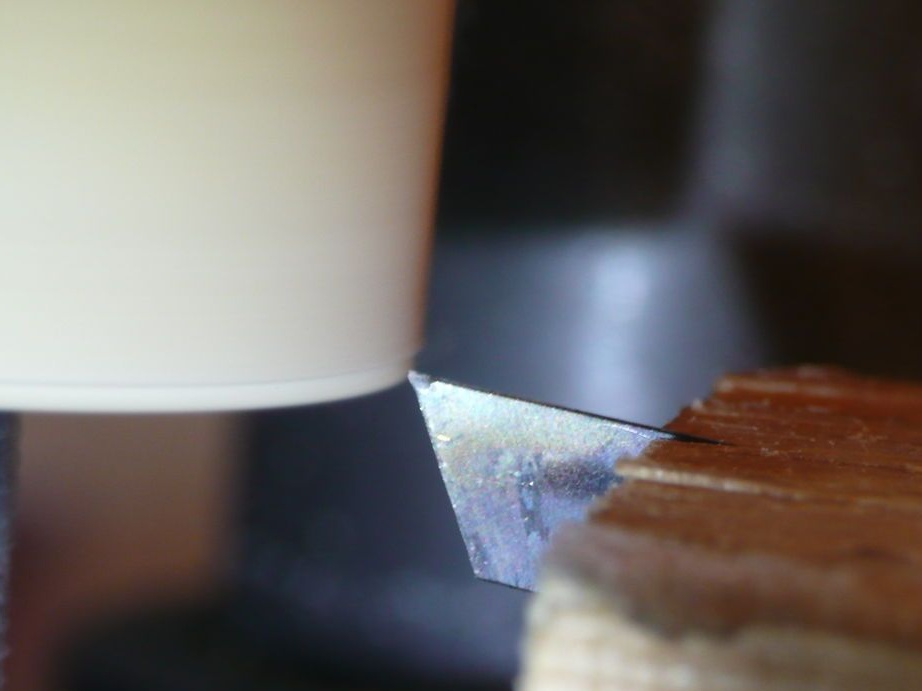
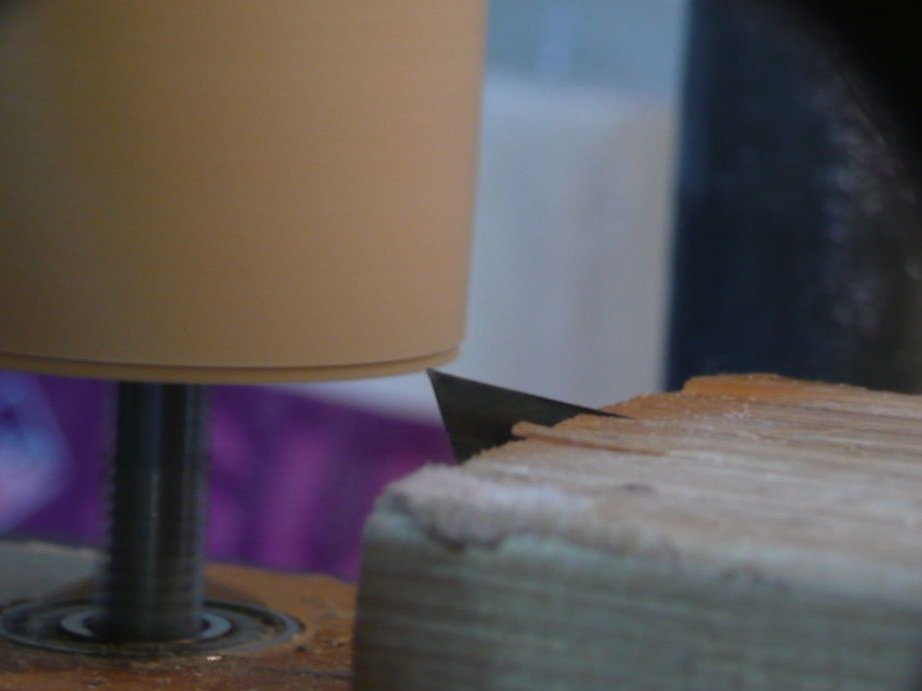
The cylinder is clamped on the stud with nuts. Now turning on the machine, you can process the surface of the roller. Also, the master chamfers the edge of the rollers. This is necessary so that the sanding paper does not tear.

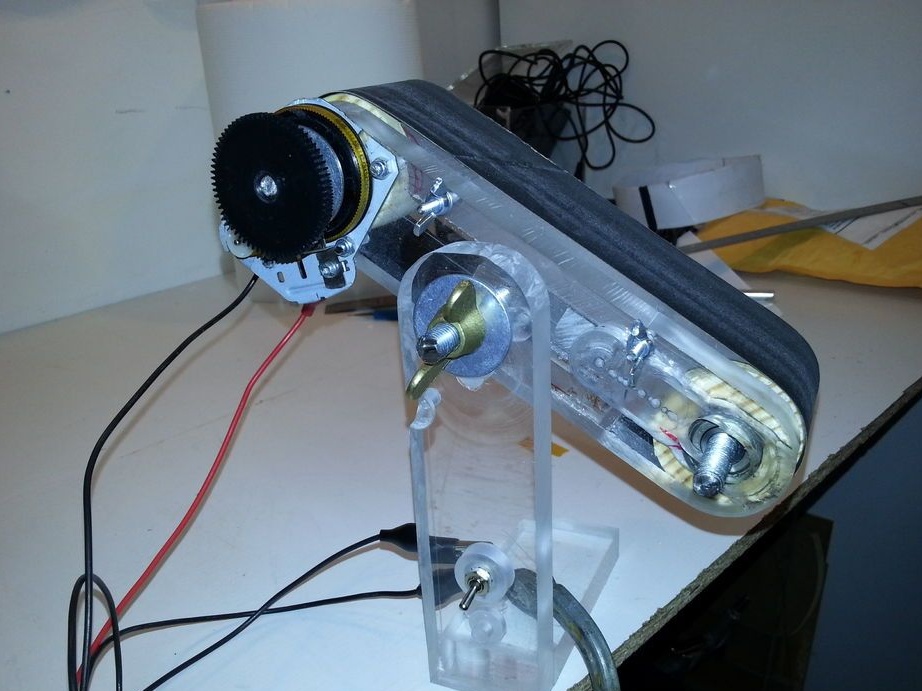
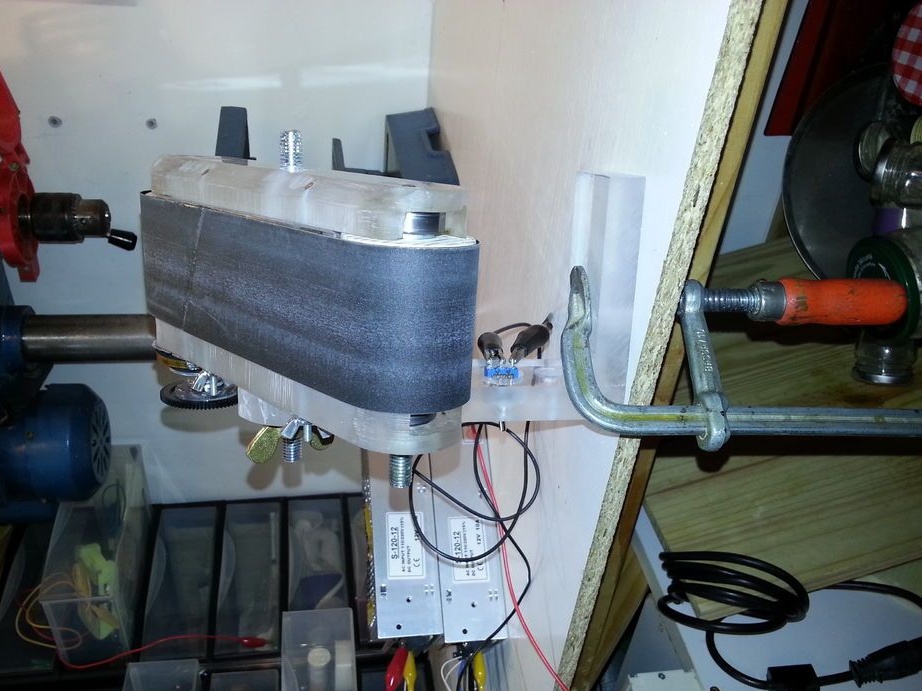
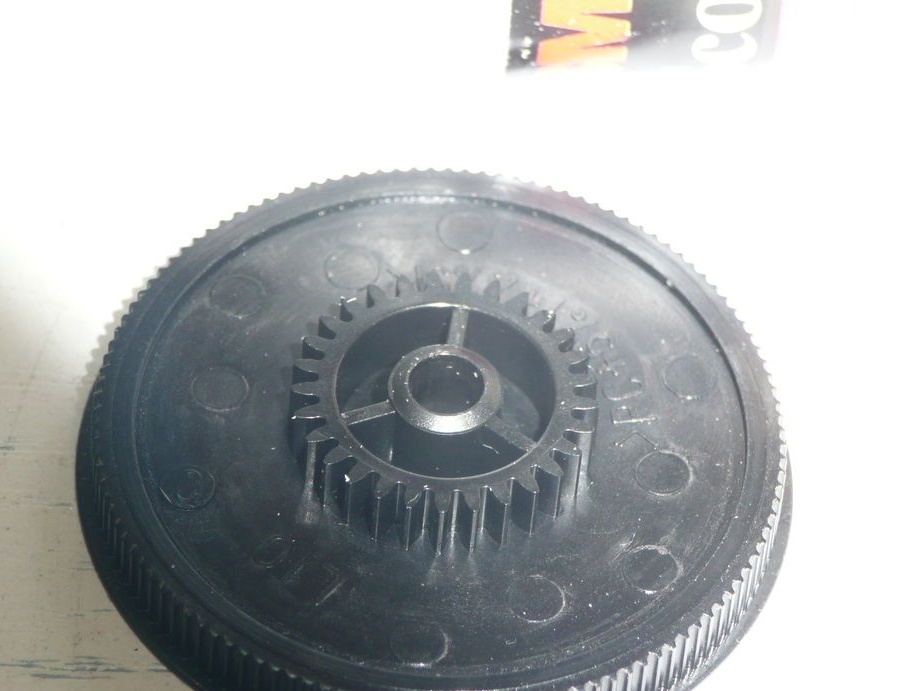
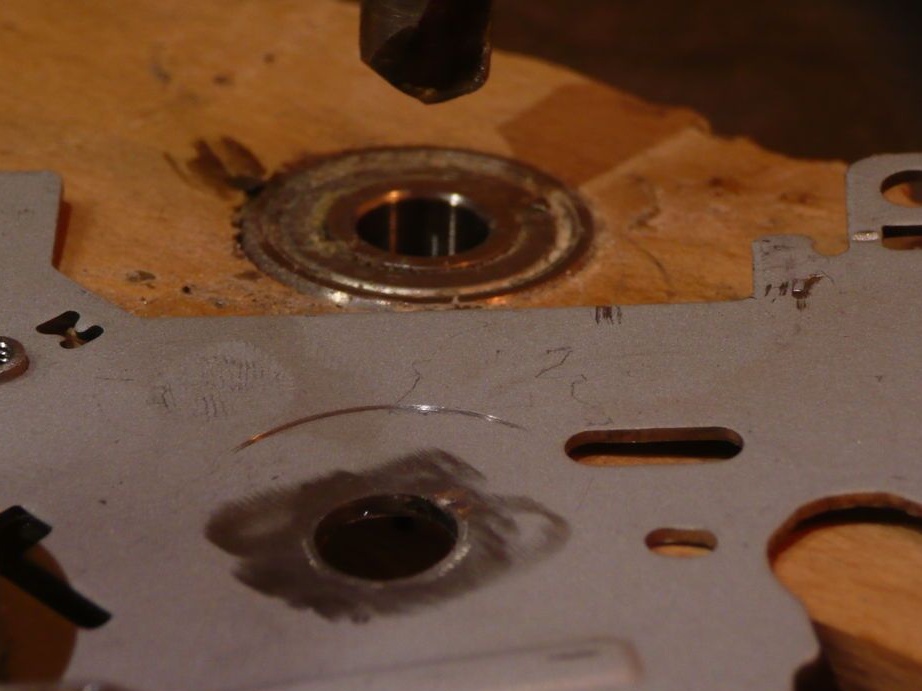
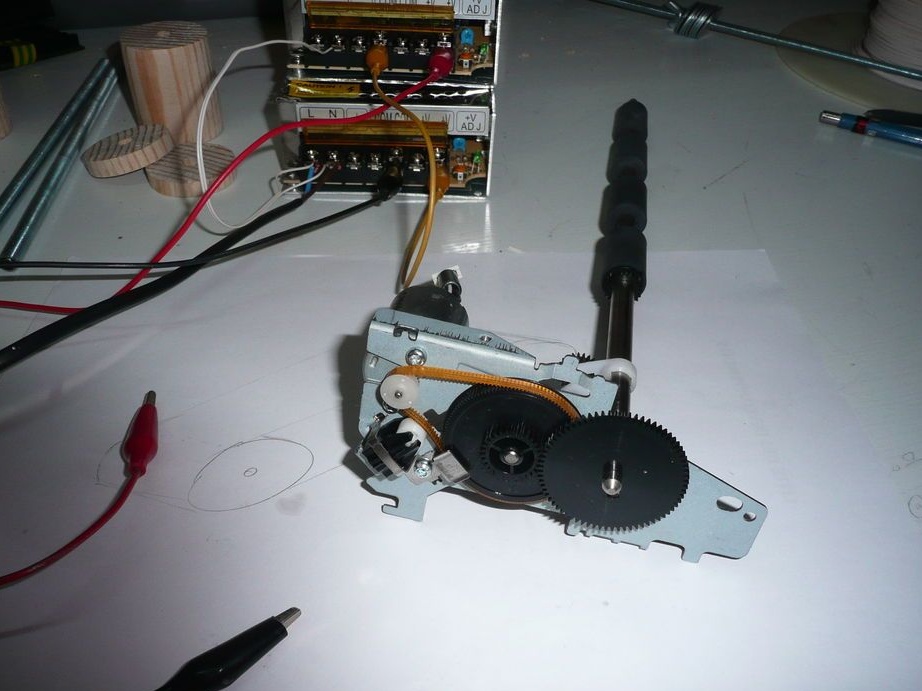
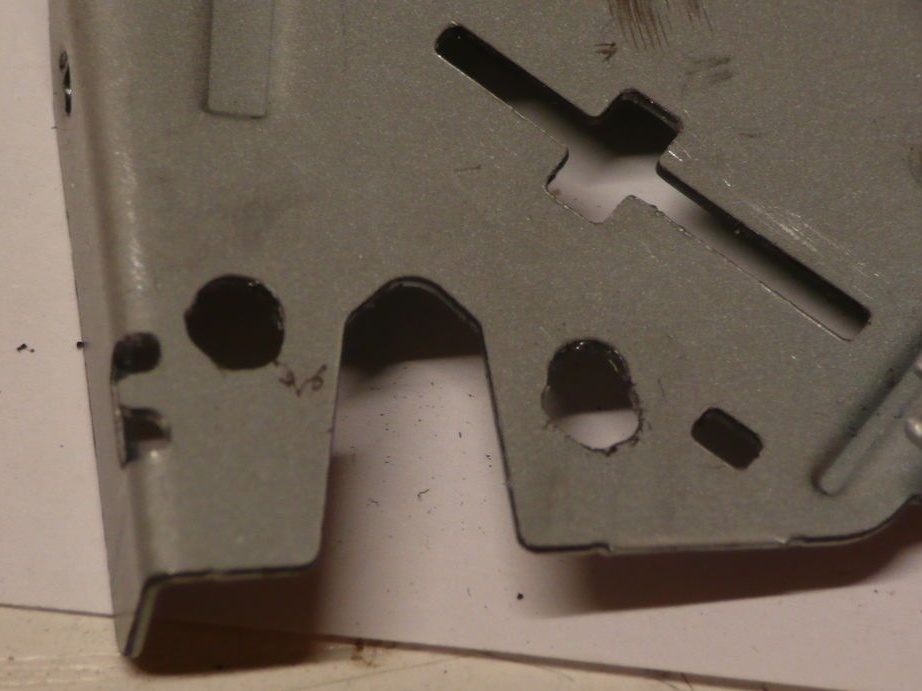
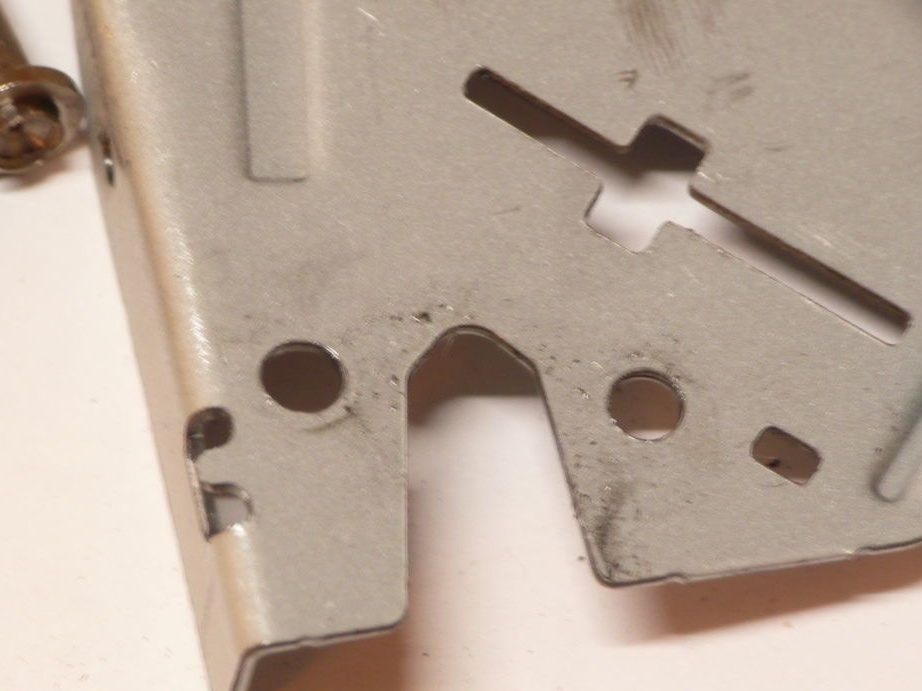
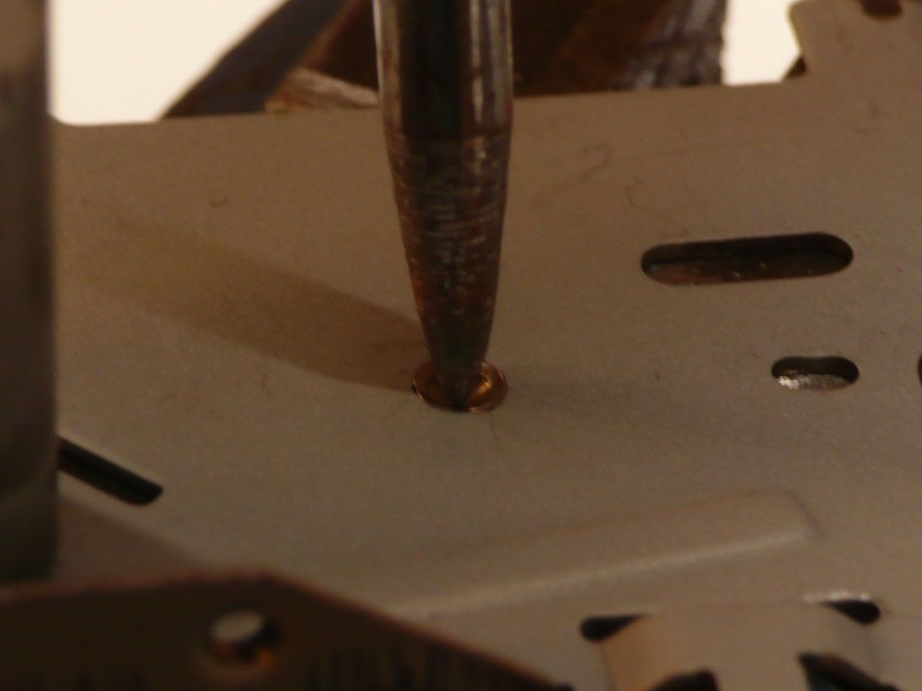
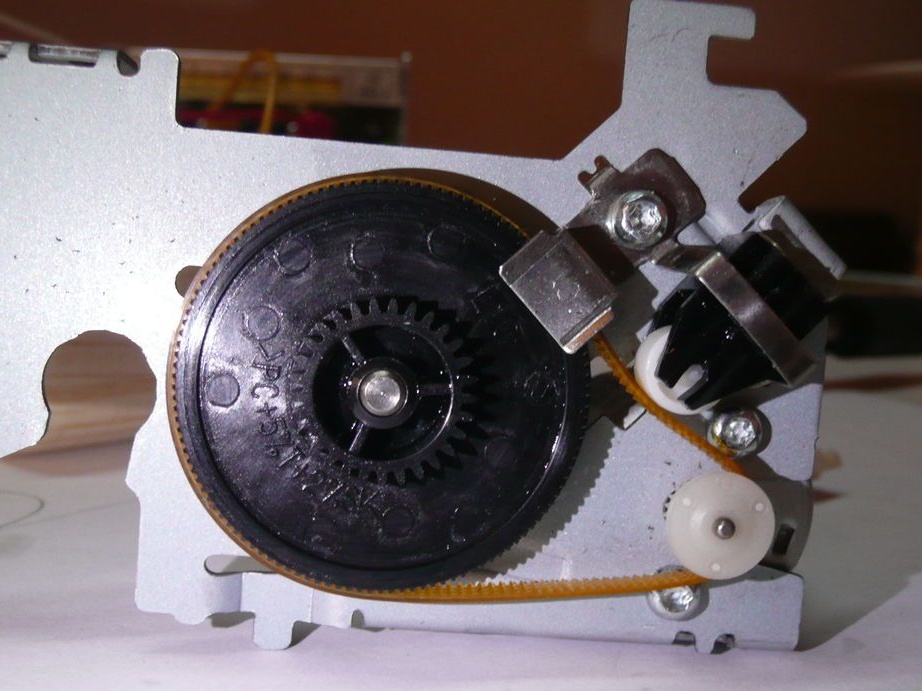
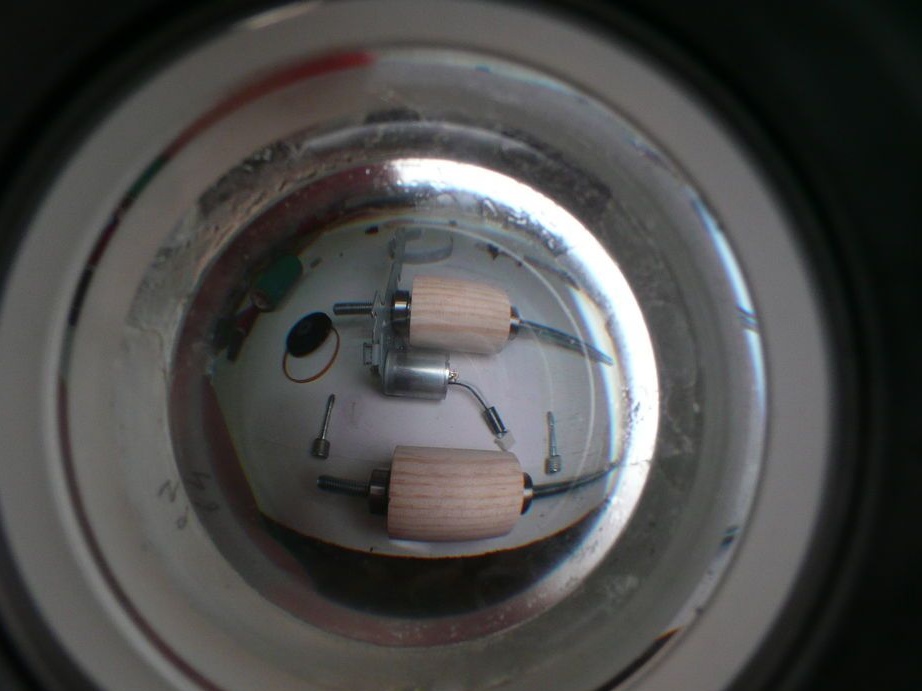
Step Three: Drive
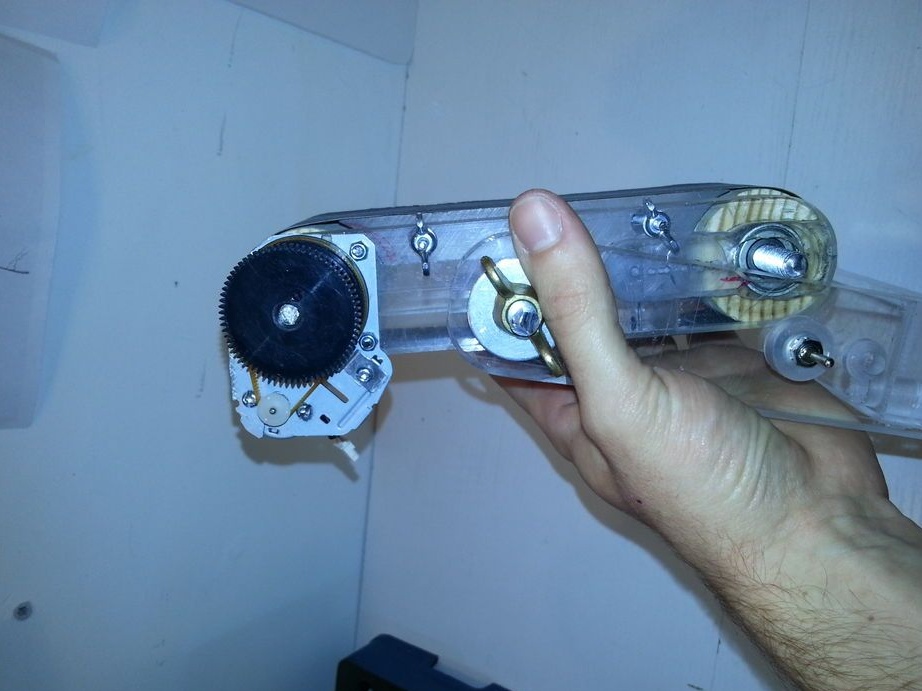
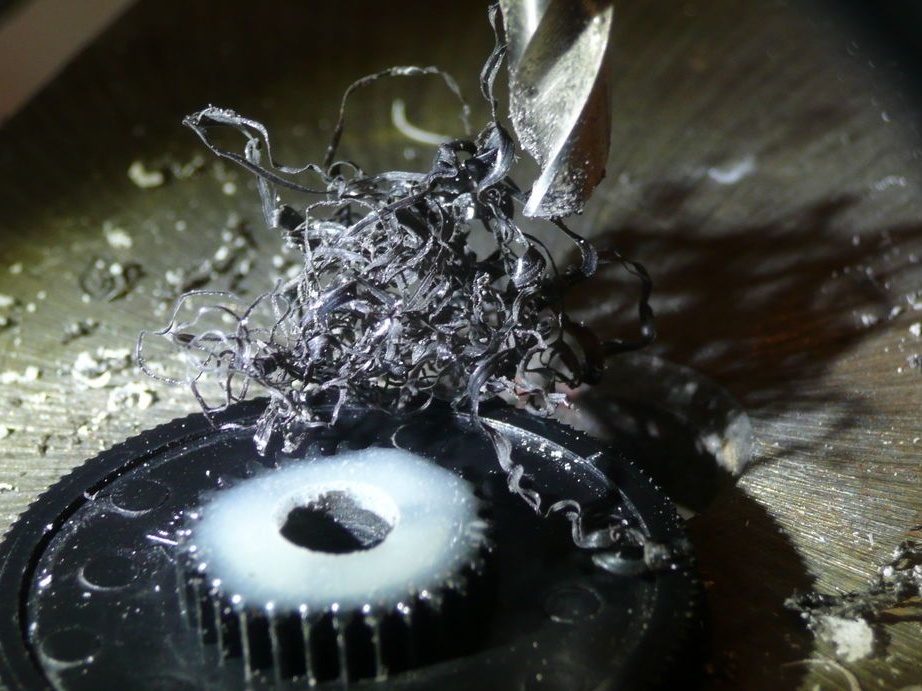
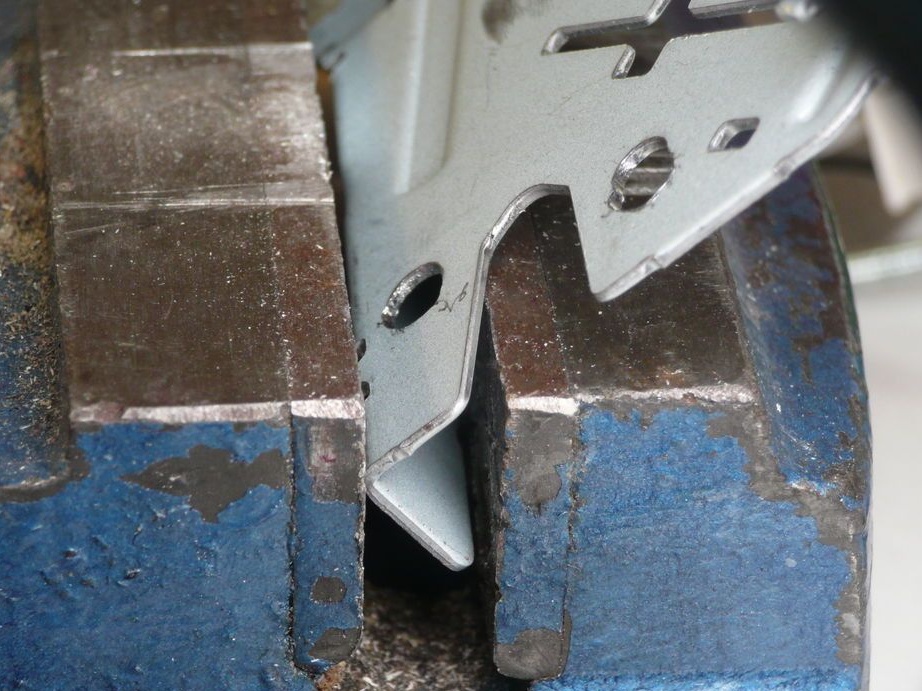
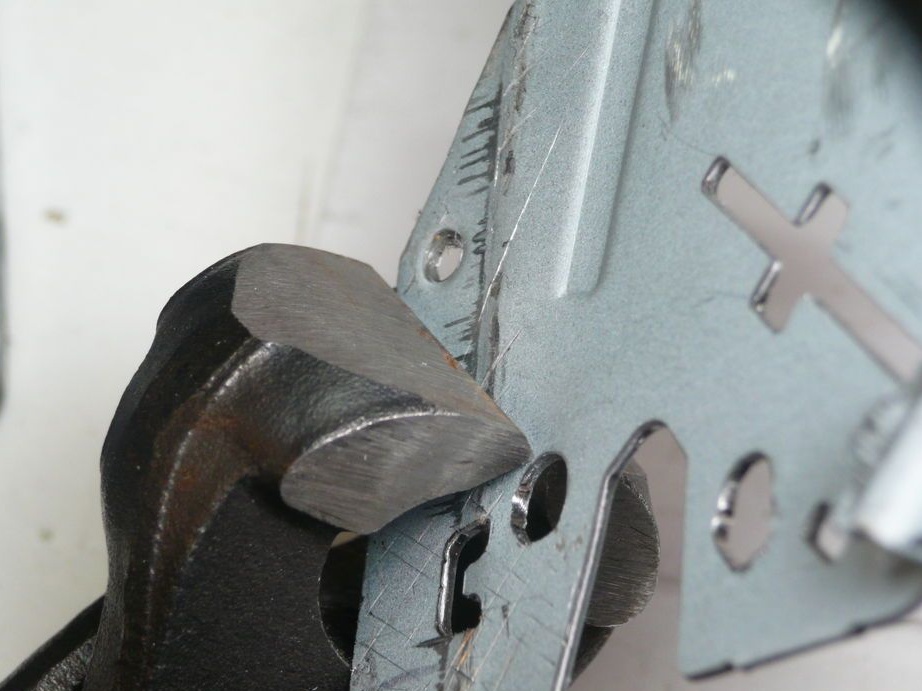
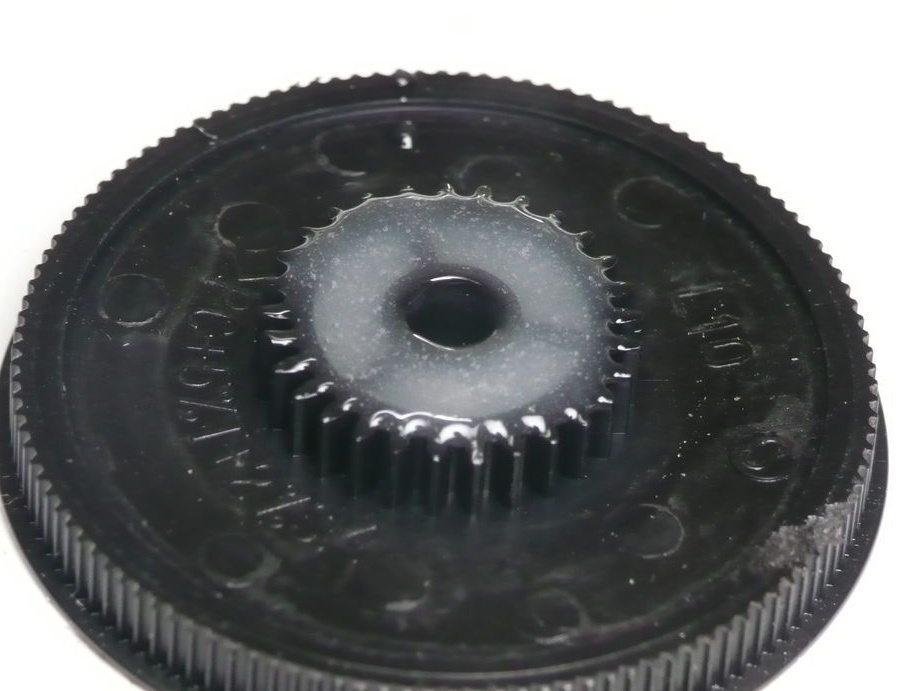
The master took the drive from an old printer. Dismantled the printer. I finalized the mounting plate, drilled holes for the bolts, removed the excess parts. I drilled a hole in the gears of the drive. Secured the gear on the shaft.


Step Four: Frame
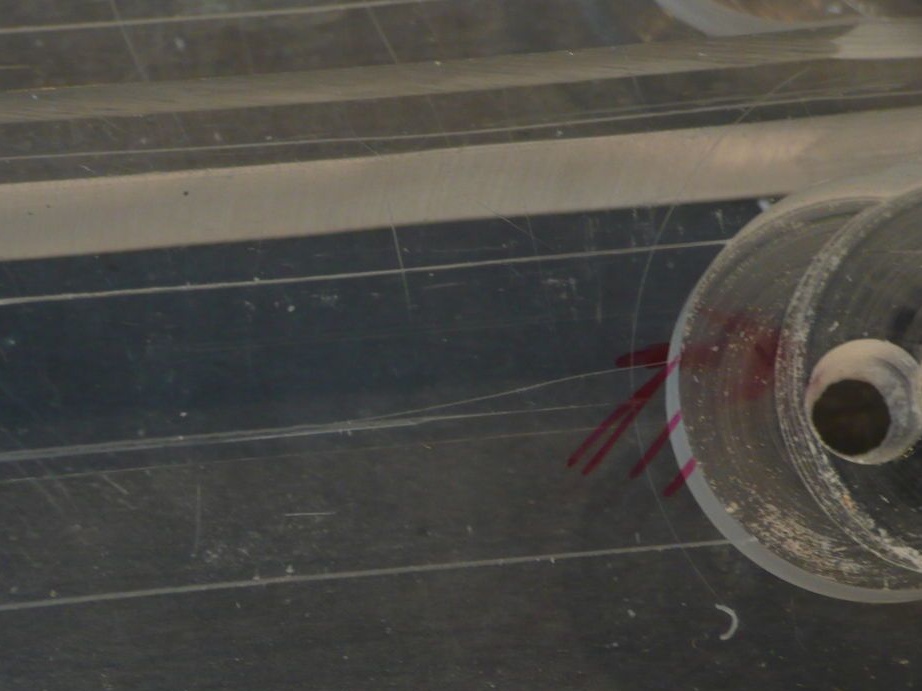
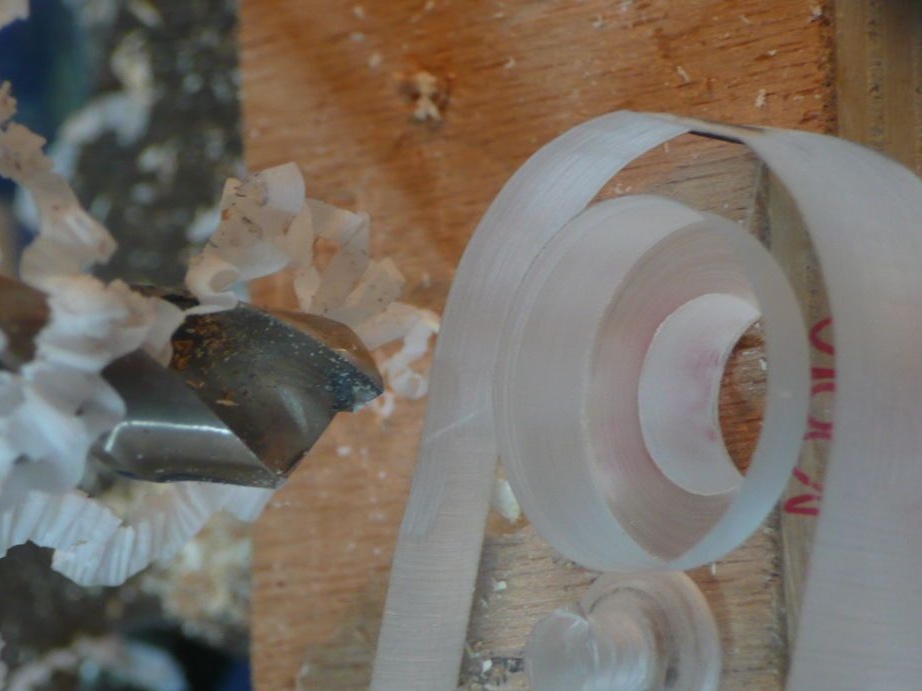
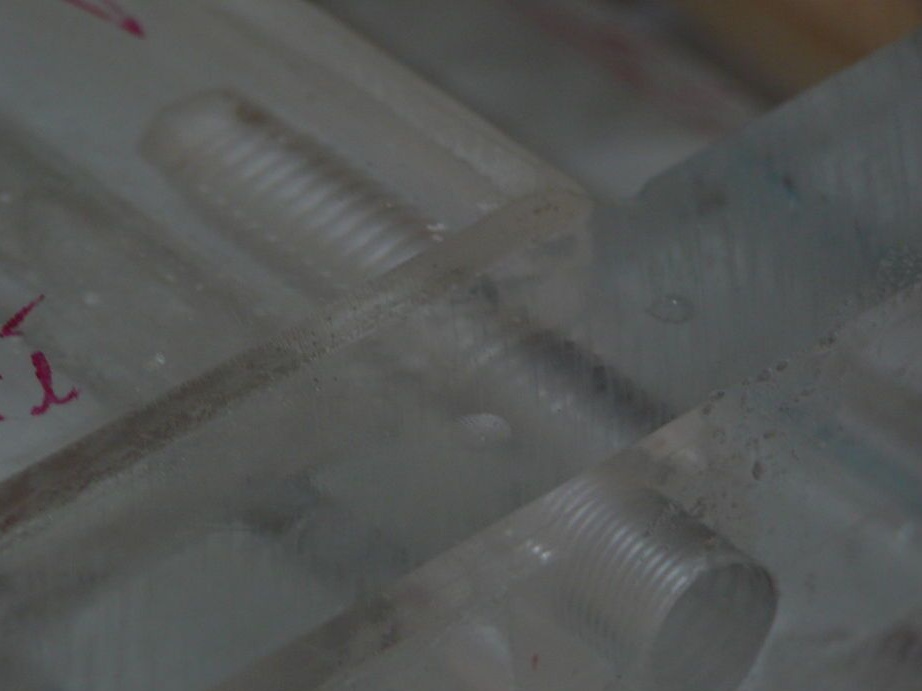
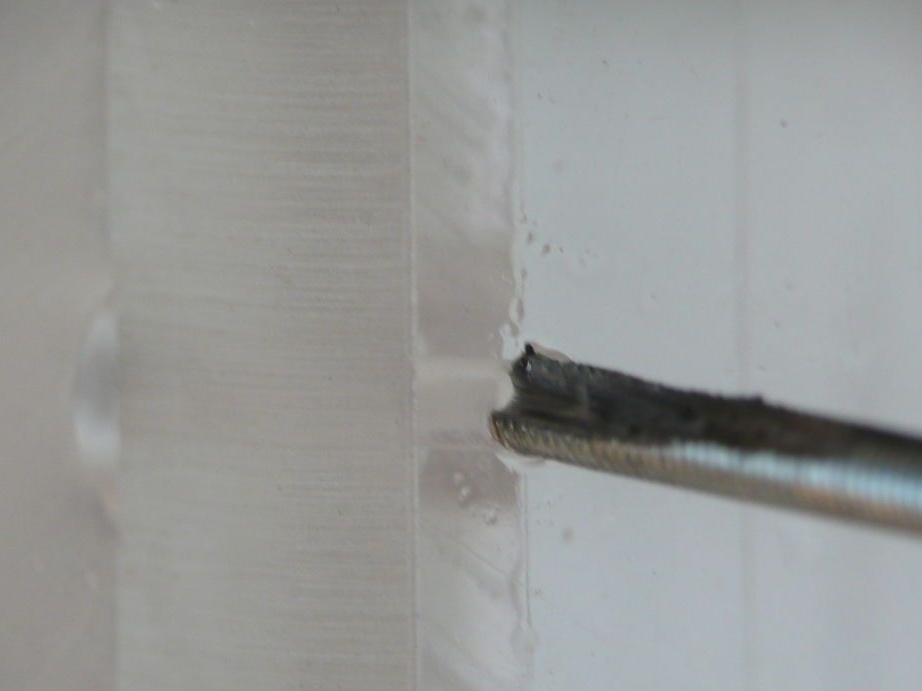
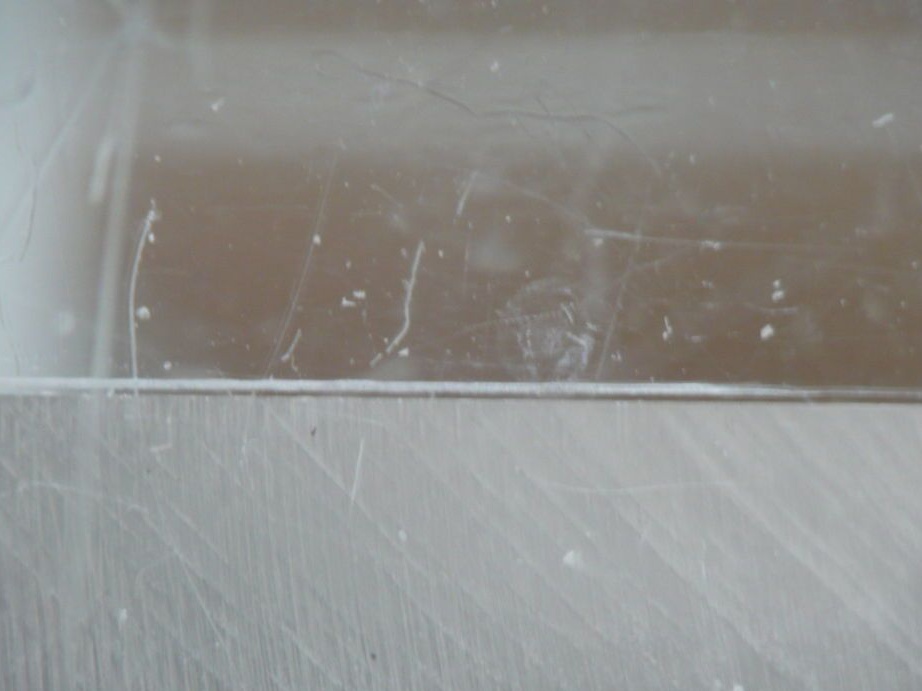
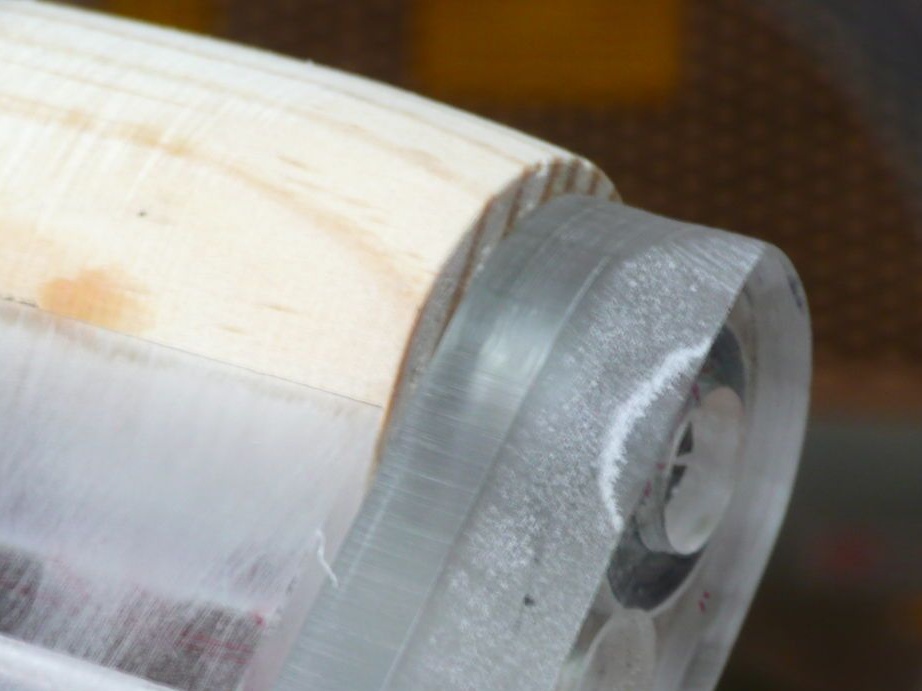
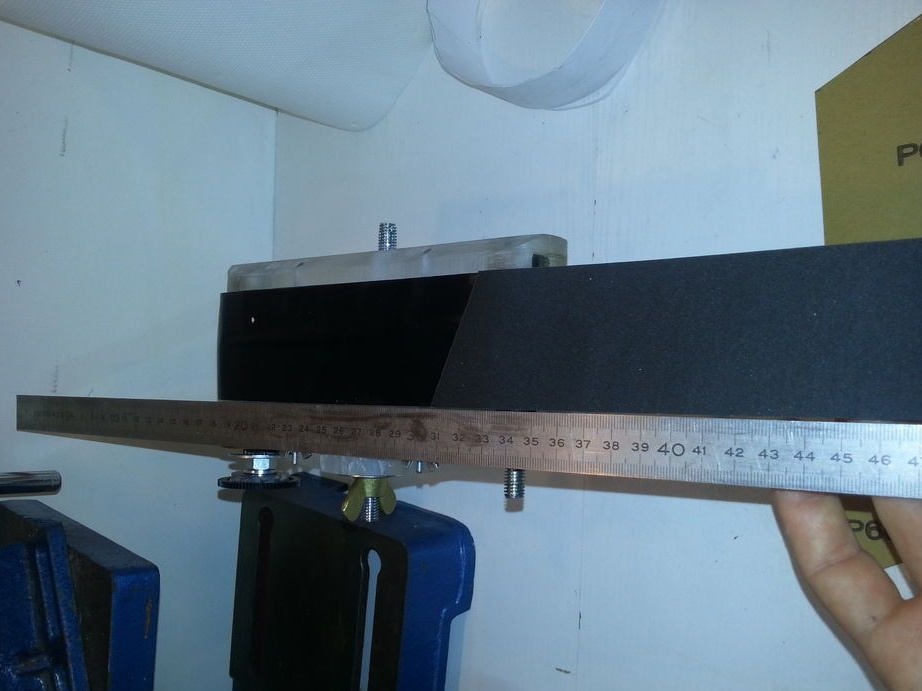
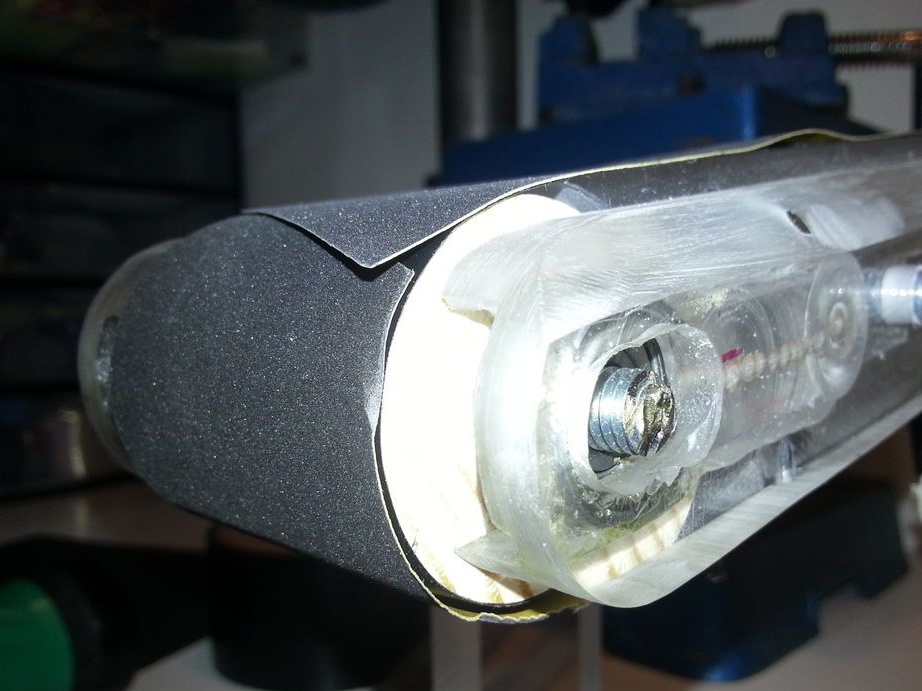
The frame, on which the whole mechanism is fixed, consists of two halves, and is made of plexiglass. Cut two plates. Coaxially drills holes in the plates for the lower and upper shaft. Moreover, the shafts are located between the frames and should go into the holes 2/3. Rounds the edges of the frames.
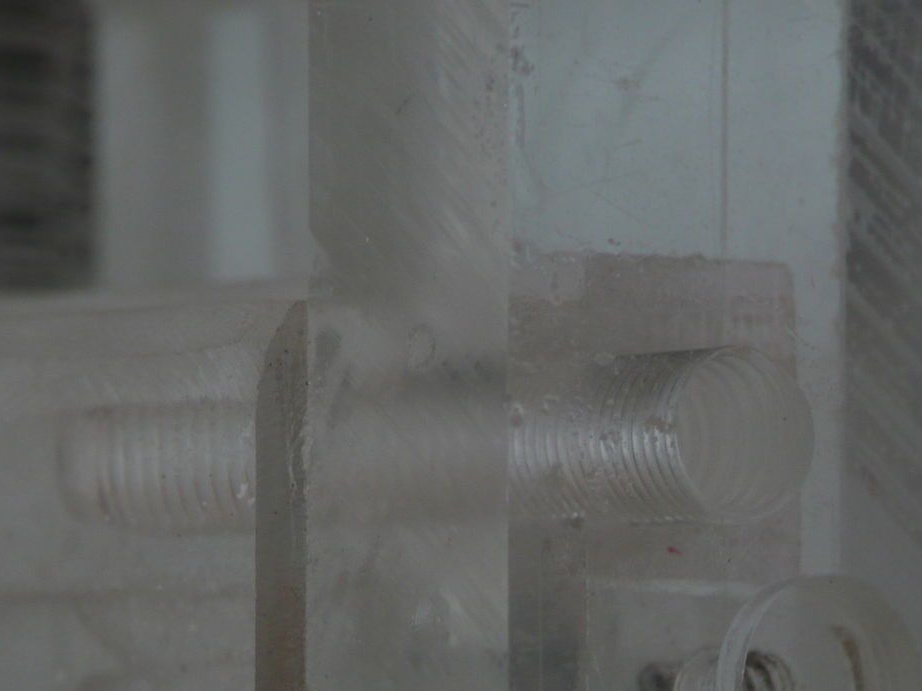
Step Five: Tensioner
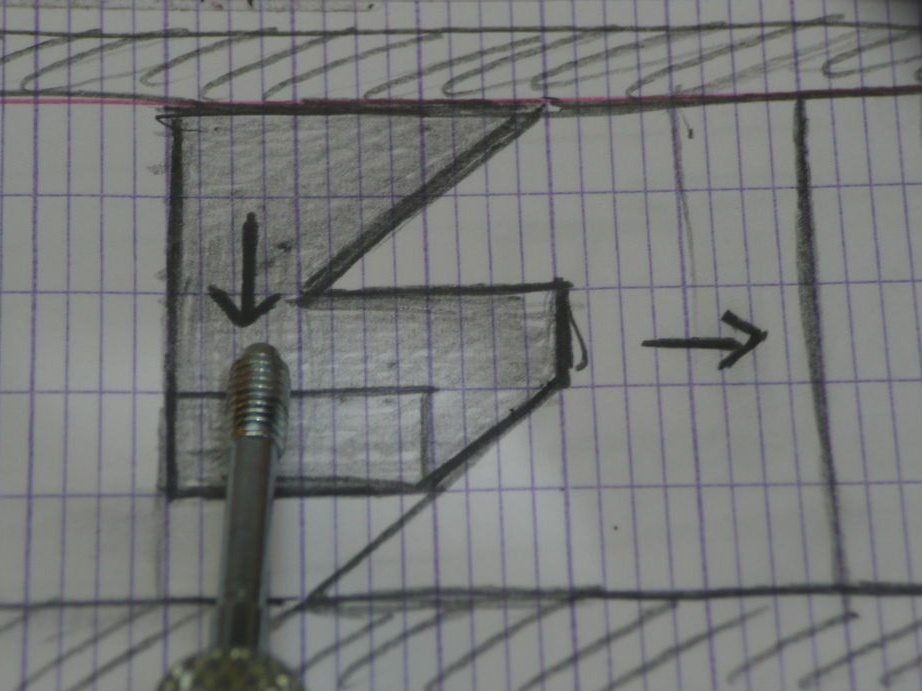
The master made the hole in the frame for the lower roller oval. This makes it possible to adjust the roller. For adjustment makes a tensioner.
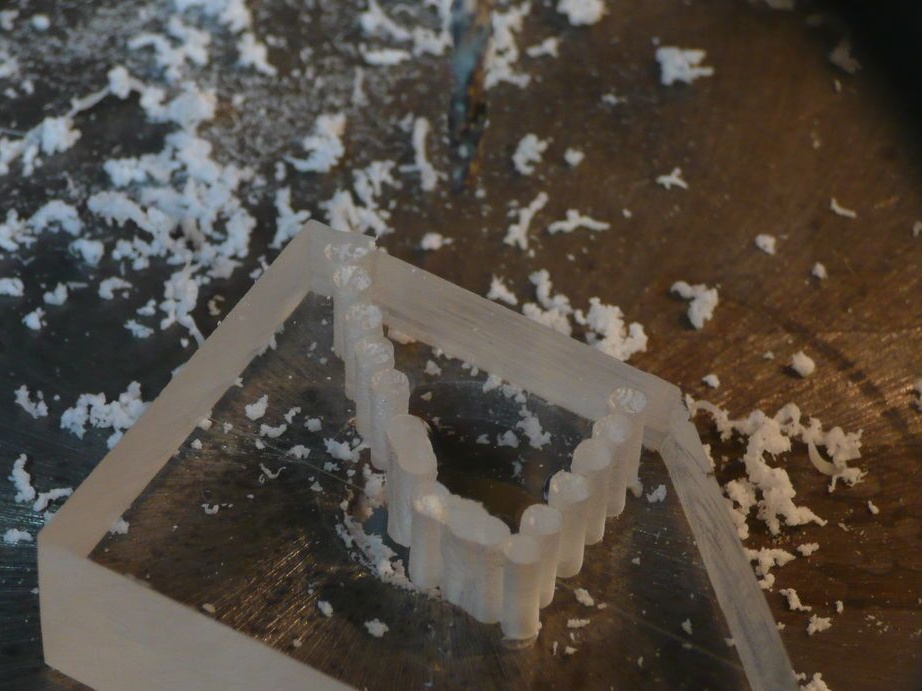
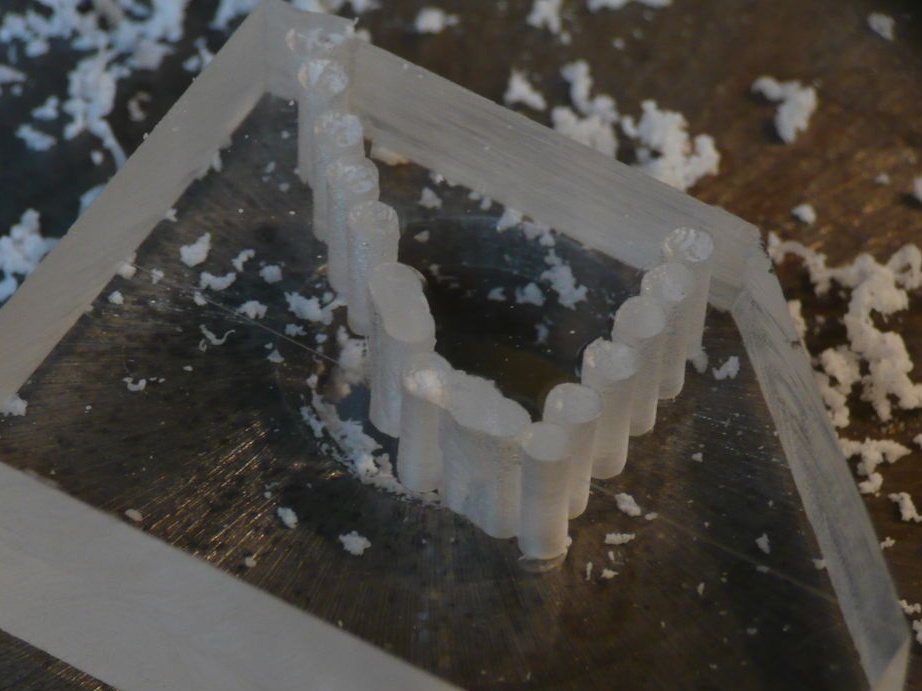
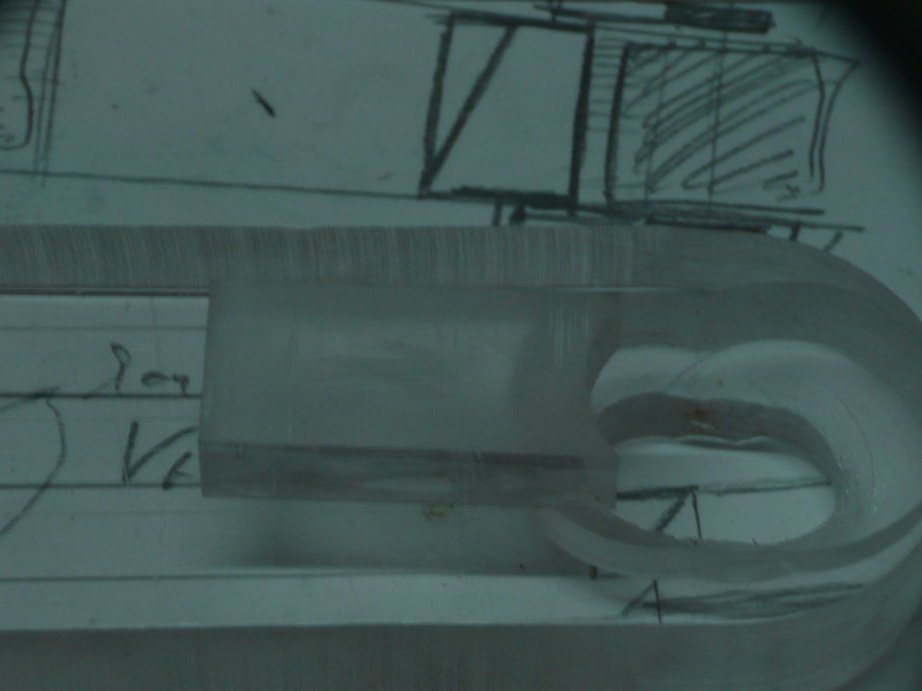
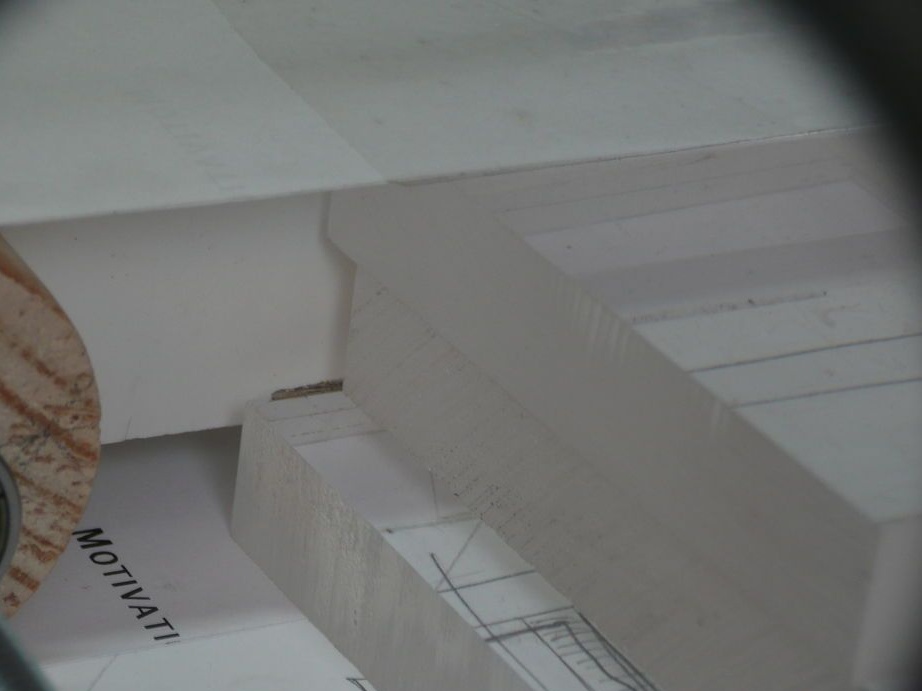
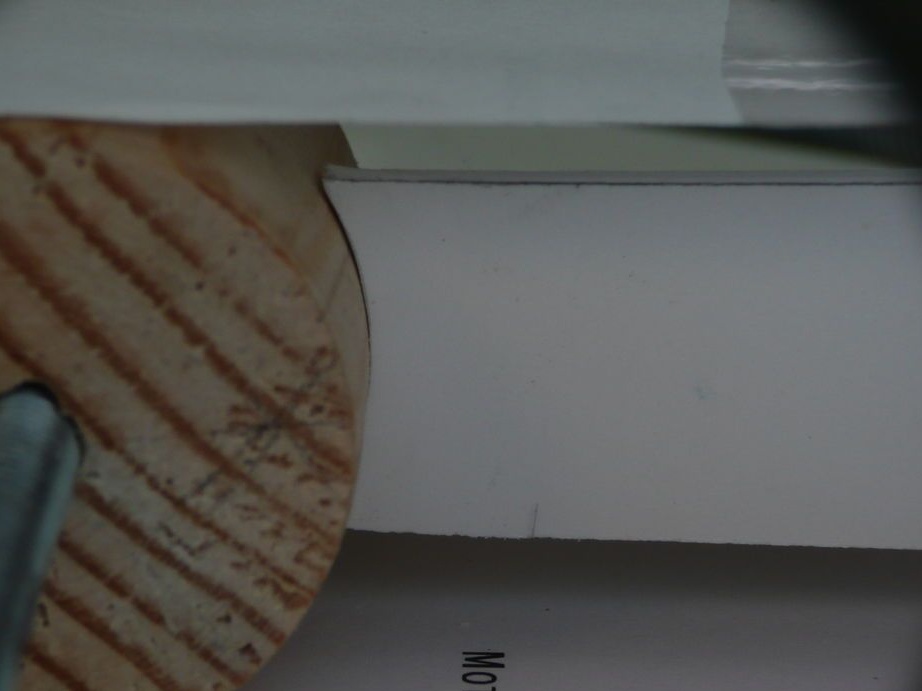
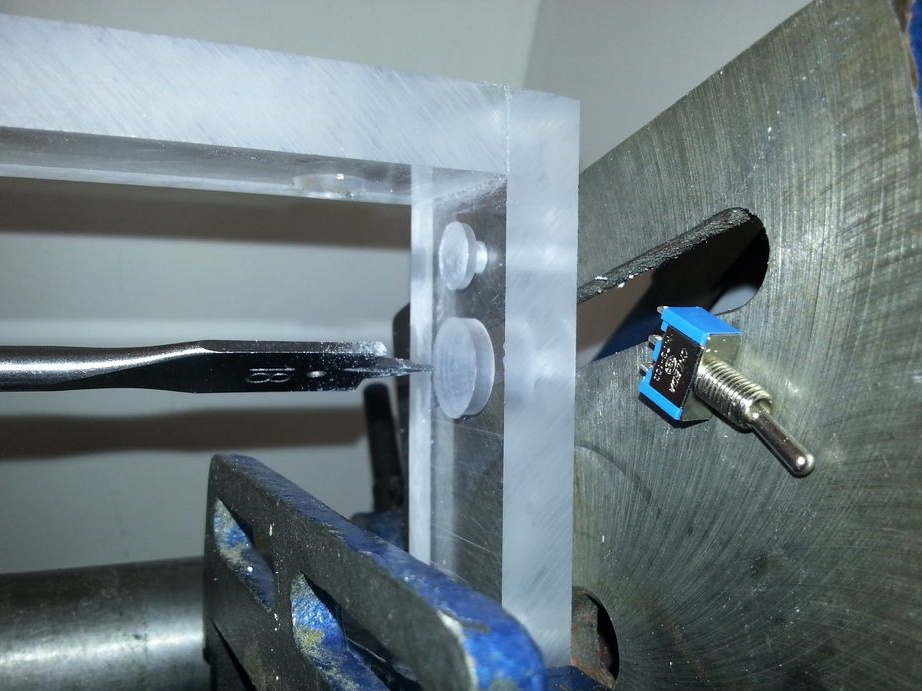
Step Six: Upper and Lower Plane
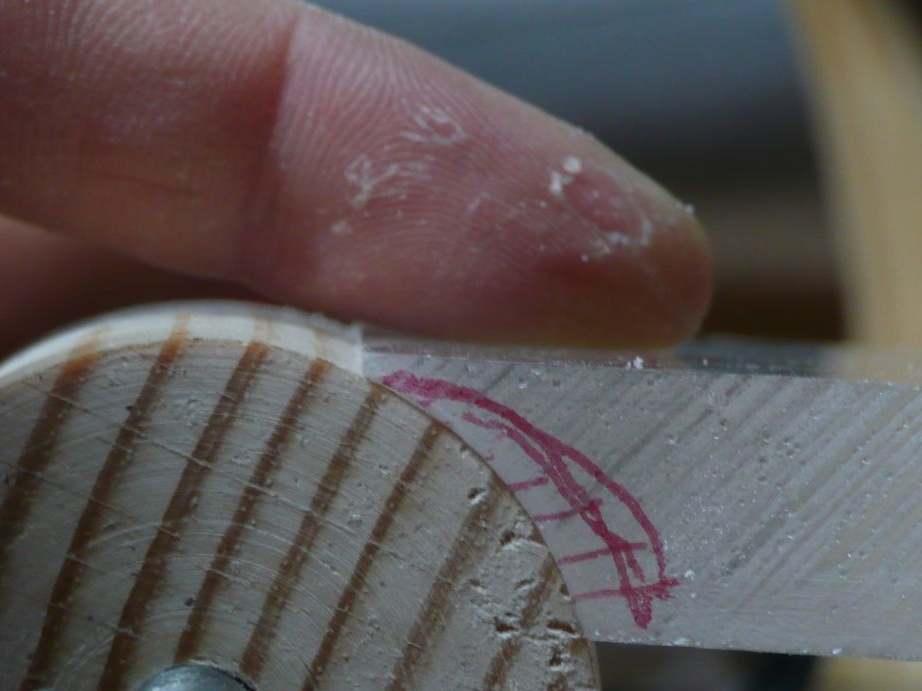
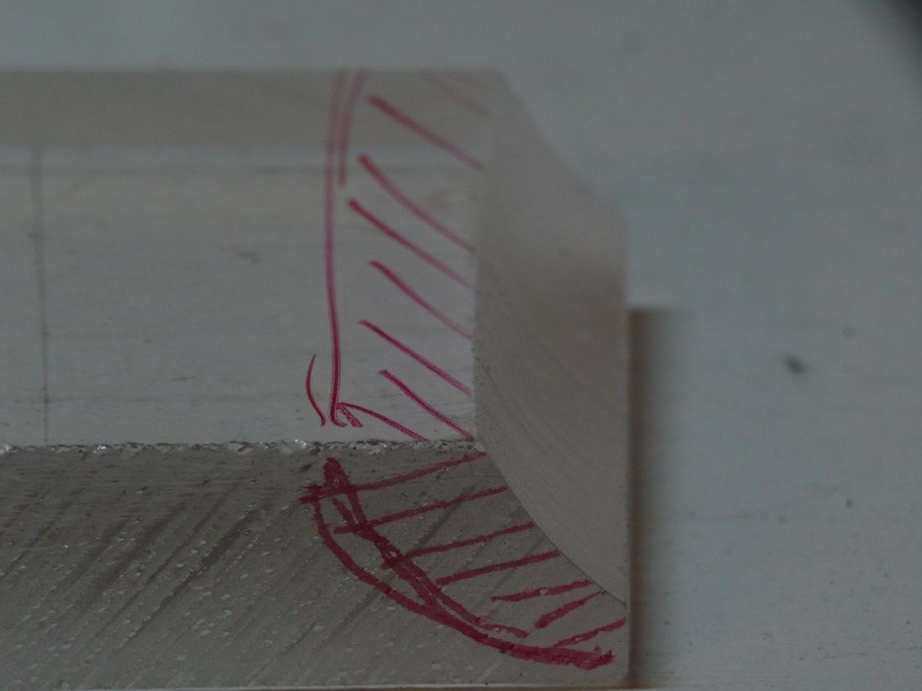
Of plexiglass makes two plates. They are installed between the frame. The master made the ends of the plates semicircular, around the circumference of the rollers.
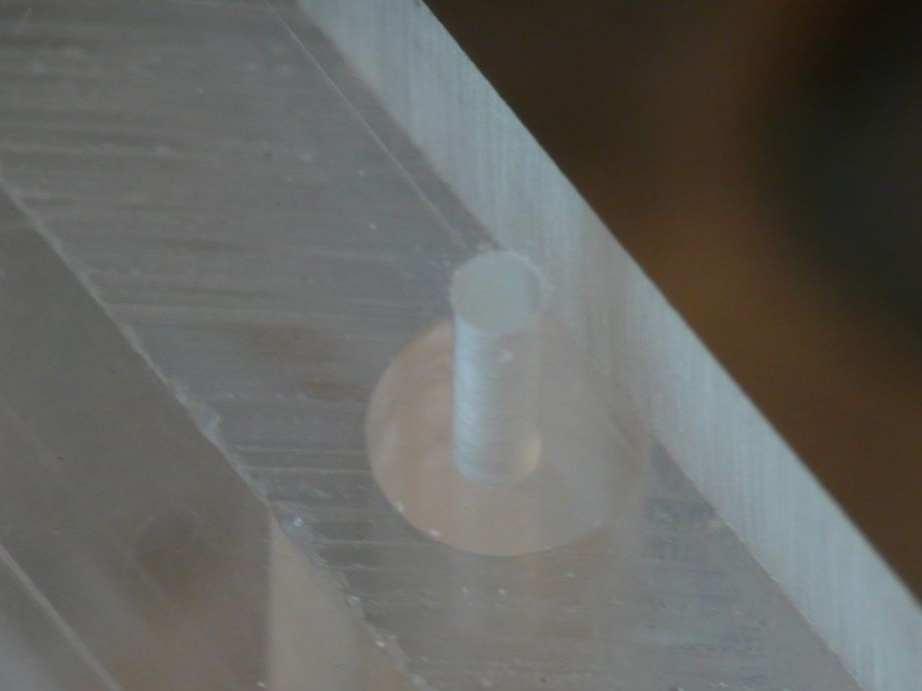
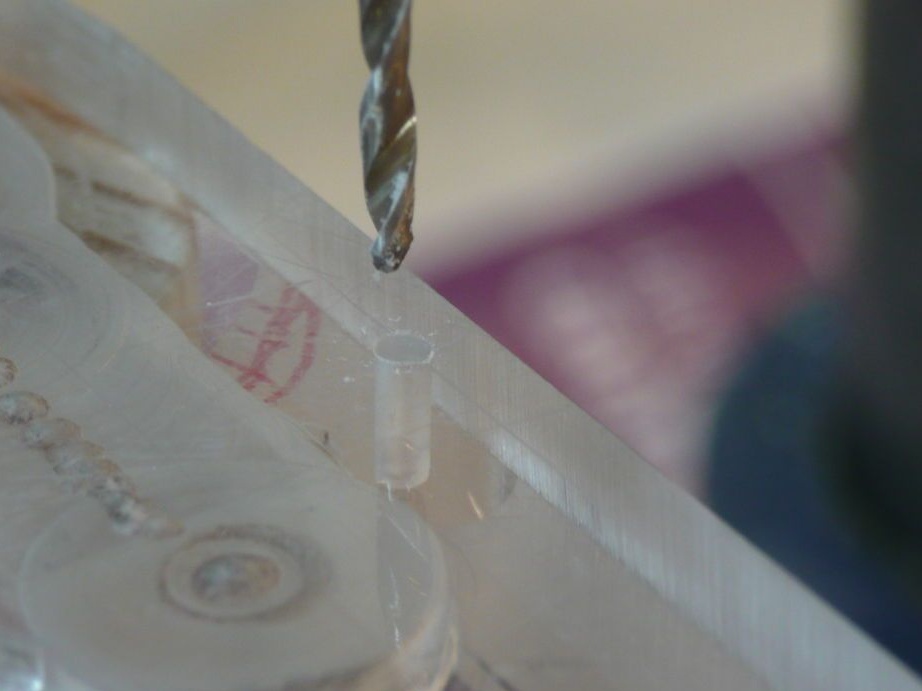
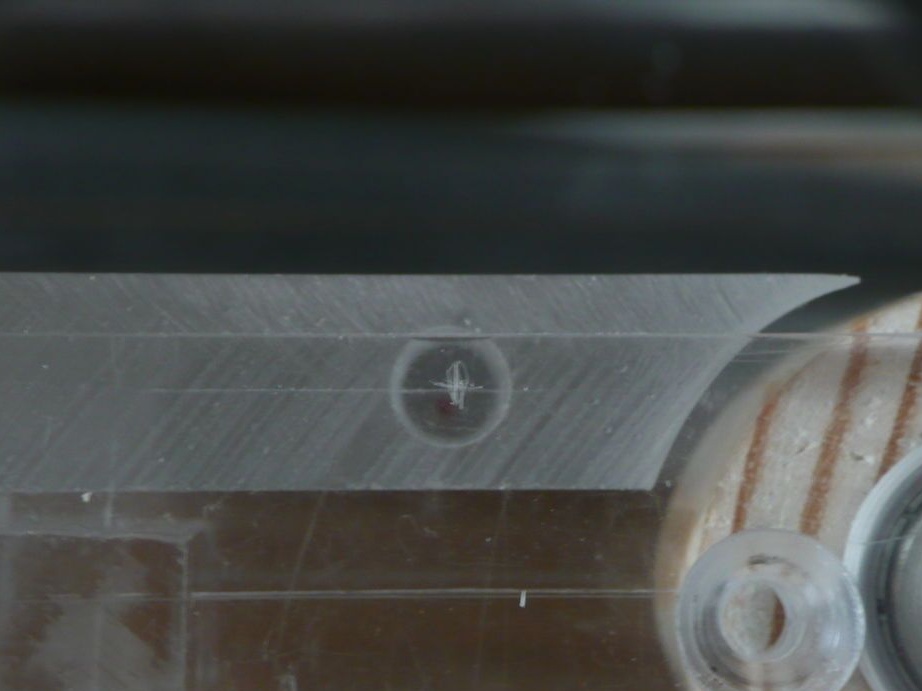

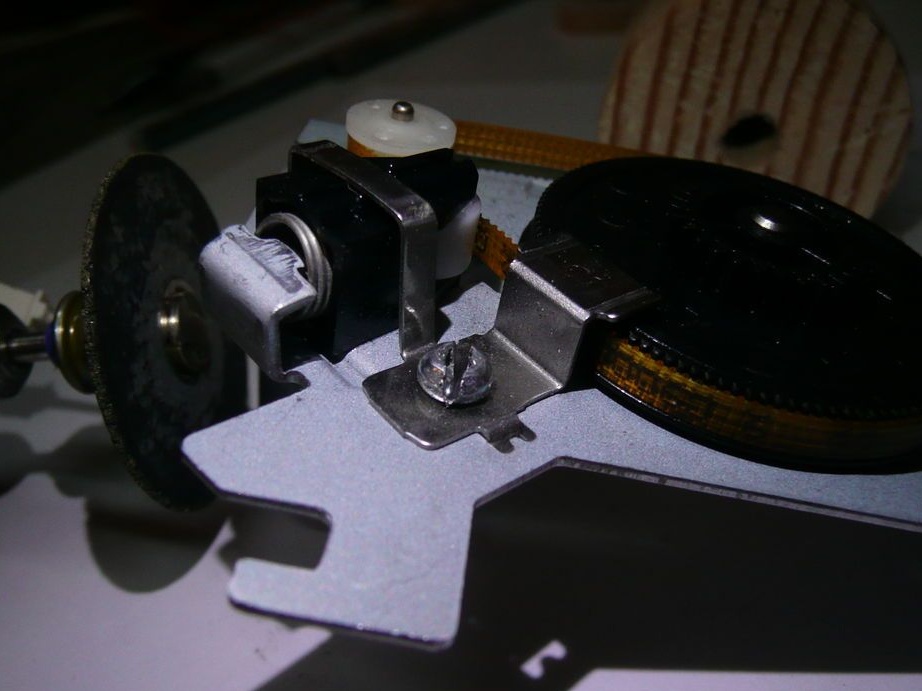
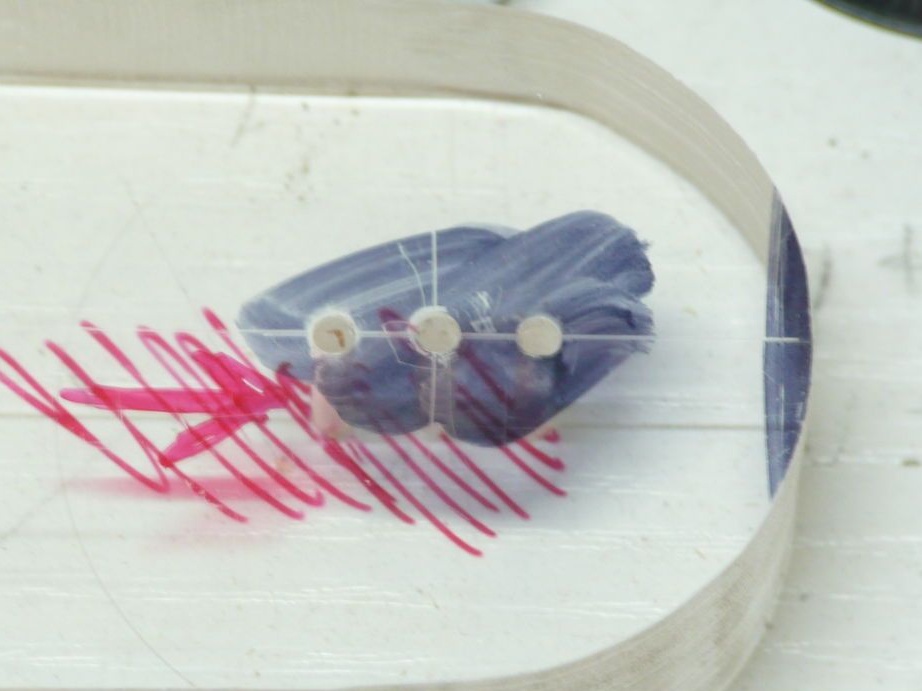
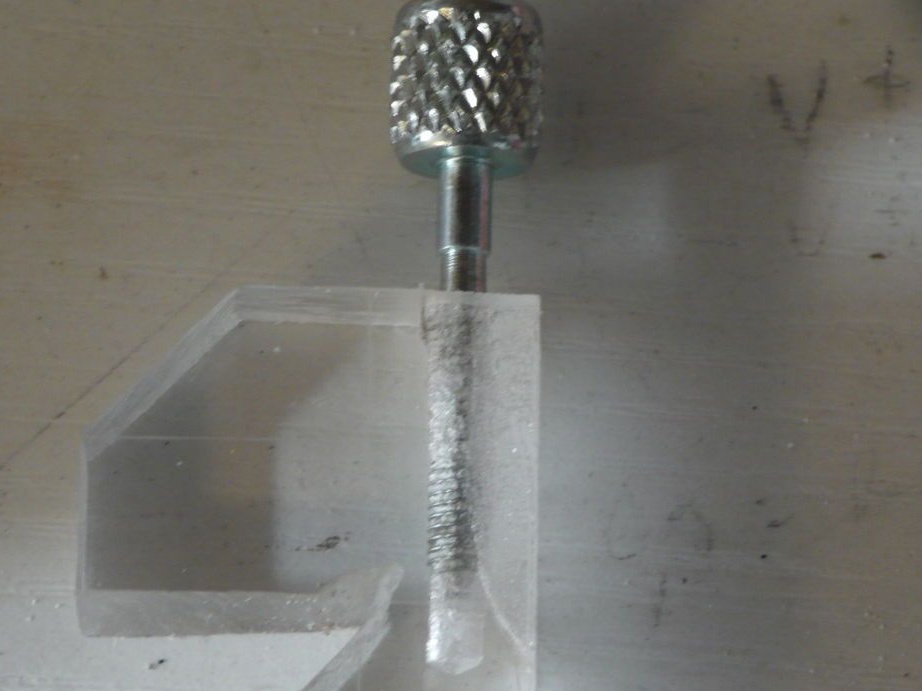
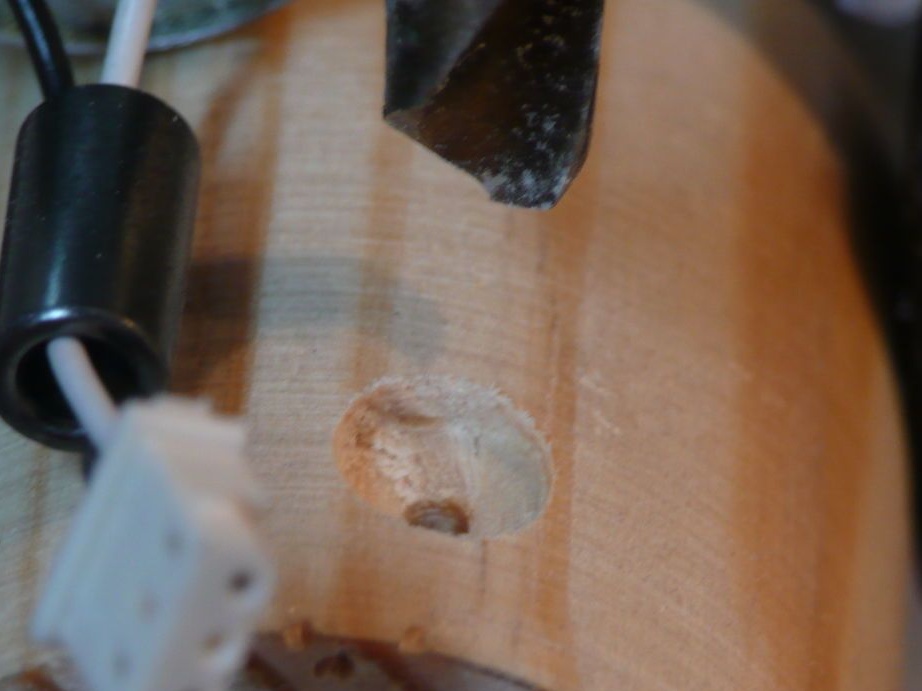
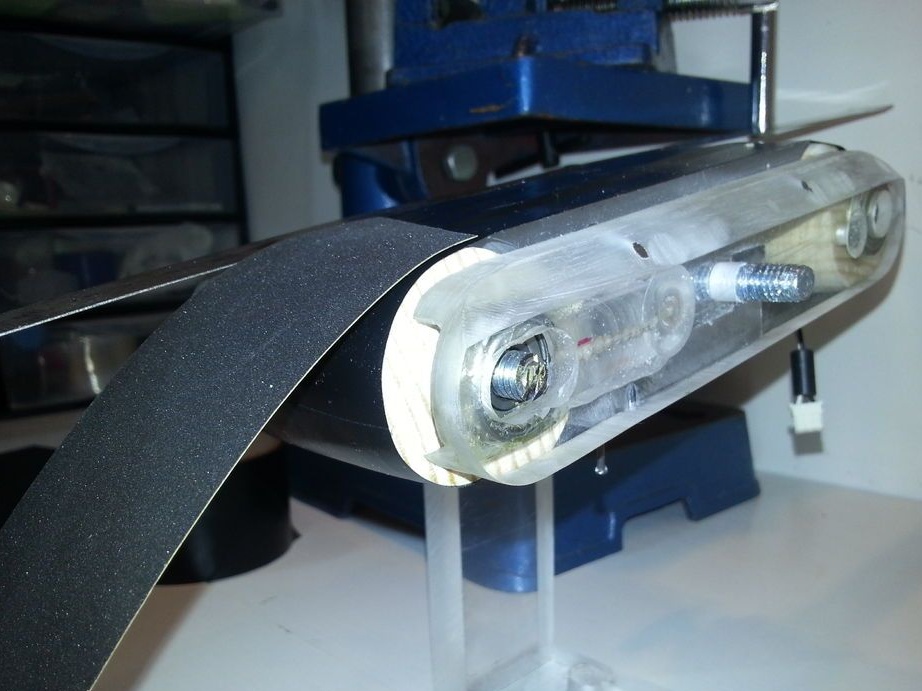
Seventh step: fixing the rollers
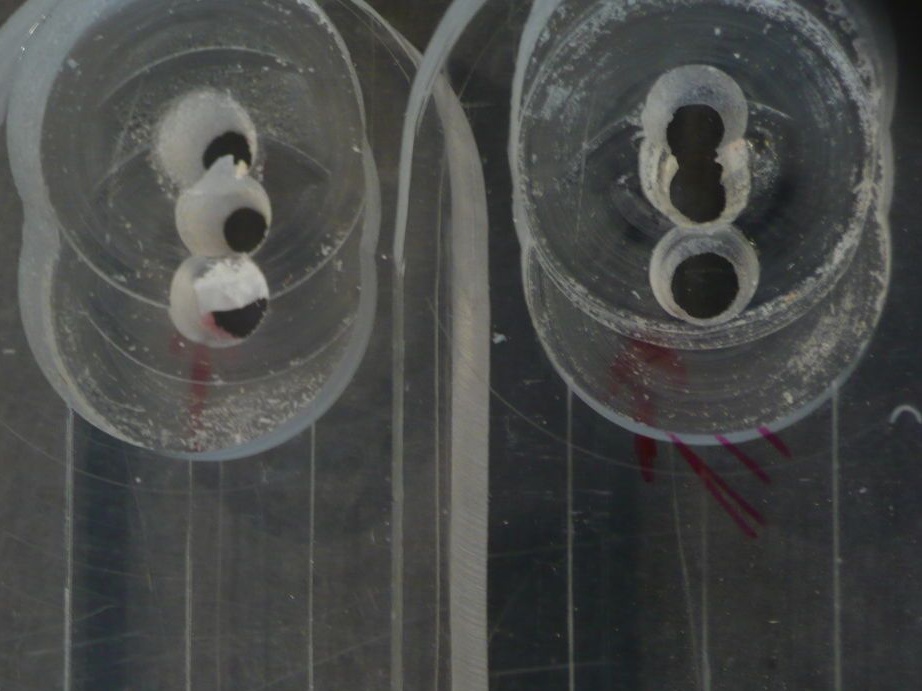
To prevent the rollers from turning on the shaft, the master drills holes in them and fixes the roller with a screw.
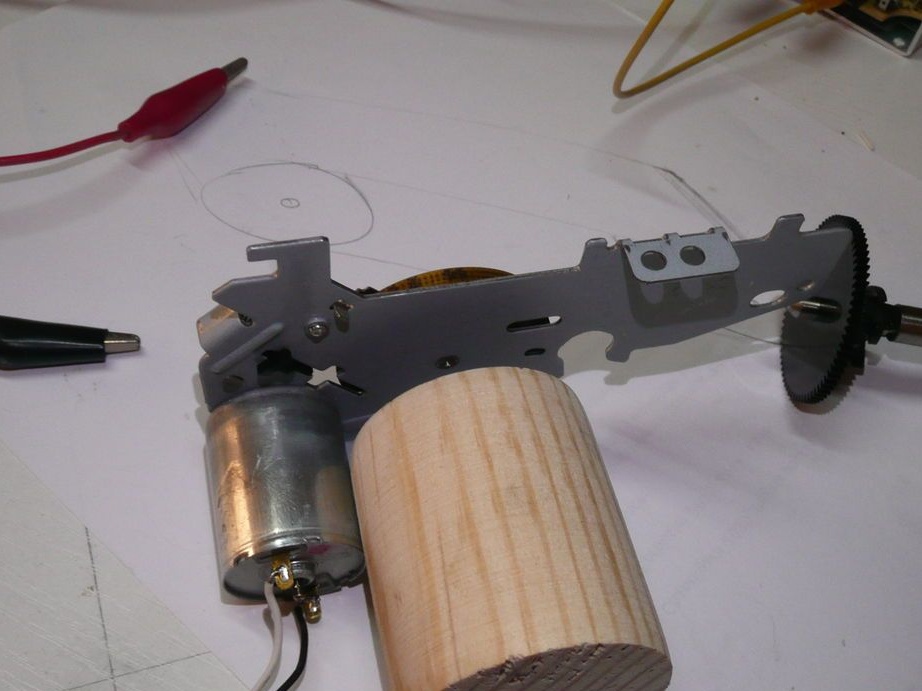
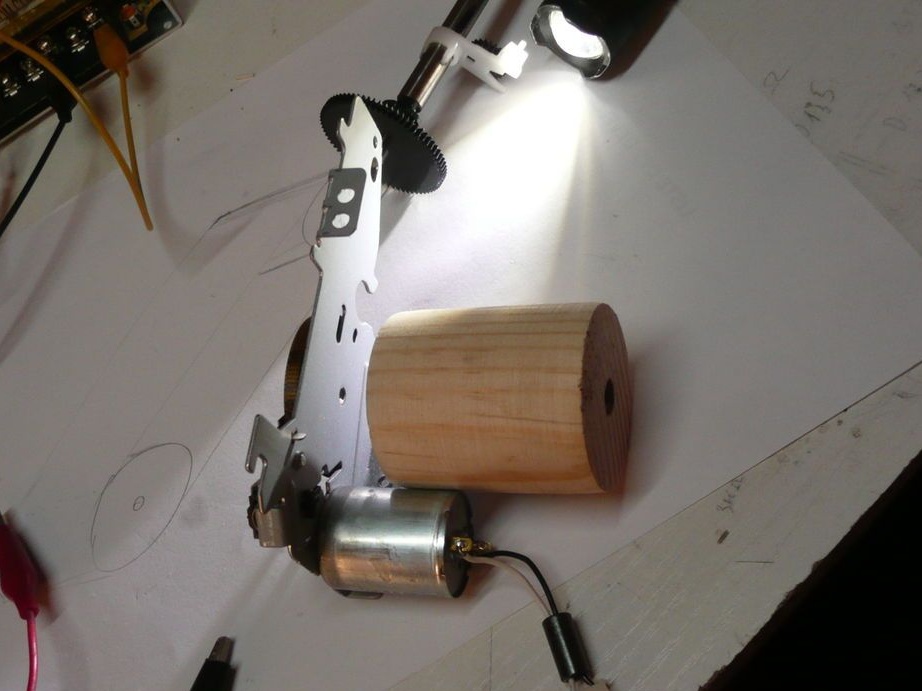
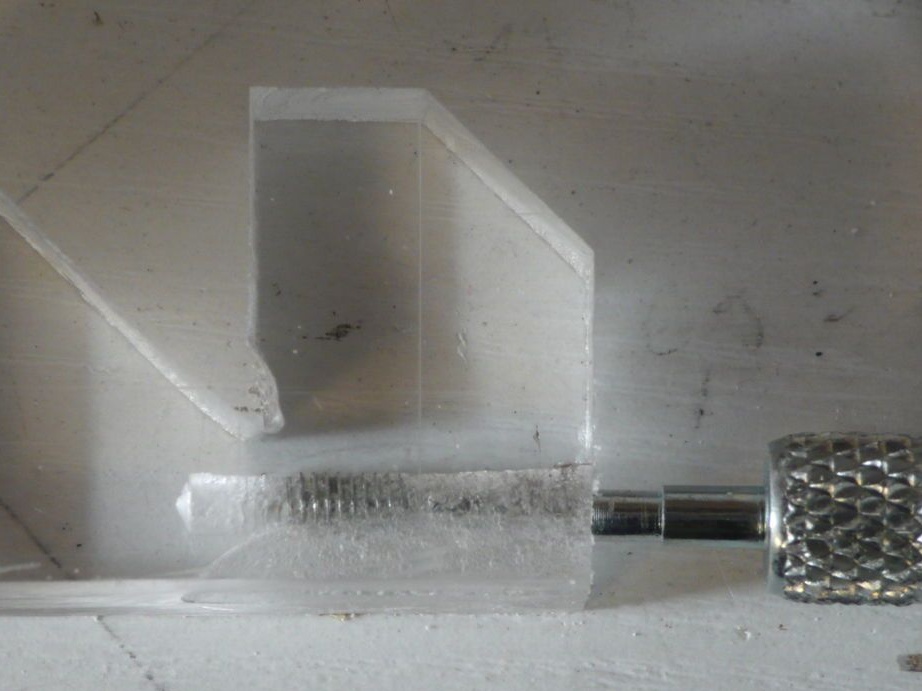
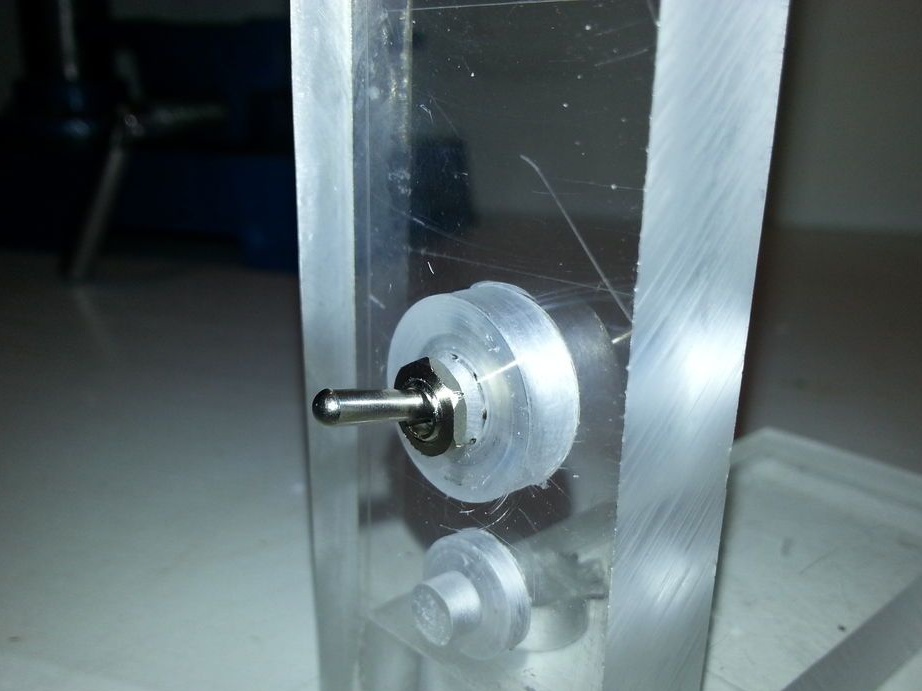
Step Eight: Stand
Makes a stand for mounting the machine. In the rack, drills a hole and sets the toggle switch.
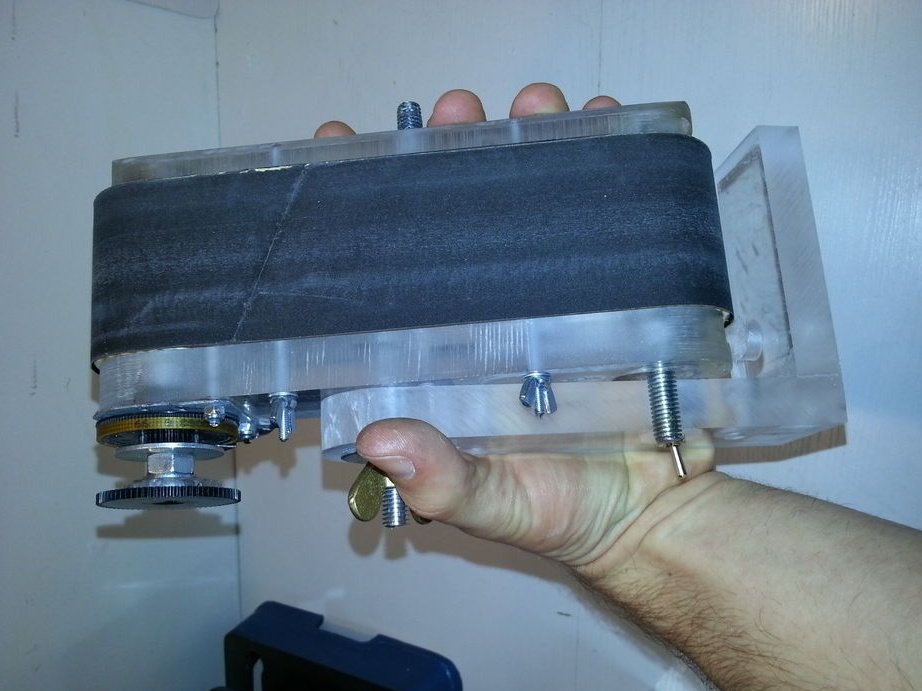
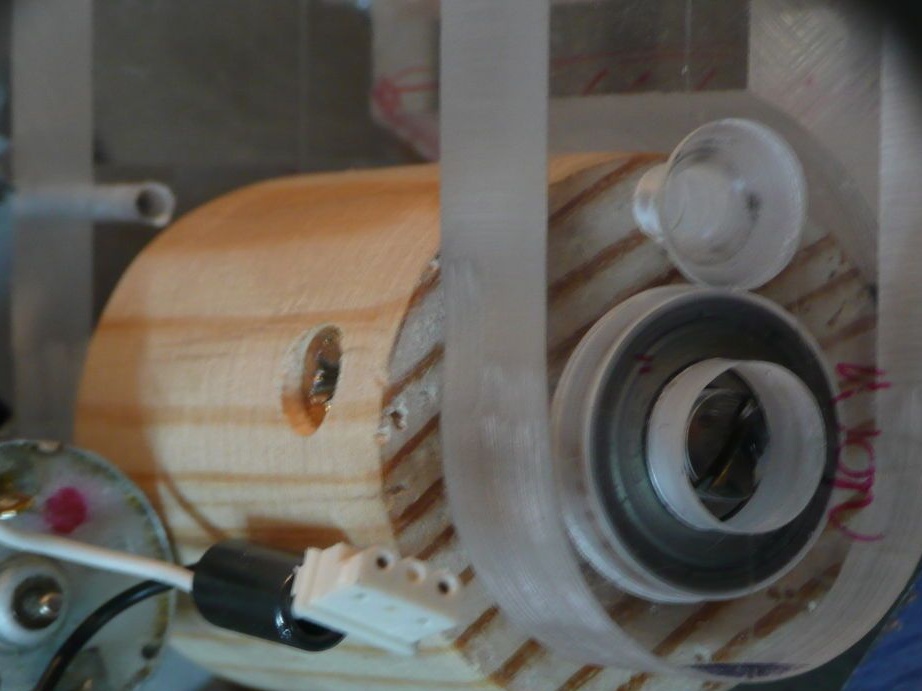
Step Nine: Ribbon
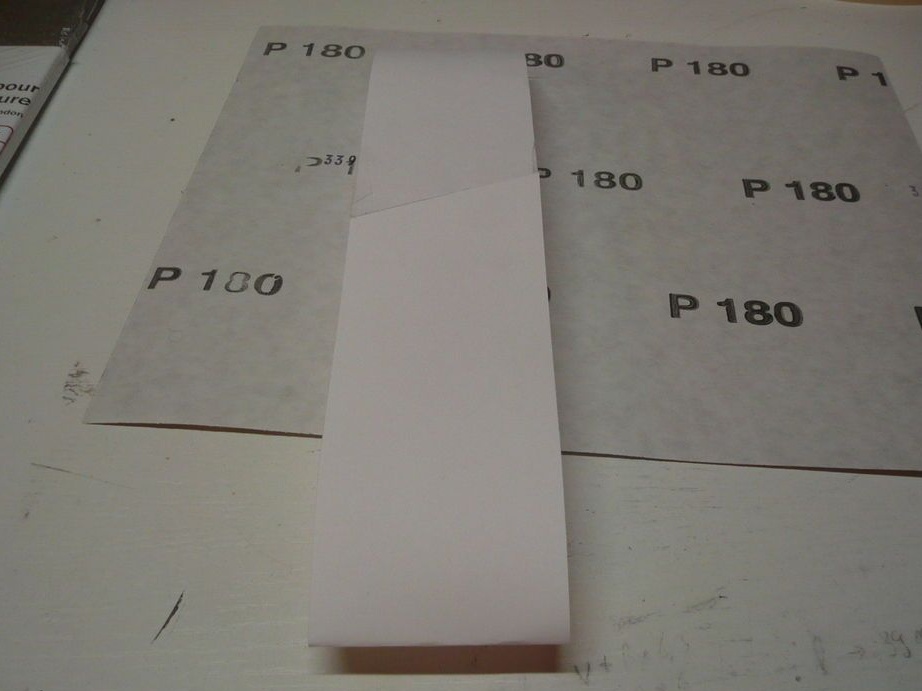
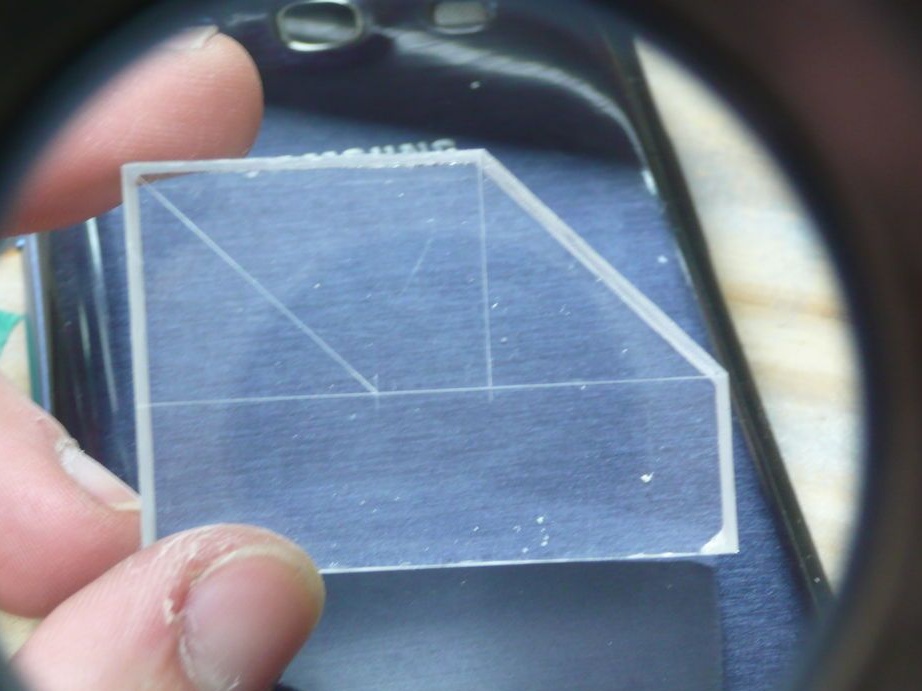
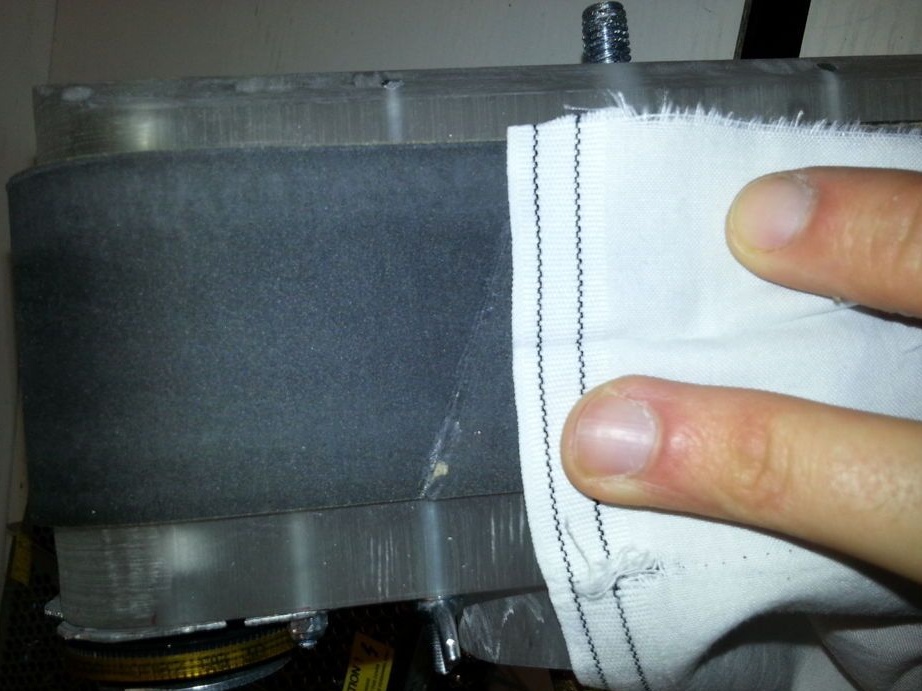
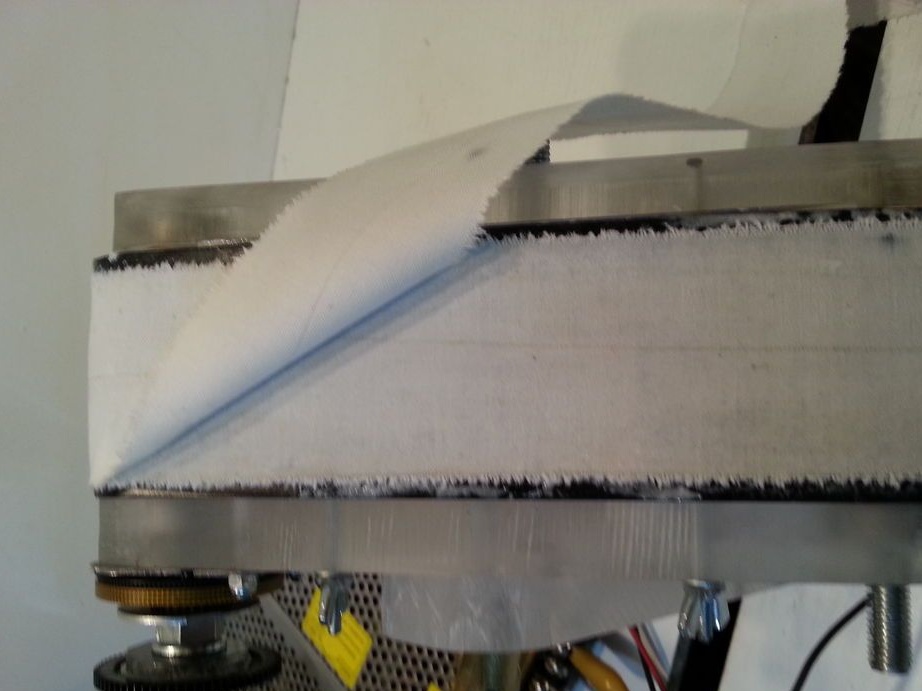
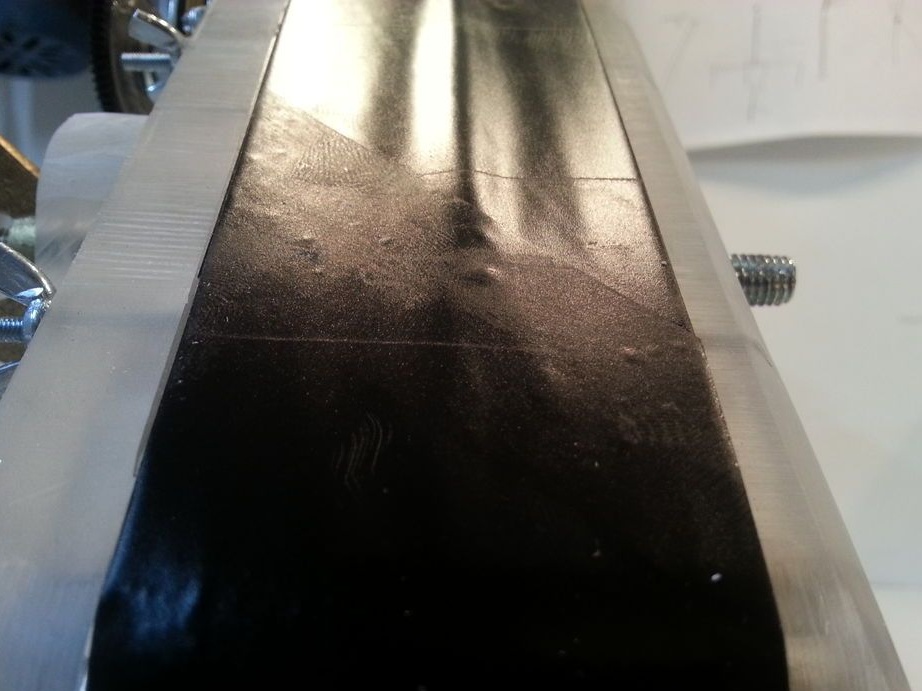
Now you need to do something like a conveyor belt, on which a strip of sandpaper will be attached.
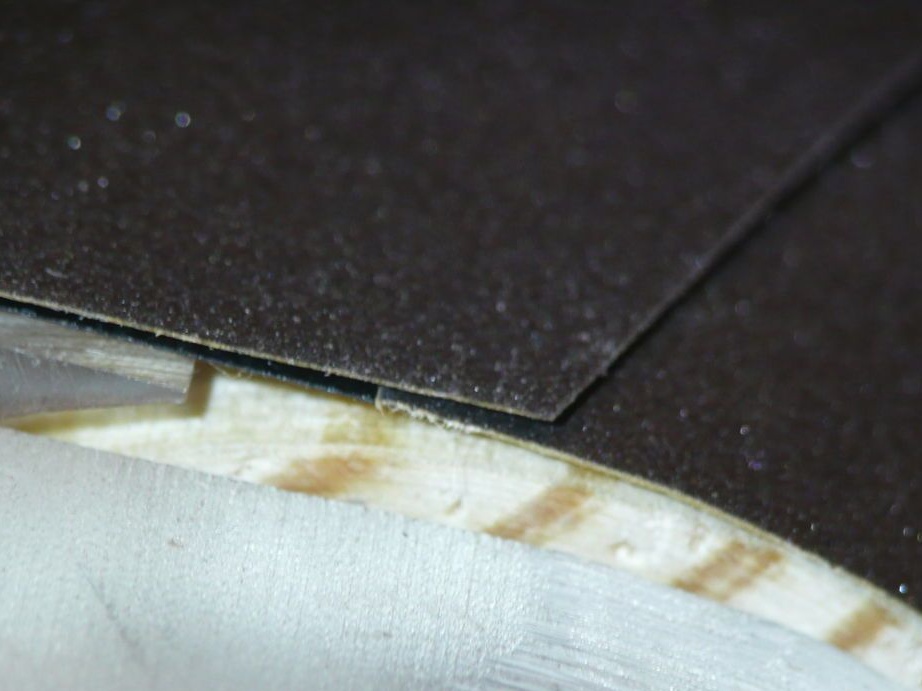
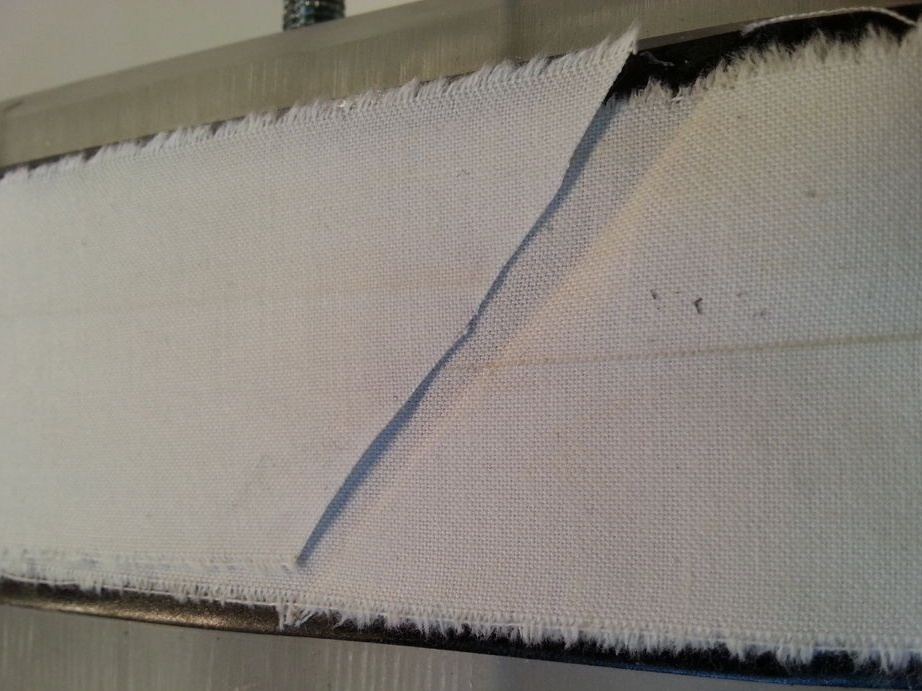
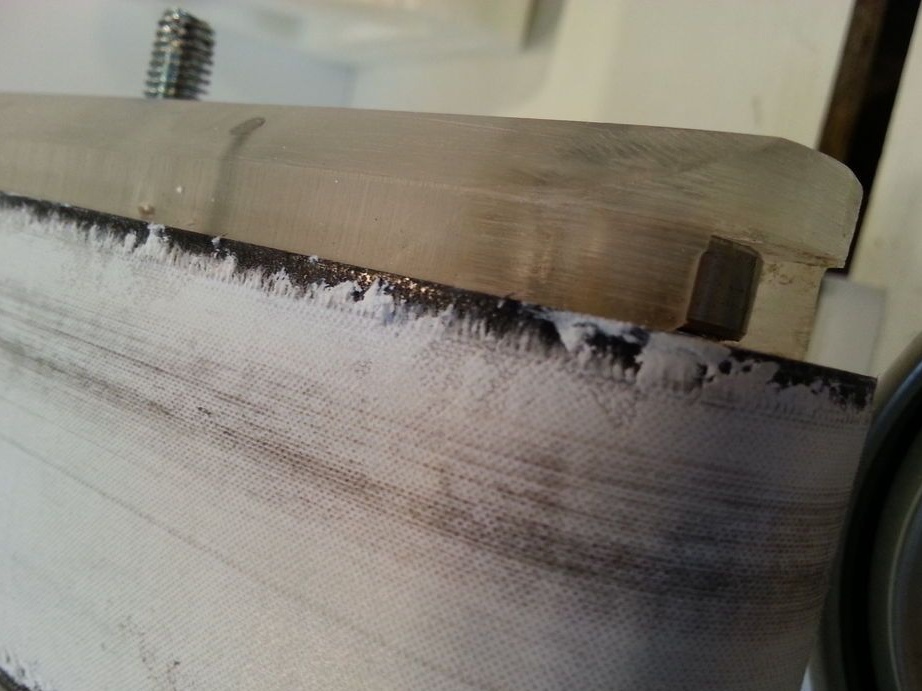
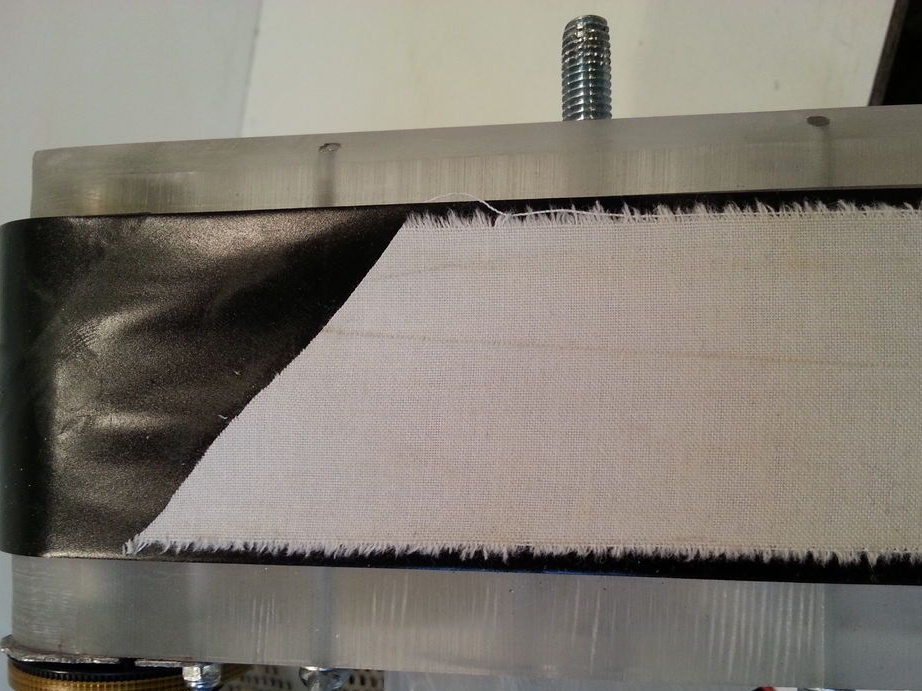
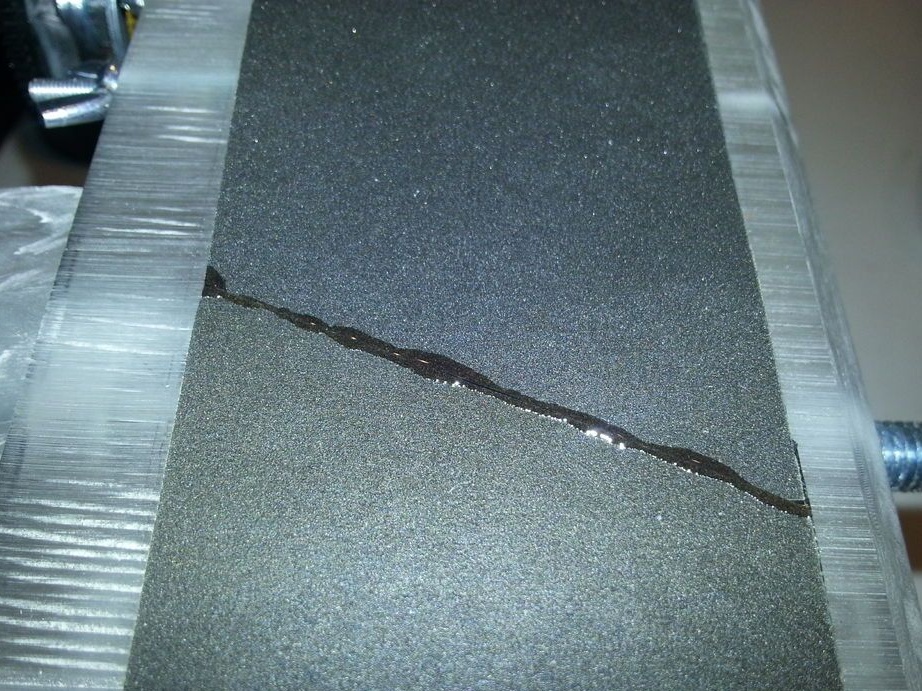
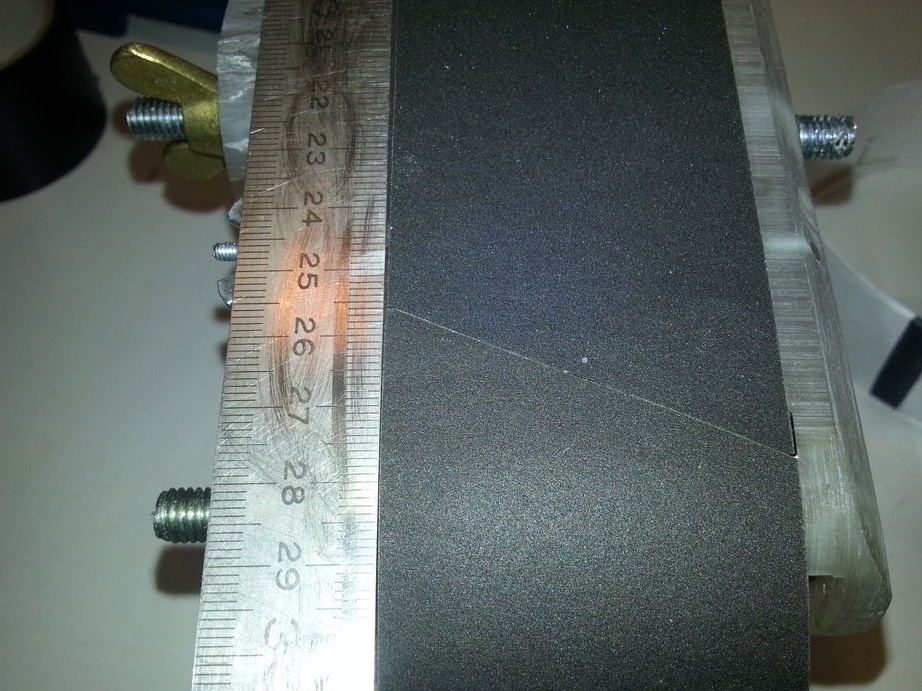
In a circle between the rollers stretches the adhesive tape with the sticky side up. Glue a strip of cloth to the tape. Glue sandpaper on top of the strip. All sections, in strips, go to a slanting line.
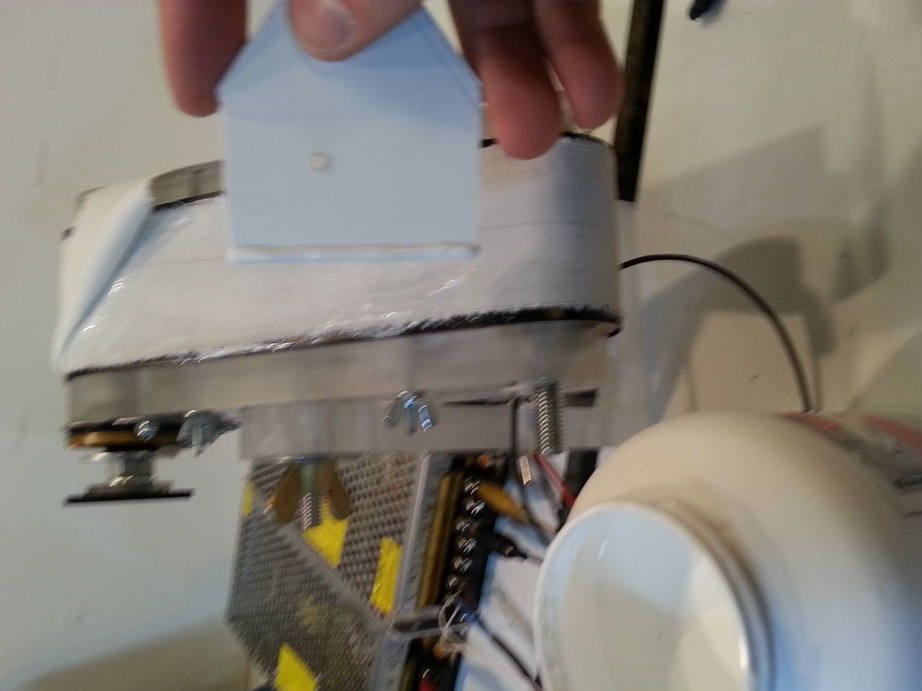
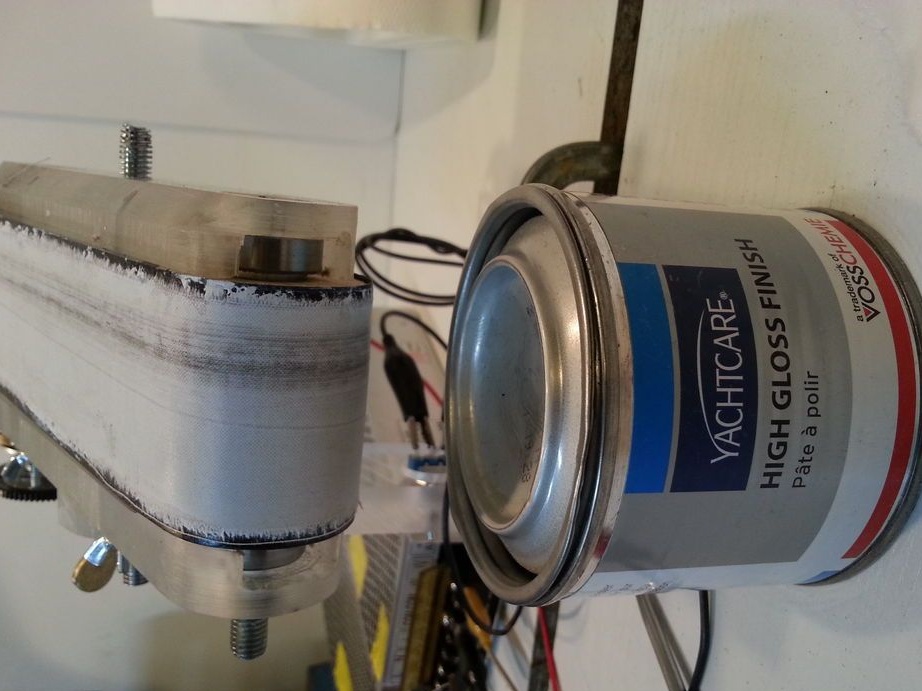

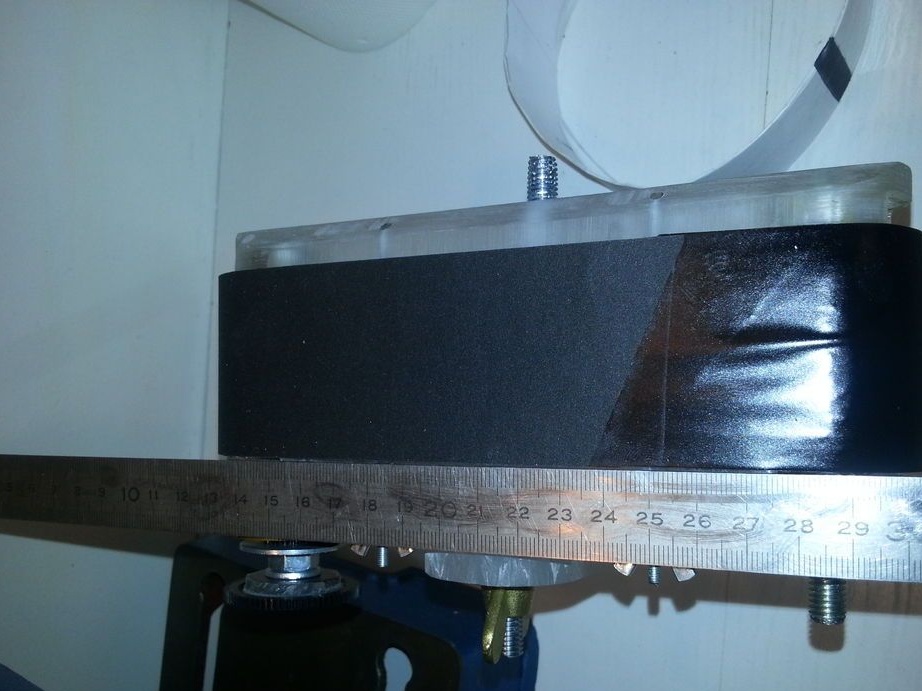

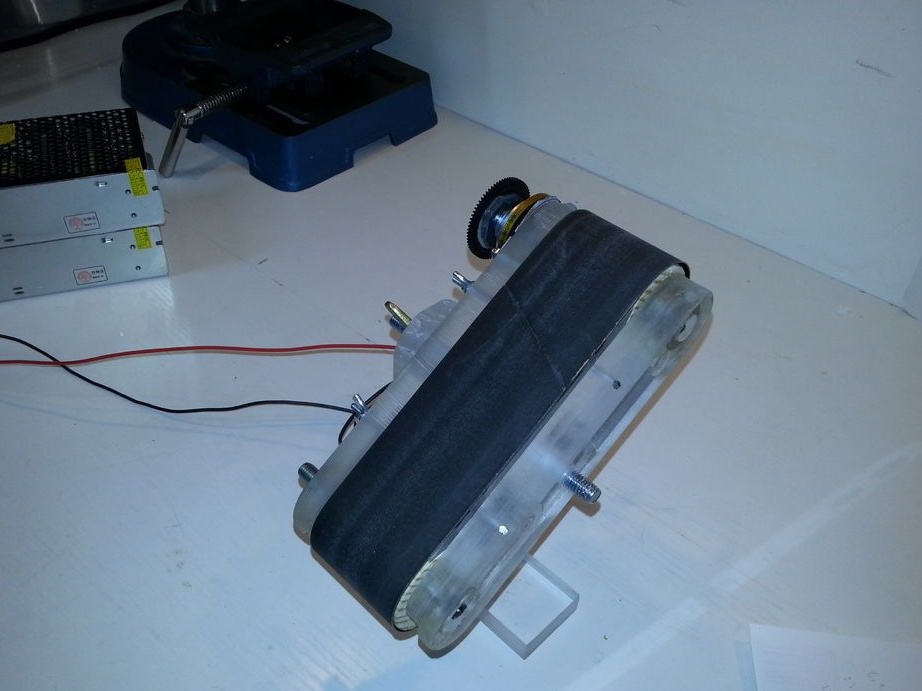
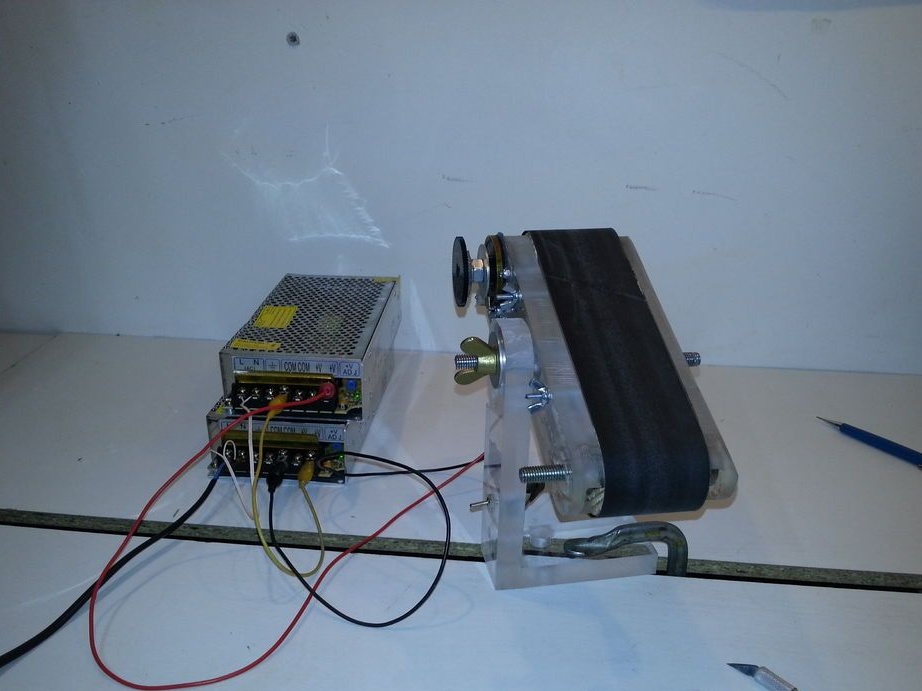
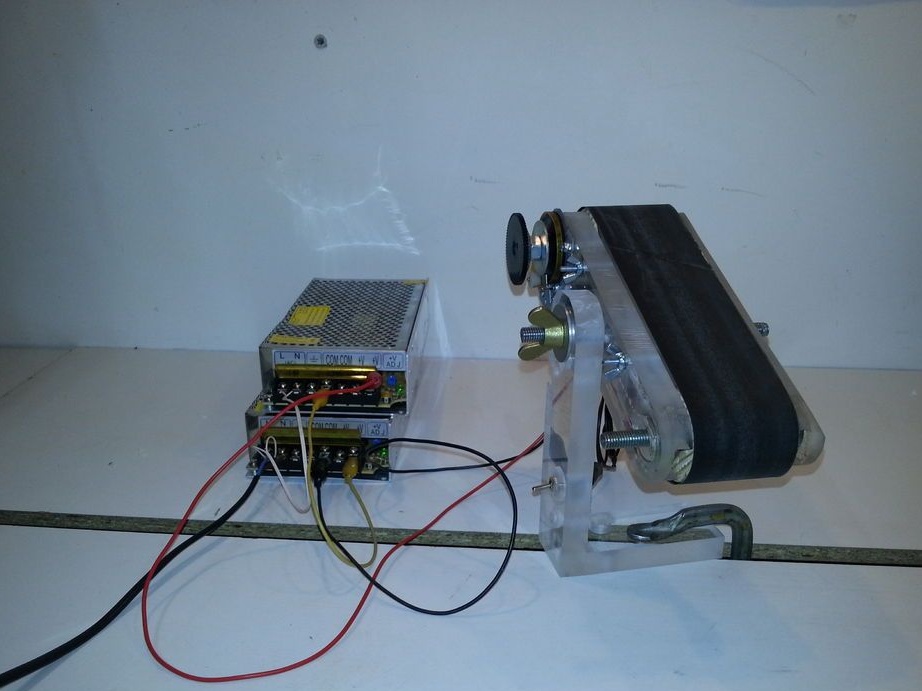
The belt sander is ready. It remains to connect it to the power supply.
When working with mechanisms, observe safety precautions.