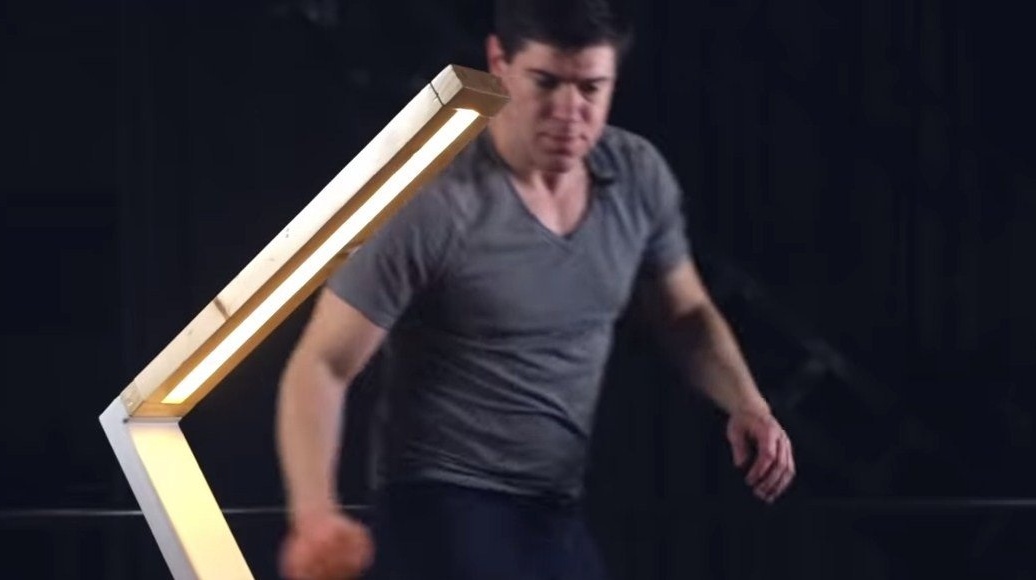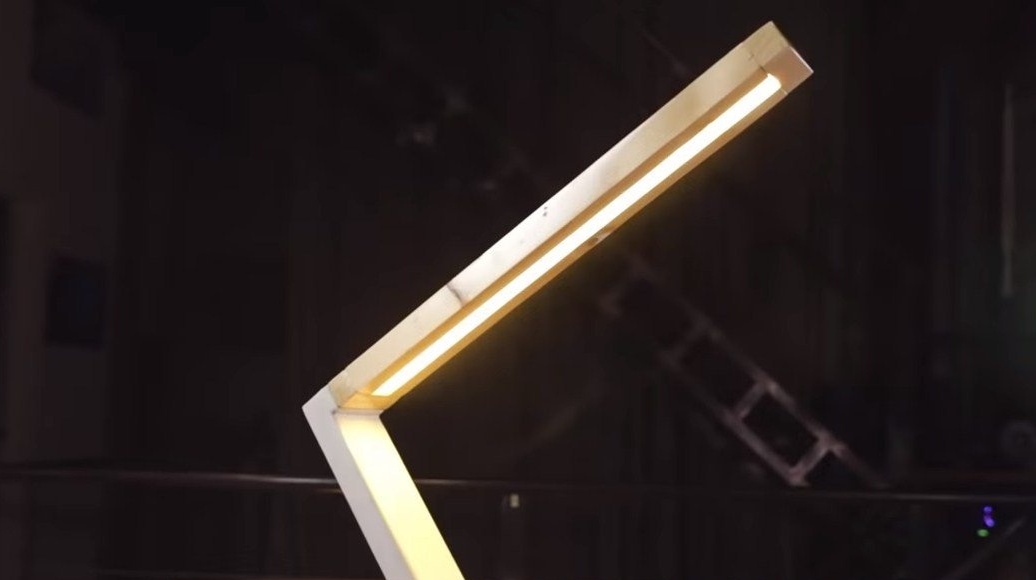
Greetings to fans who like to craft, this time we will figure out how to make an interesting lamp in an industrial style. It is assembled from wood, concrete and epoxy; it looks quite interesting. A similar lamp is also going to be assembled, you can cope with quite simple tools. If the project interests you, I propose to study it in more detail!
Materials and tools used by the author:
Material List:
- ;
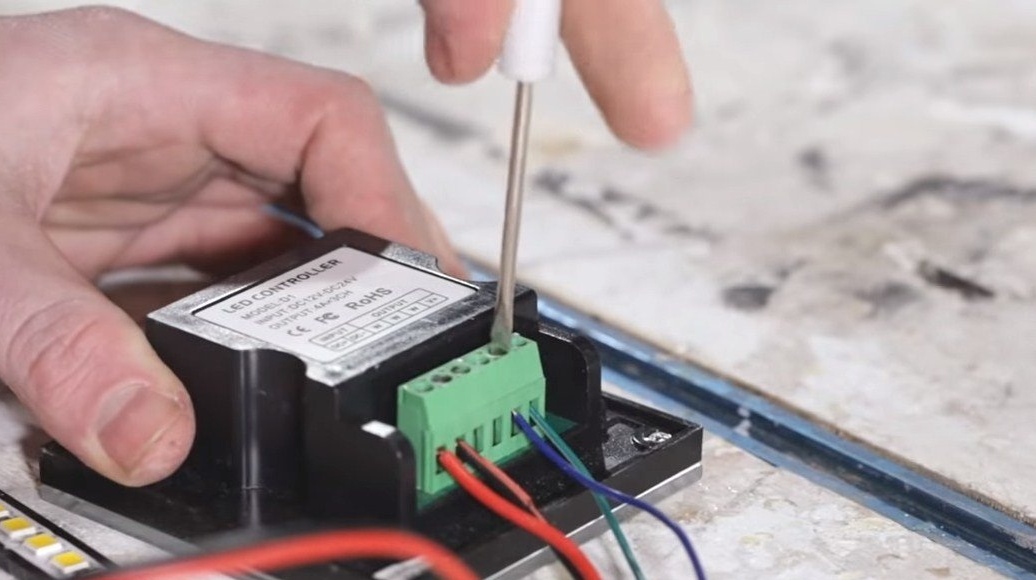
- power supply and controller for LED strip;
- epoxy resin and white dye;
- concrete or gypsum (for a rack);
- boards;
- a piece of plastic pipe;
- furniture dowels;
- chipboard or other formwork material;
- silicone sealant;
- self-tapping screws.
Tool List:
- glue gun;
- a circular saw;
- building hair dryer;
- clamps;
- soldering iron;
- orbital sander;
- drill;
- tape measure, marker and so on.
The manufacturing process of the lamp:
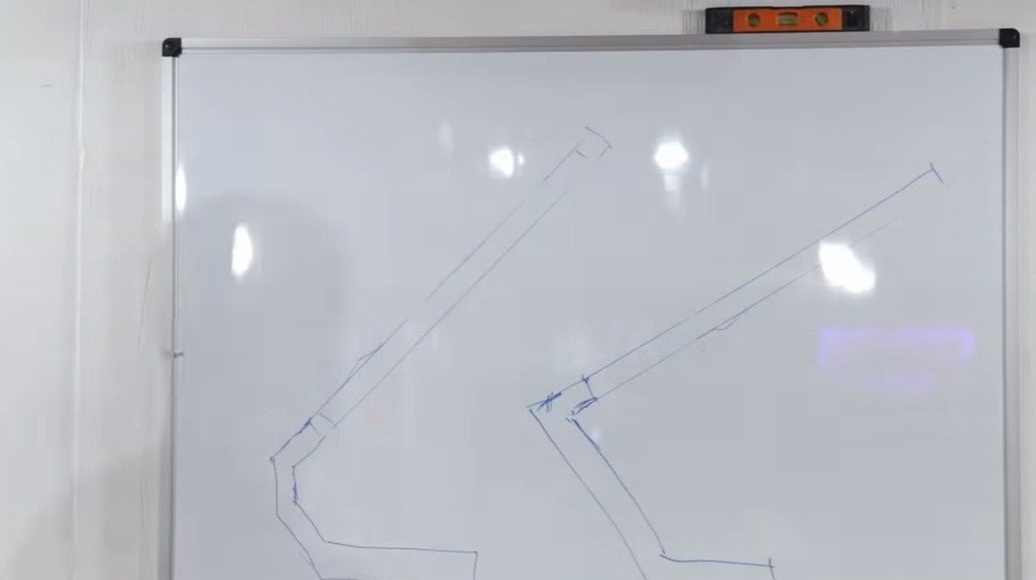
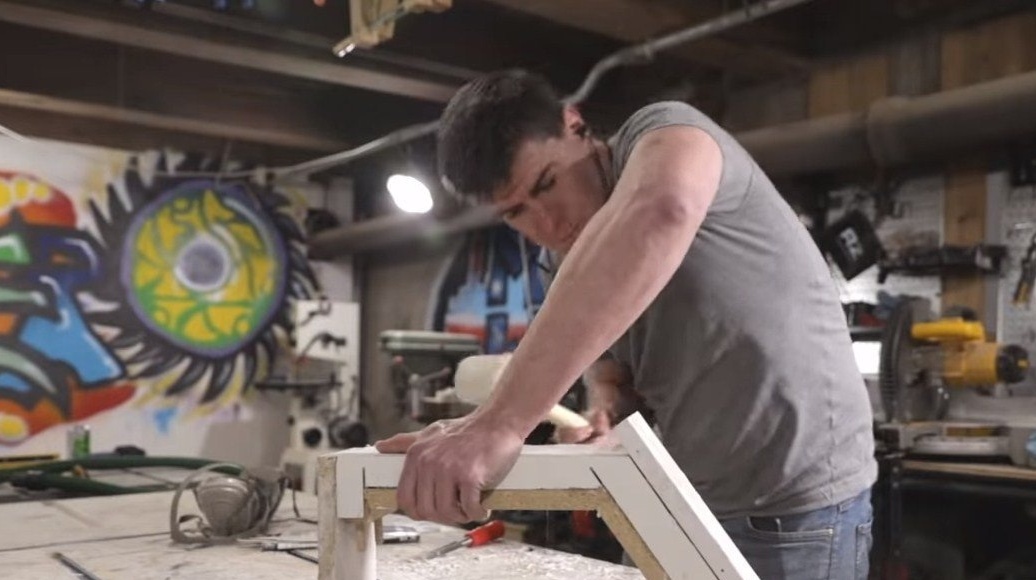
Step one. The manufacture of the "ceiling"
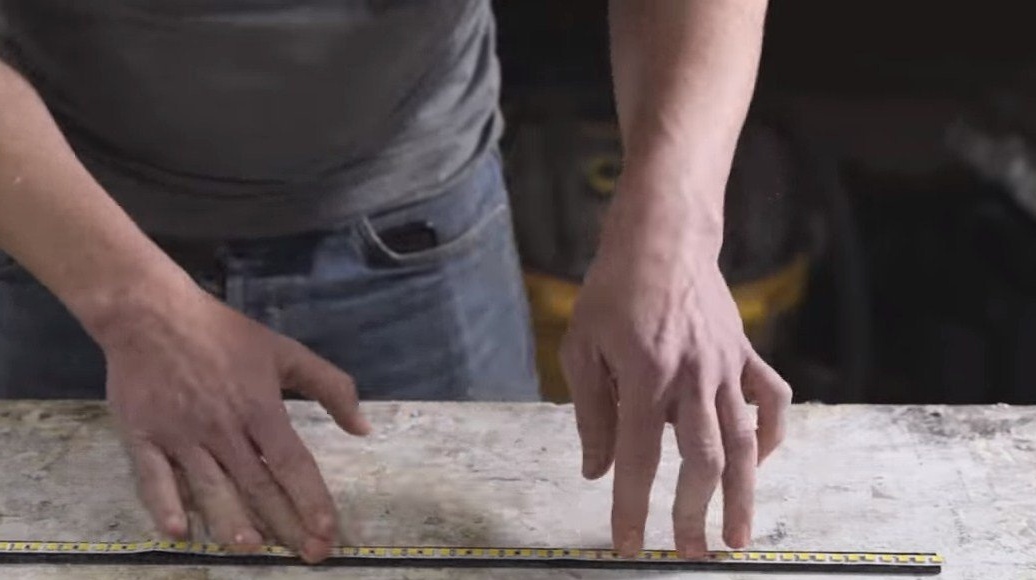
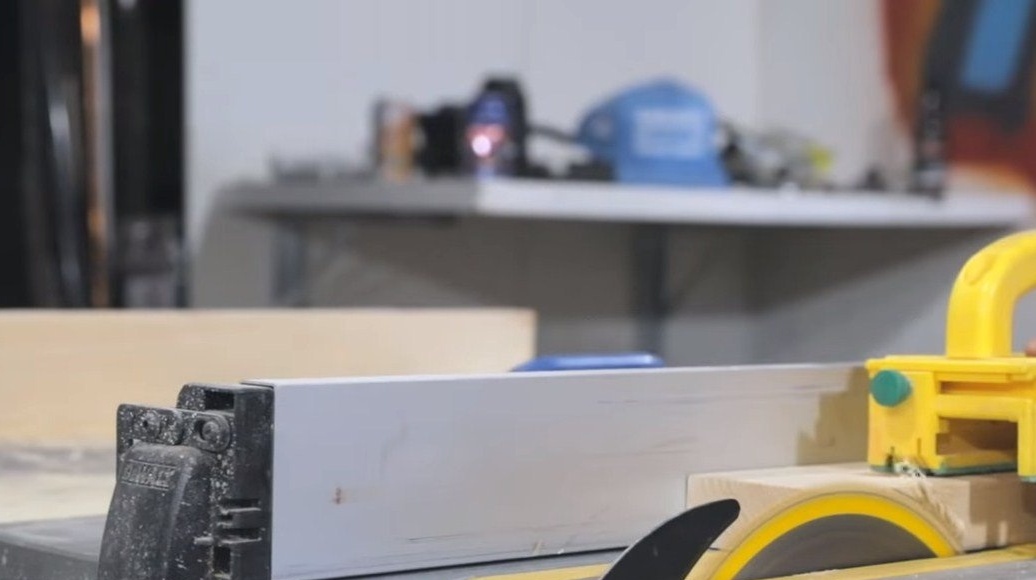
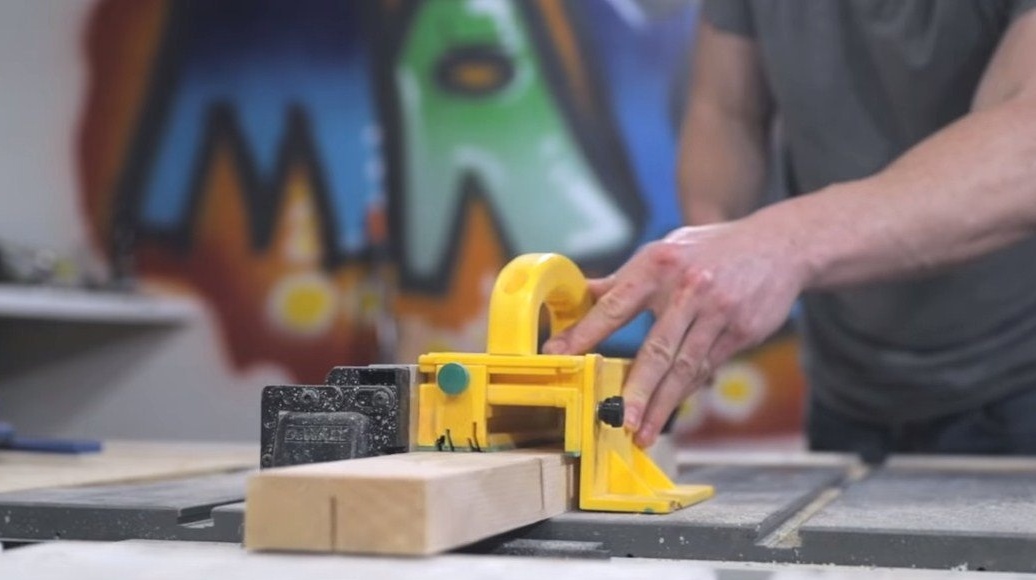
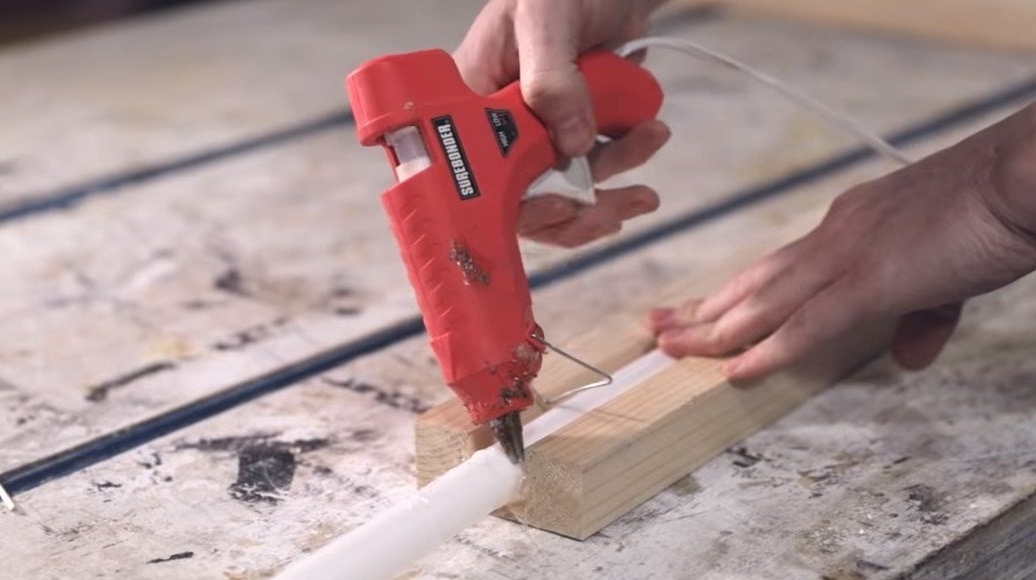
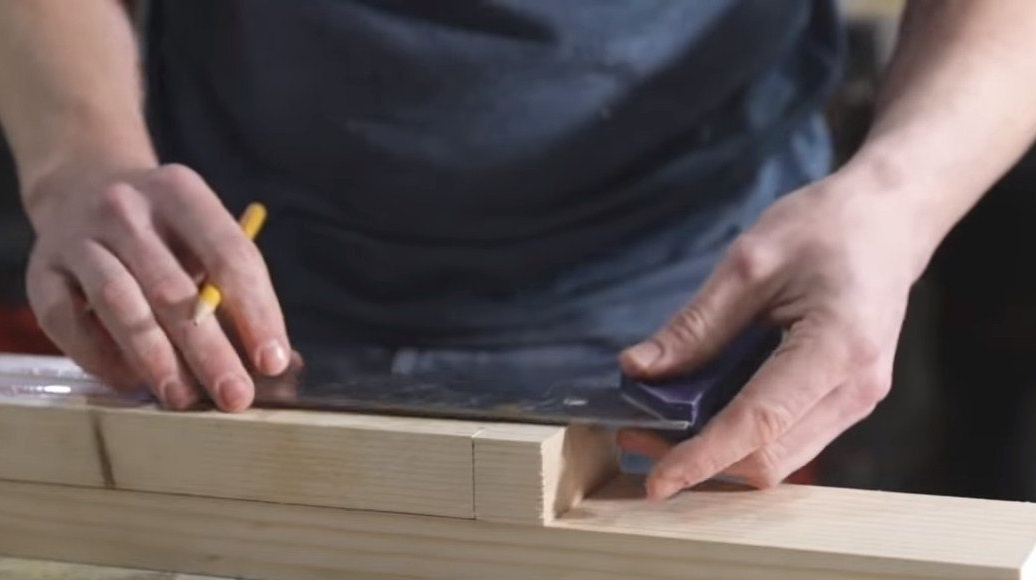
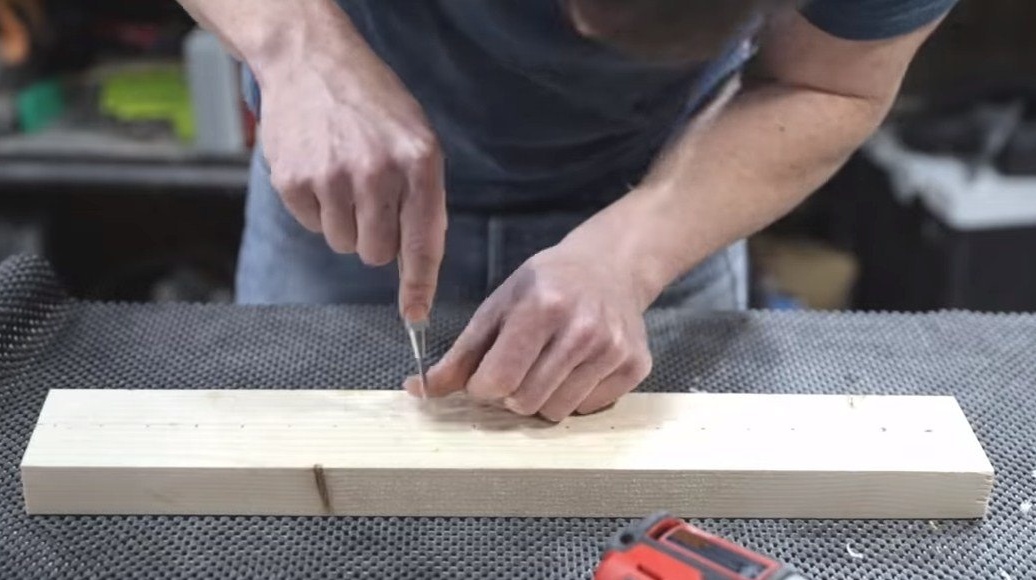
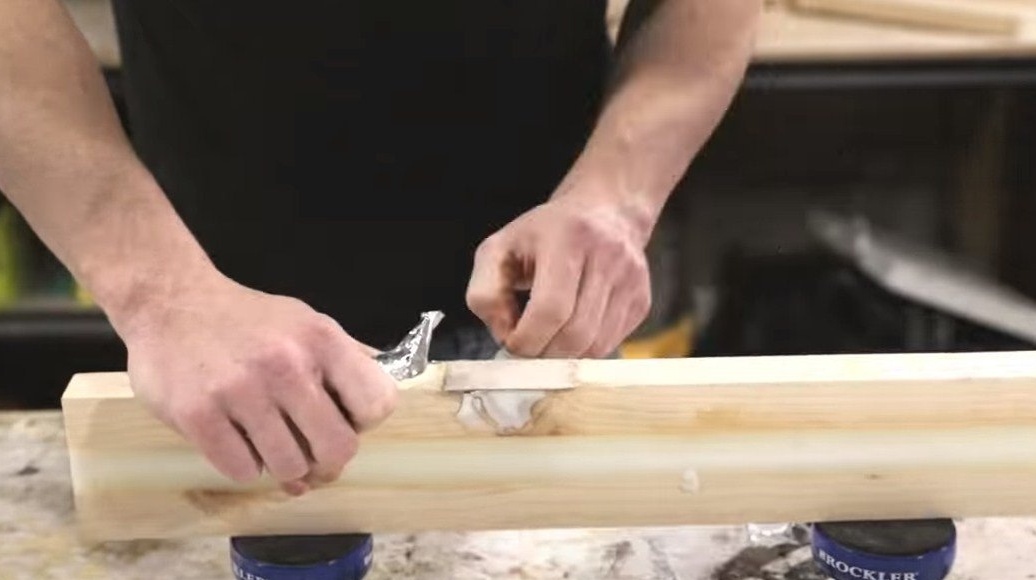
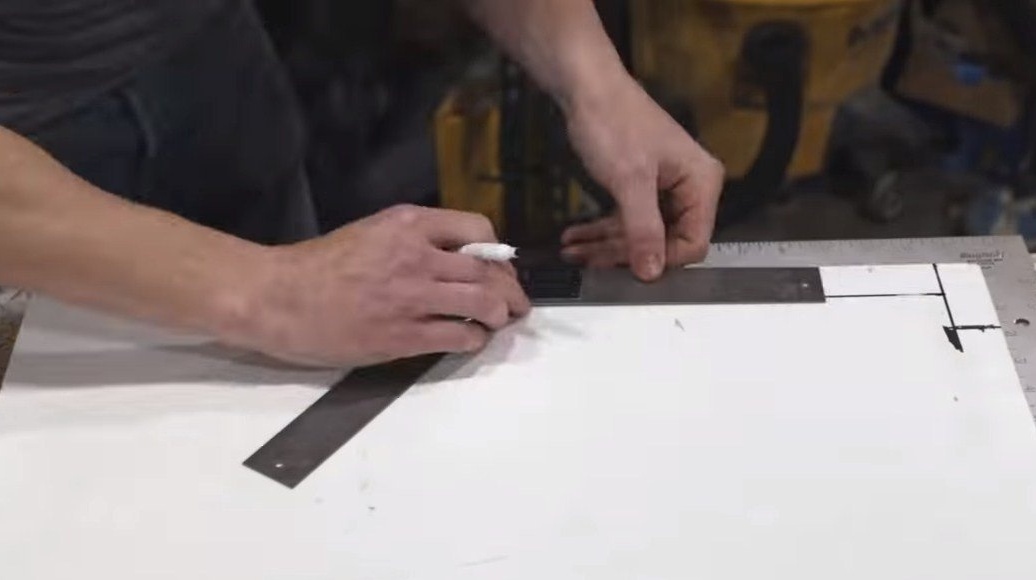
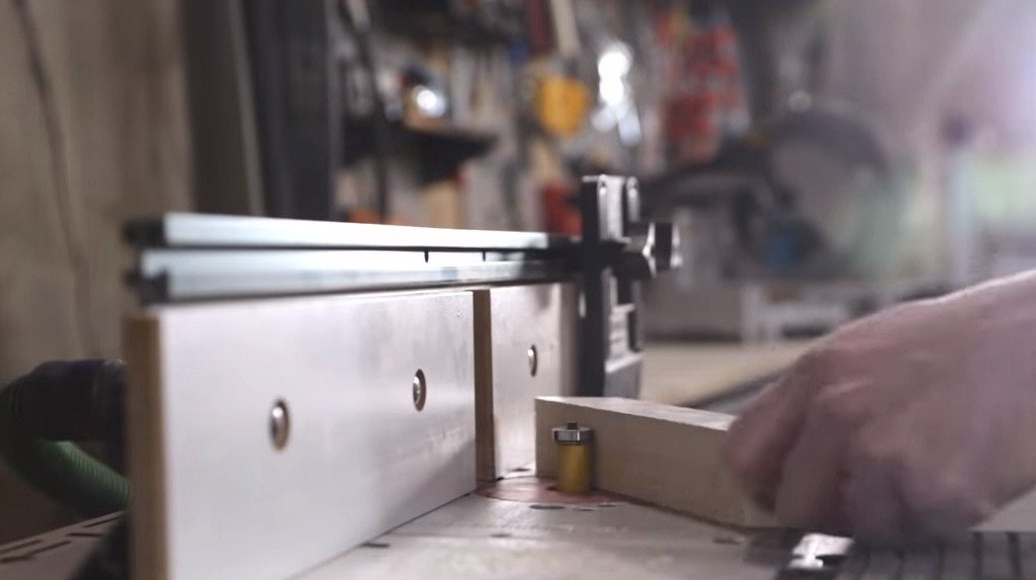
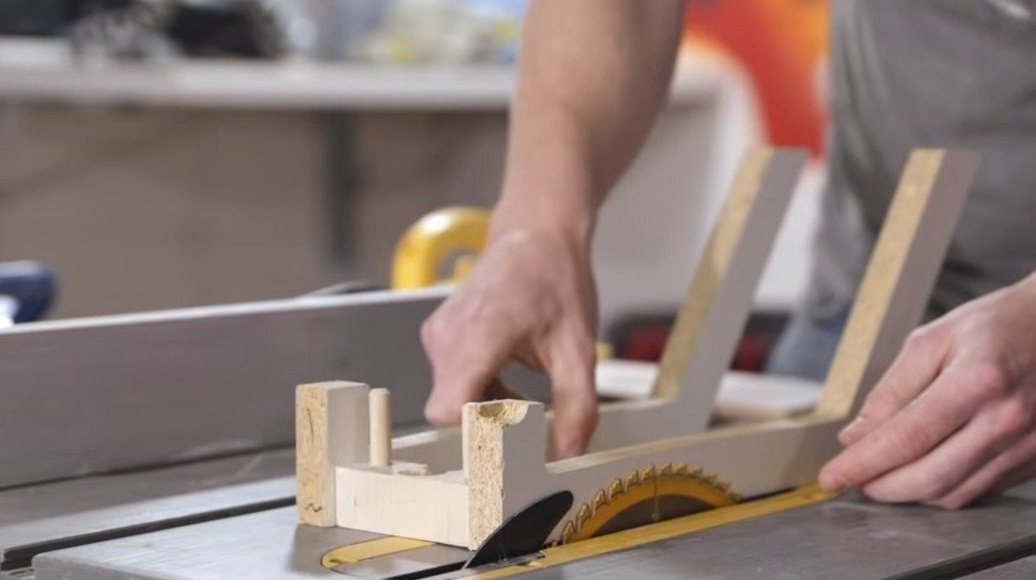
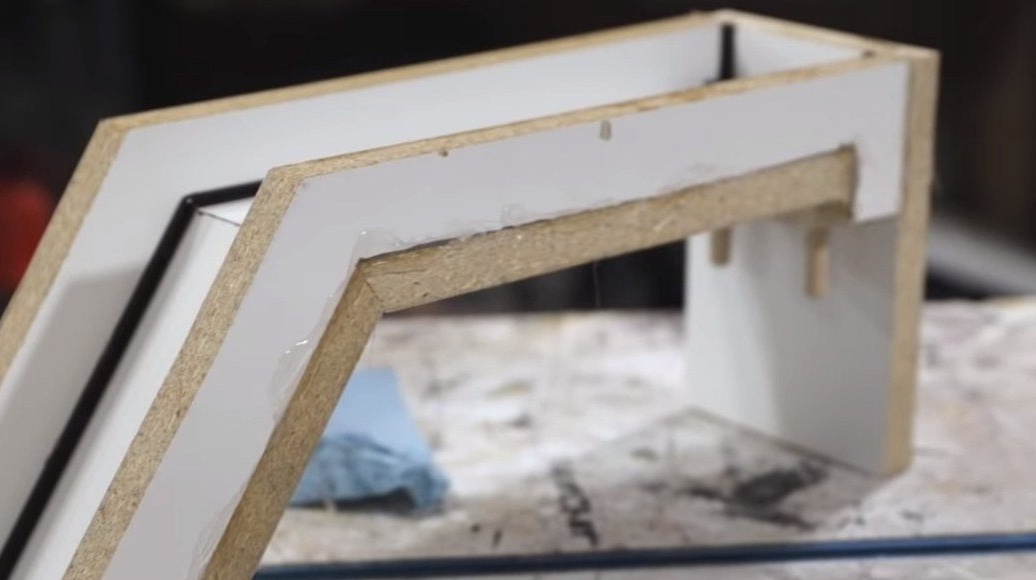
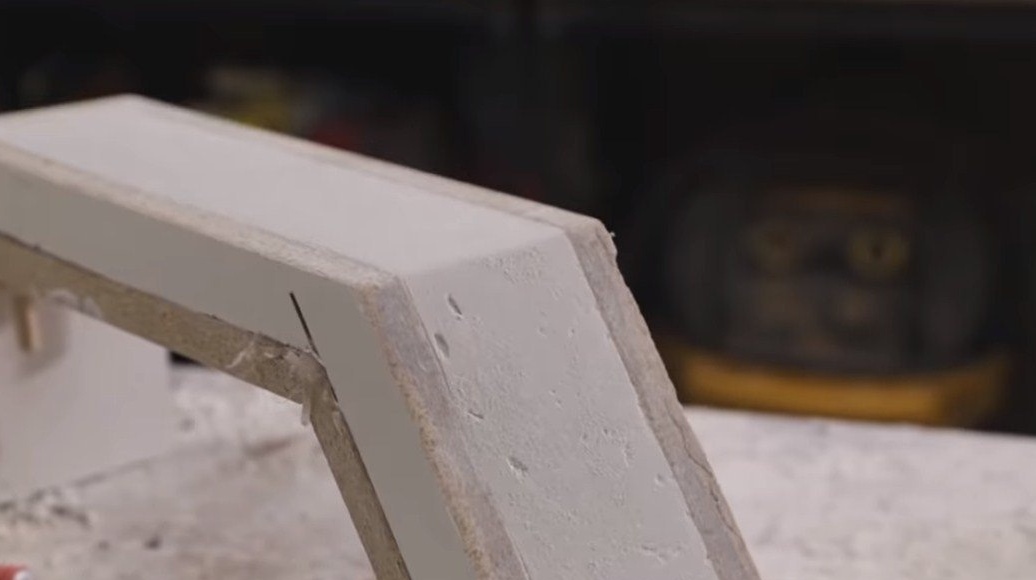
Let's start with the lampshade, take a board of suitable thickness, you need to cut a groove in it, into which a plastic pipe is then laid. Such a groove can be cut with a circular saw.
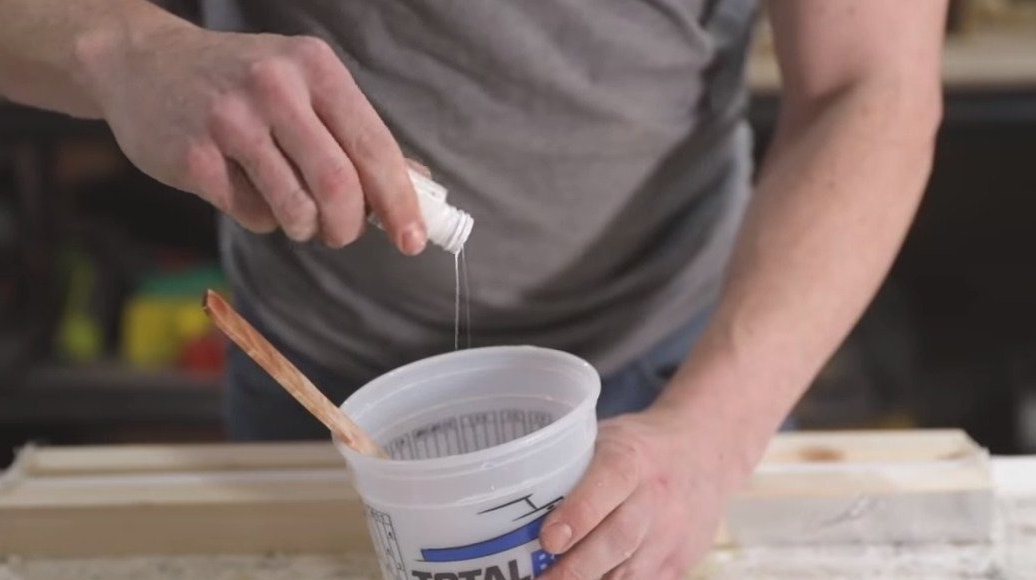
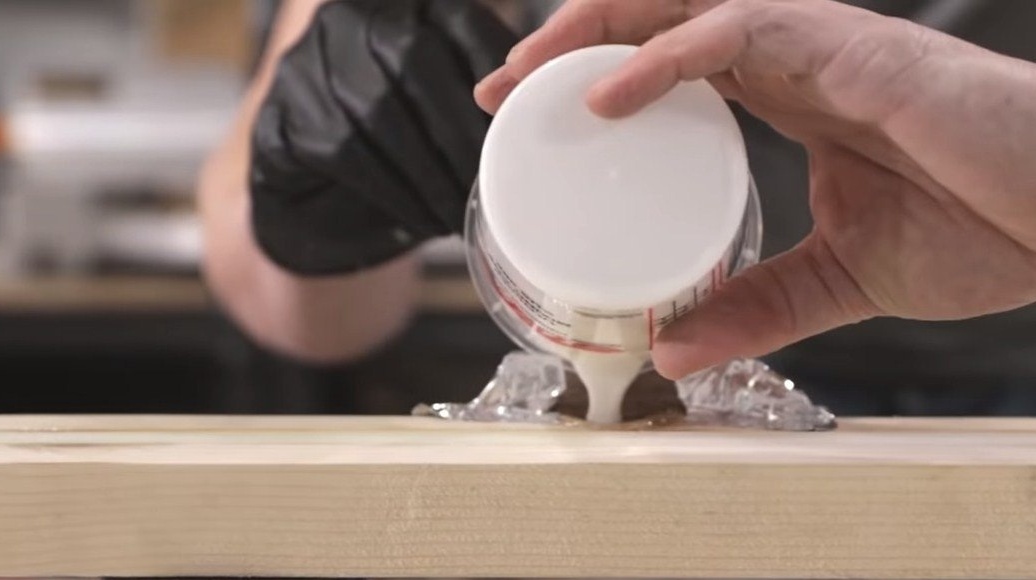
Having cut the groove of the required depth, we lay the pipe in it, and now we must fill it with epoxy from above. The author adds a white dye to the resin, as a result, the filling is matte and the pipe is not visible.
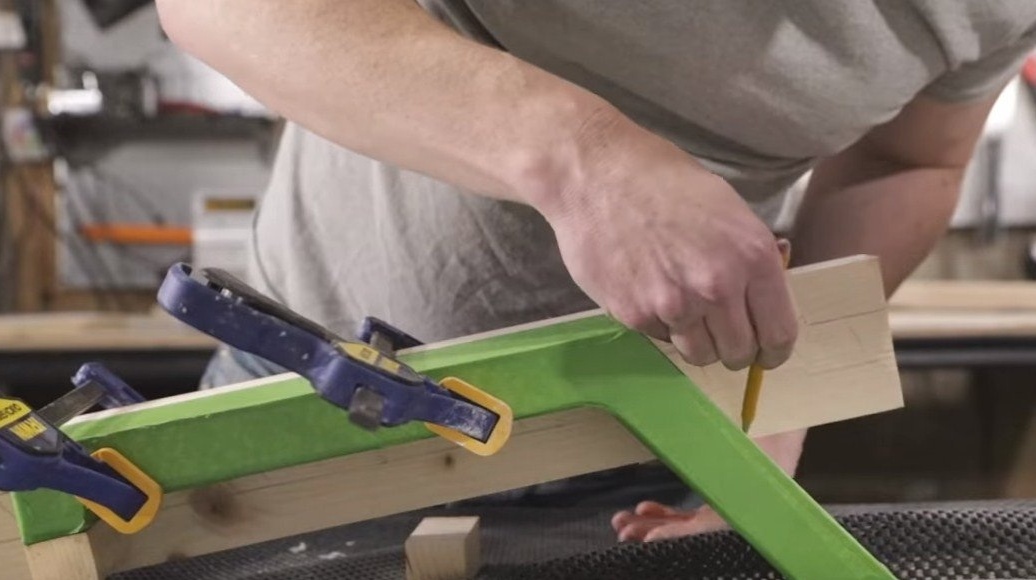
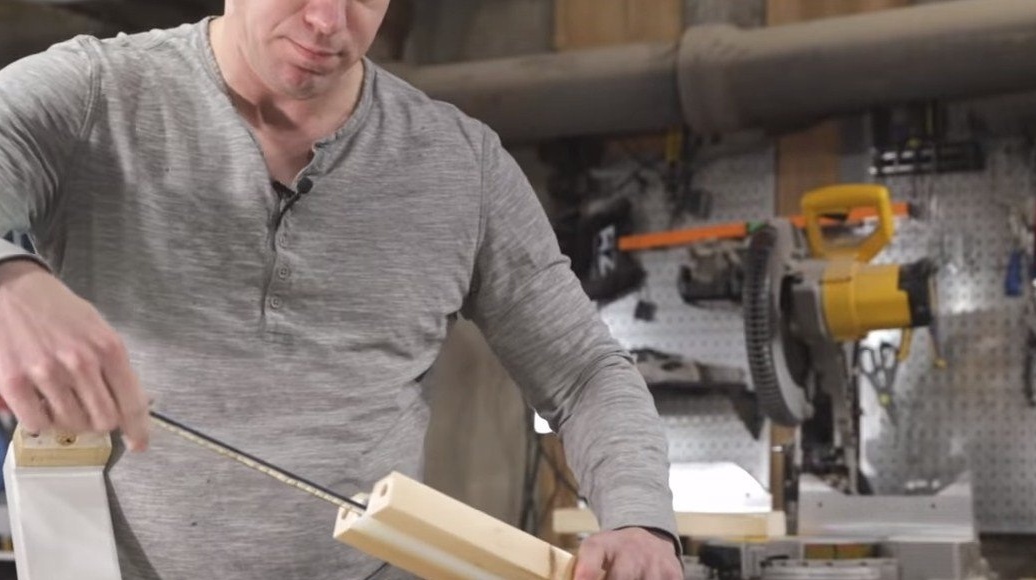
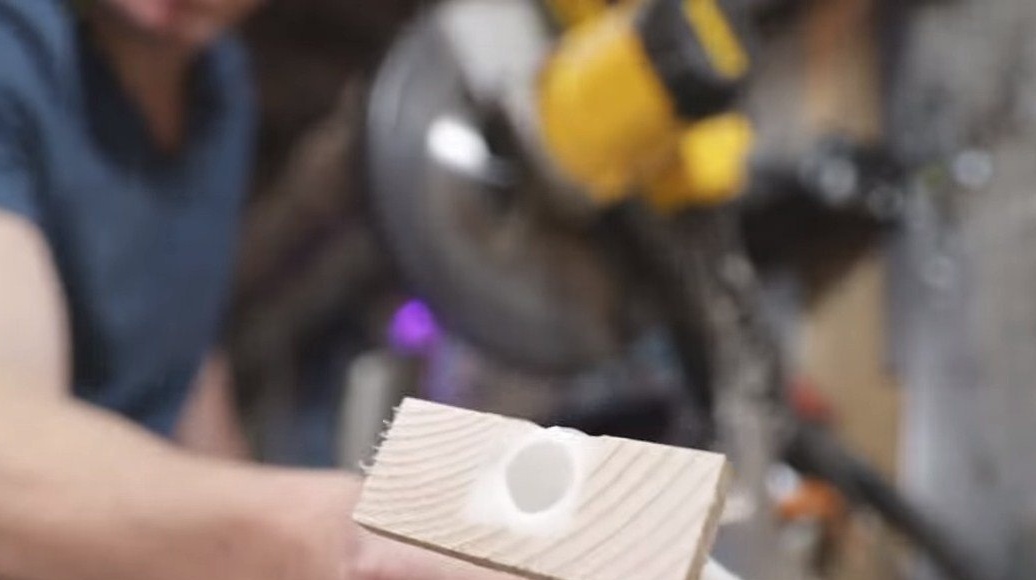
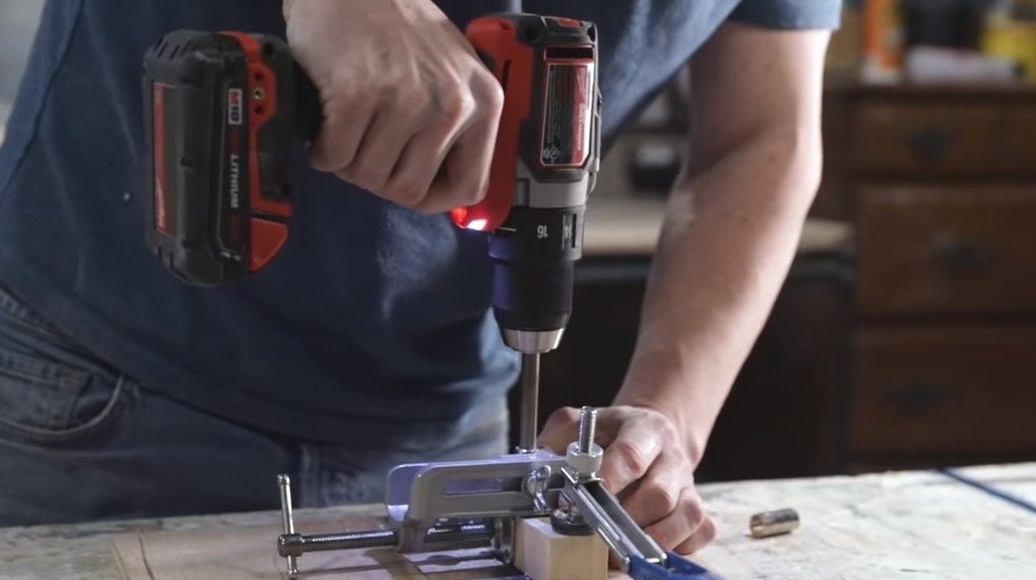
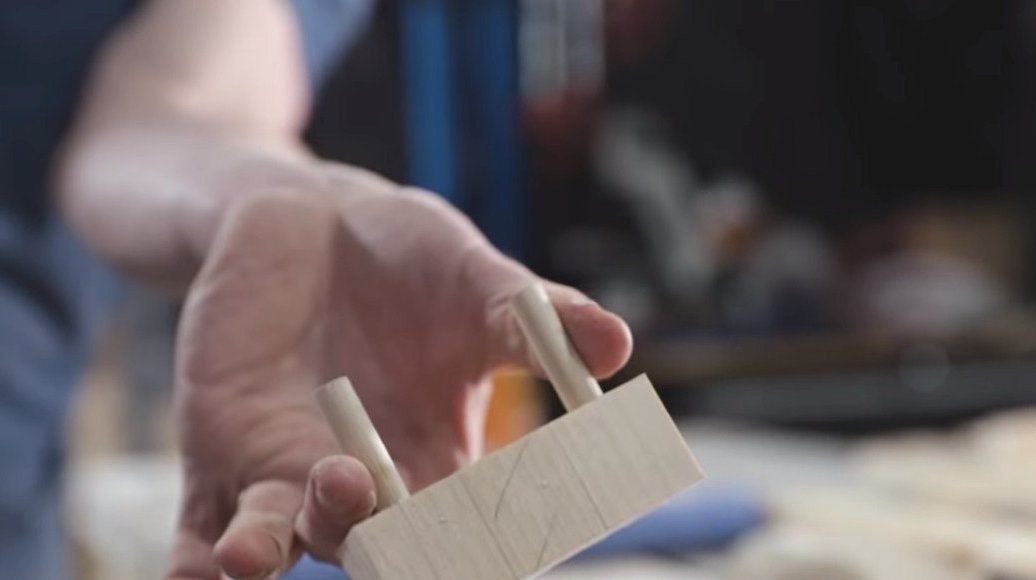
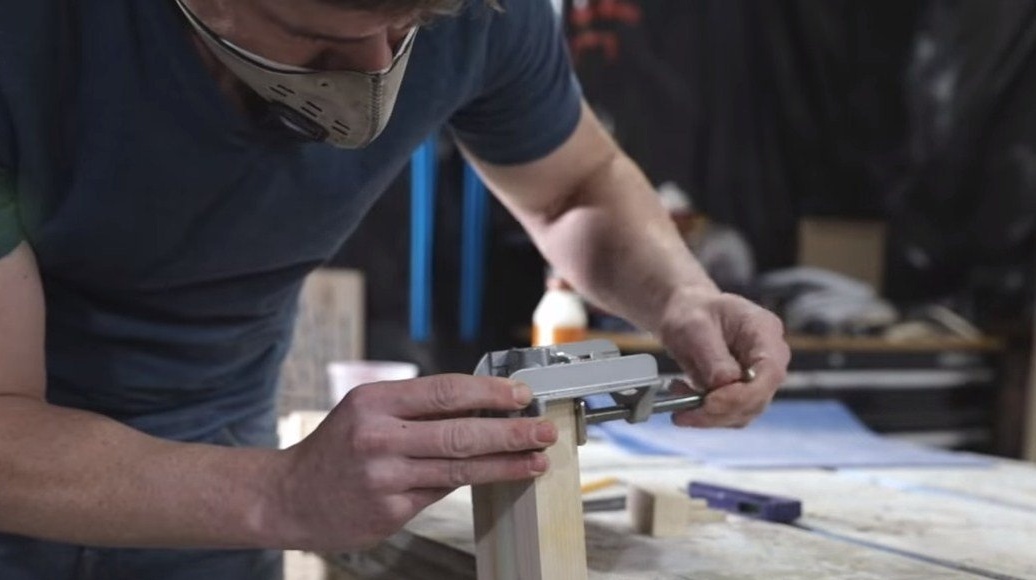
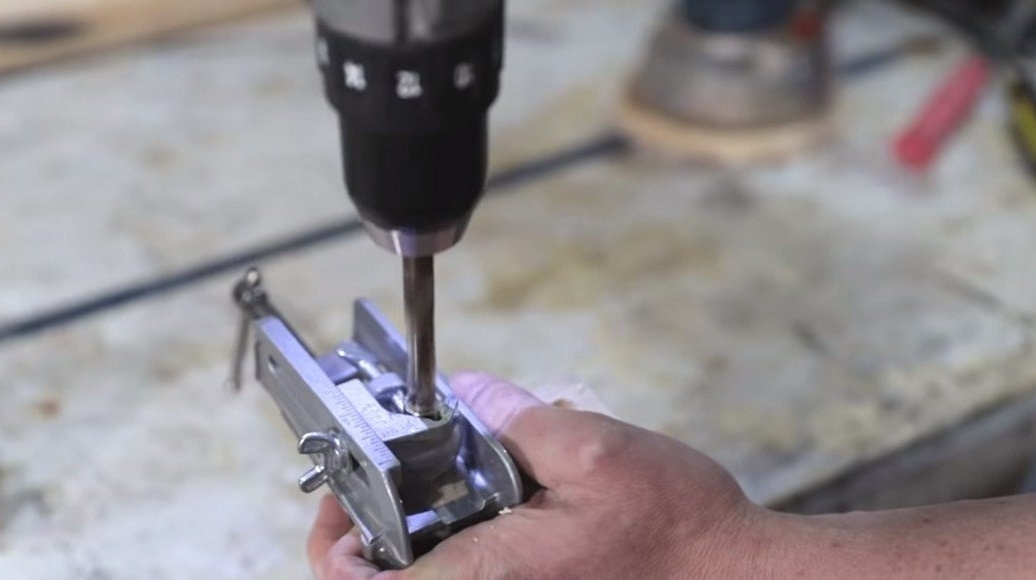
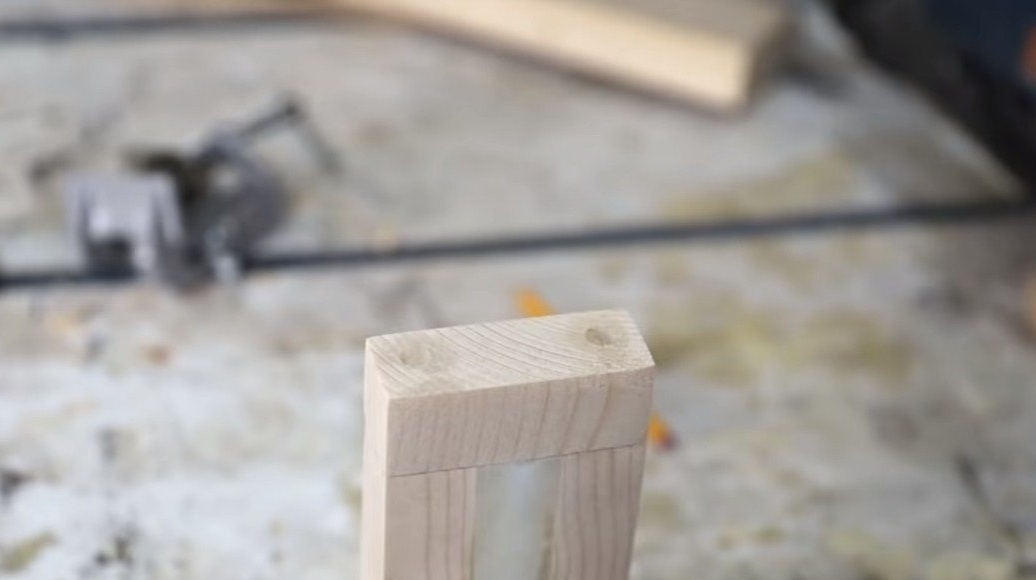
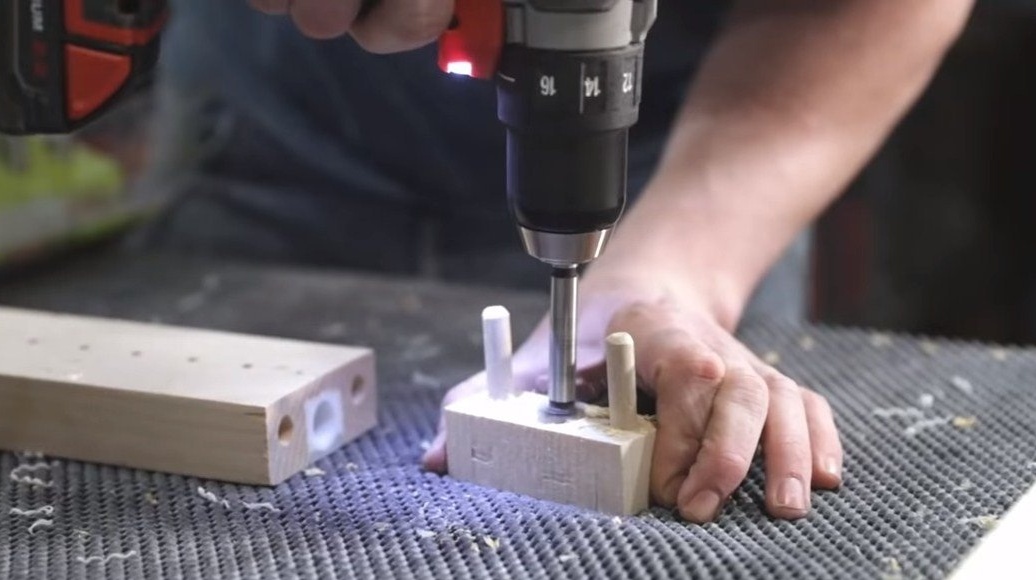
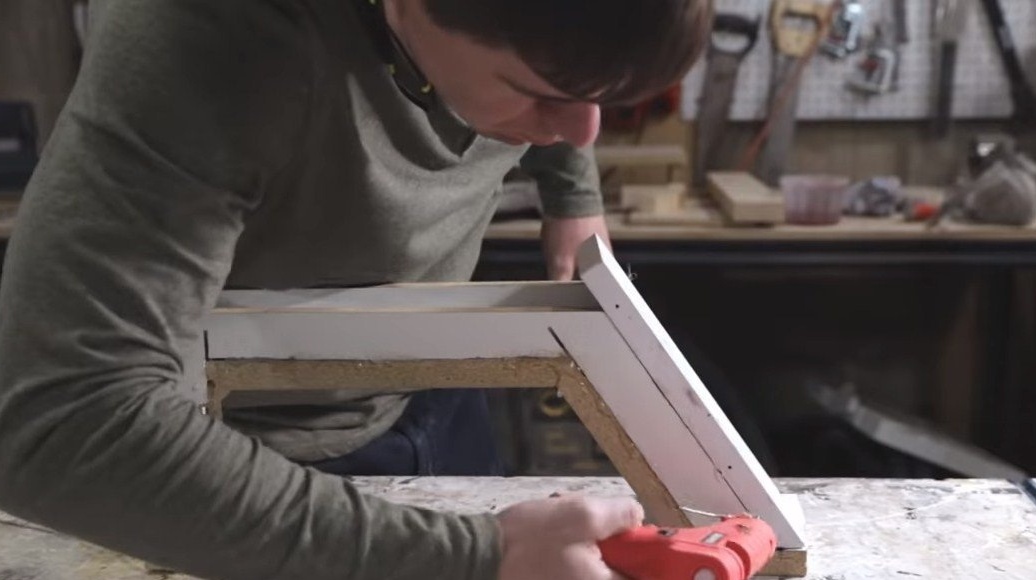
At the end, we make caps at the edges of the board, they should be installed on dowels.

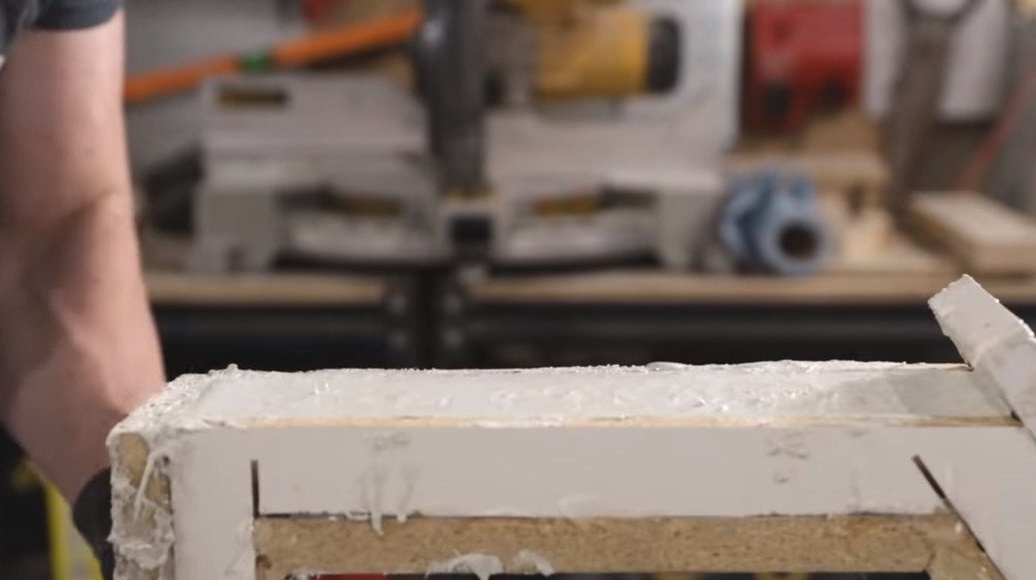
Step Two We remove defects
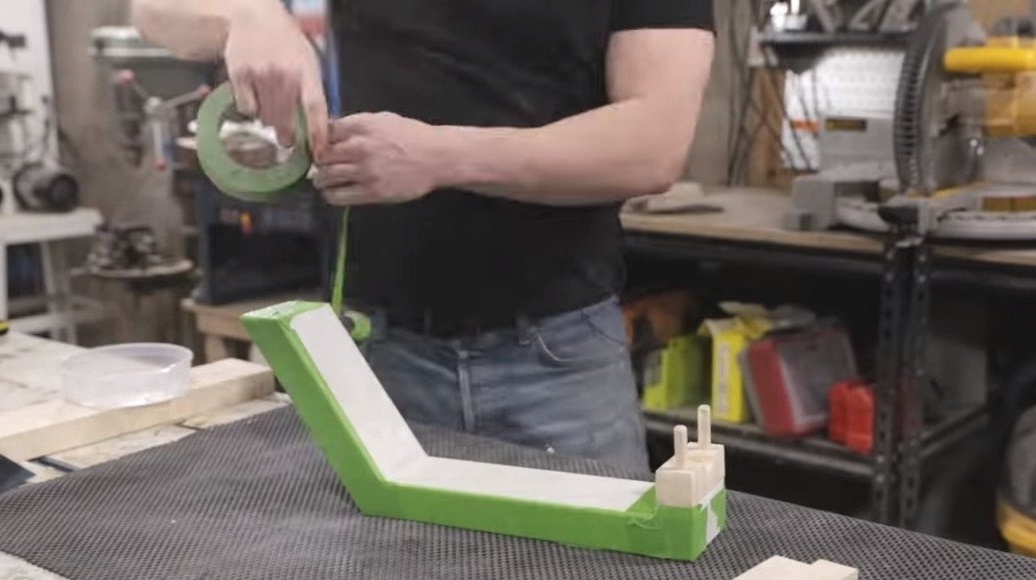
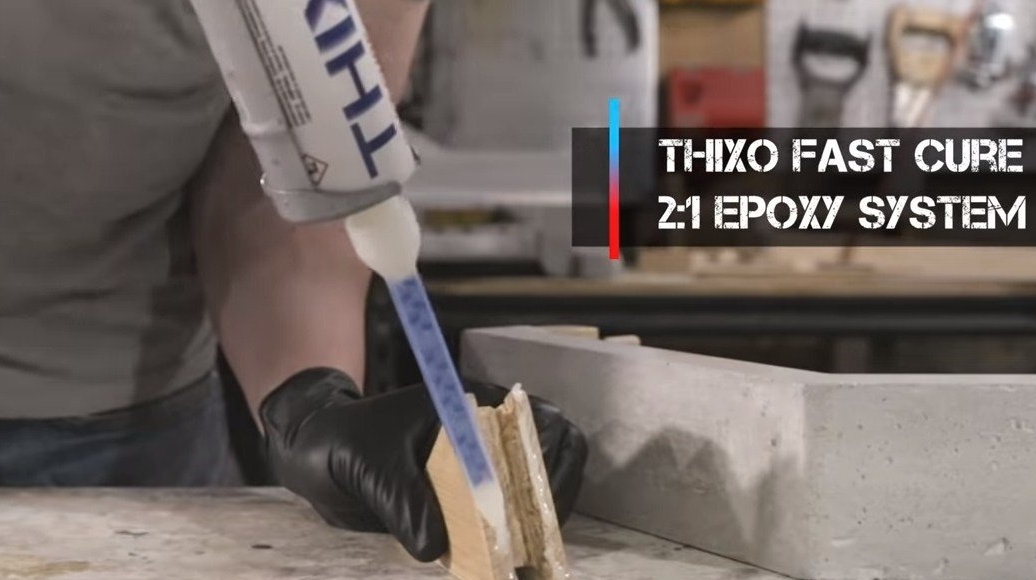
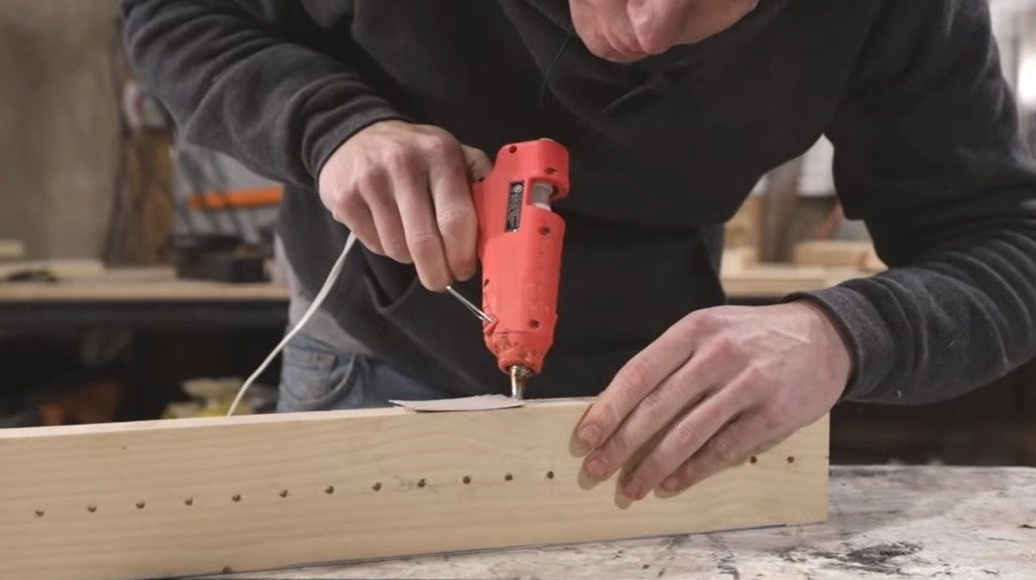
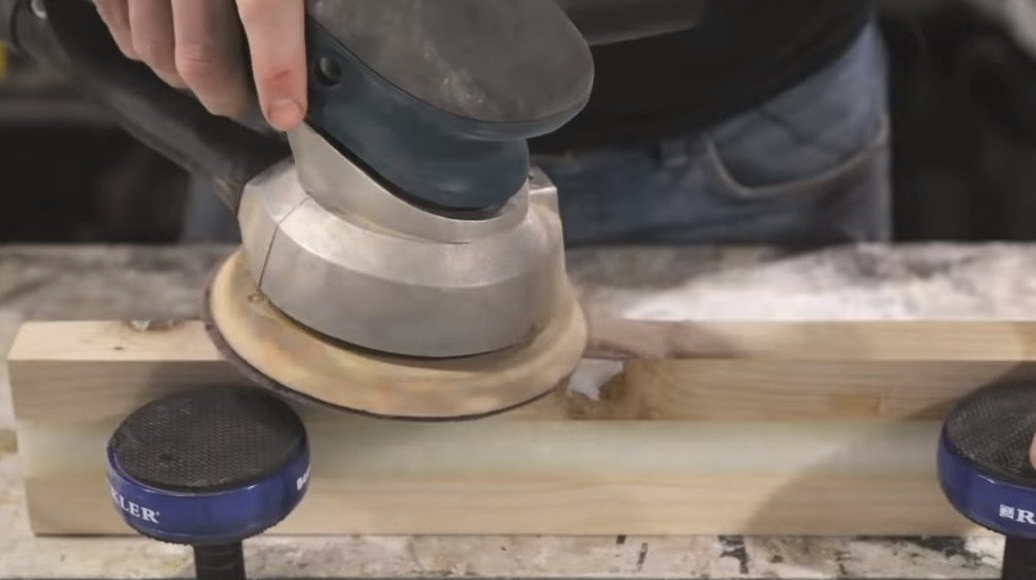
The author had defects on the boards, they need to be removed, for this we use epoxy. As a formwork we glue masking tape and fill holes and other problem areas. Well, then we grind the made “ceiling”.
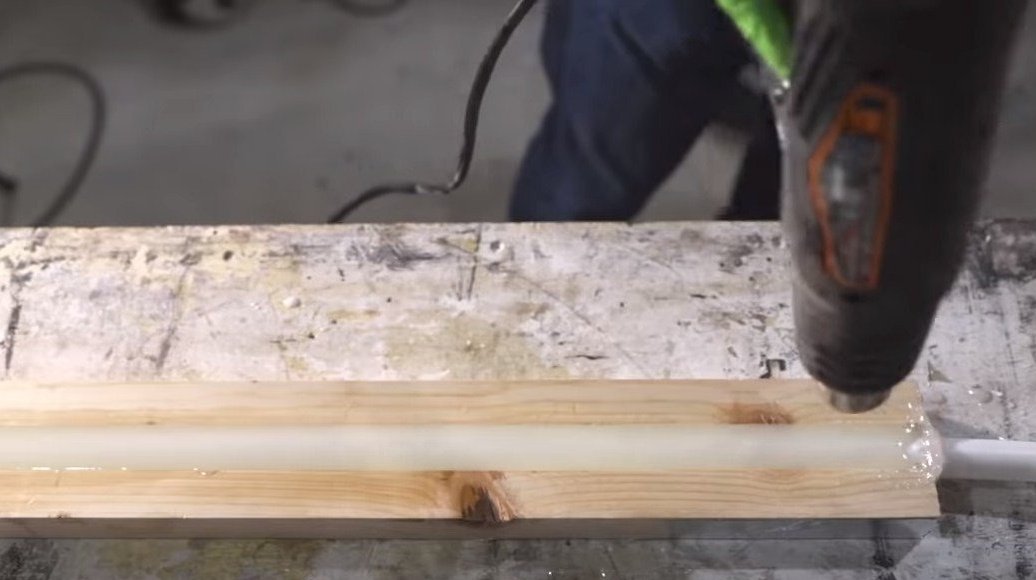
In addition, the author drilled a number of holes in the upper part of the plafond, since the LED strip emits heat and therefore the case must be ventilated.
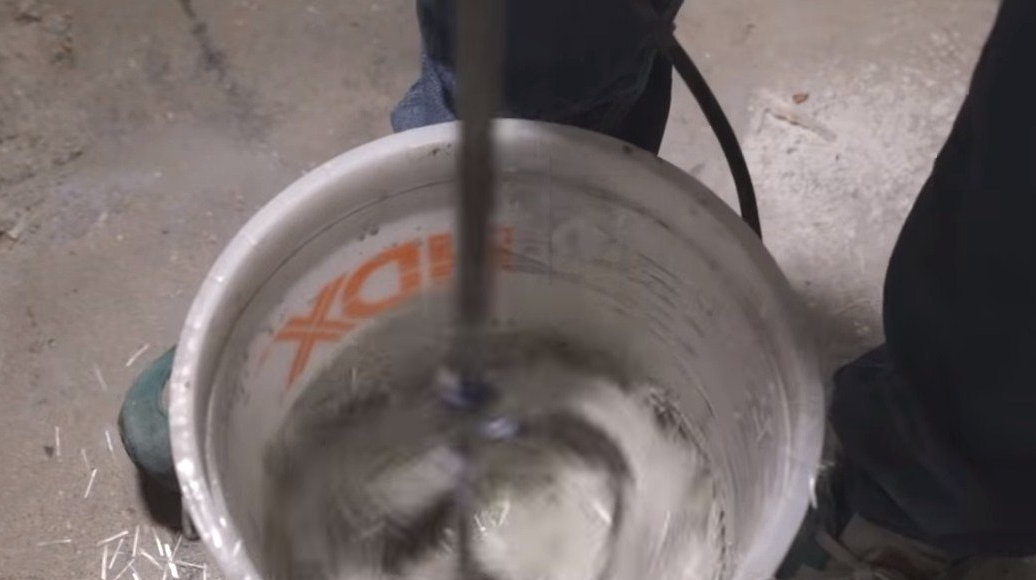
Step Three Cast the rack
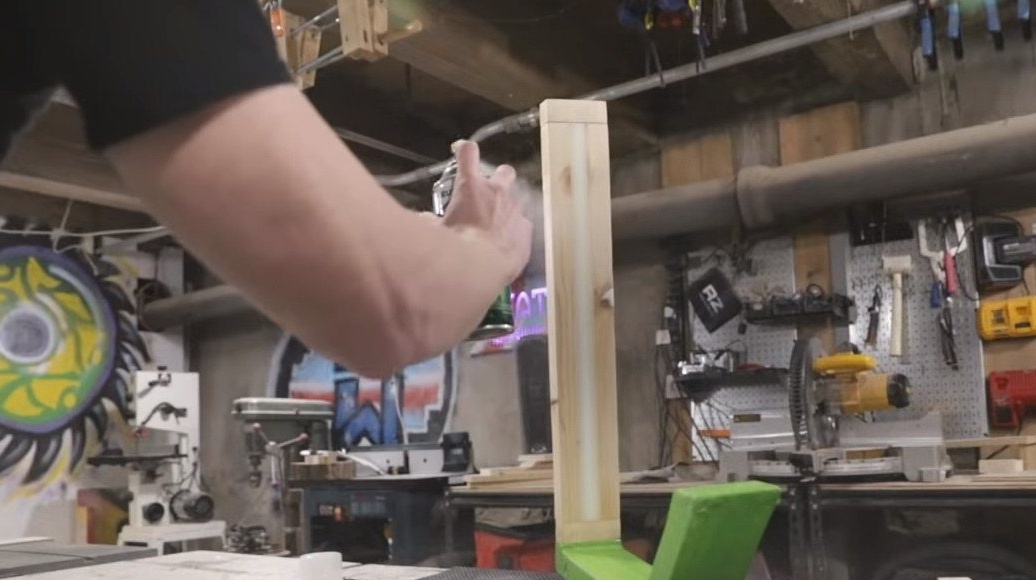
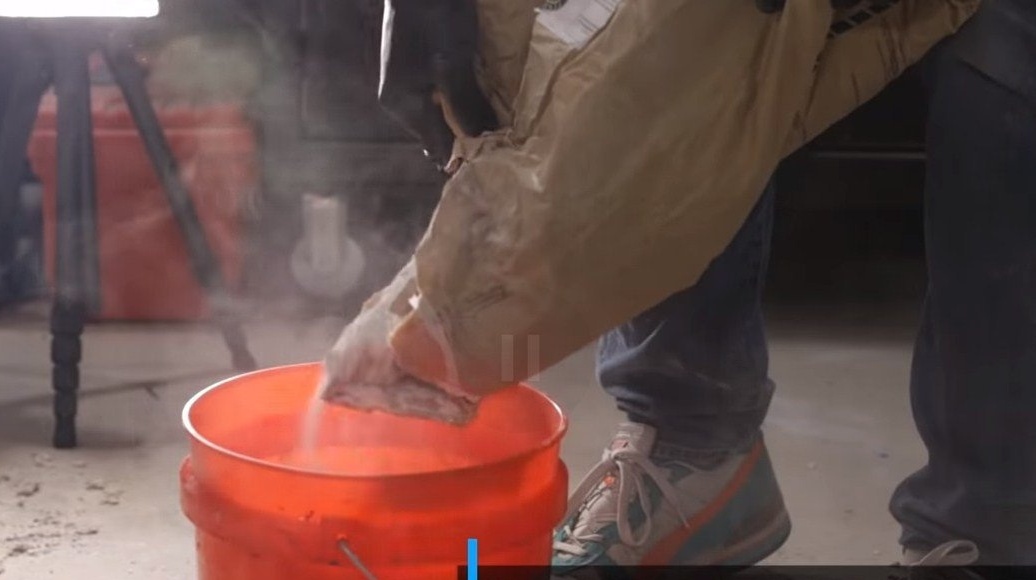
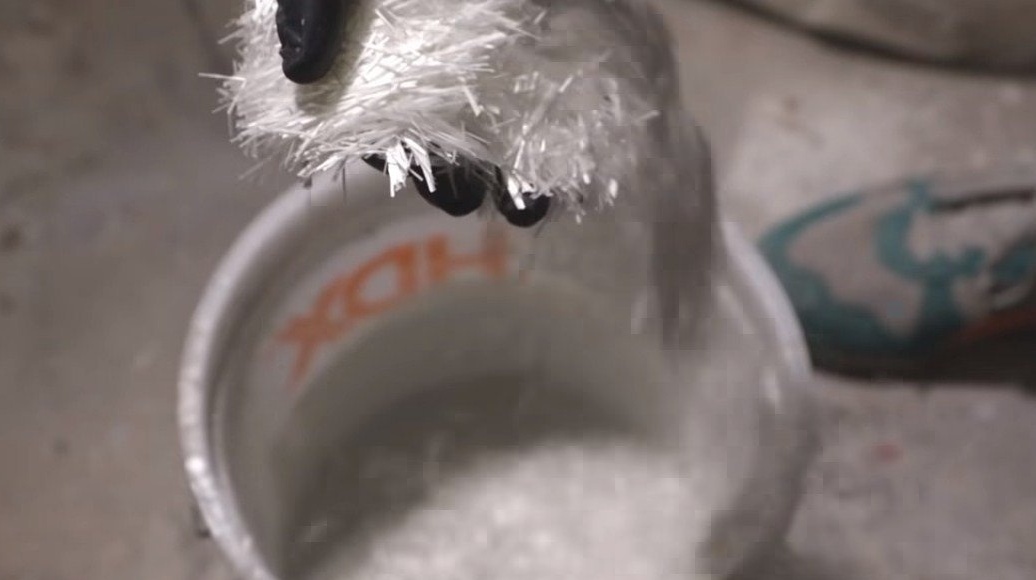
We make a lamp stand; it can be cast from cement mortar or gypsum. It is useful to add some fibers to the mixture to increase the strength of the structure.
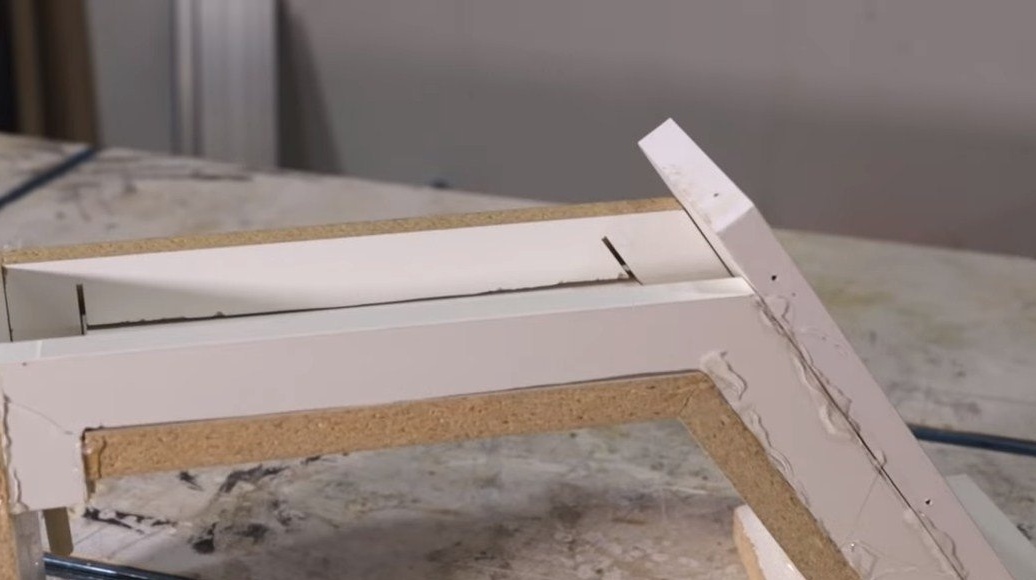
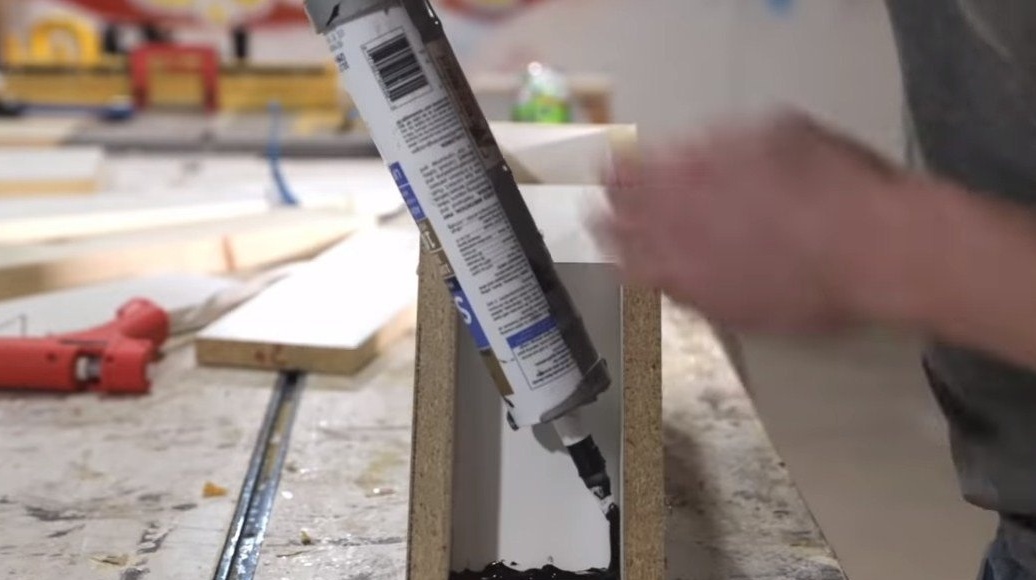
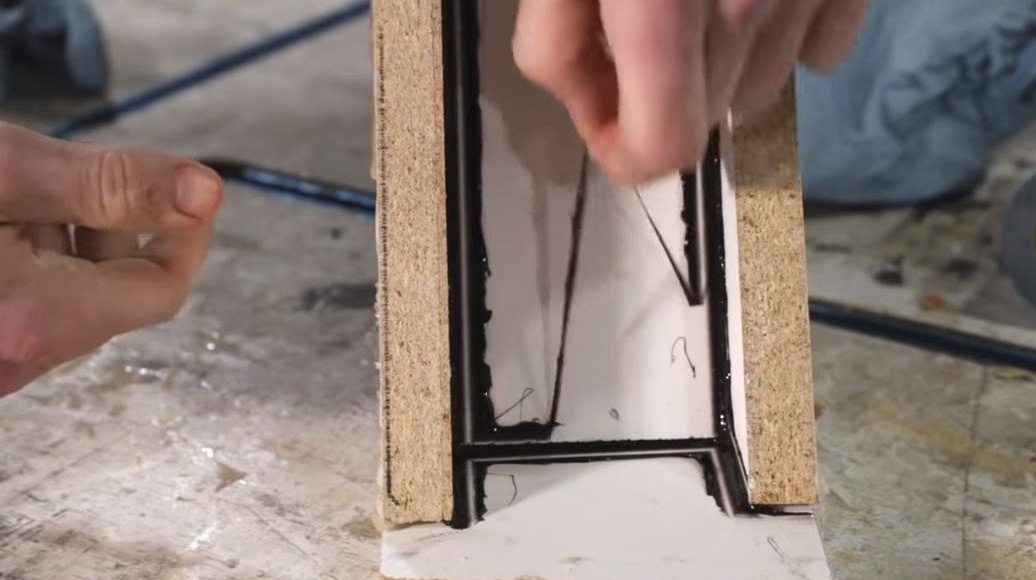
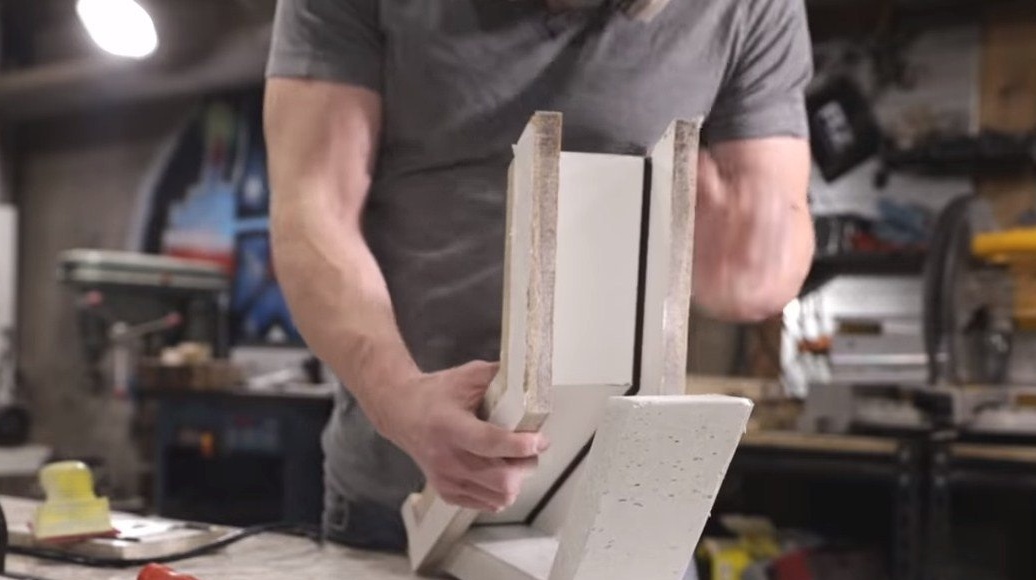
We make the formwork for pouring, it can be assembled from particleboard, from OSB or other suitable material. Joints are well sealed with silicone sealant so that the formwork can be easily disassembled and the solution does not leak out.
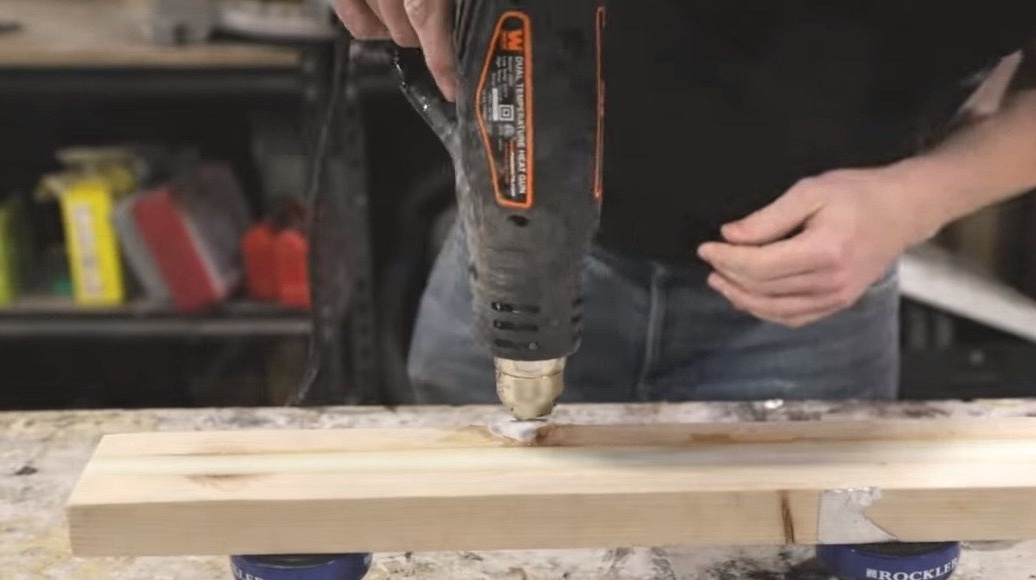
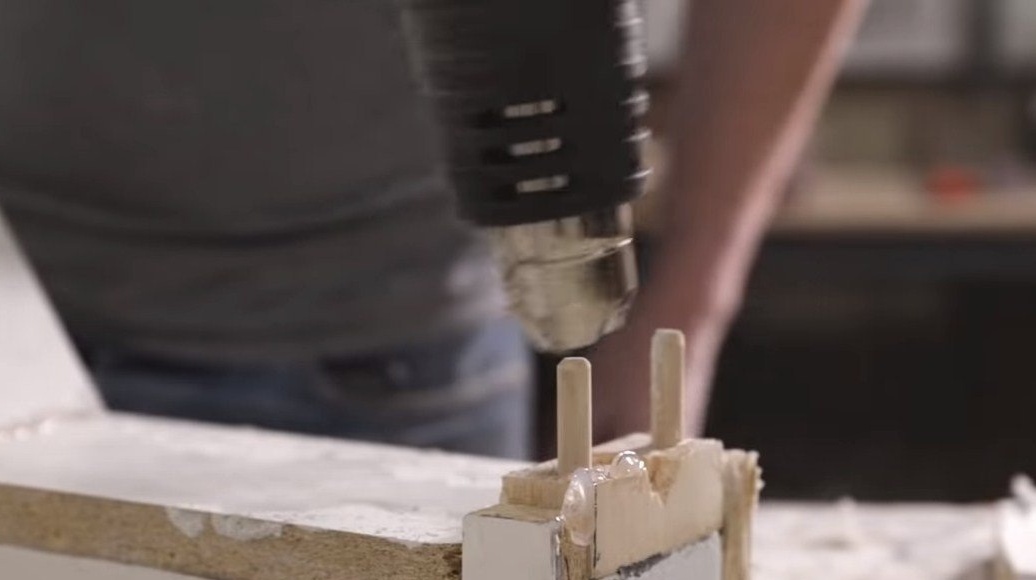
It is best to assemble the formwork on hot glue, so it will then be very easy to disassemble it by heating the glue with a construction hairdryer.
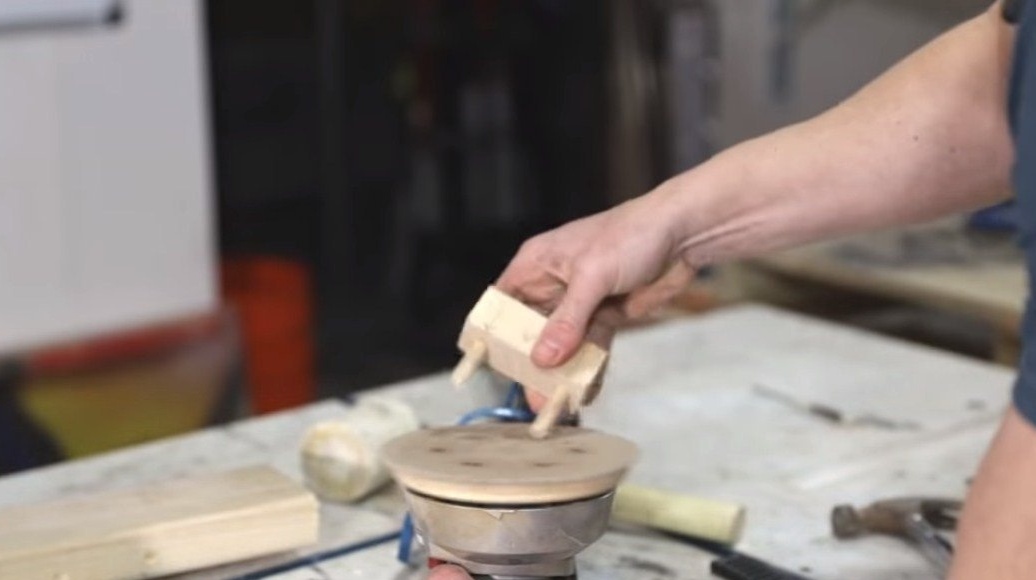
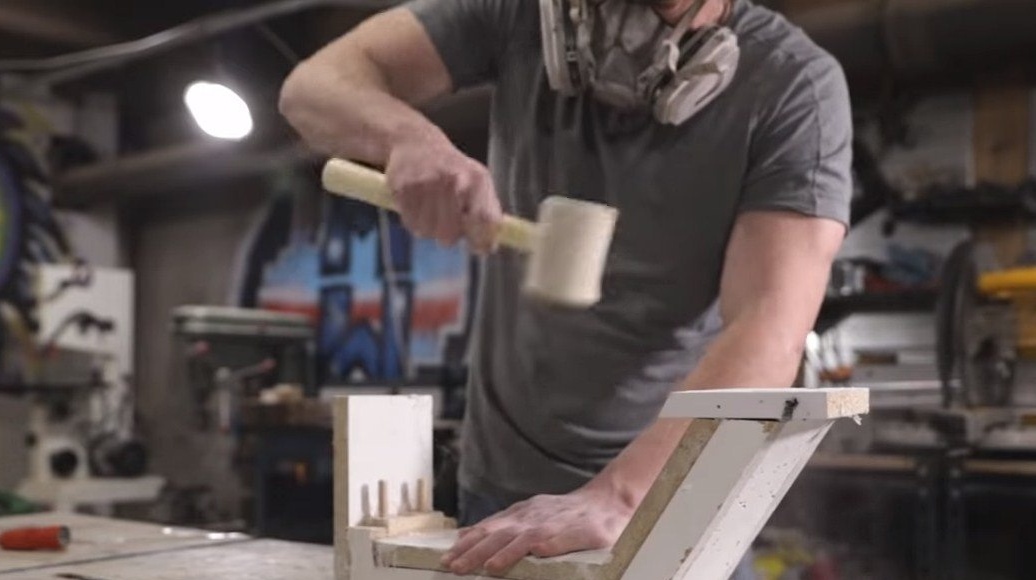
Where, according to the idea, there will be the upper part of the rack, the author installs a cap from the “ceiling”, screws are wrapped in it. After pouring, this part will be held on the stand thanks to the self-tapping screws.


Step Four Modify the rack and ceiling
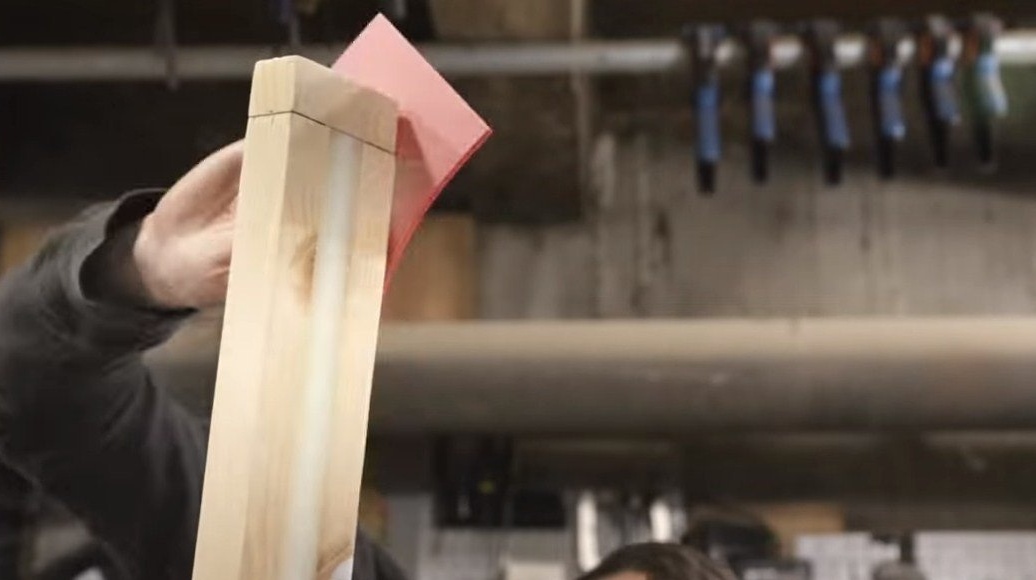
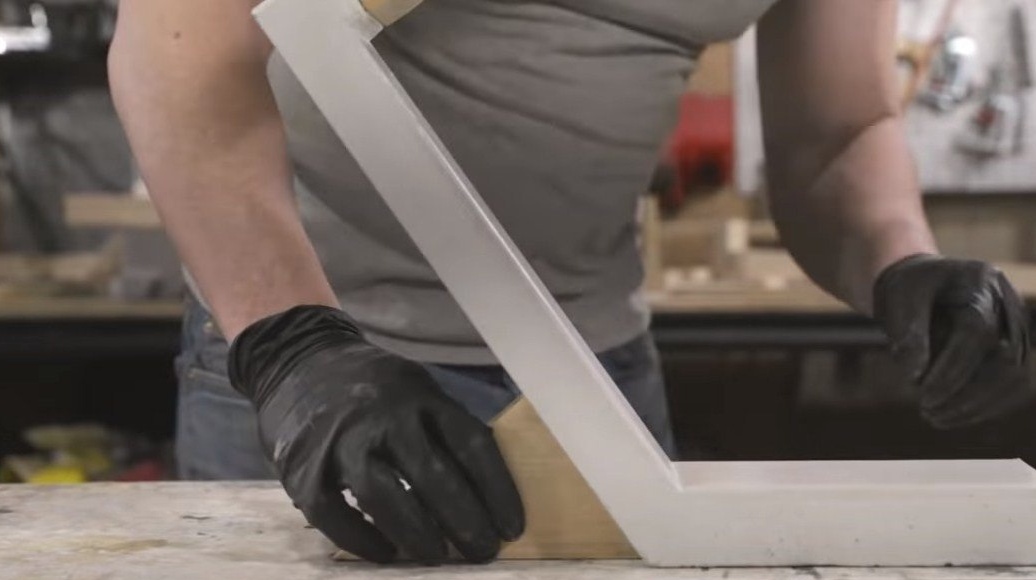
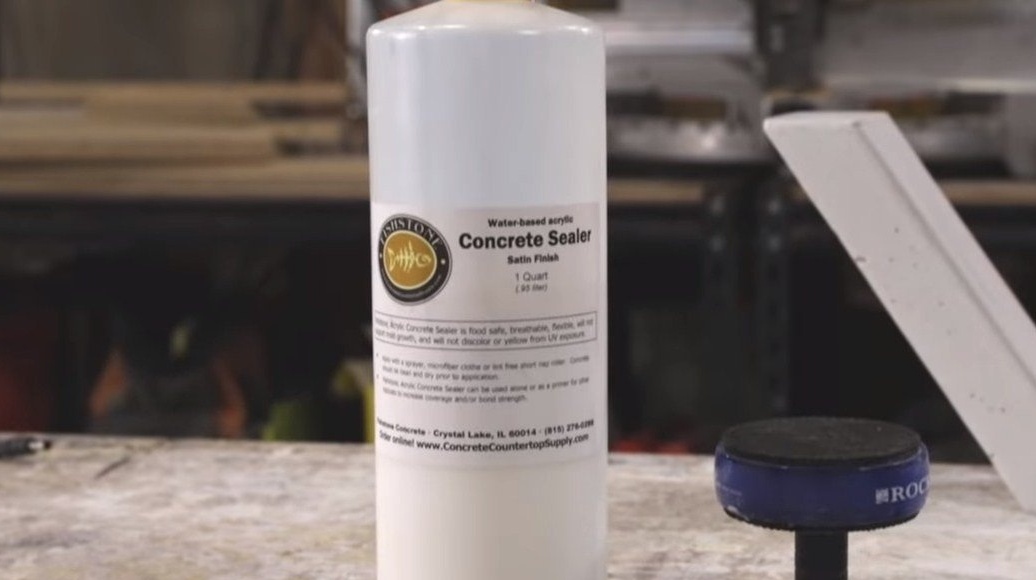
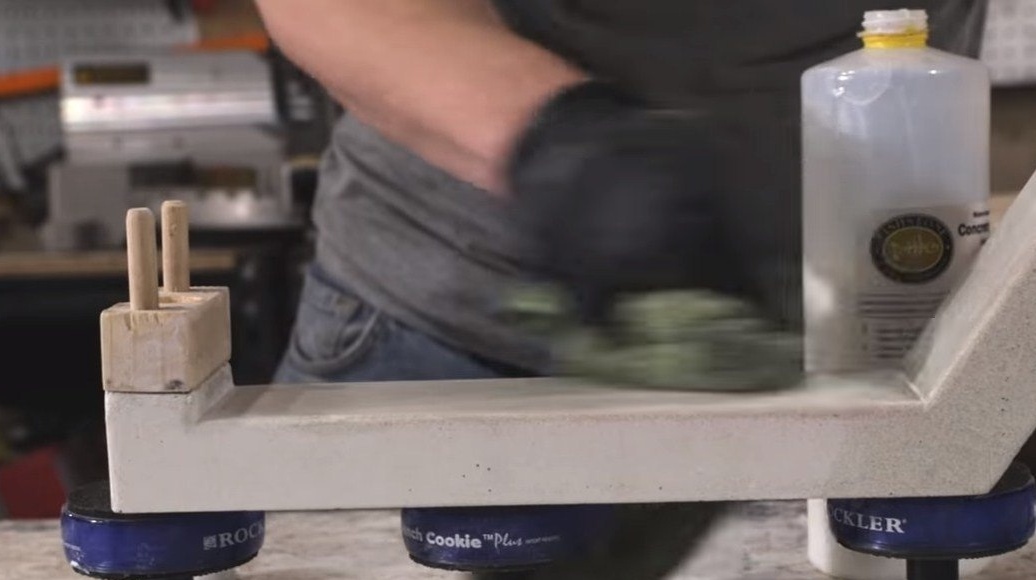
When the solution hardens, you can disassemble the formwork. Before disassembling, you can grind the accessible sides of the rack, so they will be even and smooth. After disassembling the formwork, we grind the rack a little, and then cover it with silicate glue or varnish so that nothing falls in and everything looks good.


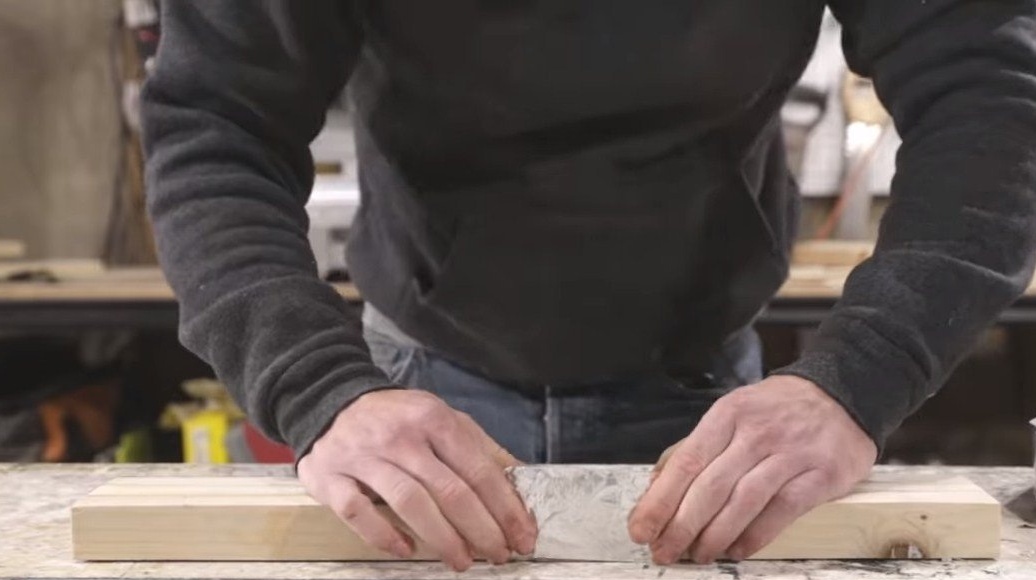
As for the ceiling, it is varnished, oil, wax or other coating at your discretion. Well, then it remains to connect both parts, dowels can be put on glue.
Step Five Final touches
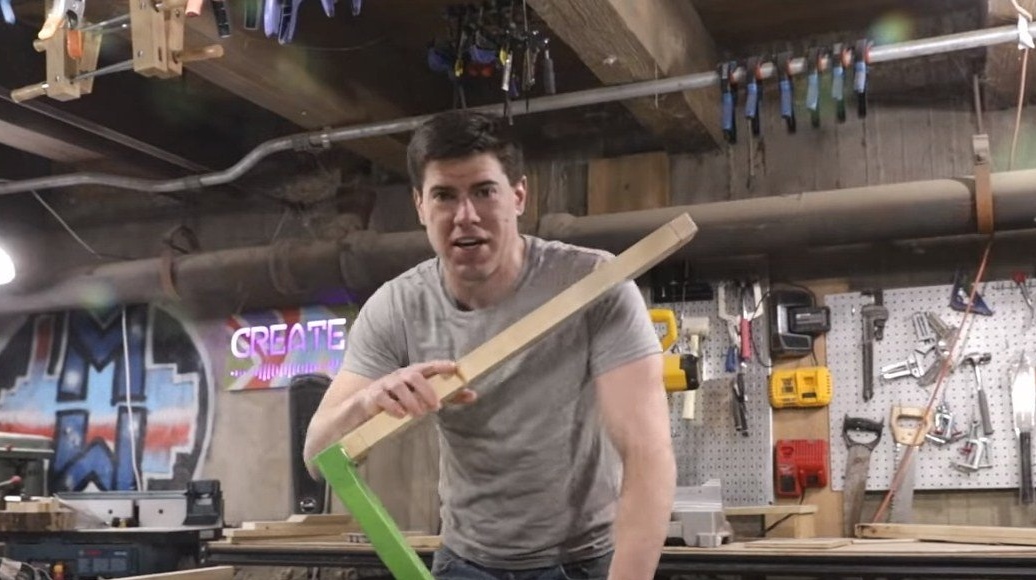
In the end, you need to make additional support so that the lamp does not fall. The author cut it out of the board and glued it to the counter.
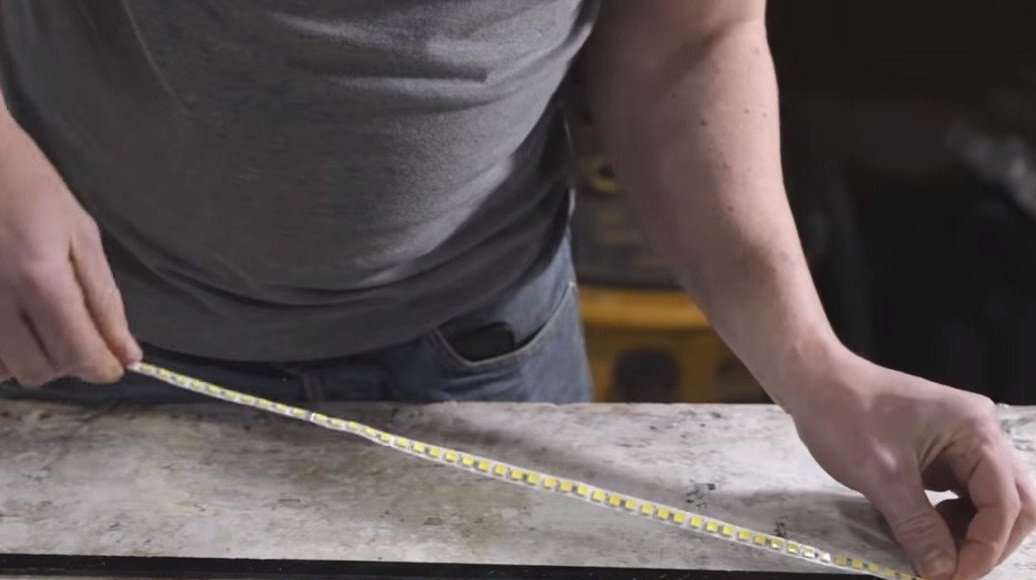
It remains to install a light source in the ceiling, the author used an LED strip. It must be glued to a metal plate and inserted into the pipe. We supply power to the LED strip, and the lamp works. Everything looks pretty interesting, I hope you liked the project. Good luck and creative inspiration, if you decide to repeat this. Do not forget to share your ideas with us and homemade!