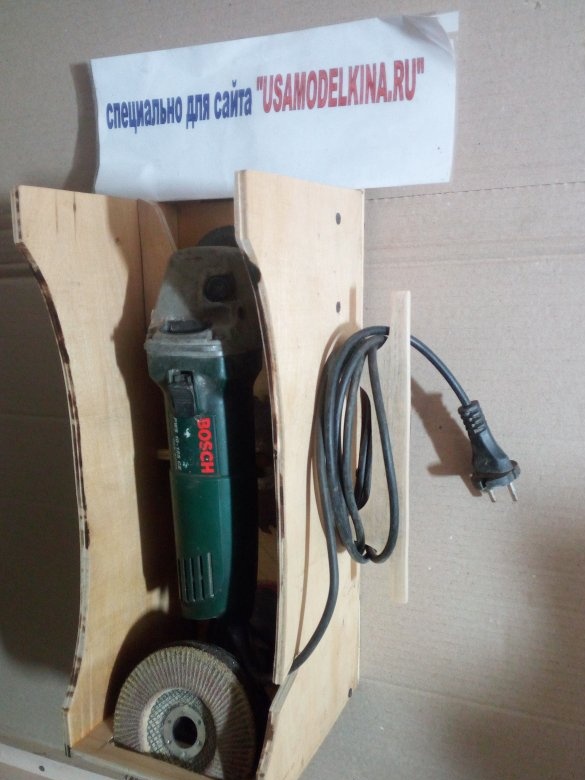
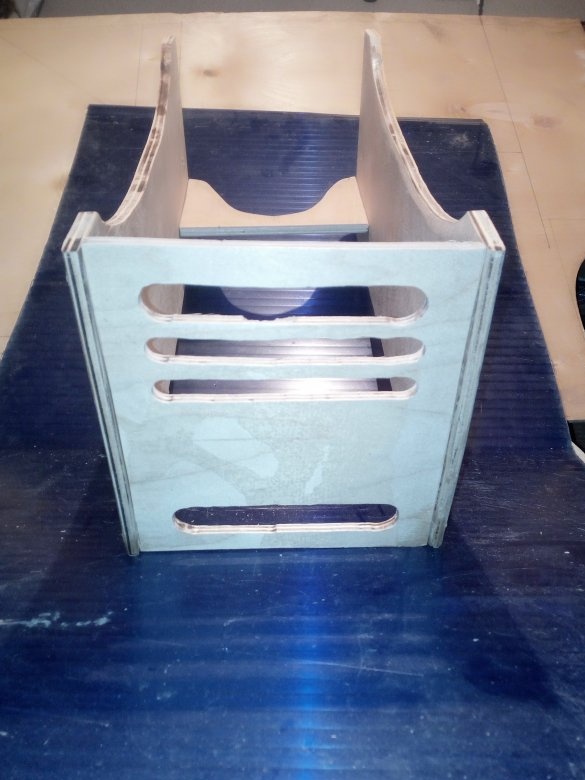
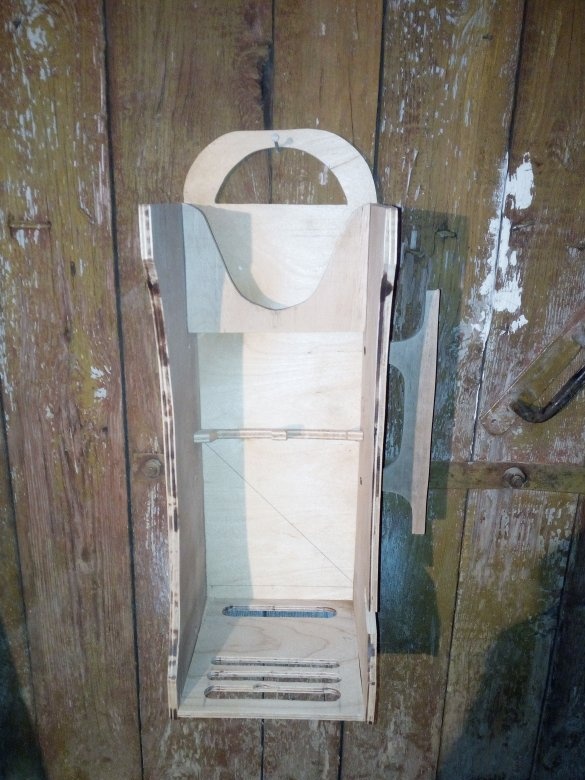
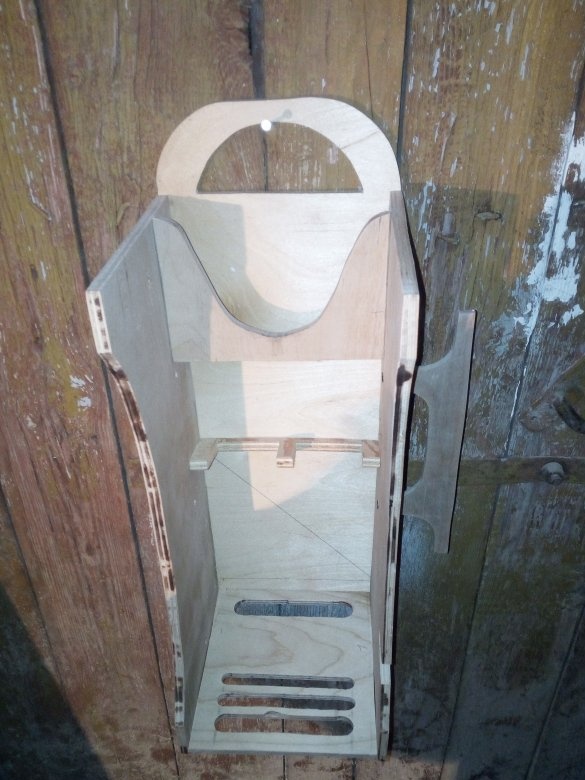
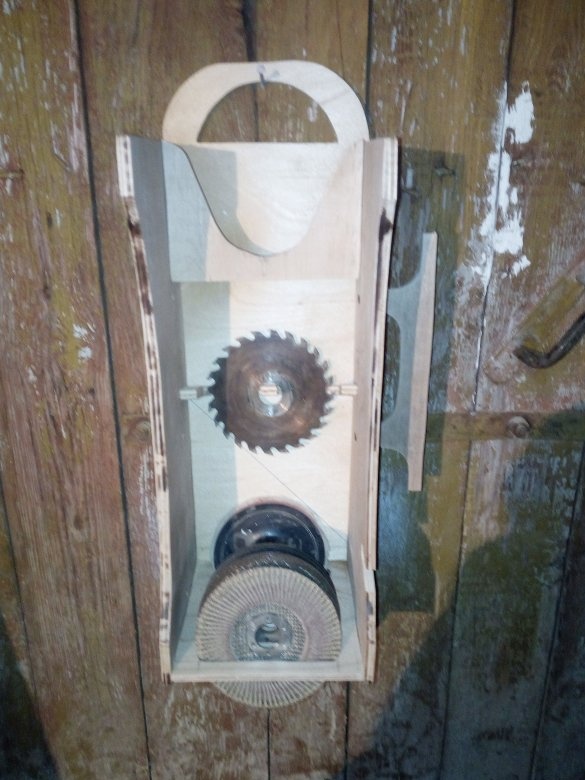
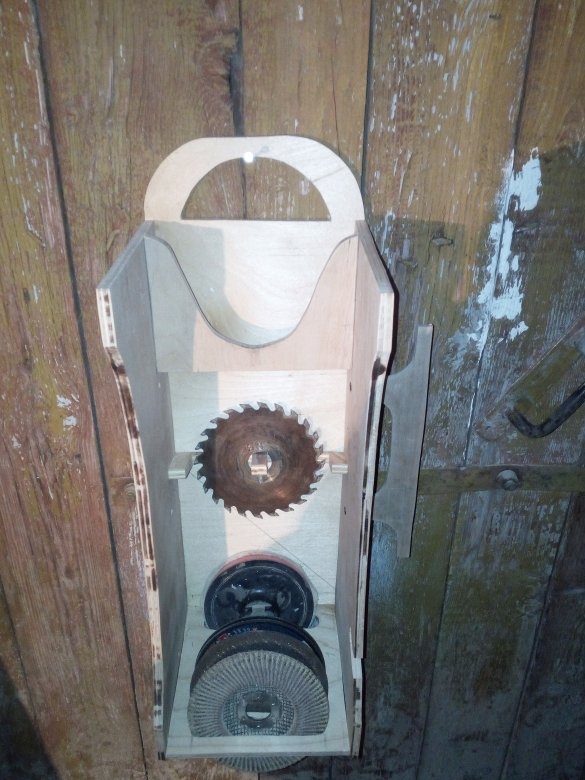
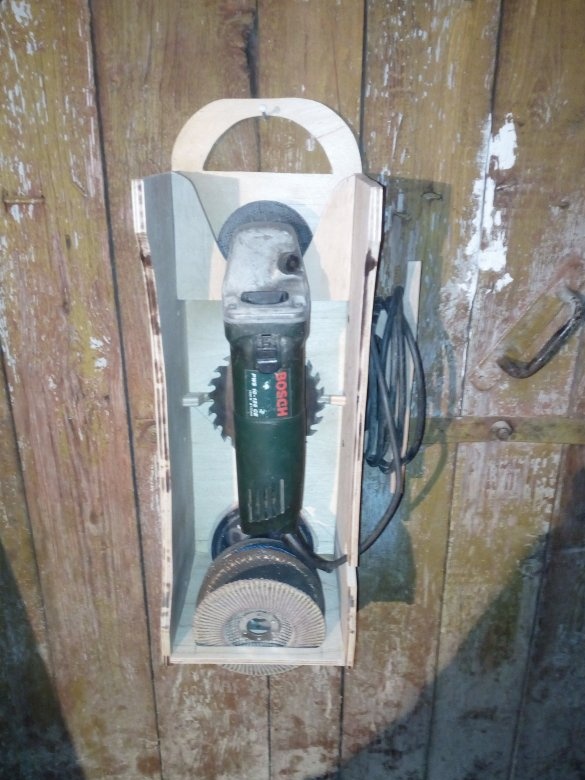
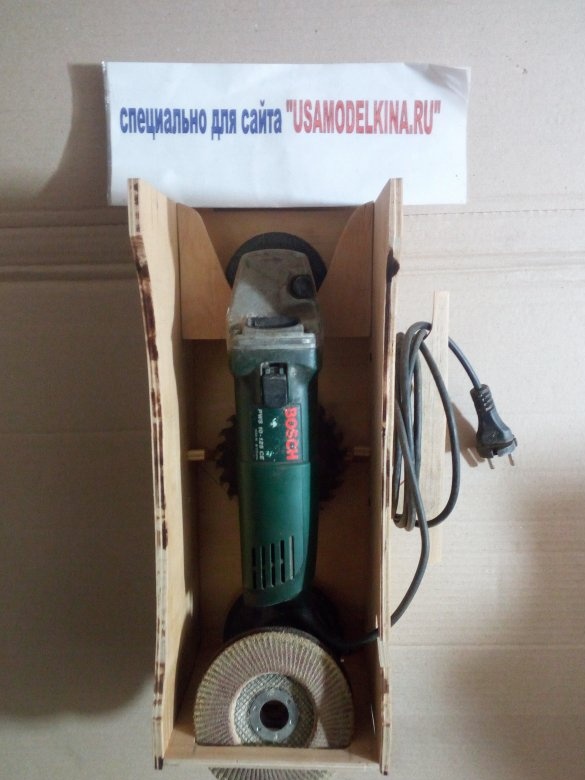
Today I want to present for your review my next homemade product, the thing necessary in the workshop - a portable shelf for storing and transporting the grinder and disks to it. This is not my idea, I saw a picture on the Internet and immediately got an urge to do the same for myself, since the thing is really very convenient. Previously, my angle grinder hung just on a handle made of 6 mm metal wire. I redid it a little for my tasks and it turned out the thing I needed in the workshop! There is nothing difficult to manufacture, anyone can handle it.
In order to make this homemade product you will need such tools:
jigsaw
screwdriver with drills,
-milling machine for a more convenient selection of grooves for disks (not essential),
sanding machine, sandpaper, ruler and pencil.
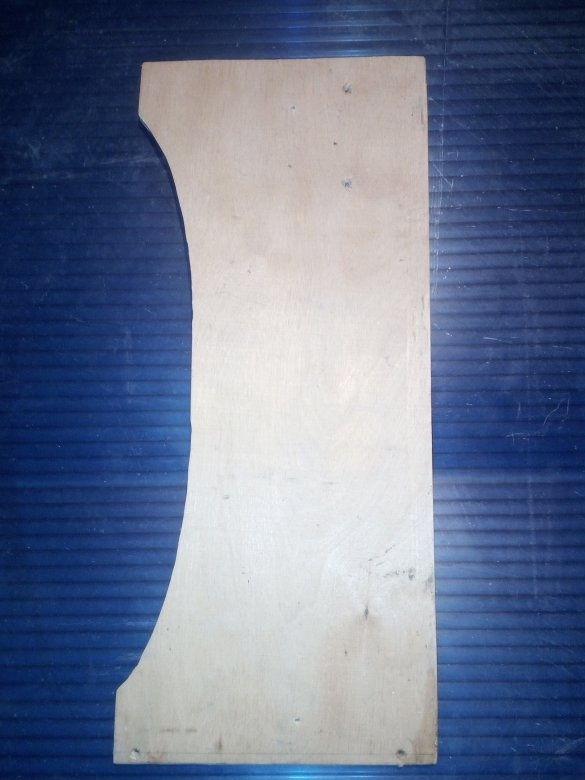
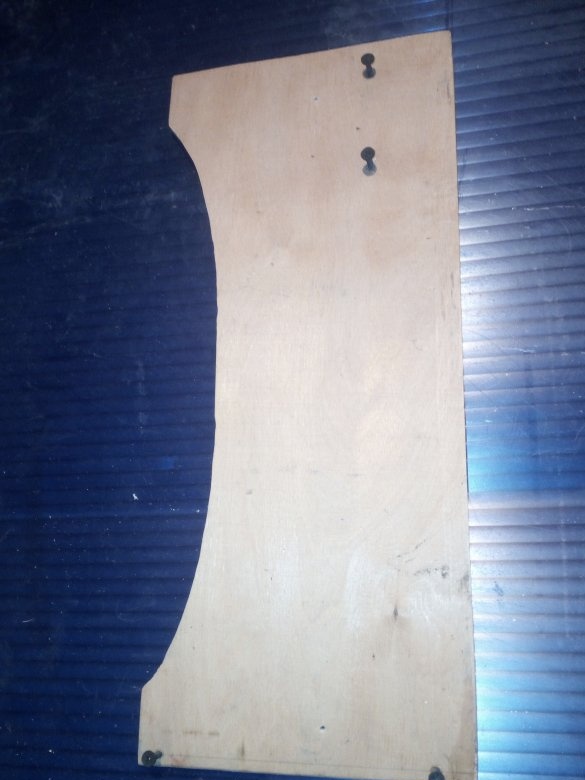
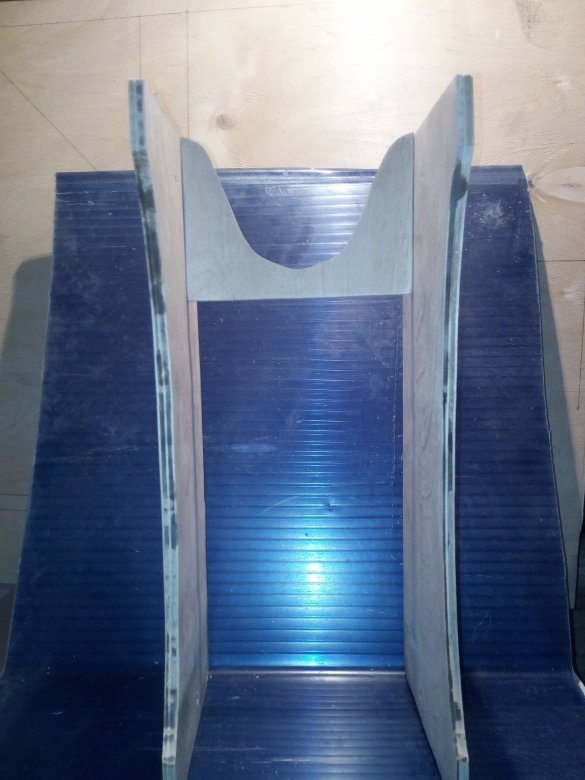
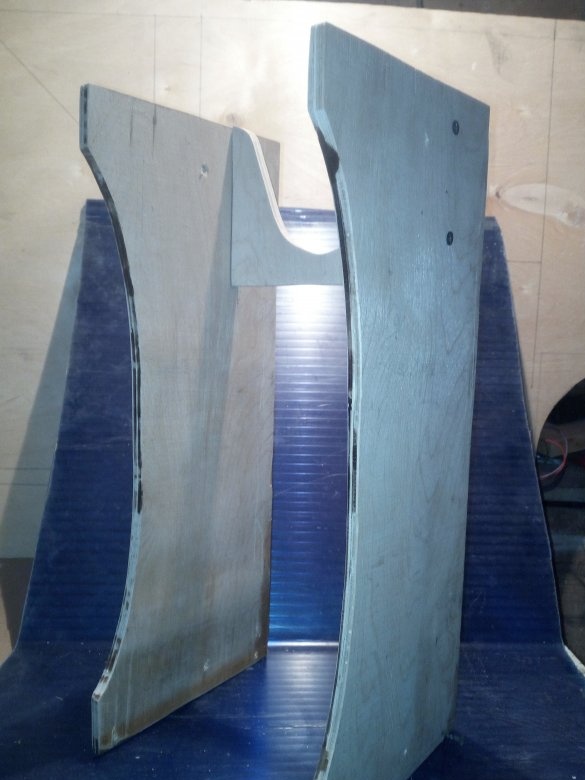
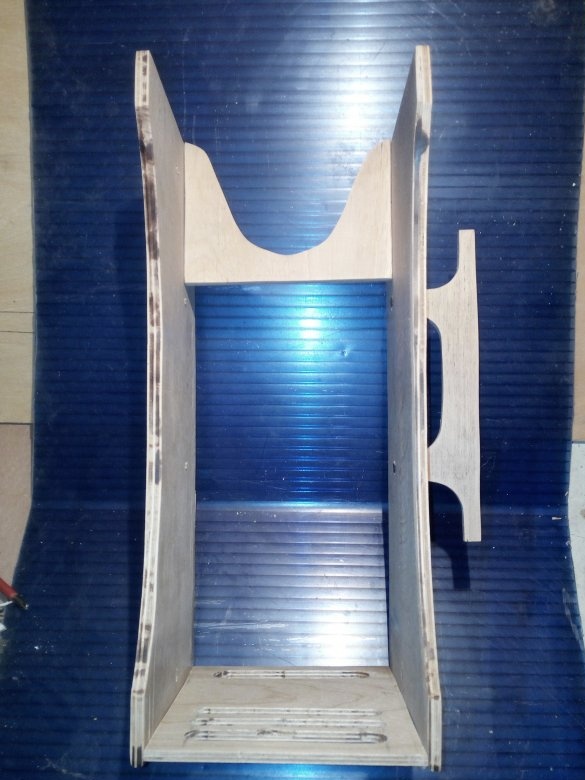
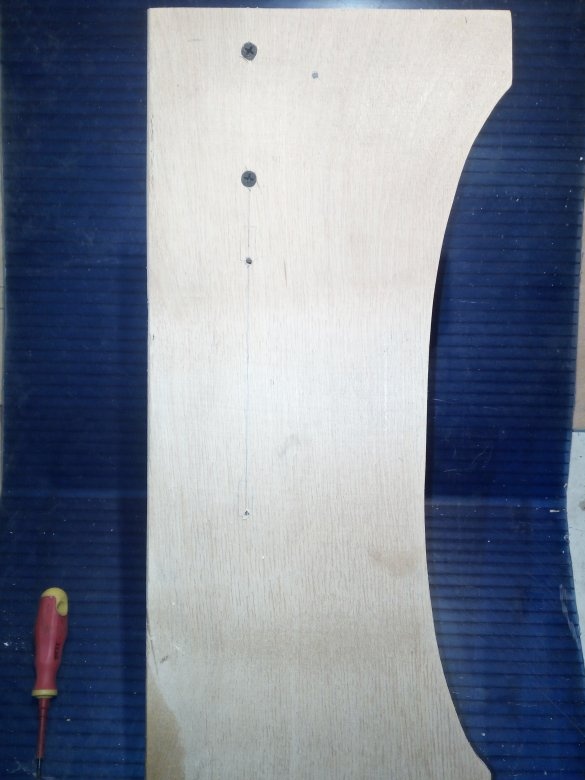
The shelf will be assembled from 12 mm plywood. Because I will carry out all fastening of parts on self-tapping screws, it will not be very convenient to work with thinner material. To begin with, on the plywood sheet, I marked the dimensions of the grinder, for which this product will be manufactured. Then he drew two details of the side walls, which he sawed with a jigsaw. The entire shelf will be made of material of the same thickness, so I immediately noted on the sidewalls where and how other parts of the homemade product will be located. Drilled holes for screws. Without them, I do not recommend connecting the parts - in those places where the parts will be located close to the end of the plywood, it can burst, and the ends into which the self-tapping screw will enter can break apart under its influence. The part will have to be redone either again or left as is, but to the detriment of the strength of the connection.
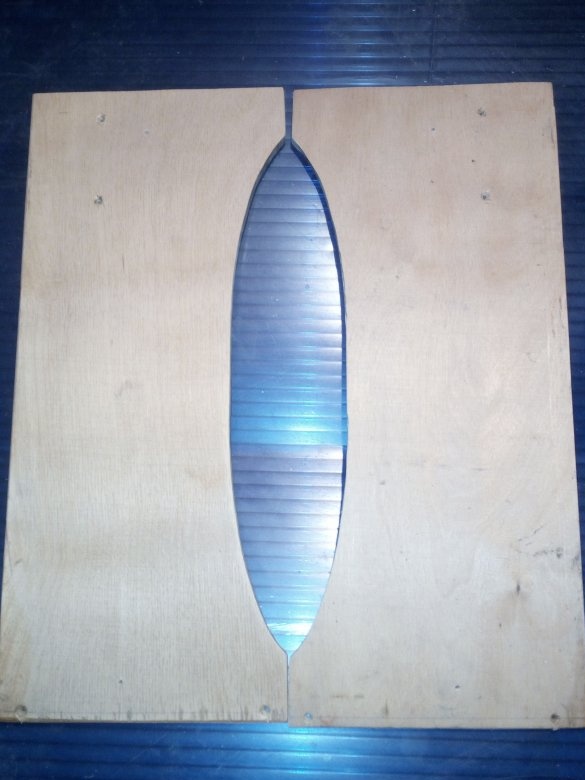
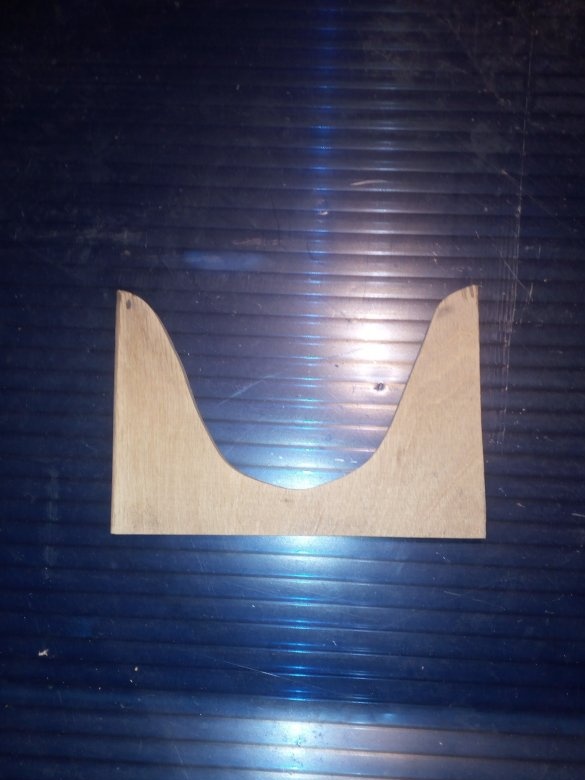
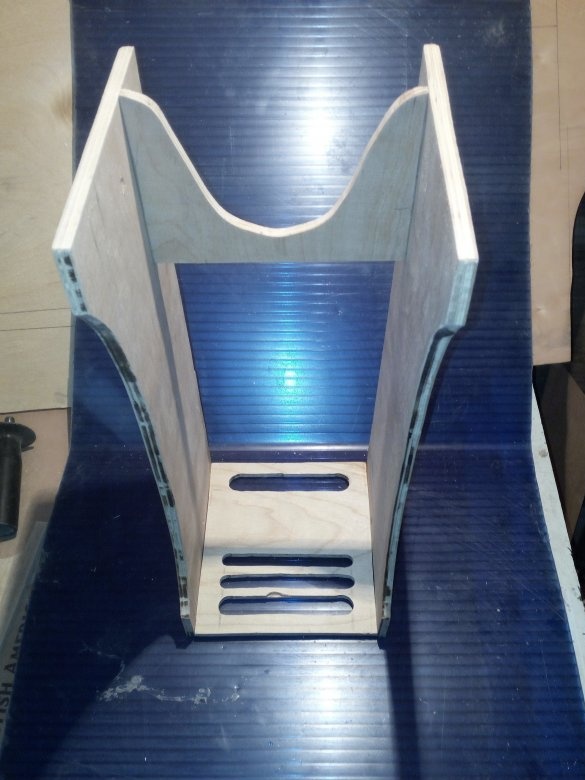
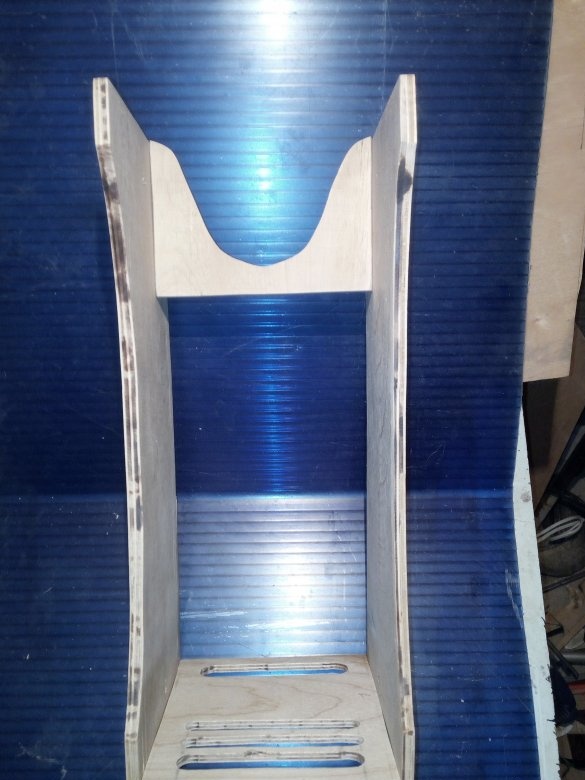
Now you need to cut out the rest of the constructor. First of all, I sawed out the part on which the Bulgarian will be hung. This is a rectangle in which I sawed a semicircular recess, slightly narrowed to the bottom - since the Bulgarian will hang on it with a shaft, then it will sit very tight in this recess, avoiding side movement.
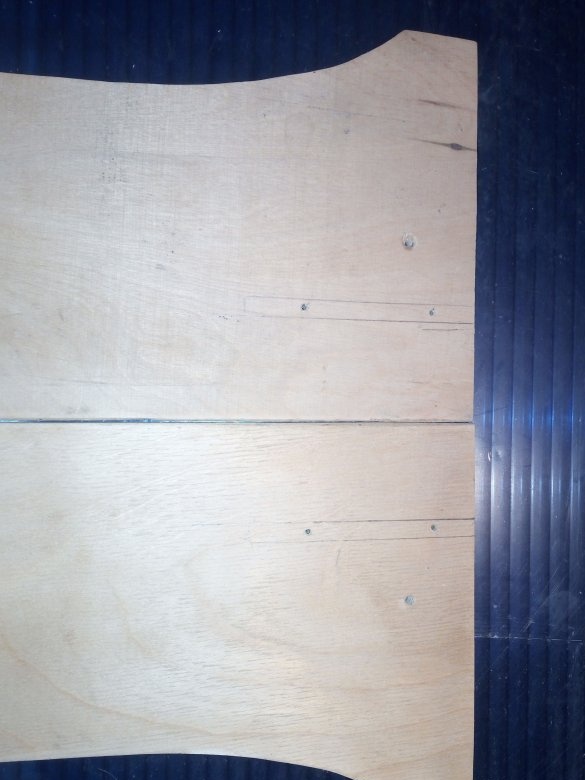
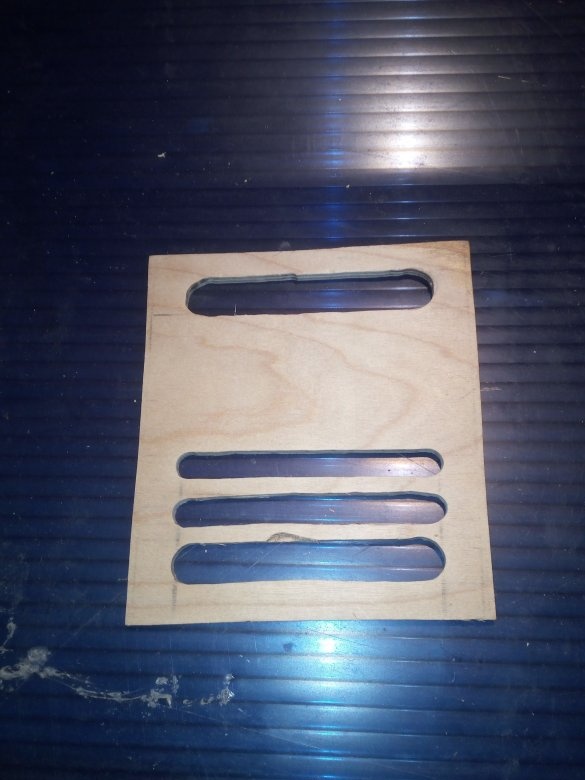
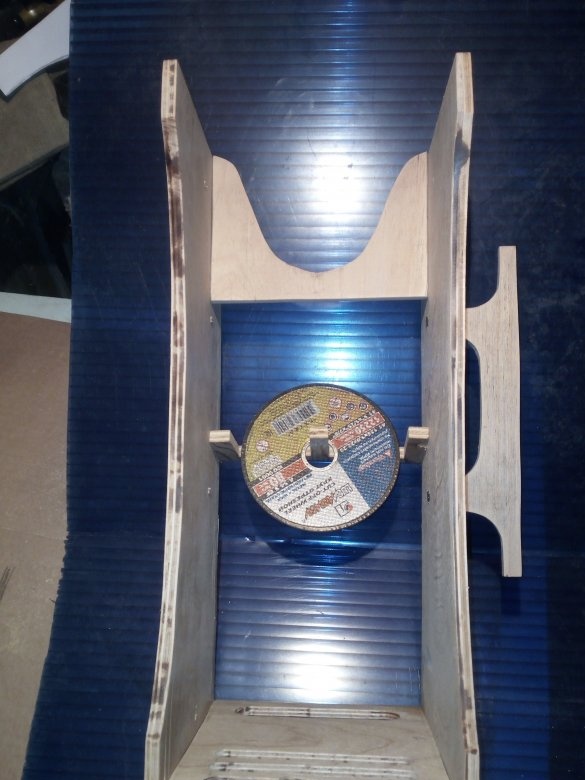
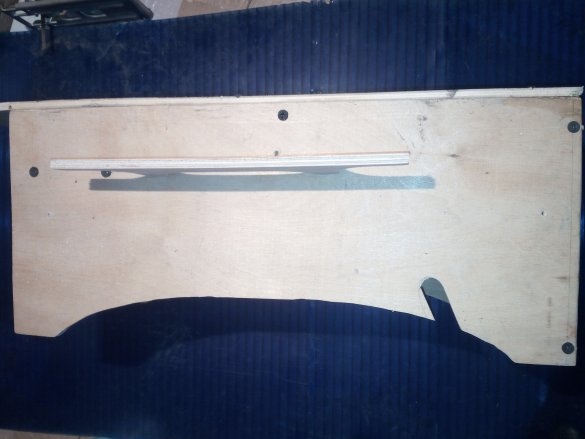
Next, I make the bottom of the shelf, in which I make longitudinal through recesses for the disks. Their length depends on what diameter of the disks you plan to store there. I have it is 125 mm, therefore, in the length of the recess, I did less than this figure. So they will not fall out.
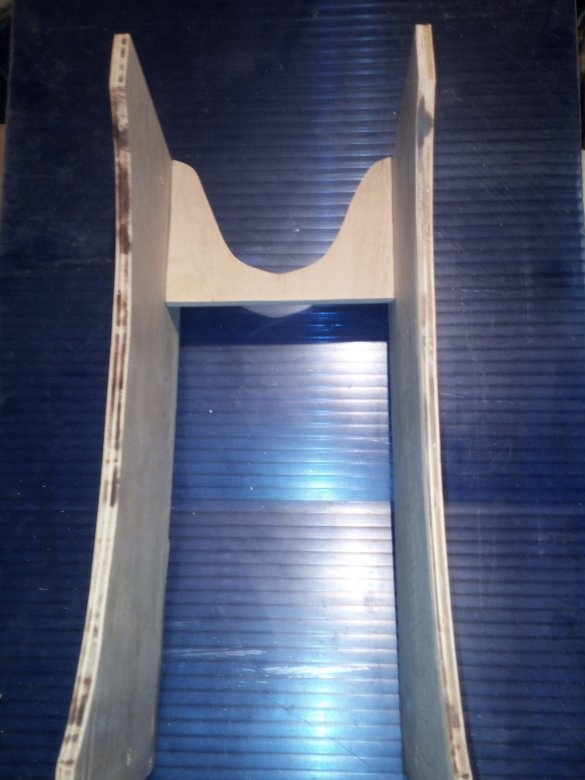
I proceed to join the finished parts.I insert 30 mm self-tapping screws into pre-drilled holes. I attach the details and twist. Great efforts do not need to be done so as not to damage the workpiece. I sink the heads of the self-tapping screws, make them "flush" with the sides of the shelf.
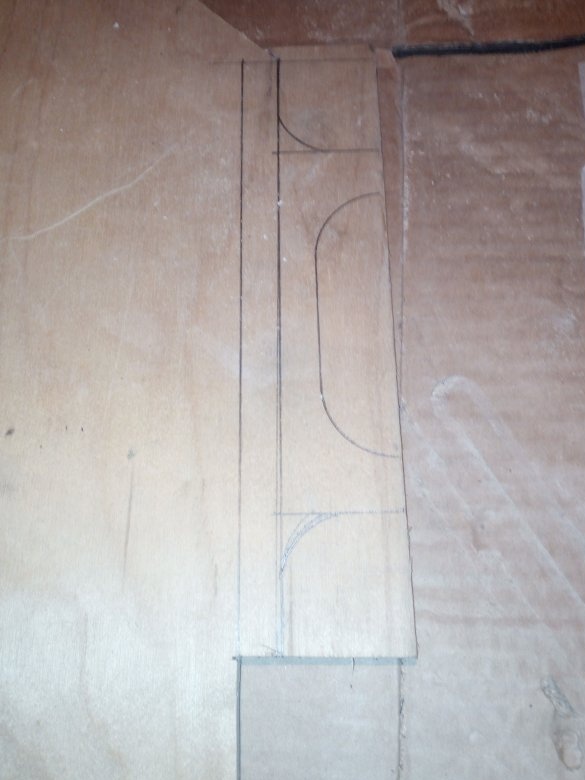
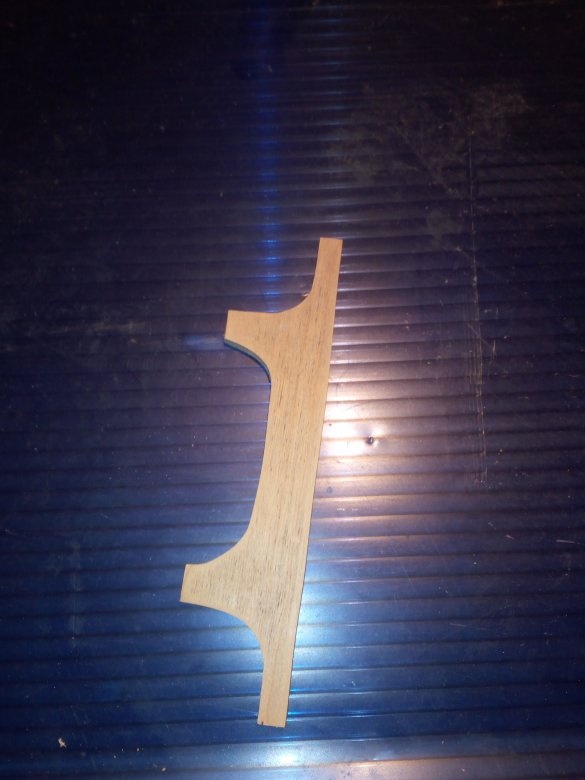
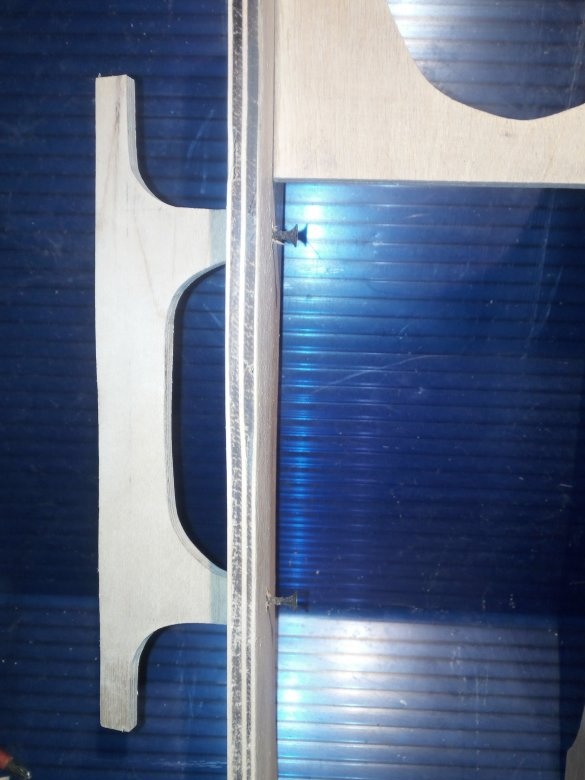
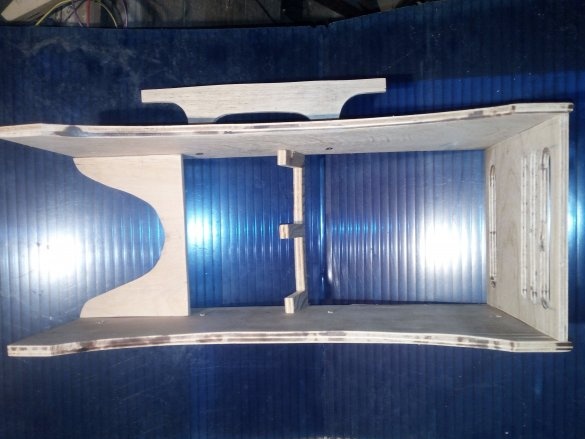
As the next step, I drew a piece on which a cable from angle grinder will be wound on a piece of plywood. Saw and drill holes in her legs. On the sidewall I wonder where this part will be located, so that it is convenient for me to wind the cable. I also make holes on the opposite side, so if in the future I need to hang a shelf or something else, you never know what situations happen and the cable holder is on the other side, it was convenient for me to move it to the other side. I fix it.
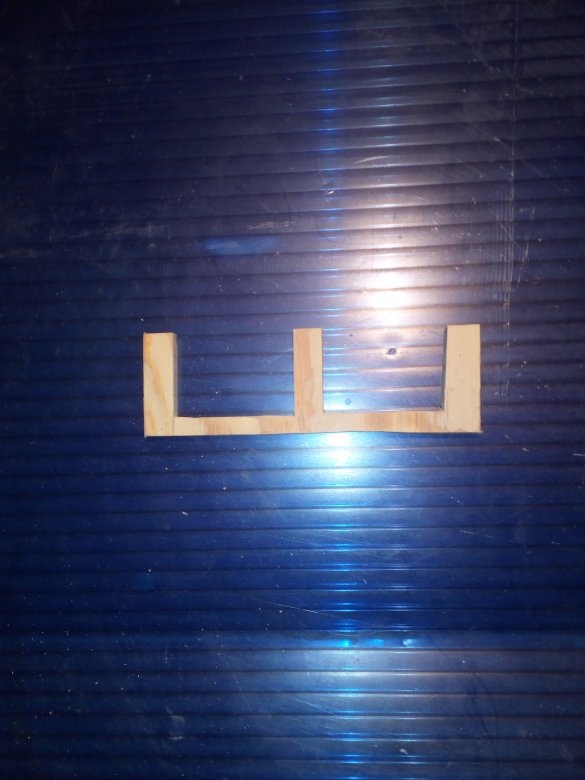
The next step is the manufacture of an E-shaped part. This form is due to the fact that the middle part of the part, in addition to being able to hang several additional disks on it, will also support the body of the grinder. The part itself is put a little tilted up. This is also another stiffener between the sides of the shelf.
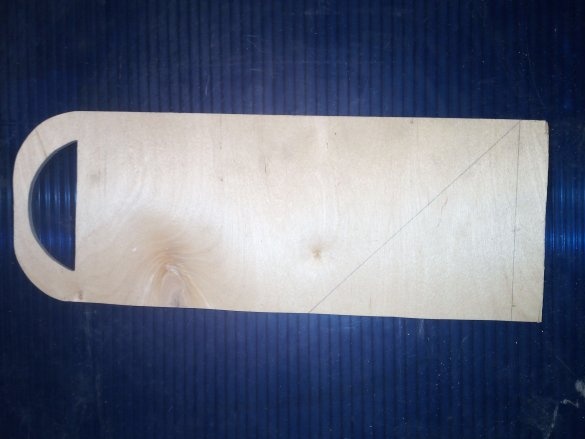
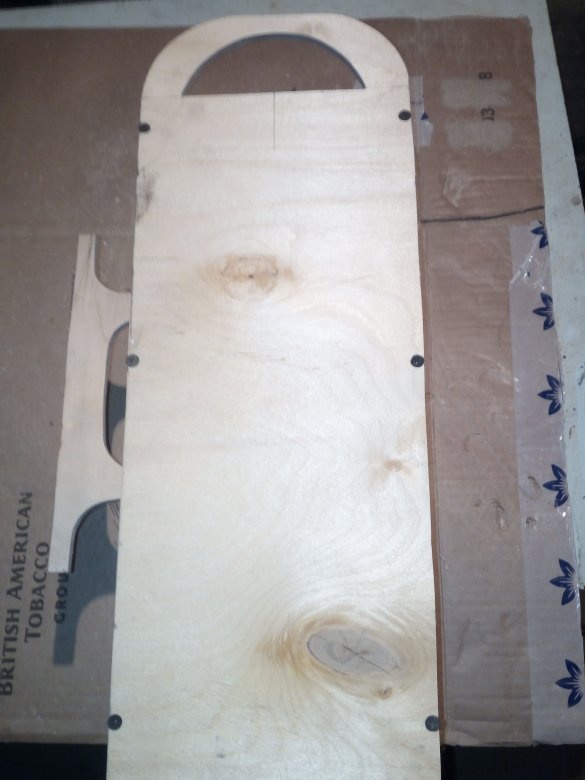
Next, I do the back of the shelf. It will completely cover the back of the finished product. In the back I also make a handle for carrying the shelf. It will also play the role of a hanger, i.e. for it, the shelf will be hung on the wall. In the original, in the picture with which I got this idea, the surface was attached using a French rail. I don’t need this. I do not plan to keep this thing in one place. After all, it was precisely for the convenience of transportation that the rear part was made with a handle for carrying.
In the lower part of the side wall on the handle side, I make a notch. It is needed so that when winding the tool cable it does not have to be constantly thrown over the wall, which is quite inconvenient. And so we put the cable into the recess and calmly wrap it around the handle. Exactly the same recess can be made on the other side, as with the holes for the cable winding part. I did not, because I do not plan to change the location of the handle. But if necessary, do this minute thing.
In the end, I get such a thing that is not only convenient, but also solved the problem with a constantly dangling cable!
Thank you all for watching! I wish you success and the realization of all your ideas and undertakings!


