

Often in life there is a need to clean materials that have a large area. As an example, this can be a gate made of steel sheets, which you need to clean from rust and paint. Also, sometimes you need to clean the boards and other similar materials from dirt. What to do if there is no suitable tool at hand, and you do not want to buy expensive cleaning machines? There is a solution, you can make your own cool nozzle, which will allow you to quickly clean large objects.
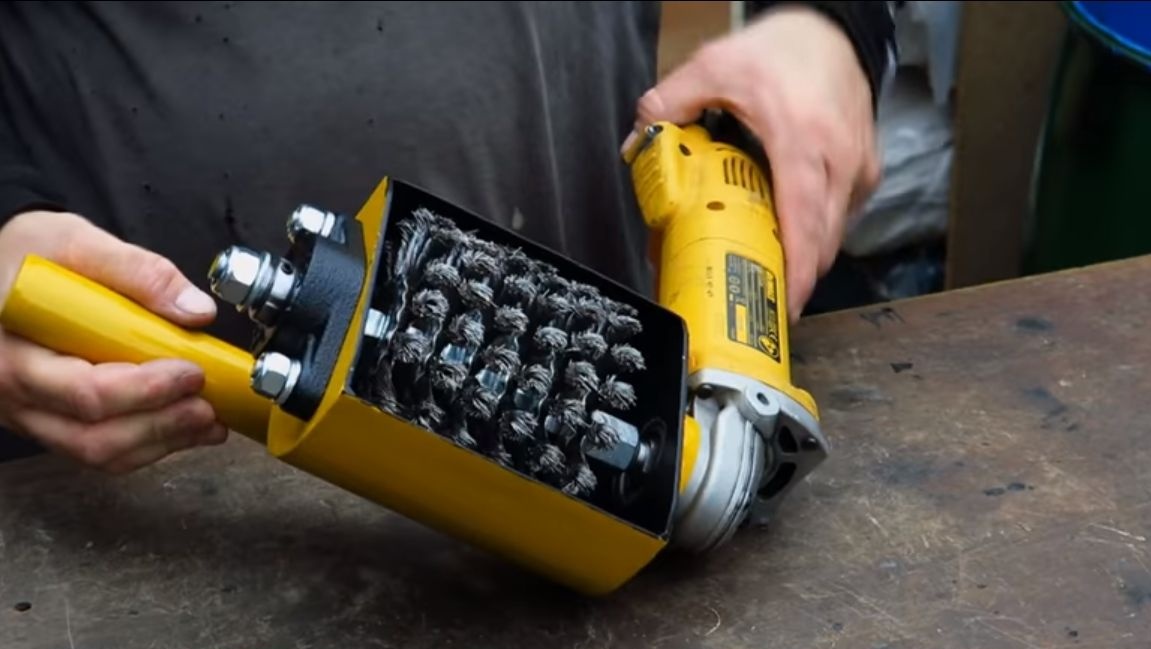
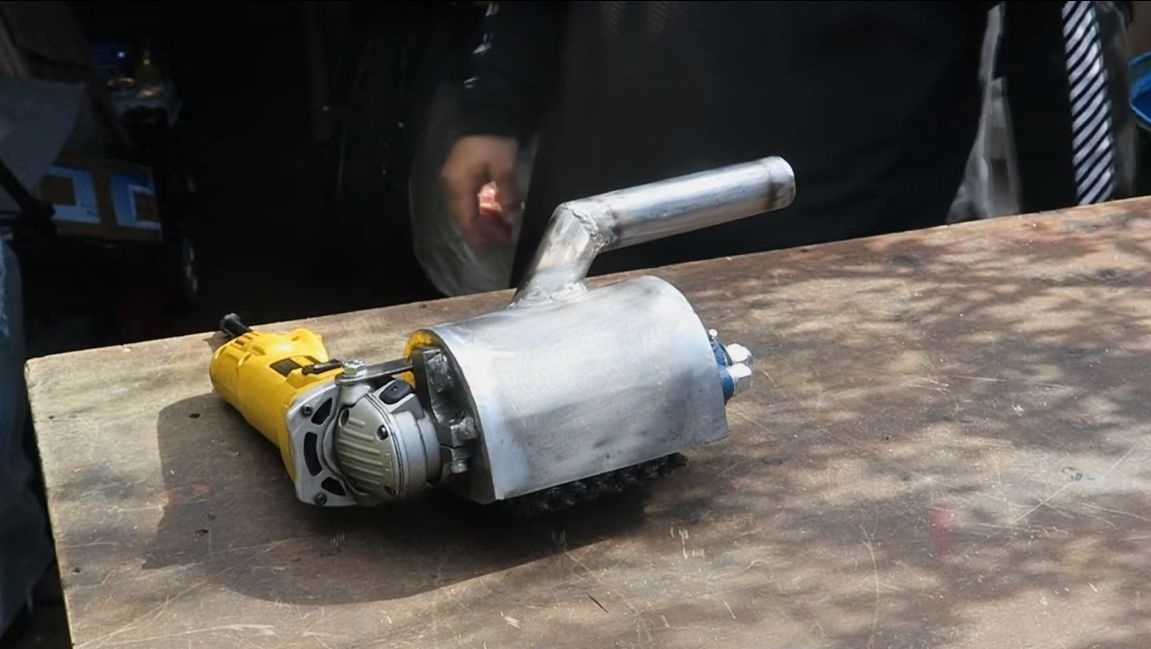
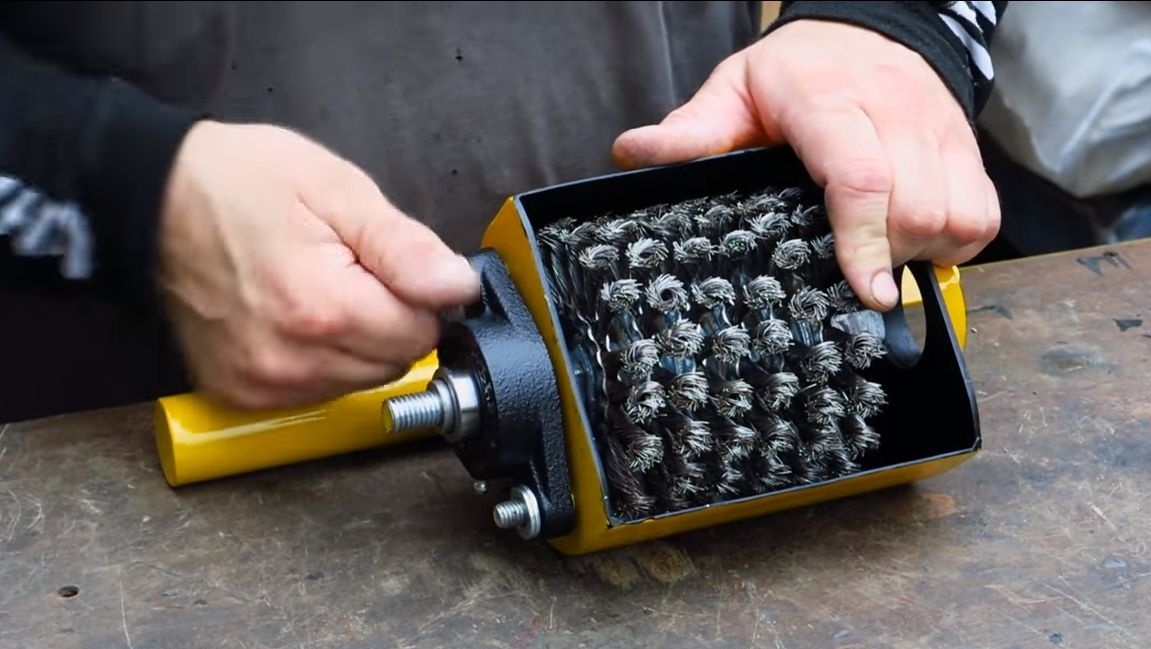
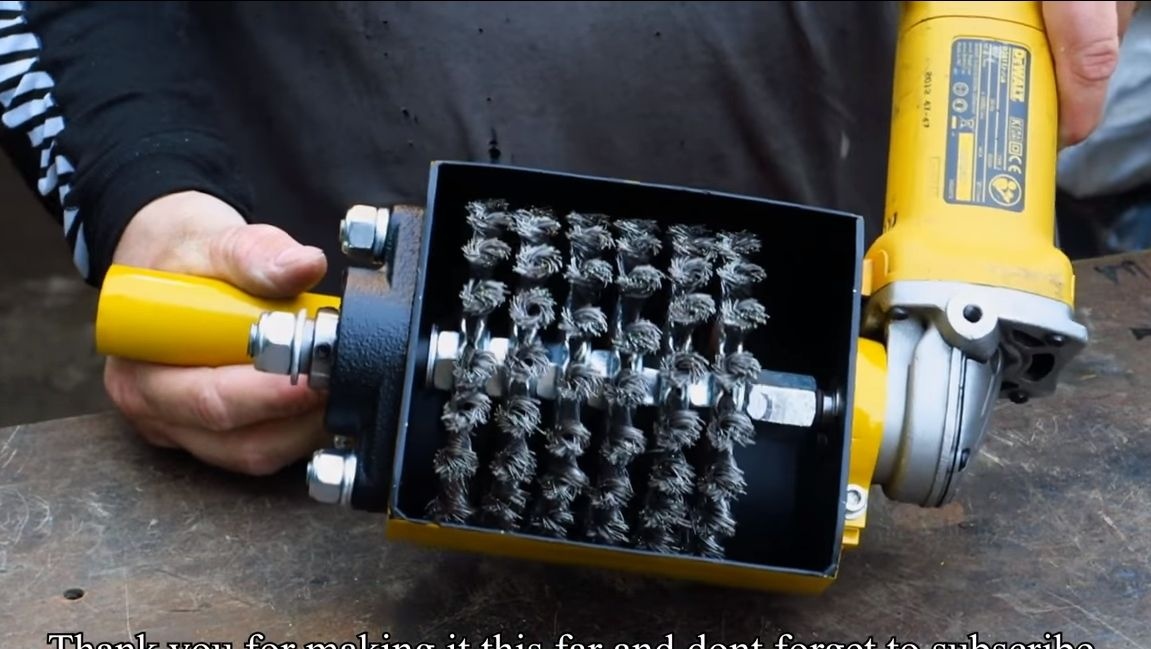
The design is very simple, the nozzle is a shaft that rotates on just one bearing, the one that is installed in the grinder is used as the second bearing. In total, as many as 6 brushes are installed on the shaft, which many times increases productivity. The case is made of sheet metal. You just need to fit the parts and weld them. The shaft itself with brushes is made very simply. So, we will consider in more detail how to make such a nozzle.
Materials and tools used by the author:
Material List:
- 6 brushes for grinders;
- threaded rod and nuts (for the manufacture of the working shaft);
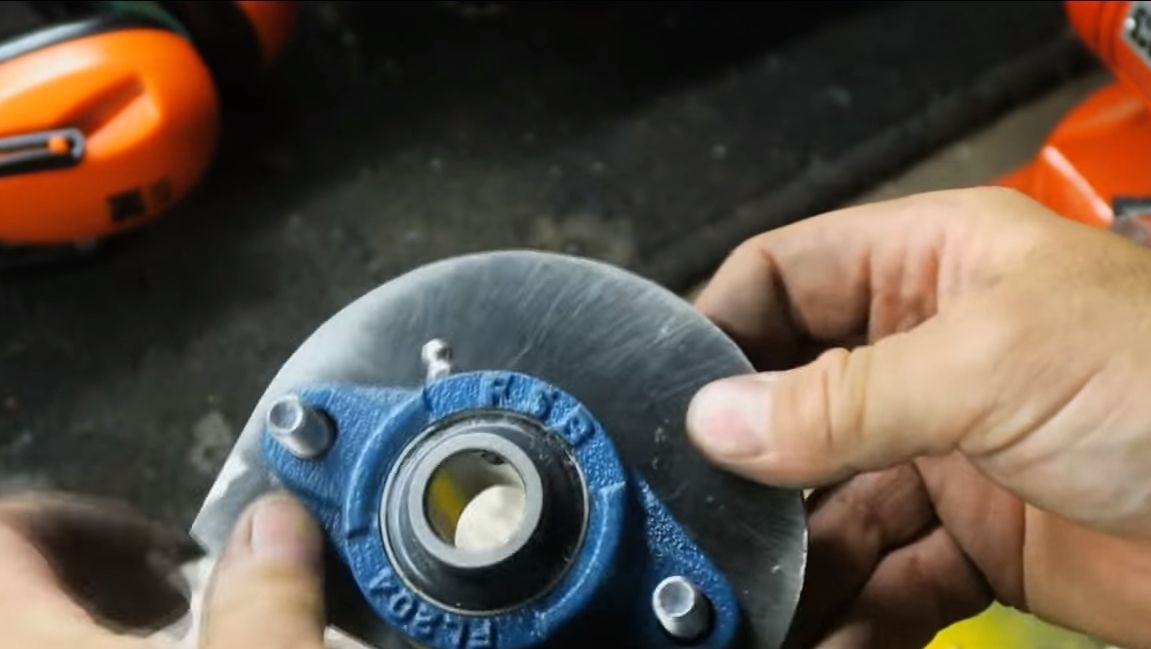
- bearing;
- Sheet steel;
- a cylinder of suitable diameter (for the housing);
- thick sheet steel (for clamping bracket);
- paint.
Tool List:
-
- vise;
- drilling machine;
- welding machine;
- tap;
- spanners.
Manufacturing process homemade:
Step one. Manufacturing side parts
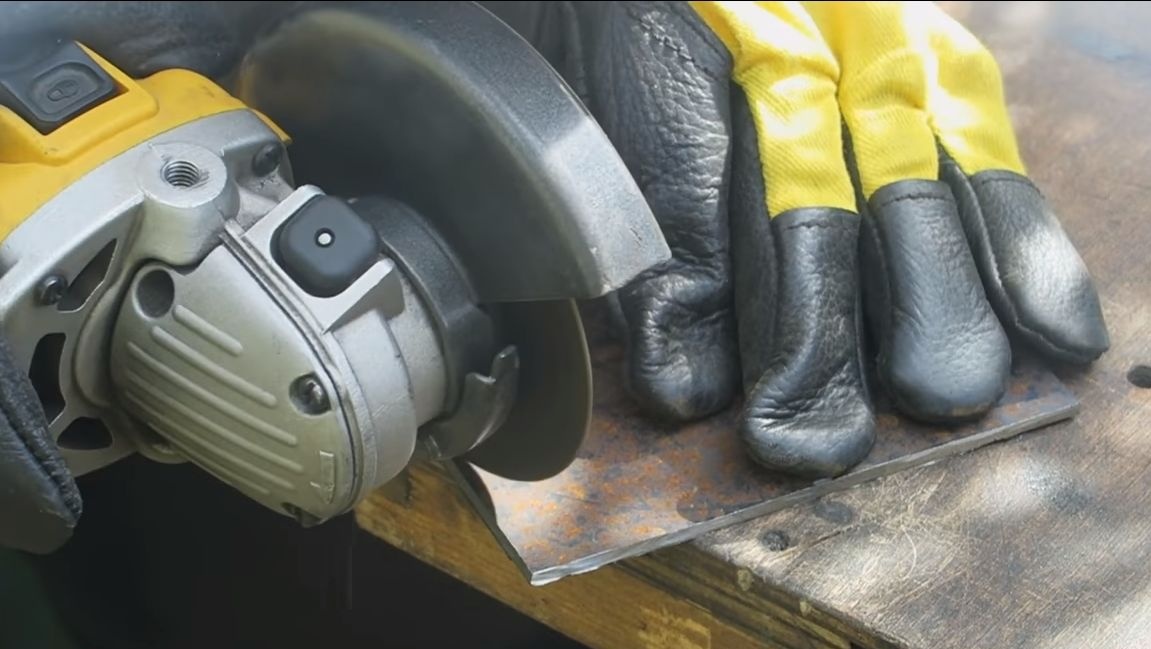
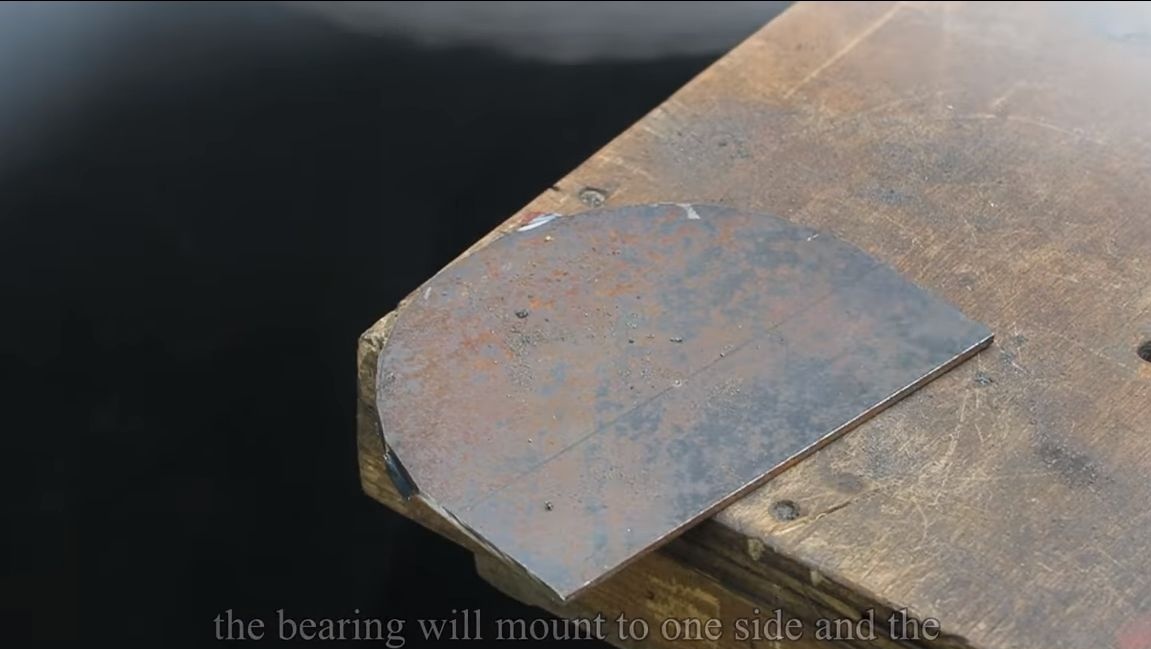
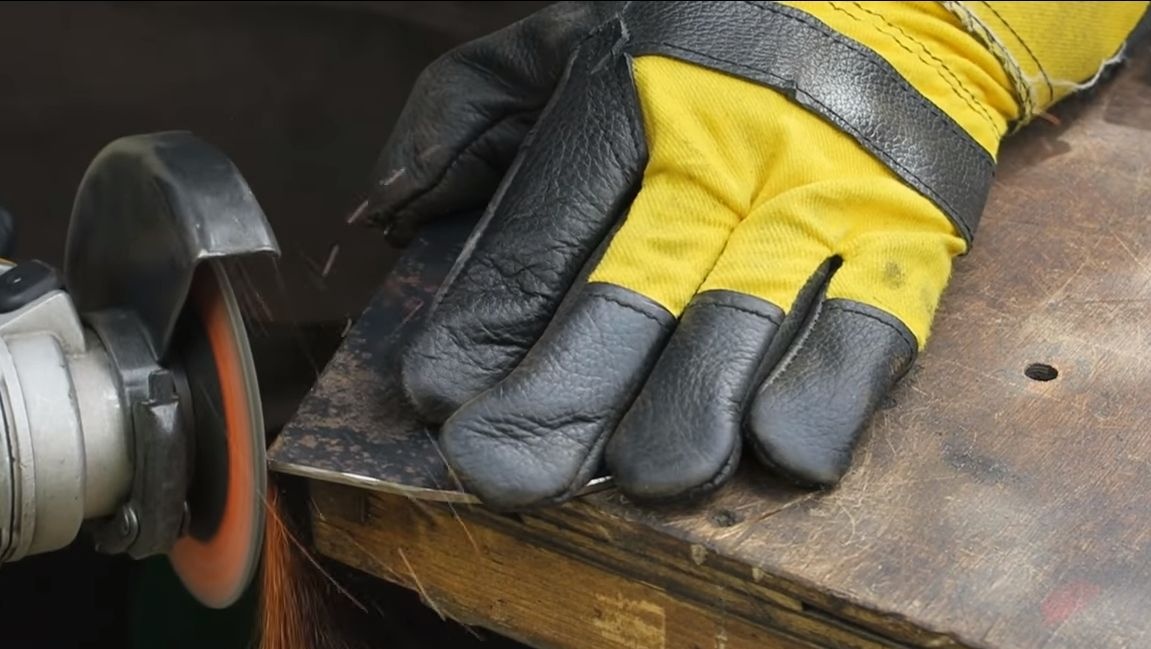
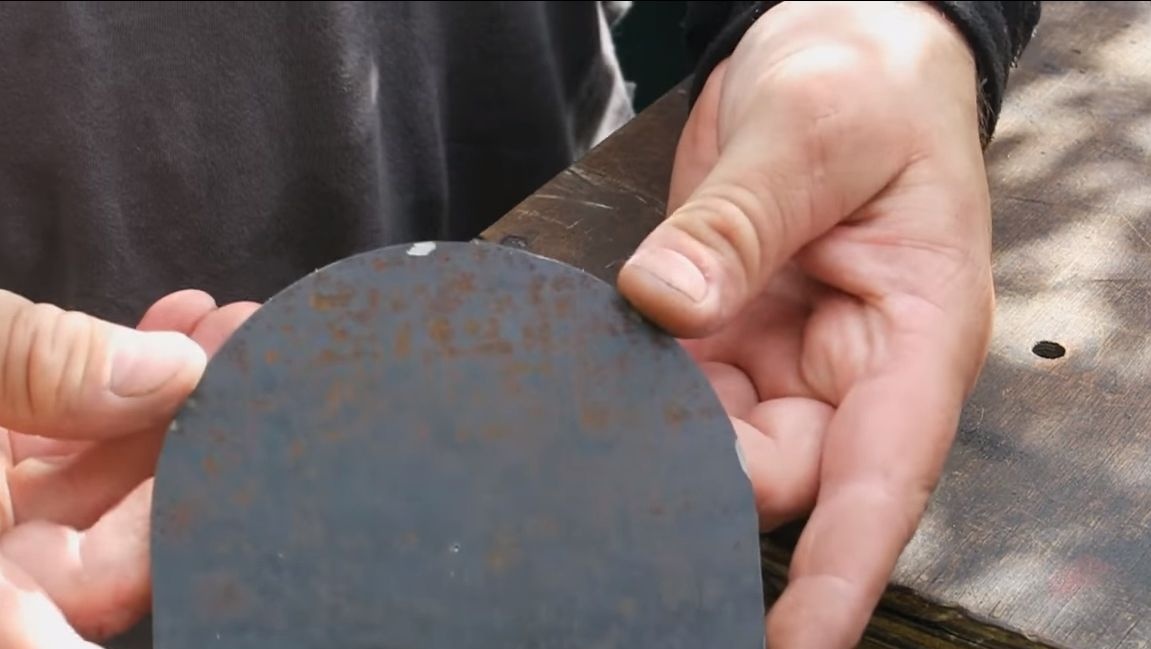
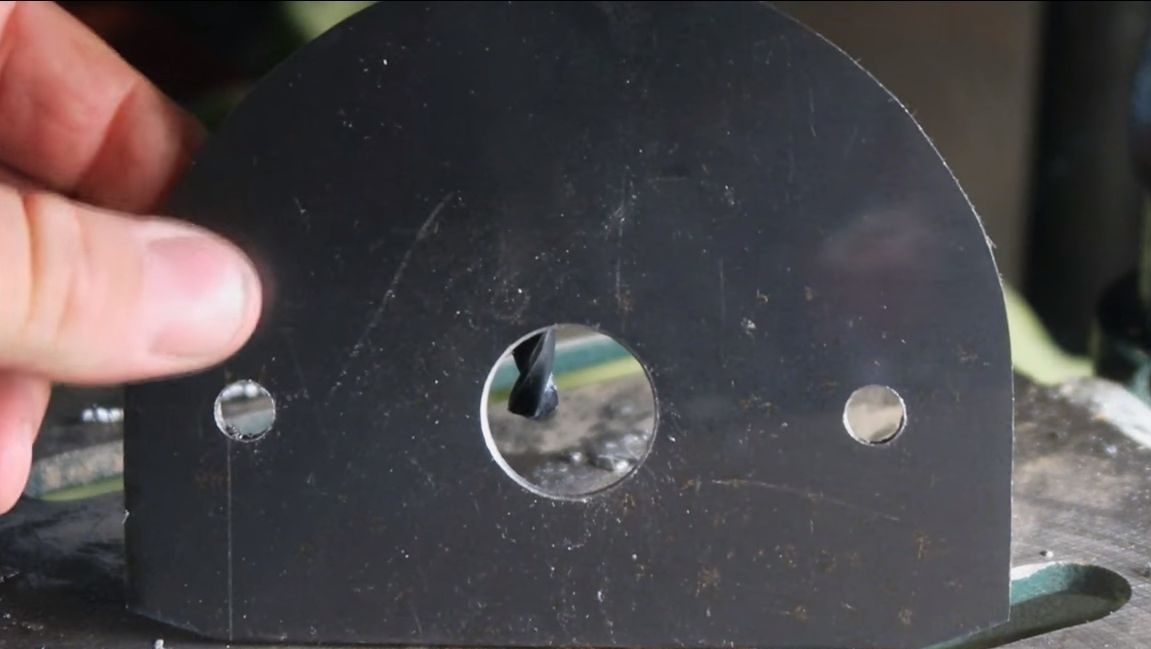
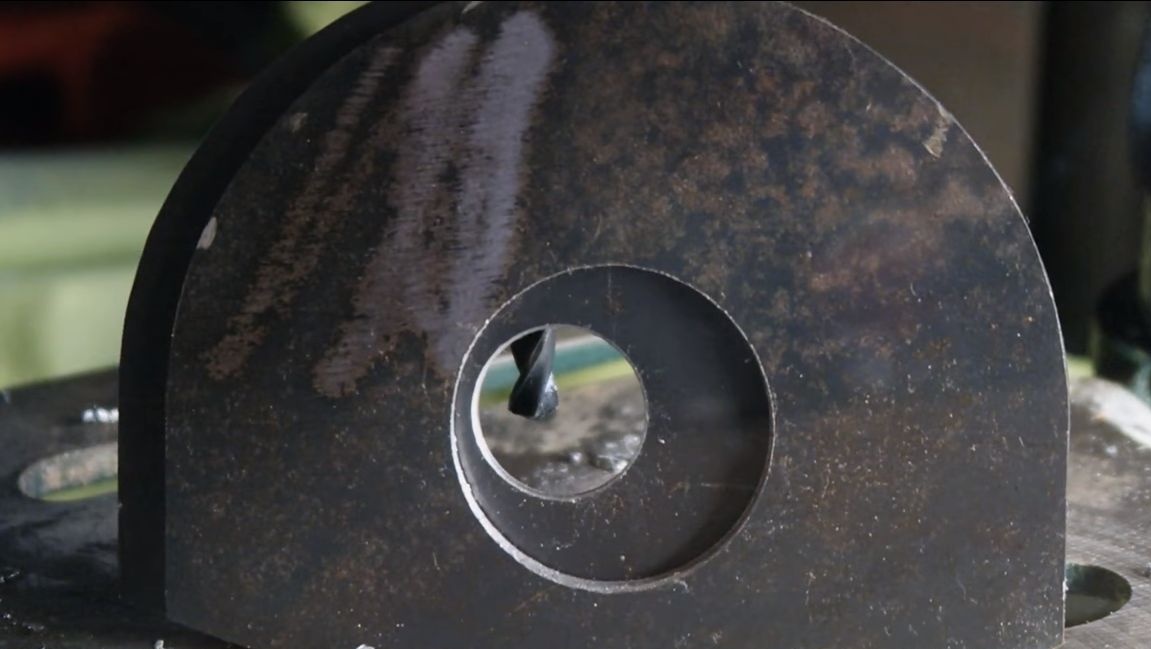
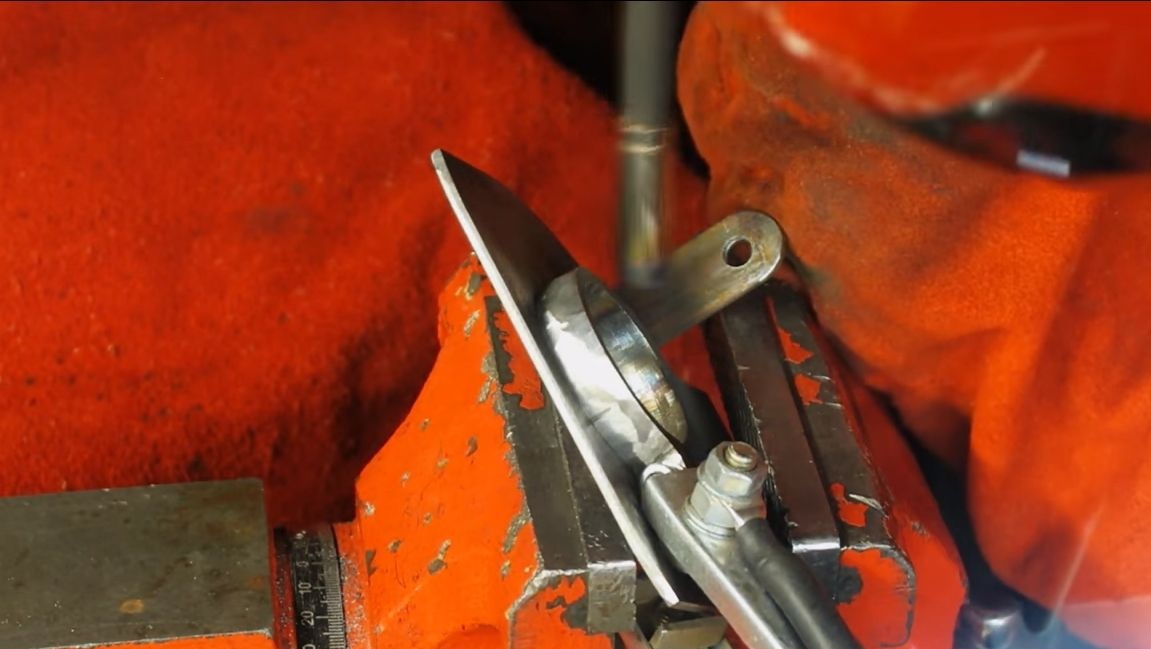
Two parts need to be made of sheet metal, these are the side parts of the homemade product. A bearing will be mounted on one of them. Steel should be quite thick, at least 2 mm is needed to obtain the desired stiffness. We cut out two identical details, like the author in the photo. This can be done with a grinder. The final fit is made using the grinding nozzle to remove all irregularities.
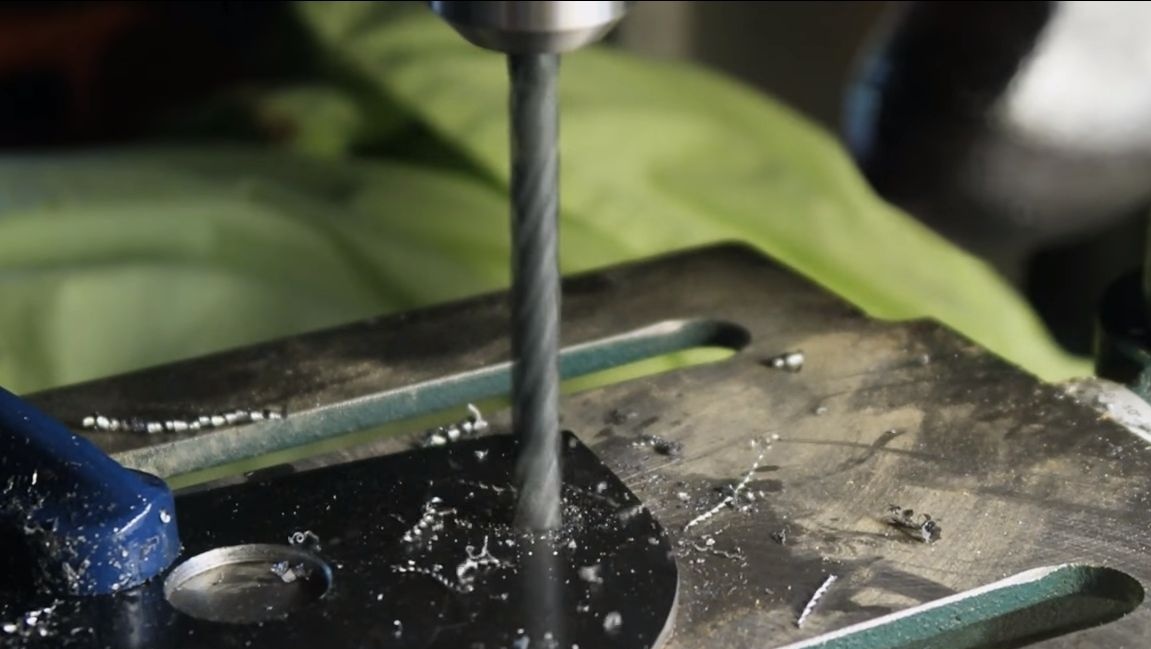
The next step is to drill holes, for this you will need a drilling machine with the appropriate nozzles. In one detail, we drill a hole of such a size that the “nose” part of the grinder where the bearing is mounted can pass there.
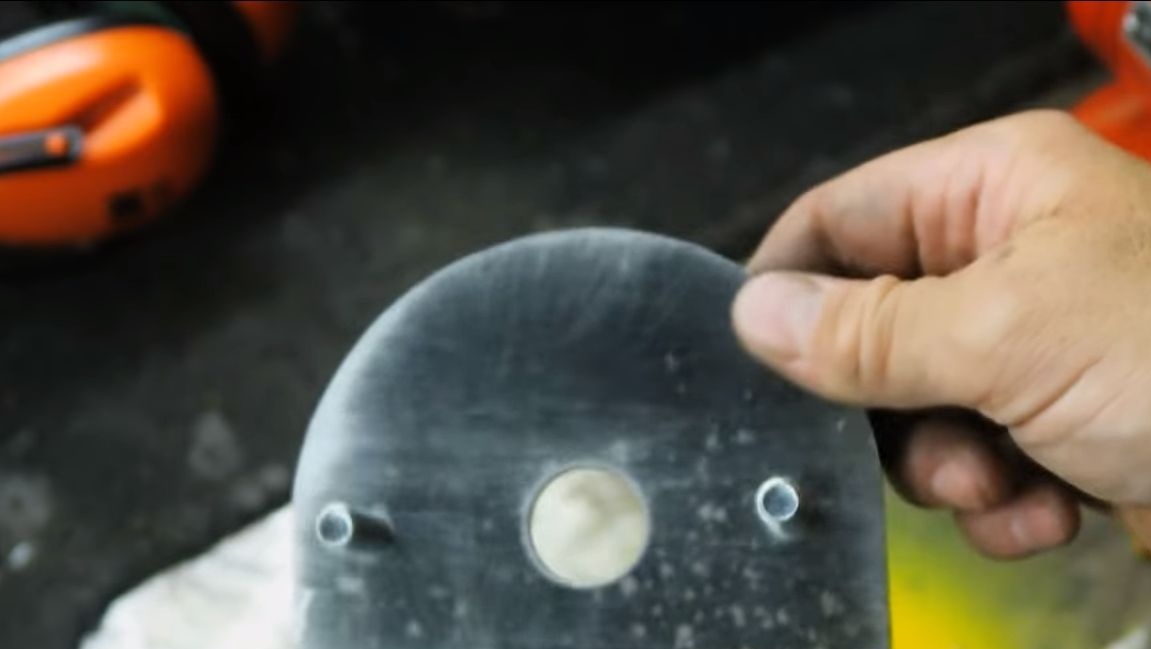
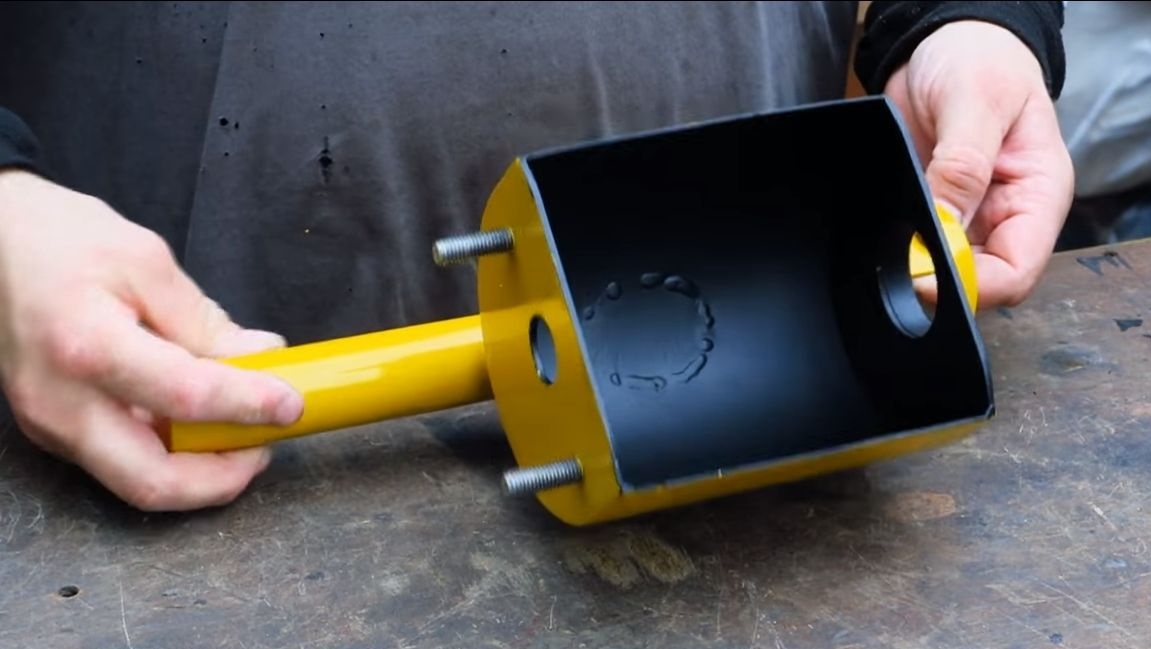
As for the second part, it is enough to drill a hole in diameter slightly larger than the working shaft. You will also need to drill two more small holes, they will be needed to mount the bearing using threaded rods and nuts.
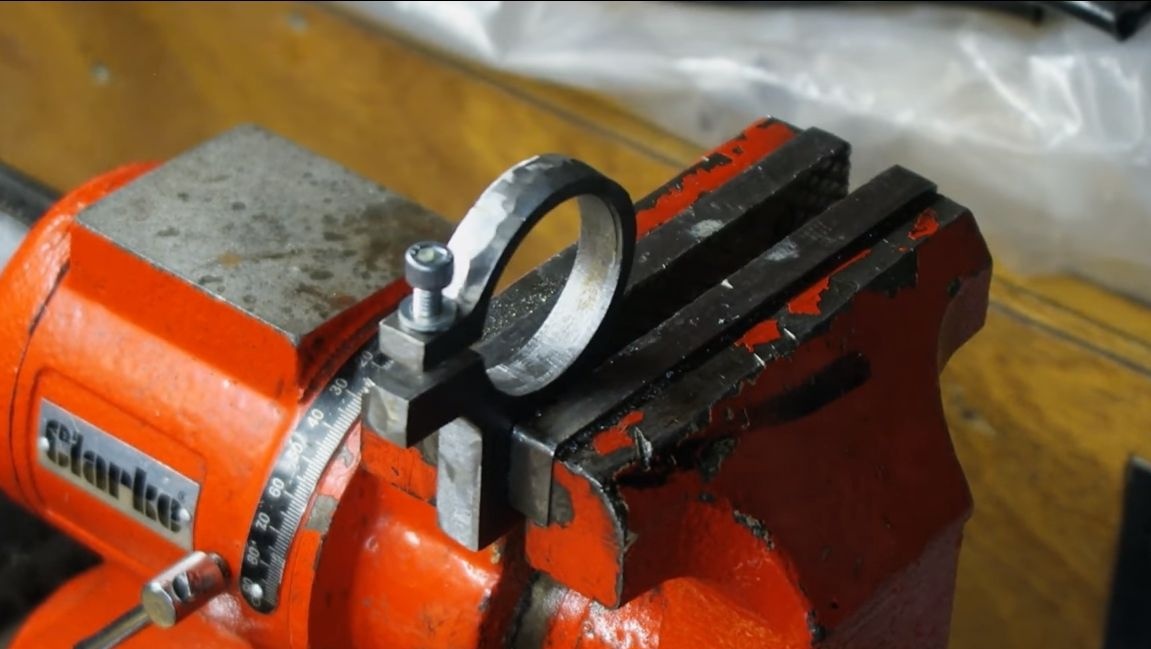
Step Two We make a clamping bracket
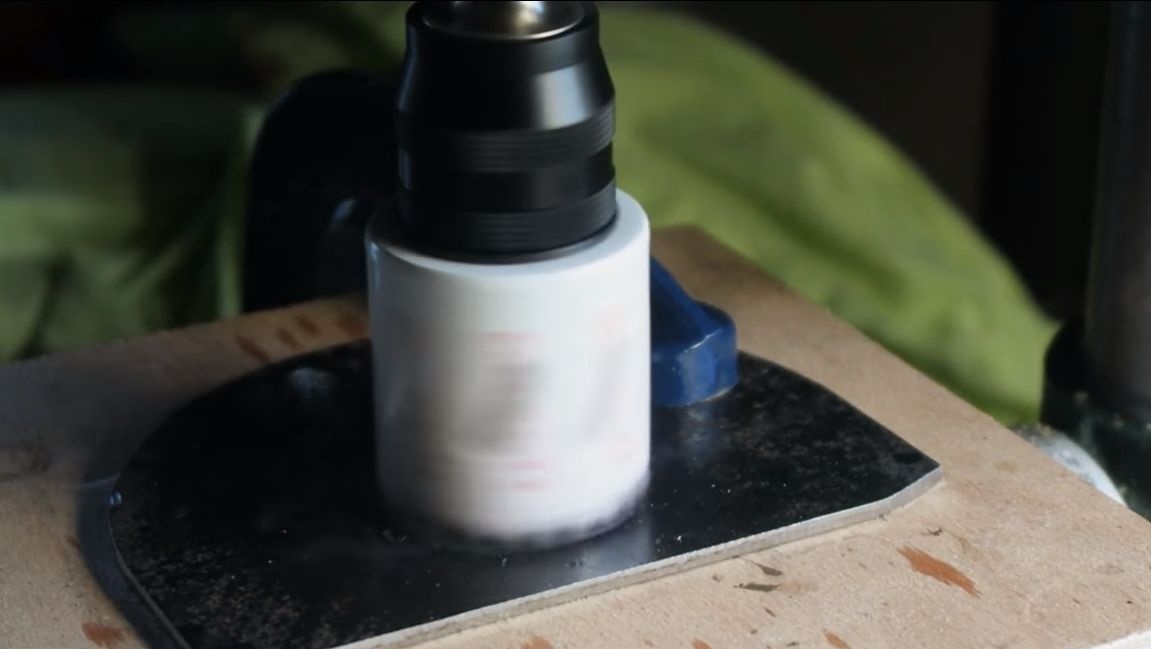
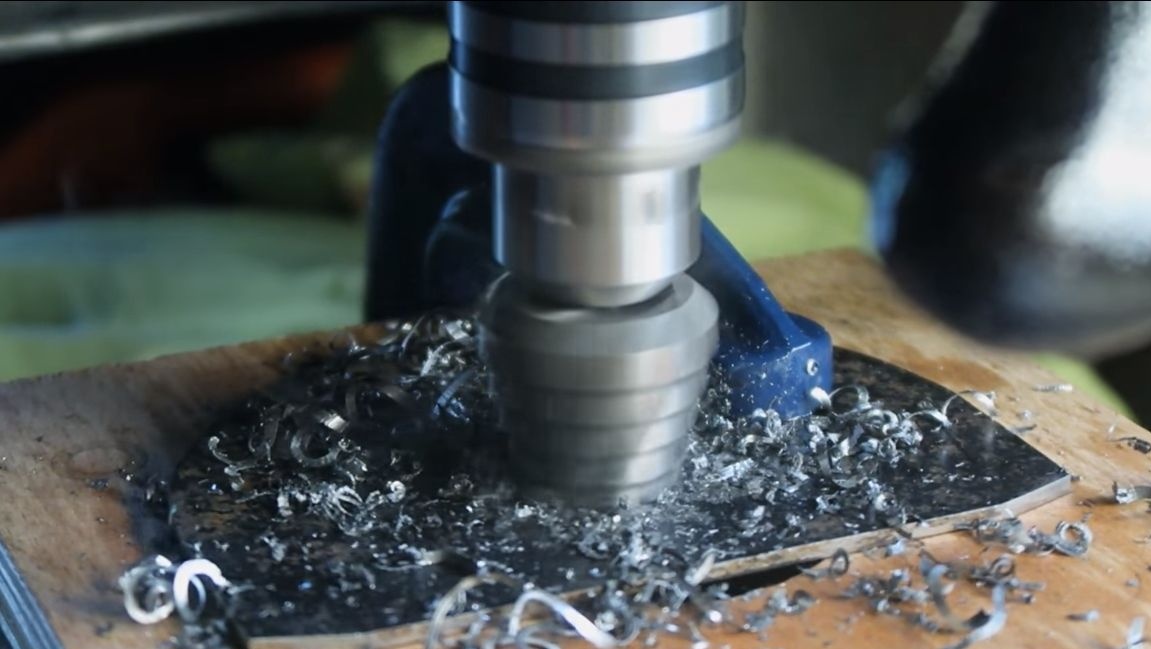
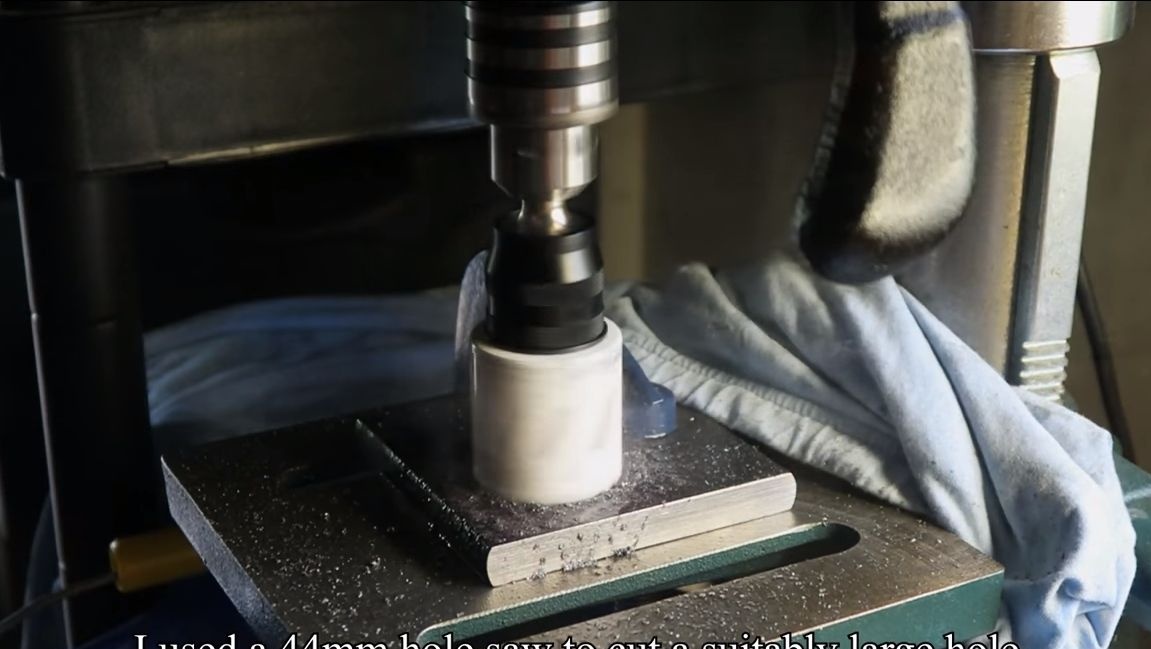
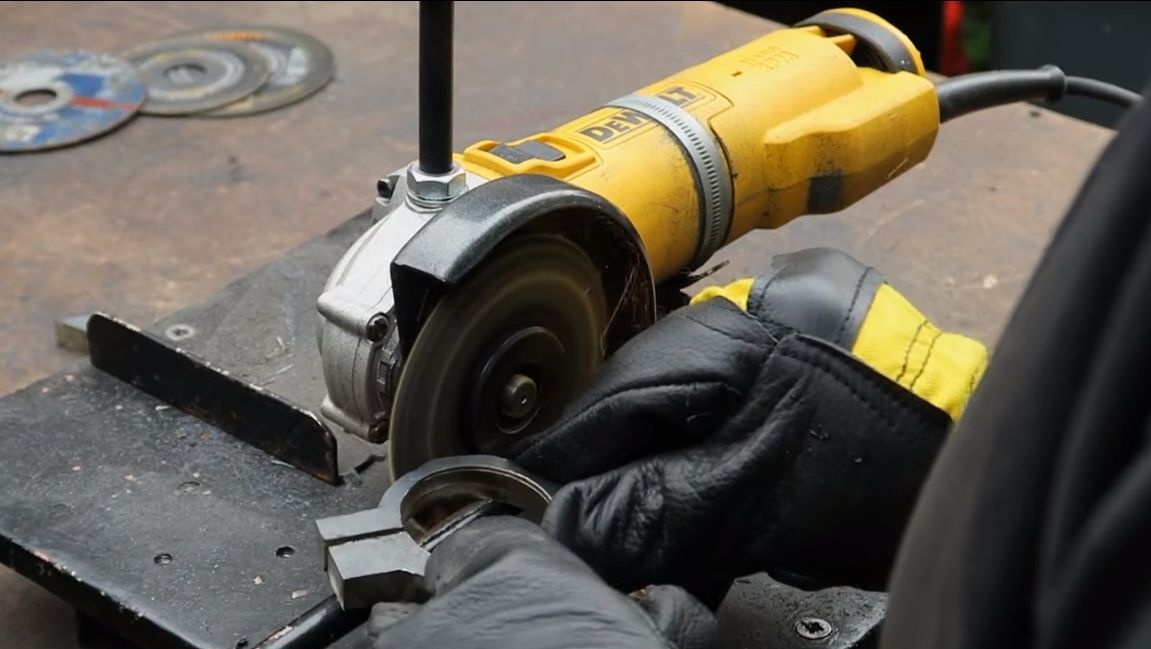
To mount the nozzle on the grinder, you will need to make a special bracket. To make it, you need a thick piece of steel. We go to the drilling machine and using a 44 mm bit we drill a hole, do not forget to use grease for cooling.
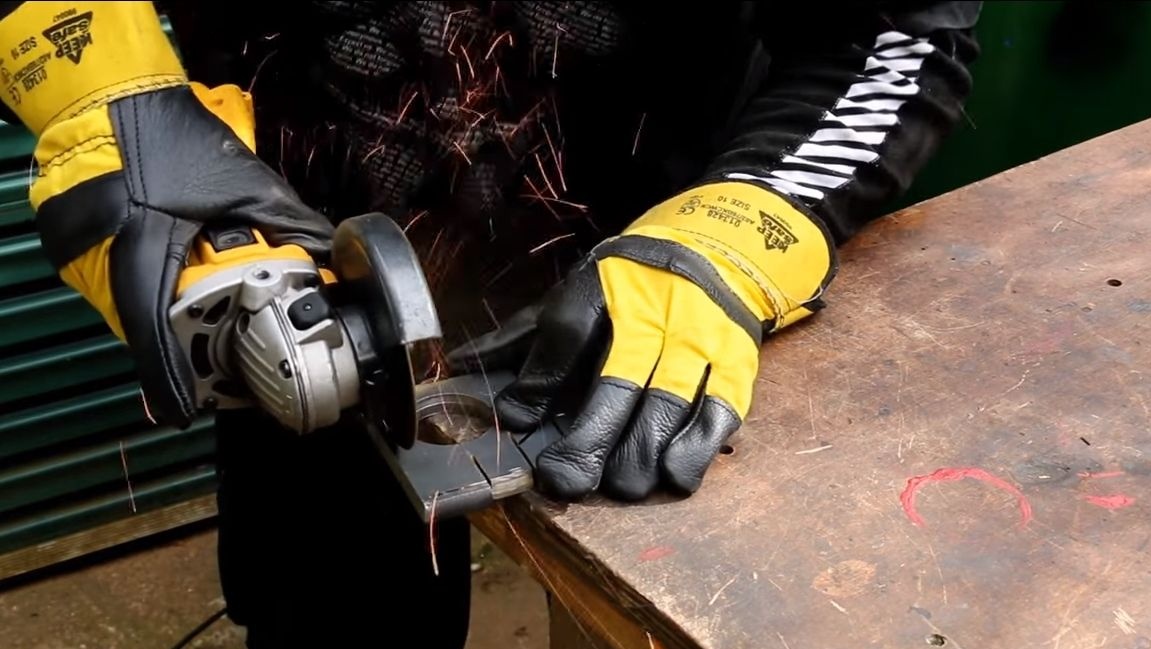
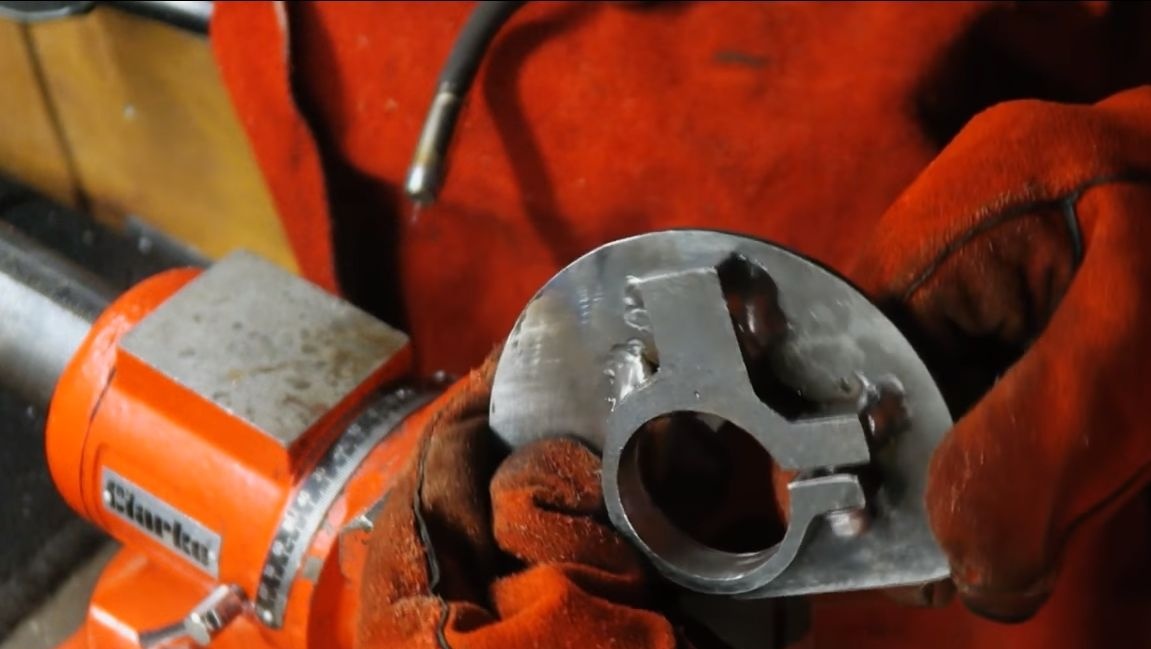
When everything is ready, we retreat about 1 cm from the cut hole and cut it out. Also, you need to remember to make “islands” where the tightening screw will be installed. What the product should look like, look at the photo. We cut it out with the help of a grinder, it is a bit long and tiring, but it can be solved. Grind with grinding discs.
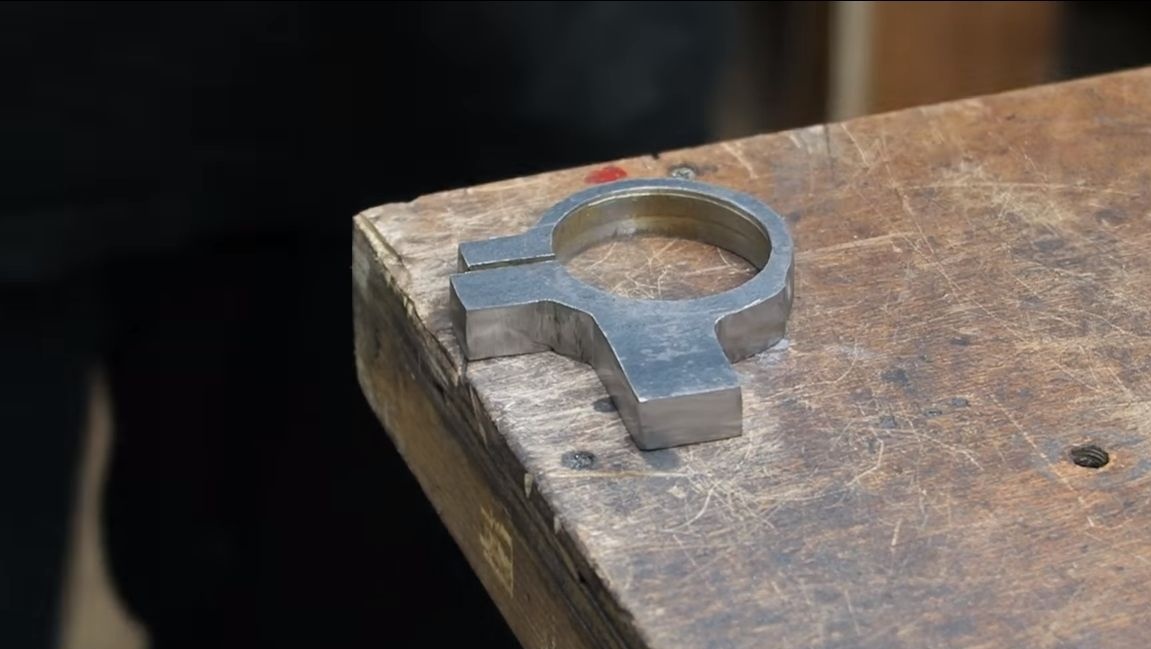
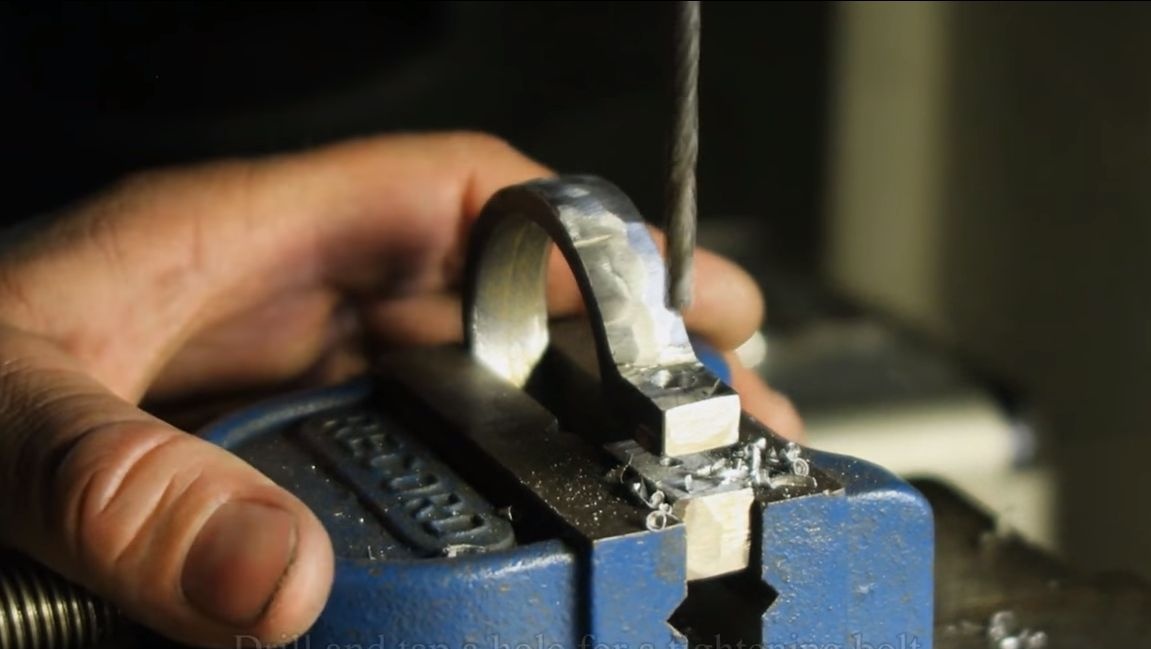
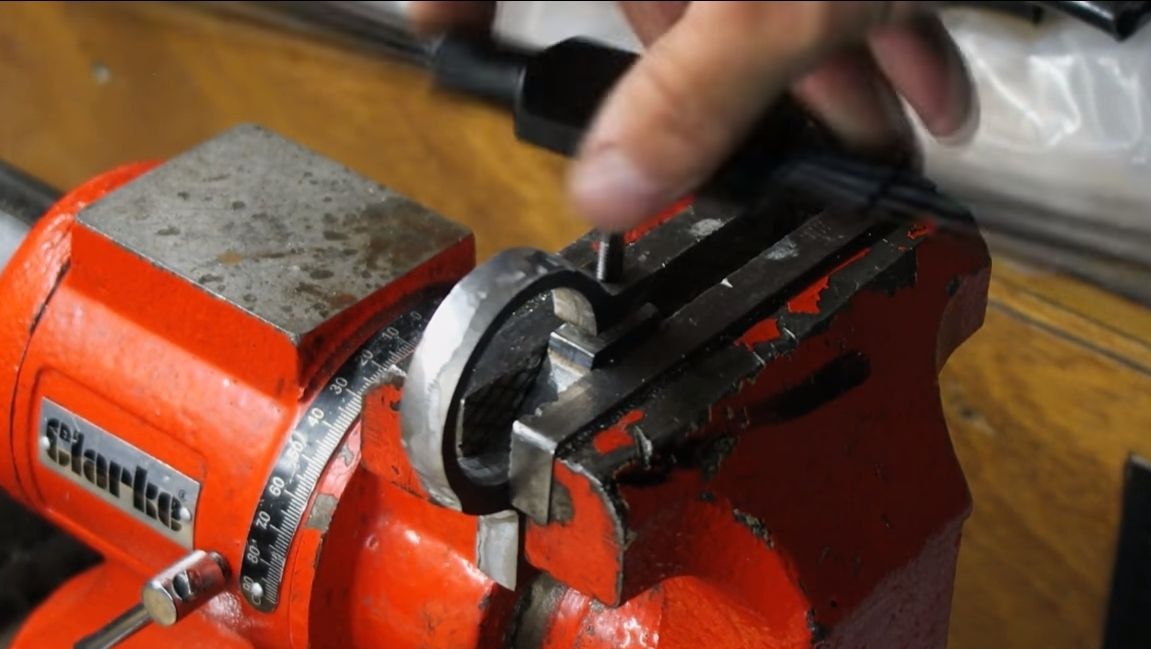
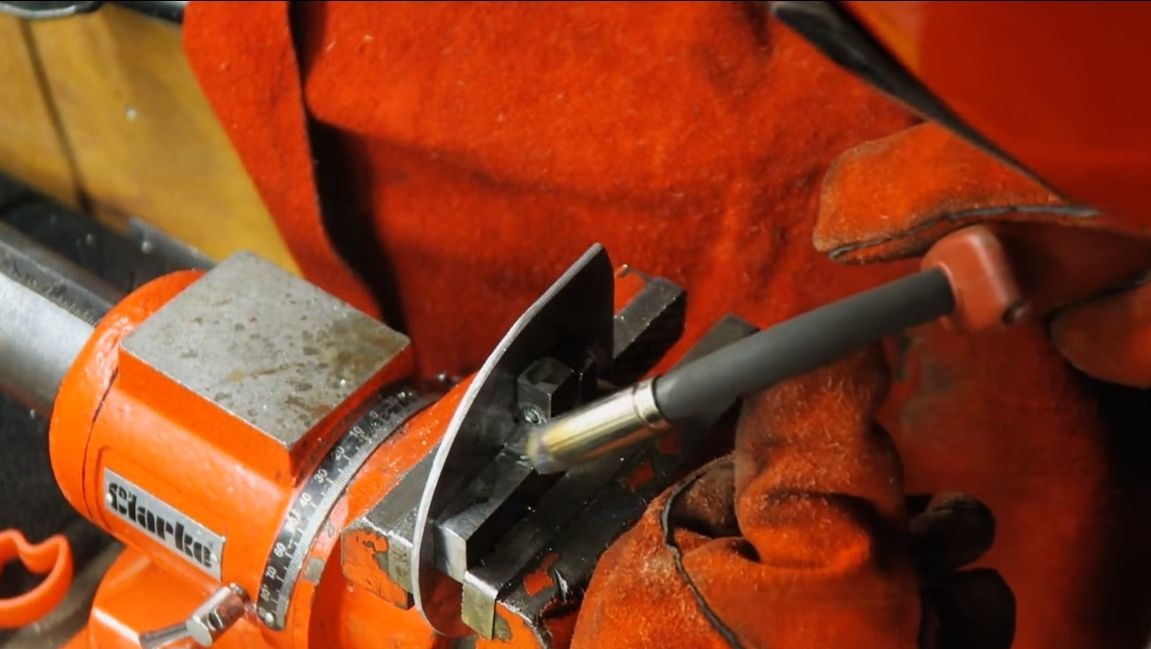
Now we clamp the workpiece in a vice and cut the ring so that it can compress, you need to cut a certain amount of metal. Well, then we drill a hole, cut the thread and wrap the screw.
The clamping bracket is ready, now you need to install it on the plate made earlier. For this you need a welding machine. It is only necessary to weld in one place, since the bracket must be compressed.
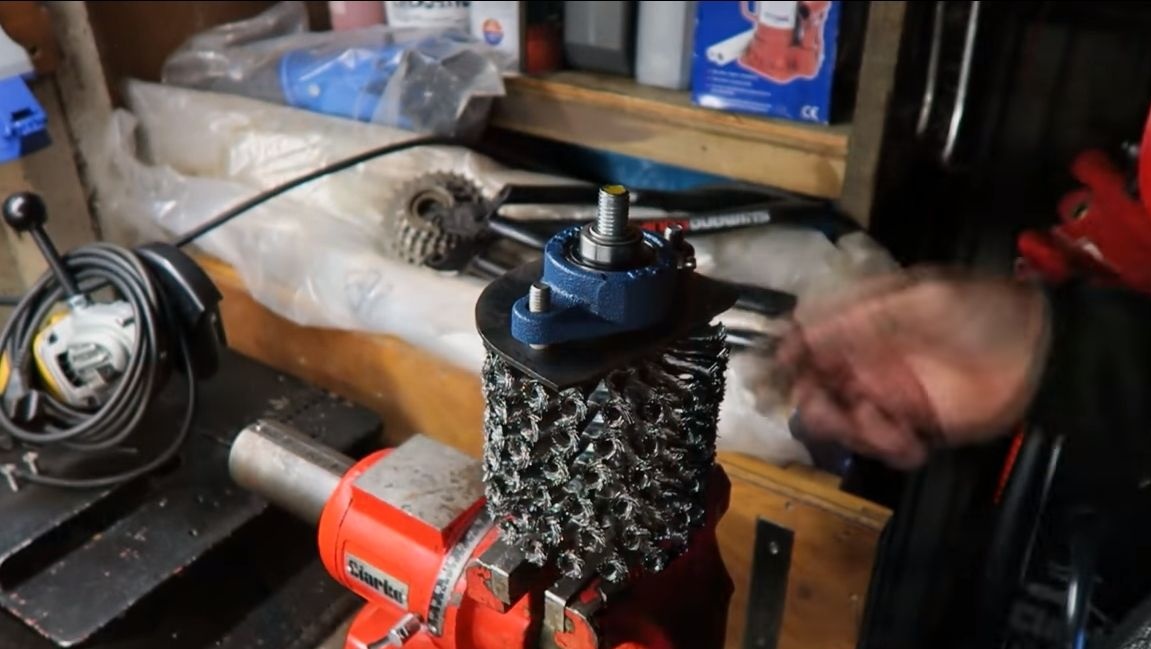
Step Three Install the bearing
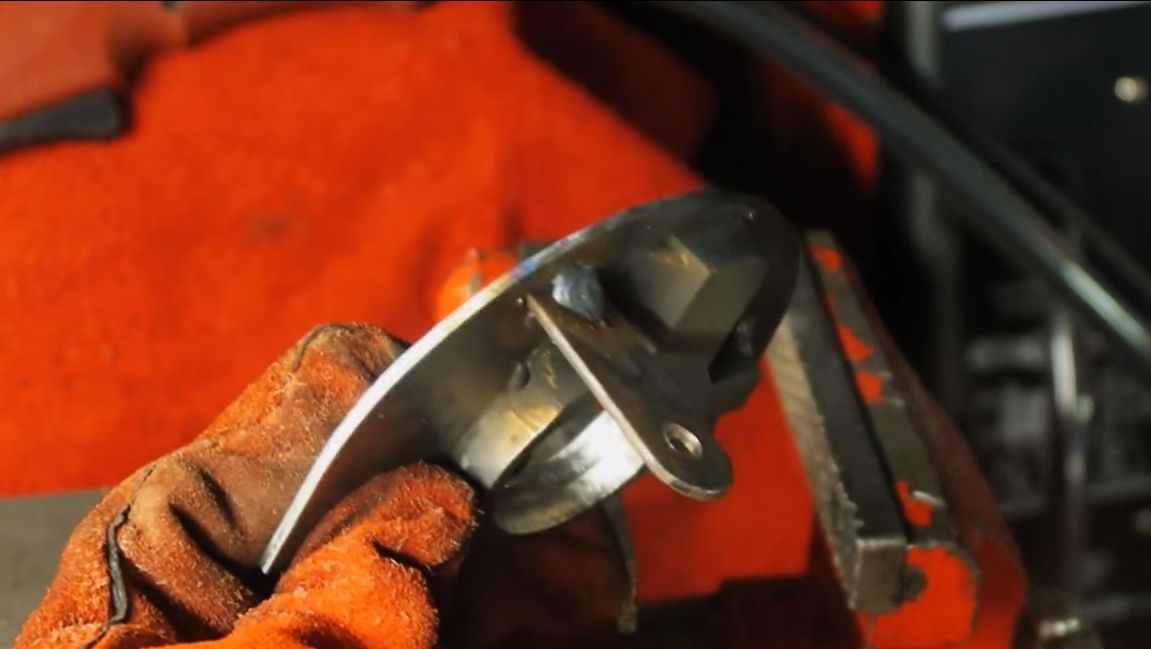
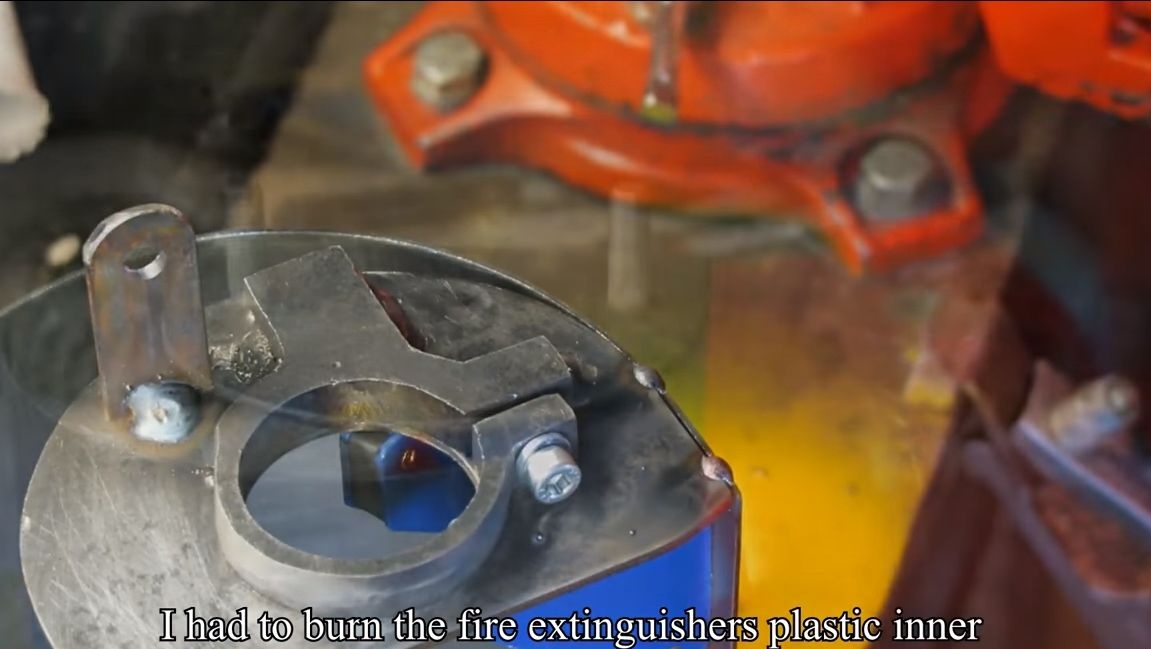
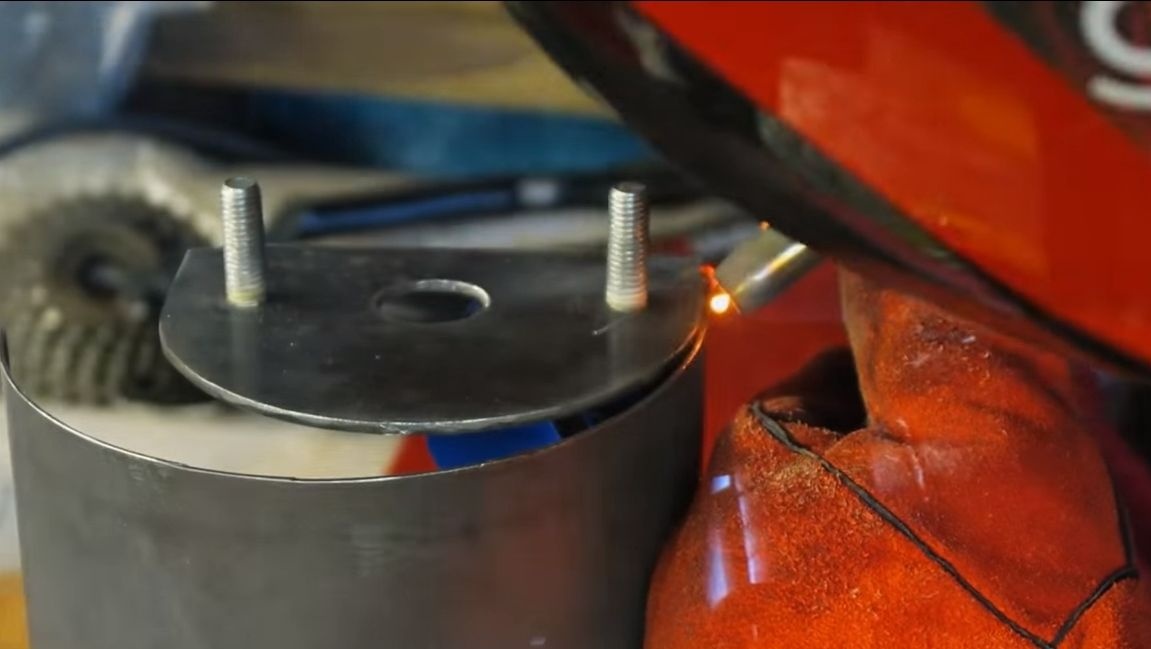
To install the bearing, you will need two bolts or just threaded rods. They need to be welded to the second plate, as a result, the studs will be obtained. Fix the bearing with washers and nuts.
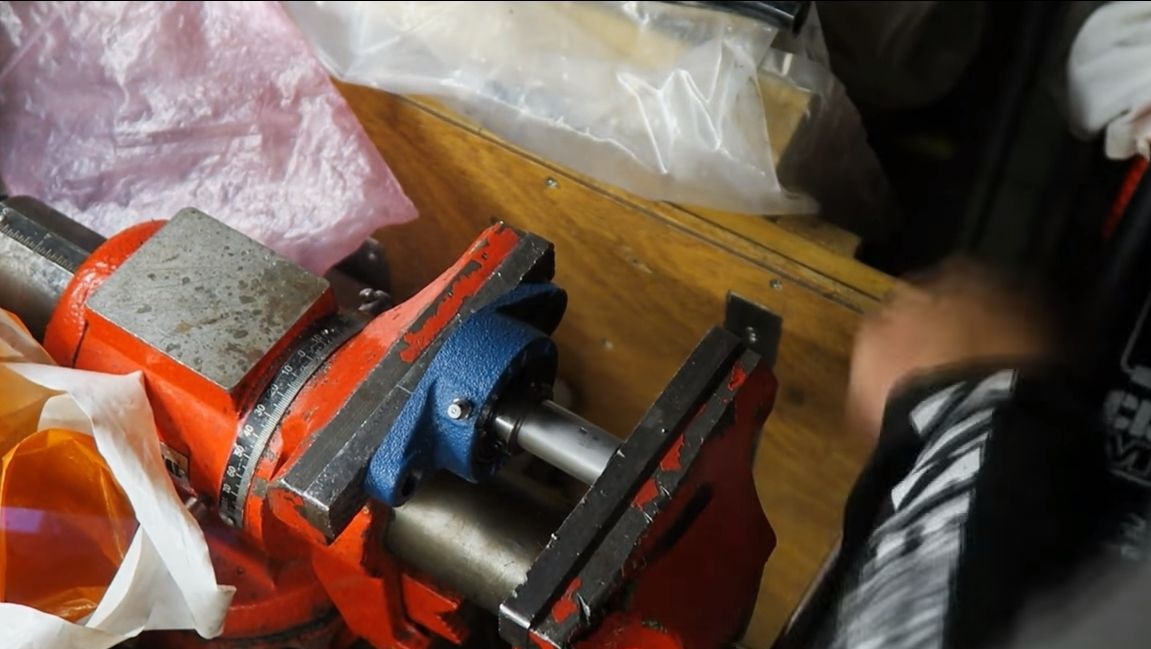
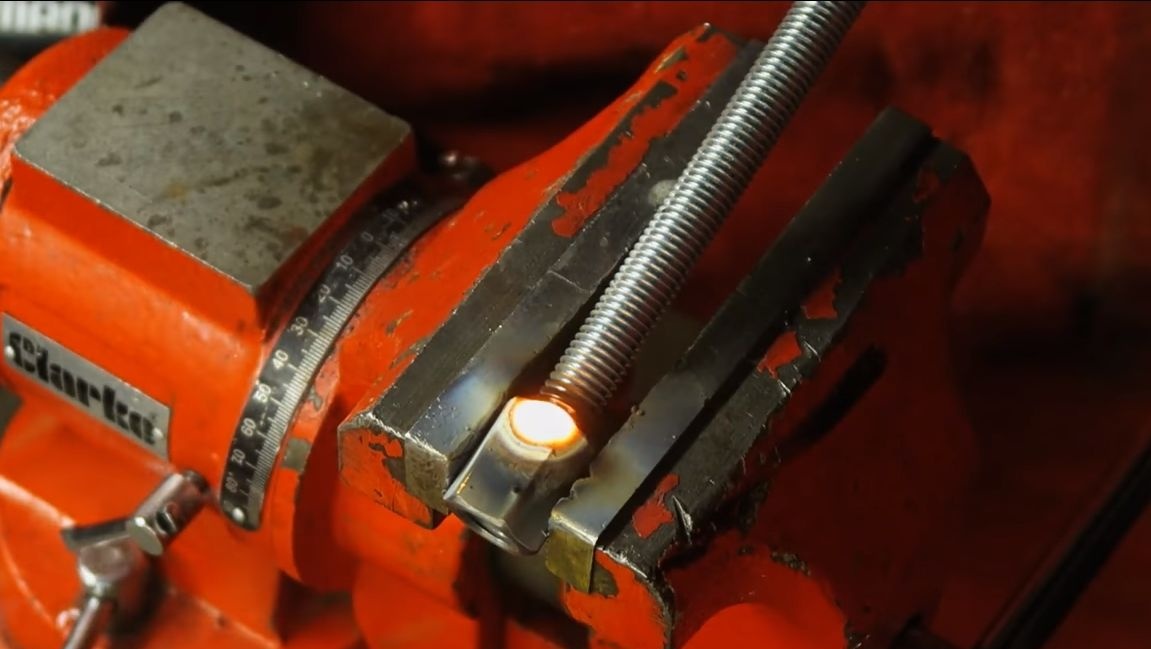
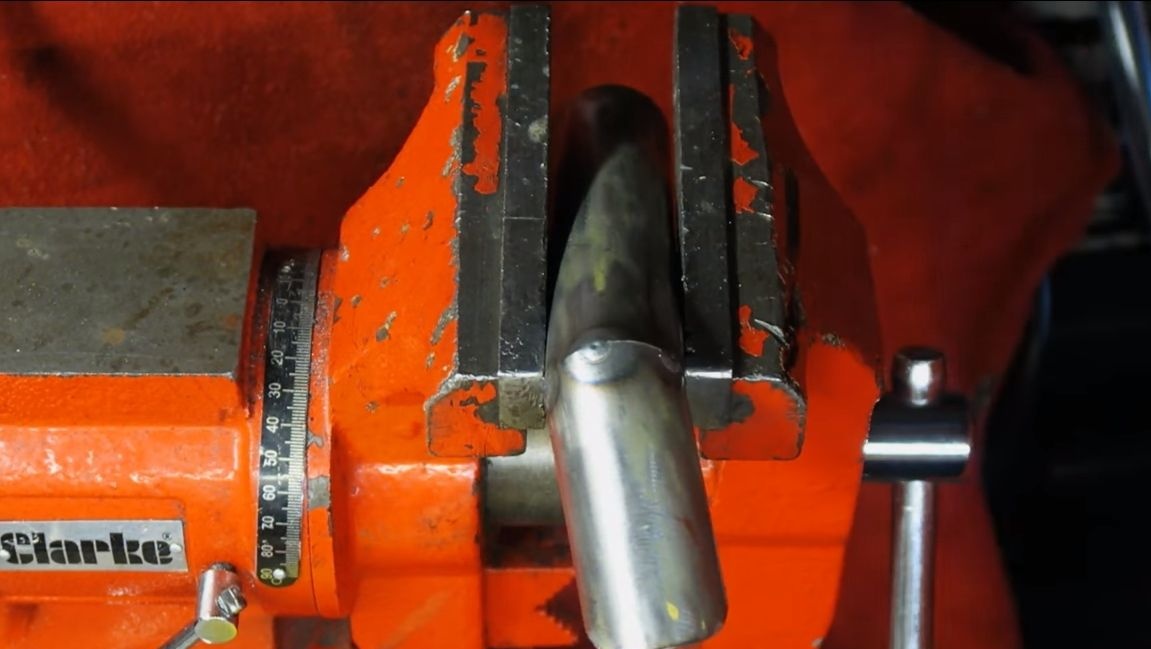
But before the final mounting of the bearing, it has yet to be finalized. Inside, you need to press in a piece of pipe so that the shaft fits tightly into the bearing. For these purposes, the author uses a vice.

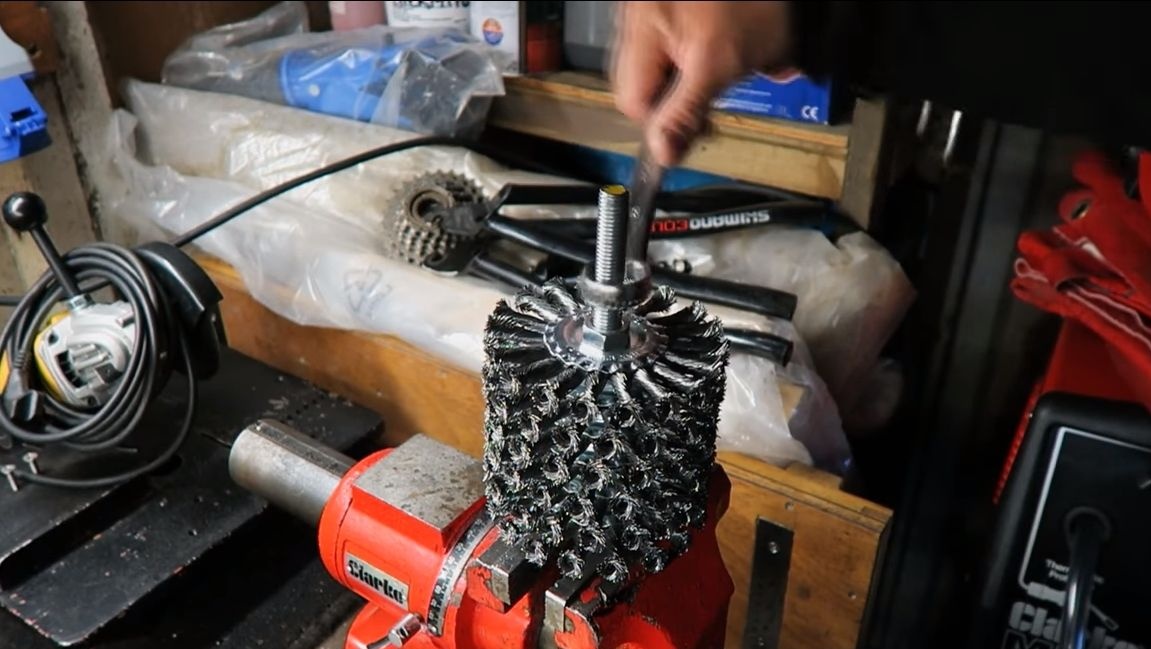
Step Four We make a working shaft
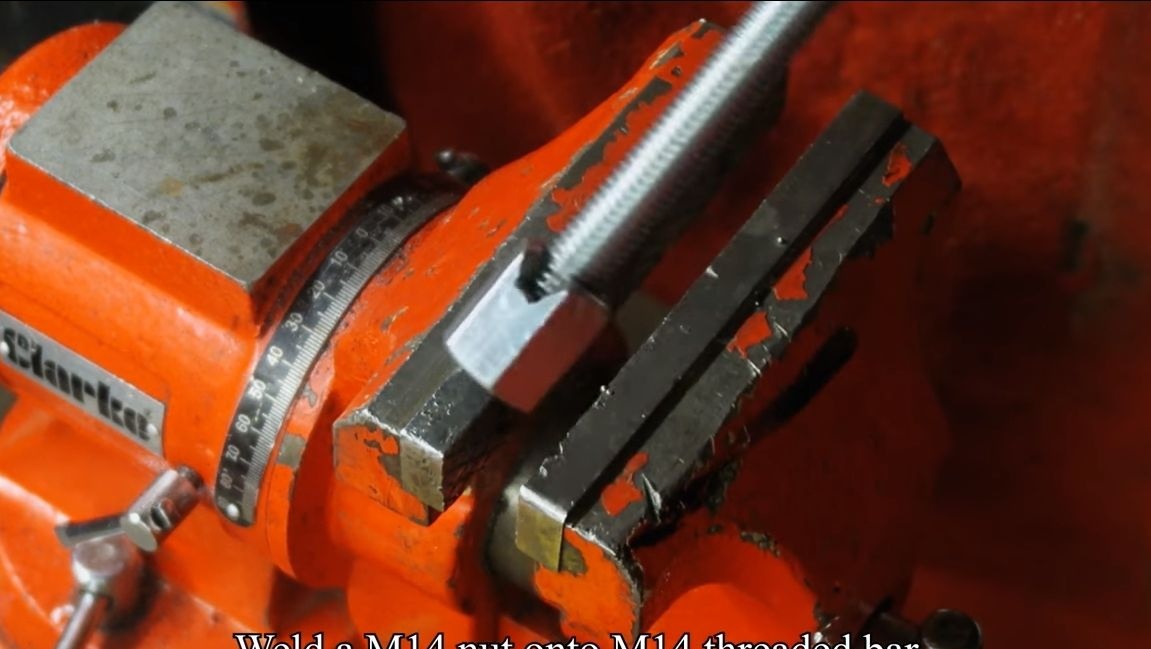
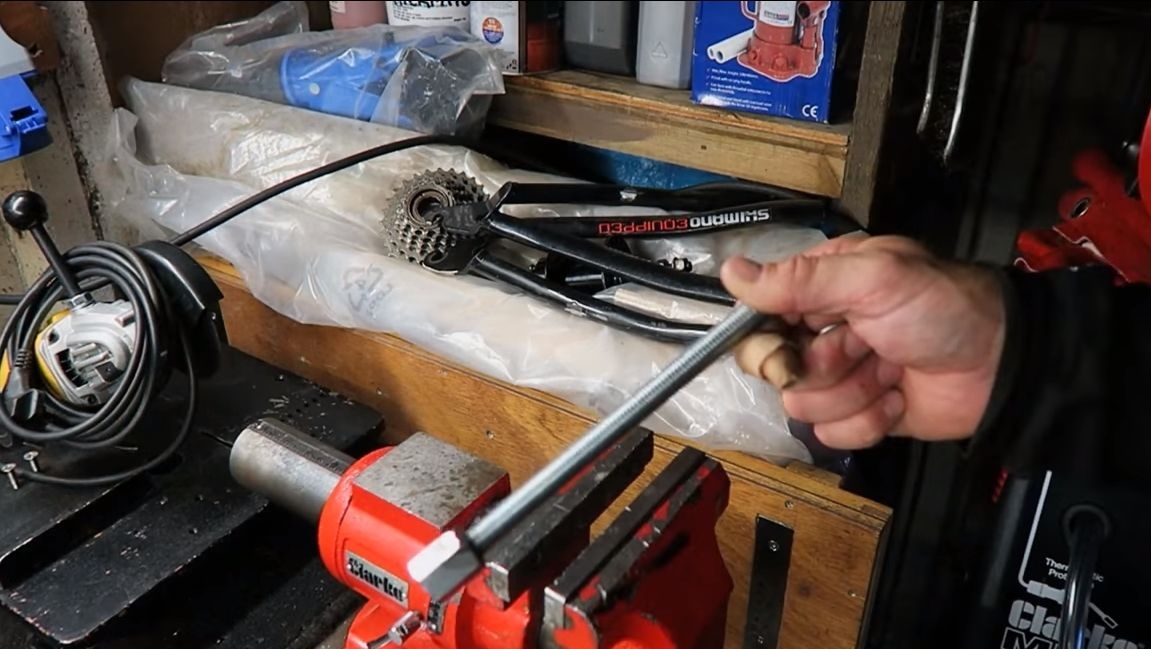
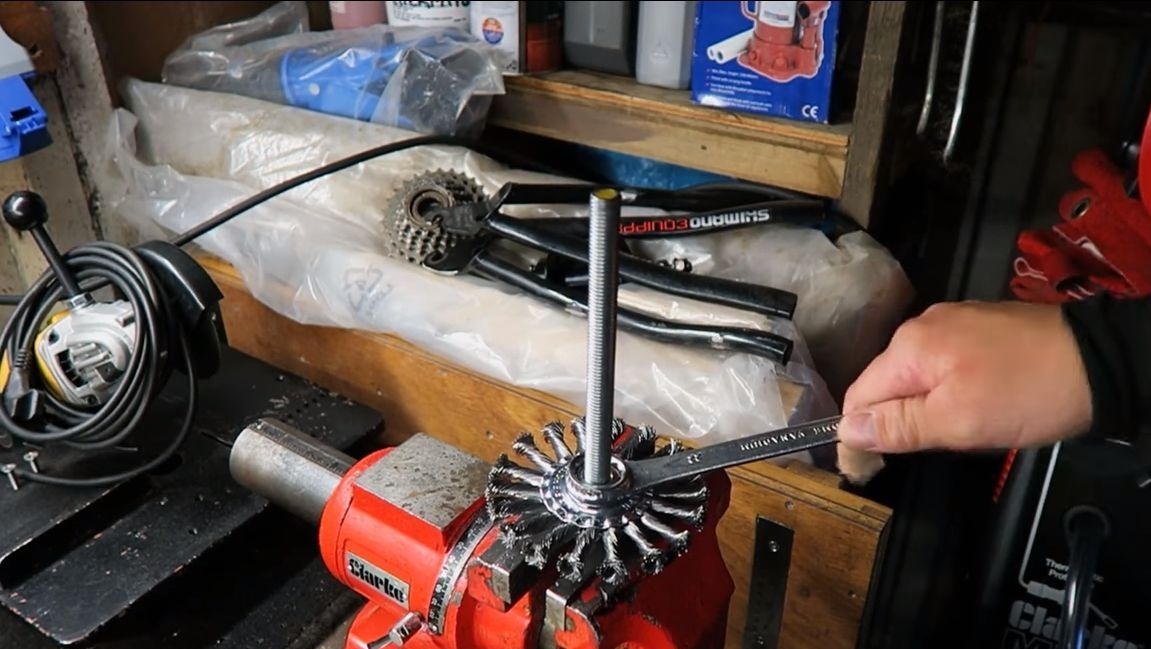
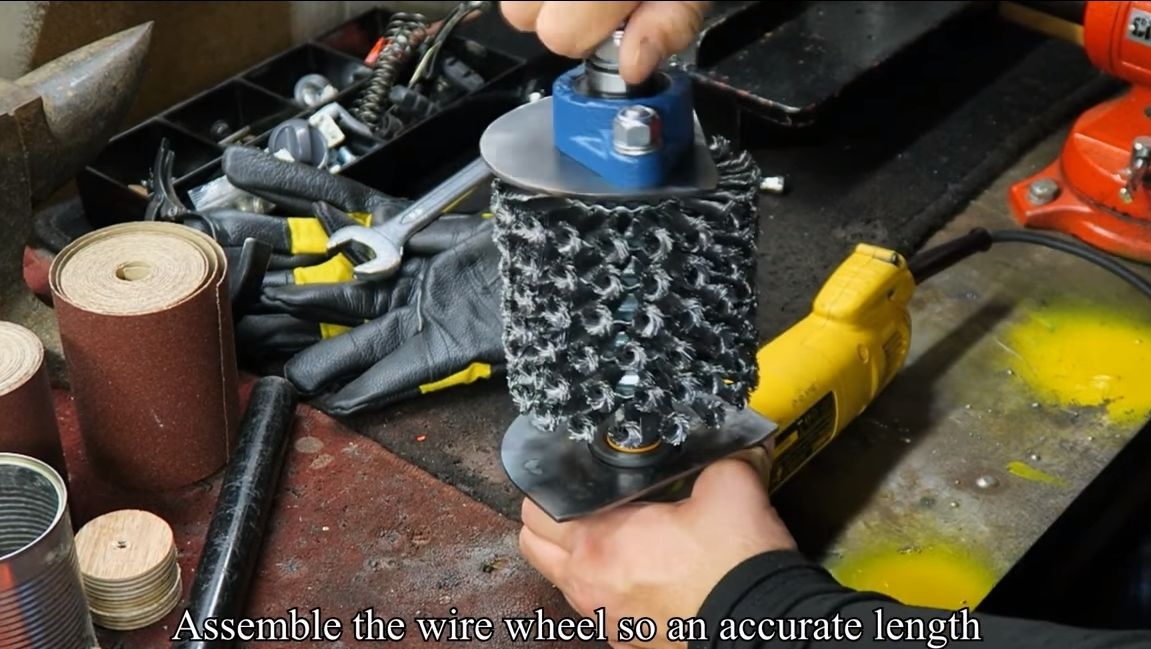
For the manufacture of the shaft, we need a threaded rod of suitable length and diameter. Weld a nut to one of the sides, it will be needed to connect to the shaft of the grinder. Well, then install the brushes! In total, you need 6 pieces, just screw them onto the threaded rod, do not forget to install a washer between each brush. We tighten each detail with a wrench.
That's all. Immediately you can install a part with a bearing on the shaft, we fasten the shaft with a nut.

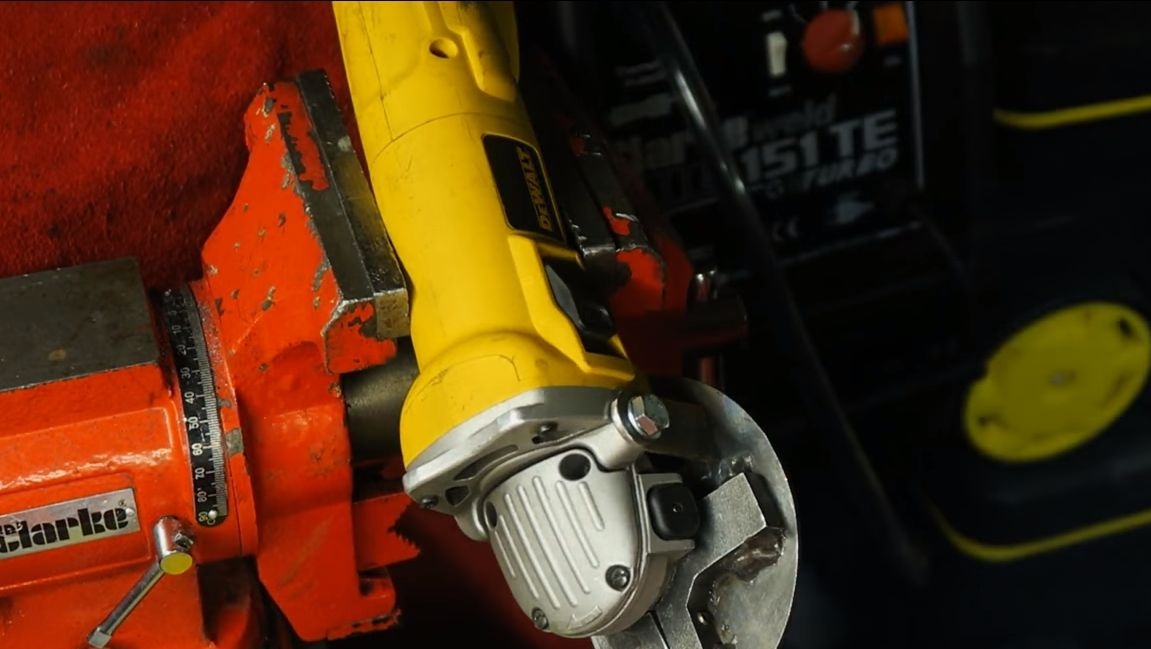
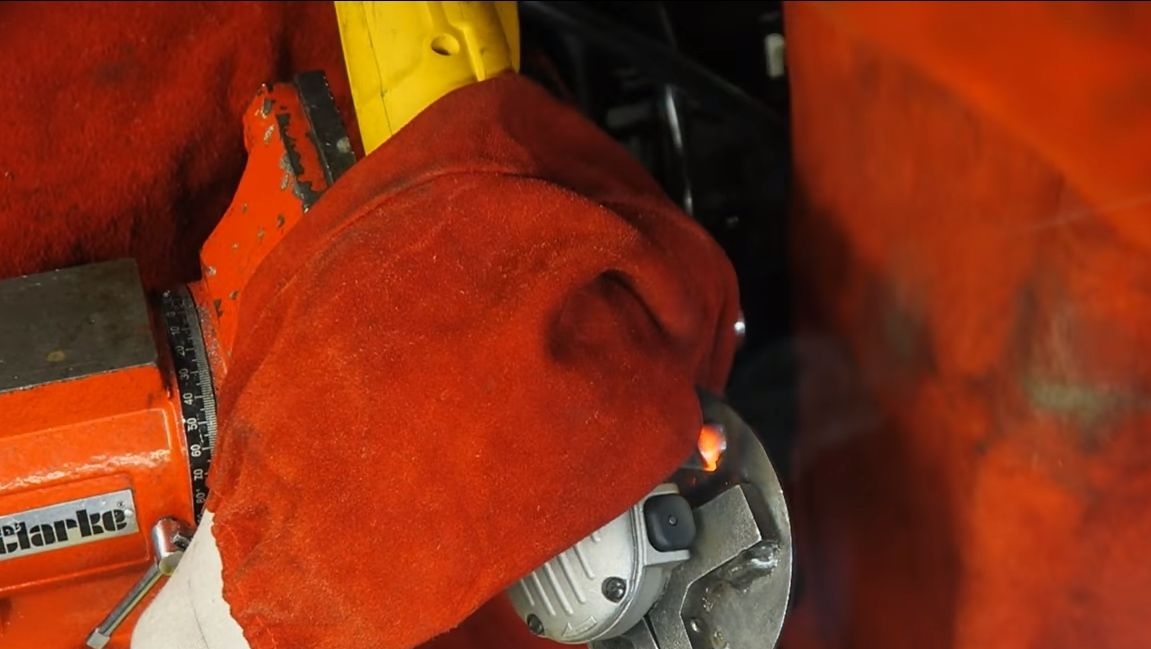
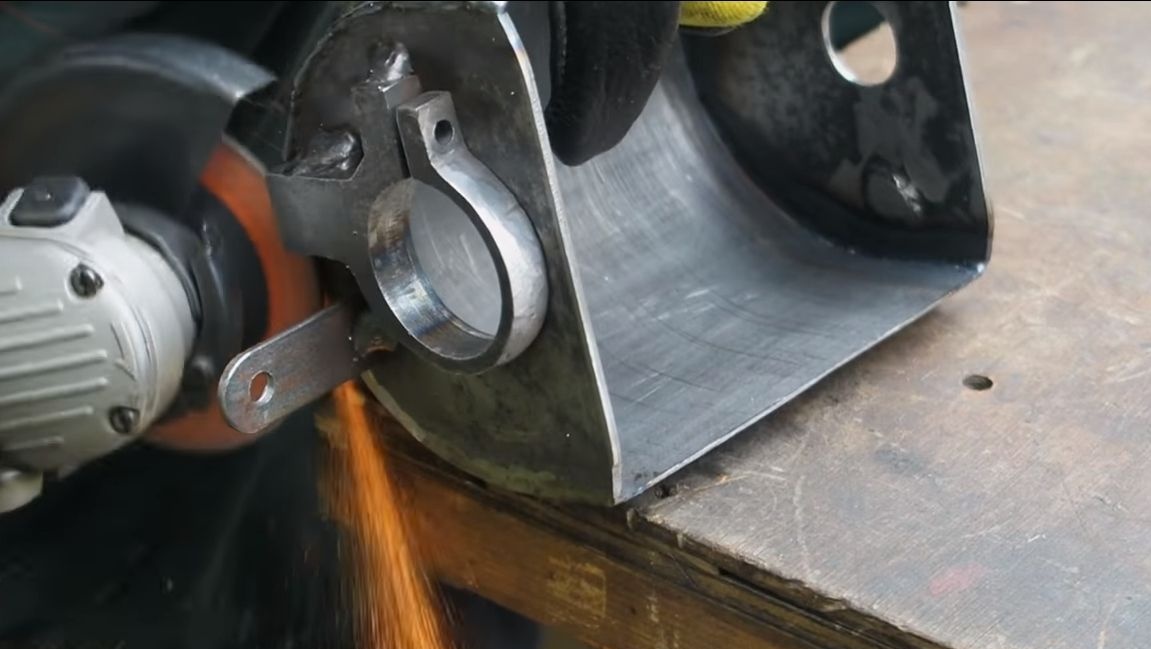
Step Five Modifying the mounting bracket
That bracket, which will be attached to the grinder, needs to be finalized. Although it drags well, it can crank up under high load, and this is extremely unsafe. For these purposes, the author welds an additional fixing plate to it, at the end of which there is a hole. Now you can additionally fix the structure with a bolt. What is at stake, look at the photo. At the end, install the workpiece on the grinder.
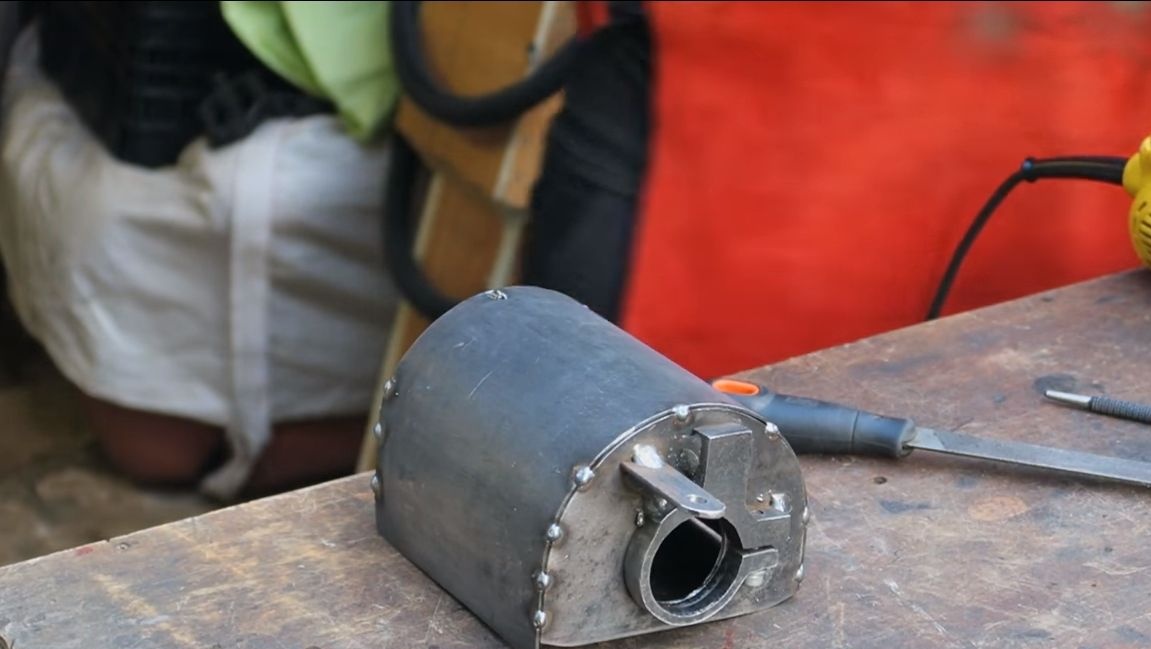
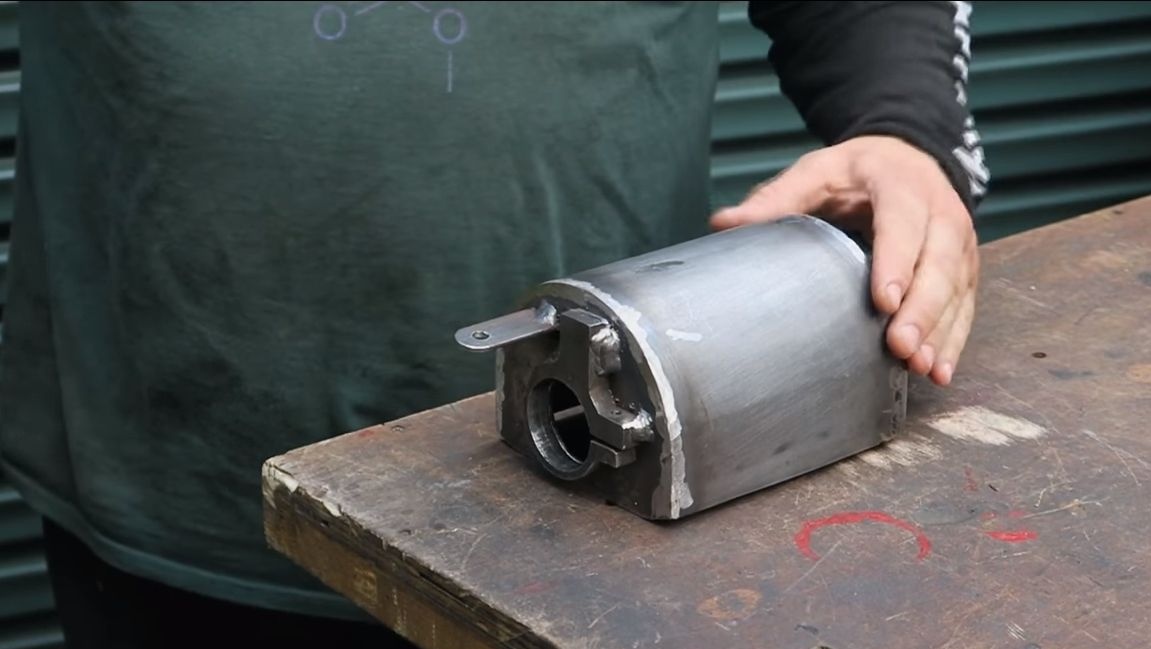
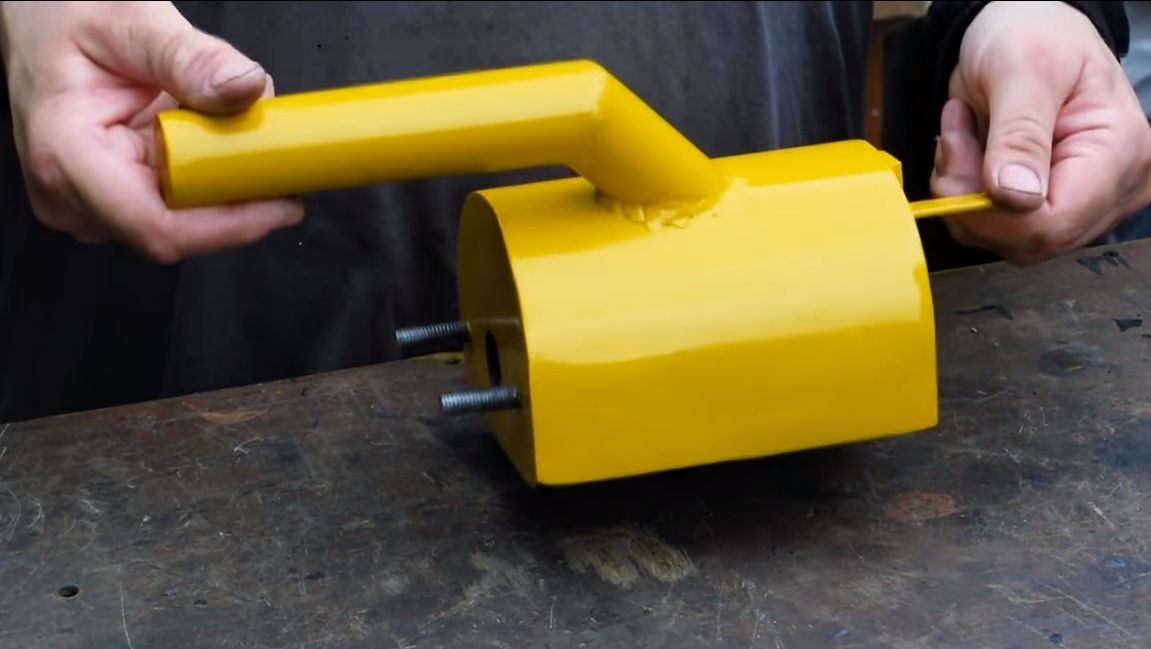
Step Six We make the case
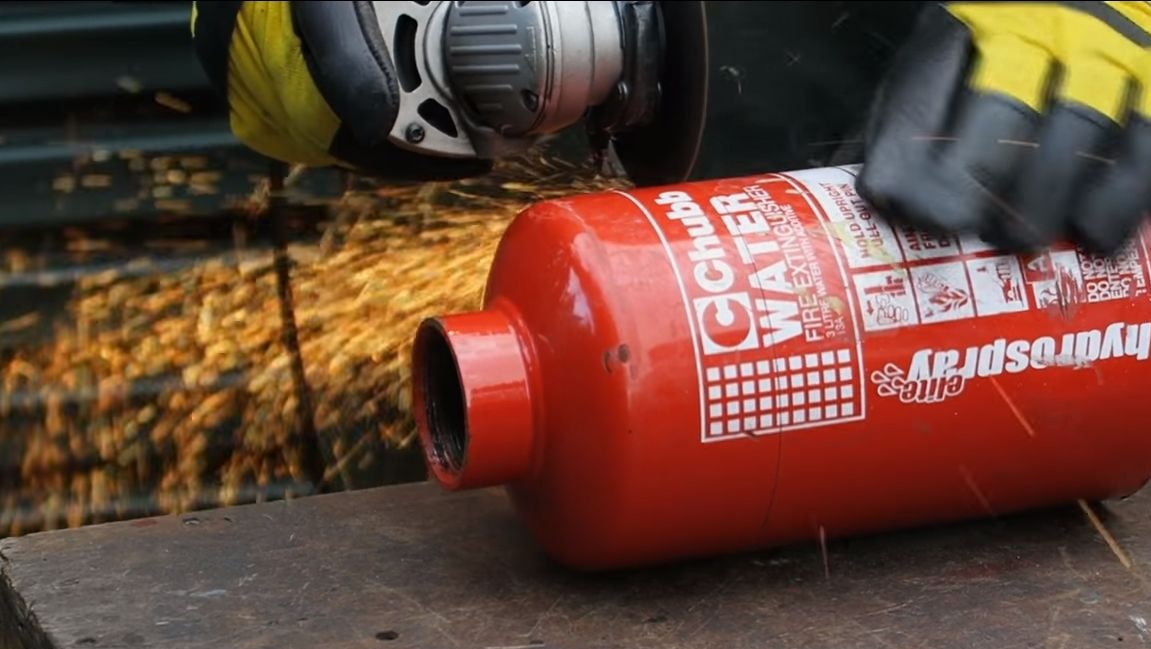
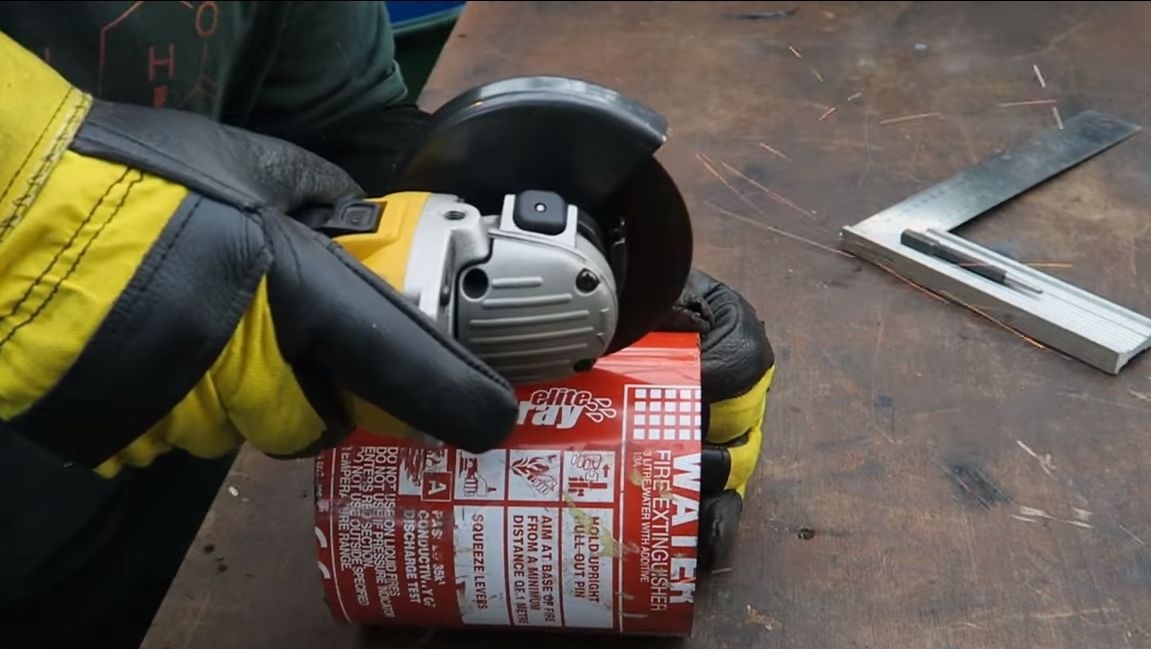
The case is a protective shield, it also connects both parts together. Steel for this will also be required quite thick, and in order not to be wiser with the profile, look for a suitable cylinder in shape. It could be an old fire extinguisher, or something like that. We make the necessary measurements and cut out the necessary part.
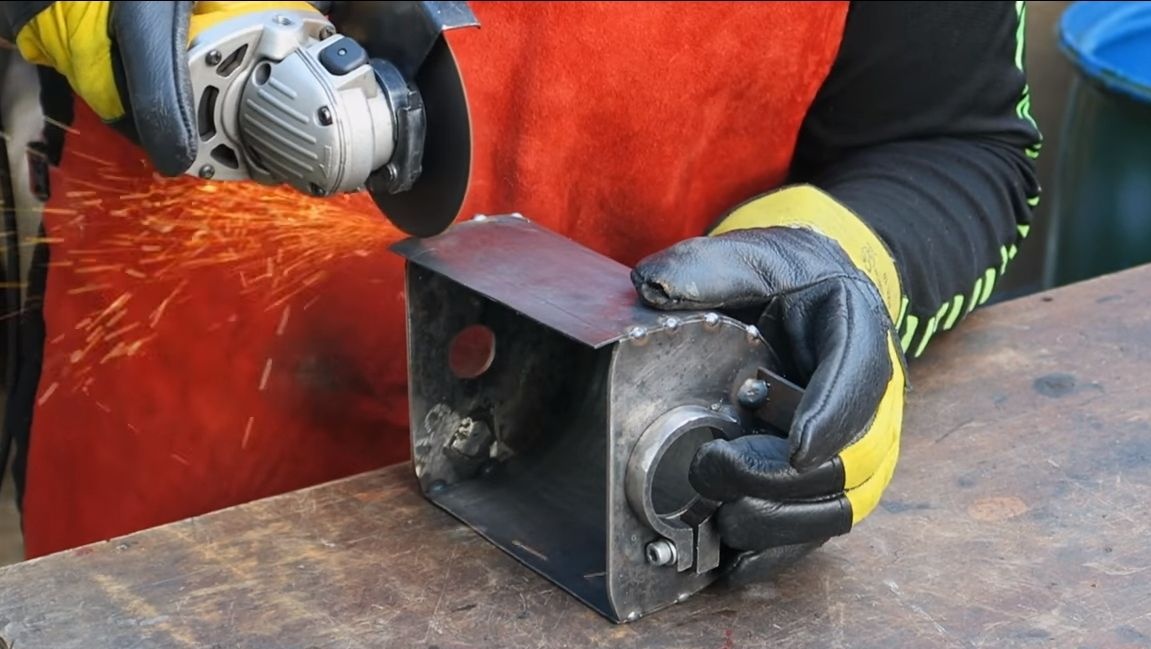
Well, then a matter of technology, take the grinder and grab the parts together. It is advisable to do this with the shaft mounted on the grinder so that there are no distortions. Well, then you can remove the nozzle and finally weld everything. Cut off the excess parts after that, if any.
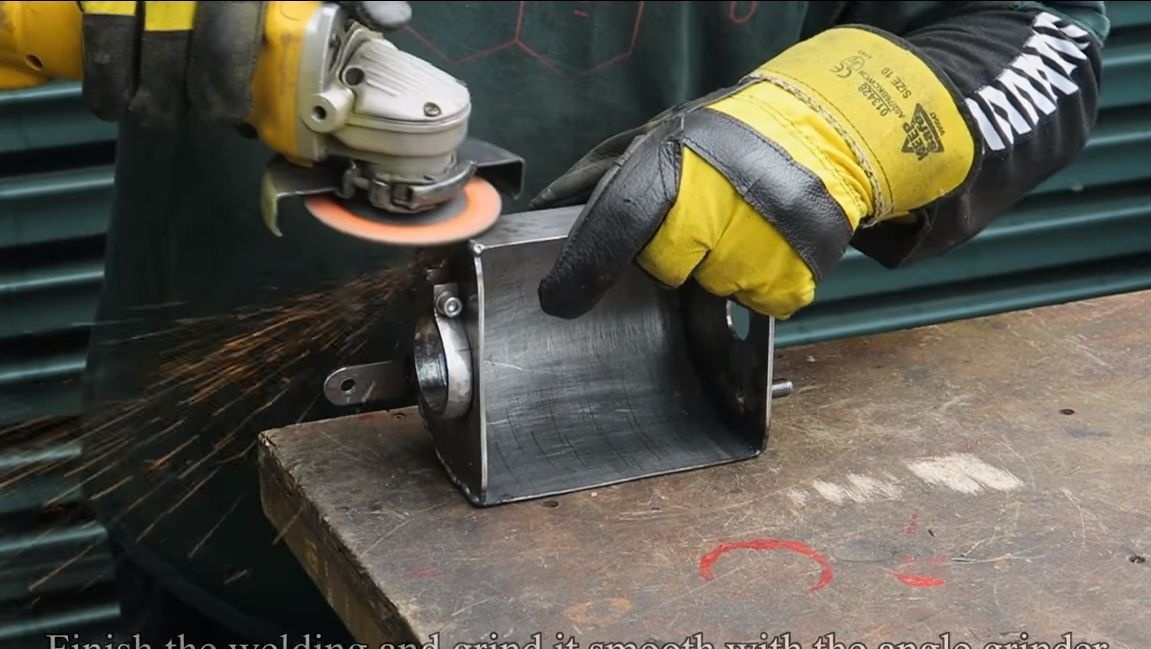
After welding, the author decided to clean the welds so that the product looked beautiful. For this you will need a grinder with a grinding nozzle. In principle, this step is optional.

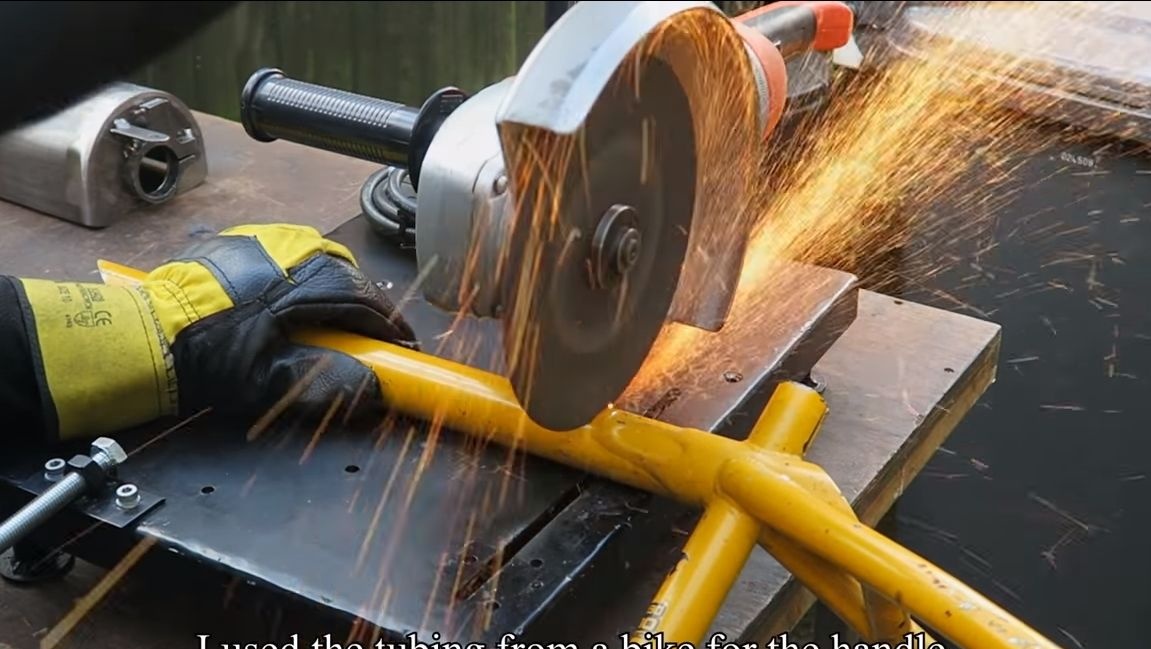
Seventh step. We make and install the handle
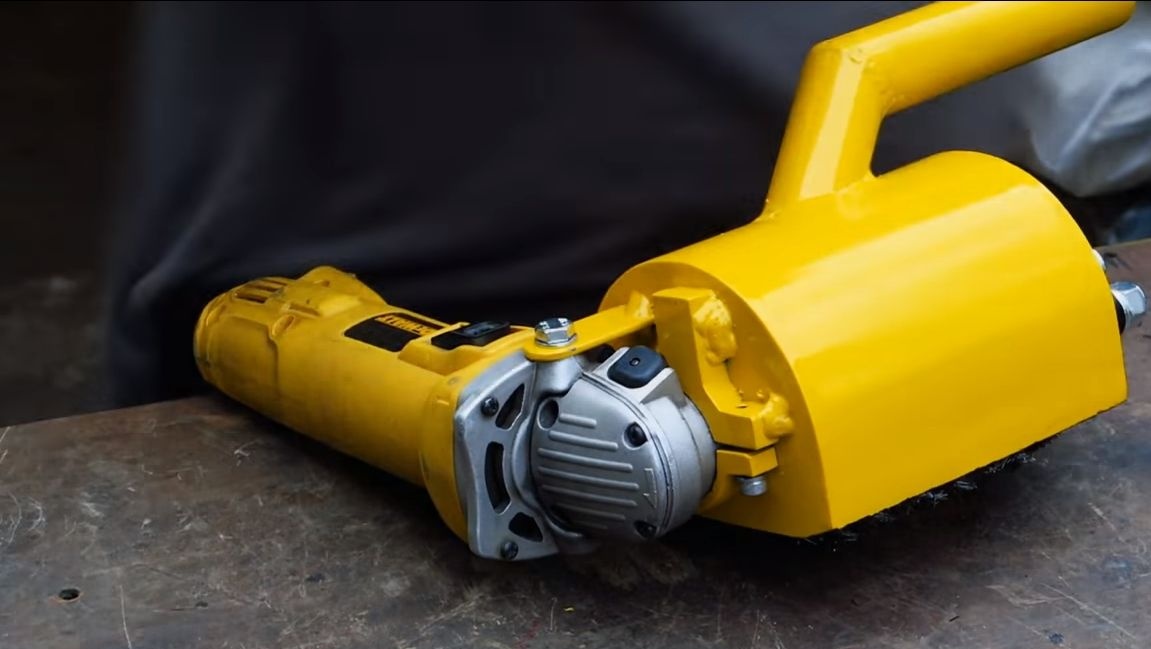
The handle is very important for such a nozzle, it is responsible for ease of use, and, of course, for safety. To make the handle you will need a piece of steel pipe. Cut it at the right angle and weld. At the end, carefully weld the handle to the nozzle. In the future, it will be possible to put on a piece of rubber hose or something like that to keep it pleasant. You can also clean the welds of the handle.
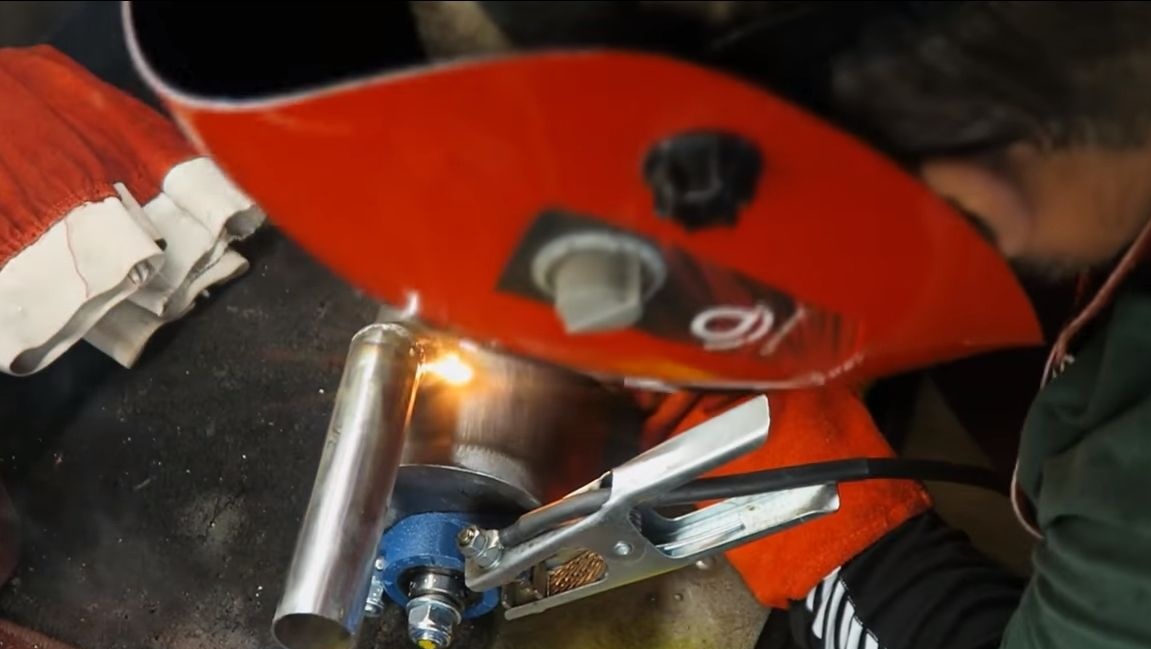
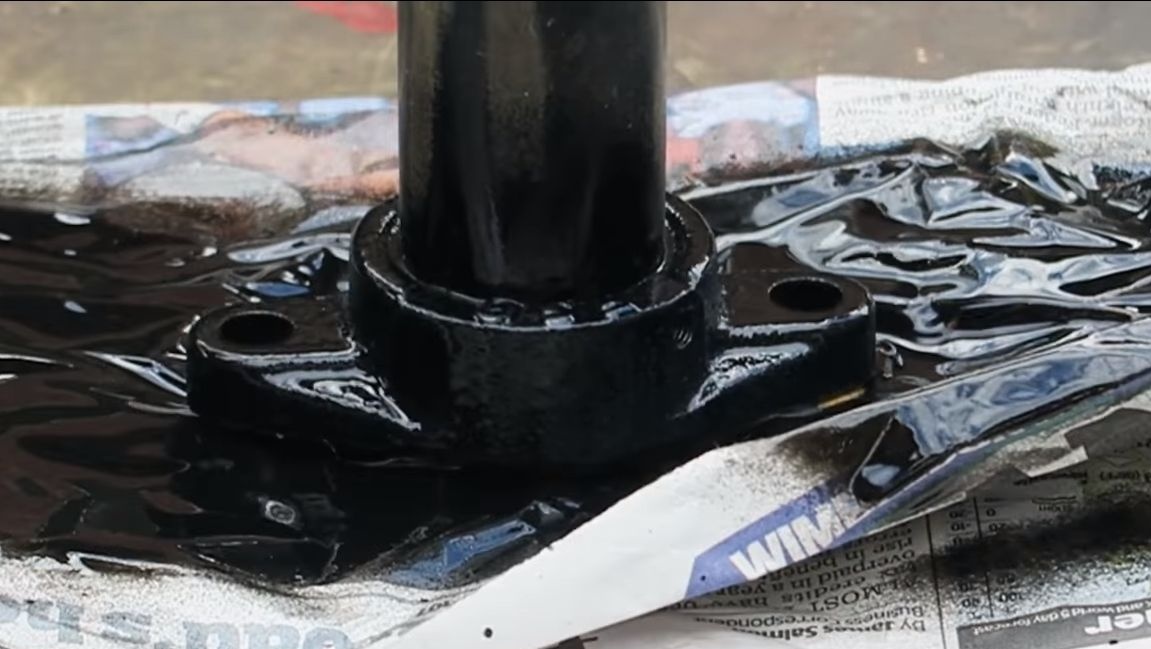
Step Eight. Painting
Paint your brainchild, so the homemade product will look good, and also will not rust, which is important. The author began with a bearing so as not to paint over the moving parts, a piece of pipe was placed on top, painted from a spray can.
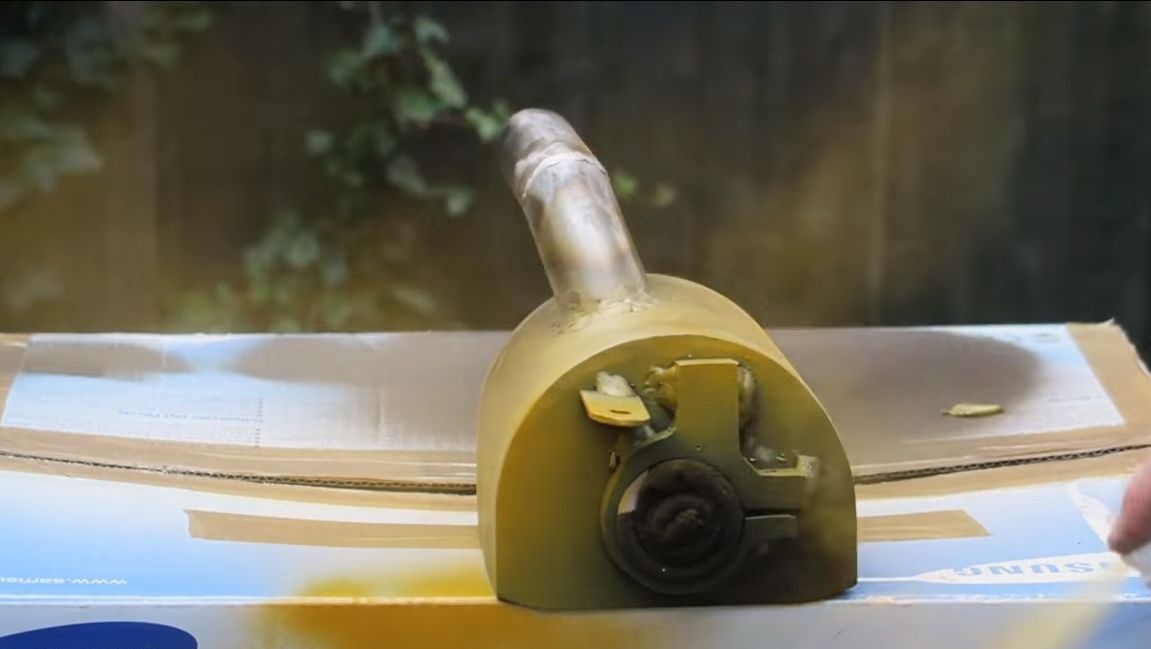
We also paint the case, at first the author painted it black. Then on the outside it was painted yellow, in the end it turned out pretty stylish.
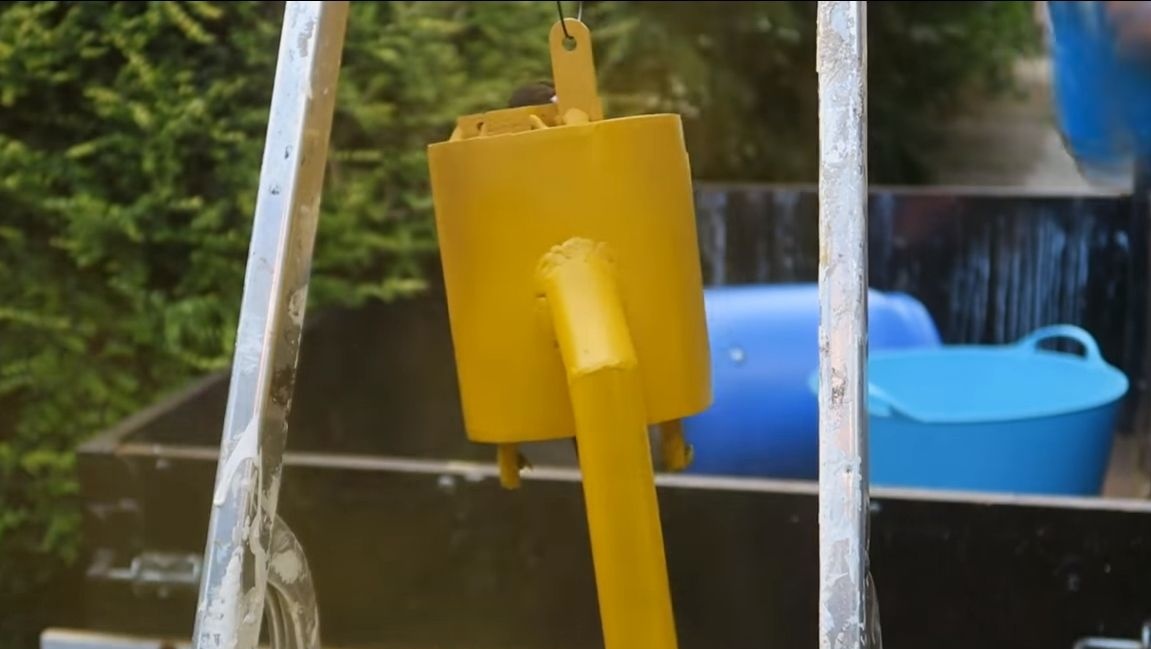
Step Nine. We collect homemade!
First of all, we will install a bearing, for this we use washers, nuts, and it would be good to use a grower so that the nuts do not loosen due to vibration. We fix the shaft with a nut, there will also be an extra grower.

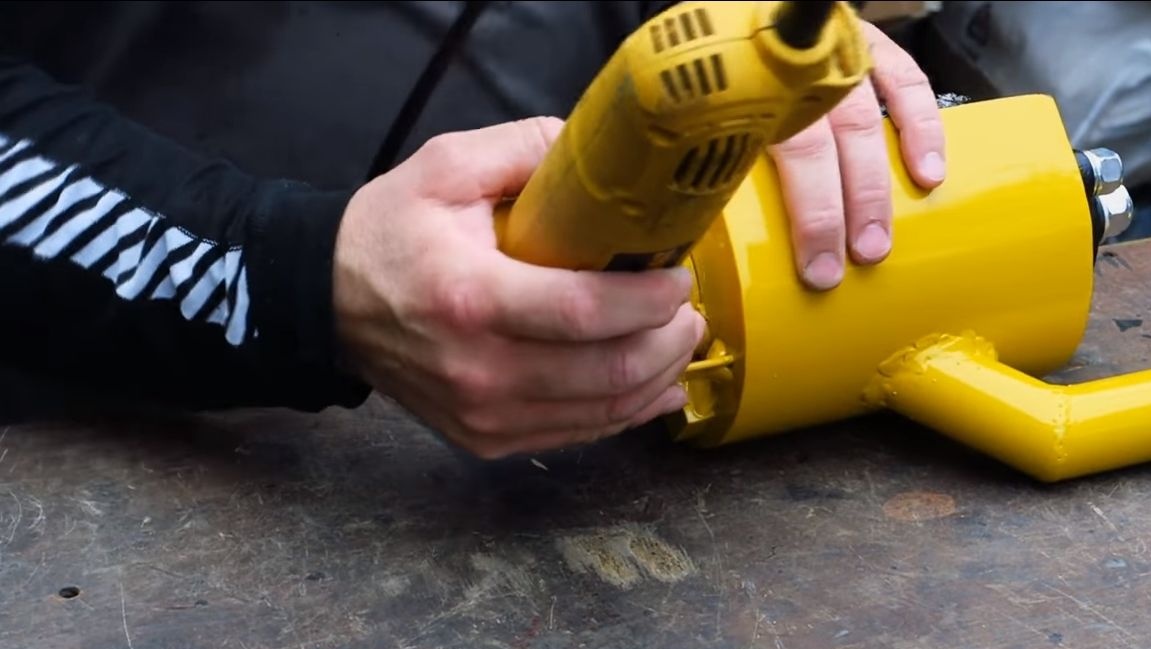
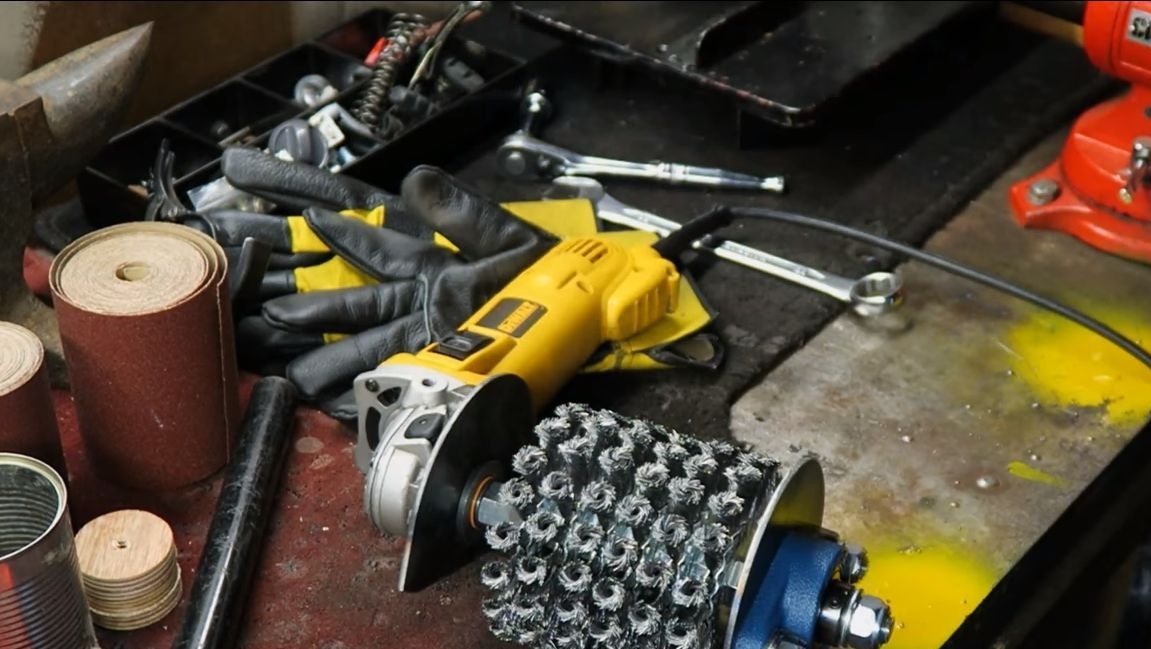
At the end, we fix the grinder, first we fasten the nozzle shaft to the grinder shaft. Now you can fix the grinder itself, tighten the screw that will keep the grinder from turning on its axis. And then tighten the clamp bracket itself. Now everything is assembled reliably and homemade work can be experienced!
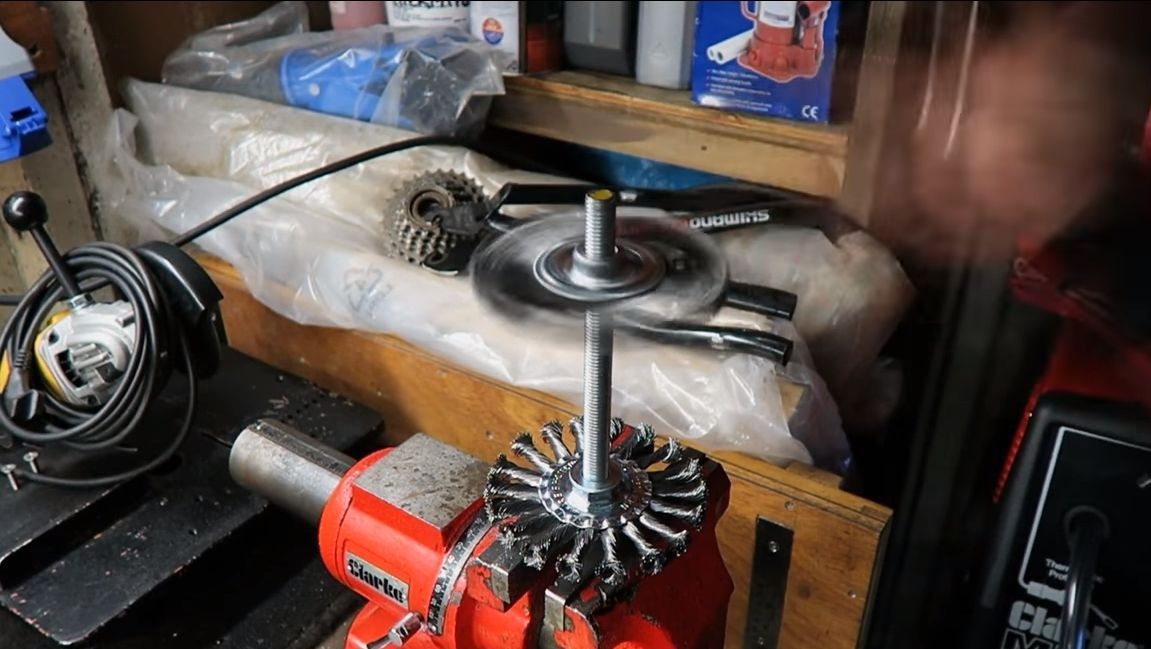
In the video, the author showed the effectiveness of his car, a little grinder easily pulls all 6 brush nozzles, however, the load on the engine is considerable. In order not to ruin the grinder with such a nozzle, make sure that it does not overheat. It would be nice if the Bulgarian did not have a speed of more than 11,000 per minute.
That's all, I hope you liked the homemade! Good luck and inspiration in making your own projects.