
Now I’ll tell you how to make one extremely useful simple homemade product.
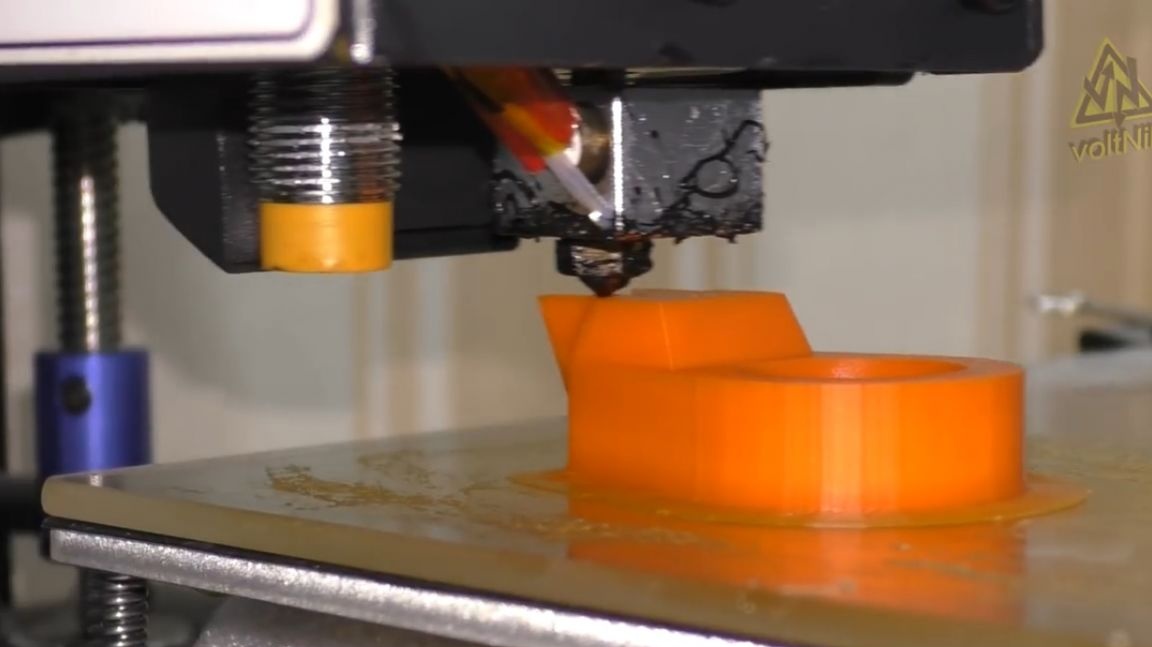
You can repeat it without any problems by simply printing this project on a 3d printer. And if you don’t have one, then you can ask to print a friend or order a print in your city. Now it’s quite easy to find an office that provides printing services and modeling 3d projects. The cost in different cities is of course different, but I think slightly.
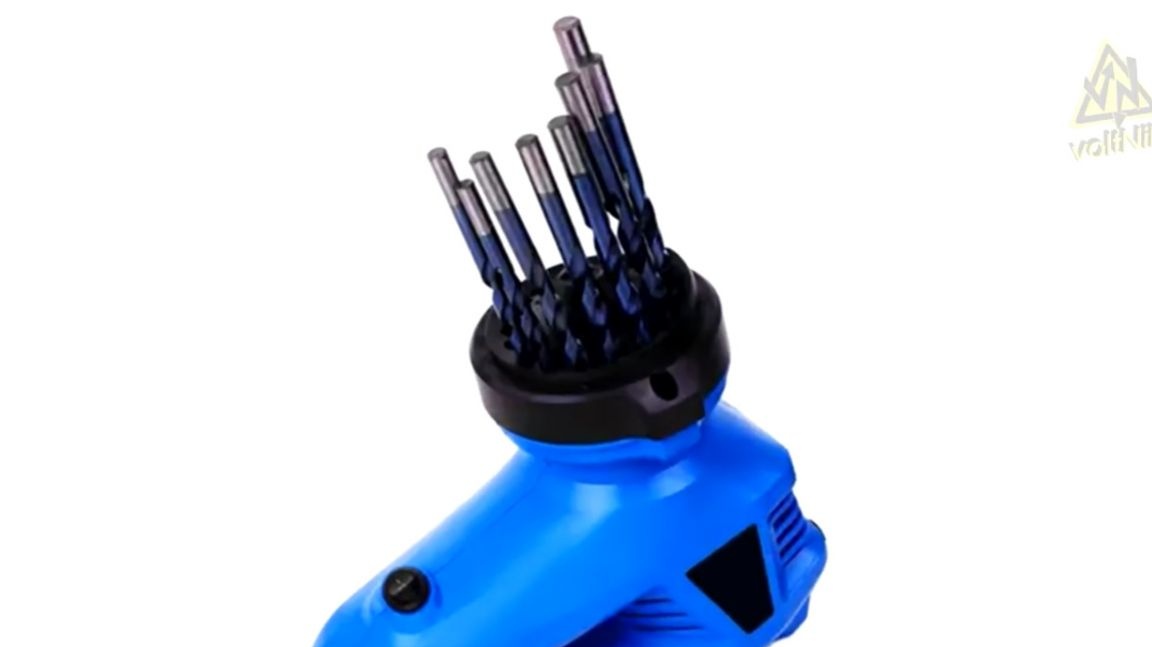
So, if you have a drill, then you have a drill for it.
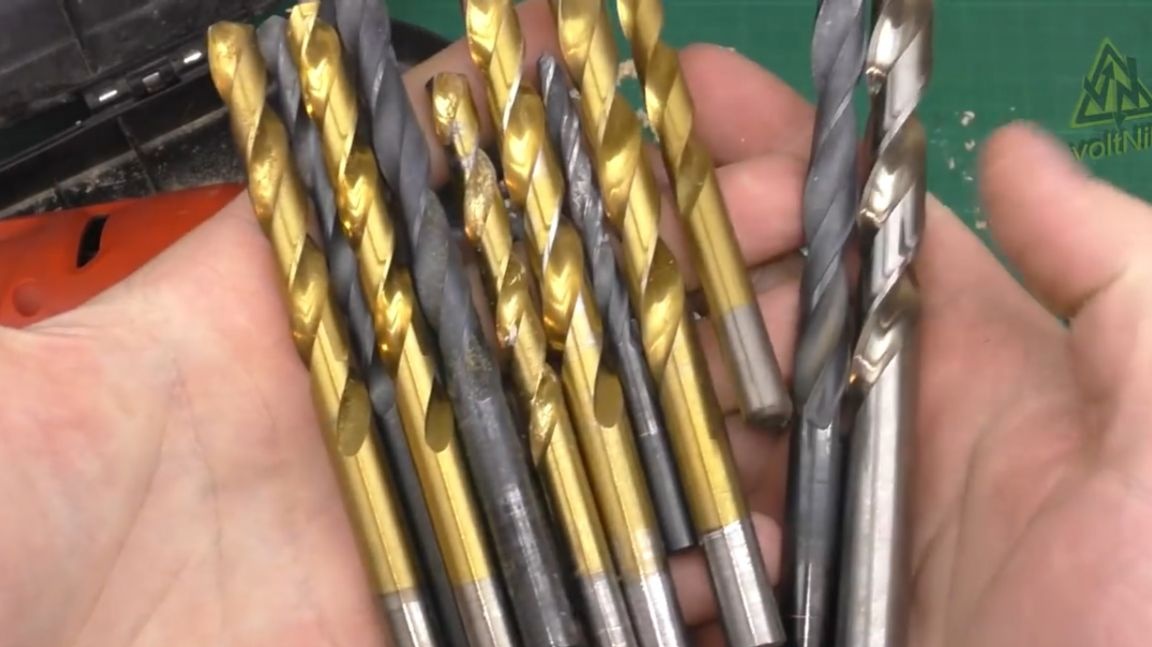

And the drills become blunt over time. Then either throw them away if they are cheap and buy new ones, or sharpen them if you use high-quality and expensive ones. Drills in the bulk are available with two sharpening angles at 118 ° and 135 °. 118 ° is a drill for steel and cast iron, and 135 ° is a drill for soft metals such as aluminum, copper, brass and the like.
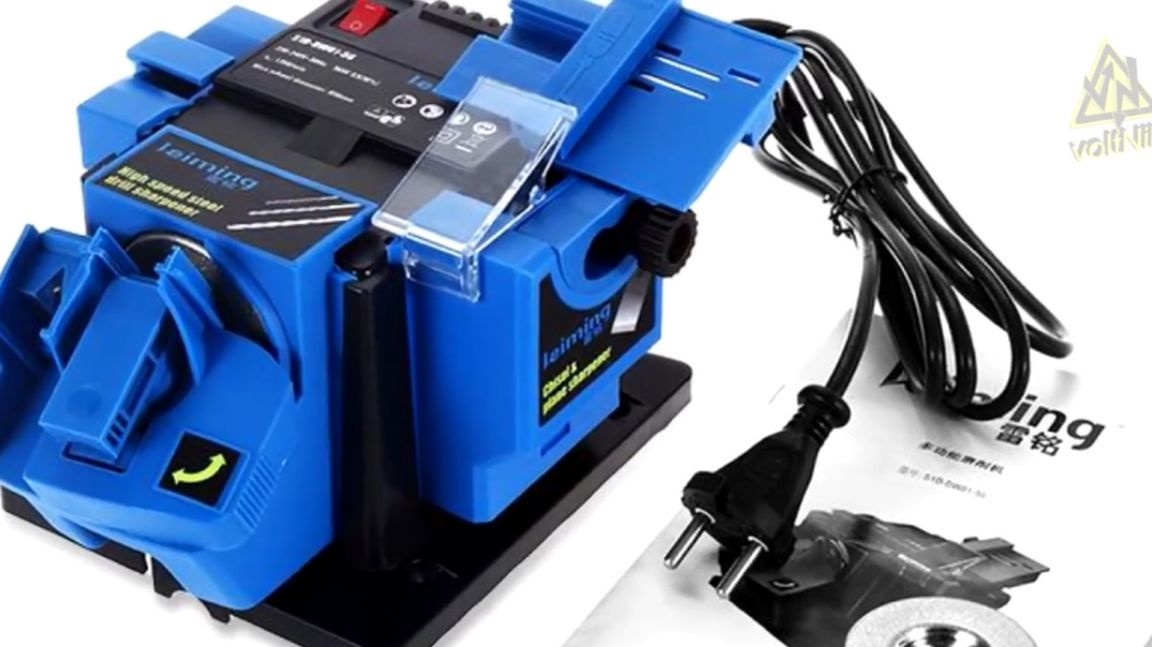
Special grinding machines are sold at aliexpress, which have grooves for sharpening drills, but the price of such a tool starts from 2 thousand rubles, and ends with an unlimited imagination and, to some extent, the arrogance of sellers.
It is clear that this is not our option.
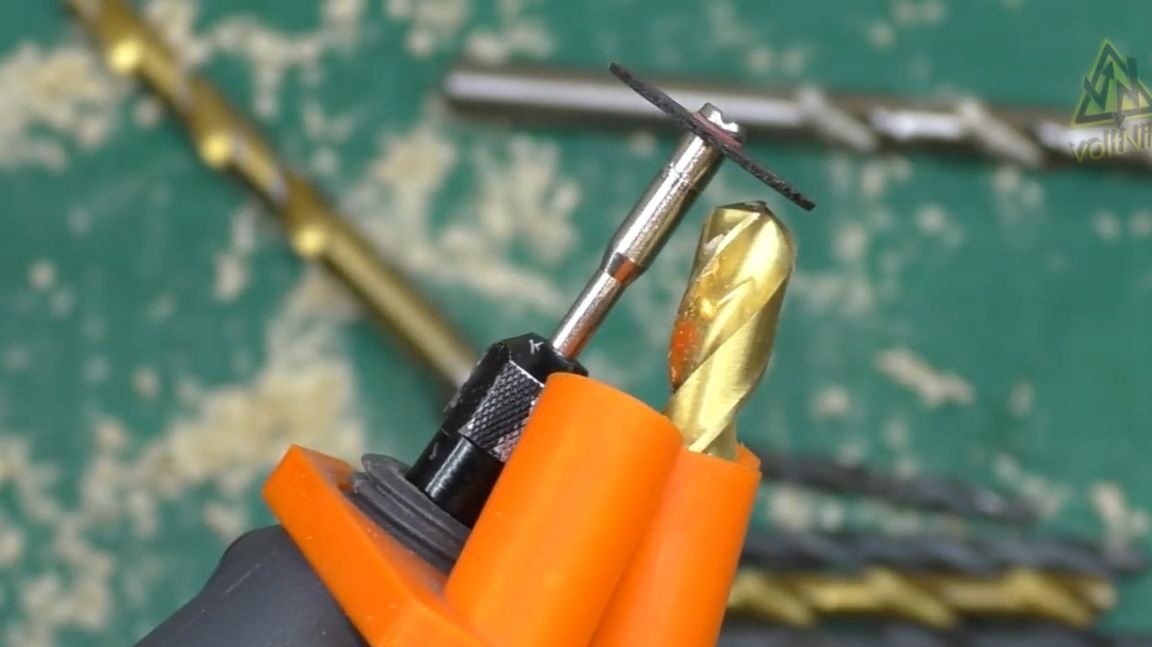
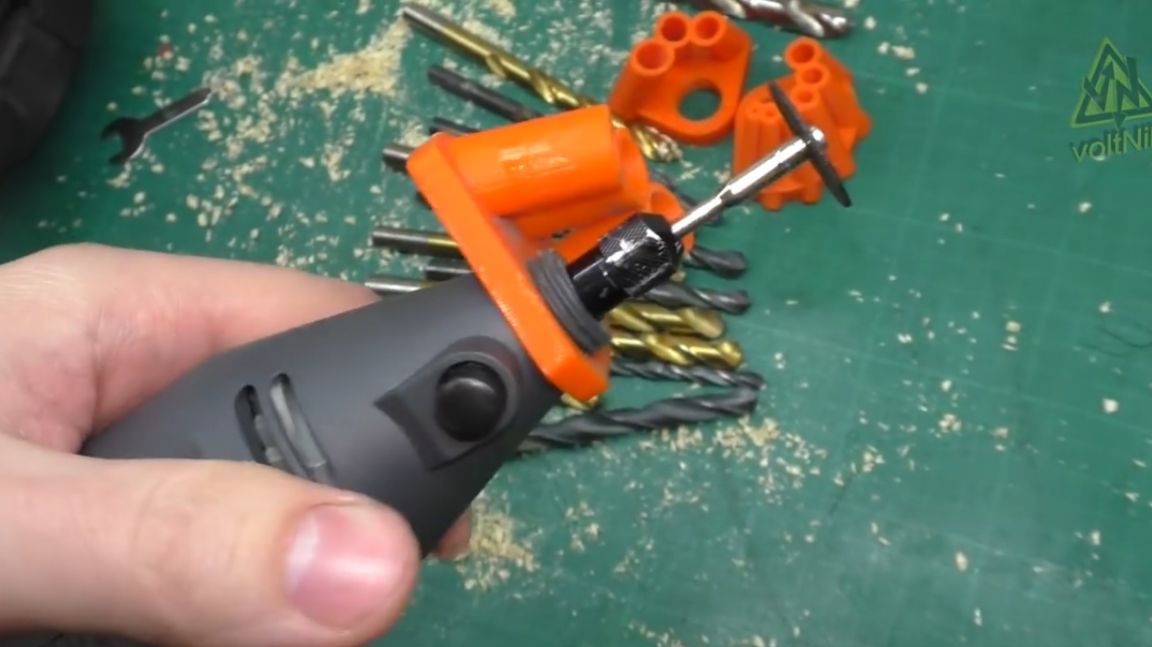
Today I’ll show you how to make a grinding machine for drills out of ordinary dremel. The author took as a basis a project posted on thingiverse.com.
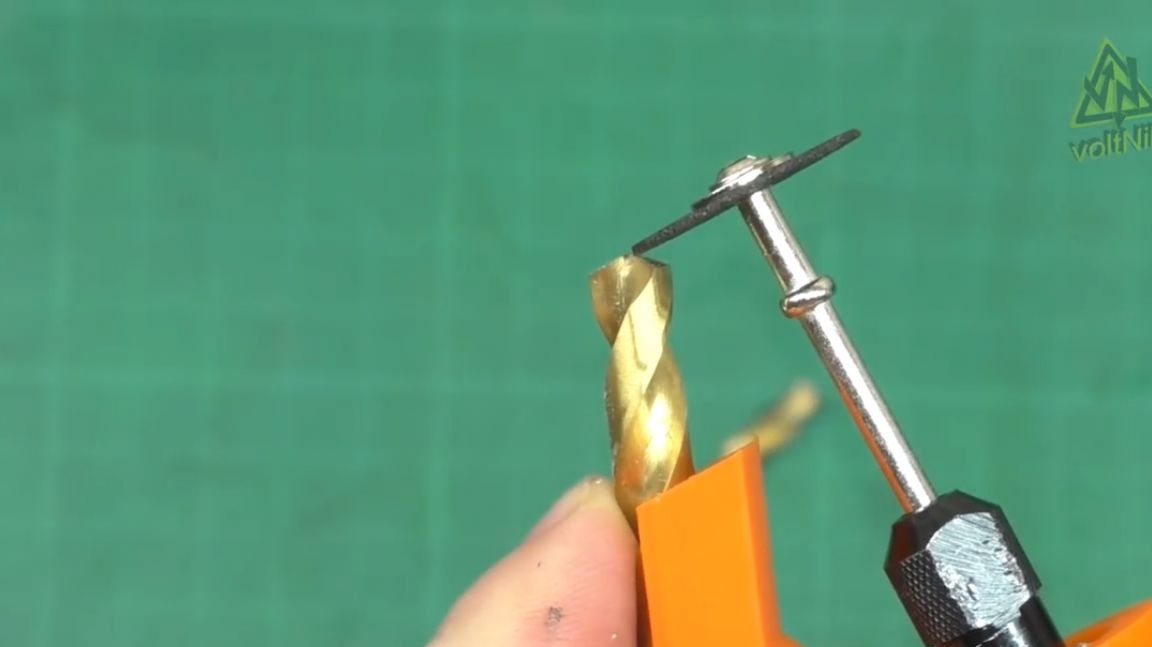
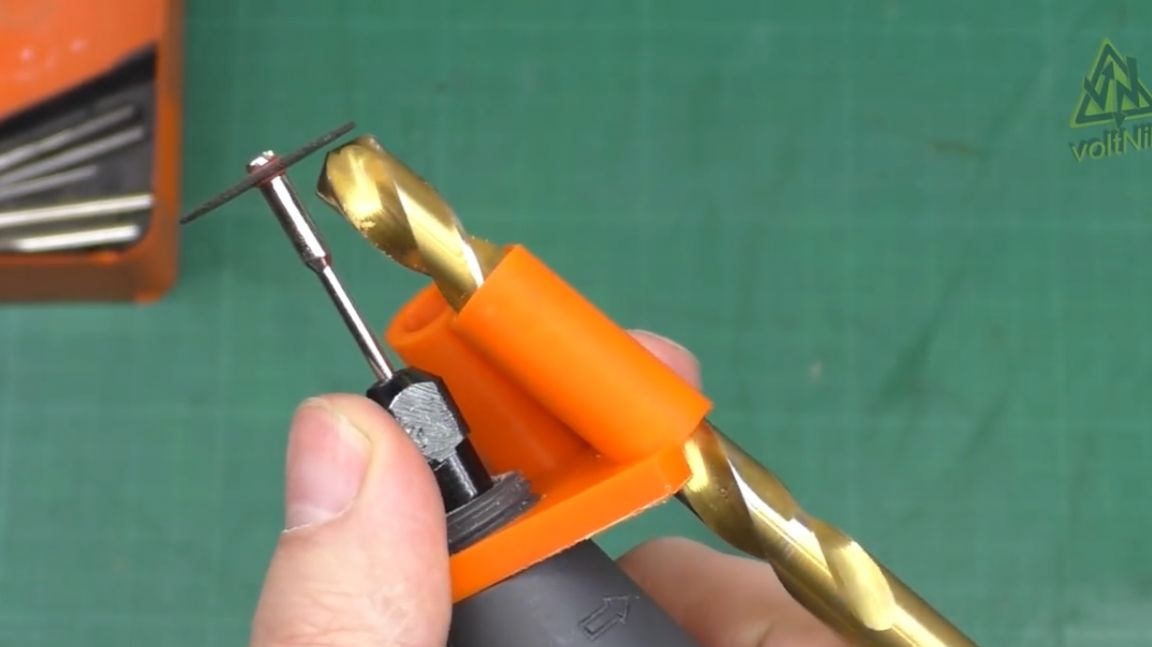
Having printed it on a 3d printer, he realized that the resulting parts were not very convenient to use. When sharpening, you have to hold and press the drill in order to accurately withstand the angle of inclination. In general, it works, but very inconvenient. Well, here 10 mm drills do not reach the 25 mm disc.
I would like it to be convenient to use the final product, and it was easy enough to operate. Therefore, in the end, the idea was born to remake and do everything in their own way. The author tried to take into account all the shortcomings of the project posted on the thingiverse website.
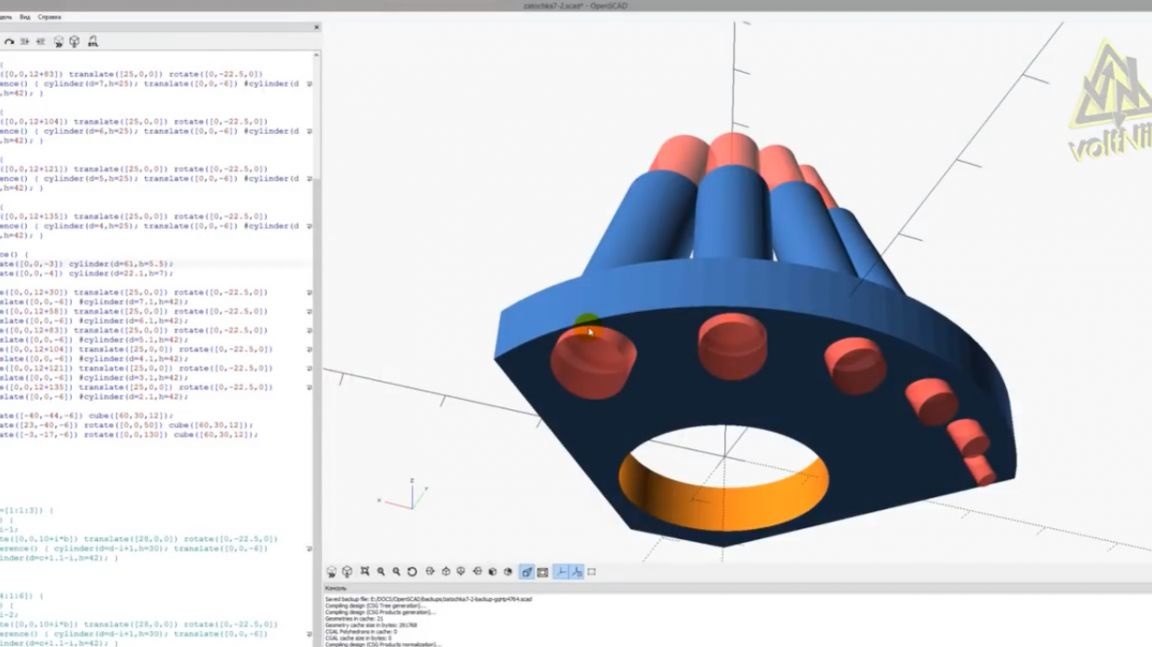
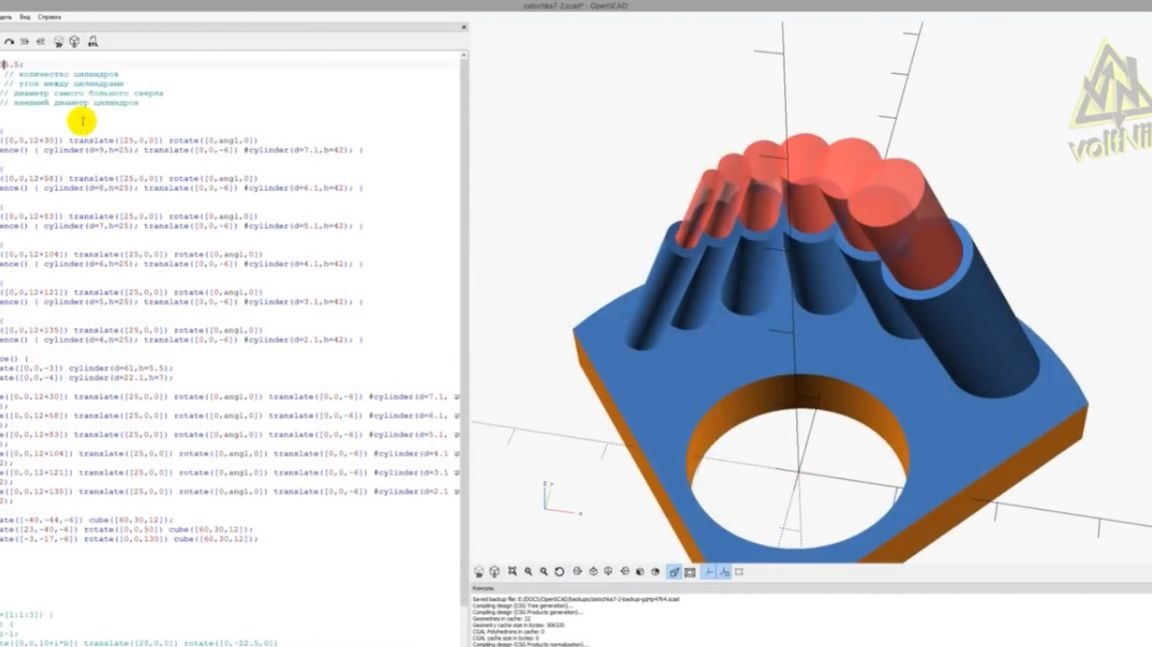
First, in the process of developing the part, various options for the layout of the guides were tried. As a result, on the advice of a friend, the project development was transferred to a new program for himself. This was his first experience in this kind of program. He mastered in about an hour, and it took about 30 minutes to create the first guide.

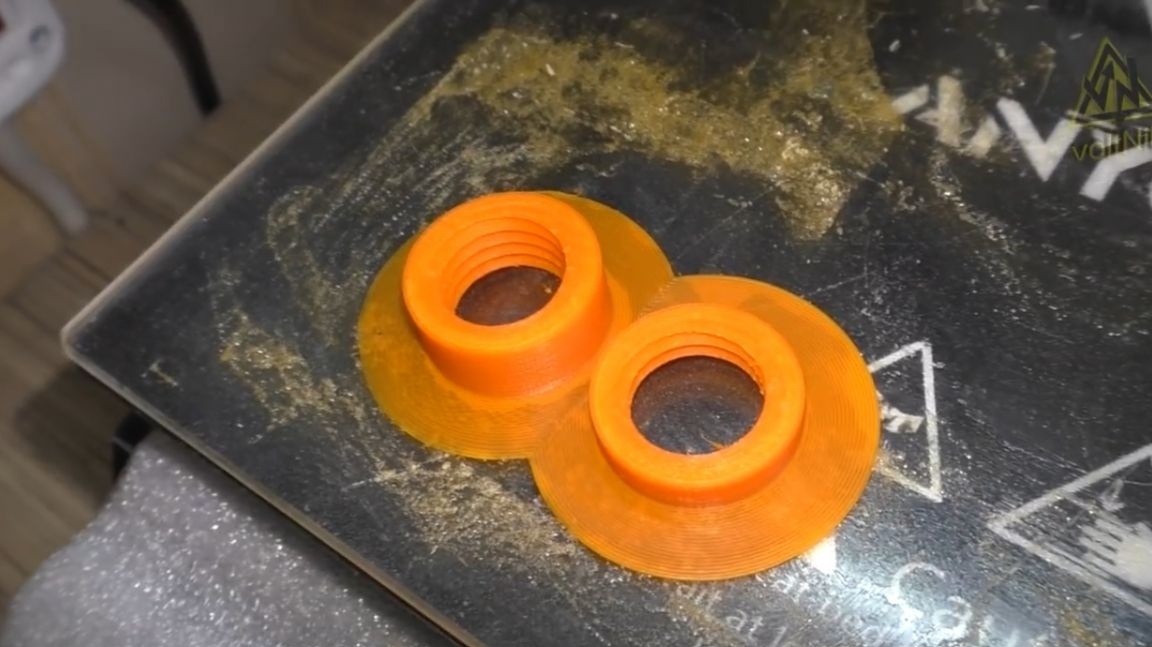
He printed the first part for three diameters: 8, 9 and 10 mm. Immediately set the diameter of the holes with a margin for shrinkage of plastic one tenth of a millimeter more. This turned out to be quite enough. Drills without play tightly entered the guides.
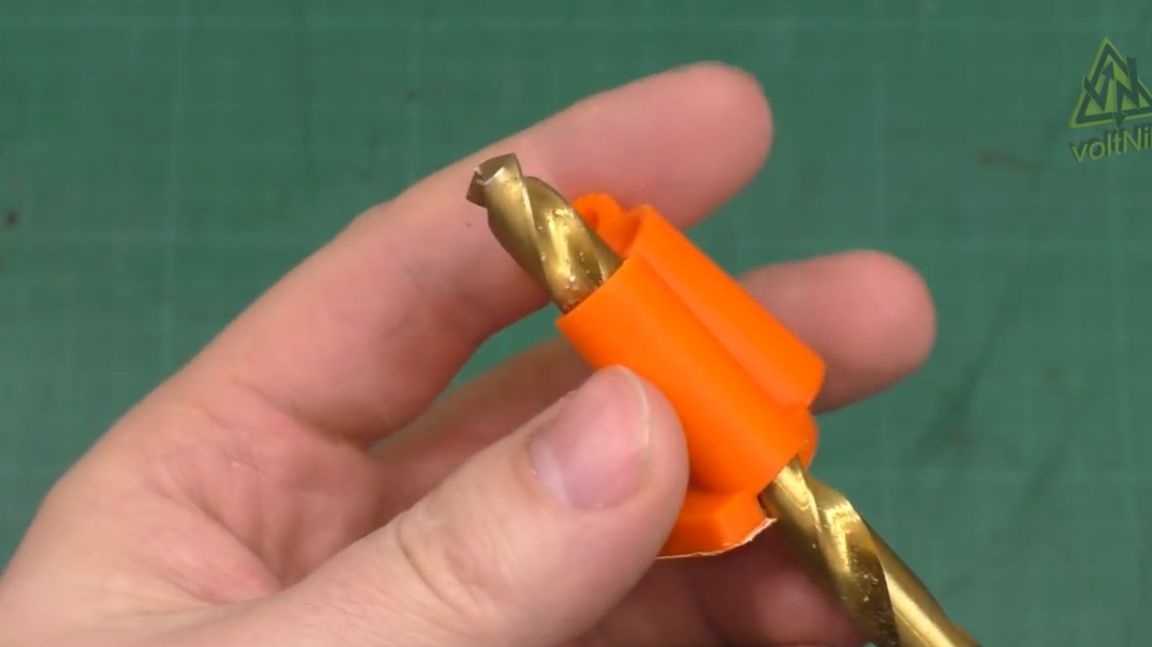
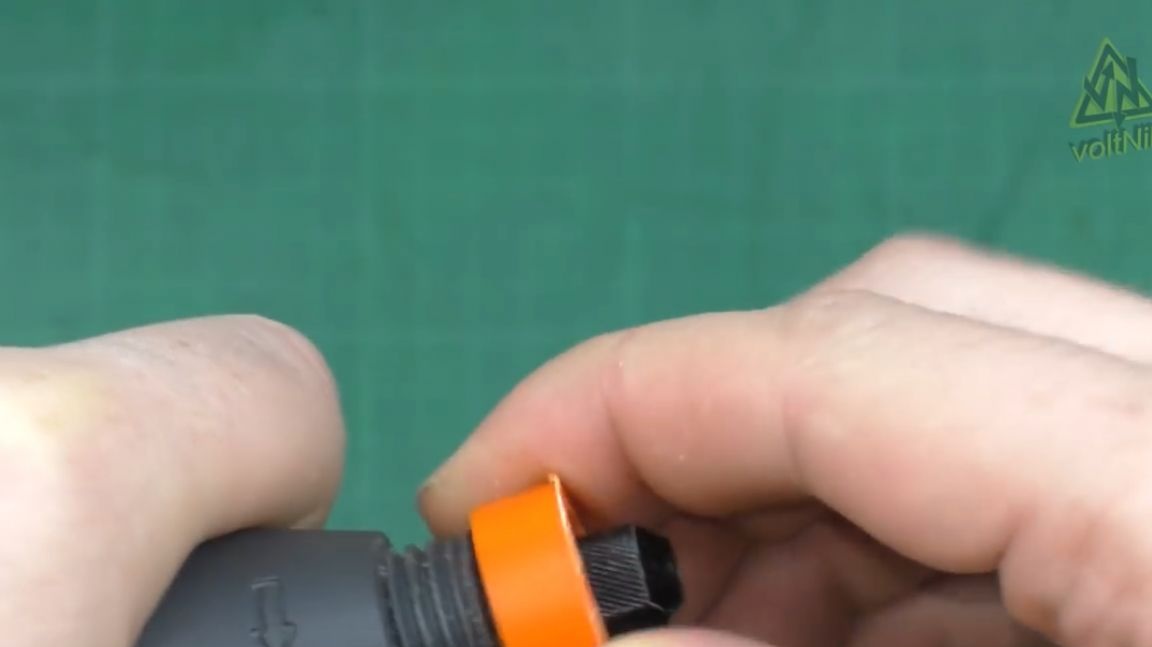
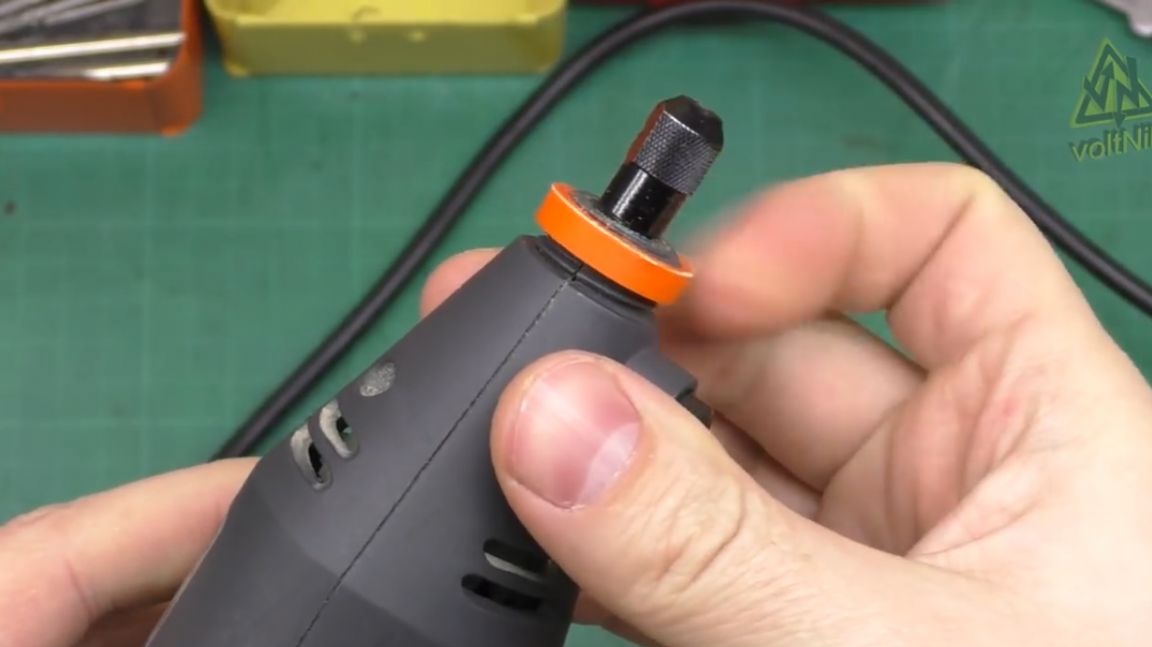
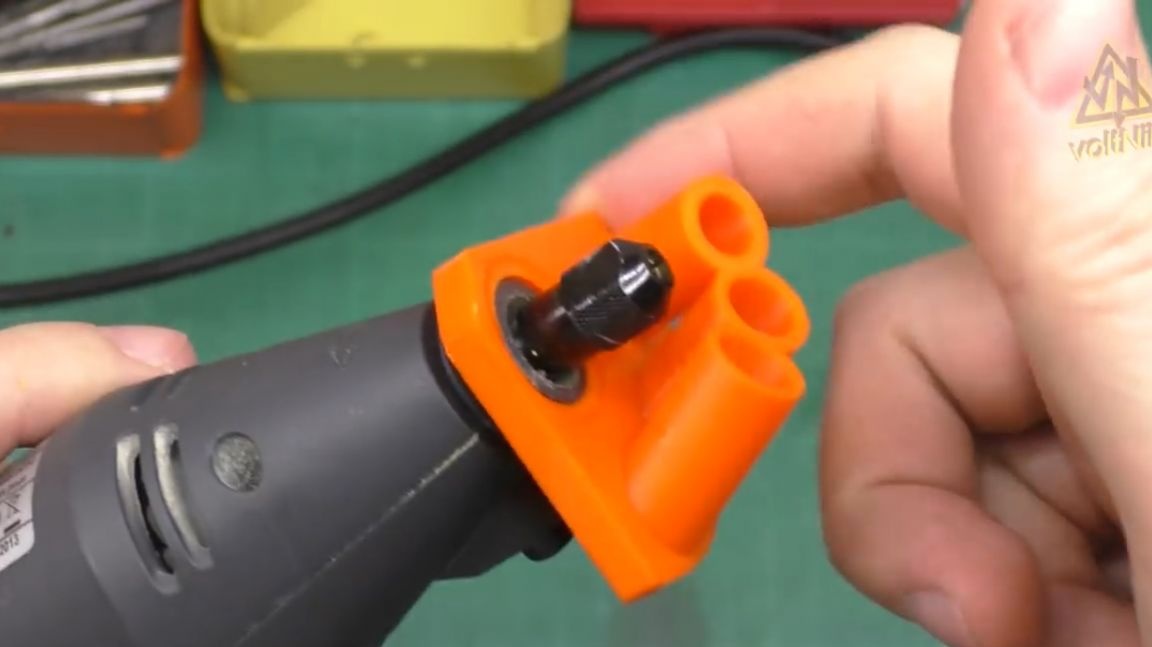
But to put the nozzle on the dremel did not work, because there is no thread.
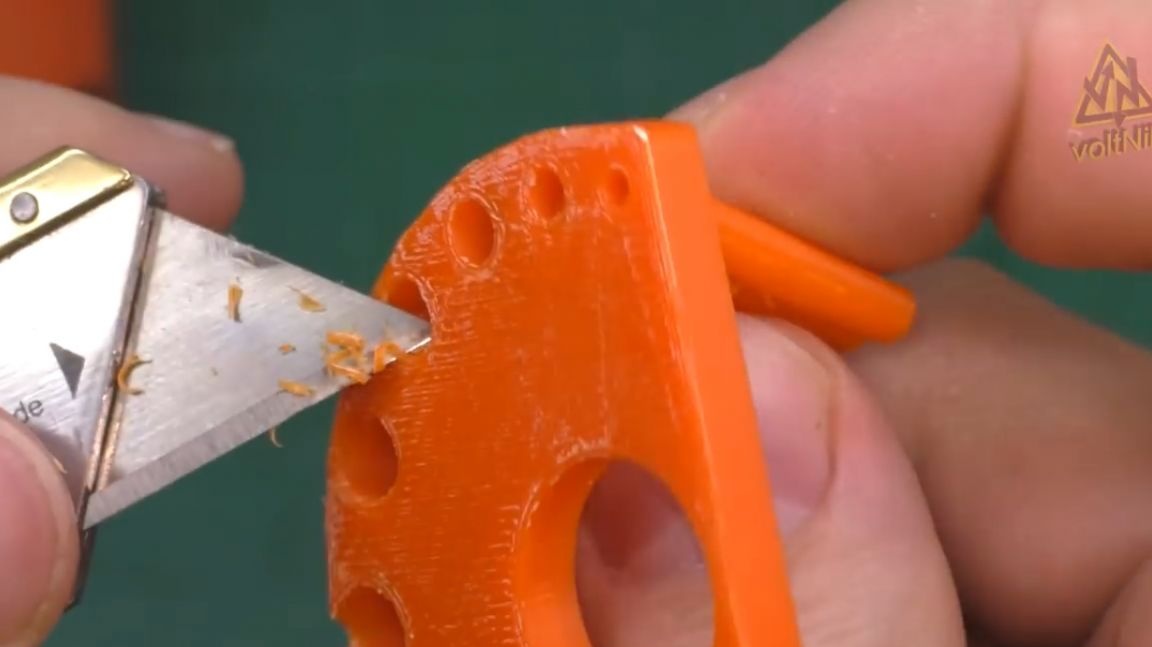
Therefore, the author slightly expanded the hole with a scalpel and simply screwed the nozzle tightly onto the thread.
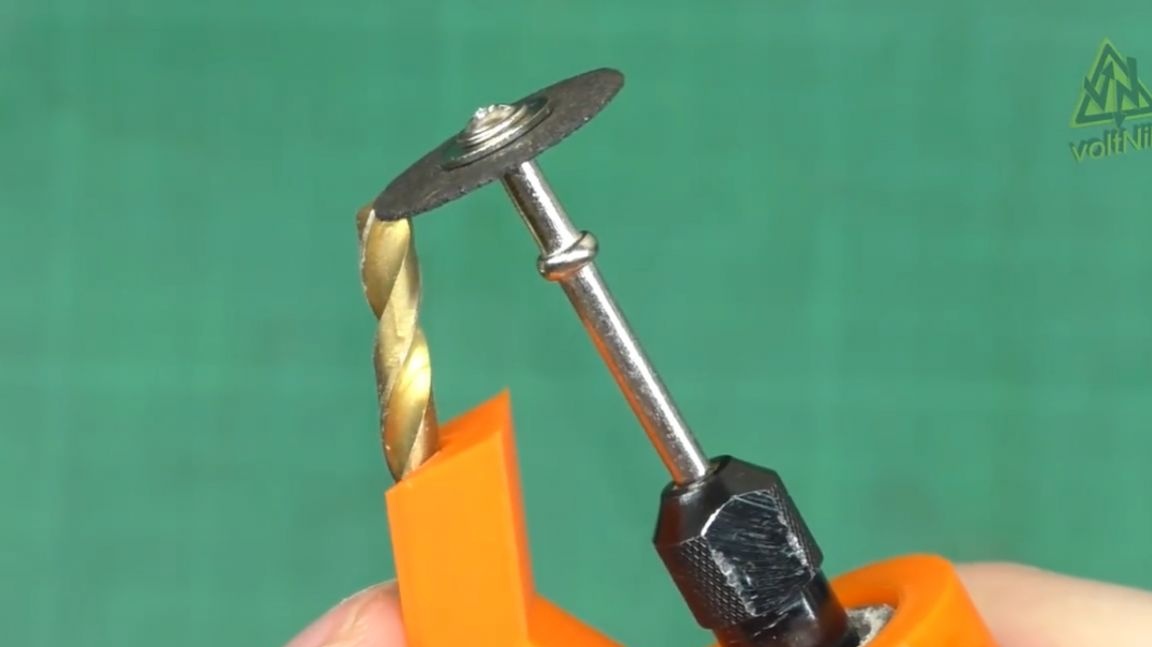
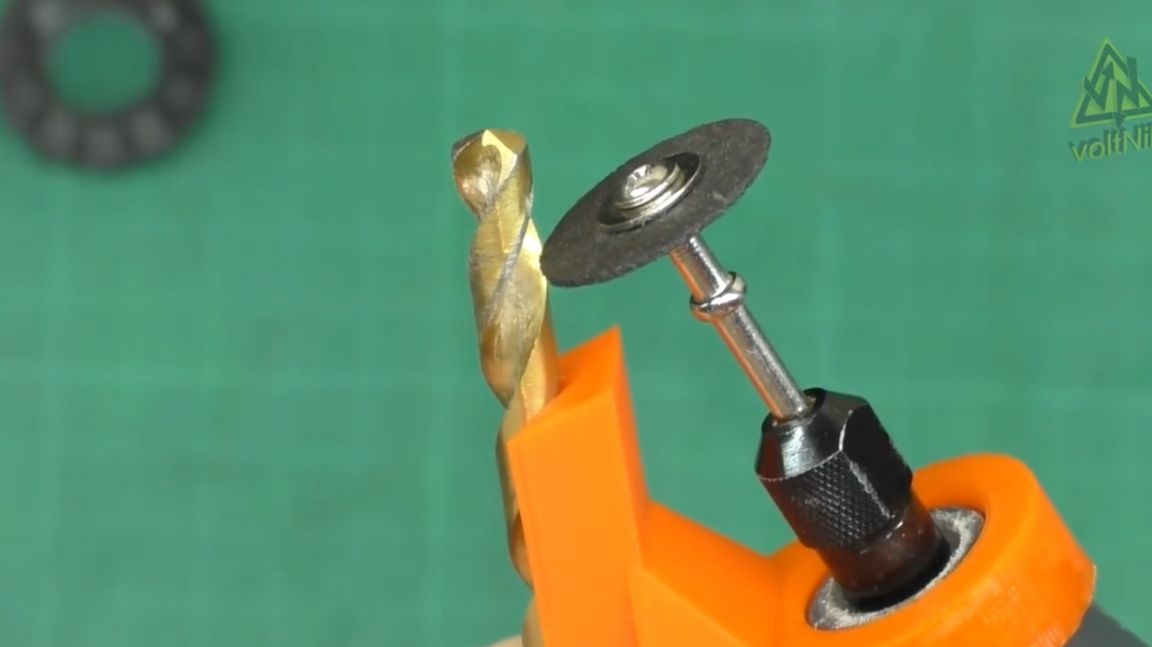
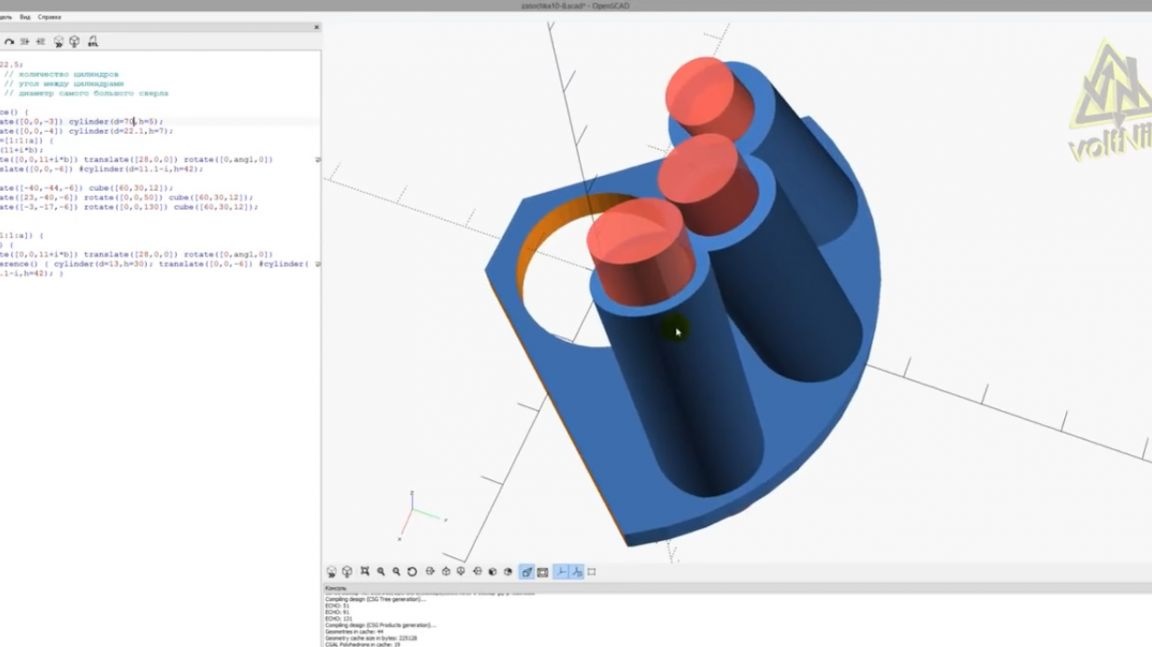
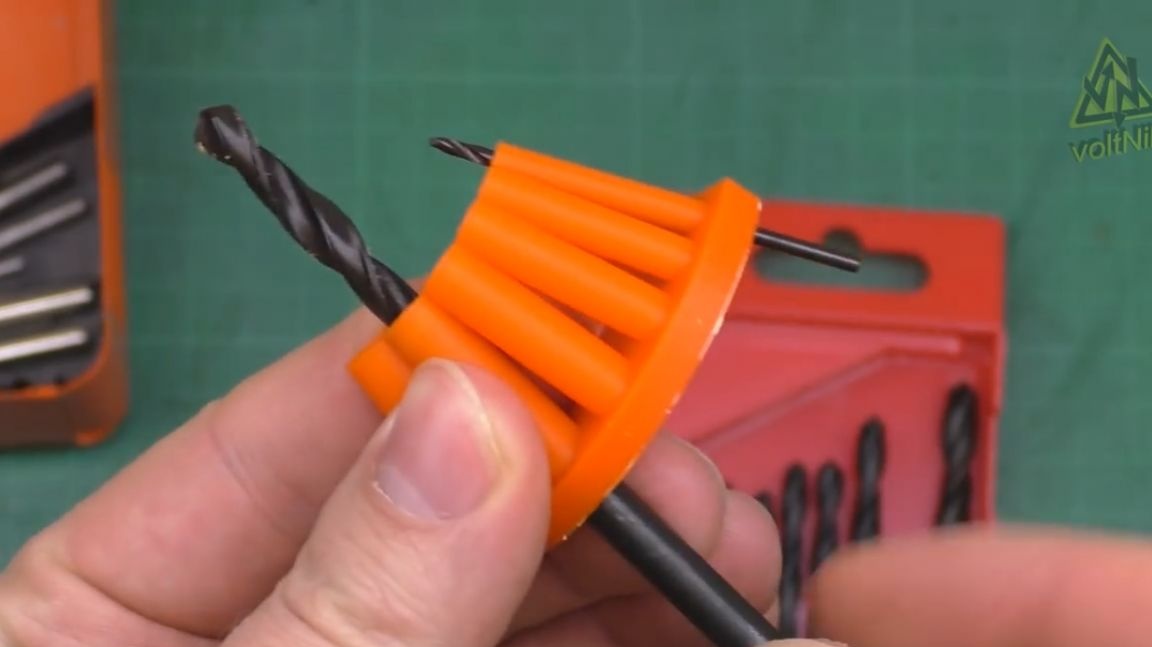
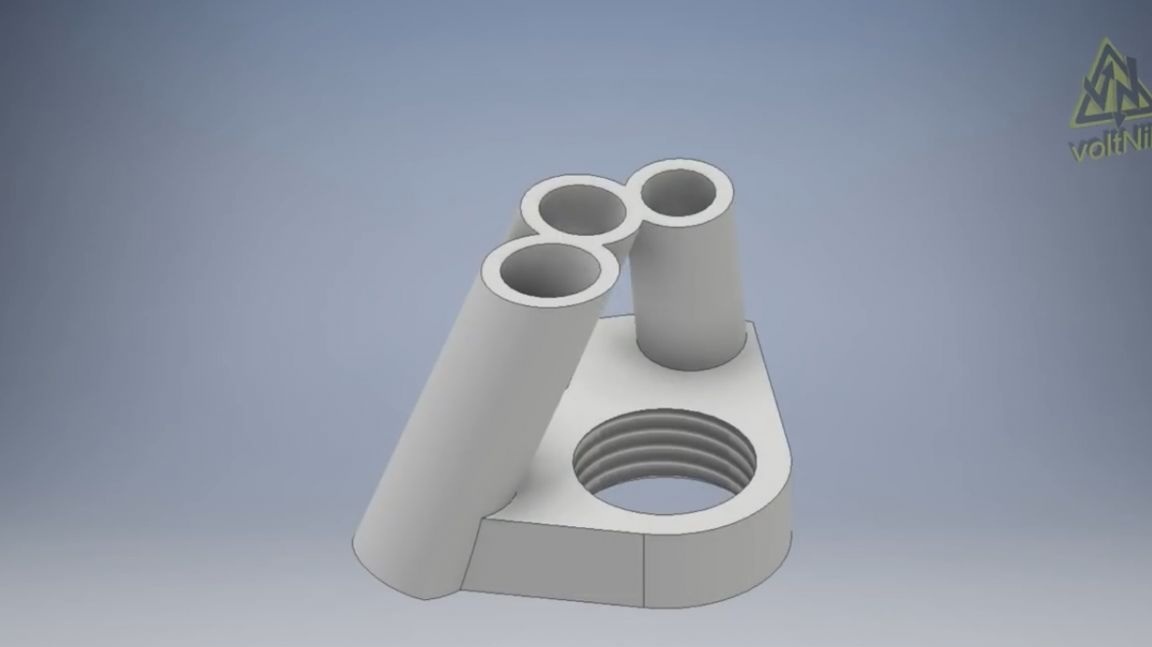
The 10 mm drill can now be easily sharpened and the edge will become sharp. The project is working, so let's continue. It is time to make another guide for drills with diameters from 2 to 7 mm.
It was not possible to make it for a beautiful cycle, so here all the cylinders were set manually with the selection of angles and distances between them.
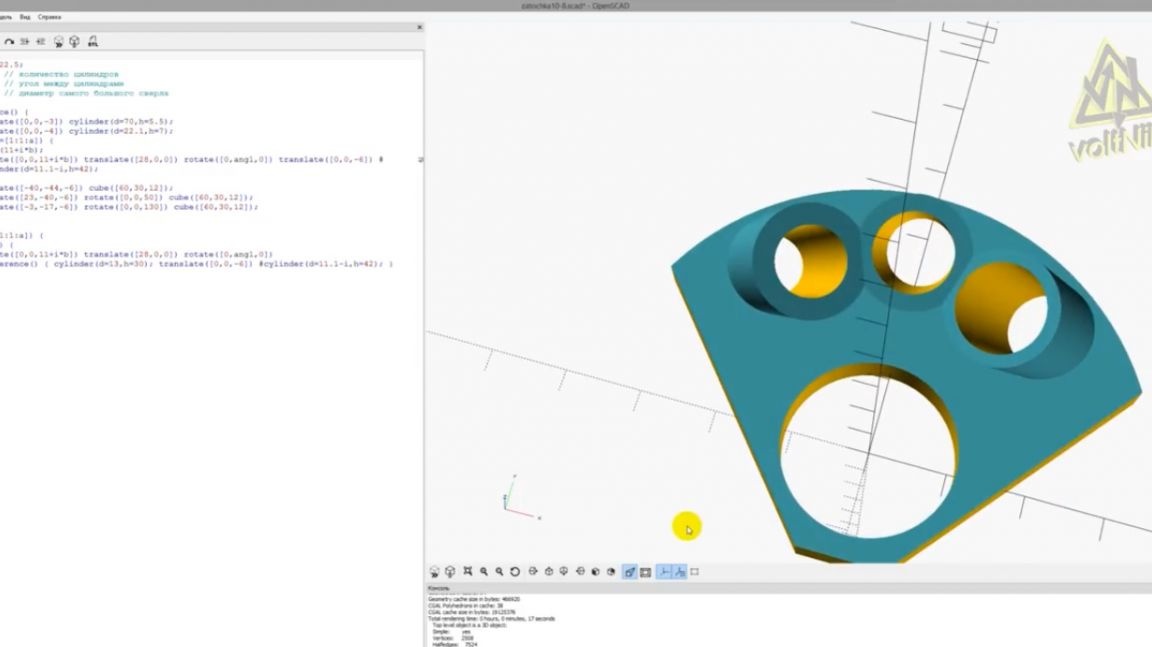
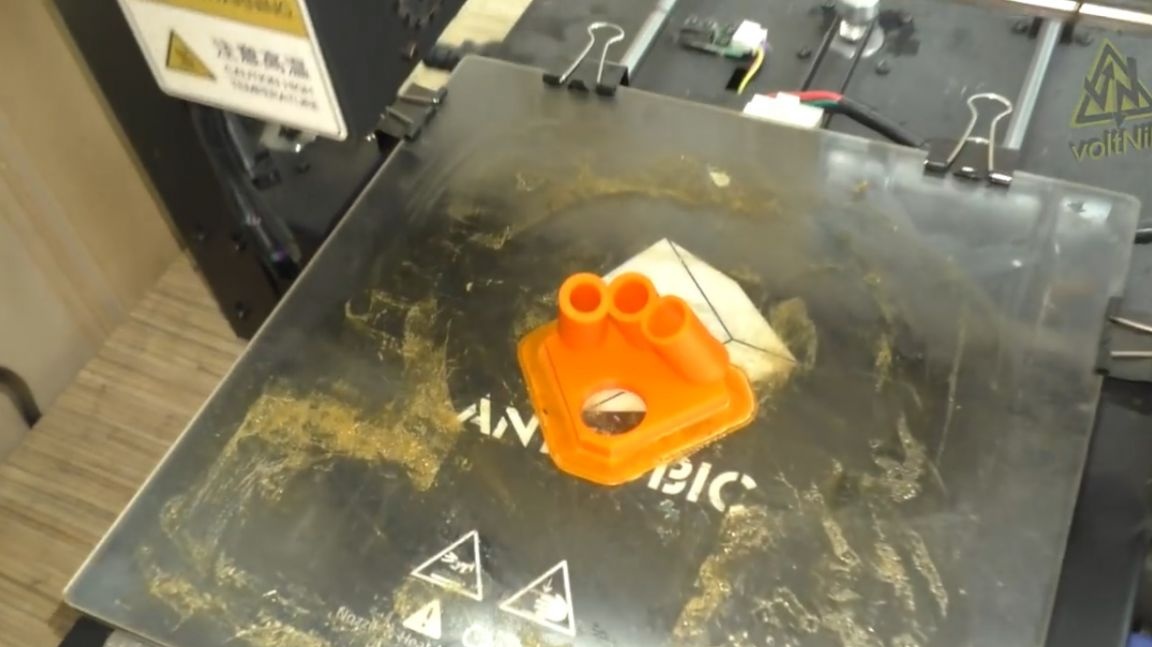
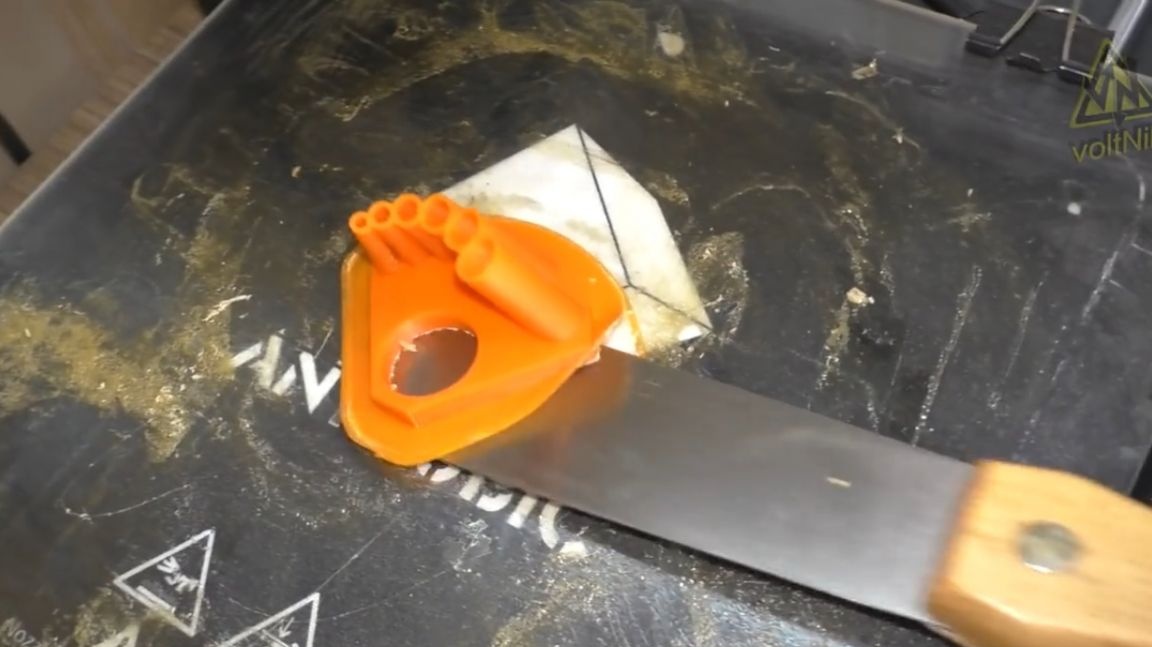
We print, let the table cool and tear off the part. We clean and make bevels.
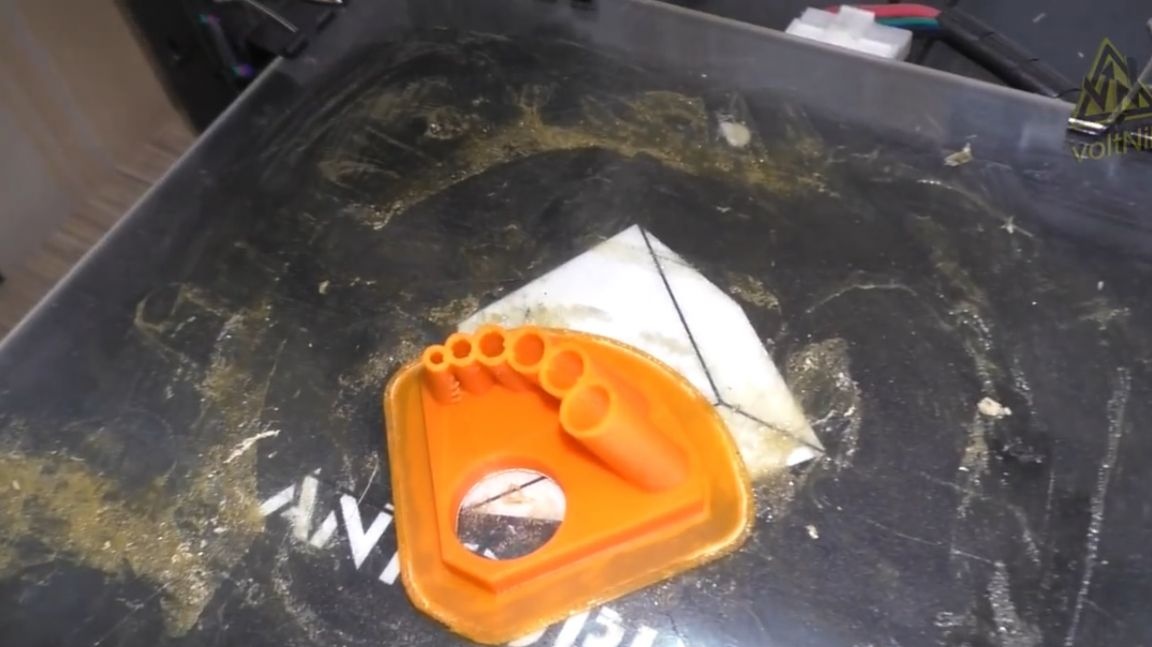
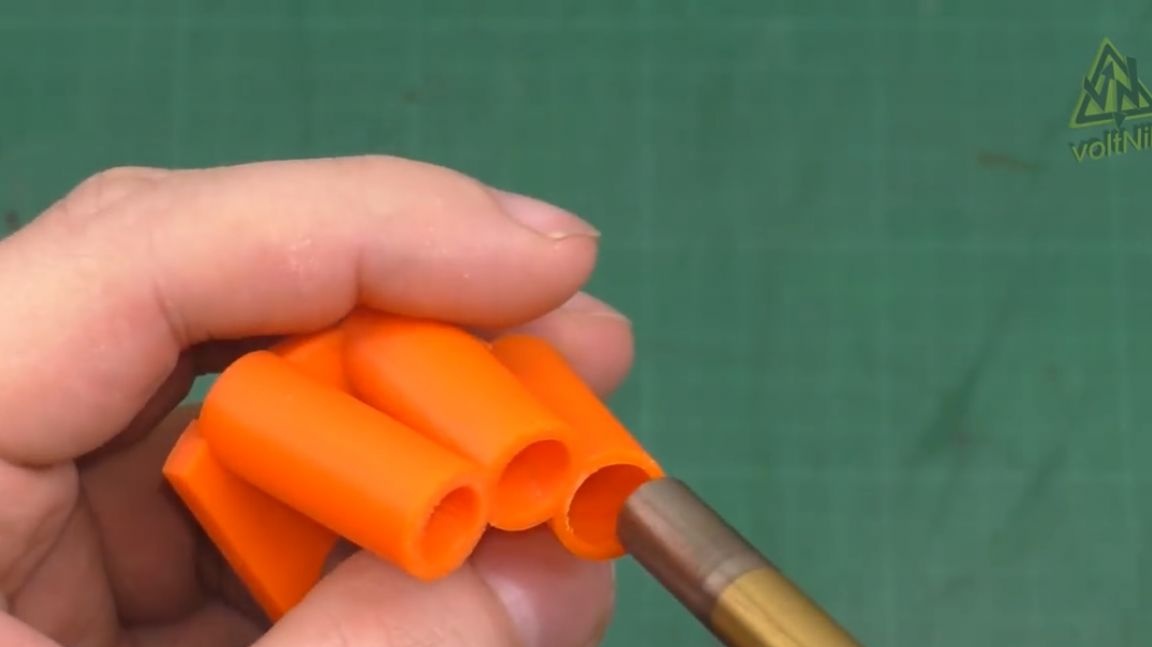
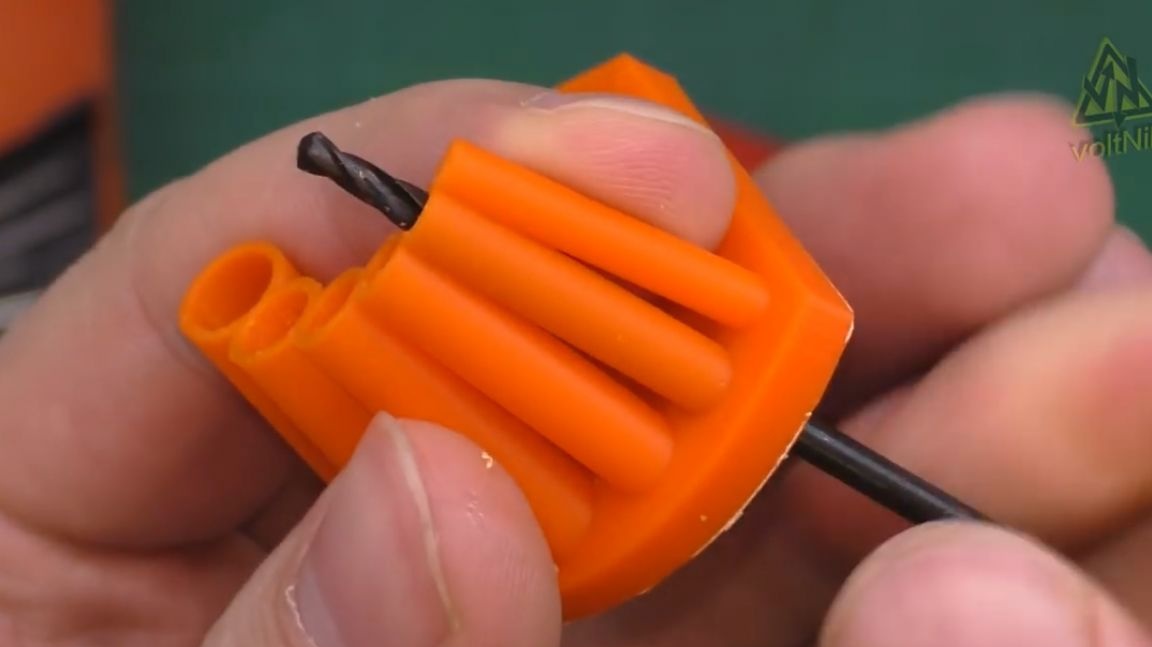
A 3 mm drill bit came up. 2 mm also fit perfectly into the guide. Well, 6 mm is also no problem.
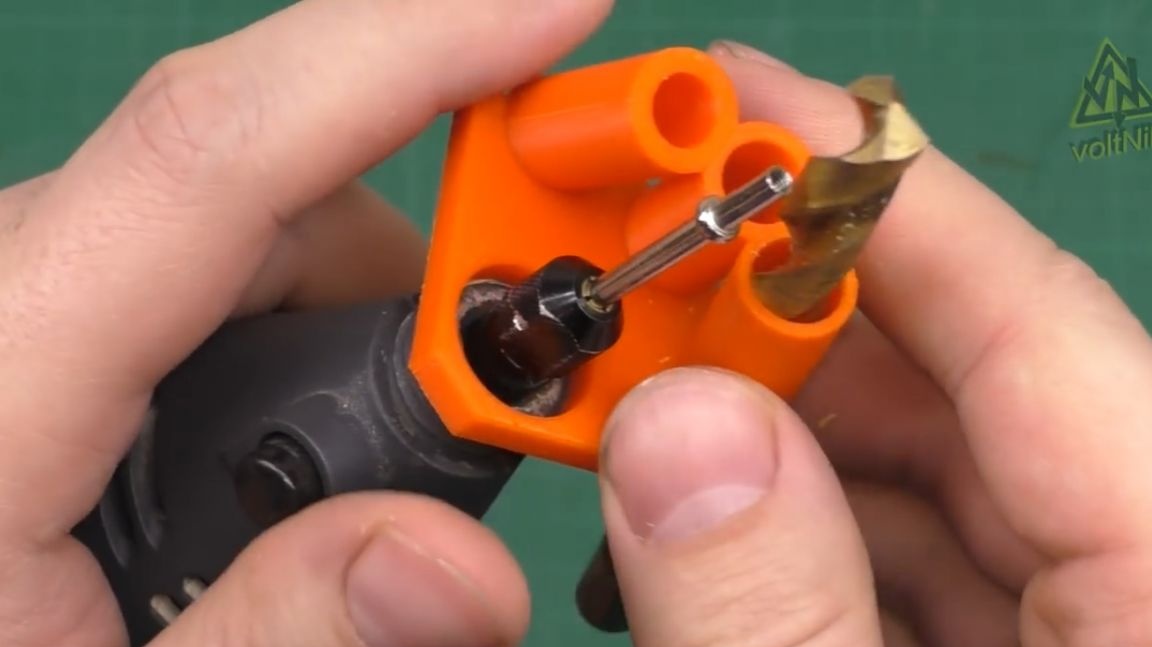
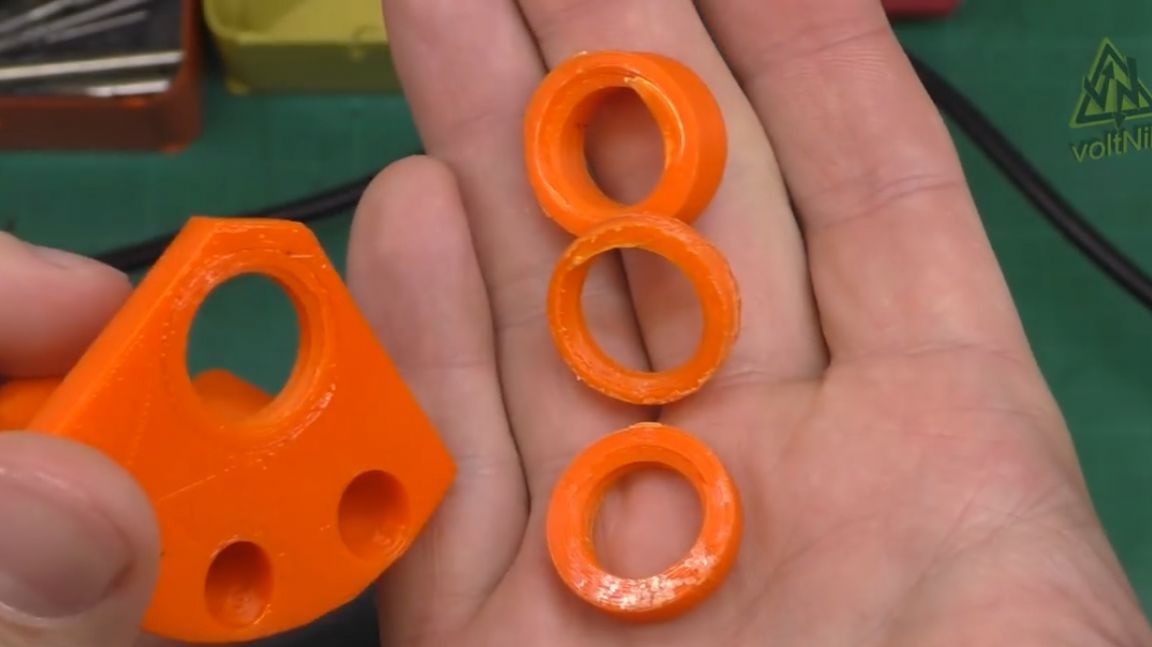
So, now it remains to solve the problem with the thread. But not knowing what thread on the nut is dremel, the author decided to select different options. And in order not to completely retype the entire project detail every time, when fitting the thread, a small adapter will be made that will be glued to the main guide. Such an adapter is printed in just 10 minutes, against two hours on fully finished guides. The time difference is palpable.

Printed the first two adapters. In general, they nifiga did not go to dremel.
As a result, only on the fourth attempt did the adapter perfectly wind up on a dremel.
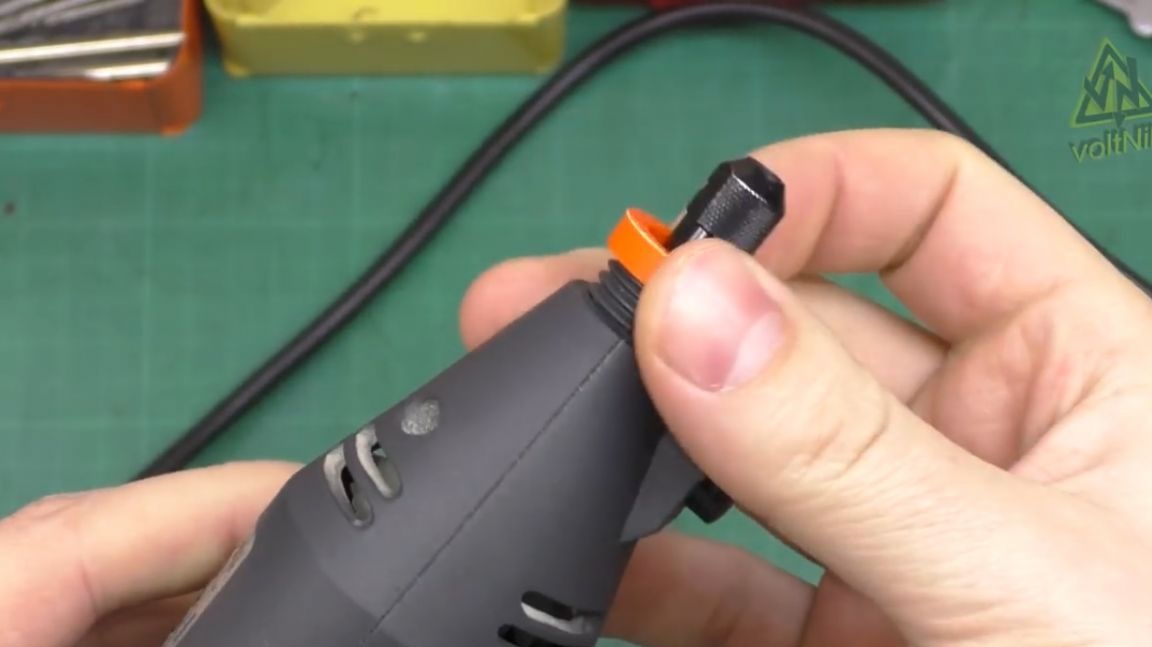

And now it can be glued into the main part with guides.
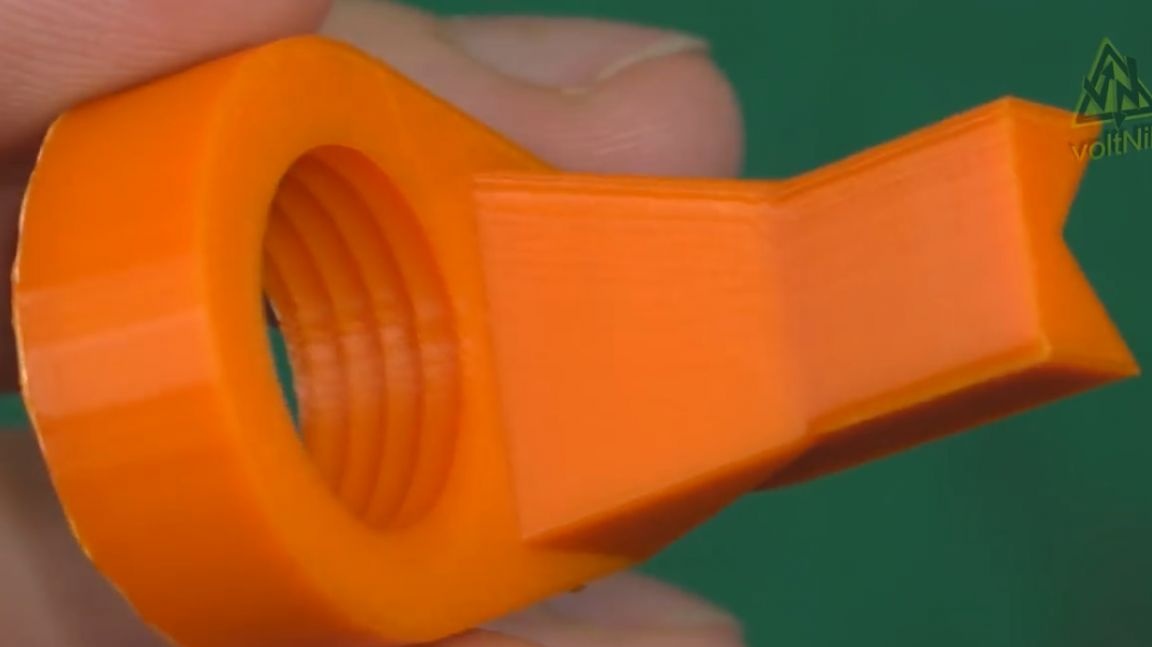
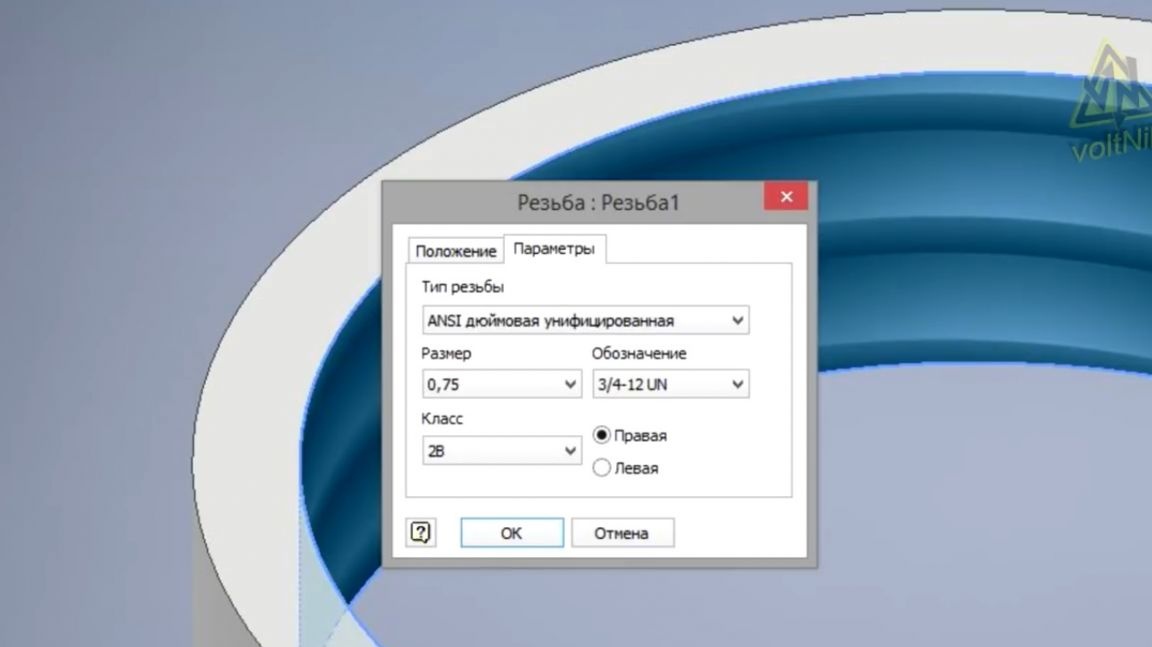
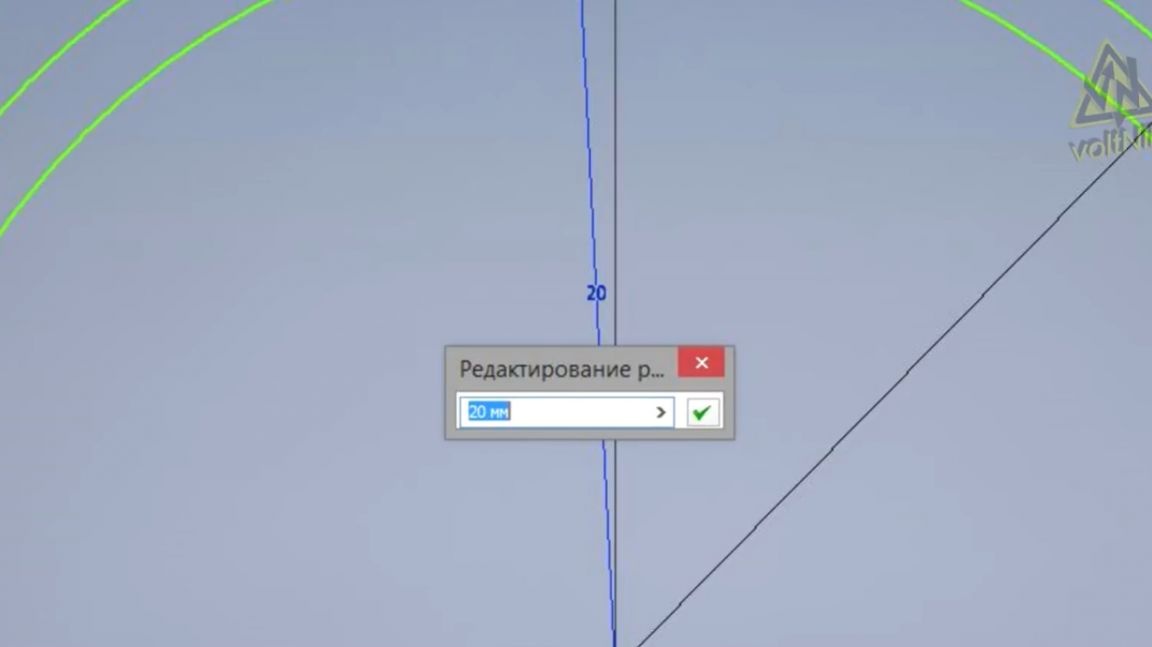
If you are going to do some kind of project for a dremel nut, you need to use an inch thread of 0.75 ¾ in increments of 12. The insertion cylinder for the thread must be 20 mm in diameter. Not 19 mm as a standard thread, but one millimeter more due to shrinkage of the plastic when printing.
And now all our guide sharpening is easily wound on a dremel.
We do the same with the second part. We also paste the adapter here.
But of course such a project is not complete. The need to stick threads and all that. Therefore, a completely independent project of the same drill sharpening was created separately.
Created by an experienced designer with all the facets, beauty and accuracy.
Here the guides are made more massive. Slices are made horizontally. Well, the threaded substrate is also increased for strength. A professional worked, what can I say.
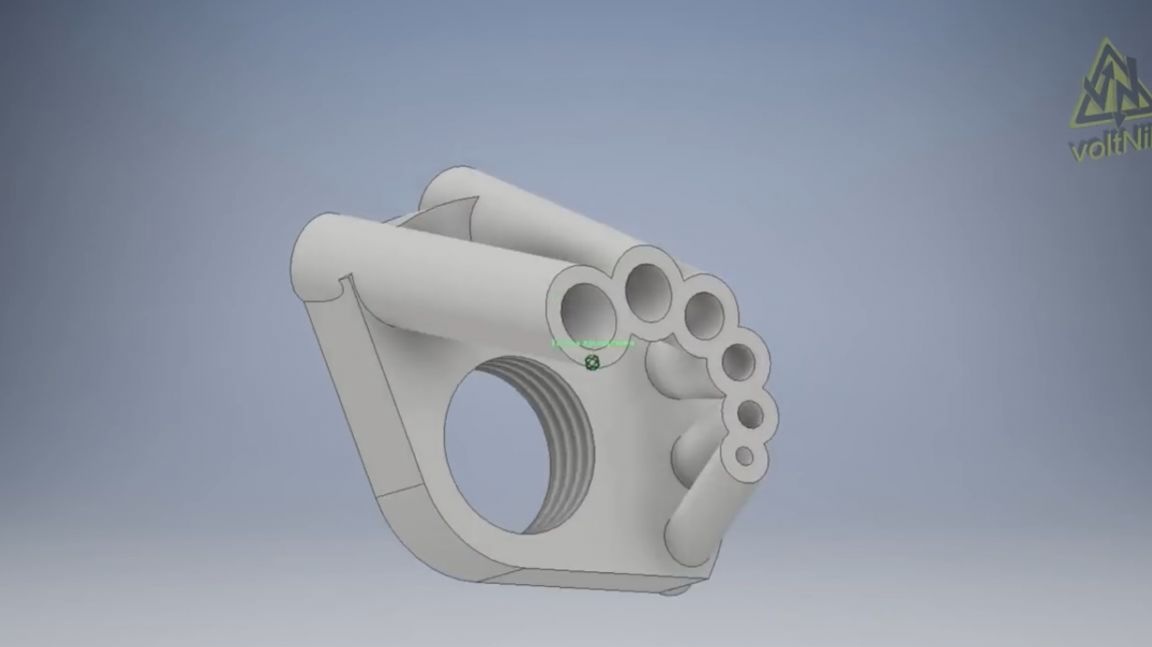
In general, this project looks more neat than in the author’s version of the video. We also print the details. And they went perfectly to dremel.
By clicking on the link at the bottom of the article, in the description below the video there will be a link to the archive. In it you can find details for sharpening drills from 2 to 7 and for drills from 8 to 10 mm at different angles of 118 ° from 135 °.
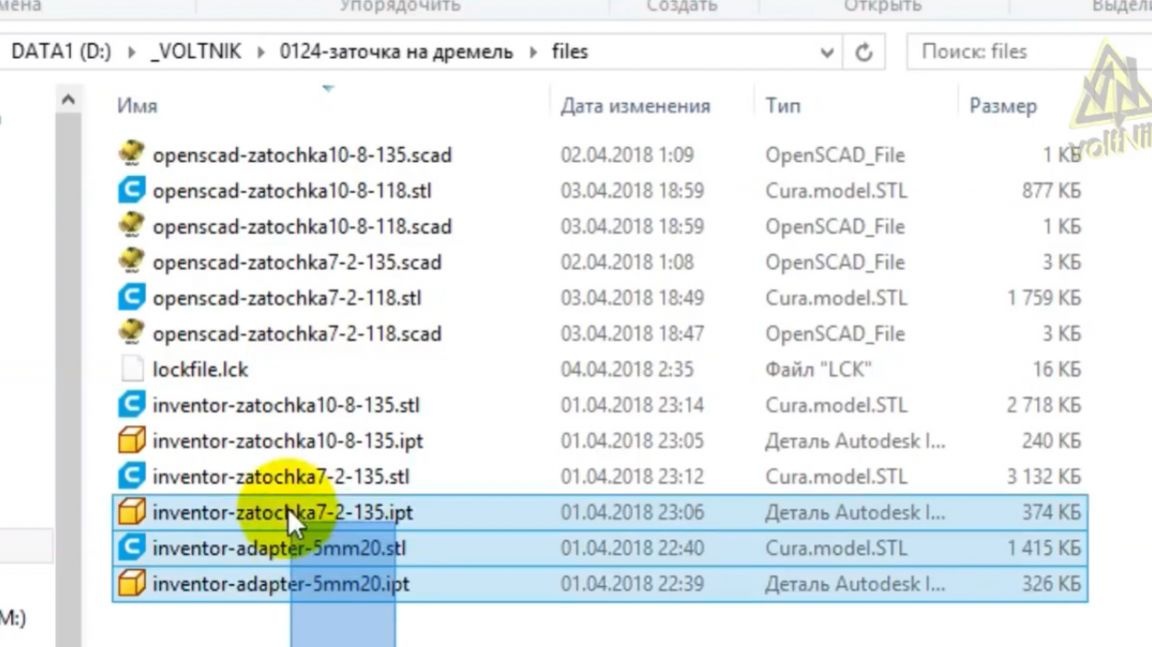
Also there is a separately glued adapter with a thread for a dremel. The archive also contains all the source files for all the programs used in this homemade product.
You need to print the project with high accuracy and this is important. When printing, the author established an accuracy of 0.1 mm with one hundred percent filling of plastic for strength. In total, it takes about 2 hours to print one guide. Depending on the speed of your printer, the guides made by the inventor are more massive and print for about four hours each. After printing, you will receive guides for sharpening drills with diameters from 2 to 10 mm.
Using the source files from the archive, you can quickly remake the project for any angle of sharpening. In this case, of course, you will have to re-arrange the guide cylinders so that they are located as tightly as possible when printing.
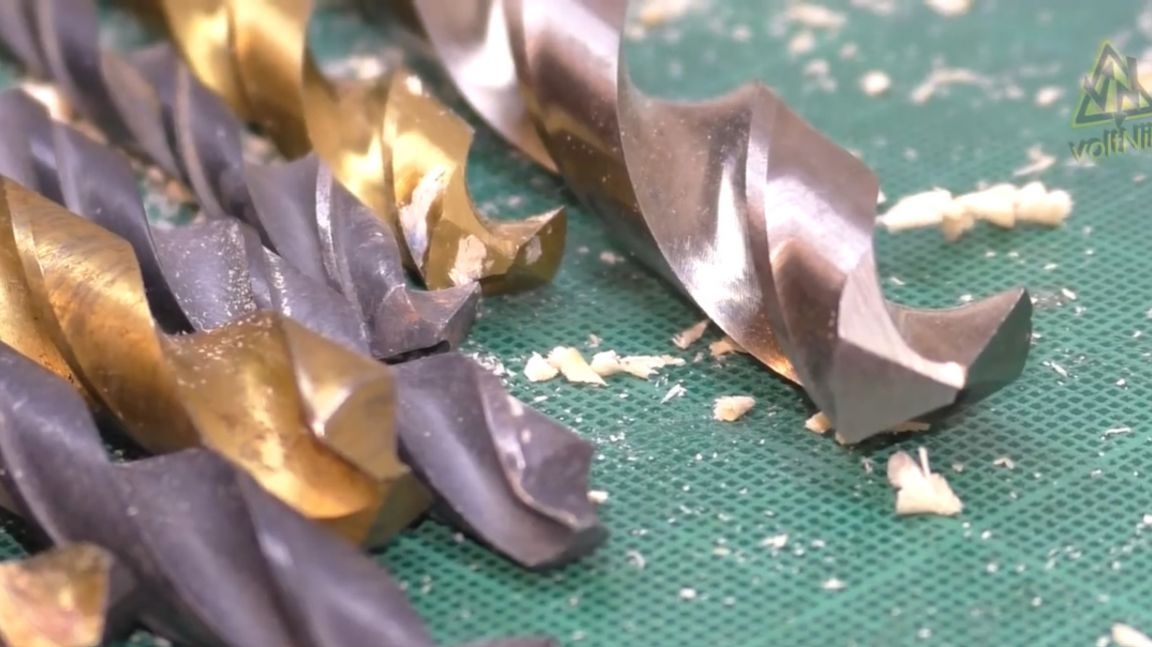
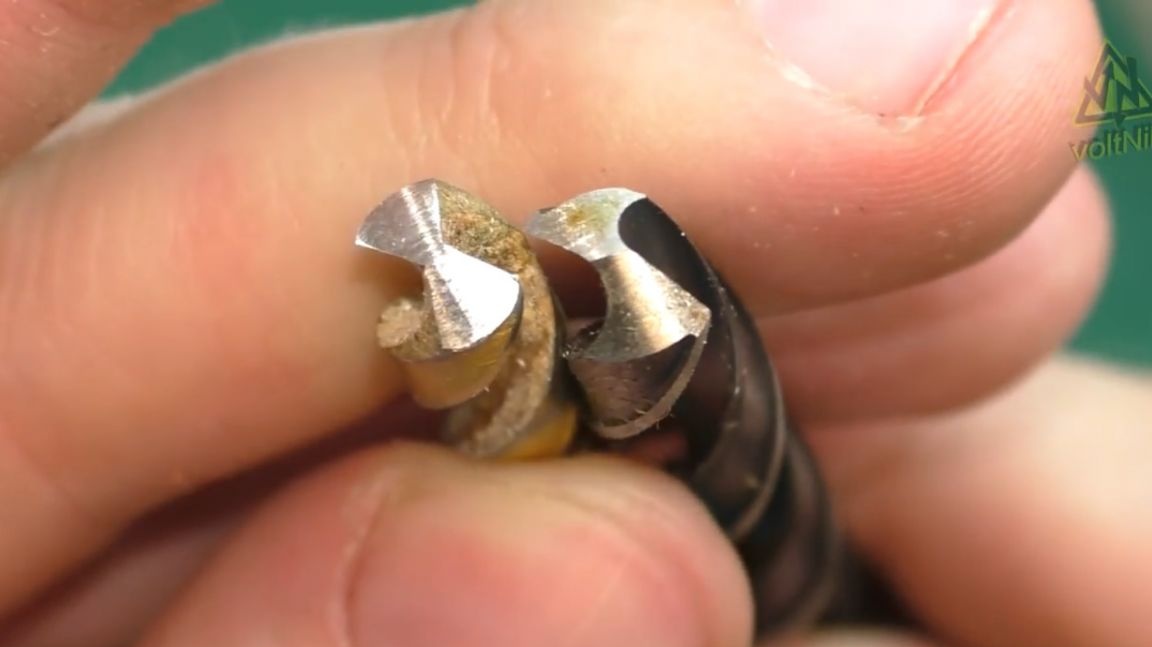
Let's move on to sharpening. Sharpening at drills is not only at different angles of 118 ° and 135 °, but also differs in the number of planes in which sharpening occurs.
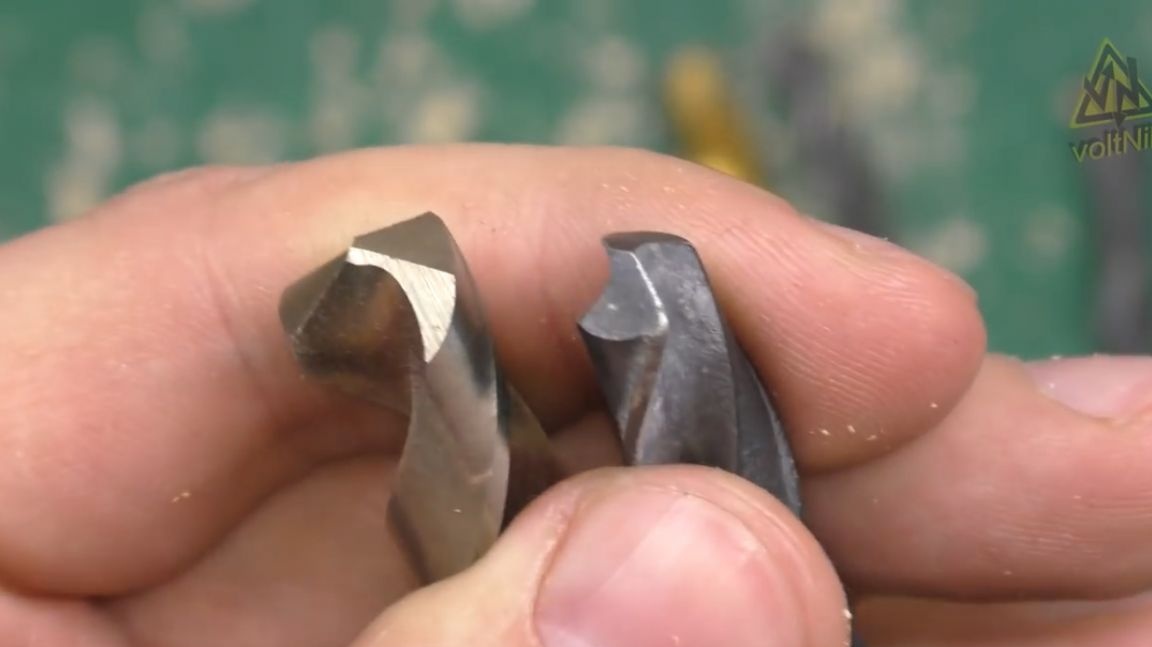
On these bright visible difference. The left is sharpened on two planes, and the right only on one. Well, the price of these rolled up certainly differs by more than 2 times.
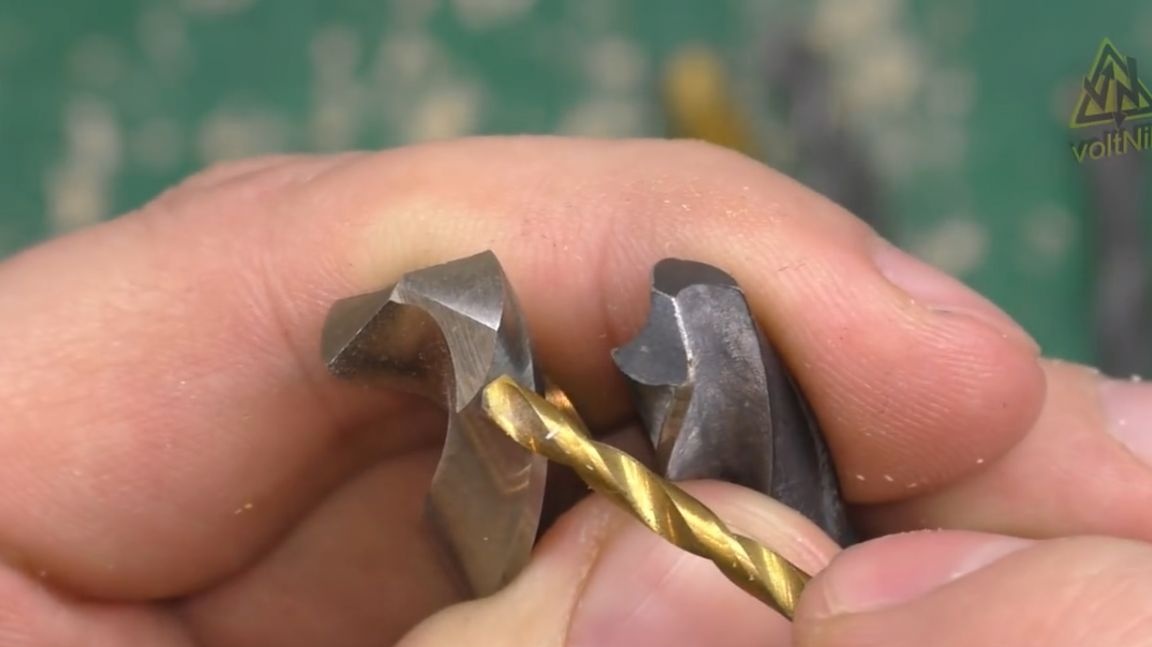
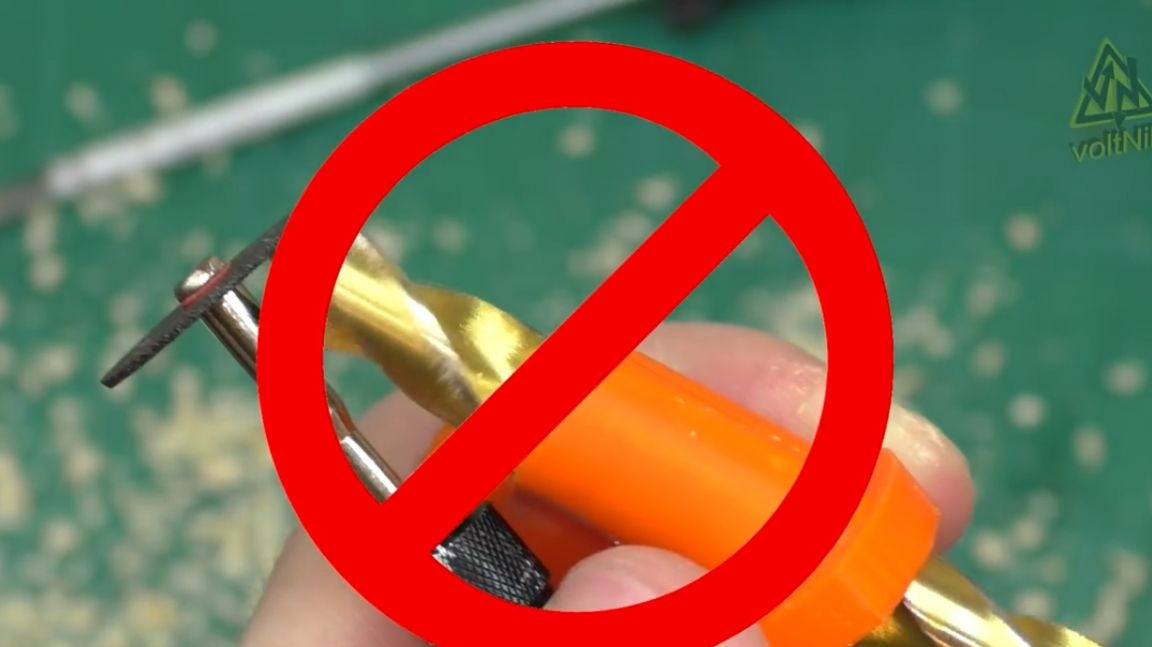
Repeat 2-plane sharpening, we will not succeed. Therefore, we will sharpen on one plane. When sharpening, you can not twist the drill around its axis.
It is necessary to sharpen it, keeping it strictly in one plane. This is easy to make a mistake.Therefore, if you need, then put a marker marker, which will allow you to see the offset. First we sharpen one cutting edge, and then we do the same with the second.
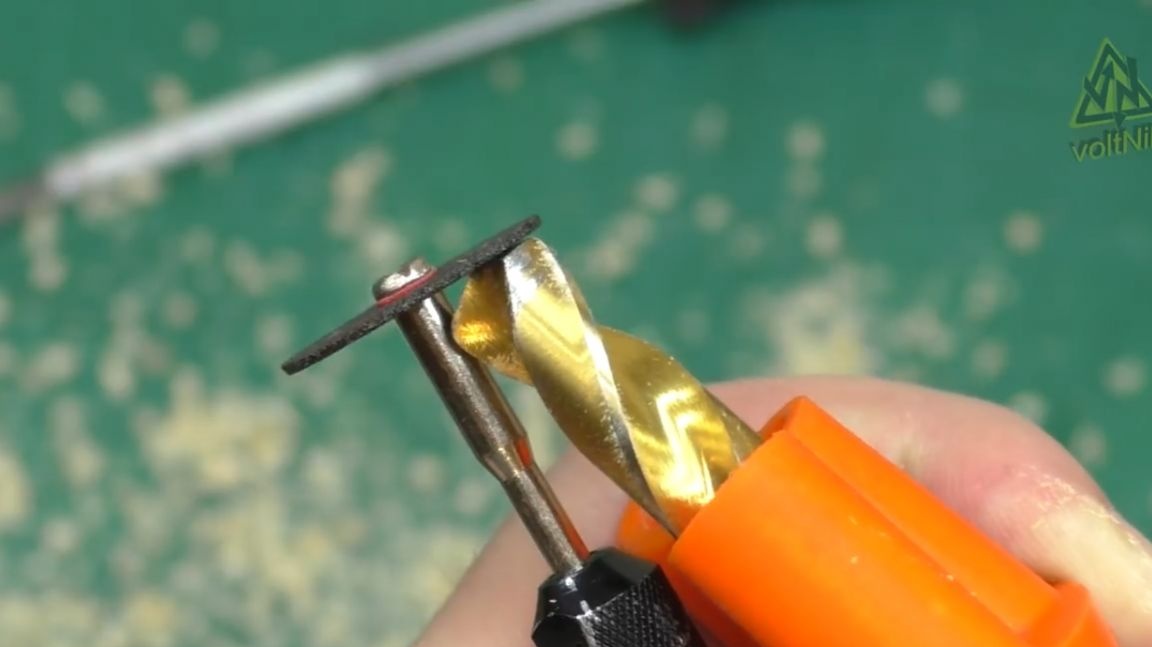
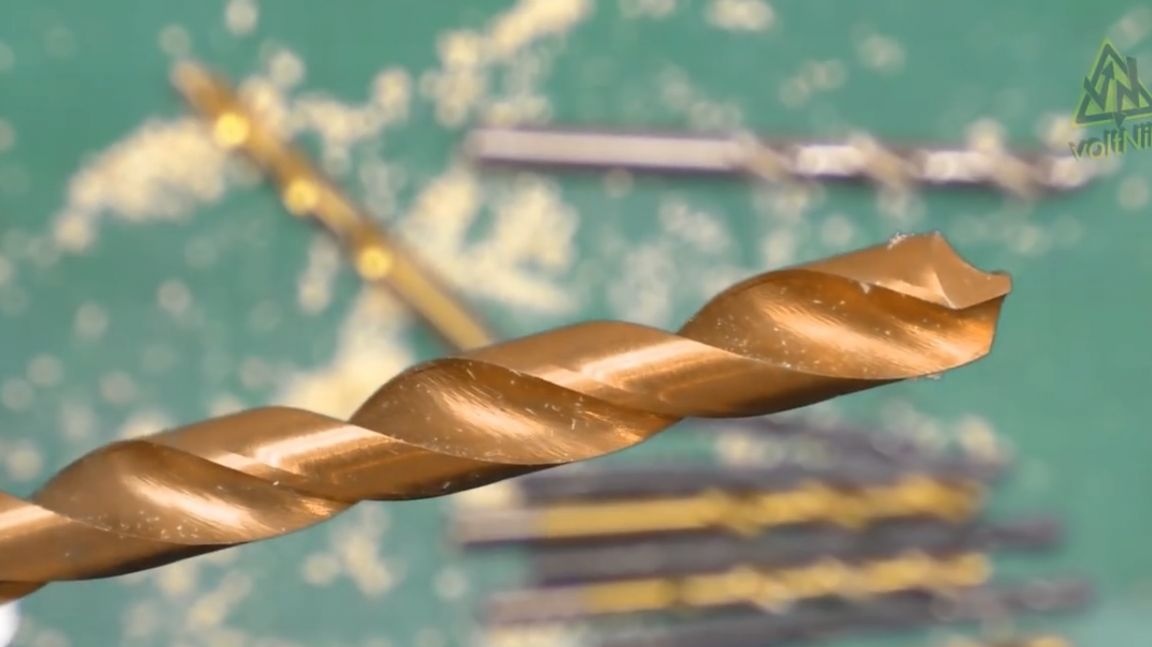
As a result, you will have a straight line in the center of the contact between the two sharpening planes. Having tested the drill in the work, the author was convinced that now they can work again.
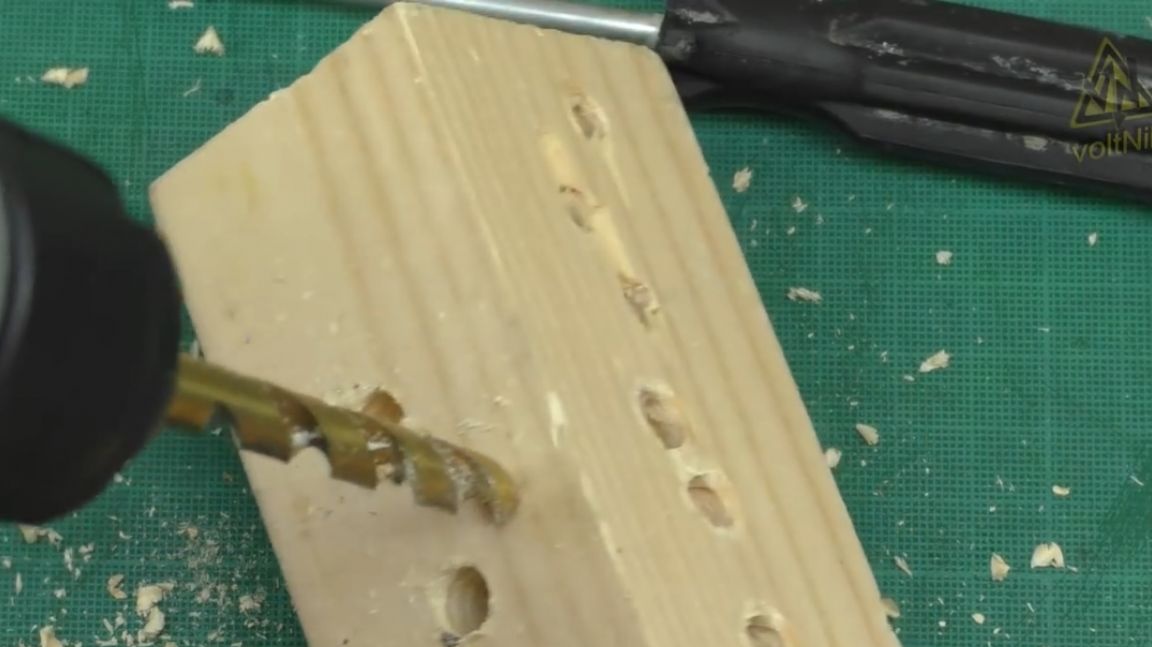
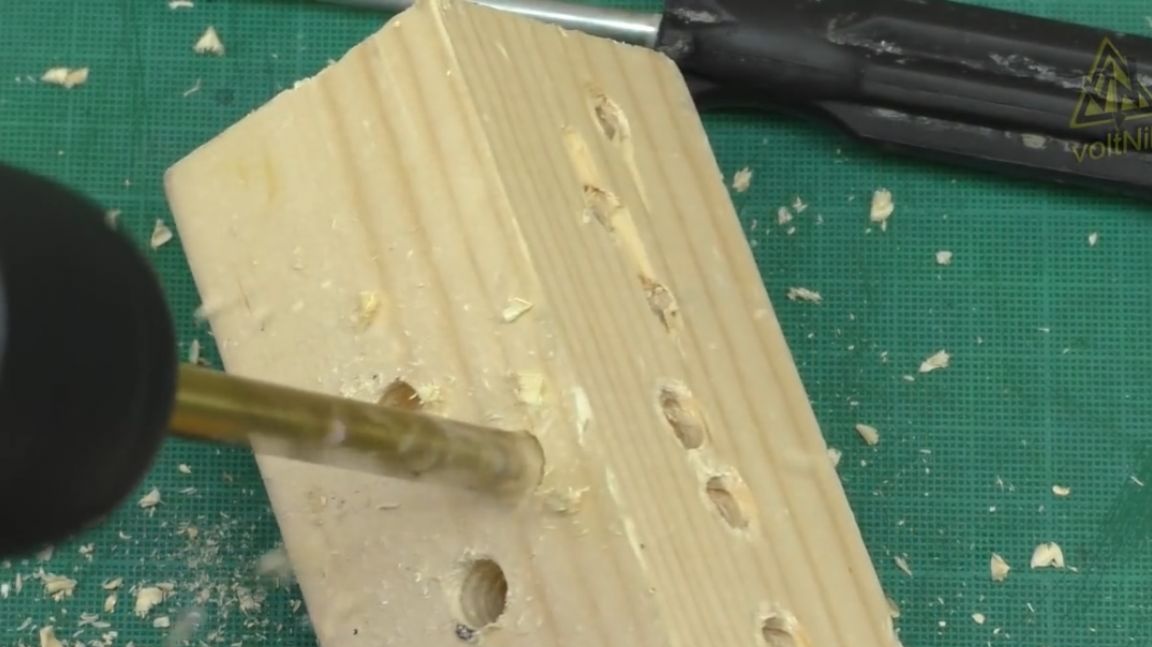
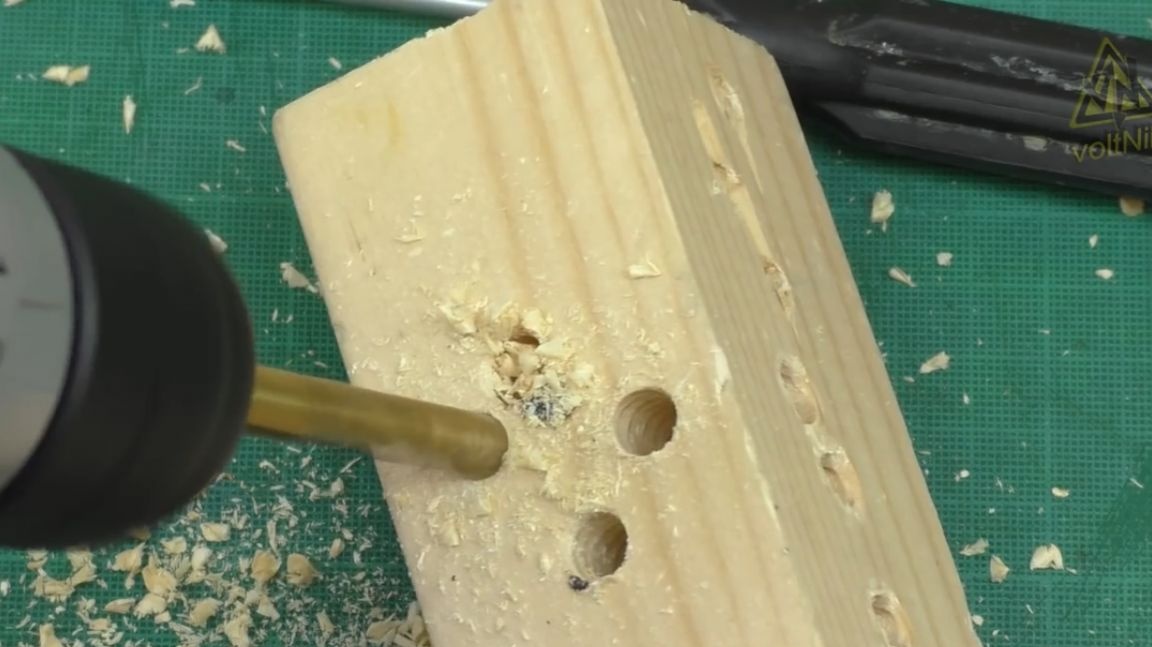


Previously, it did not even take a wooden block, and it was impossible for them to drill.
Thank you for attention. See you soon!
Video: