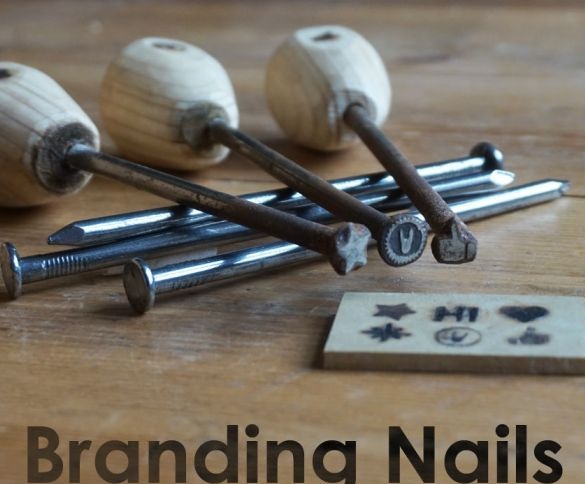
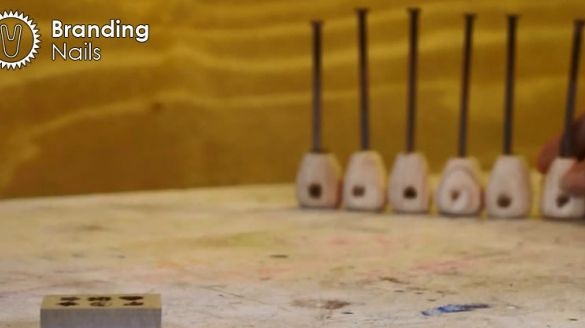
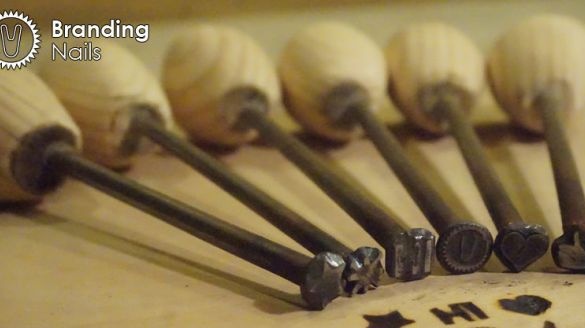
Making your own brand is not so difficult. The master makes stigmas from ordinary nails. Then, with the help of these brands, you can apply patterns, or label, leather or wood products. For the manufacture of stamps the master-master needed the following
Tools and materials:
-Nails 125 mm;
-Wooden bar;
-Vinyl with a sticky layer;
-Burner;
-Tool for etching;
-Brine;
-Hammer;
-File;
-Knife;
-Engraver;
-Hacksaw;
-Grinder;
Step One: Nail Preparation
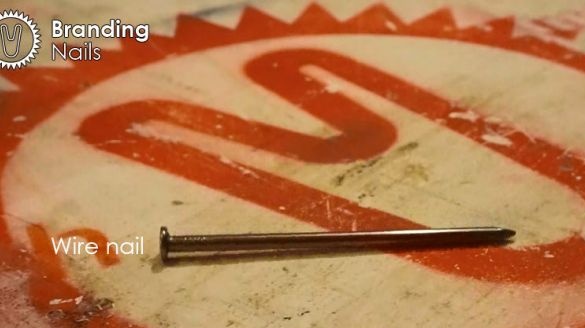
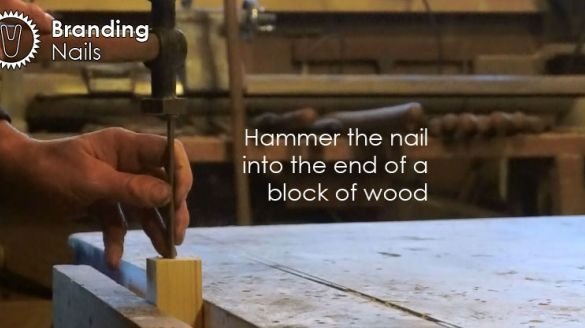
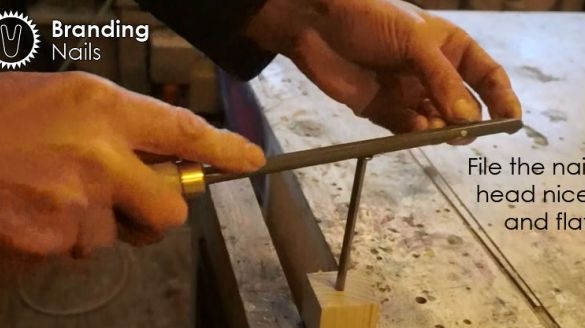
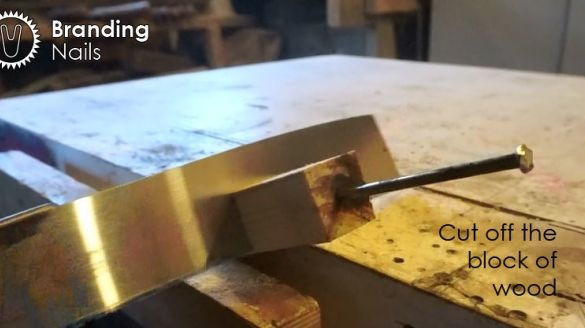
For the manufacture of stamps, the Master uses nails 125 mm long and with a hat 10 mm. For ease of processing, hammer a nail into a wooden block. Handles a nail head.
Step Two: Stencil
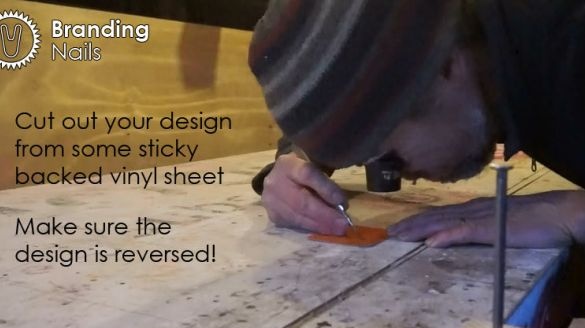
Cuts the necessary stencil from vinyl. Glues it on a nail head.
Step Three: Etching
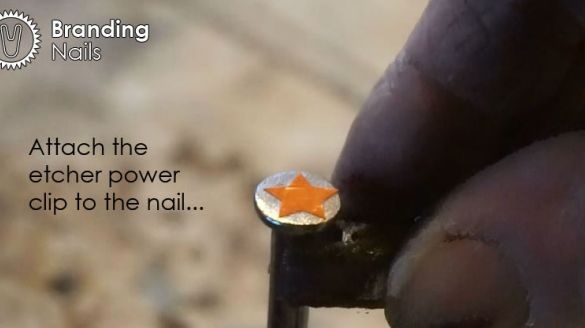
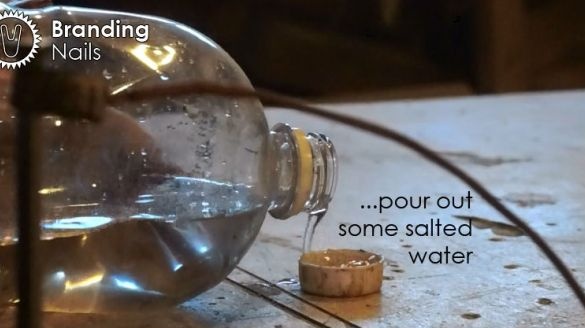
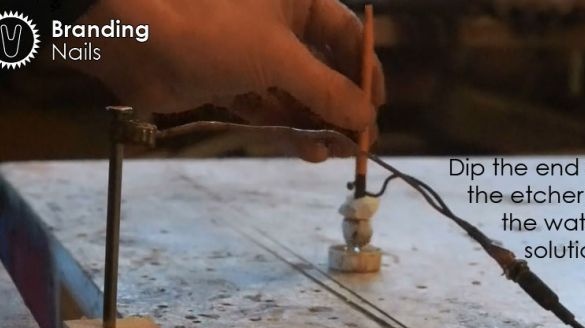
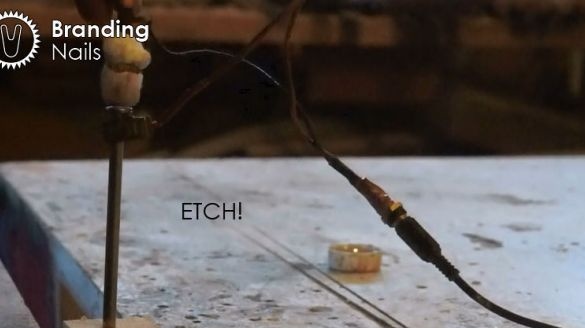
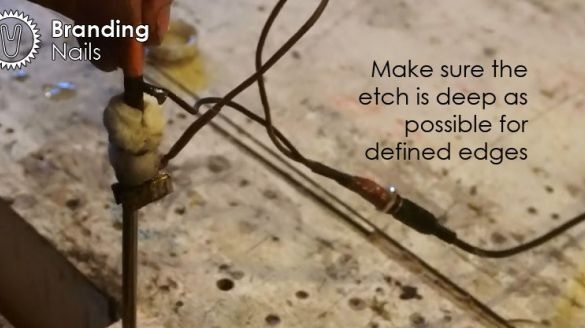
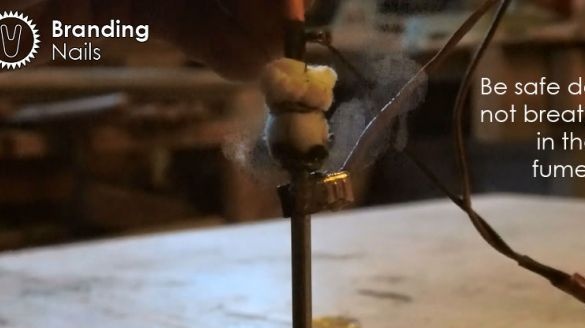
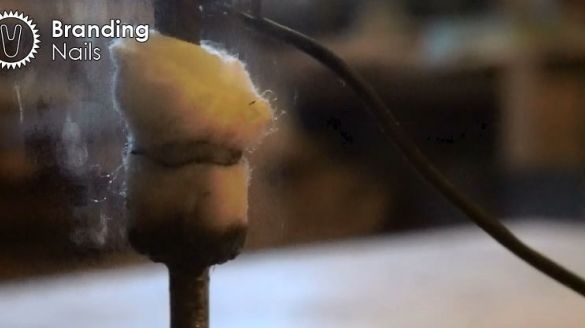
Next you need to etch the stigma. How to do this, there are many instructions on the Internet. The master in his article posted a video with the etching process.
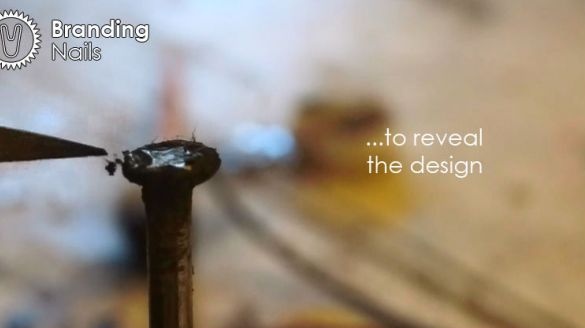
After etching, it removes the etched metal with a knife.
Step Four: Branding
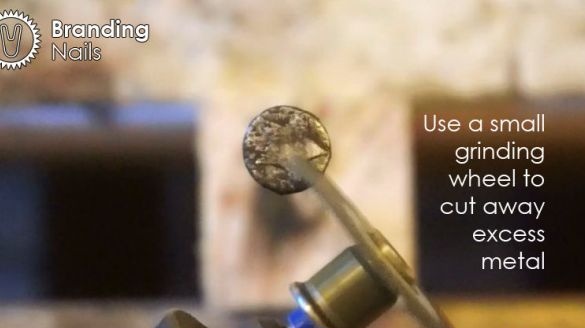
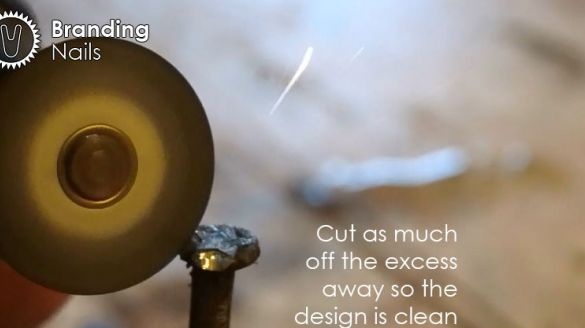
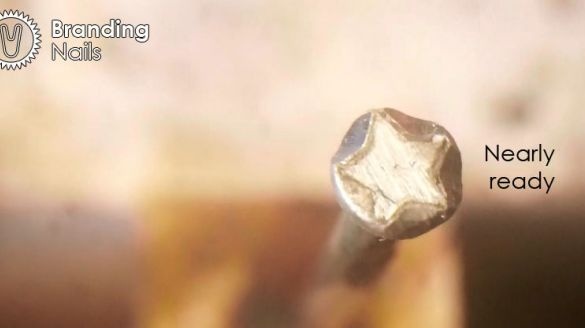
Engraver cuts off excess metal around the stigma.
Step Five: Pen
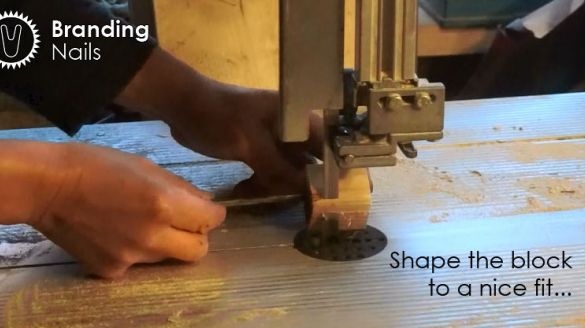
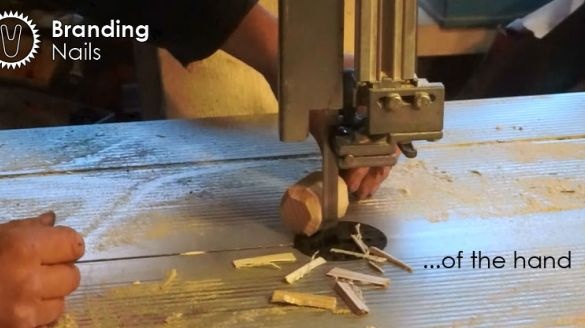
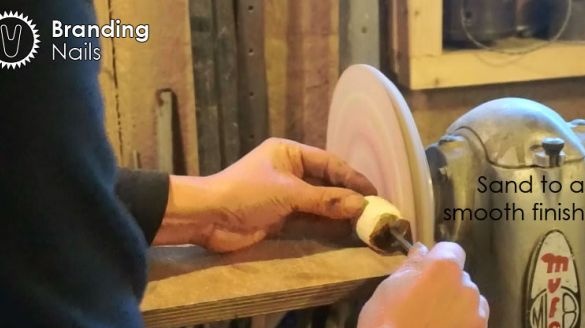
A handle for the stigma is made of a wooden bar.
Step Six: Work with the Stigma
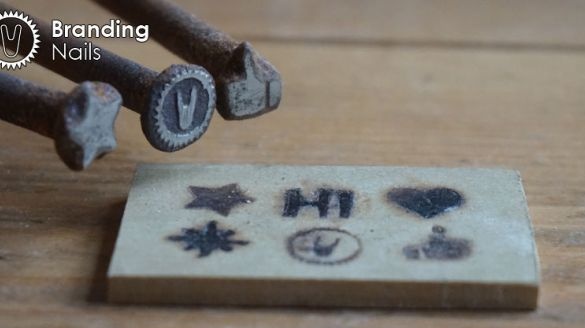
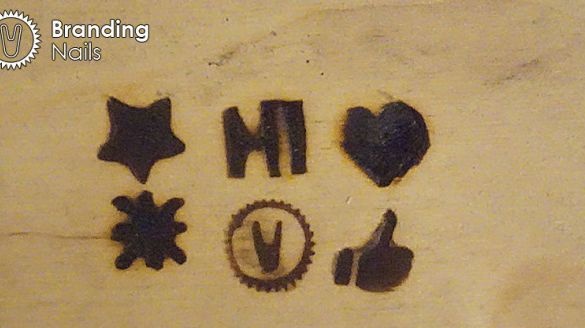
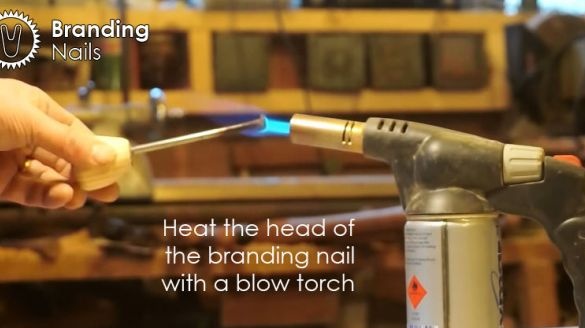
To stamp it must be heated with a burner. After heating, press to the surface.
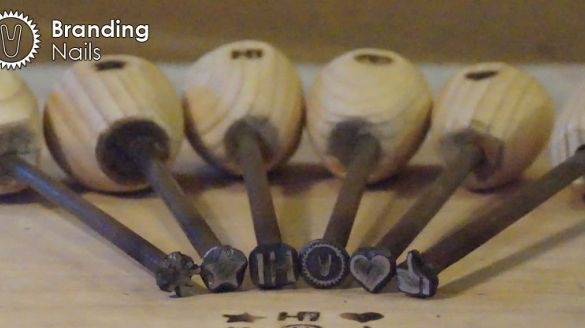
For convenience, the master burns the corresponding pattern onto the pens of each hallmark.
As you can see, making a brand is quite simple.

