
Today we will make a sword from pieces of reinforcement. Why exactly fittings? Yes, because there was nothing else at hand, but I wanted to make a sword.
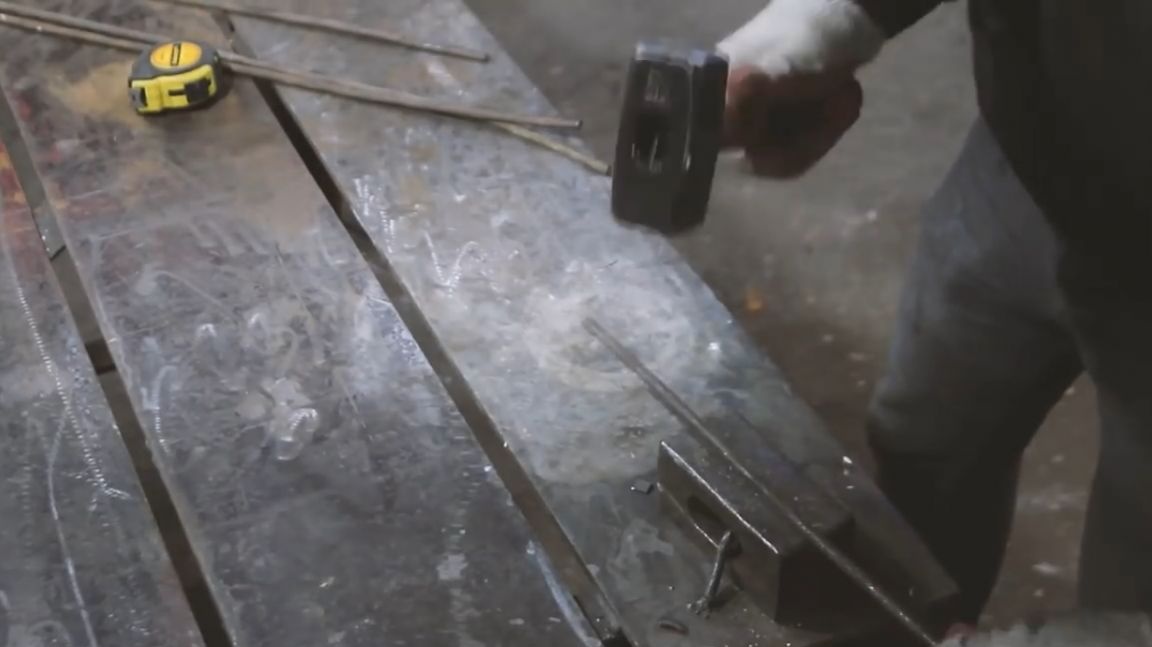
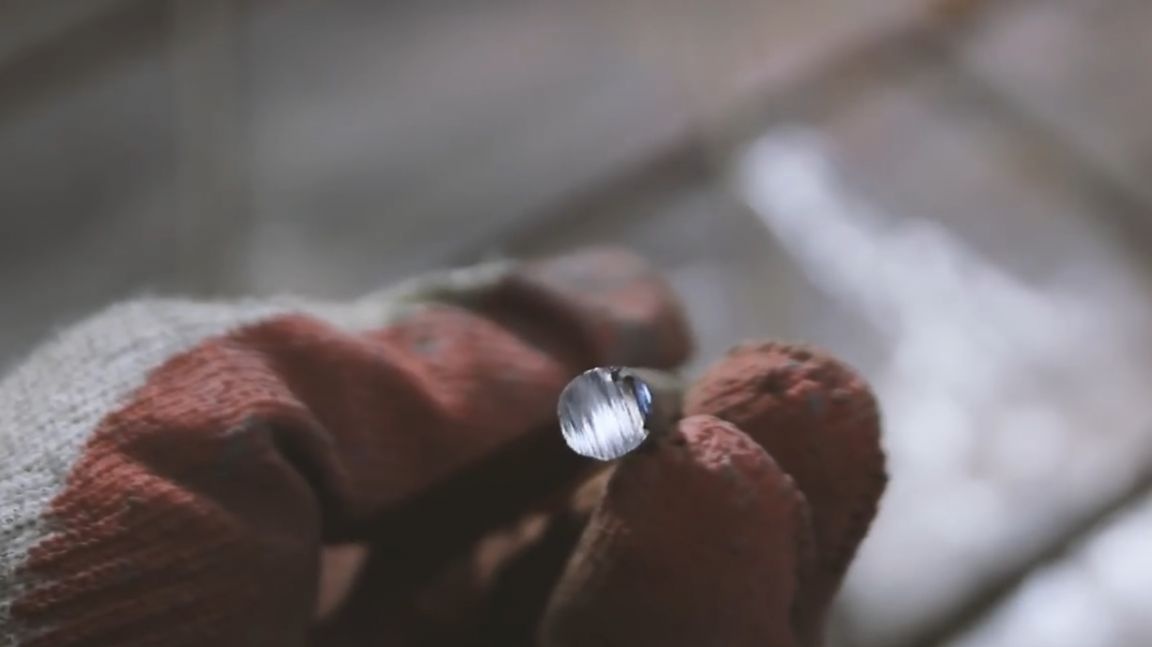
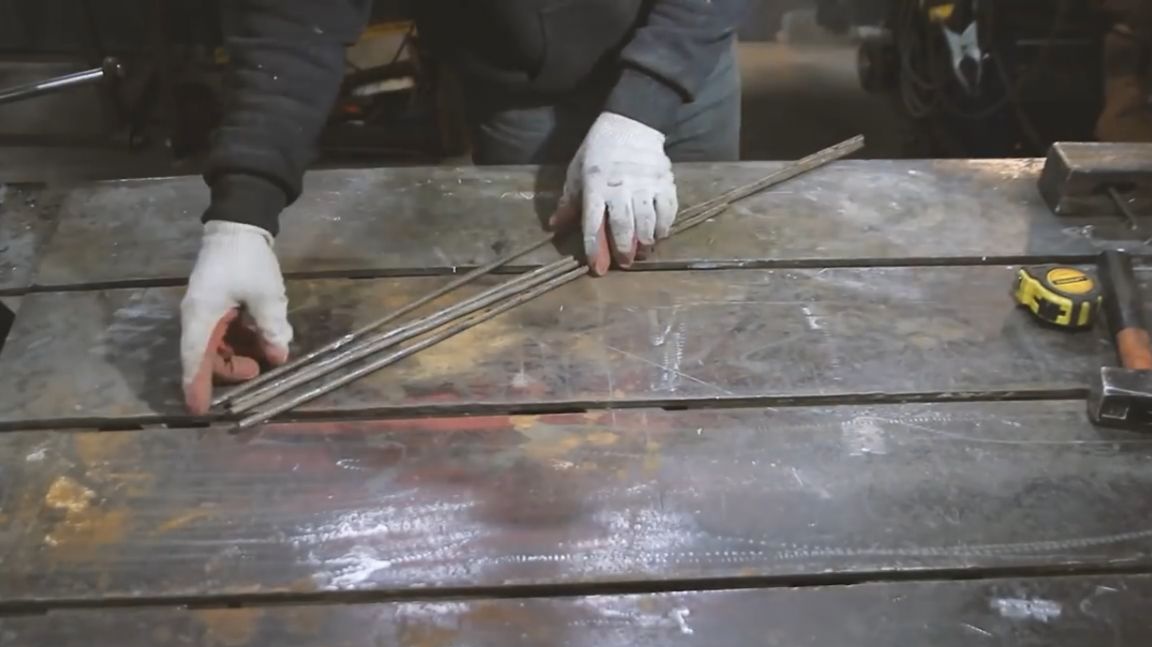
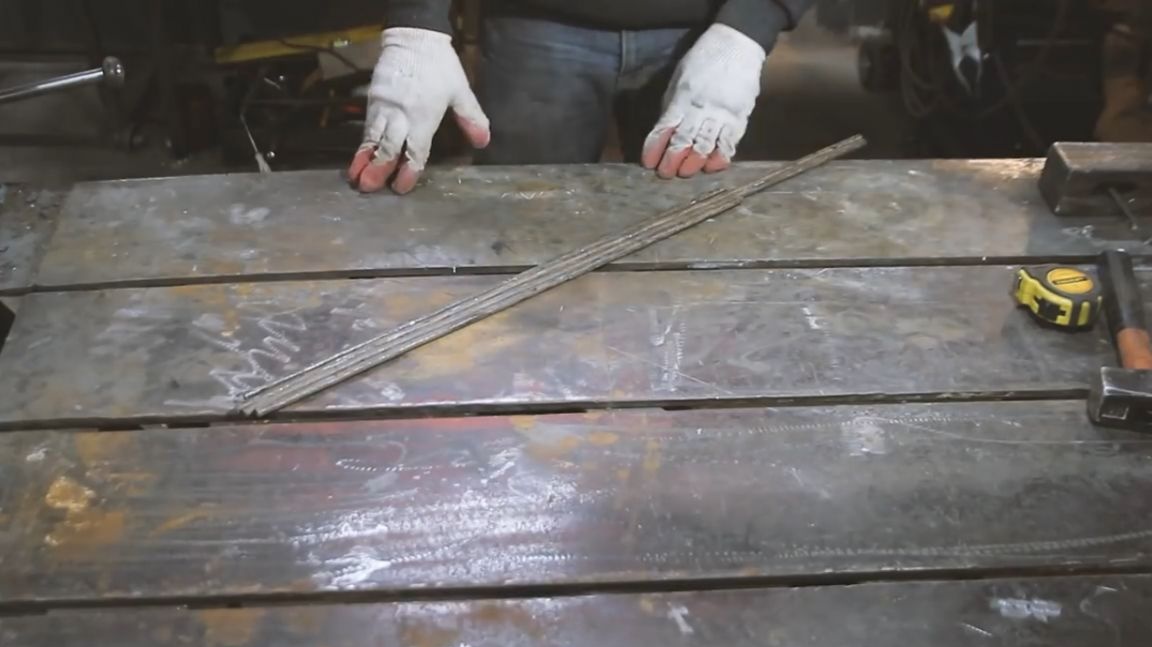
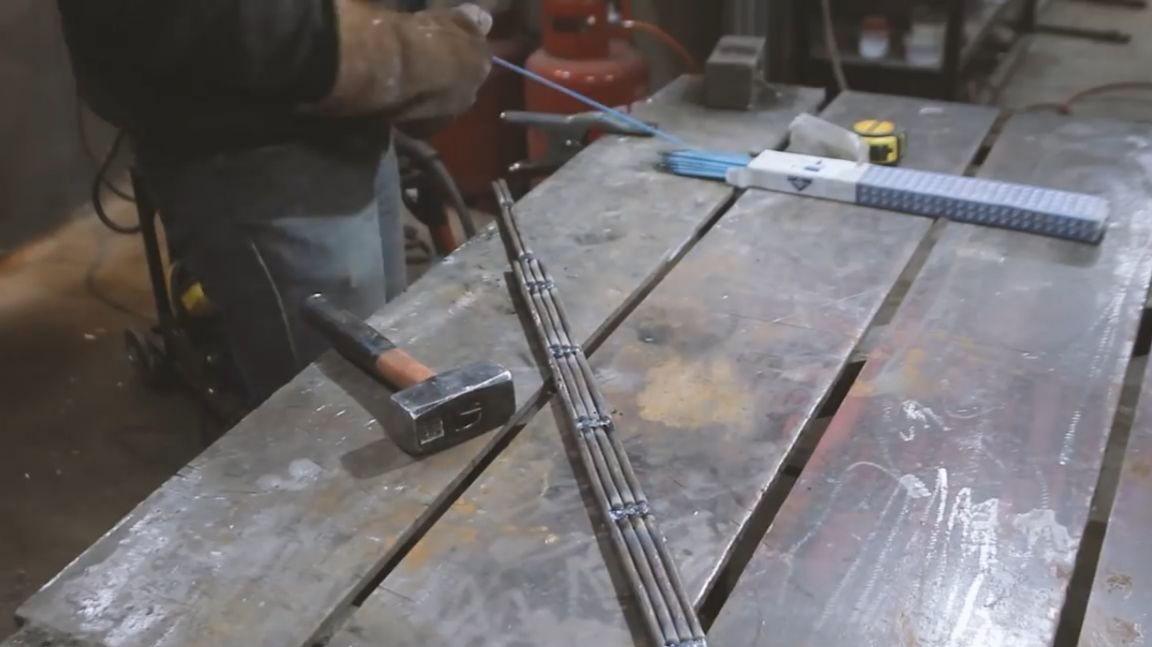
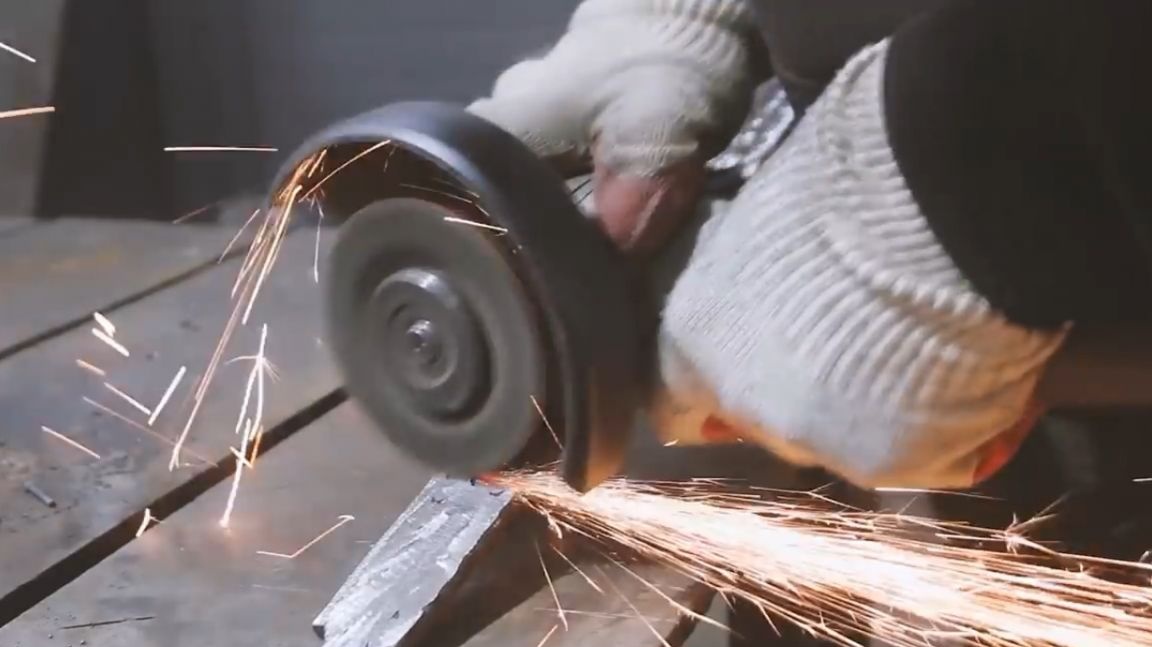
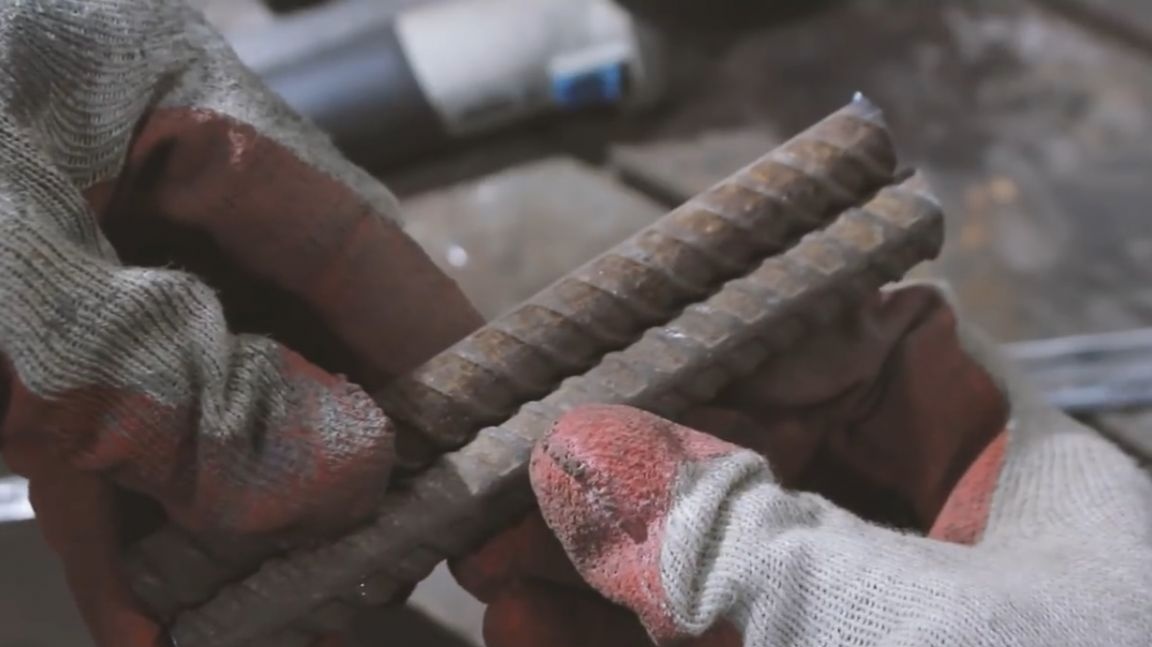
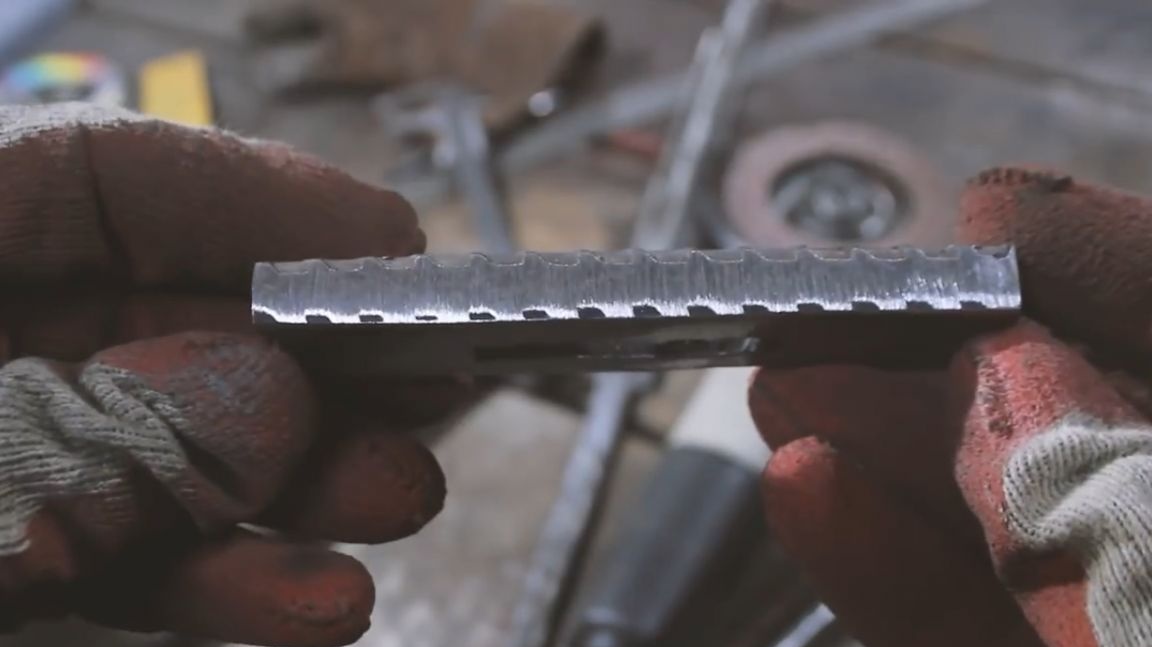
The master had 3 meters of round reinforcement with a diameter of 8 mm. And it was this piece that needed to be divided into equal parts sufficient for the manufacture.
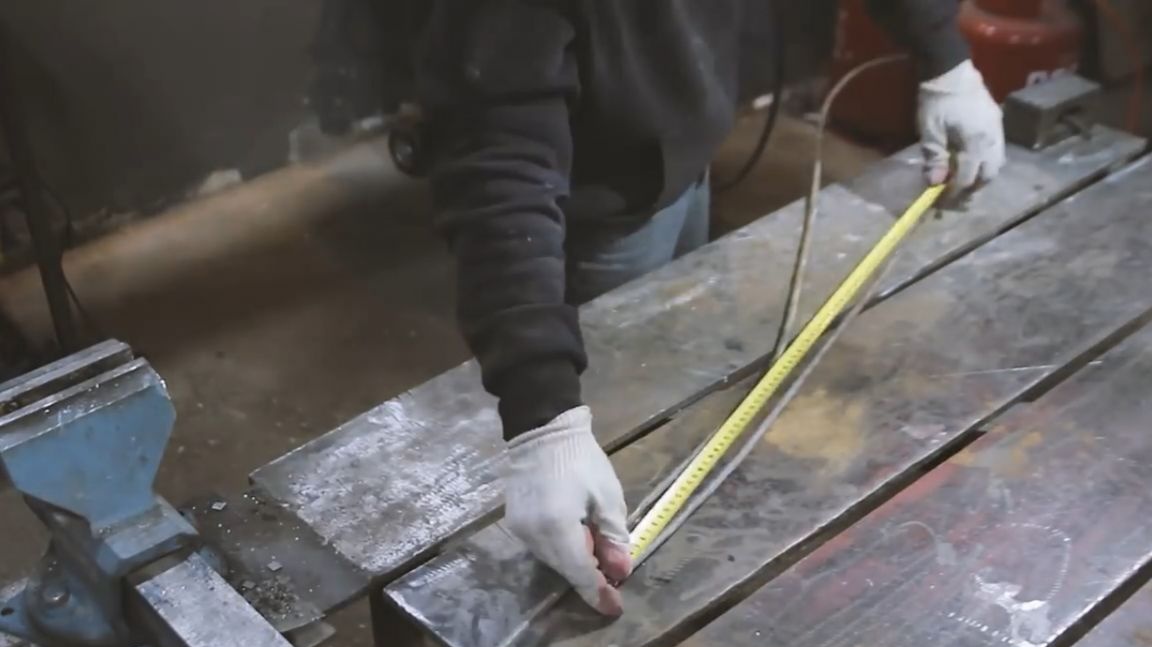
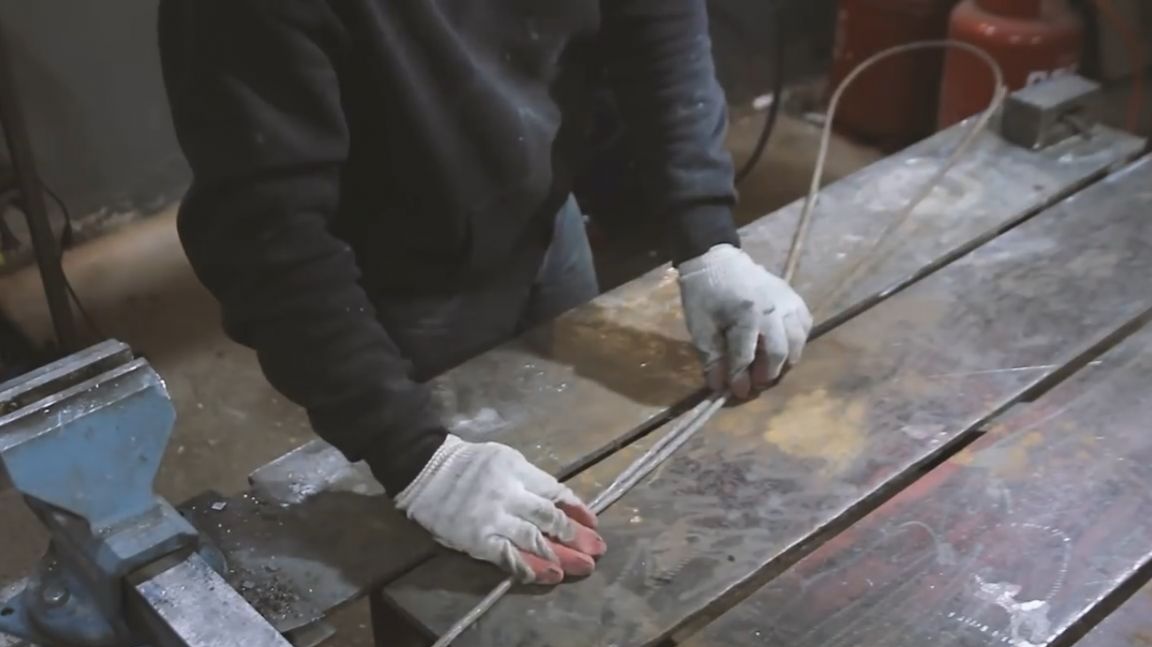
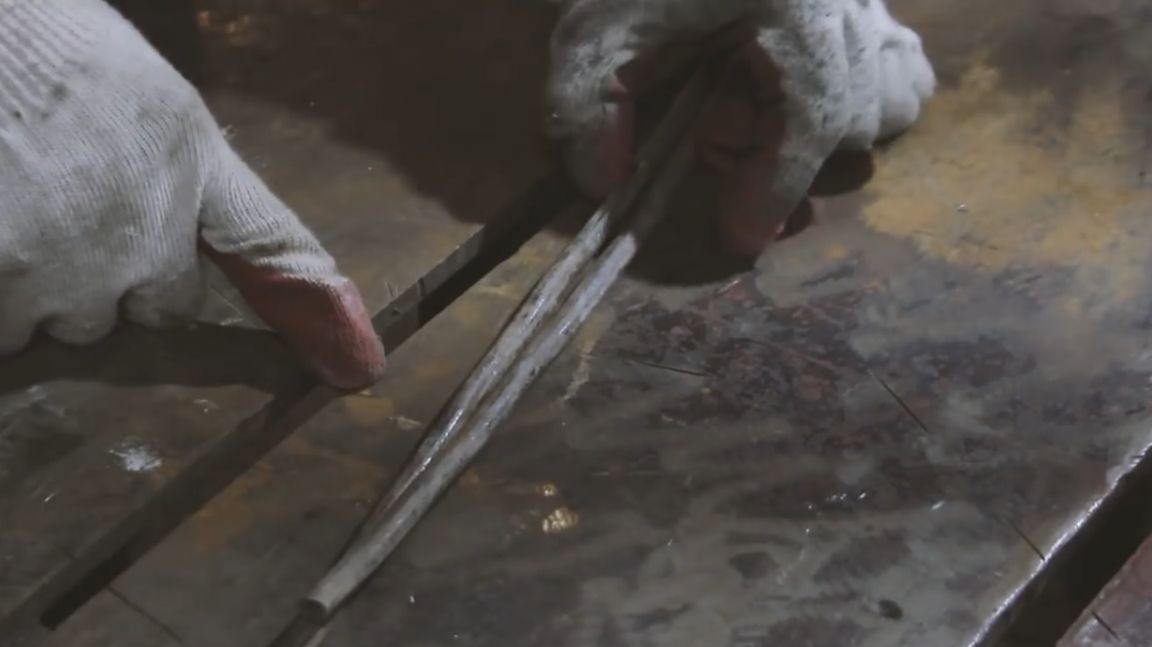

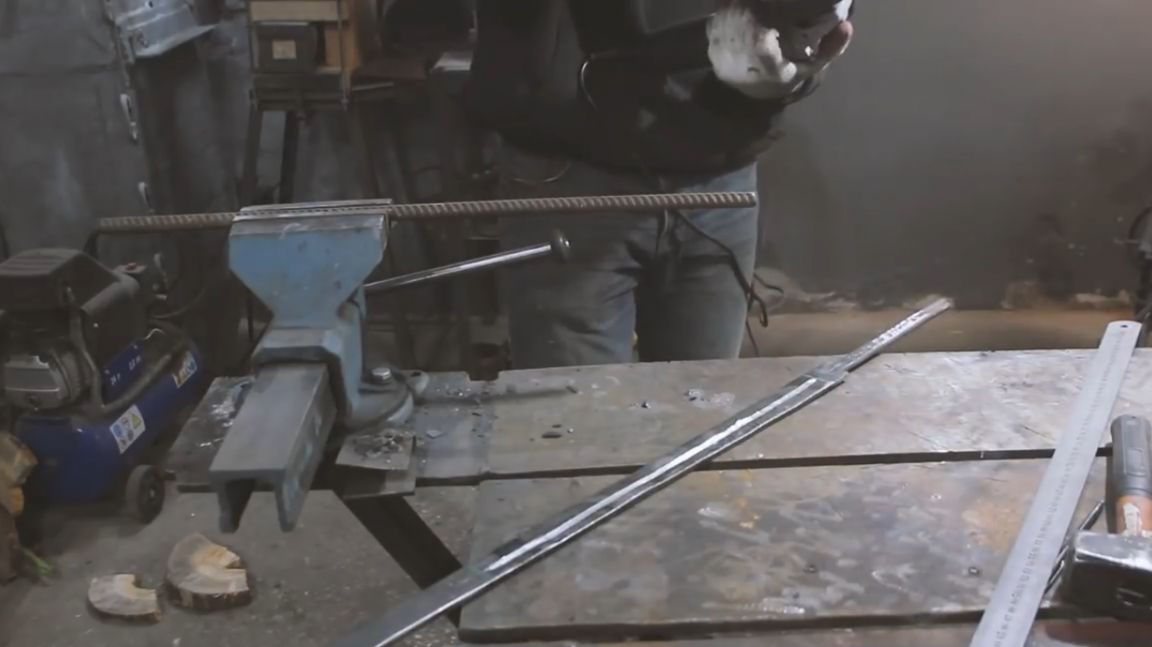
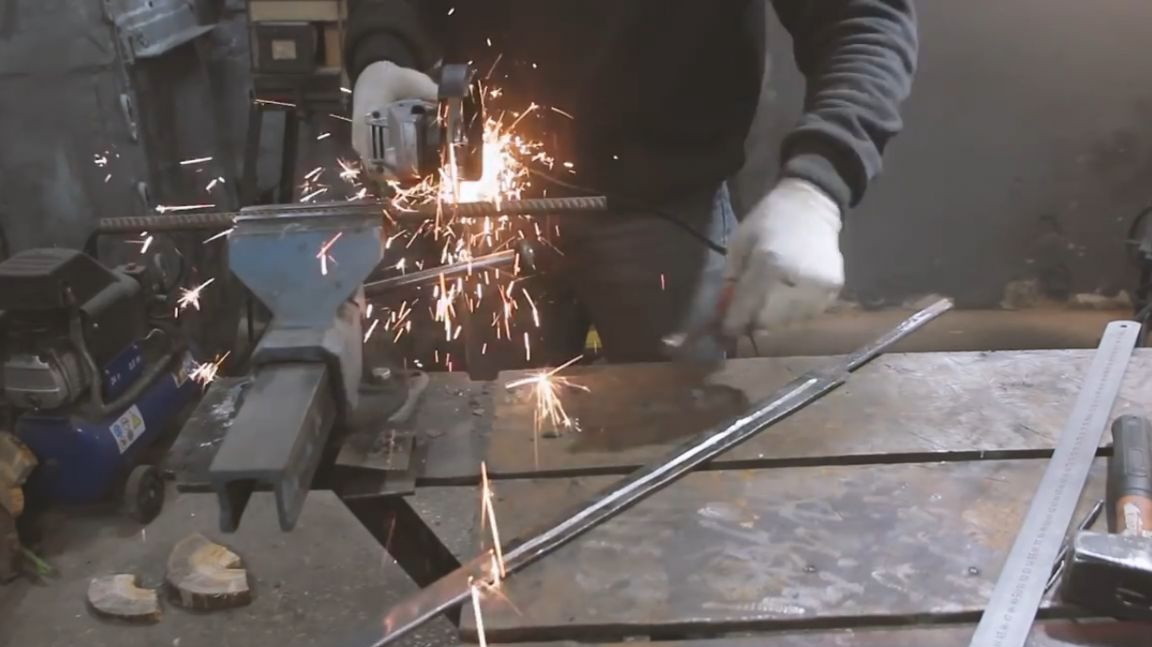
After cutting the fittings, it is necessary to level it, if possible. Indeed, the smoother the rods, the smoother our sword will be, and it will be much easier to cook.
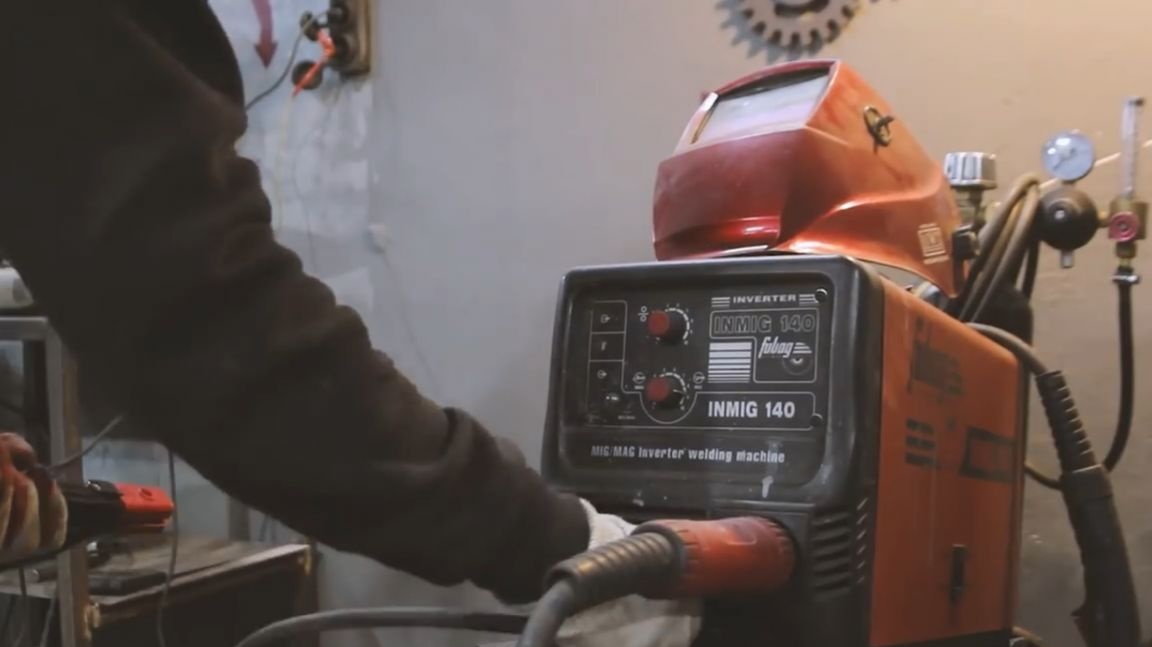
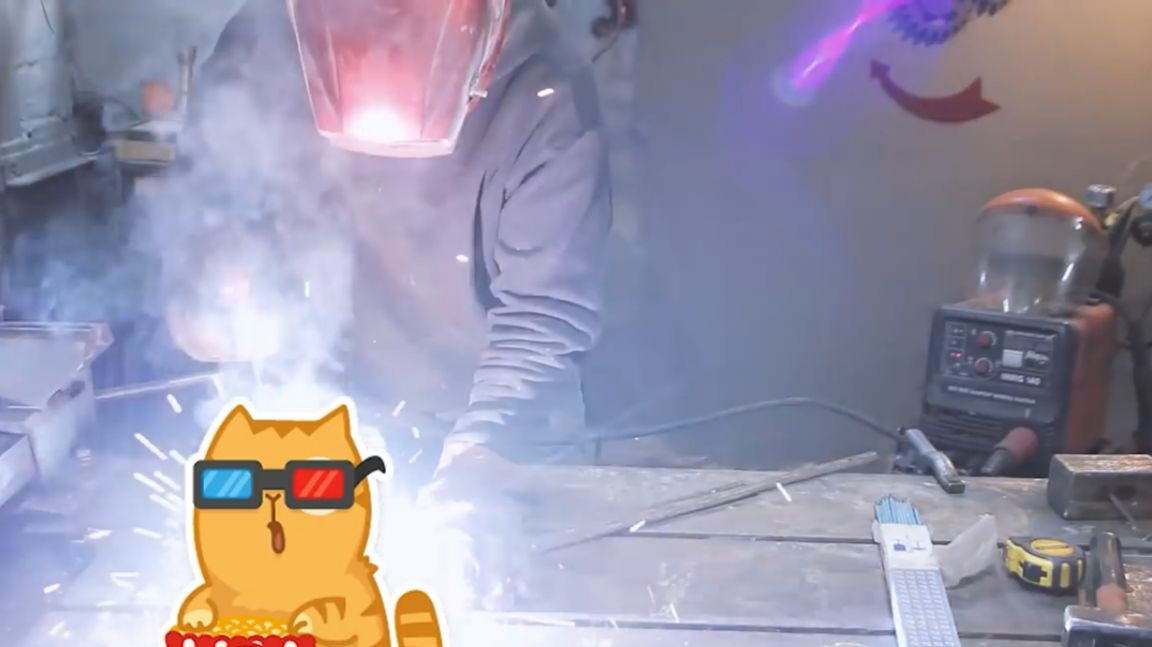
We will cook with piece electrodes. Since there is such a topic with affordable garage crafts, then the welding method will be the most common. Perhaps this homemade product will inspire you, and you will do something similar for yourself or your son. Or perhaps you are a role player at all and you have long lacked such a thing.
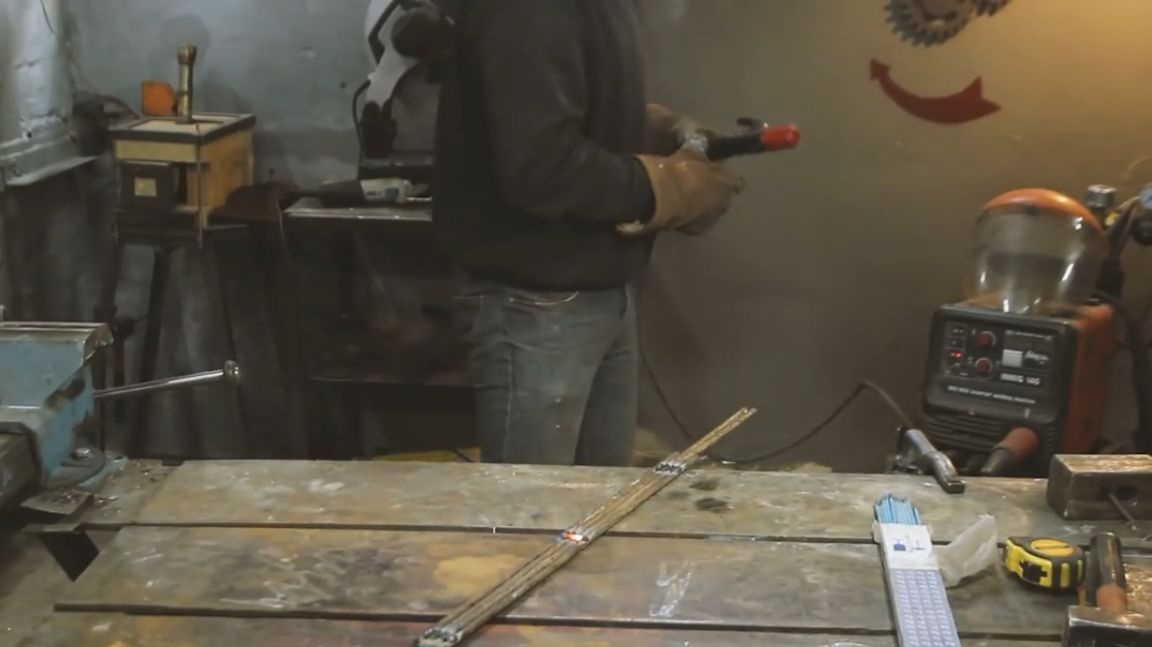
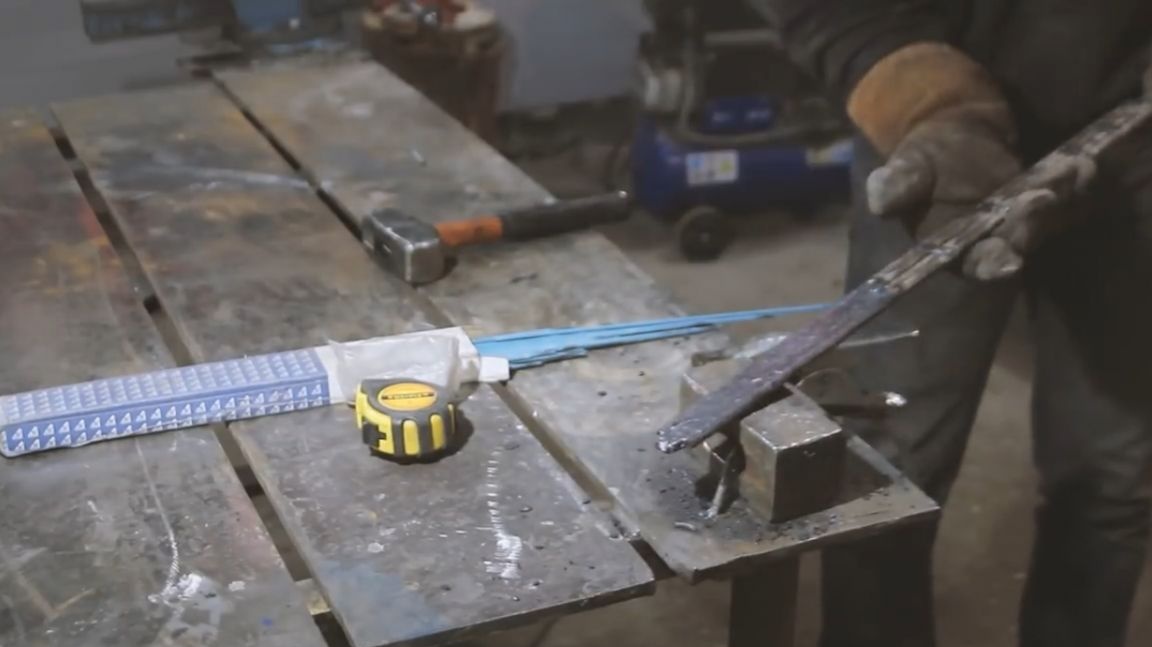
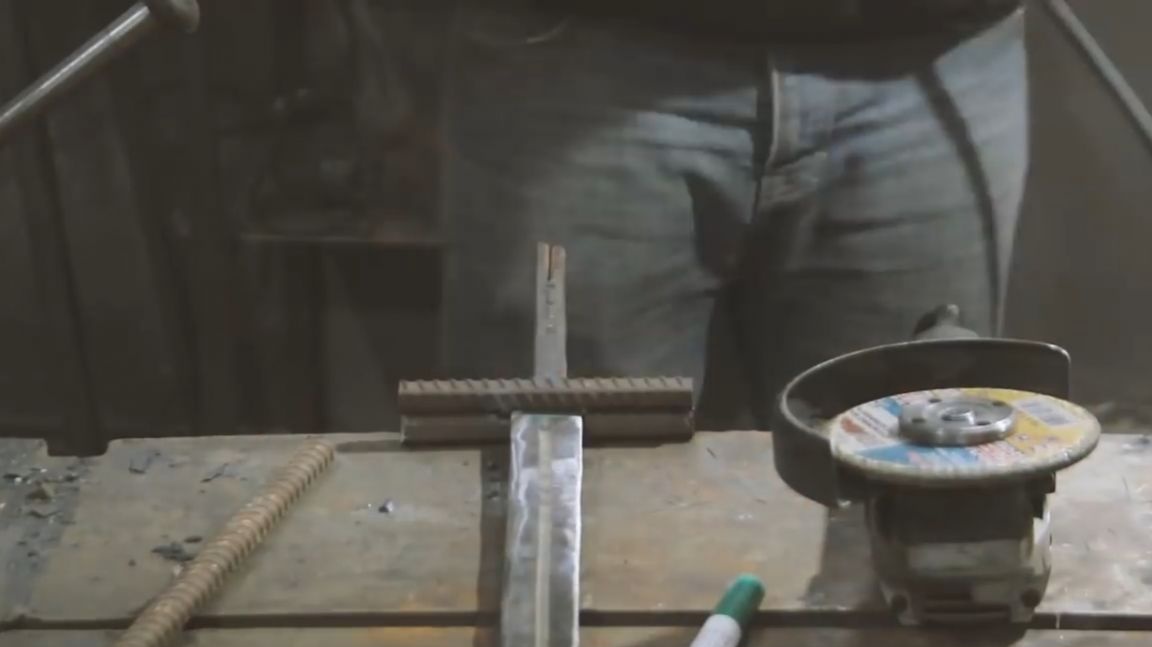
Before you begin to fully boil the sword, it is necessary to securely fasten the armature so that nothing leads in the process.
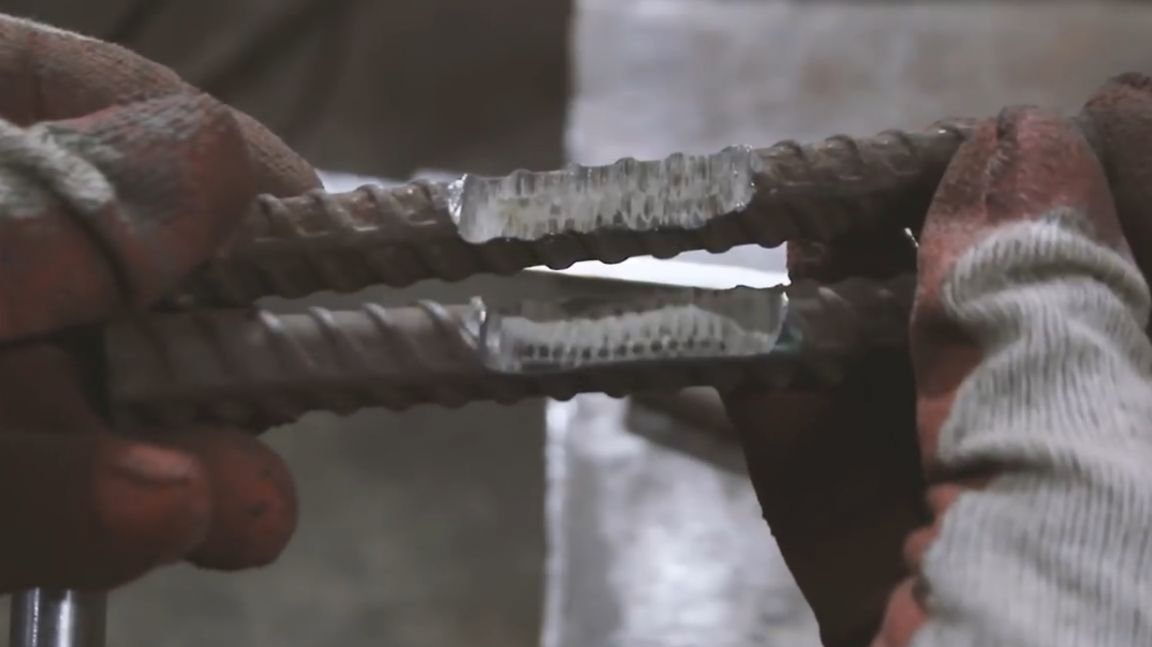
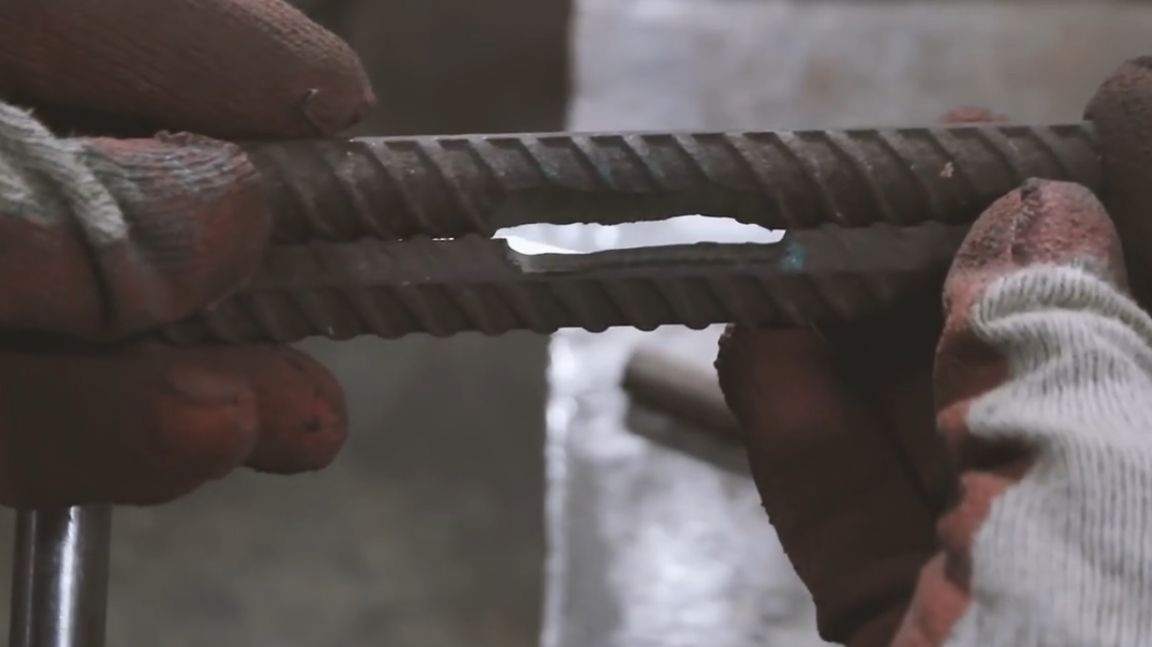
After the next stage of control, you can proceed to complete penetration of the sword.
Manual arc welding generates a lot of heat during the work, which greatly heats our workpiece and it can be used. After boiling part of the sword on both sides, while the metal is red, we take a hammer in our hands and begin to level out what has not been leveled before welding.
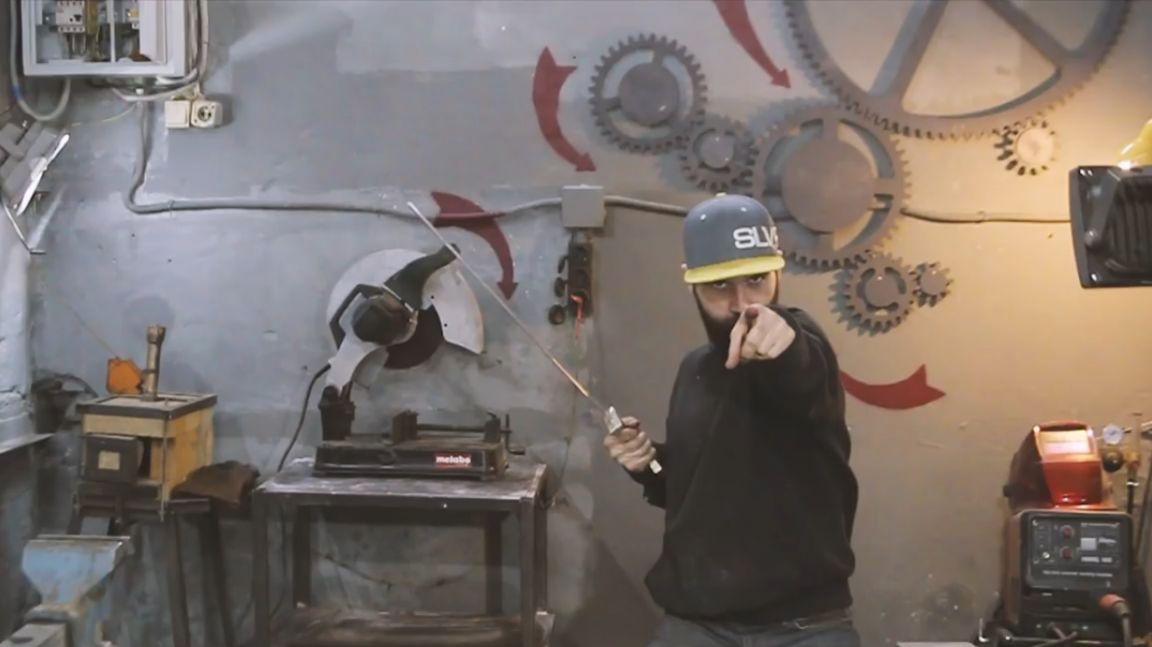
And who will now say that the sword is not forged ??
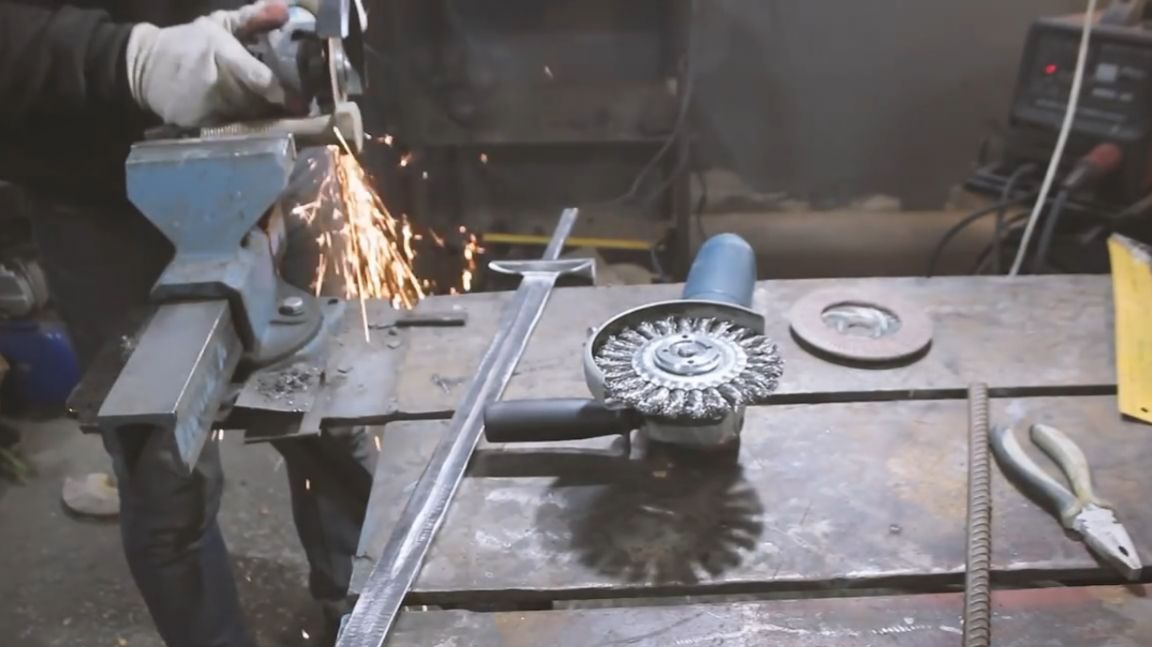
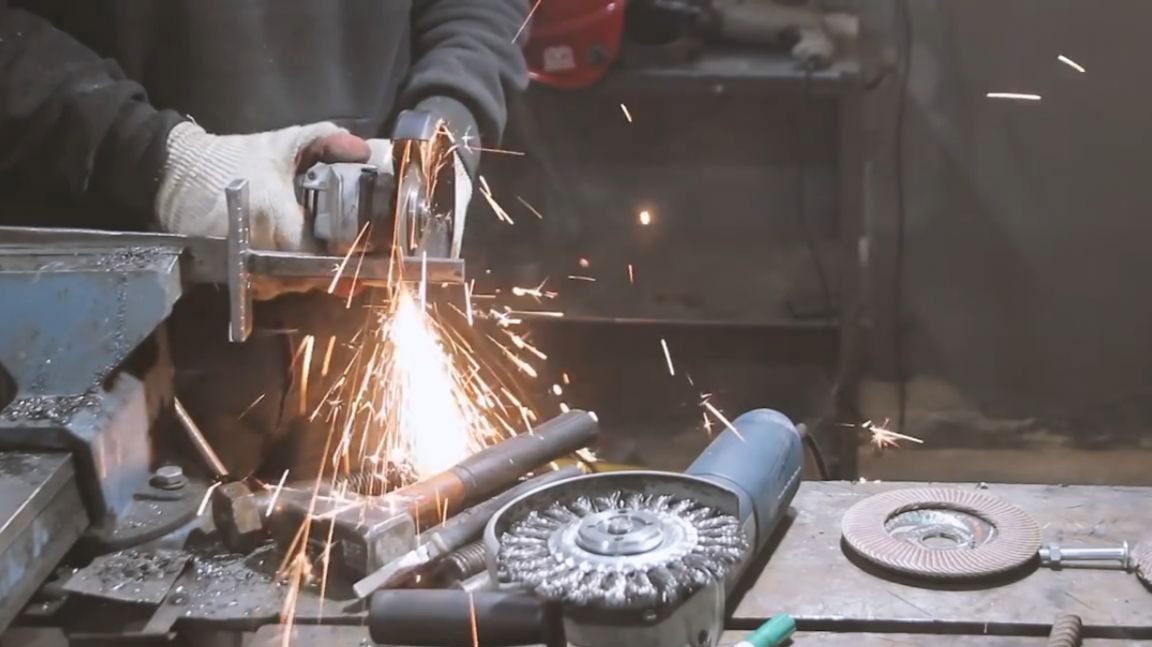
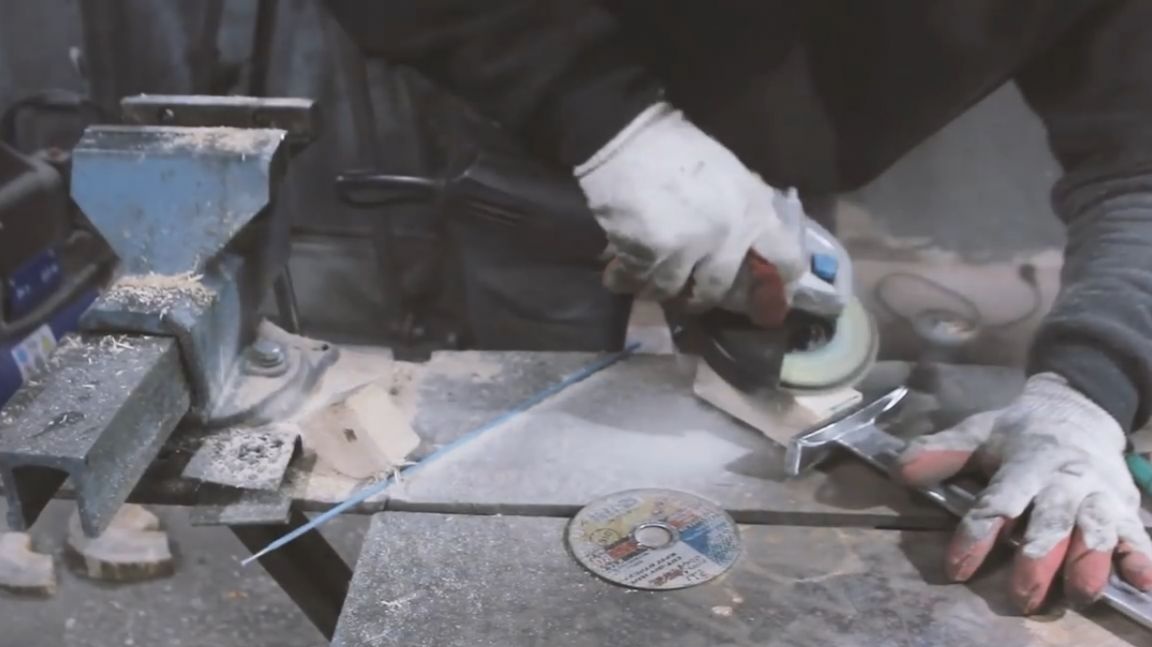
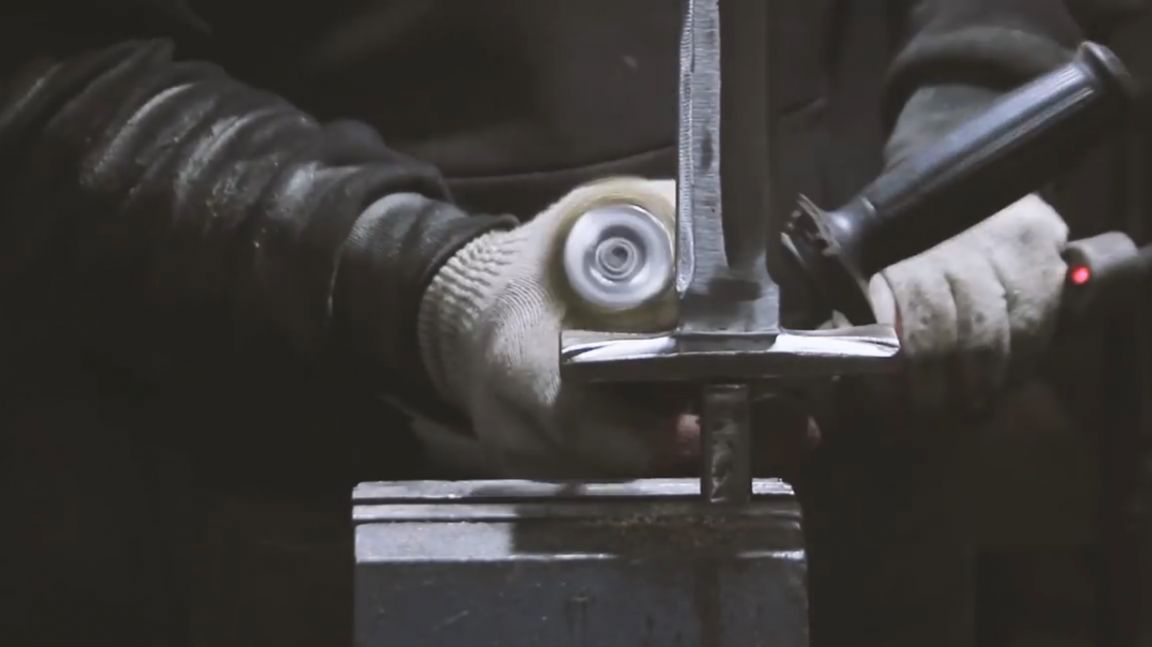
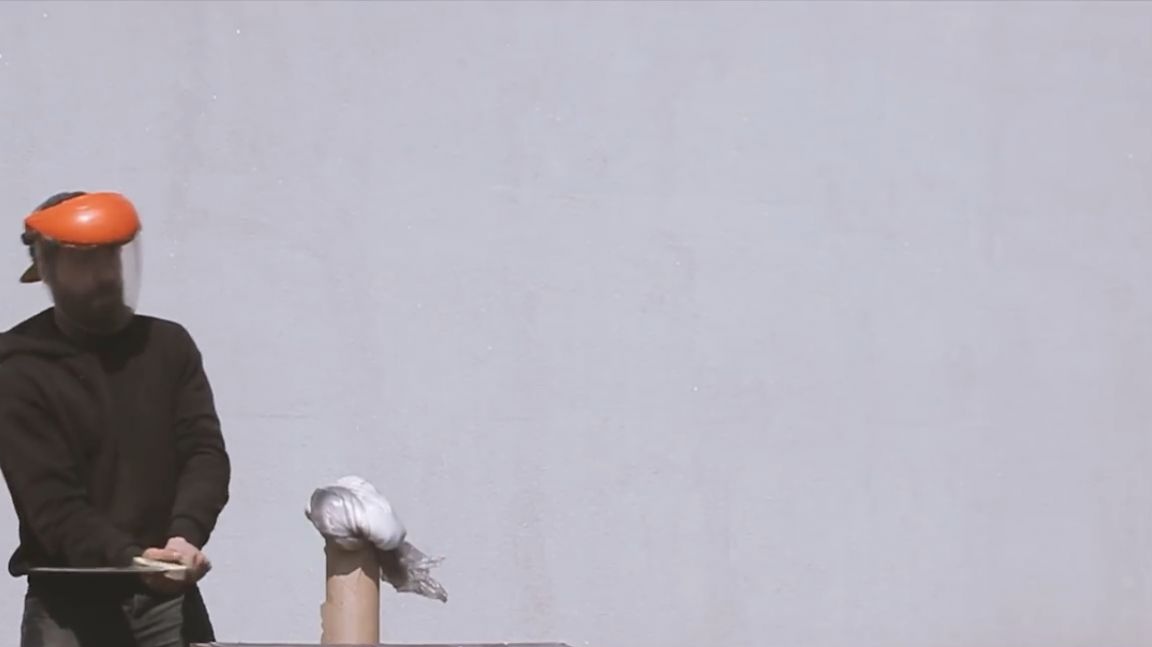
To avoid slag in your eyes, always use a face shield or goggles. After welding, we charge the cleaning circle on the grinder, and we begin to actively drive it along the sword until a uniform surface is reached.
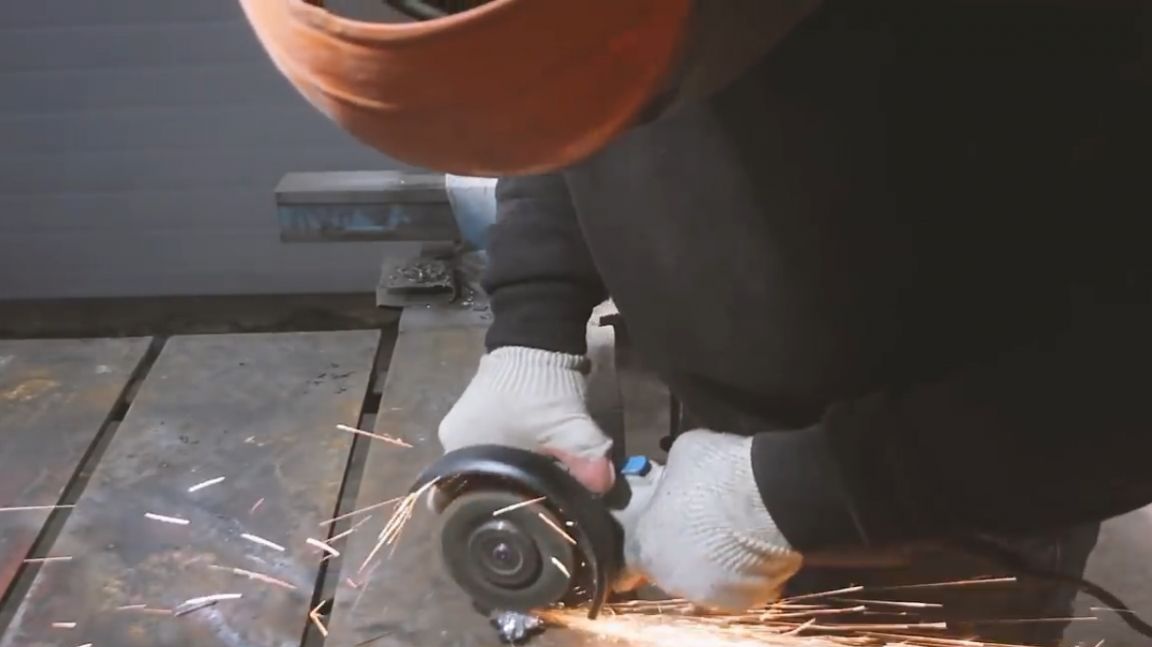
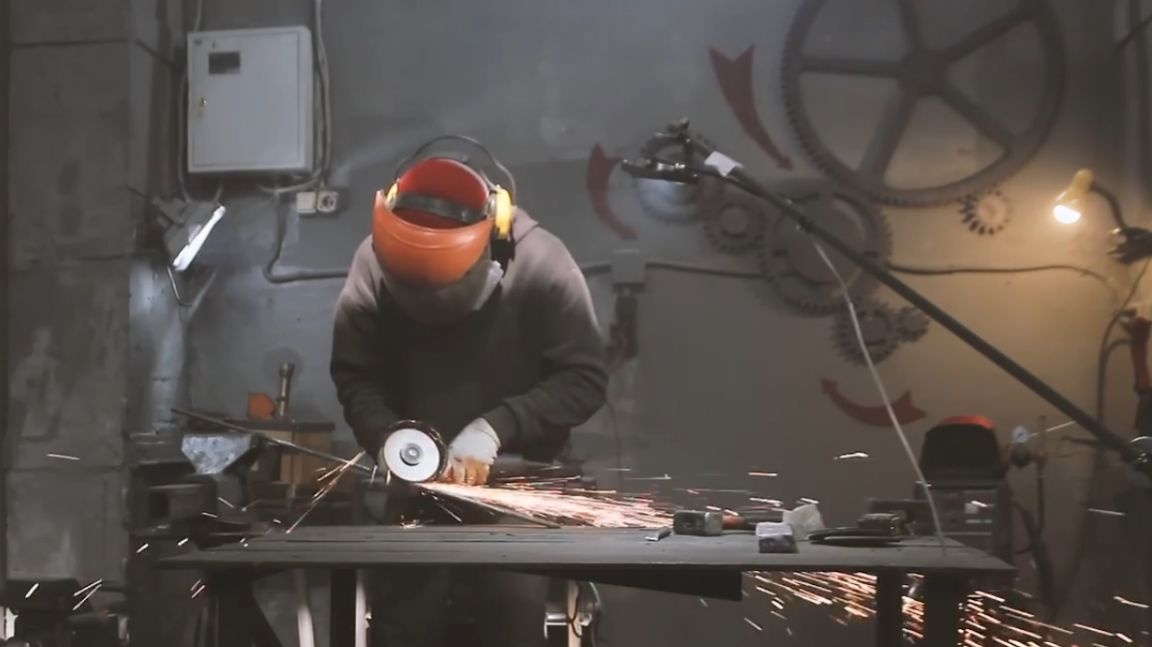
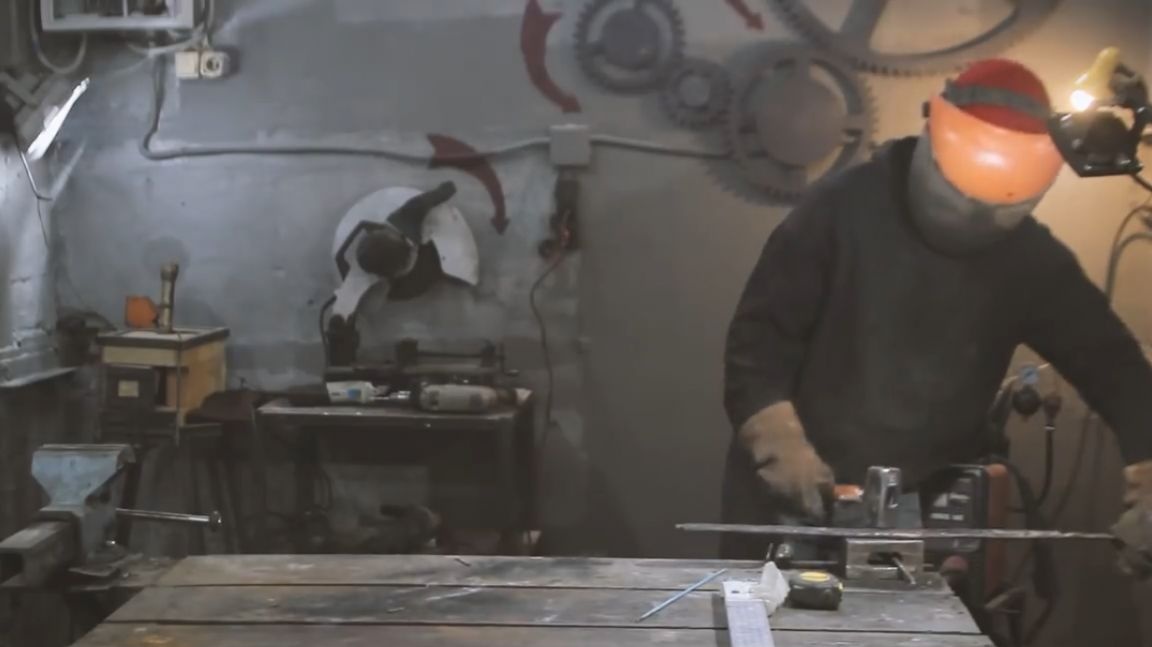
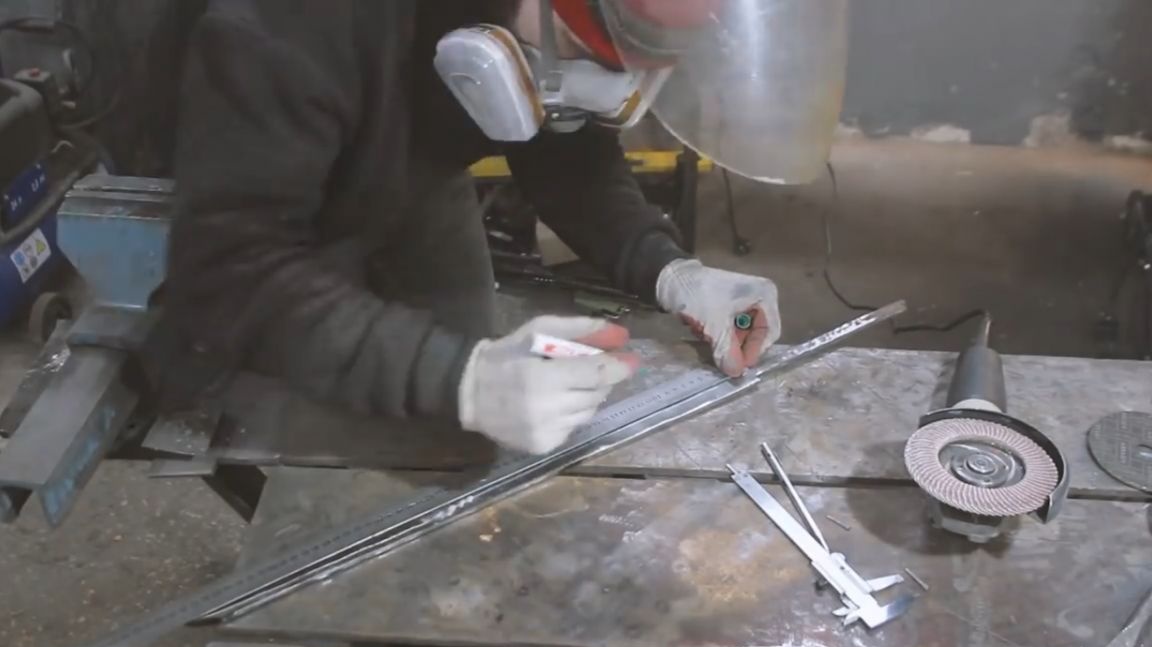
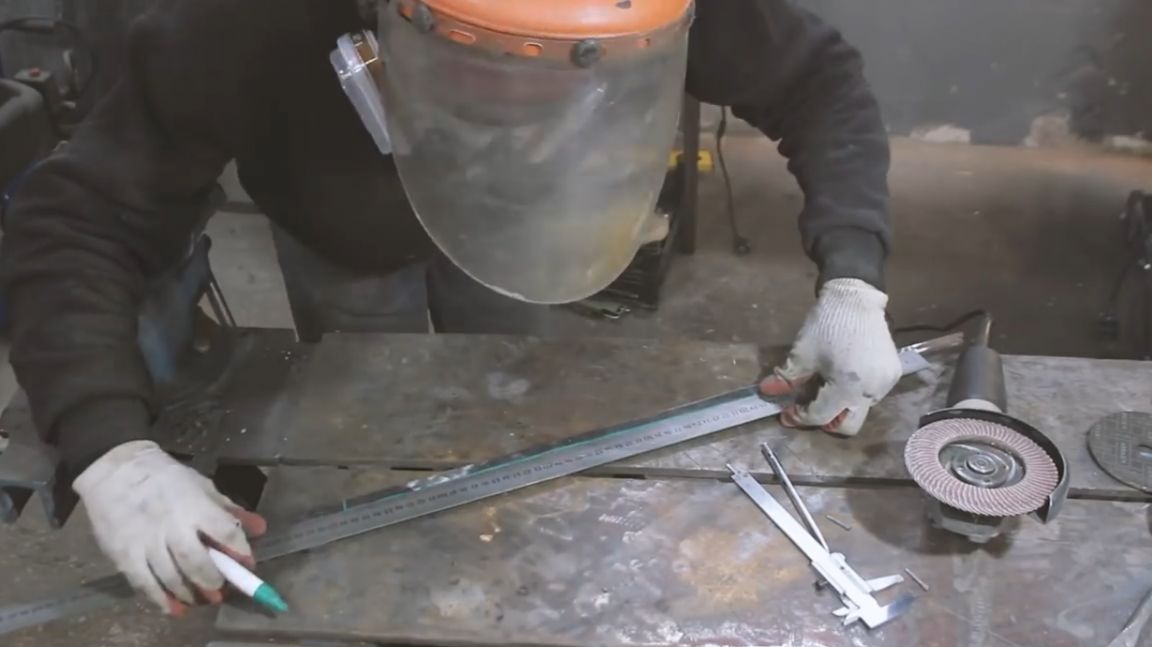
As you move in stripping, we change the stone to a petal circle with a gradual increase in grain size. Since real sword prototypes have a narrowing towards the end, we will do the same. To do this, mark the axis of the sword with the help of a ruler and felt-tip pen, mark the tapering lines, and then take the grinder in our hands and grind off everything unnecessary.
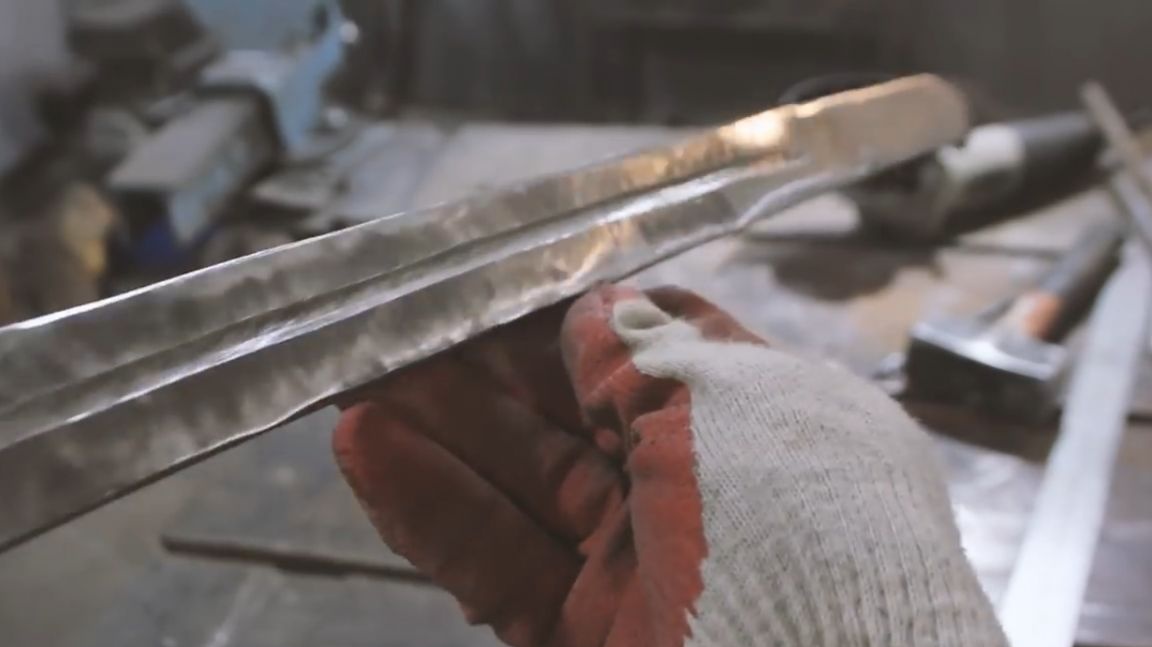
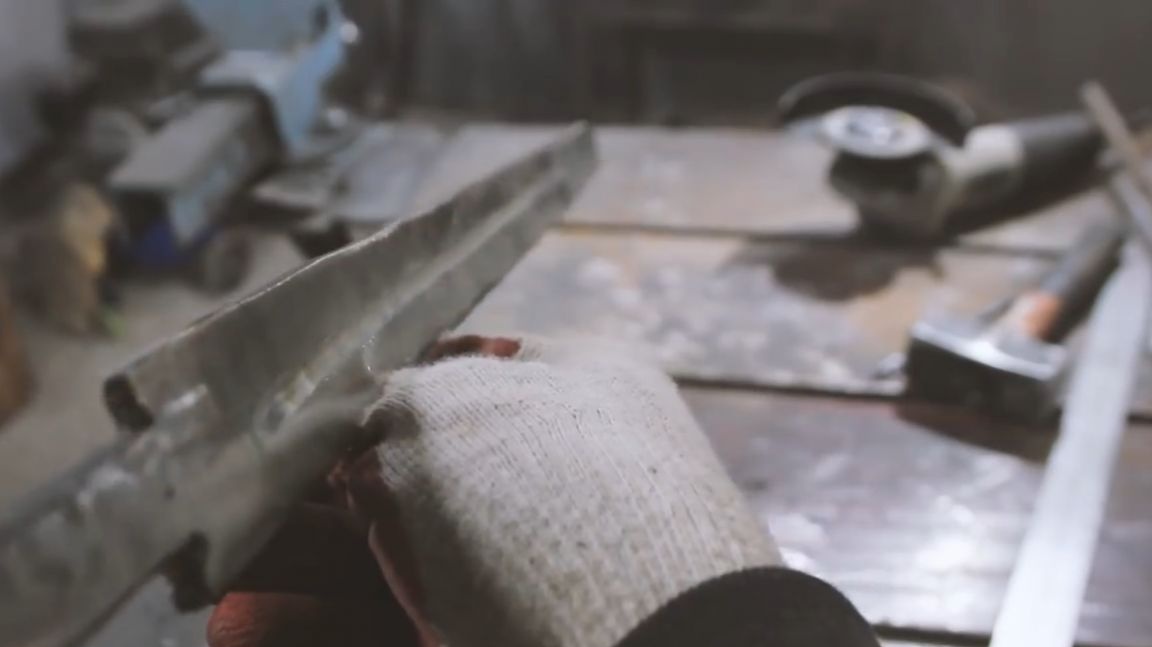
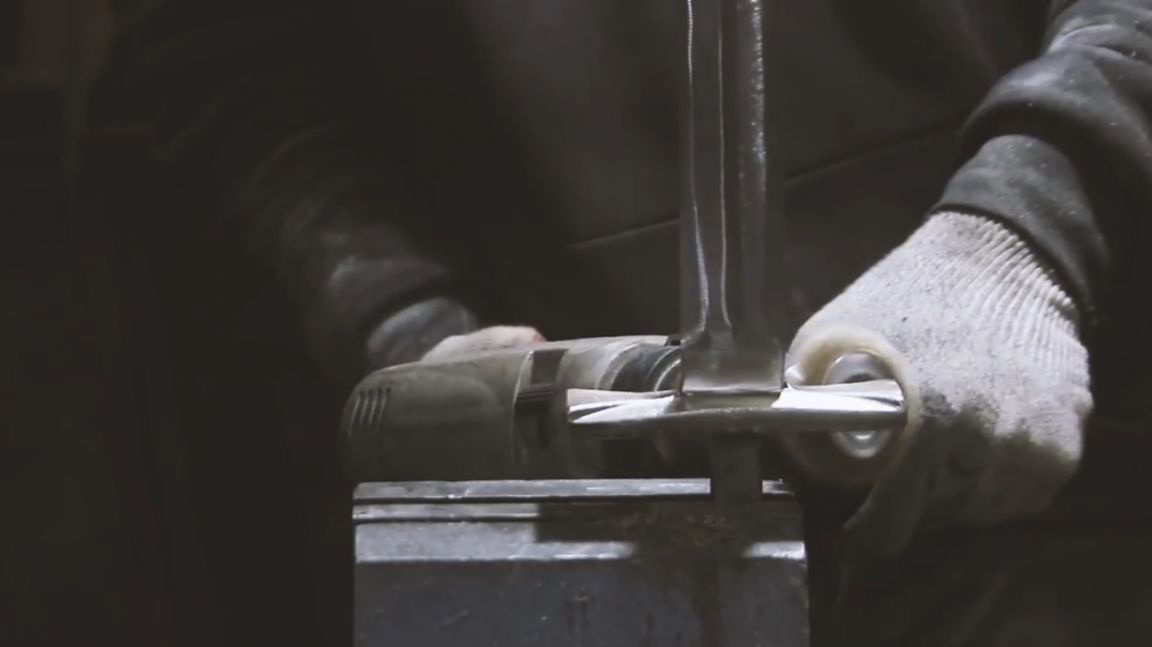
The sword also has a central groove. I have no idea why it is needed, but let it be with us. At this stage, there was a choice, either to make a sword and finish it in one day, or to do it normally and not get out in one day. The master chose the first option, so, to put it mildly, the line was not the most even.
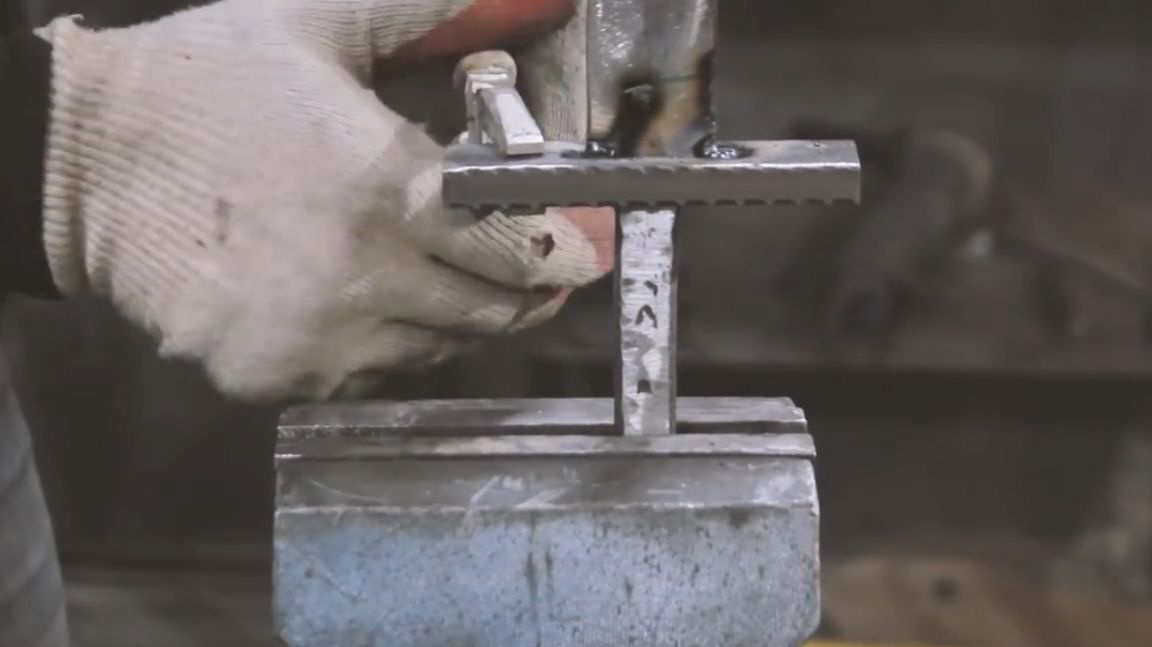
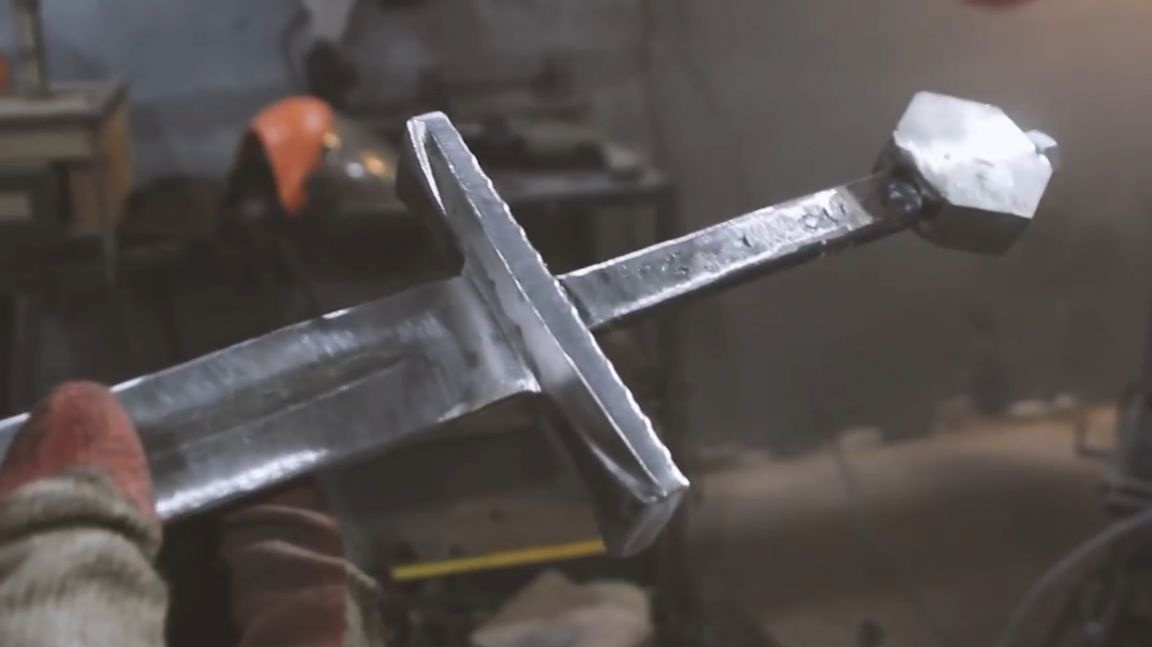
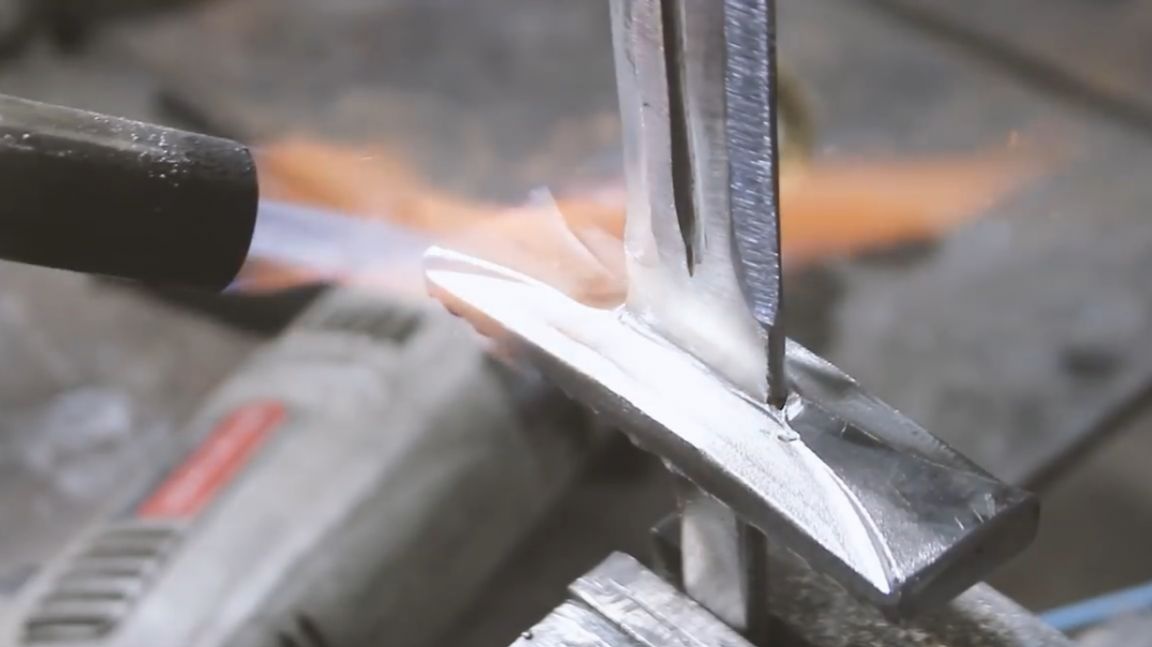
Now proceed to the manufacture of guards. The author still had to google the structure of the sword and find out that the guard is the guard, and the groove on the blade is dol.
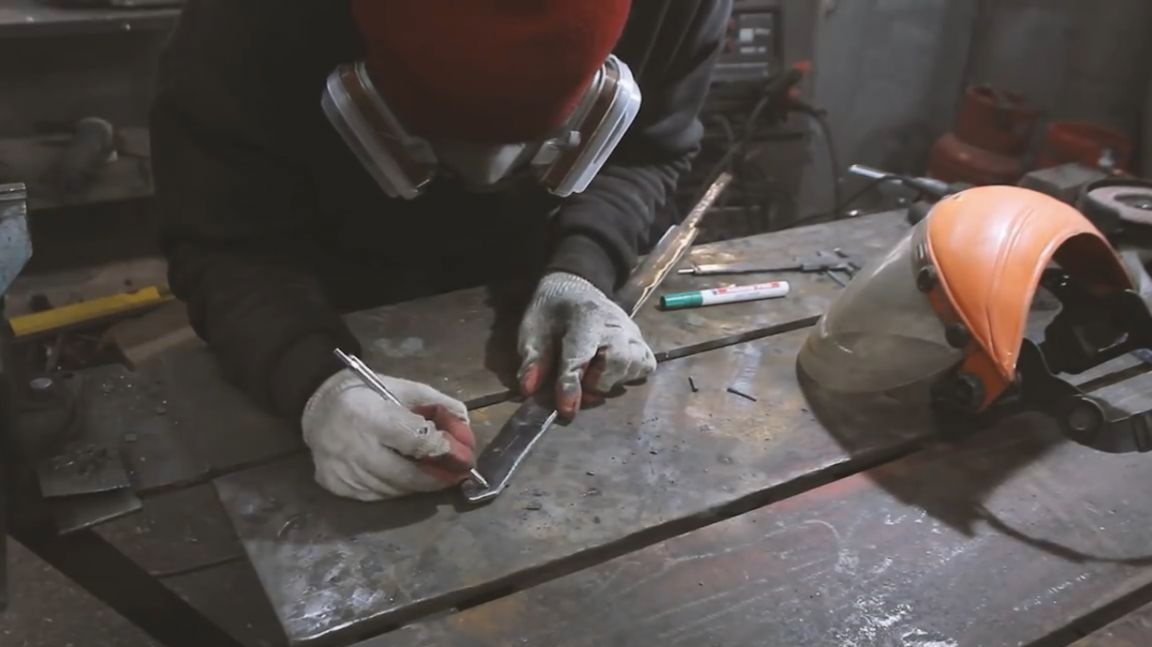
According to the classics of the genre, the guard will be made of reinforcement.To do this, simply cut off two parts of such a length that we liked aesthetically.

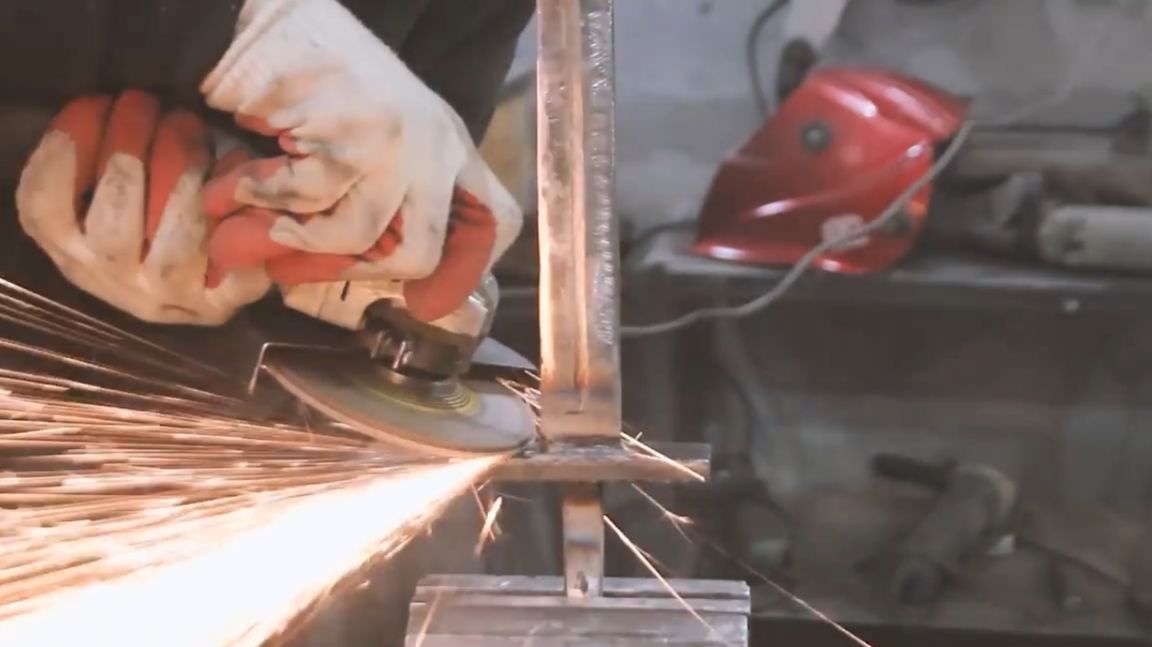
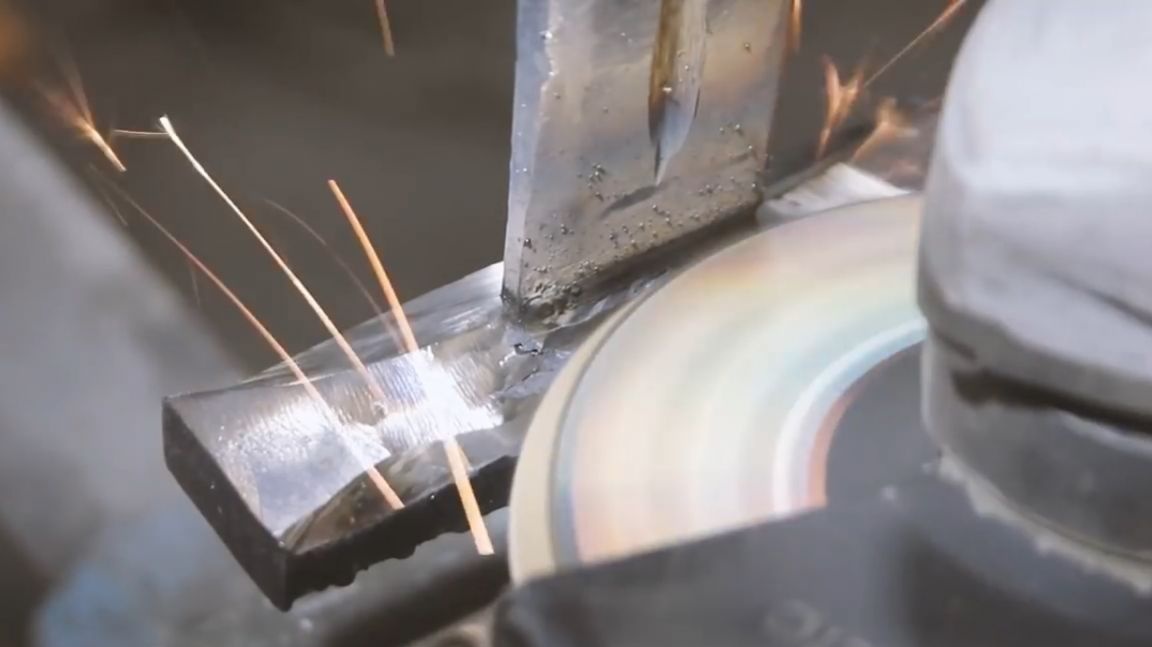
On the cut off parts, we need to mark the middle, and put marks on the width of the blade. Then, in a cleanup circle, make a selection in two reinforcement so that when folded they are mounted on the sword.

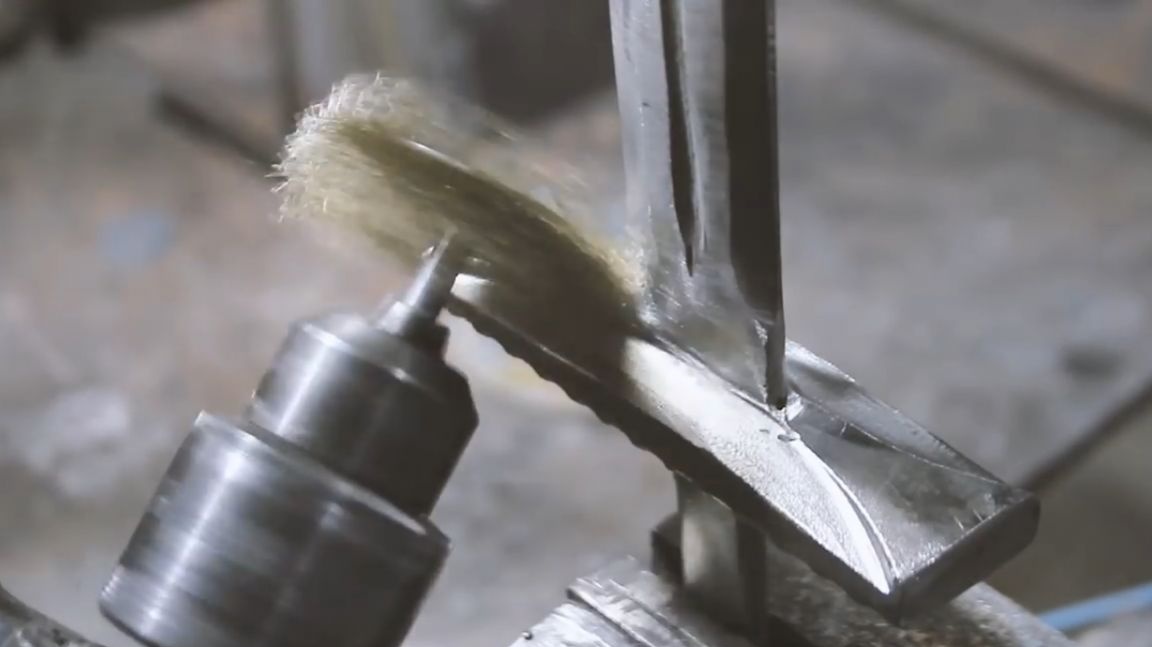
Initially, there was a plan to leave parts of the reinforcement pattern. It looked like not bad.


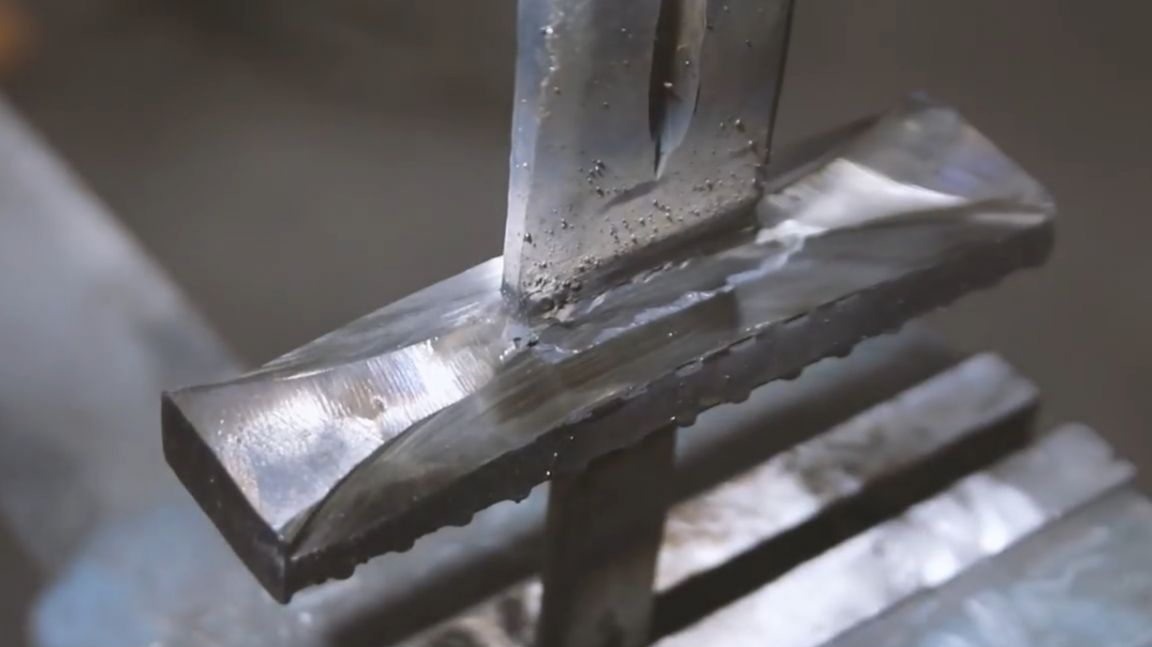
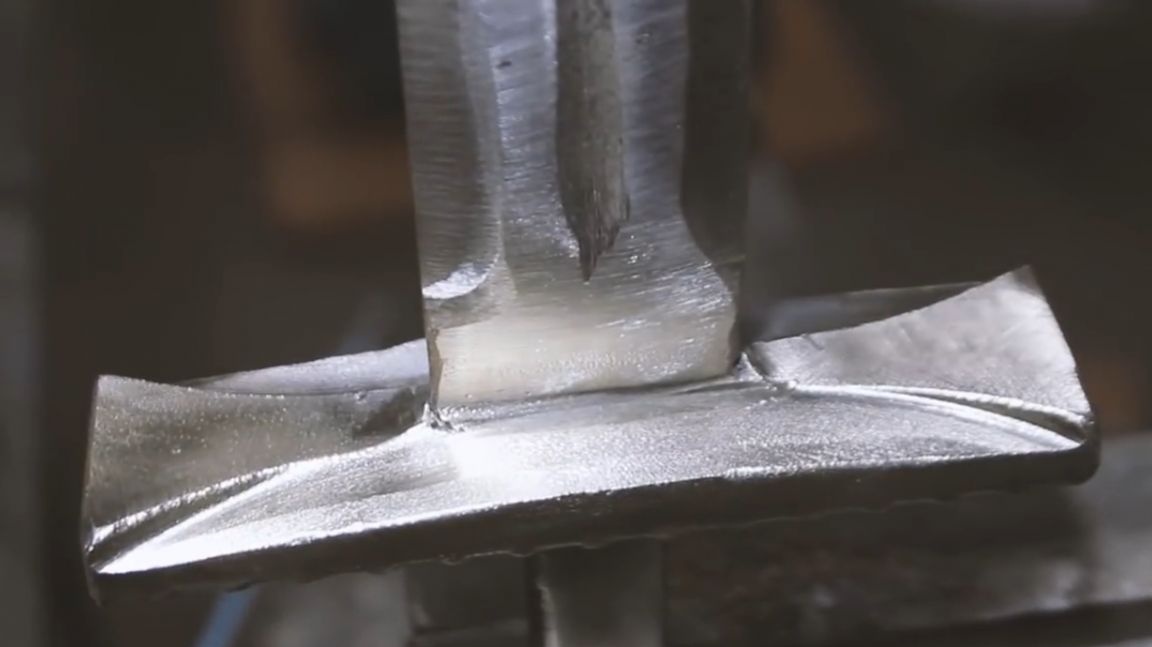
But after welding and in the process of cleaning the seams of the guard on the sword, the author accidentally made a deeper selection than was originally planned. But it was precisely this that inspired him to highlight this moment and even repeat it from the reverse side. This made the guard more complete and united with the general appearance of the sword. However, now you yourself will understand what is at stake.
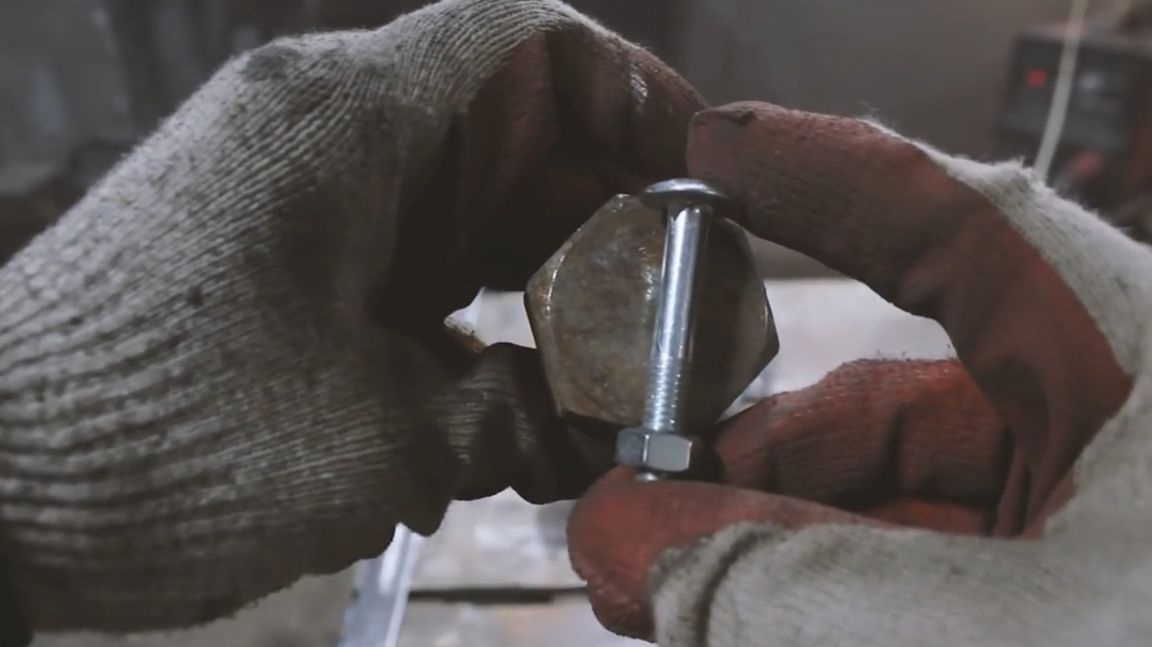
The top.
The top is this component of the apparatus of the blade, which serves to balance it, only a balanced blade is suitable for experienced fencing. In various weapons schools, the balance of the sword may be different. But the generally accepted method of measuring the equilibrium of a blade is measurement with the fingers of a hand.
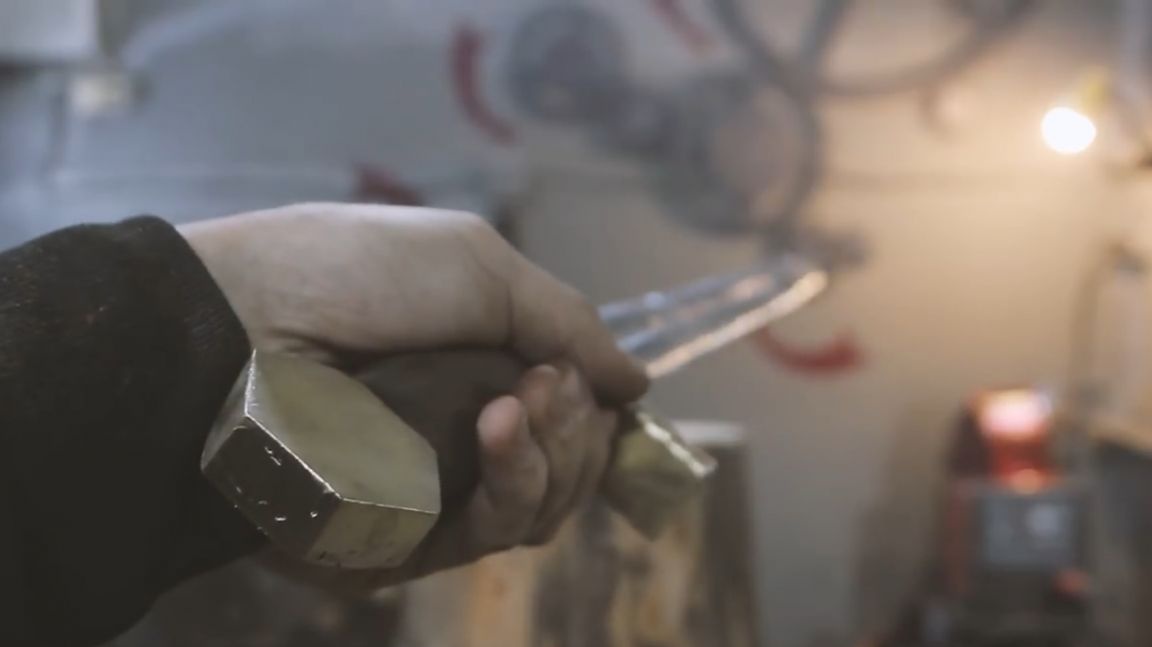
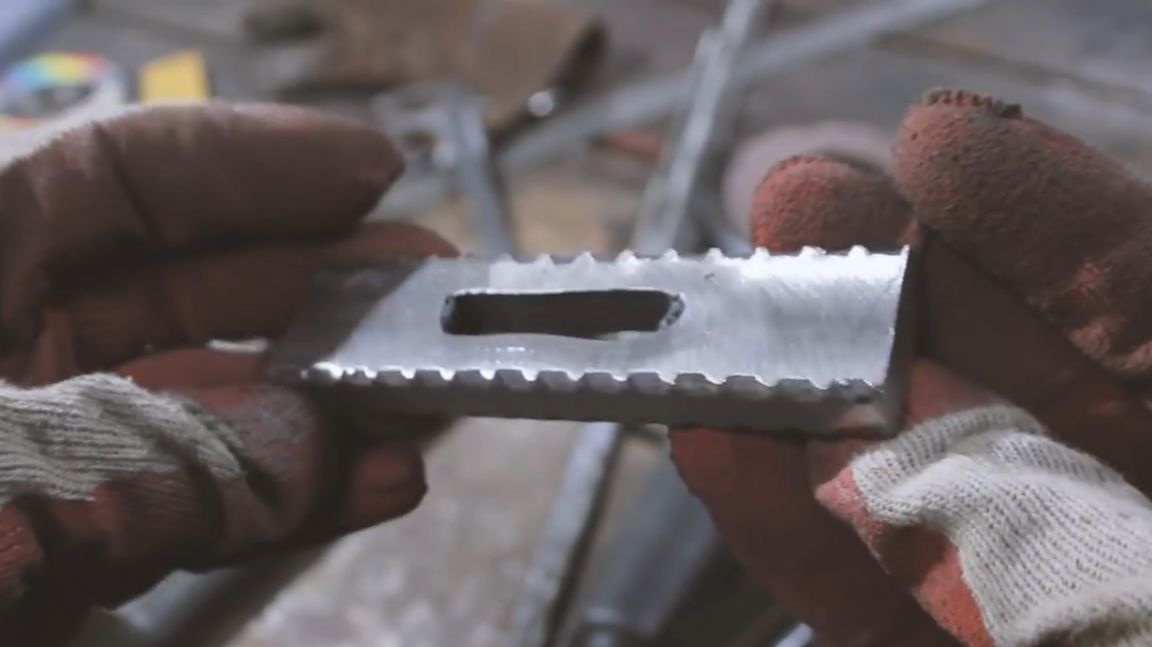
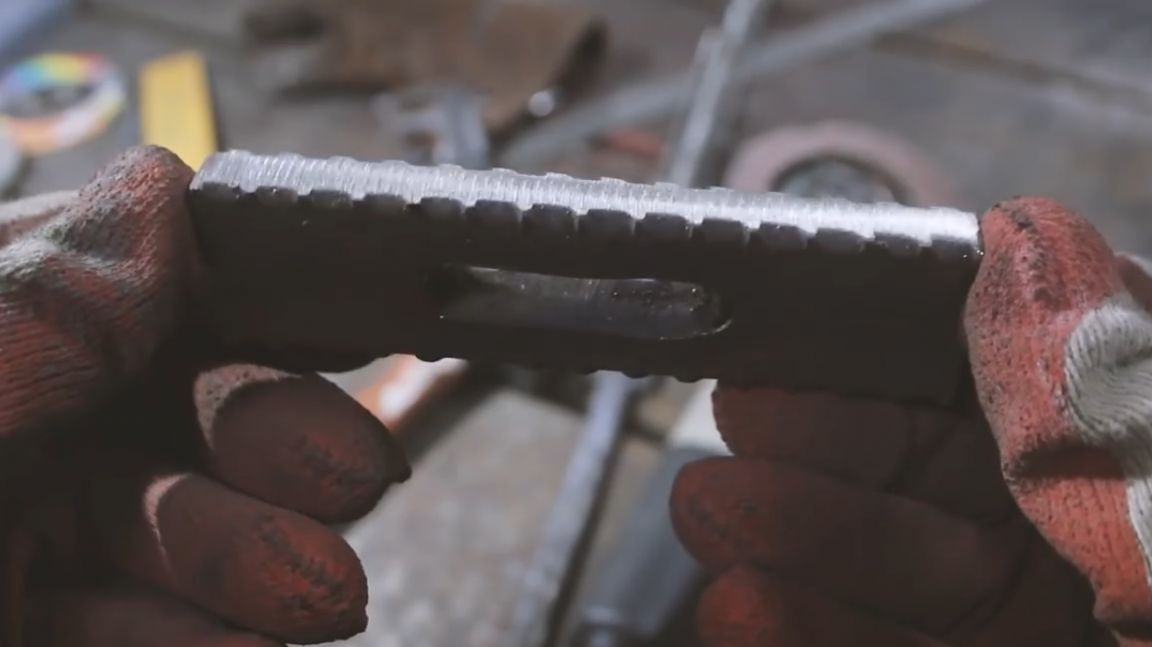
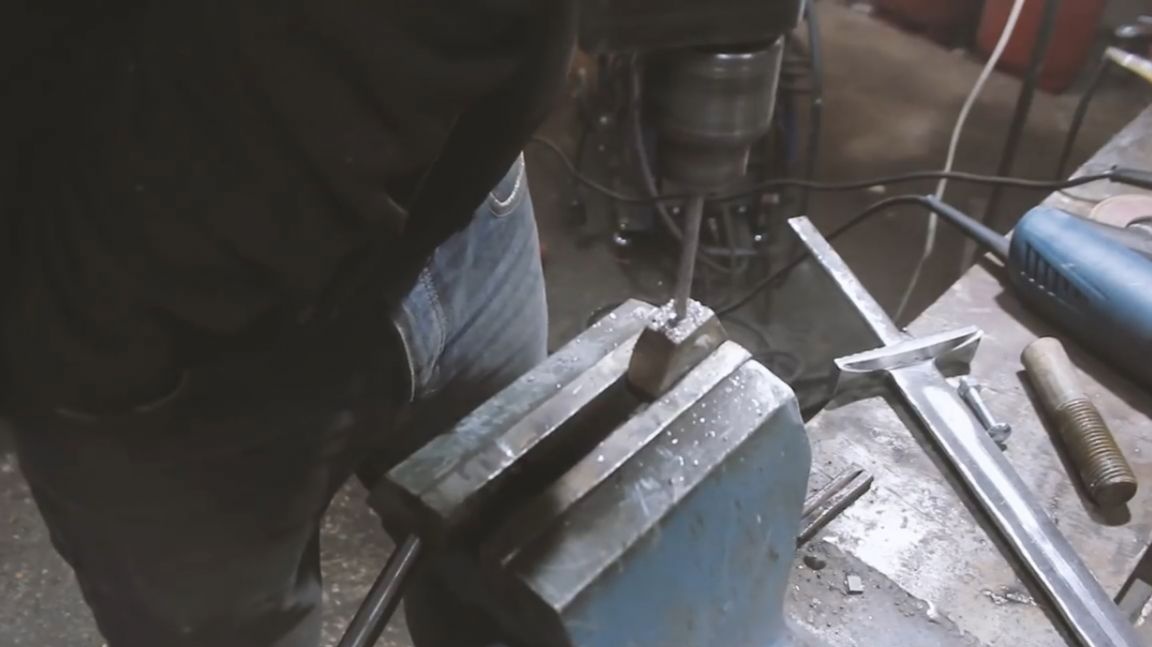
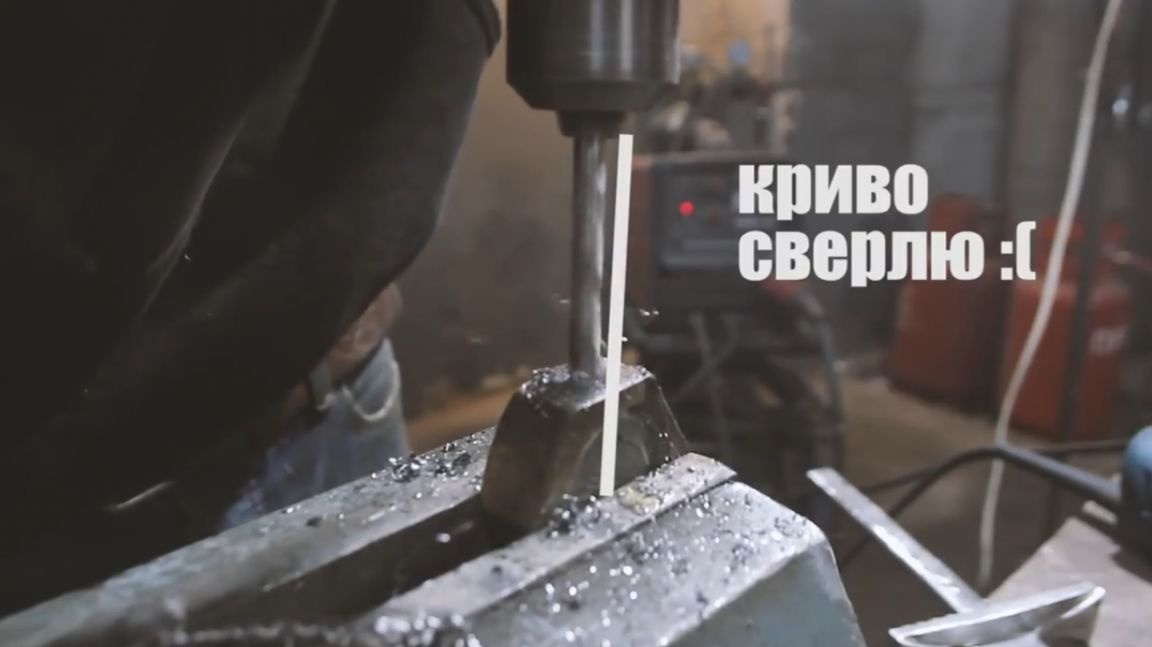
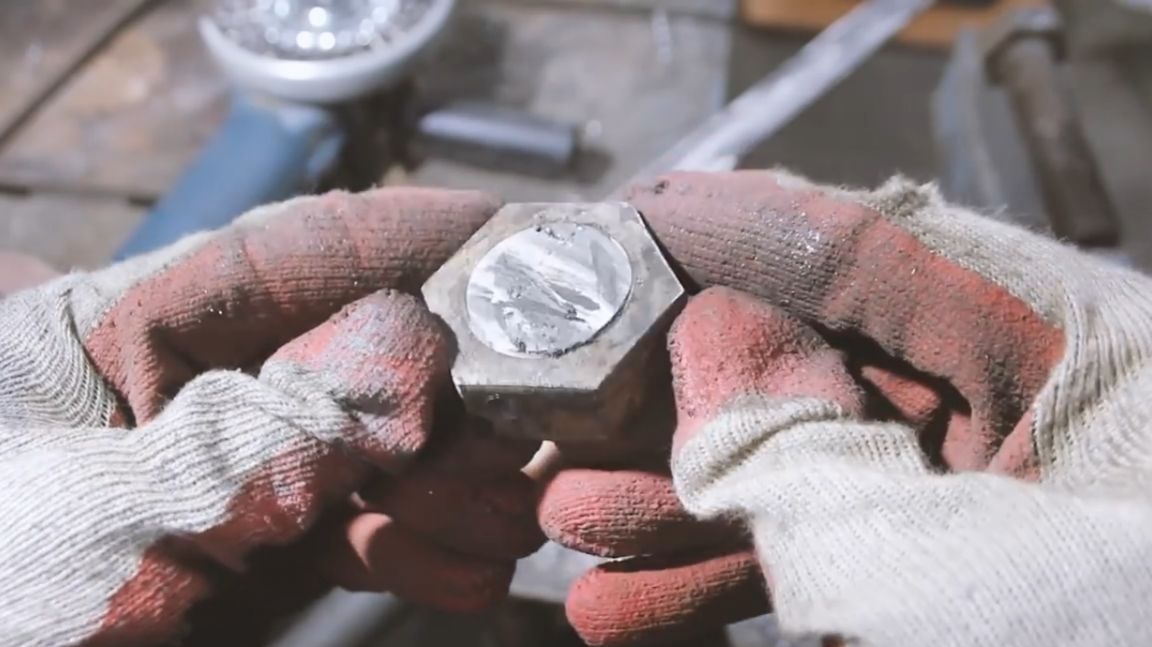
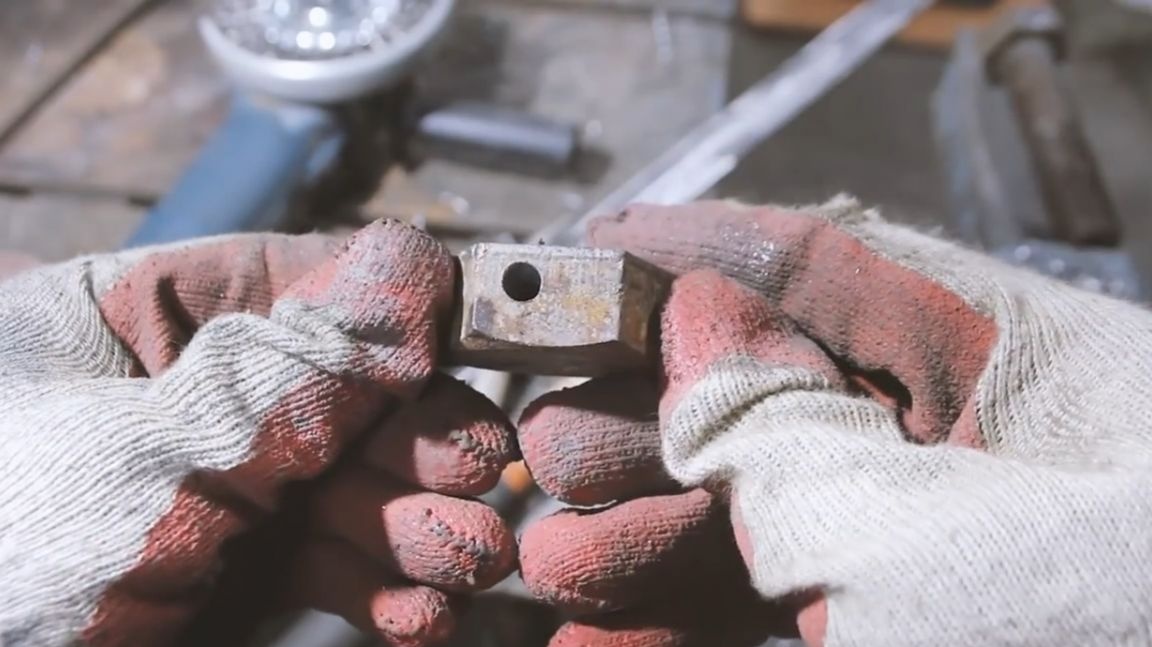
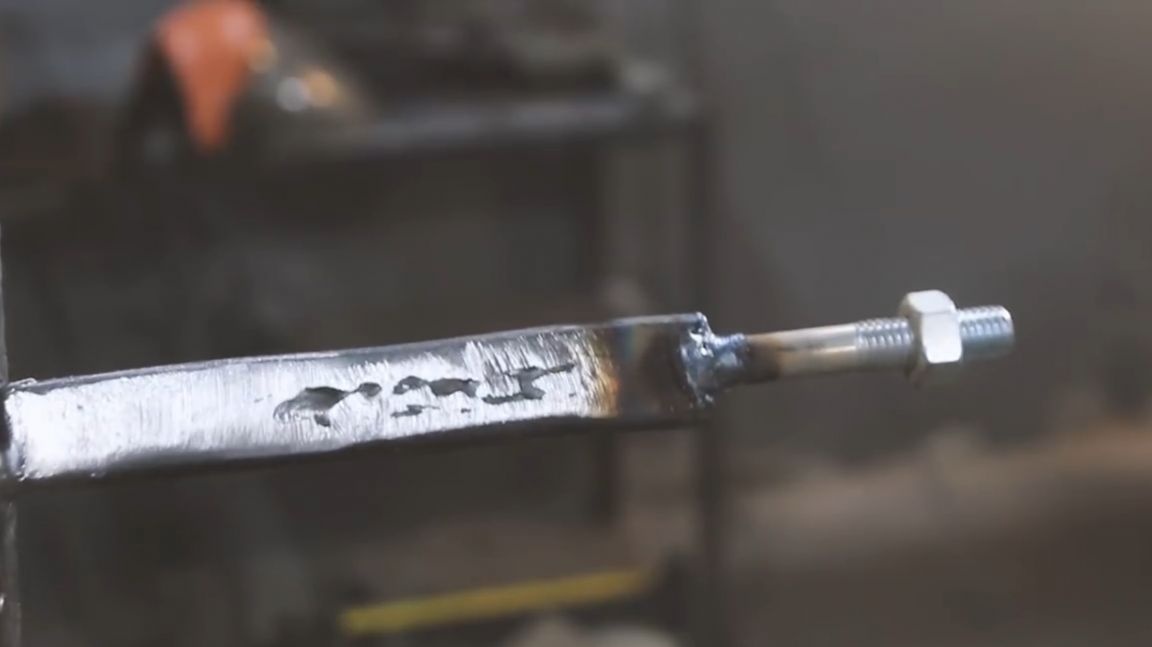
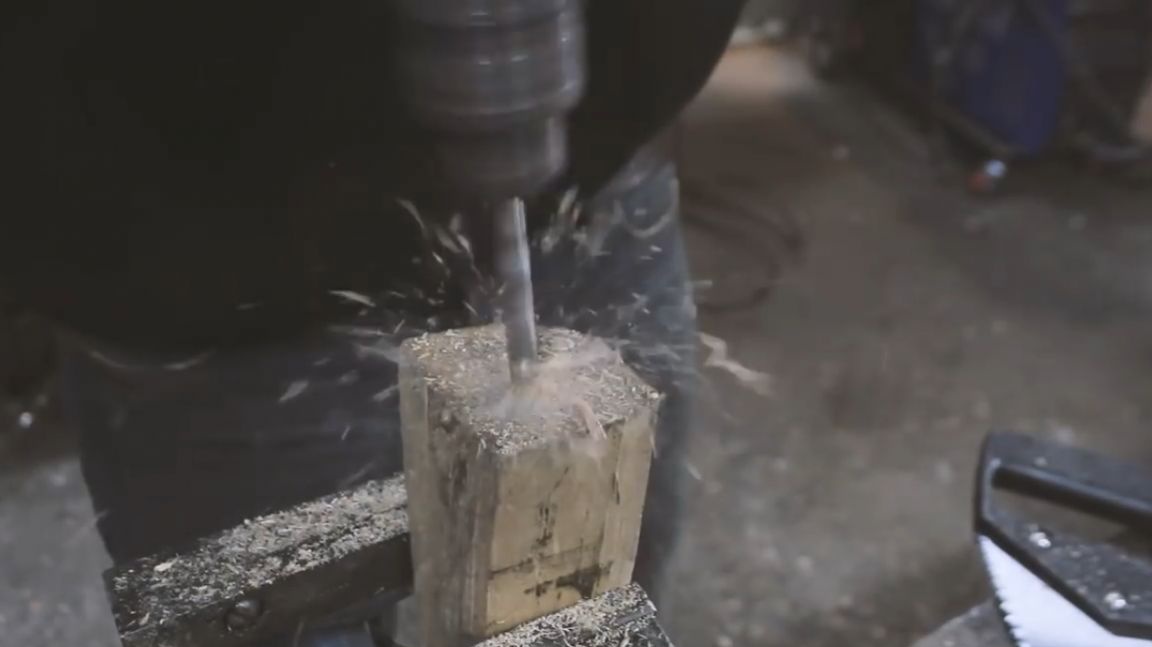
For him, the author found the largest bolt in his workshop. From his head we will make these parts of the sword.
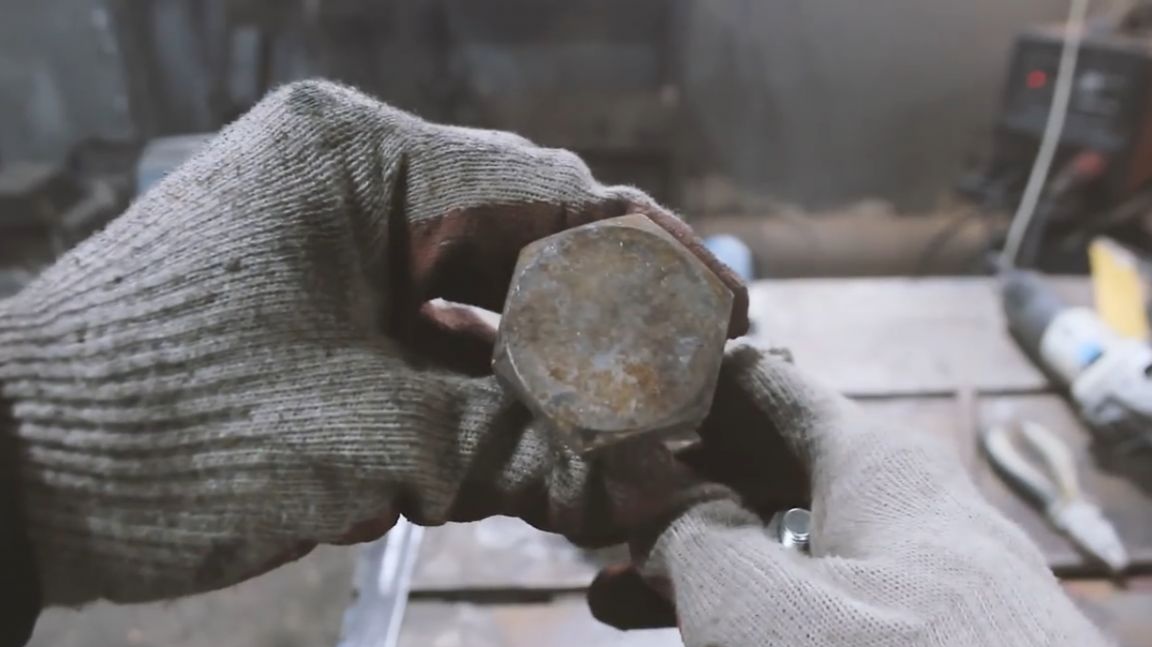
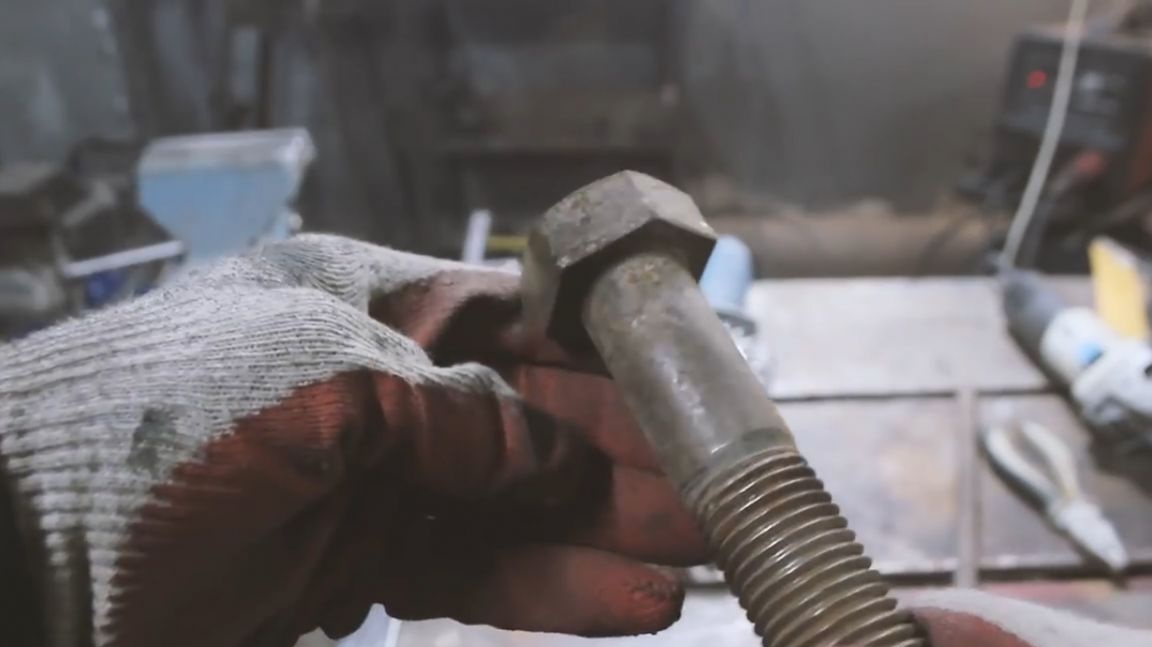
And here the author admits that he does not know what he would do if he did not have a sharp drill. After all, he managed to achieve the result only on the third attempt. How to say it was possible, just the bolts are over.
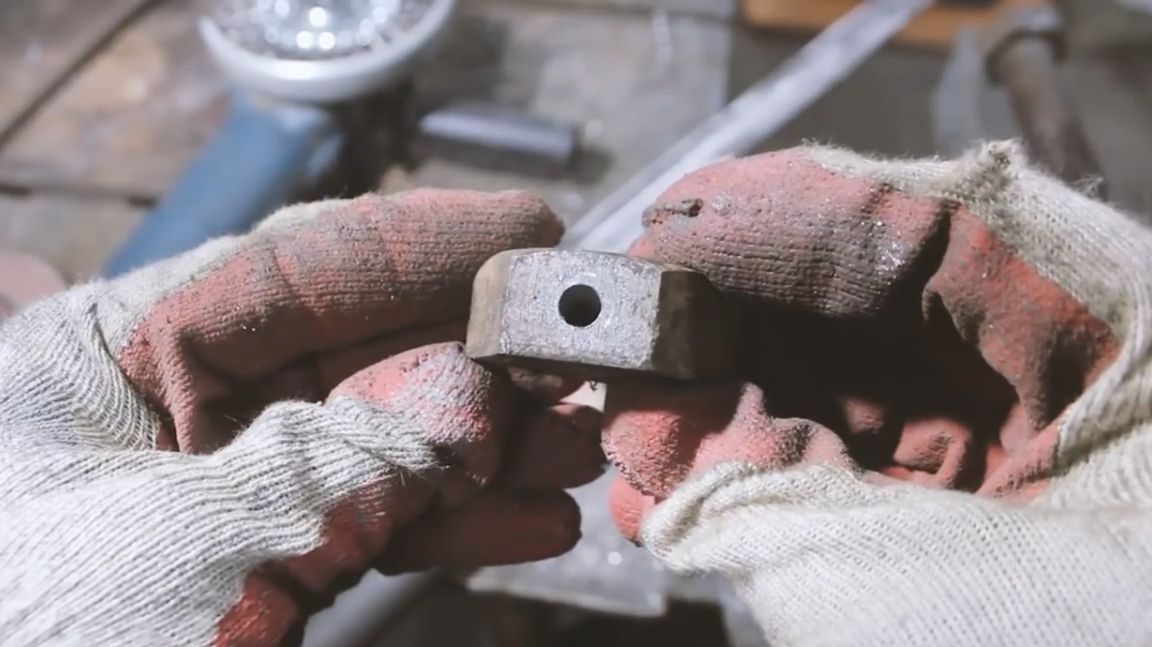
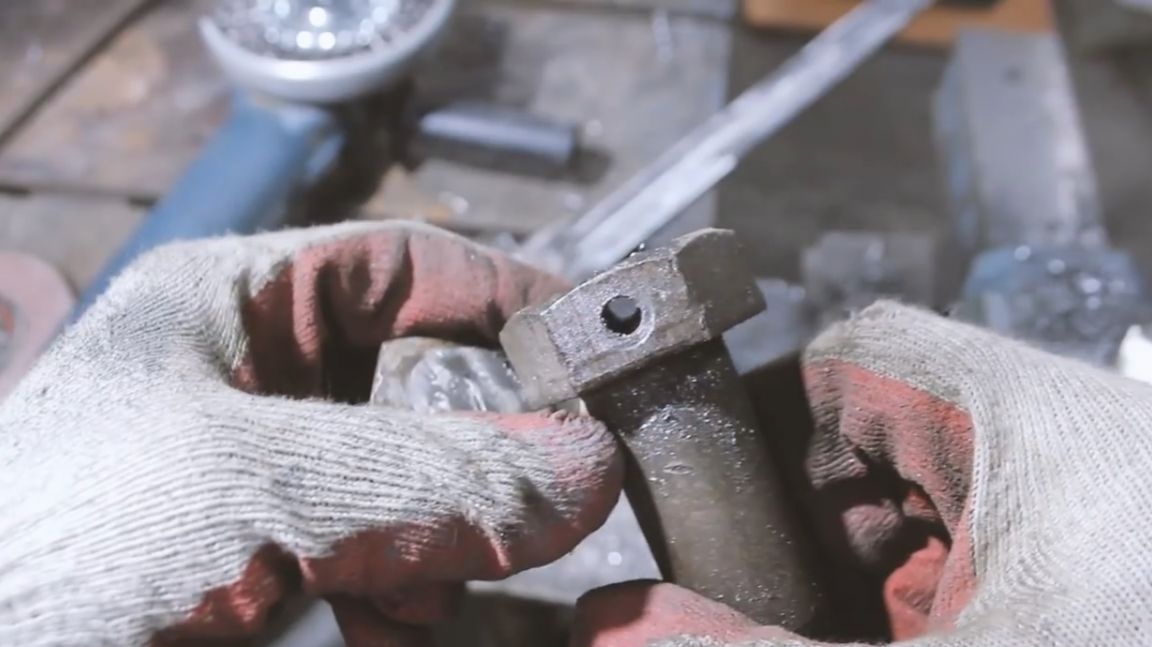
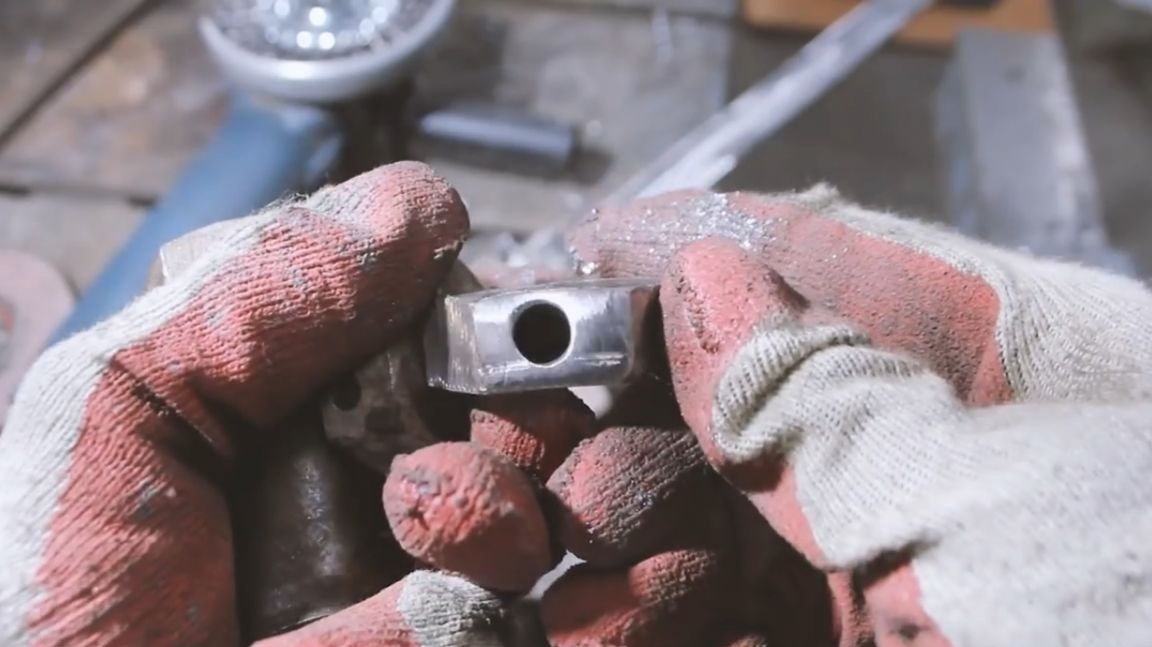
But as you know, minus to minus gives a plus, so he just fastened the pin in the end, on which the top will be held.
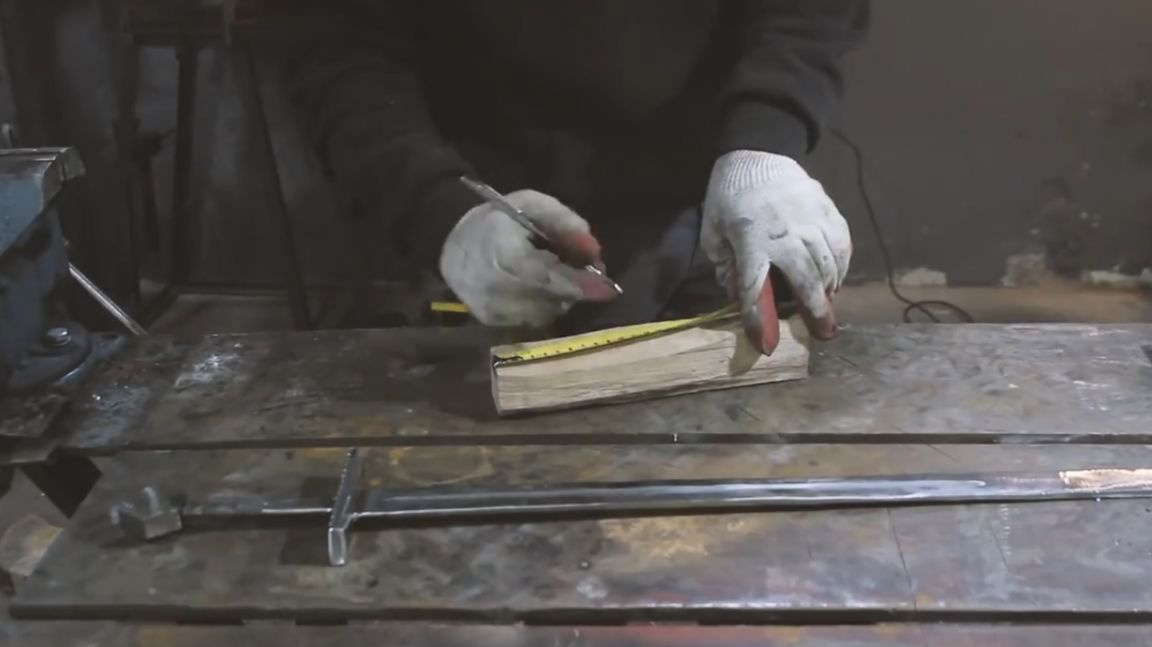
Cutting time. (Handle of the sword).
The handle of the blade is necessary to hold the blade (sword) in the hand. The handle of the blade must be comfortable in the hand. For this reason, it is necessary to take into account the individual characteristics of the structure and size of the hand of the future owner of the sword.
I would like to otmazatsya and give the handle to the hauling skin and not to steam. But no. We need to pull ourselves together and at least begin to get acquainted with the tree. The entrance will go birch firewood, which remained after the author chopped wood with an ax. Although in fact, everything turned out to be quite simple. Mark a piece of the right size and cut it off.
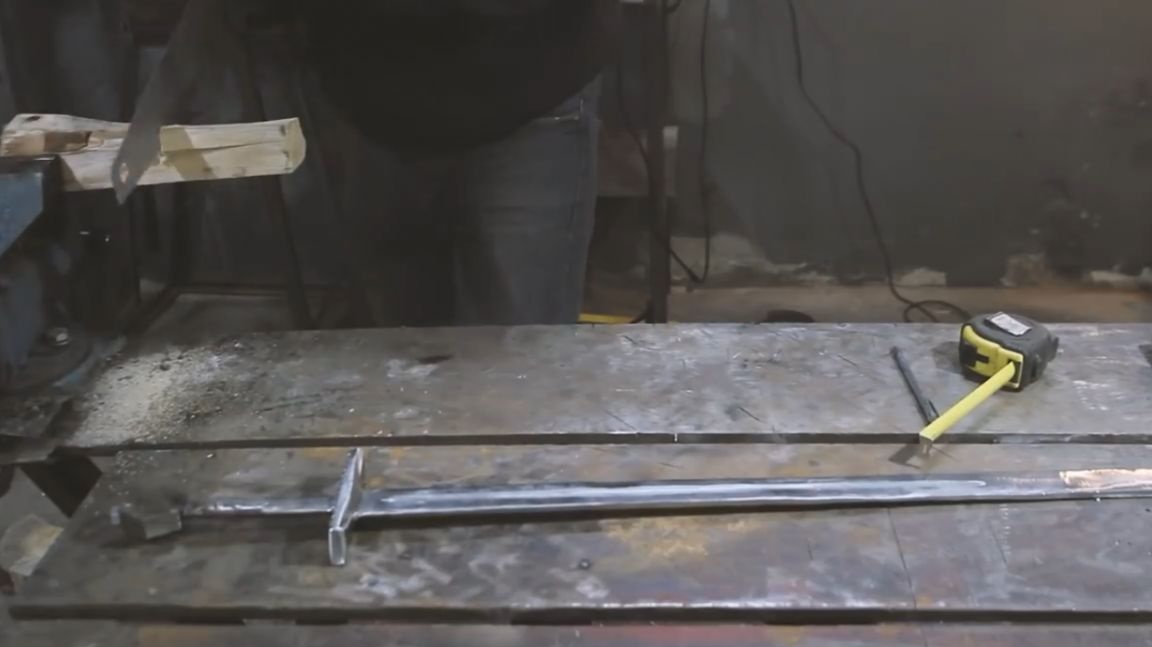
We mark the approximate centers, and drill the middle so that you can tightly put the stalk on the sword.
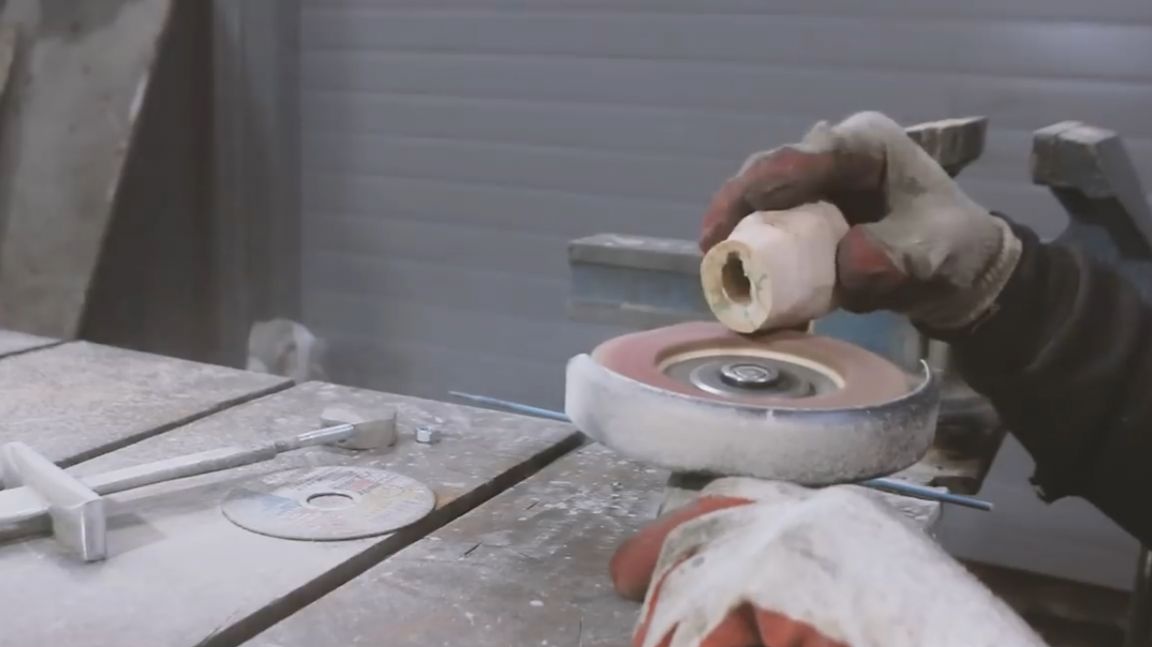
The master recently found a petal circle store with a grain size of 20 units. This is a rather rough grain, but he knew that such an exotic grain size would come in handy for some kind of homemade product, so he bought a couple. So, a circle with a grain of 20 units, copes with wood processing and is not clogged.
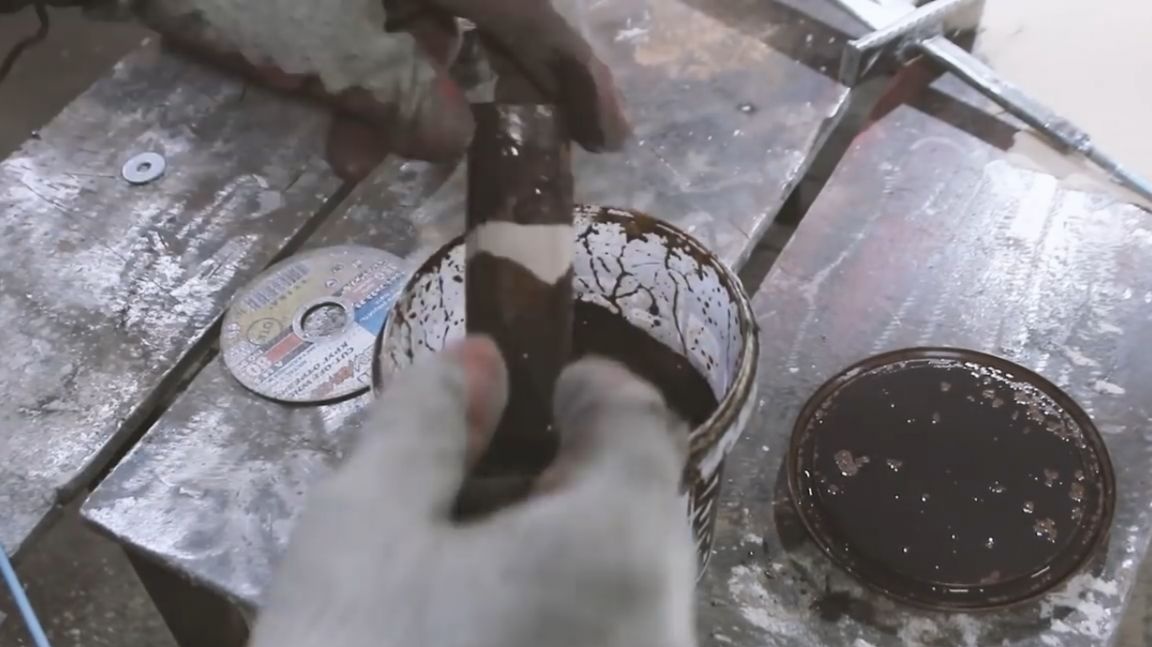
We cover our stalk with a stain and put it aside so that it dries.
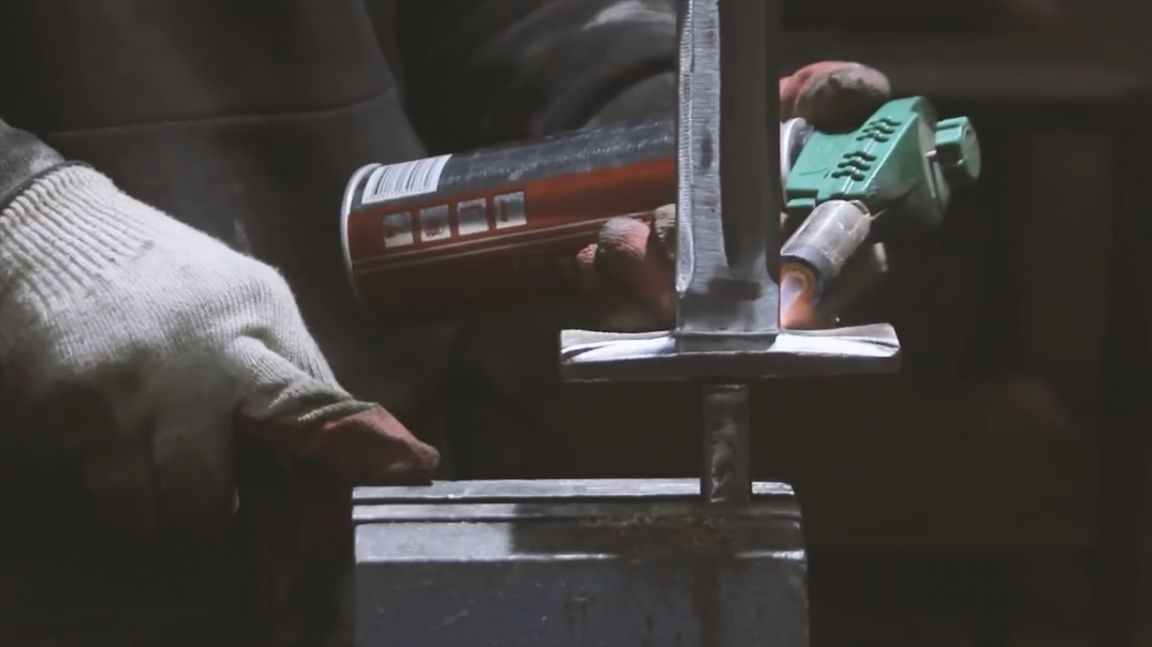
And before finally assembling our sword, the author decided to show another rather interesting trick. This is something like tinning or surfacing. Its meaning is that after a little heating of the steel, brass from the thin bristles of the brass brush is well tolerated on the metal, creating a full-fledged brass coating that adheres well and blackens. And also, this coating perfectly protects against corrosion. The main thing here is not to confuse hard steel brushes coated with brass with full soft brass brushes.
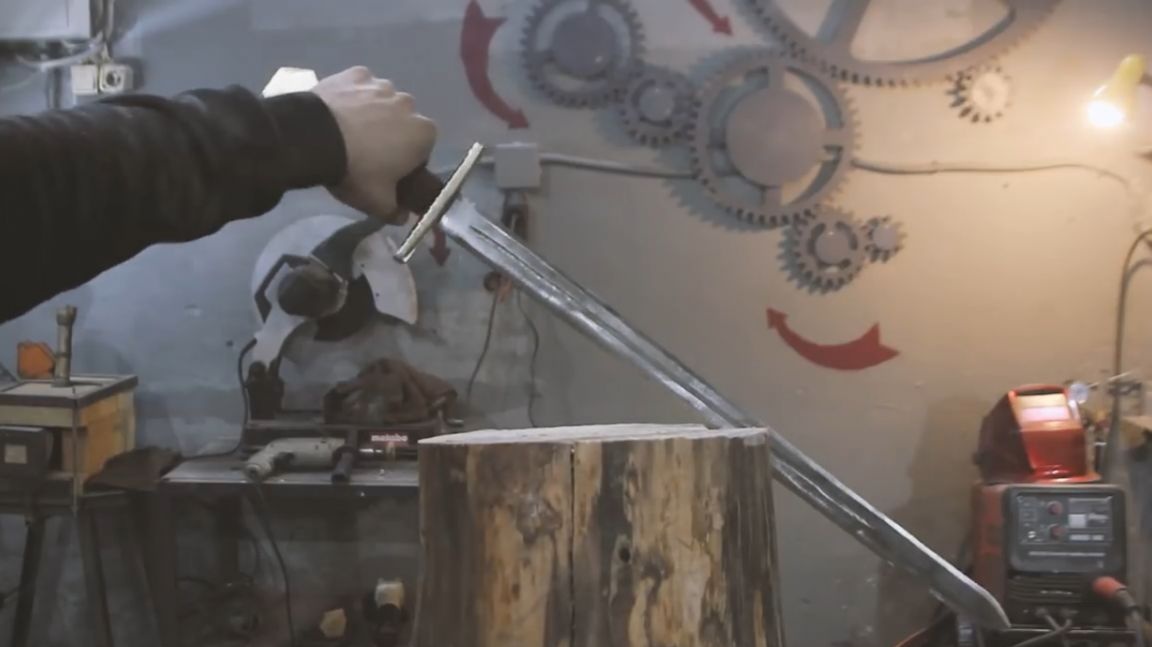
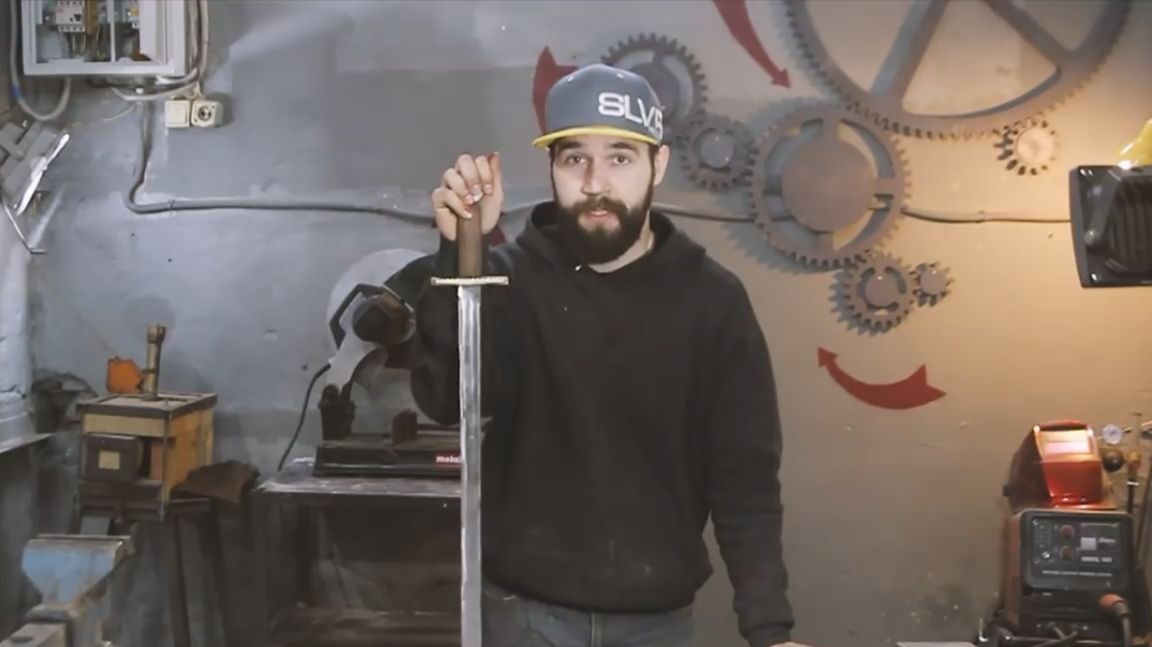
Well, the sword is ready.
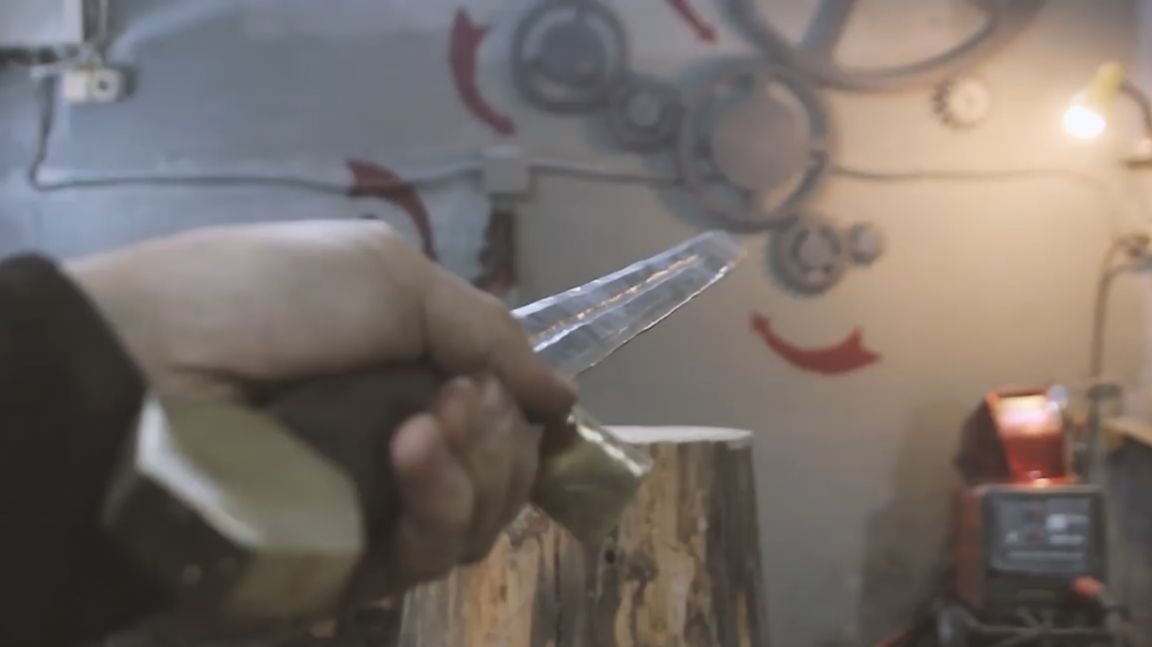
Let's try it out.
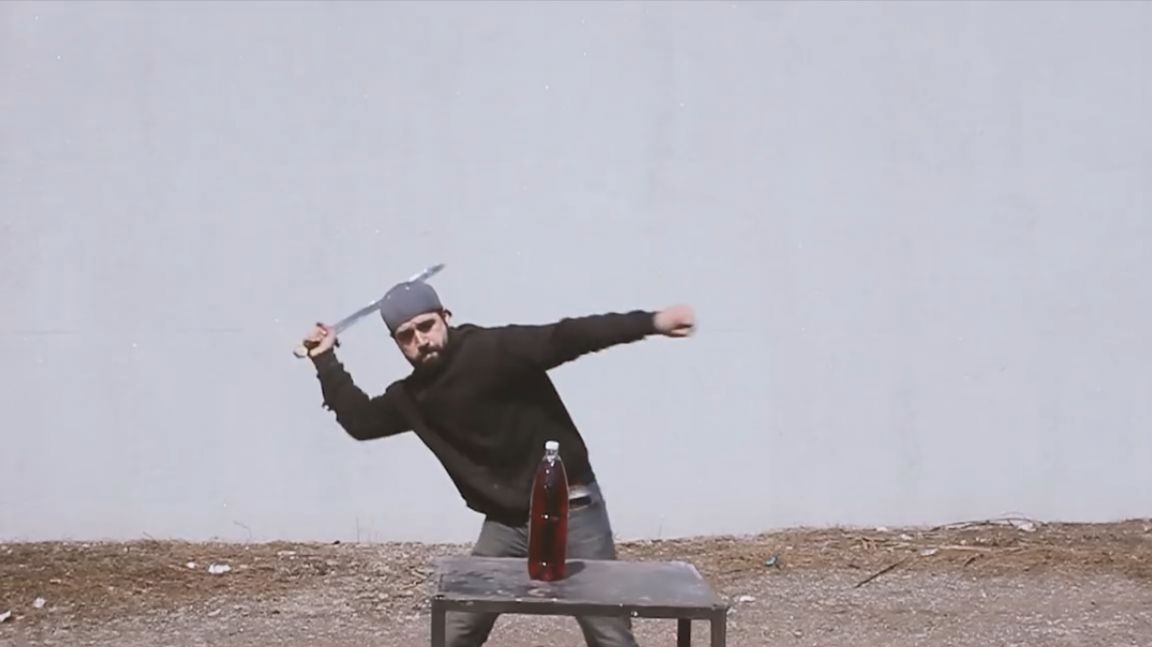
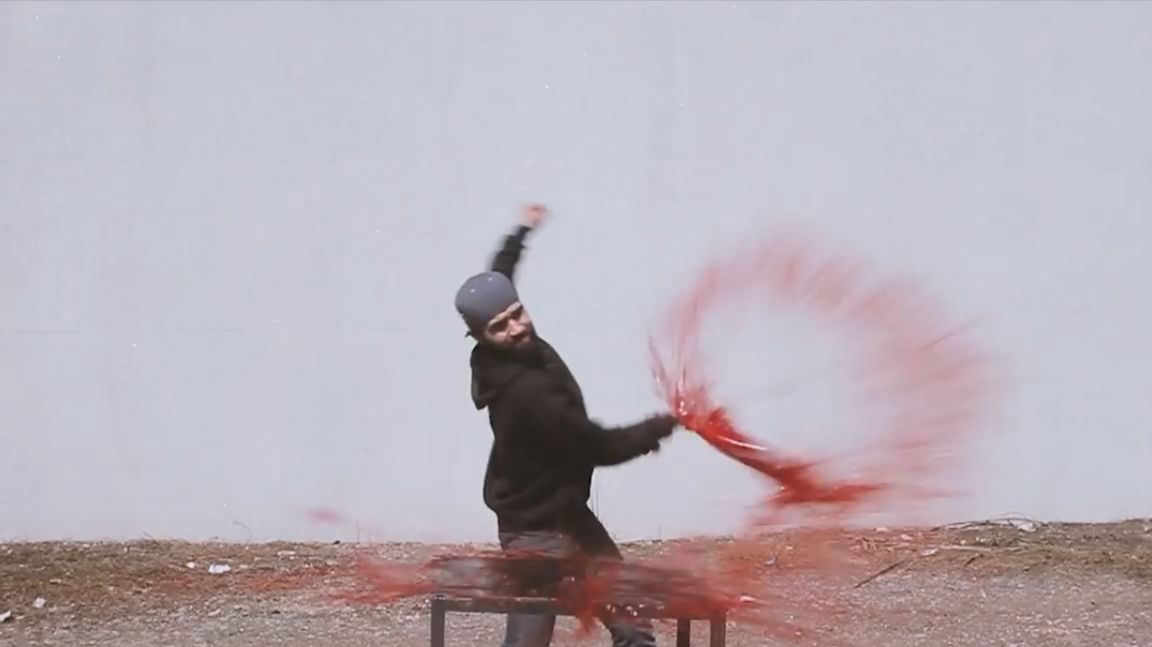
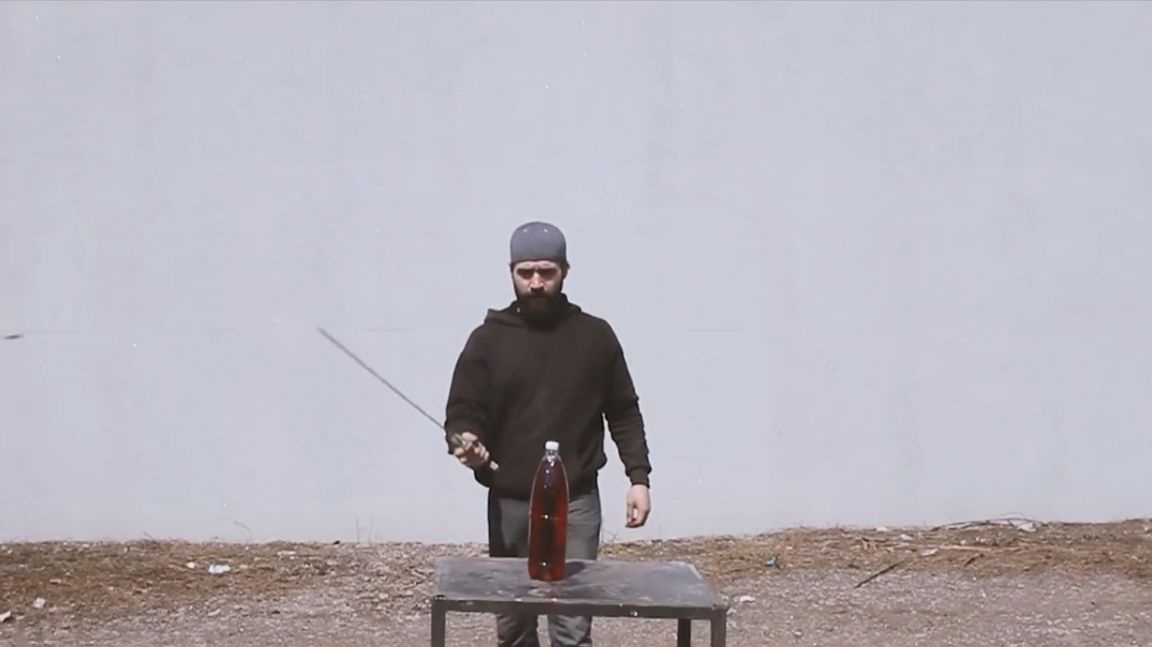


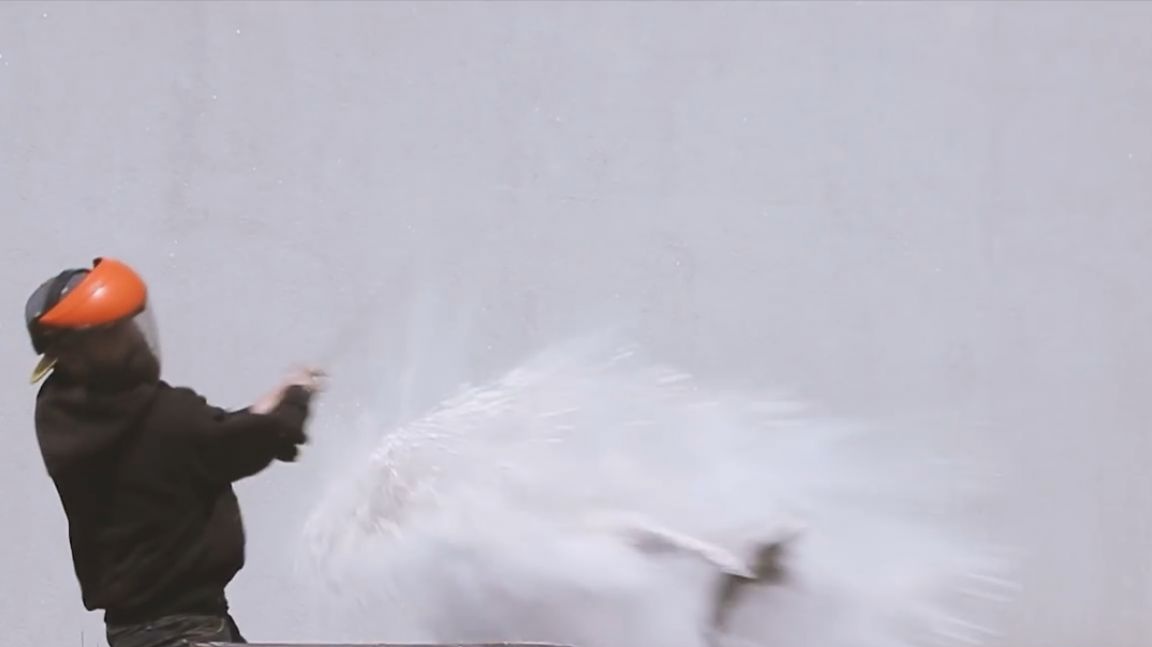
Well, how do you like the crash test? Of course, chopping with a non-sharpened sword is like chopping with a hammer. The author admits that he was worried when he was preparing to test a makeshift sword, which is probably why it turned out a little clumsy. But still the sword turned out.
Thank you for attention. See you again.
Video: