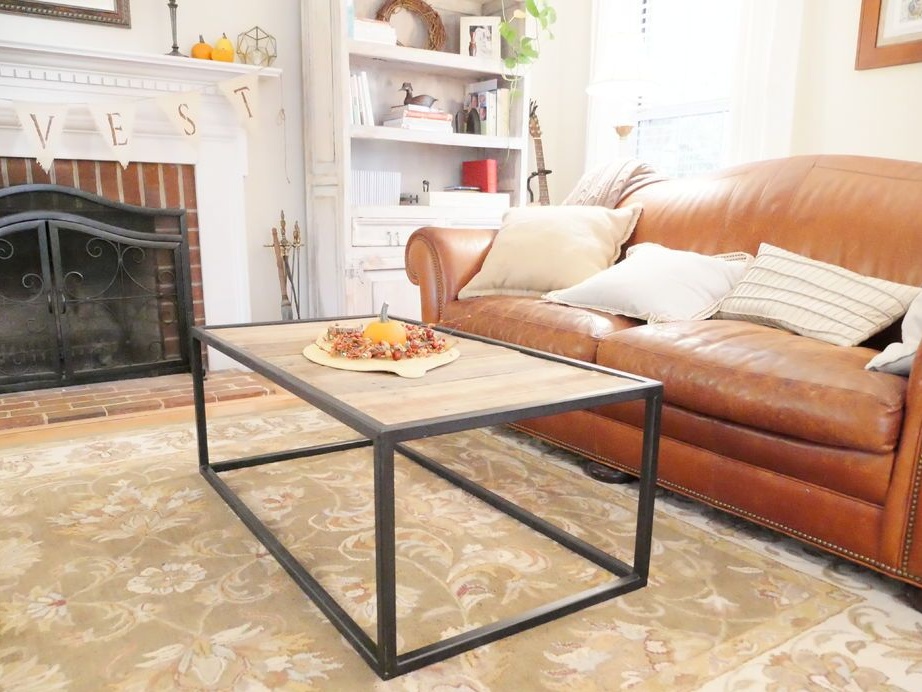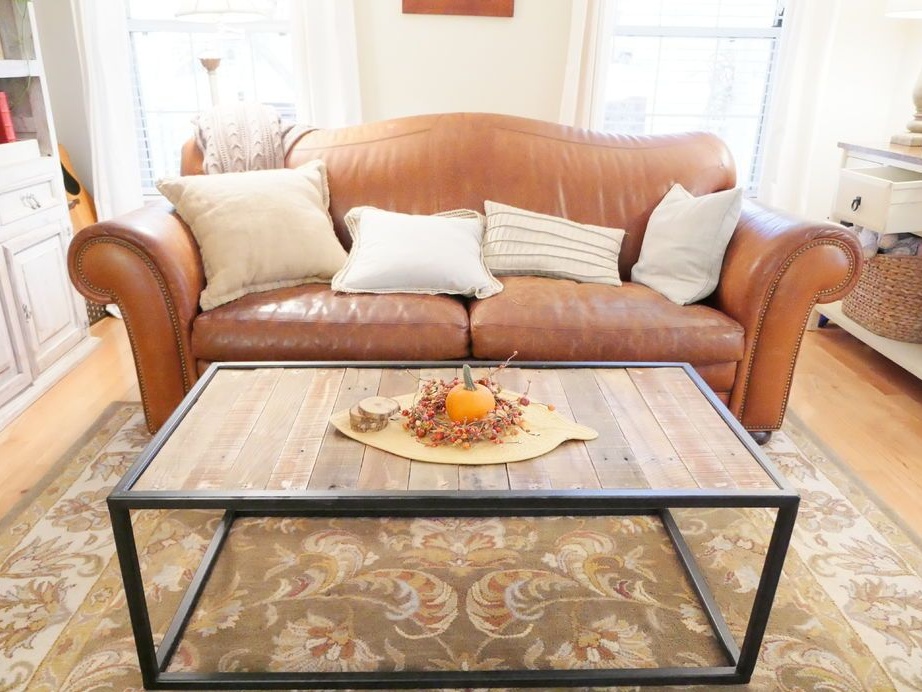
Want to make a simple, durable, durable table do it yourself? Then take a look at this project! Having made such a table, you will get the first skills in working with metal. The table frame is made of steel, all joints are welded. The design is strong, easy to assemble, and it looks pretty good. As for the countertops, the actual waste material was used here, these are boards from old pallets. The tabletop does not even need to be fixed, the boards just fit into the place prepared for them.
Steel will be needed as the main material for assembling the table. Pipes will be needed, the author has square pipes. You can experiment with ordinary round pipes. You will also need sheet steel, it will be needed for the manufacture of stops, on which we will lay boards. Well, then it’s a matter of technology, grinding, painting and a table is ready. Instead of boards, you can use something more interesting. For example, a cut of a tree and so on. Let's consider in more detail how to make such a table!
Materials and tools used by the author:
Material List:
- square pipes;
- Sheet steel;
- boards from pallets;
- wood screws;
- paint for metal;
- varnish or oil for impregnation of boards.
Tool List:
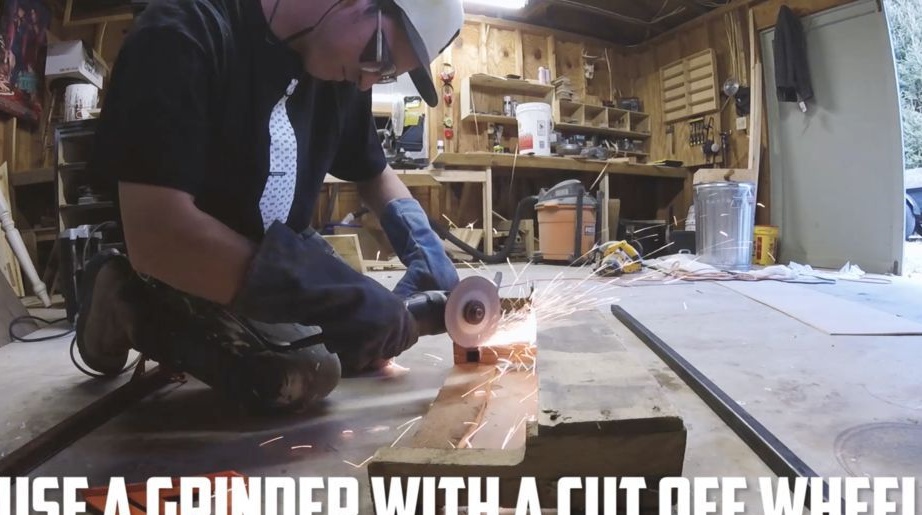
- grinder;
- welding machine;
- a hacksaw or other tool for cutting boards;
- roulette;
- ;
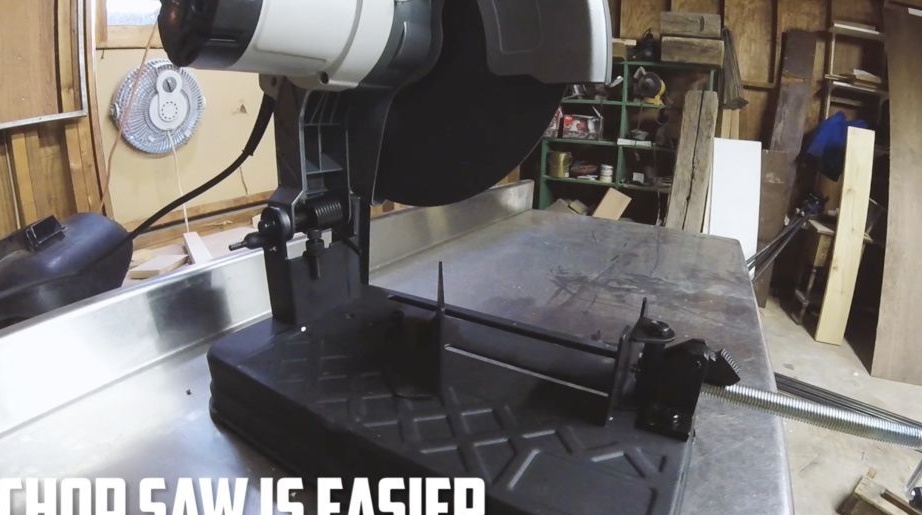
- pendulum cutting machine (to make it convenient to cut pipes);
- welding corners;
- .
The process of making a table:
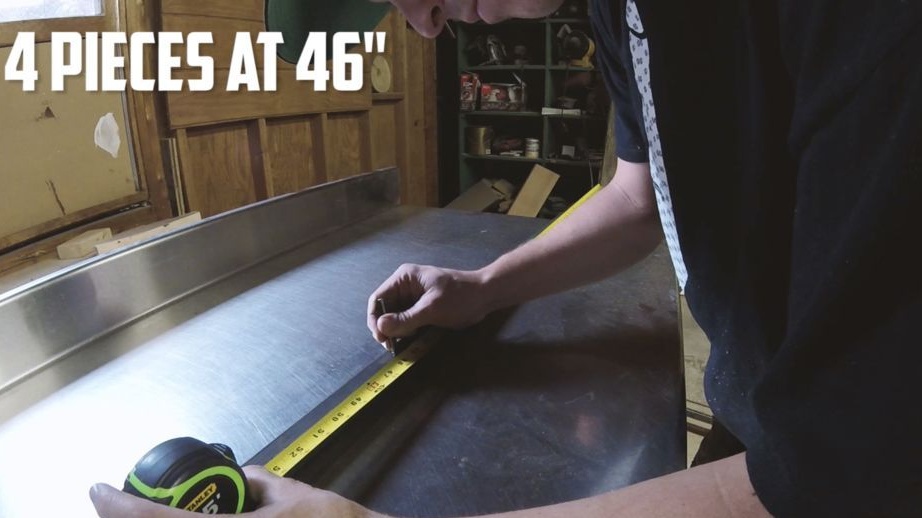
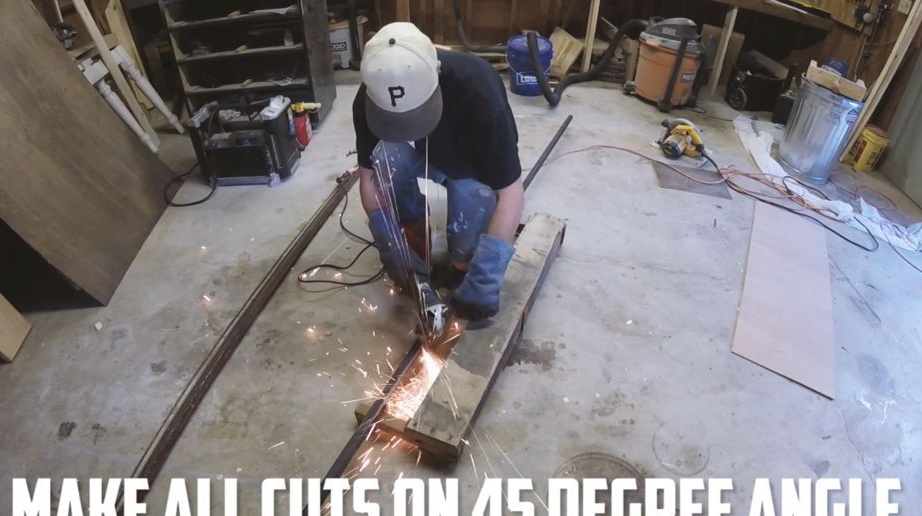
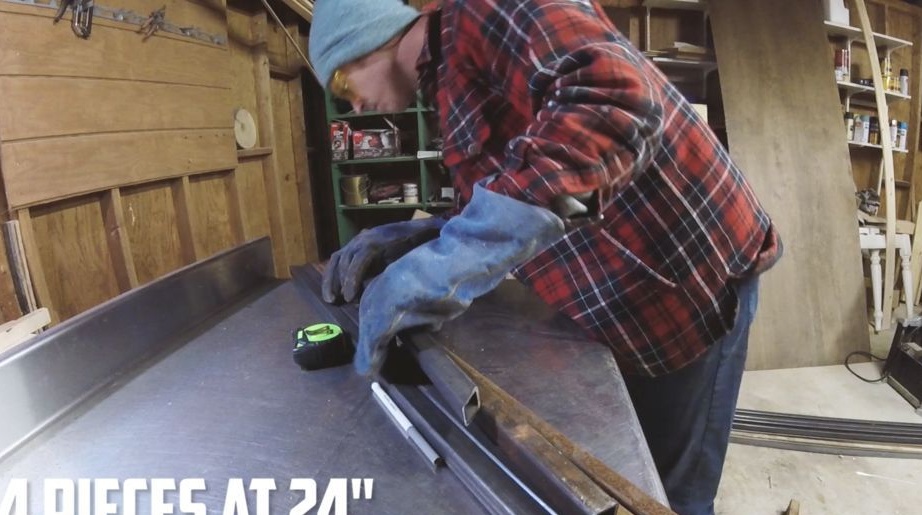
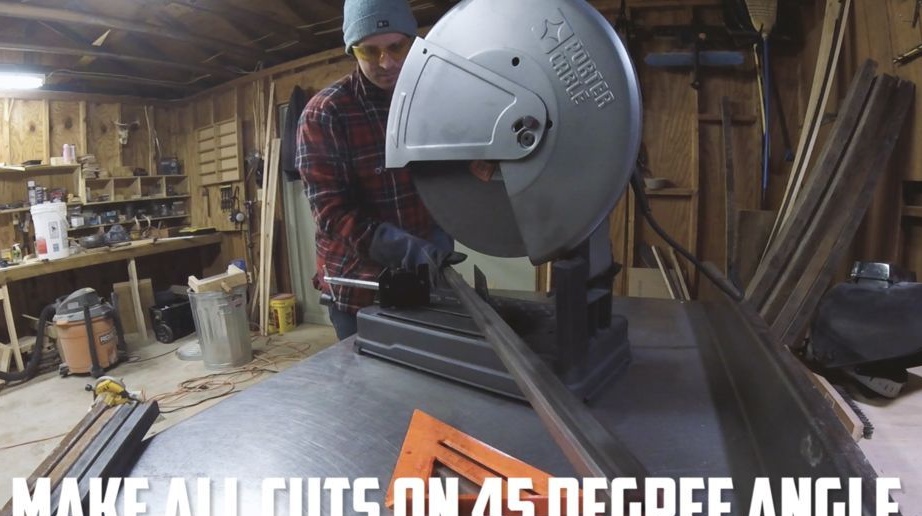
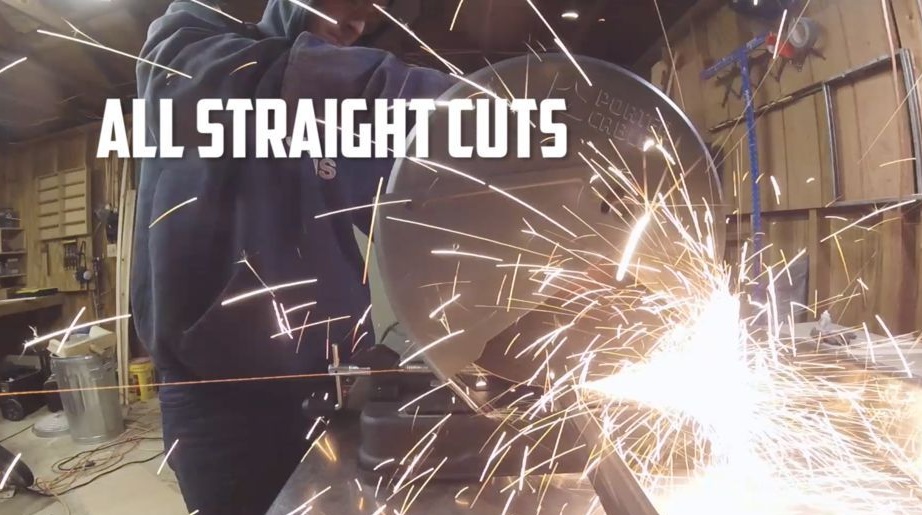
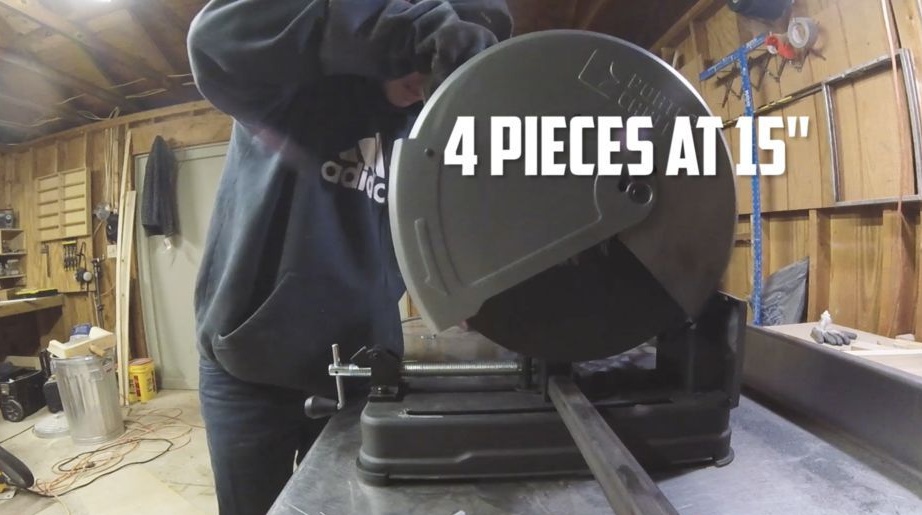
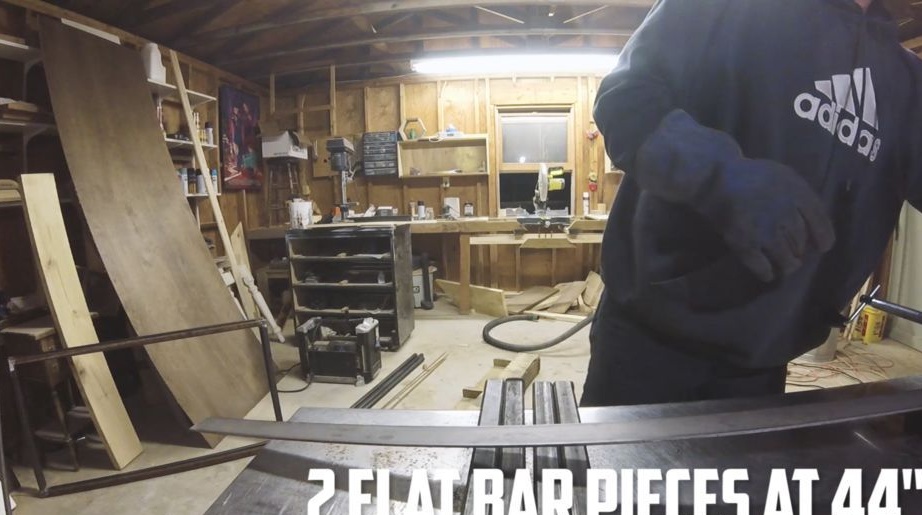
Step one. Cut the workpiece
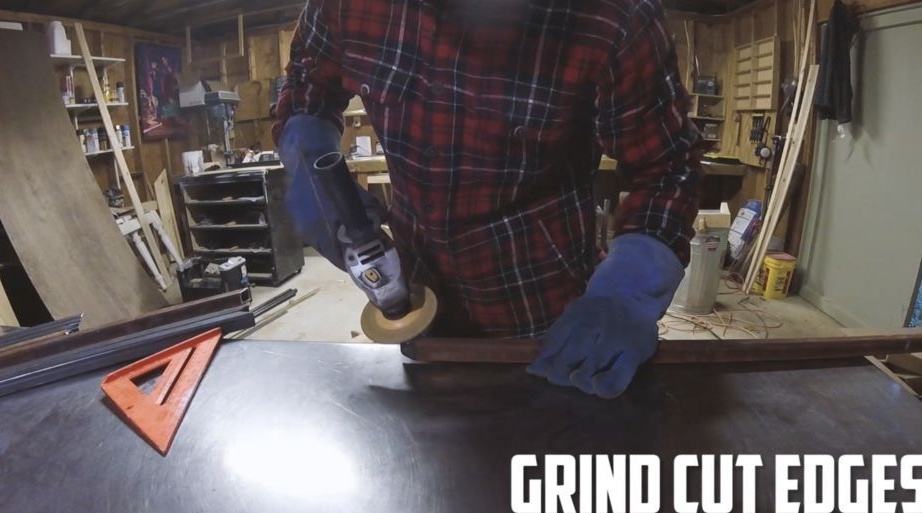
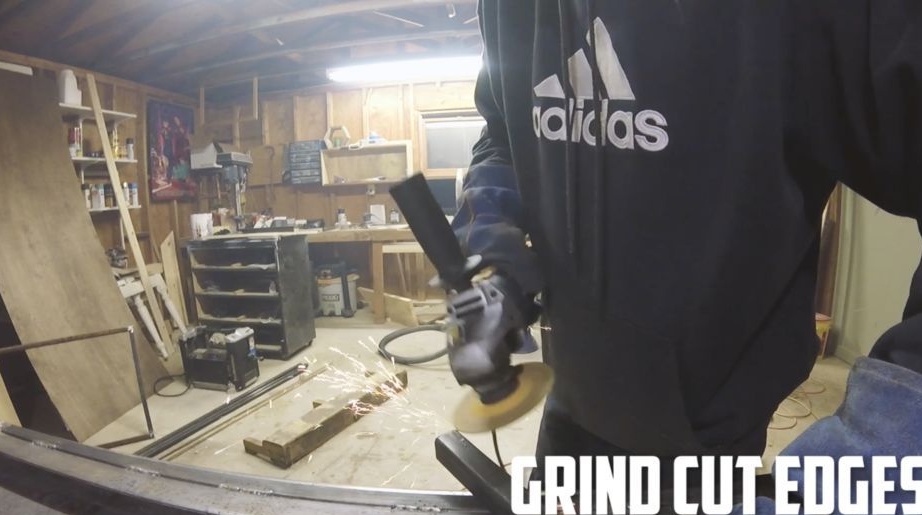
We take square pipes and cut the desired number of blanks. You will need to collect two rectangles, one will act as a countertop, boards will be attached to it. And the second is located below, will work as a support. These two rectangles will need to be connected by four legs. That is, in the end you should get 12 pieces of pipe. Strip the cutting points with a grinder so as not to get hurt on sharp edges during further work. Use gloves and safety glasses when working!
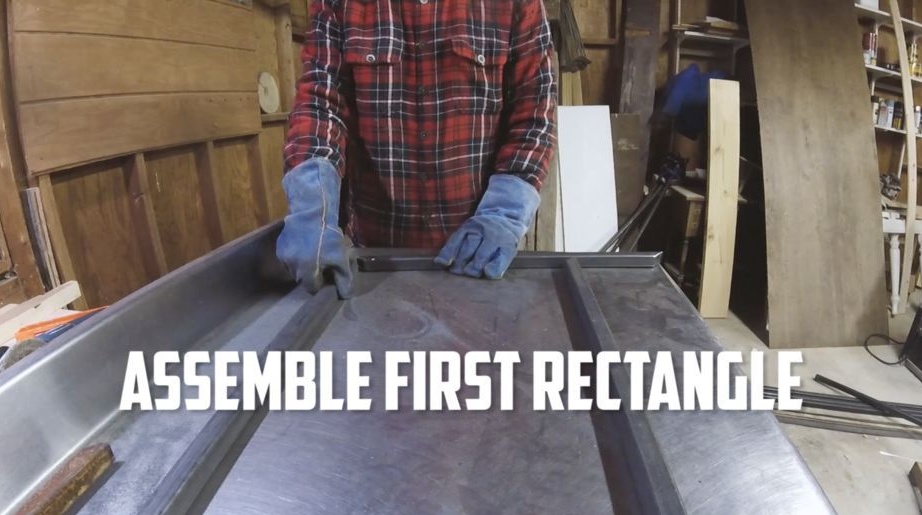
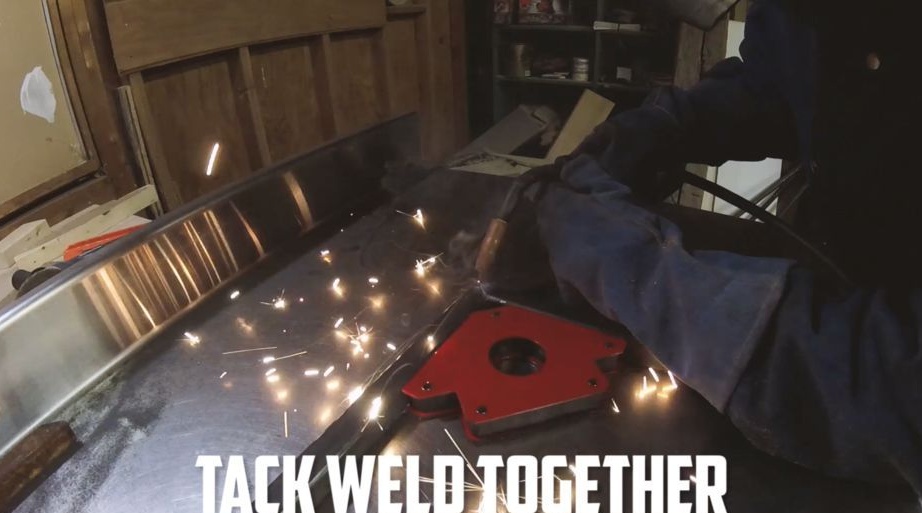
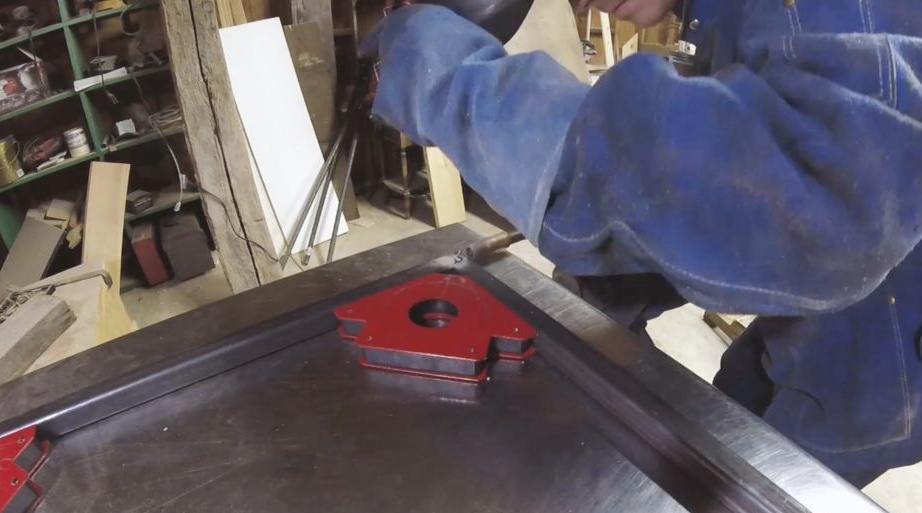
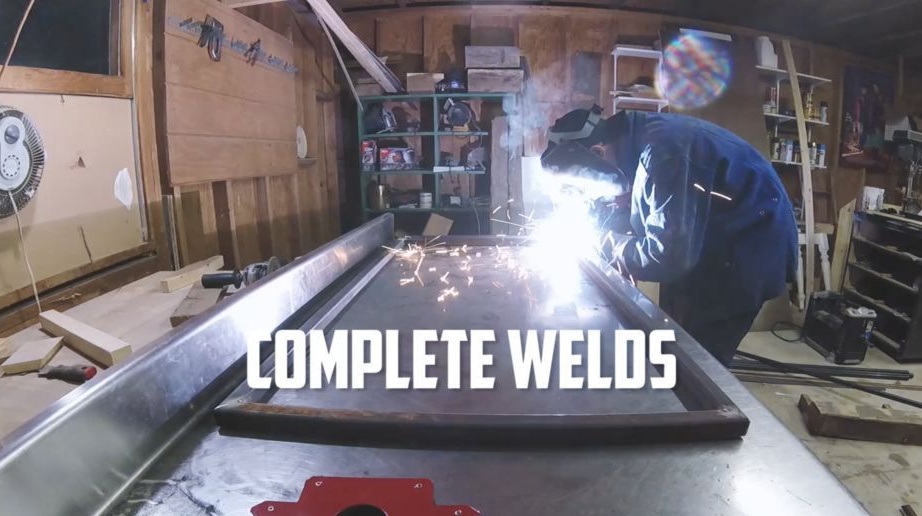
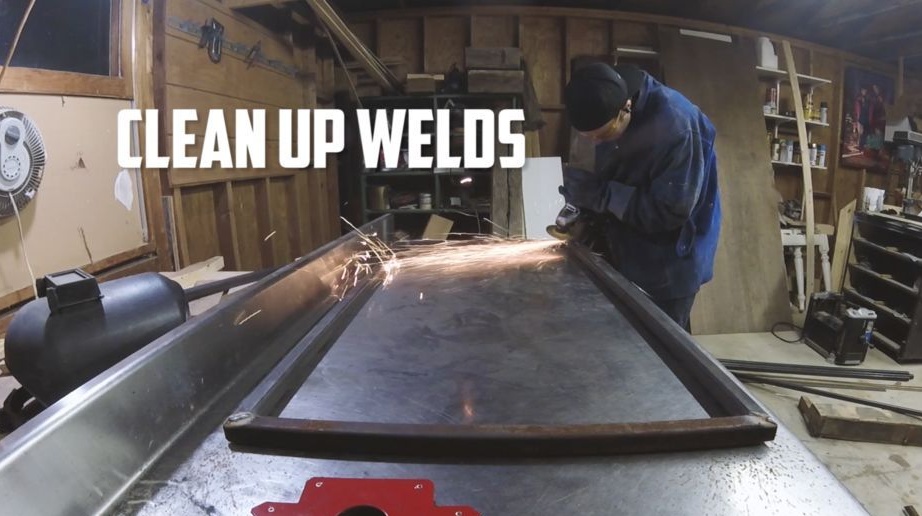
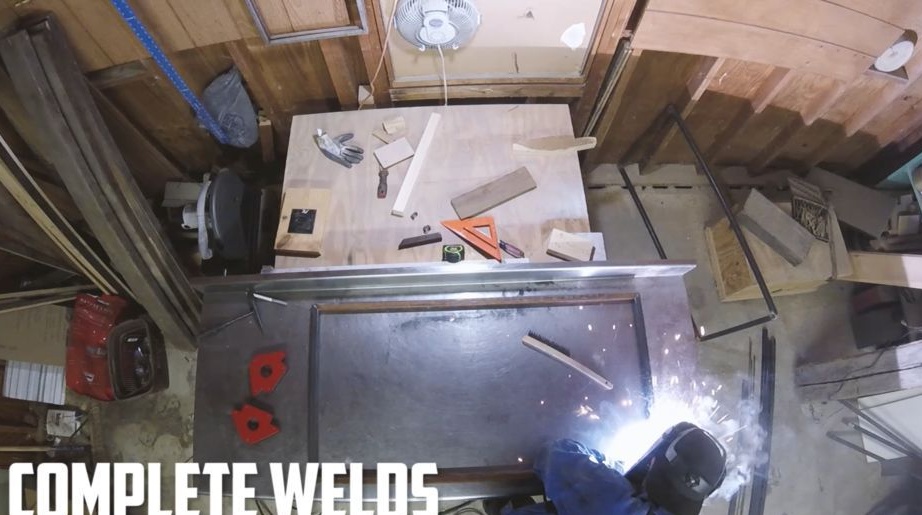
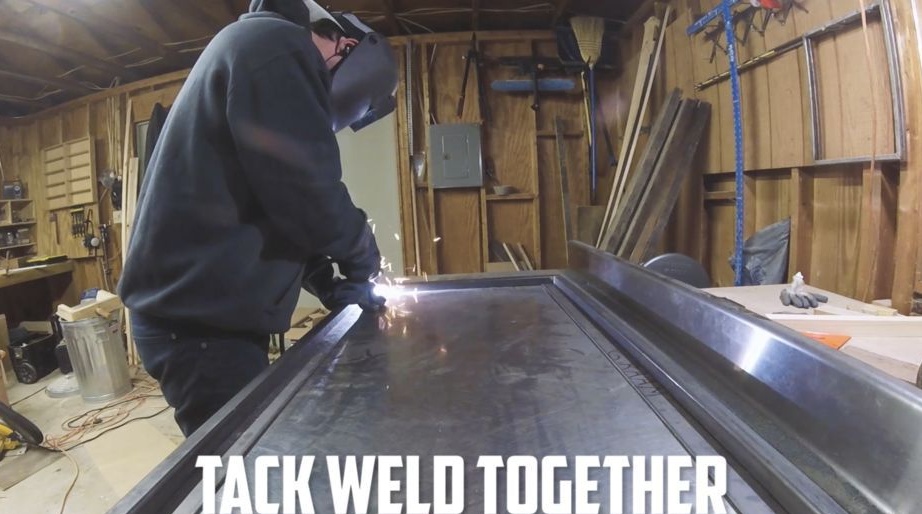
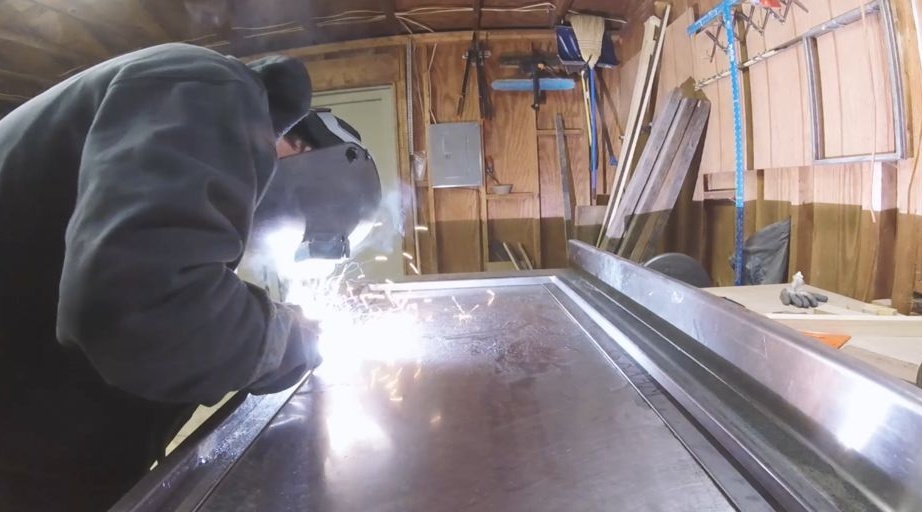
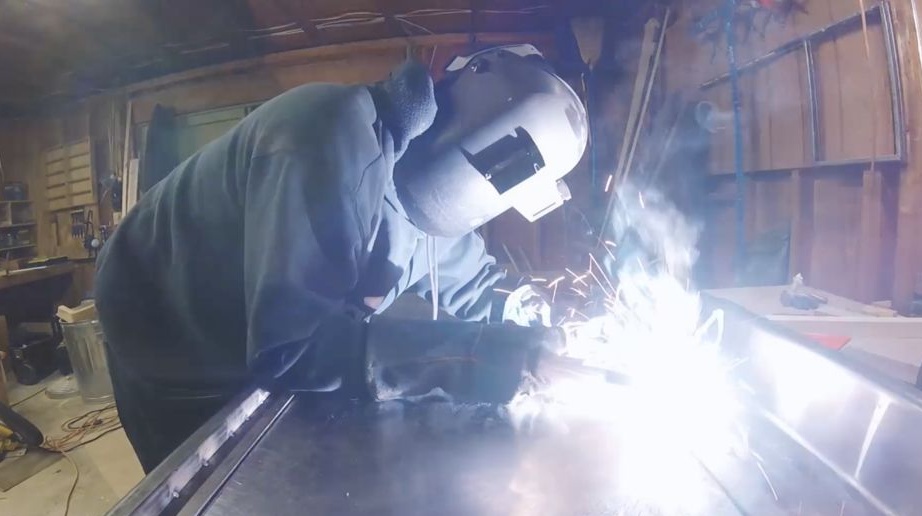
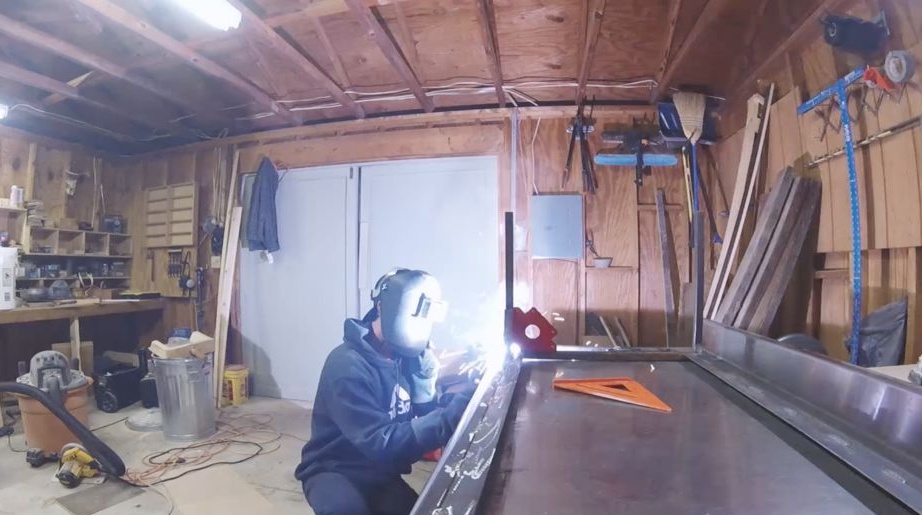
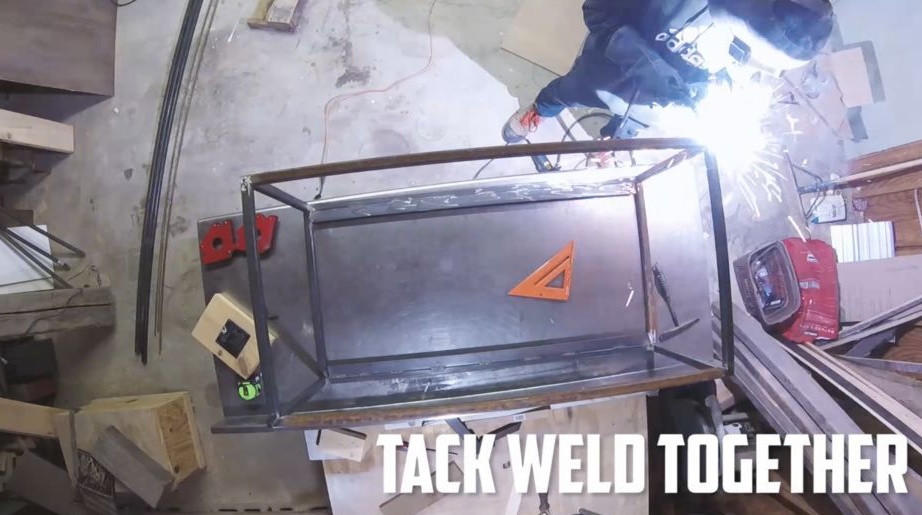
Step Two We weld the rectangles
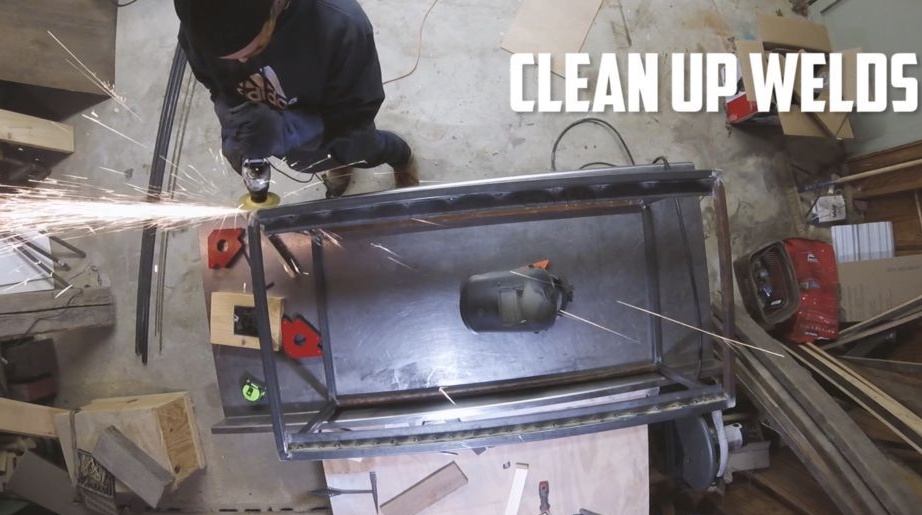
We arm ourselves with a welding machine and weld two rectangles. It is advisable to do all this on a flat surface. To get angles at right angles, it is convenient to use magnetic squares. The author first grabs the corners by welding, so that they move a little. This will allow you to adjust the design if there is a skew.Well, and then, making sure that everything is connected smoothly, we finally weld the structure. We immediately clean welds with a grinder with a grinding disc. As a result, the design should be monolithic.

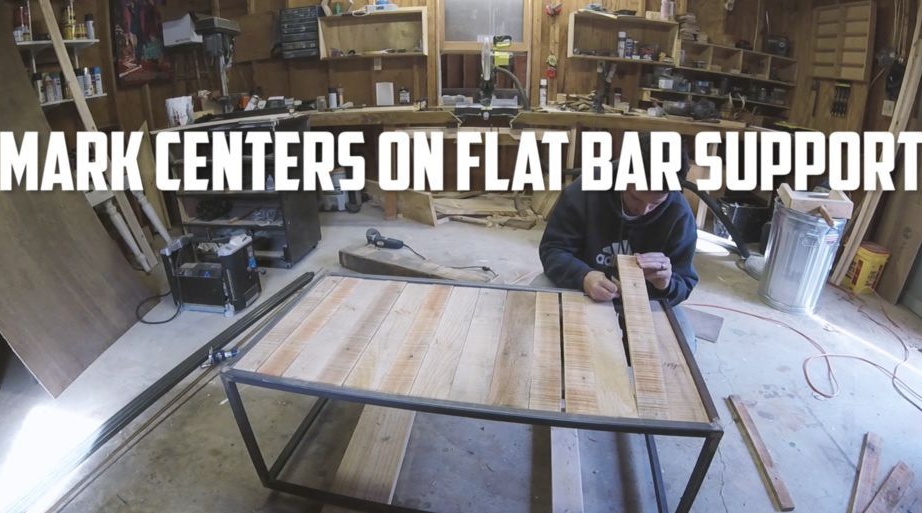
Step Three Welding tabletop supports
Choose one of the rectangles from which we will make the countertop. As a countertop, boards from pallets are used. Under them you need to make emphasis. To do this, take sheet steel and weld on one and the other side of the rectangle. The welding seam is preferably placed on the back so that it does not interfere with the boards. That's all, after welding, we clean the welds.

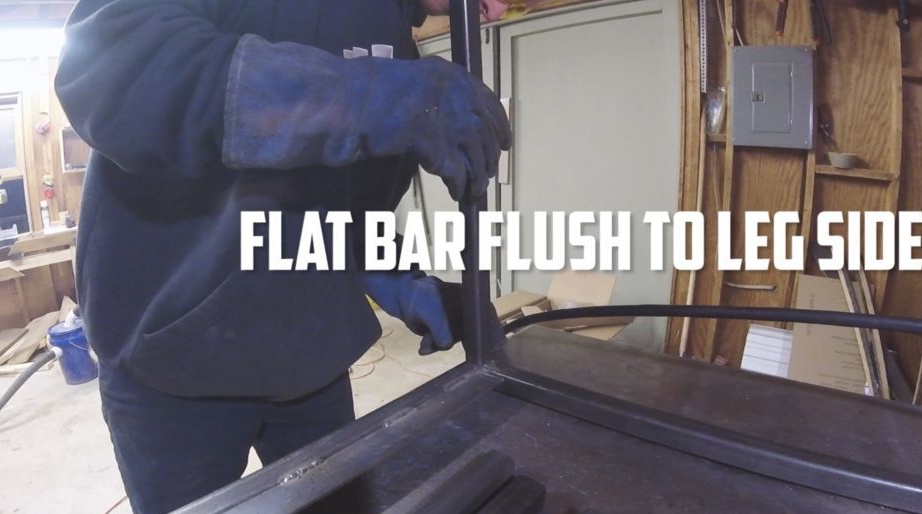
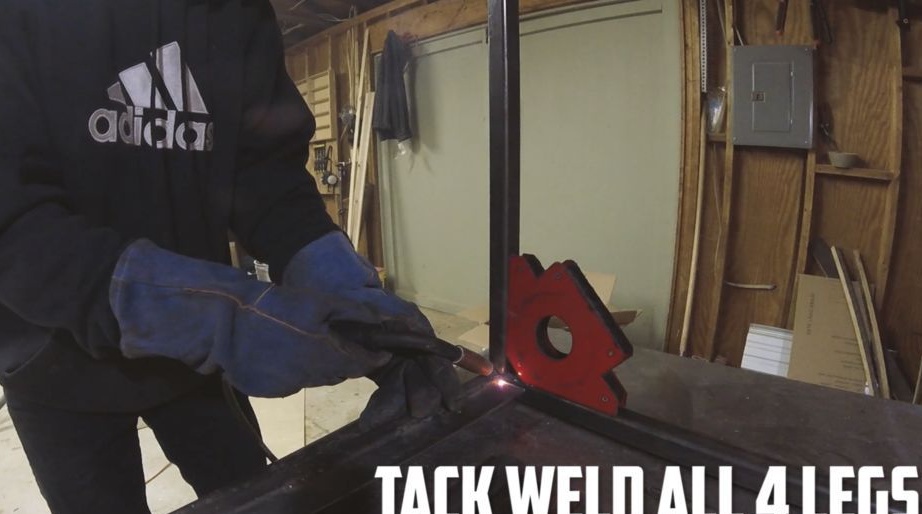
Step Four Weld the legs
We will also use square pipes as legs. We weld them to the countertop clearly at a right angle. The magnetic square will help you with this. In principle, if you weld the legs well and make stops for them so that they do not scratch the floor, the table will already be quite stable, even if you do not weld the lower support. Pipes can be plugged with plastic plugs.
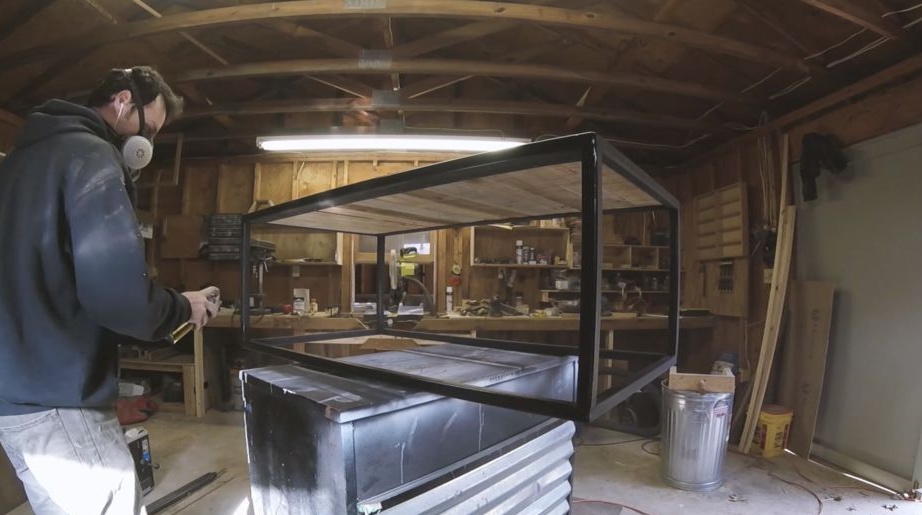
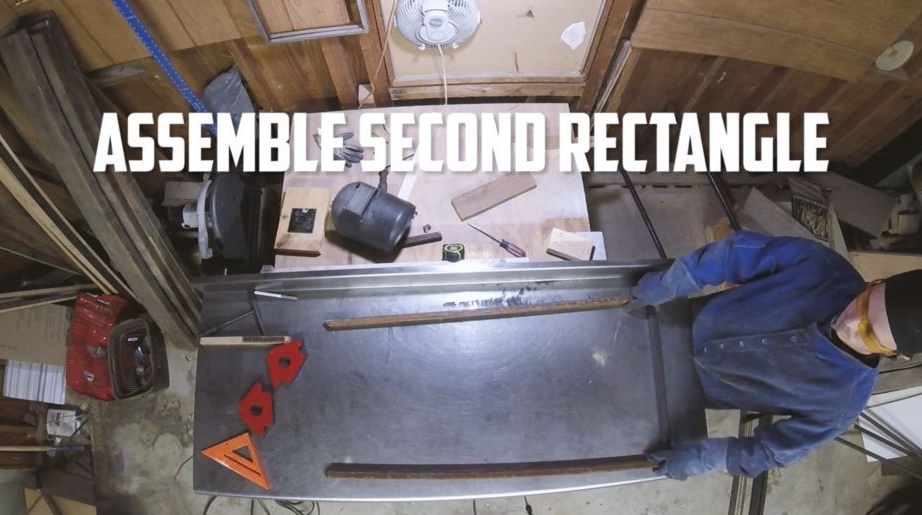
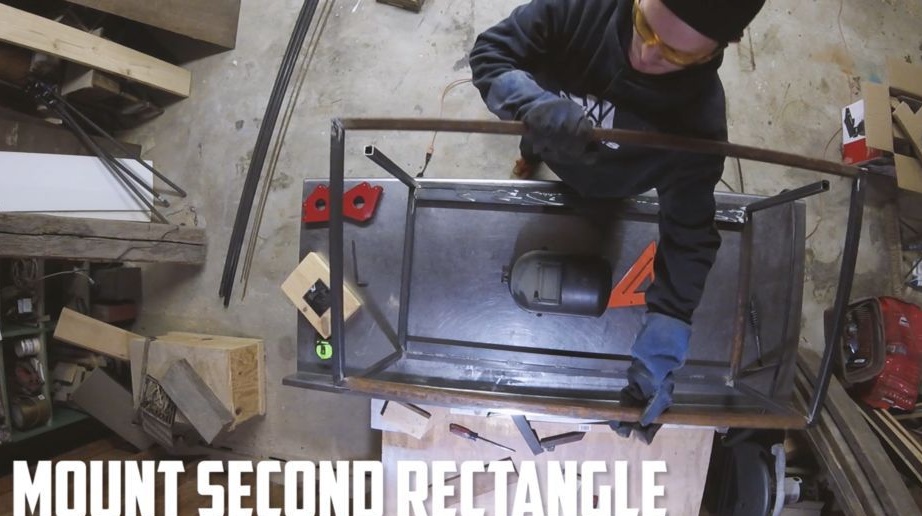
Step Five Weld the second rectangle
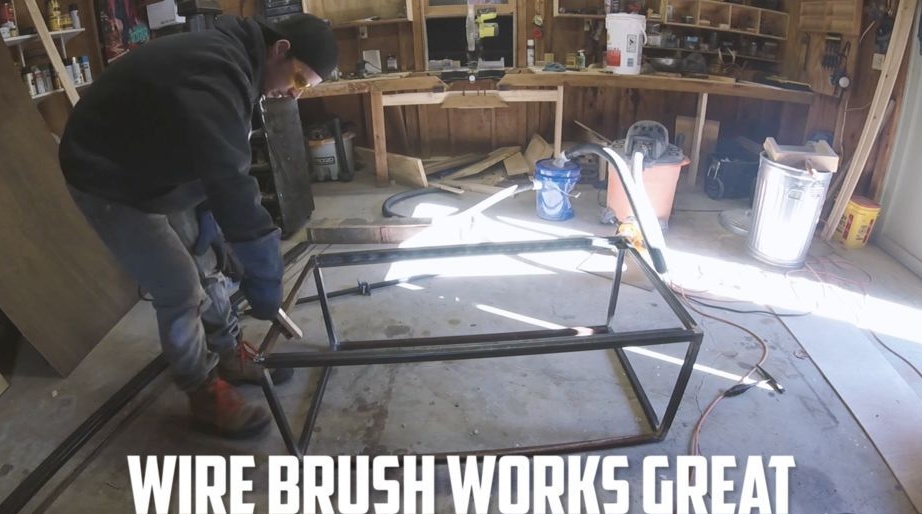
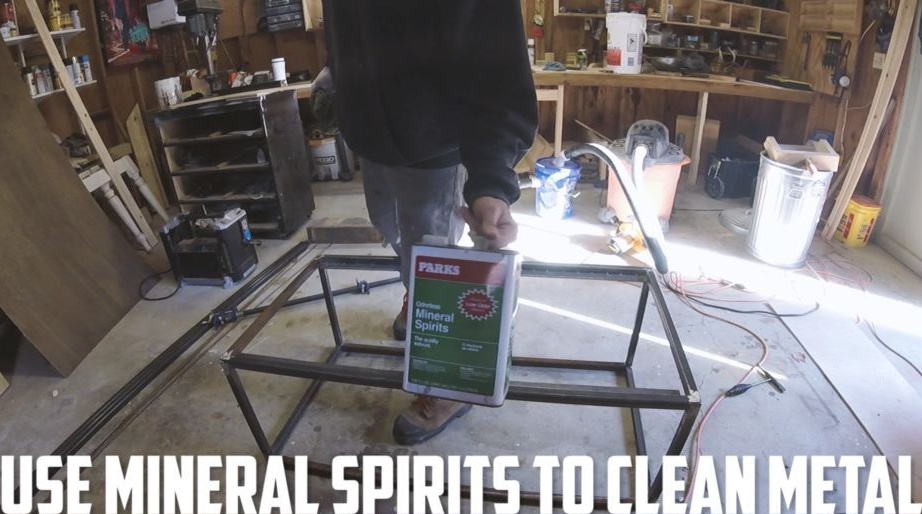
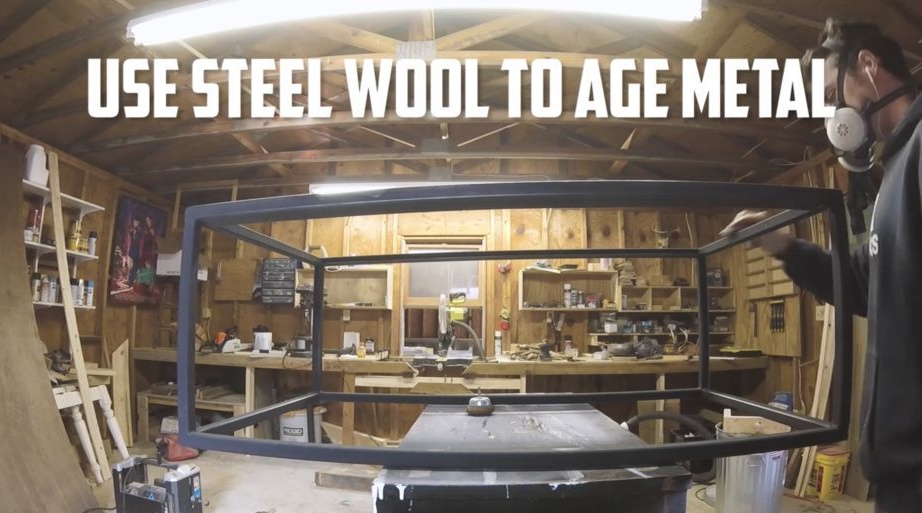
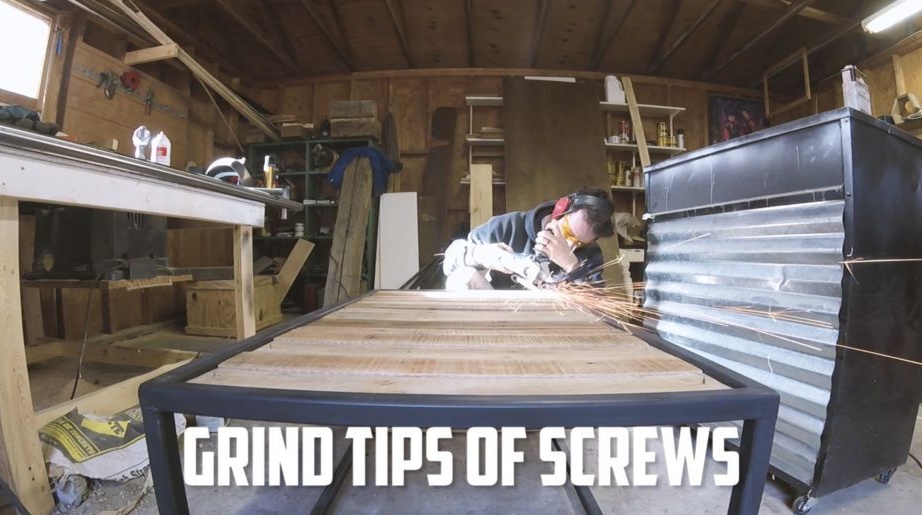
The author, as a reliable support, decided to weld another rectangle. This will make the table stable, in addition, the legs will be reliably strengthened. When the design is ready, thoroughly clean the metal by any means available. Suitable steel brushes, sandpaper and more. Welds must be well sanded so that the table looks beautiful and neat. Finally, wipe the frame with acetone or another solvent to remove any dirt.

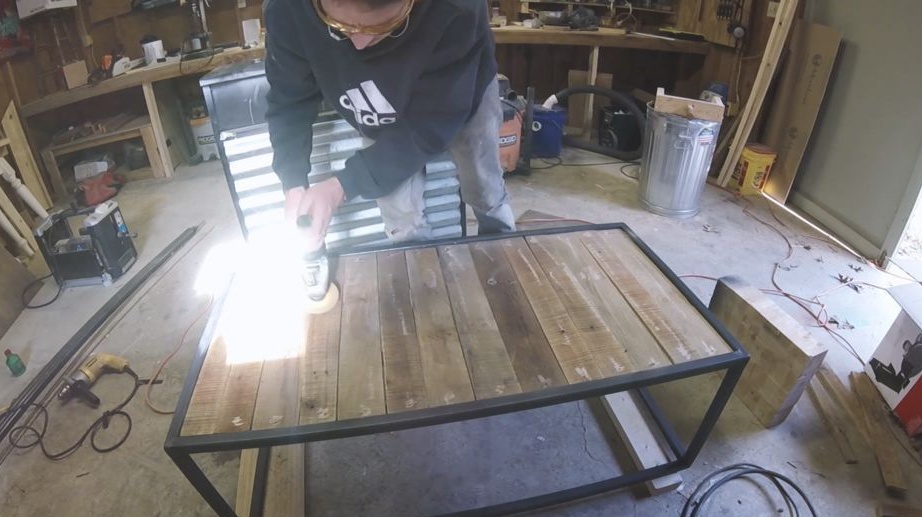
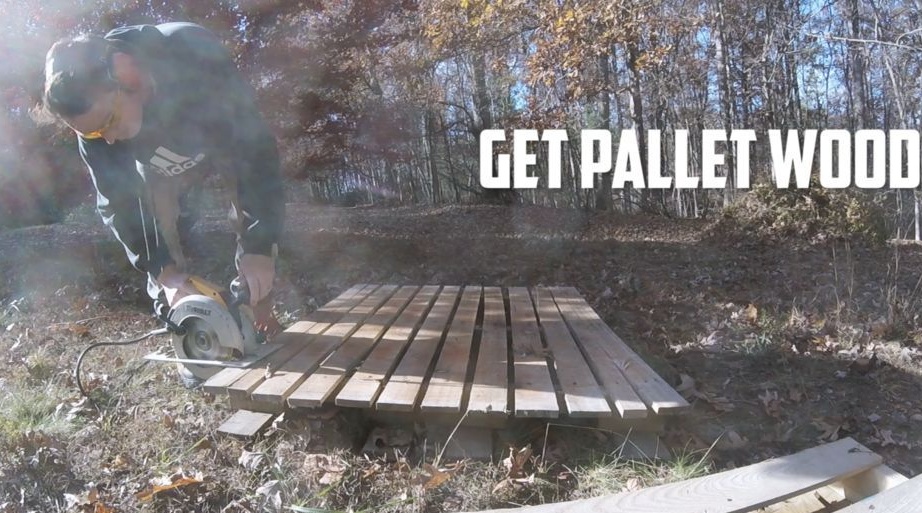
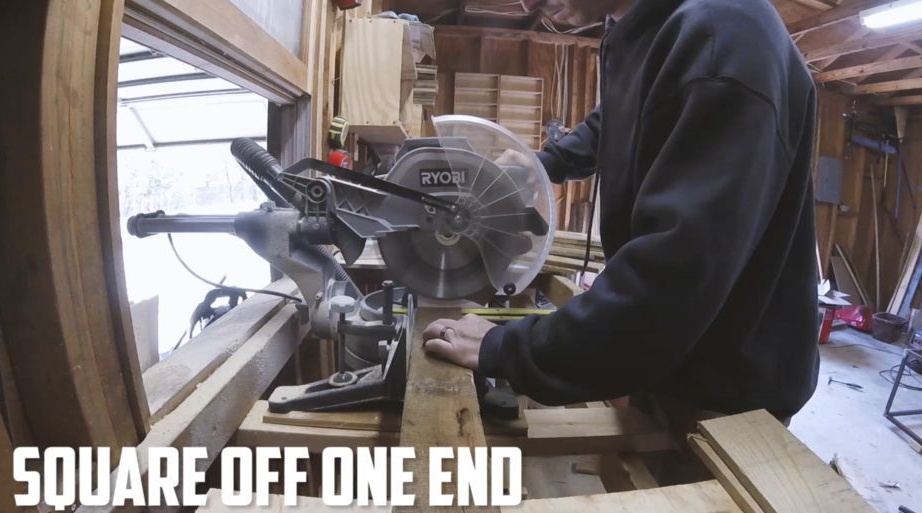
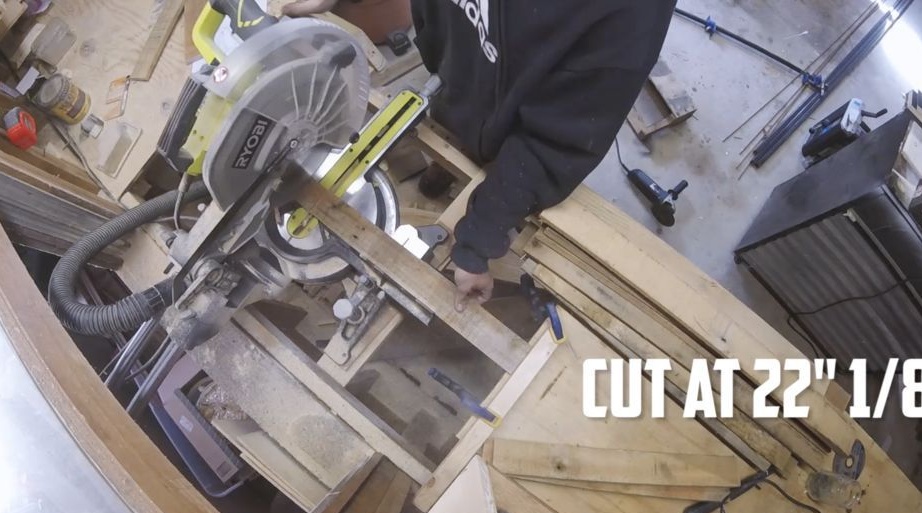
Step Six We prepare boards
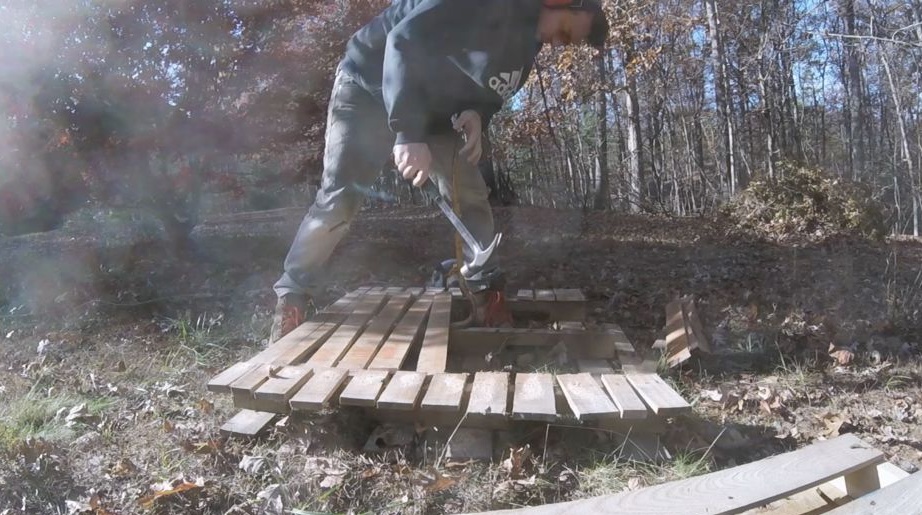
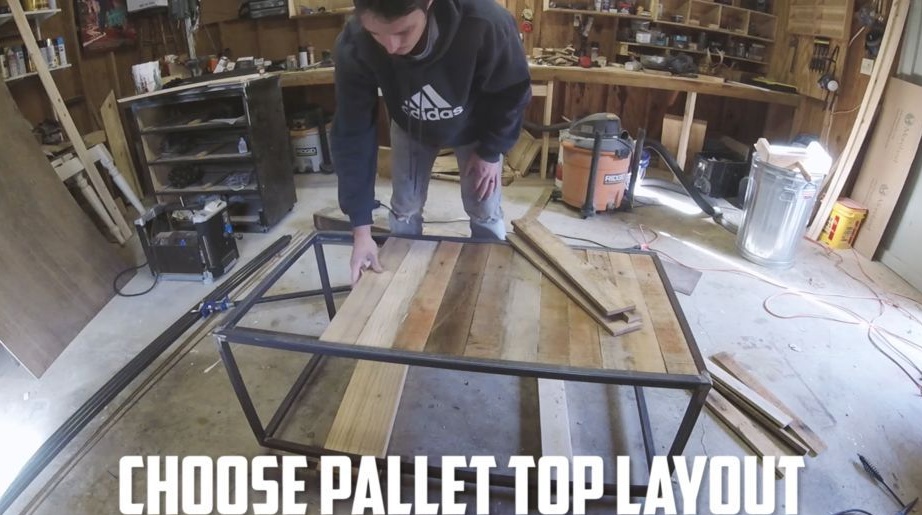
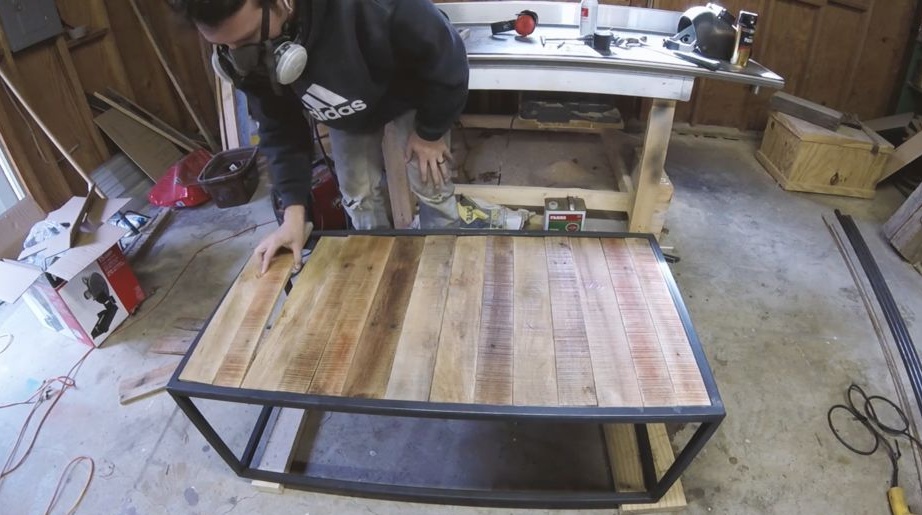
The author decided to use boards from pallets. Of course, pallets should not be rotten or cracked. We make the necessary measurements, and then we need to cut out the number of boards. The author uses a hand-held circular saw for this. Well, then we adjust the final sizes, pull out the nails, sort the boards, removing the bad ones. Fit all the boards to size, lay them in the prepared frame. You may need to look for boards that are suitable in width so that there are no gaps, or you can just saw one board along to get the exact width.
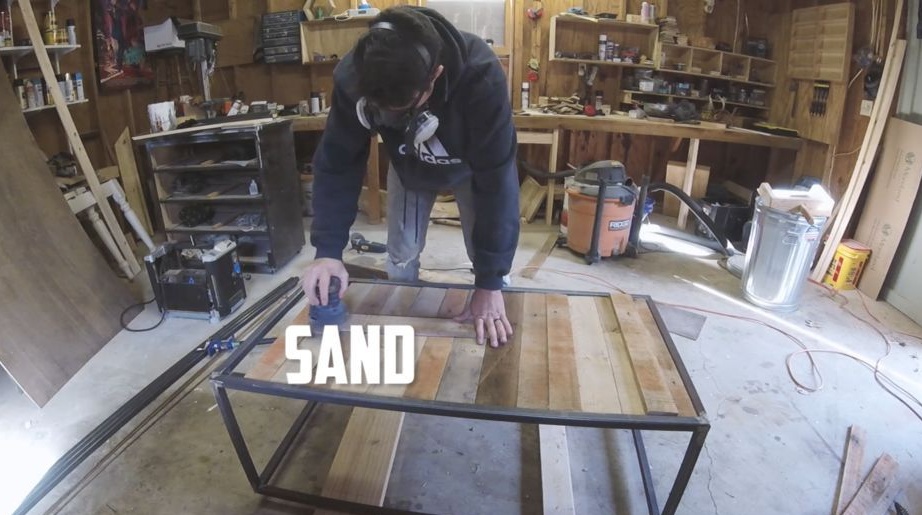
When the materials are ready, we arm ourselves with an orbital sander or other tool, carefully polish the boards. They should be completely smooth. Then lay all the boards on the table and level them to the same thickness to get an even plane. Here you may need a grinder with a coarse-grained sandpaper.
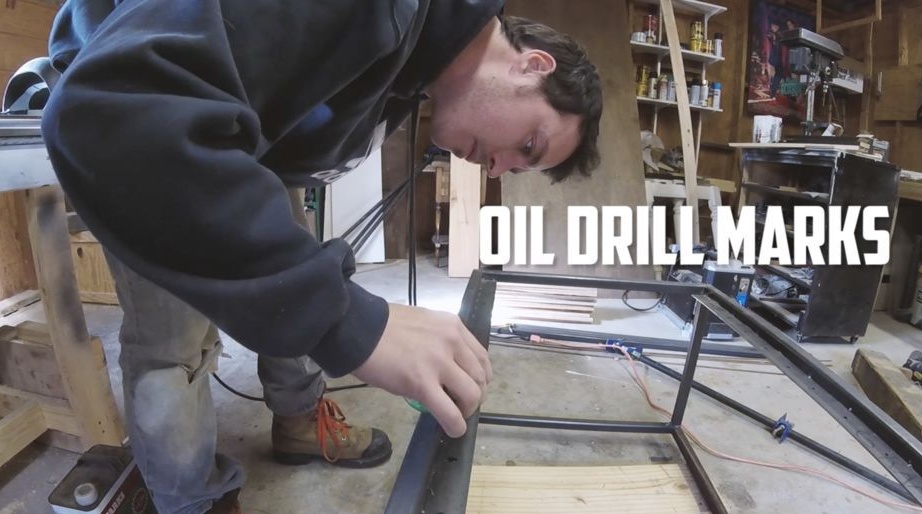
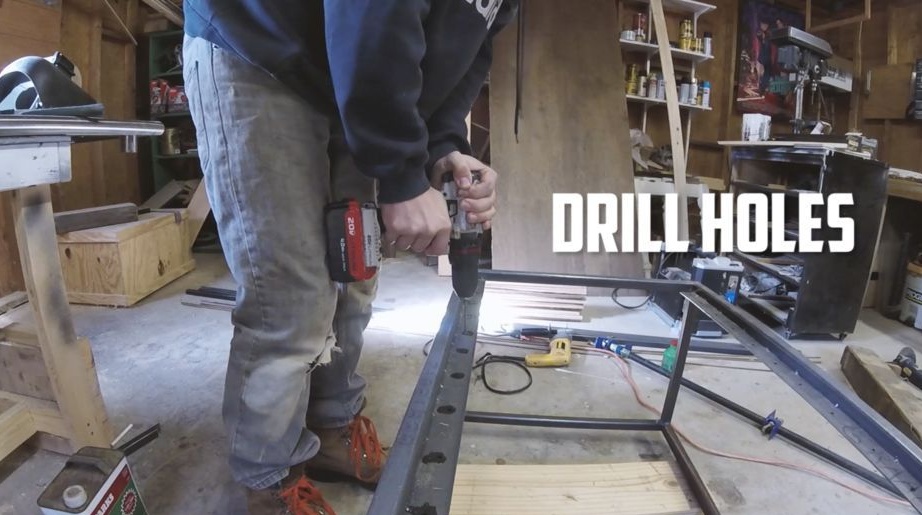
Seventh step. Drill holes
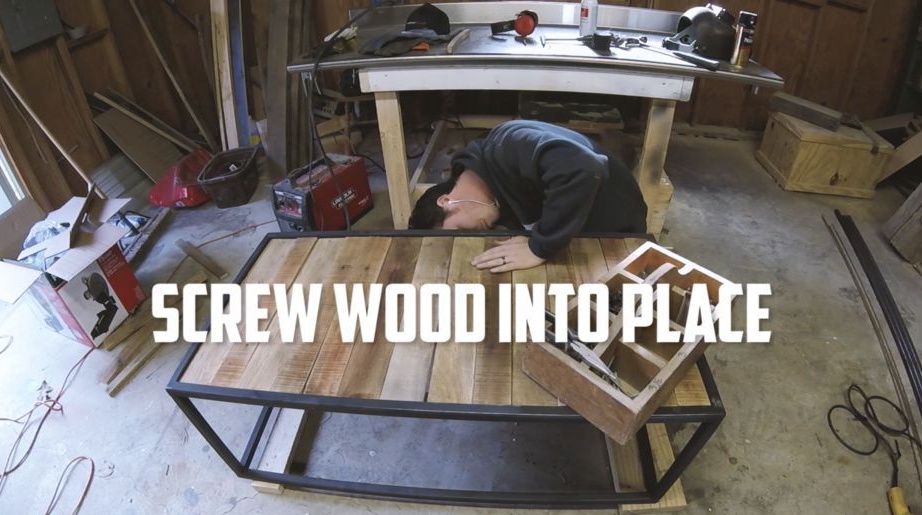
The author decided to fasten the boards to the base. To do this, drill holes in the stops. Well, then you can easily and simply screw the boards with screws.
Step Eight. Painting
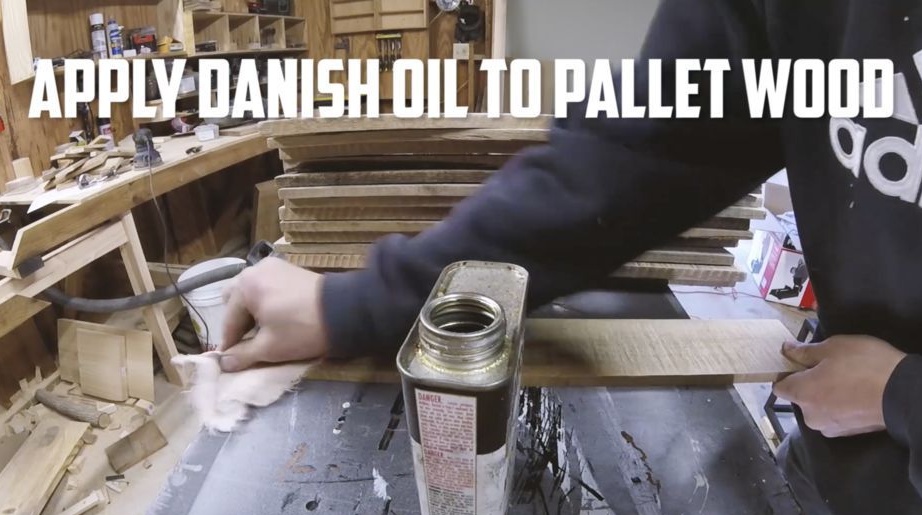
We paint the frame with a spray can in black or another one at your discretion. As for wood, it is extremely important to protect it from moisture, and the appearance must be emphasized. The best way to process wood is oil, it does not change the natural appearance of wood.
Step Nine. Putting a table together
When everything is dry, the table can be assembled. To do this, you will need to tighten only a few screws so that the boards do not walk on the table. That's all, now your table is completely finished! In the end, you can varnish everything to emphasize its appearance. The author applied several layers of polyurethane.
I hope you enjoyed the project, and you learned useful thoughts for yourself. Good luck and creative inspiration in making homemade! Do not forget to share your ideas and best practices with us!