

Hello to all lovers homemade. In this article I will tell you how to do device for pressing brake caliper pistons. It will be useful to those who are accustomed to self-service their car. The parts necessary for assembly will be made entirely of automotive parts, so I think there will be no difficulties with this. This homemade product will help you save your money, since the factory version costs about 1,500 rubles.
Before moving on to reading the article, I suggest watching a video showing the detailed assembly process of the homemade product.
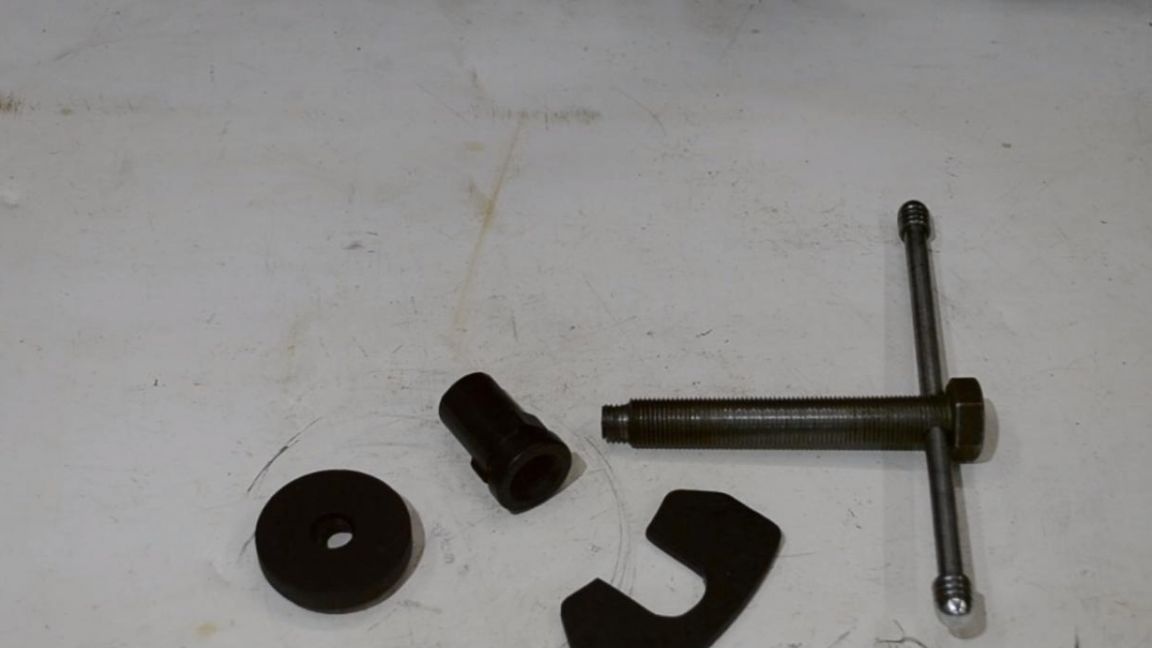
In order to make a device for indenting pistons of brake calipers do it yourself, you will need:
* Angle grinder, cutting disc
* Personal protective equipment, gloves, earphones and goggles
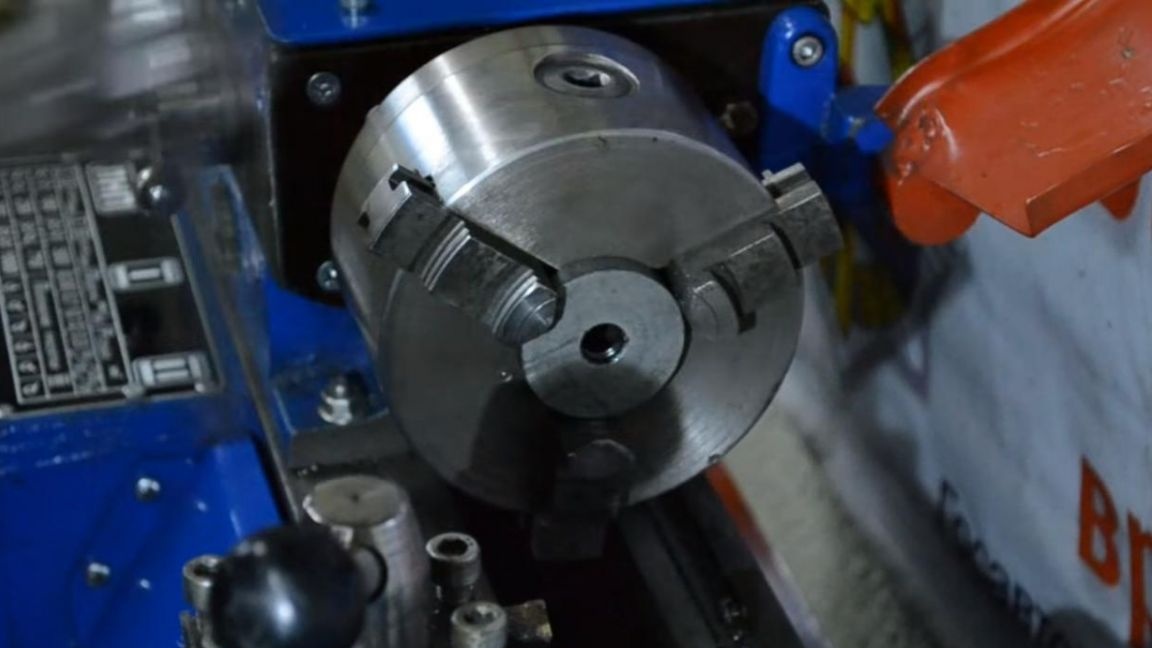
* Metal lathe, feedthrough, cutting tool
* Tap M12 and M6
* Two M6 bolts
* Die M12
* Stationery knife
* Manual vise
* Electric drill
* Metal drill
* Long bolt of suitable diameter to the tip
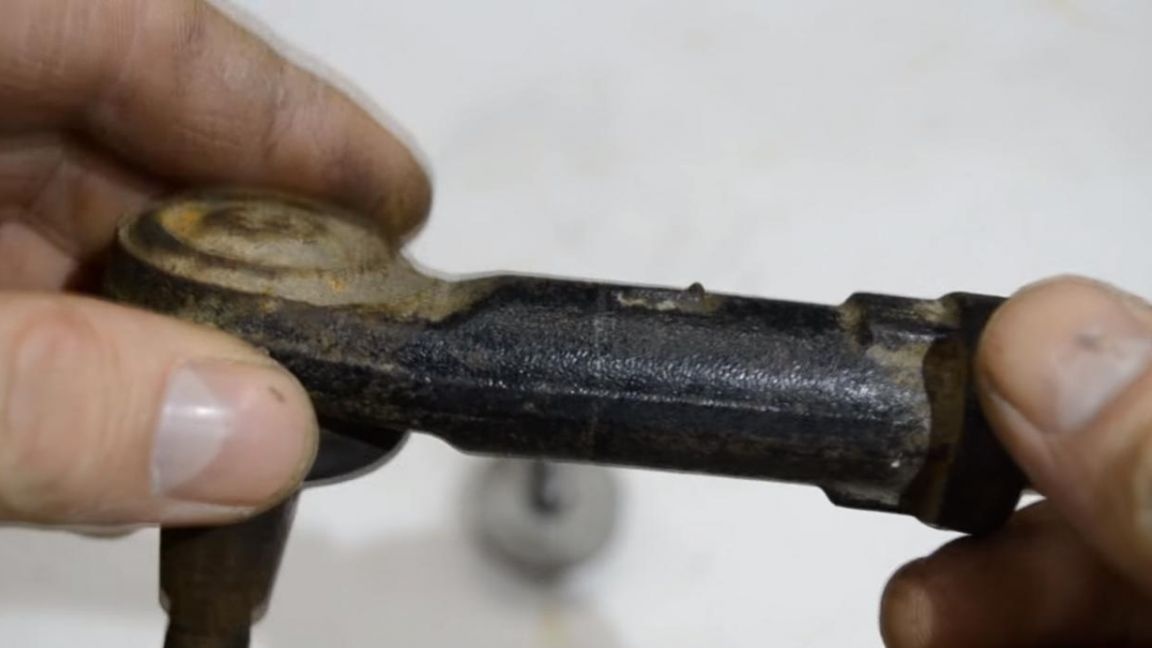
* Car steering tip
* Brake pad
* Thick washer
* Round file
Step one.
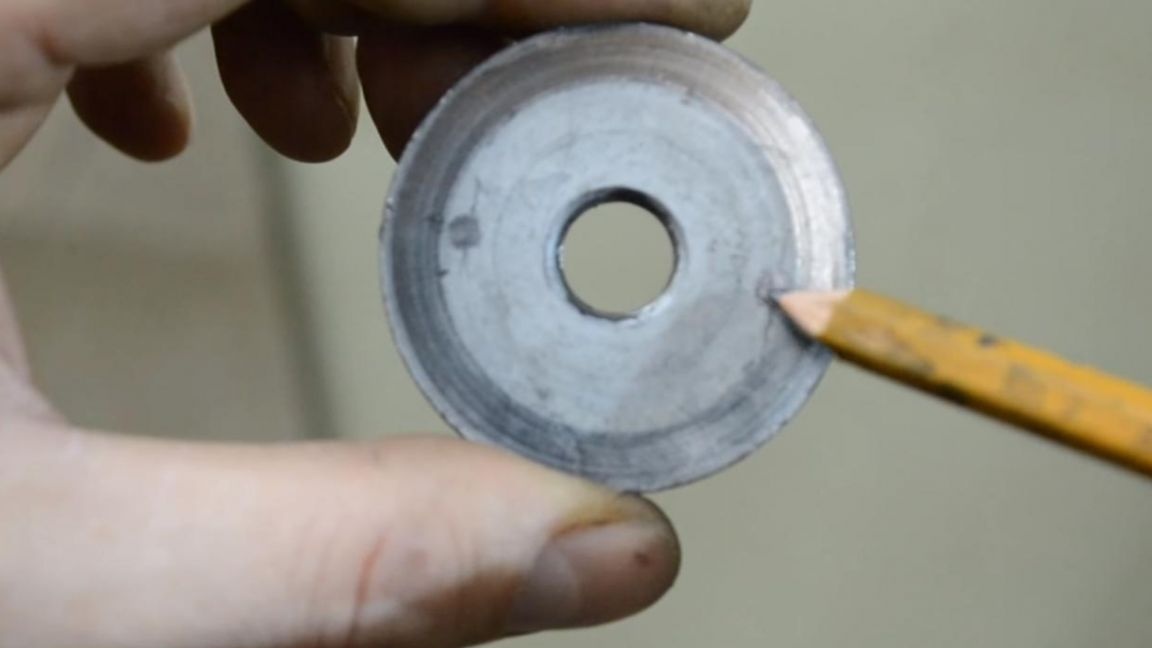
To start, we remodel the brake pad a bit. Using an angle grinder with a cutting disc we remove ears and calls for fastening. To prevent the part from accidentally flying out during sawing, fix it in a bench vise. Also, when working with an angle grinder, use personal protective equipment, wear gloves, headphones and safety glasses.
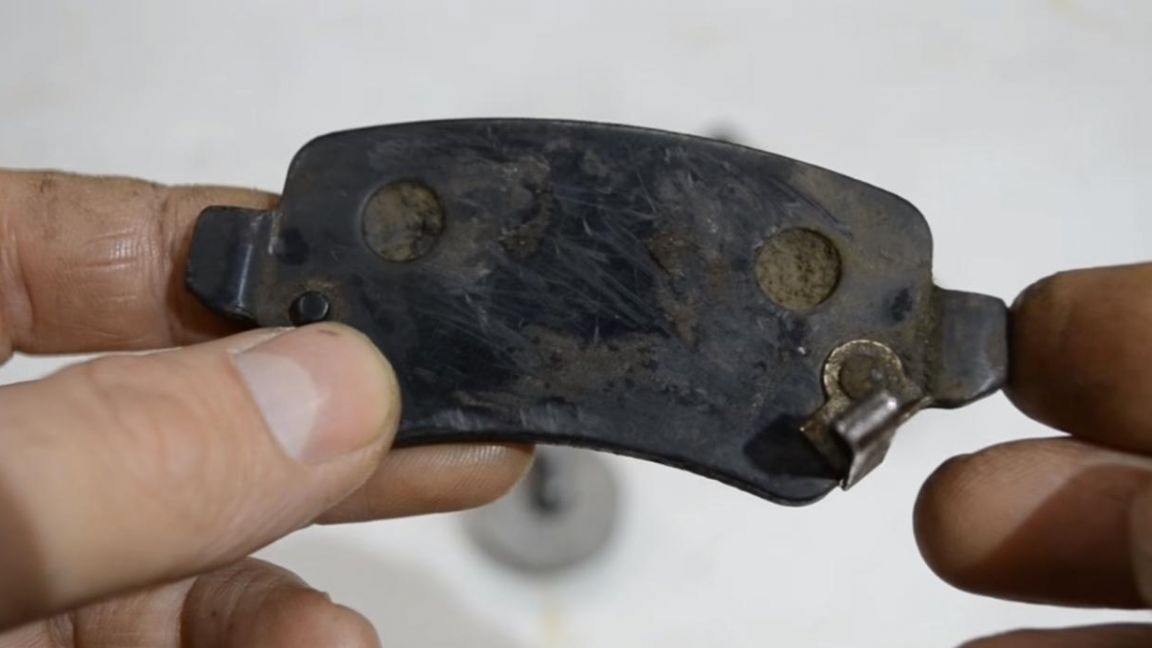
The remaining clutches from the metal part of the pads are removed with the help of an office knife.
Step Two
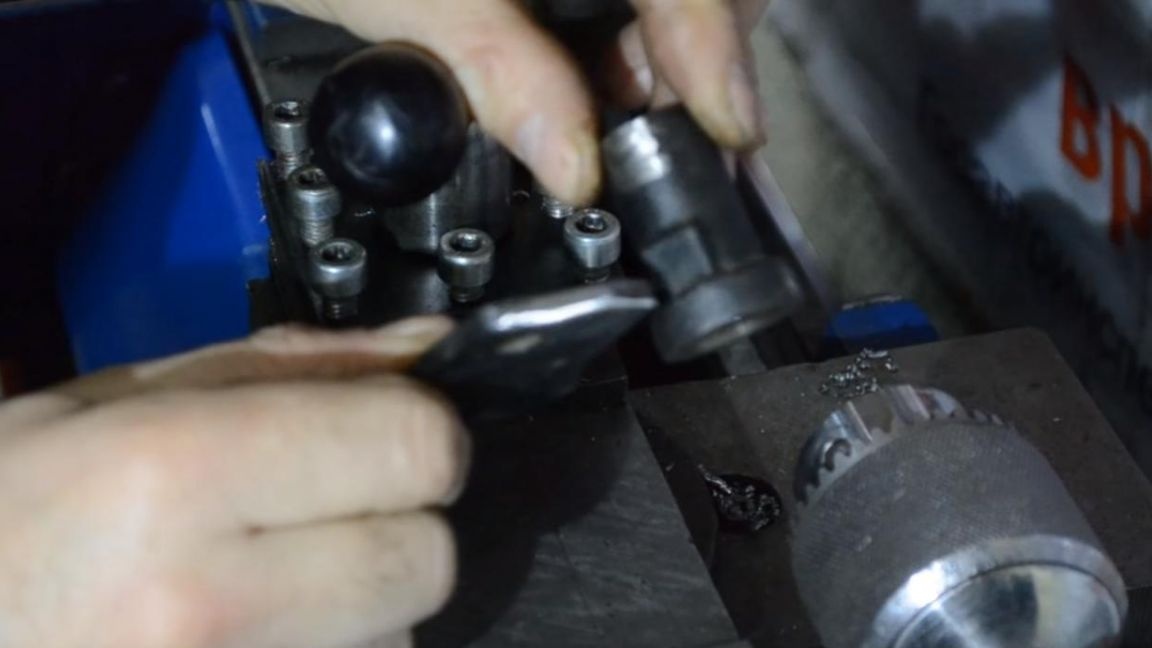
Then, using the angle grinder, we saw off the part from the steering tip, at the place where the internal thread ends.
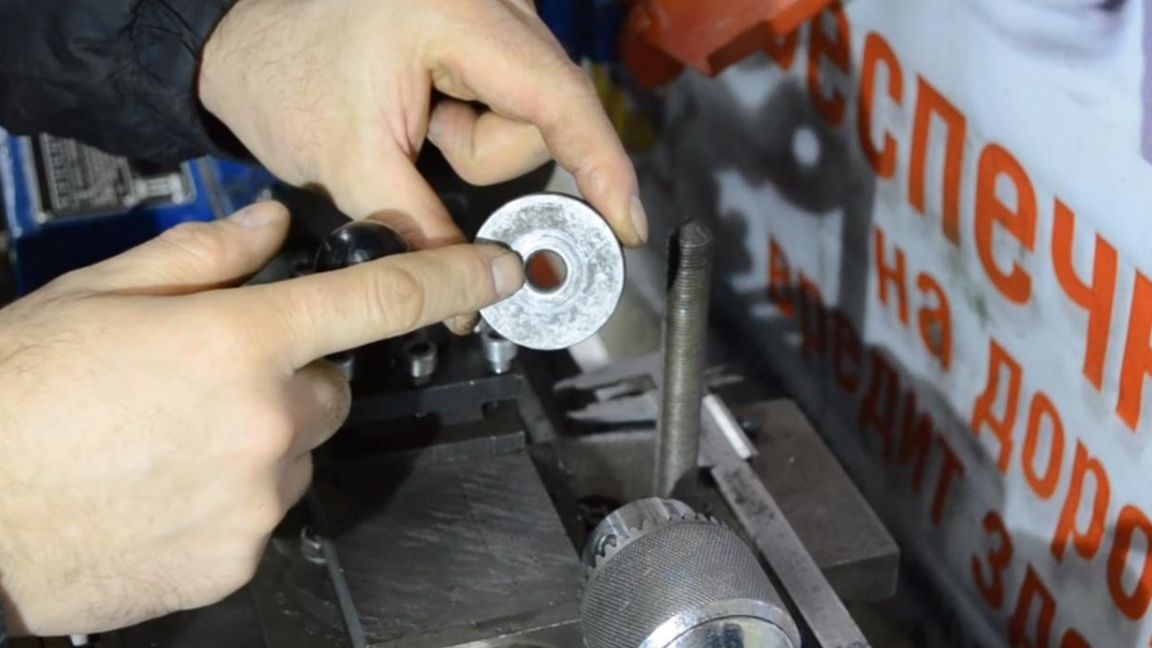
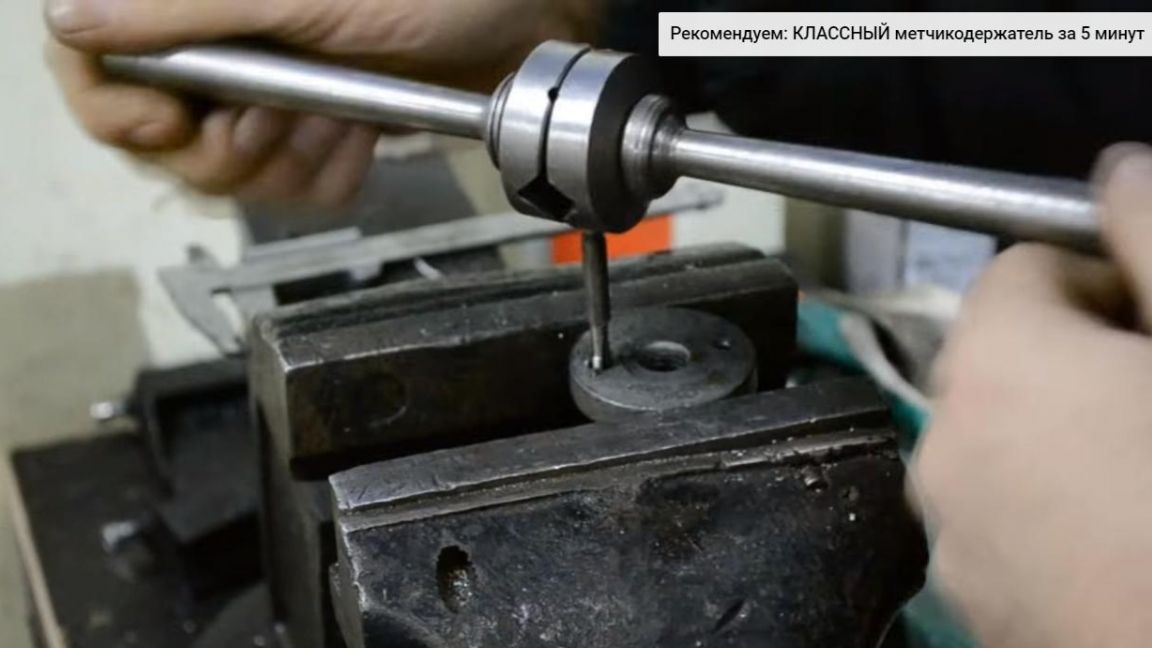
To fasten the washer with the bolt, you need to modify them, for this, cut the M12 thread in a thick washer. We clamp it into the chuck of a lathe for metal and make a thread with a tap.When threading, it is necessary to periodically lubricate the tool with technical oil, this will extend its service life and reduce the chances of jamming in the part.

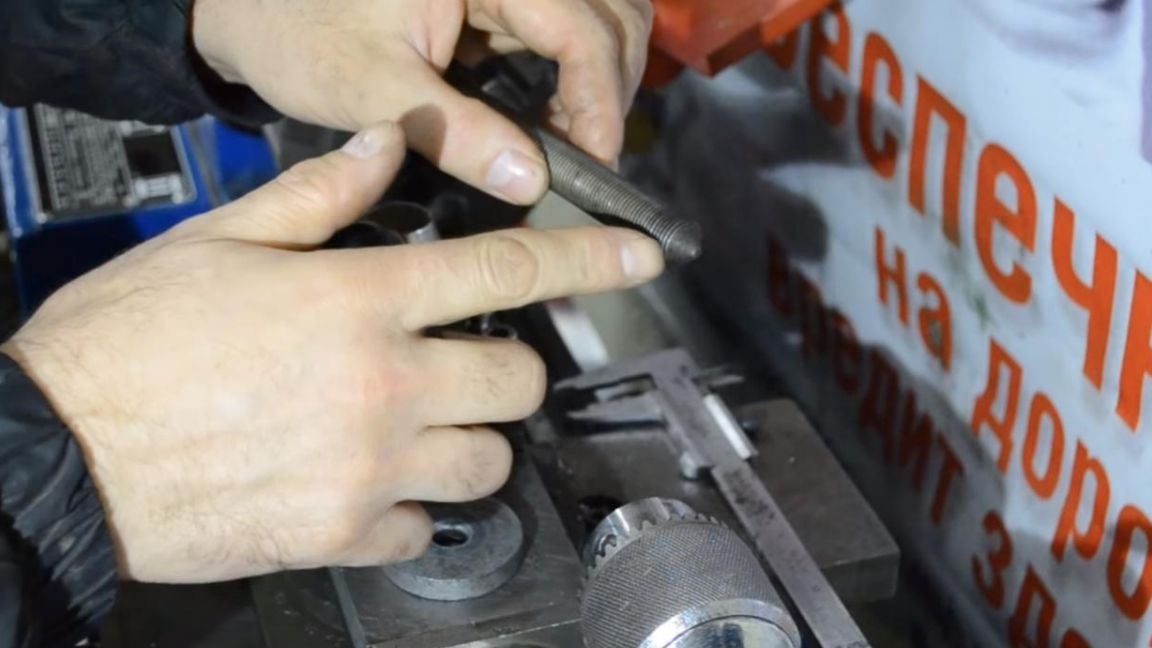
Then we install a bolt in the lathe and grind a part equal to the thickness of the washer to the required size with a straight cutter to cut the M12 thread into it later.
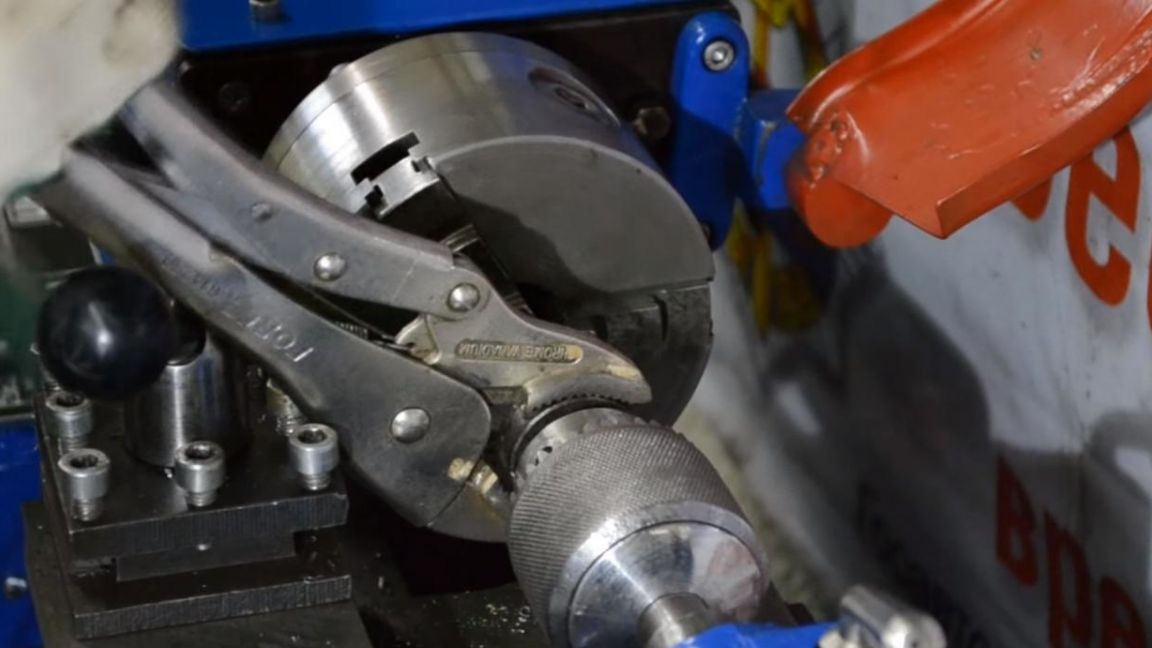
After that, without pulling the bolt from the machine chuck, we cut the thread, securing the M12 die in a manual vice. The thread itself is cut on a turned off machine, simply rotating the chuck by hand.
Step Three
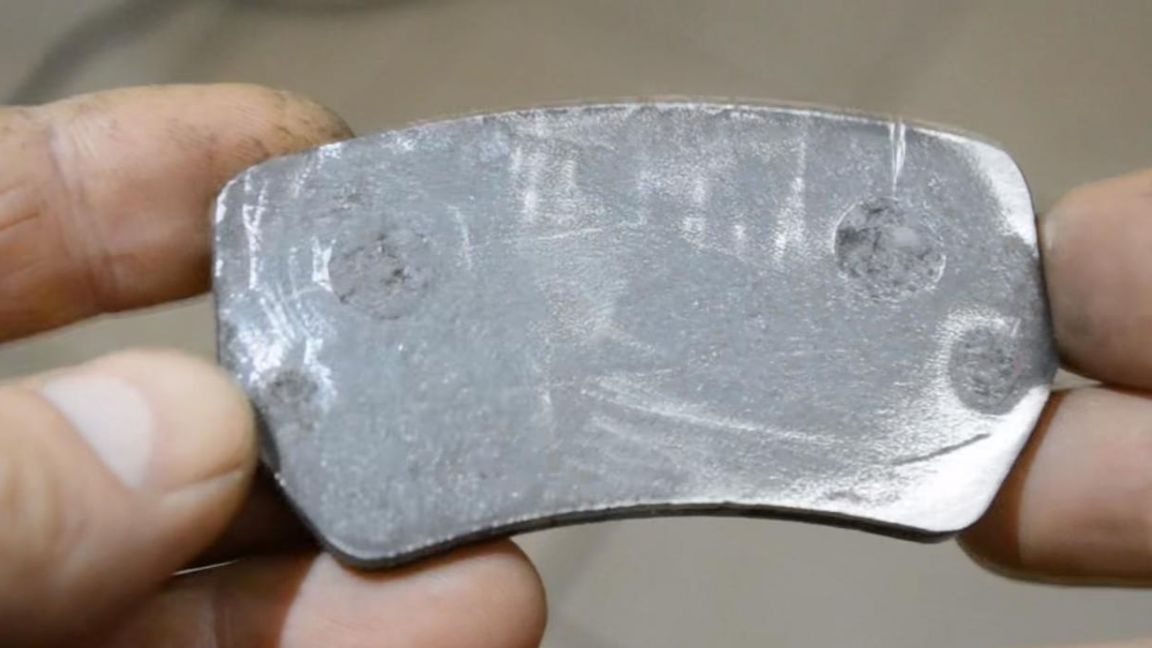
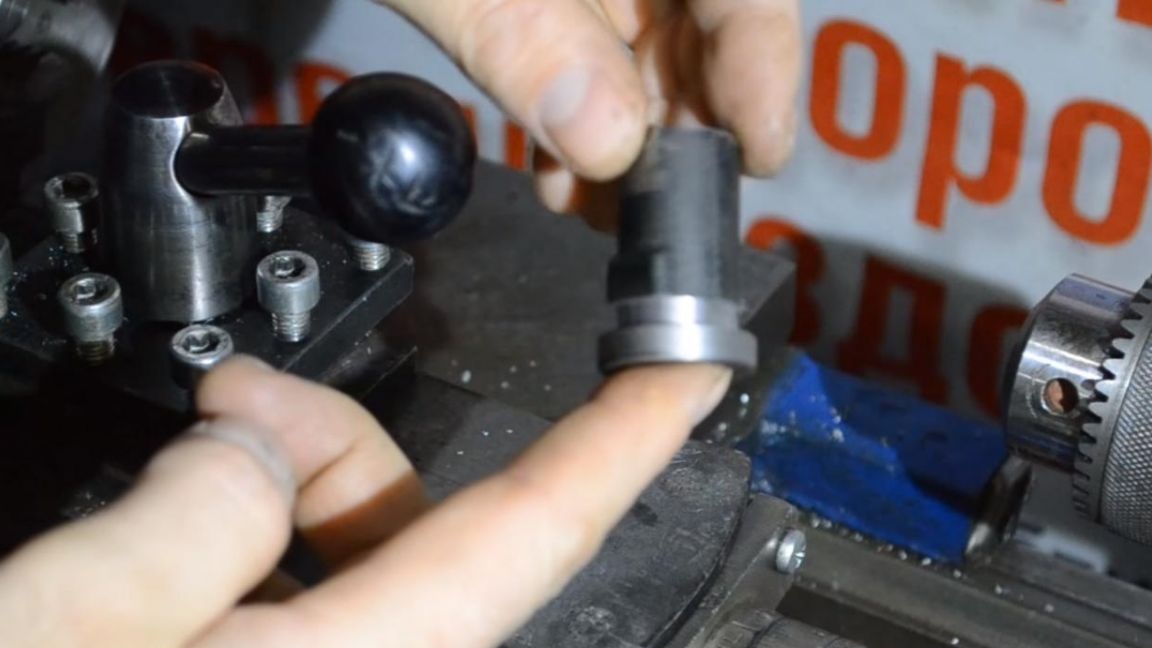
Now, in the segment from the steering tip, you will need to make a groove the thickness of the metal part from the pads.
We make a groove with the help of a lathe and a cutting tool installed in the tool holder, in the process we periodically check whether the block enters there.
After the groove, we got such a groove on the part.
Step Four
We make the marking strictly in the middle of the metal part of the block.
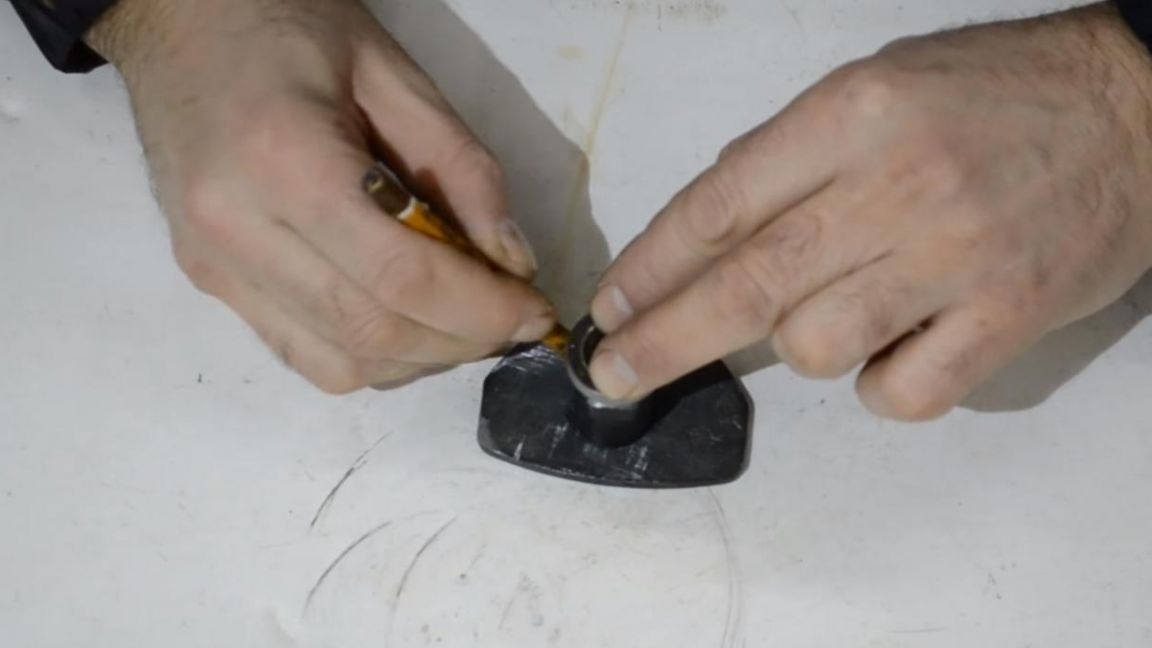
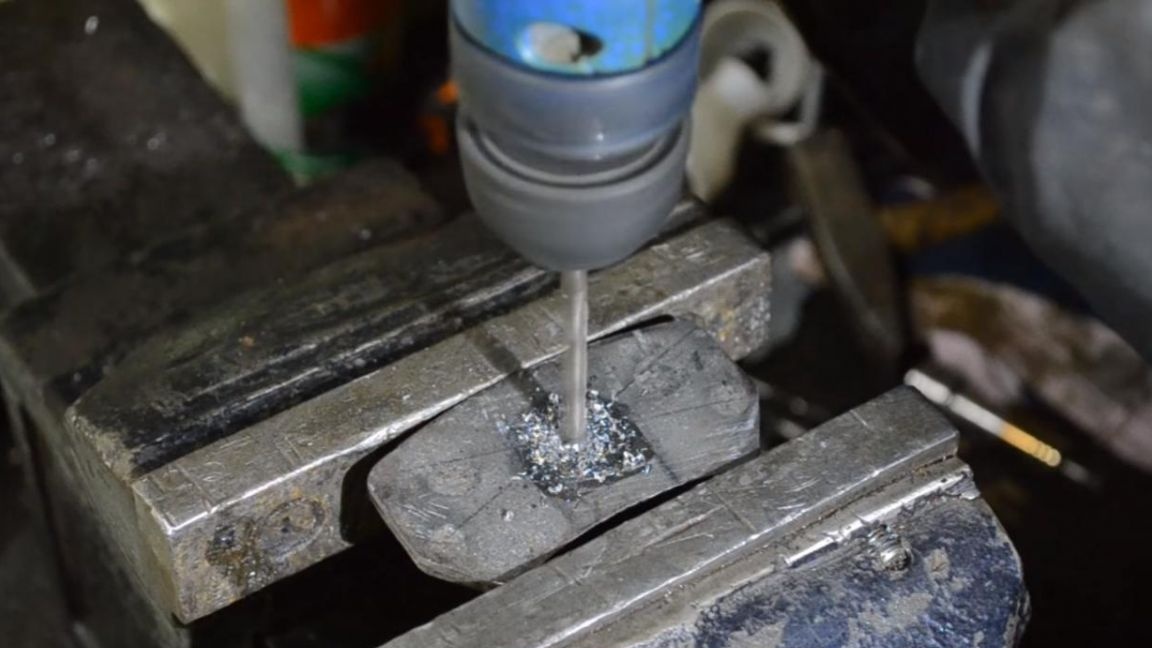
Then core and drill a hole with an electric drill. Since the cutting edge inevitably becomes dull during drilling, it is necessary to lubricate the drilling site with technical oil, this will reduce the load and allow your drill to last longer.
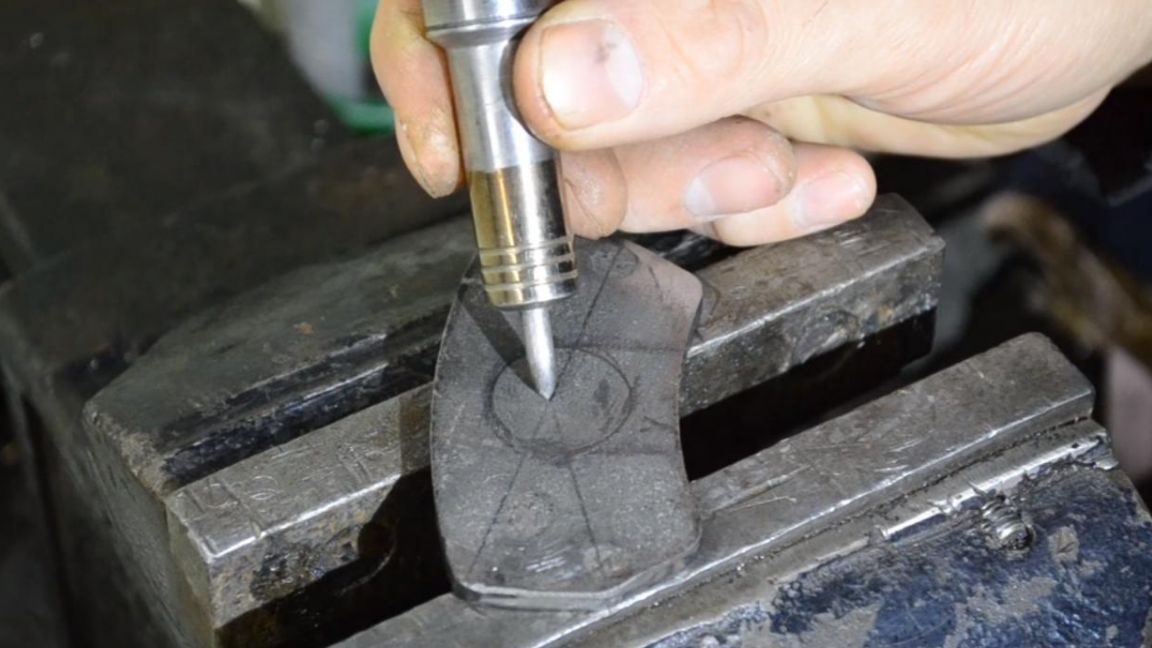
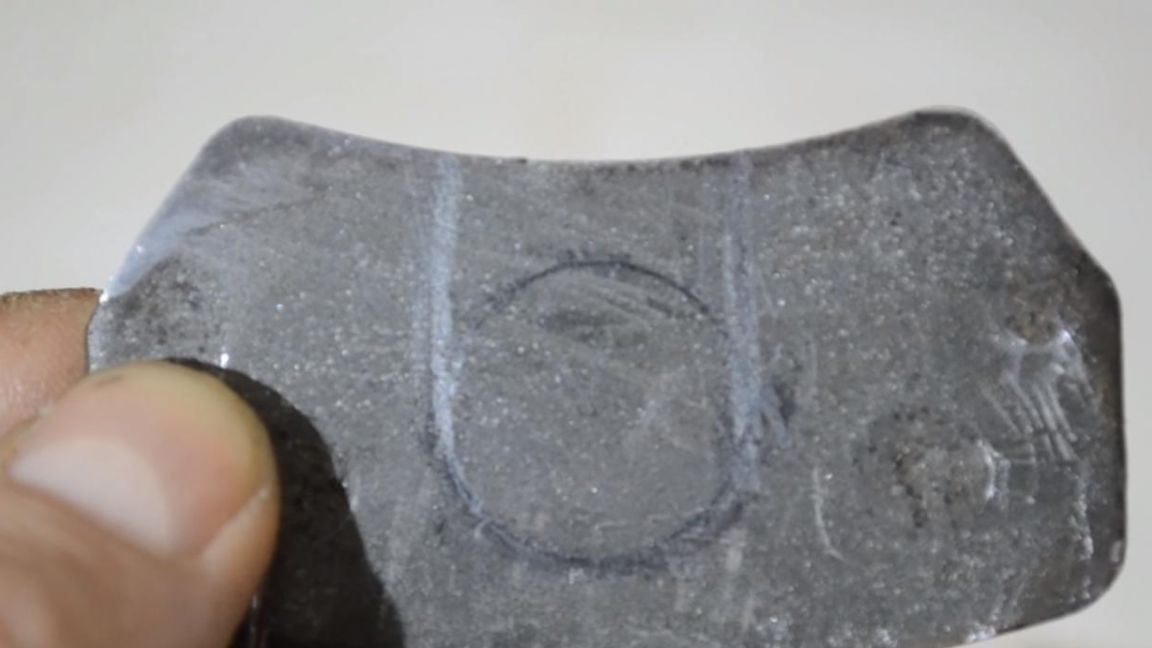
Next, we install the block in a bench vise and we make cuts according to the marking, as well as a rounding, so that this part fits snugly in the groove made earlier, using an angle grinder with a cutting disc. We finish the fit with a round file.
Step Five
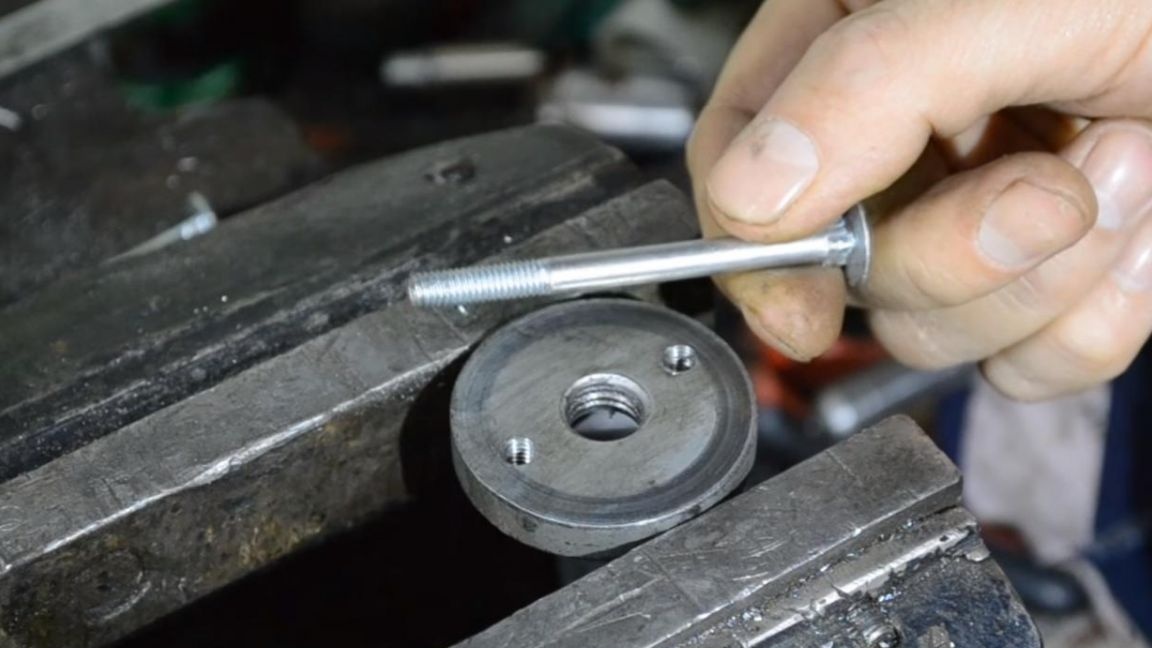
It remains to make two pins in the washer of the bolts. To do this, mark the places for future holes on the washer, the distance between their centers should be 33 mm.
We drill holes on the marks, and then using the M6 tap, we cut the threads into them.
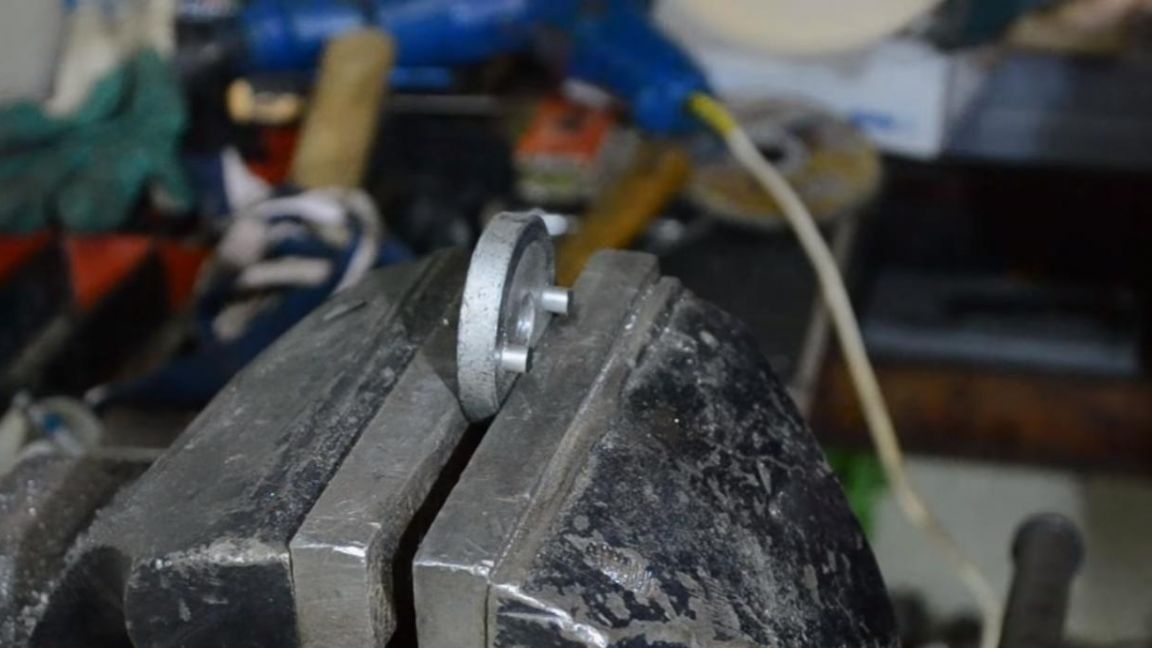
Then we screw in two bolts with an incomplete thread until it stops and on the reverse side we saw off the excess thread that went beyond the limits of the washer using an angle grinder.
On the other hand, leave about 5 mm and also saw off the excess part of the bolts. The result should be something like this.
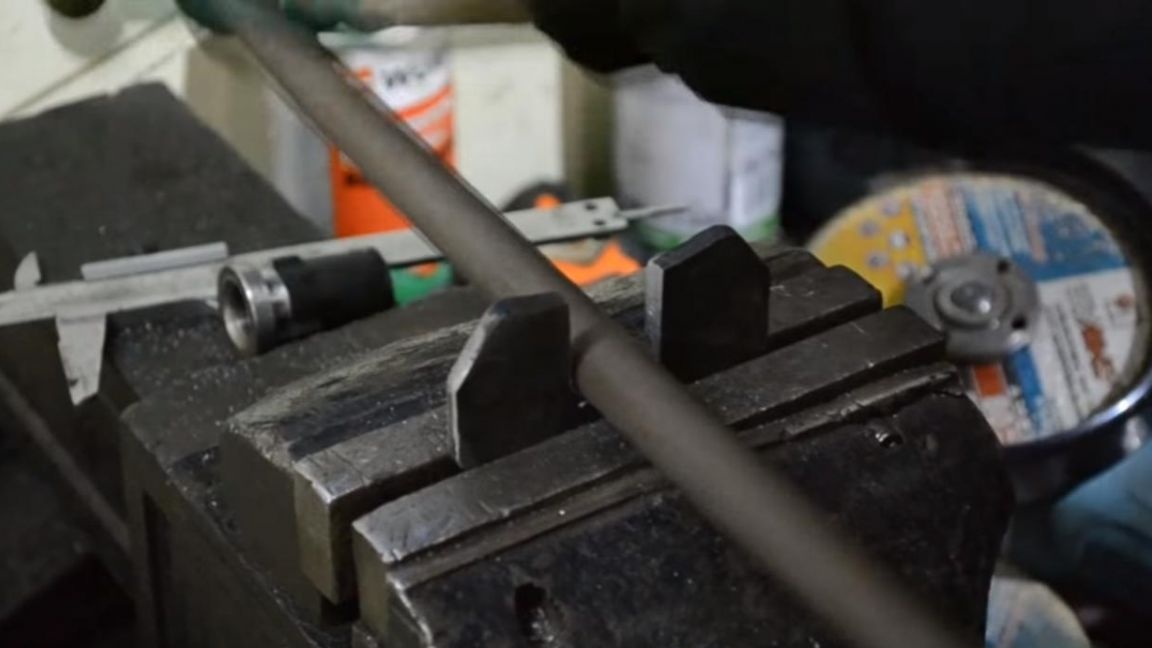
Also, a hole was made across the large bolt, into which a metal bar must be inserted to twist and unscrew it without a wrench.
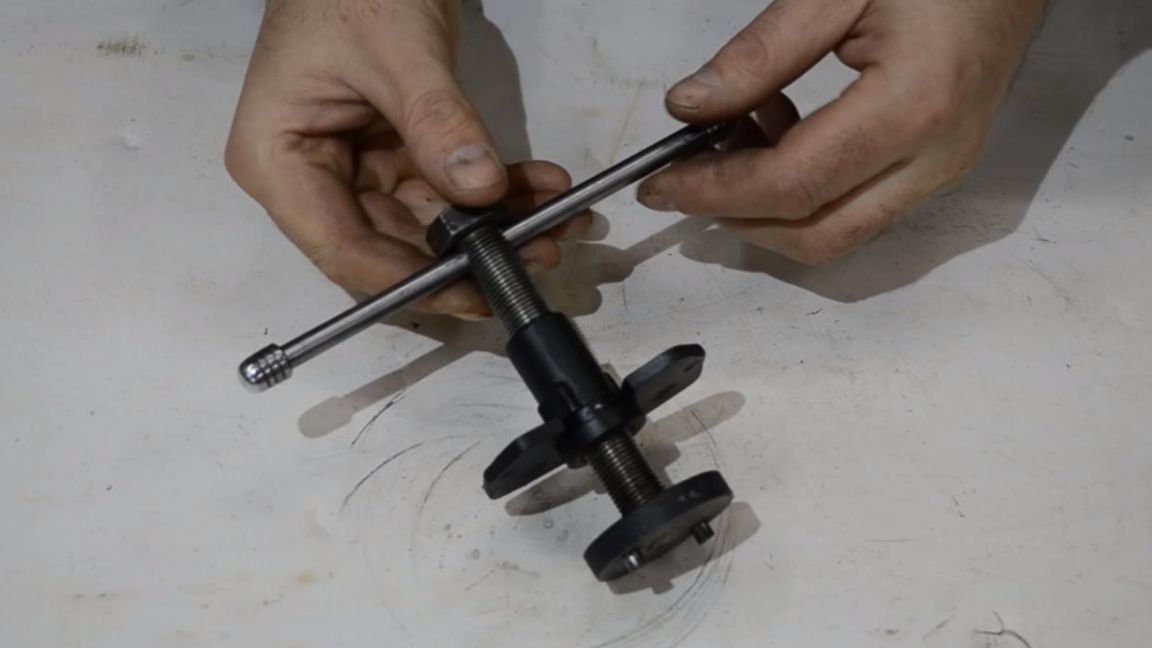
Step Six
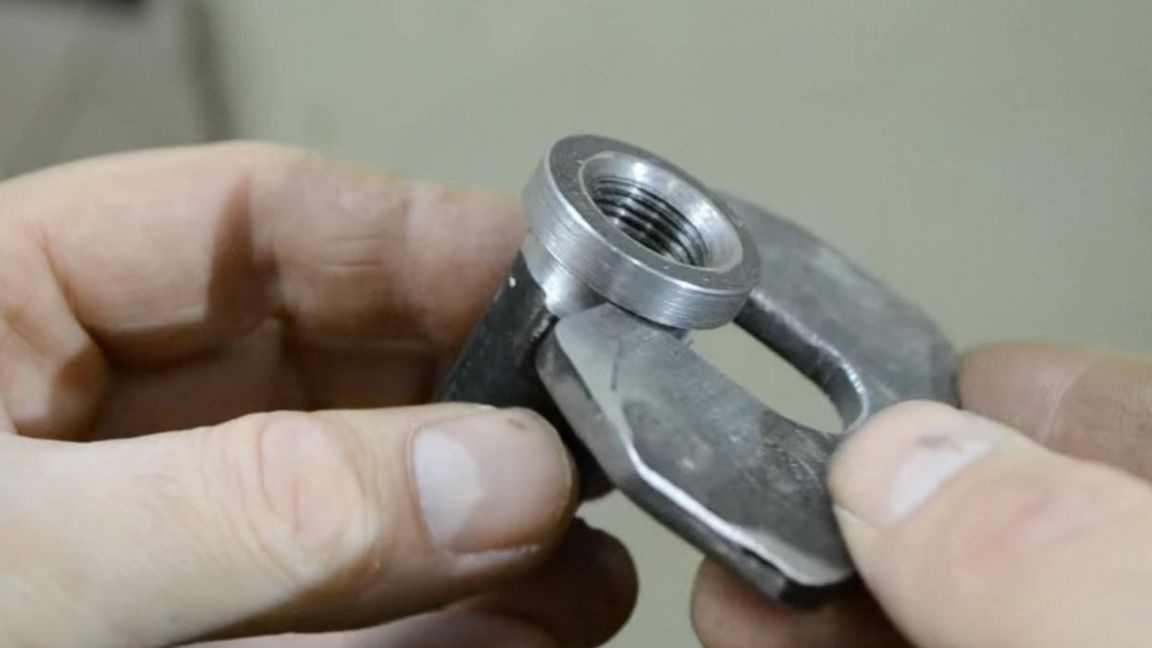
All parts of the home-made fixture are ready, which means you can assemble everything into a single whole, lubricating the thread of the bolt with technical oil.
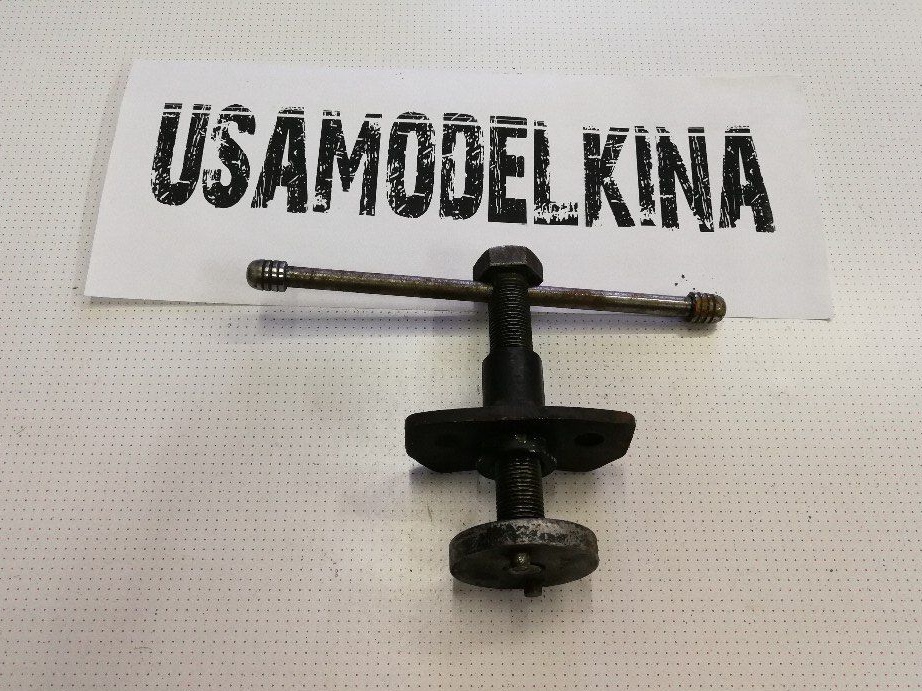
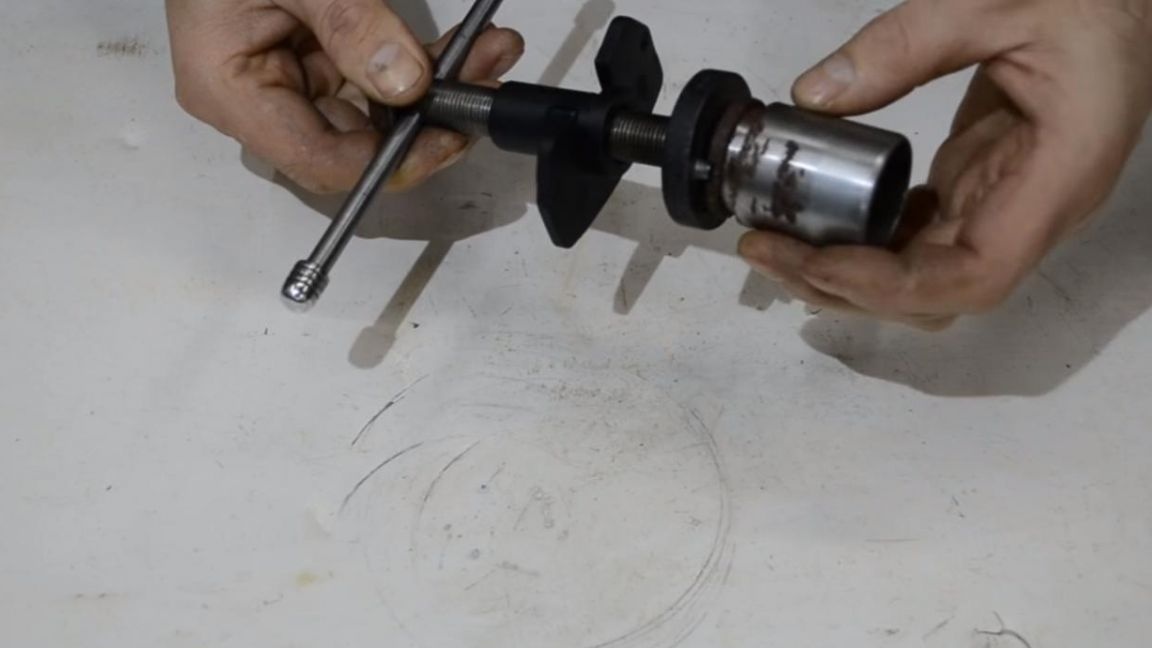
So the device looks in assembled condition, it is not inferior to the factory version.
The principle of this homemade product is simple, two pins engage with the piston and with the help of a screw it is pressed into the caliper without much effort. If necessary, such pins can be made on the reverse side, but with a different distance between them, since the calipers are different.
That's all for me, thank you all for your attention and creative success.