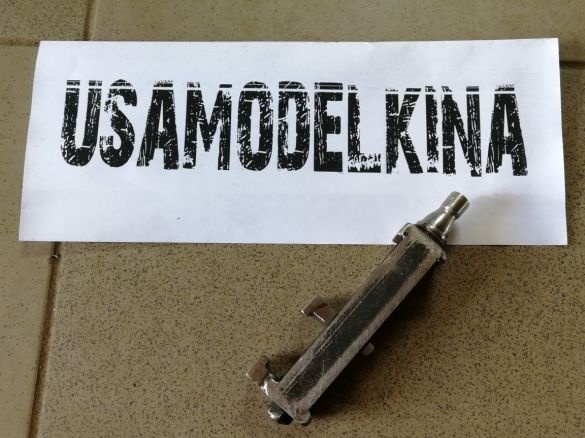
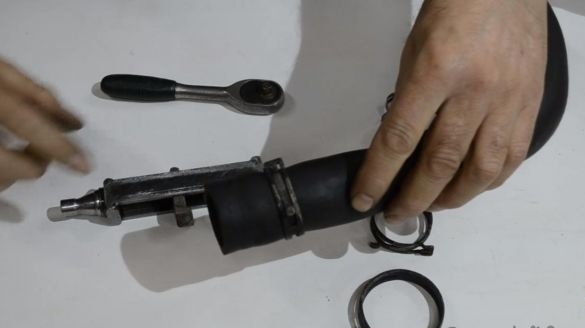
Hello to all lovers homemade. In this article I will tell you how to make a spring clamp puller, which is often used in cars, they are mainly installed on the pipes of the cooling system. It is quite difficult to remove such clamps with the help of pliers, and it is also traumatic, since the tool can come off at any time.
Before reading the article, I suggest watching a video that shows the manufacturing process of this puller and, of course, checking it on a clamp.
To make a spring clamp puller do it yourself, you will need:
* Drilling machine, drill for metal with a diameter of 10 mm
* Angle grinder, cutting disc
* Channel 80 mm wide
* Welding machine, electrodes
* Safety glasses, gloves, earphones
* Welding mask, gaiters
* Vise
* Kerner, hammer
* M12 tap
* M12 bolt from cylinder head
* Head for bolt diameter
* Metal corner with shelf size 45 mm
Step one.
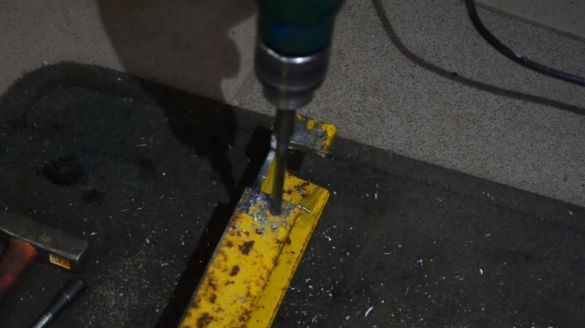
First you need to make a hole in the 80th channel, and for greater accuracy we take a punch and hit the hammer on its upper part, resulting in a recess that will facilitate the positioning of the drill and prevent it from popping off. Using a drilling machine, we drill a pair of holes with a diameter of 10 mm.
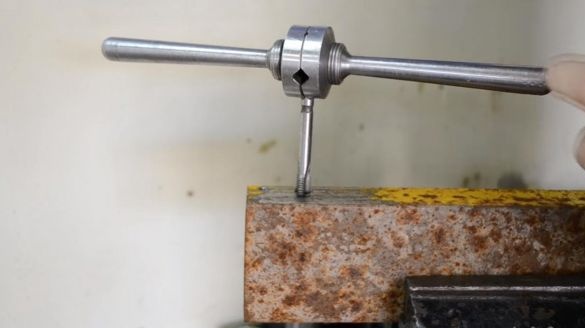
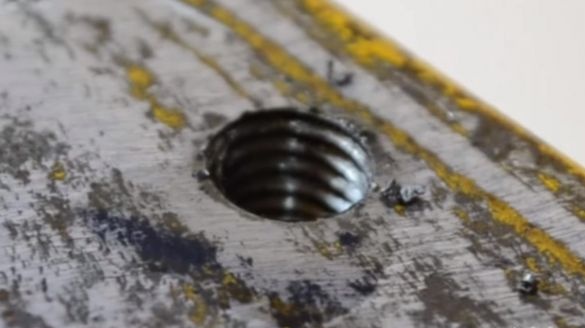
Then we fix the channel in a vice and use a tap to cut the thread under the M12 bolt. In the process of threading, add technical oil to the cutting edge so that it remains sharp for as long as possible and does not experience heavy loads.
Step Two
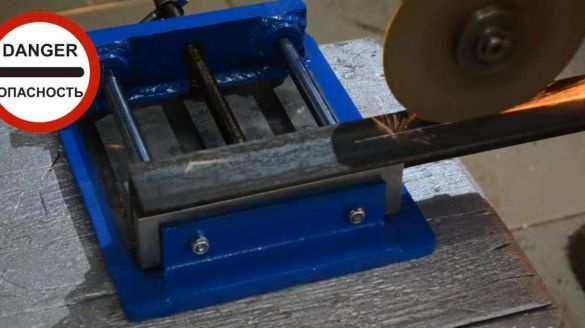
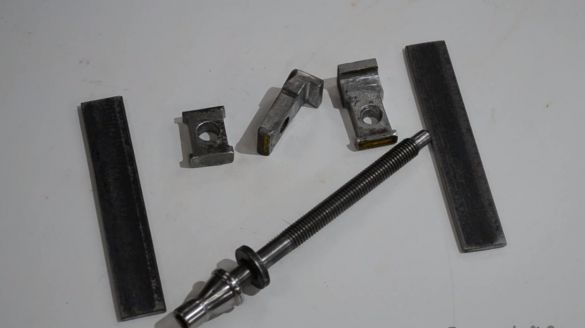
Next, we saw off part of the channel with a threaded thread using an angle grinder with a cutting disc, you should get a kind of corner with a small shelf of 3 mm.
You will need two such parts; in the second, you do not need to cut the thread, since it will be stationary. When working with the angle grinder, be careful when wearing safety glasses, gloves and earphones.
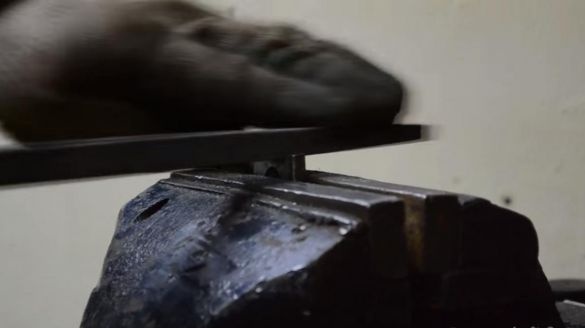
Next, we make a small recess 20 mm wide by a couple of millimeters in the sawn part, using a file.
We do the same with the second part. You also need to make a part in which the bolt will abut, we cut it out from the same channel, but without shelves, and in the middle we drill a hole that should be a couple of millimeters larger than the diameter of the bolt itself for free rotation.
Step Three
Now you need to cut two metal plates from a corner with shelves of 45 mm, for this we clamp it in a vice and use an angle grinder to cut two strips 110 mm long and 20 mm wide.
Step Four
It's time to start welding work.
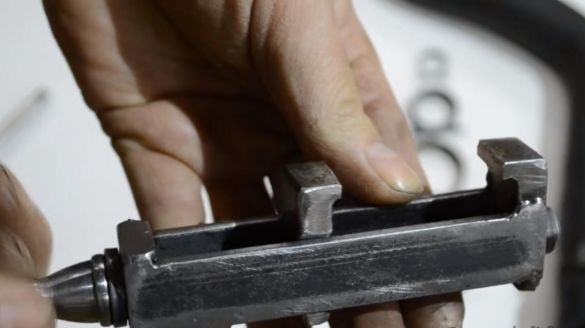
For ease of use fixtures it was decided to install a suitable head on the cap of the bolt and scald it. Next, install the support plate from the channel, then insert the bolt with washer into it and wind the movable part with the thread. After that, we put the fixed part with the shelf and press the sawed-off plates on both sides, which we need to weld to the fixed parts. When working with the welding machine, be careful not to forget to use a welding mask and gaiters. After welding, remove the slag from the weld with a light hammer tap.
At this point, the puller is completely ready.
Step Five
To be completely confident in your tool you need to test it in real conditions. To do this, install the puller on a spring clamp installed on the cooling pipe.
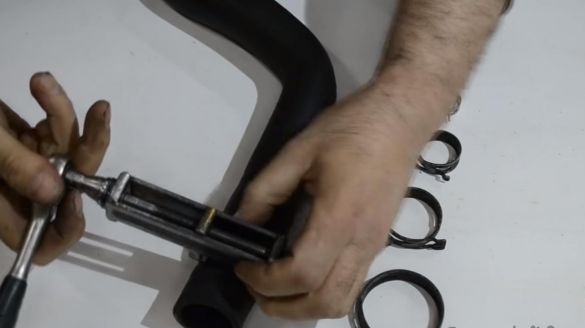
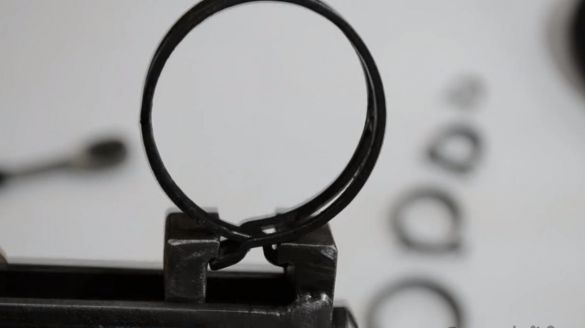
Next, manually tighten the bolt until it stops, and then insert the ratchet key into the welded head of the bolt and continue to twist the bolt, in the process, the movable part moves along the thread and open the spring clamp with its shelf.
That's all for me, this puller will be useful to those who often face the problem of removing such spring clamps, especially those who independently service their car.
Thank you all for your attention and creative success.


